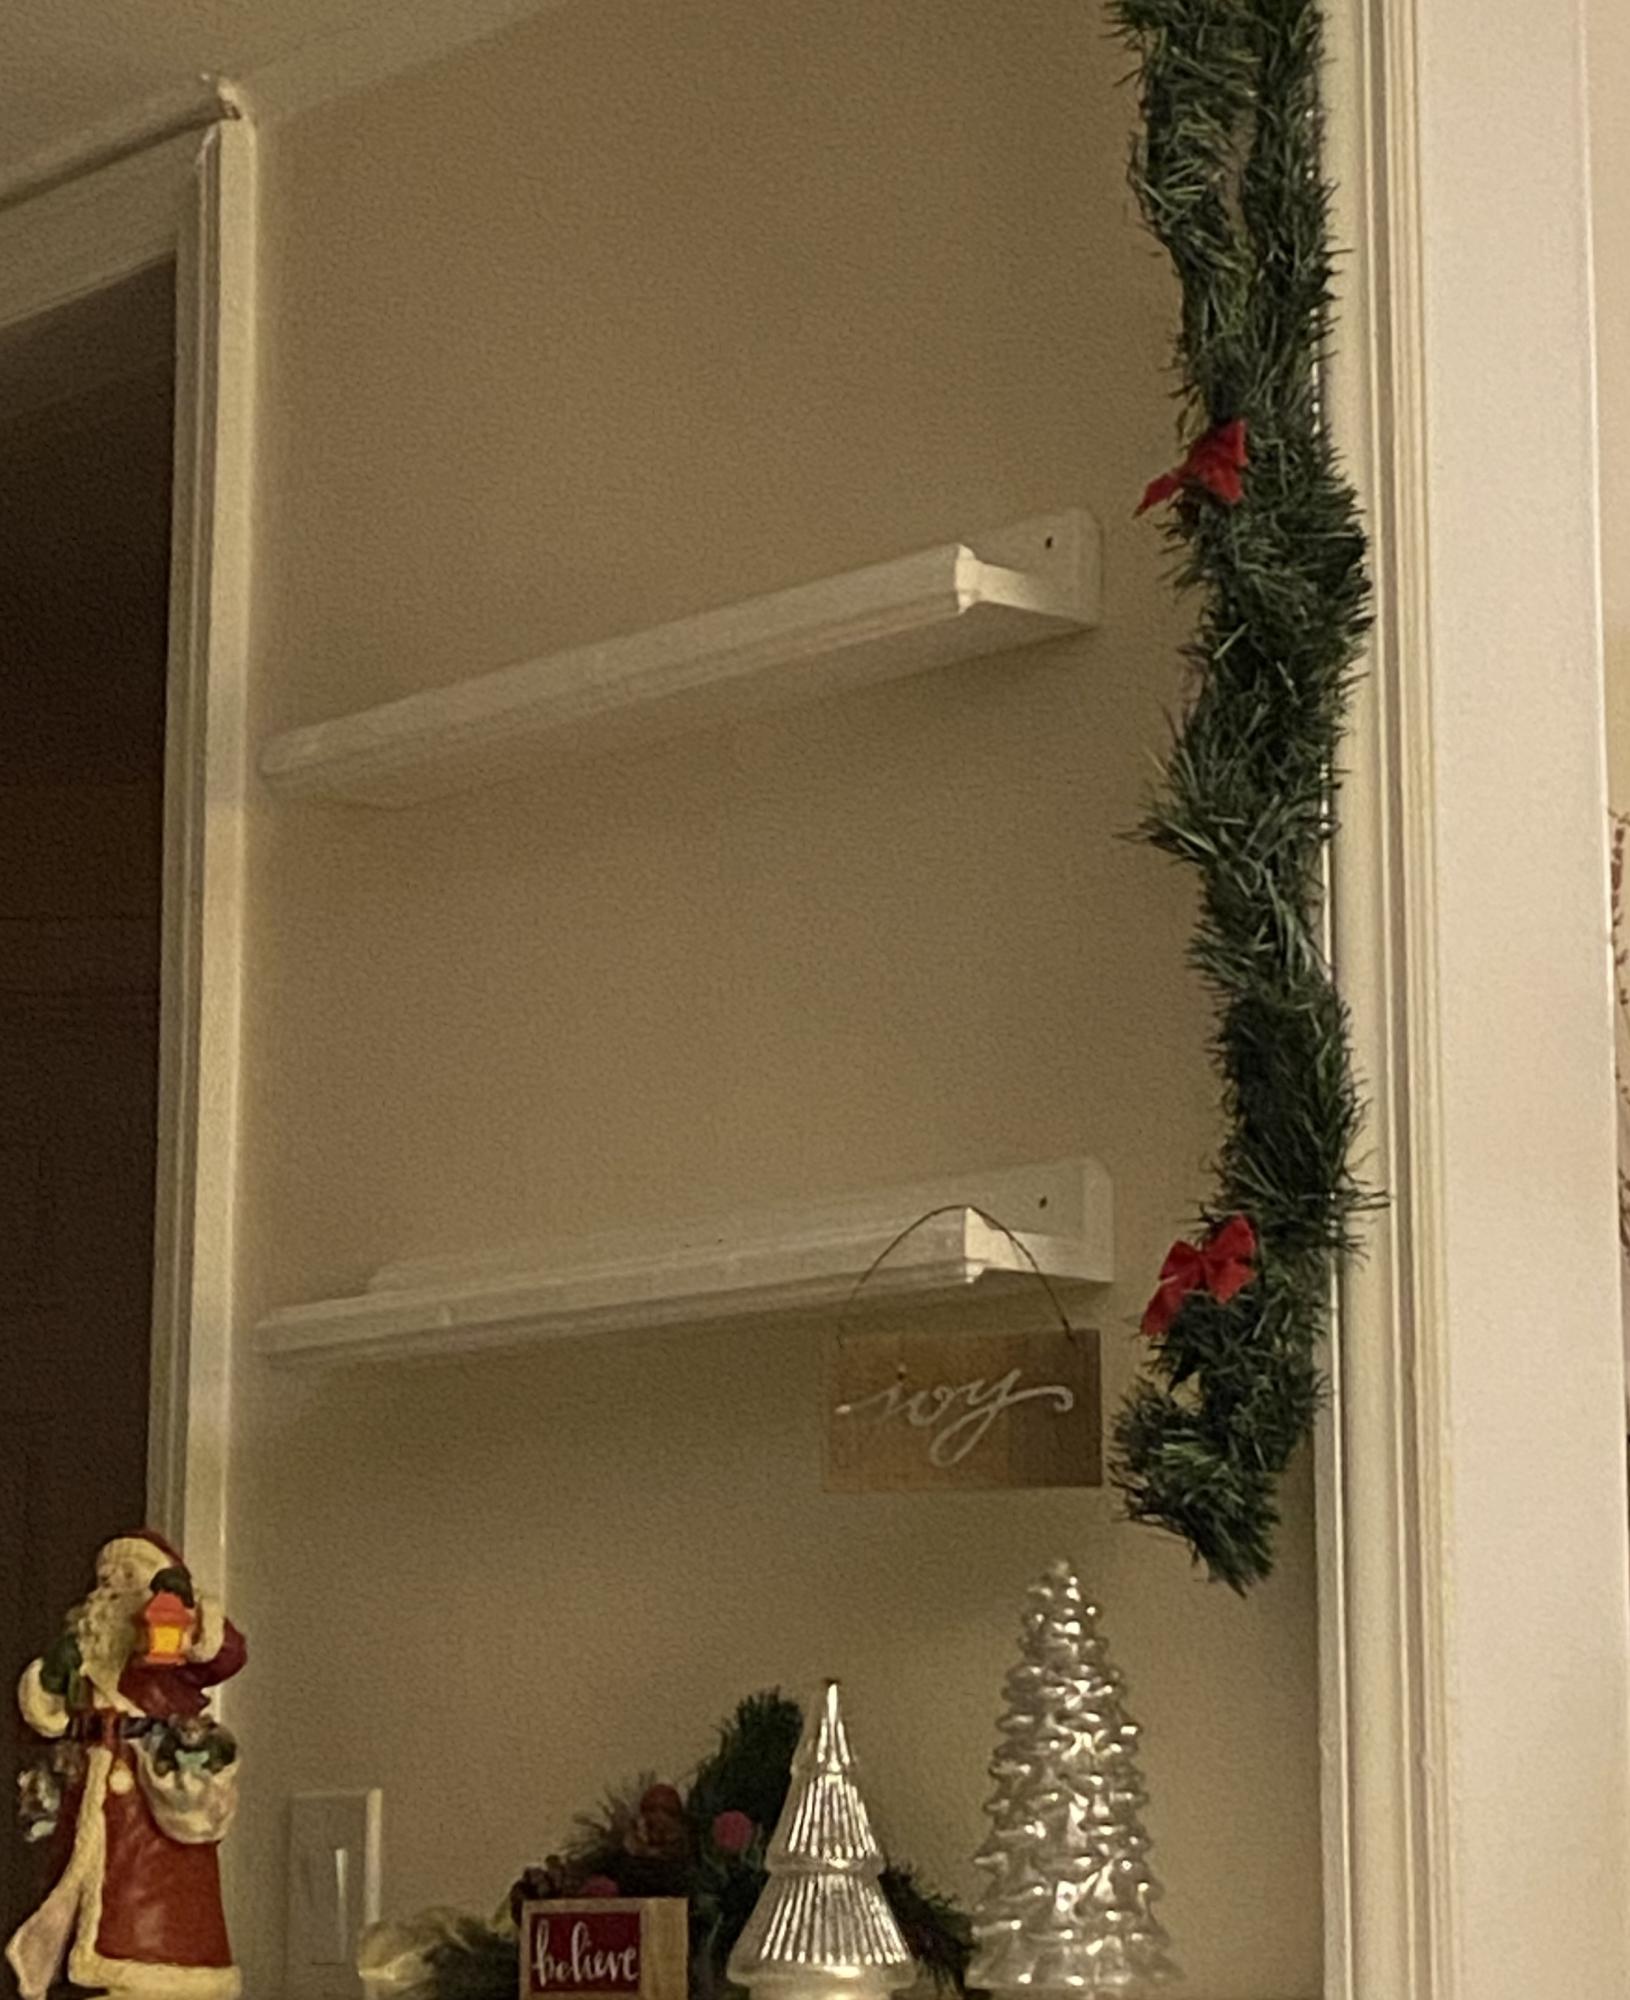
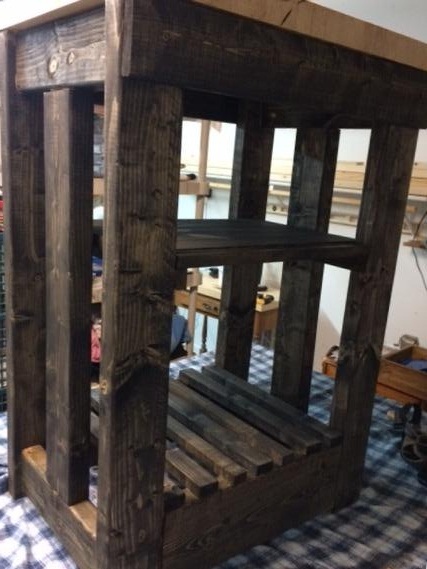
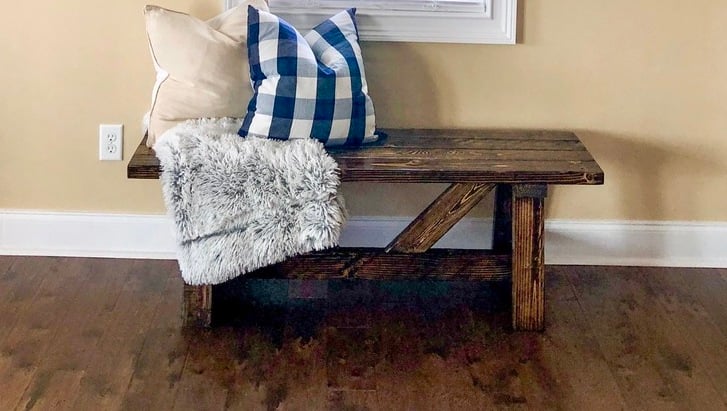
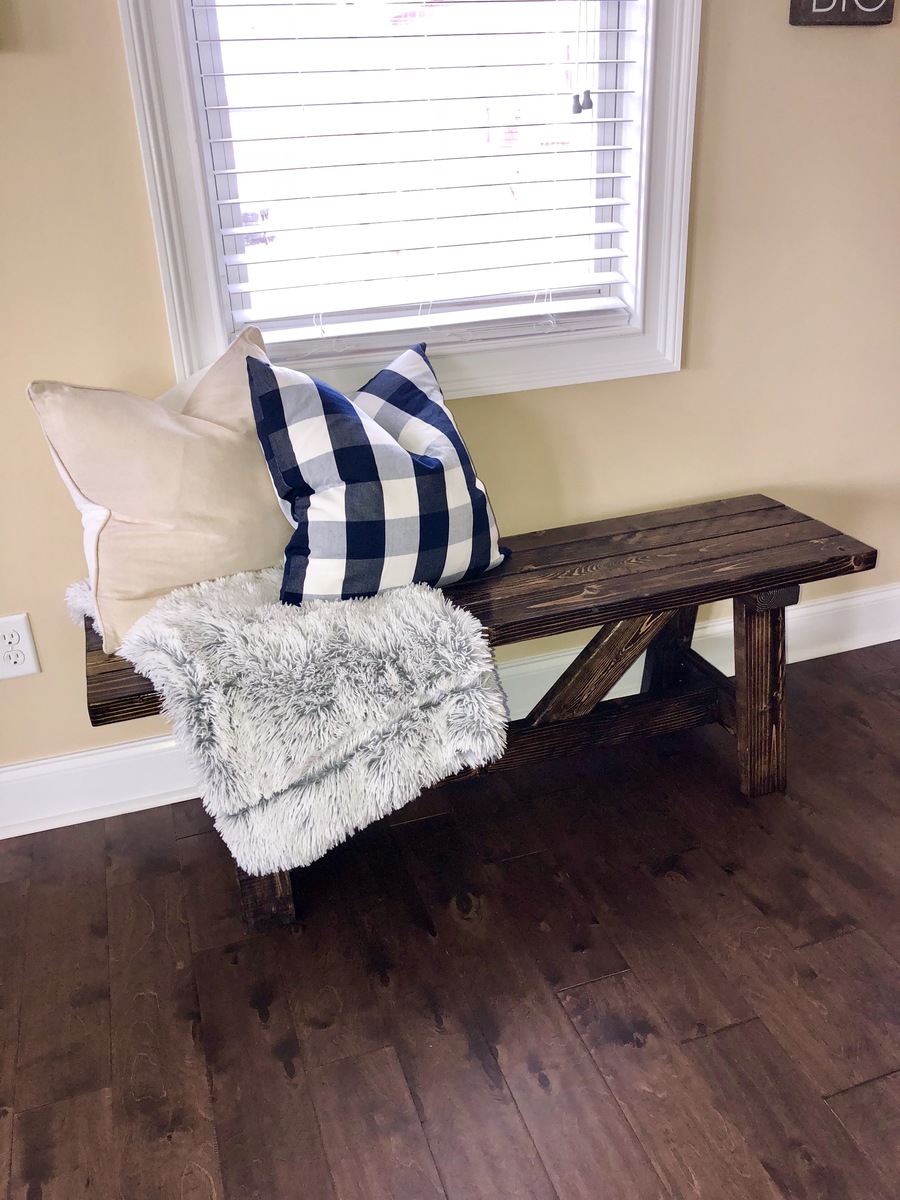
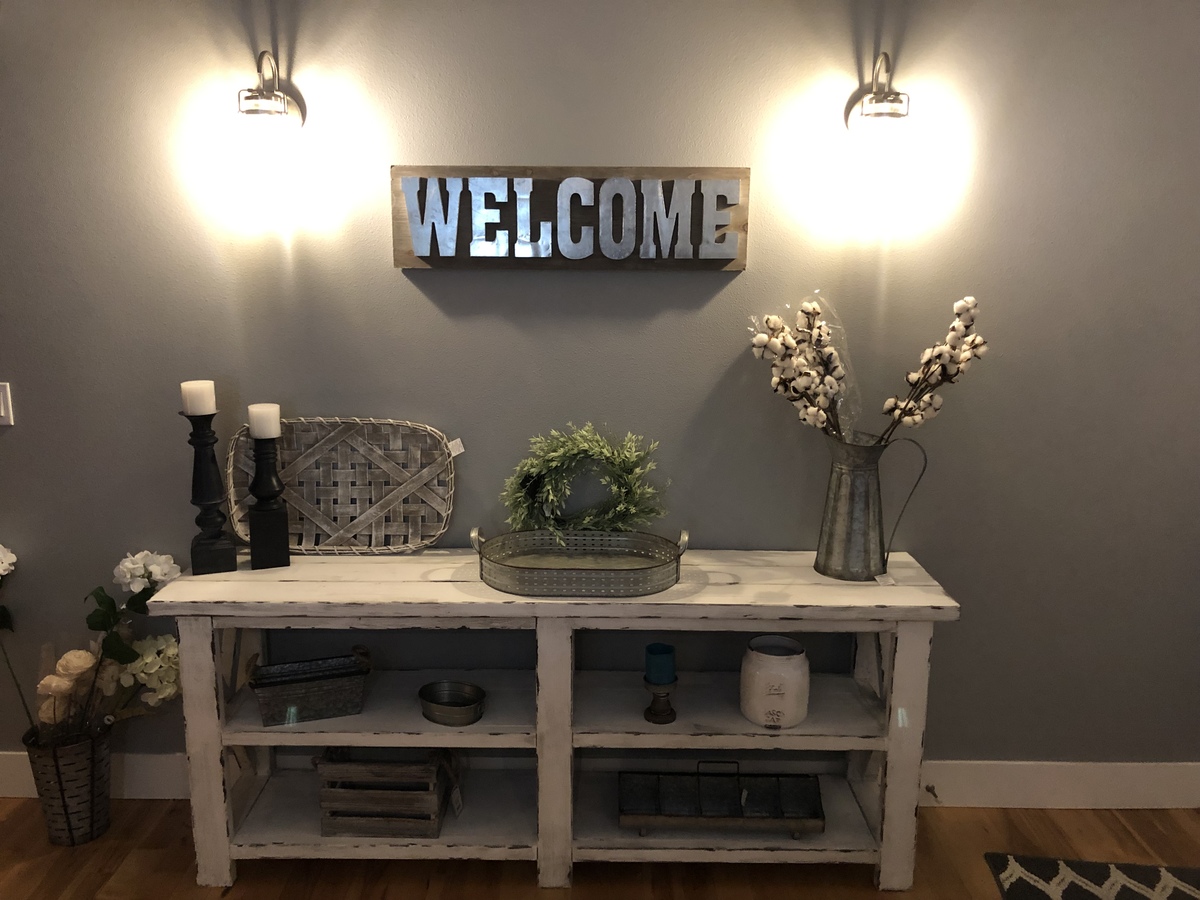
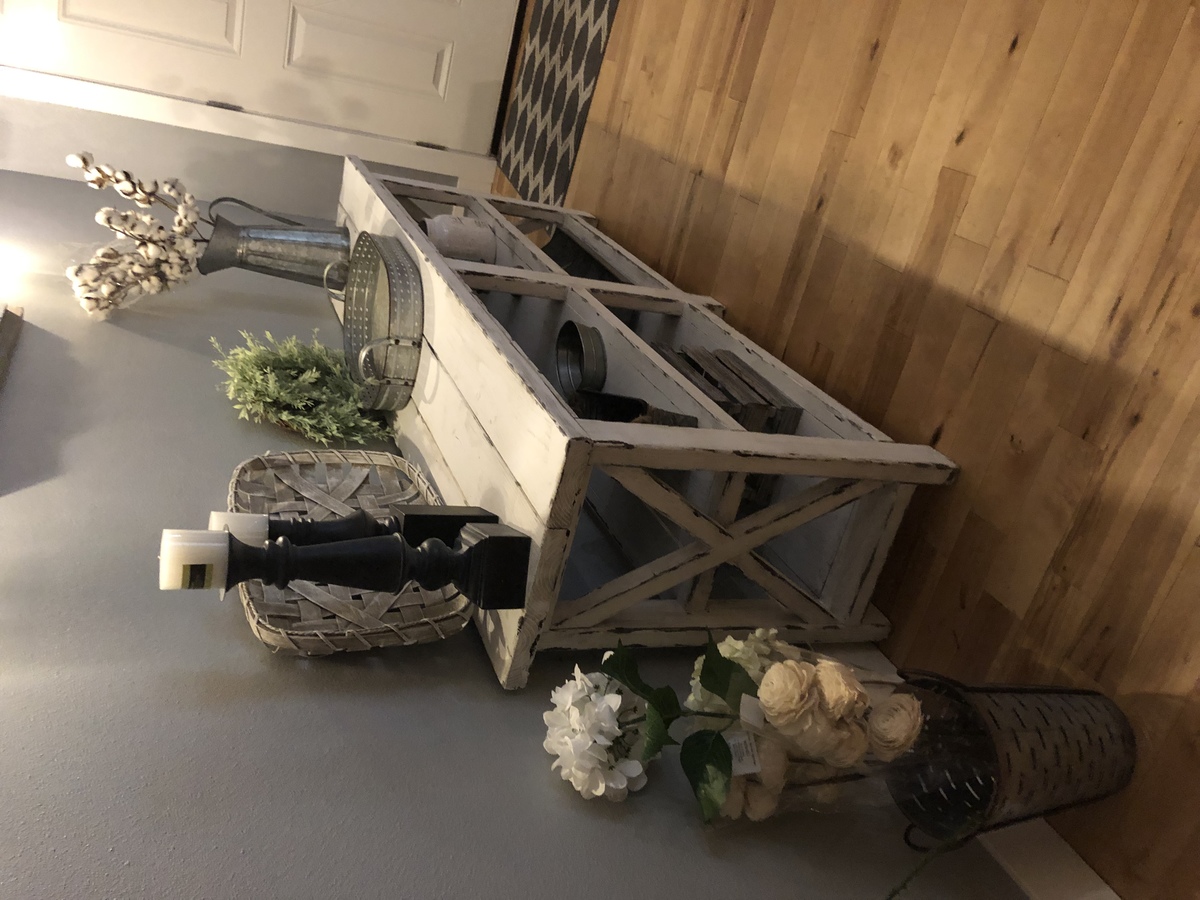
Farmhouse Hall tree
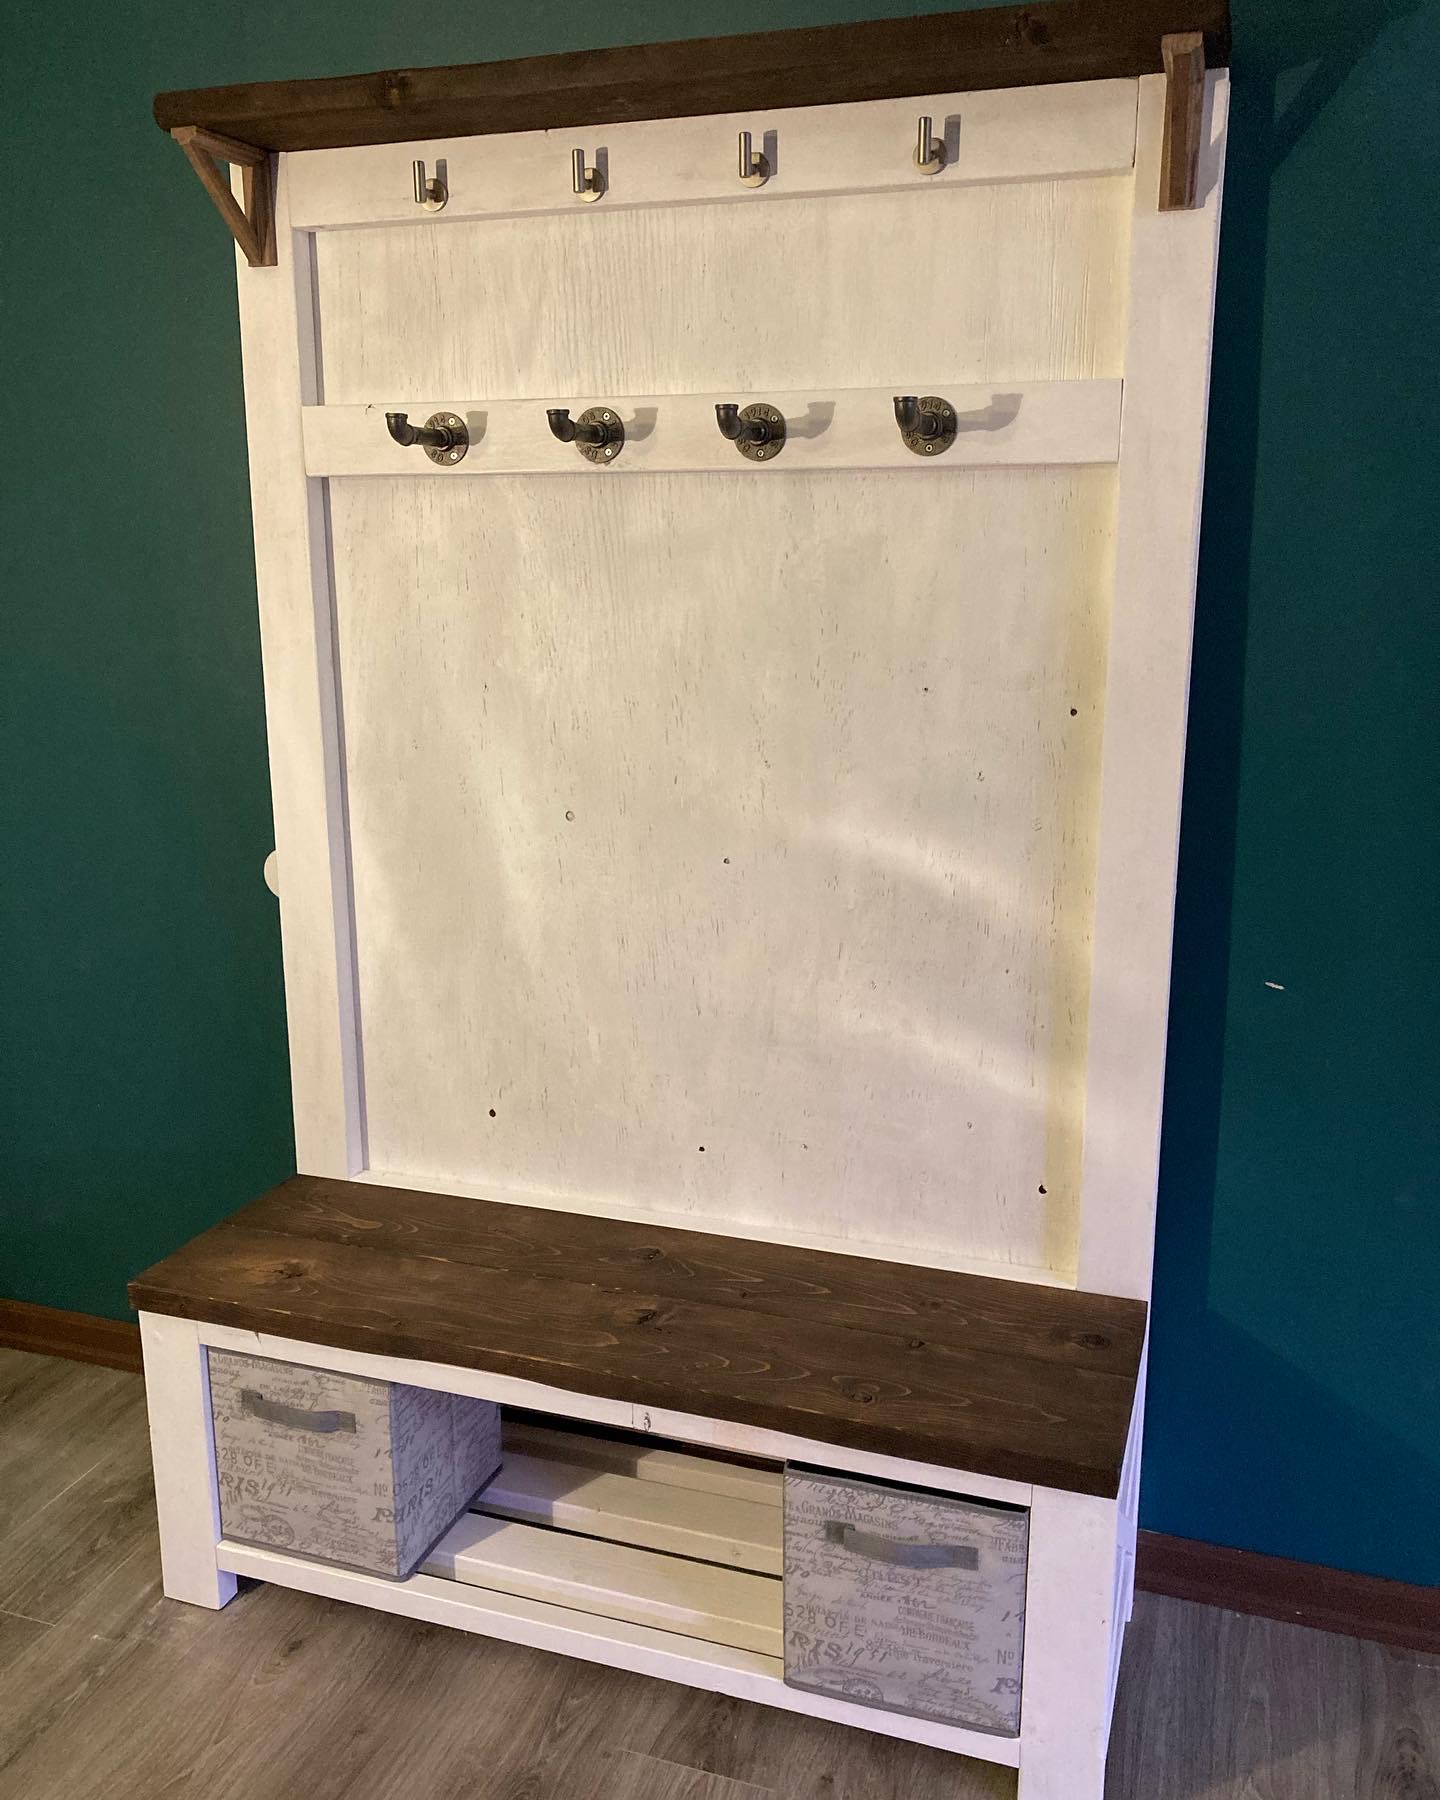
Had fun making this one! Kept it rustic and added something other than white. Thanks for the great plan!
Built from Plan(s)
Had fun making this one! Kept it rustic and added something other than white. Thanks for the great plan!

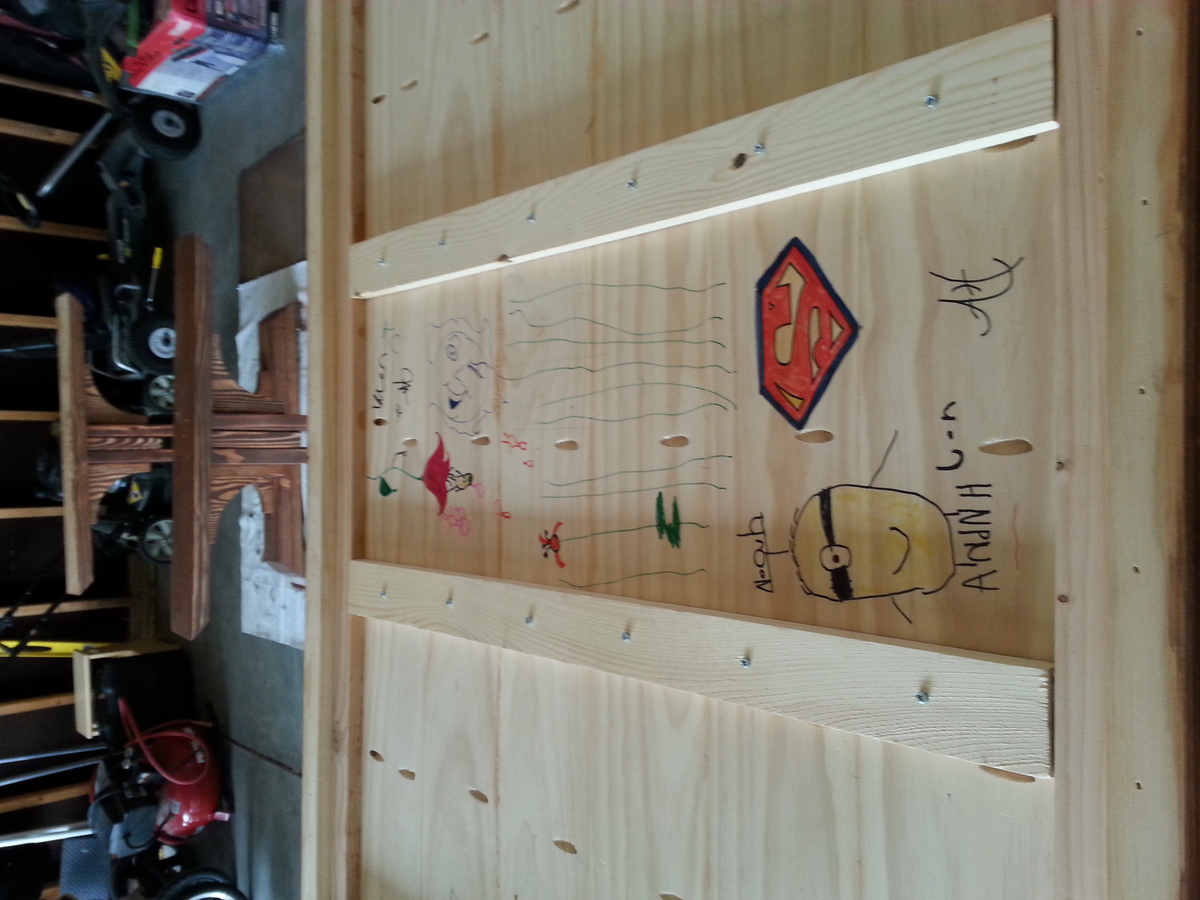
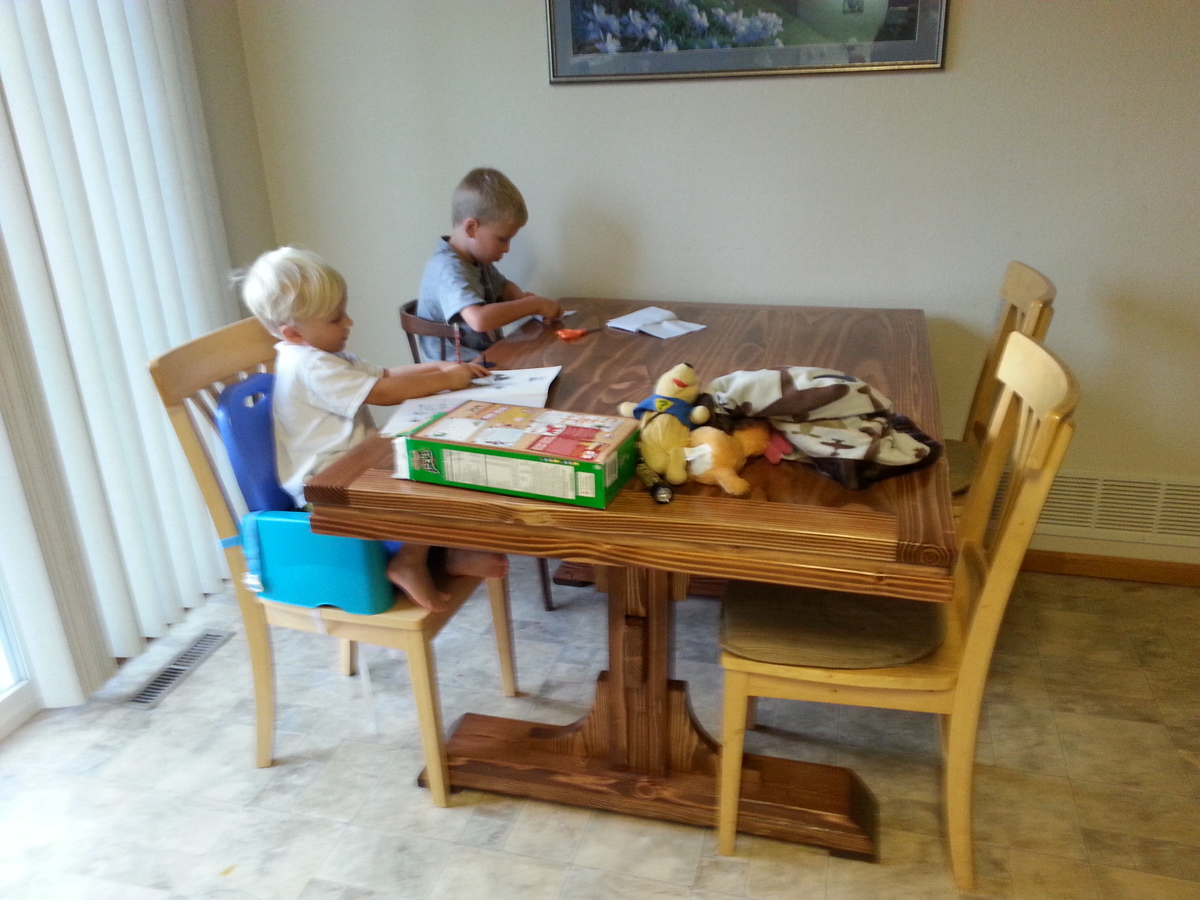
I was so excited when I saw the plans for this and knew I had to make it. I love the way the wood looks with the numbers stained. It only took a couple of hours to get it exactly as I wanted. My kids love that they now have a place for all their crayons and school supplies.
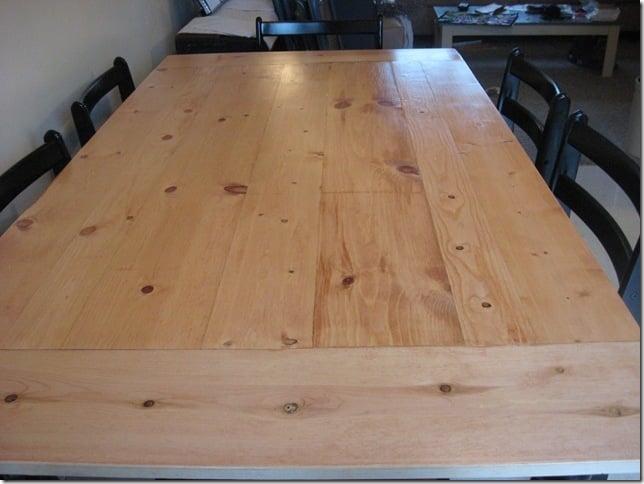
I think the hardest part of making this table was making it square. I think a tutorial video would be very beneficial. Took me a while to make due to life priorities, but it is finally done! Kids have already taken it over! My favorite part is letting them draw on it and make it theirs. Will be fun in the future to look back. We also wrote the date on it. I do think clamping is a must. I didn't do that at first and ended up taking the top apart and redueing it with clamps and glue.
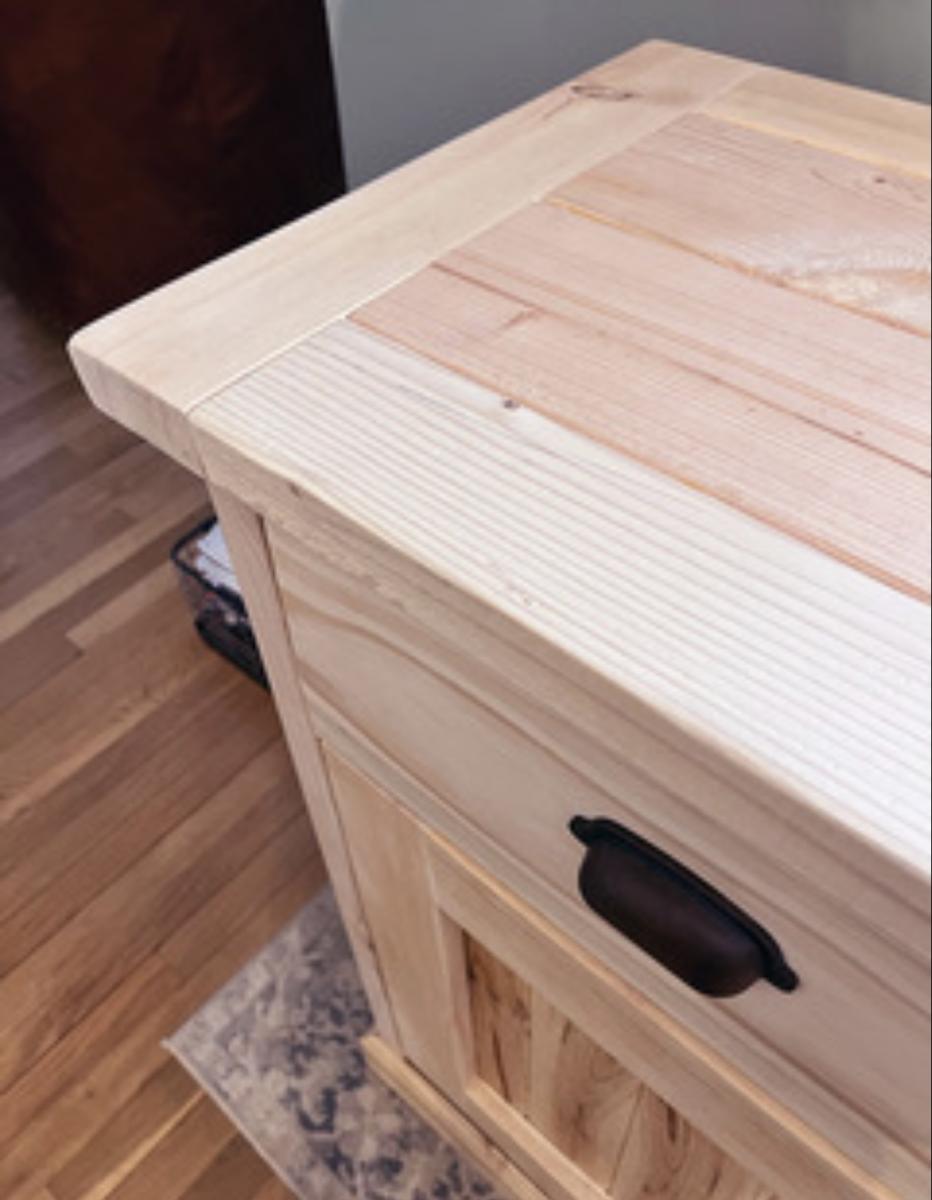
I didn't want cracks that food could get into, and those 2x4's are rounded. So I ran those boards through a table saw to make sure they are flush with the 1x6's.
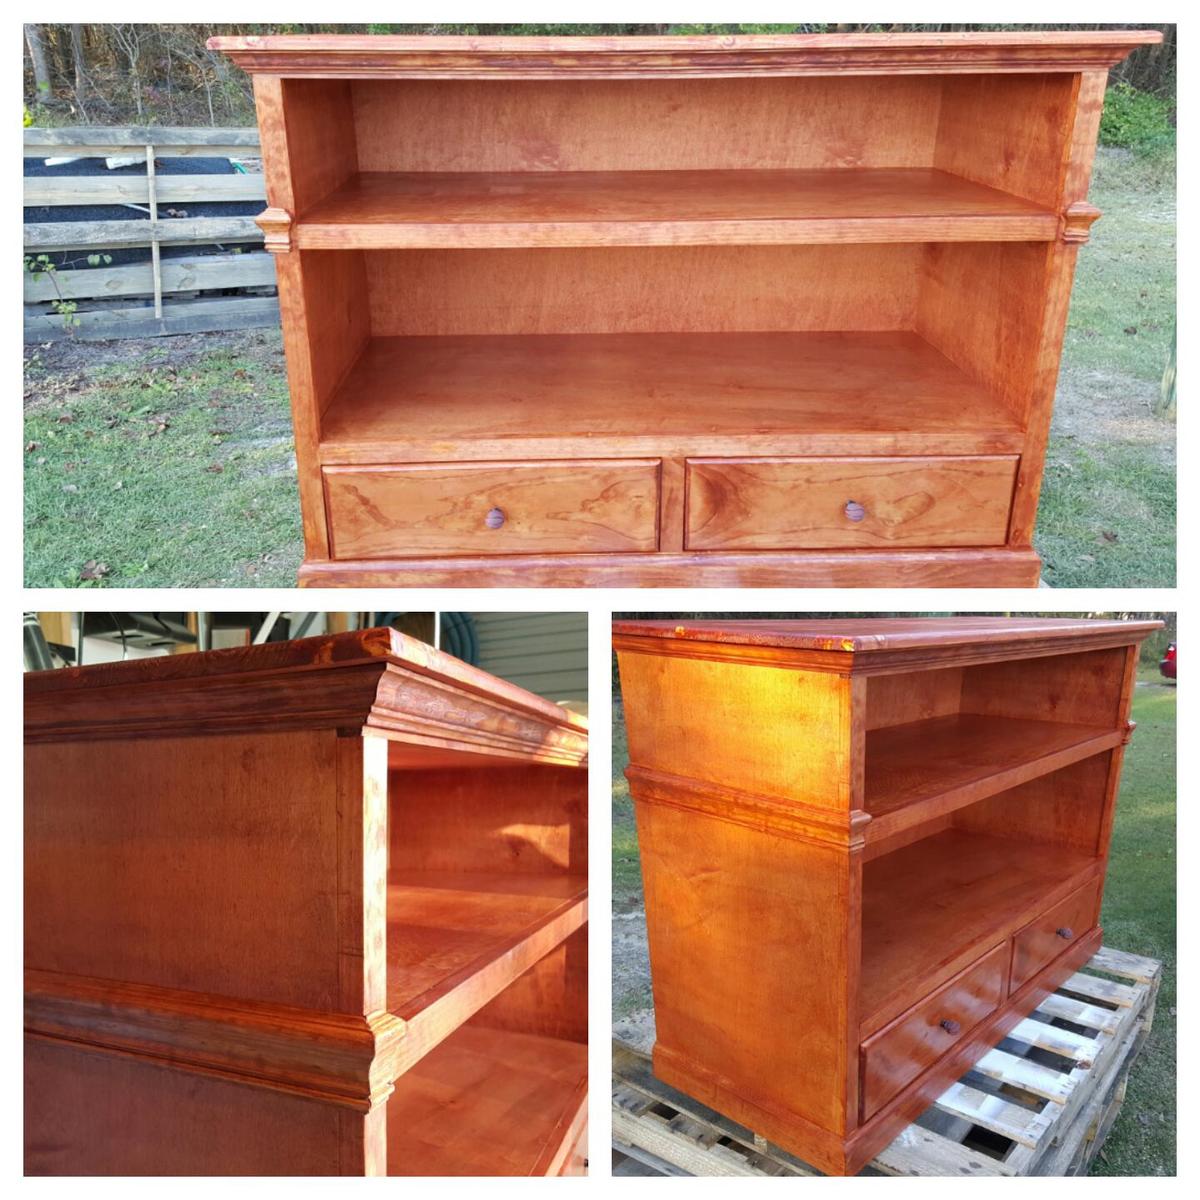
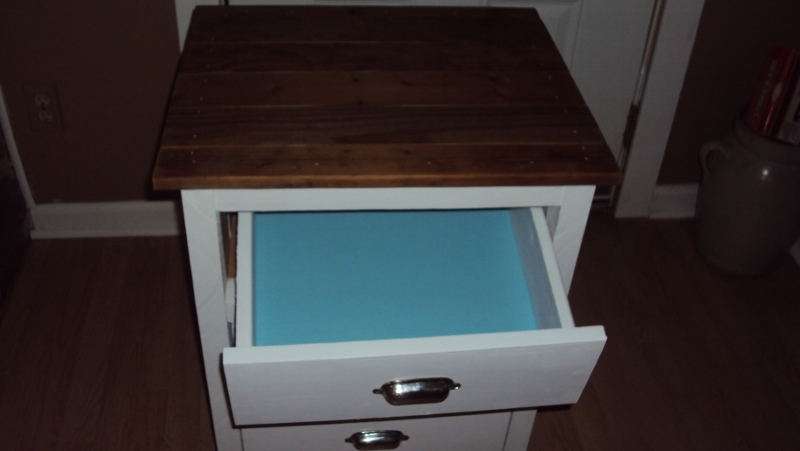
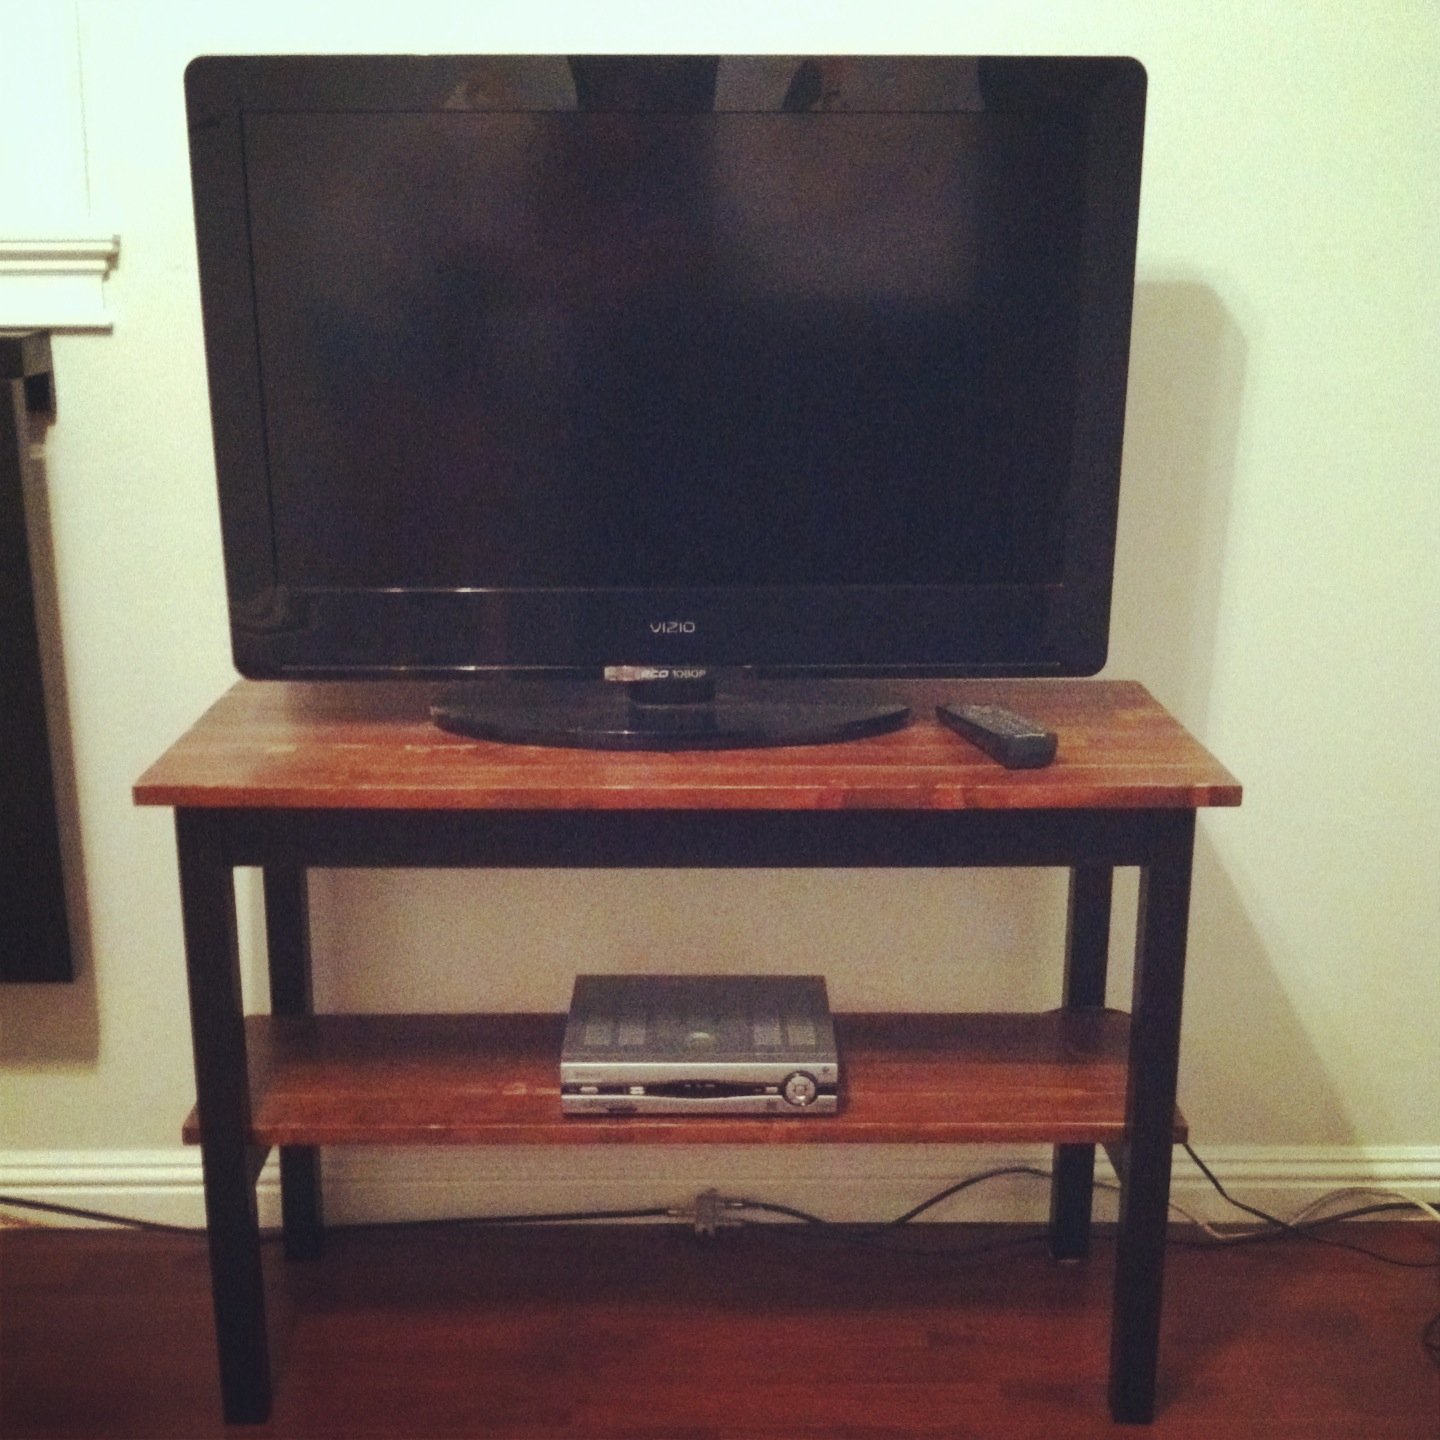
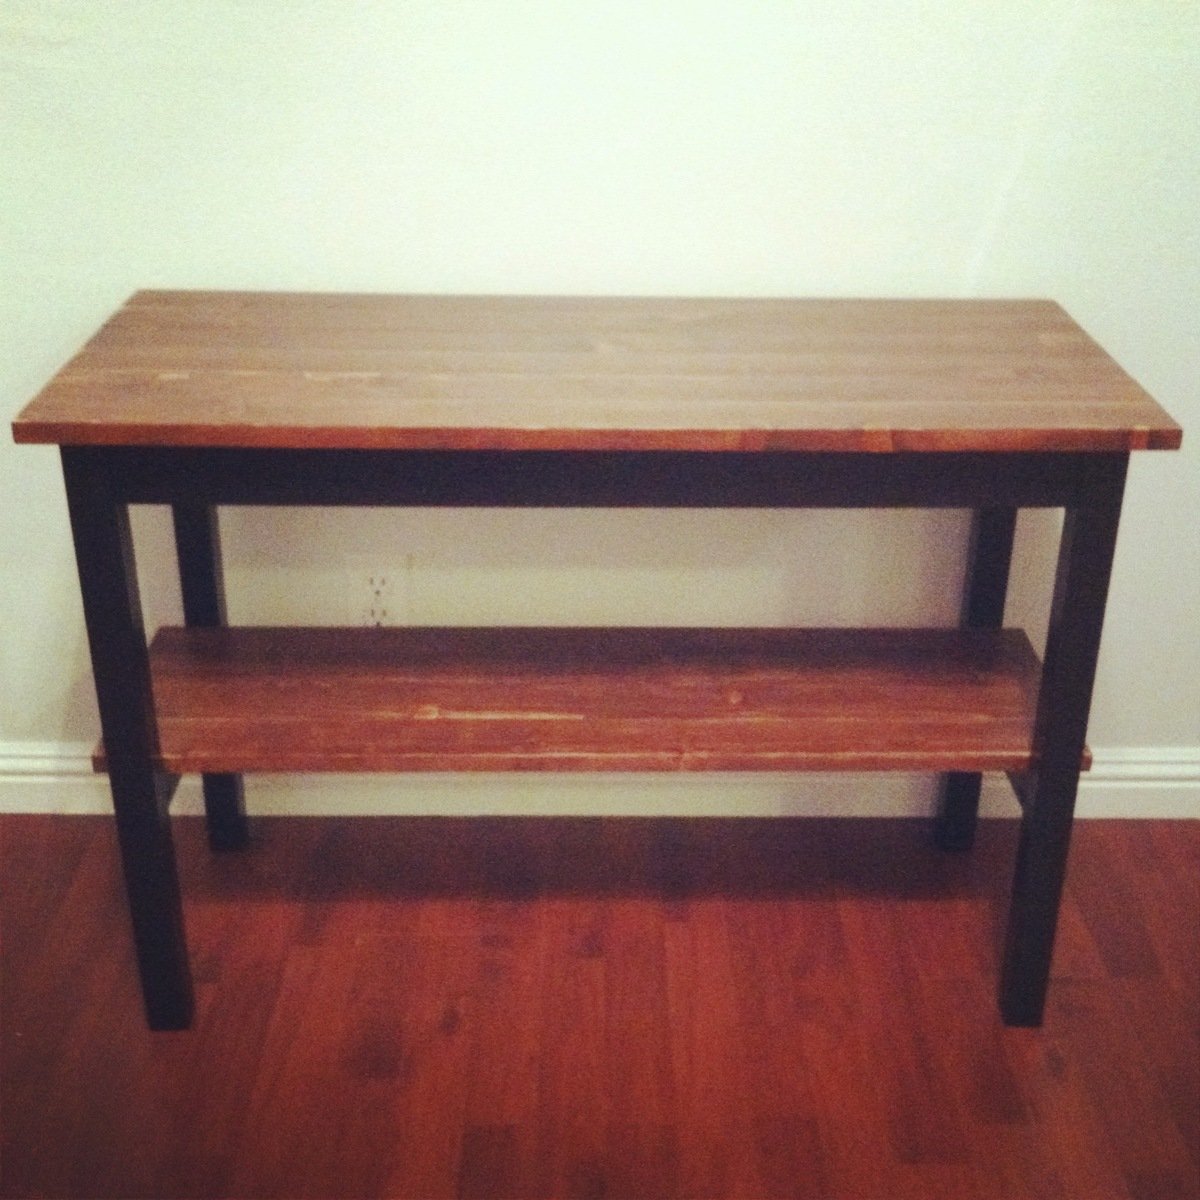
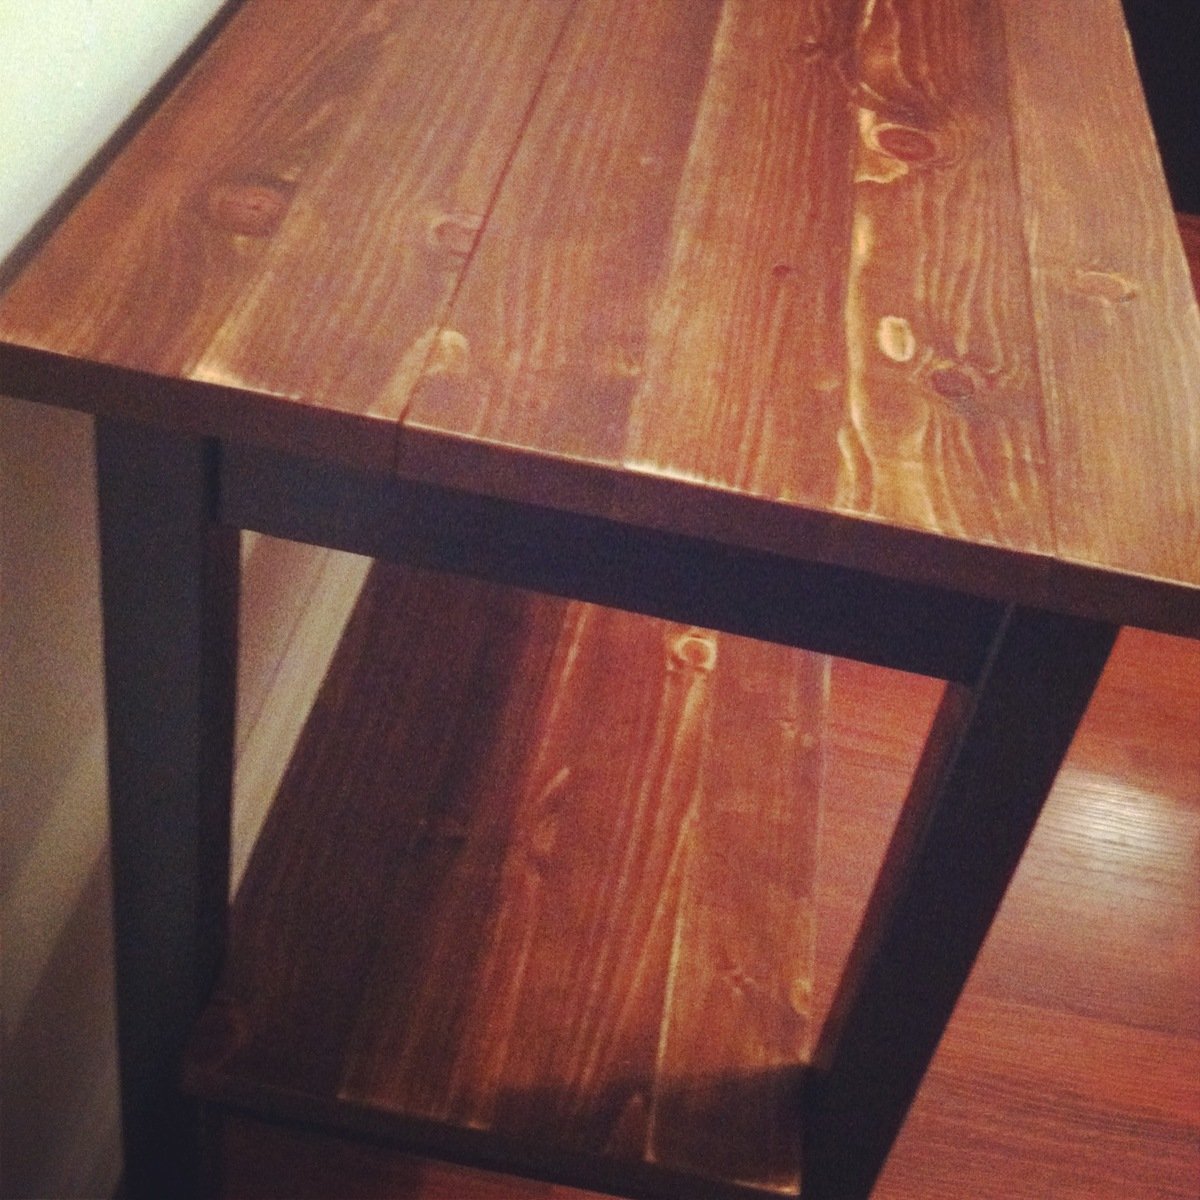
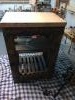
This TV console was made on request. Its made from maple plywood and Pine top, trimmed with Small crown, large chair rail and base board moulding. It has one media shelf a larger shelf for Pictures. The very bottom has two 18 inch drawers that are 5 1/4 inches deep for dvds or games.
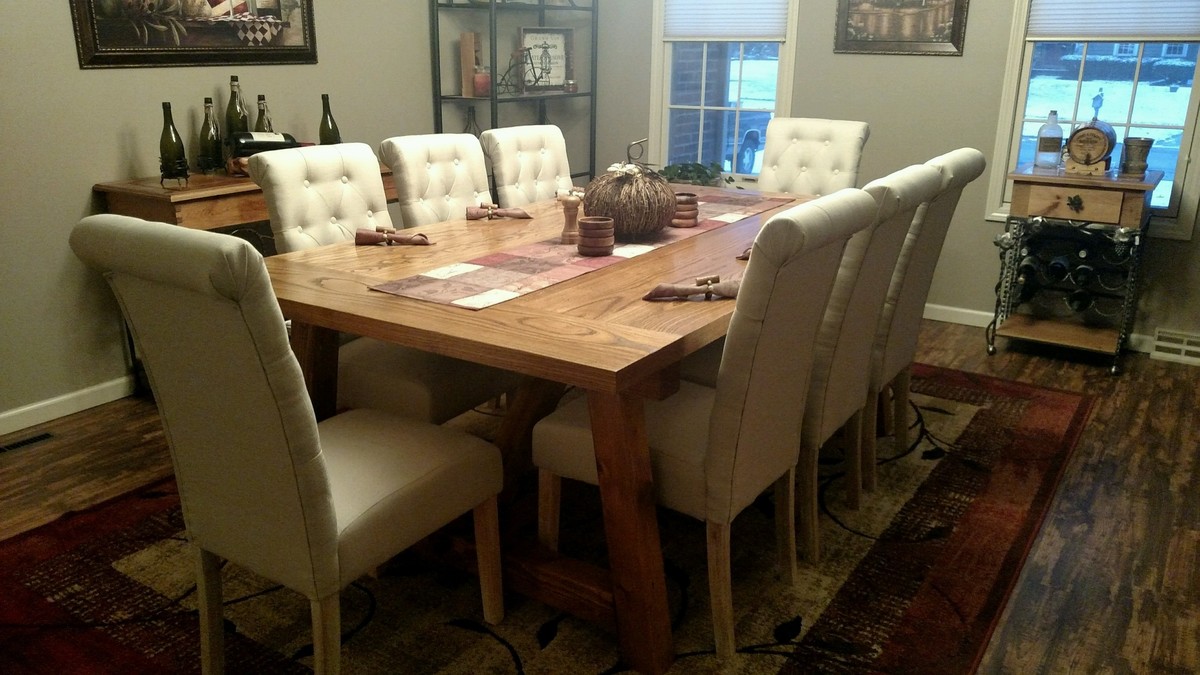
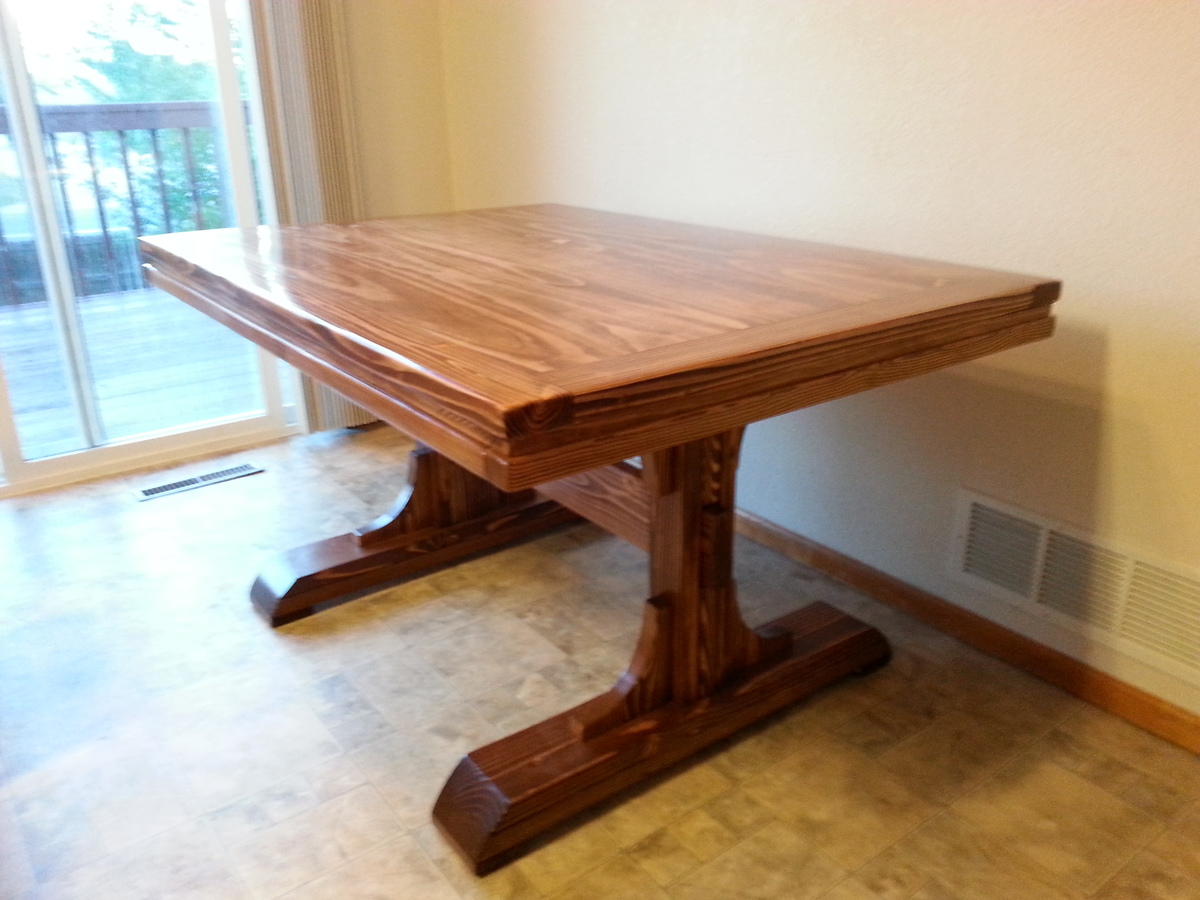
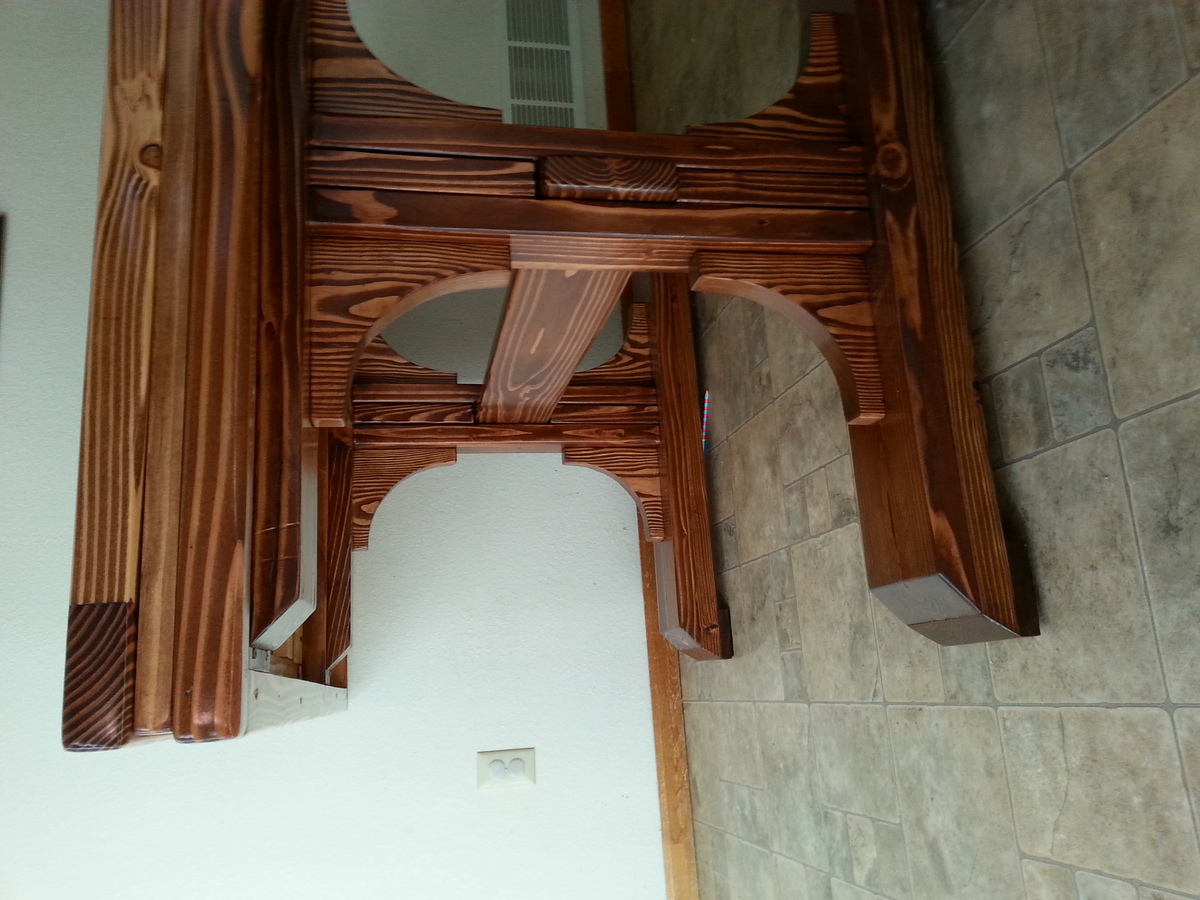
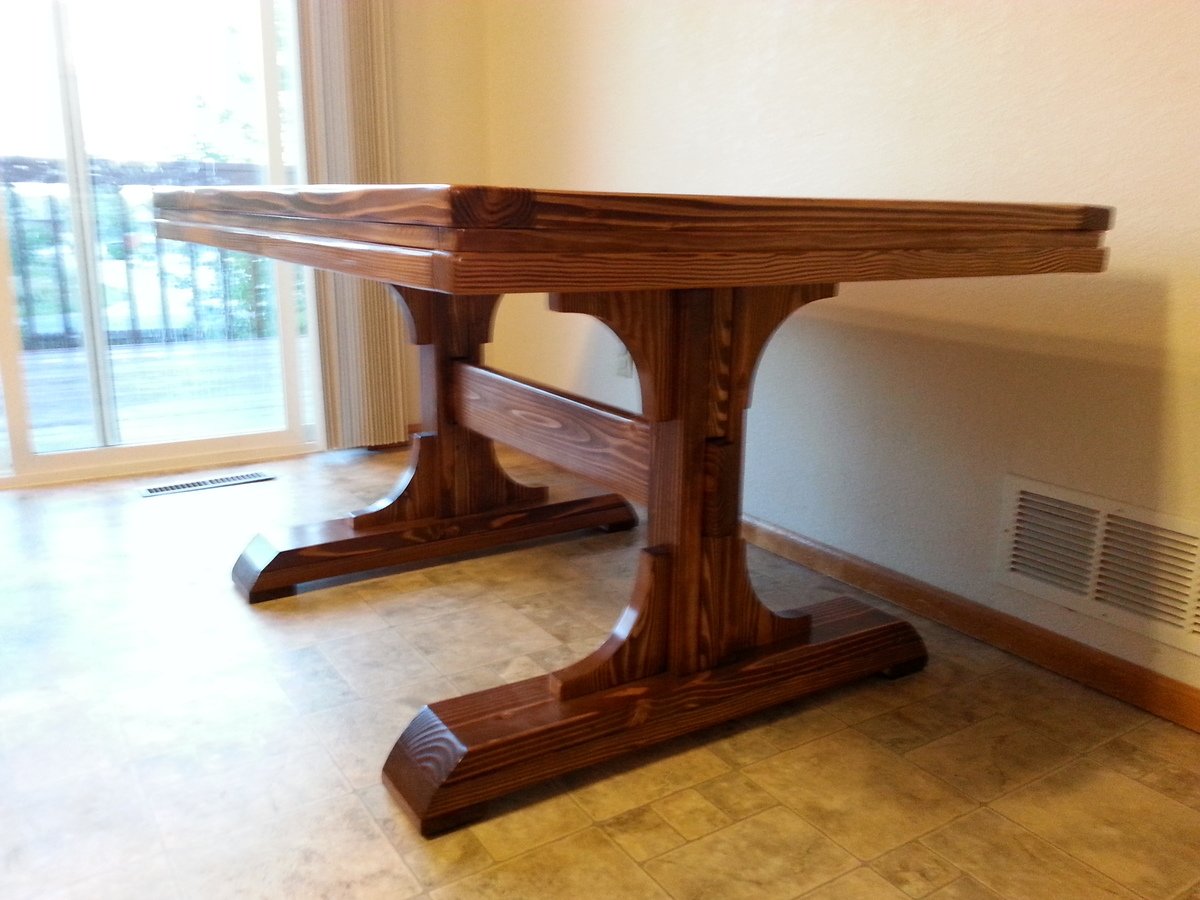
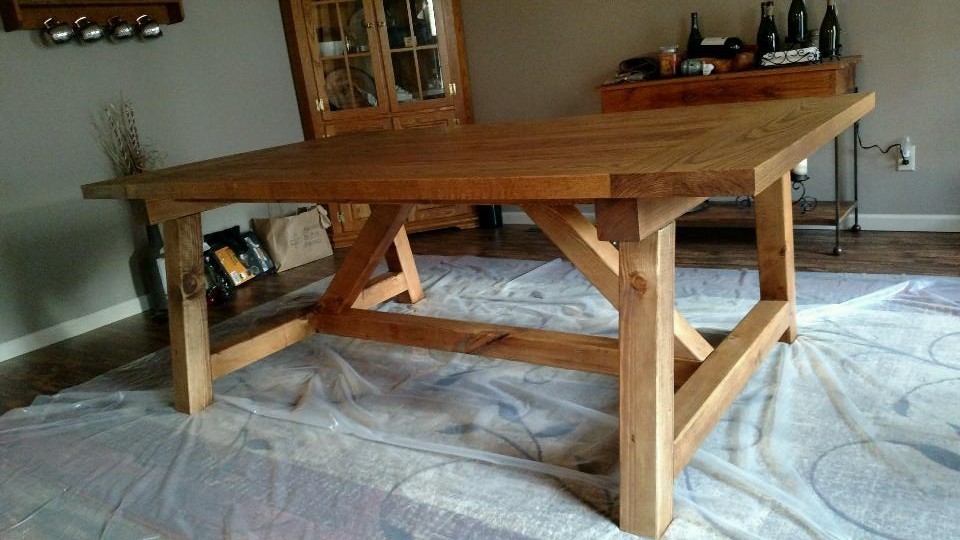
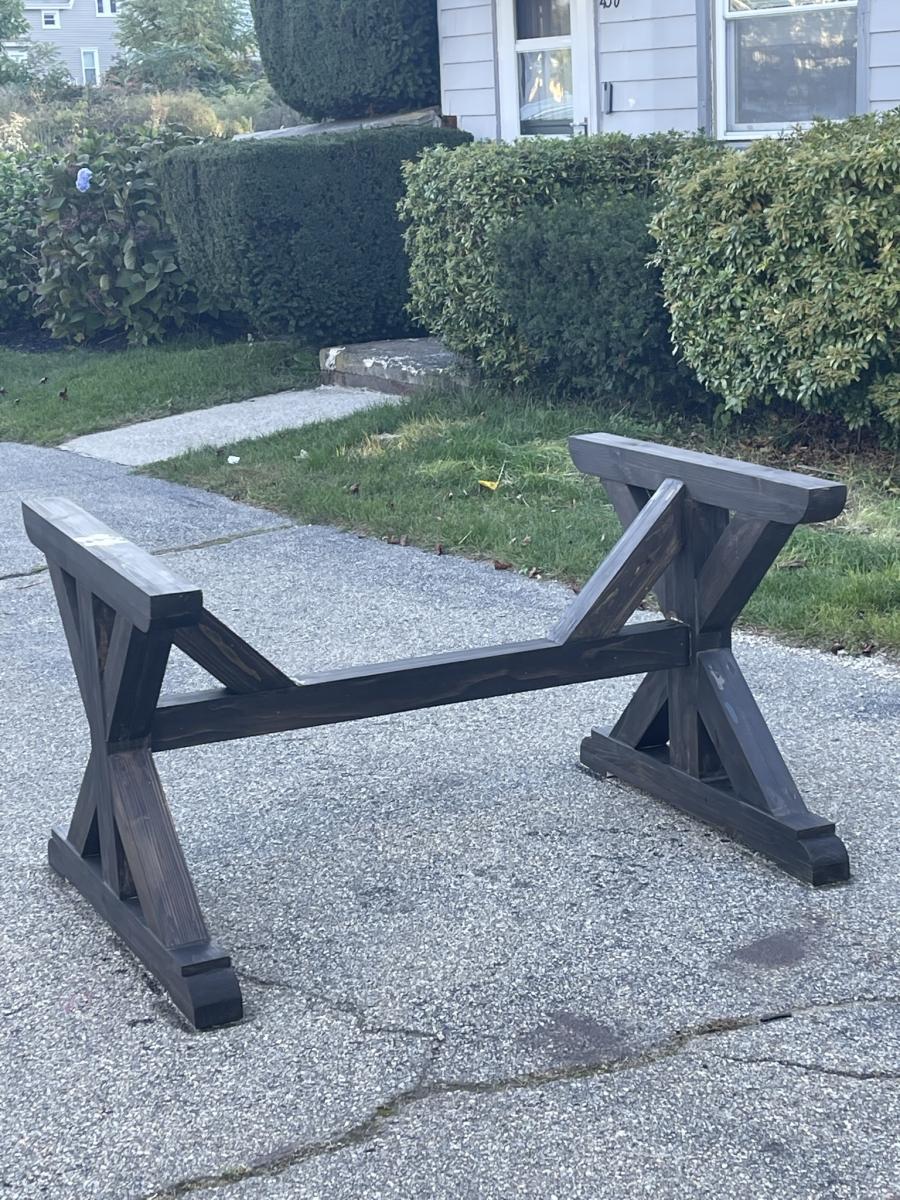
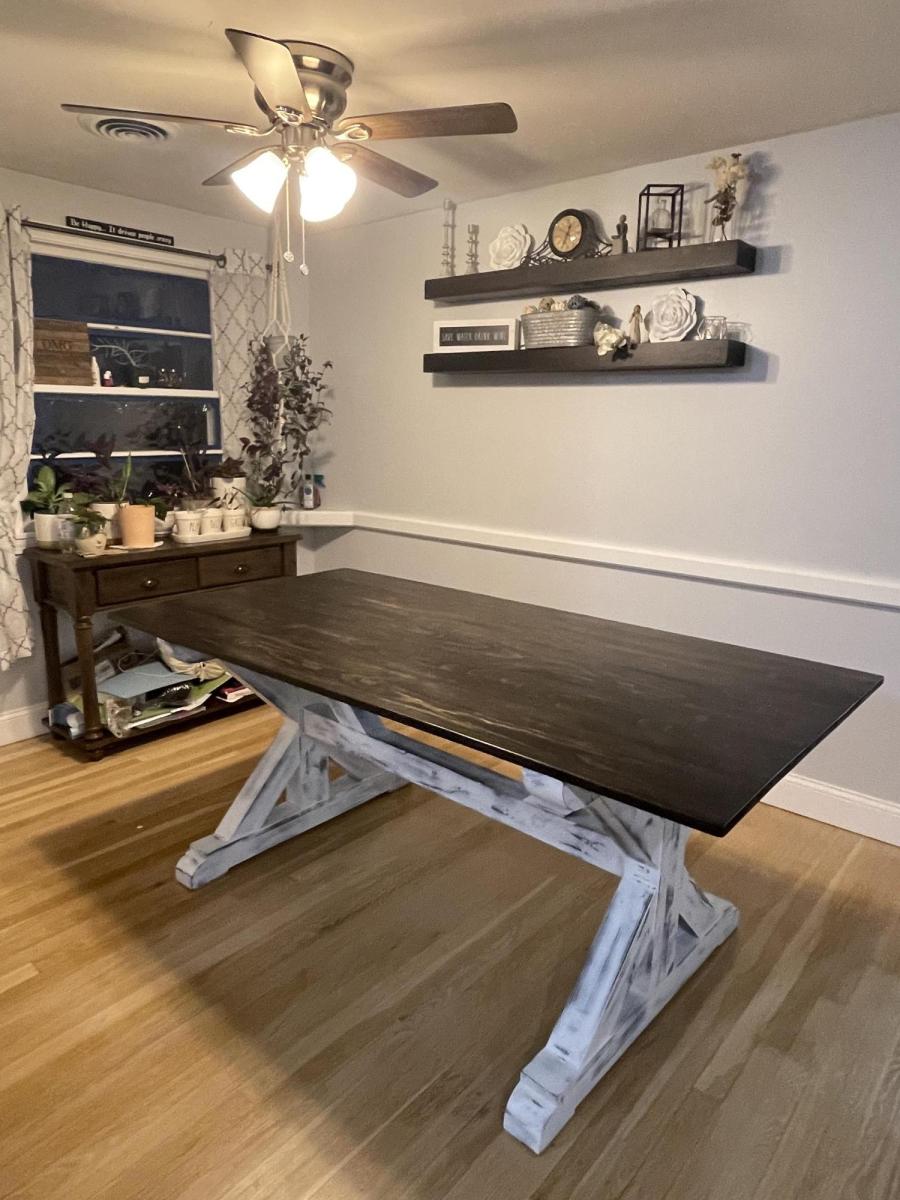
Fell in love with this table! Couldn't wait to build it. Found a great mill that had raw stock of a variety of woods. I chose White Ash because if the hardness and beautiful grain. They planed it to 1-3/4" thickness. Modifed the width to 50" and turned the truss supports underneath to add extra support for the table top due to the weight of the White Ash. Finished with provincial stain and 6 coats of hand rubbed poly. Used wood bleach on the 4x4's to take the red tint out before staining. Worked great!

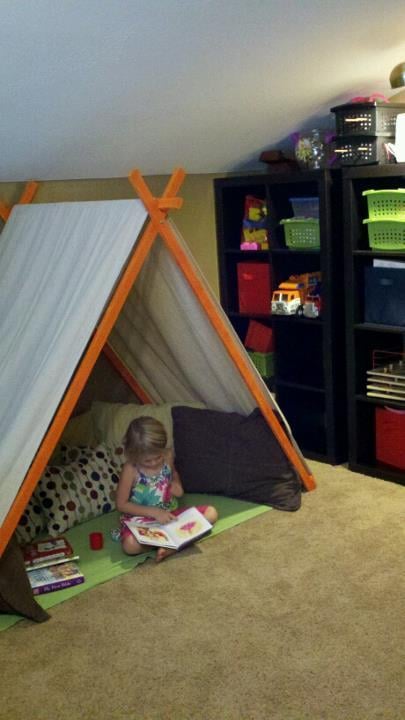
I loved this plan as soon as I saw it. The only modification I made was I used a 4x16 8oz drop cloth up on over the center instead of curtains or fabric and painted the wood with orange gloss spray paint. The kids love it. I think we may make come doors and ties to make it cozier but they love it!
Wed, 09/28/2011 - 13:44
I love your tent! I am thinking of making one but want to get an idea of the area it will take up. Can you tell me how much space (l, w, h) it takes when assembled? Thanks!
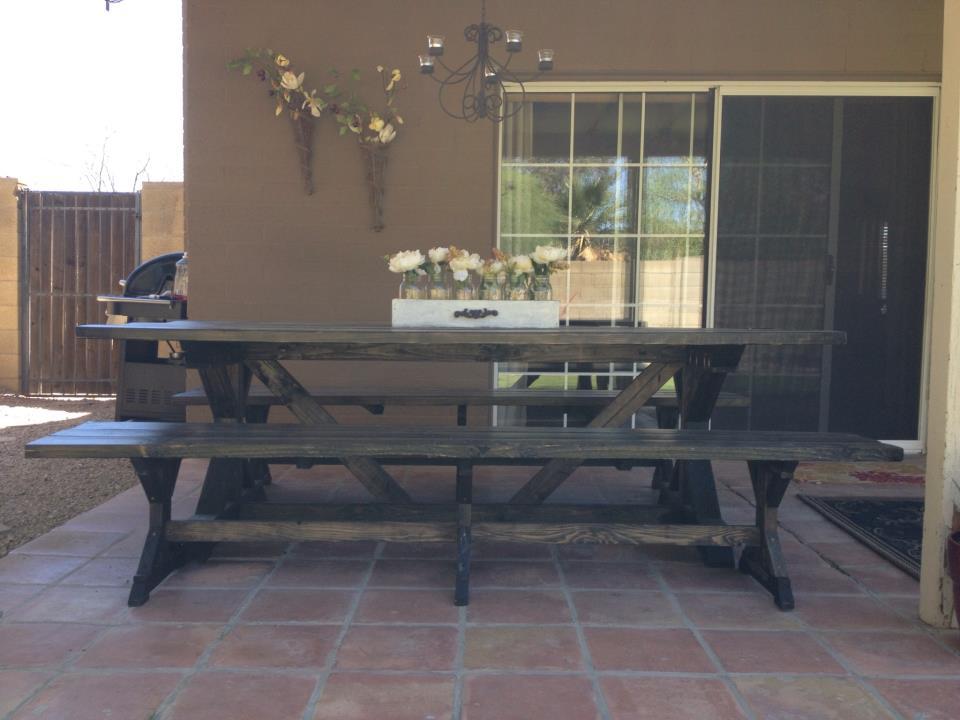
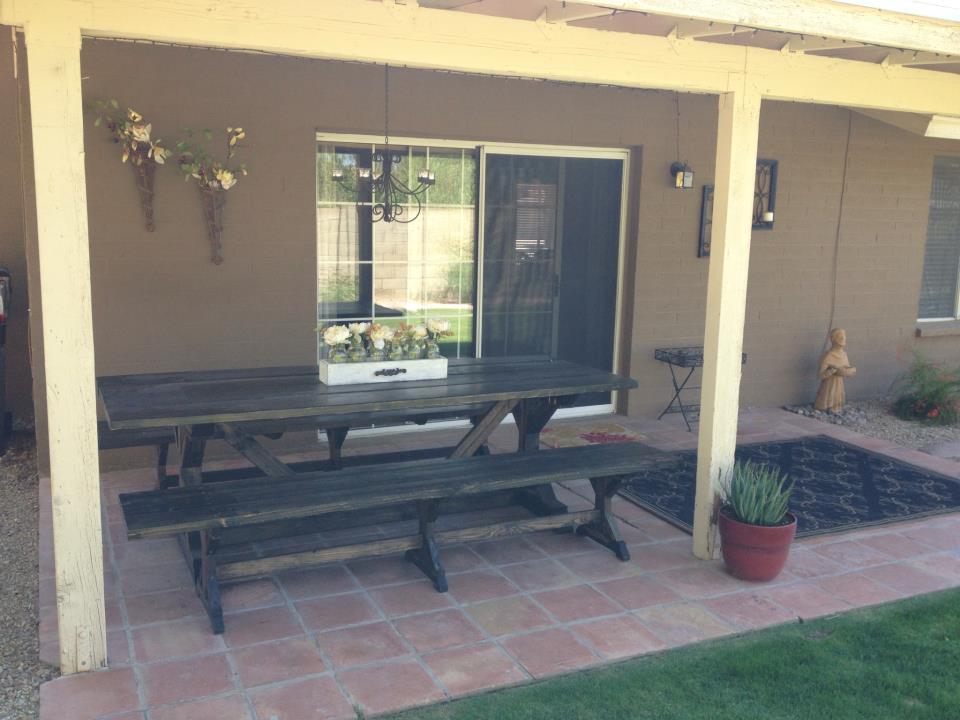
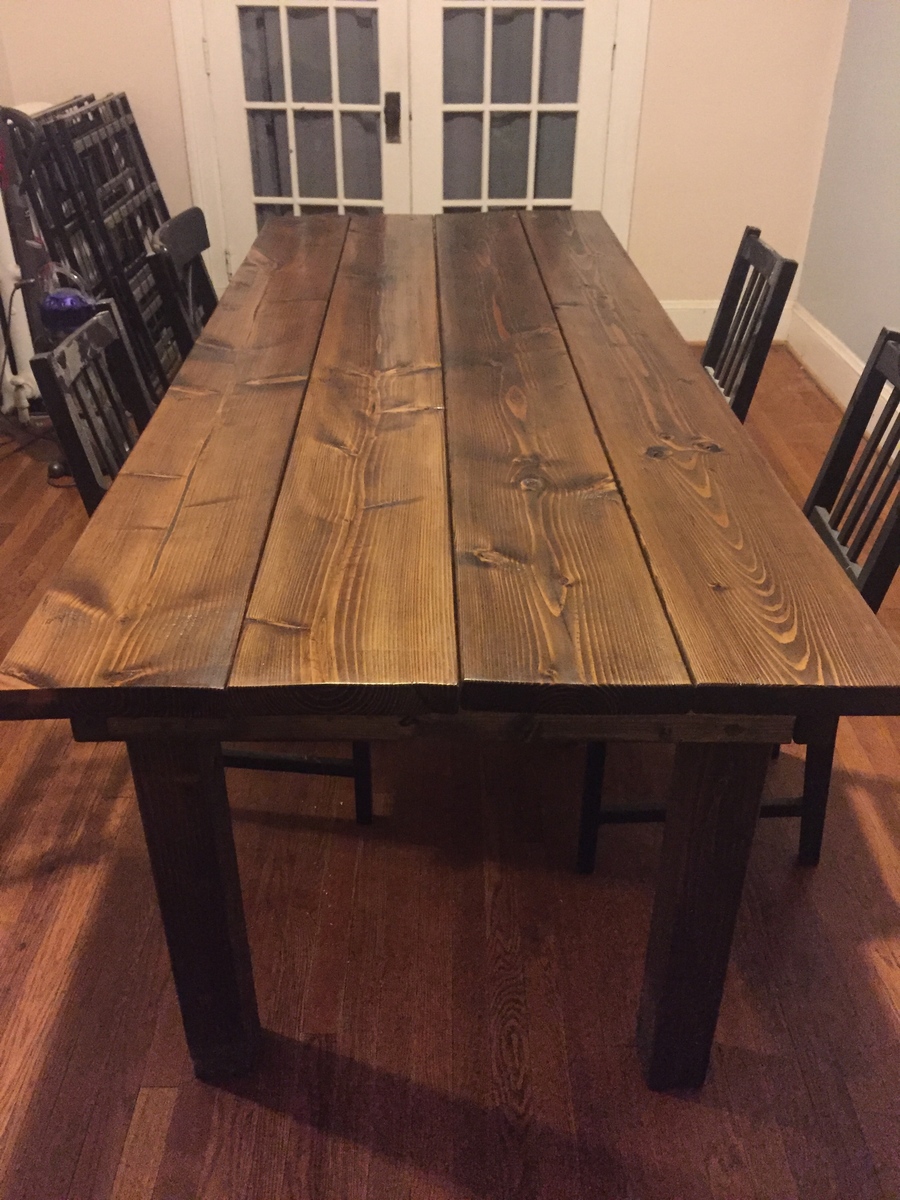
My husband built the table and benches and I applied the finish. It pretty much took us most of two weekends, but was well worth it. We learned that we should have used kiln dried wood for the table top, since ours warped pretty significantly. We will most likely replace the planks on top of the table in the near future. Also, the plans for the length of the bench don't allow for the benches to be pushed in under the table. The supports get in the way (make sure your measure!). I used Minwax Ebony stain and wiped it off quickly after applying it, so that the wood would show through. I also used a satin finish to keep true to the vintage look, yet give the table some protection from the elements.
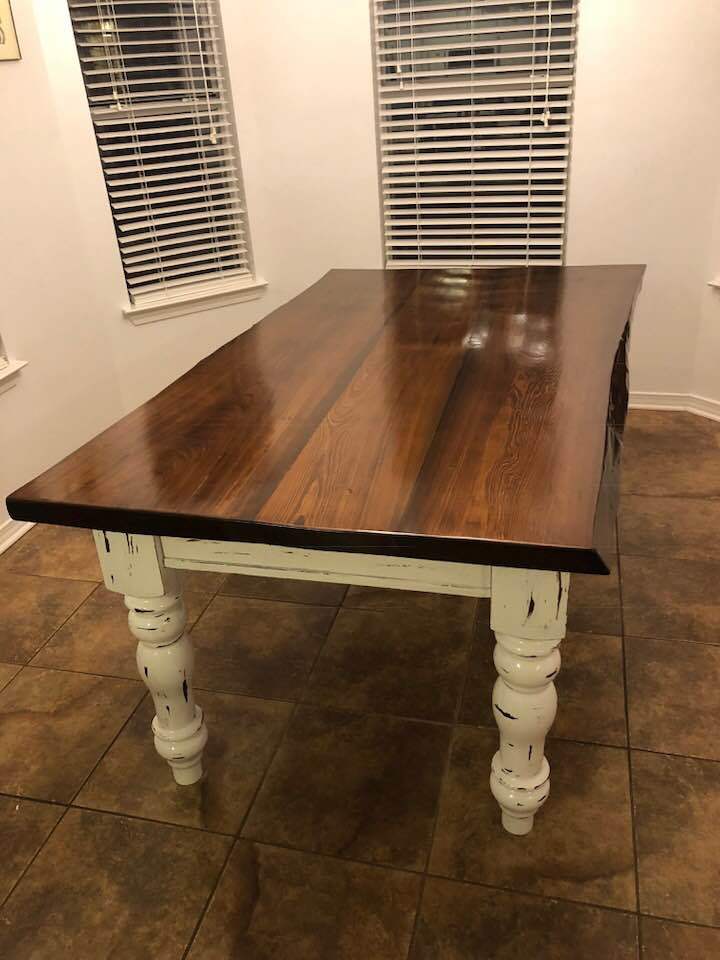
I used the basic plan as described on the website. I did differ on the tabletop and the legs. I used 3 slabs of 300+ year old cypress grown and milled locally here in Mississippi. I also kept the live edge on the outside boards. I bought my legs from 59Design. They were identical in everyway but about $15 cheaper per leg. :)
I used my router and router Ed the edges. Love this!!
I've taken quite a bit of time building this project. My goal was to use all material we had here so, I had to cut down 2x4's and 1x6 tongue and groove. I am proud of how this turned out, now to build it's match.
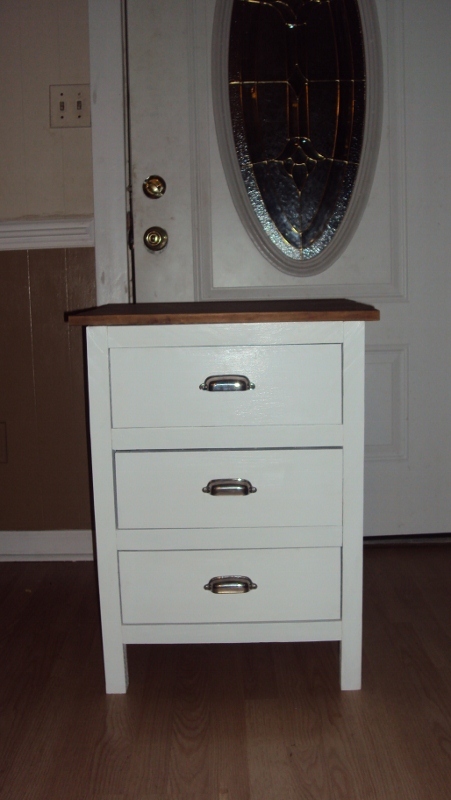
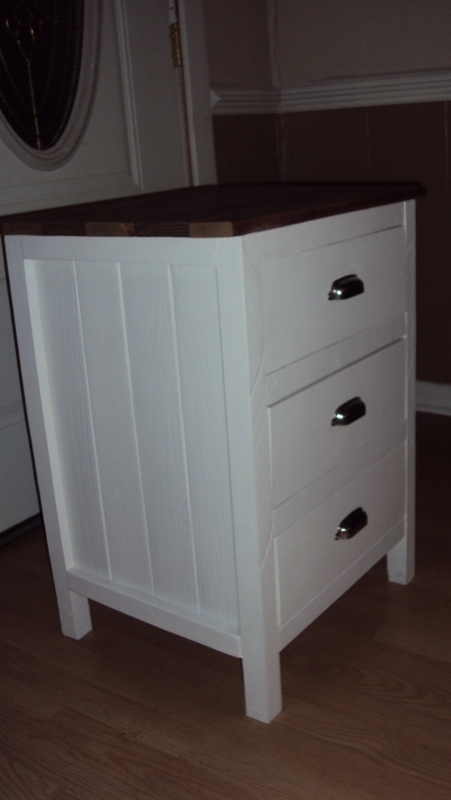
I started with Michaela's Kitchen Island plan, but reduced the dimensions and material sizes. I used 2x2s for the legs and 1x3s for the rest of the project. Everything was kreg jigged together. This project would've taken less time but the drying time for the stains ate up work time! :)
My version of the rustic rolling kitchen island. Really can't do the x's yet. It's all leftover wood and counter top. I use my other one similar to this as a coffee station.

Made by my husband.
Mon, 09/26/2011 - 01:21
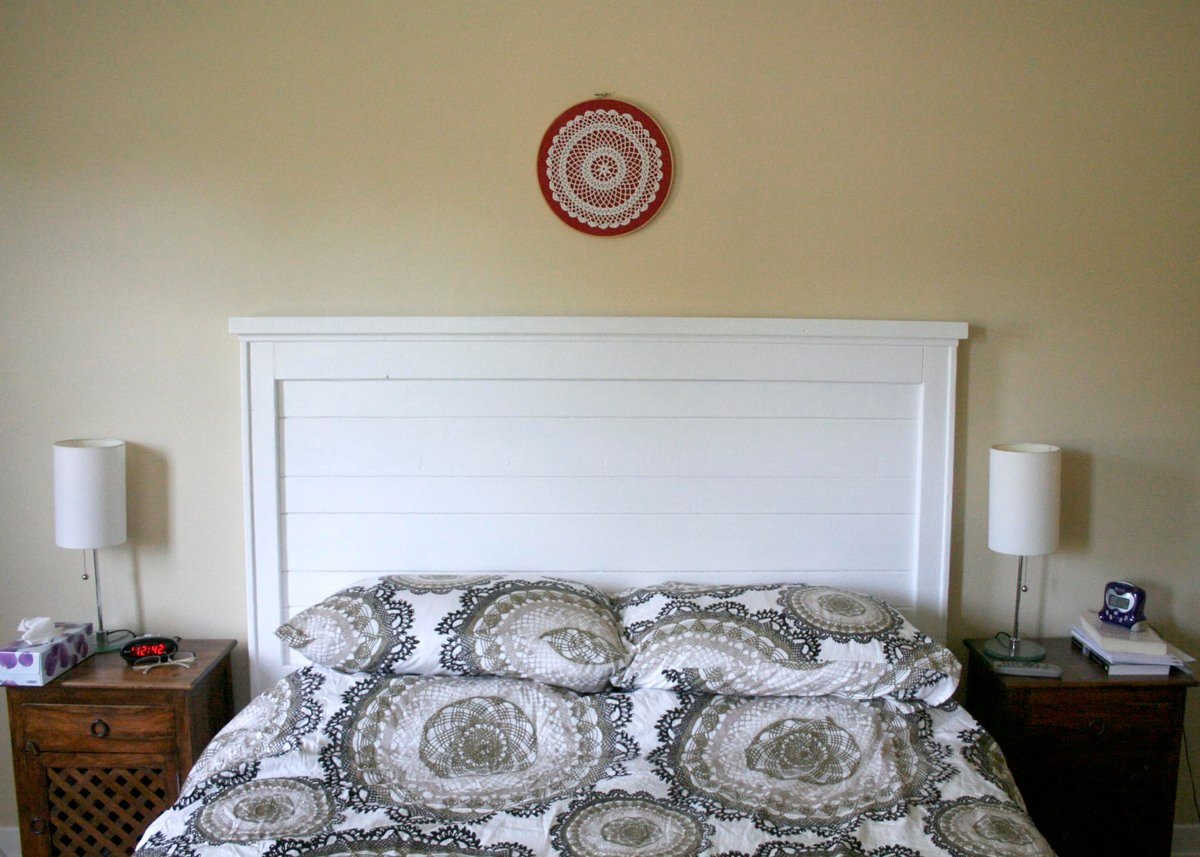
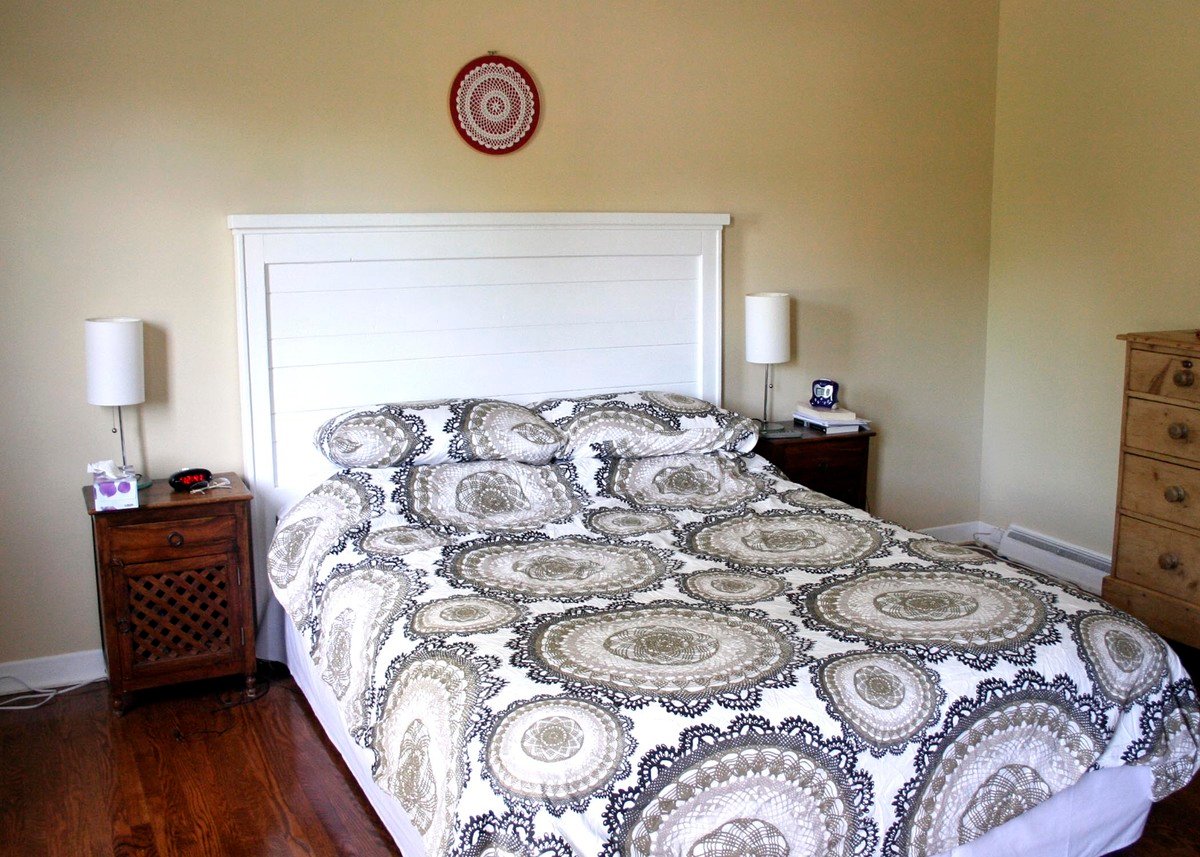
Love this! I also want to build this headboard and finish it in a bright white. One question- how did you secure it? Is it in any way attached to the wall or the bed frame or is it just leaning there? Thanks, and great job!
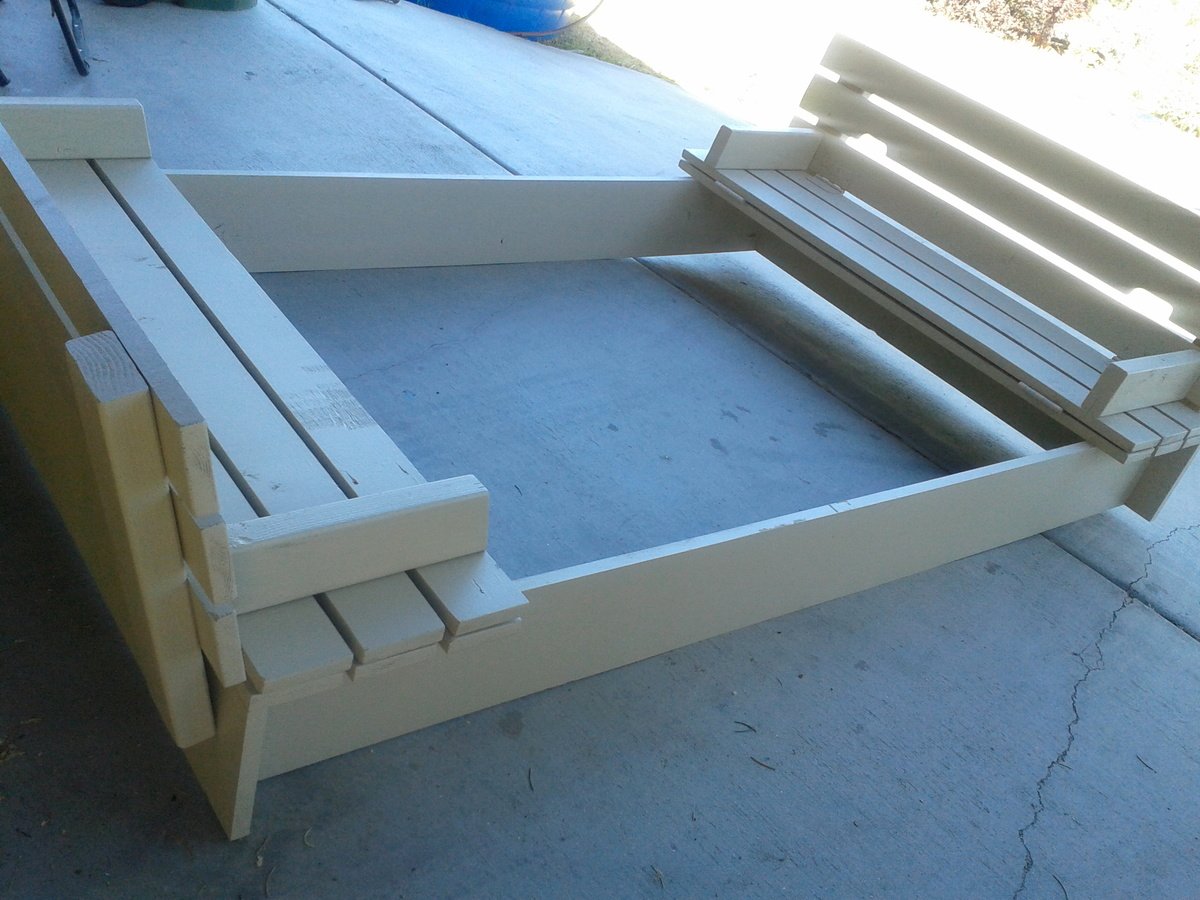
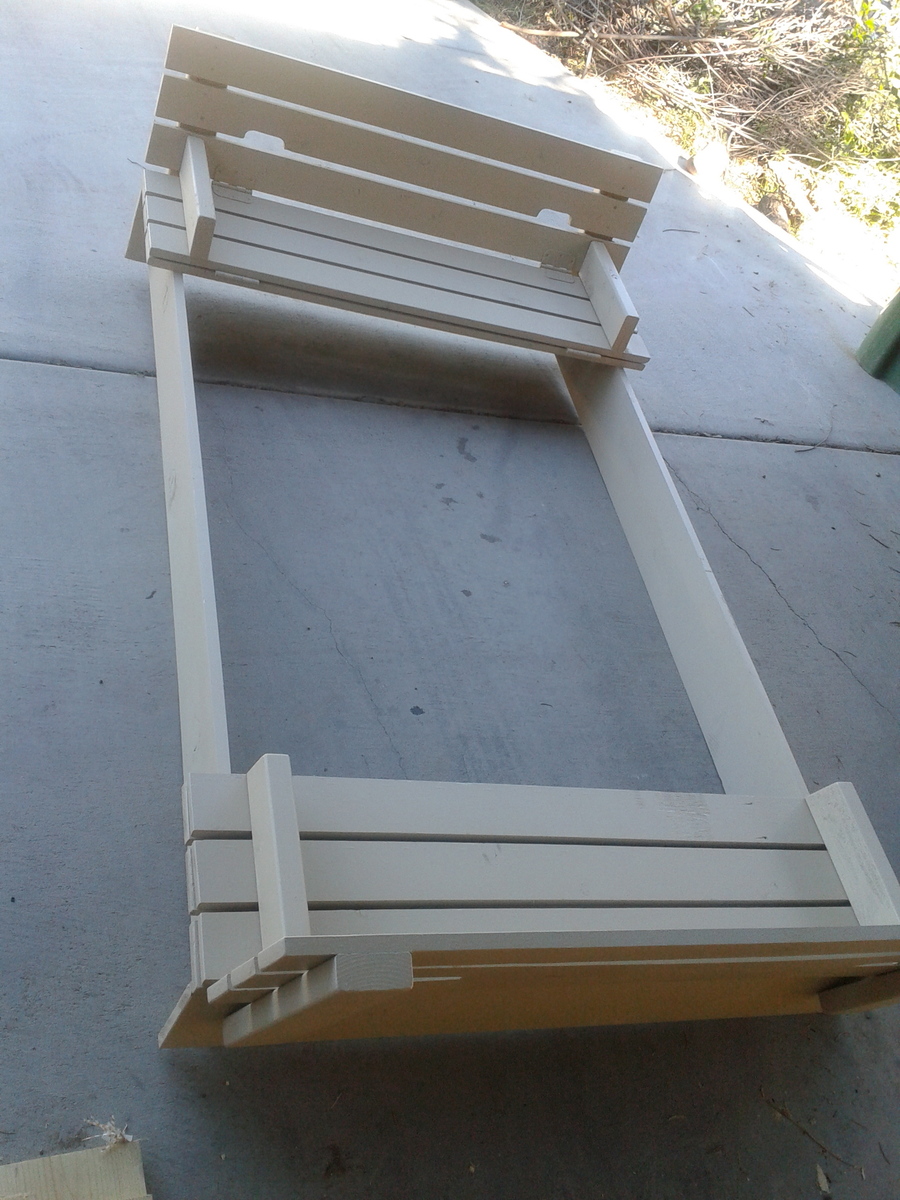
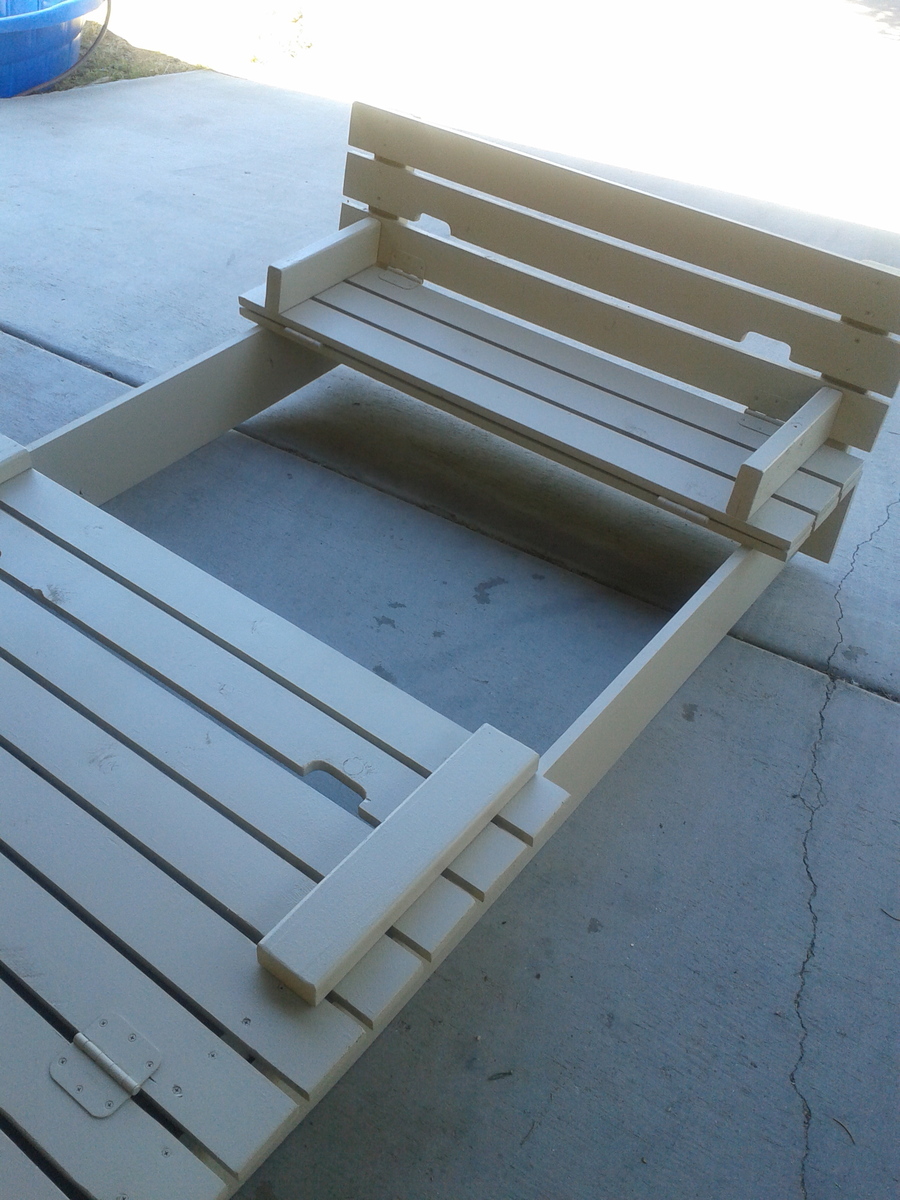
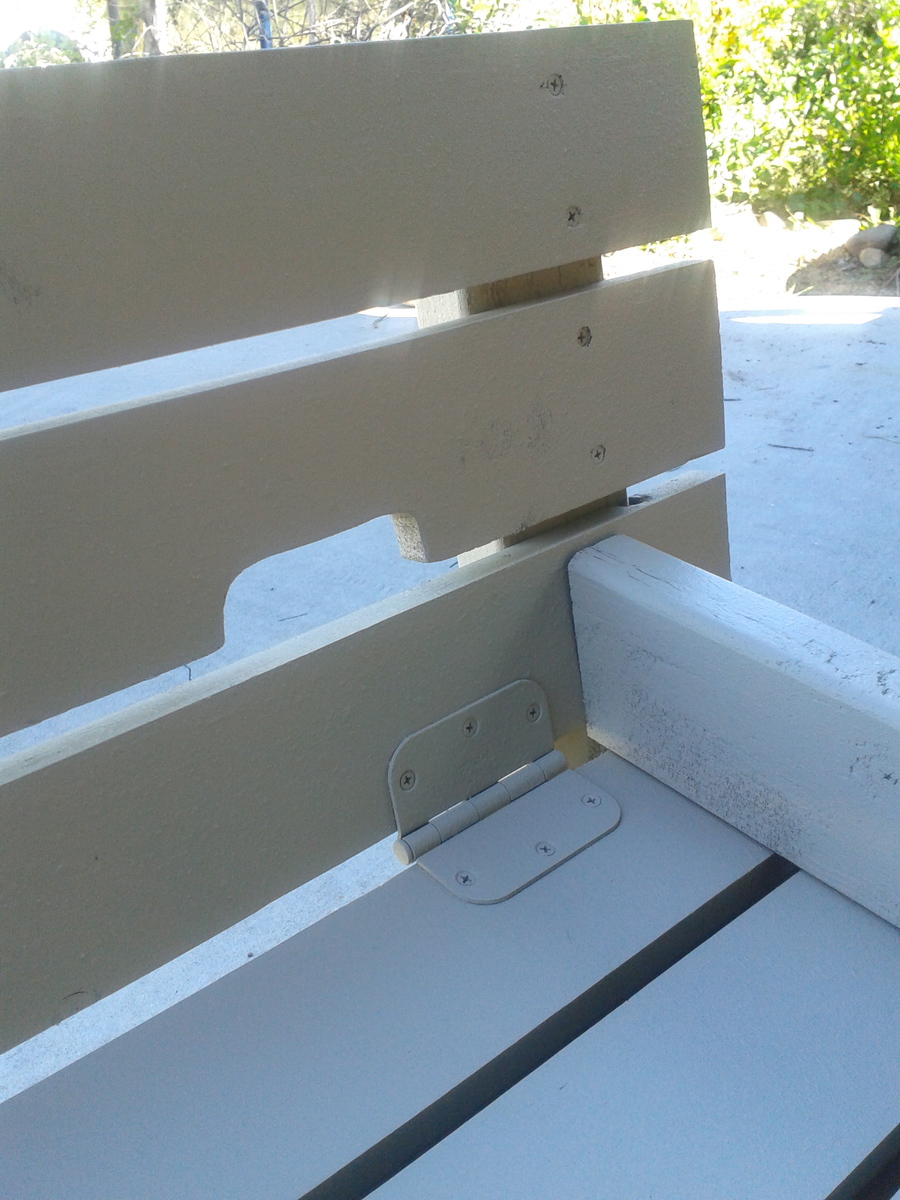
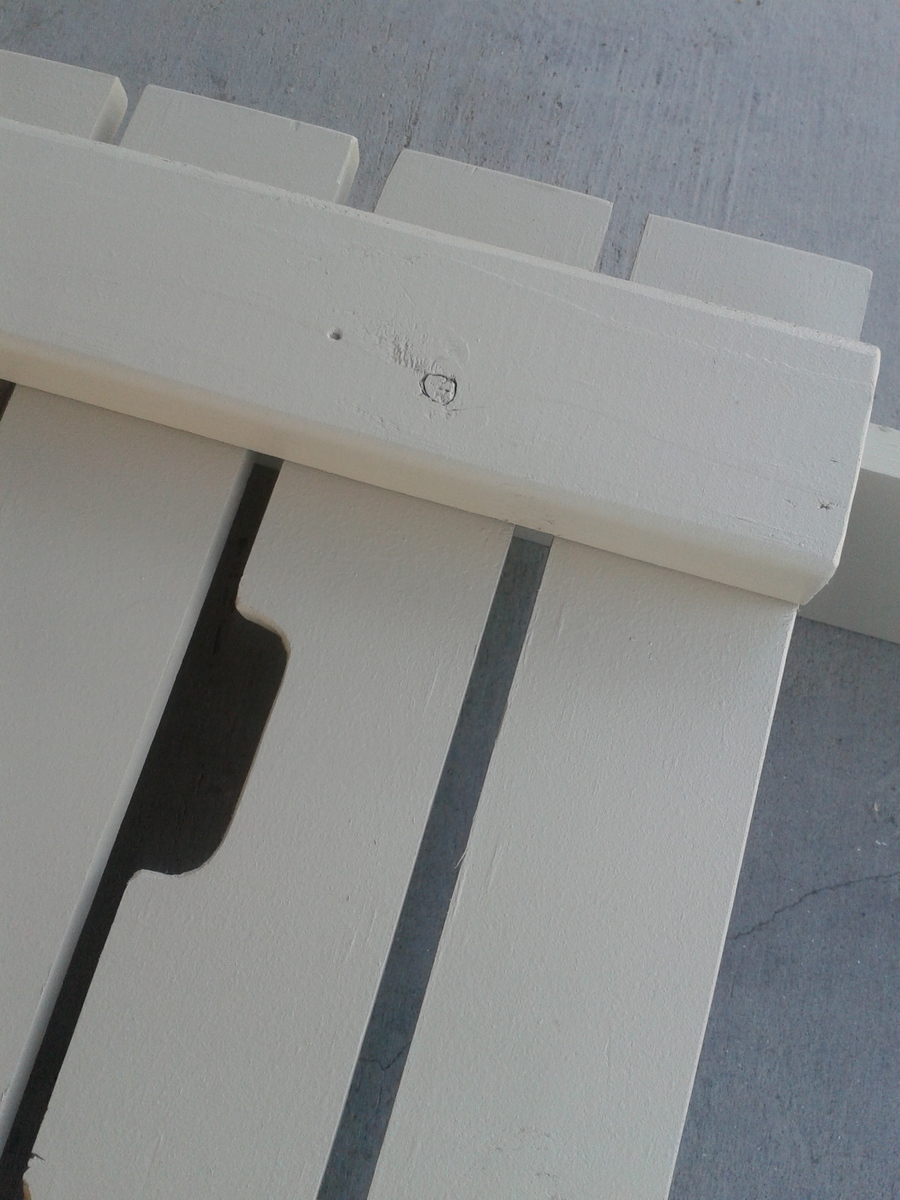
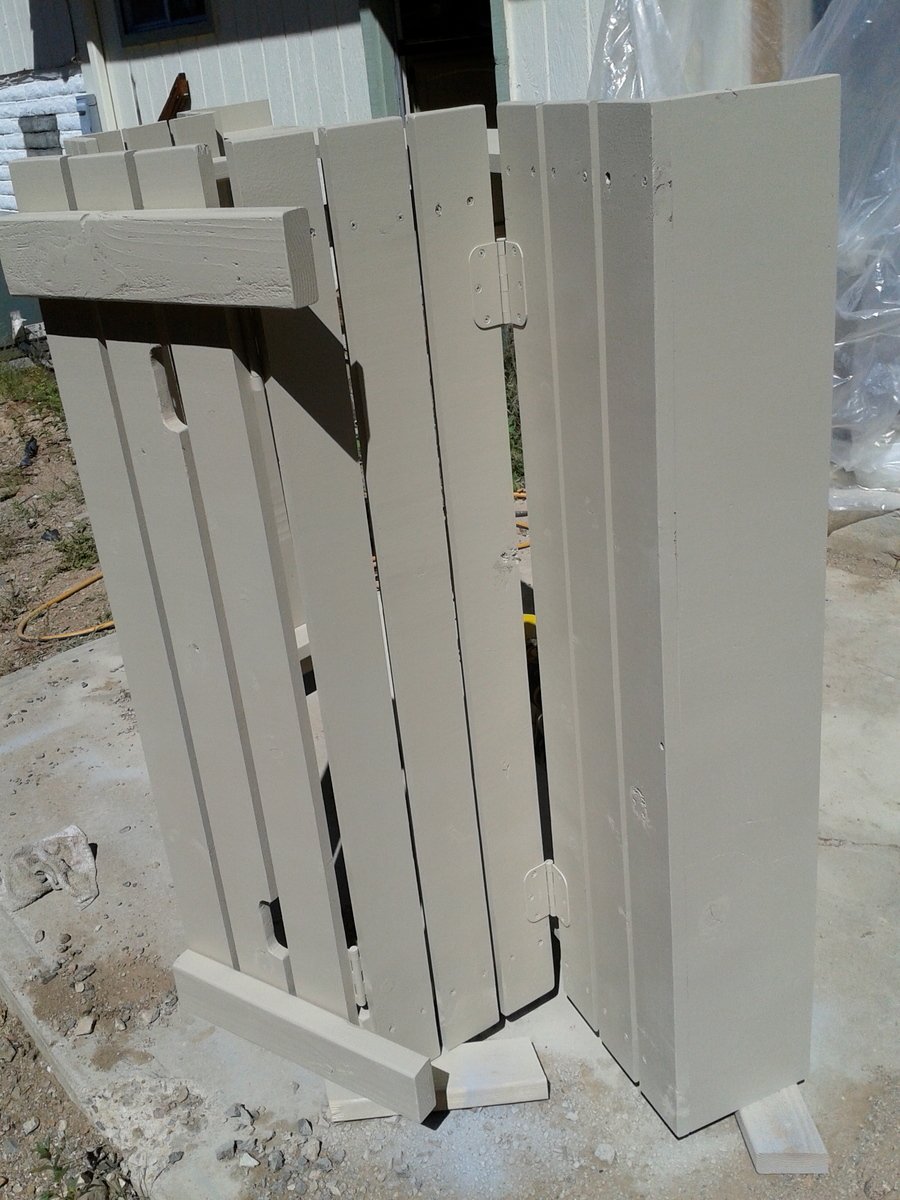
On this project we modified a few things like the arm rests which we cut at an angle to keep kids from pinching fingers in there if someone decided to move the bench back on them. We also modified the size which we made 6'x4' to maximize play sand space and kid space. Therefore this made our benches bigger so that big kids (my husband) could sit on the benches and play in the sandbox. Yes there was talk about putting cup holders but I won the conversation by mentioning sand in his drink and we would have to do a sippy cup. We notched out the handles instead of installing handles which made it look sleek. We used the template from the hinge so it matched the shape....clever huh? We decided to primer and paint this one sandstone in the brick and mortar sample book by Behr and had them put it in an exterior paint color for us. We used a wagner paint sprayer which made the project fast at the end. Overall still an easy project for anyone. I do suggest pre drilling all holes first before screwing in screws so the wood doesn't split when doing the slats on the top.
Wed, 04/08/2015 - 12:41
I was wanting to make a big one like a 6ft by 6 ft and was wondering how long you made everything.
My Second DIY project! It turned out PERFECT :)

Mon, 12/14/2015 - 11:34
Well done, It looks terrific! I like the stain color very much.
This project was simple and my husband didn’t have any issues following the plan. We did have to use an extra 2x4, because we didn’t cut the long pieces first. Cut the long pieces first, use the end pieces to make the smaller ones. :)
A farmhouse table I built based on one of your inspiration projects! All by hand and chiseled myself 😍

Thu, 12/29/2022 - 11:13
Thank you for sharing, such a beautiful handmade piece!
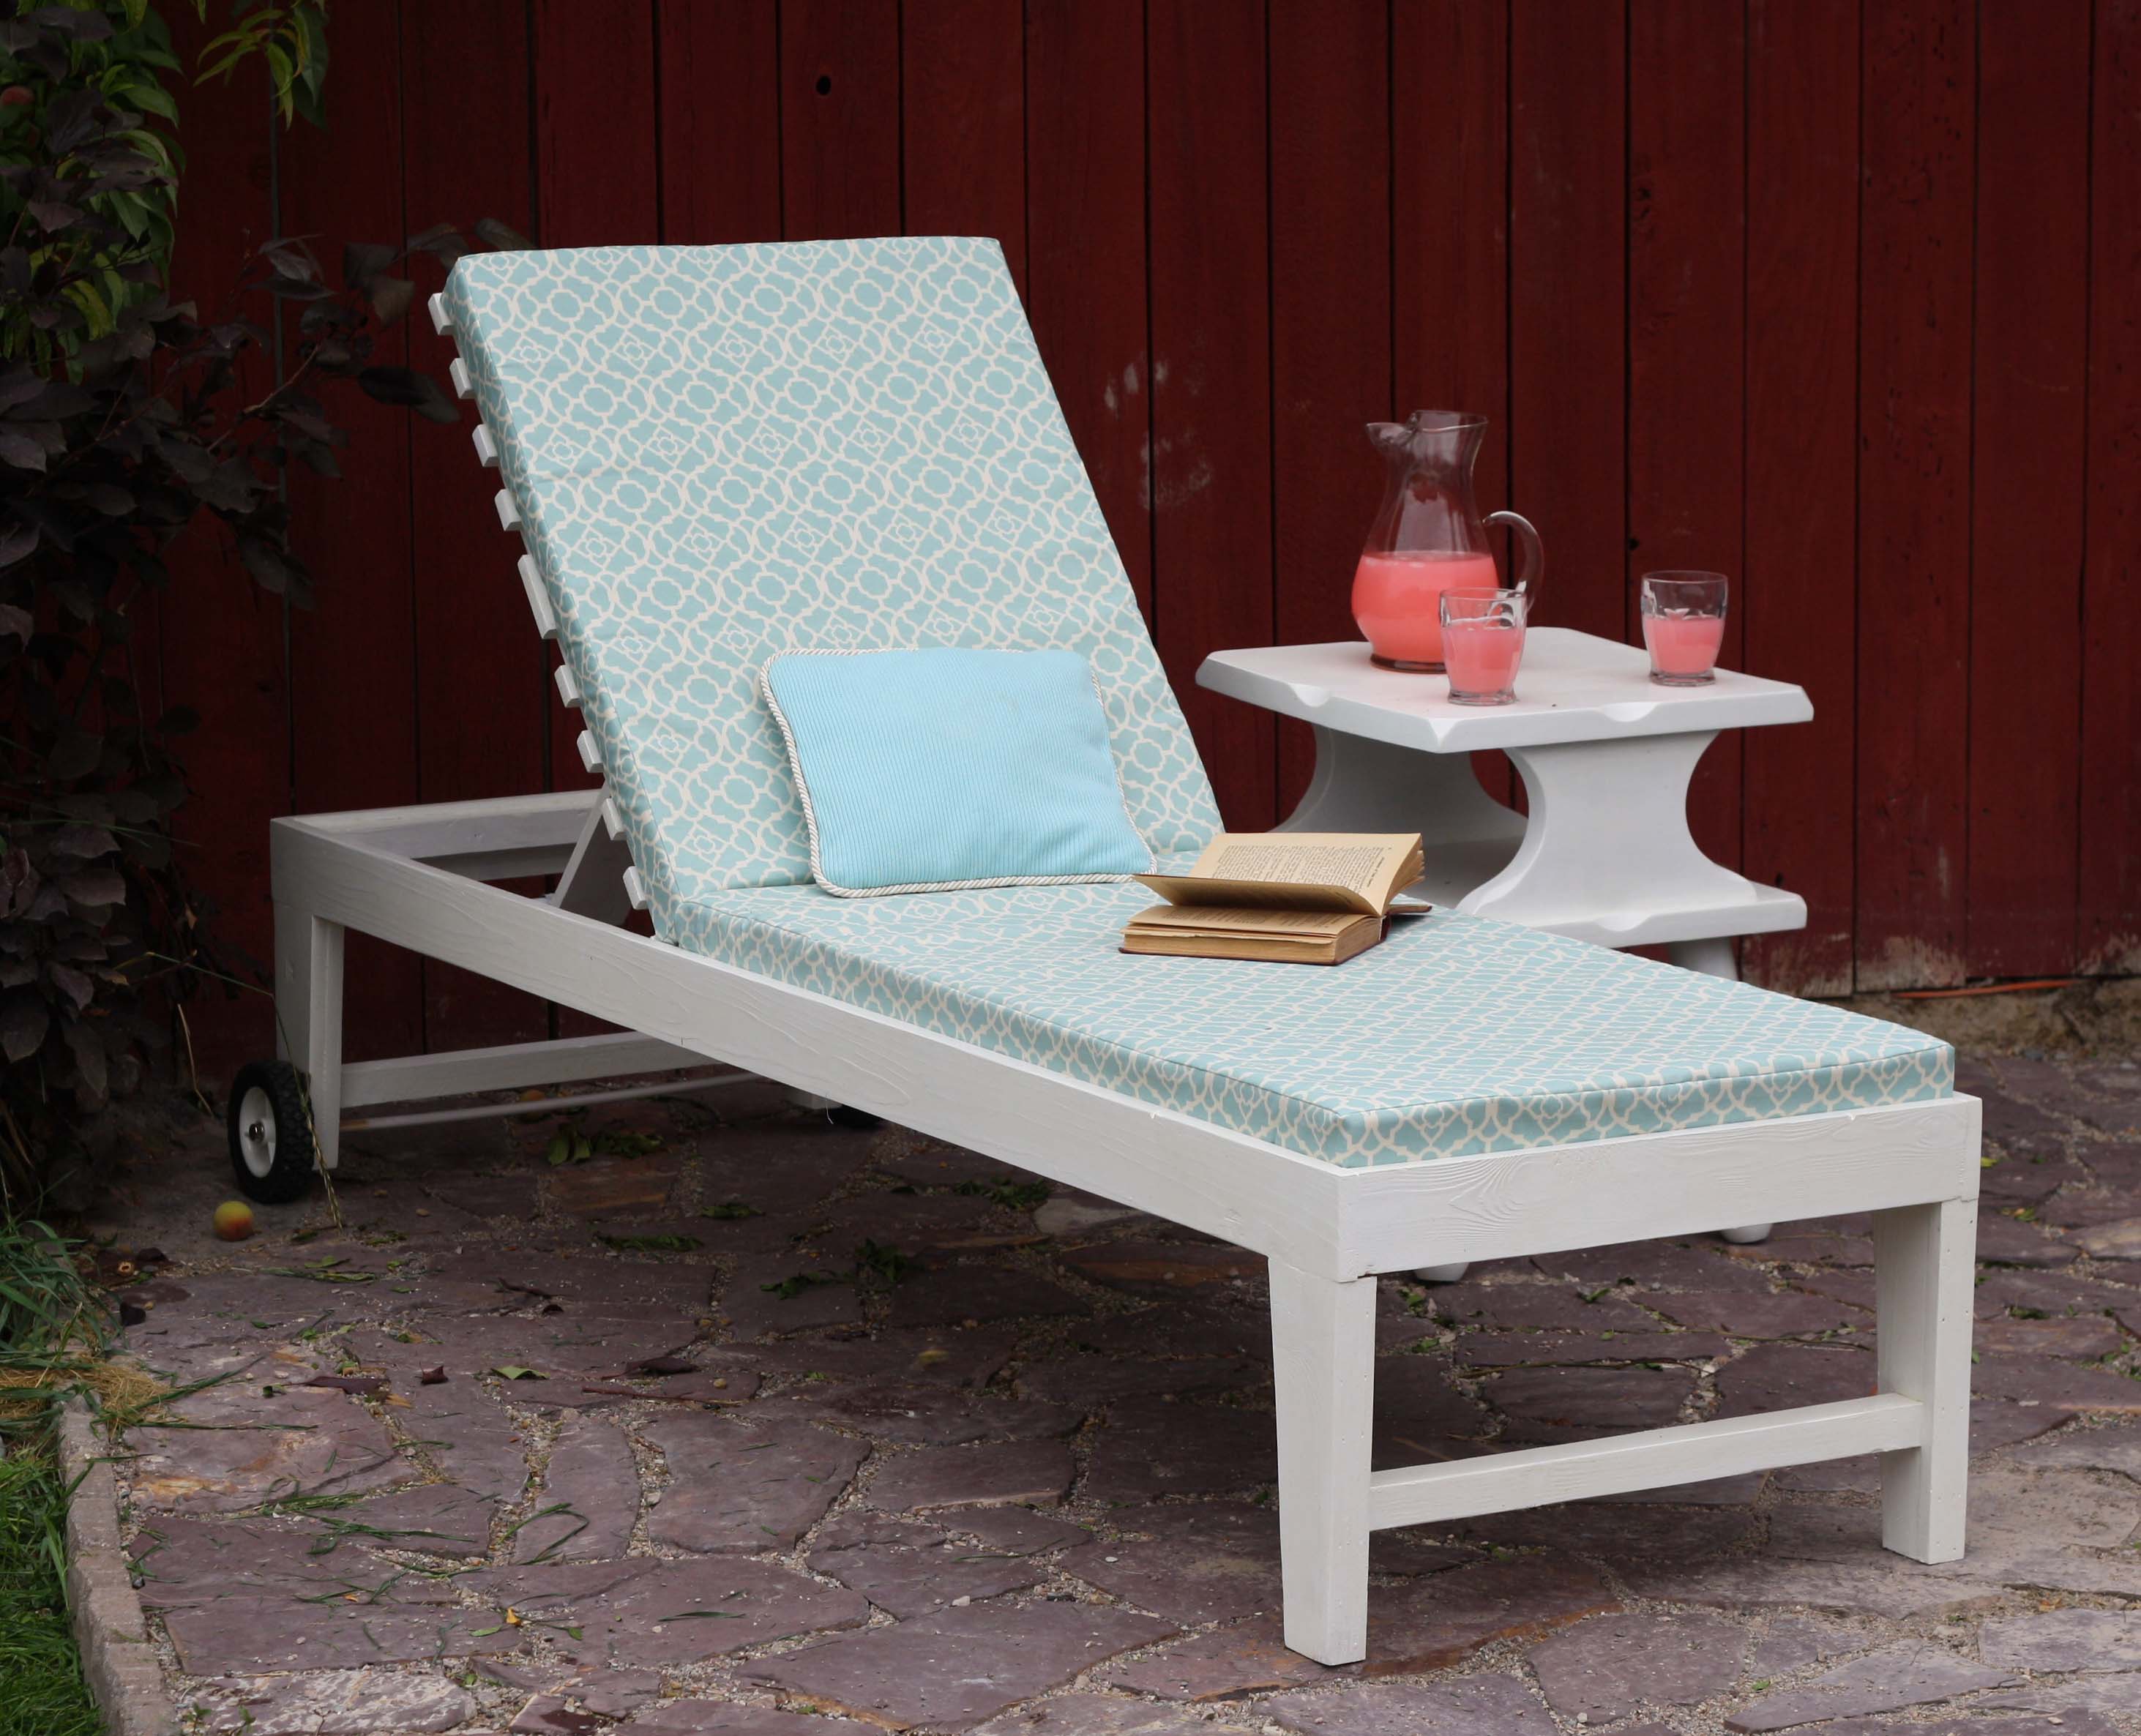
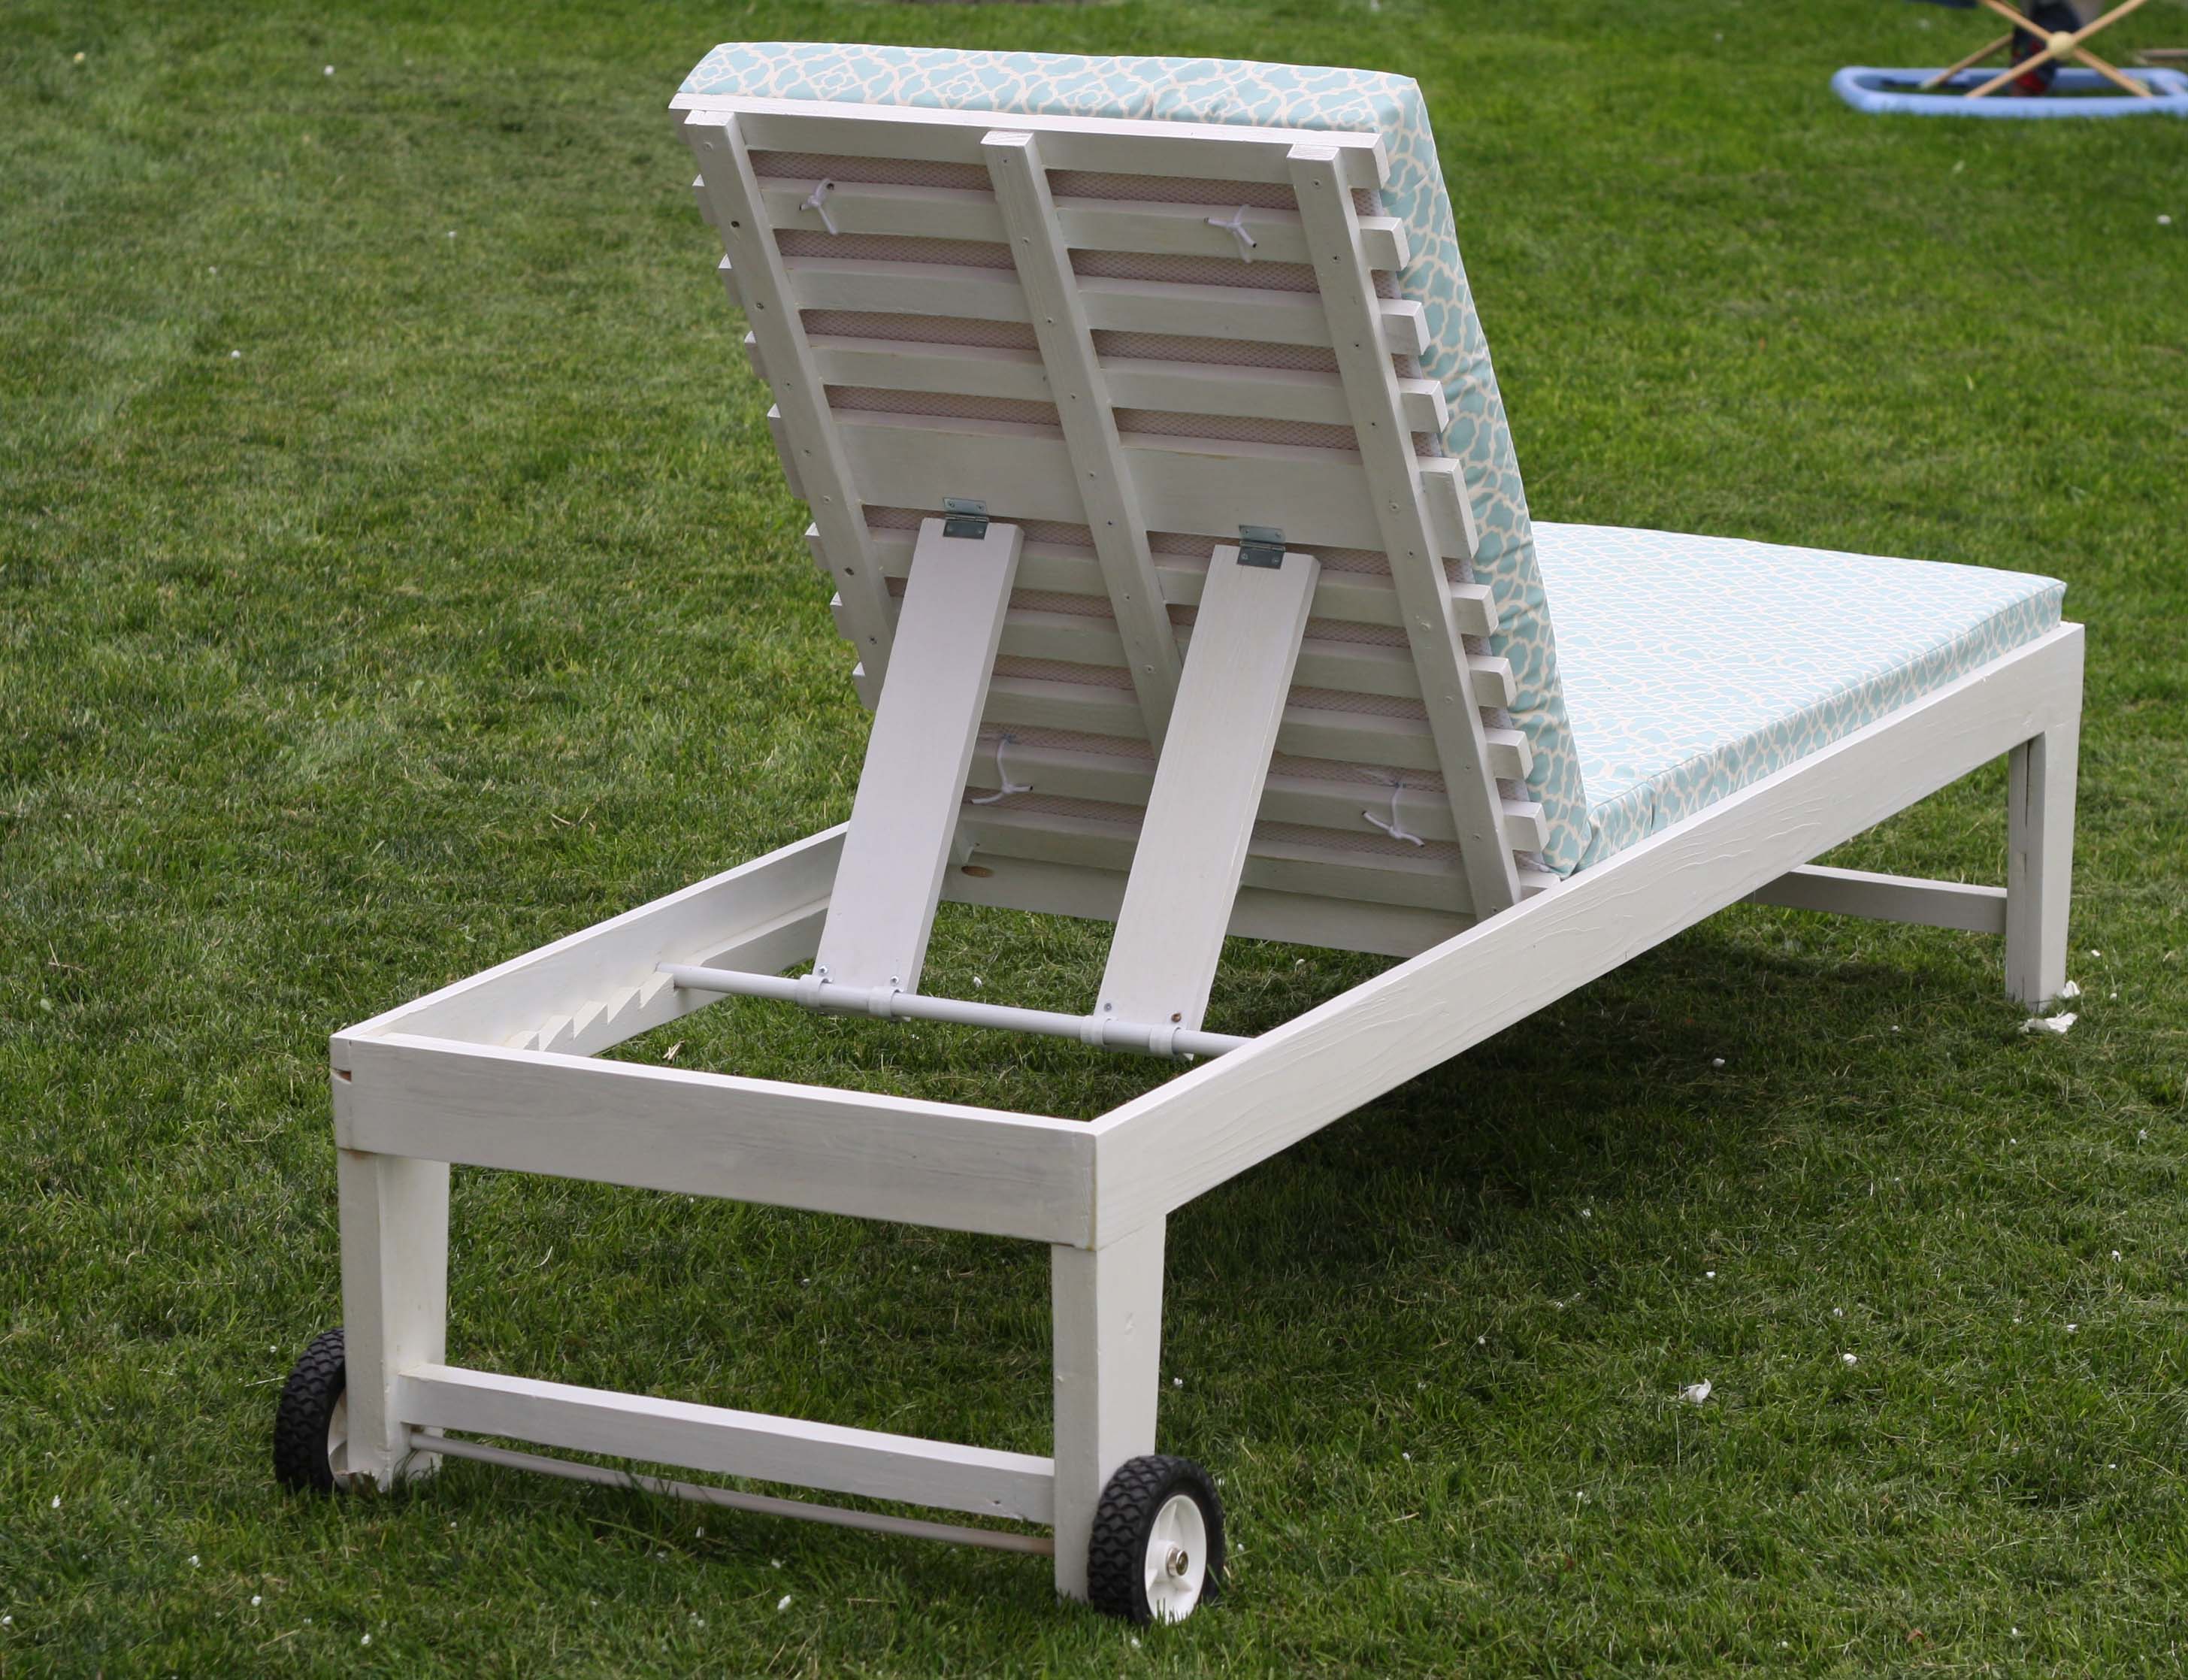
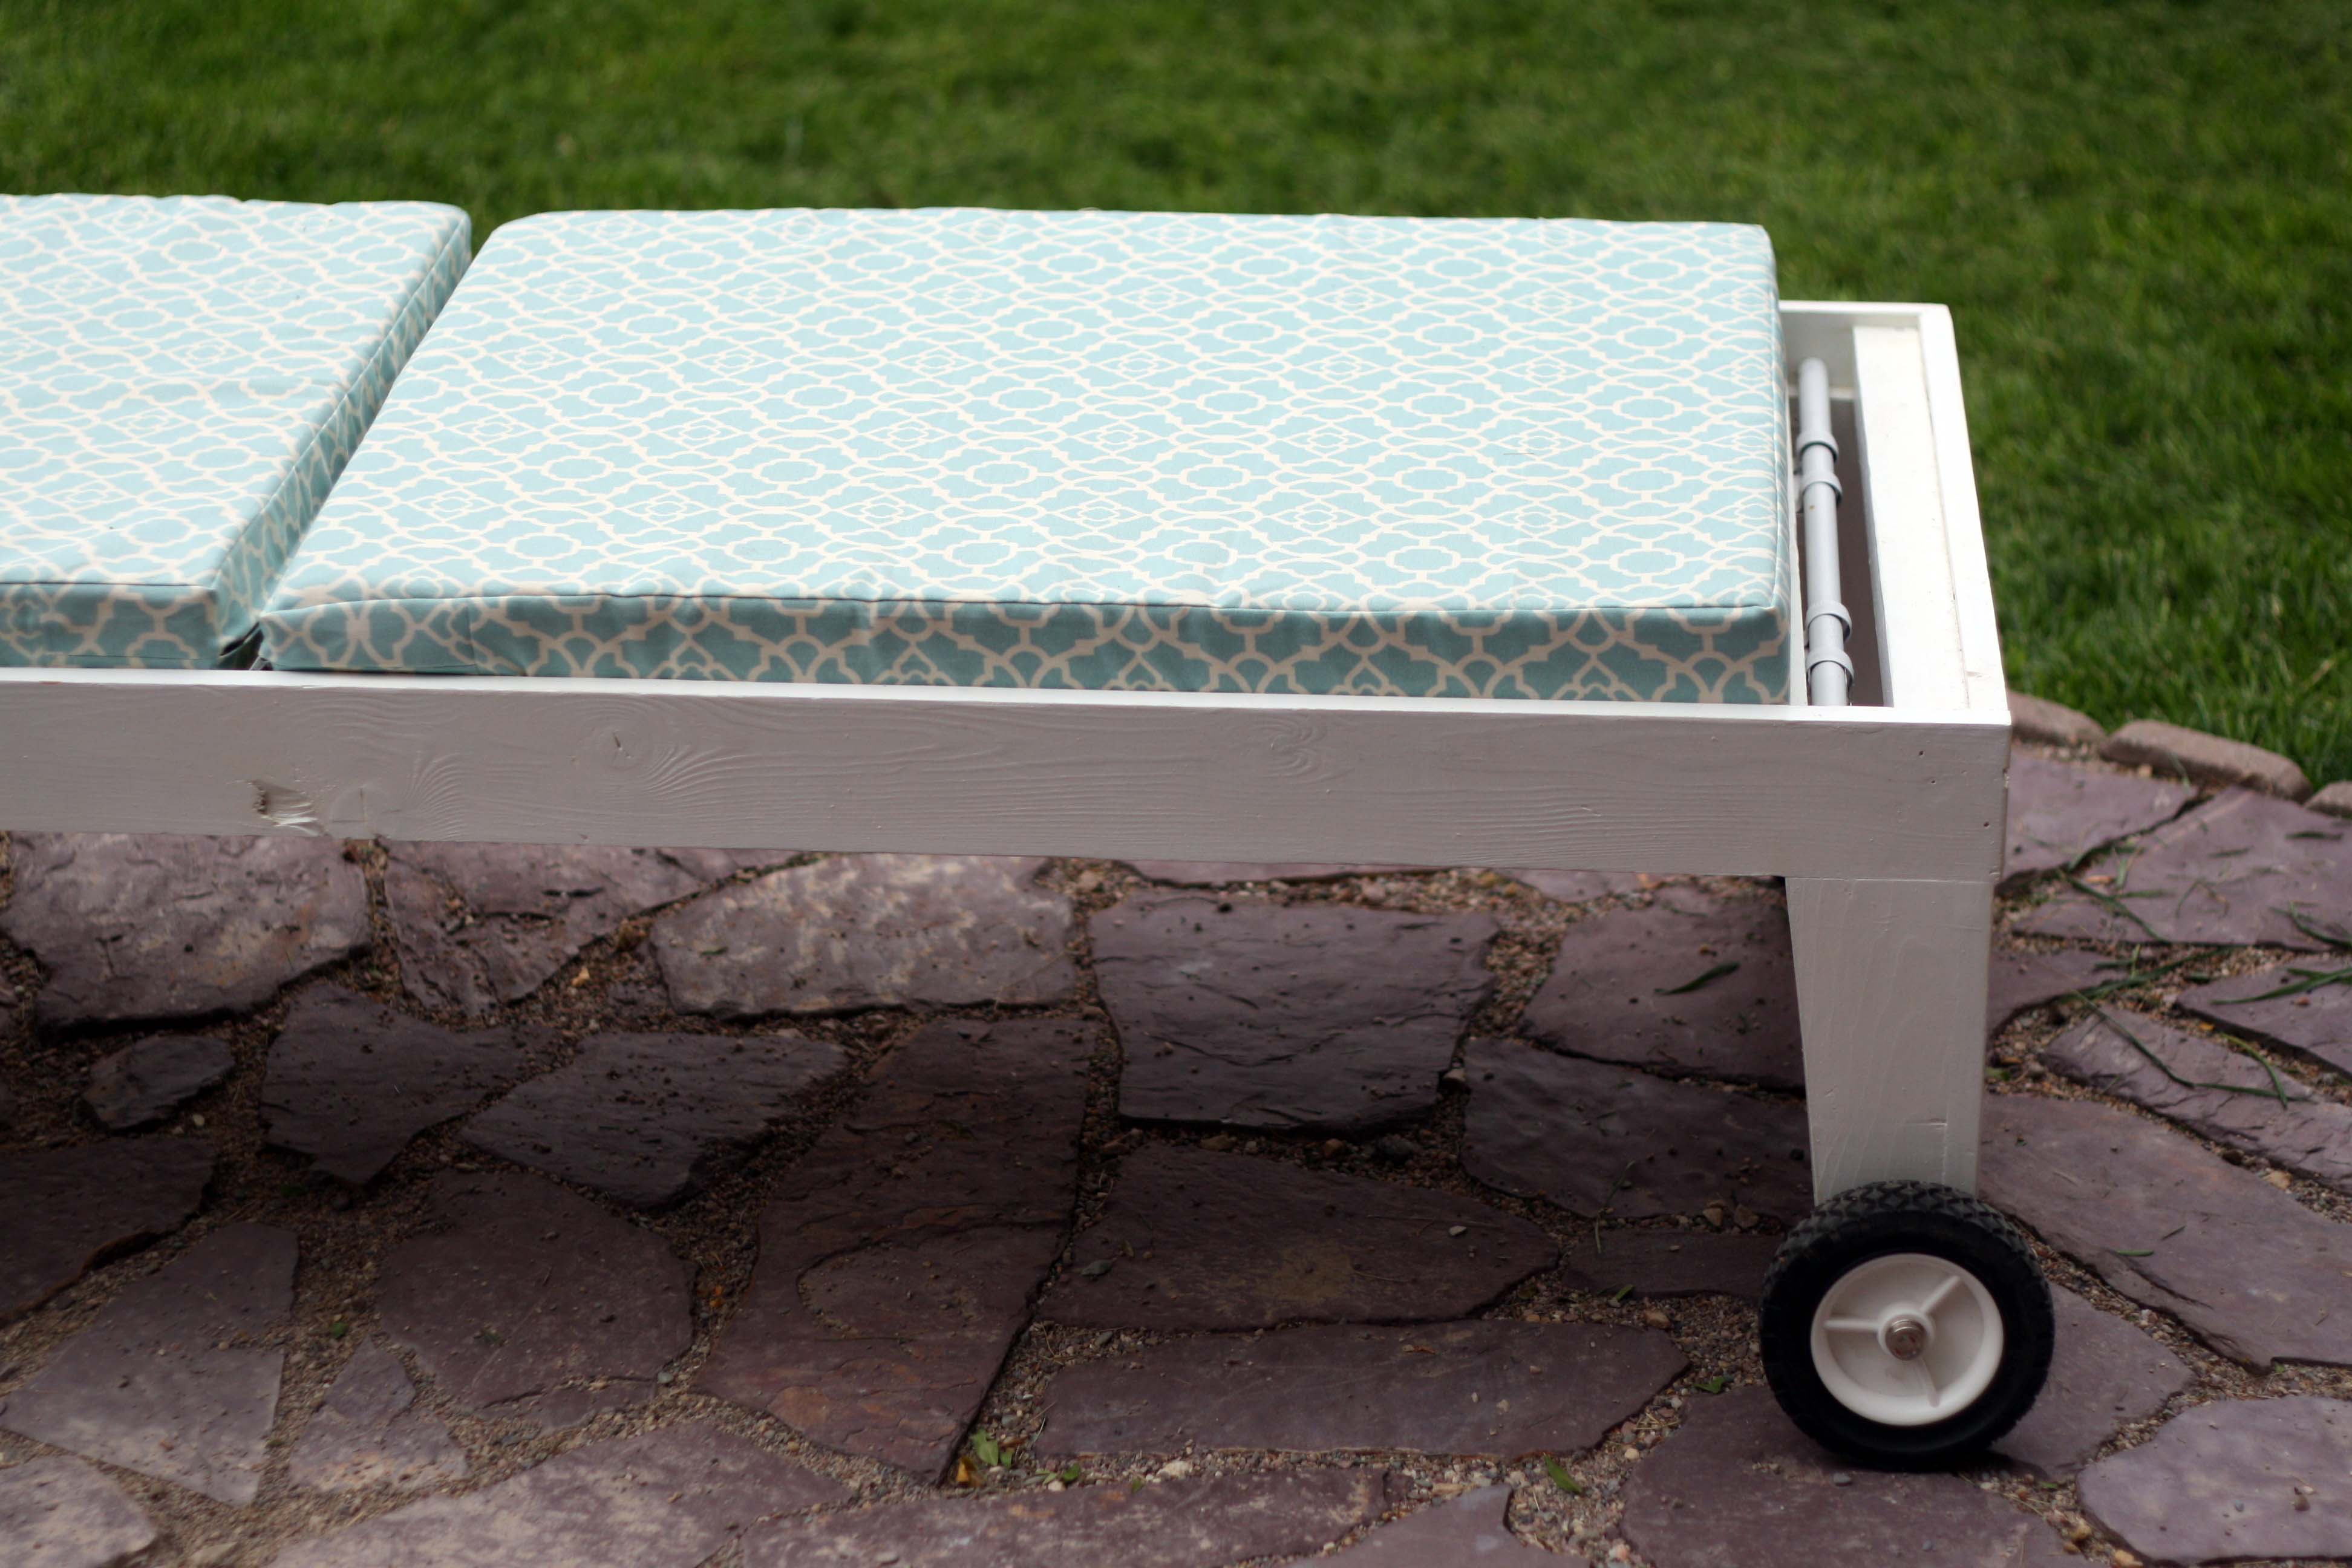
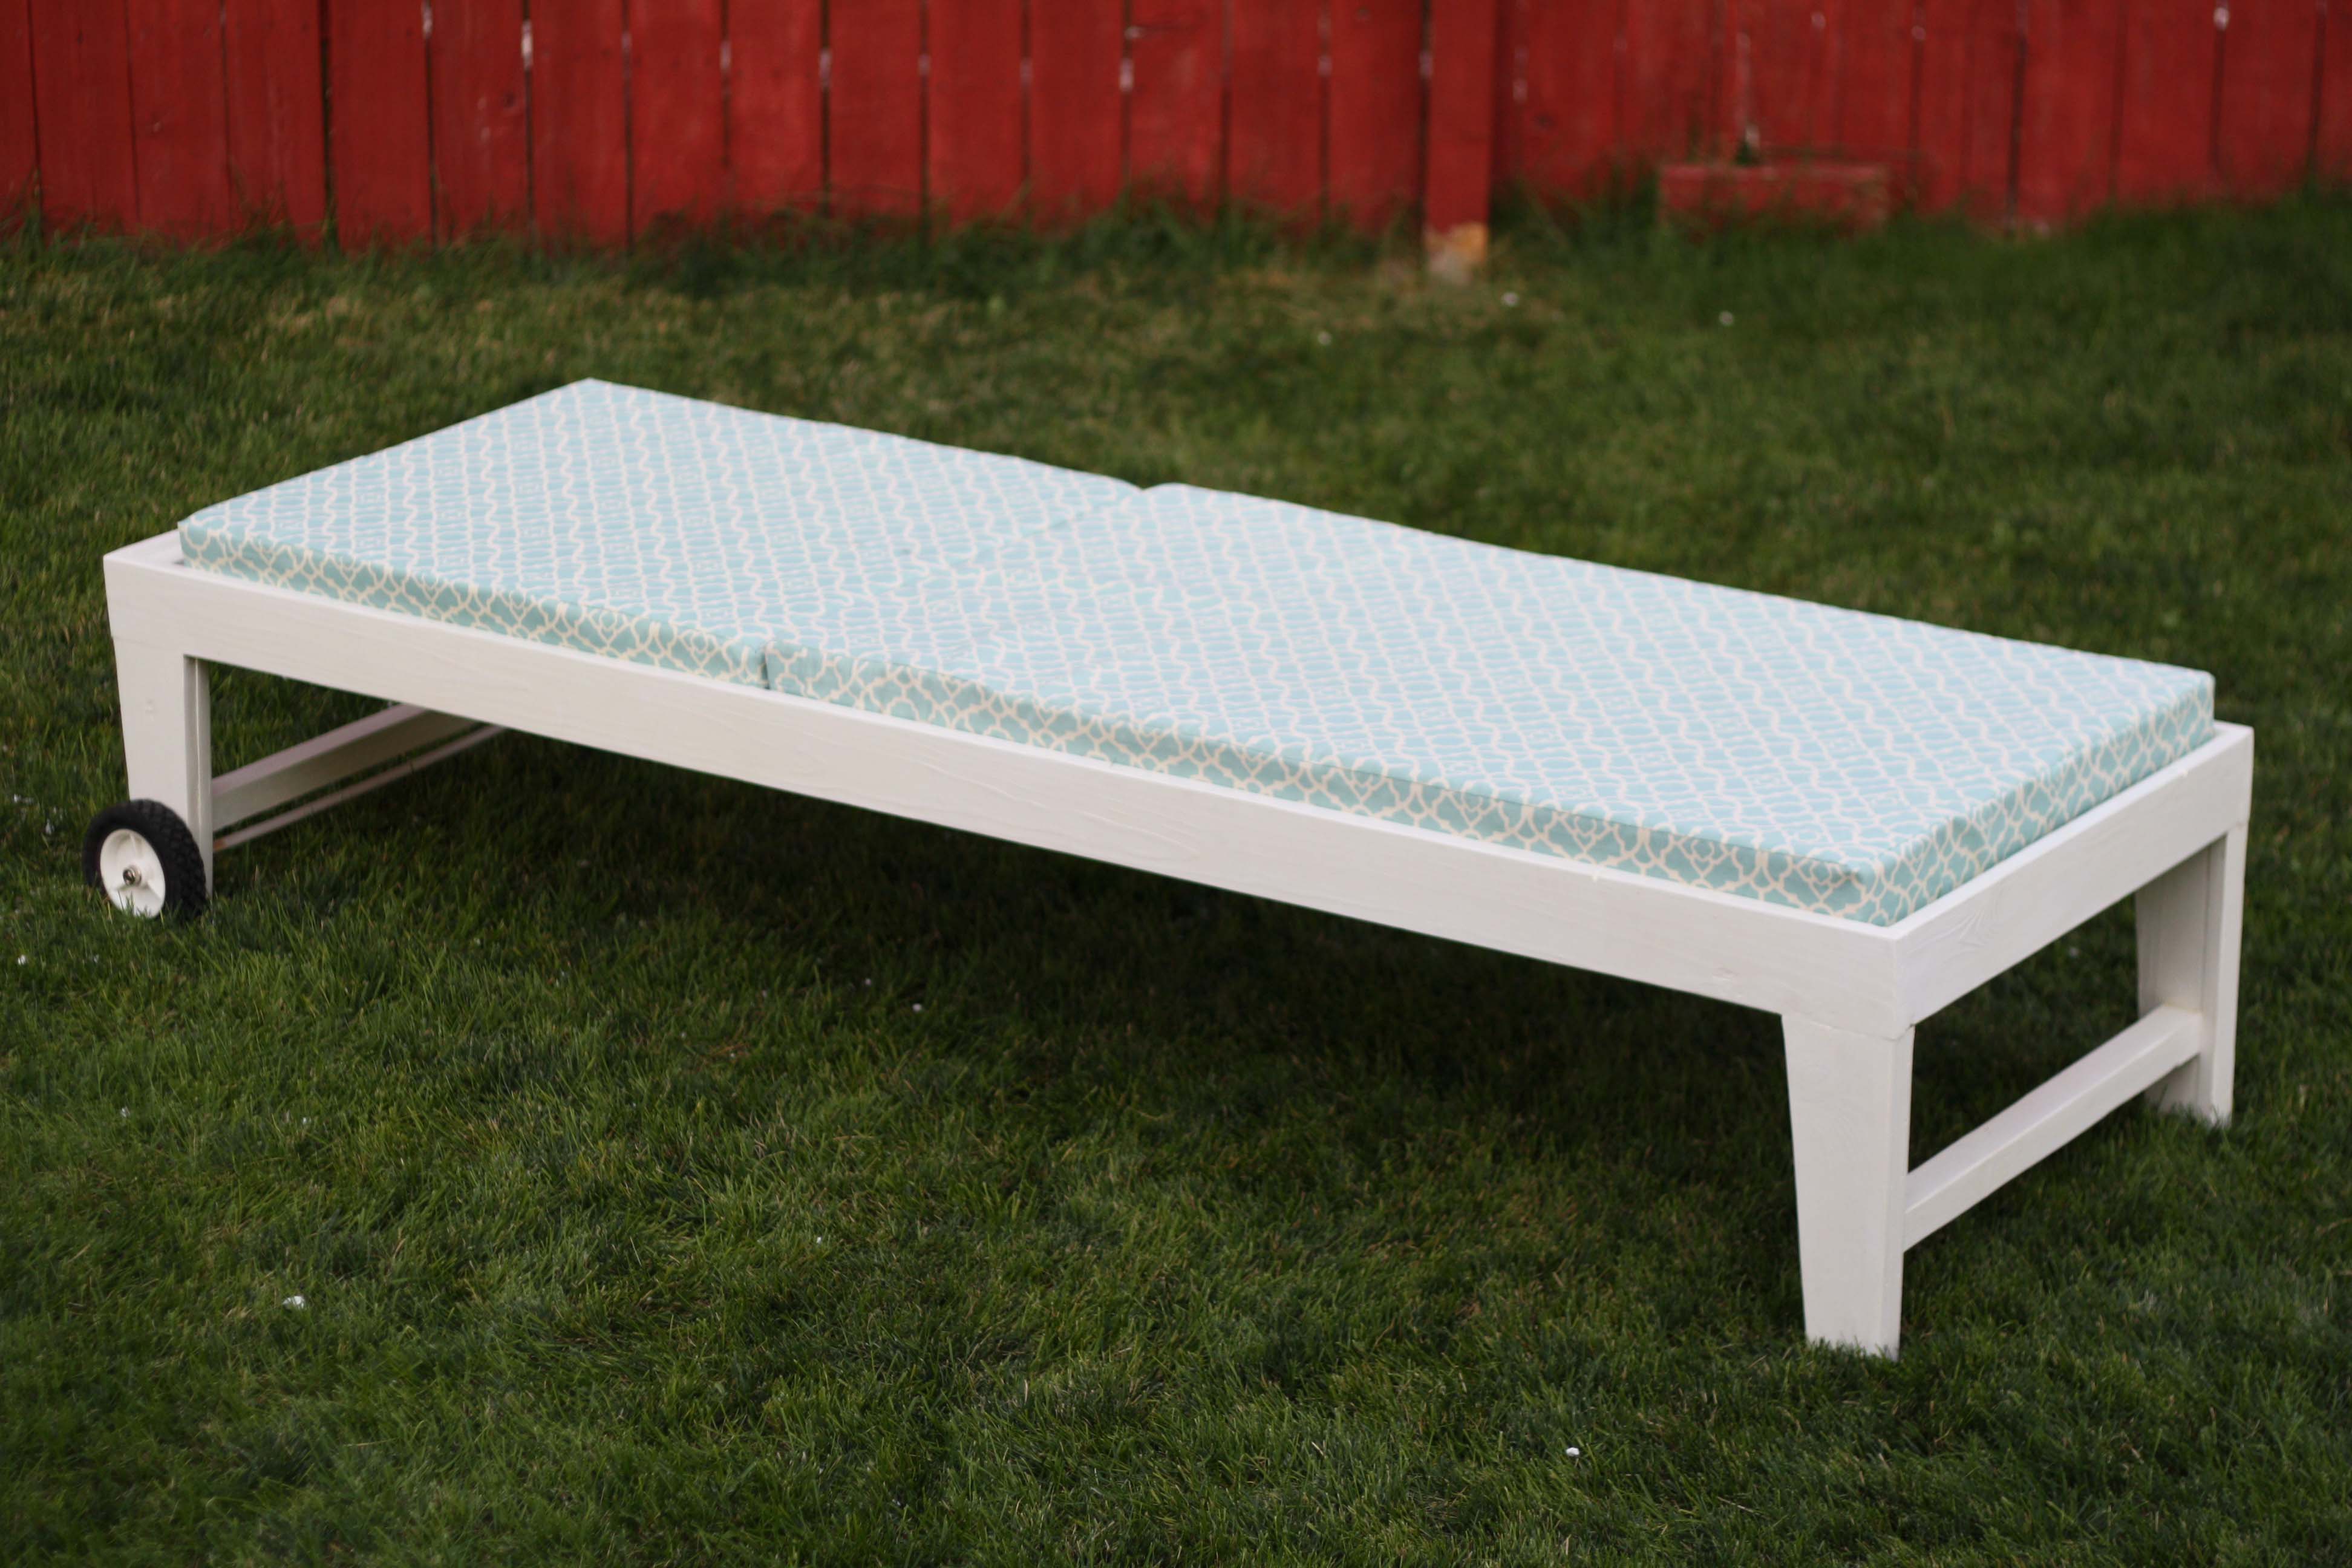
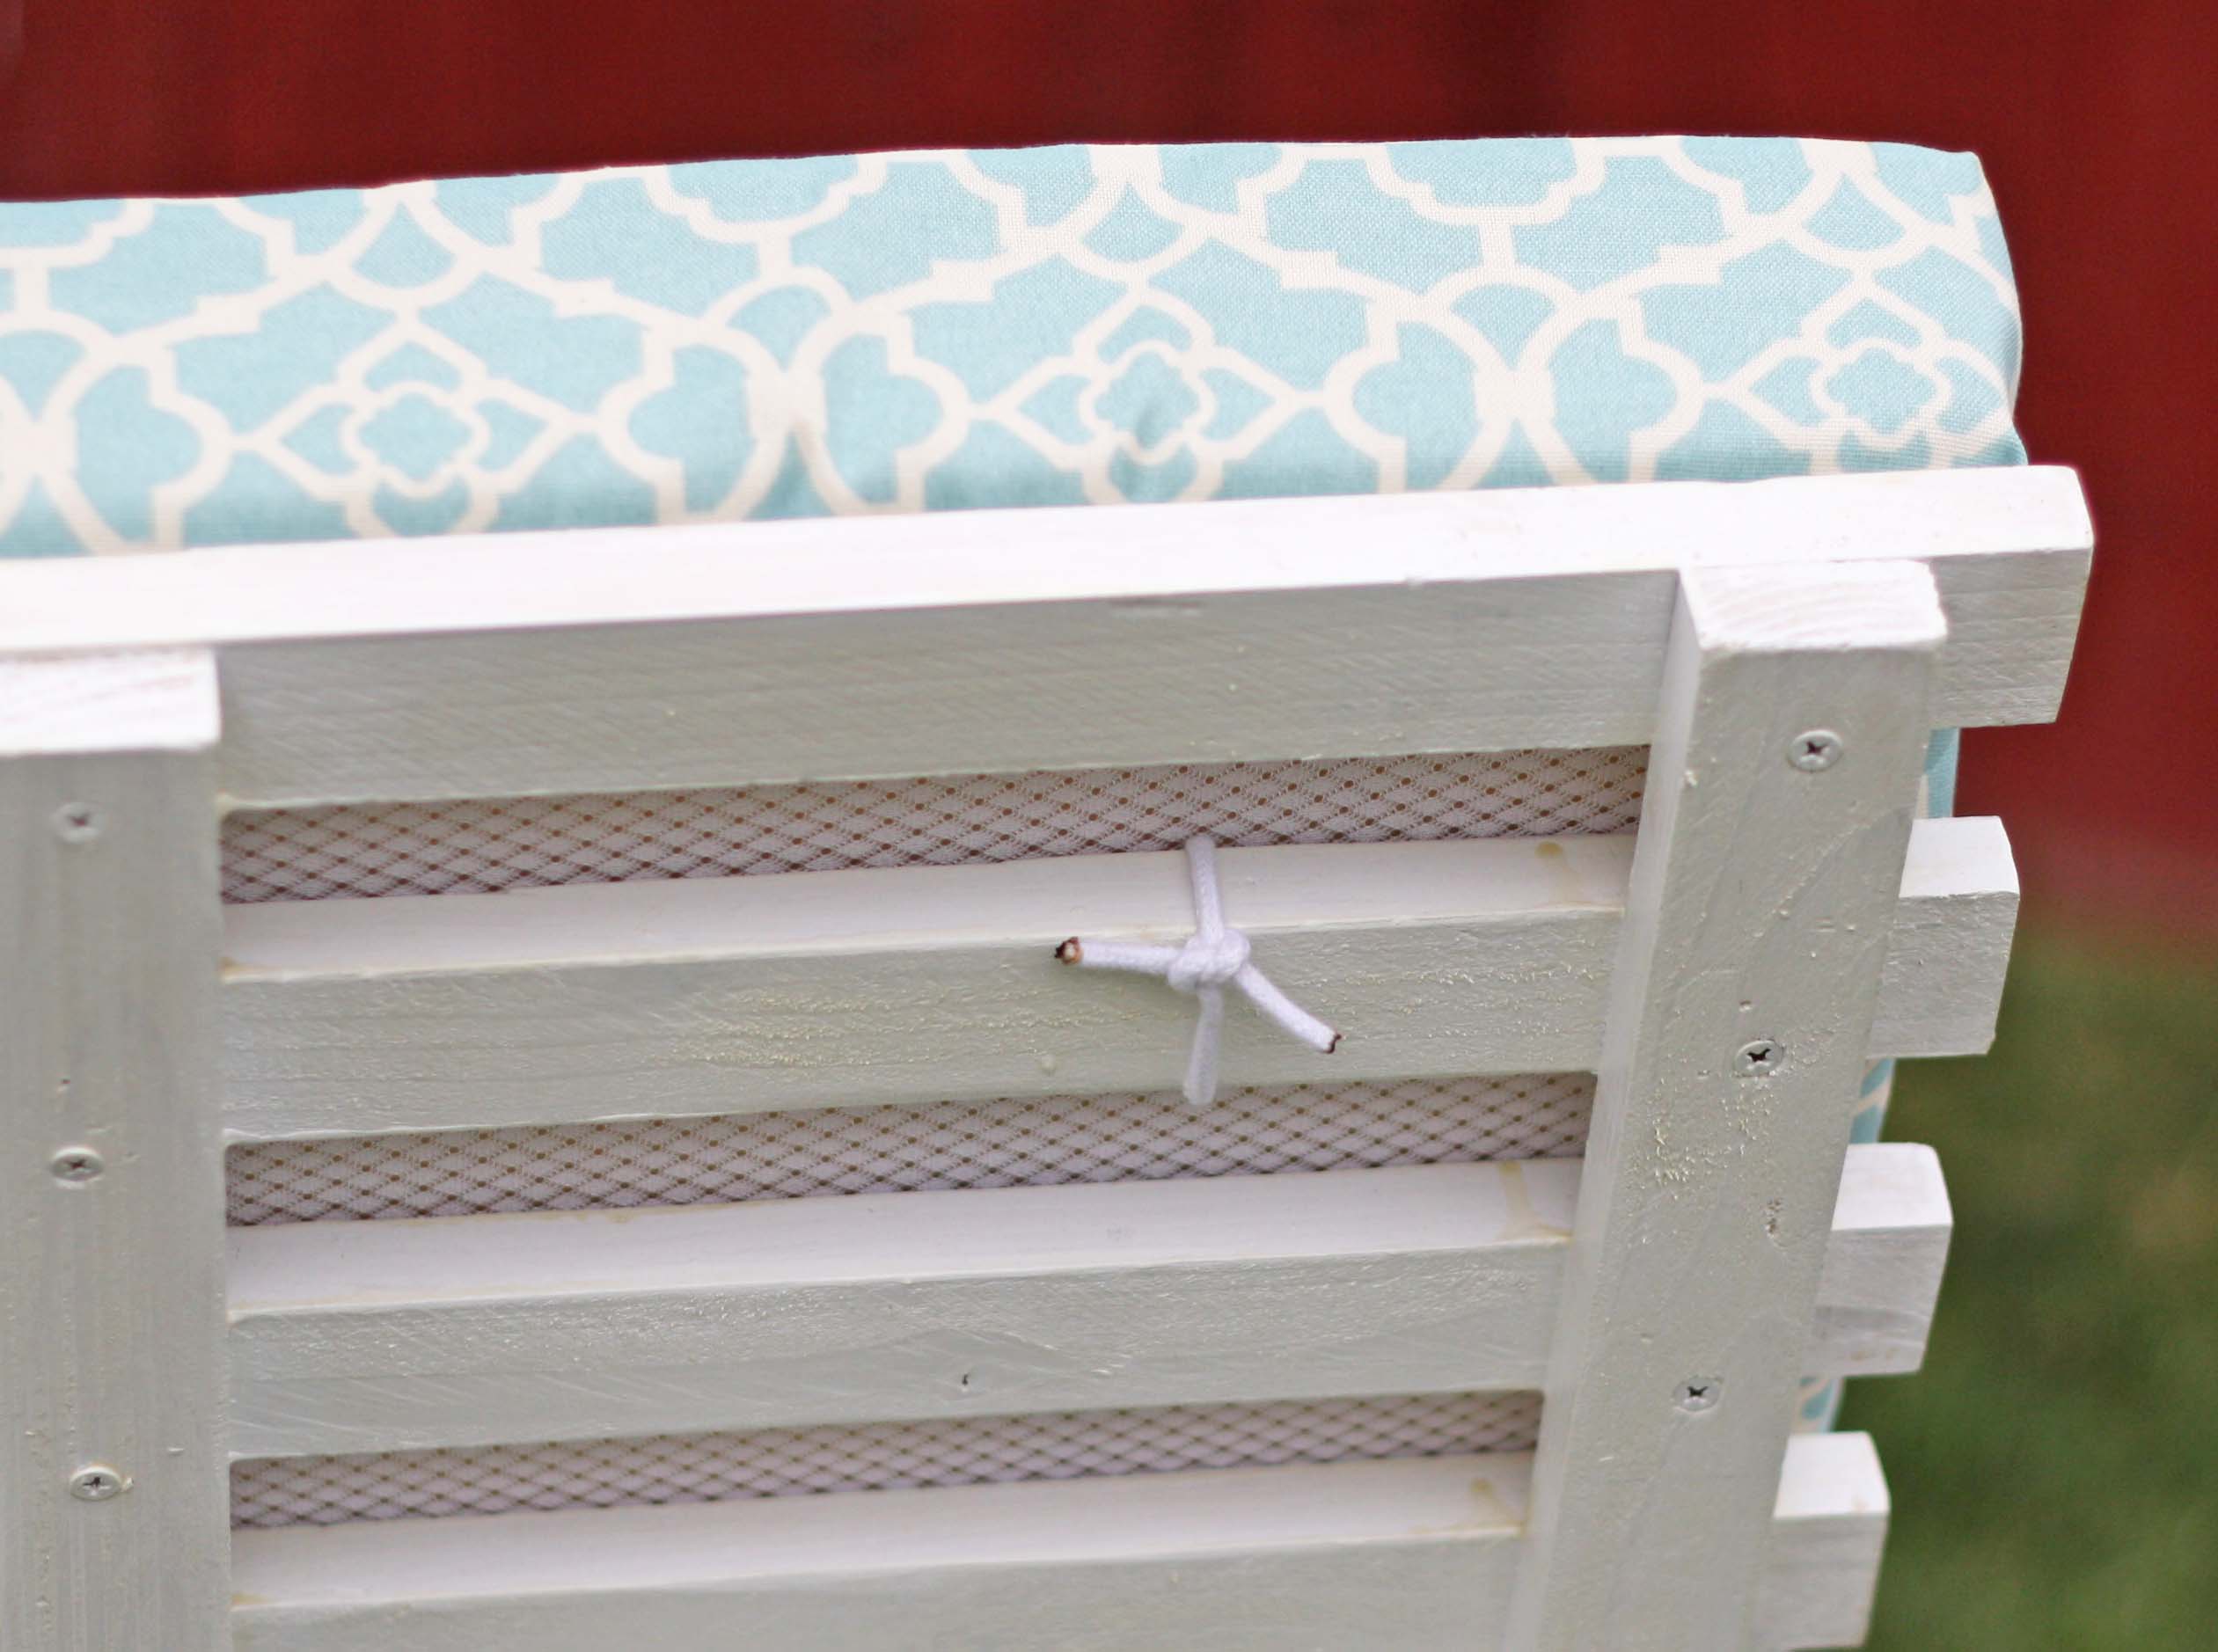
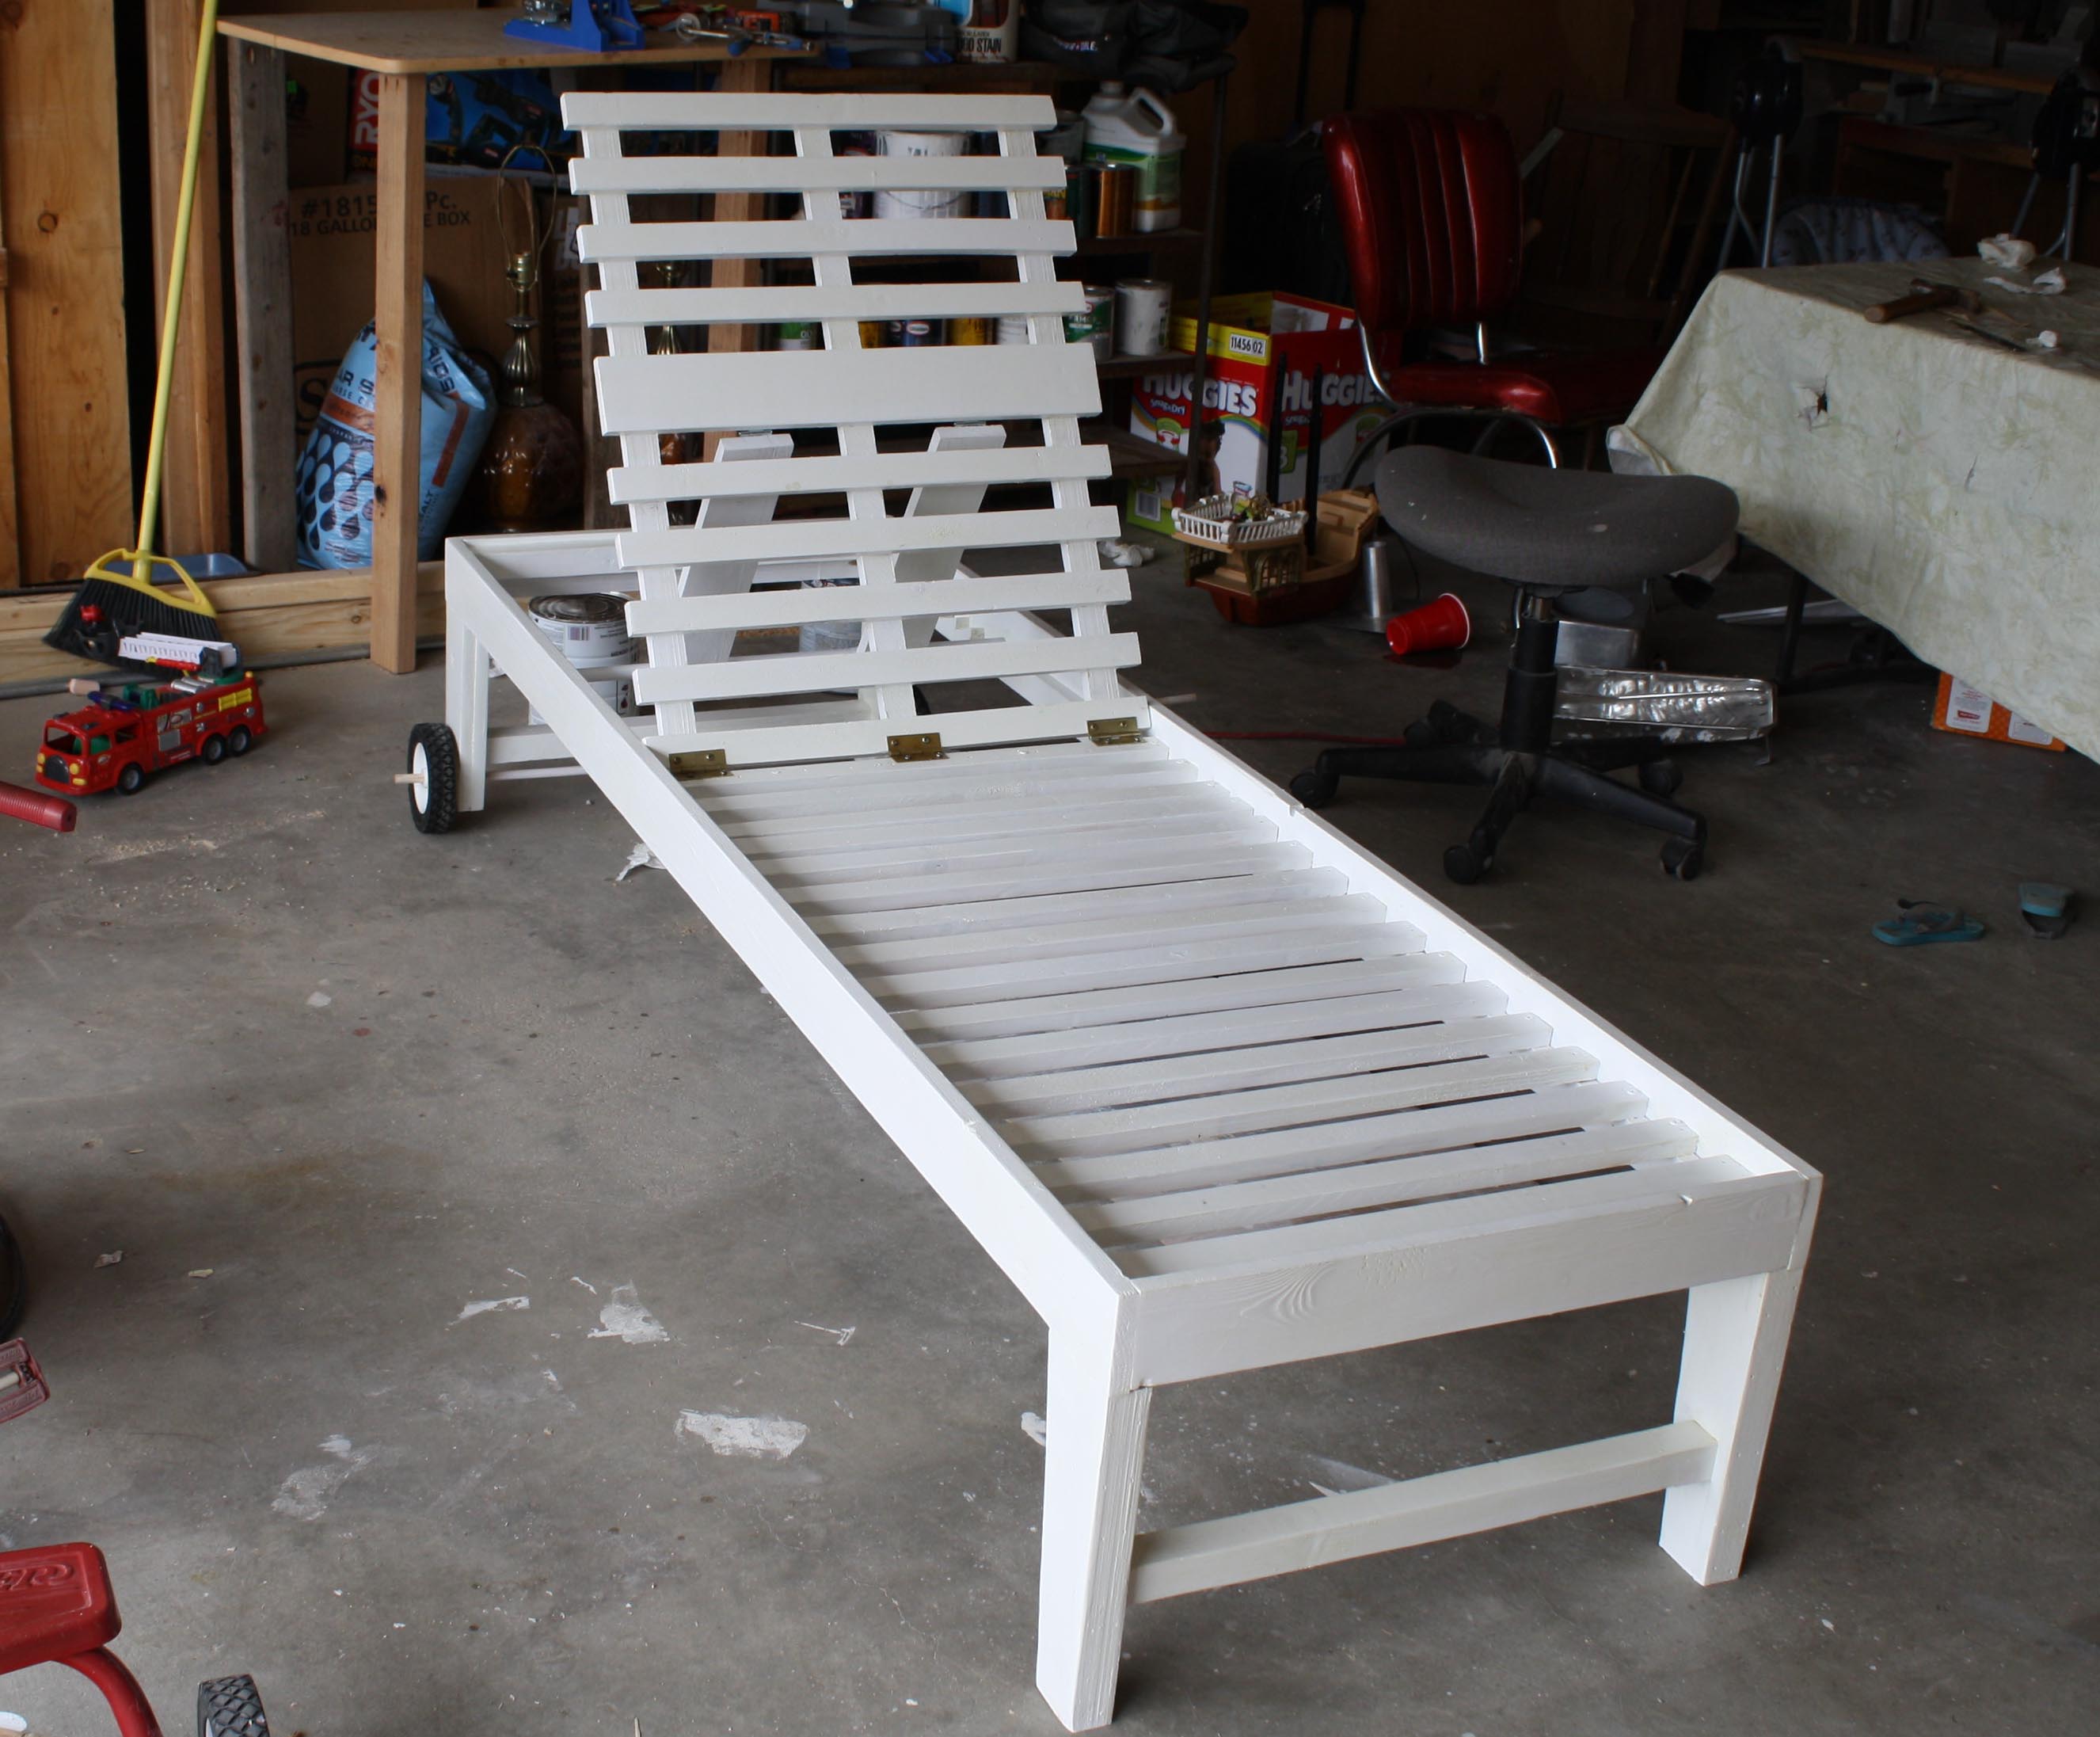
Using this plan I built my lounger with some changes, mainly adding lawn mower wheels to one end. The cushions I made have a mesh bottom to let the cushions dry faster, and zippers so they can be removed and machine washed. More details on what I used and many more photos on my blog.
Tue, 09/20/2011 - 12:49
I love the idea of the mesh! It would work as a great bench when you need more seating too. I think it'd be nice with huge wooden wheels also.
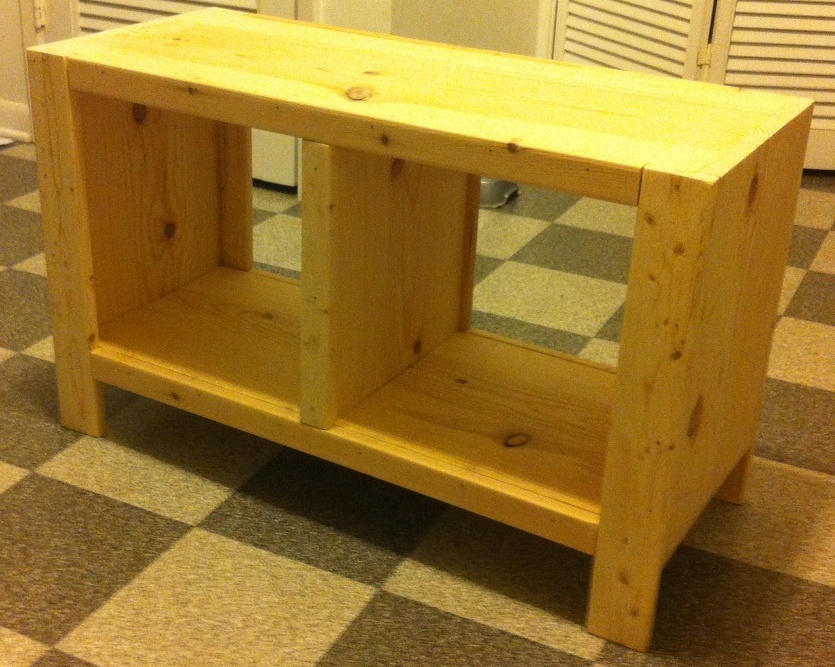
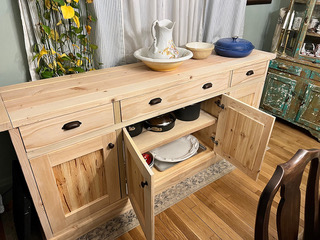
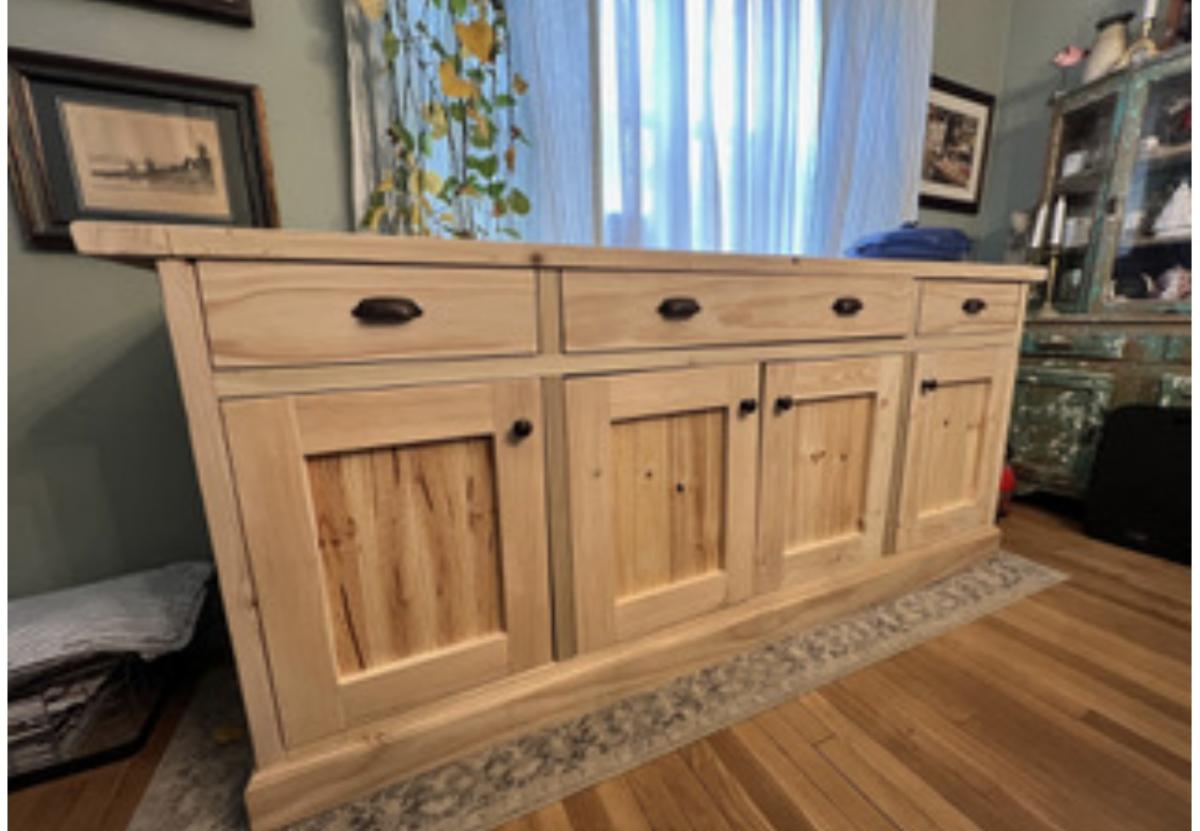
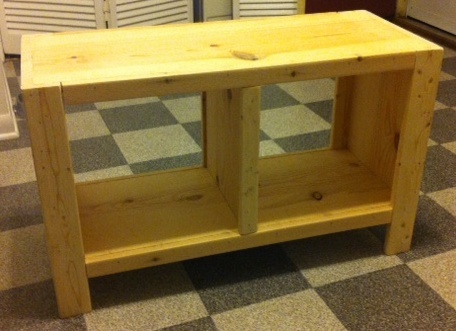
I made this bench for a friend who had a very specific space that needed a bench. I had to make it so that there was about 30 inches of length on top but with enough room on the inside of the cubbies for 10-11 inch baskets but also had to make it so there wasn't enough space for a dog to get its head into the baskets when they were put into the cubbies. So it took some thinking with the math, but ultimately, I think they turned out great and the 10 inch baskets she bought work perfectly. I made the legs with 1x3s instead of 1x2s for extra support (and that's also what I had in my scrap pile). I left it unstained because my friend is going to do that part. This took about 3 hours to plan and build. I used the kreg jig to hide pocket holes to attach the legs to the top and bottom and also to attach the inside divider to the top of the bench (I used nails to attach the inside divider to the bottom).
Comments
Ana White Admin
Wed, 11/02/2022 - 11:08
Beautiful hall tree!
Thank you for sharing, love it!