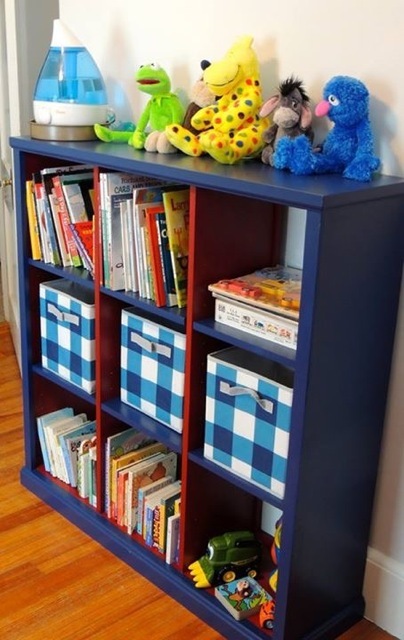
Large Cubby Bookshelf for nursery
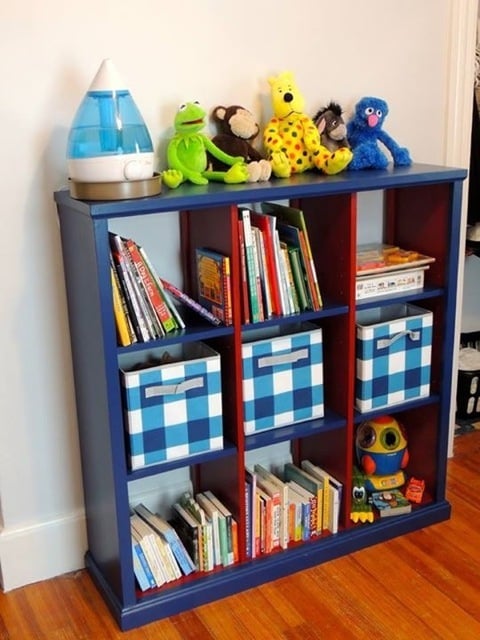
I wanted a bookcase for my son's room that would add some color and be a functional storage unit for his books and toys. I did not buy the highest grade of pine because it would have doubled the project cost and I knew I was going to paint it. The only trouble I had was that the boards were a little cupped so the shelves don't have an invisible fit. I used stock moulding and cut down the base trim to fit. In hind sight, I would have not done the adjustable shelves. I like the symmetrical look of this and can't see myself moving them. I did make a cleat to attach it securely to the wall so that a busy climbing boy wouldn't pull it down on himself.
Built from Plan(s)
Estimated Cost
This probably cost me $100 because I bought two paint colors.
Estimated Time Investment
Day Project (6-9 Hours)
Finish Used
Interior paintd
Recommended Skill Level
Beginner