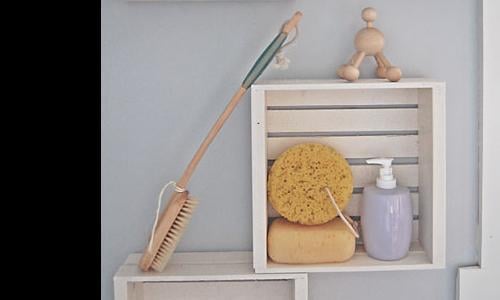
Wood Potting Bench
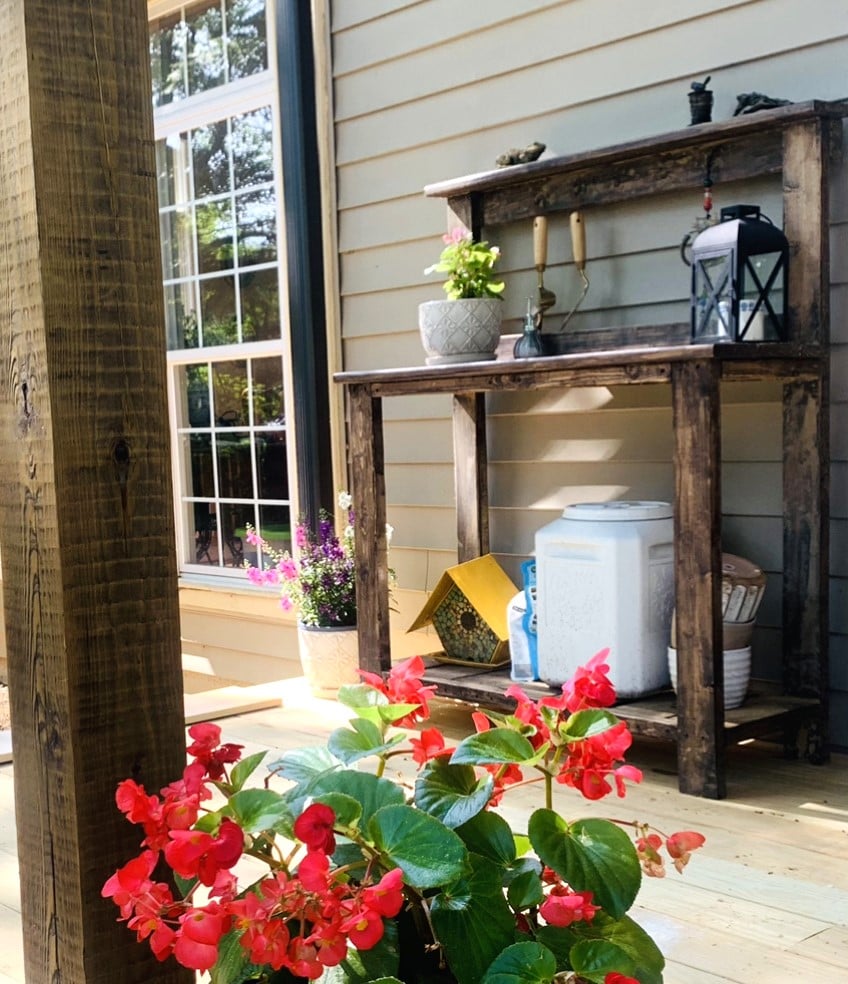
Flower potting bench for the front porch.
Mar
Built from Plan(s)
Flower potting bench for the front porch.
Mar

I liked Sausha's design, but I wanted a more "built in" look for the one I built. I didn't follow the plan much, but used it for ideas
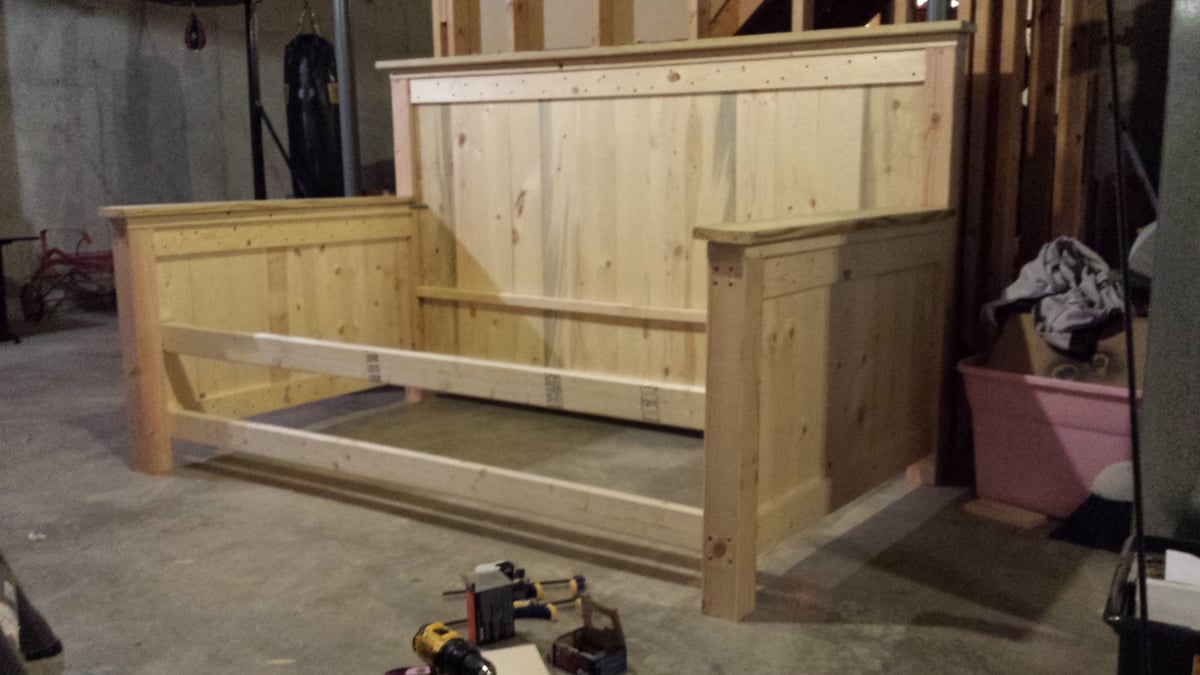
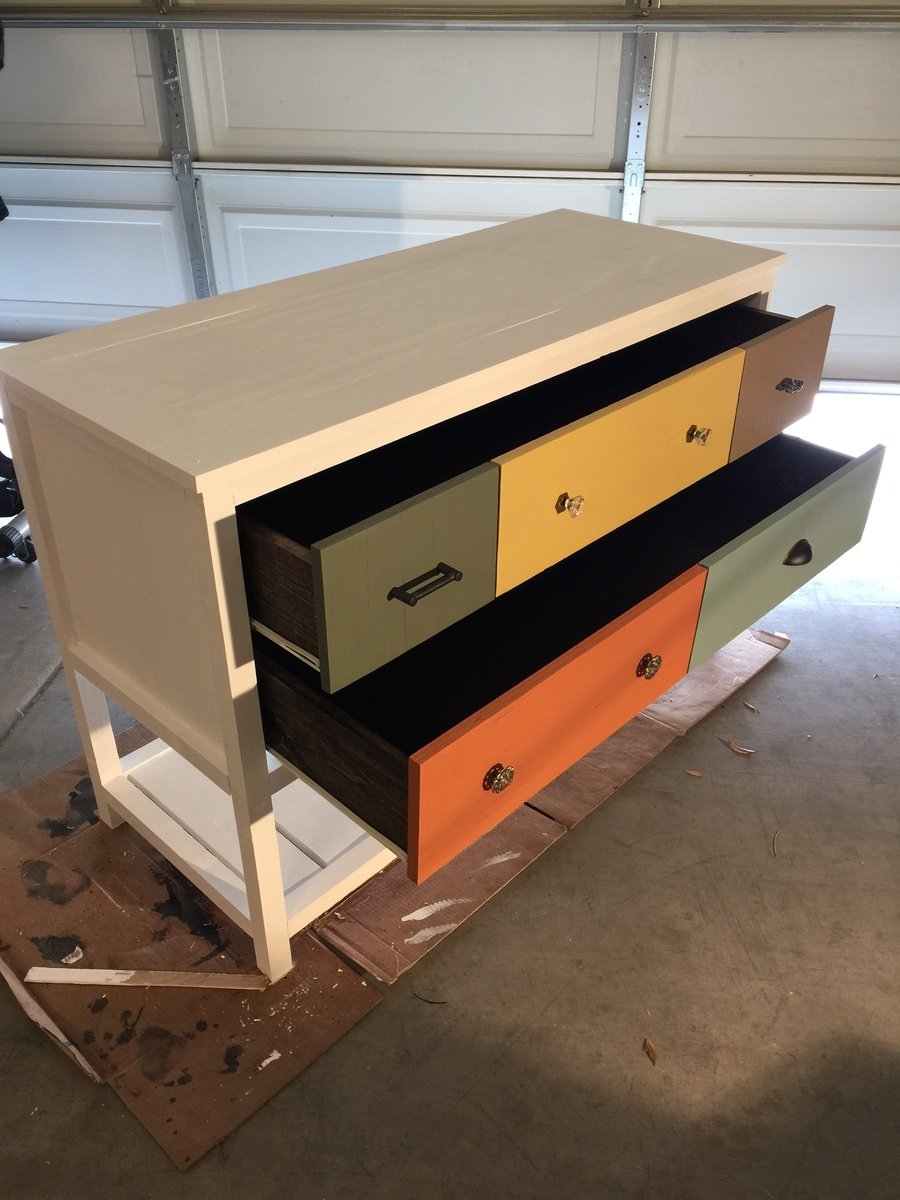
This daybed was modified from the Farmhouse bed plans. I am still finishing the drawers, sanding, putty and paint.
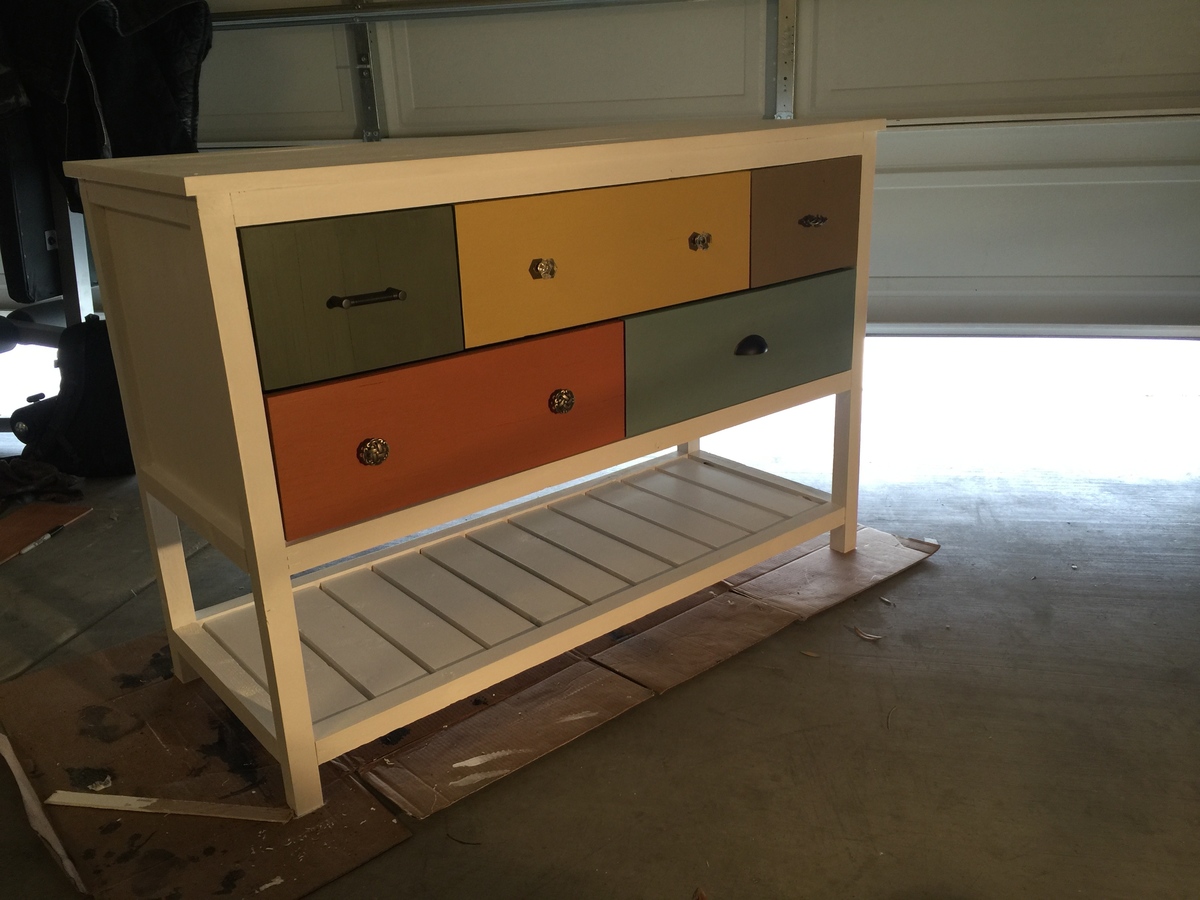
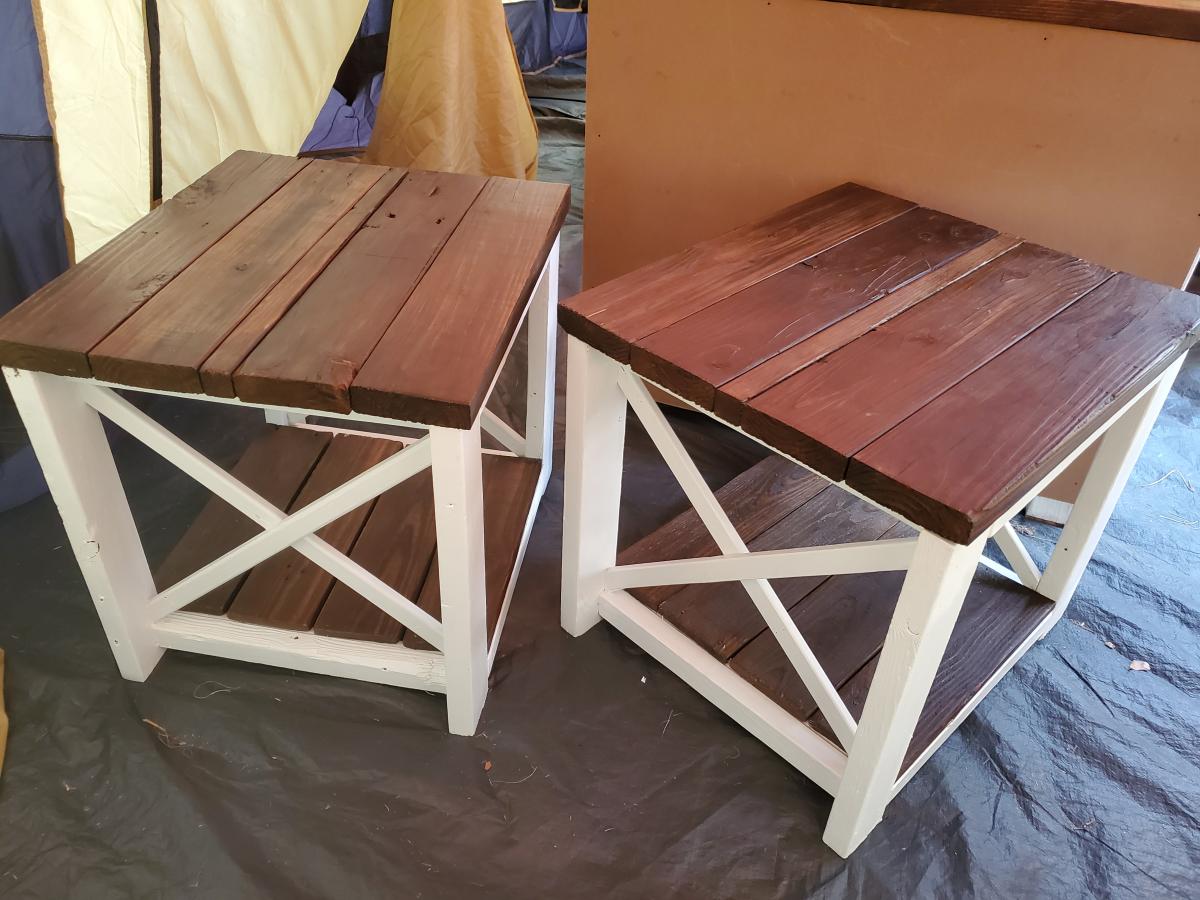
Console table build.
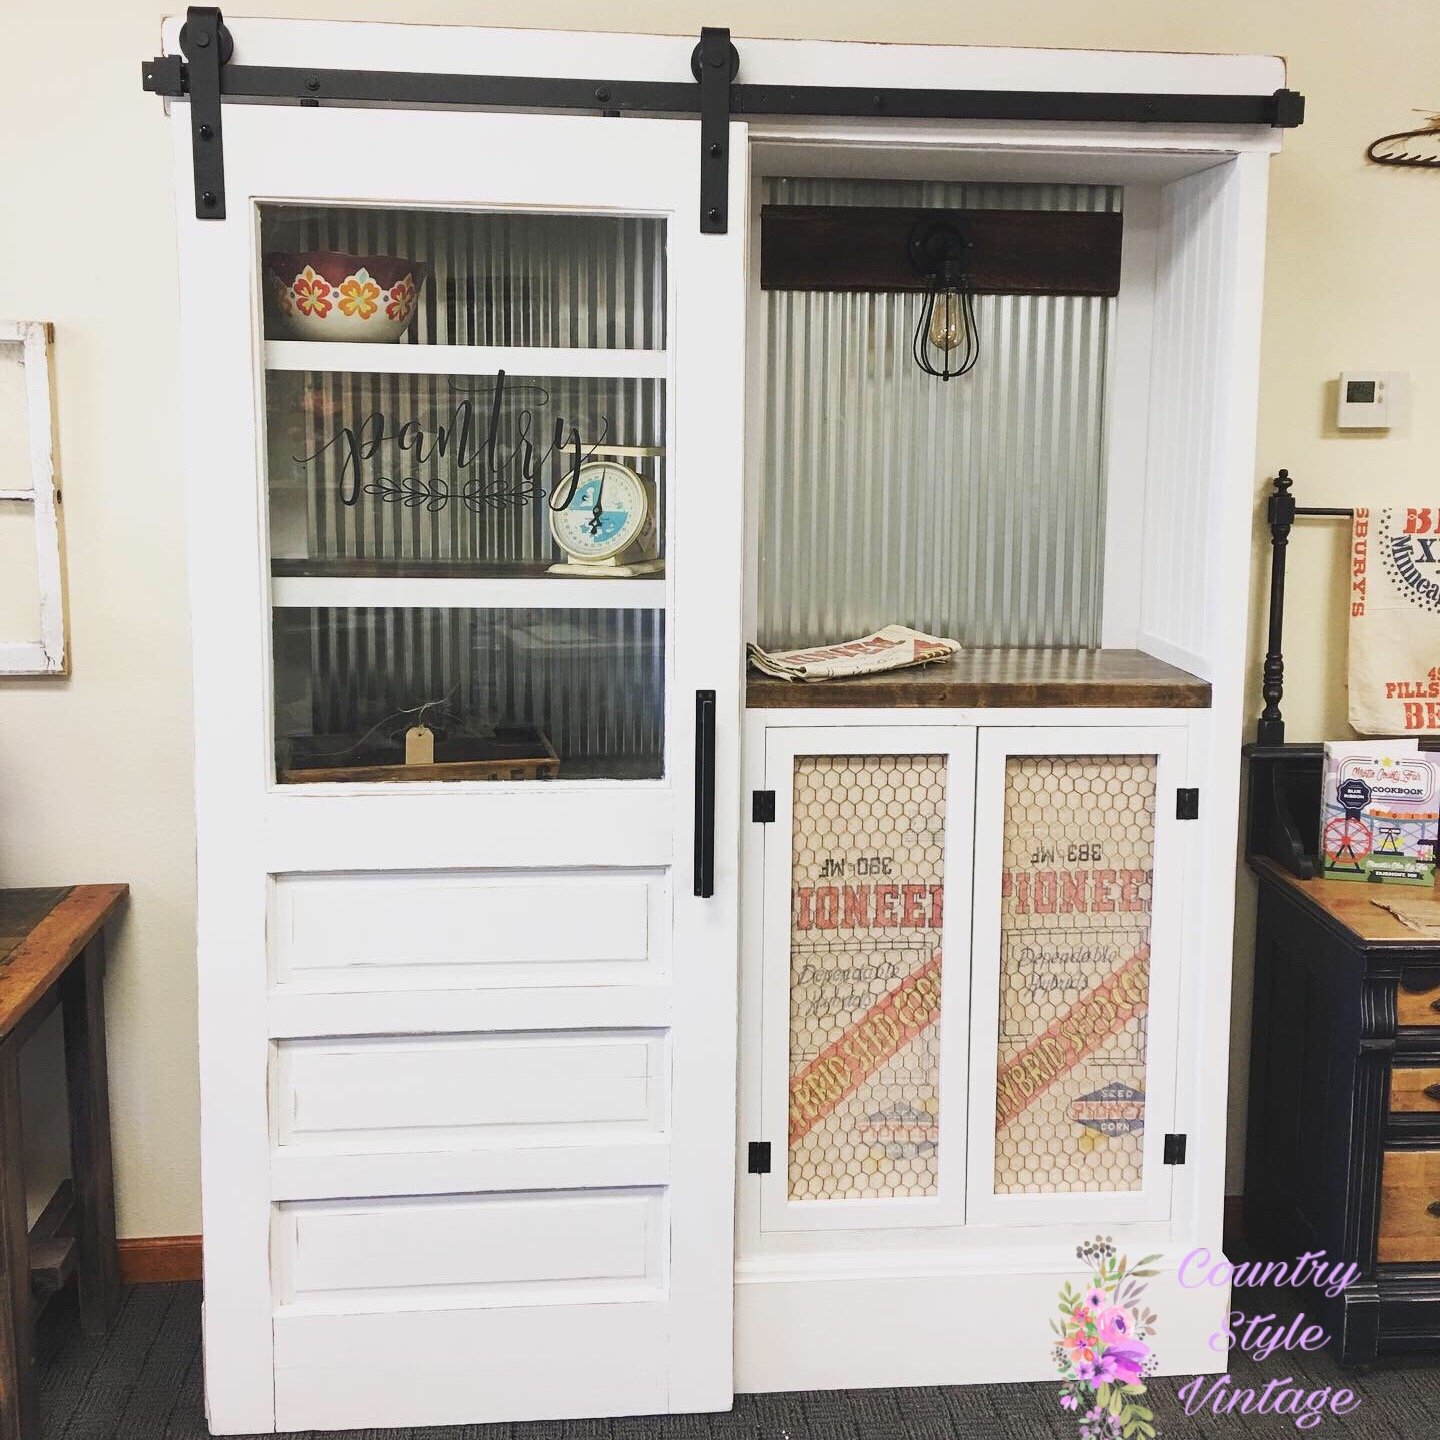
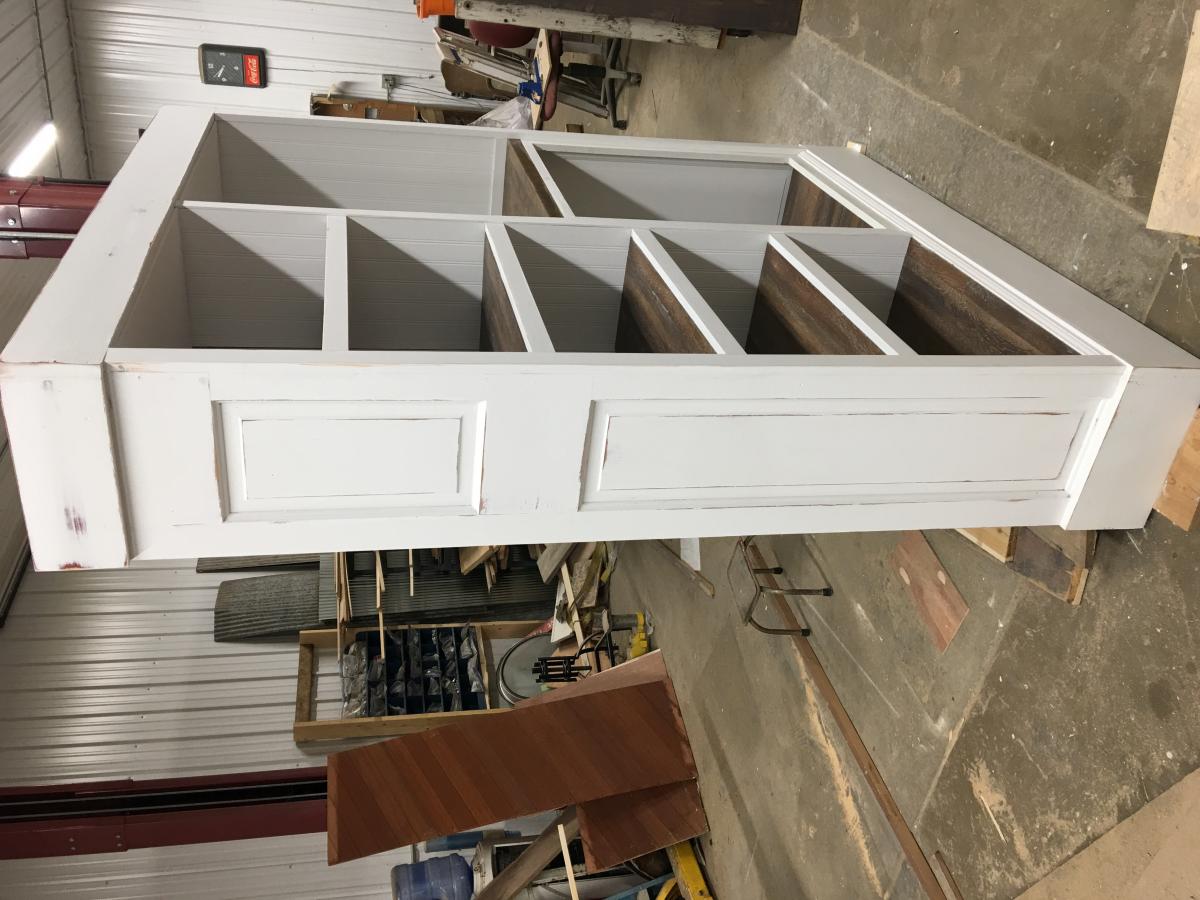
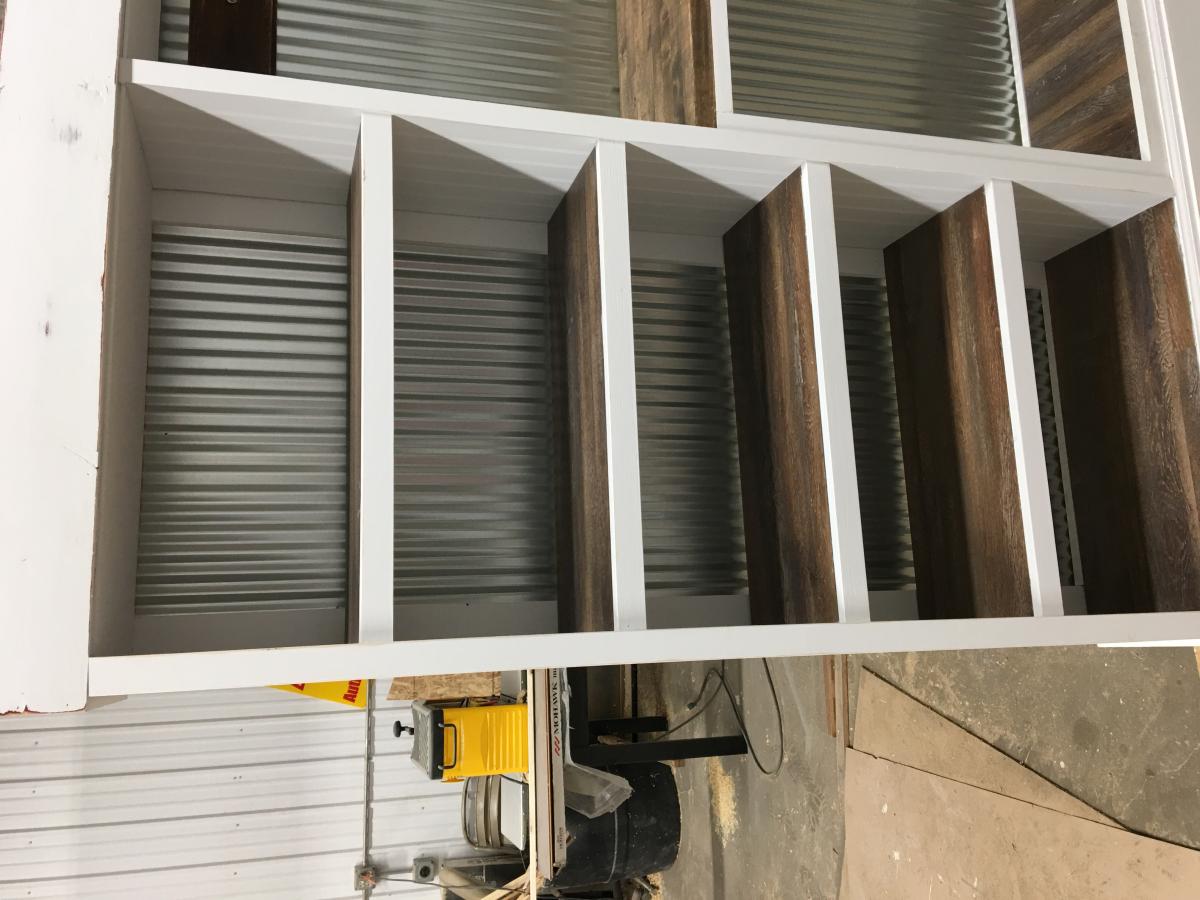
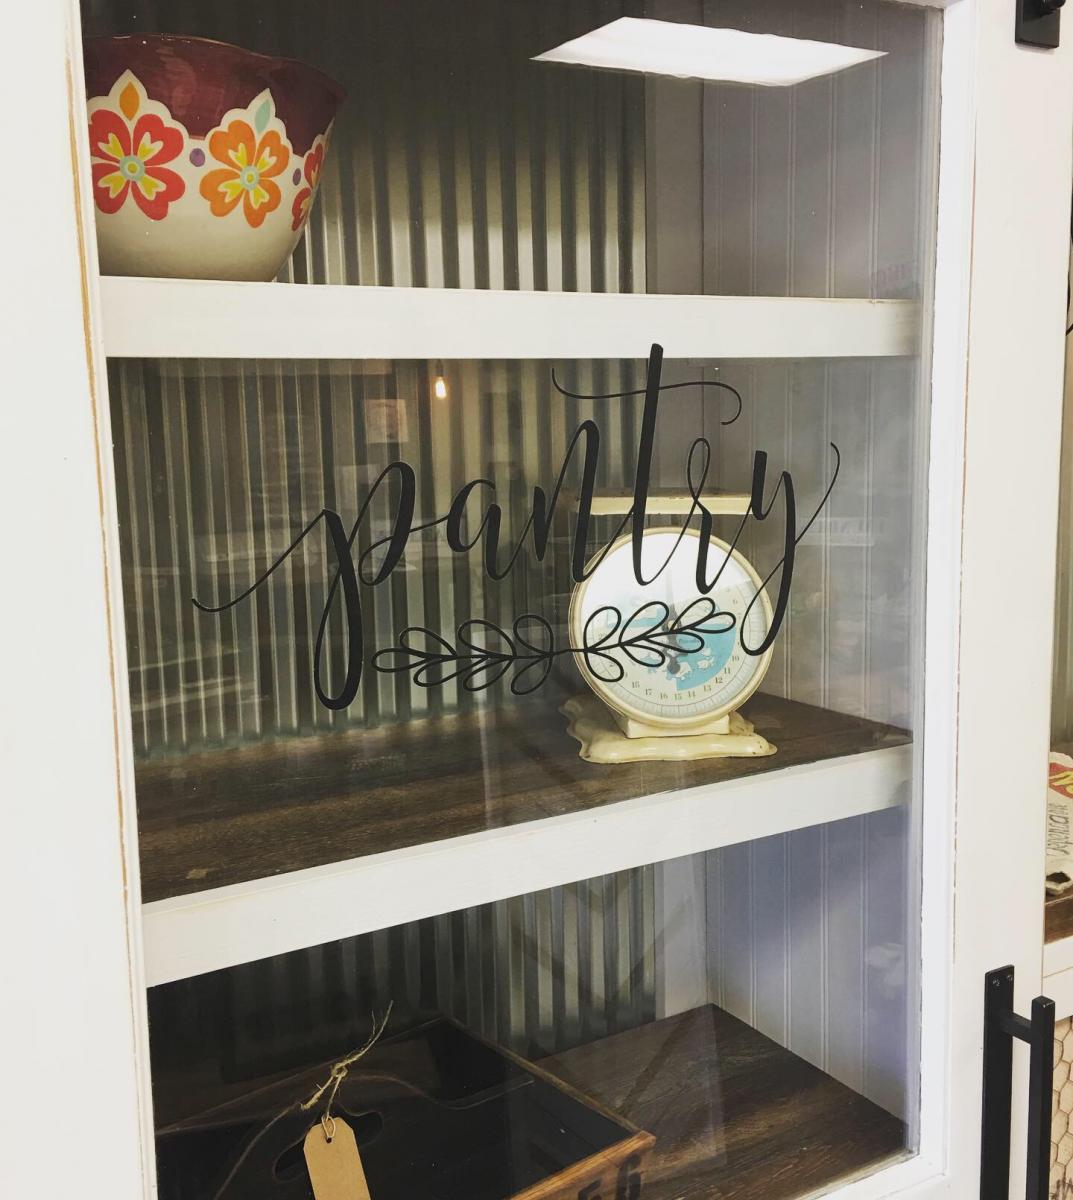
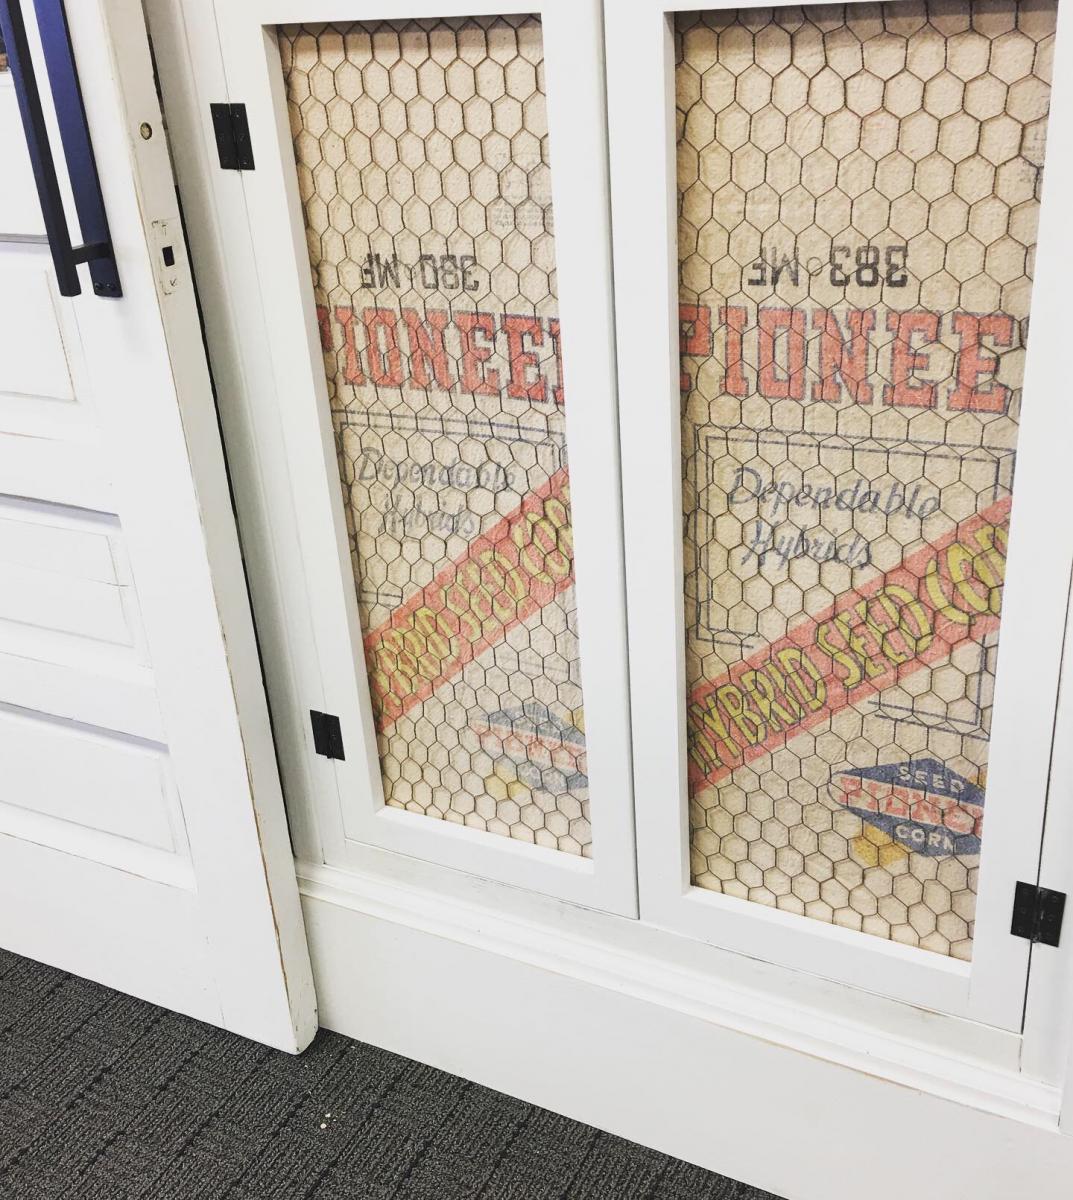
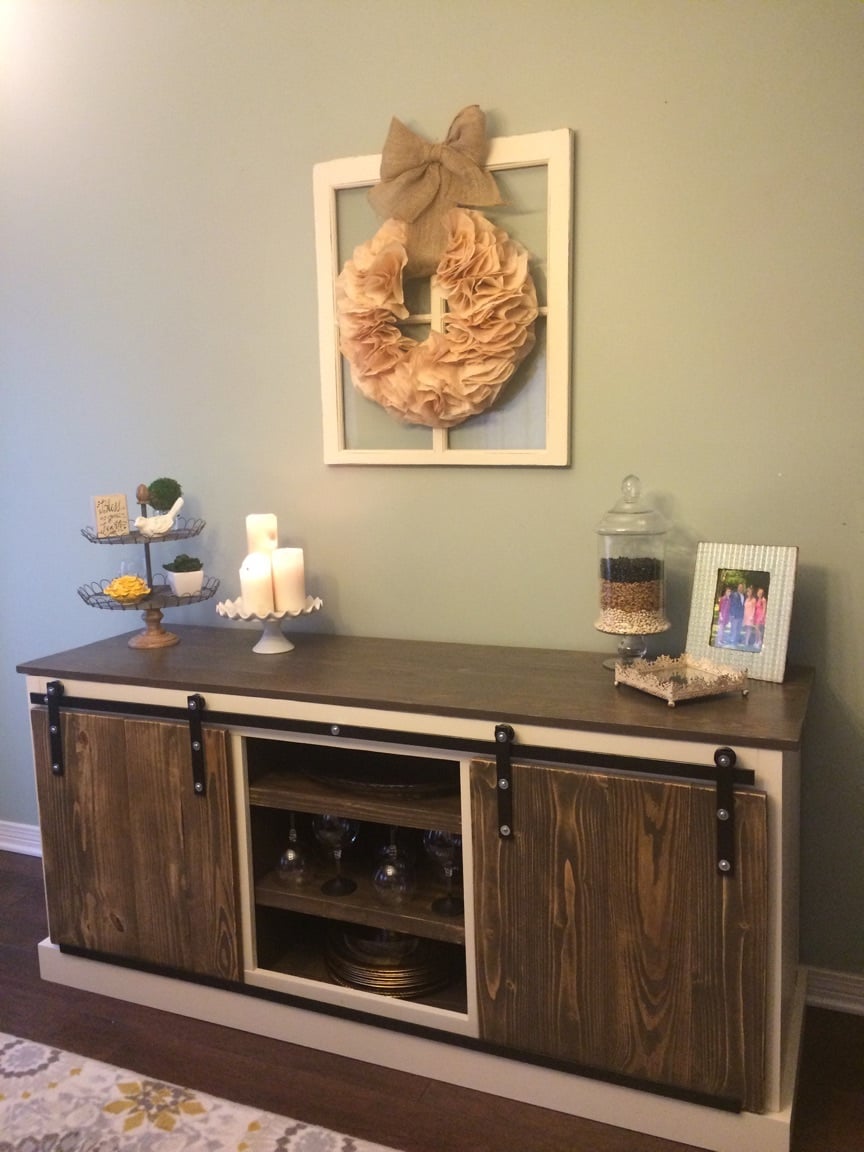
The Barn door cabinet / pantry is one of my favorite Ana White plans. This is the second one I’ve made and this time I challenged myself to use almost all repurposed materials. I wanted to use old doors so I adjusted the plans around them. He sides are an old door I cut in half and the main sliding door is also an old find I cleaned up. The shelves are actually old flat cabinet doors that I covered in laminate flooring (remnant box for $5). I like using laminate flooring to add character and protect high traffic areas from wear and tear. On the right side I added a display counter for your coffee center, tv, or microwave. I added a sconce because everything is cooler with a sconce! I used 2 sheets of galvanized tin on the back. My favorite feature though is the recycling center I added at the bottom. I just made some simple door frames with 1x4s stripped in half and then covered them in chicken wire and old Pioneer seed sacks.
I love Ana Whites Pantry design because it adds soo much storage and is completely customizable!
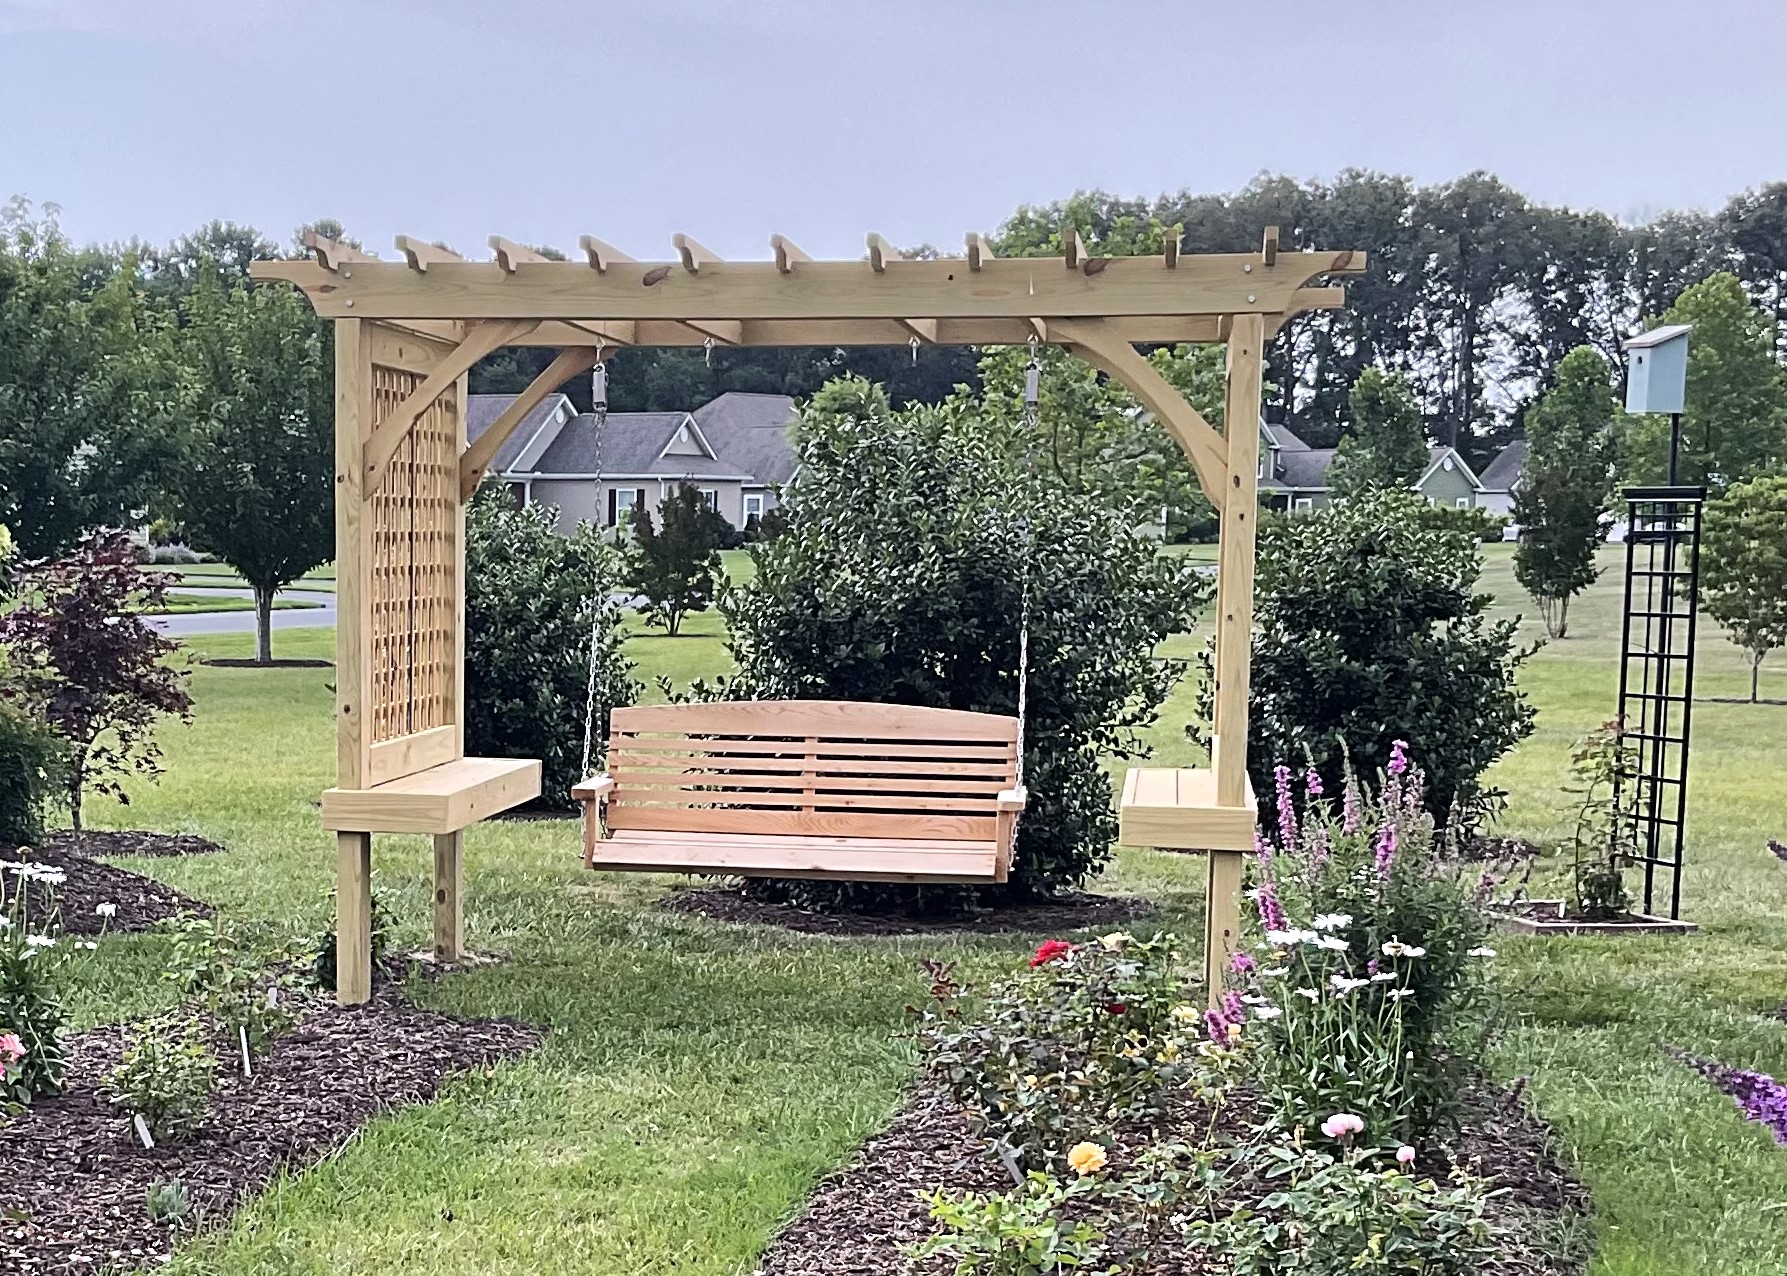
Just saw on instagram that no one bragged about this plan yet. We did order the swing online, but built the outdoor room from your plan. We did put our support posts in concrete, very windy here. Just waiting for the roses to grow up the sides. Thank you for making it easy with your plan.
Bill and Maryann Tate
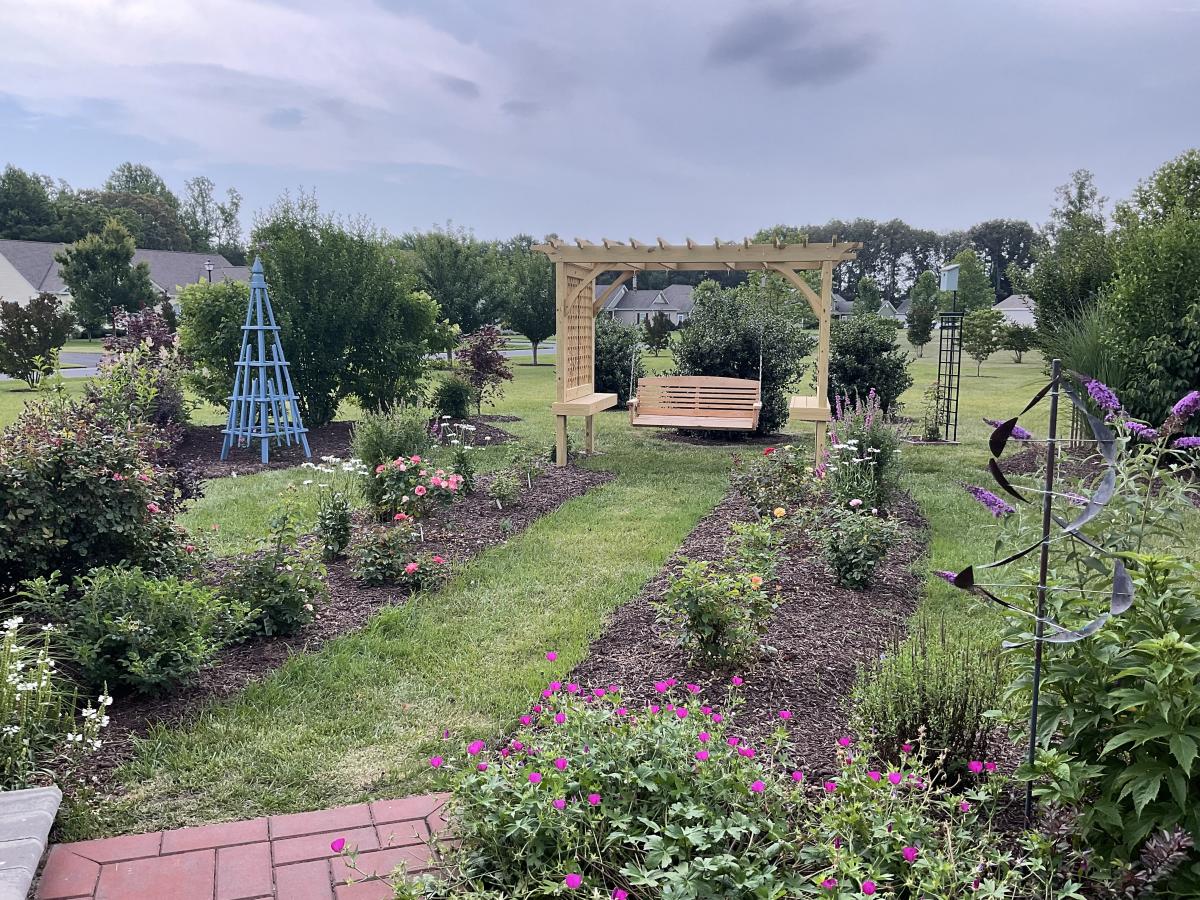
Wed, 08/02/2023 - 16:18
Thanks so much for sharing and adding this project to our brag board, it looks so great!
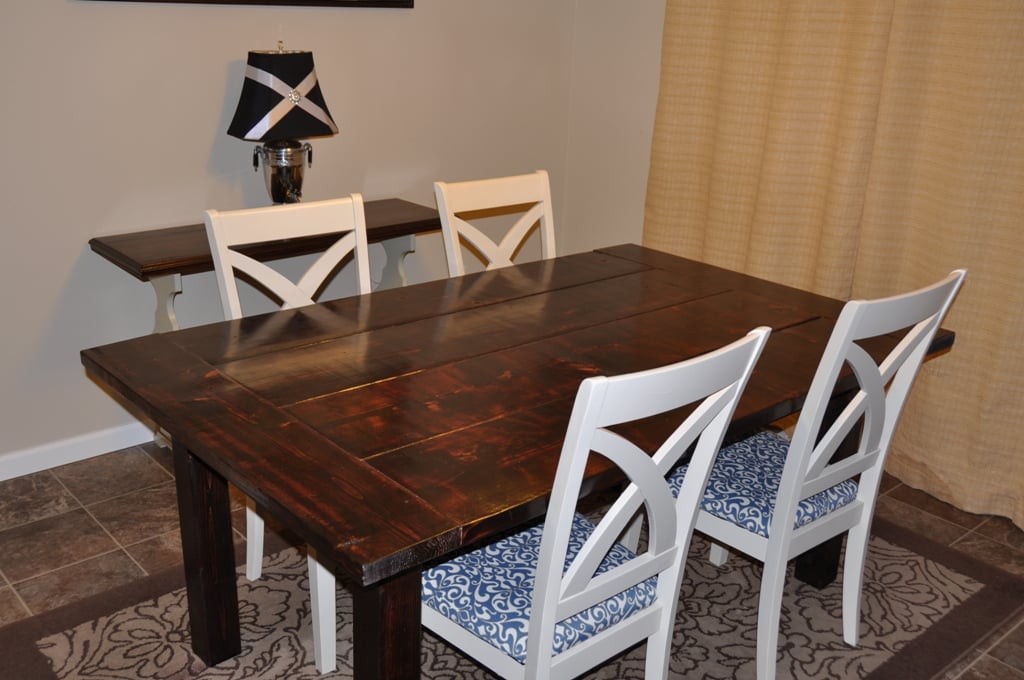
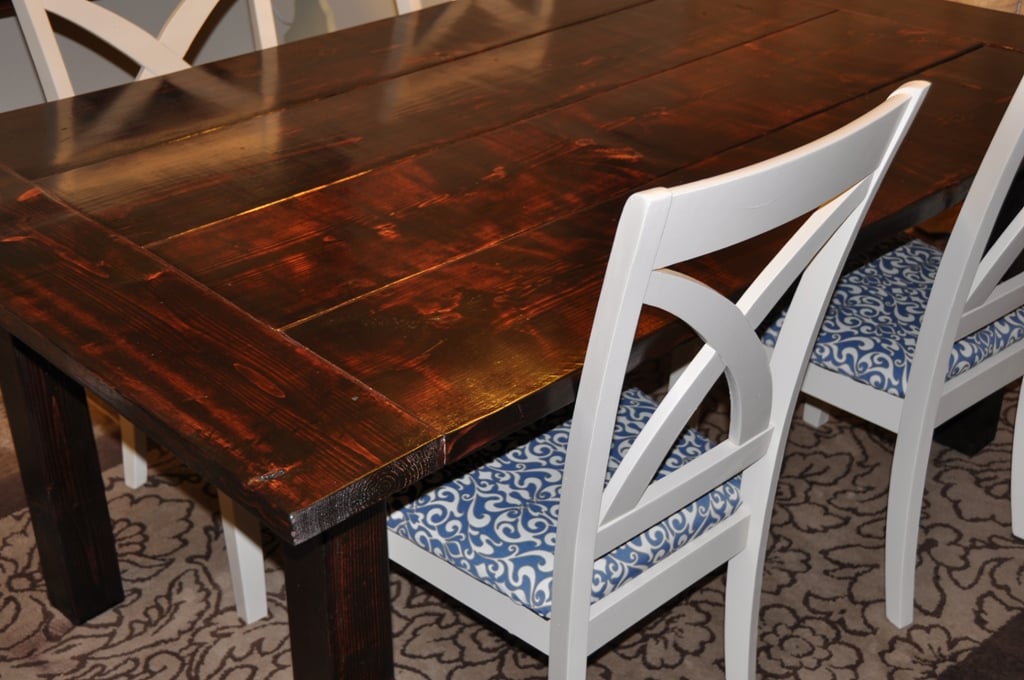
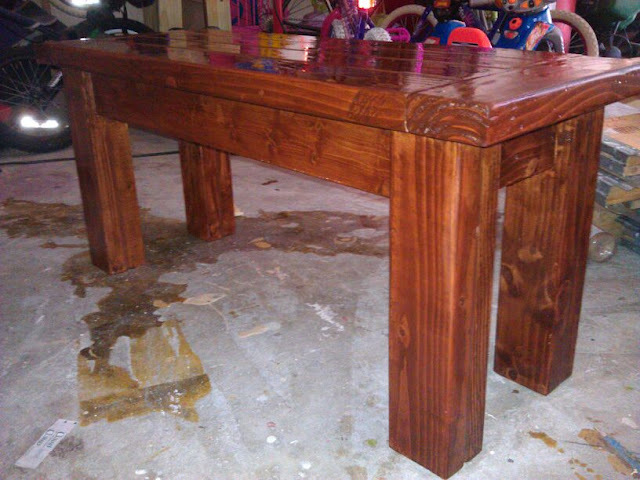
So I went off most of the specs on this table except I didn't want the brace on the bottom. Instead we braced it under the table with extra 2/4s. The longest part of this was the staining and poly due to it being cold as heck in Washington.

Sat, 04/21/2012 - 21:03
Hello,
I love you table! It is beautiful. I too would like to build this table without the brace at the bottom. could you maybe add some photos of how you did the bracing??
thanks!

In reply to details about the bracing under the table by Janelle Kay (not verified)
Fri, 04/27/2012 - 08:45
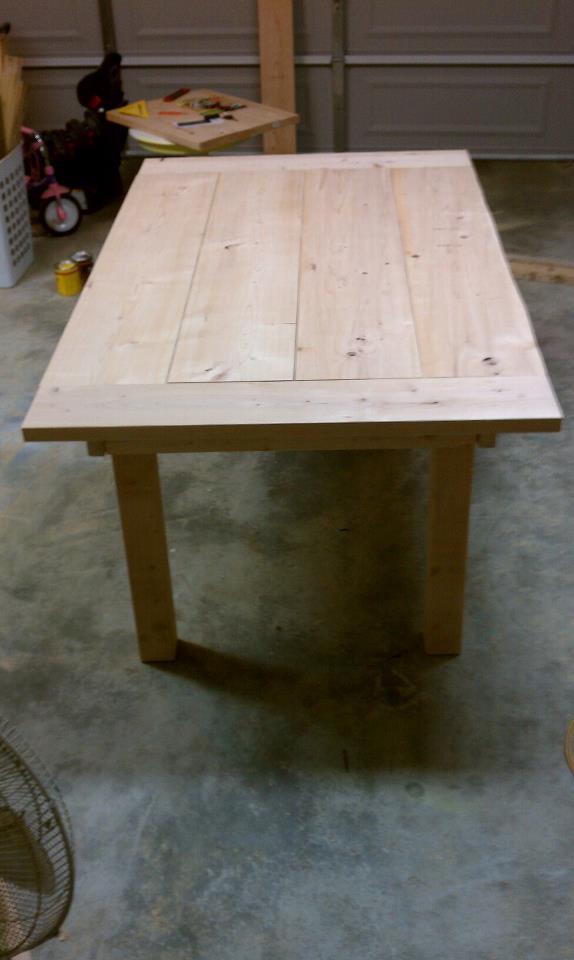
It's actually pretty easy, I took an extra 2x4 and braced it on the table top right against the table legs. It makes the table really sturdy.
Mon, 05/14/2012 - 12:32
I have been looking for a table that I like and that won't break my pocket. Haven't found one so I want to build this. Can you tell be the measurements of the wood pieces that I need. Thank you I would really appreciate it.
Fri, 05/18/2012 - 08:41
All the measurements I used are on the link below. This is a pretty easy build as long as you have the right tools. The only difference with my table I didn't use the leg braces like the plan states, I braced my legs right under the table so you wouldn't be able see the braces.
http://ana-white.com/2012/02/plans/farmhouse-dining-table
Mike

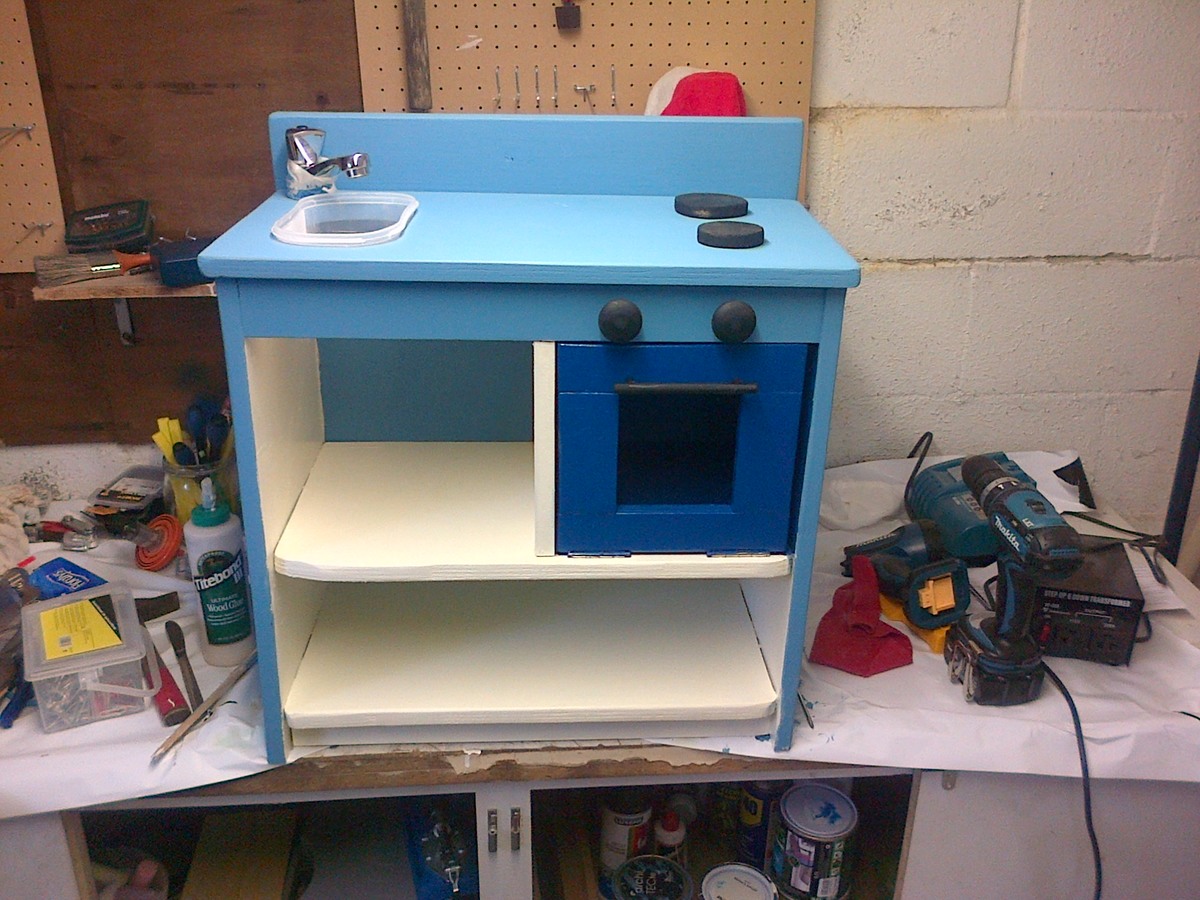
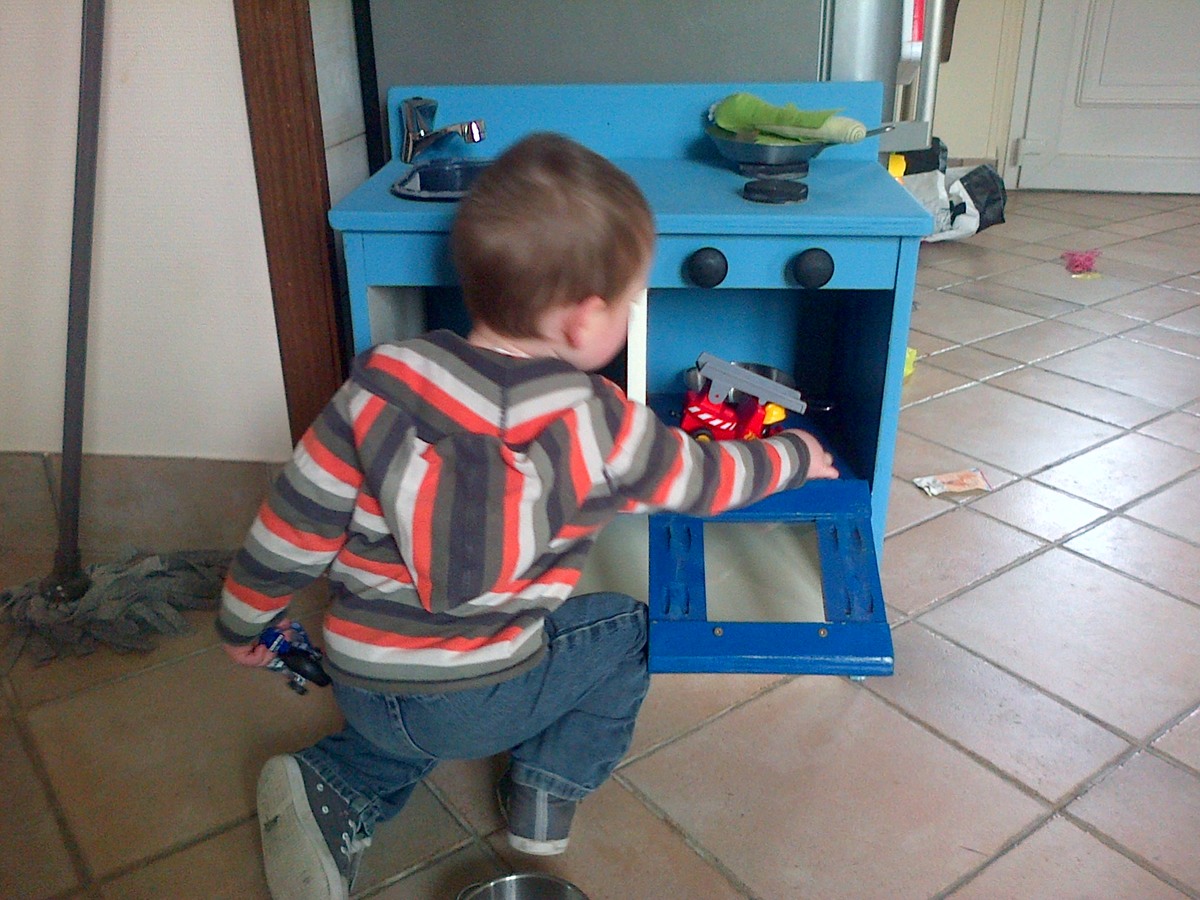
this is the little play kitchen I made for my kids for Christmas (they are 3 years old and almost 2 years old). It was my first project.
My husband has been interested in woodworking for a while and owns some tools. We watched a lot of the new yankee workshop videos together. I received the homebuilt home last Christmas and didn't get a chance to use it until this November!
I was so happy to read how Ana White and other wood workers did some projects only a couple hours a day after the kids went to bed.
It was a little bit challenging at time and I made many beginners' errors. I also adapted the plan to fit the 2 shelves I had as leftovers from my husband's last project. (We live in France and DIY material is relatively expensive). I also wanted them to have both the oven and the sink but we didn't have enough space to put 2 kitchen modules so i added a divider in the middle of the top shelf and attached it with cleats to the countertop.
I could not find any bowl with a lip to do the sink so I used an ice cream container! and the tap is a real one because it was somehow cheaper than getting a garden tap or a fake/toy one!
I took me about 3 weeks to complete because I could go only a couple hours at a time, sometimes less after the kids were in bed, and being pregnant makes me seriously slower in decision making and acting!
I kept it as a surprise for both my kids and my husband on christmas morning. I'm really happy with the result. Like the book said, it is not perfect and I can see many little mishaps, but it's my first project and I cherish it.


Rustic barn door sliding console.
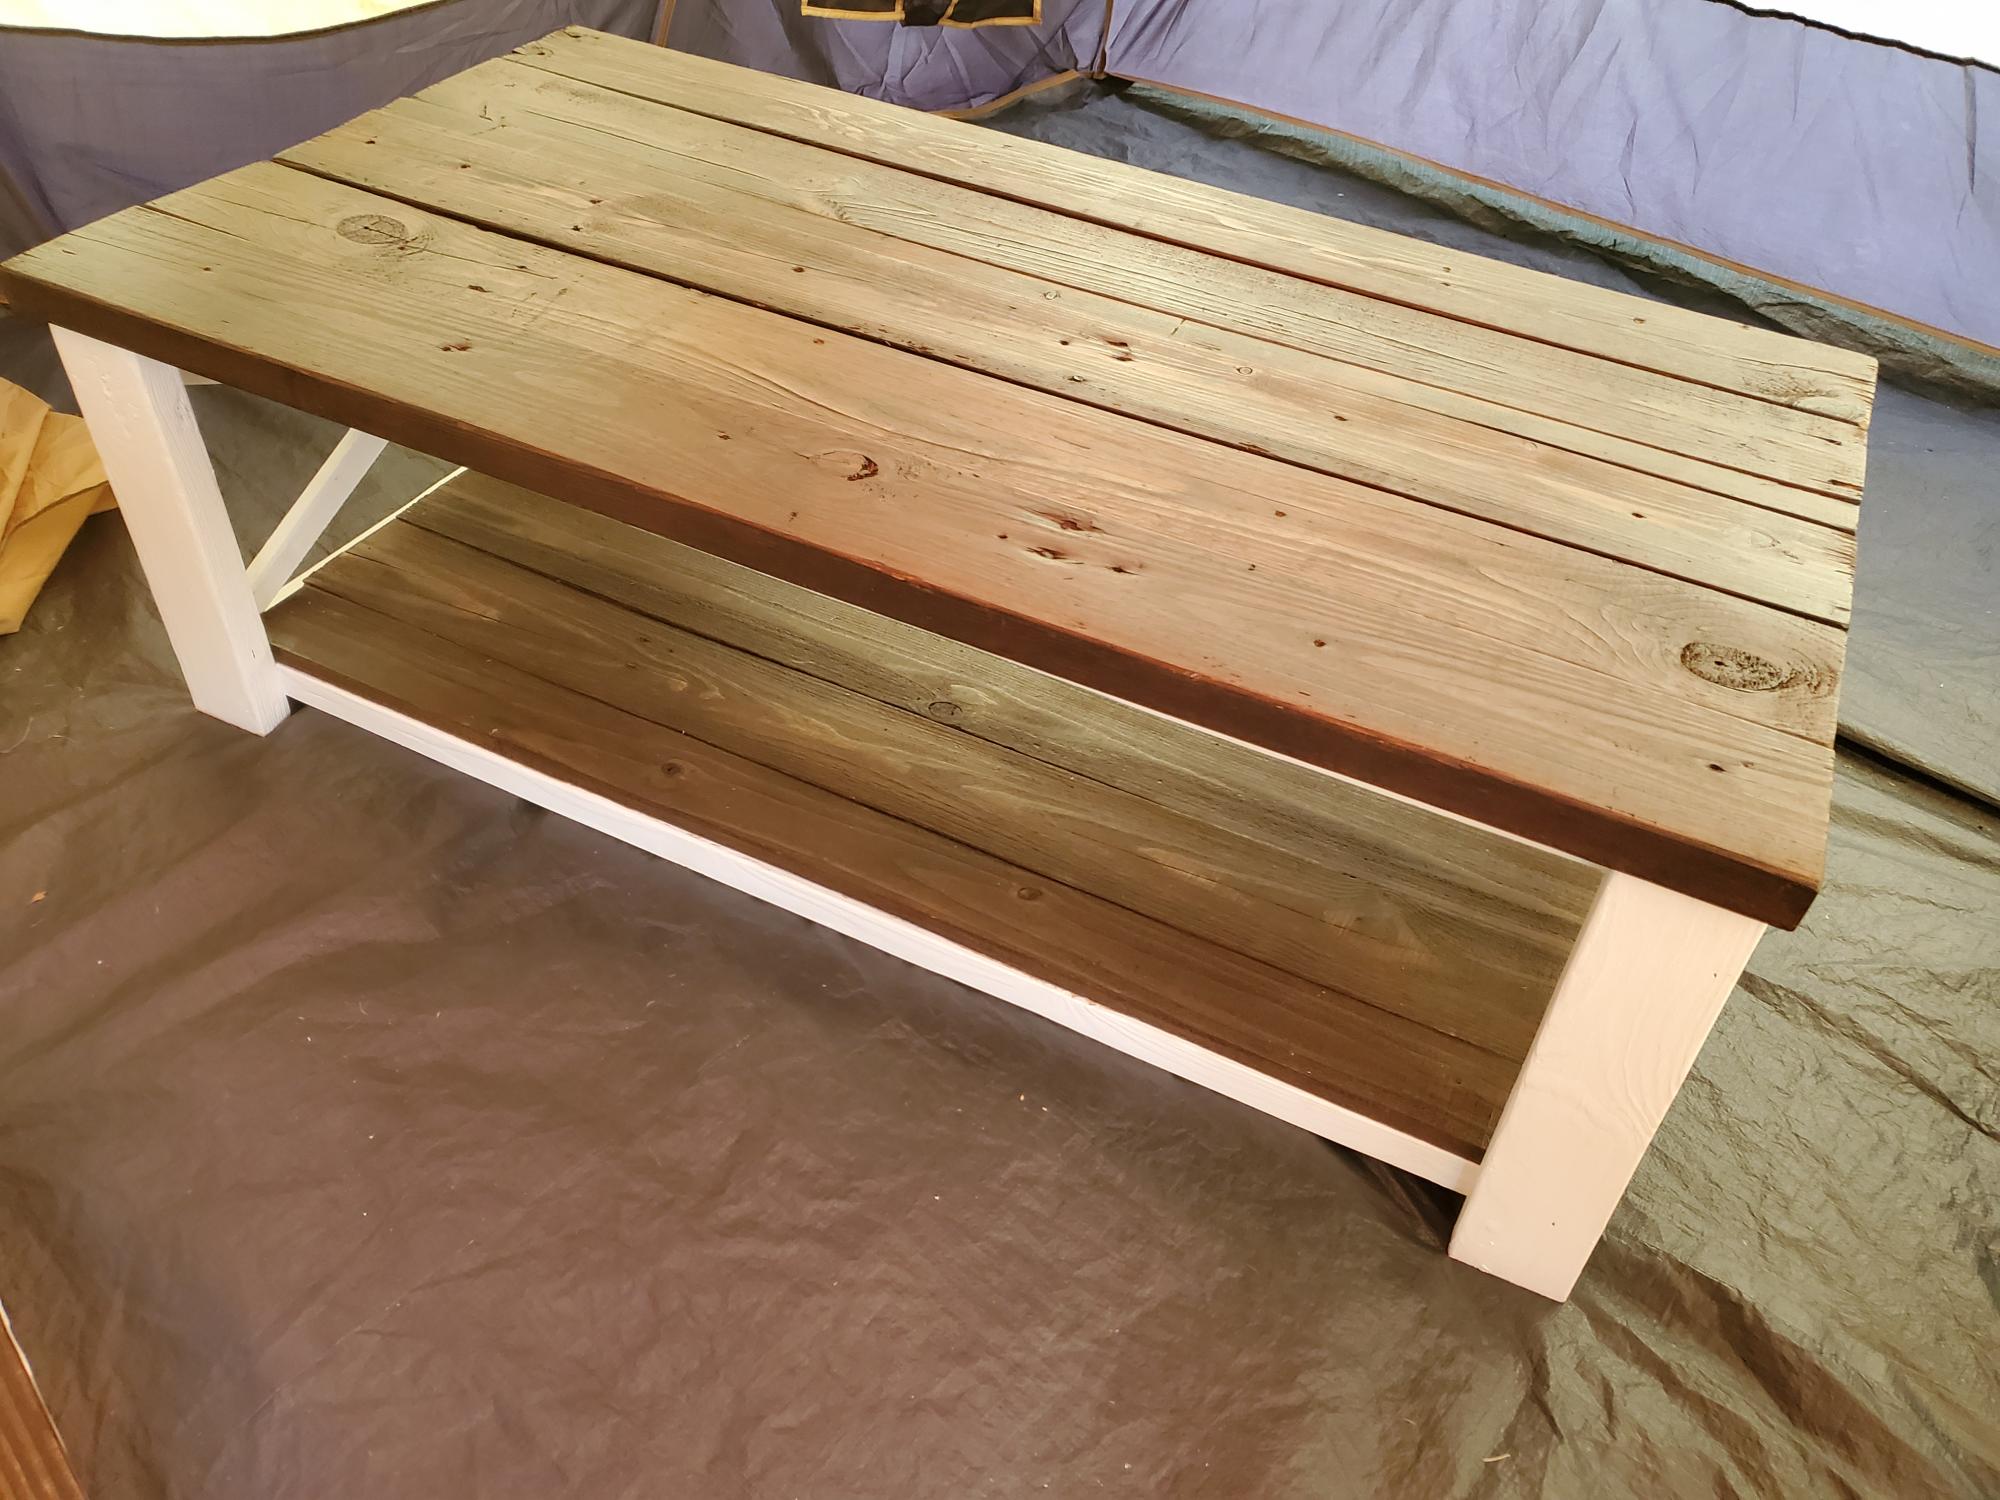
On this project which I use from Ana White designs, I learned how to cut at an angle and I learned what wood too use to get the look you want. I also just wanted to say thank you for showing us diyer how to feel confident about building and using our hands. It is a good therapy, woodworking and creating.
The wood is all made from reclaimed Hurricane Micheal timbers that I cleaned, sanded, detailed, sanded again, painted, stained, and clear coat.
Even though the wood was used and free, it still has a process upon completion
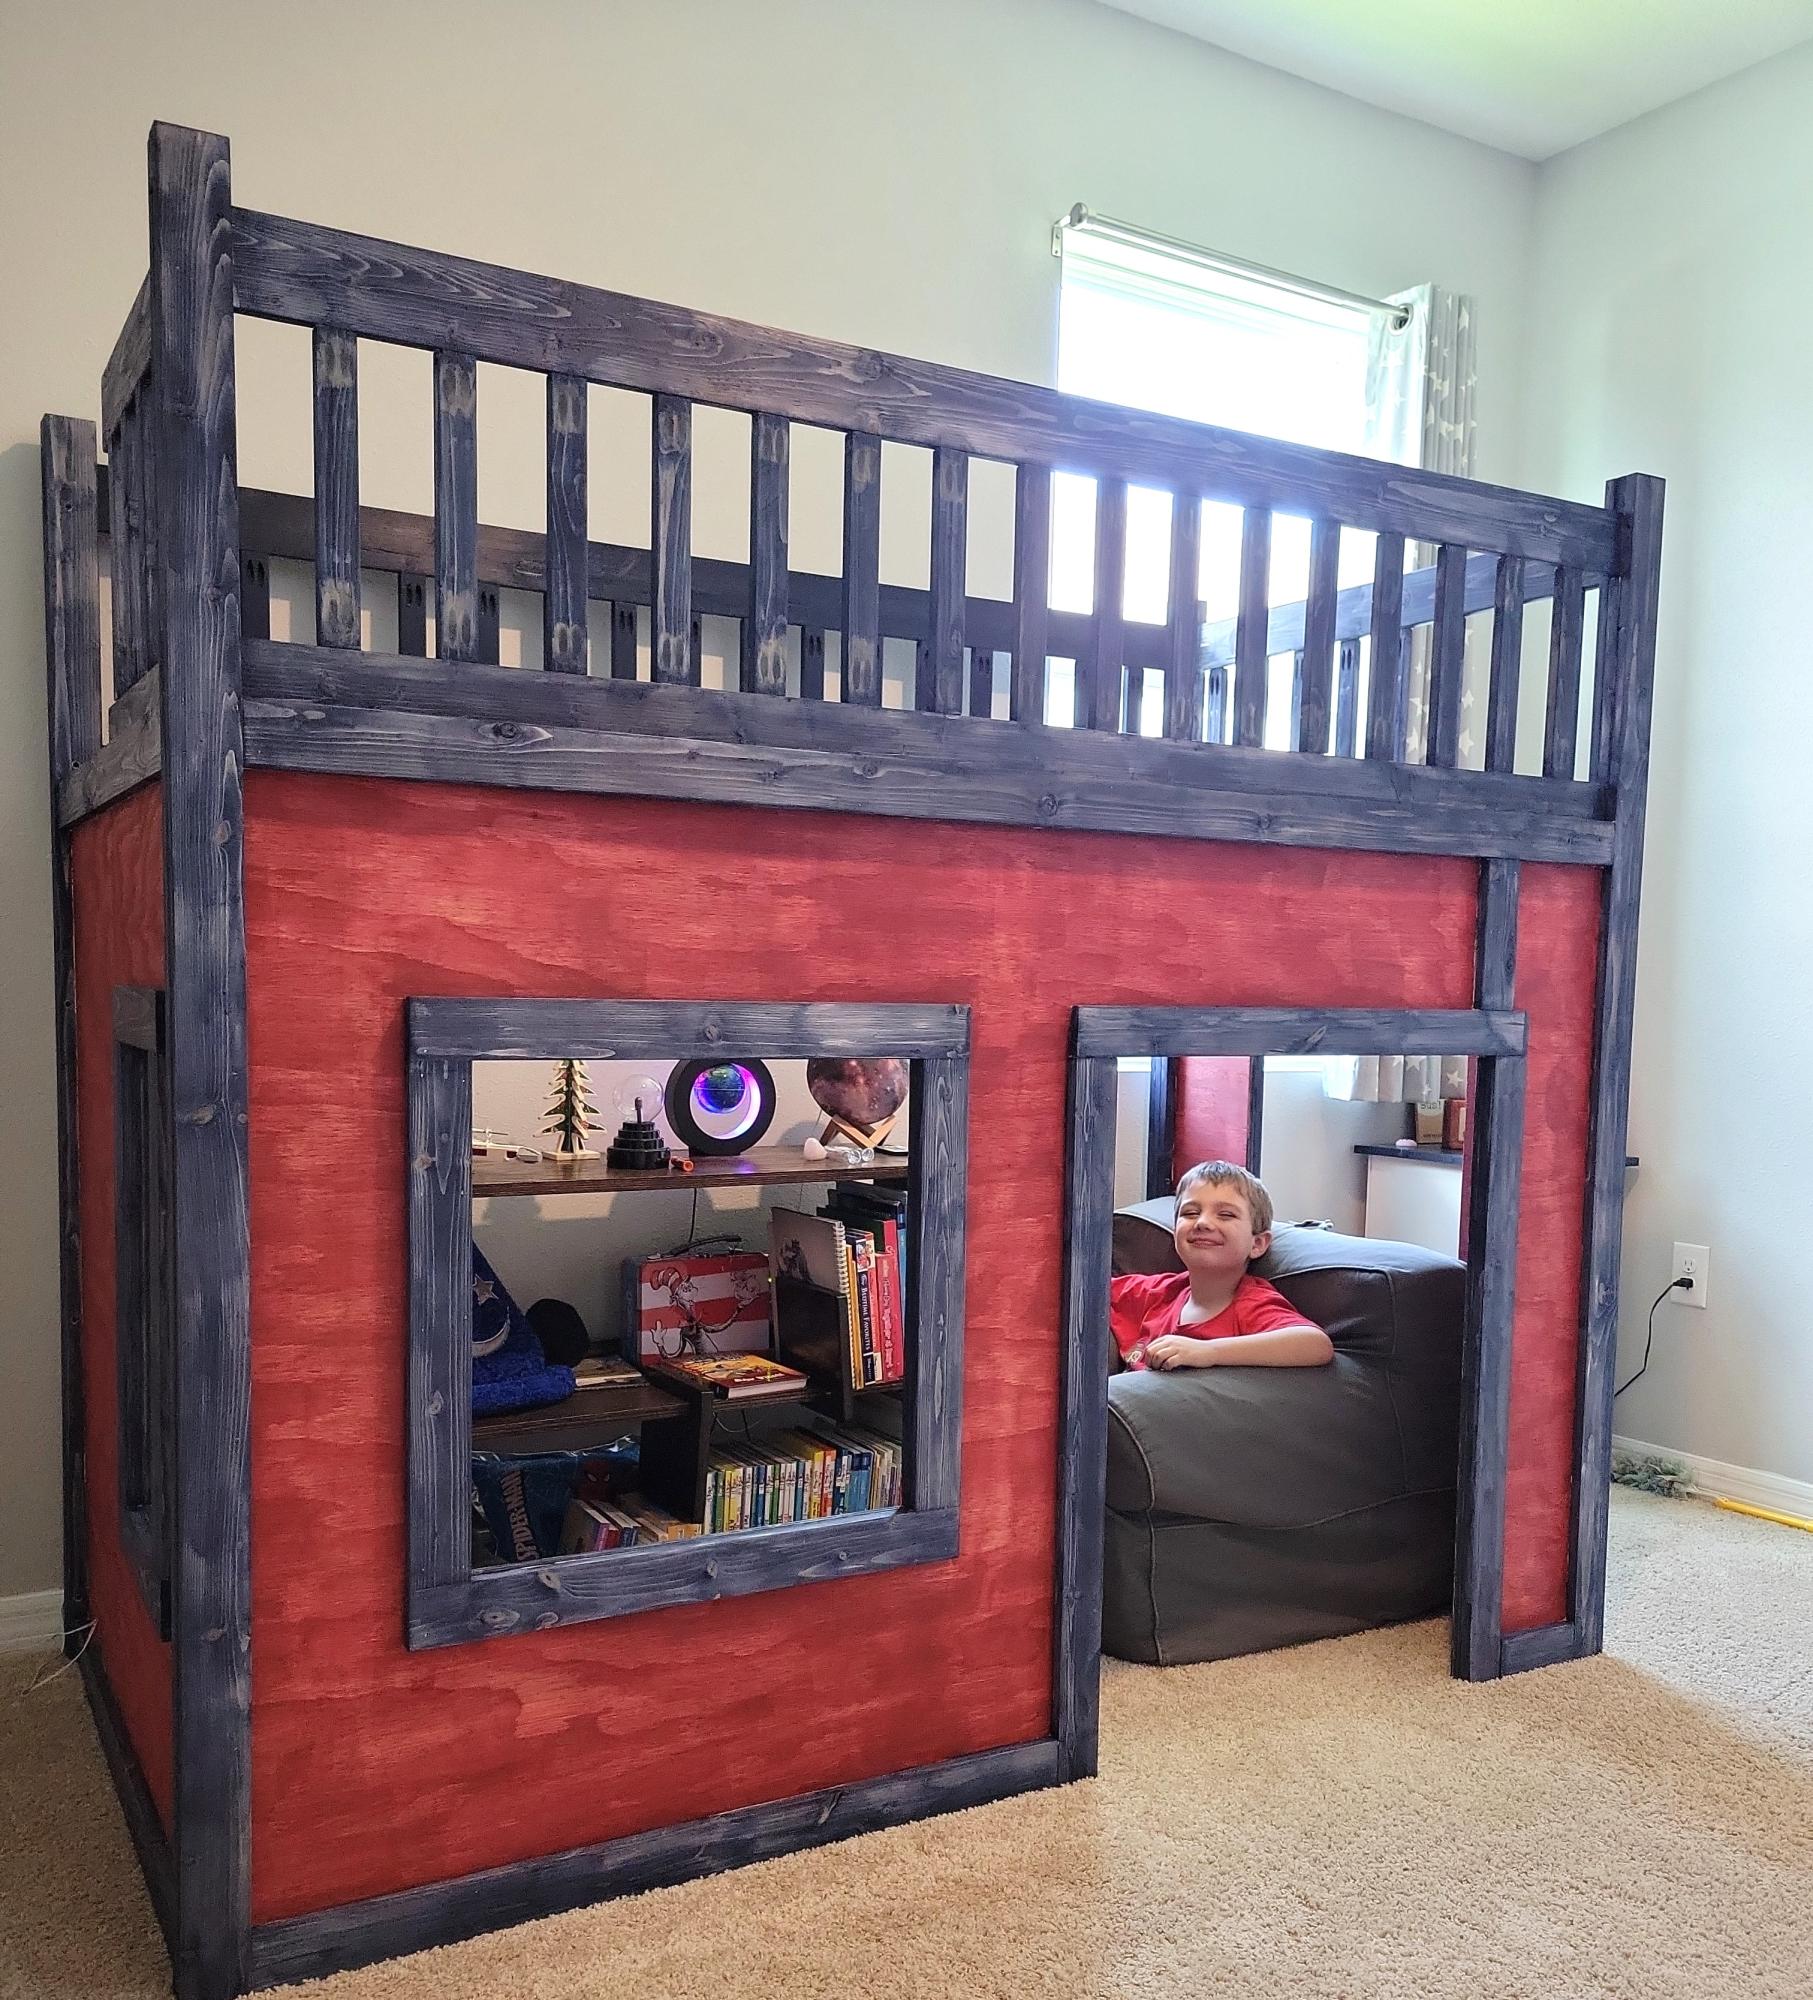
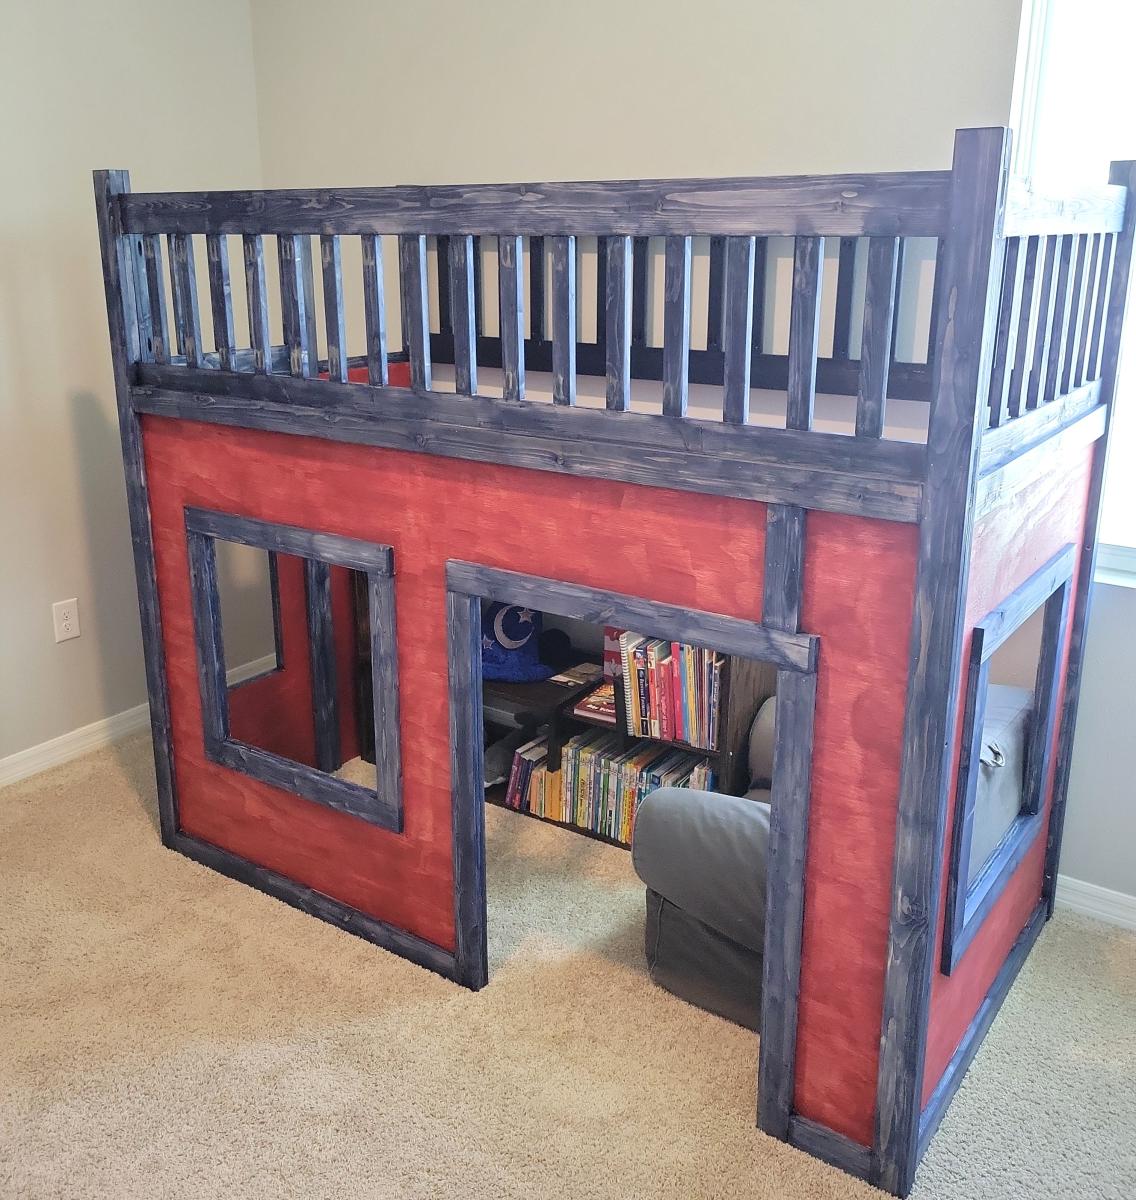
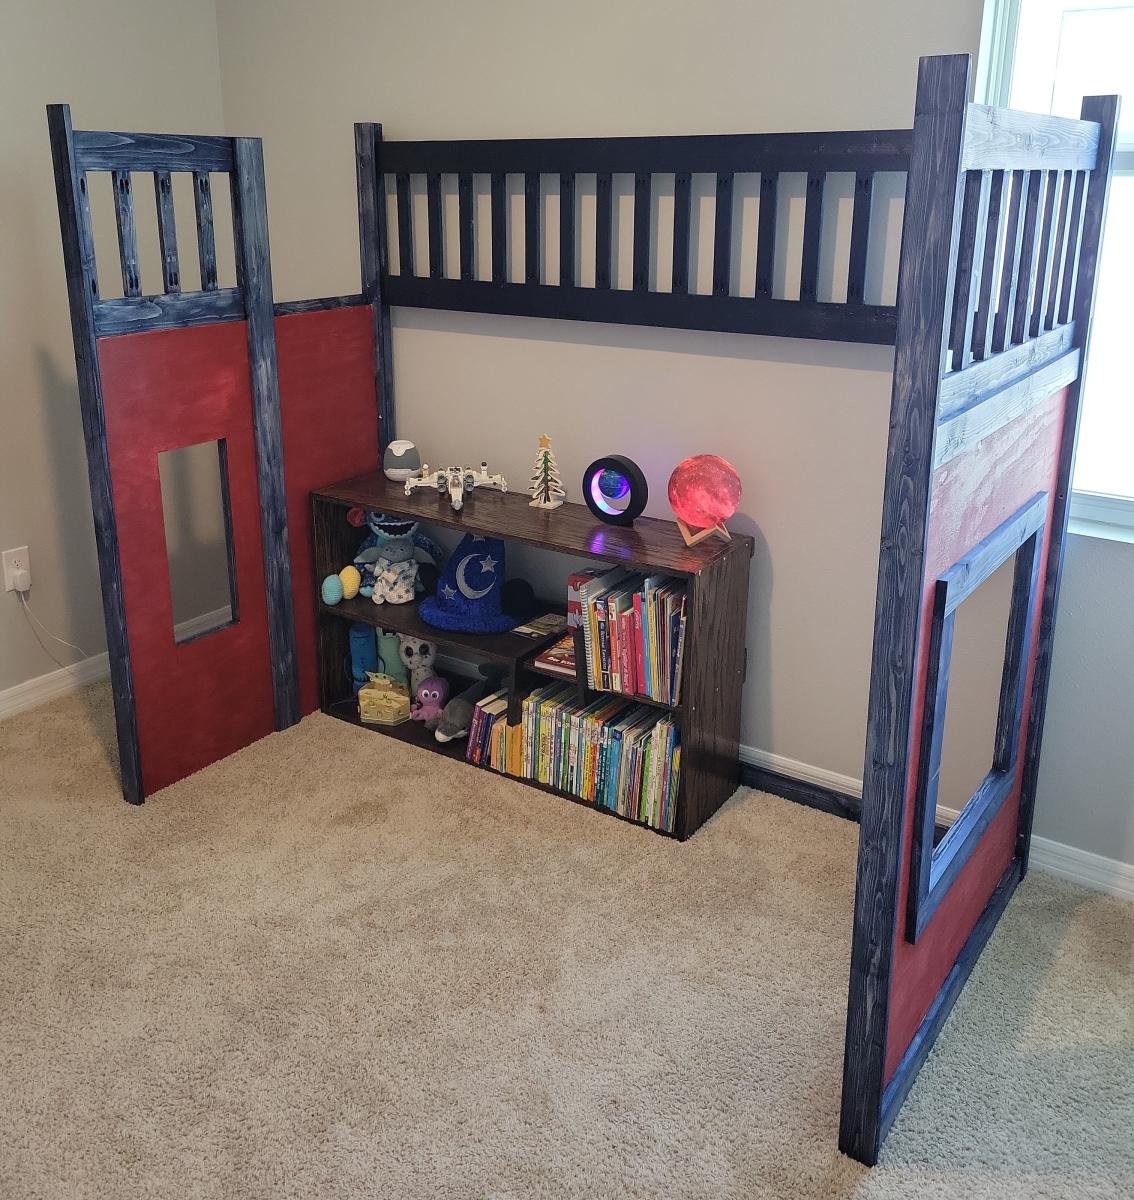
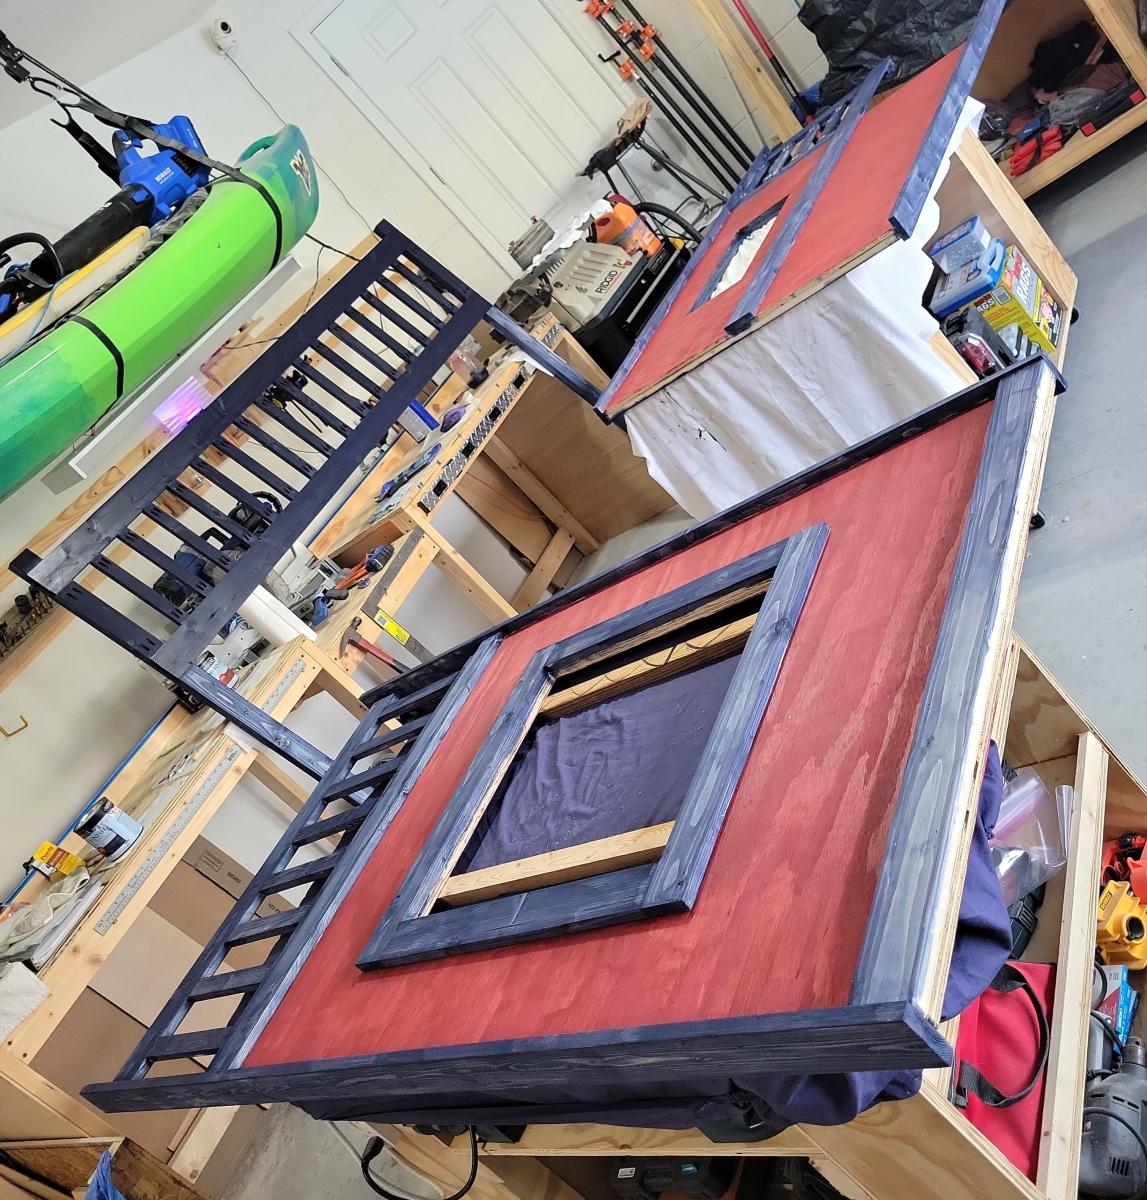
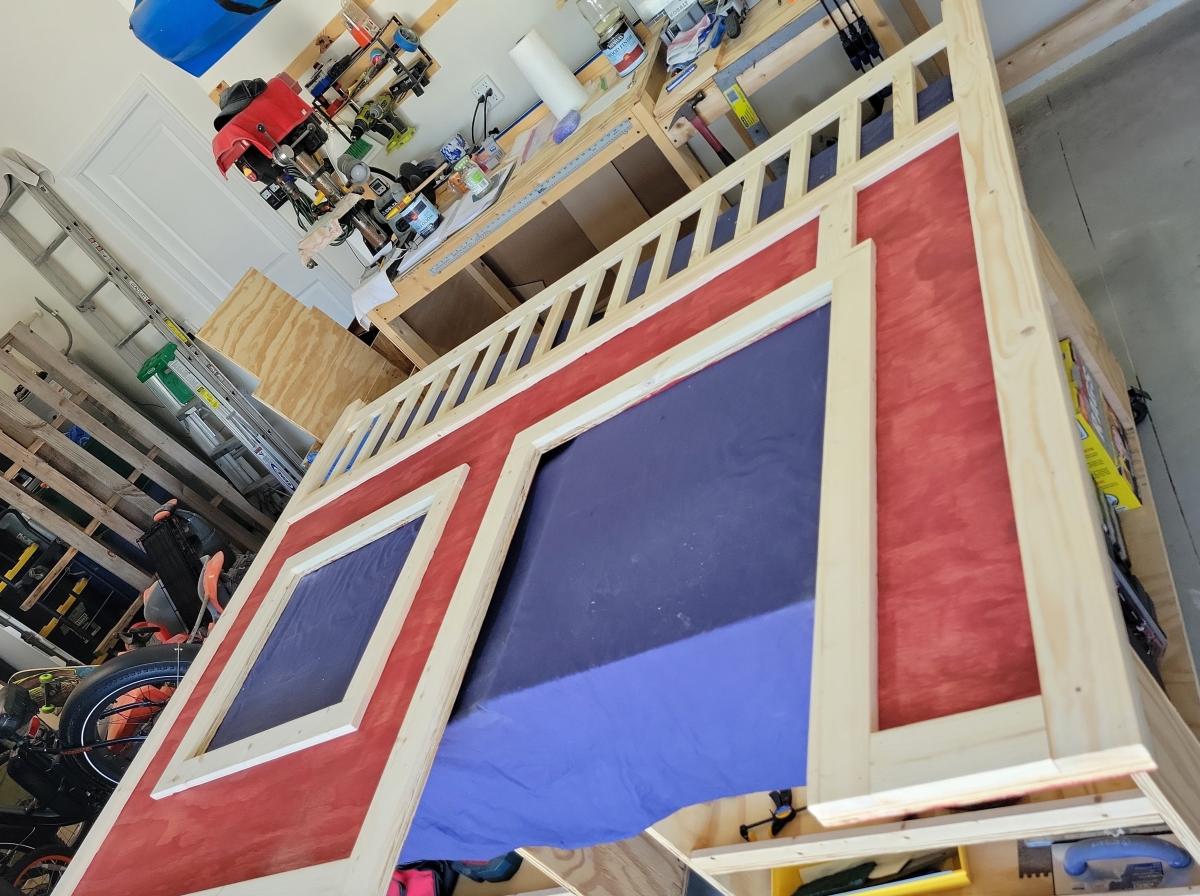
Bunk Bed with a play area under it.
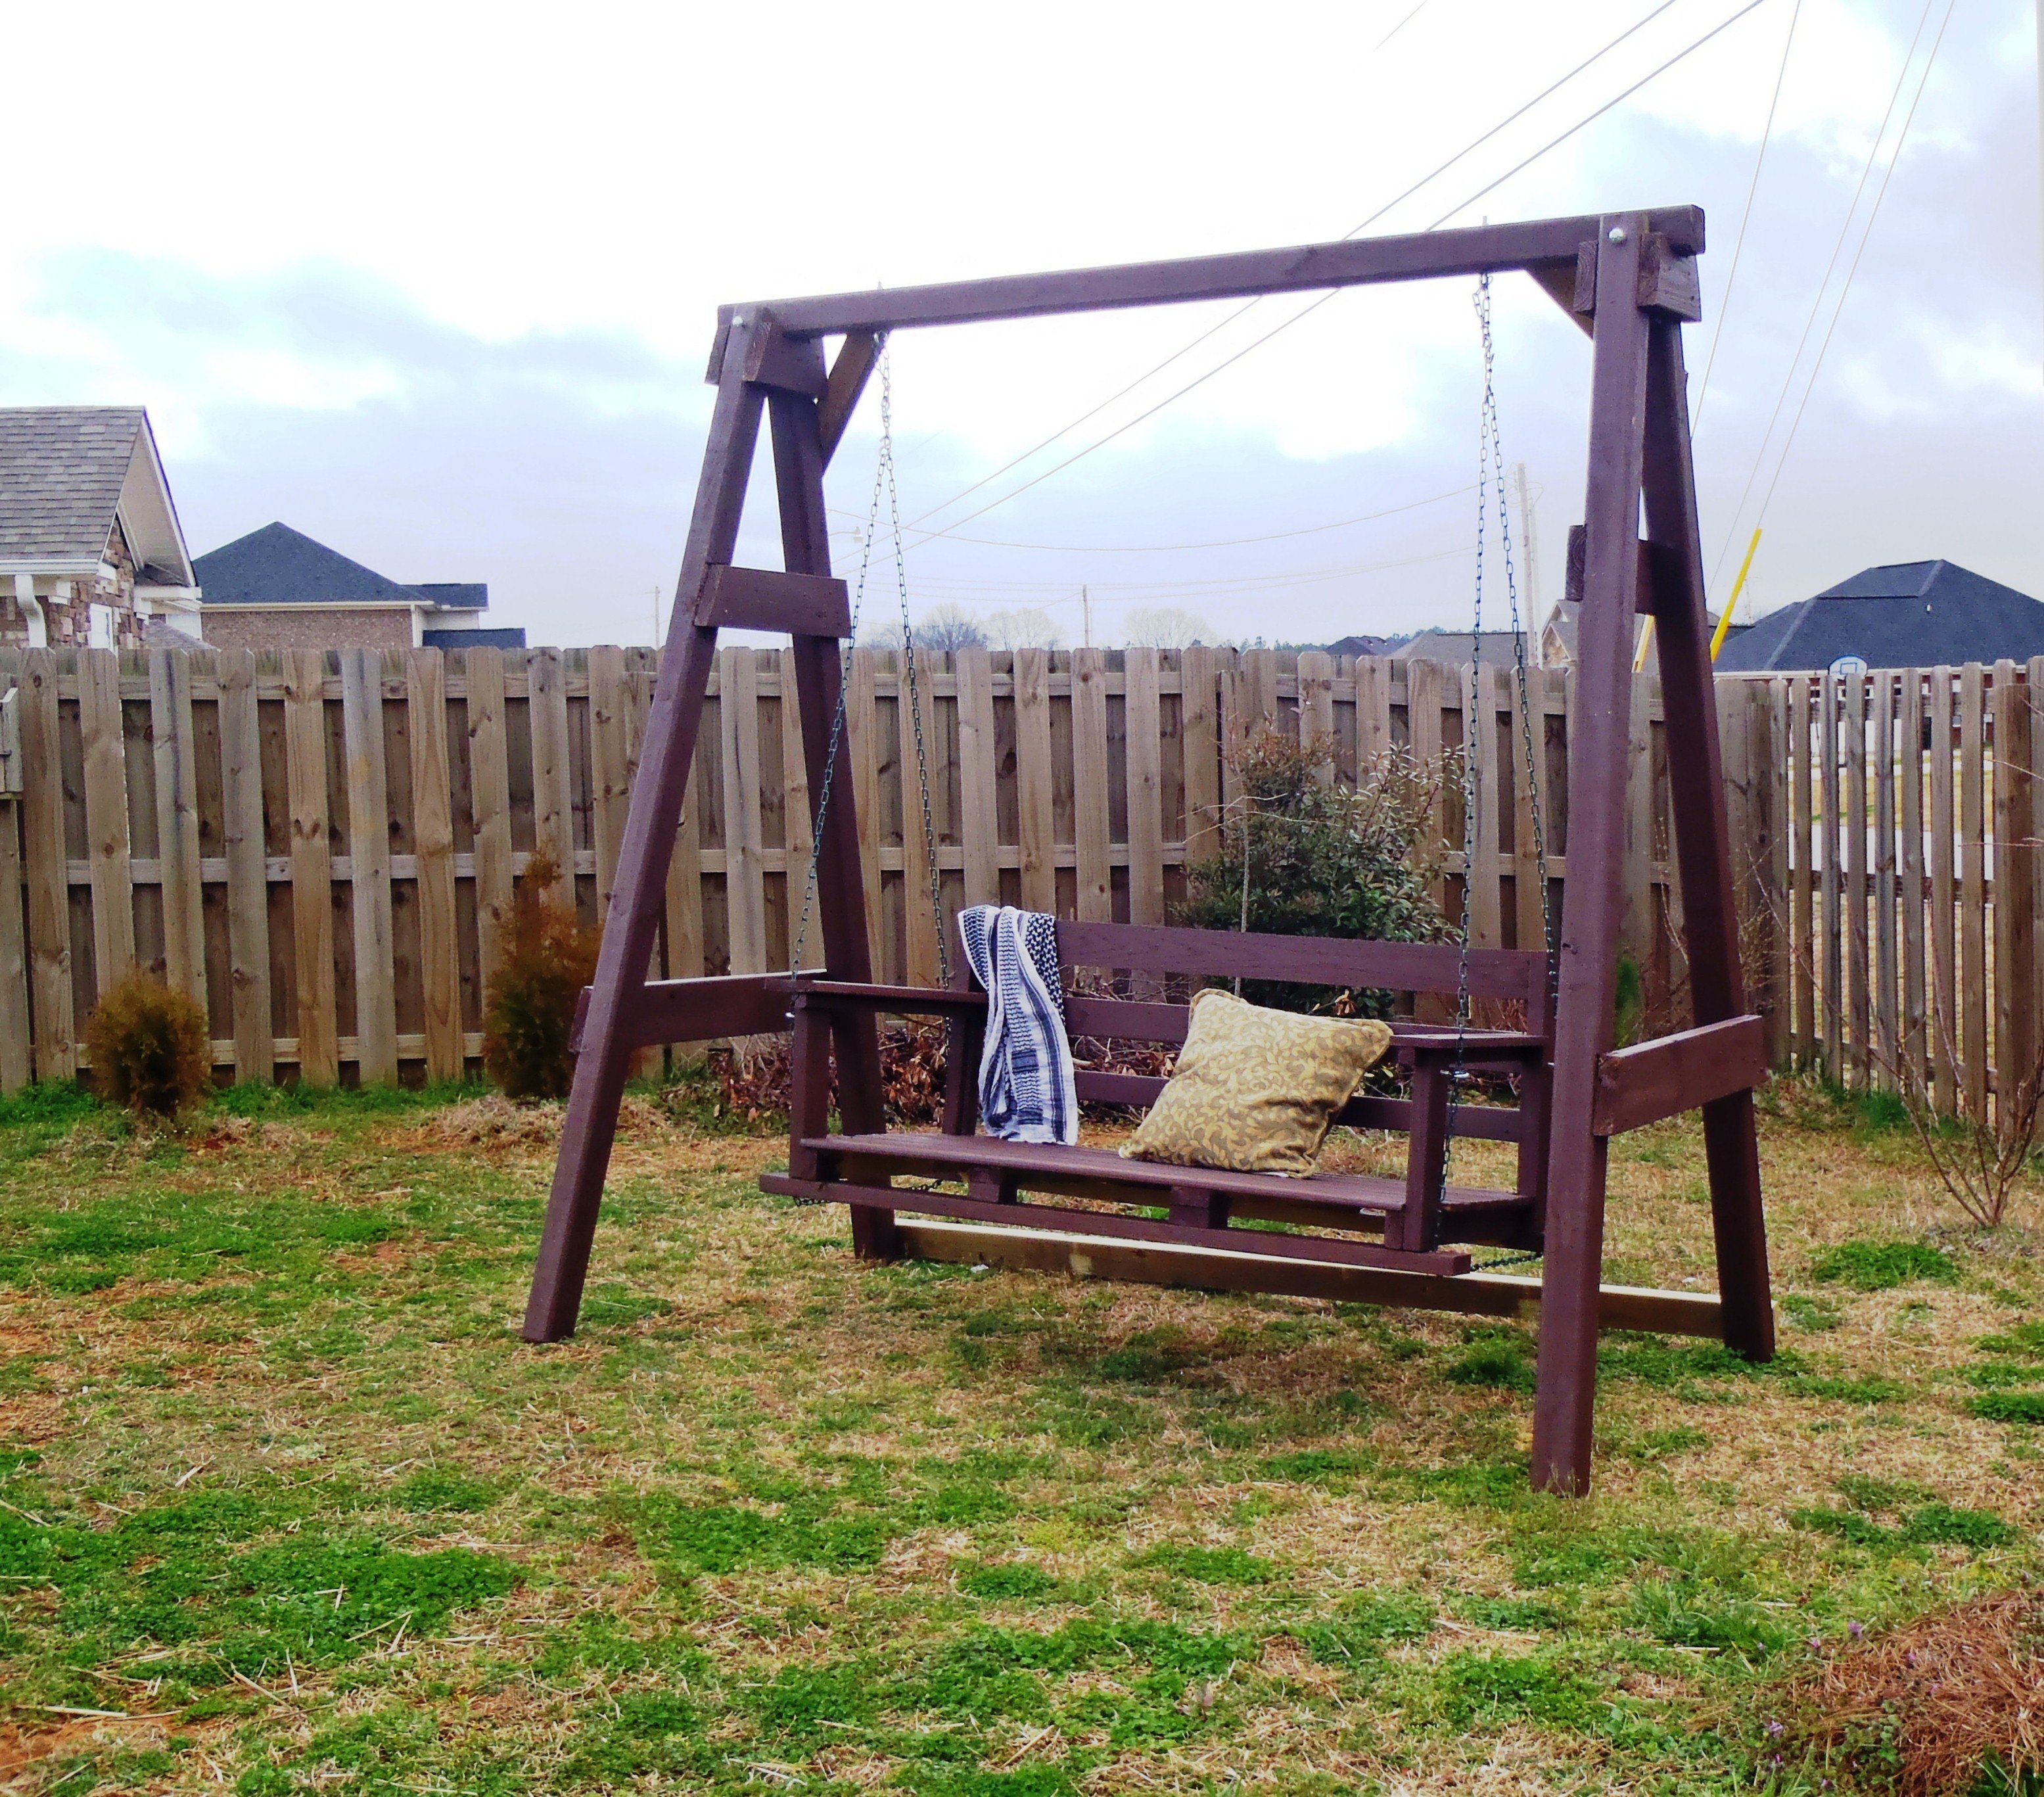
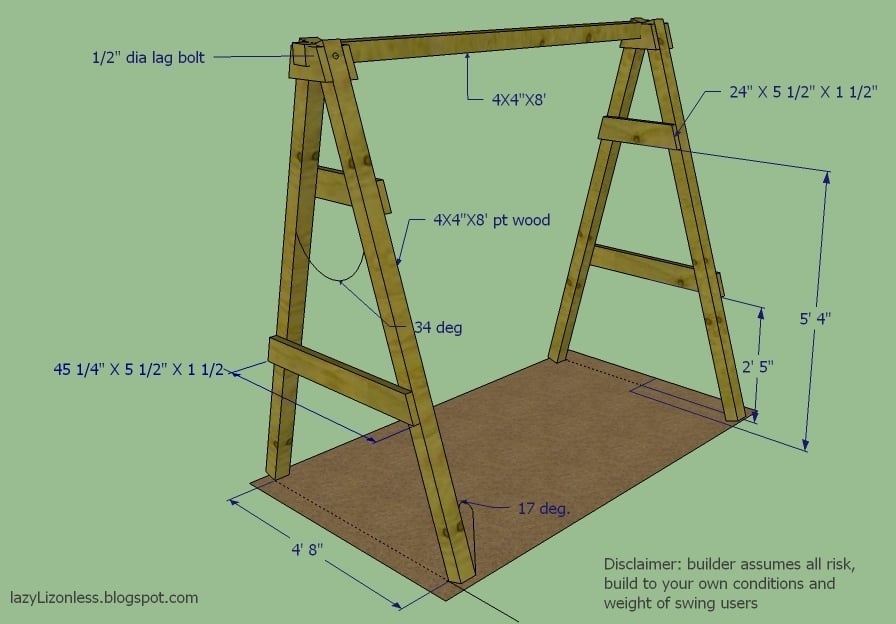
I've finished my swing but my porch don't have enough clearance so I built A frame stand for it.
Fri, 03/02/2012 - 07:09
You did such a great job on your swing! I hope I can build up to making one someday.

In reply to I love this swing! by beachmama79
Thu, 05/10/2012 - 14:02
Thanks and you will. I just added the dimensions in case
Fri, 04/19/2013 - 15:37
I love the idea of adding the A-frame considering that where i live there are no real trees to hang it on and building a porch where one doesn't already exist is a pain in the butt! Lol. How wide do you think we could go before it starts compromising the frames integrity? And how much weight can it hold?
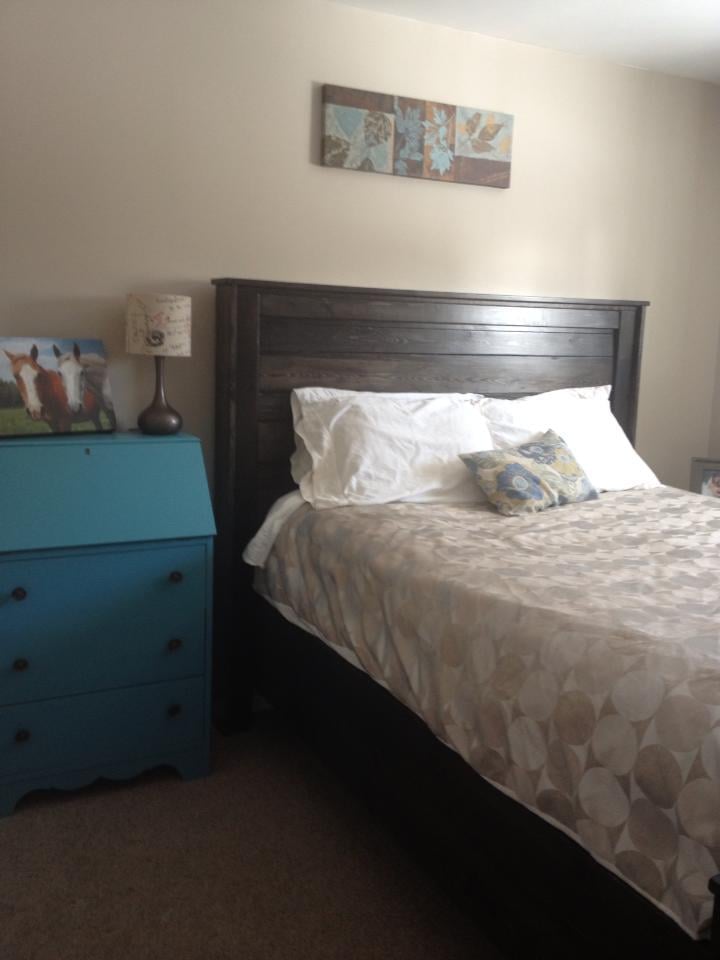
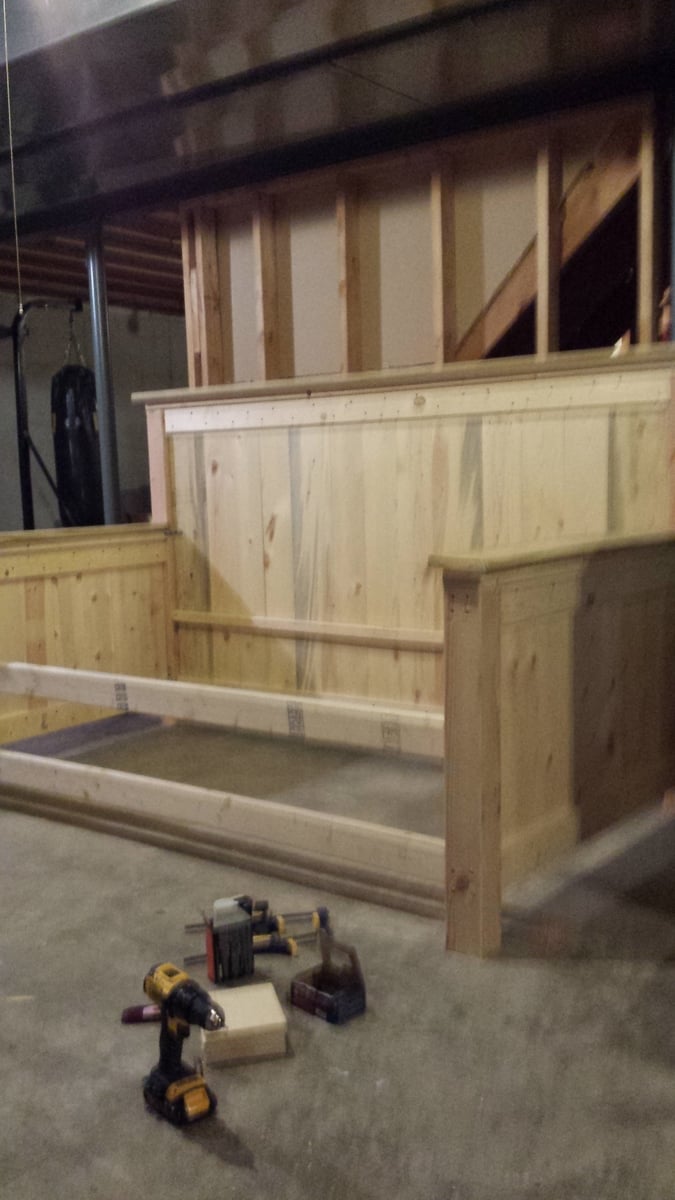
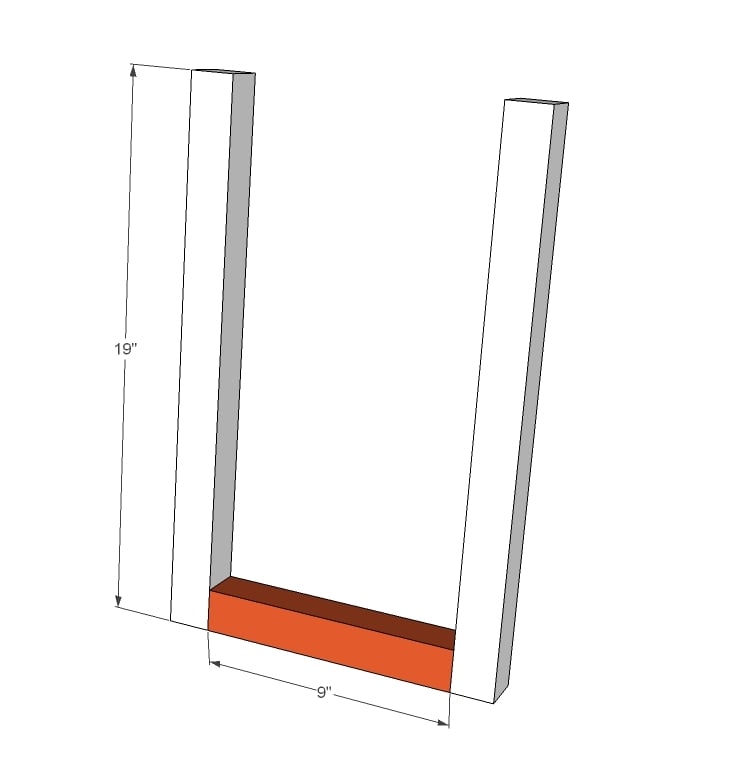
I "doctored" the plans for the reclaimed wood look headboard to using 4x4's for legs and created a footboard of the same style. I then make the siderails for my bedframe by laminating a 2x8 to a 2x6 to completely encase the box frame. I was able to put my boxframe inside by screwing and gluing 2x2's along the inside of the frame. This is a STURDY bed frame!

Mon, 02/06/2017 - 10:07
How did you go about doctoring the plans to use 4x4's instead of 1x3's and 1x2's?
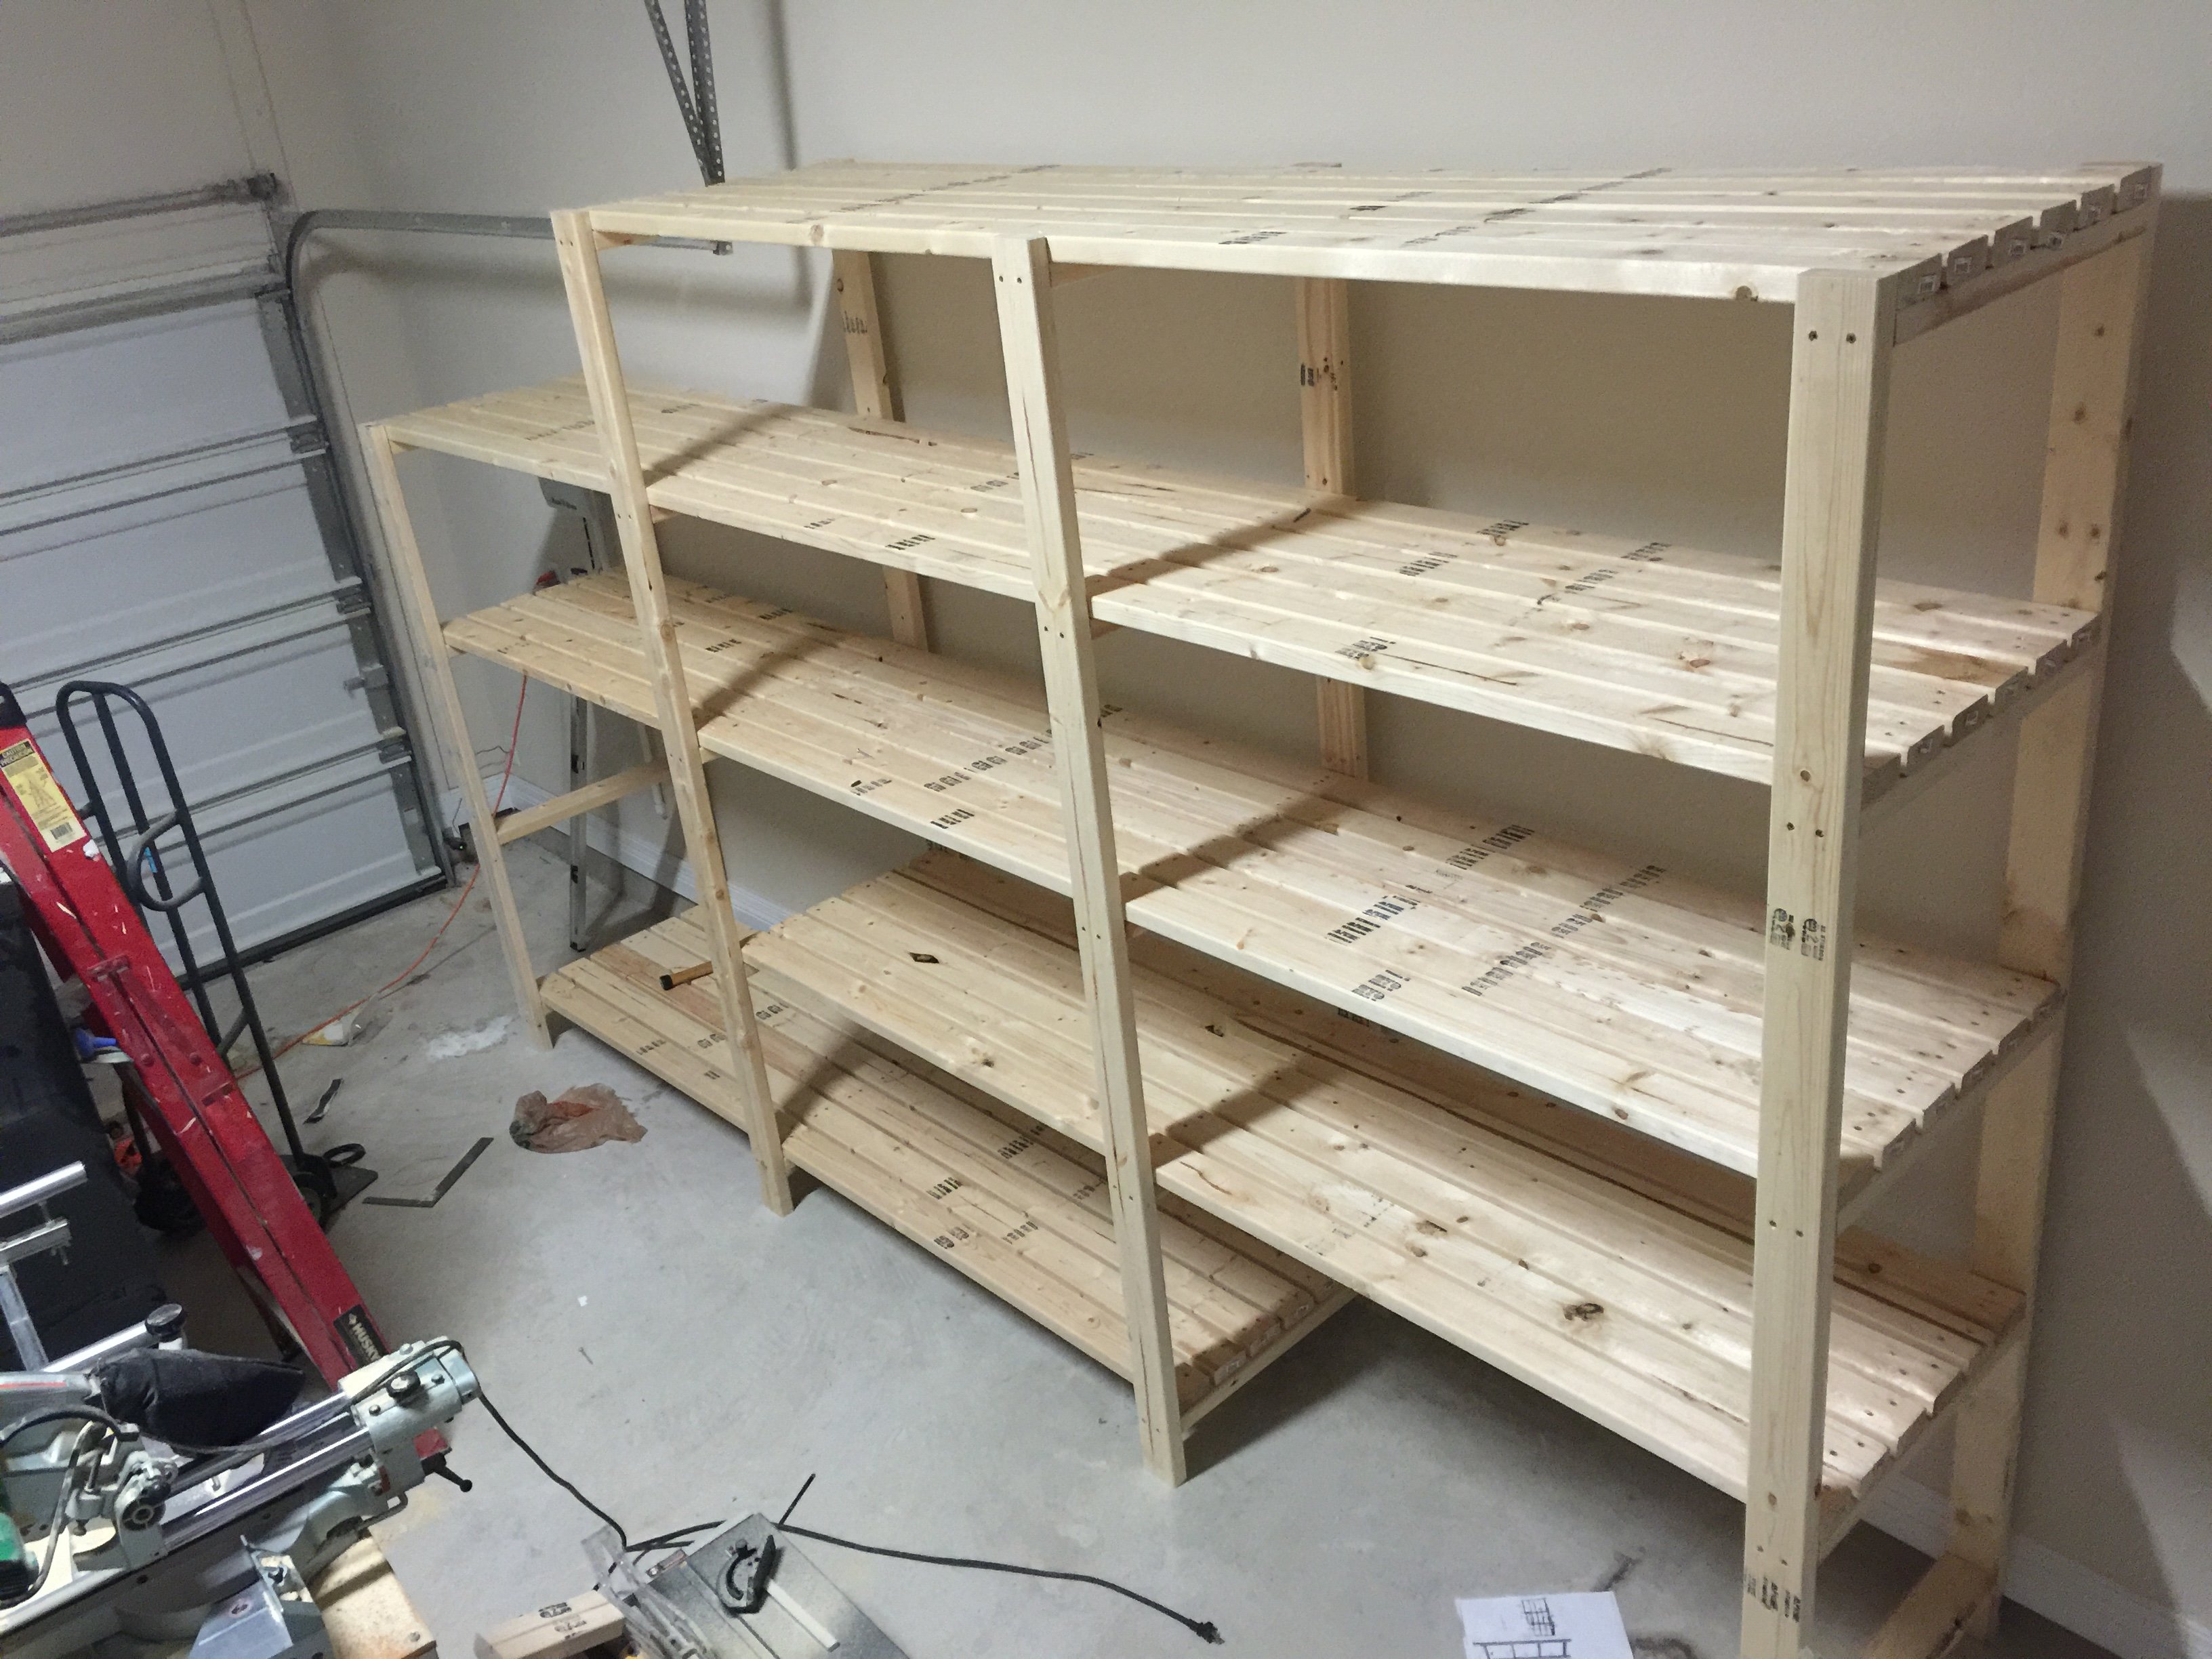
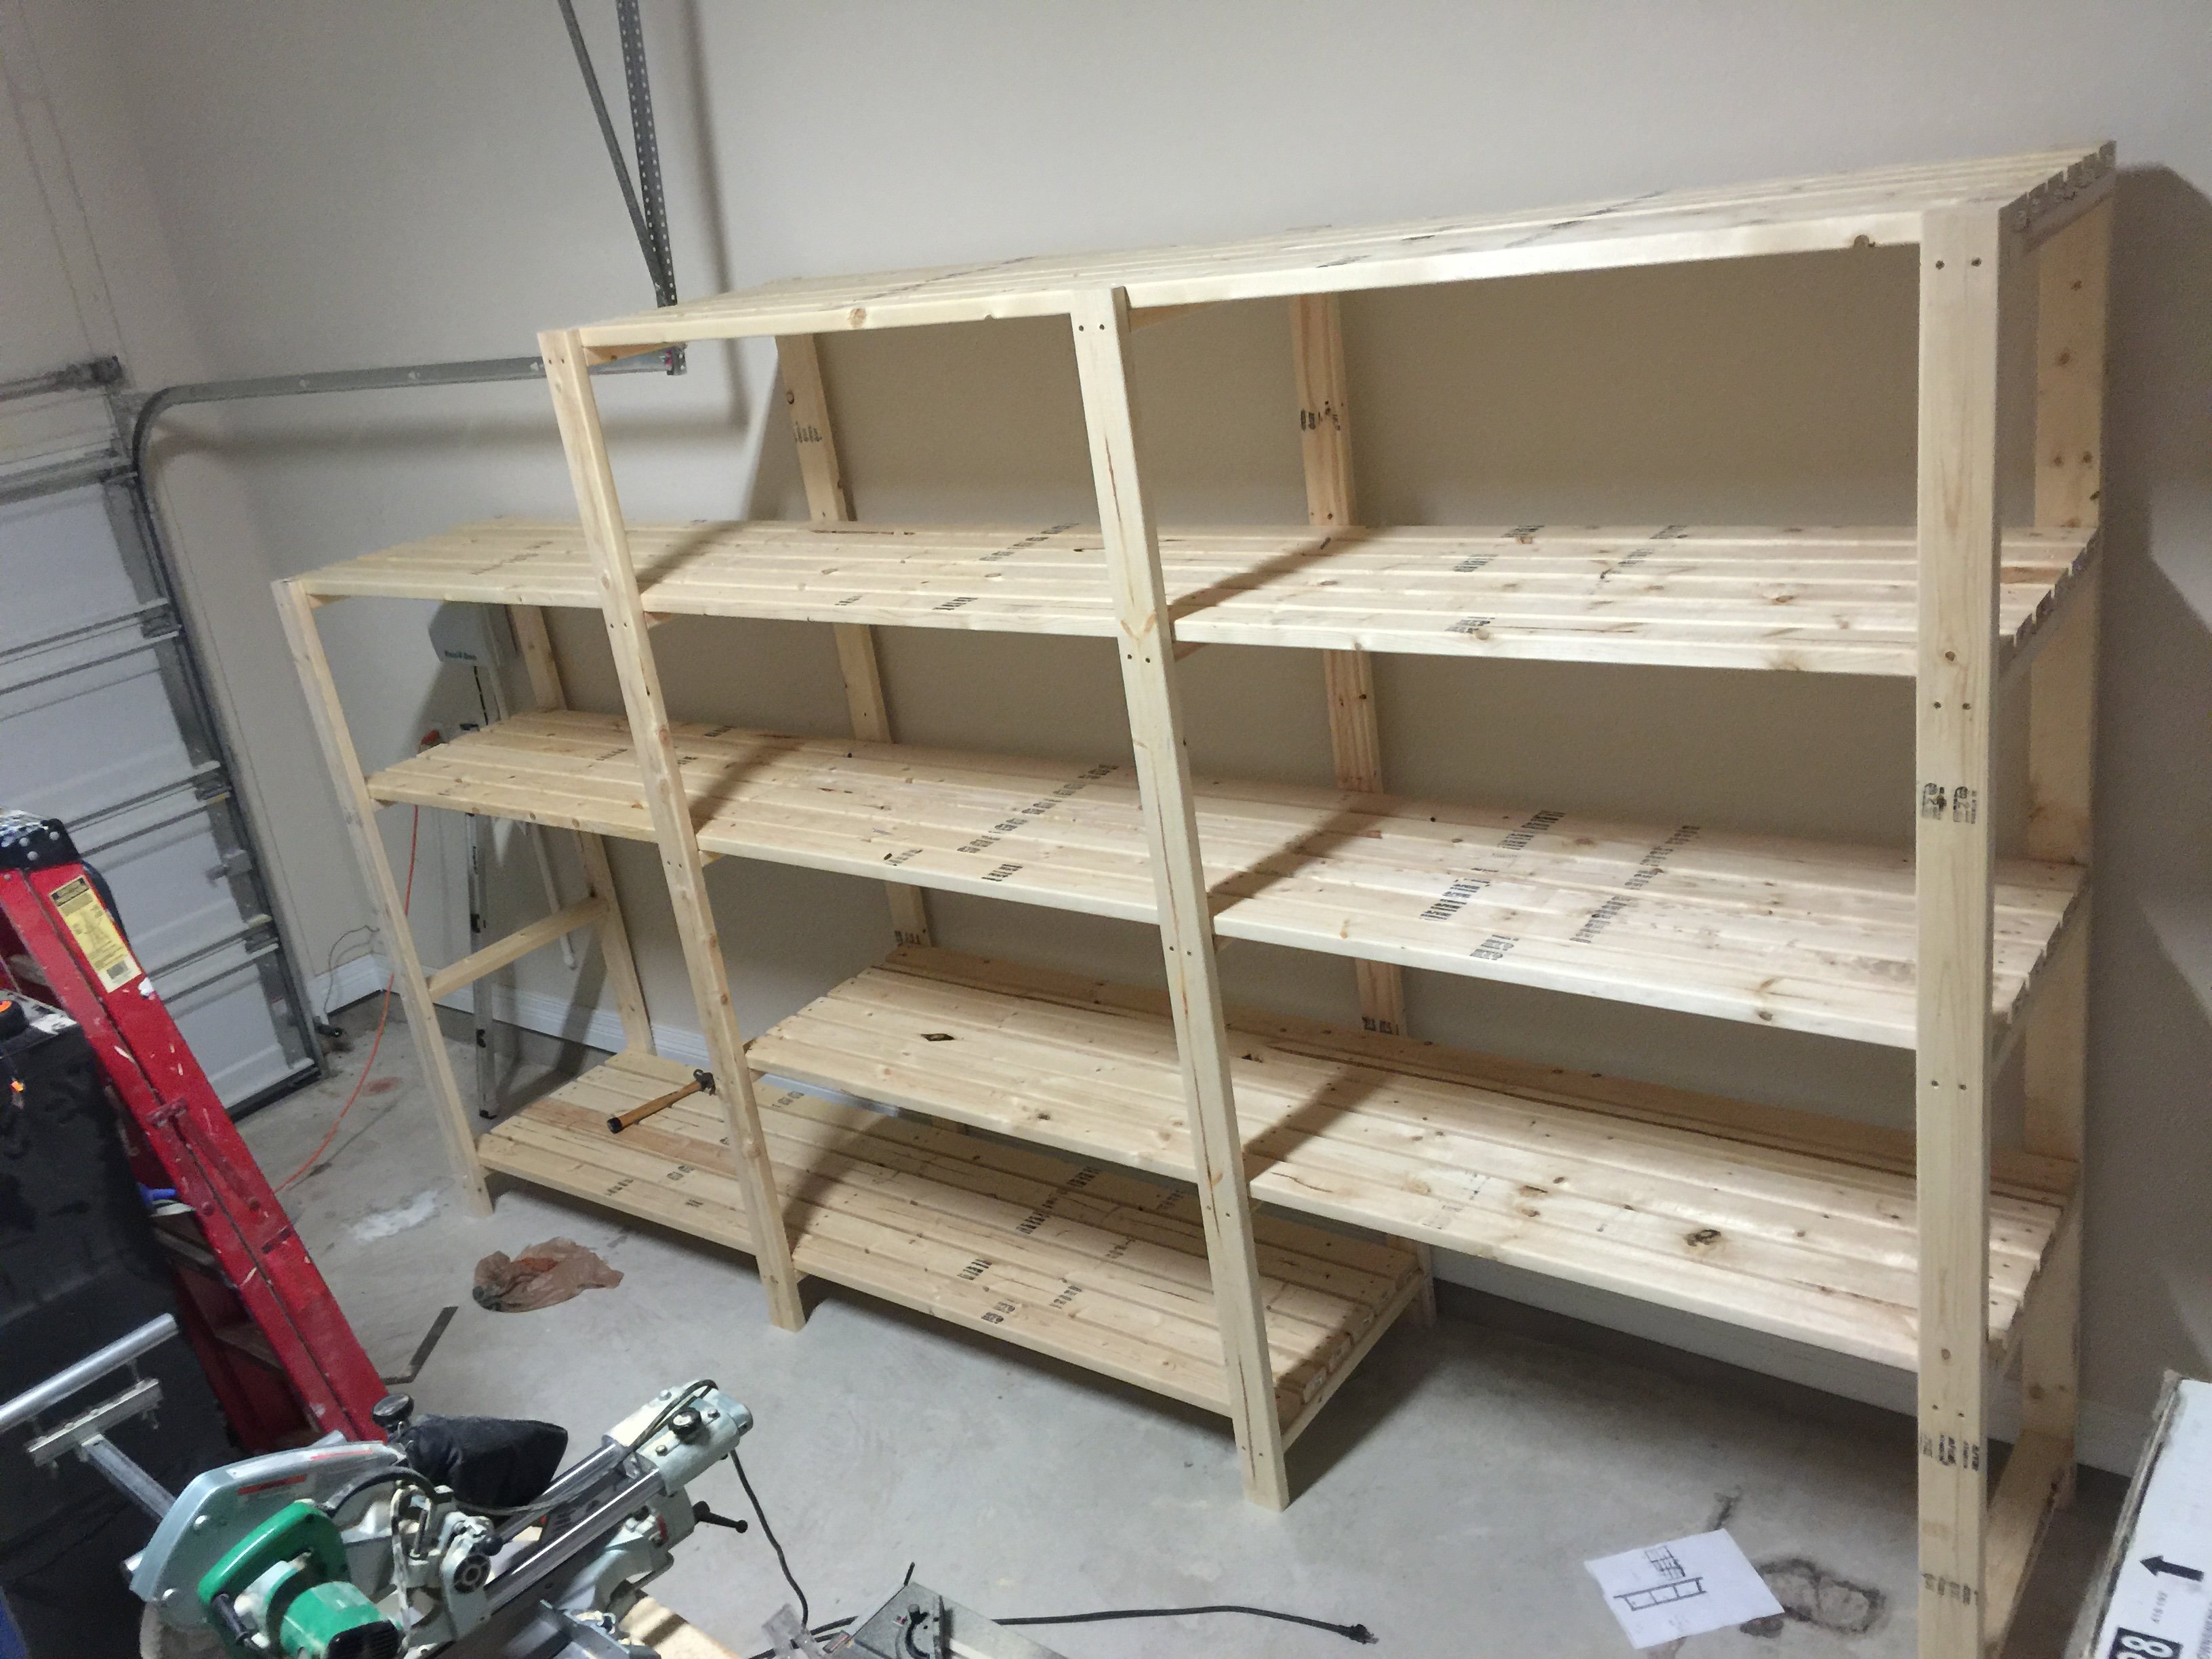
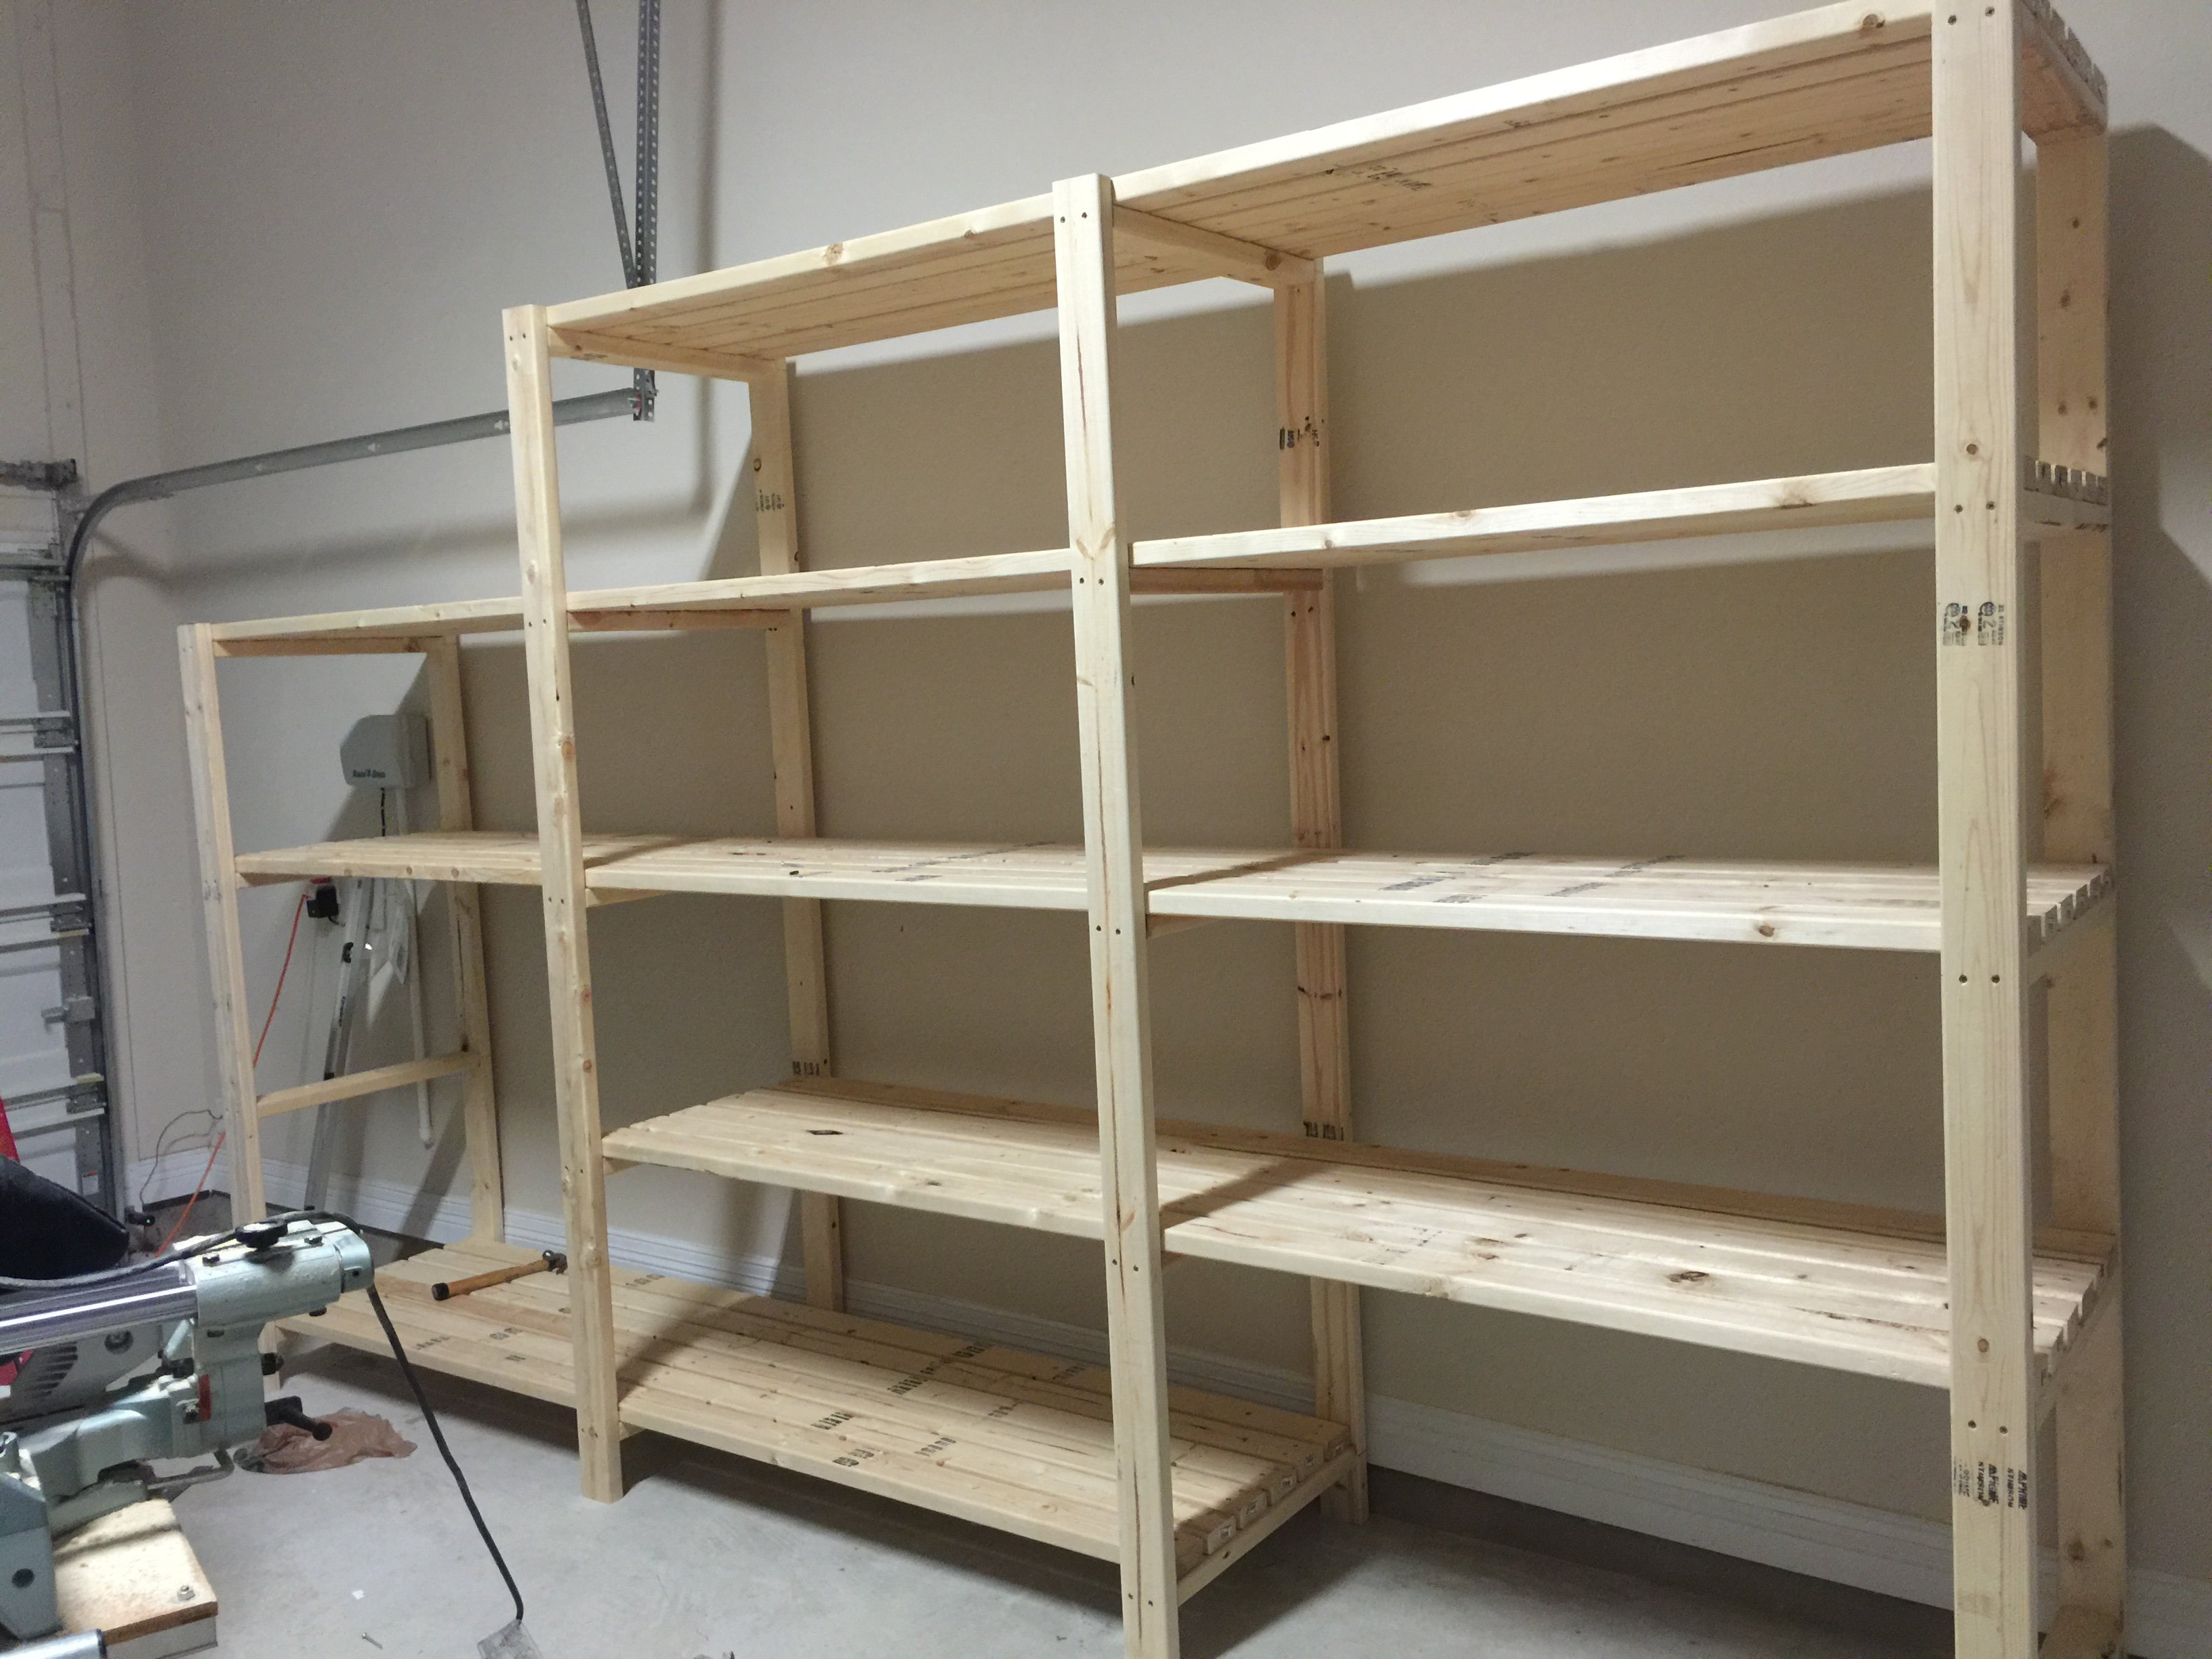
Built up and wider due to my garage size. Left some shelves out for bigger items.
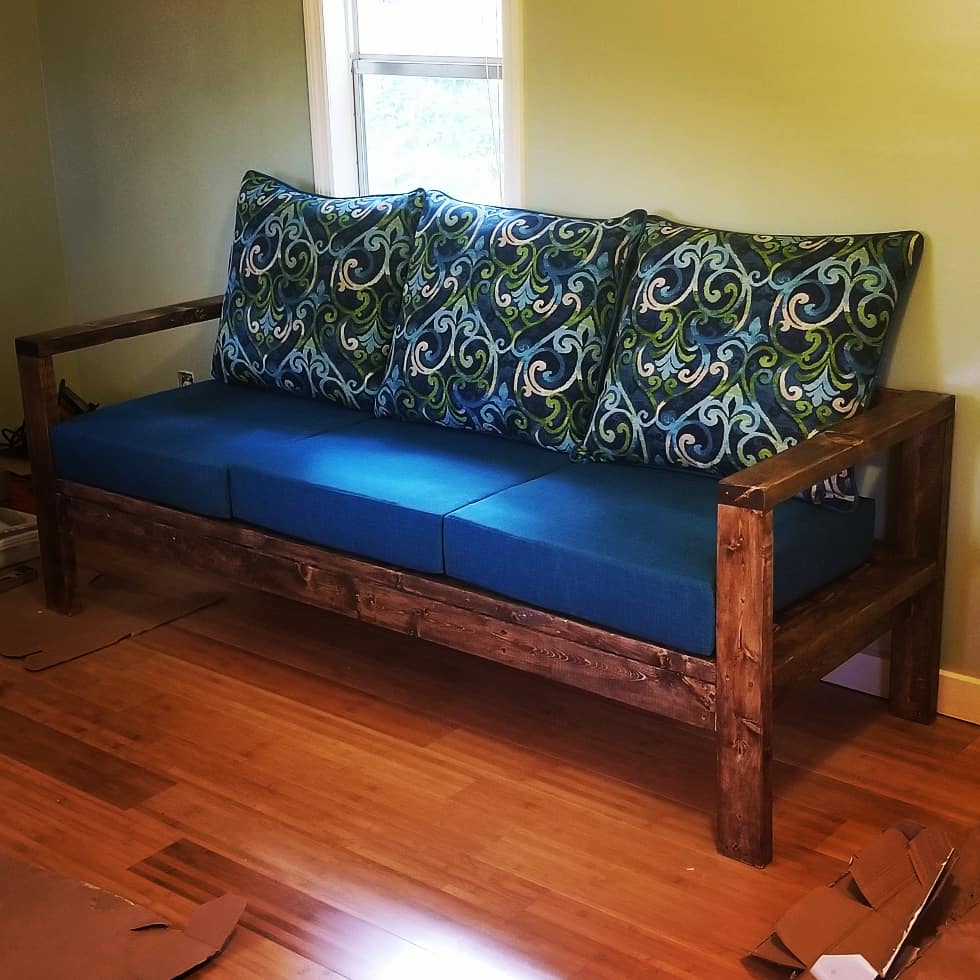
Although this sofa is designed for the outdoors I built 2 of them to use in an office space. The plans were spot on and made it so easy to build even as a beginner.
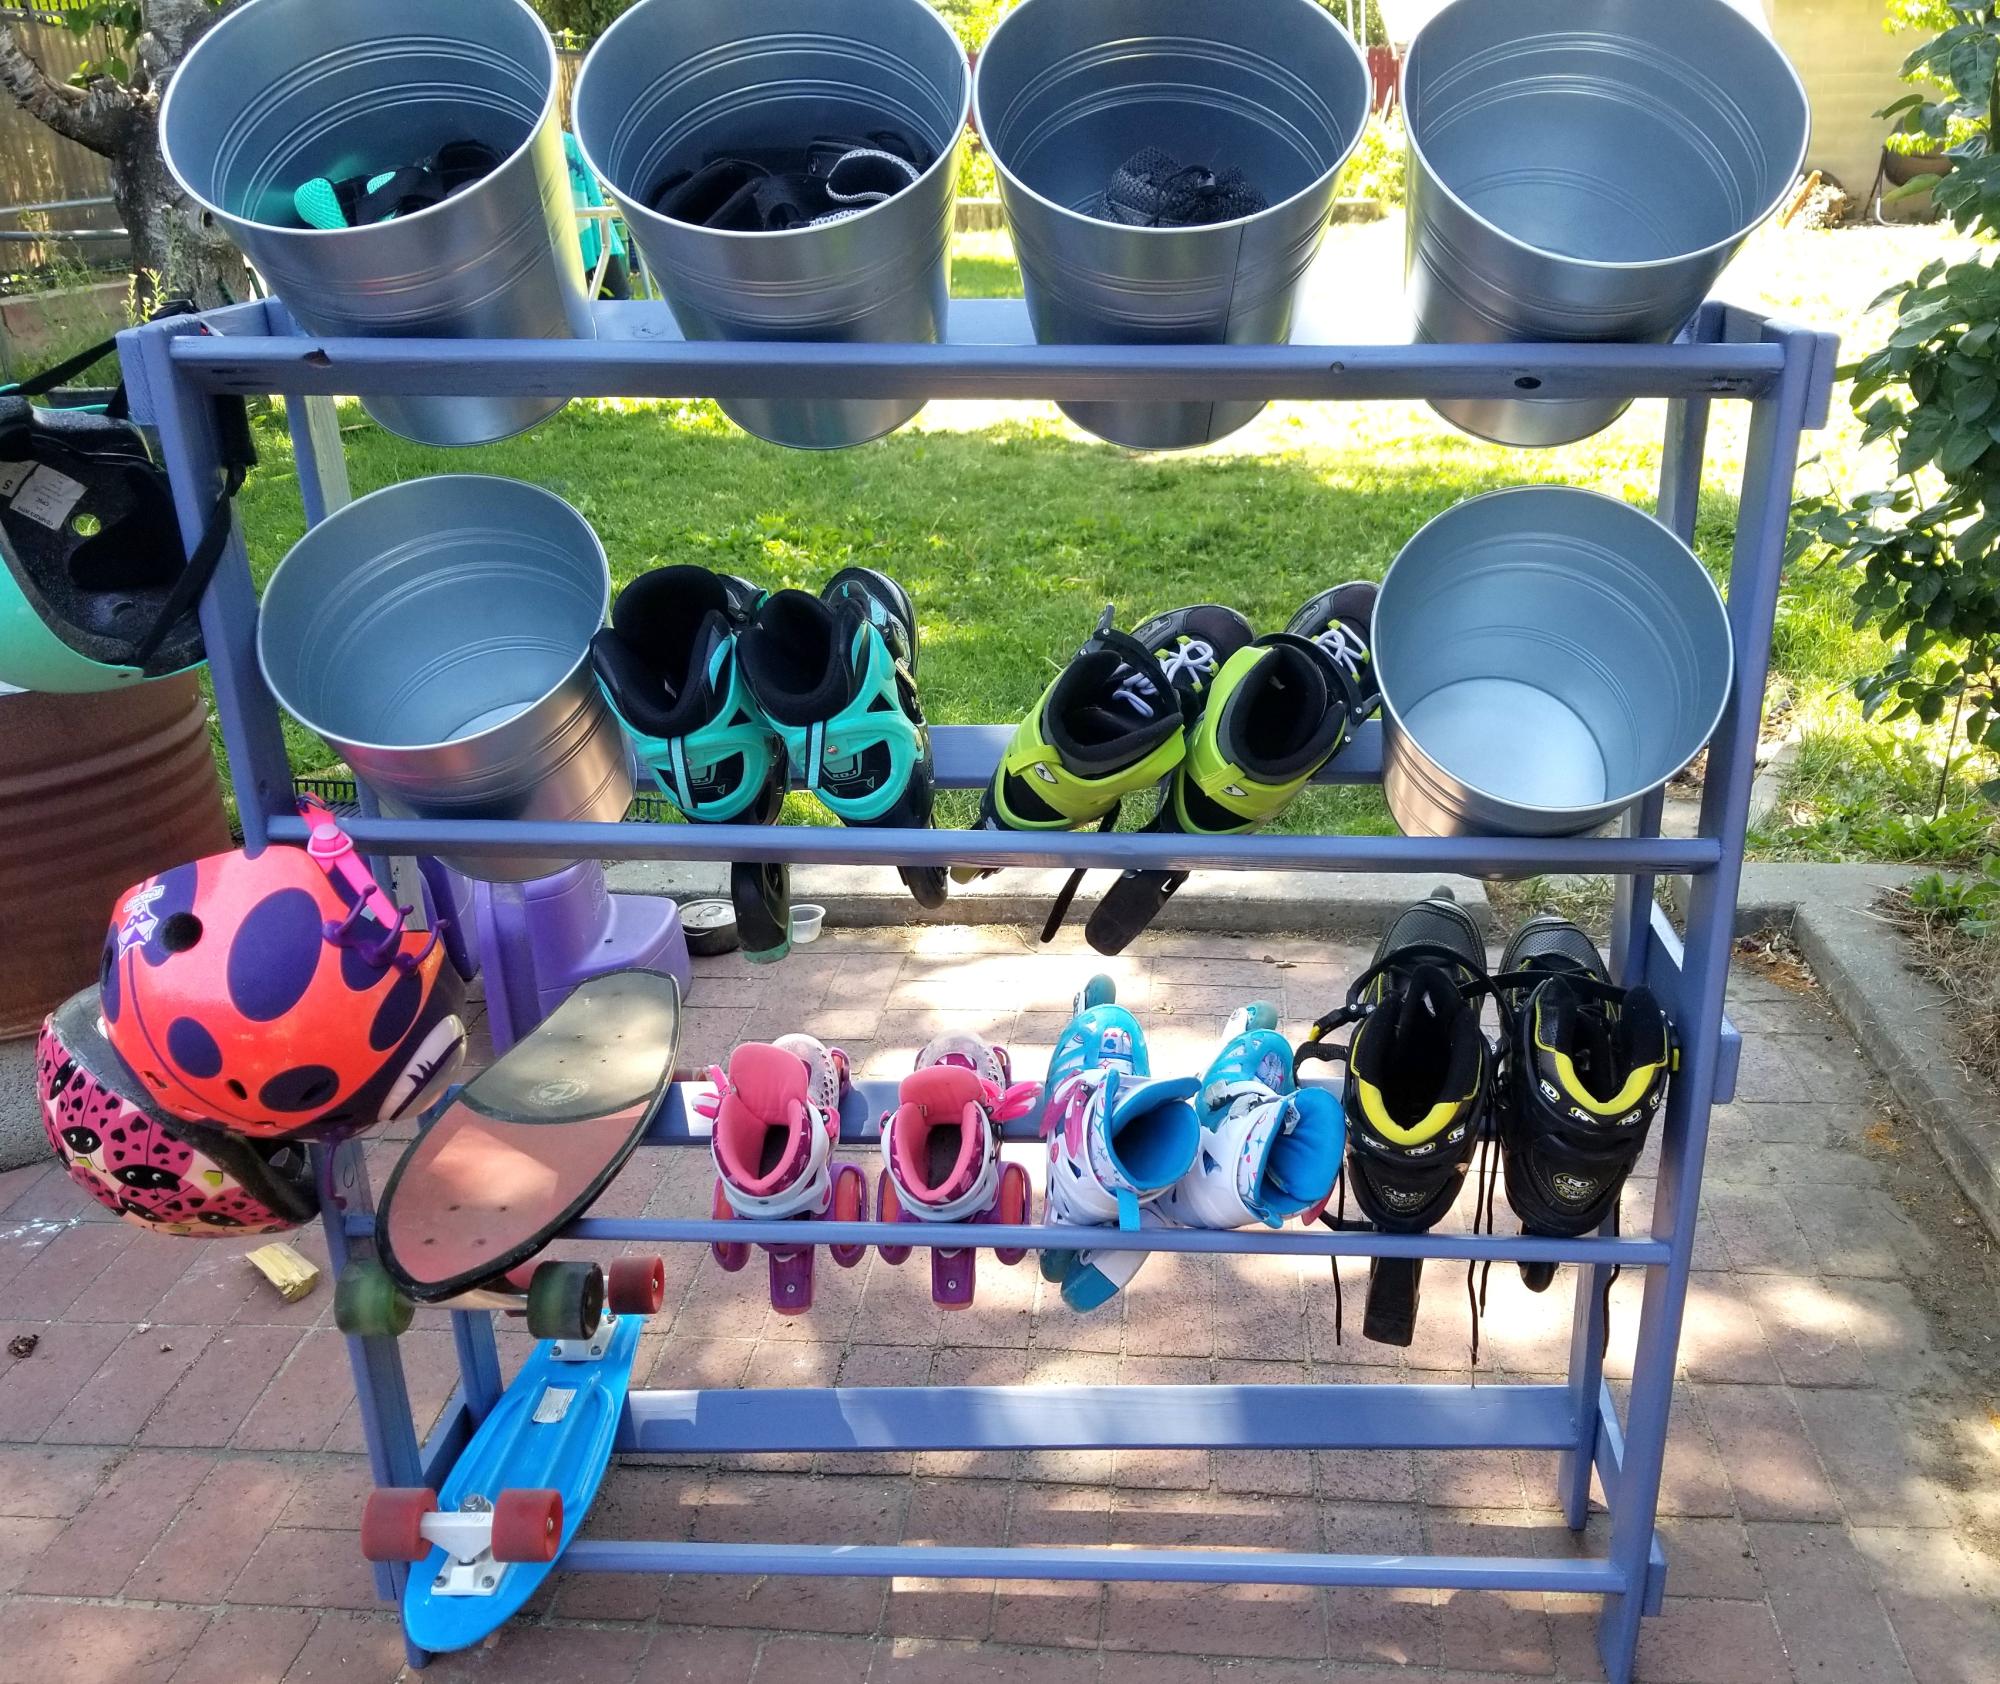
I changed dimension to make sure the rollerblades did not fall through and made it wider for holding our whole families set. I may add wheels for easier mobility.
Kristy
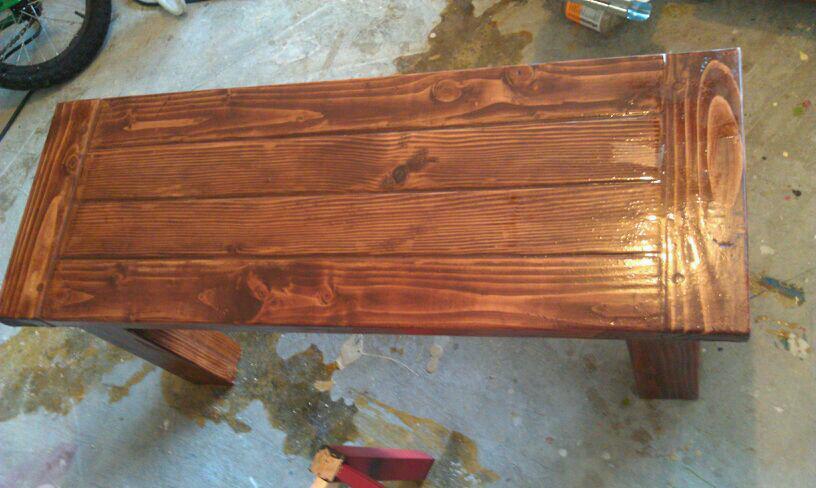
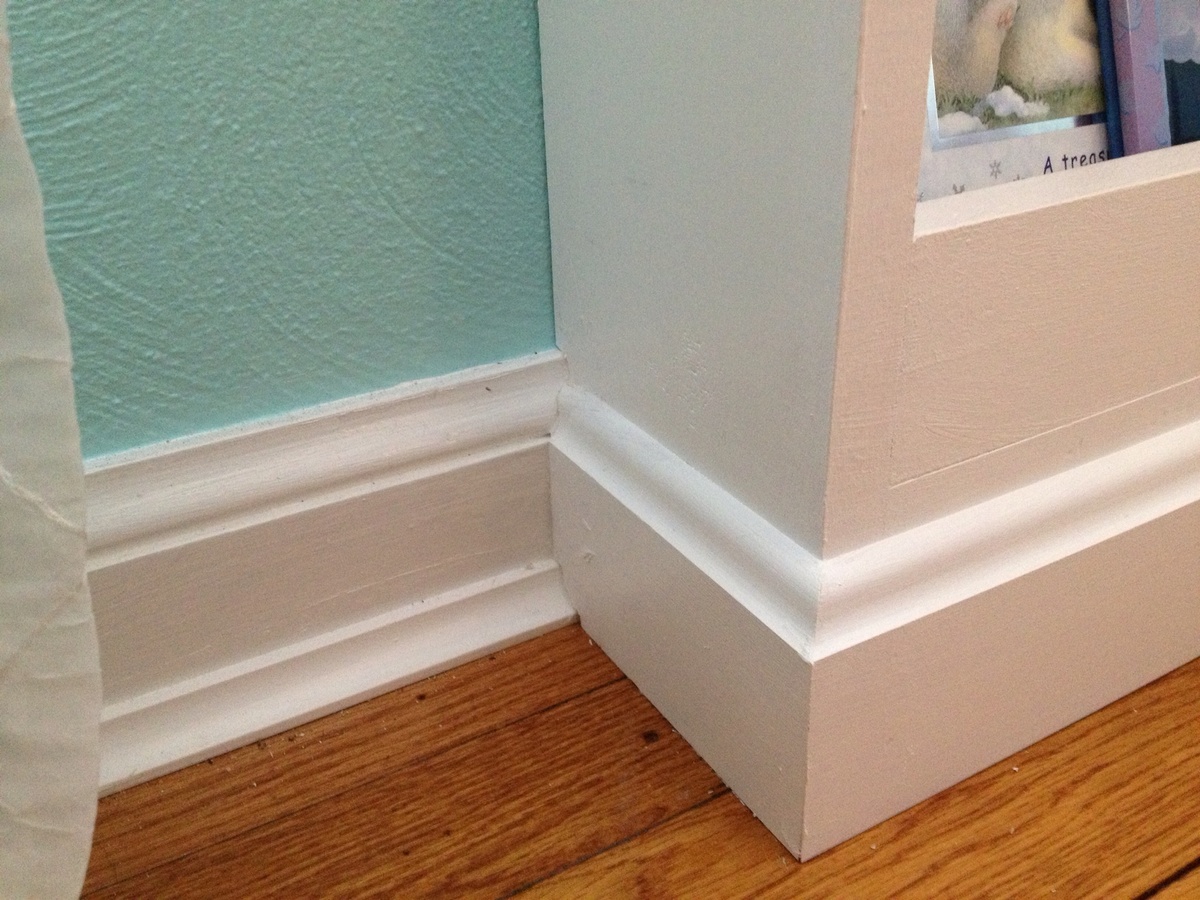
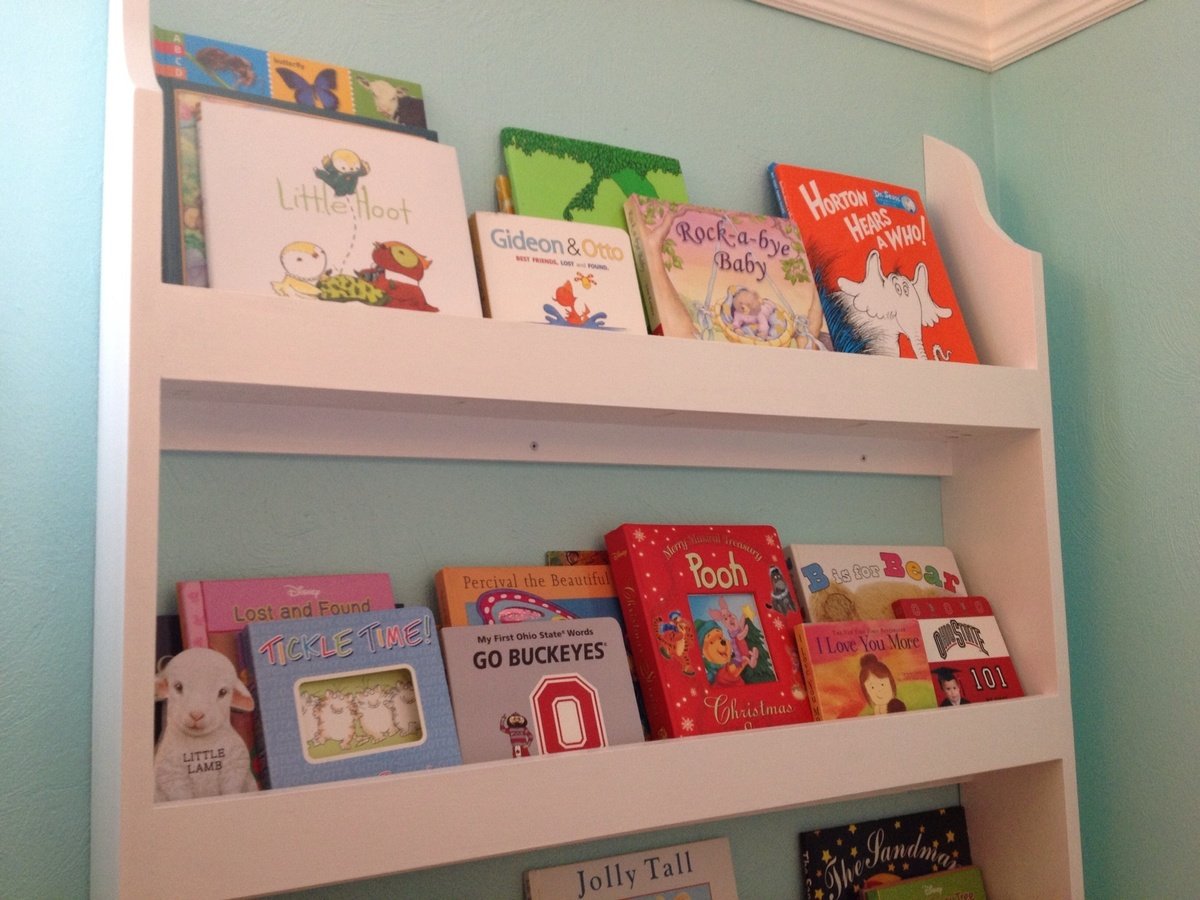
Just a shorter farmhouse style bench
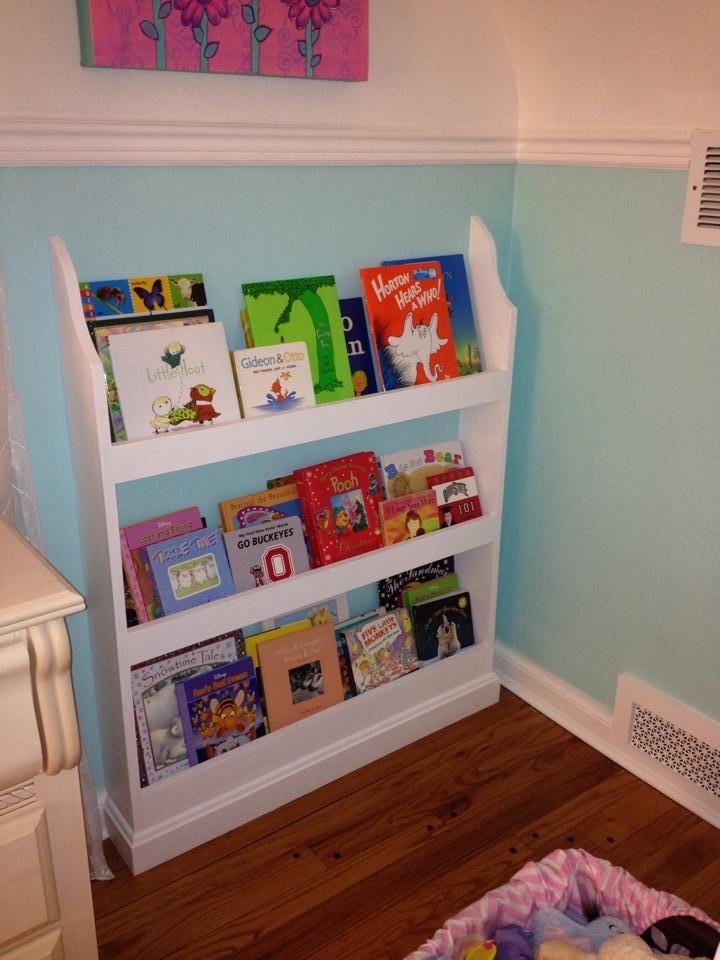
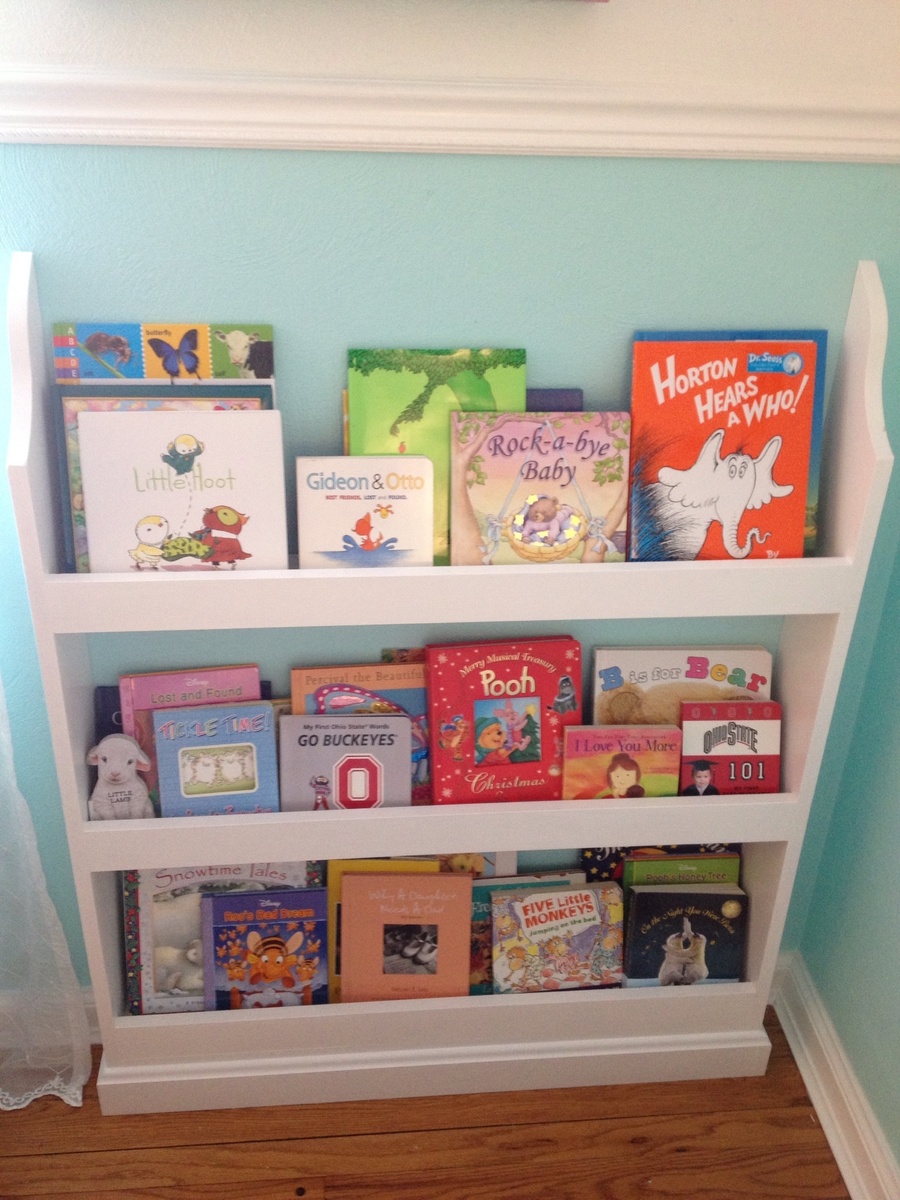
Given space limits, I modified the plans to feature wider (35") shelves. Height is about 45".
Used 1x3 on front of shelf instead of 1x2, for a cleaner look (no visable joint). Had to rip 1x6 down shelf down to 1x5 to do so. Didn't add the extra rail.
Raised bottom shelf up above top of existing baseboard so shelf wasn't in play when cutting out side rails to fit flush to wall. Used Kreg Jig for all joinery.
Behr White semi- gloss enamel to finish.
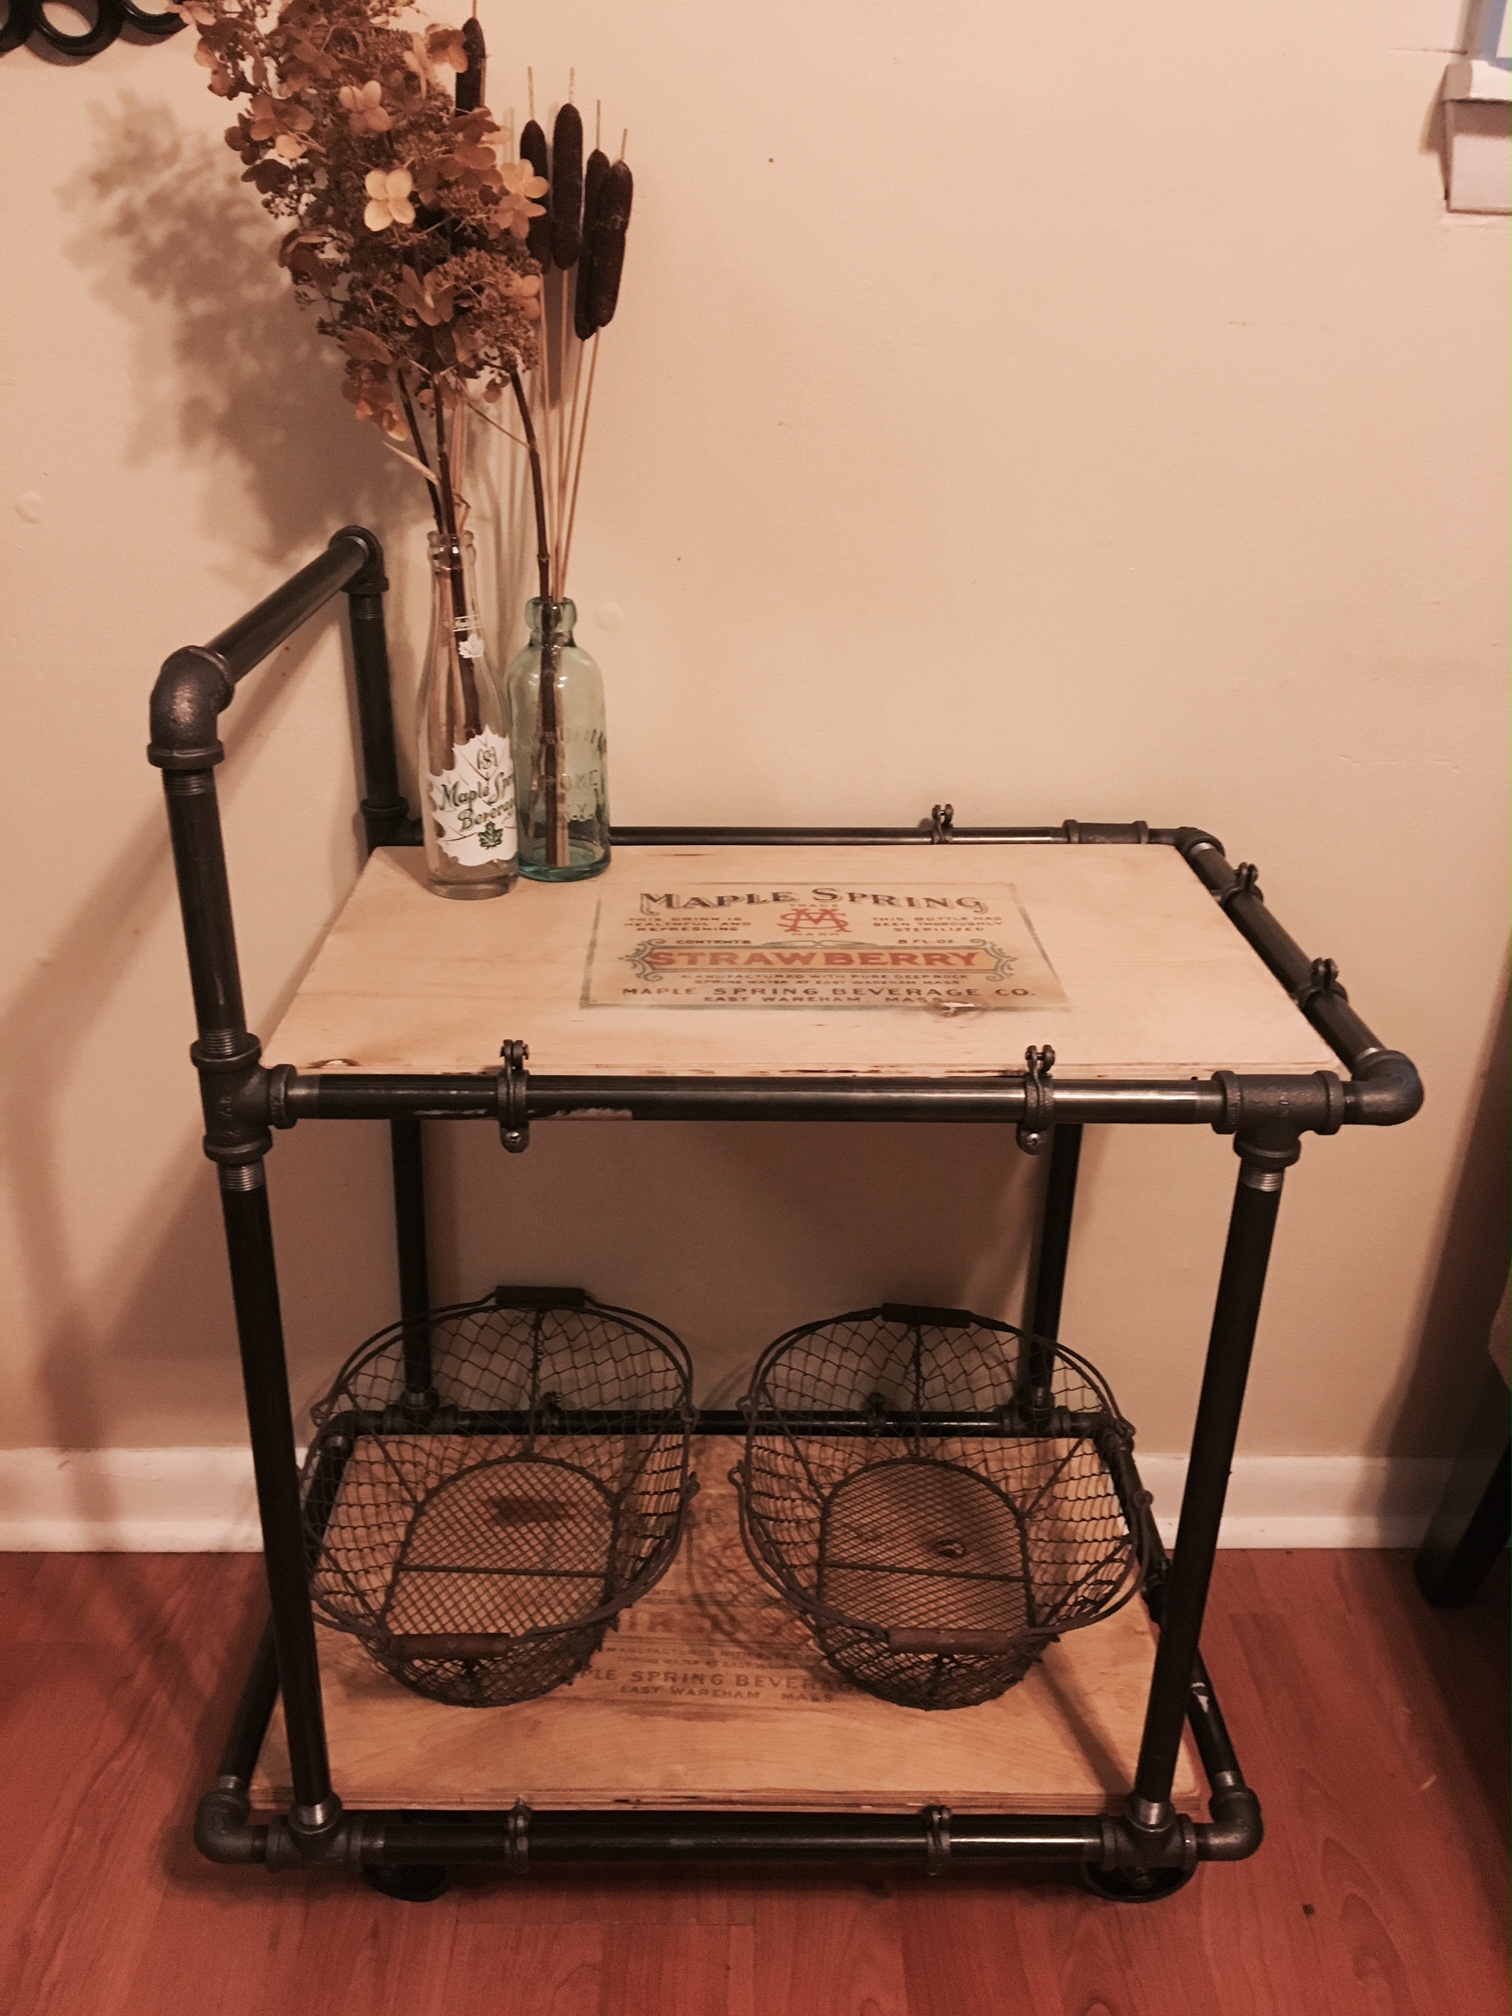
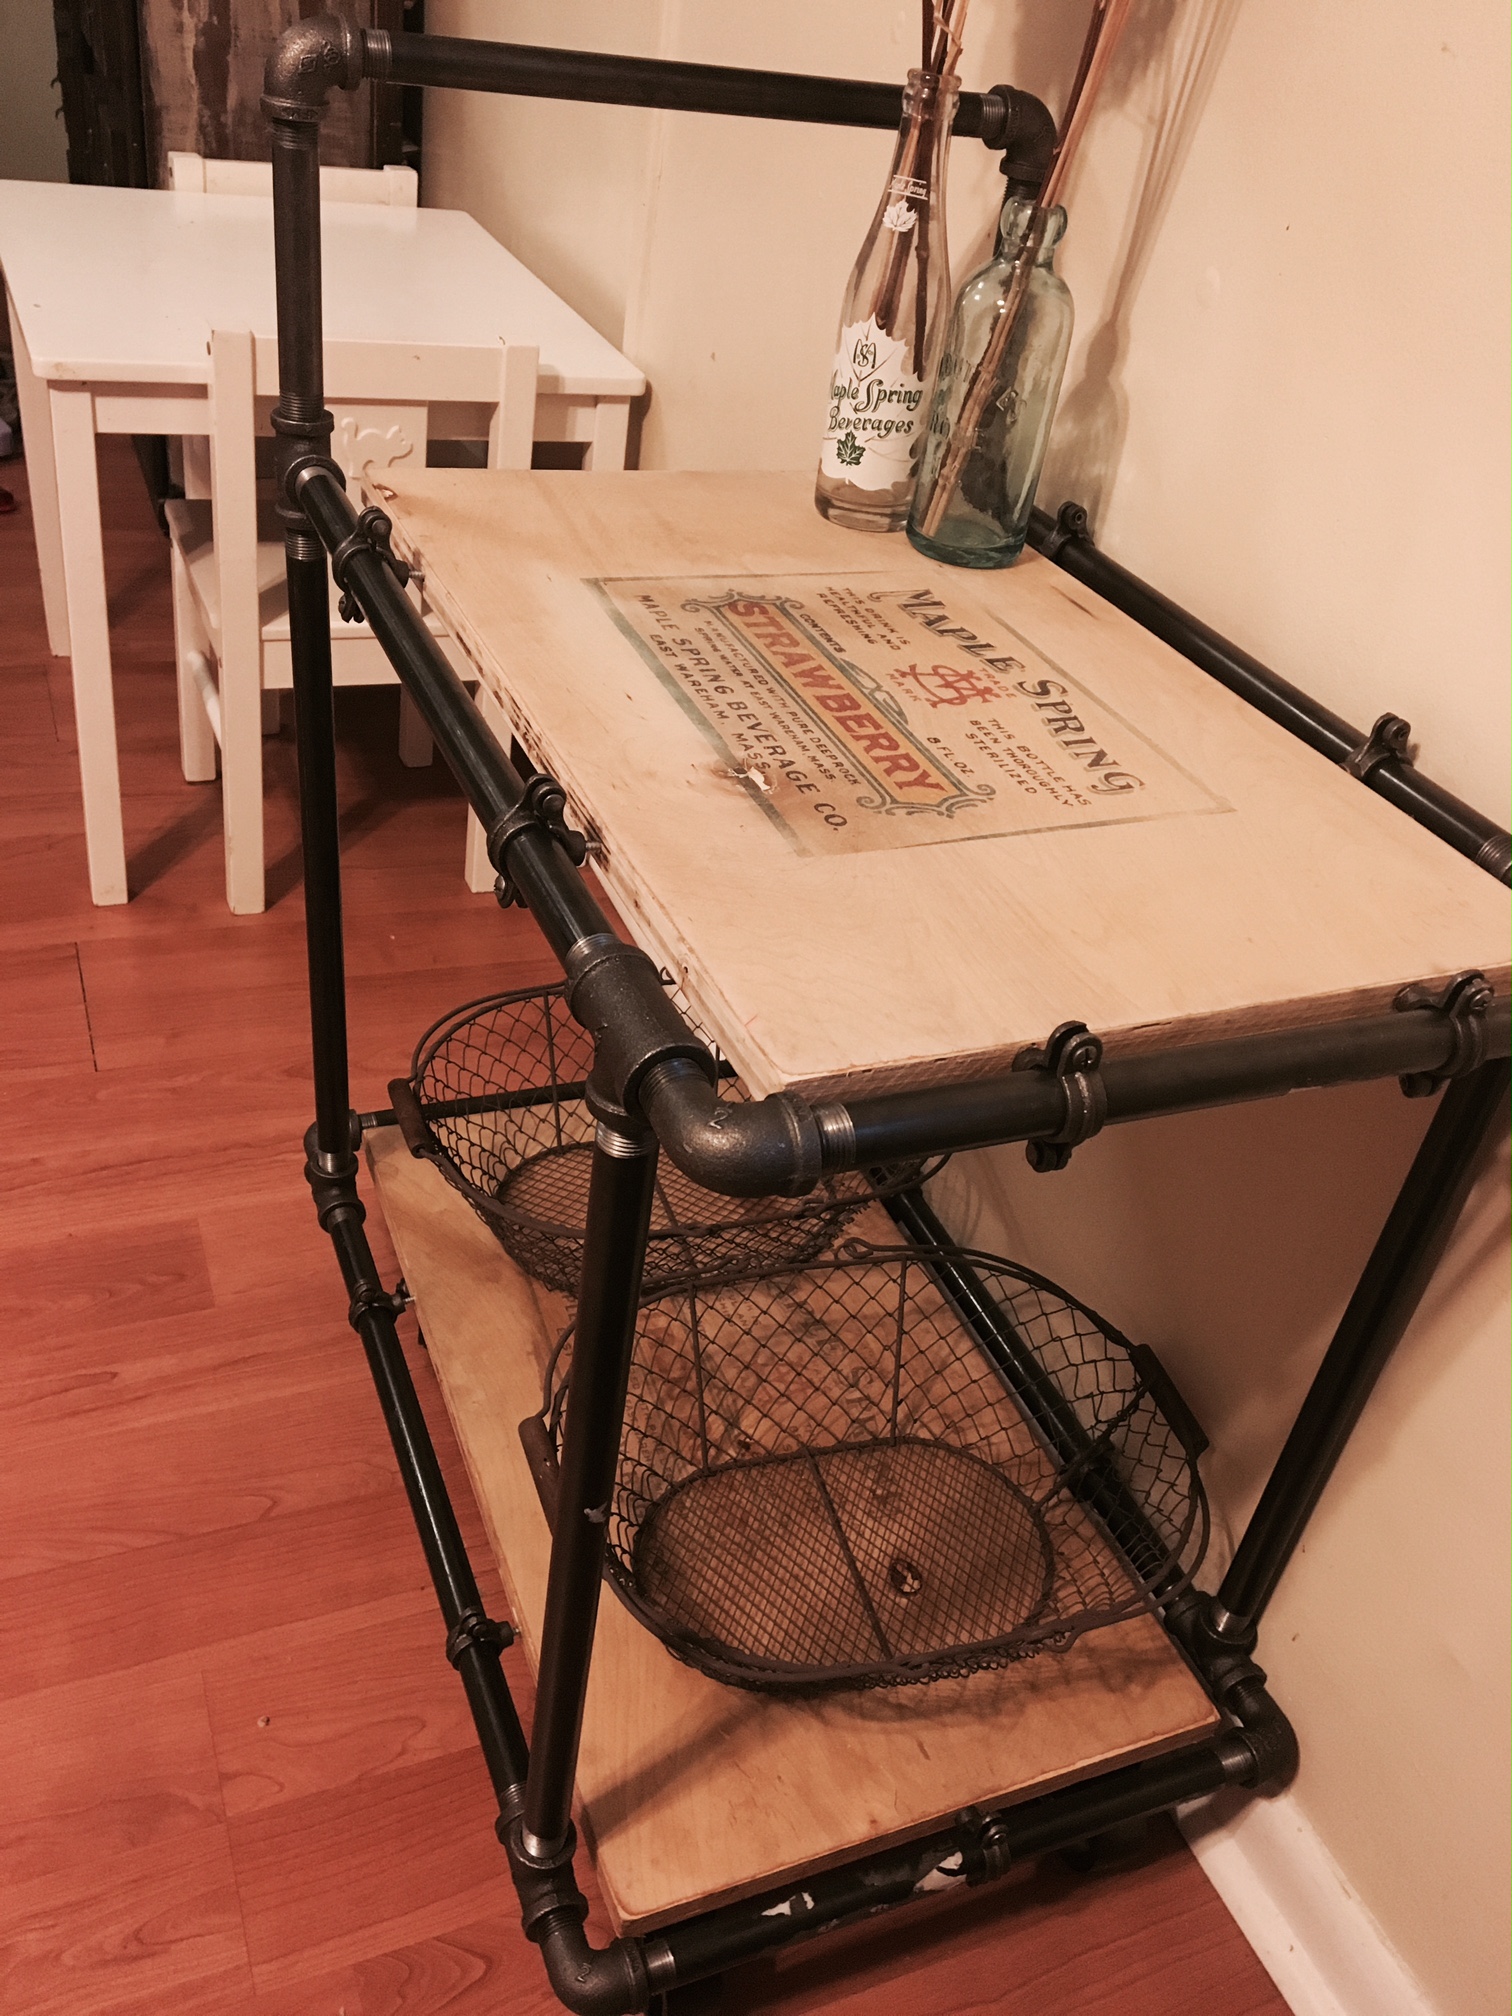
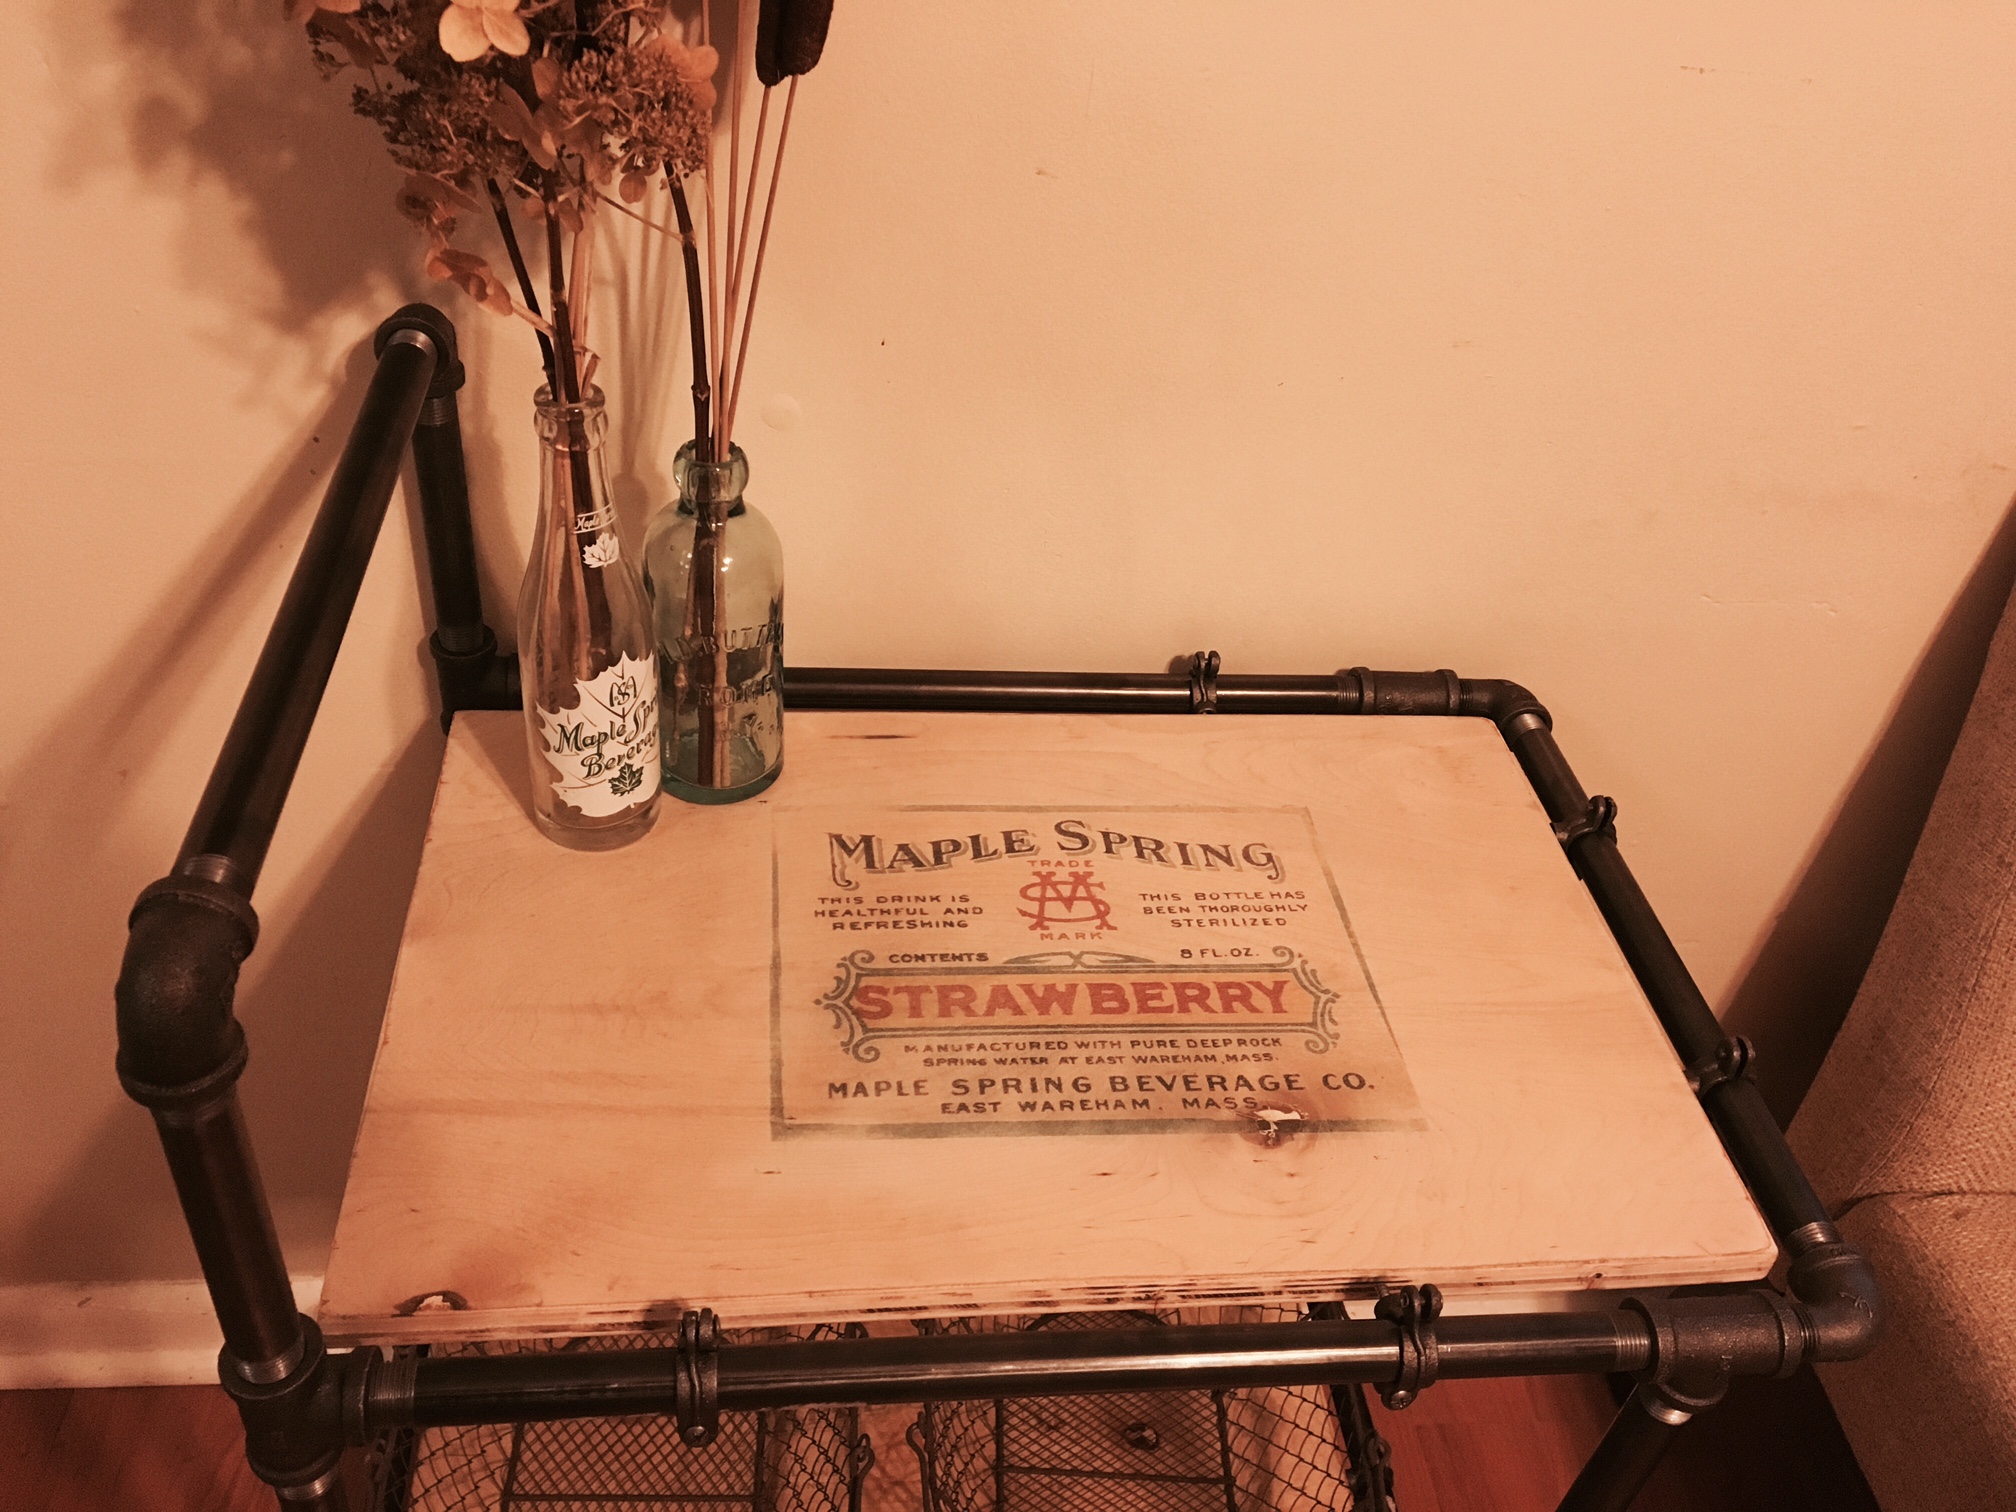
I'm calling this the "Clean Up Cart". You know how your kids toys always migrate into the living room? I wanted baskets I could toss them in and carry to their room at the end of the day. Then one day after walking back and forth across the house a million times cleaning toys up, I decided the baskets needed to live on a cart I could move around to the mess. So I envisioned this industrial pipe and wood cart. I used Ana and That's My Letter's Pipe and Wood bed to figure out how to make it happen. The key is using the splint ring pipe hanger to attach the wood. See that antique advertising sign? That design is from an antique soda bottle label from an old company that was down the street from where I grew up. I always loved the old soda bottling barn so when I found this label I had to come up with something to use it. This was the perfect chance. I followed picture to wood transfer instructions from the Graphics Fairy using the freezer paper method. The pipe comes from supply house dot com. I used: 2 – 1/2 “ by 14” black nipple 8 – 1/2” by 18” black nipple 8 – ½” black tee 2 – ½” black 90 degree elbow 6 – ½” black 90 degree street elbow 14 – 1/2 “ black split ring extension hanger Its a learning process figuring out how to screw it all together. Some things will unscrew as you screw others in. Basically, I started at one end and went around in a circle until I got back to my beginning. Install all of your split ring extension hangers before you try to attach your board. You wouldn't be able to get enough clearance between the pipes to attach an opposite side after you connect one. I cut the wood to size leaving about a 1/4" gap all around it clear the connectors. If your board isn't quite reaching a side, adjust your screw in your connector. The wood is scraps of pure bond plywood I had from another project. After the transfer was dried (about 24 hours) I sealed it with beeswax. I didn't use any stain. To do the antique ad transfer, I took a picture of the old soda bottle label laid flat. I reversed it in Microsoft paint. Then I printed it onto the waxy side of freezer paper. Then you just simply lay it ink side down onto your wood being careful not to move it at all once you place it (that would make it blurry). I used painters tape to hold it in place. Score the back of it to really get the ink in, I used a credit card. If you lightly wet the wood before it will take the ink better and make it darker. I was happy with the color without doing this in my test piece so I didn't. Wait a while for the ink to dry (I waited 24 hours) and then you could spray with poly or I used beeswax to seal it.
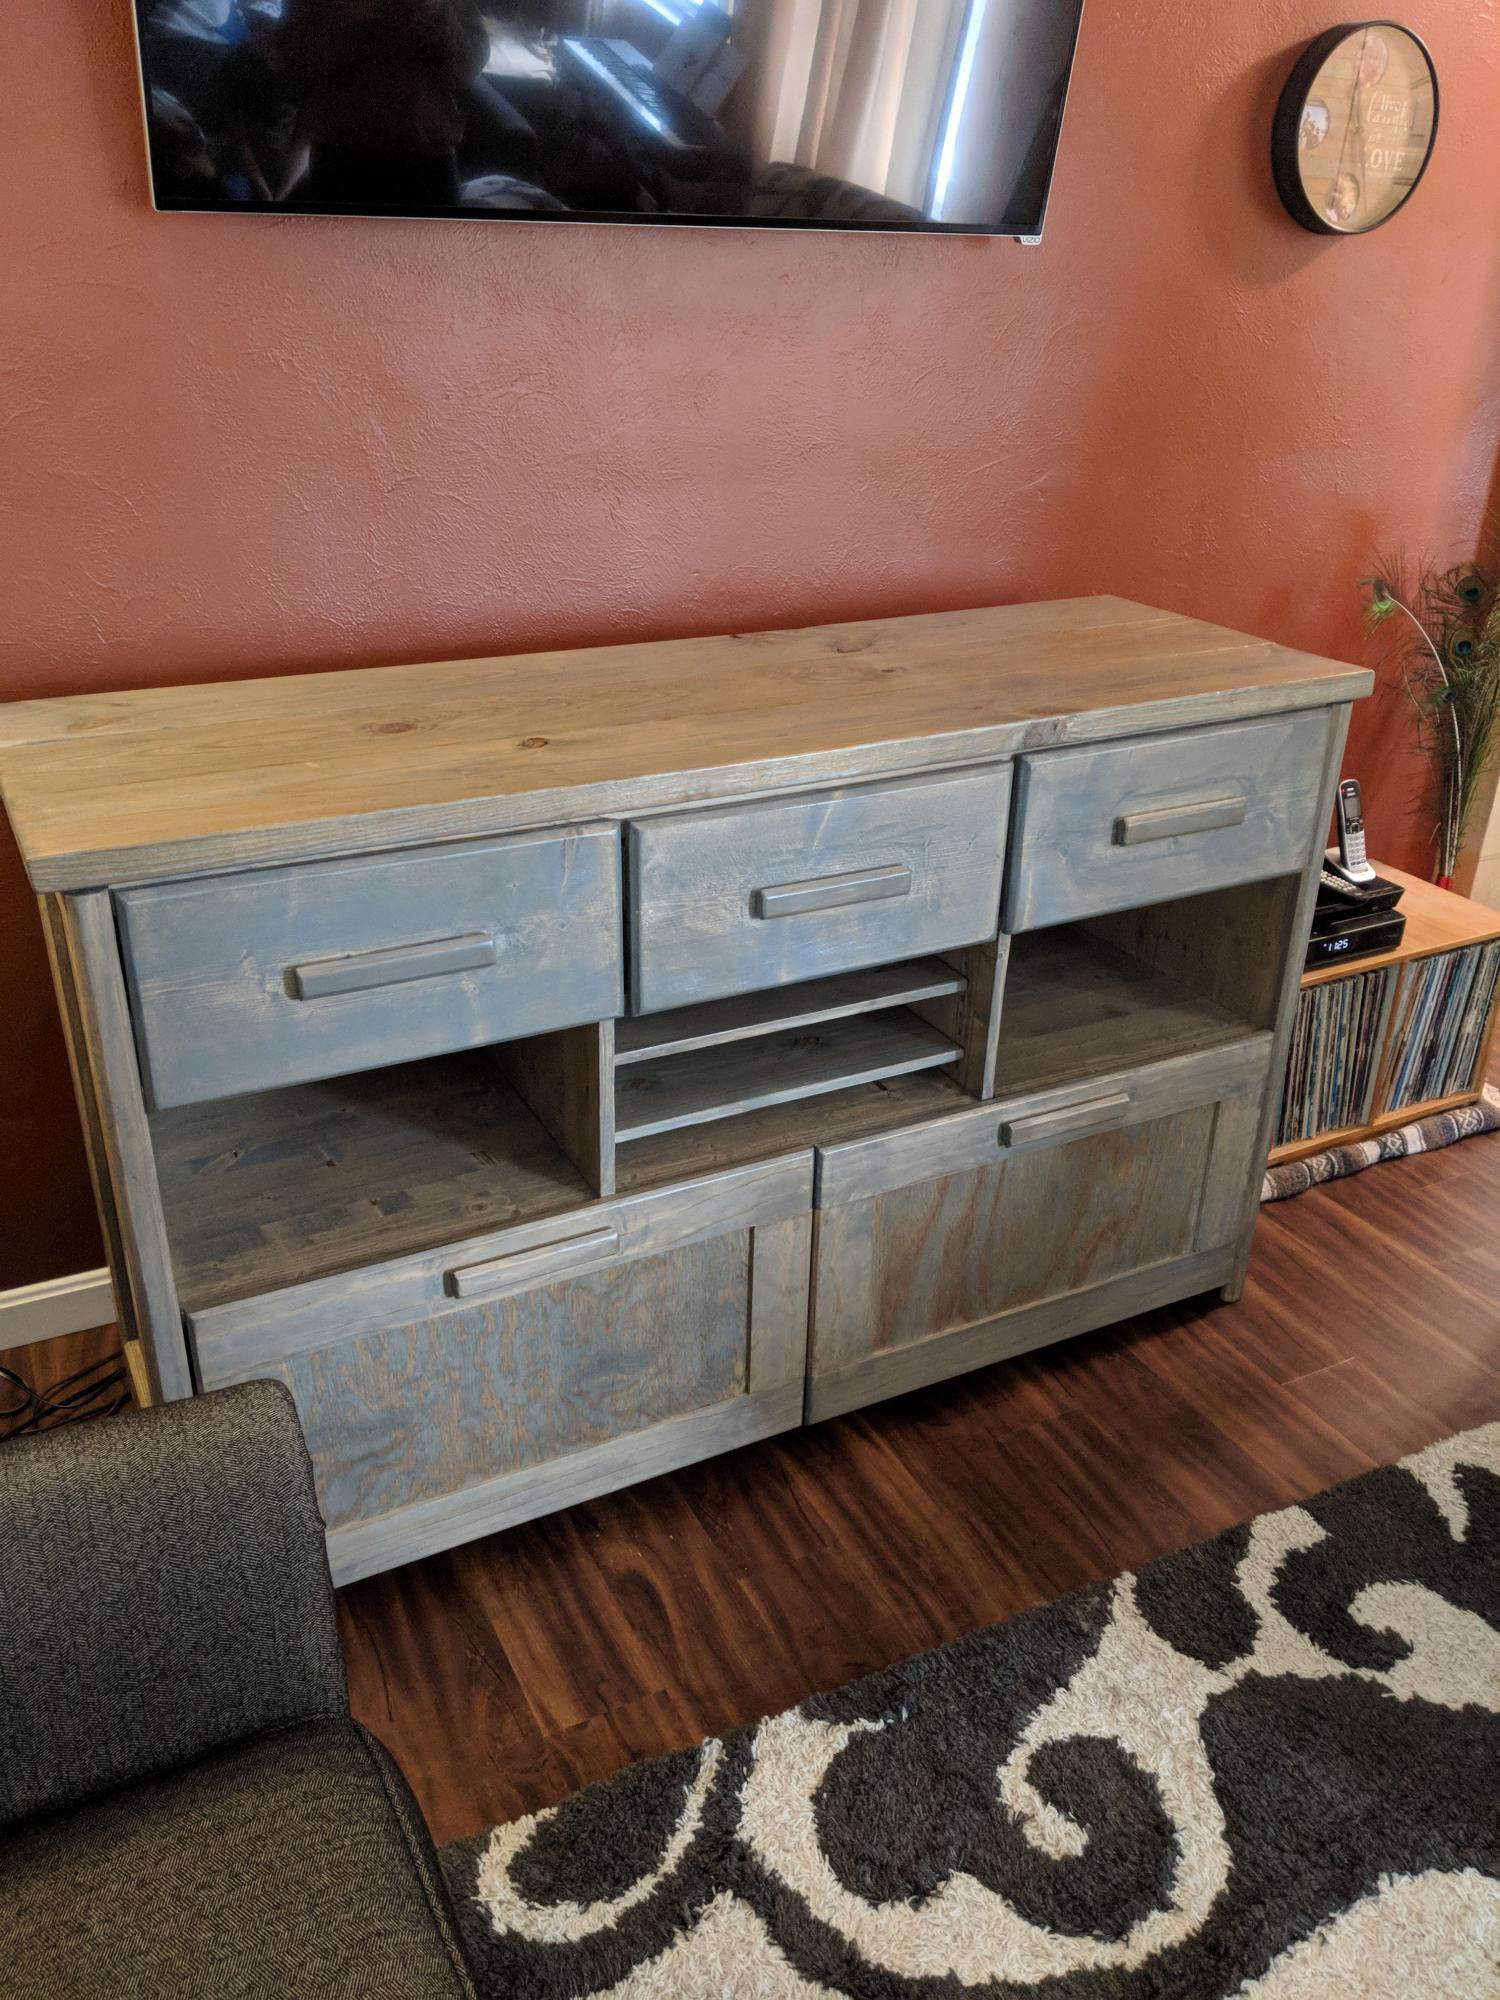
I but this for an old high school friend. She needed somewhere to put her cd collection (yea I know, CDs?) And her record player and records. The drawers hold 400 compact discs. I used pine lumber, pocket holes, weathered oak stain and a lot of swear words.
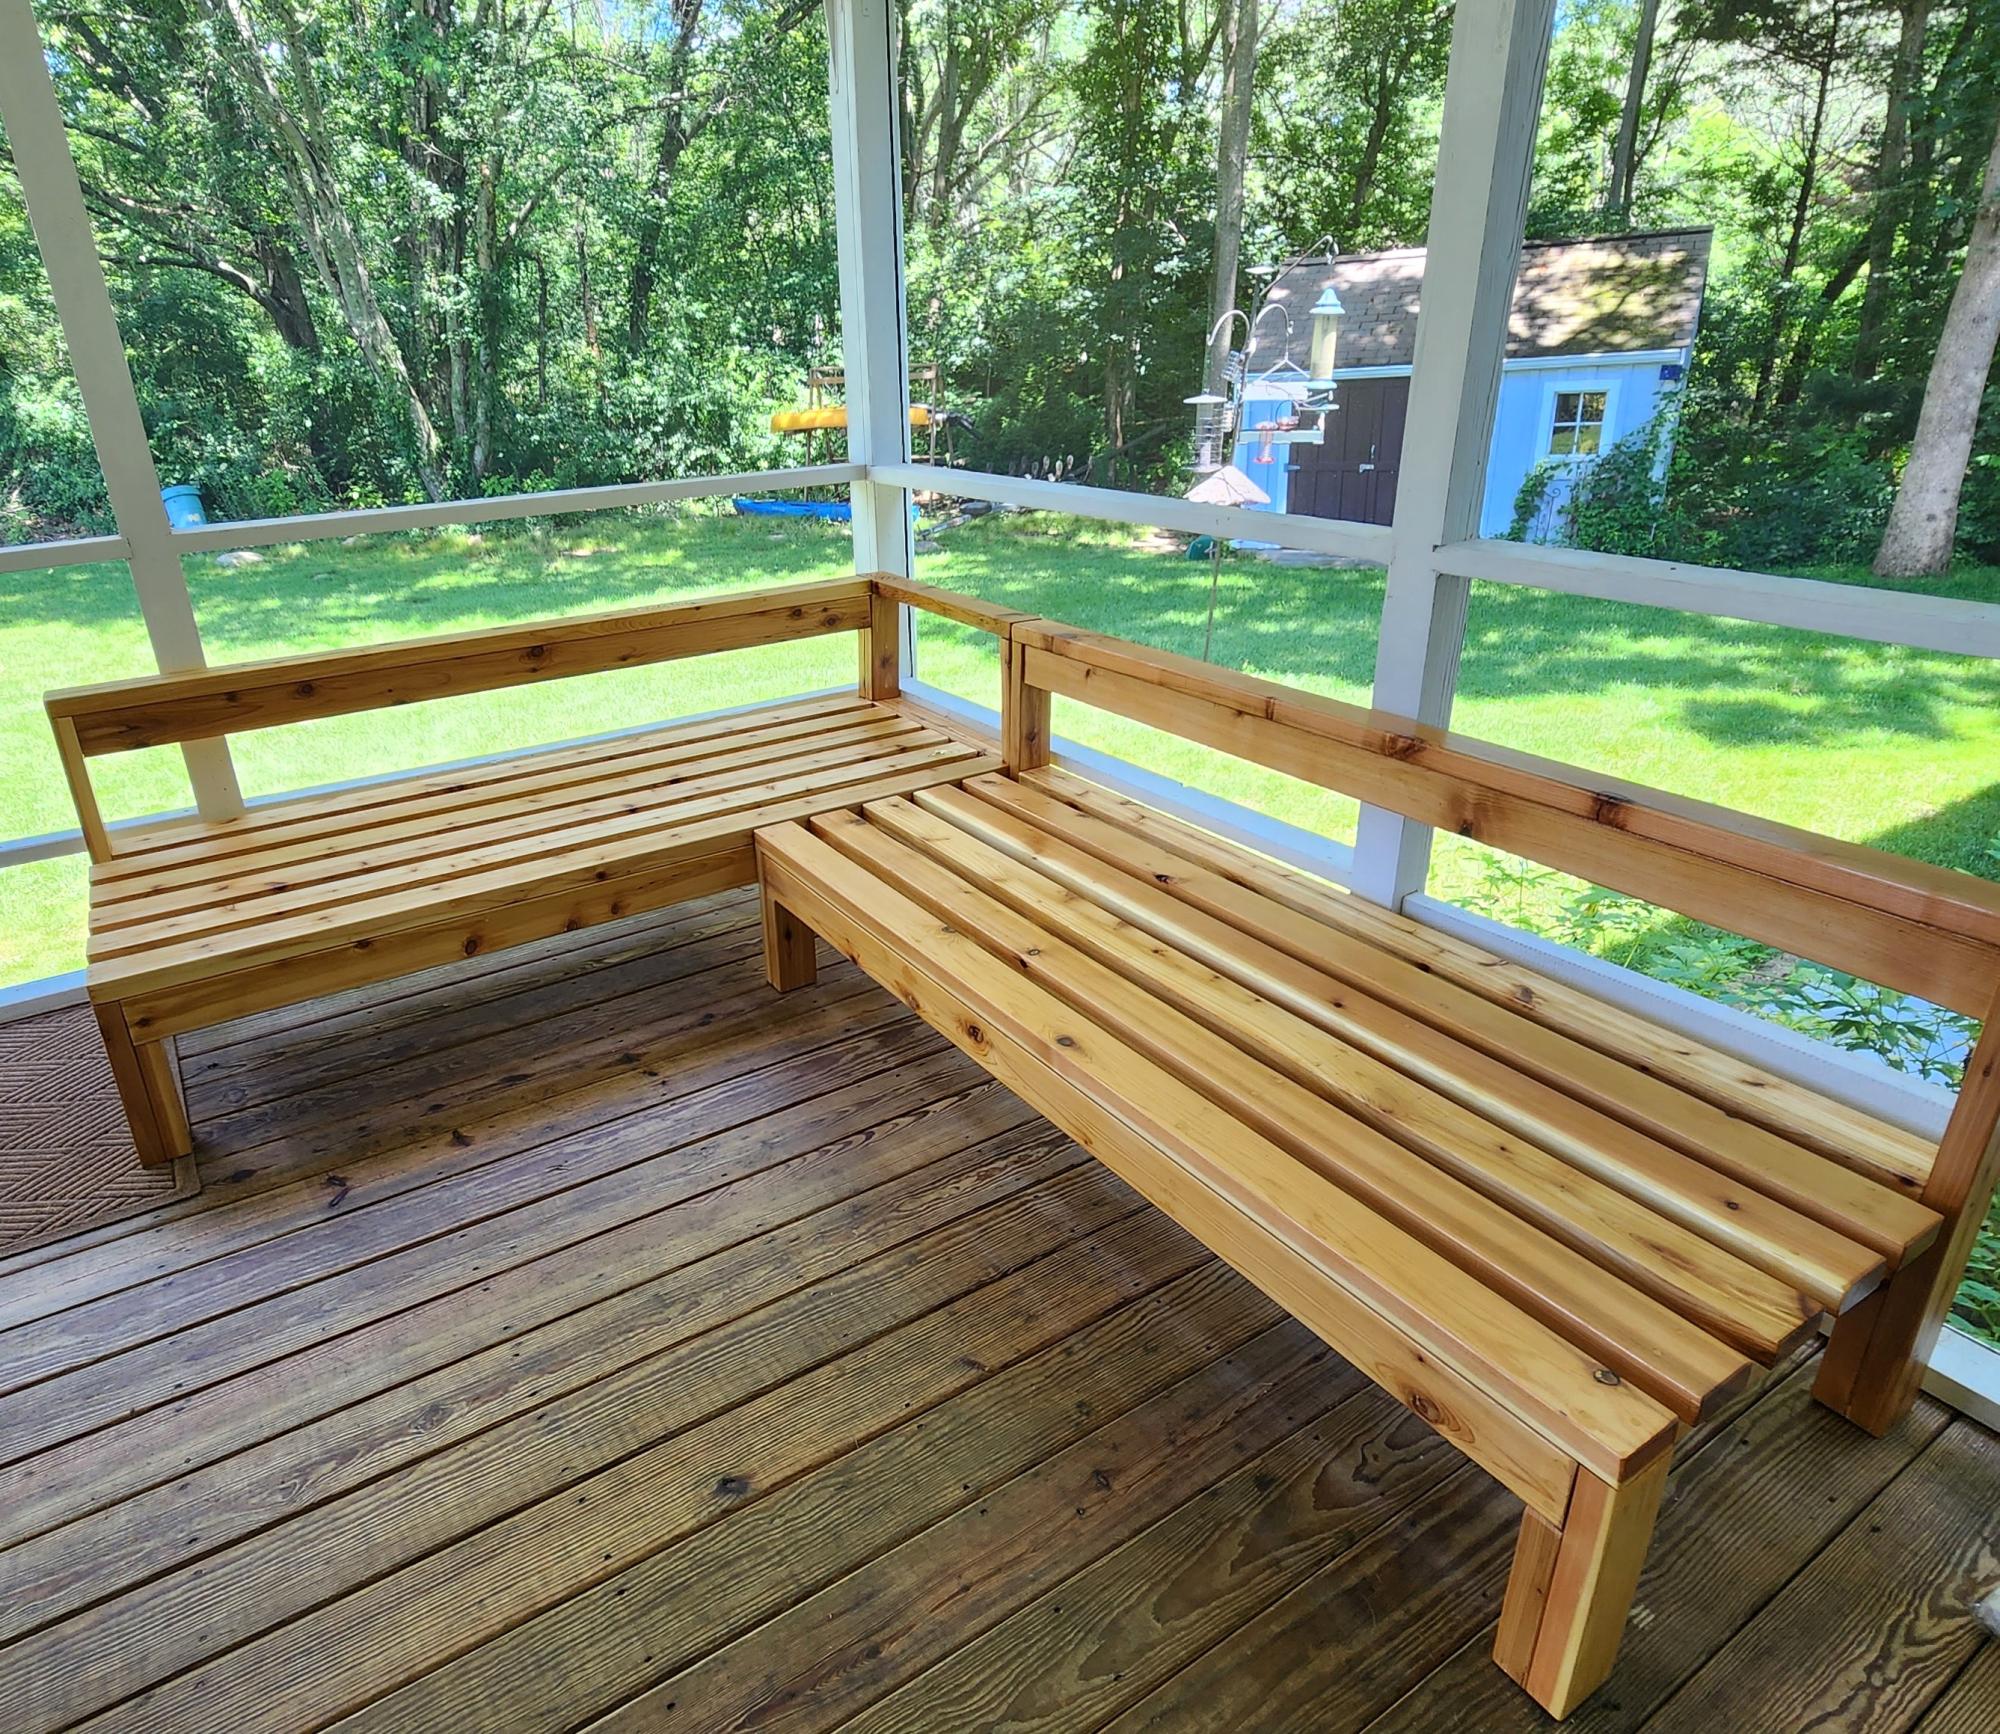
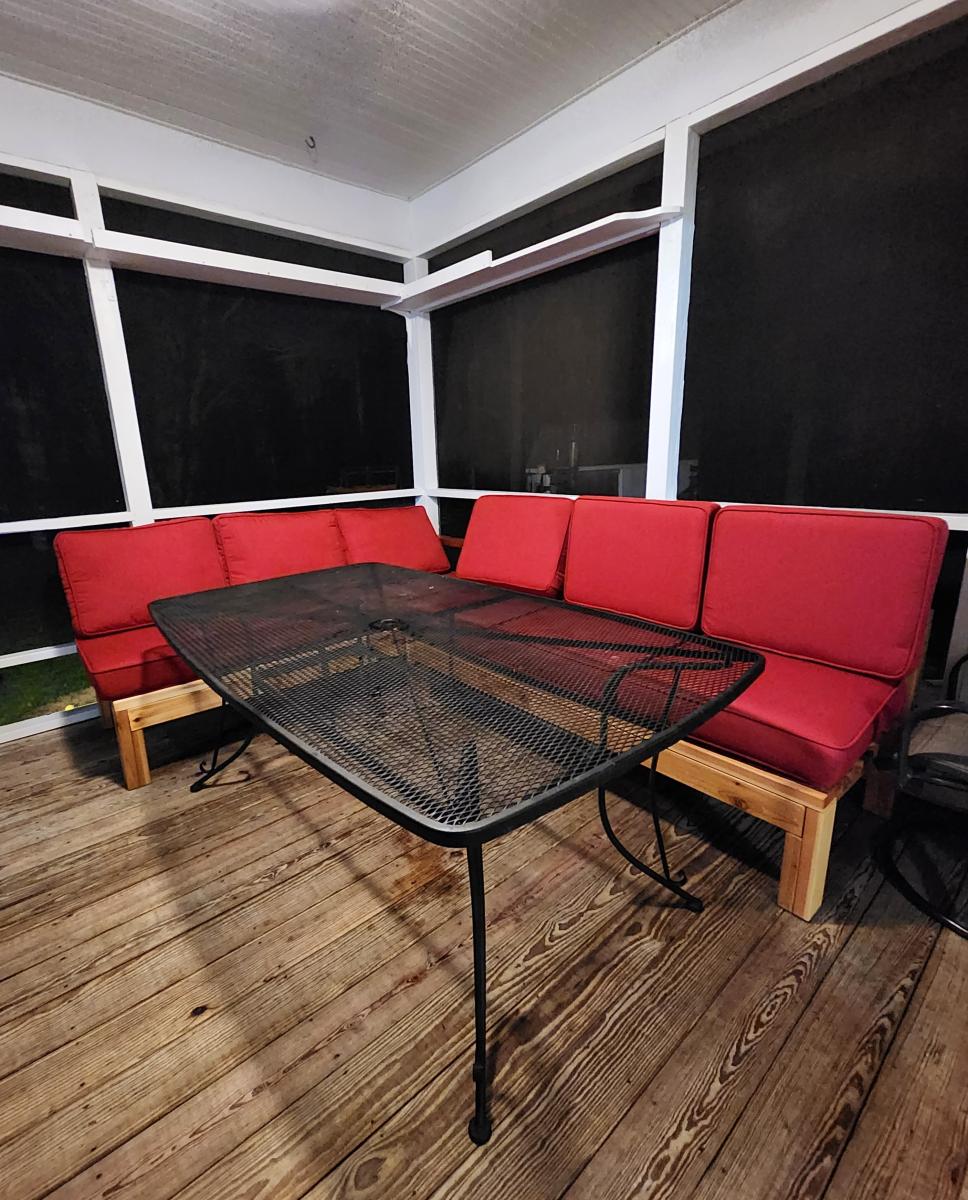
A 6' armless sofa & a 6' one arm sofa made of decking cedar and finished with outdoor urethane. Perfect seating for large group for dinner in a screened in porch! This is my first project using Ana White plans and it came out perfectly!! Thank you.
Michele V.