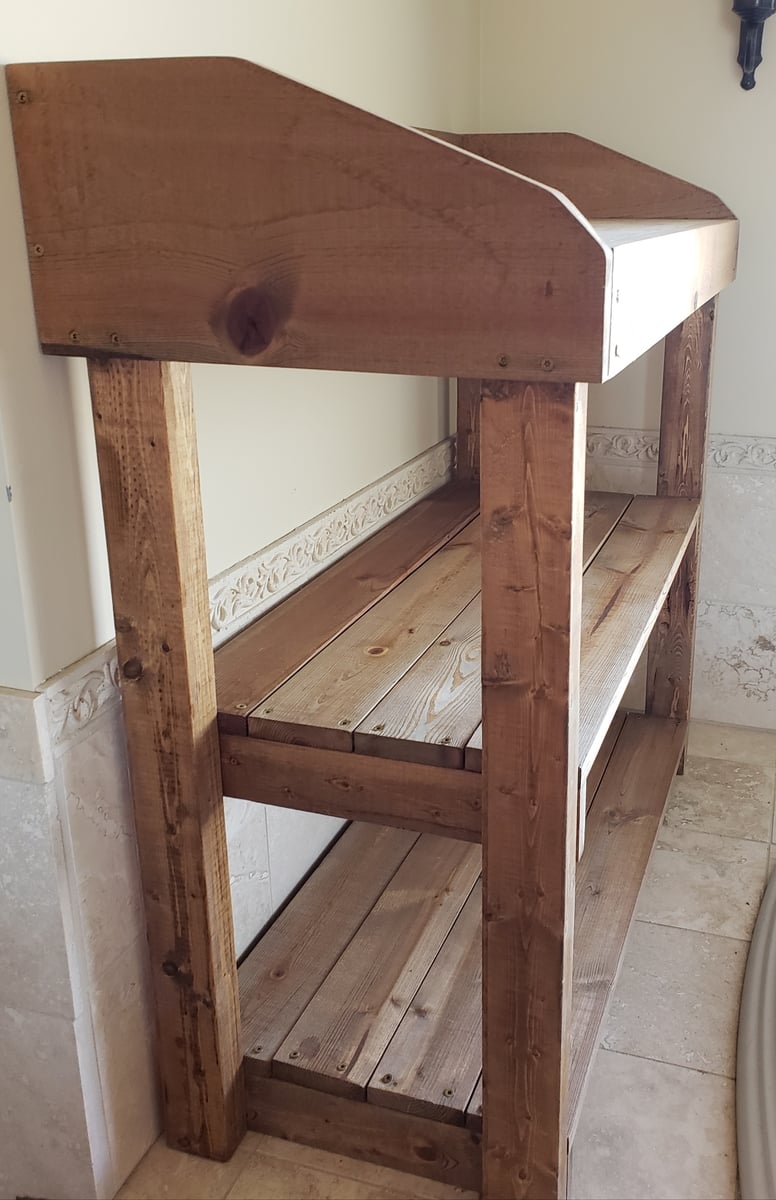
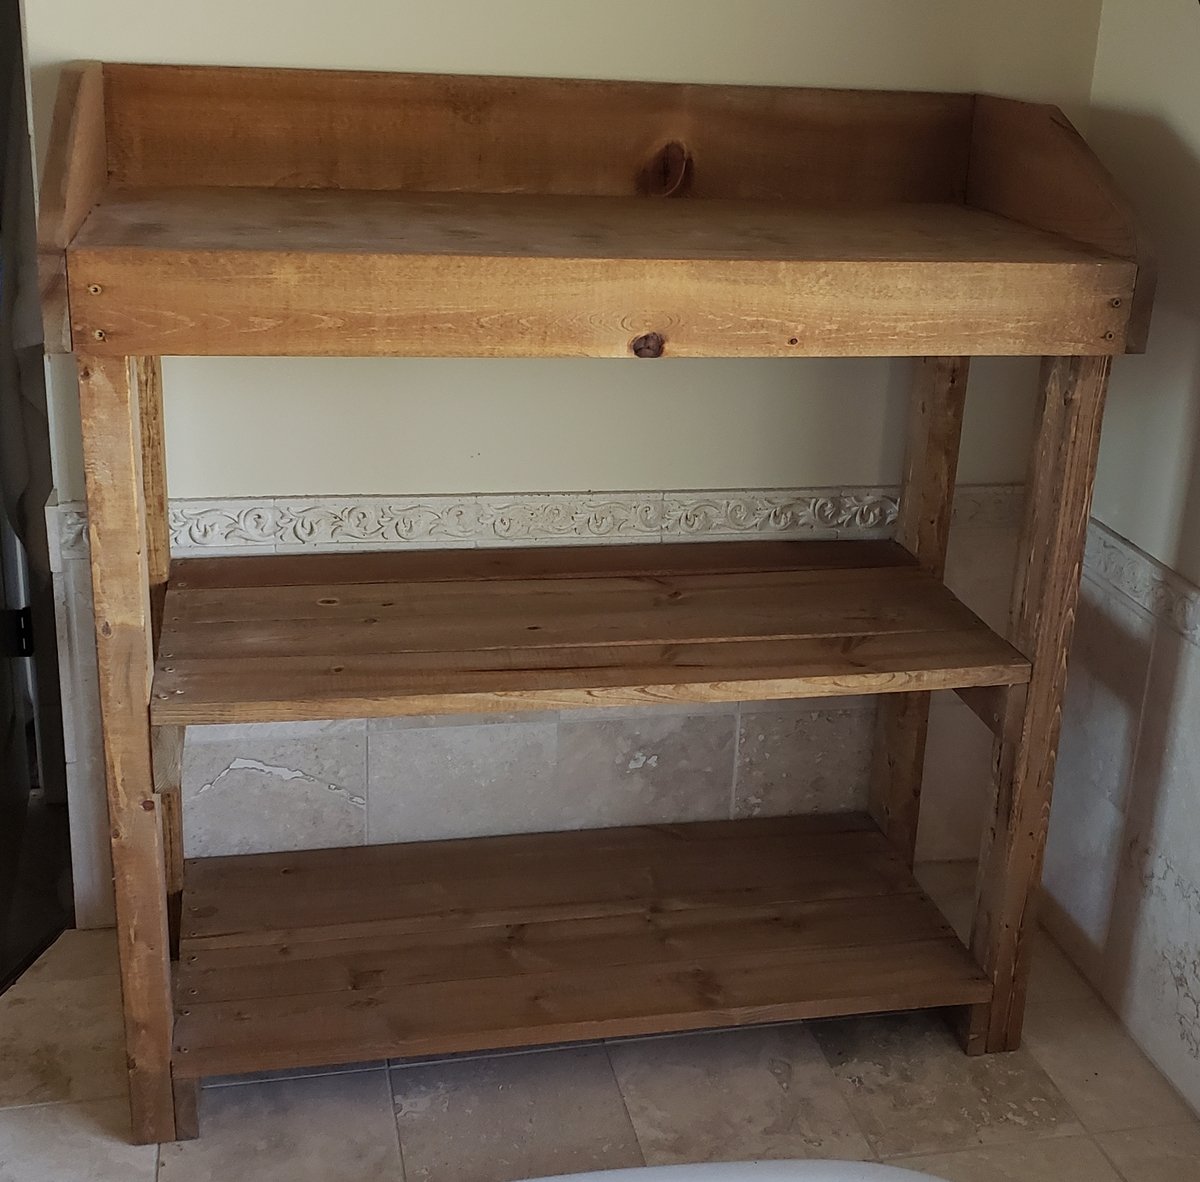
Garage shelf and work bench
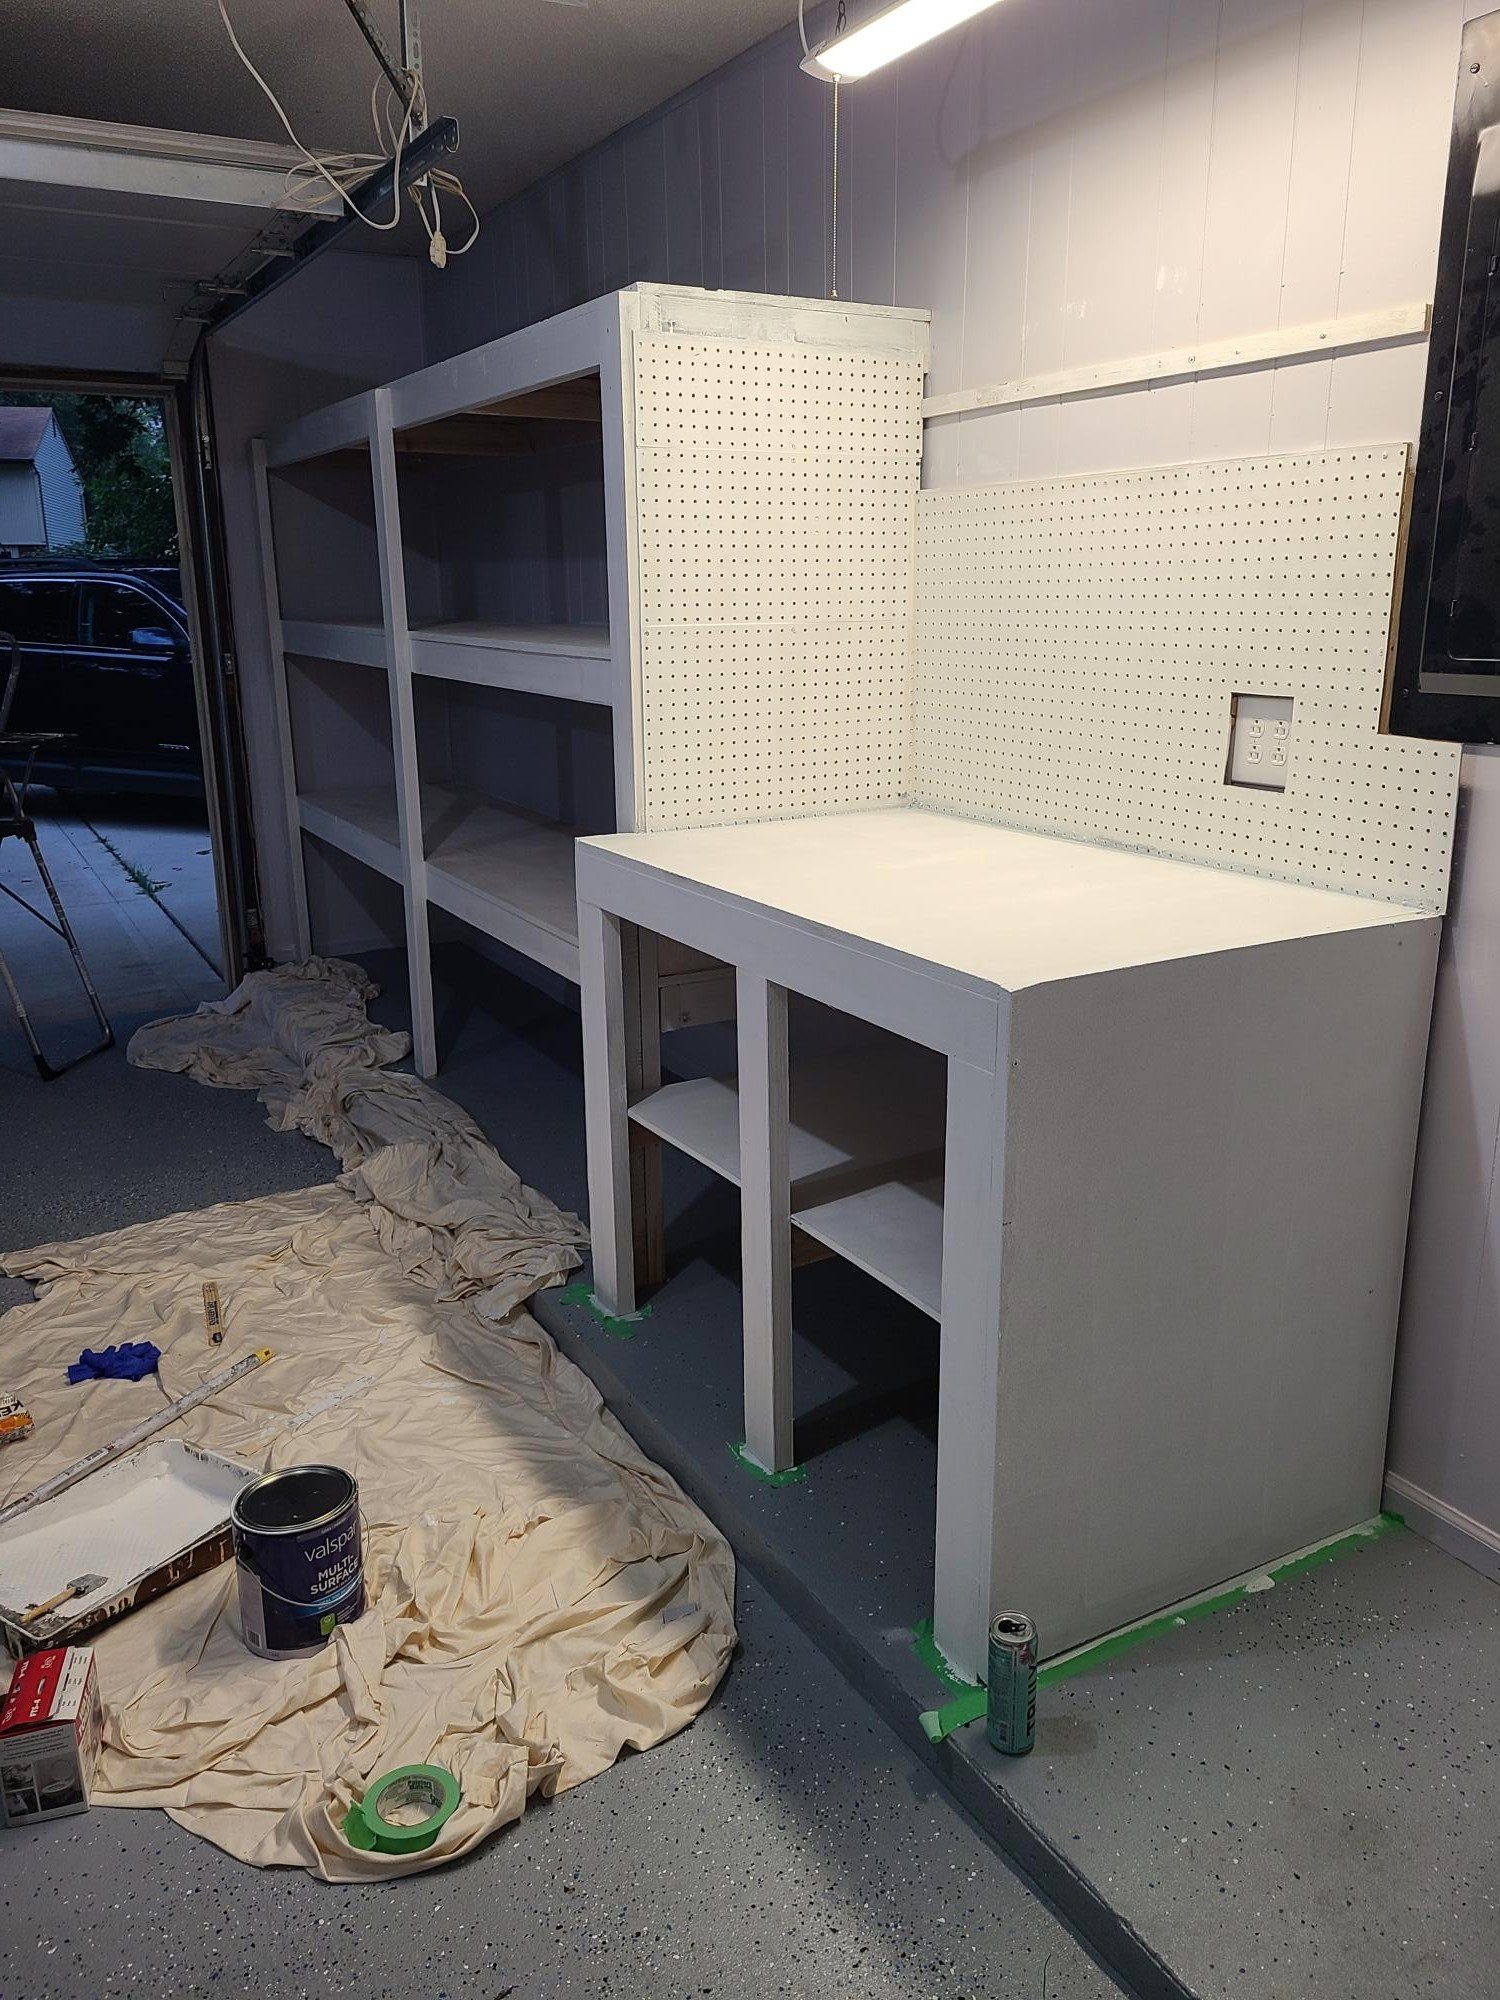
Used the plans from attached garage shelving to make a 10 ft, 24 inch wide shelf then used similar idea for workbench which I still need to put doors on. I love it! Such an easy plan!
Built from Plan(s)
Used the plans from attached garage shelving to make a 10 ft, 24 inch wide shelf then used similar idea for workbench which I still need to put doors on. I love it! Such an easy plan!
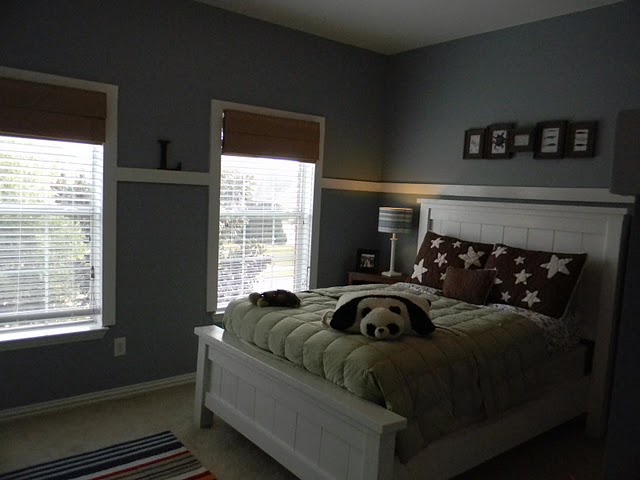
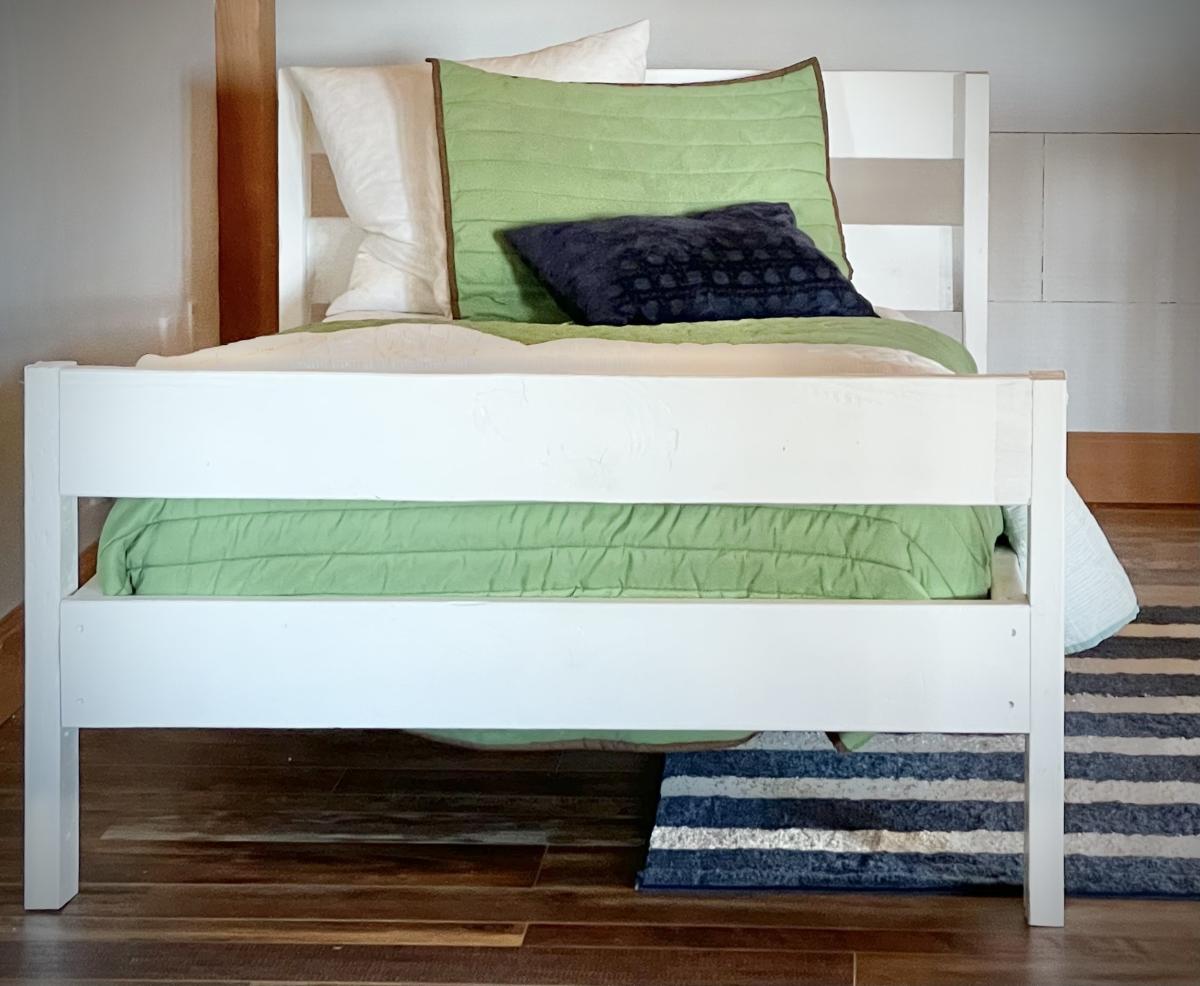
My Hubby and I worked really hard on building this bed, your plans are wonderful ;)

Tue, 08/09/2011 - 22:14
Just gorgeous, and thank you! Thanks so much for sharing!
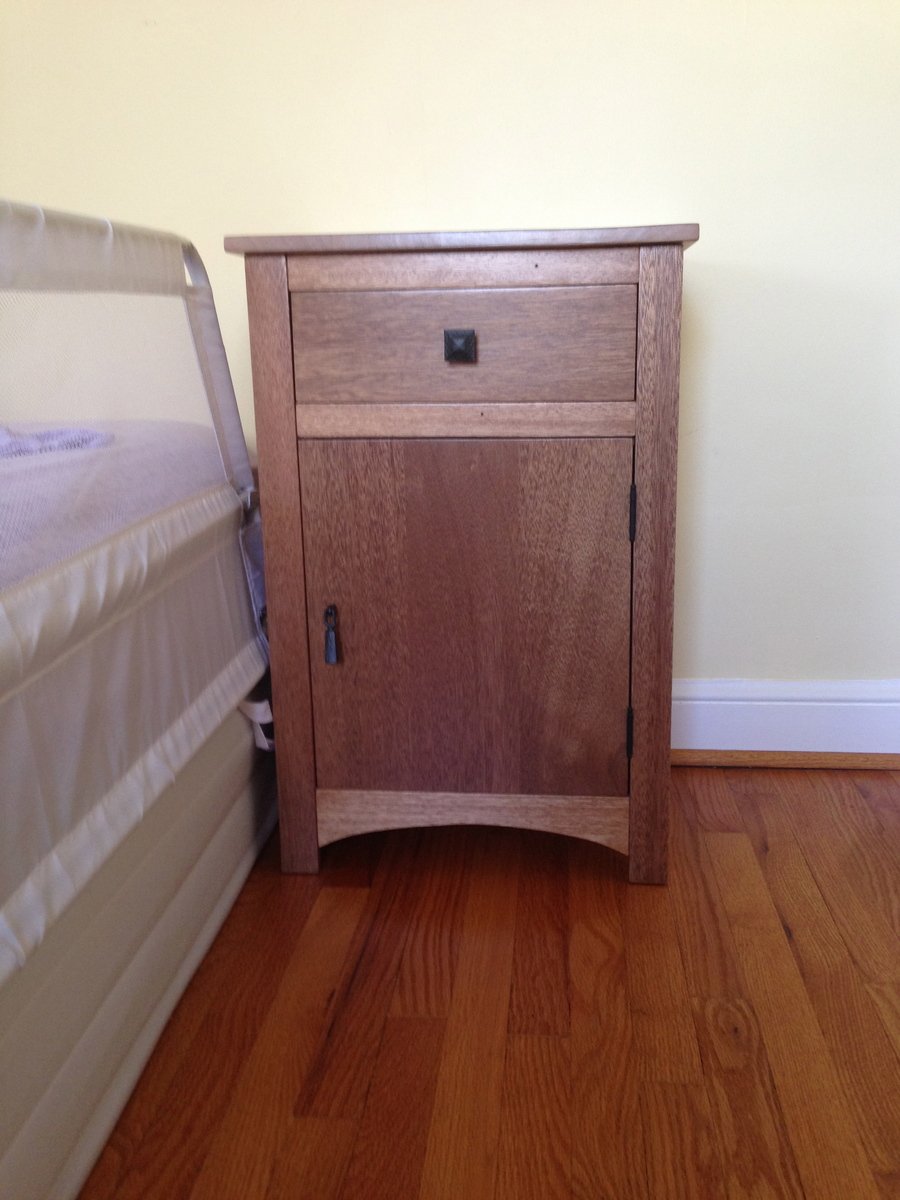
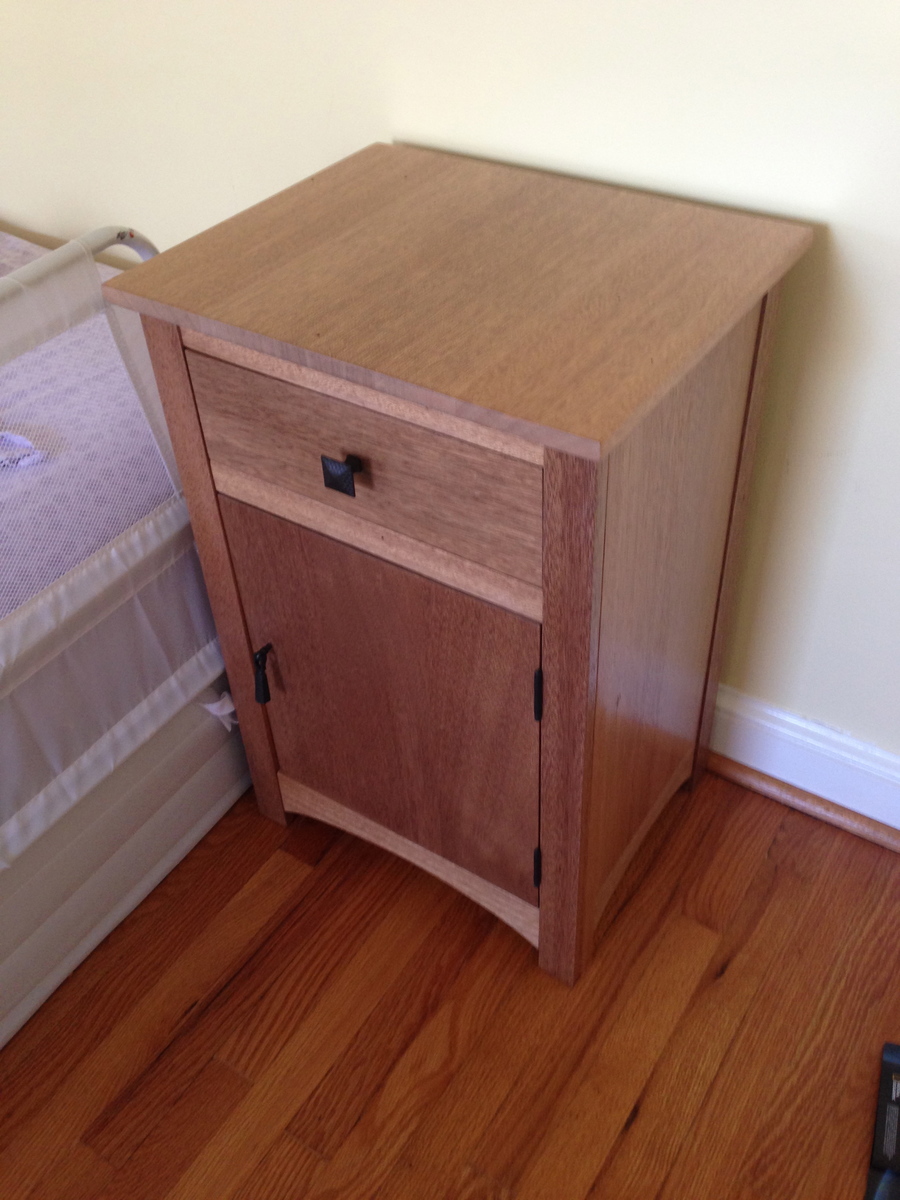
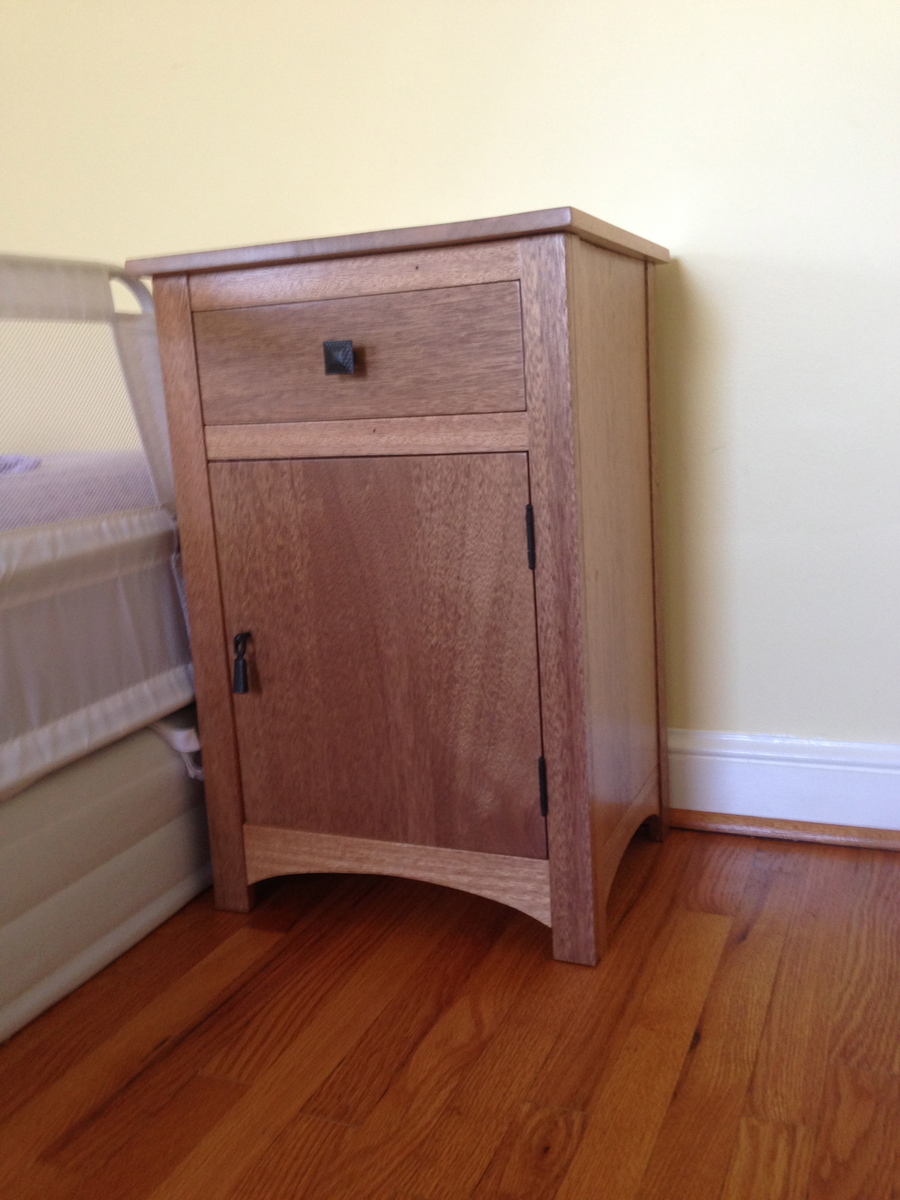
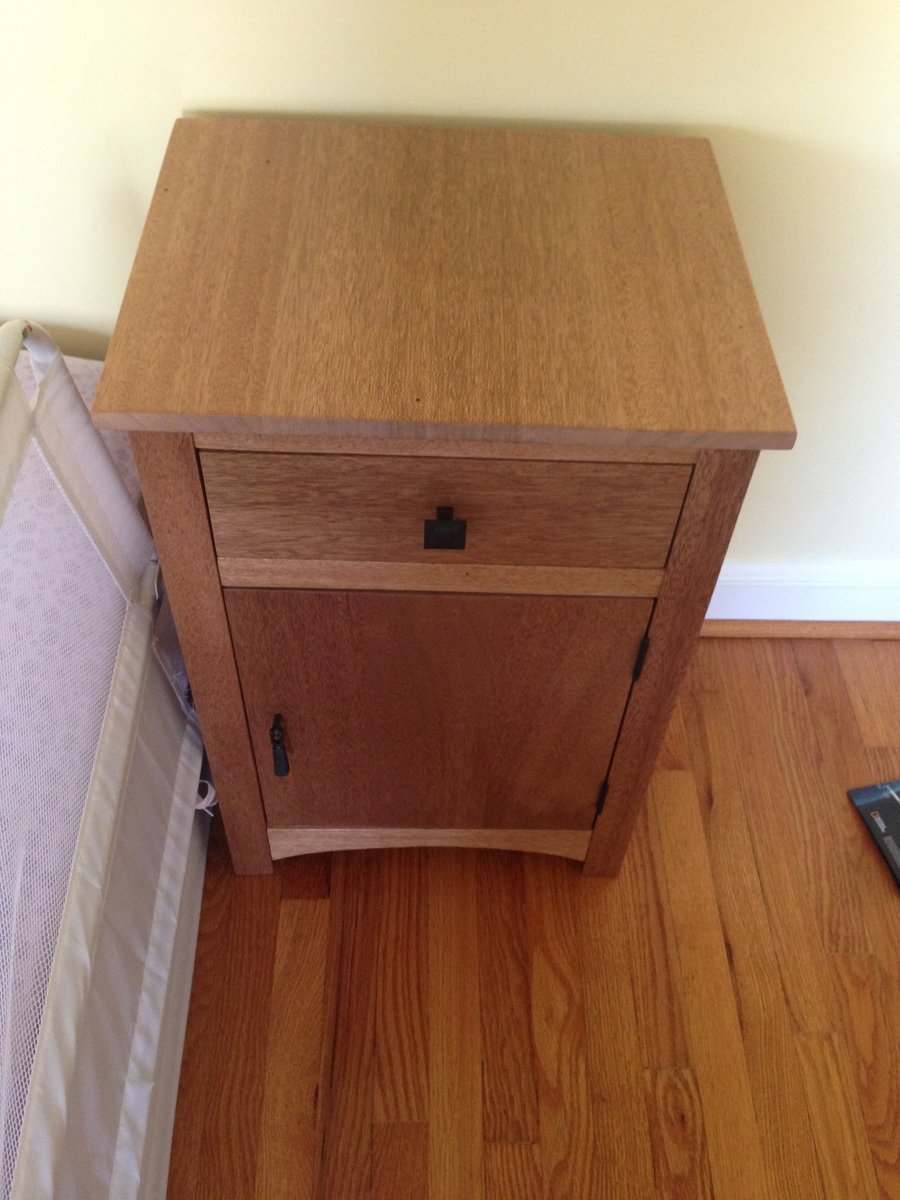
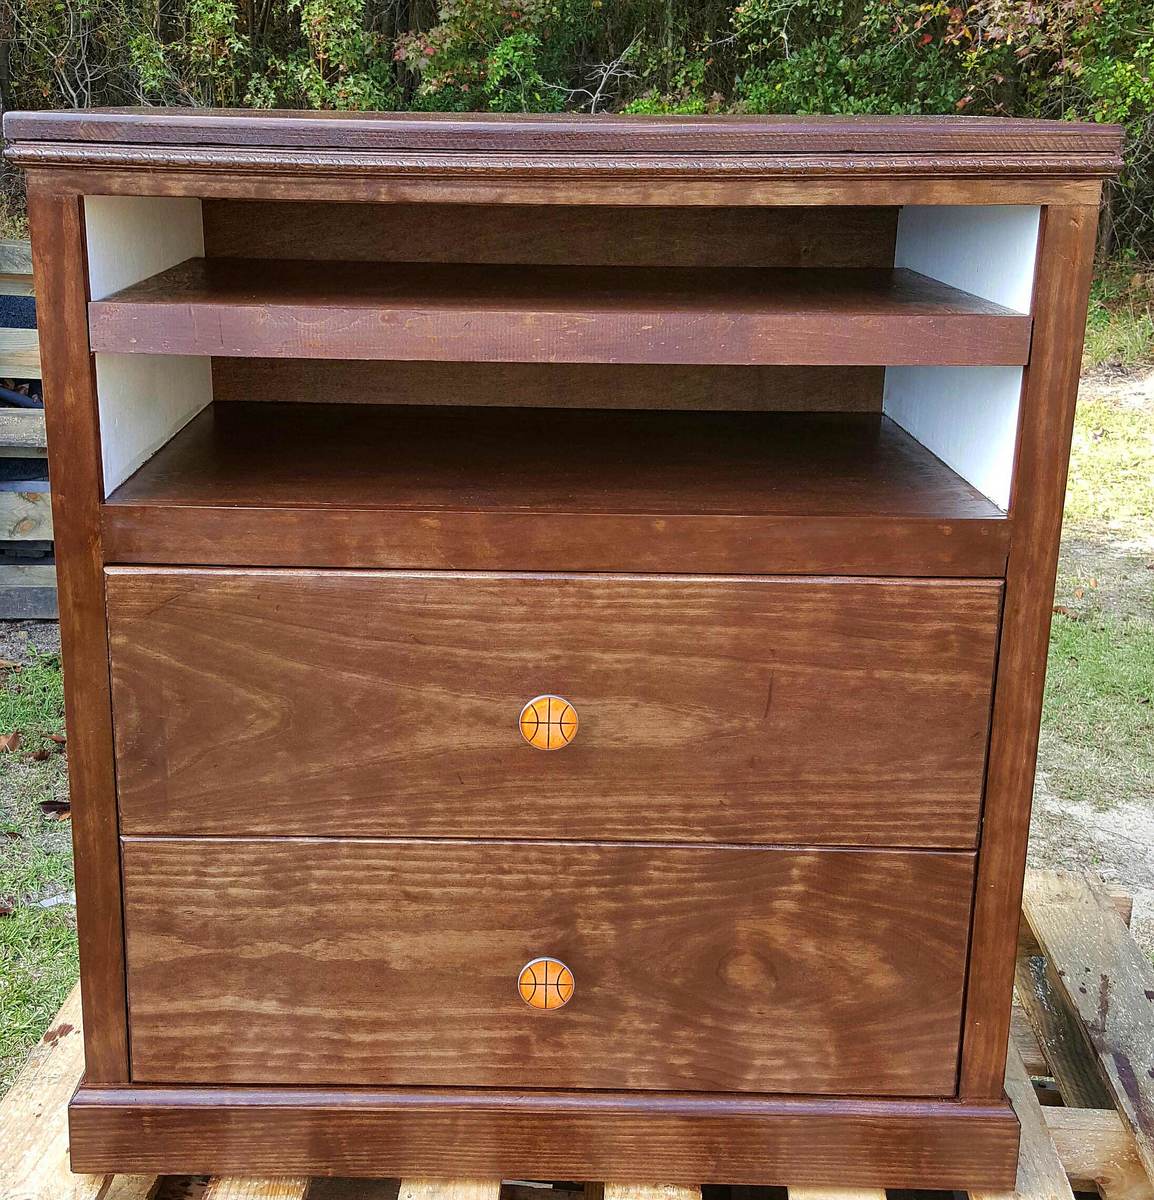
This nightstand was inspired by the Julia Nightstand. I changed a few of the measurements and added a door. The entire piece is built out of wood I salvaged when I tore out the wall paneling in my basement. The old nail holes add nice character and the color of the wood and grain are really nice. This piece does not have any stain - this is the natural color of the wood. I finished it with water based polyurethane.

Mon, 09/02/2013 - 15:46
I love seeing what people build with salvage and this is fantastic! =D Great work! :)
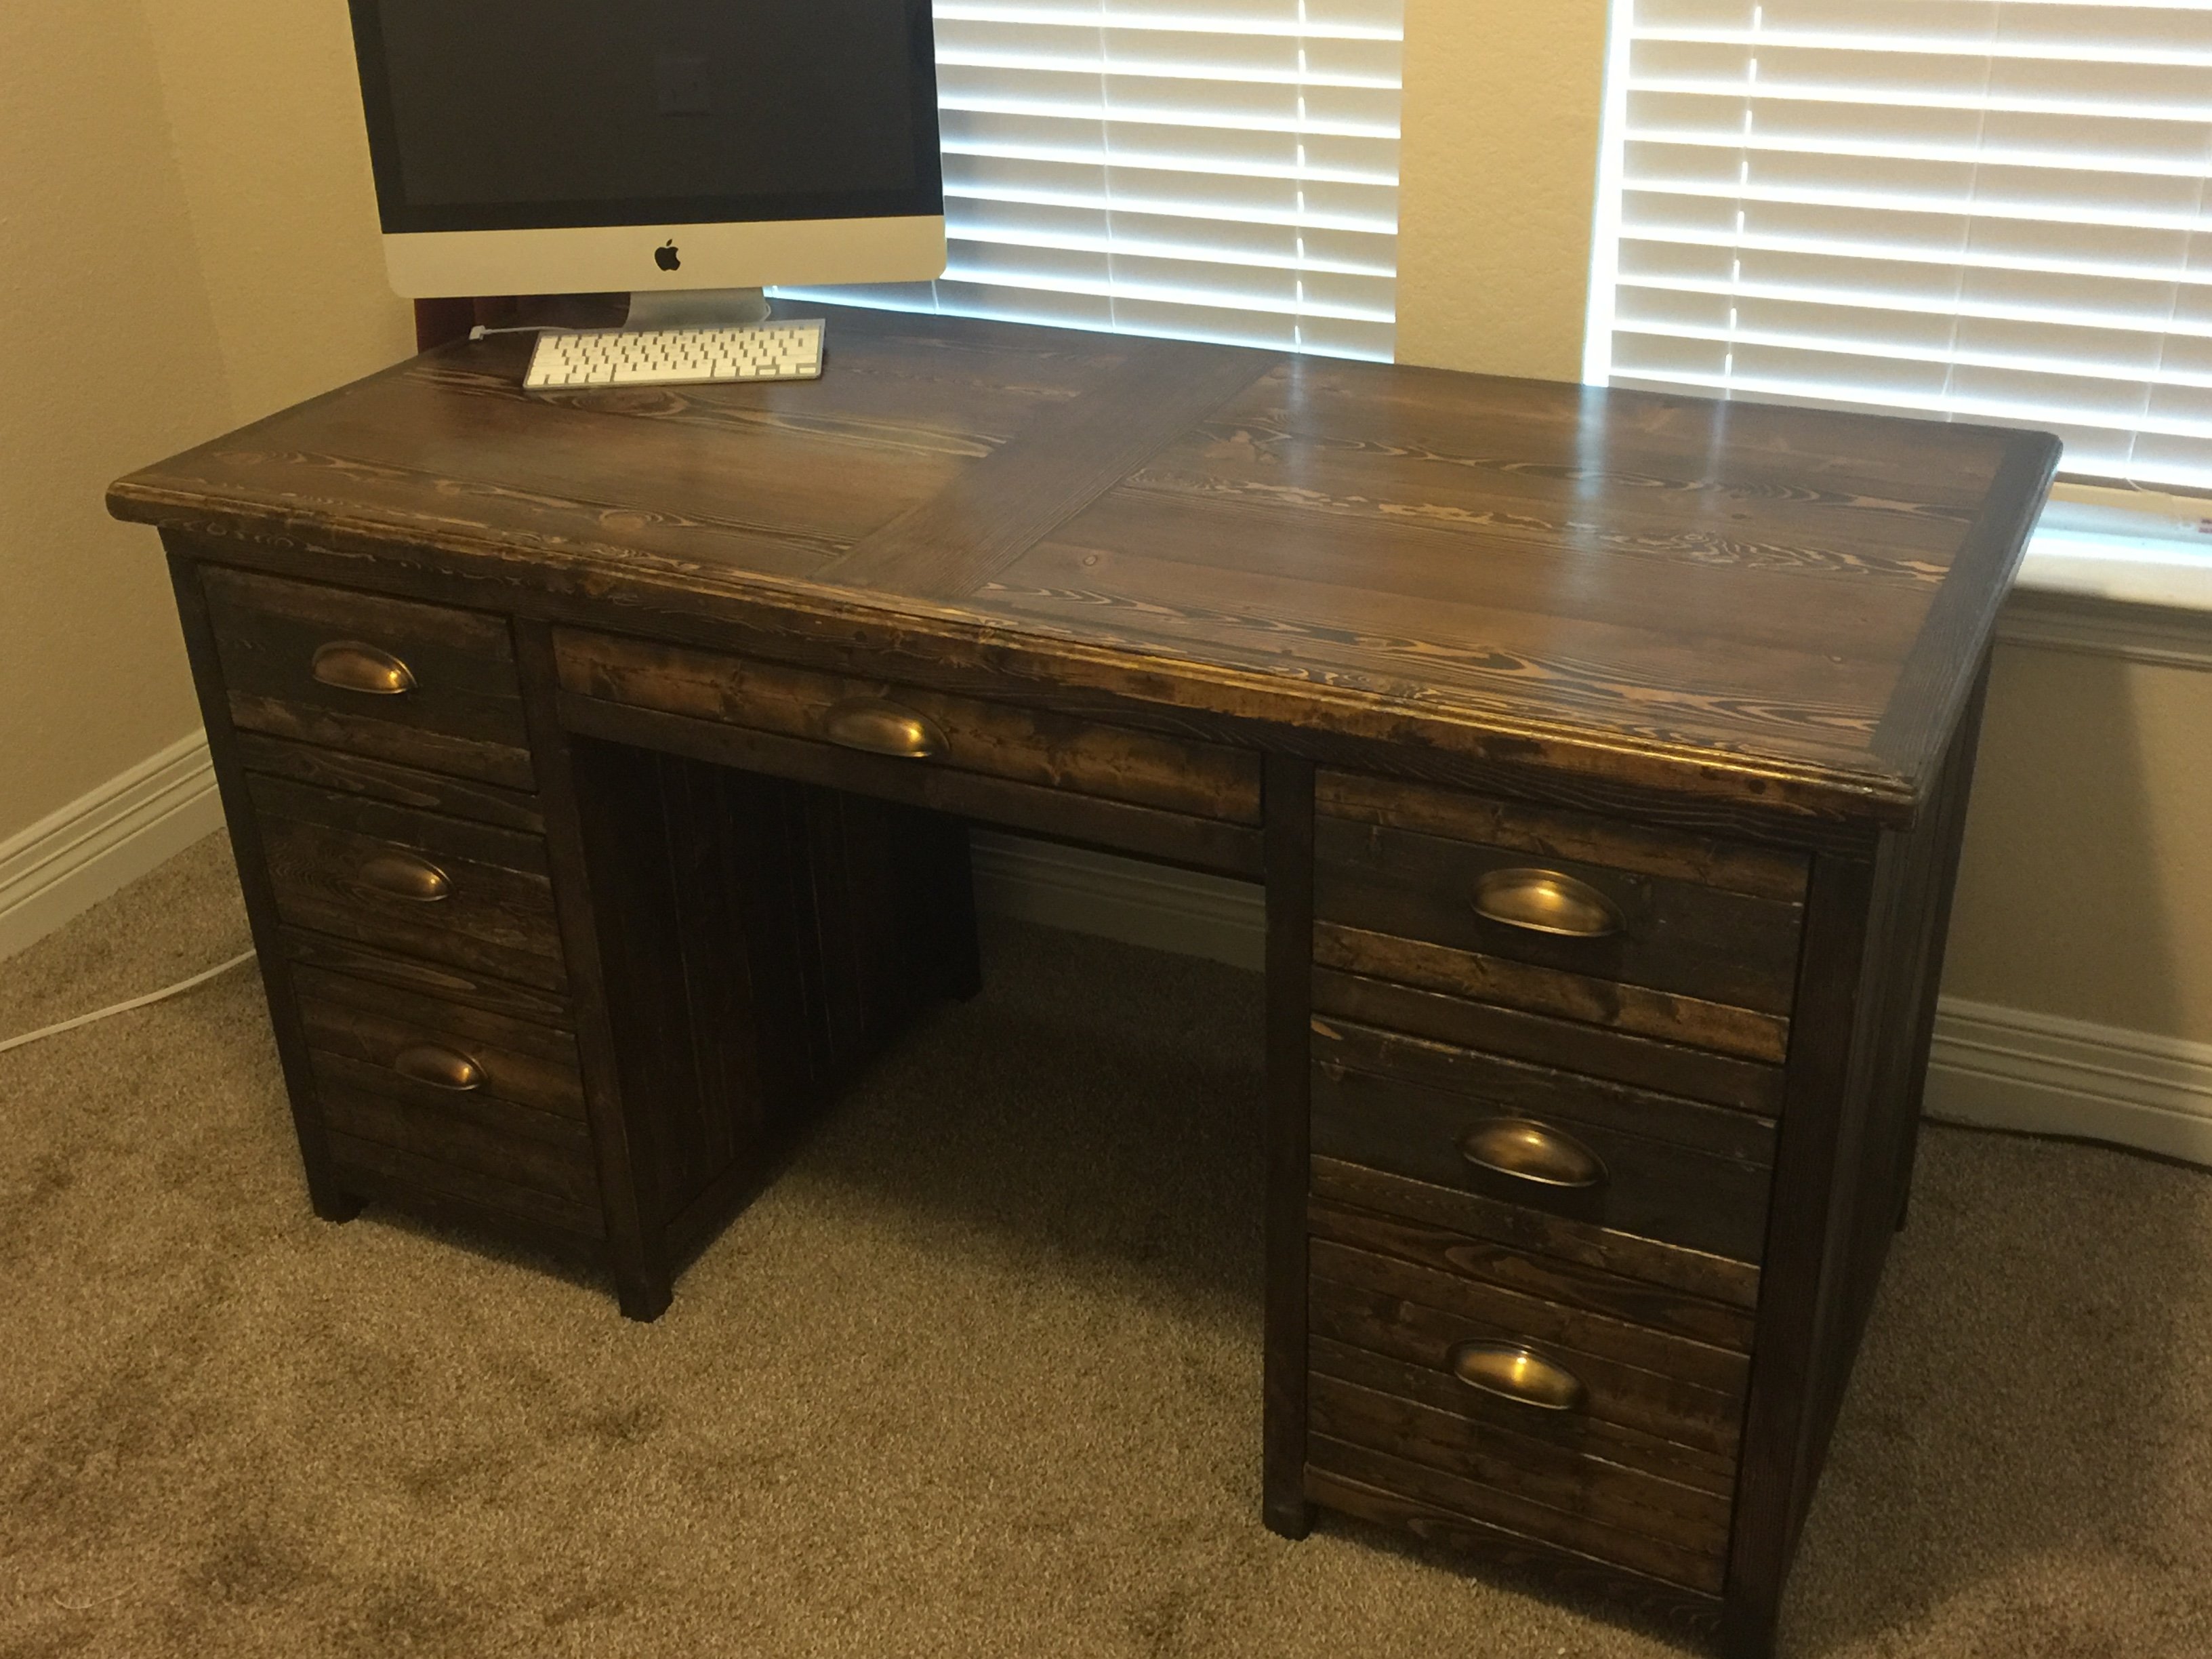
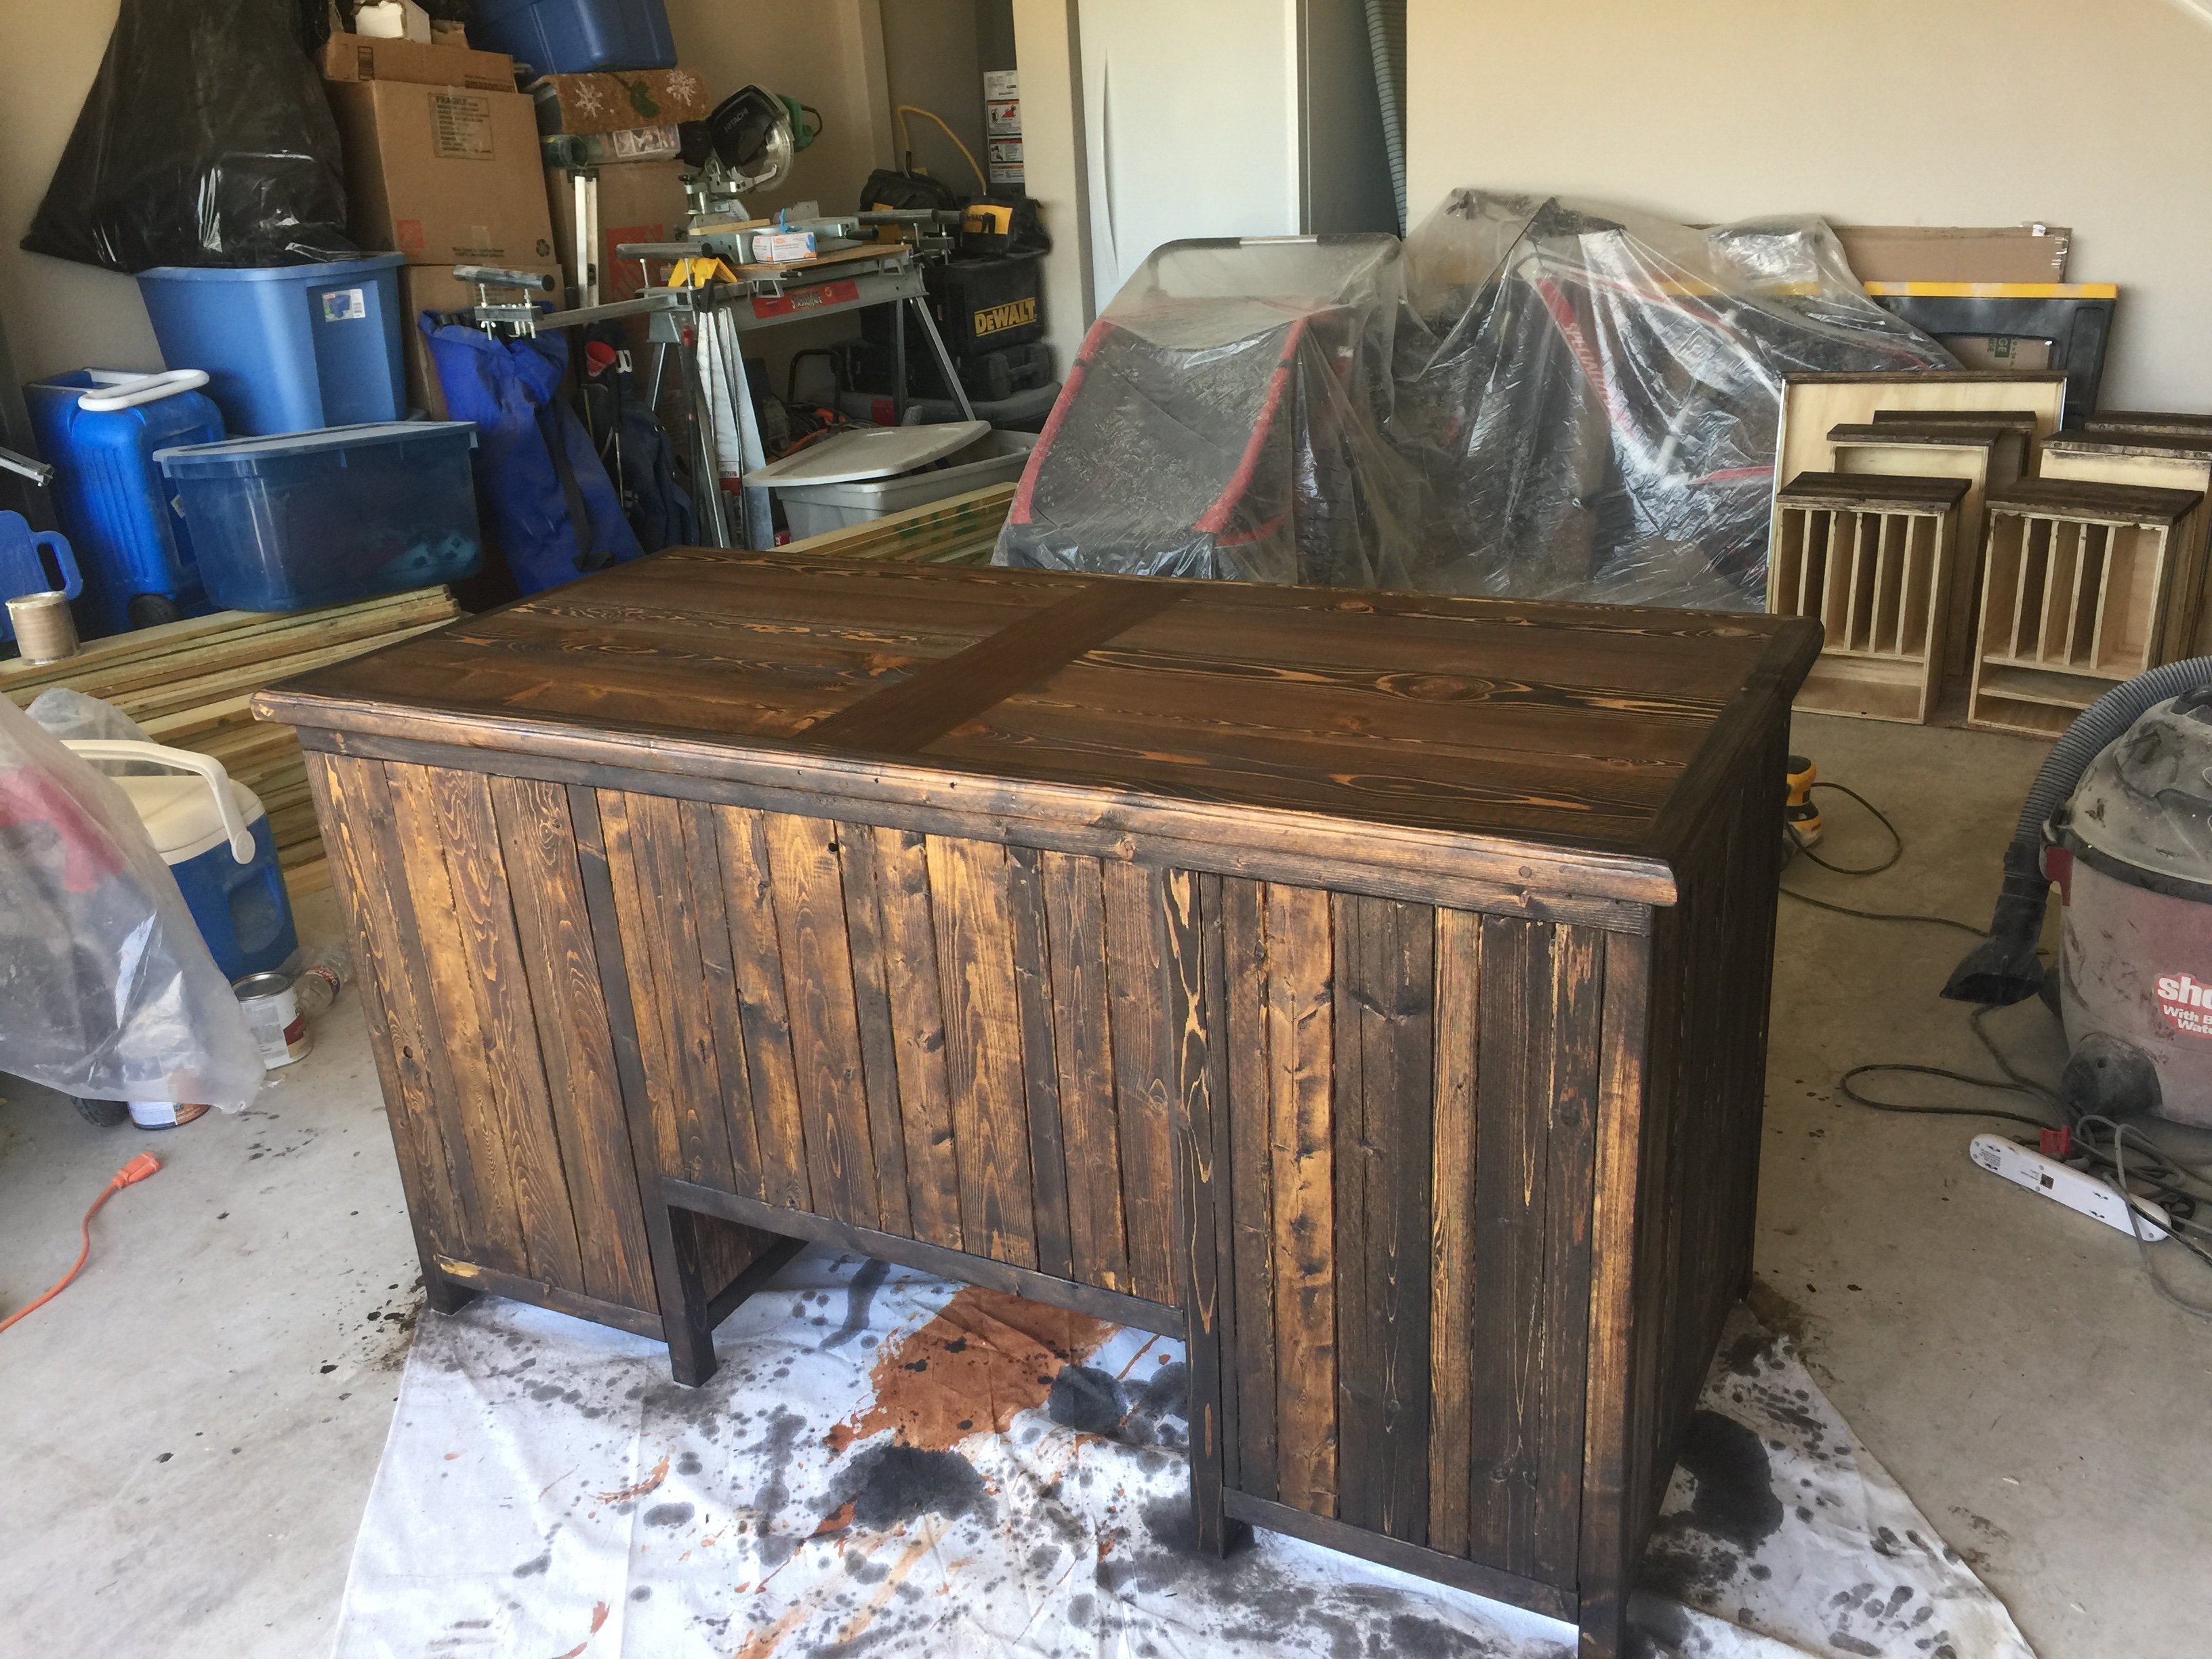
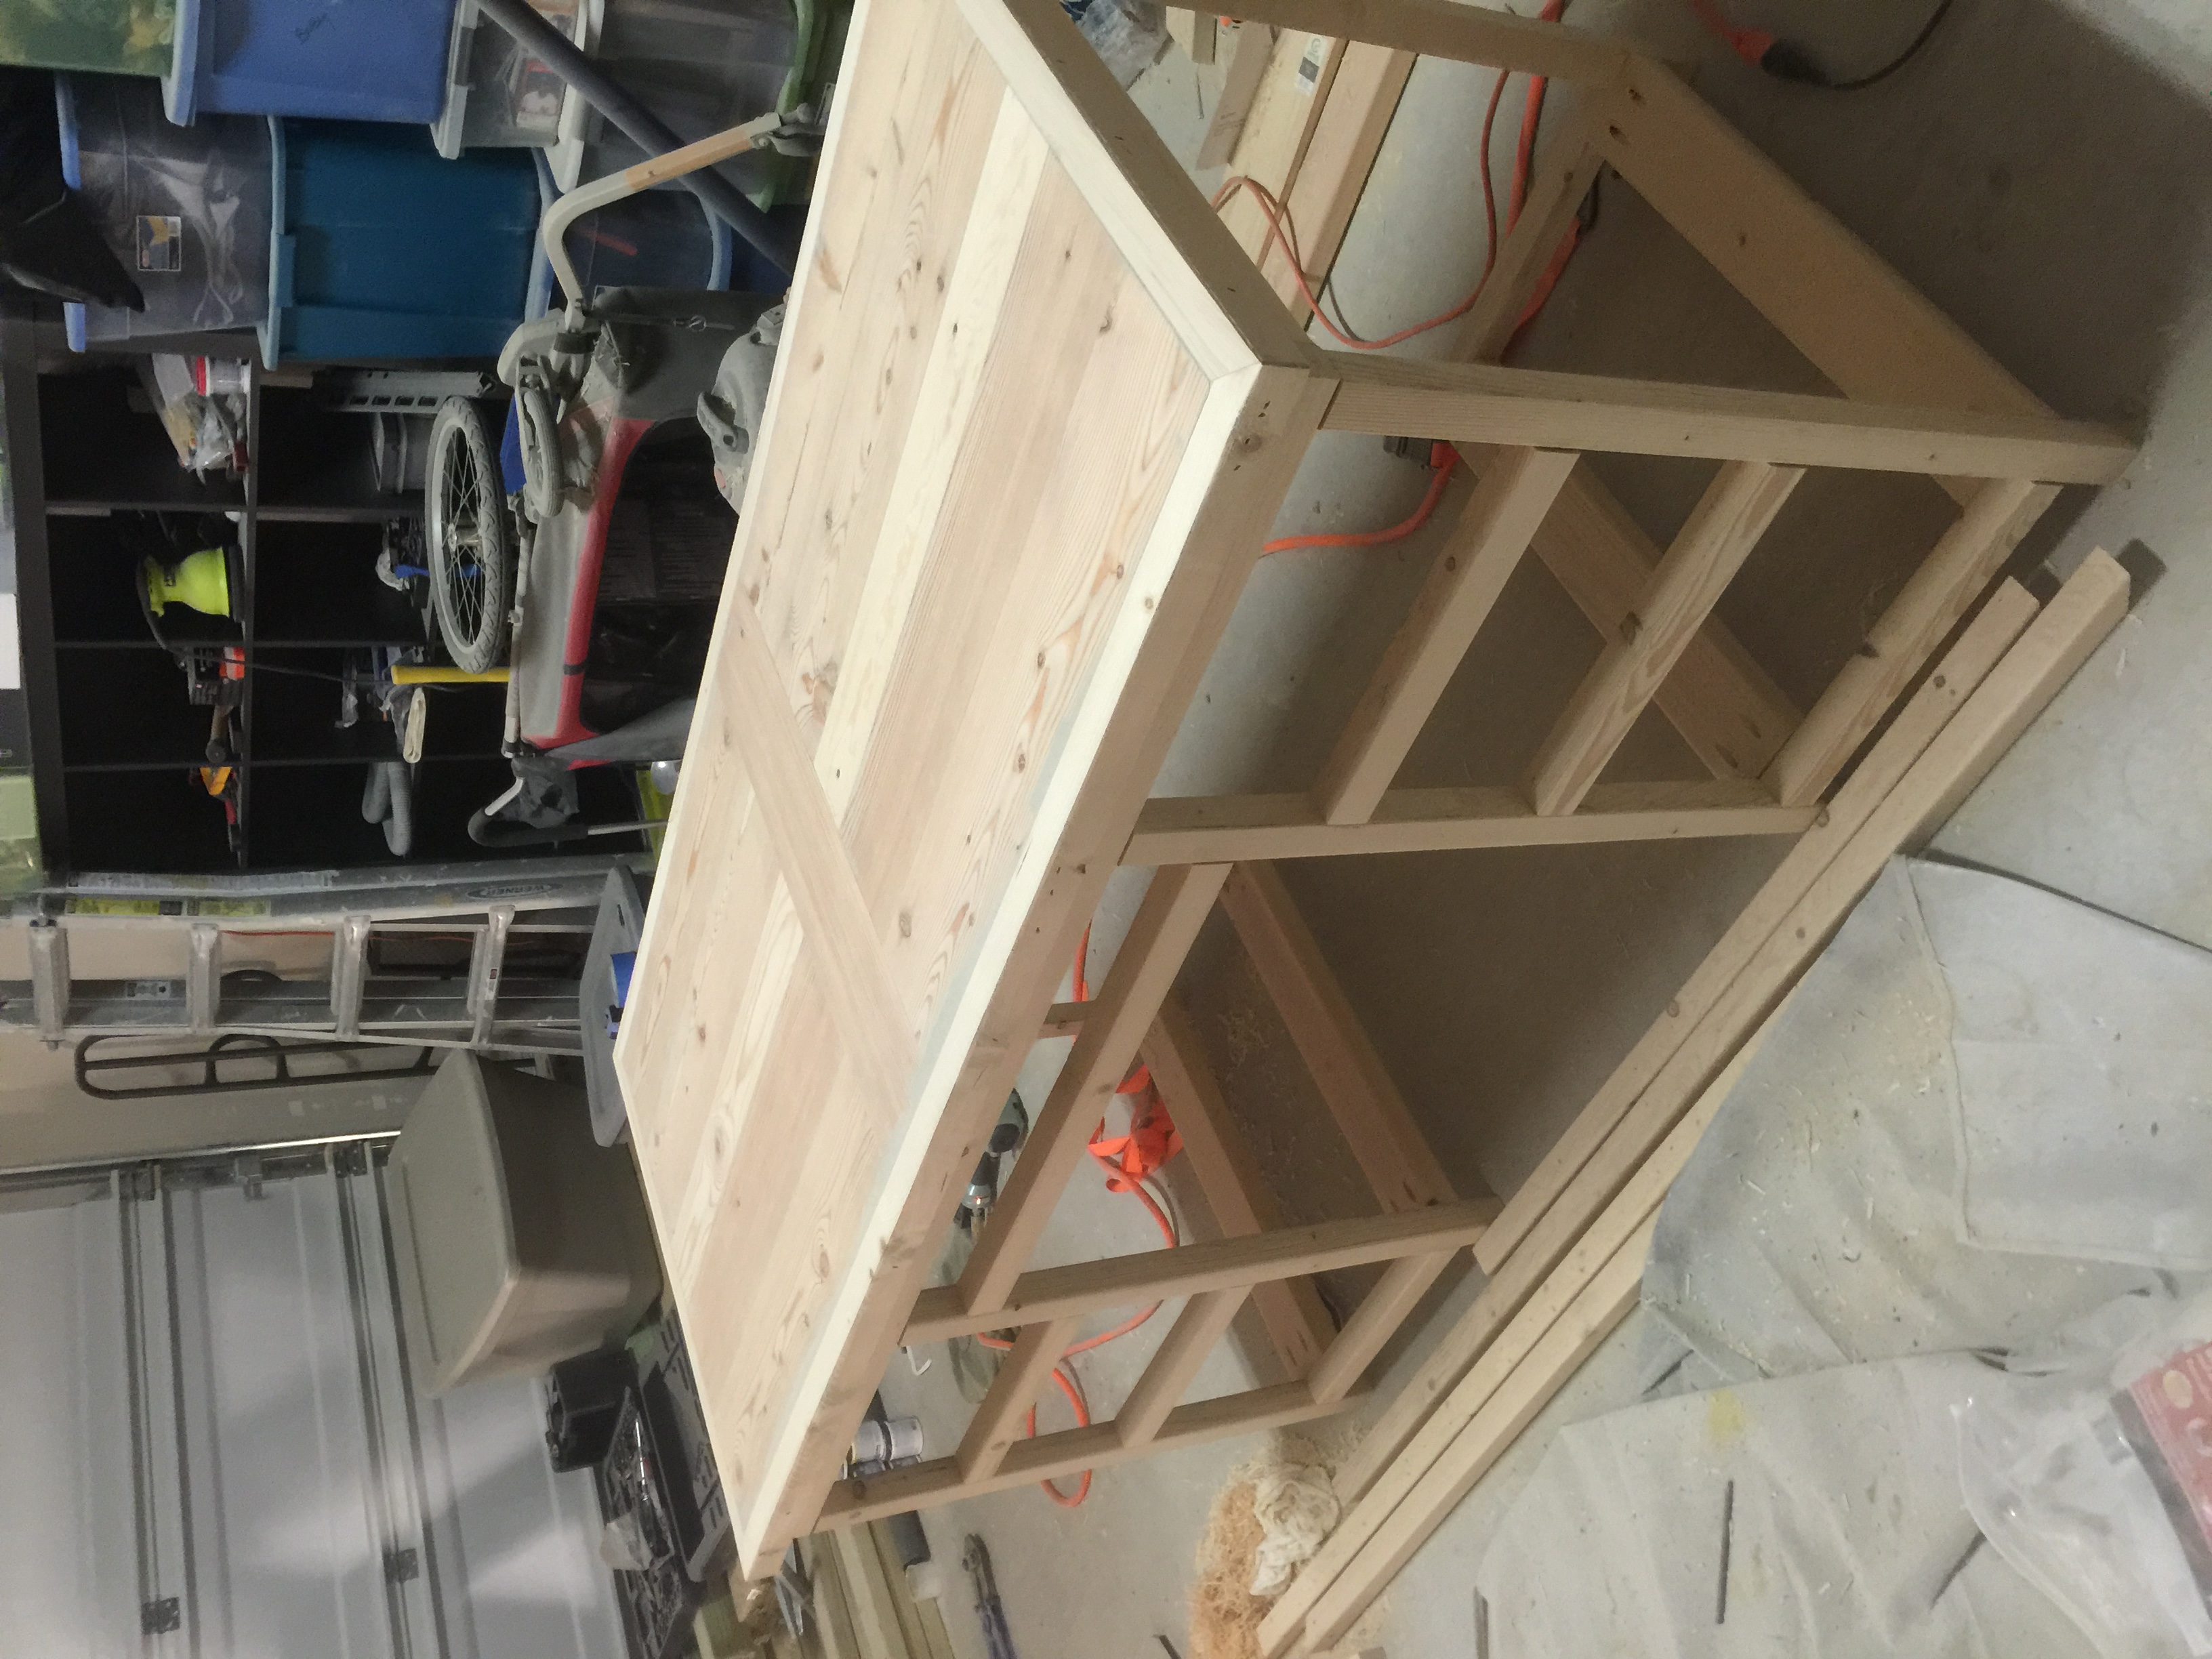
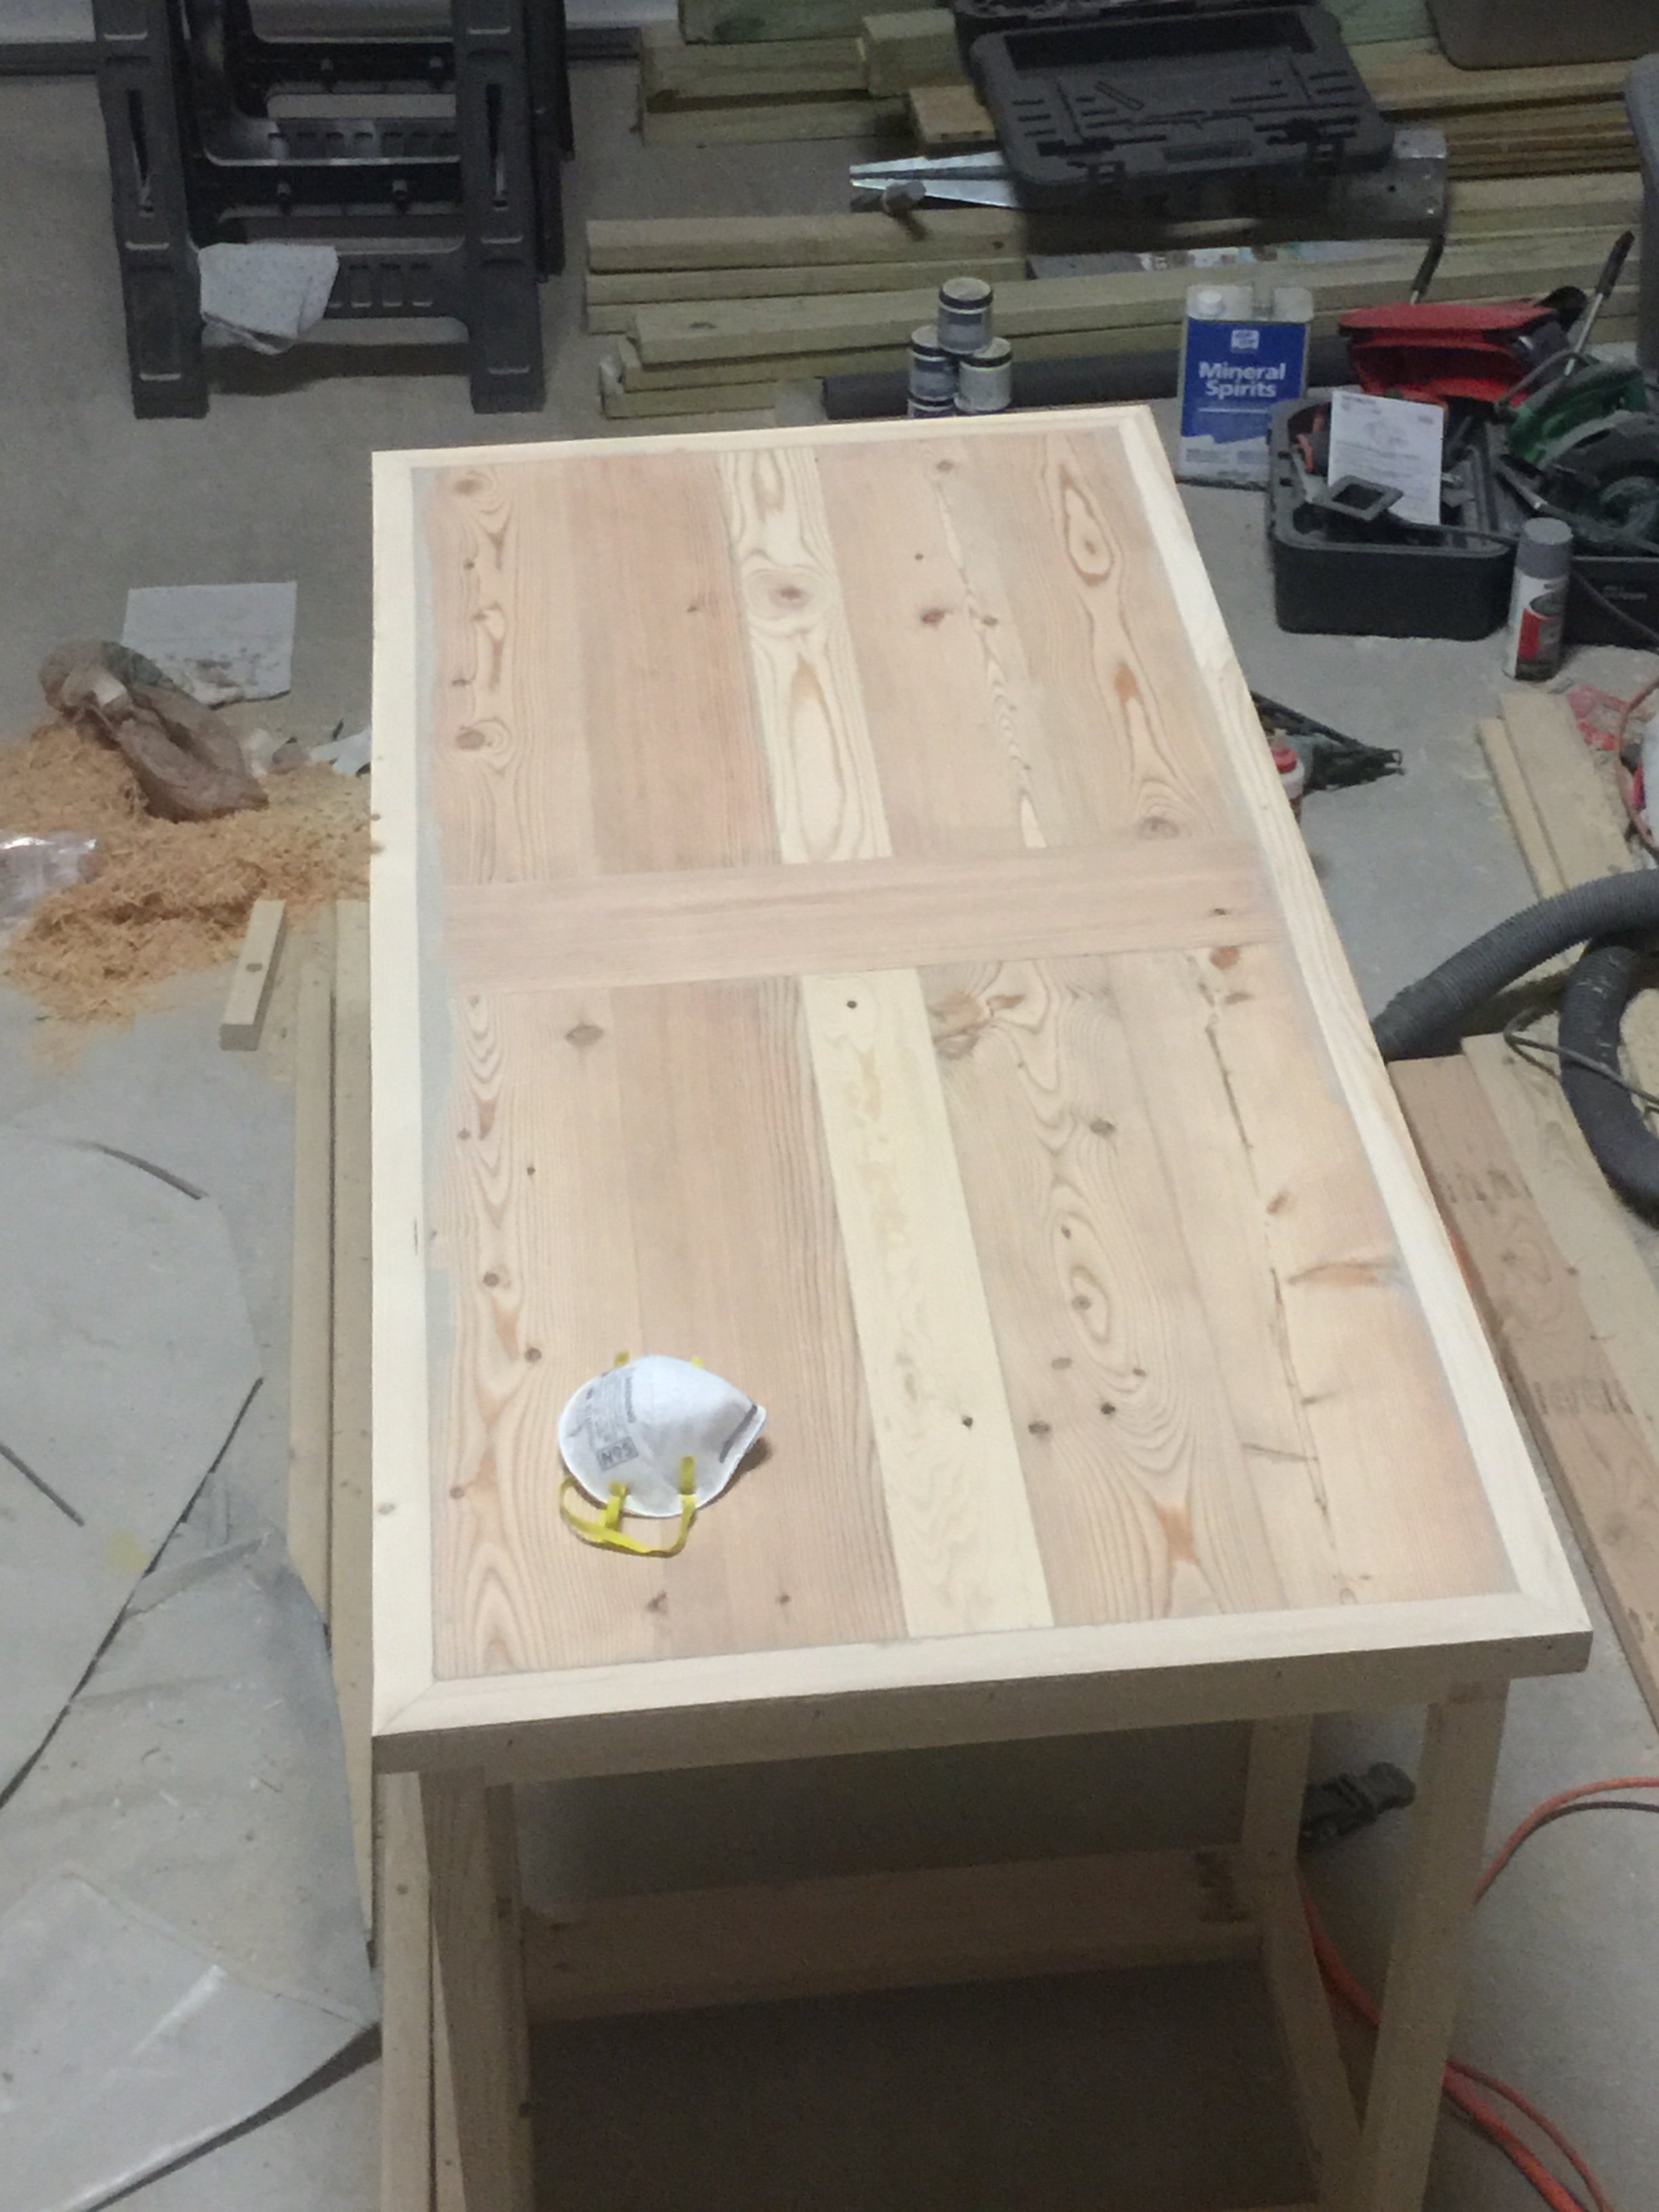
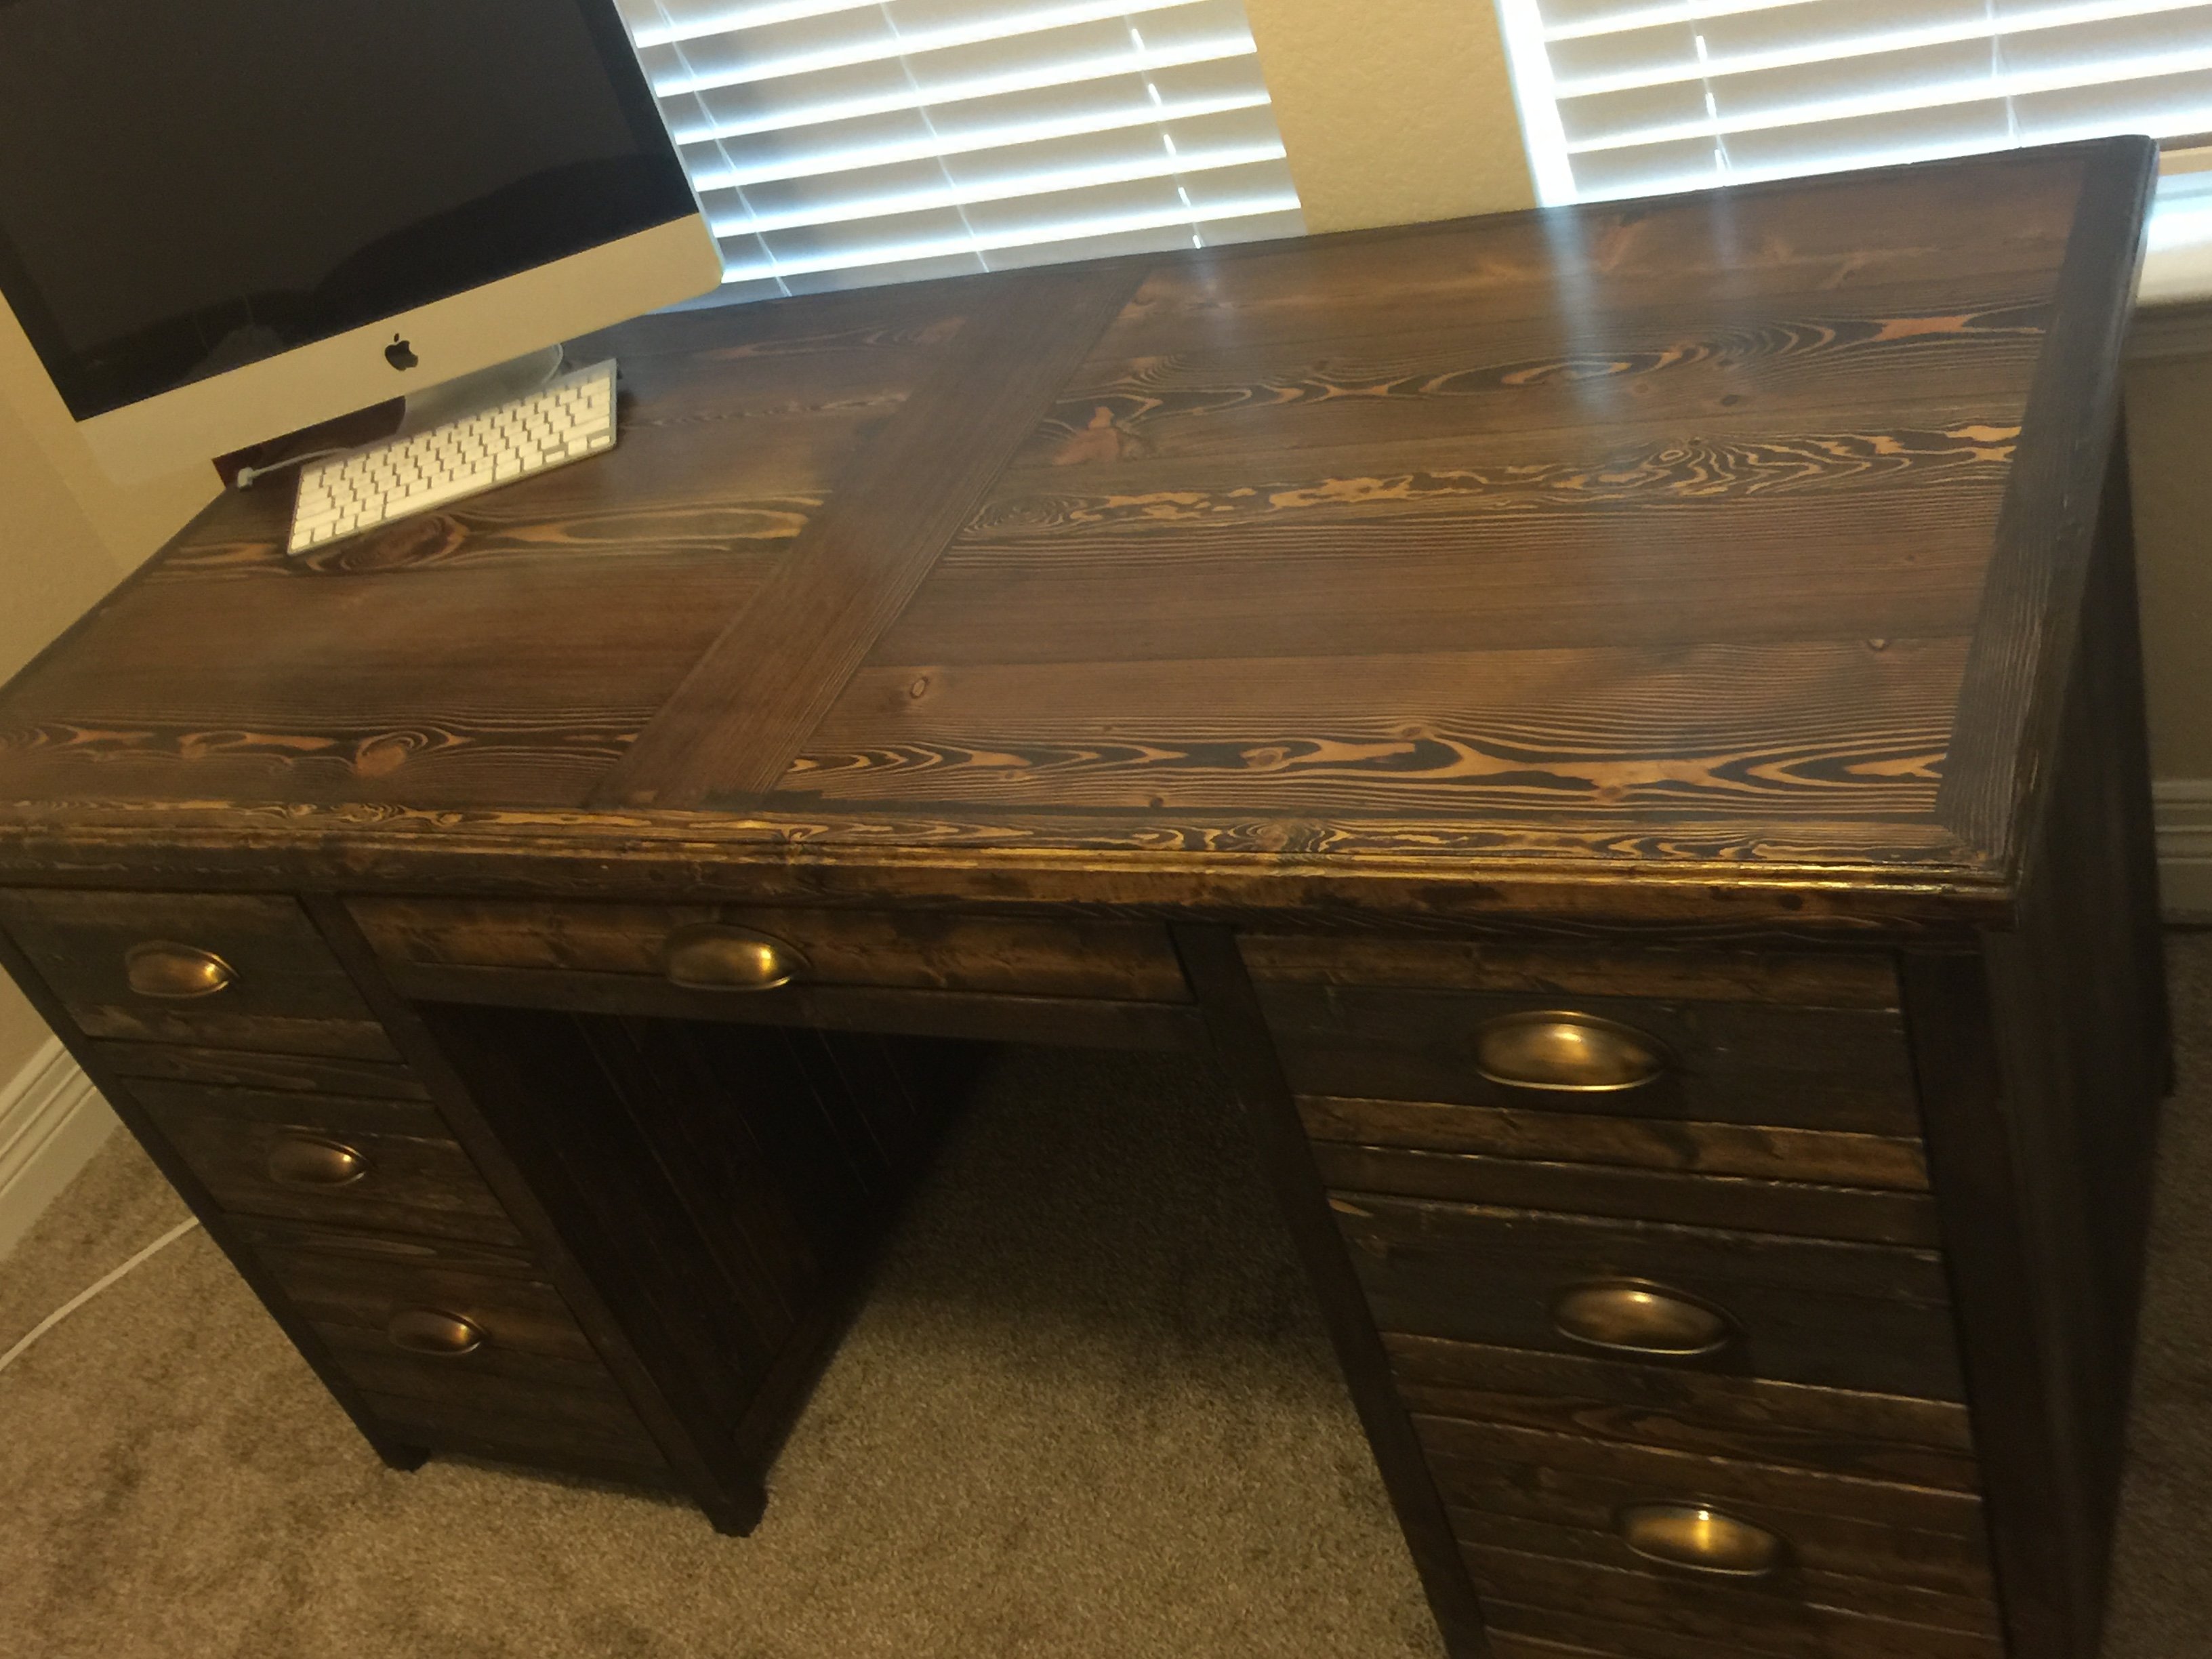
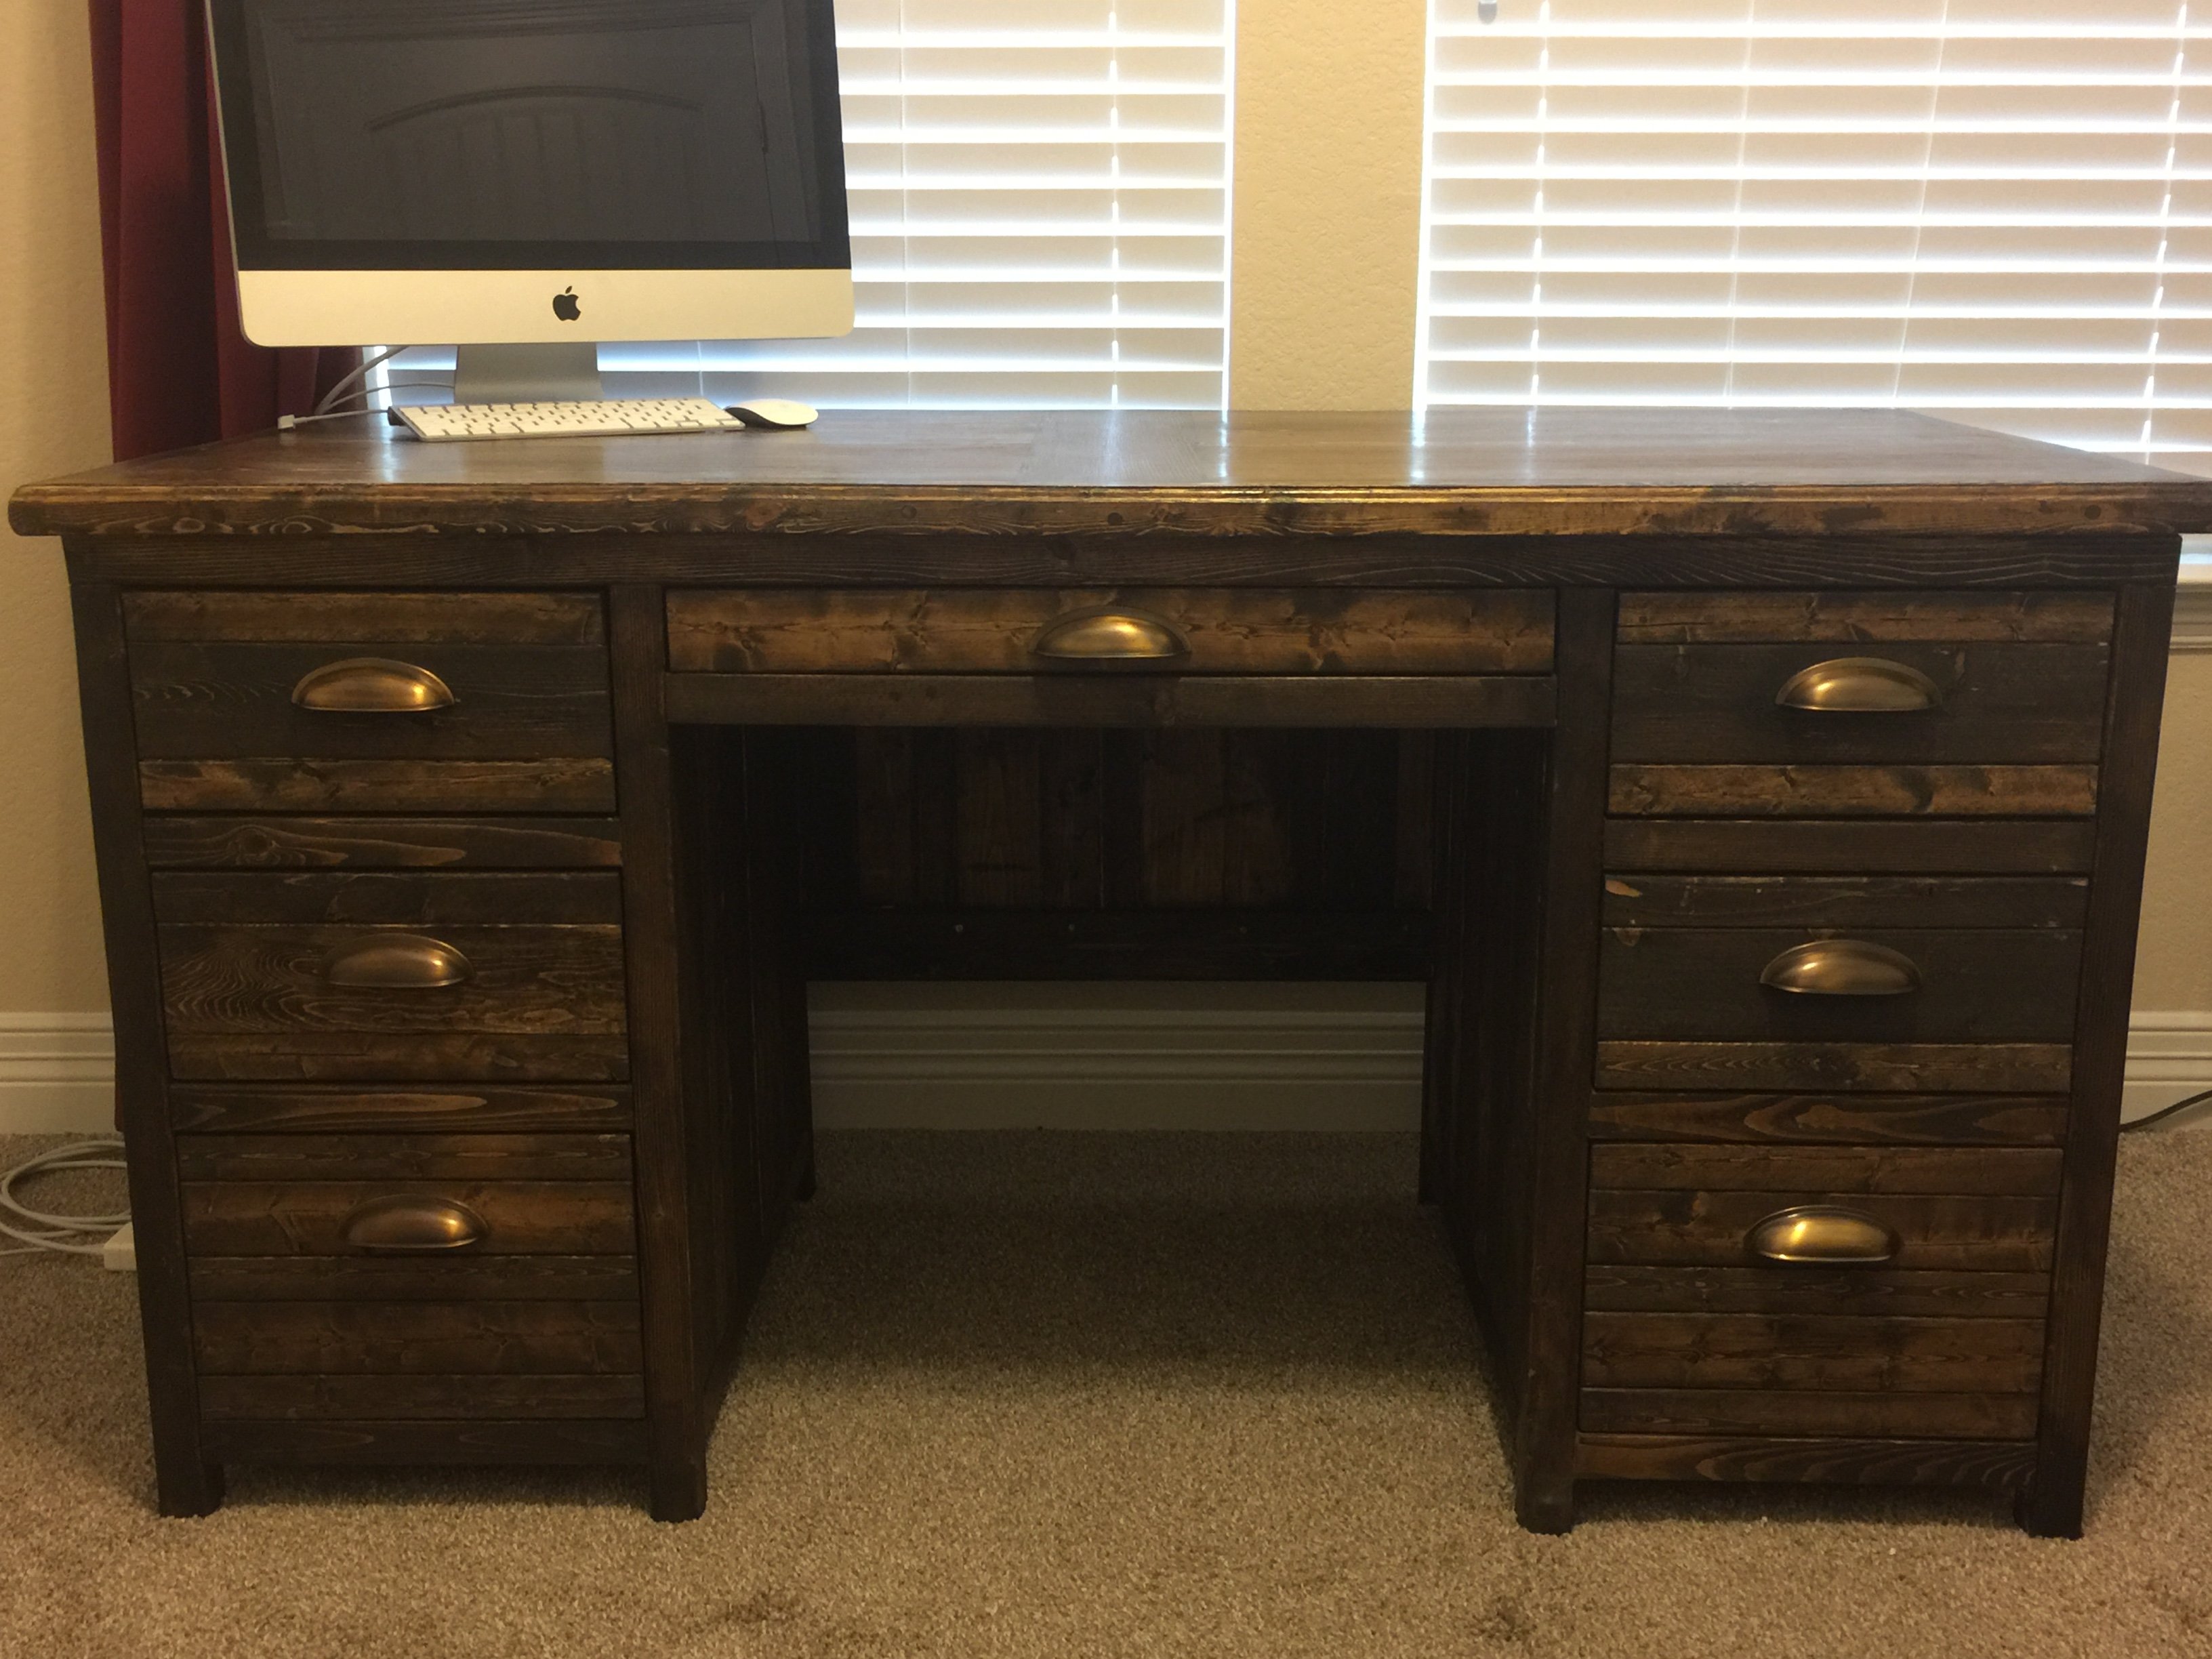
Started off with the plans for the Printers tripe console table and the lengthed, widened and lowered it into a desk. Did a very light sand on everything except the desk top to acheive a "rugged" look. On the desk top I sanded it for what seemed like forever and then added three coats of polyurethane. Ended deciding on a dark walnut stain
Thu, 12/31/2015 - 09:55
First, hats off. This is beautiful. I have a question, what are the overall dimensions of the desk? Thanks.
Pat
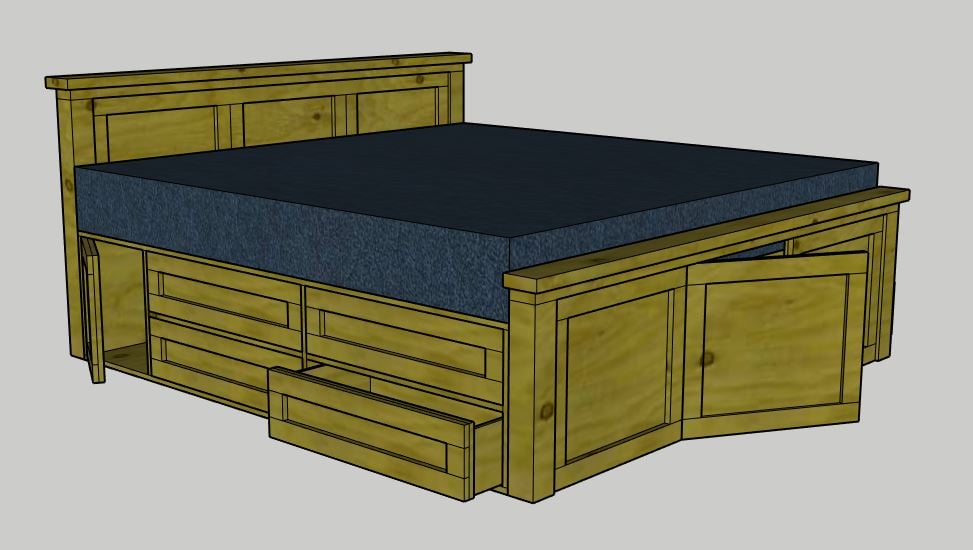
My version of the Farmhouse Storage Bed that I converted to a King Size Bed with modified dawers. Still working on the plans and materials list, but when completed I will update my descrption.
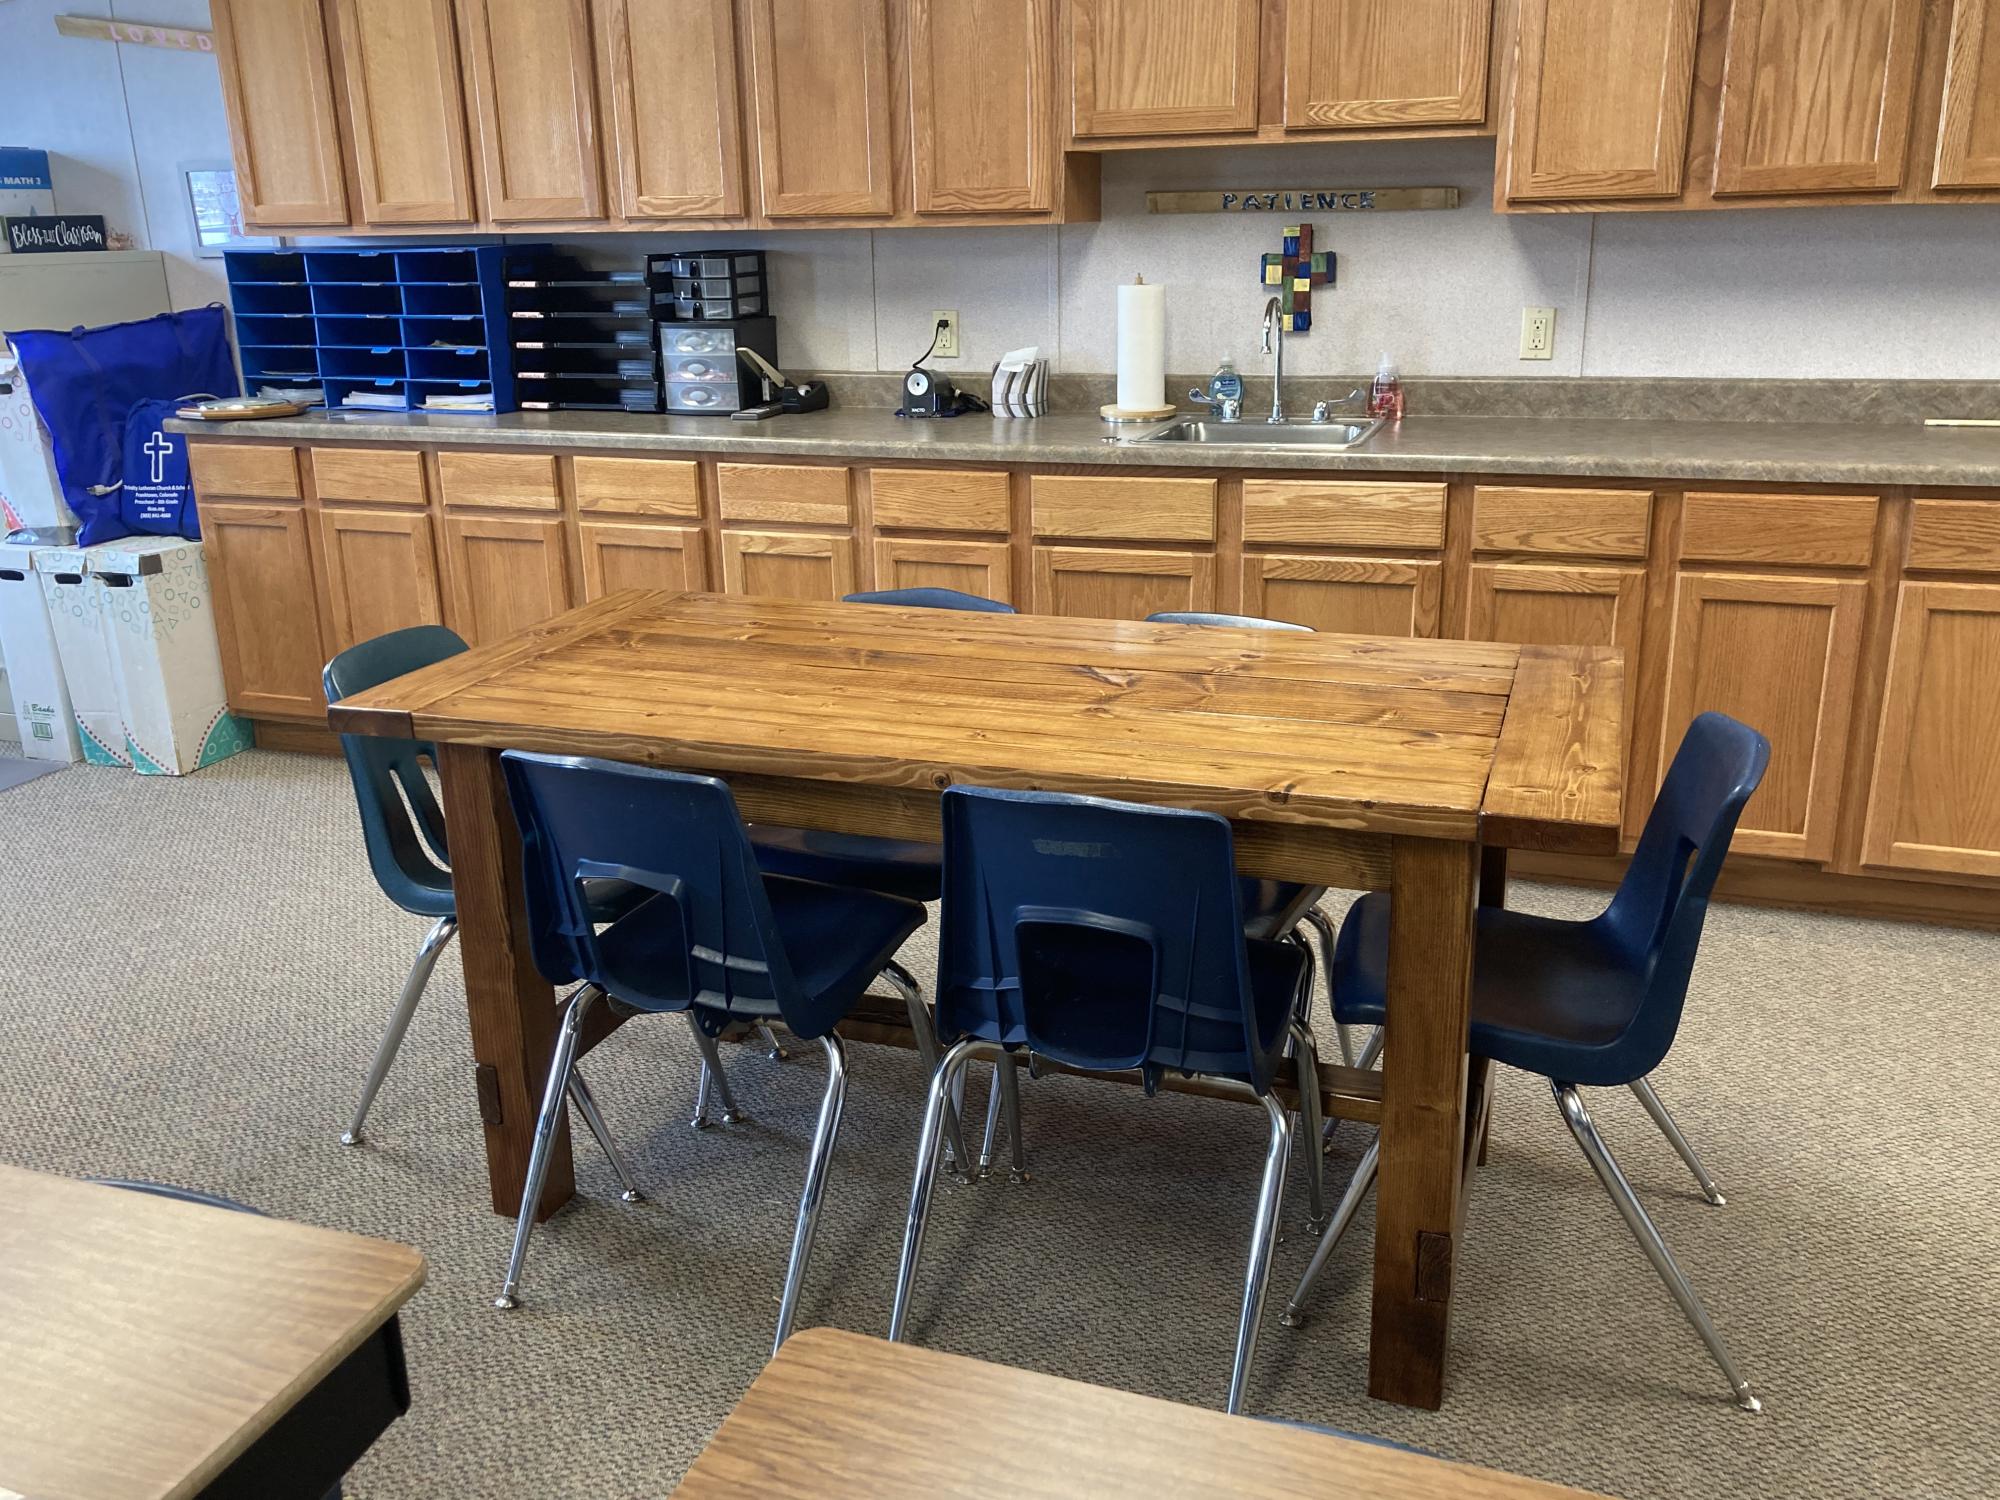
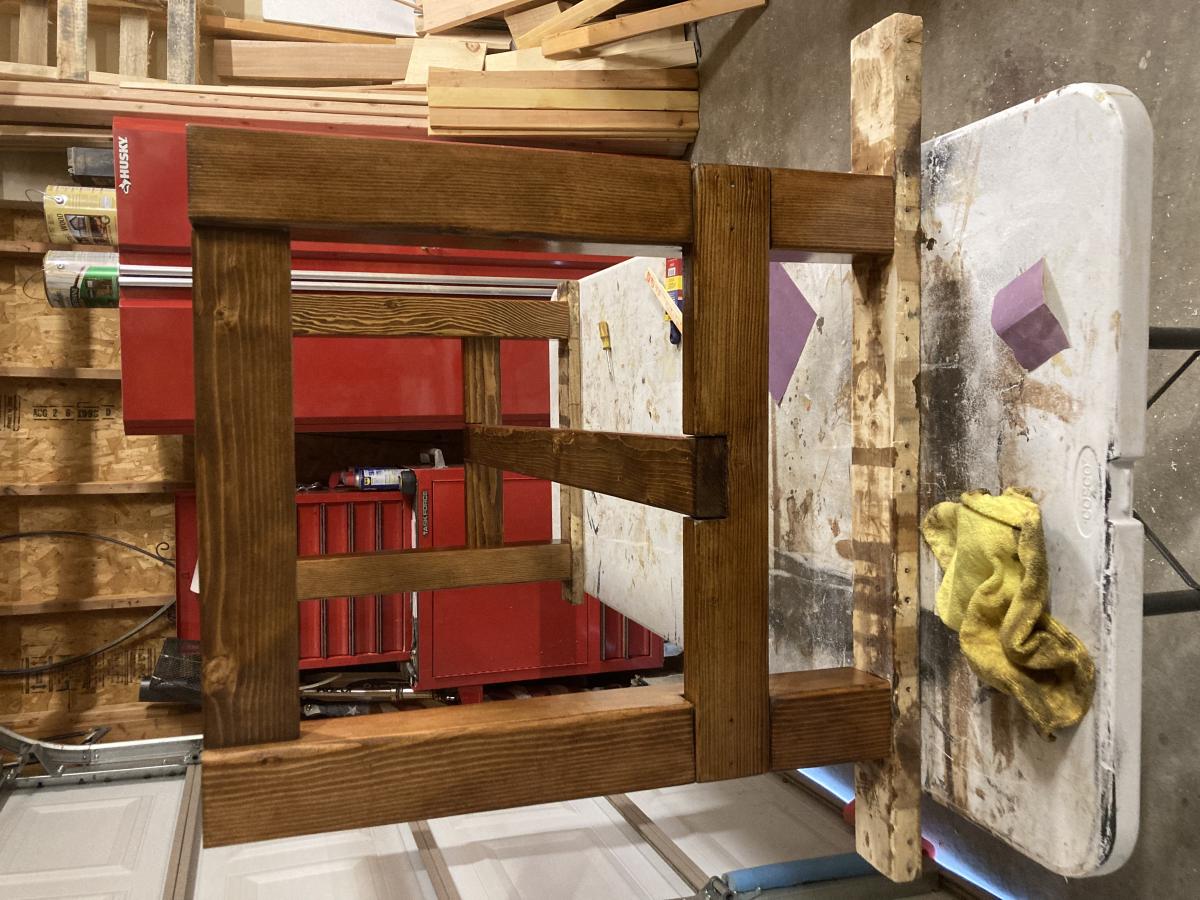
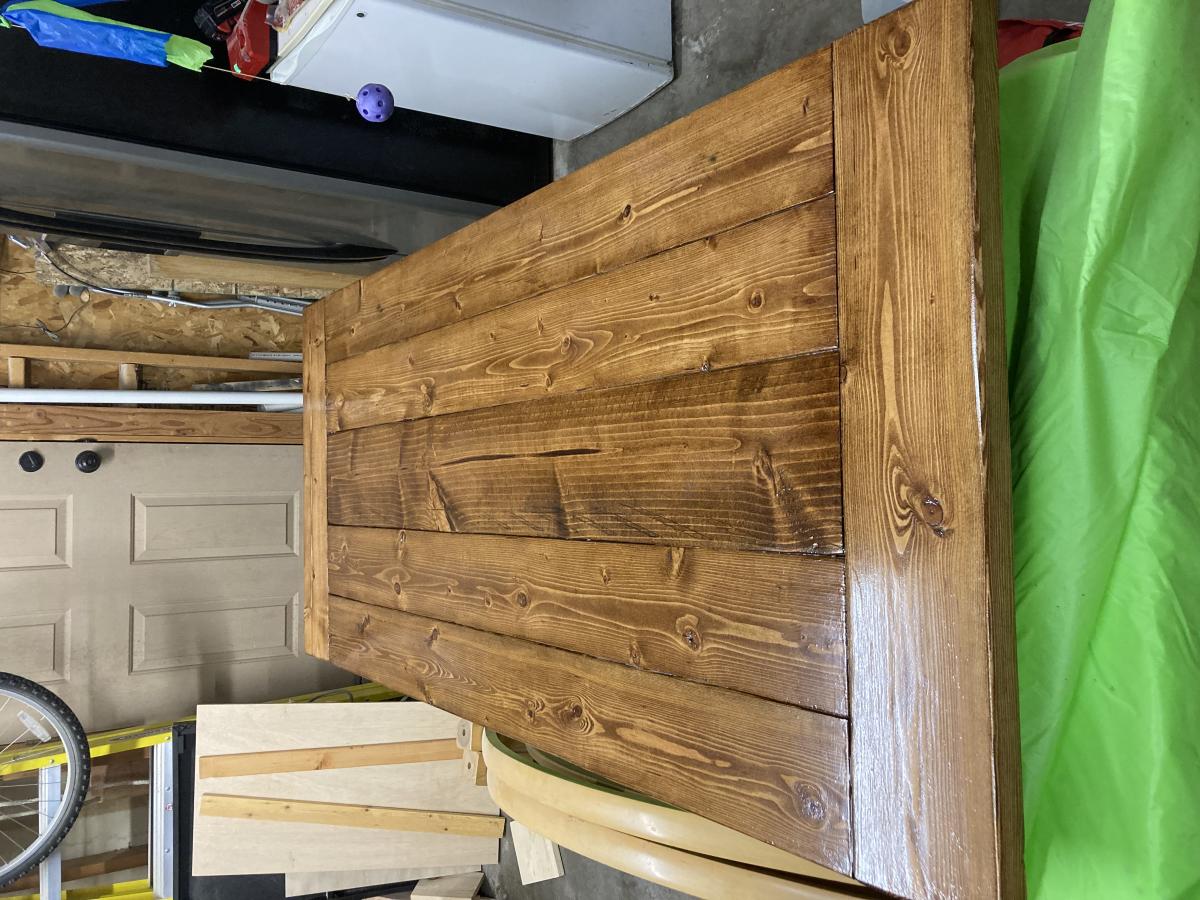
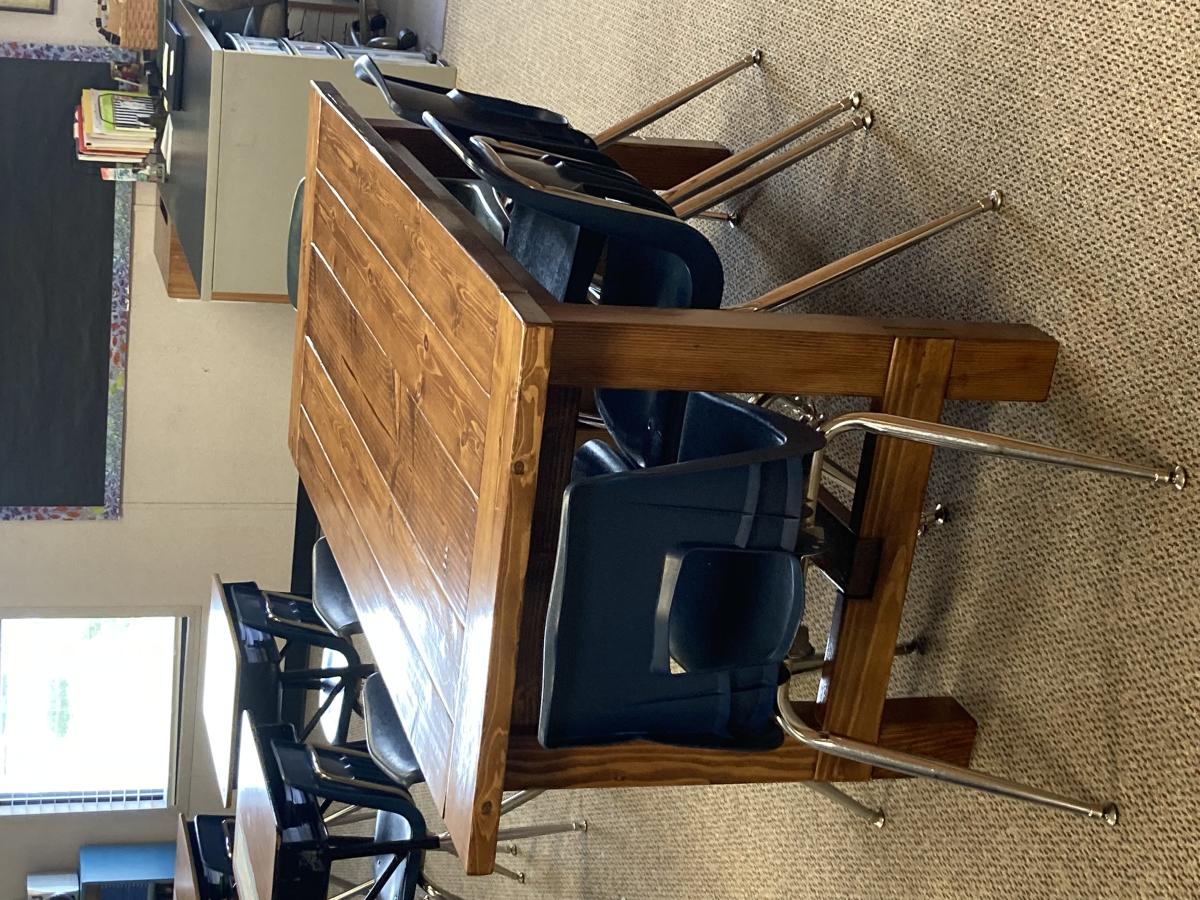
Dear Ana, I needed a reading table for my classroom and knew I enjoyed the look of Ana’s tables. I took the dining room table plans and edited the length, width, and hight for my classroom. I sanded, stained the wood before cutting. Then made the cuts as I went along double checking the measurements. I did use pocket holes and sanded the rough spots with a touchup on stain. I used 2-3 coats of 3x thick clear poly on the table with sanding in between with 300 grain sandpaper. Light enough to make it smooth with out taking the poly off. The stain was golden oak to match the coat/backpack rack I made next. Thank you so much Ana for the help in making something so beautiful!! Blessings, Jennifer
Sat, 08/20/2022 - 20:59
This is awesome, the kids are going to love it!

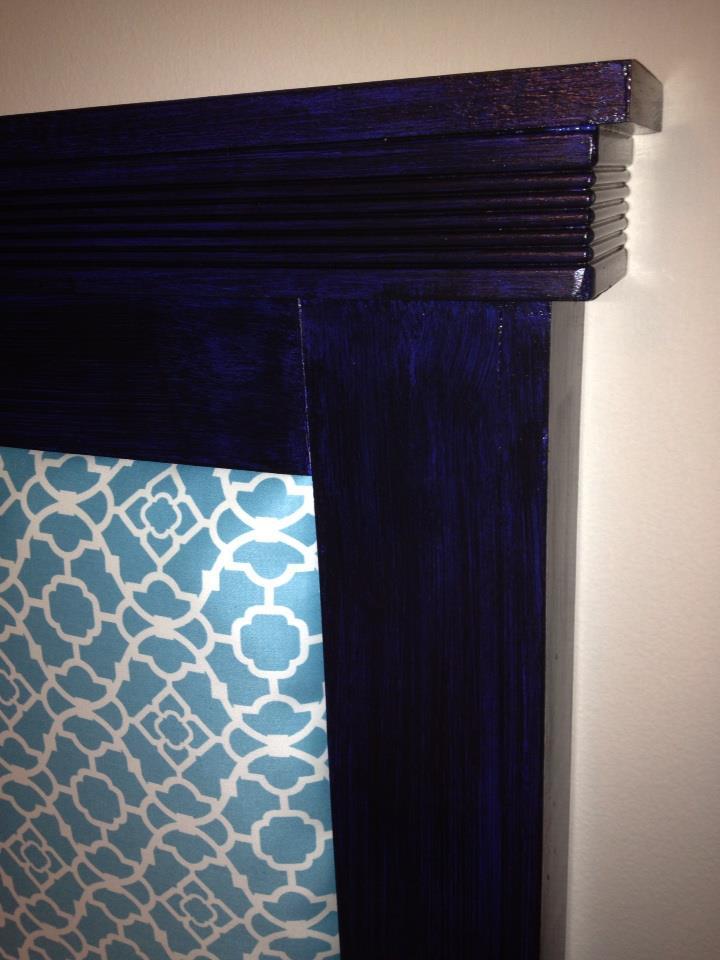
We've had a cheapo over the toilet stand in our master bathroom for ages. Its a chrome job that was getting rusty and all it ever held were the magazines that my husband would place on it. I saw the Flat Bookholders plan, and realized that would be perfect.
Then I realized that in order to get my husband on board with my plan, I would have to paint it his team colors - UK Blue and White! (That would be University of Kentucky!)
I measured the wall next to our toilet - 18" was the max width I could do. Then I followed the directions for the small version of the Flat Bookholders, adjusting the width to 18".


Thu, 08/11/2011 - 07:11
Love this! I also a huge Wildcat fan I am from KY as well! Great job looks awesome!
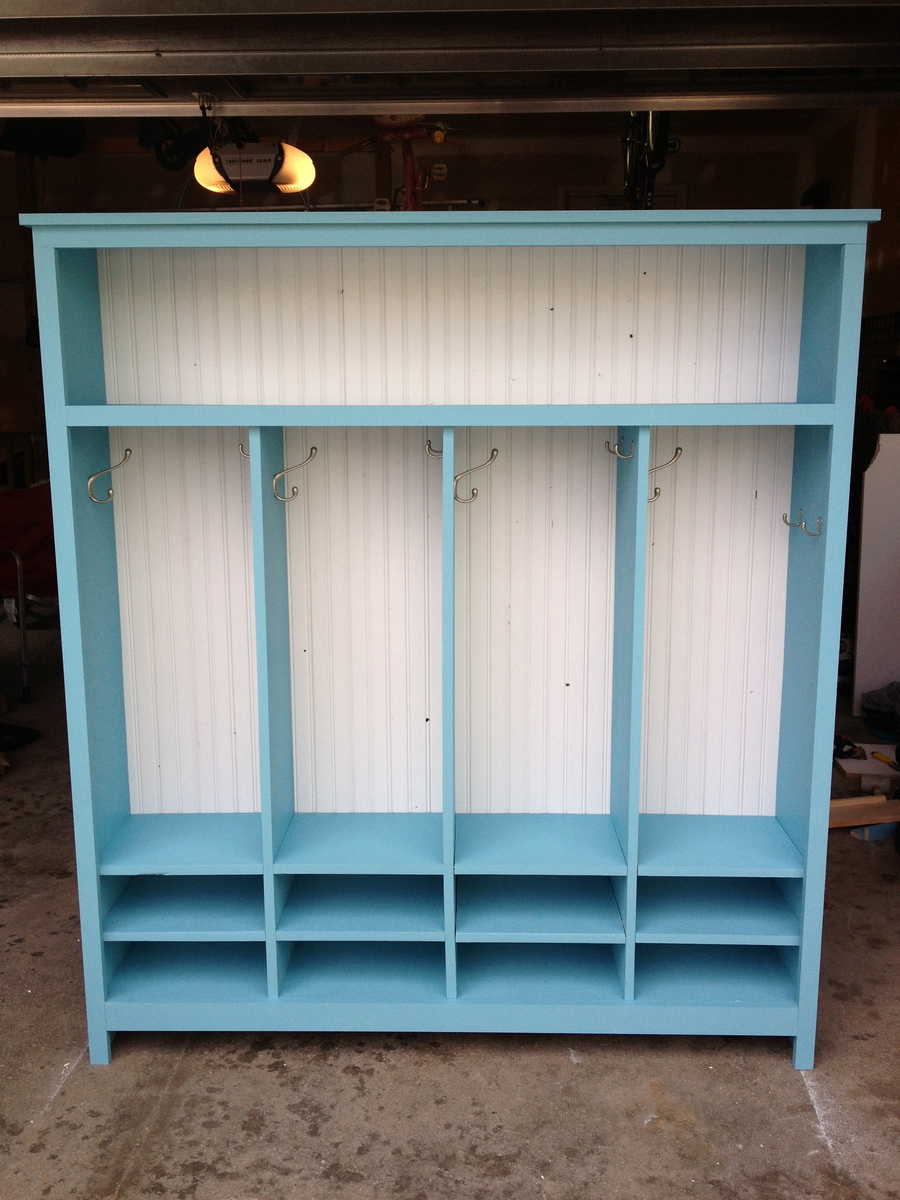
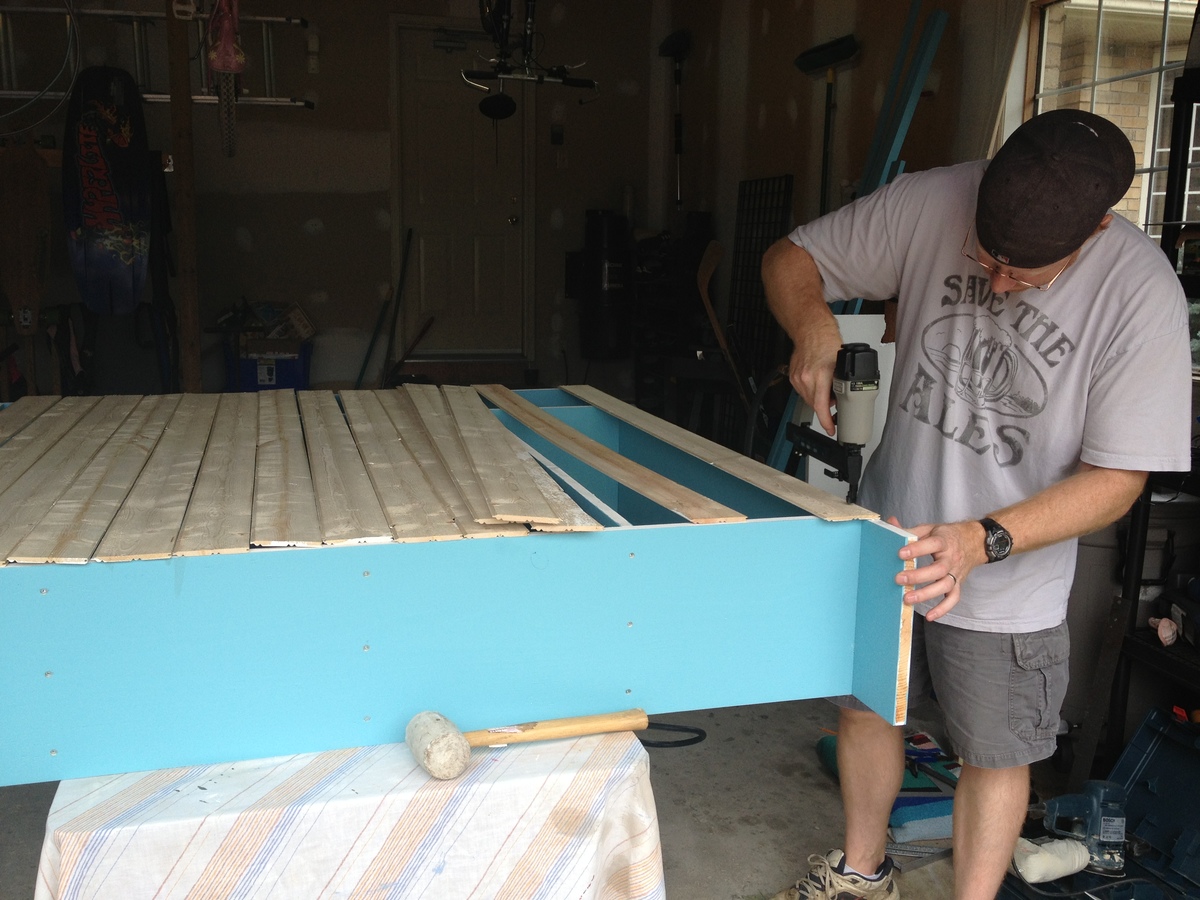
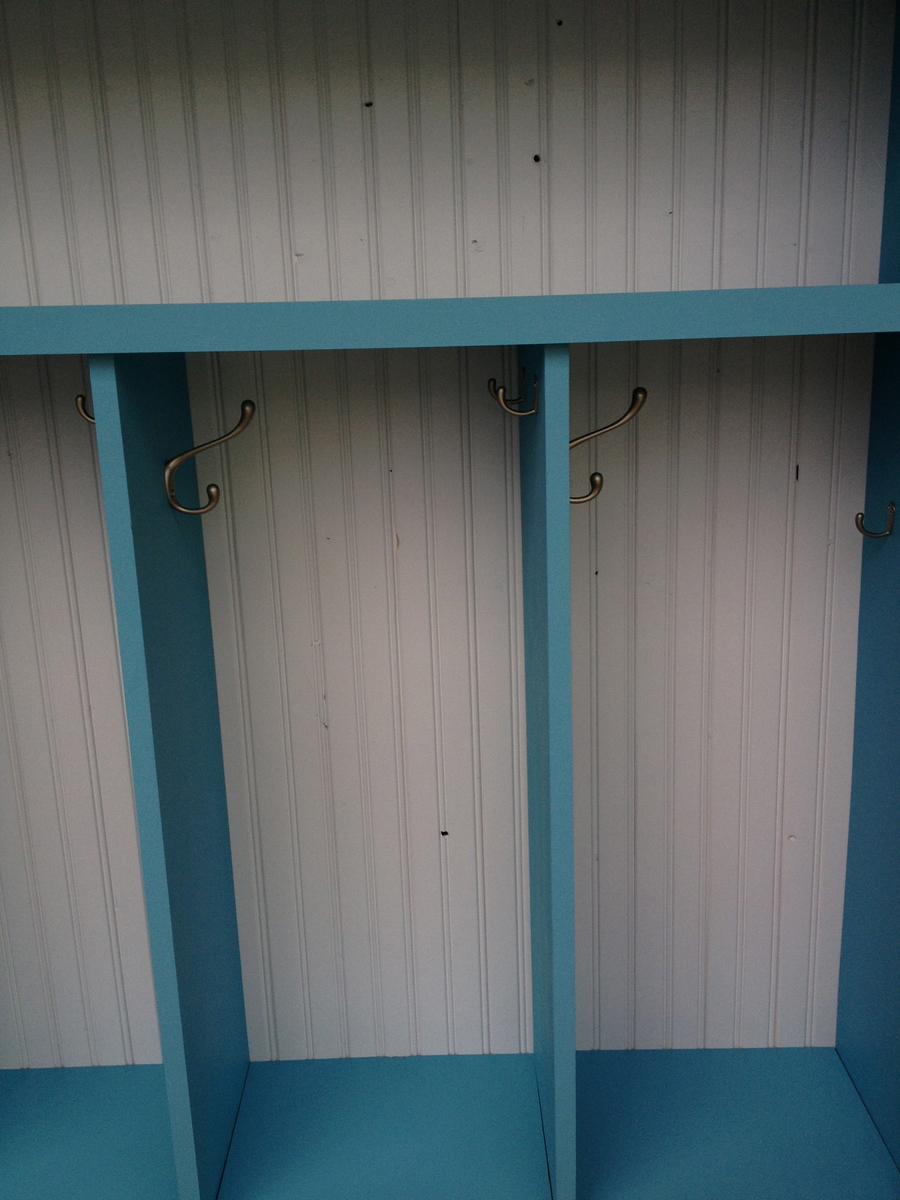
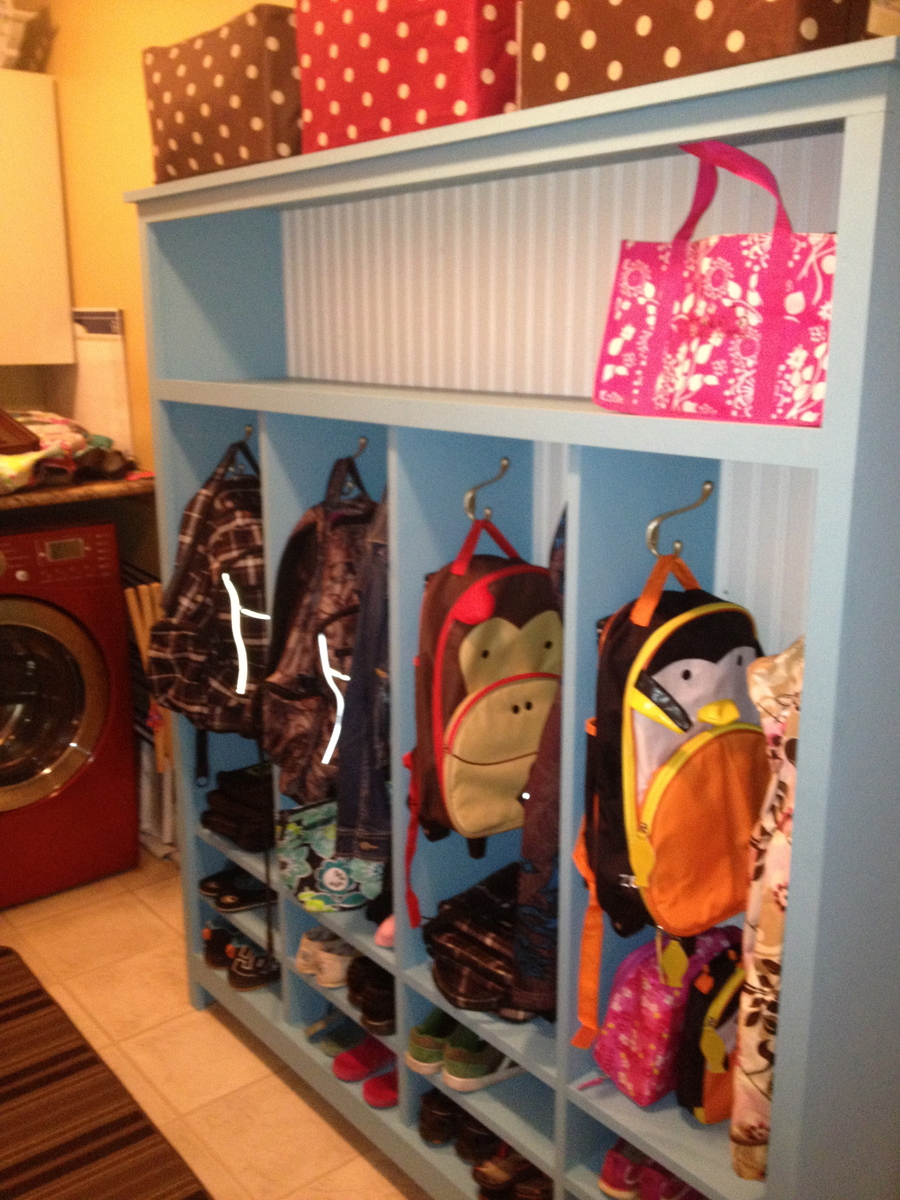
With all four kids going to full time school in September, we knew it we needed to tackle our mudroom and make it more organized, so this is what we chose as our first project.
We are always hesitant about following plans that come from the US because half the supplies are never available to us in Canada...or if they are, the prices are much higher. This project came in at about 30-50% higher than the US cost estimates.
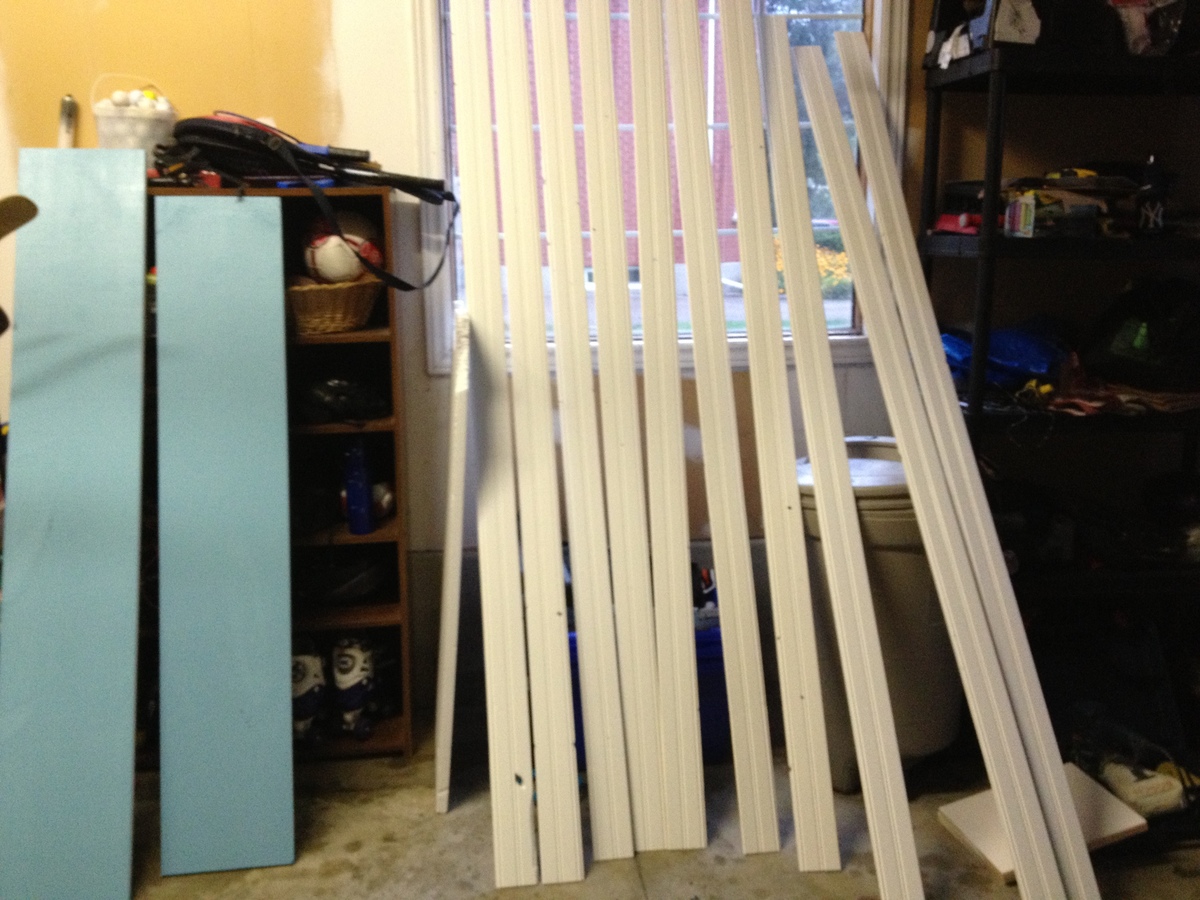
Lowe's had almost everything we needed, with the exception of the bead board. They had outdoor bead board sheets, but not indoor. We had to use cottage panelling instead, but it looked just as good on the finished project, just took longer to install.
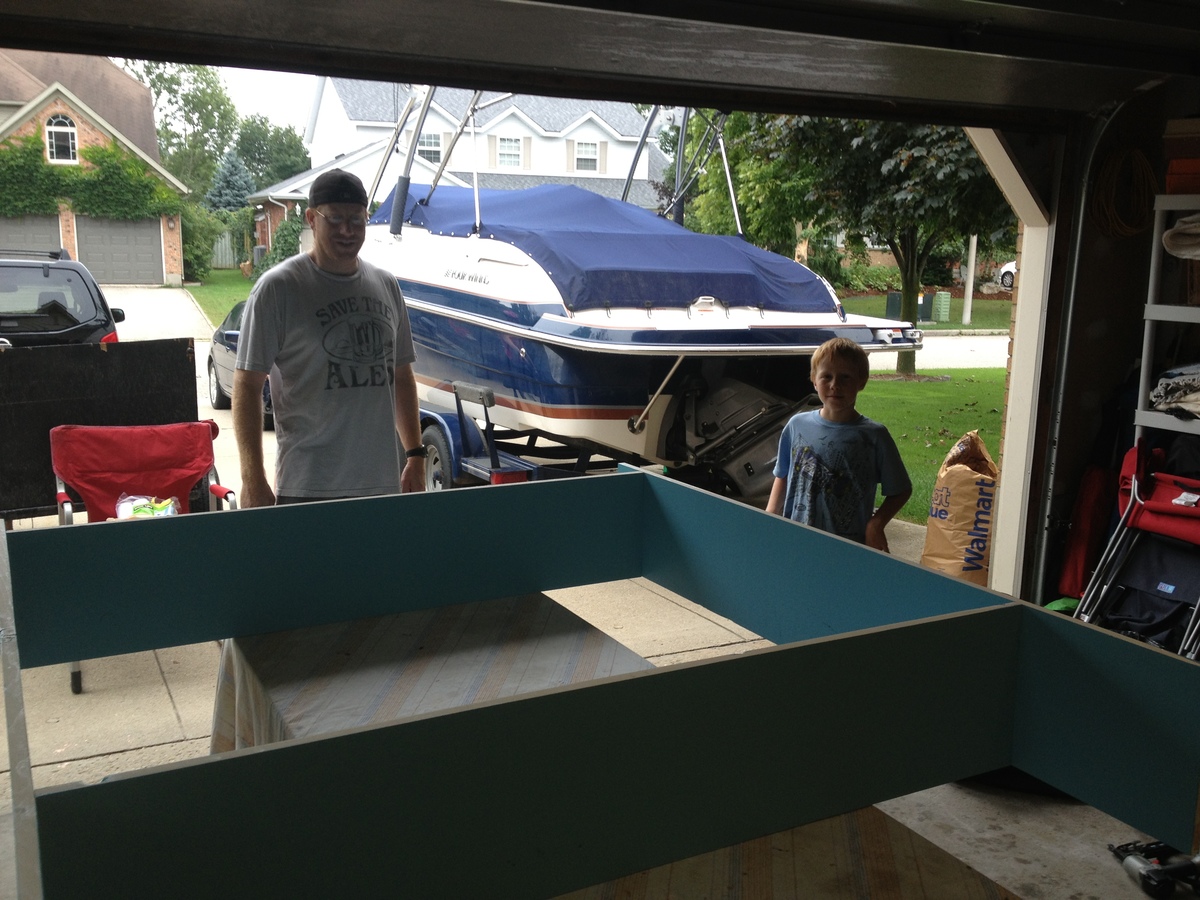
The project took three full week-end days, including the planning, shopping and of course, stopping to take care of and feed our four kids every now and again.
We modified the original plan to add a second shelf to the bottom space for shoes, plus we added an extra locker to make this a four-kid unit. (60 inches wide)
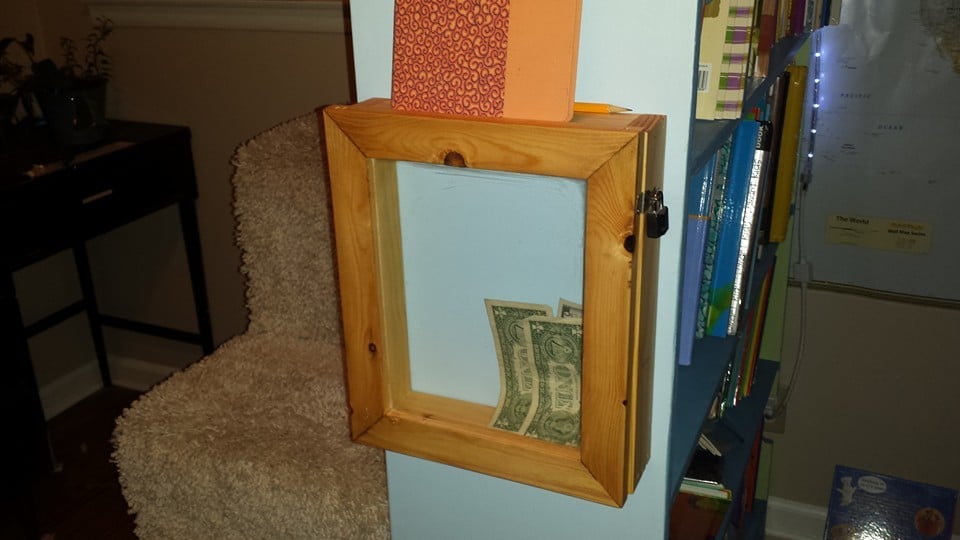
This is just a simple shadow box with a glass door... took only a couple hours to throw together. The project itself isn't braggable... but the purpose is pretty cool if I do say so myself... it is a bank for my son. There is a slot in the top to put money in, and the door locks with a pad lock. The orange book sitting on top of it is his bank register. He gets money for completing his schoolwork on time and chores and his goal is to save $300. When he does that I will give him the last $100 to buy an Xbox.
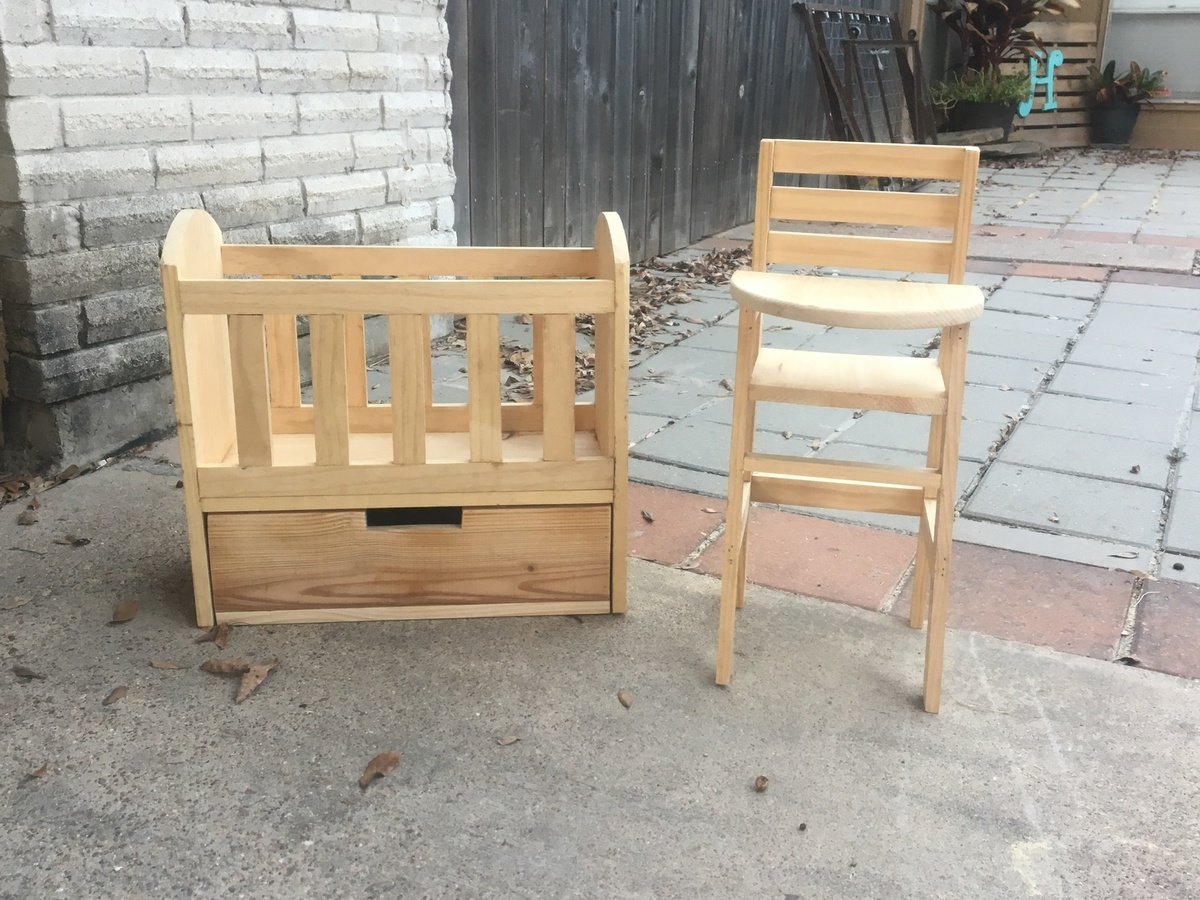
Love getting to watch my daughter play with stuff that i made her.
Wed, 12/26/2018 - 13:53
What a beautiful set! Thanks so much for building and sharing a brag post!
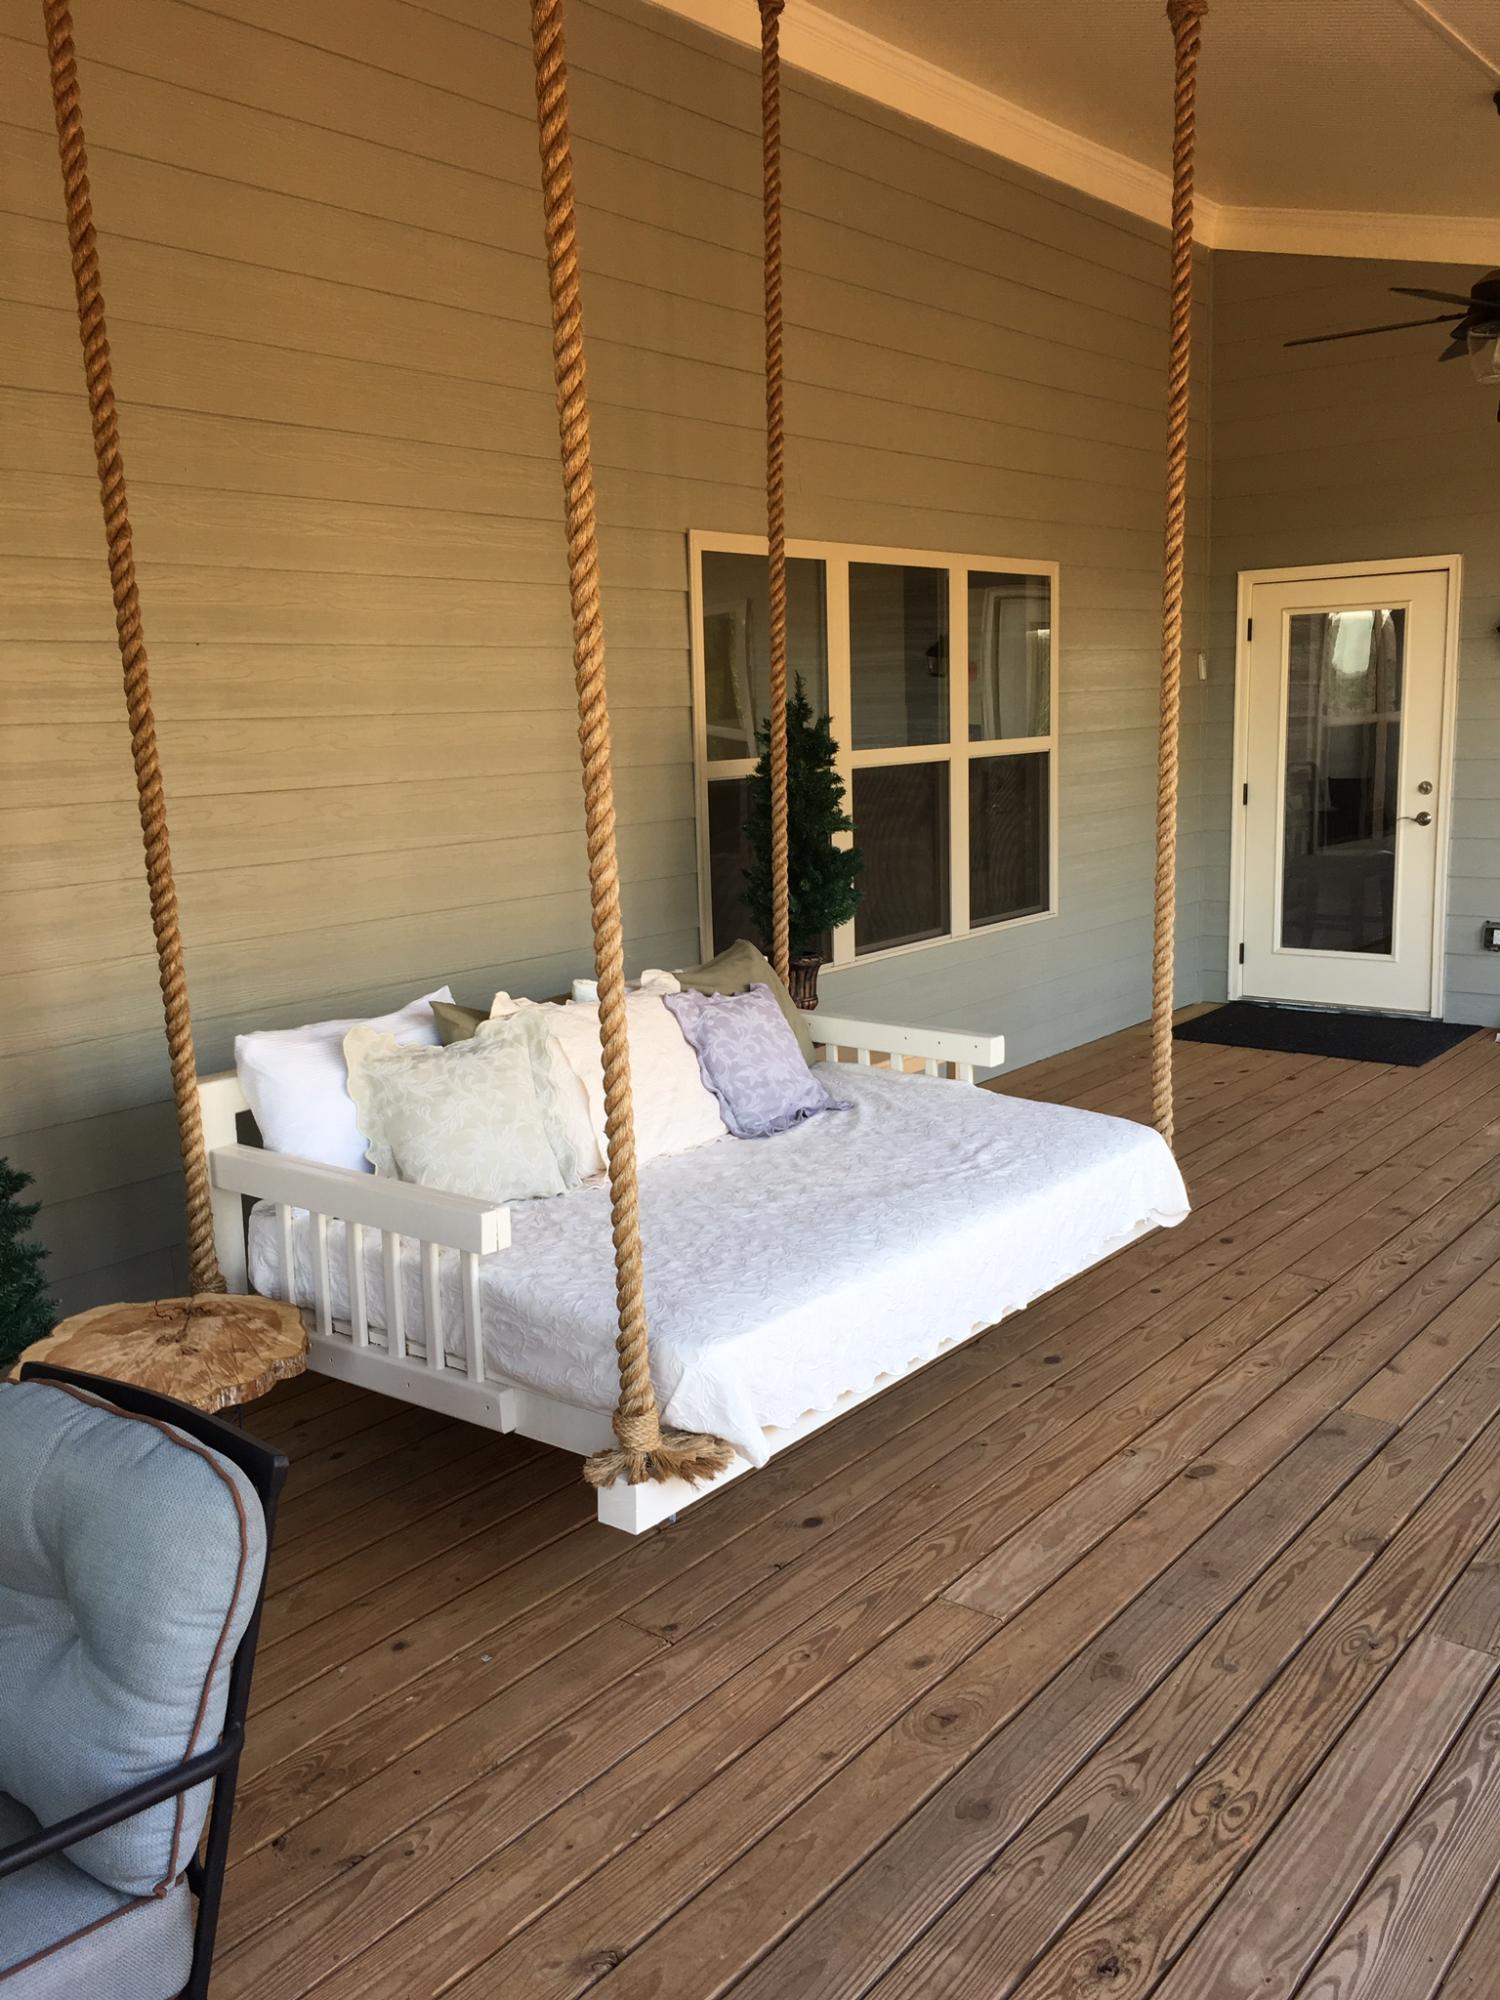
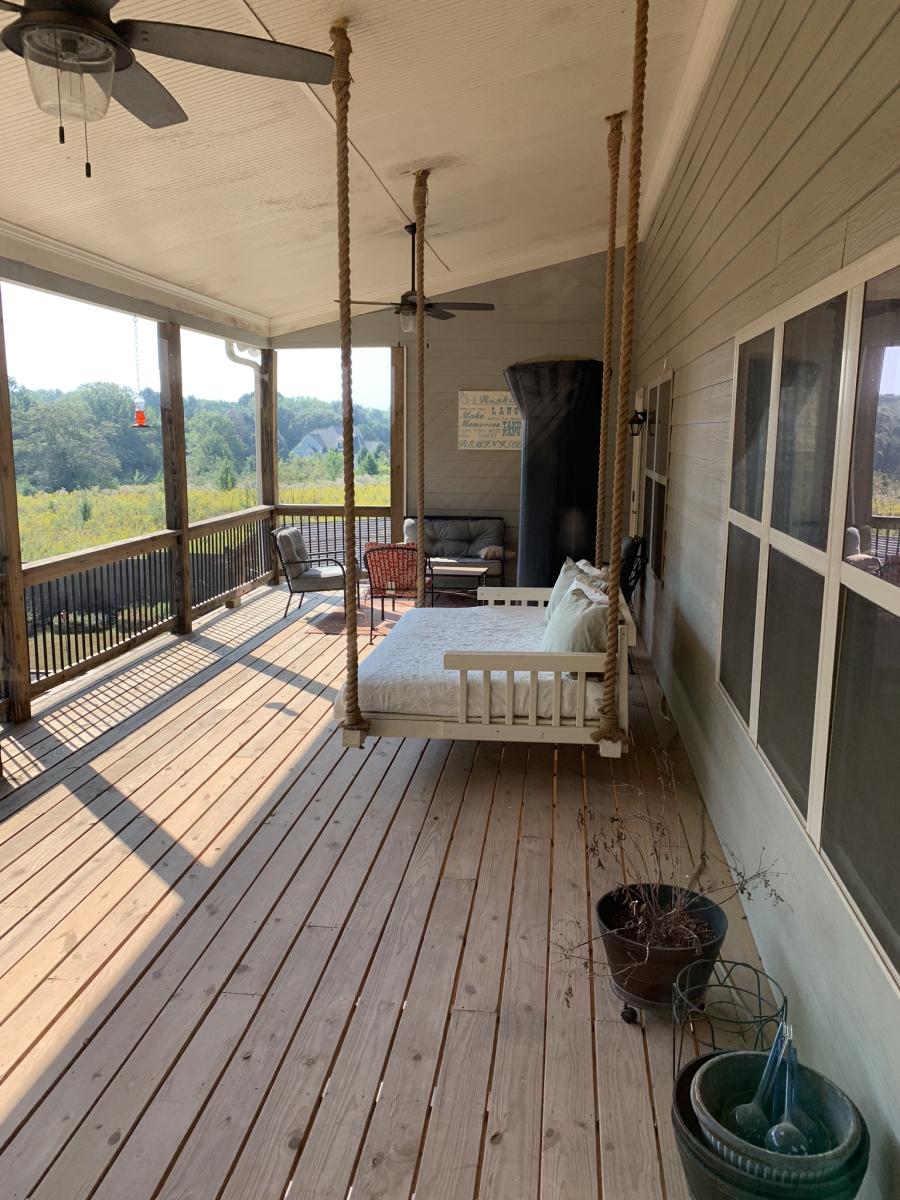
I built 3/4 OD ply base on 4x4’s. Rope had 3/16 steel cable inside it attached to ceiling hardware for strength. Rest was 2x4 painted. Little overbuilt but it was my first.
Sat, 09/03/2022 - 13:25
This is amazing, great job and thank you for sharing!
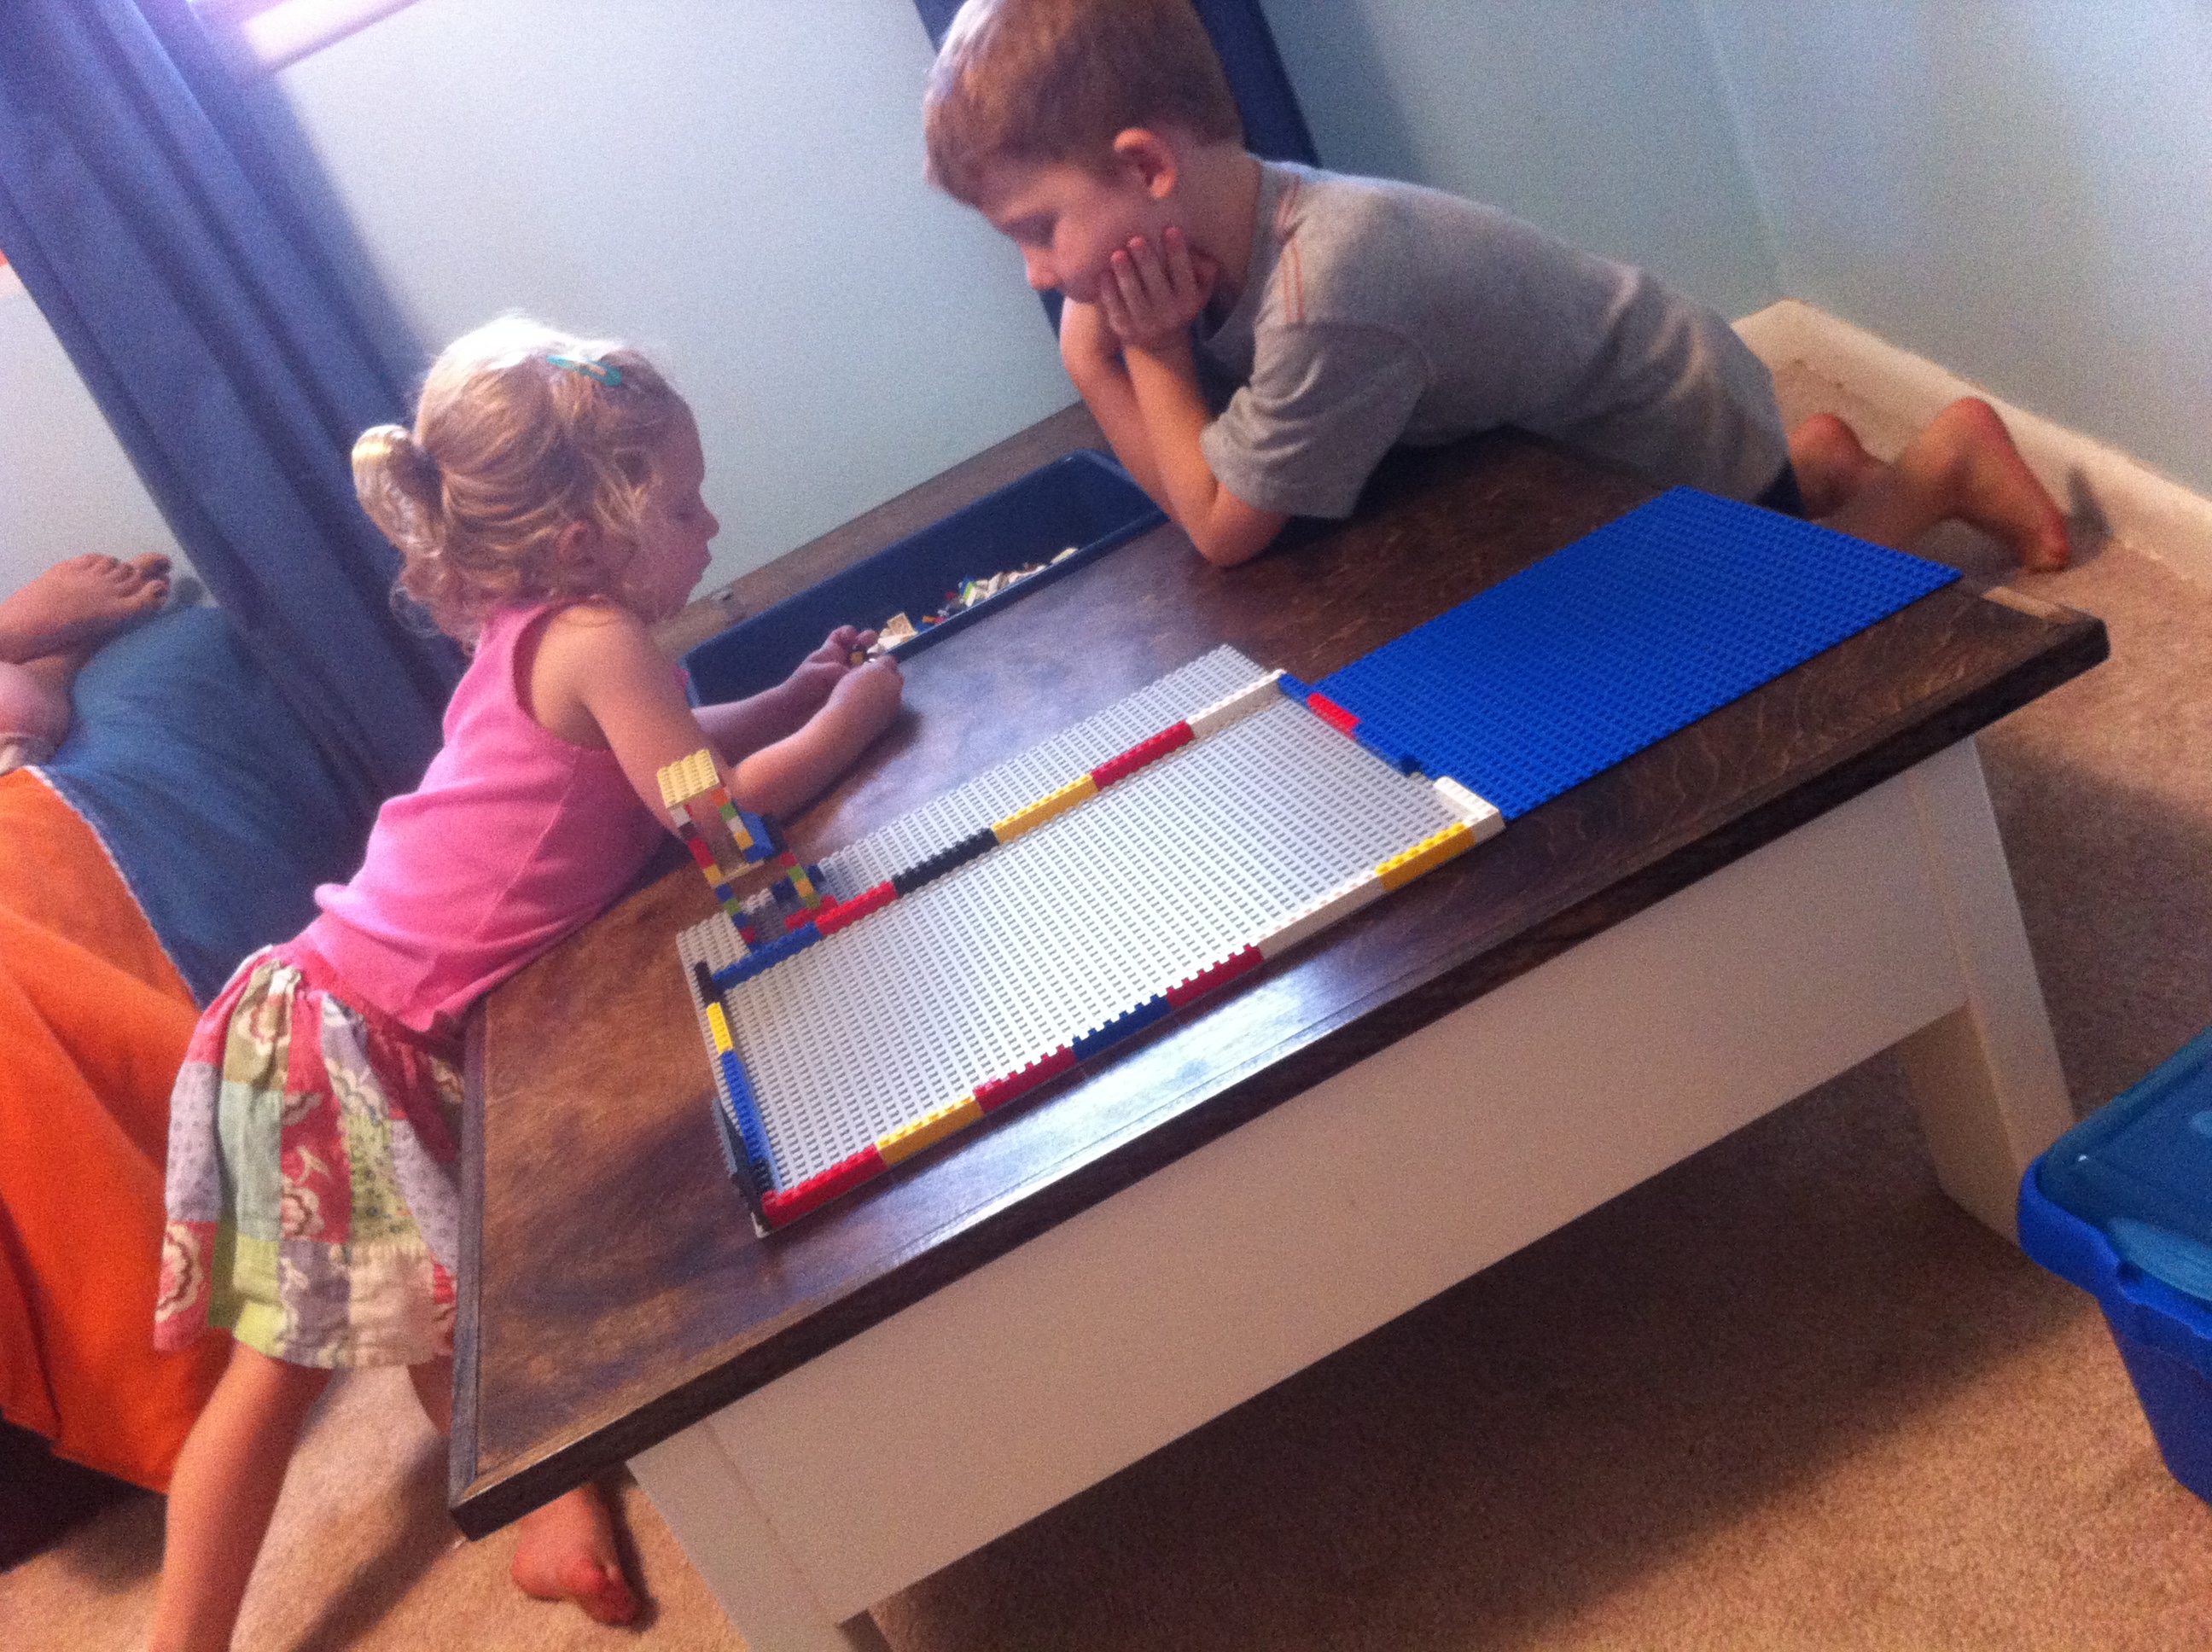
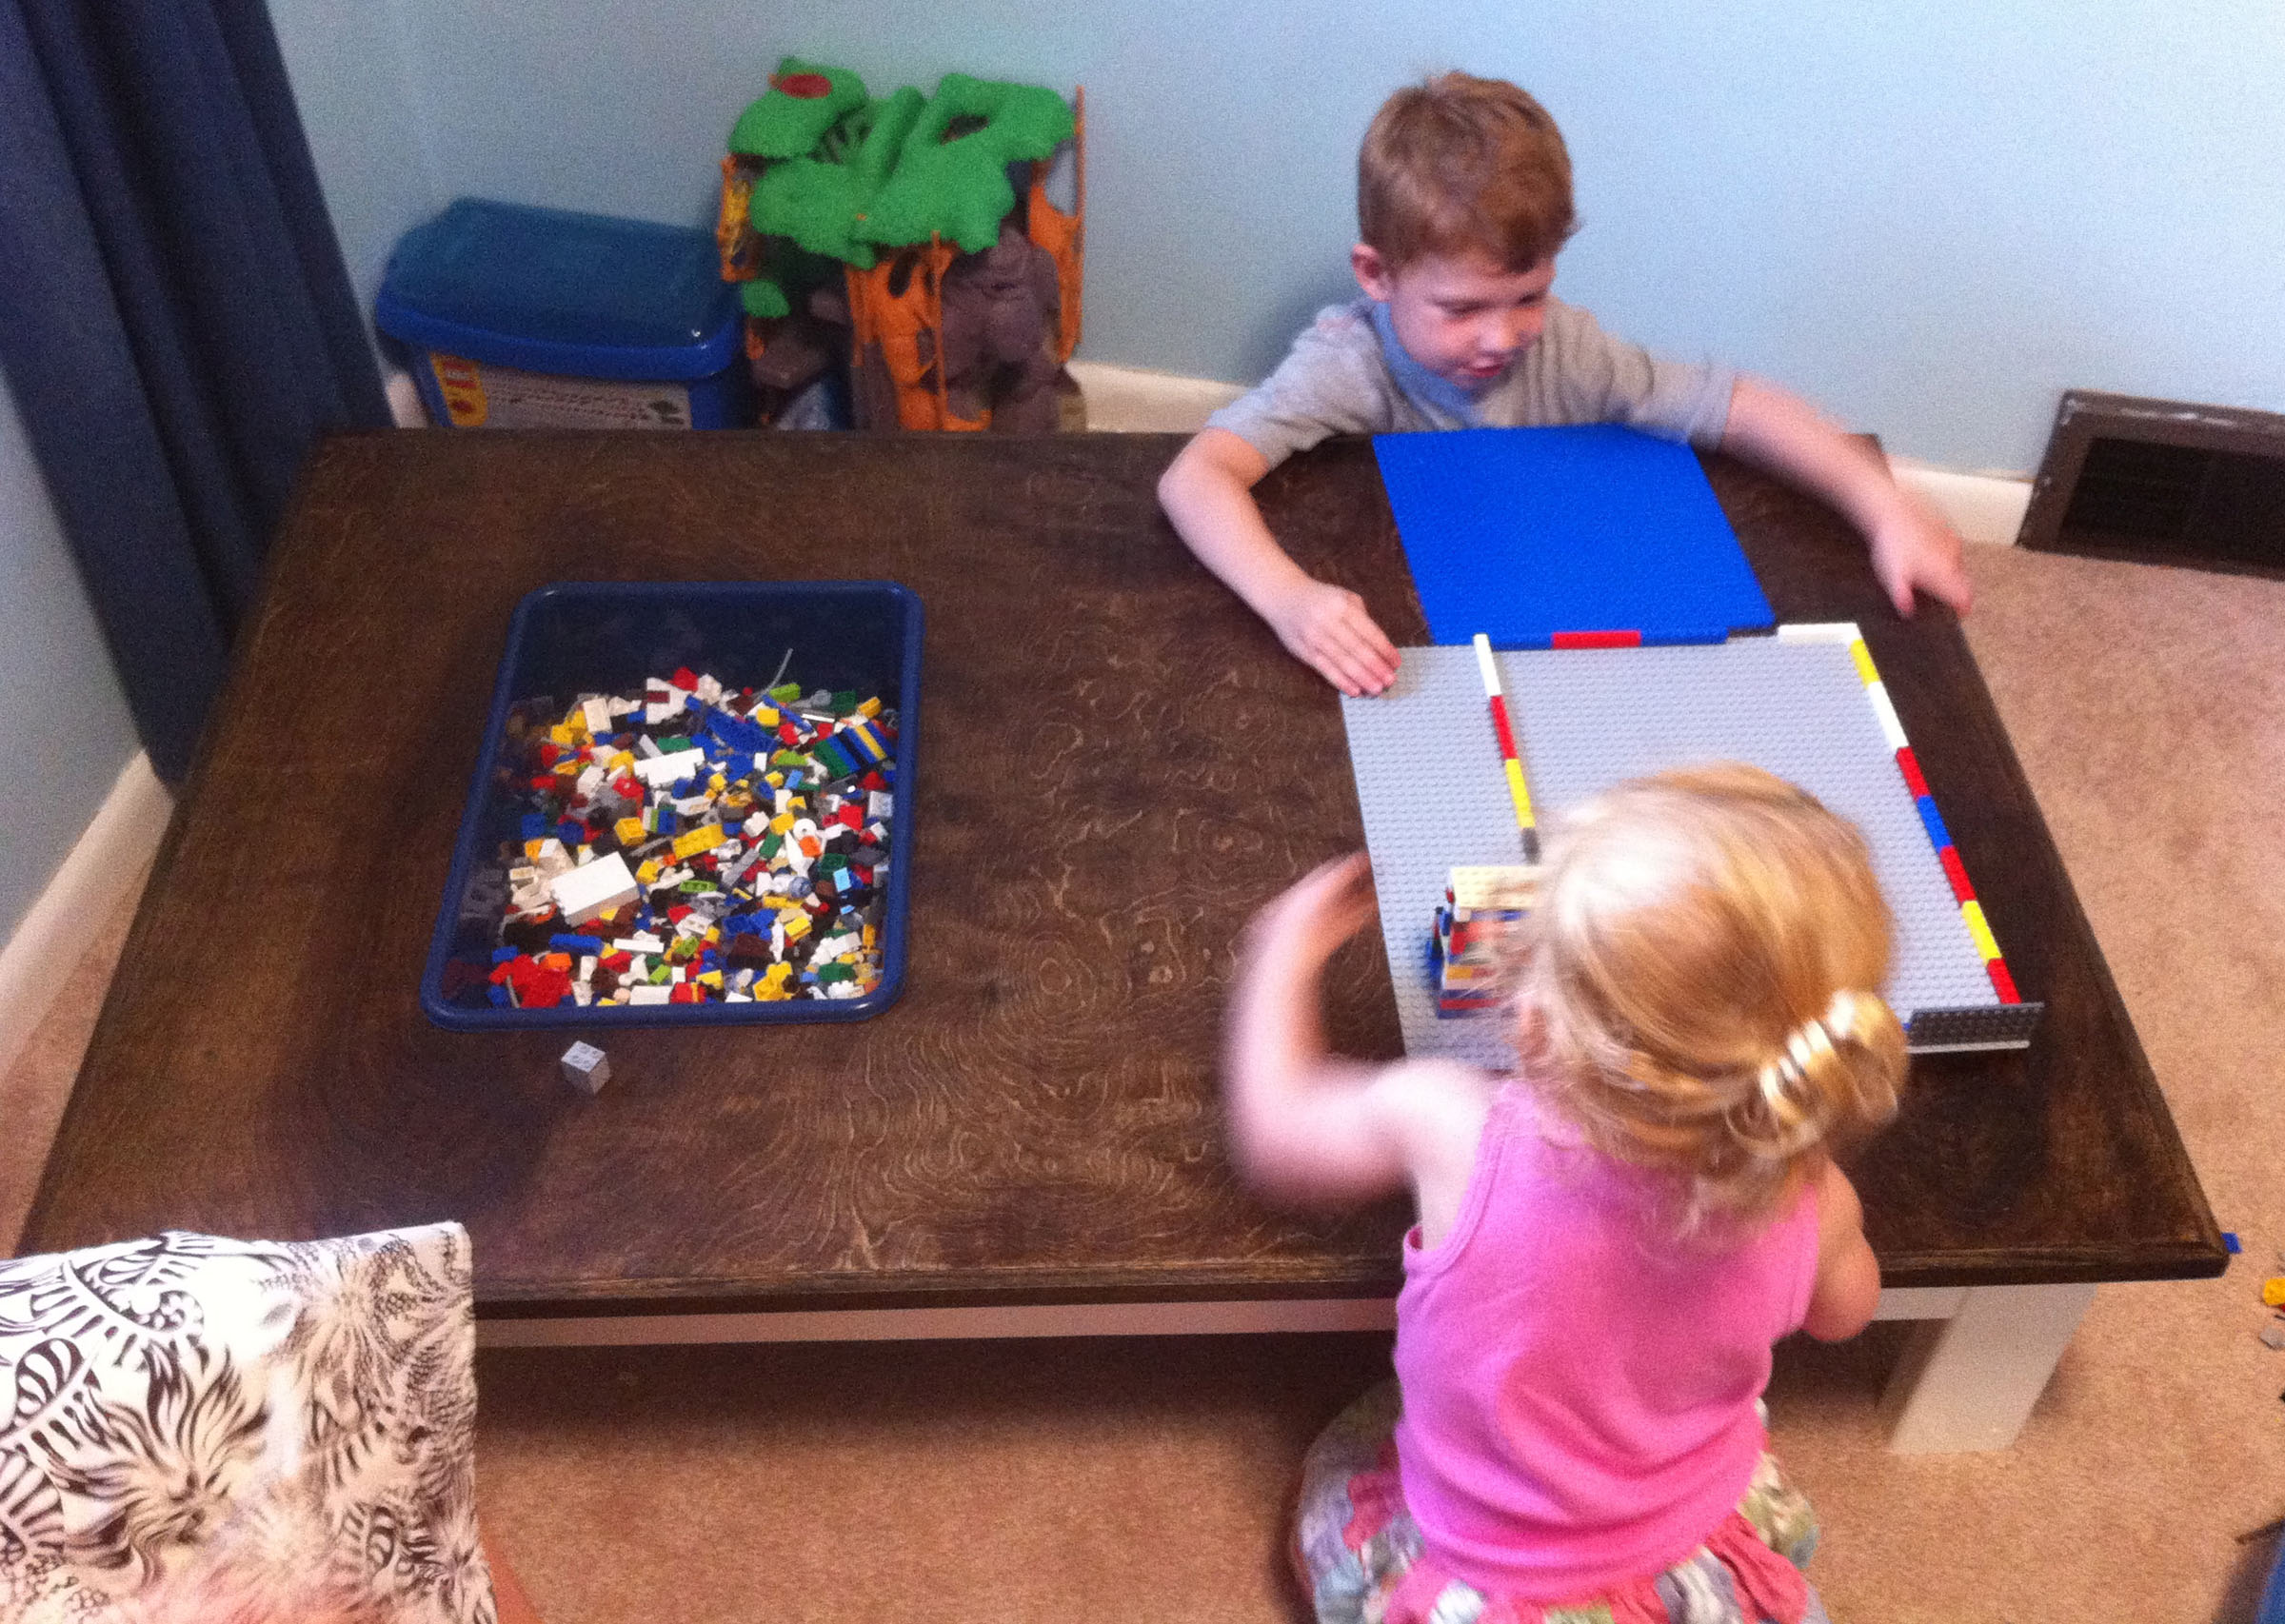
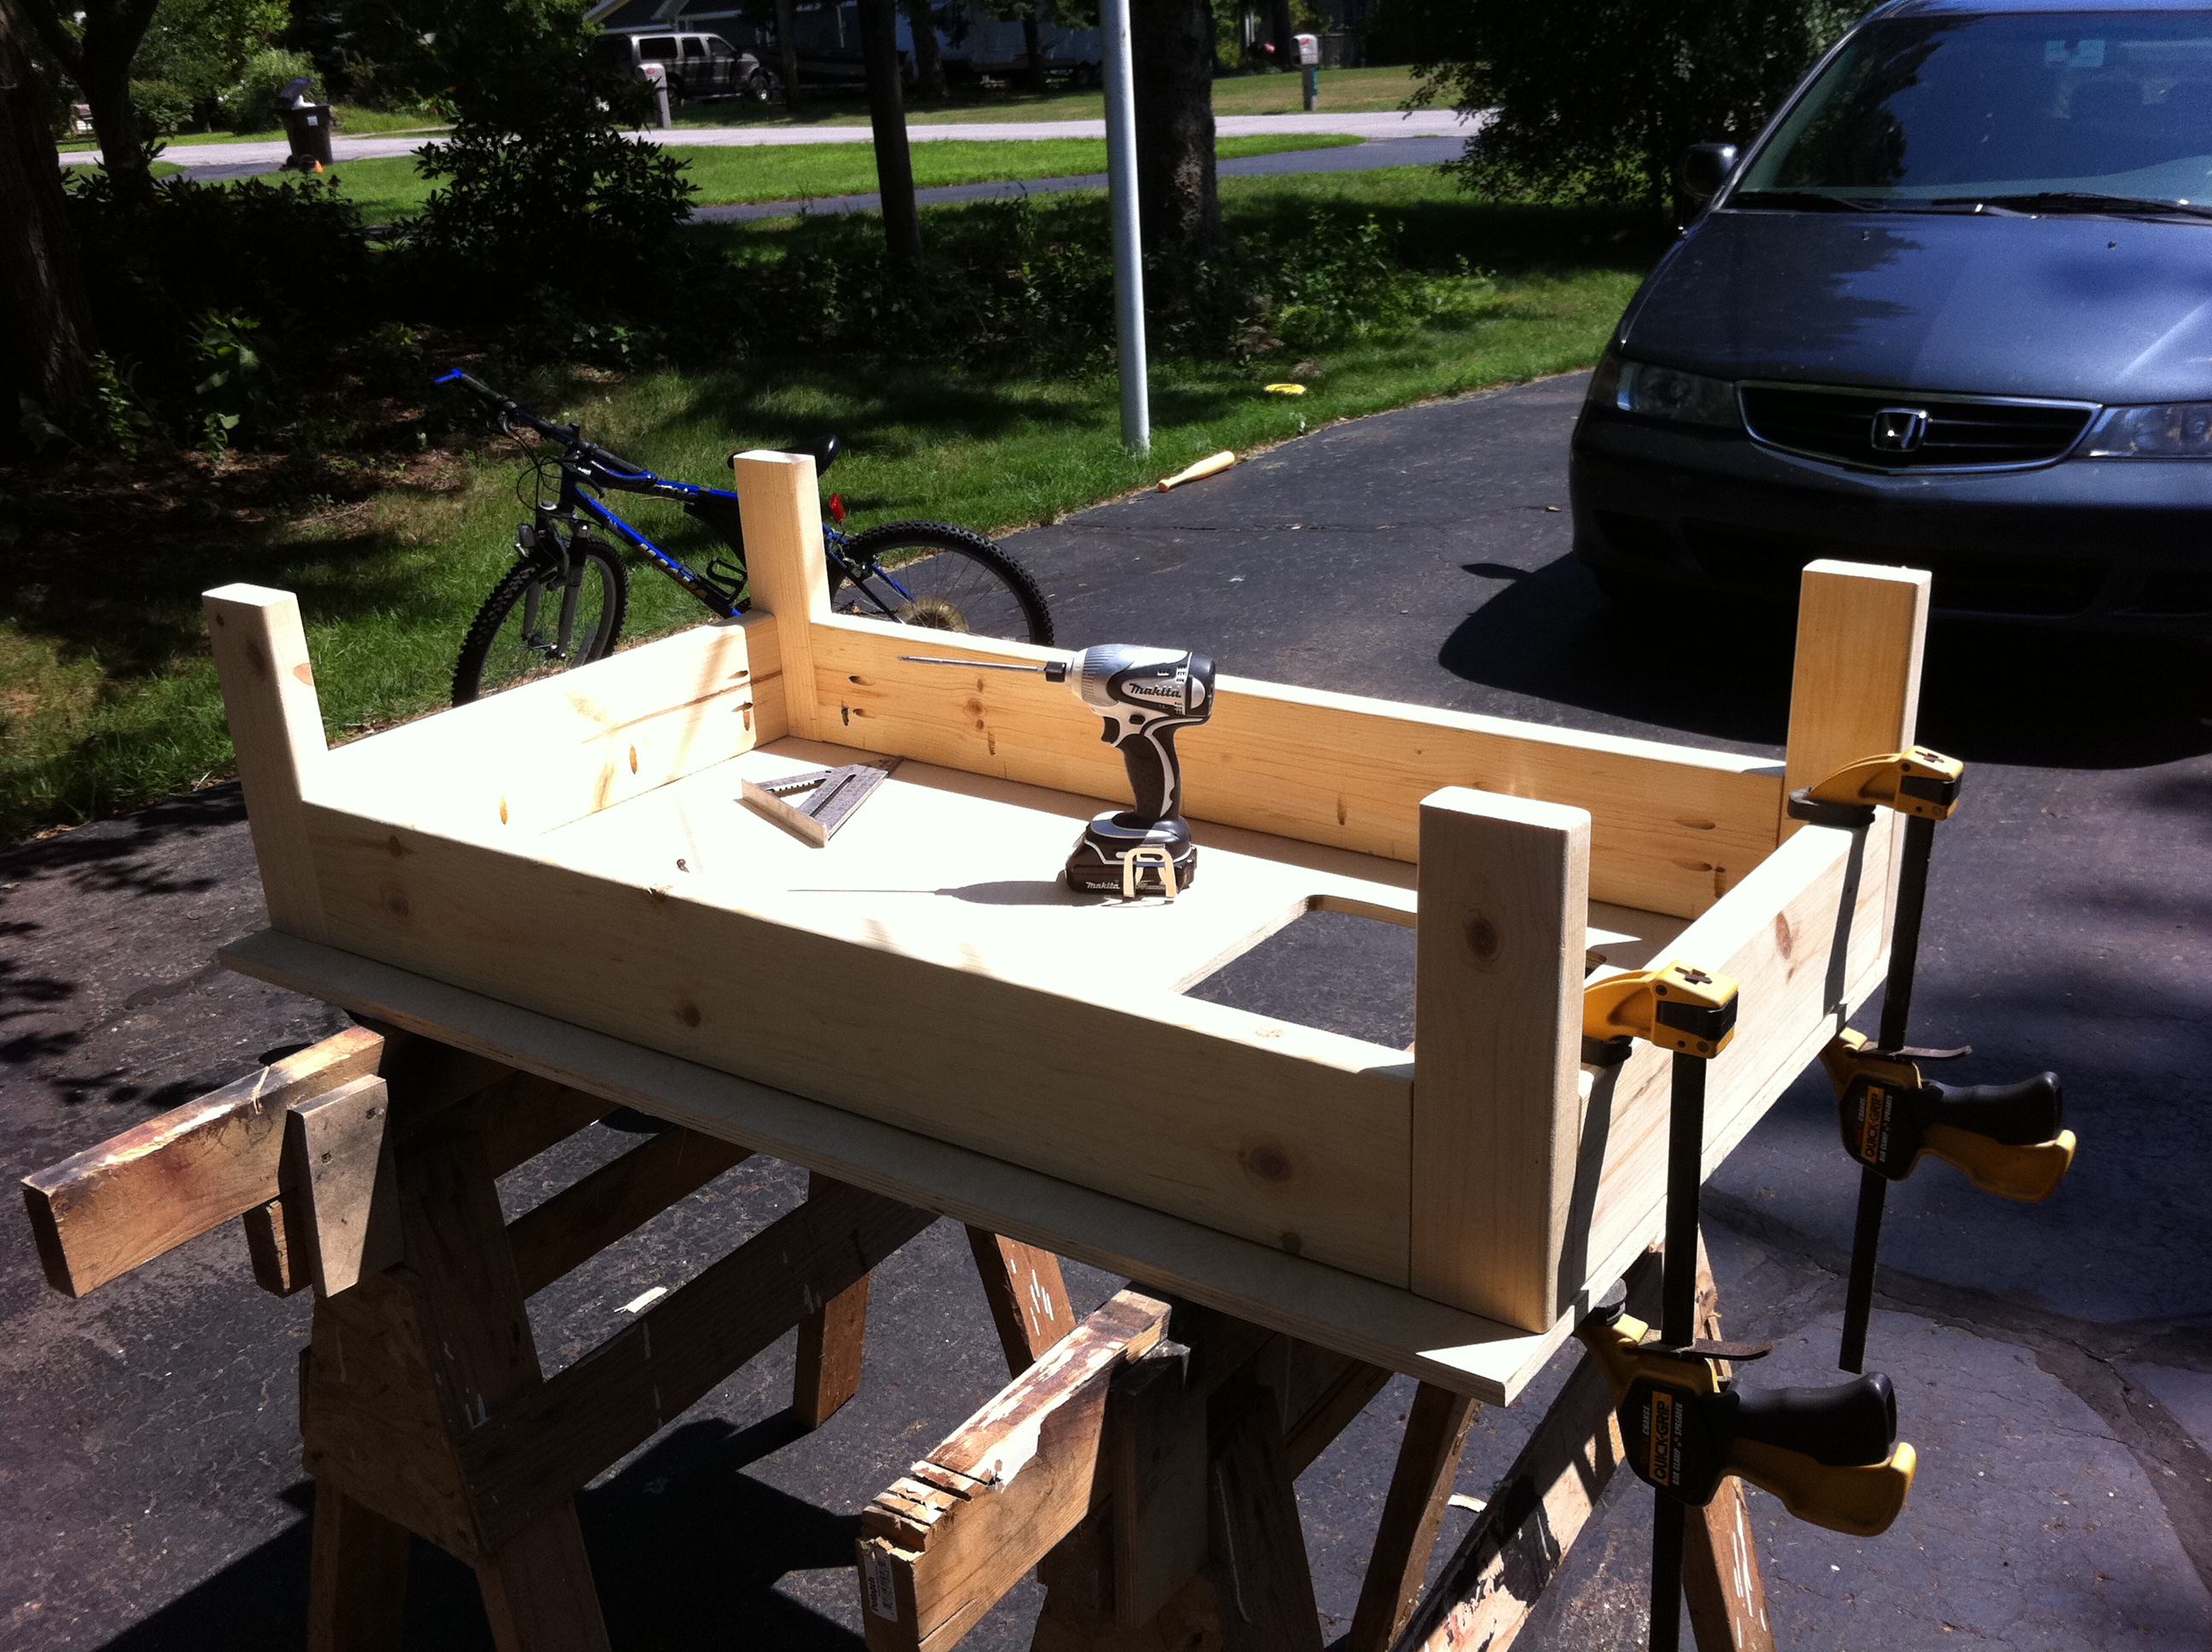
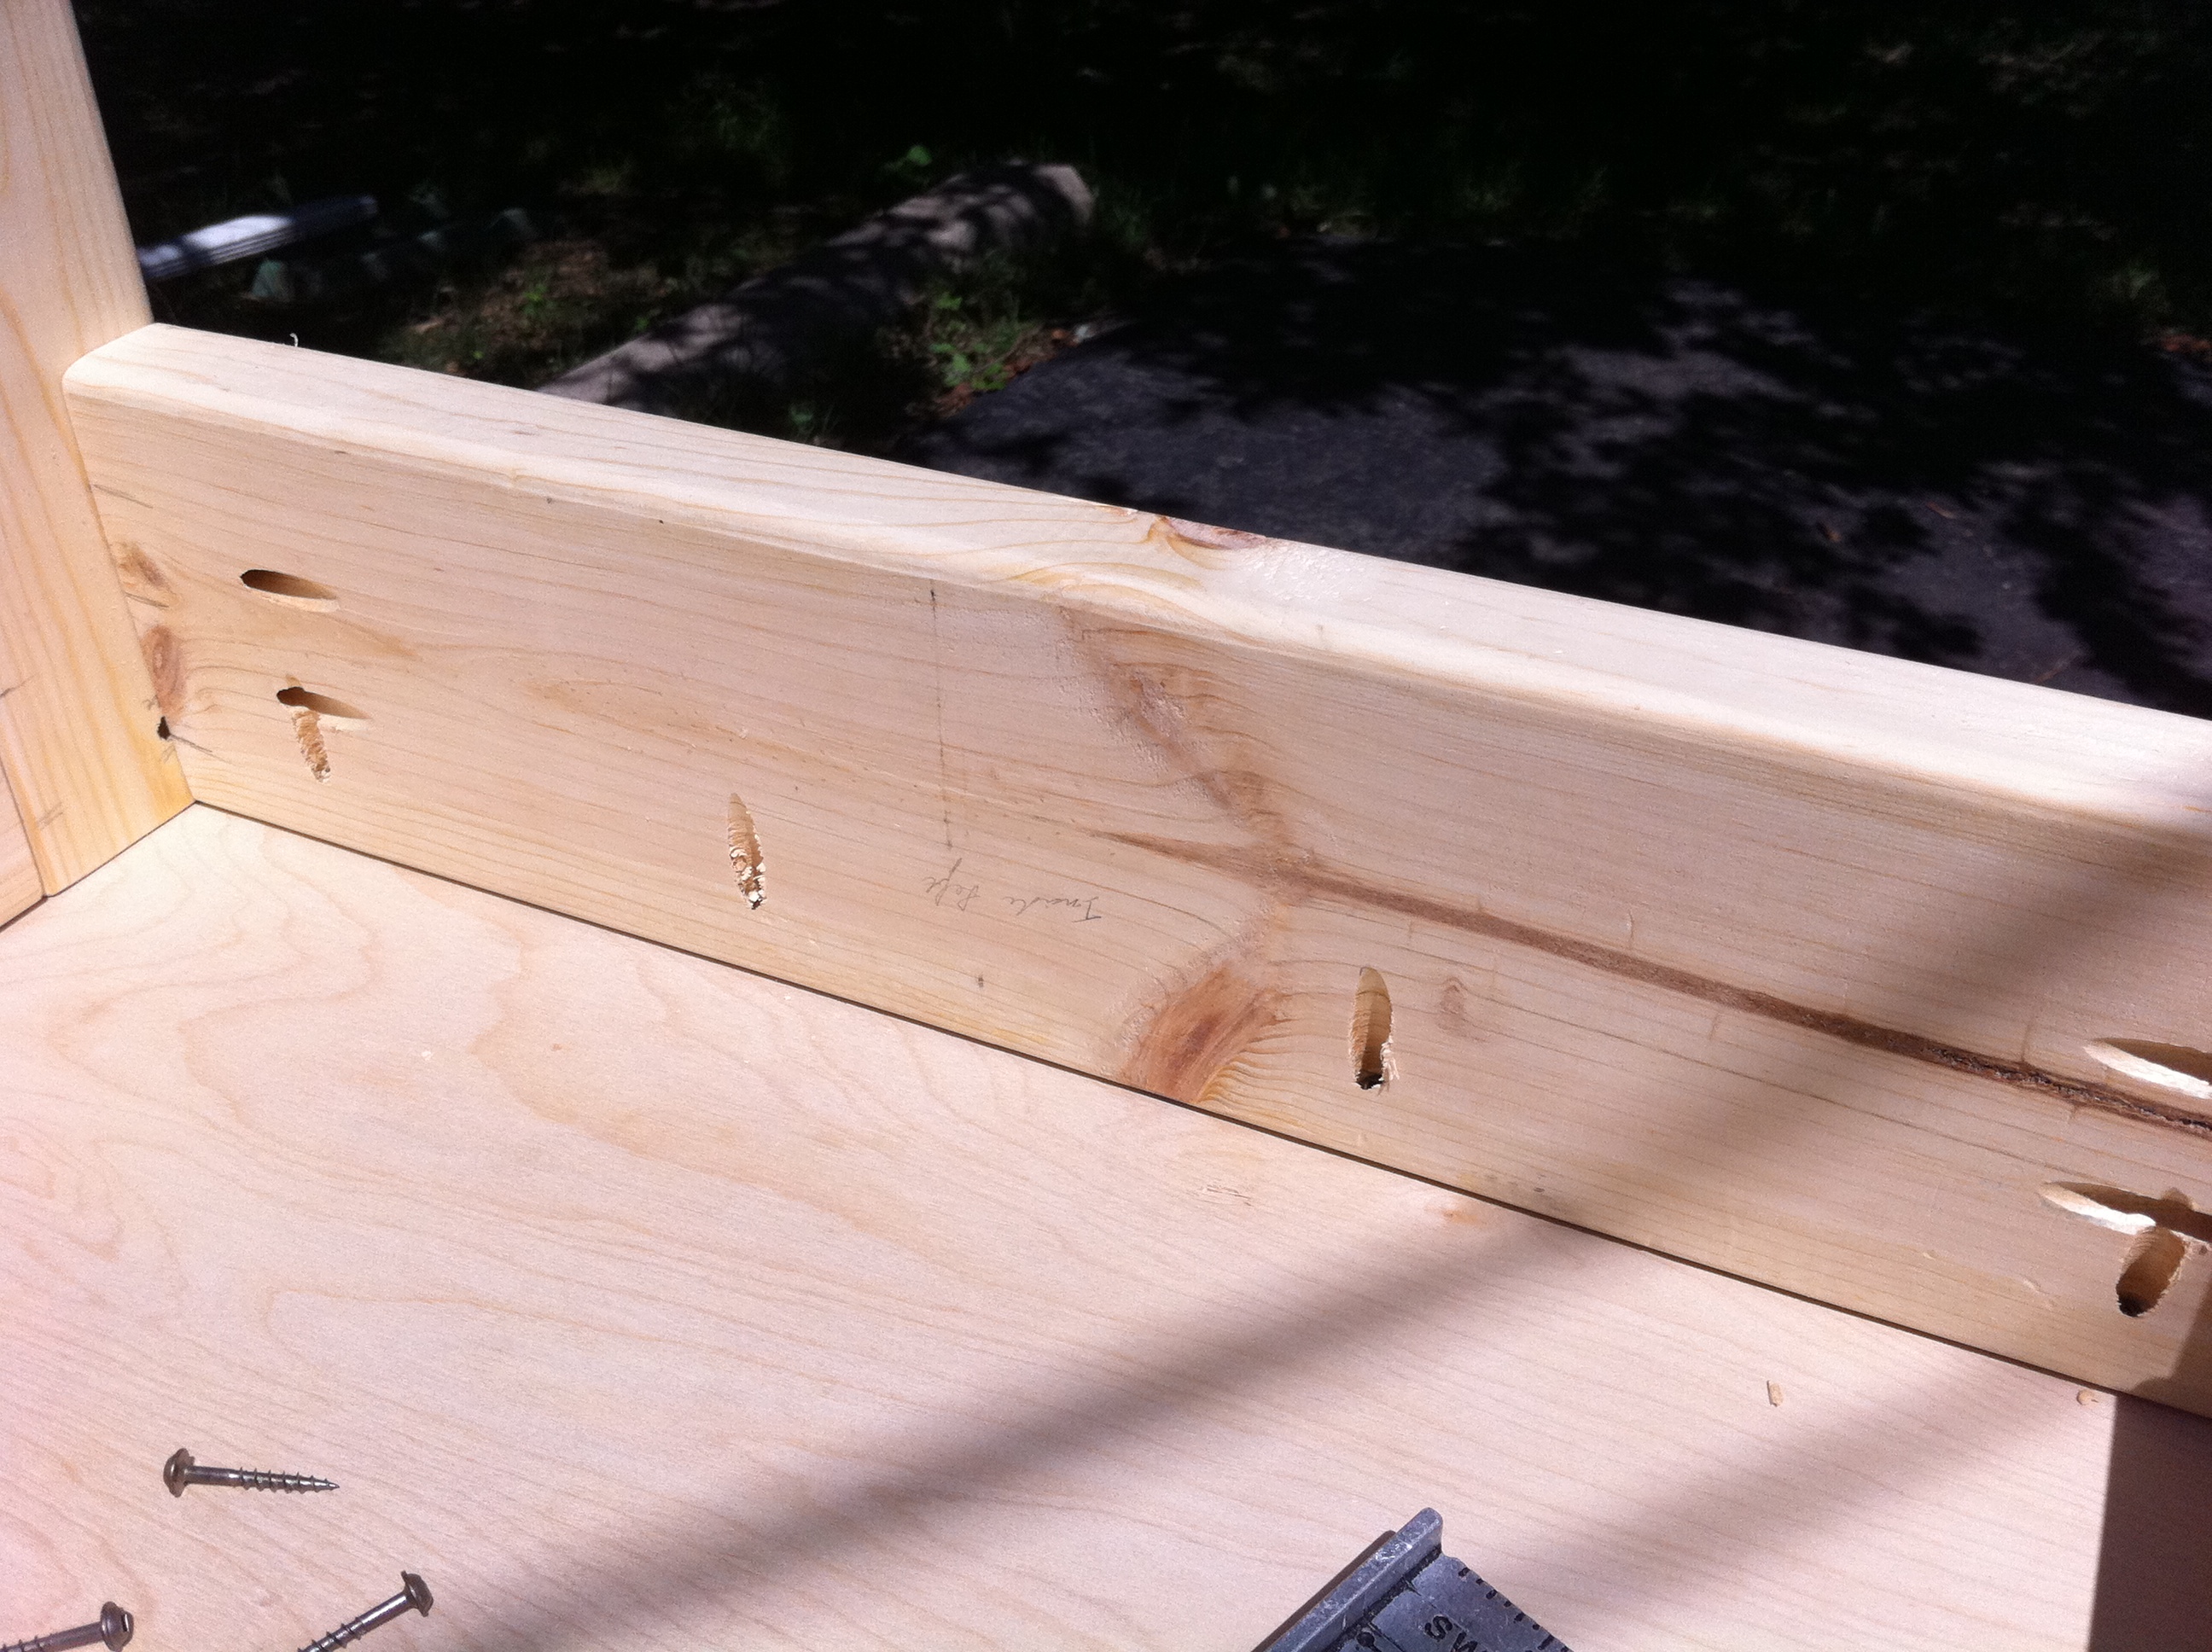
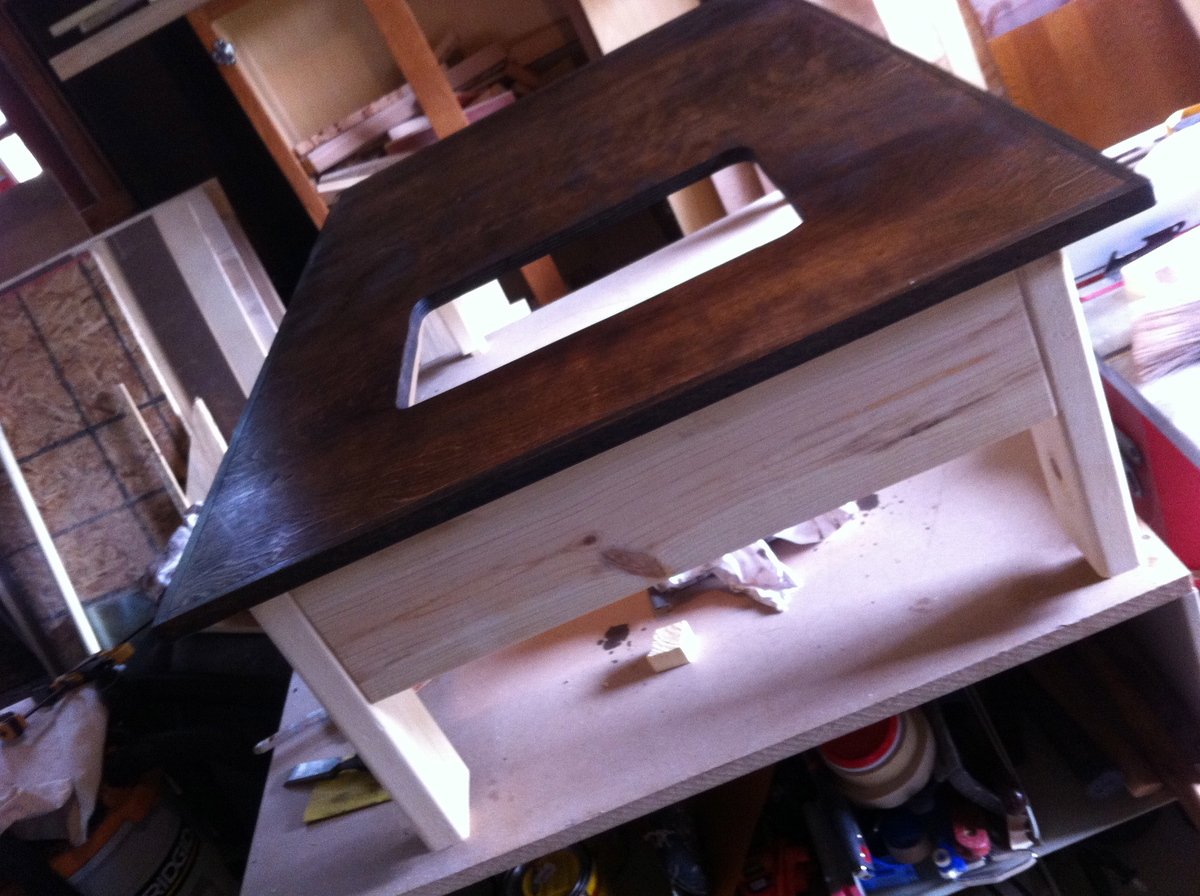
My wife and I desired to have a place to put my son's Legos other than on the floor. We were quite tired of walking out of his room with lacerated feet. So, I designed a basic Lego table to accomodate our needs. The frame was very simple to make, and the top wasn't much harder. I stained the top with Minwax Dark Walnut stain and sealed it with 3 coats of Minwax wipe-on Poly. The frame has been painted white with a semi-gloss paint that was left over from the Clara Table I made for our children earlier this summer.
For storage, I got a little creative. We had several plastic bins from a storage unit we were moving out of the room (my wife and I have seen similar ones at Ikea and Target), so I snatched one of these and cut out a recess in the table in which the bin now sits.
I've seen many versions of tables that have the storage hidden, but this didn't make much sense to us since our son is constantly looking for various pieces. This way, he can dig through the bin without having to move anything on the table. It also allows for quick clean up at the end of the day.
I just saw a table (much smaller, and felt very cheap) at a local toy company for $150. Total cost for our project was about $32, $20 of which was for the birch ply. Not bad!!! Several friends have already requested tables of their own.
Material: 1, 2" x 4" x 8'; 2, 2" x 6" x 8"; 1 full sheet of 3/4" birch-veneer ply (I got the sheet at 60% off because it had some damage to one of its sides--but not a big deal since I only needed a 30" x 48" piece out of it!); 1, 3/4" x 4" x 8' piece of poplar for edging trim (ripped down to about 3/4" strips); about 25, 1 1/2" Kreg Pocket Hole Screws; wood glue; Minwax Walnut wood stain; Minwax wipe-on Poly.
Dimension can vary based upon personal preference, but our table top was 30" x 48", and the frame legs were 12" high. We wanted our children to be able to sit/kneel to work on the table (by the way, I've thought it might be a great table for putting together puzzles too!). The frame is not 30" x 48", though, because we wanted a bit of an overhang on the sides so that our children could get closer to the table.
If I get time here in the next week, I'll add this as an official Project Plan.
Blessings, and I hope you all enjoy!
JB
In reply to Impressive! by spiceylg
Sat, 08/13/2011 - 06:14
I'm glad you liked it! Thanks for the encouragement!
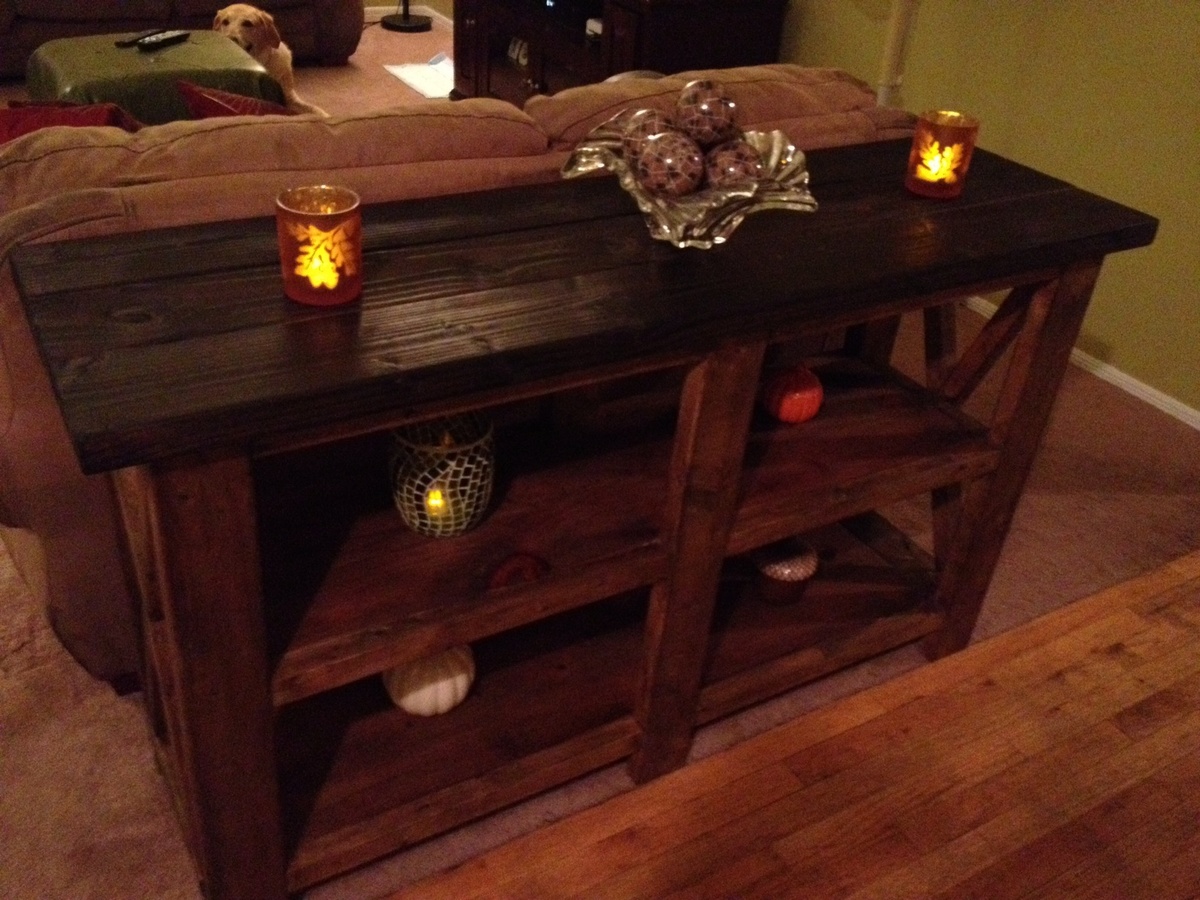
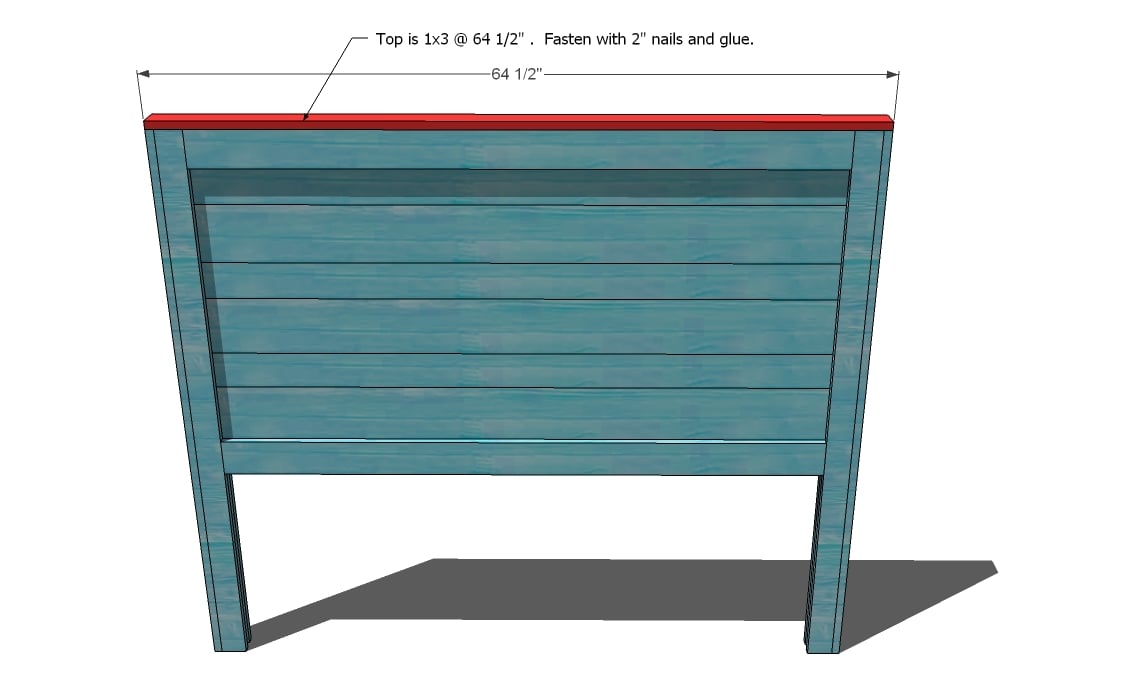
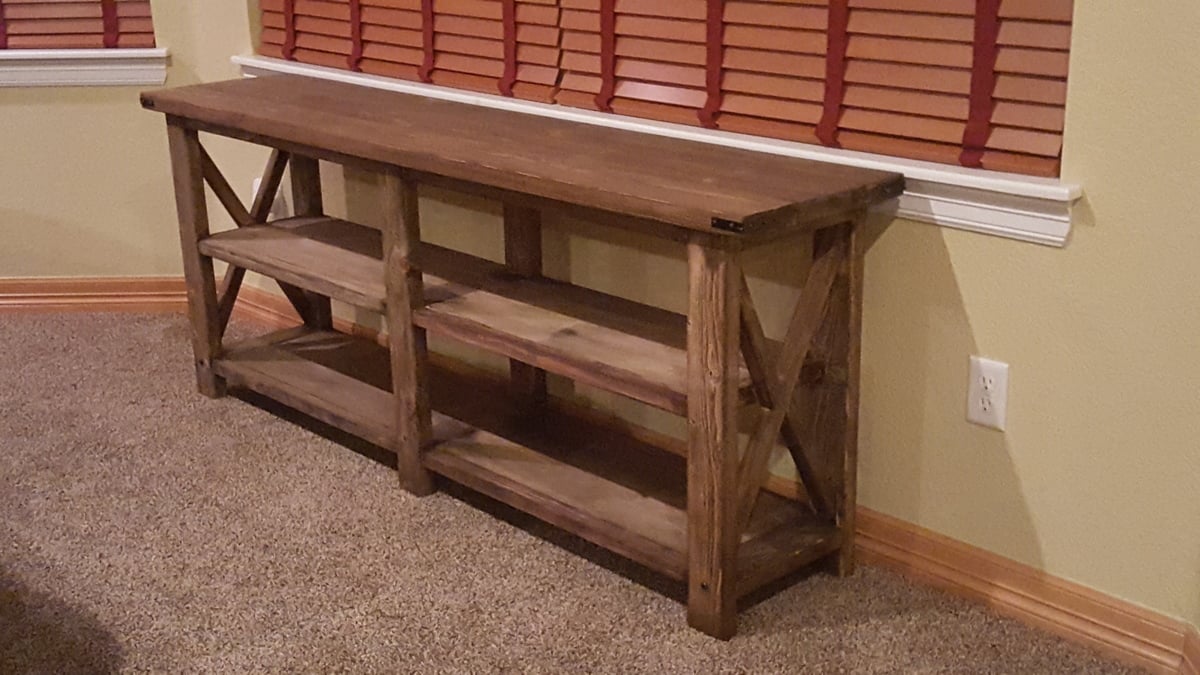
Decided to create the rustic x console table to go along with the matching end tables. I modified the dimensions to fit behind my love seat and thankfully it fit perfectly!
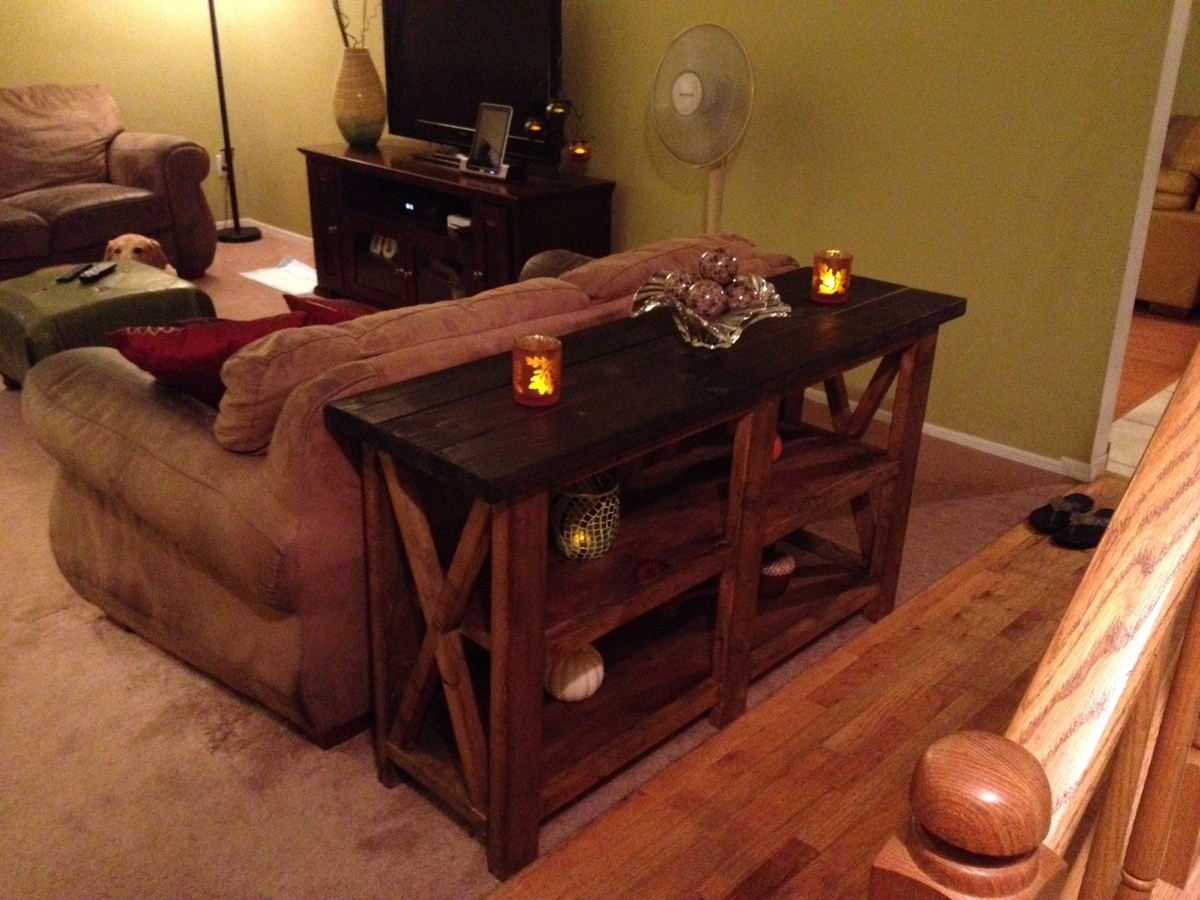
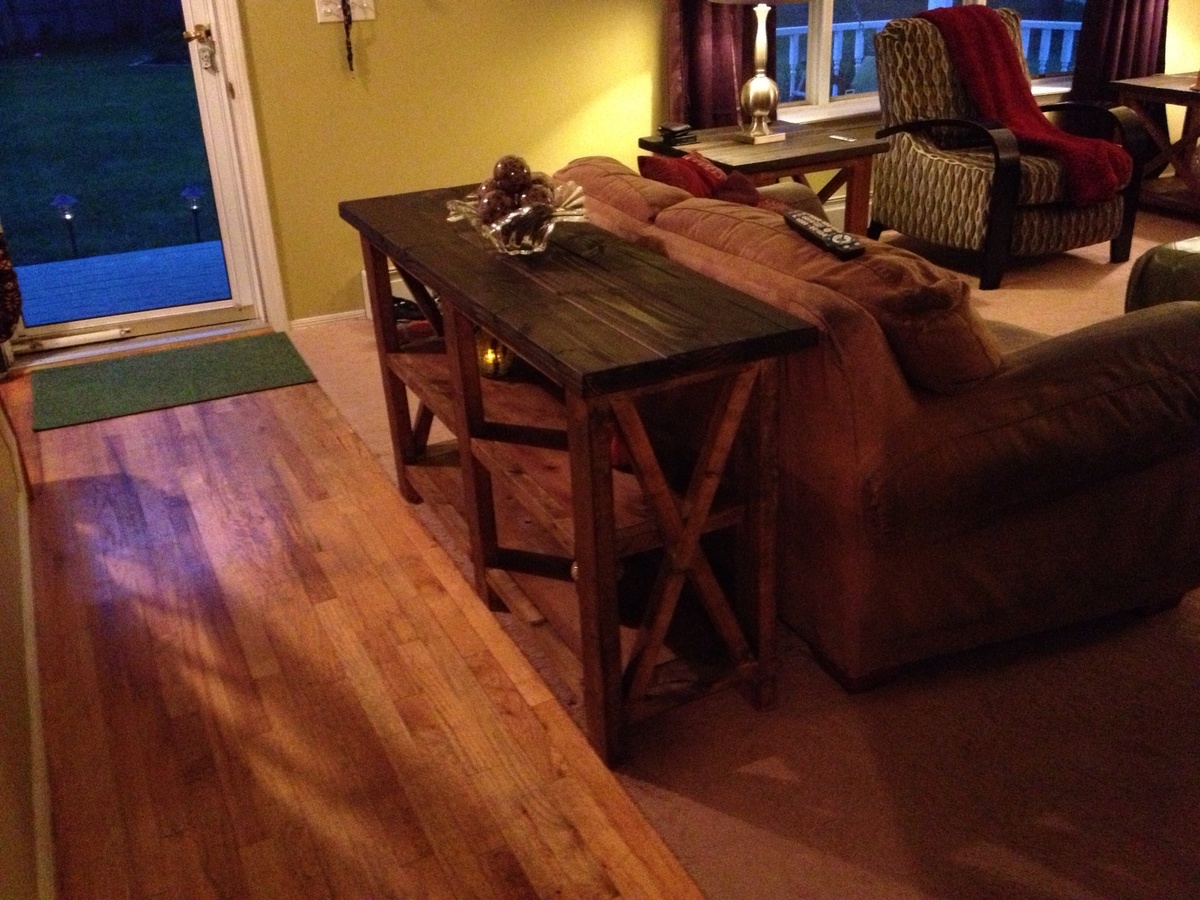

No plan was used but I did use many techniques that I learned from this site. I took features from several different plans. I love how it turned out.
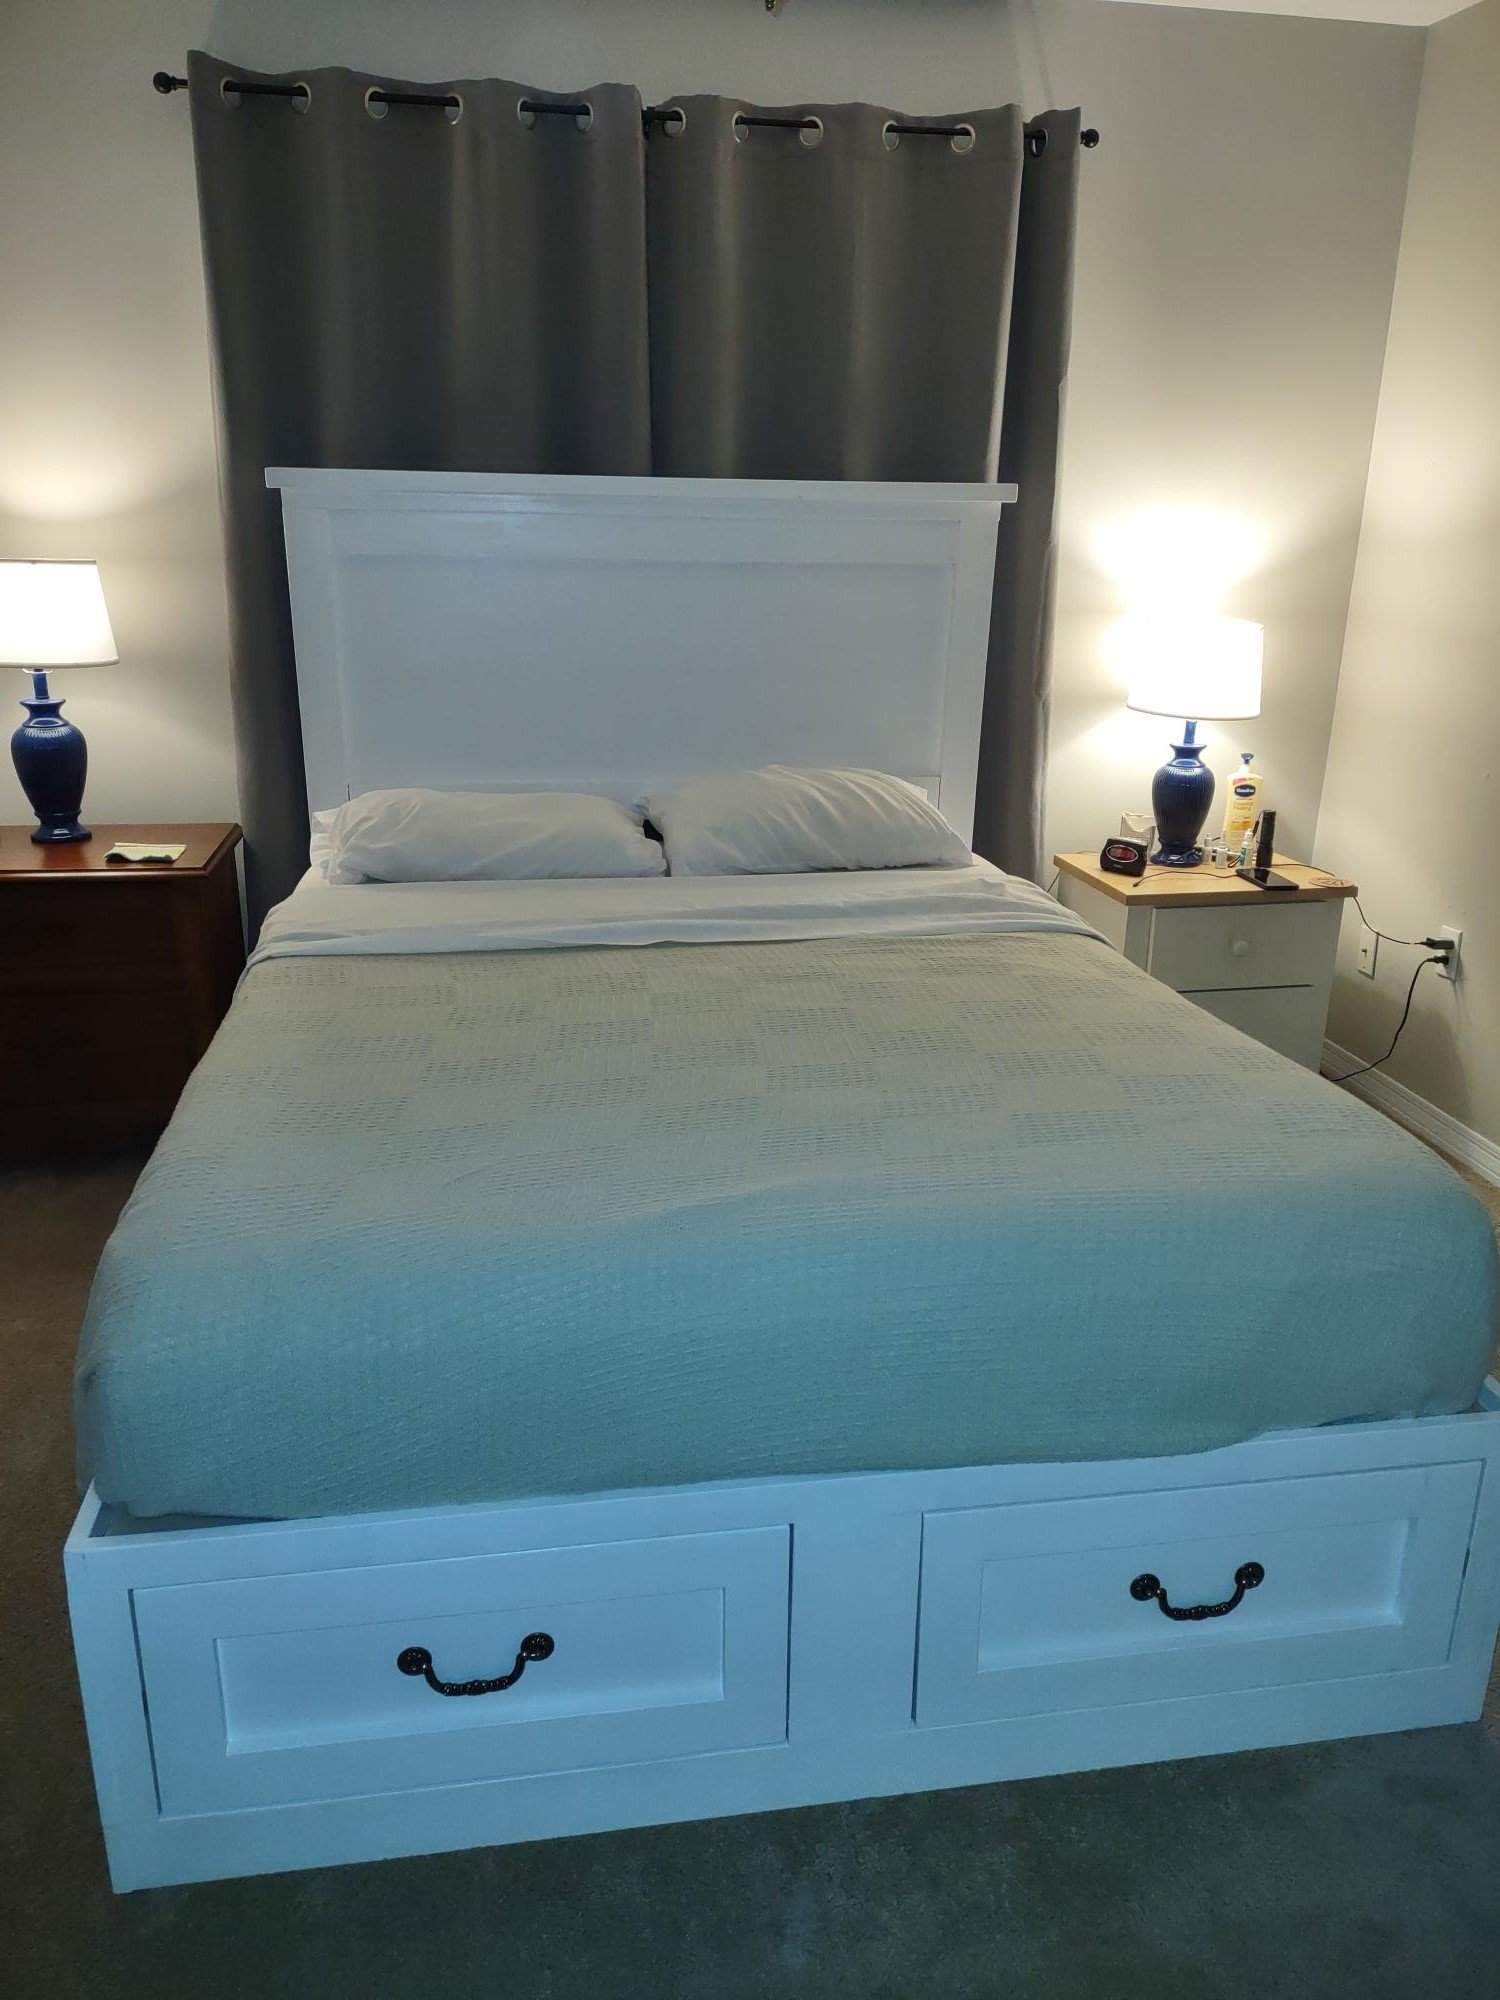
This bed has 6 drawers, 2 on each side and 2 on foot. We used Ana White pattern for Farm bed head board and storage bed for rest, while incorporating her easy and no fuss, accurate, drawer slide method.

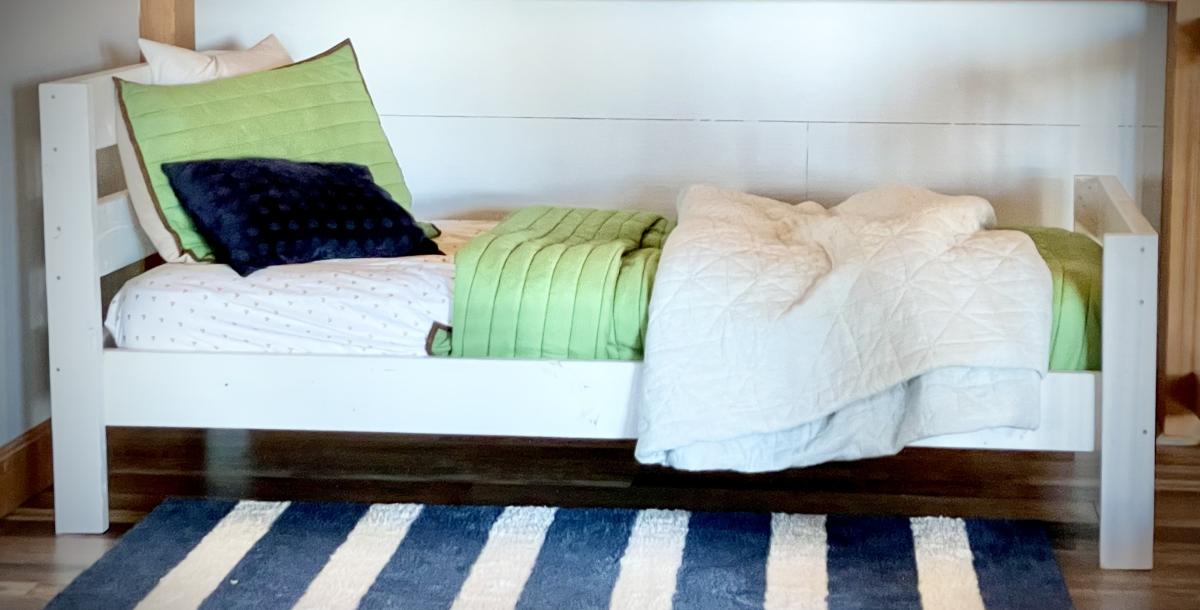
I made this bed for my nieces birthday.
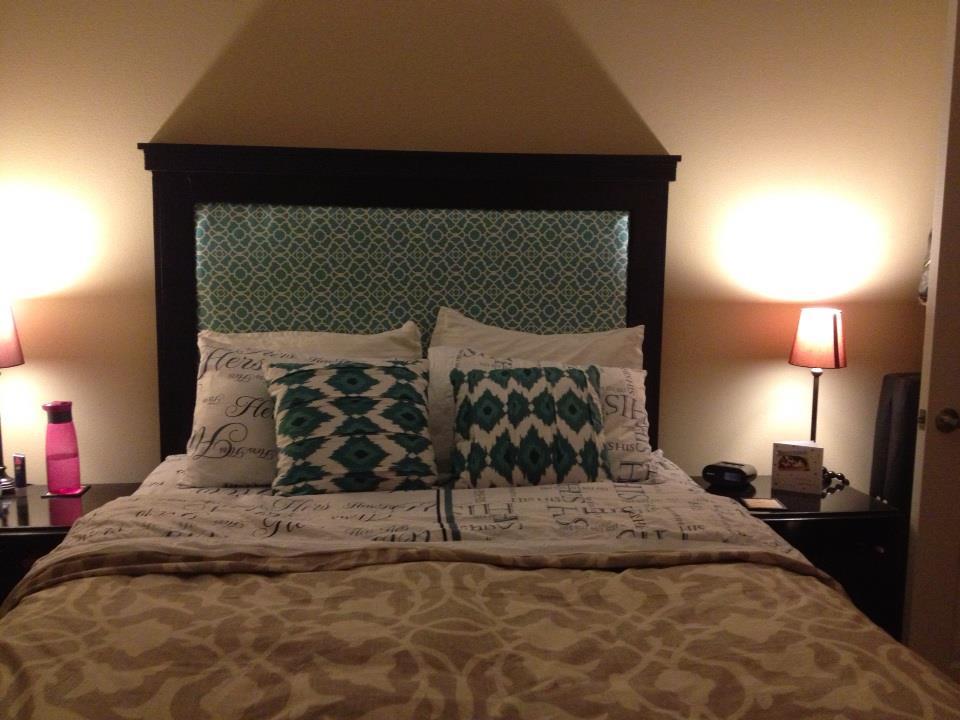
This is inspired from the Chestwick upholstered headboard. One of my first larger projects. I applied the upholstery on an 1/2 inch thick plywood that is screwed into the frame order to allow us to change out the fabric as desired and added more trim around the upholstery.
Fairly easy to build in a weekend.
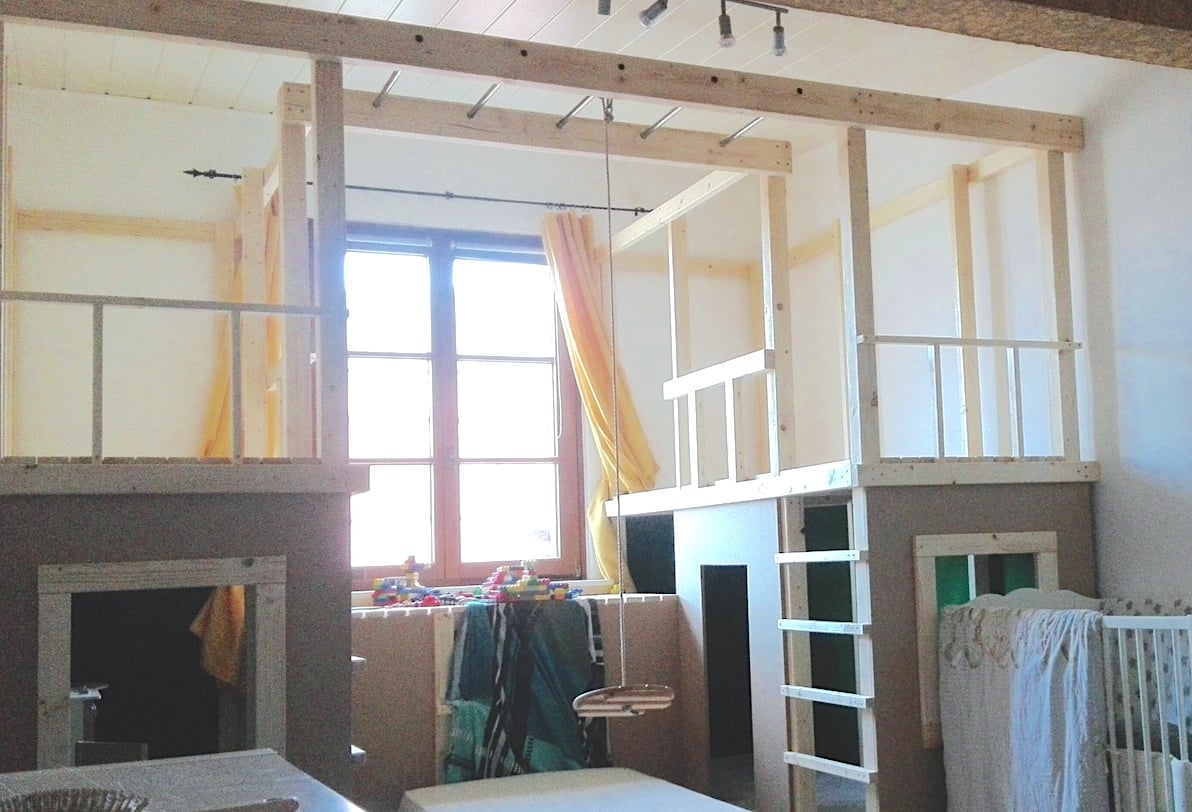
Thanks for the Plans Ana. Though we had to convert every number the plans helped us a lot. Our playhouse turned out really big: 8x8 foot. We had to include our heater under the window, so our tunnel is much bigger. It took us (three people) a half day shopping and two days and one night building and cost 600-700€. The kids where amazed when they opened the door a few days after Christmas. We still think about adding some features like a slight or a bed...

Easy build


Comments
Ana White Admin
Thu, 08/11/2022 - 20:31
Looks awesome!
Thanks for sharing, love how you did this!