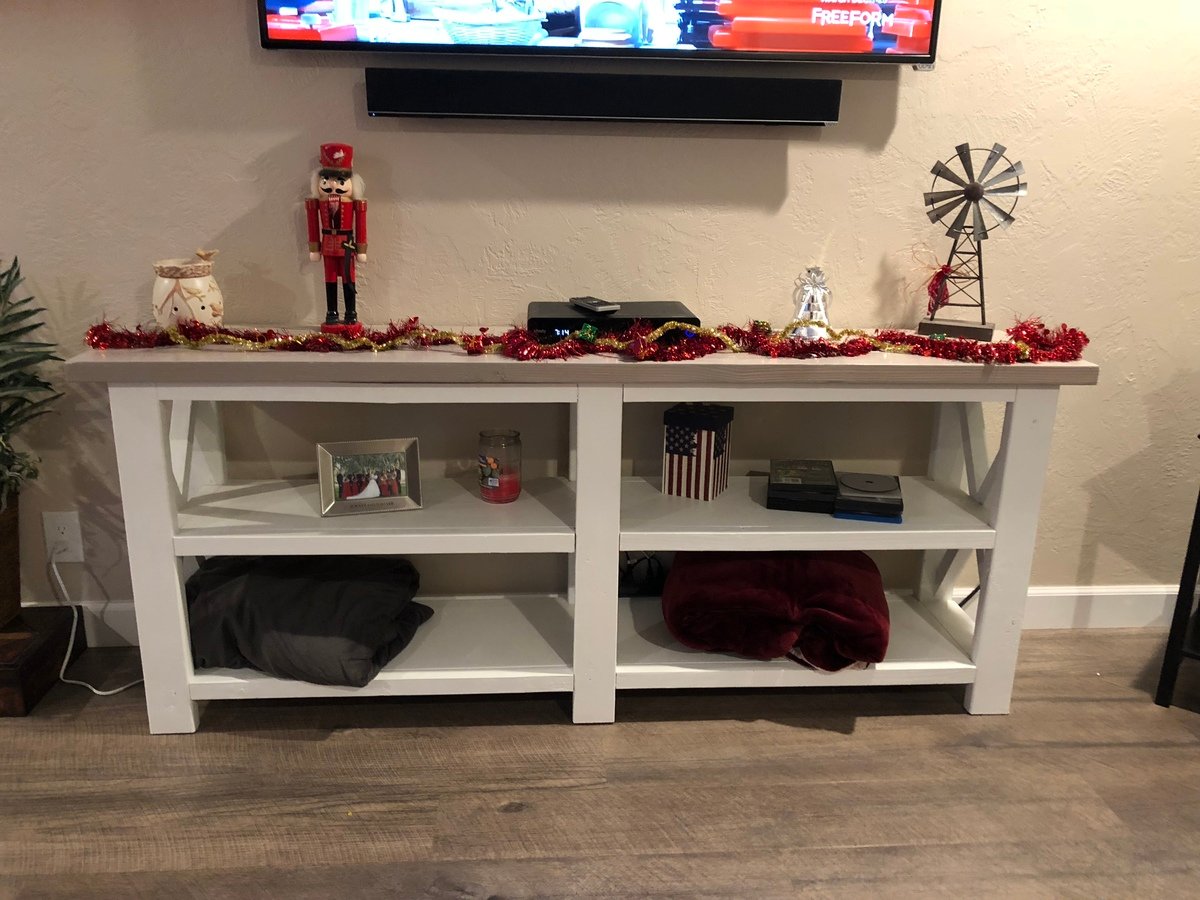
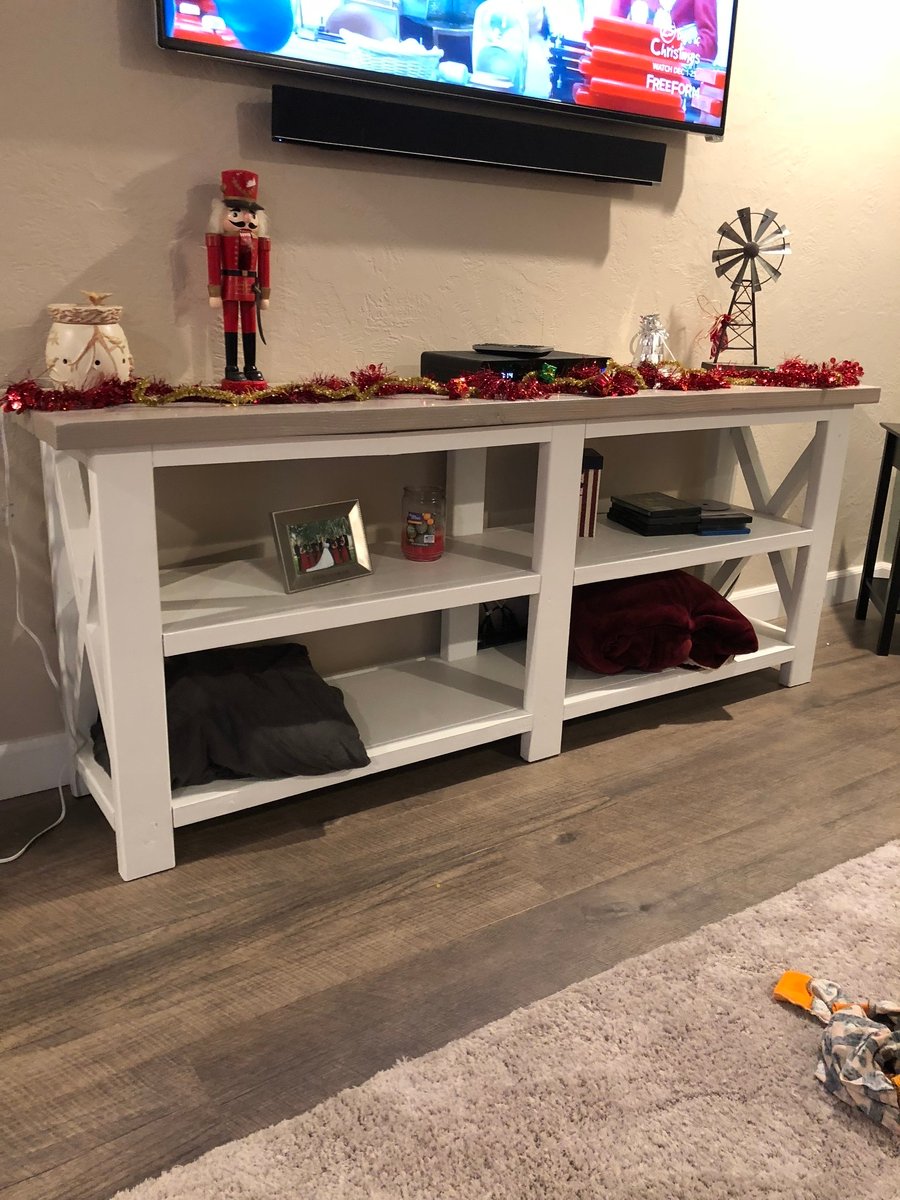
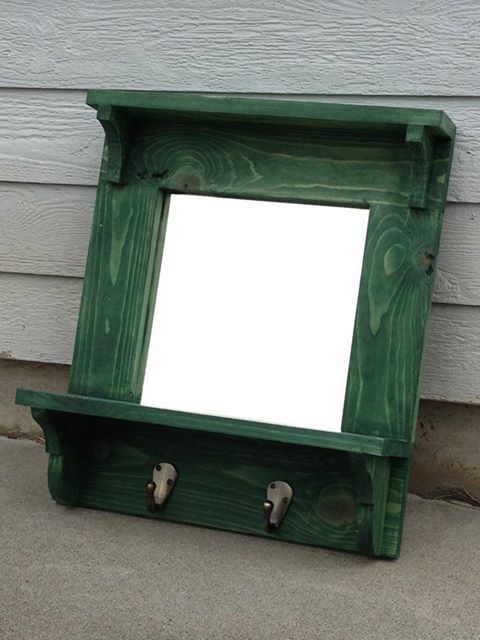
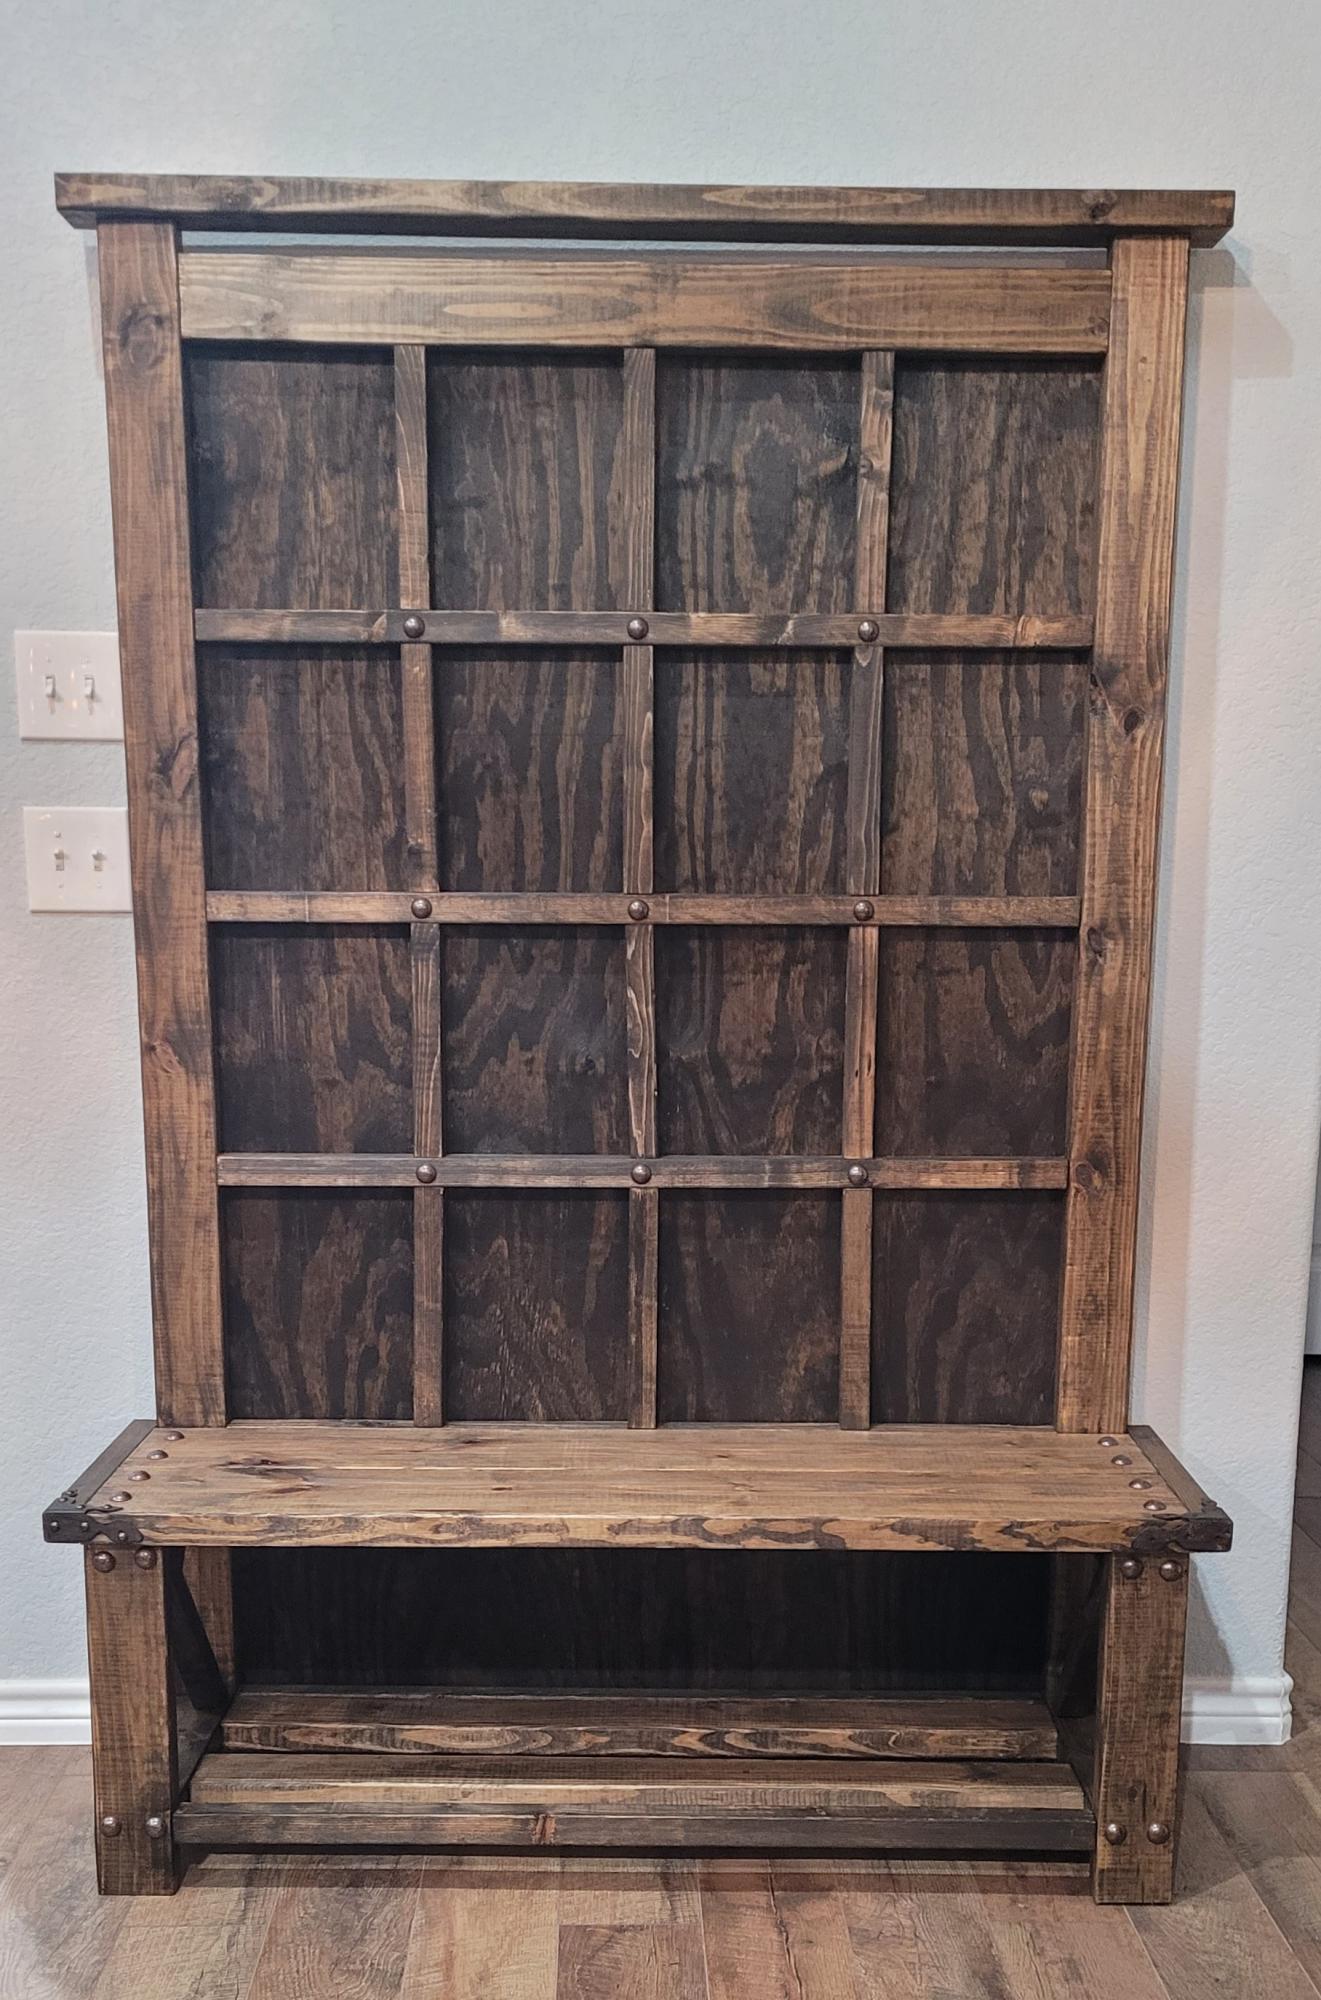
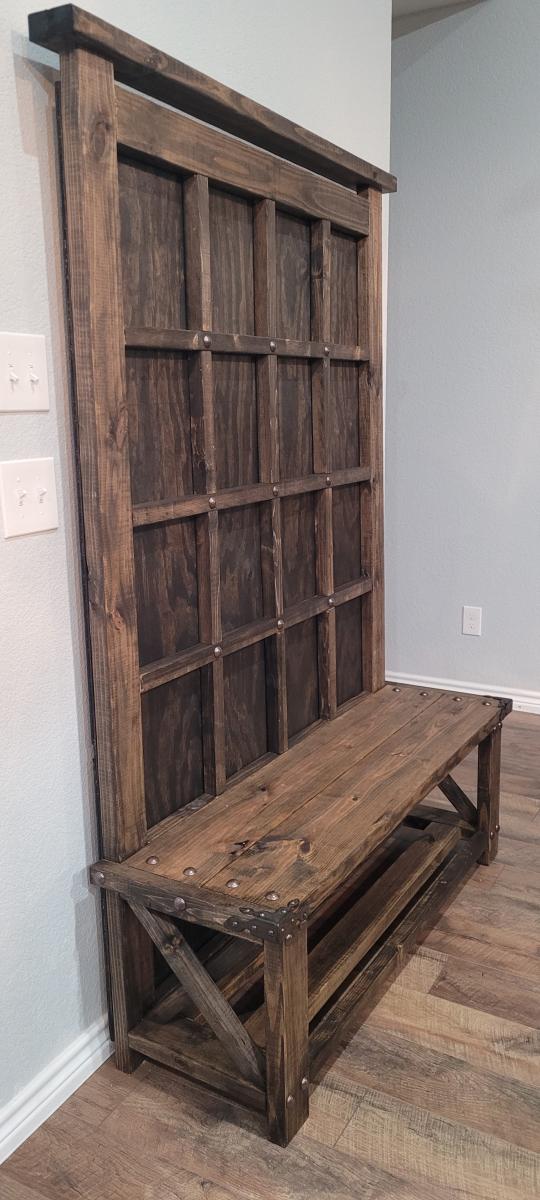
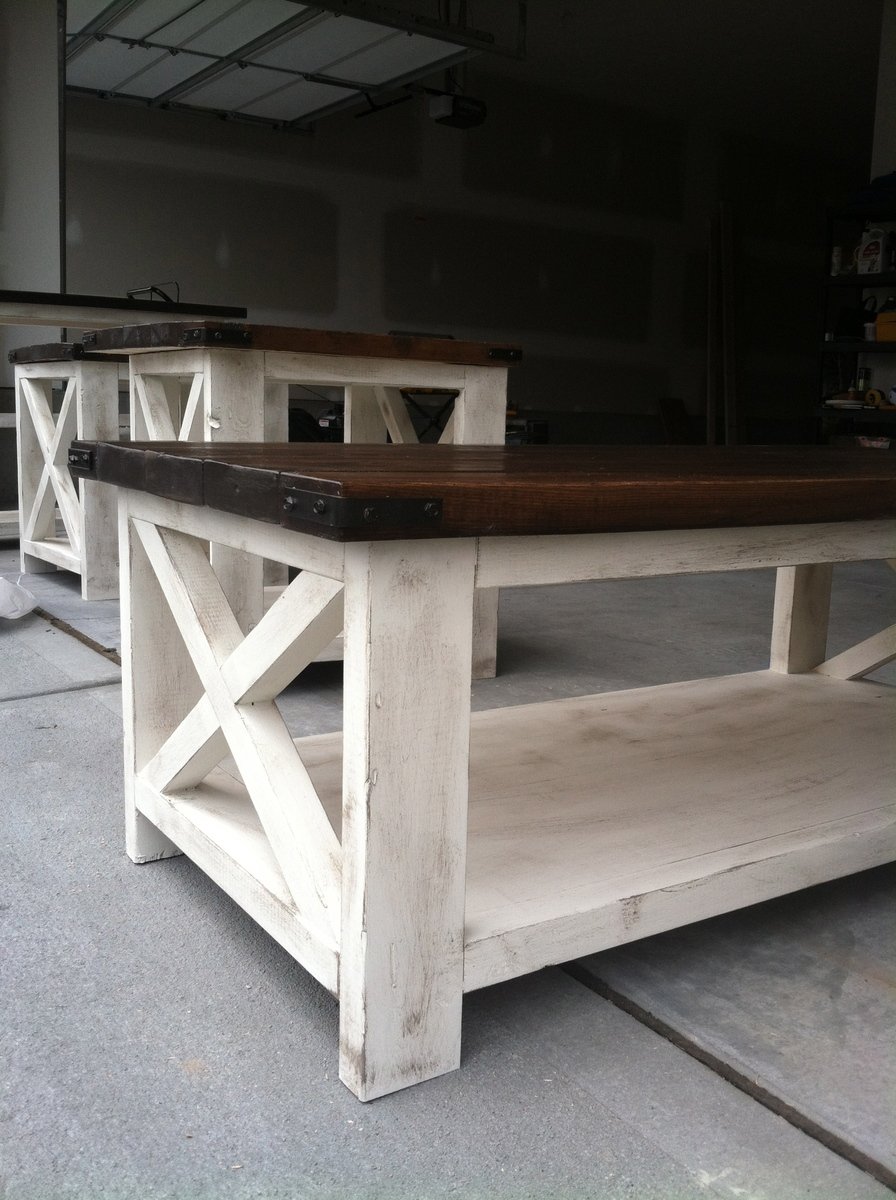
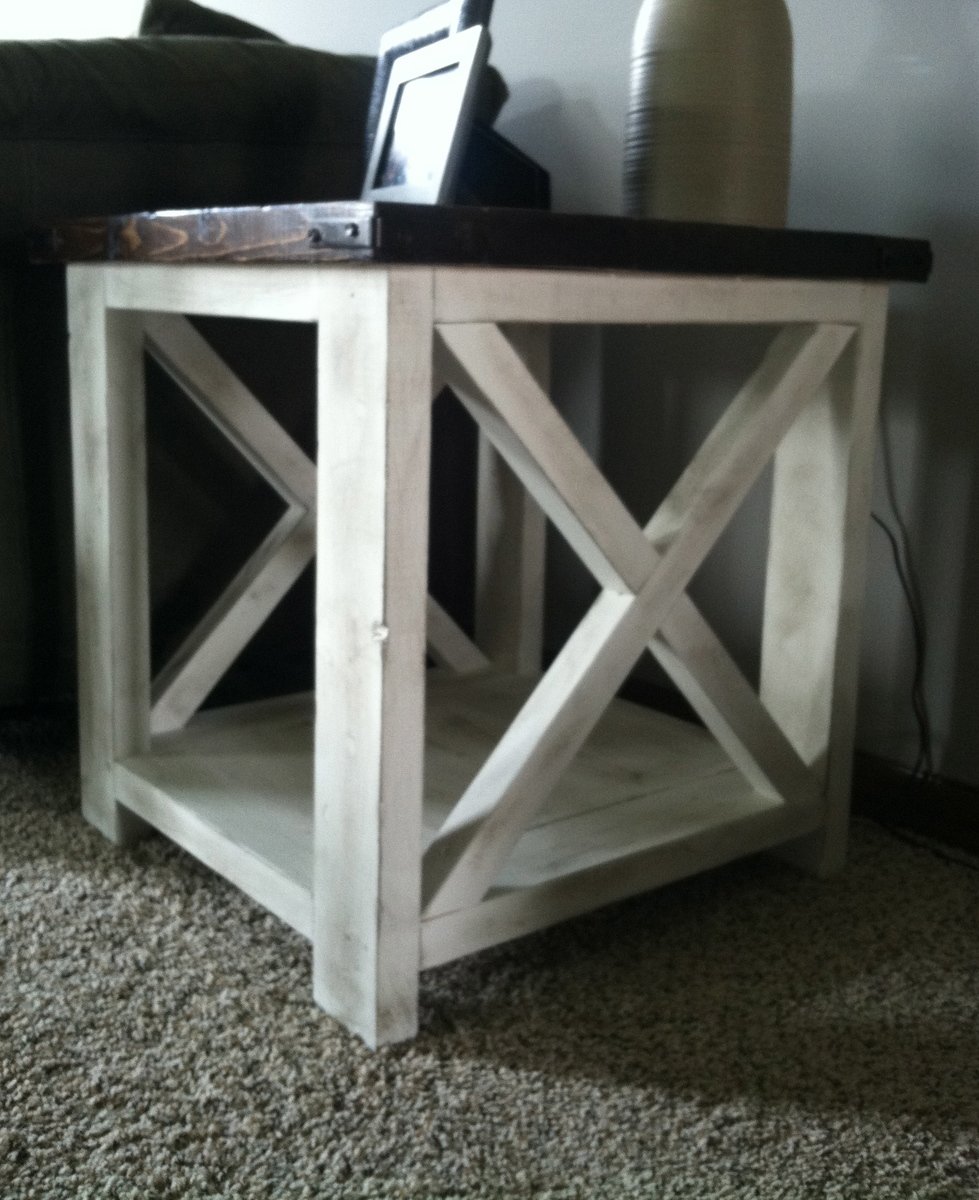
Modified Reclaimed Wood Console Table

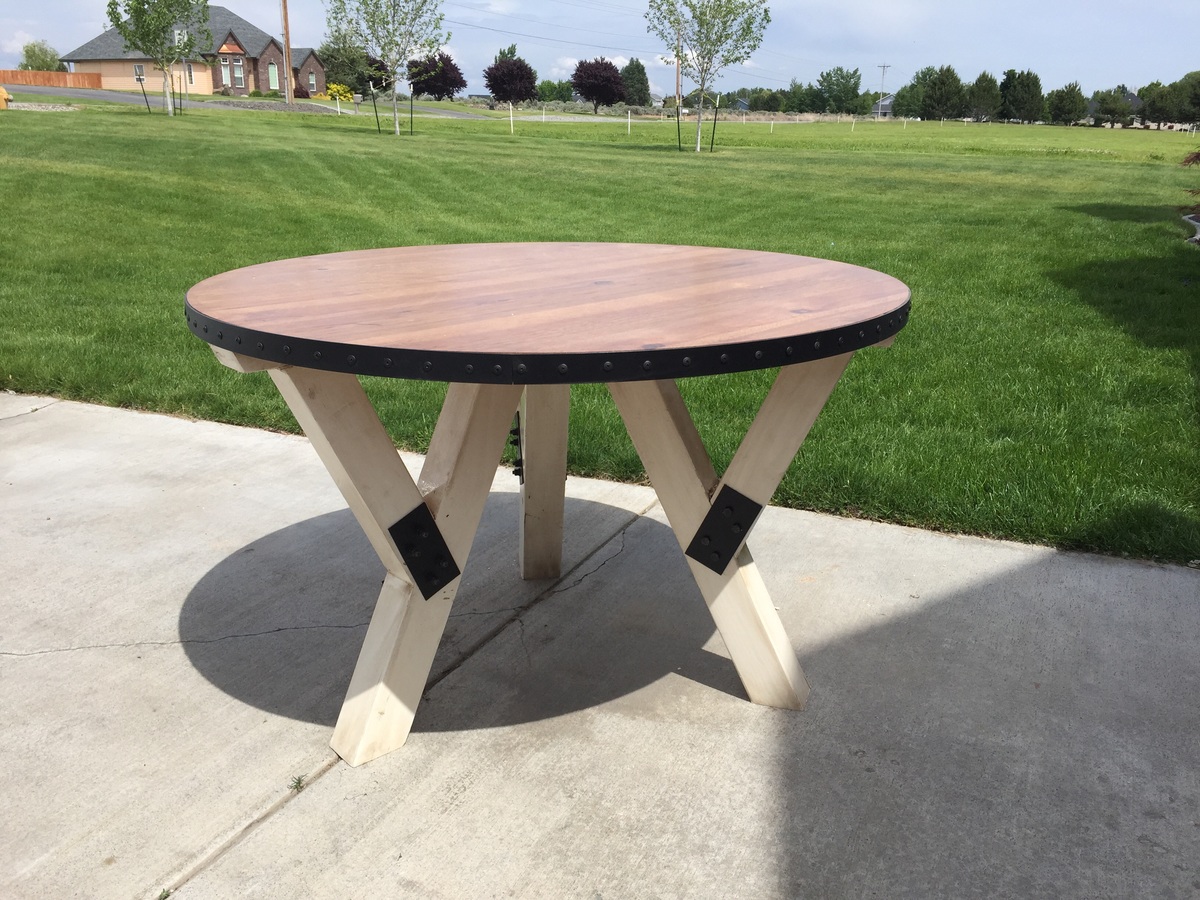
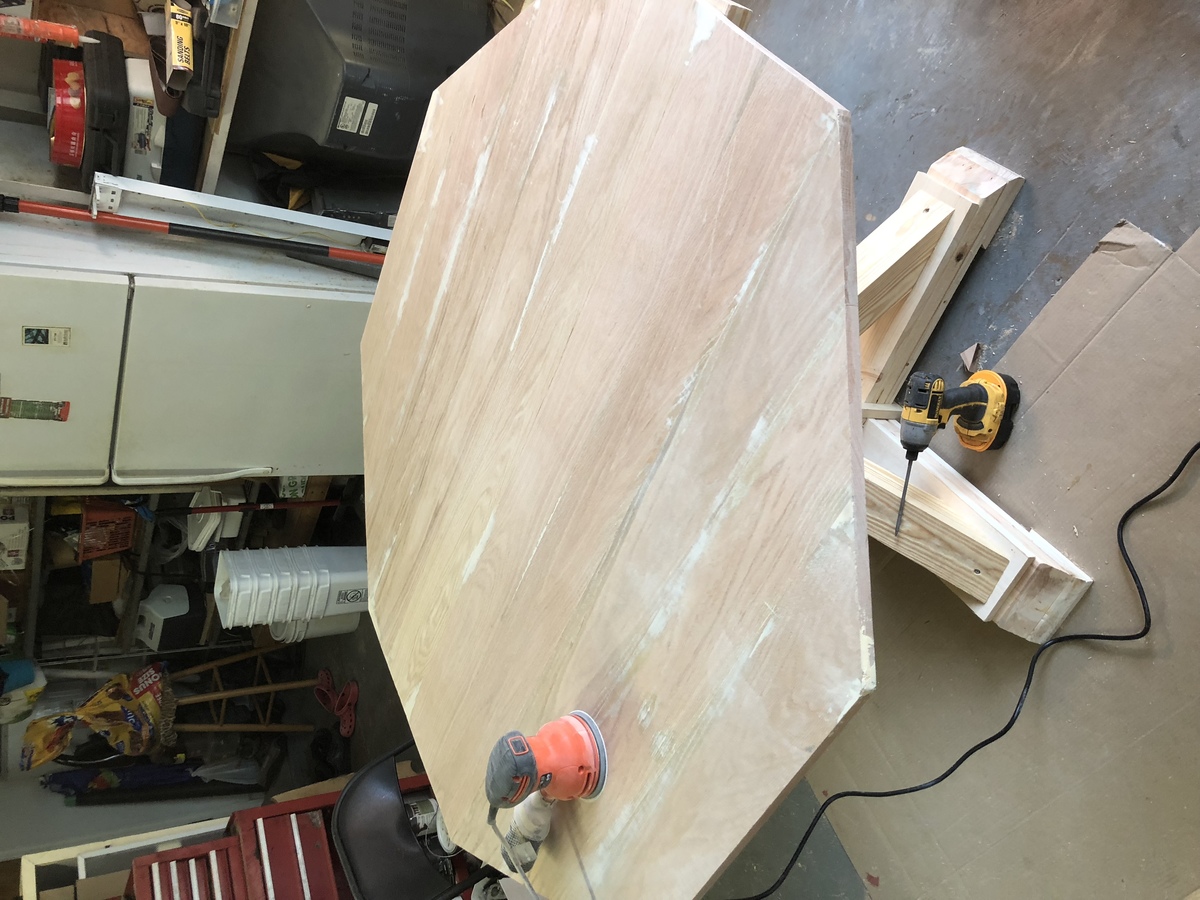
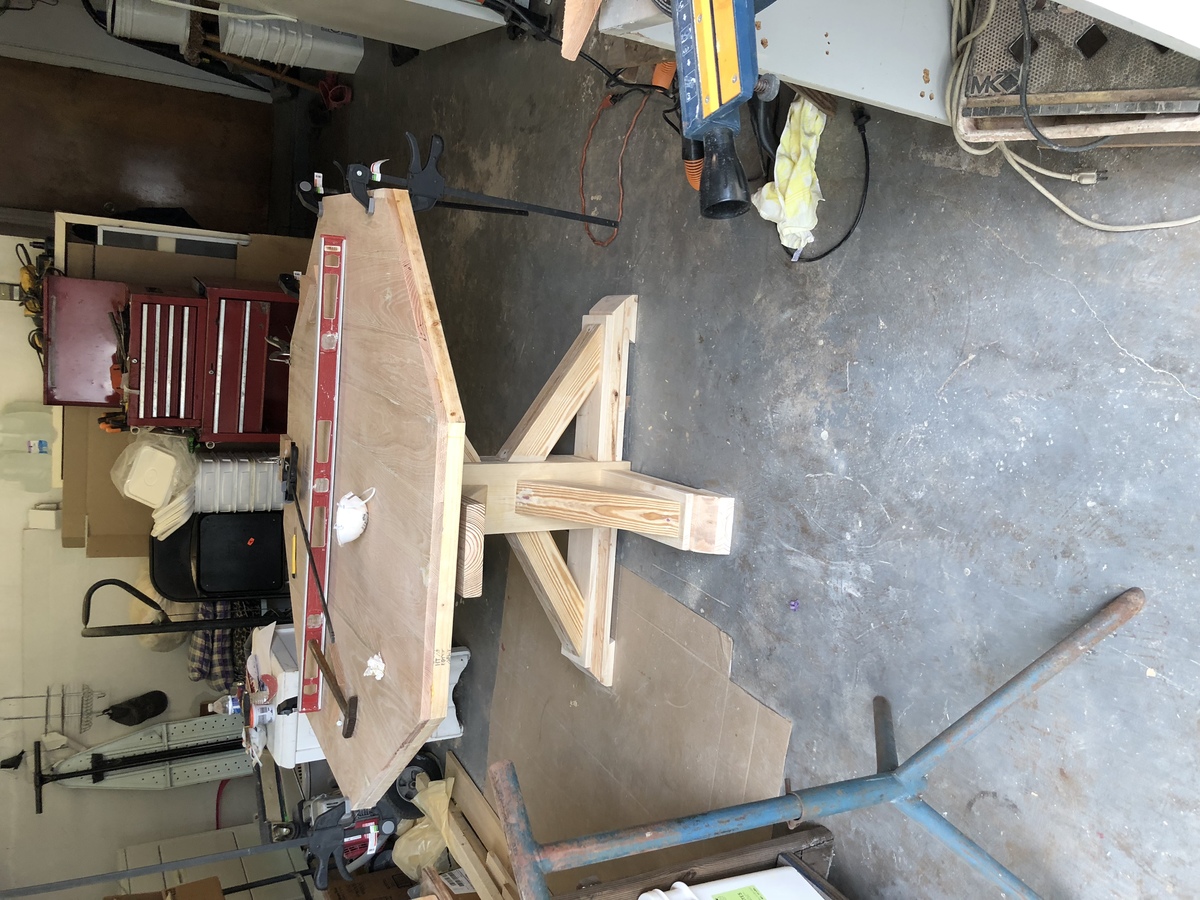
I needed a console table that would fit in a fairly small spot and knew as soon as I saw this plan that I wanted to create something very similar in a scaled down version. Made a few modifications to the original other than size, like using a solid piece of wood for both the top and bottom panels.
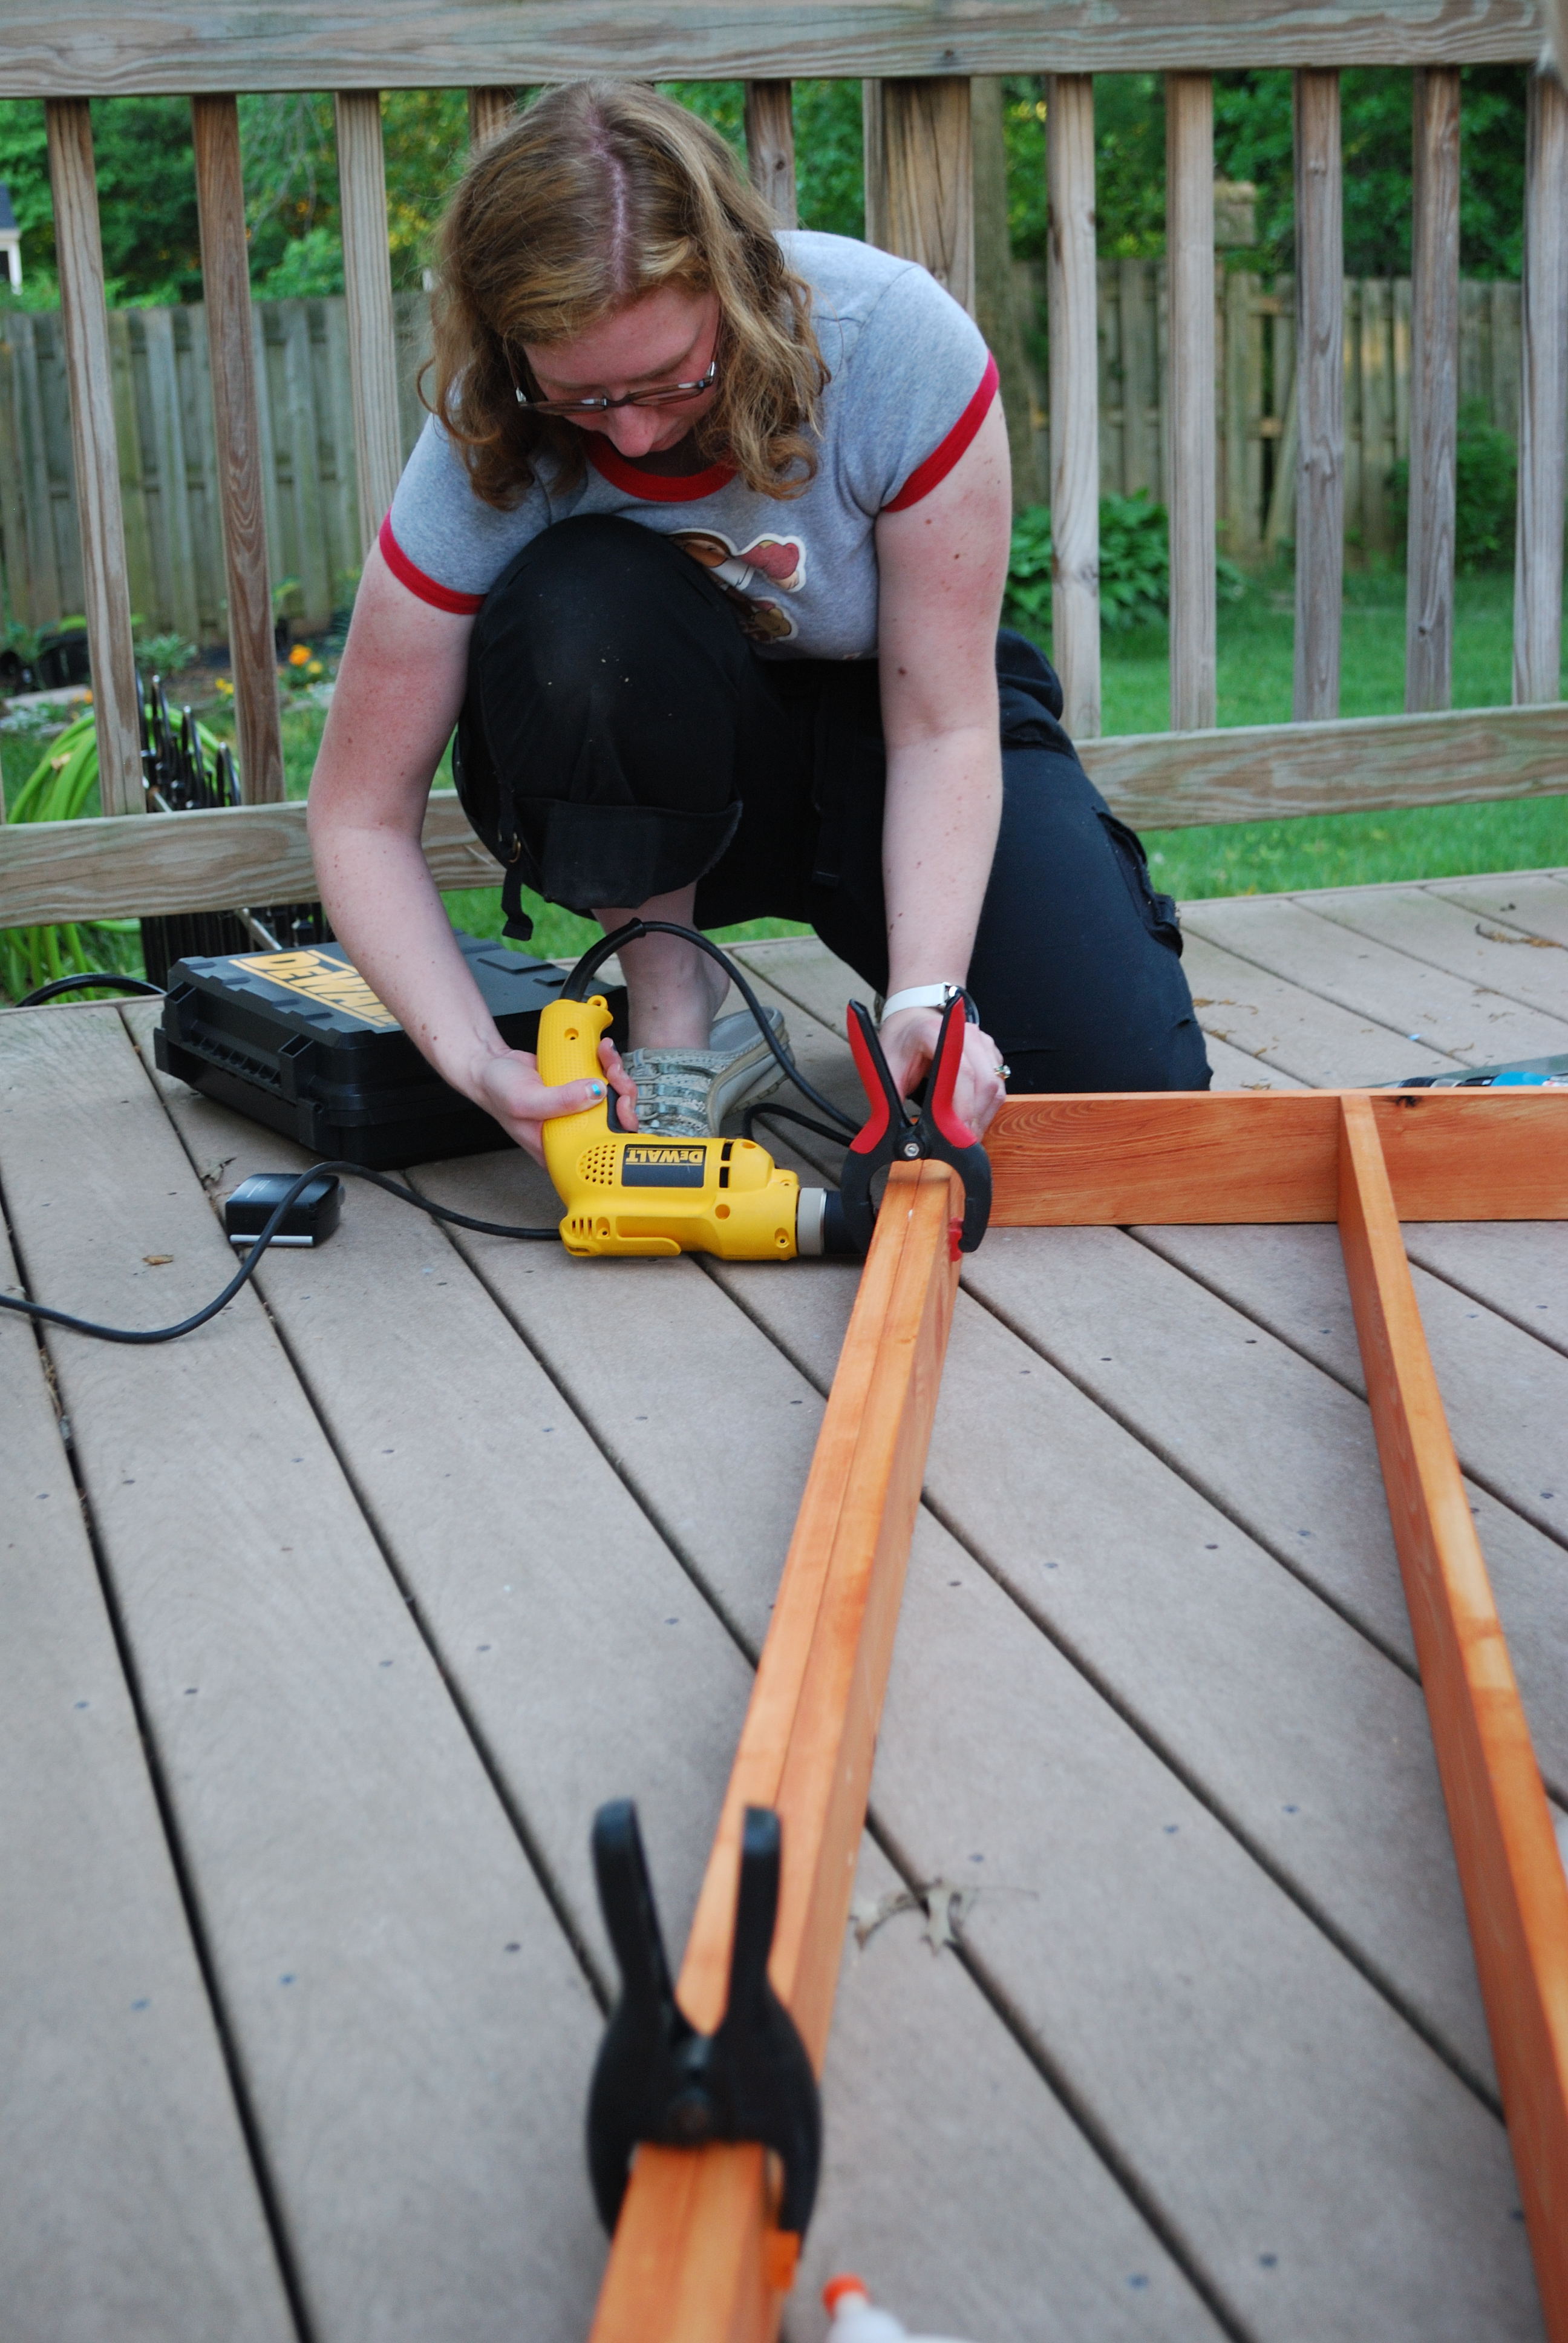
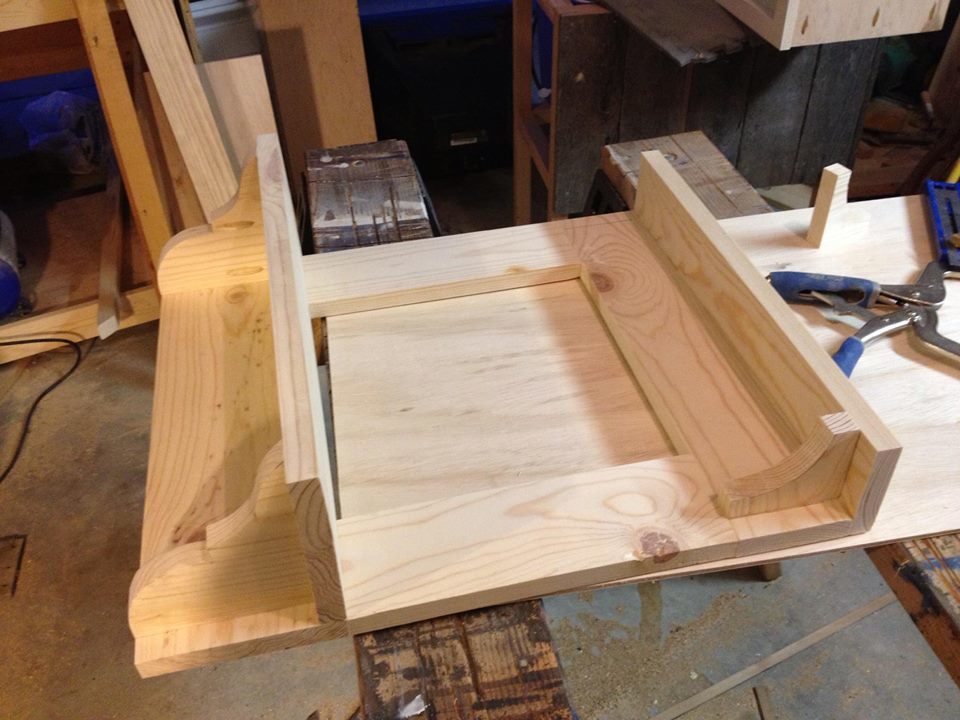
The building plans are easy to follow and it all went together easily. I included the modified cuts on my blog if anyone else out there needs a little table like this one.


Built from Plan(s)
Estimated Cost
$30 (but I used wood from other projects which kept the cost down)
Estimated Time Investment
Weekend Project (10-20 Hours)
Finish Used
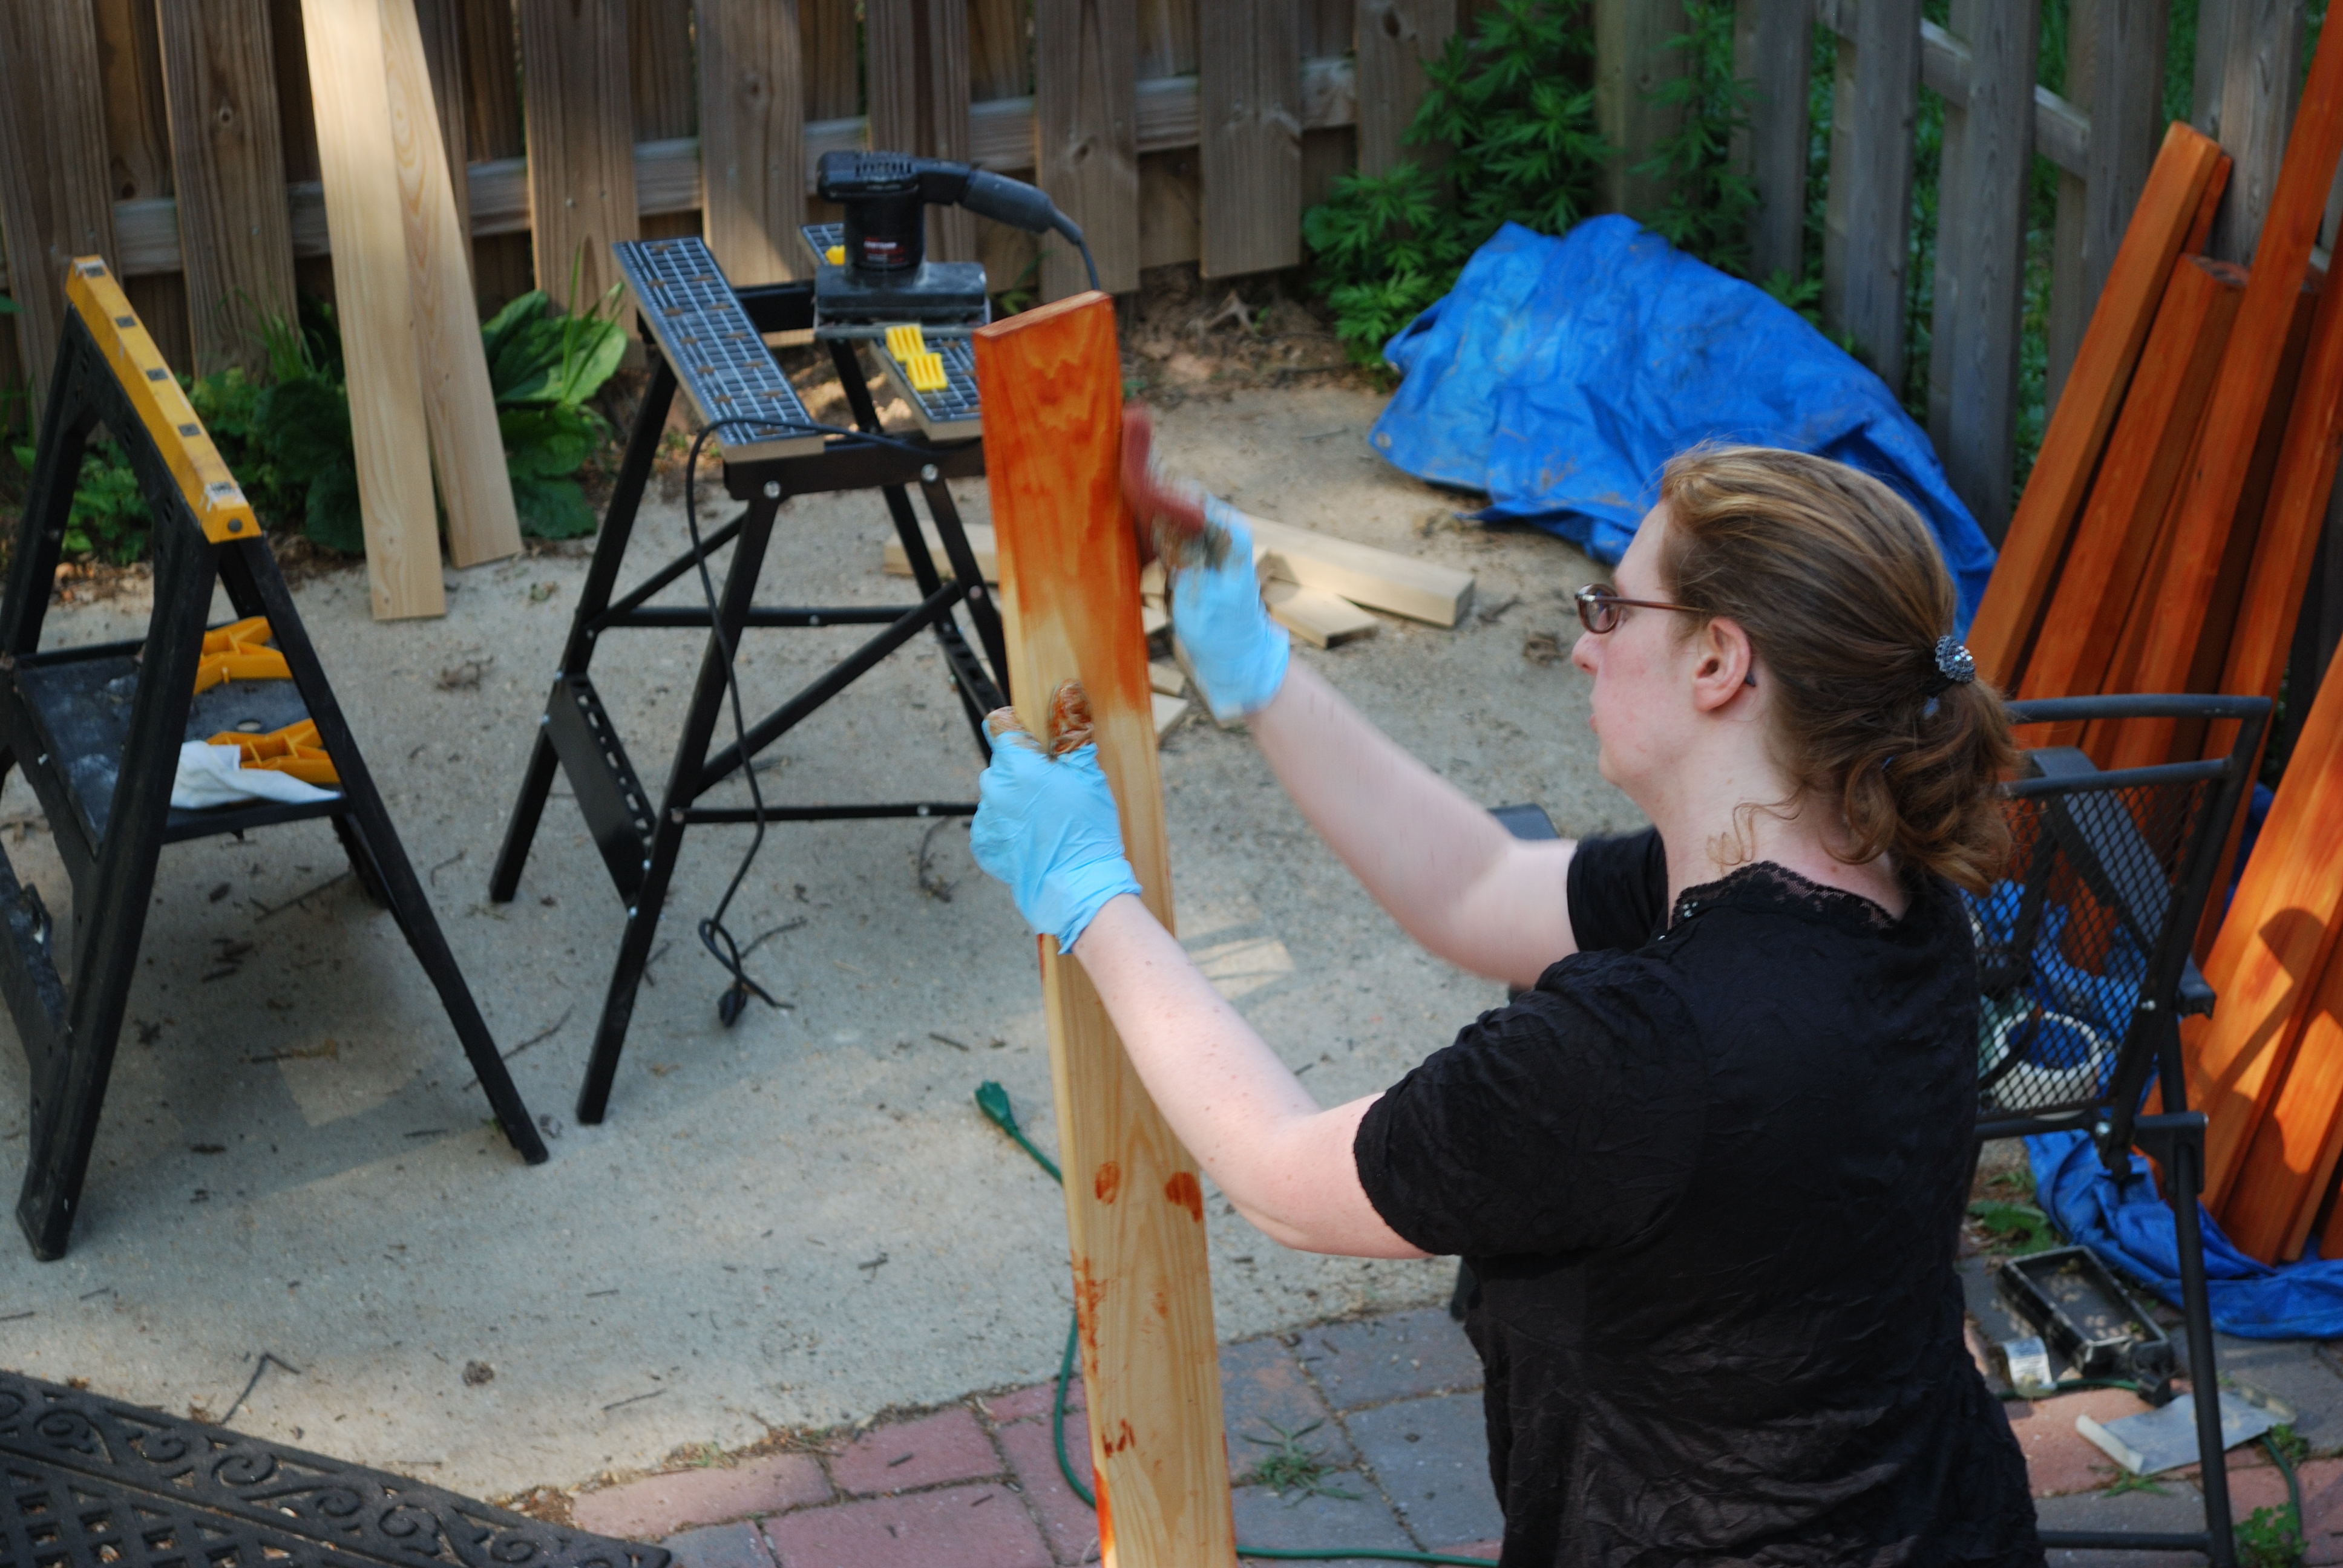
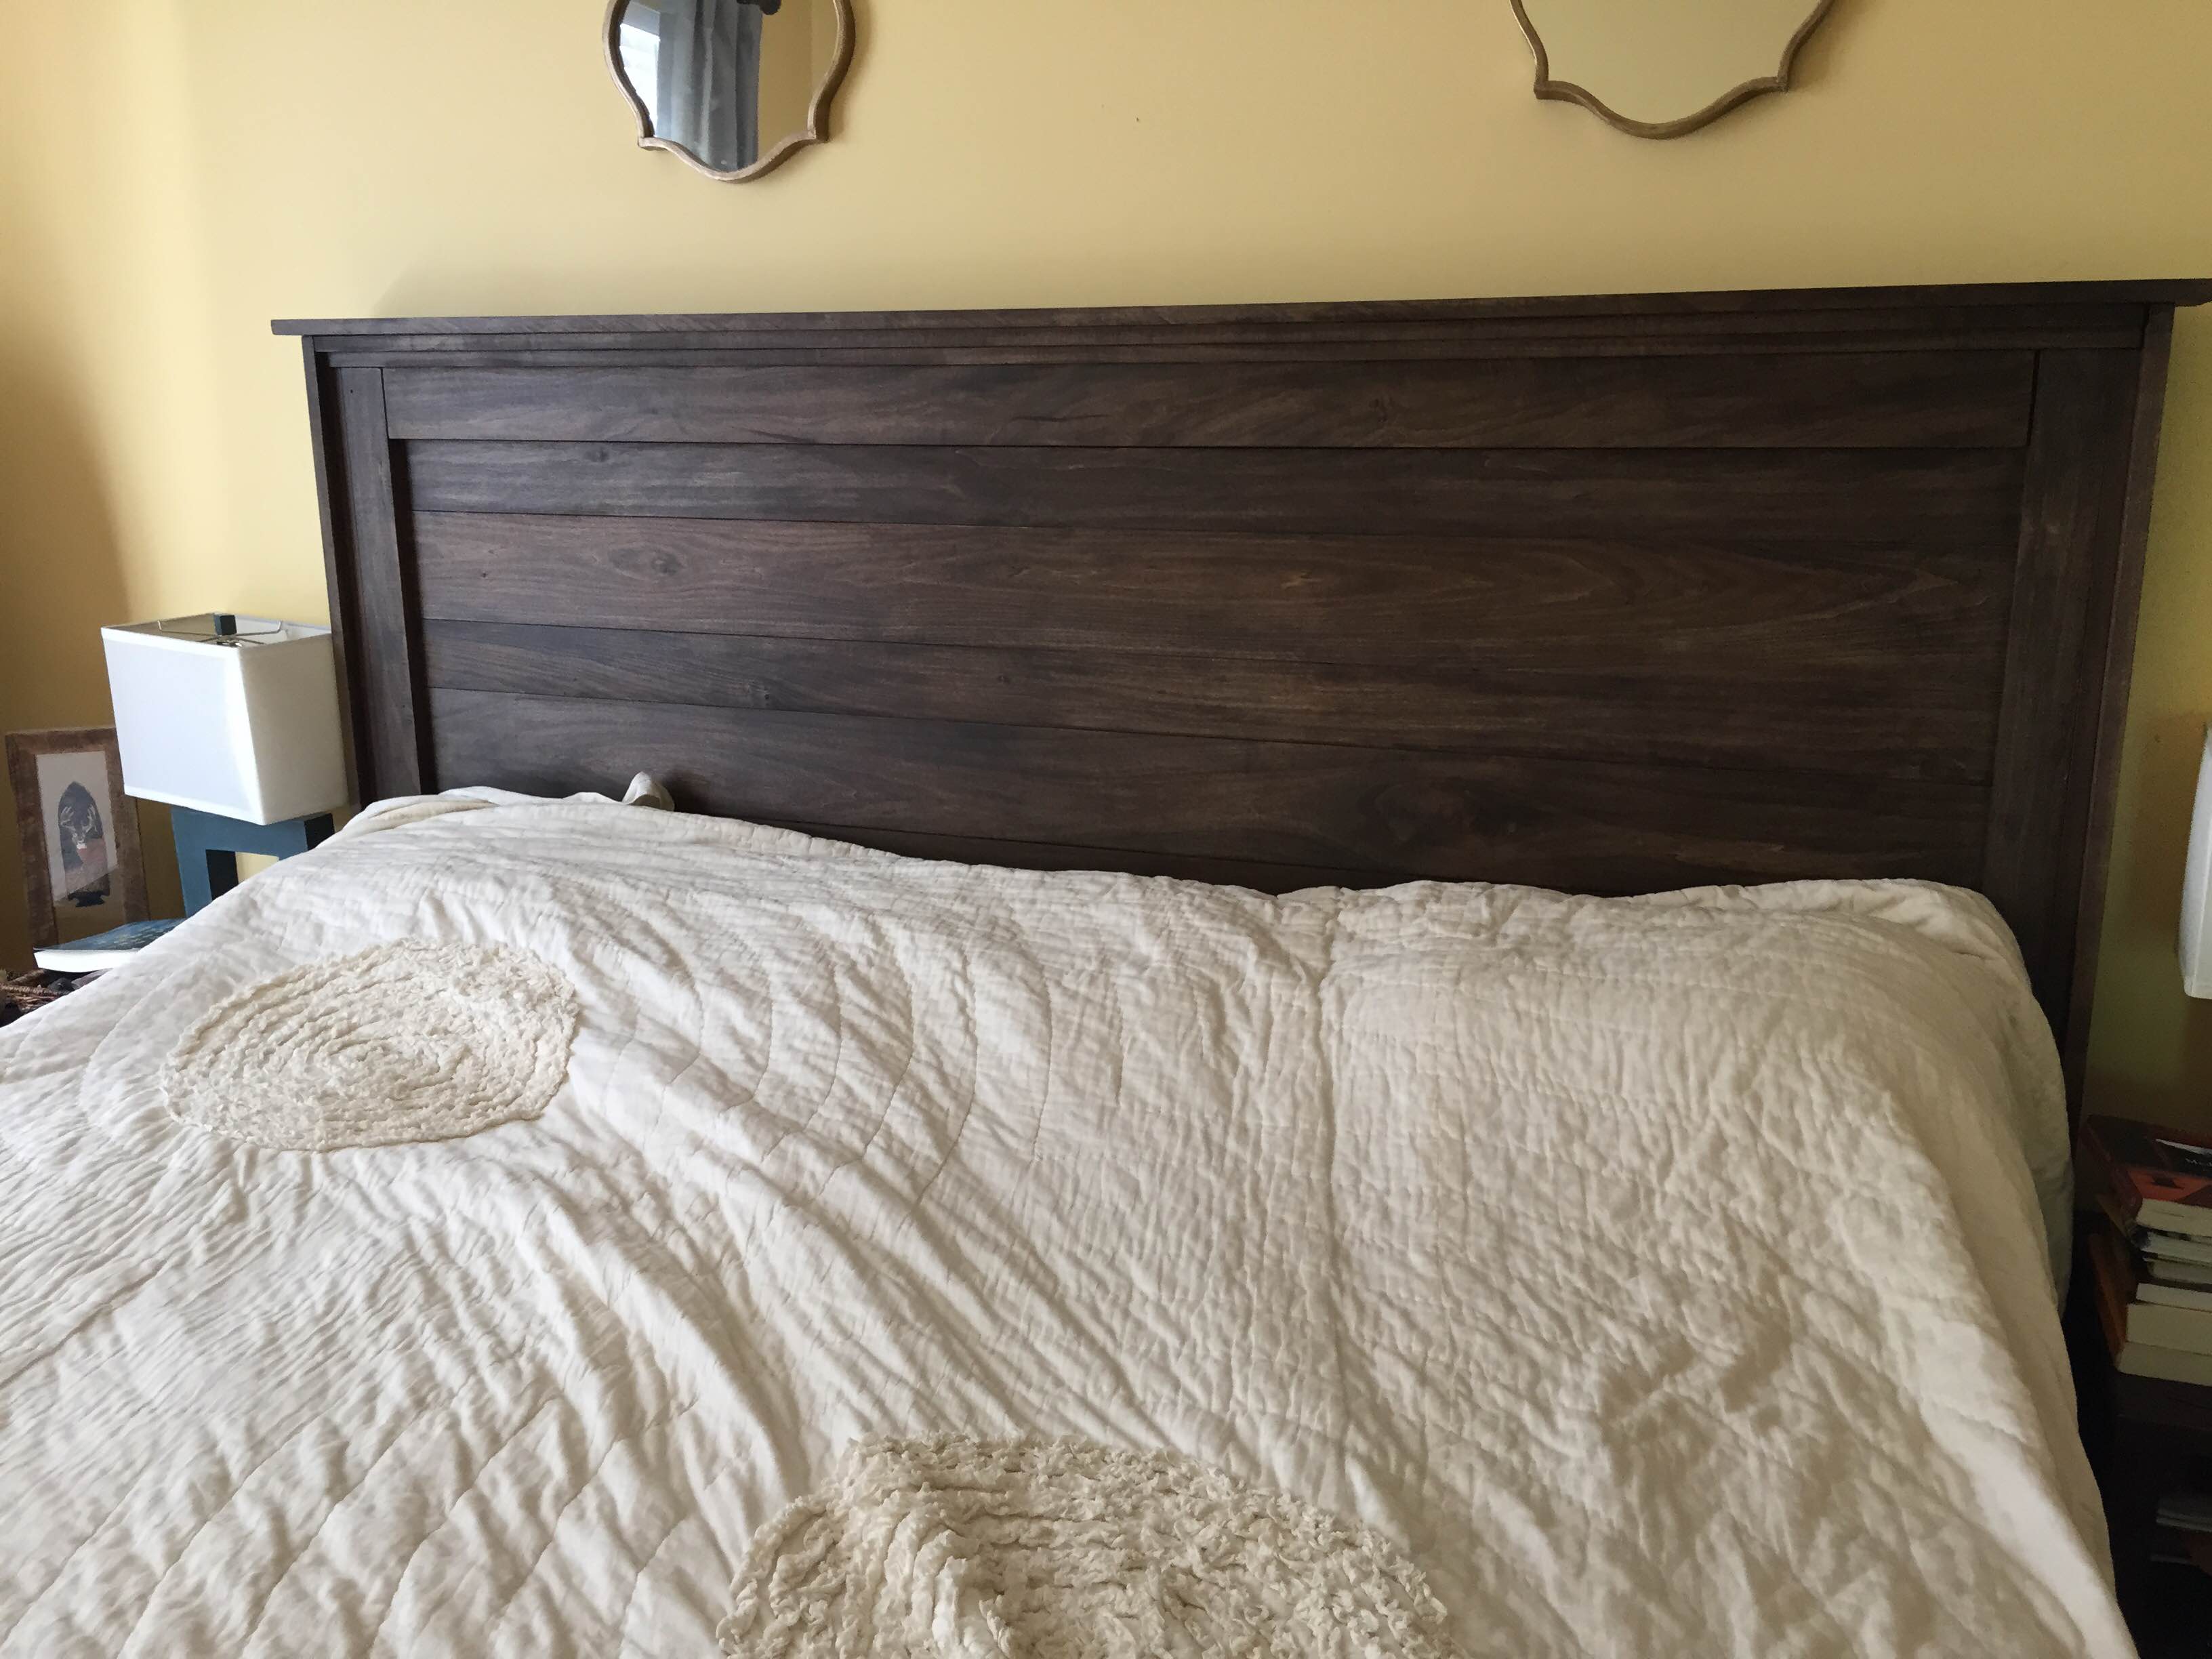
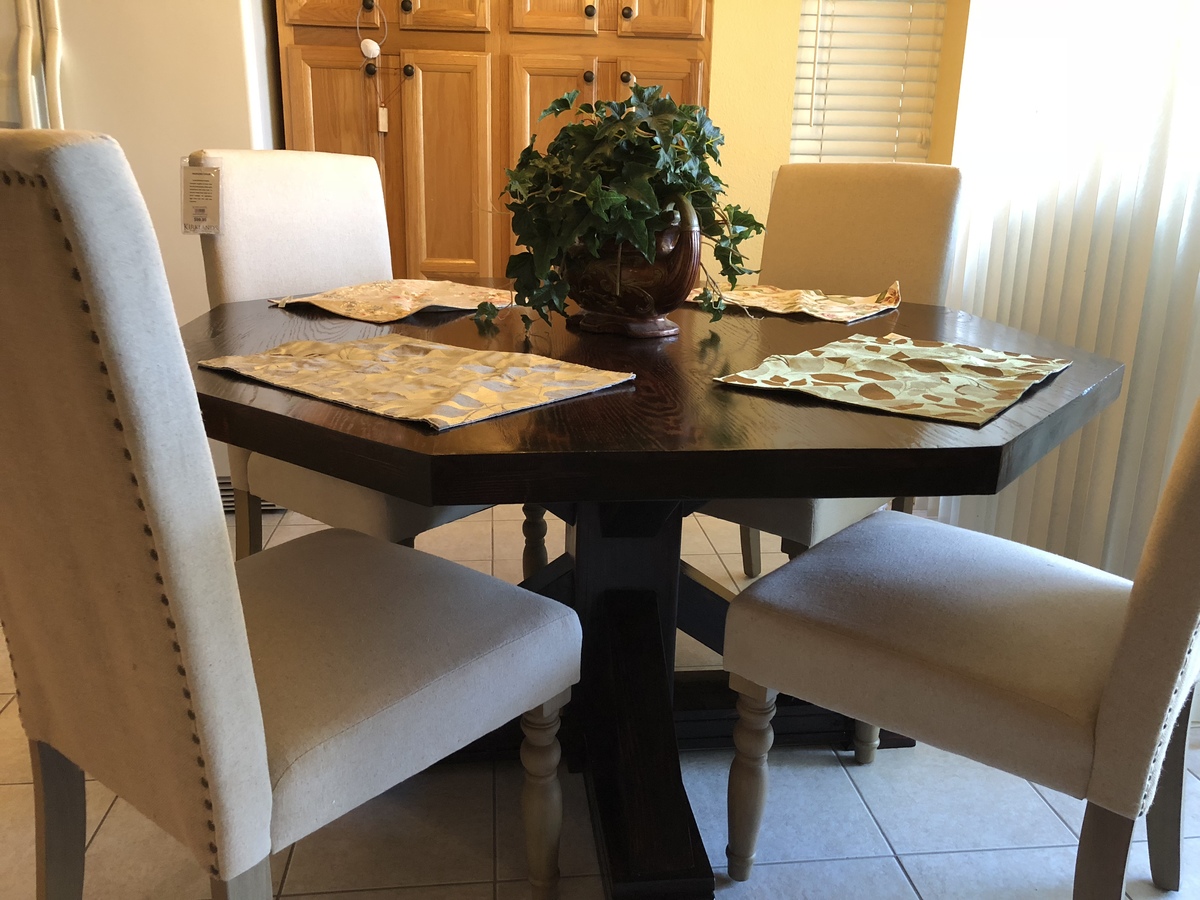
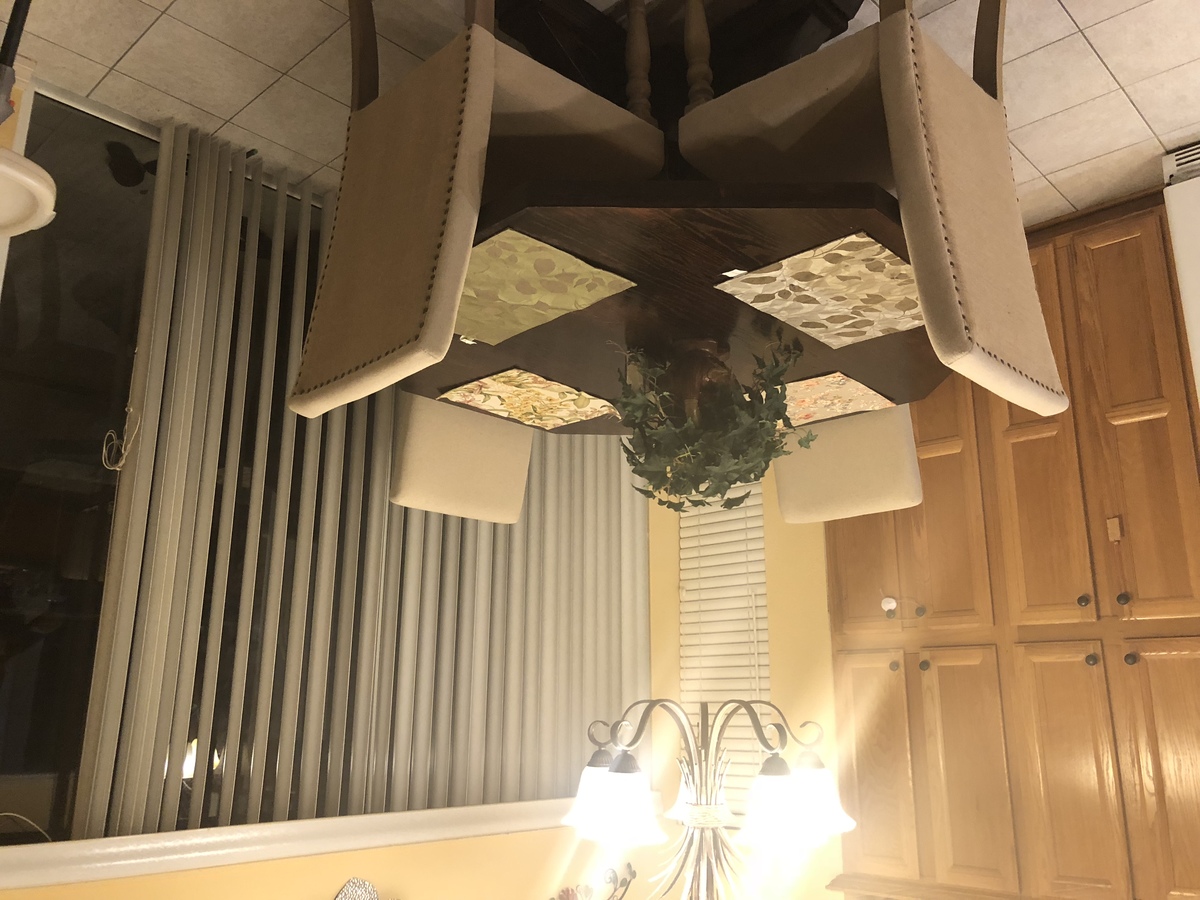
Behr Latex Paint for the body and a mix of Special Walnut and Dark Walnut stain from Minwax for the drawers and bottom panel.
Recommended Skill Level
Intermediate