You May Approach The Bench
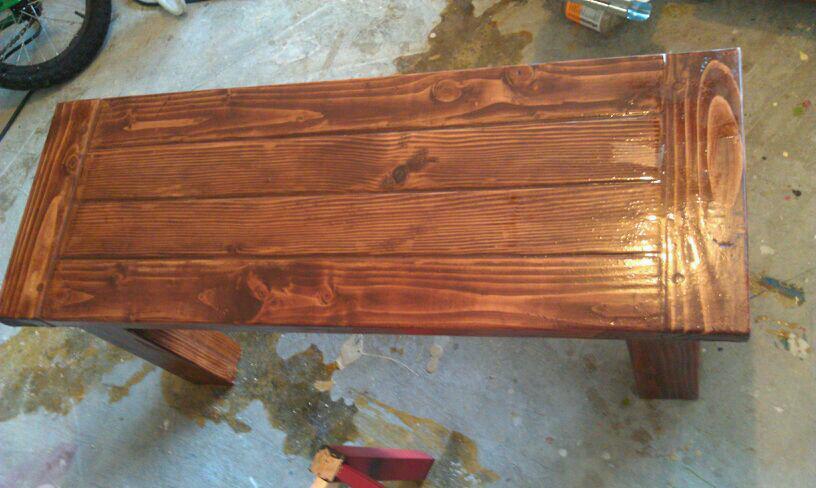
Just a shorter farmhouse style bench
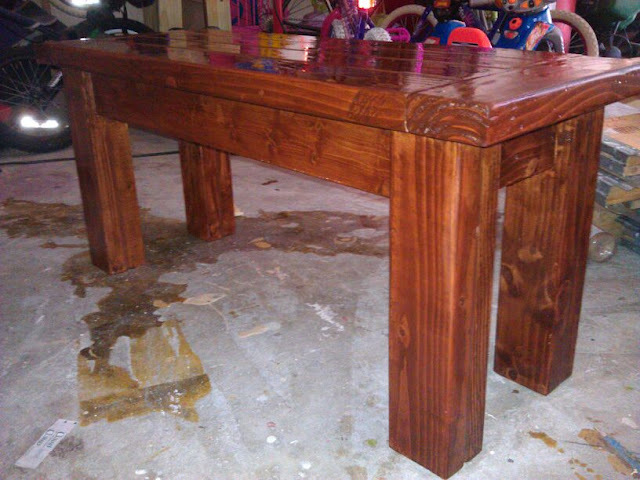
multiple coats
satin poly

Just a shorter farmhouse style bench

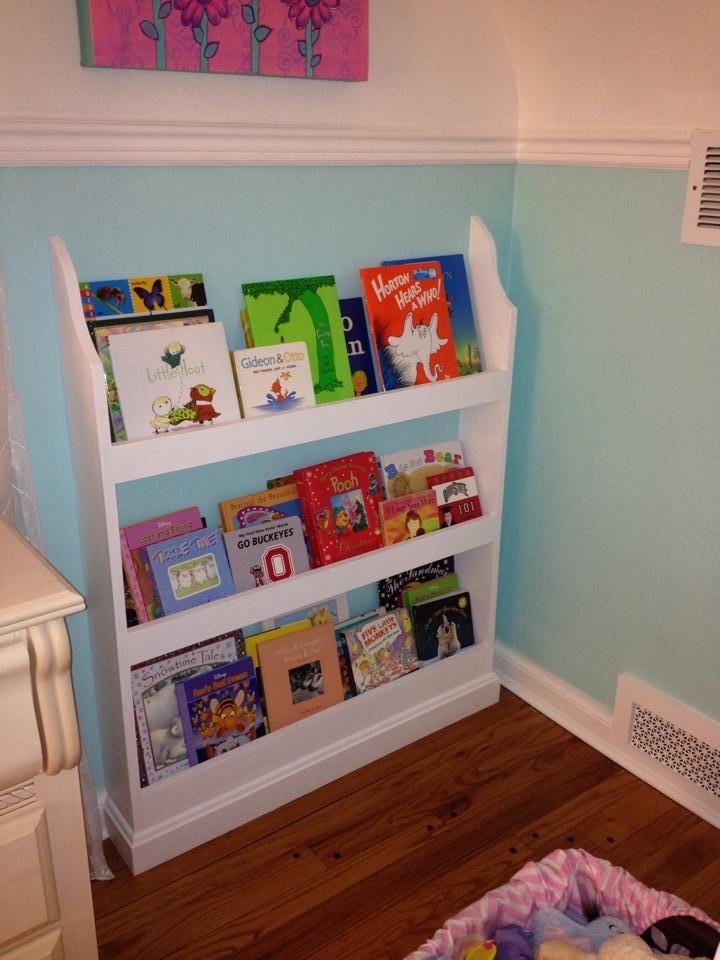
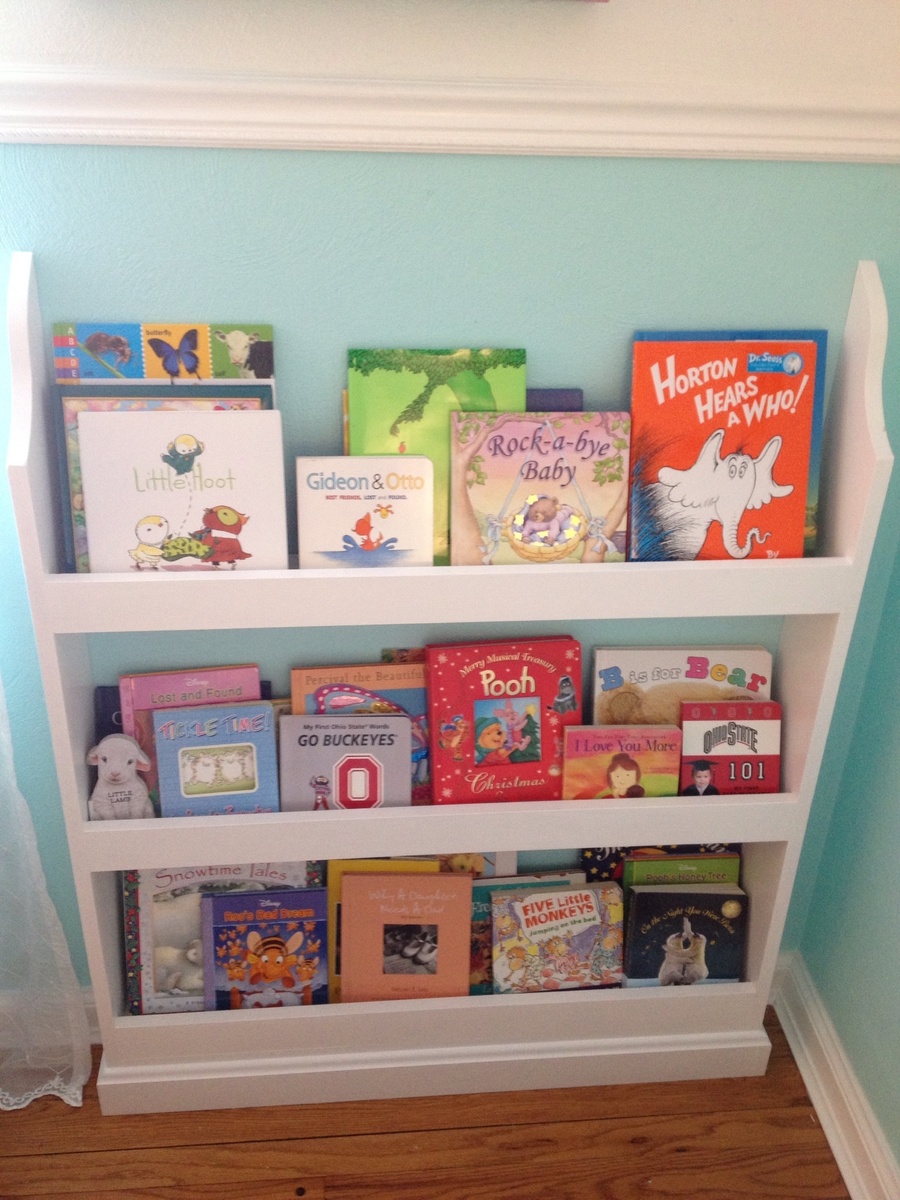
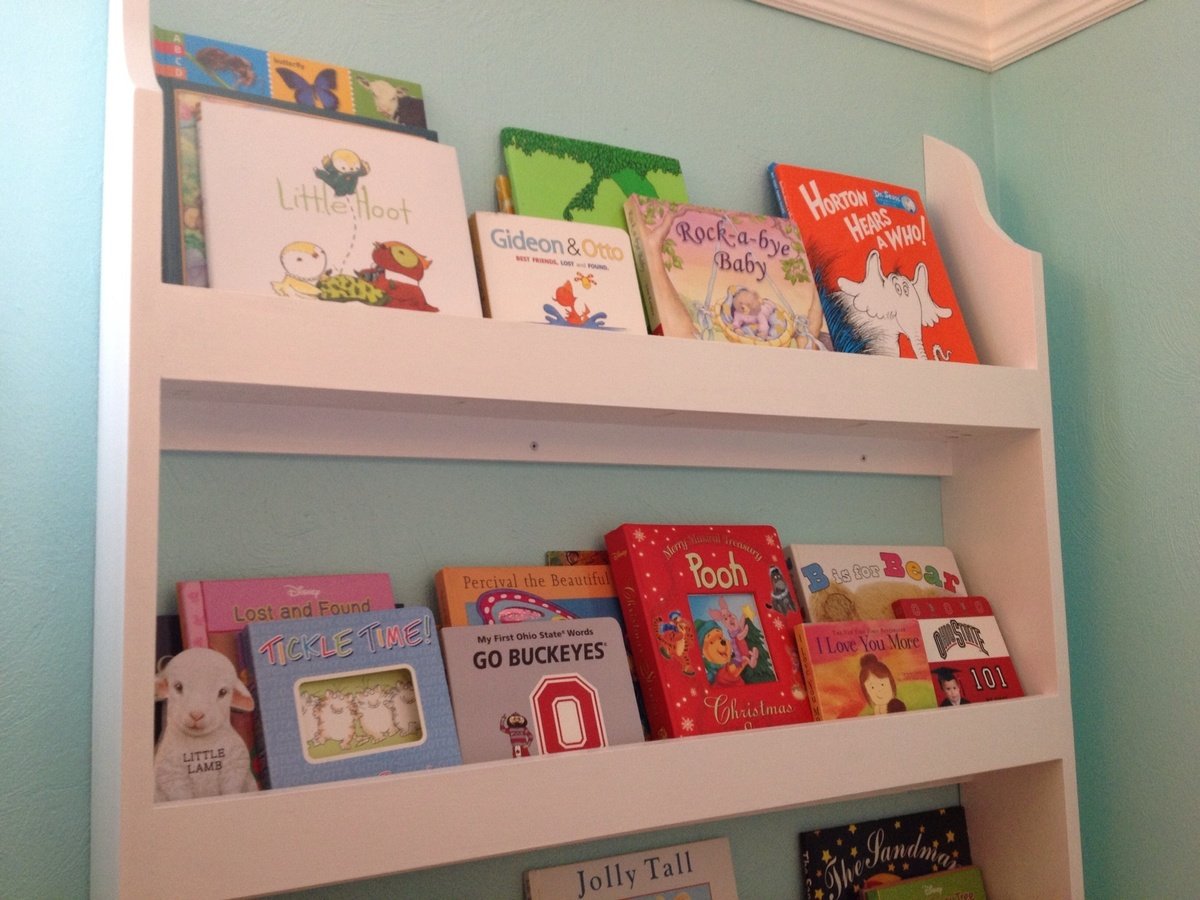
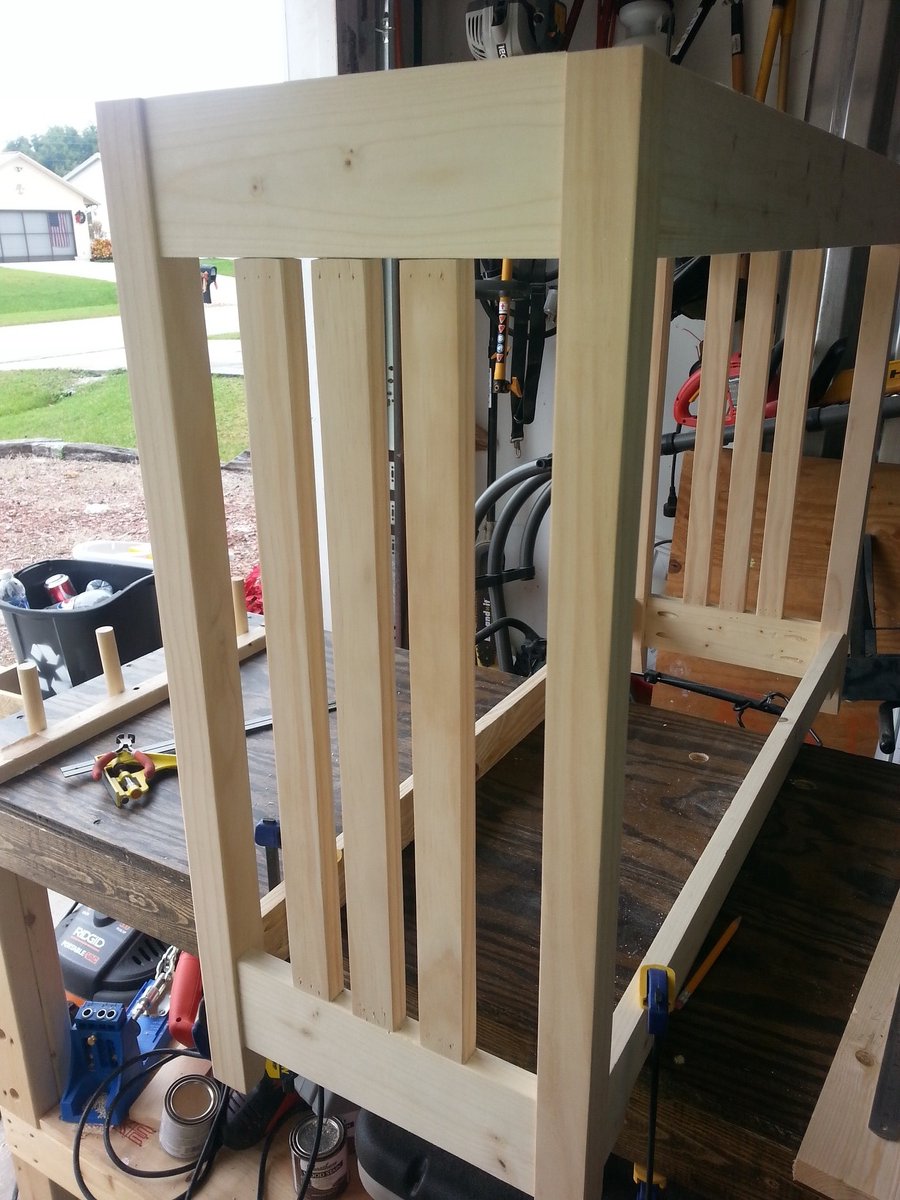
Given space limits, I modified the plans to feature wider (35") shelves. Height is about 45".
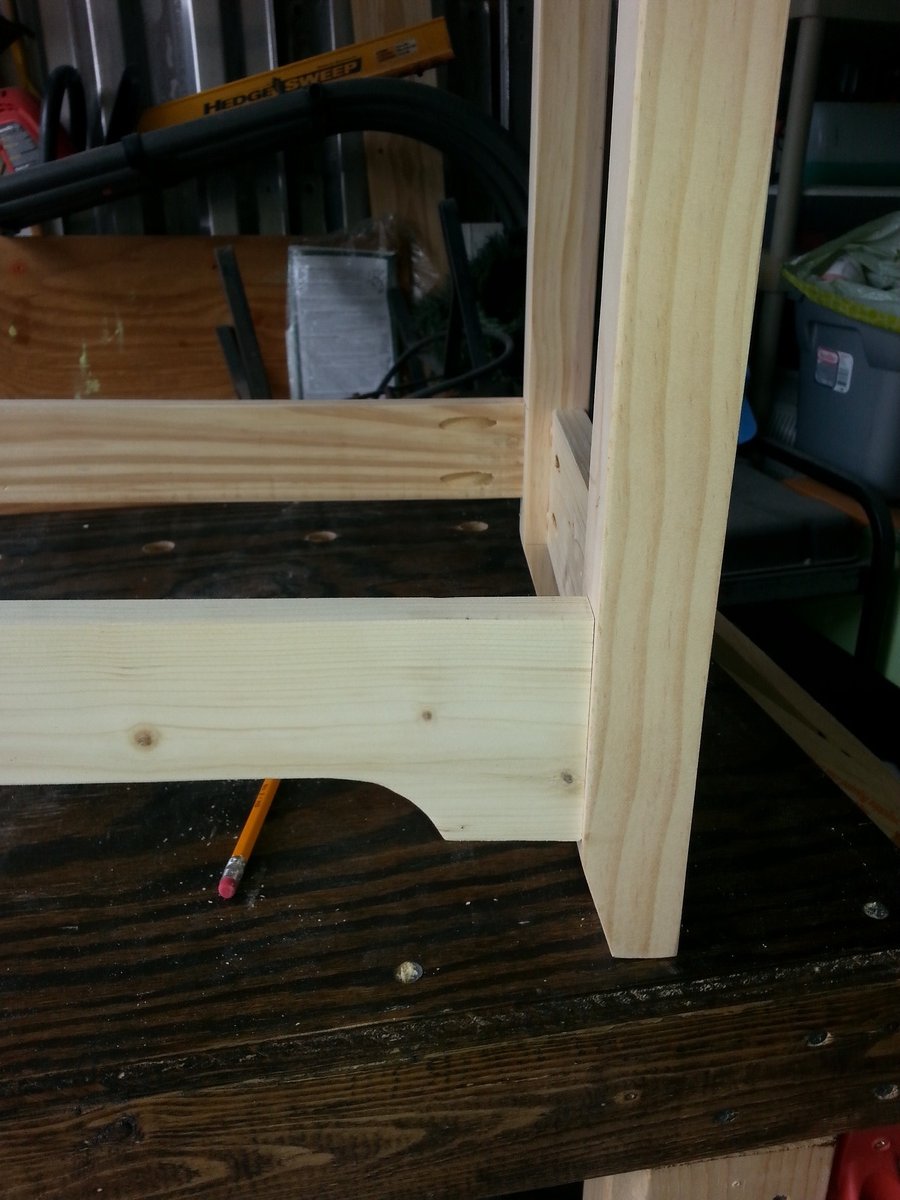
Used 1x3 on front of shelf instead of 1x2, for a cleaner look (no visable joint). Had to rip 1x6 down shelf down to 1x5 to do so. Didn't add the extra rail.
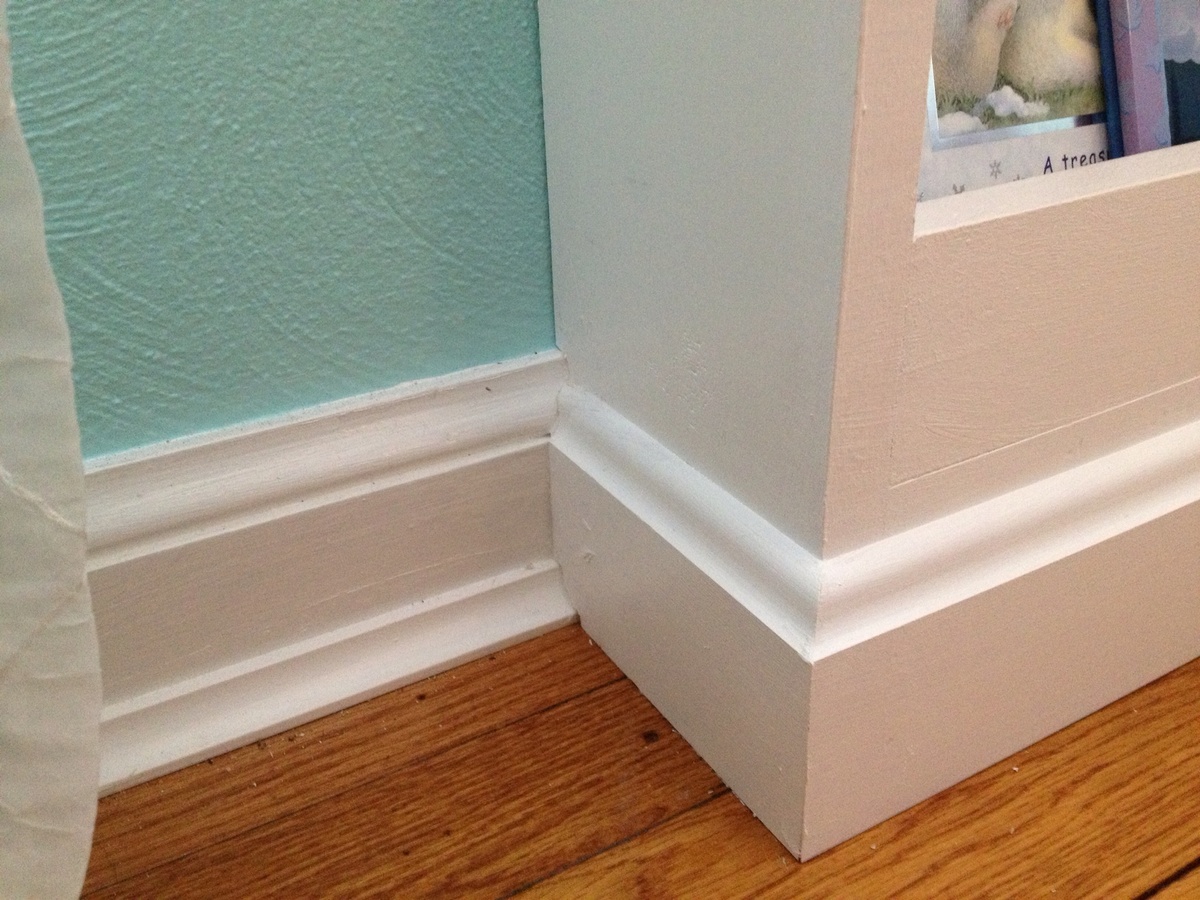
Raised bottom shelf up above top of existing baseboard so shelf wasn't in play when cutting out side rails to fit flush to wall. Used Kreg Jig for all joinery.
Behr White semi- gloss enamel to finish.
I'm calling this the "Clean Up Cart". You know how your kids toys always migrate into the living room? I wanted baskets I could toss them in and carry to their room at the end of the day. Then one day after walking back and forth across the house a million times cleaning toys up, I decided the baskets needed to live on a cart I could move around to the mess. So I envisioned this industrial pipe and wood cart. I used Ana and That's My Letter's Pipe and Wood bed to figure out how to make it happen. The key is using the splint ring pipe hanger to attach the wood. See that antique advertising sign? That design is from an antique soda bottle label from an old company that was down the street from where I grew up. I always loved the old soda bottling barn so when I found this label I had to come up with something to use it. This was the perfect chance. I followed picture to wood transfer instructions from the Graphics Fairy using the freezer paper method. The pipe comes from supply house dot com. I used: 2 – 1/2 “ by 14” black nipple 8 – 1/2” by 18” black nipple 8 – ½” black tee 2 – ½” black 90 degree elbow 6 – ½” black 90 degree street elbow 14 – 1/2 “ black split ring extension hanger Its a learning process figuring out how to screw it all together. Some things will unscrew as you screw others in. Basically, I started at one end and went around in a circle until I got back to my beginning. Install all of your split ring extension hangers before you try to attach your board. You wouldn't be able to get enough clearance between the pipes to attach an opposite side after you connect one. I cut the wood to size leaving about a 1/4" gap all around it clear the connectors. If your board isn't quite reaching a side, adjust your screw in your connector. The wood is scraps of pure bond plywood I had from another project. After the transfer was dried (about 24 hours) I sealed it with beeswax. I didn't use any stain. To do the antique ad transfer, I took a picture of the old soda bottle label laid flat. I reversed it in Microsoft paint. Then I printed it onto the waxy side of freezer paper. Then you just simply lay it ink side down onto your wood being careful not to move it at all once you place it (that would make it blurry). I used painters tape to hold it in place. Score the back of it to really get the ink in, I used a credit card. If you lightly wet the wood before it will take the ink better and make it darker. I was happy with the color without doing this in my test piece so I didn't. Wait a while for the ink to dry (I waited 24 hours) and then you could spray with poly or I used beeswax to seal it.
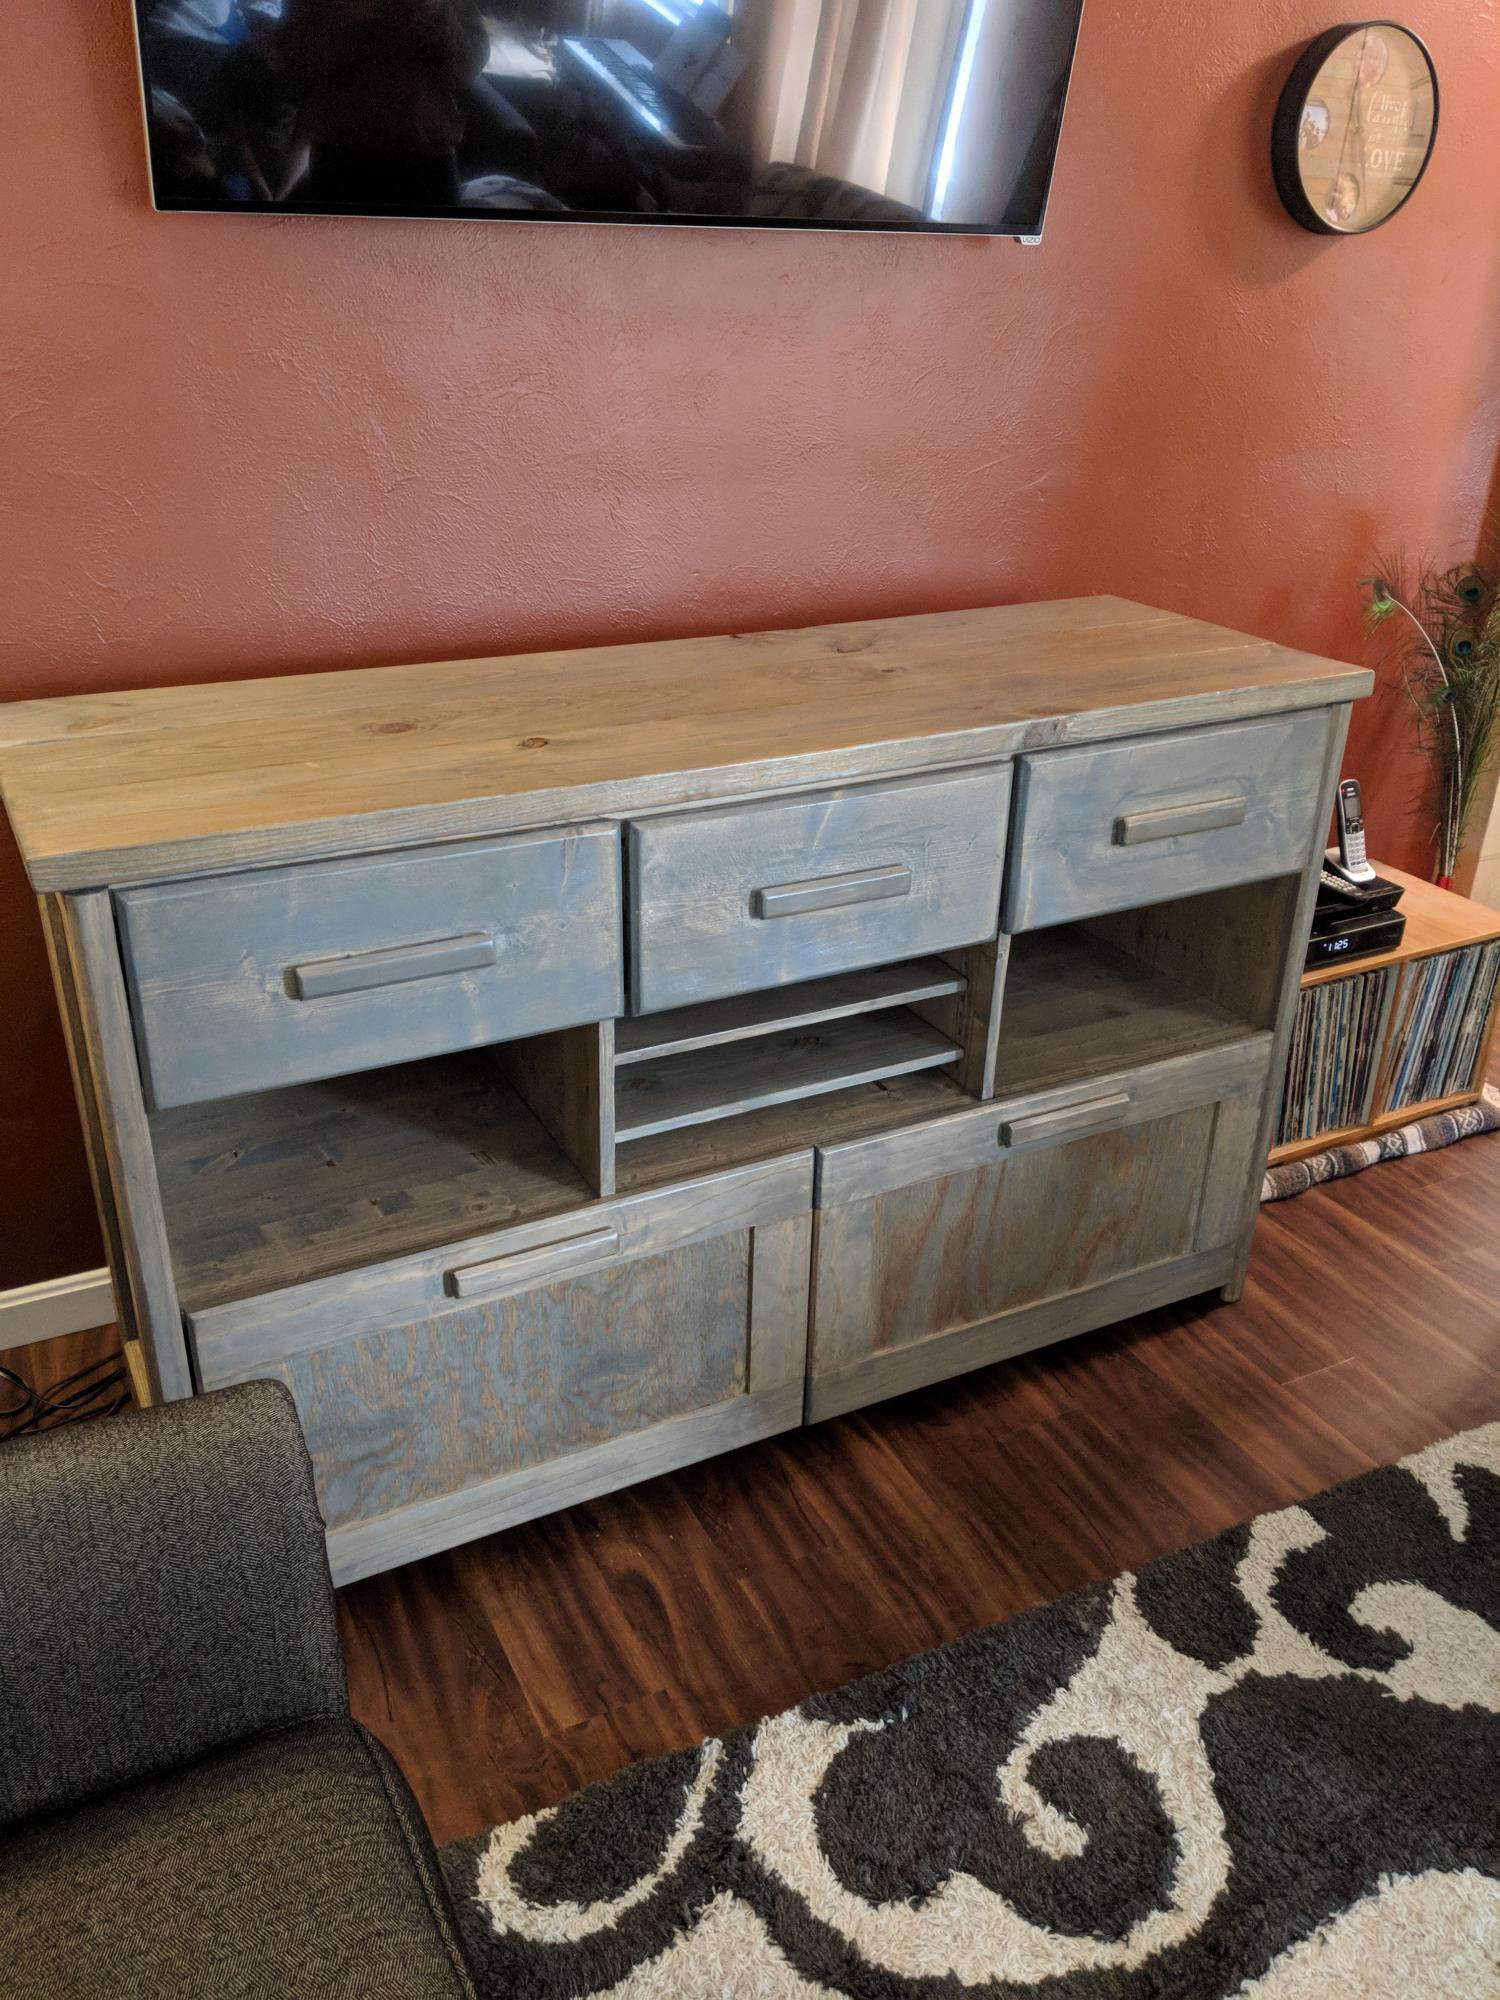
I but this for an old high school friend. She needed somewhere to put her cd collection (yea I know, CDs?) And her record player and records. The drawers hold 400 compact discs. I used pine lumber, pocket holes, weathered oak stain and a lot of swear words.
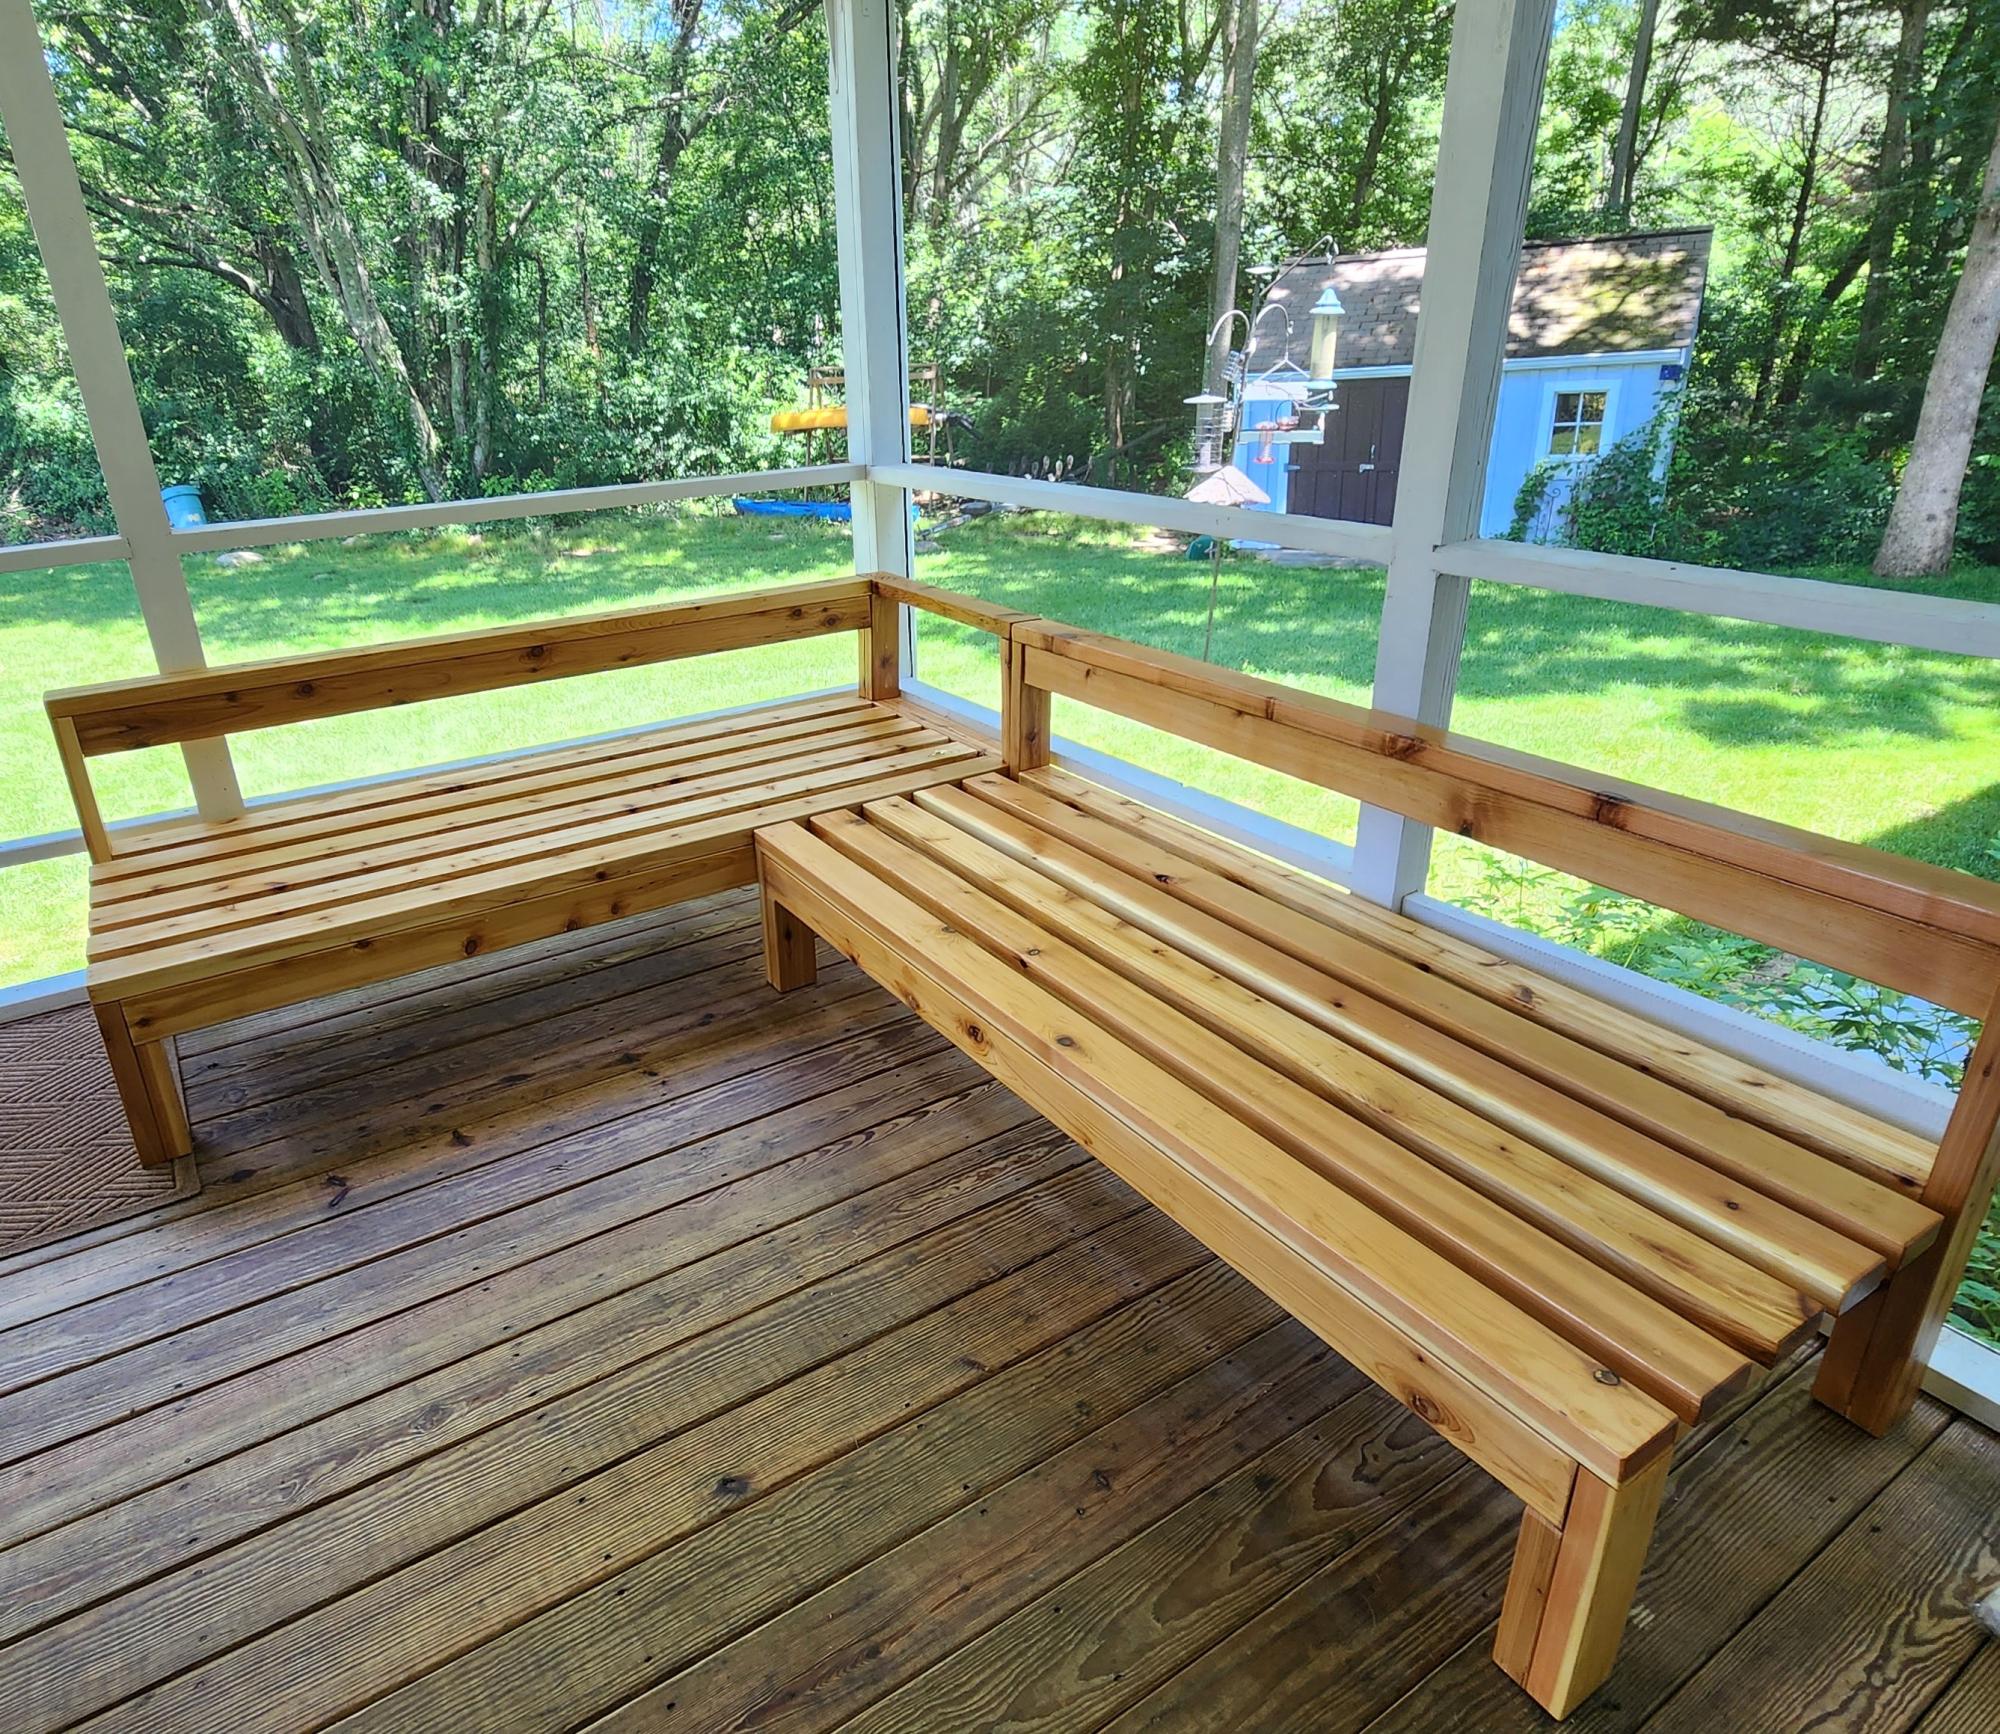
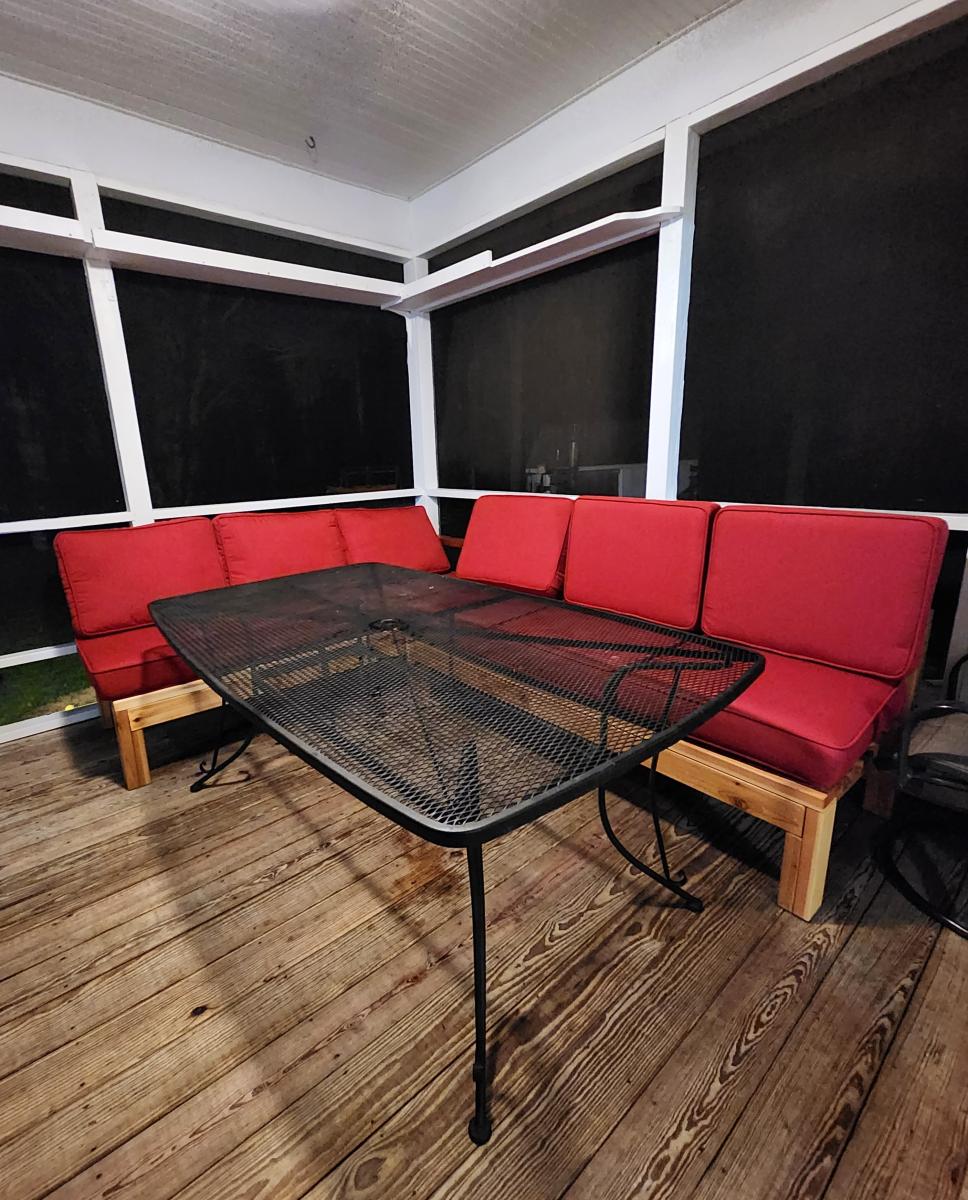
A 6' armless sofa & a 6' one arm sofa made of decking cedar and finished with outdoor urethane. Perfect seating for large group for dinner in a screened in porch! This is my first project using Ana White plans and it came out perfectly!! Thank you.
Michele V.
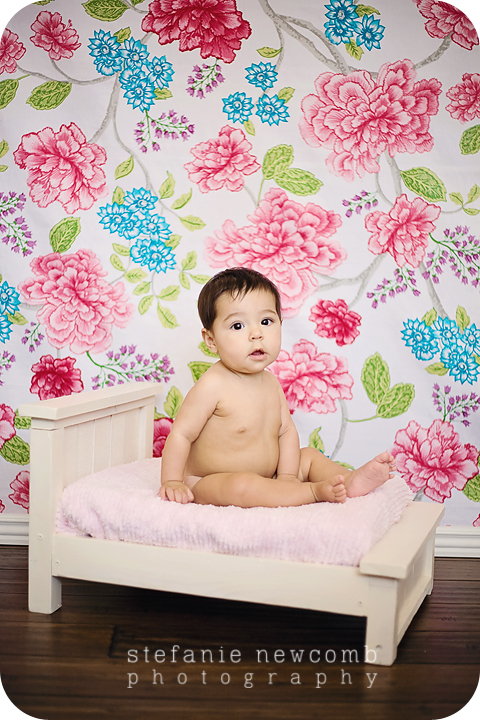
I'm so glad I found Ana's website, especially the plans for the doll beds. I have been wanting to build some photo prop beds for my tiniest models and the Farmhouse doll bed got me hooked. I want to make one in every color
This is my first build. Ever! I used the plans for the simple outdoor bench to create a bench for the closet in my back hall that I am trying to convert into more of a mudroom space.
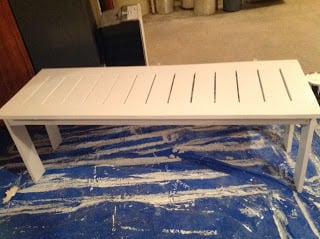
Pressure treated Made these for my children at Christmas. Feedback was very positive so I made one to post on Etsy to see what kind of market there is for these. https://www.etsy.com/listing/286552817/coffee-table?ref=shop_home_activ…
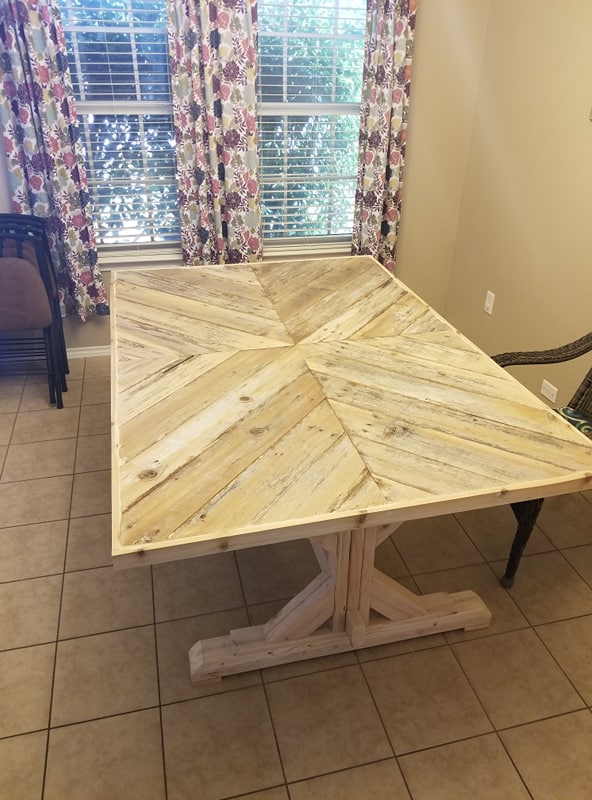
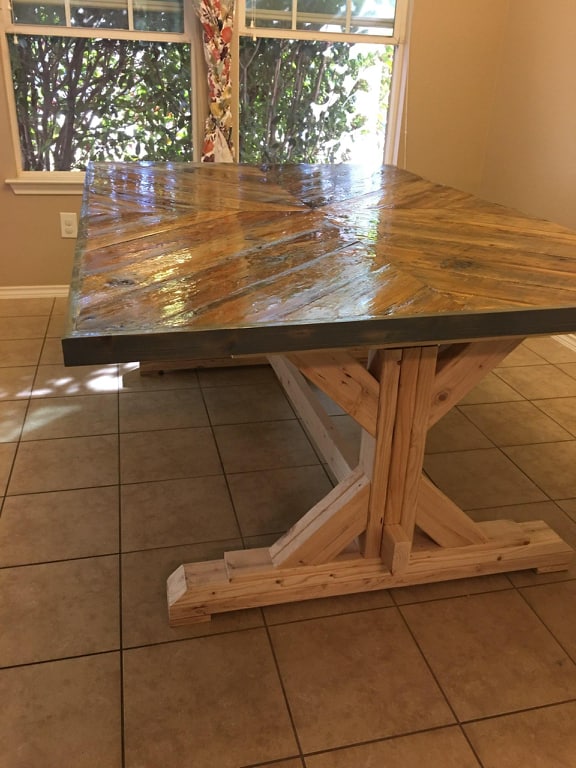
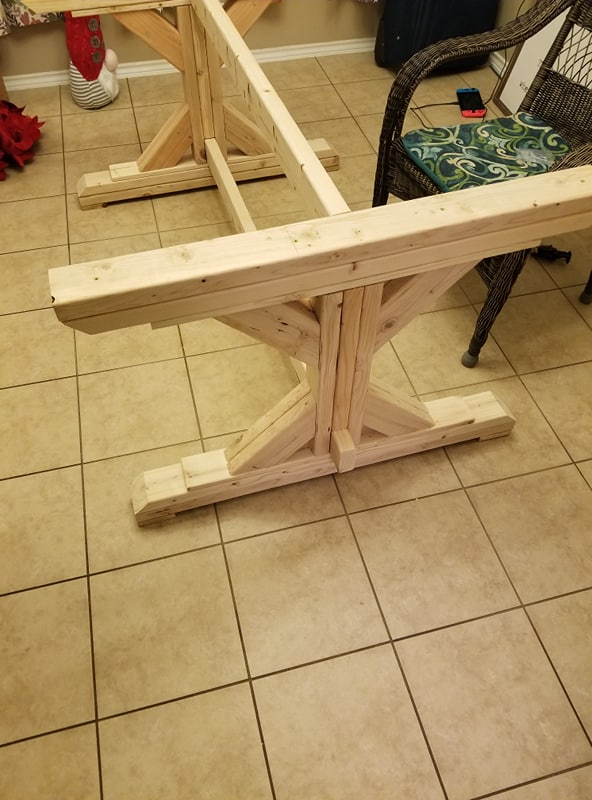
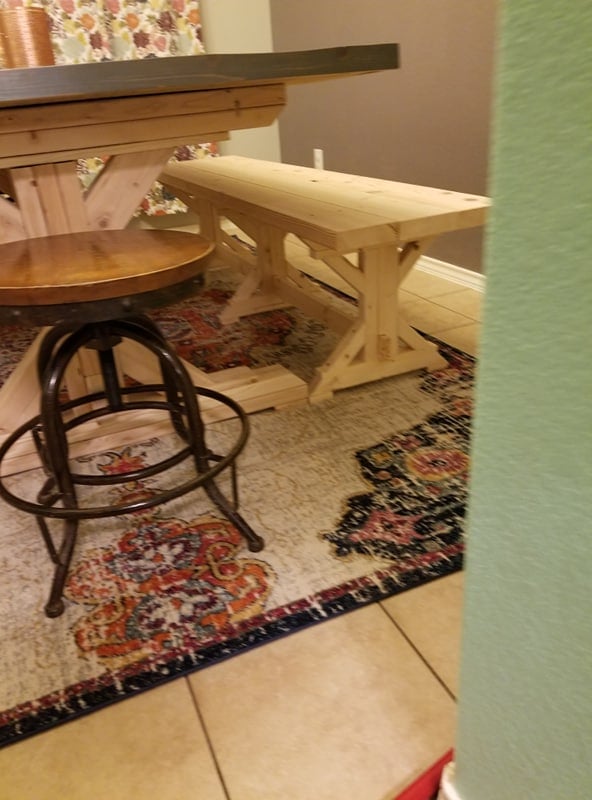
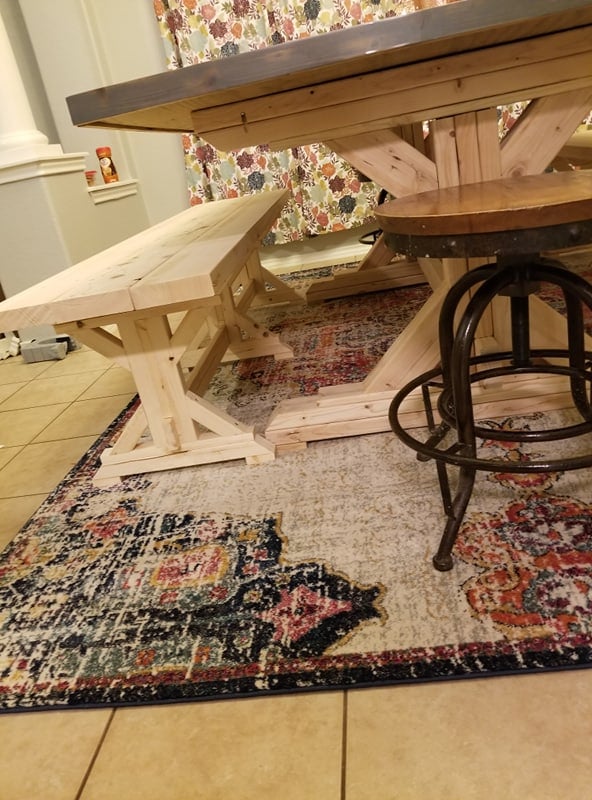
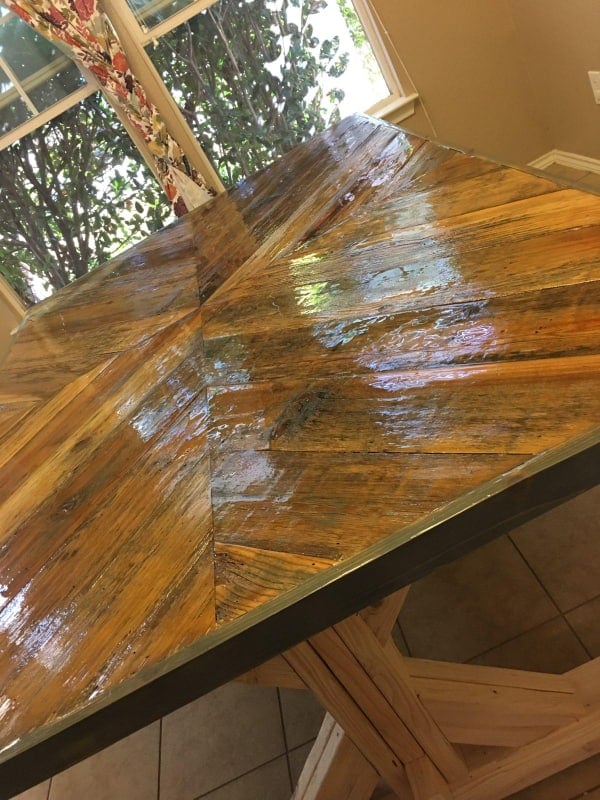
Dining room table, top made from old fence pickets.
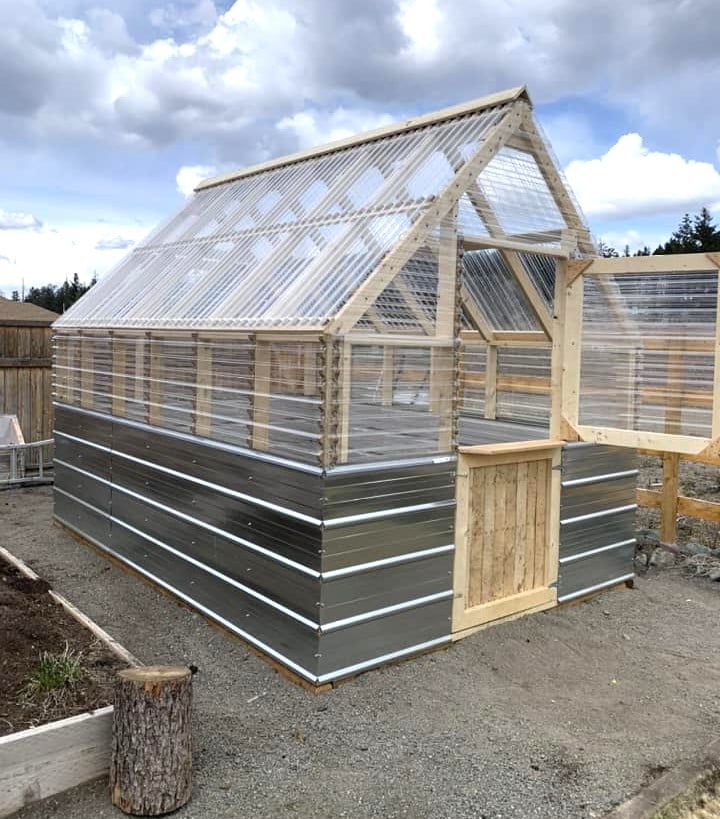
DIY Greenhouse by Trenton Kirby on Facebook!
I built this for a friend of mine - also a client - built it to her needs and come out with a really cool bookshelf/tv console!
Tue, 07/16/2013 - 08:36
I did actually add two supports to the bottom with scrap 2x2's. I knew that this piece would house lots of books, a tv and possibly have a couple of little girls climbing on it. :-)
Thu, 07/18/2013 - 09:27
Sorry it's me again, my husband and I have decided to use your model for our cube shevles and I just want to verify to get the new dimensions you just doubled the legths for the top, the shelves and and the side shelf trim correct? We are new builders and just want to get everything as close to right as we can! Thanks!
Thu, 07/18/2013 - 14:04
Not a problem at all, I don't mind answering questions. Yes, I just doubled the length of the original plan. If you click on my picture, my user info should come up and you can email me and I'd be happy to talk to you in a more direct fashion about this project and if I still have it on my computer in the form of a sketch up file, I will share more details with you. Maybe even a cut list and shopping list. I build everything in sketch up first. :-)
If you have any troubles contacting me, let me know and I will just get you my email on here. :-)
Fri, 07/19/2013 - 07:13
This is exactly what ive been looking for toy storage in my living room! Is it possible to take off the tiny legs, and just keep the entire thing on the floor? I was looking to add some cushions on the top for seating as well. Will it be able to support the weight?
Fri, 07/19/2013 - 07:13
This is exactly what ive been looking for toy storage in my living room! Is it possible to take off the tiny legs, and just keep the entire thing on the floor? I was looking to add some cushions on the top for seating as well. Will it be able to support the weight?
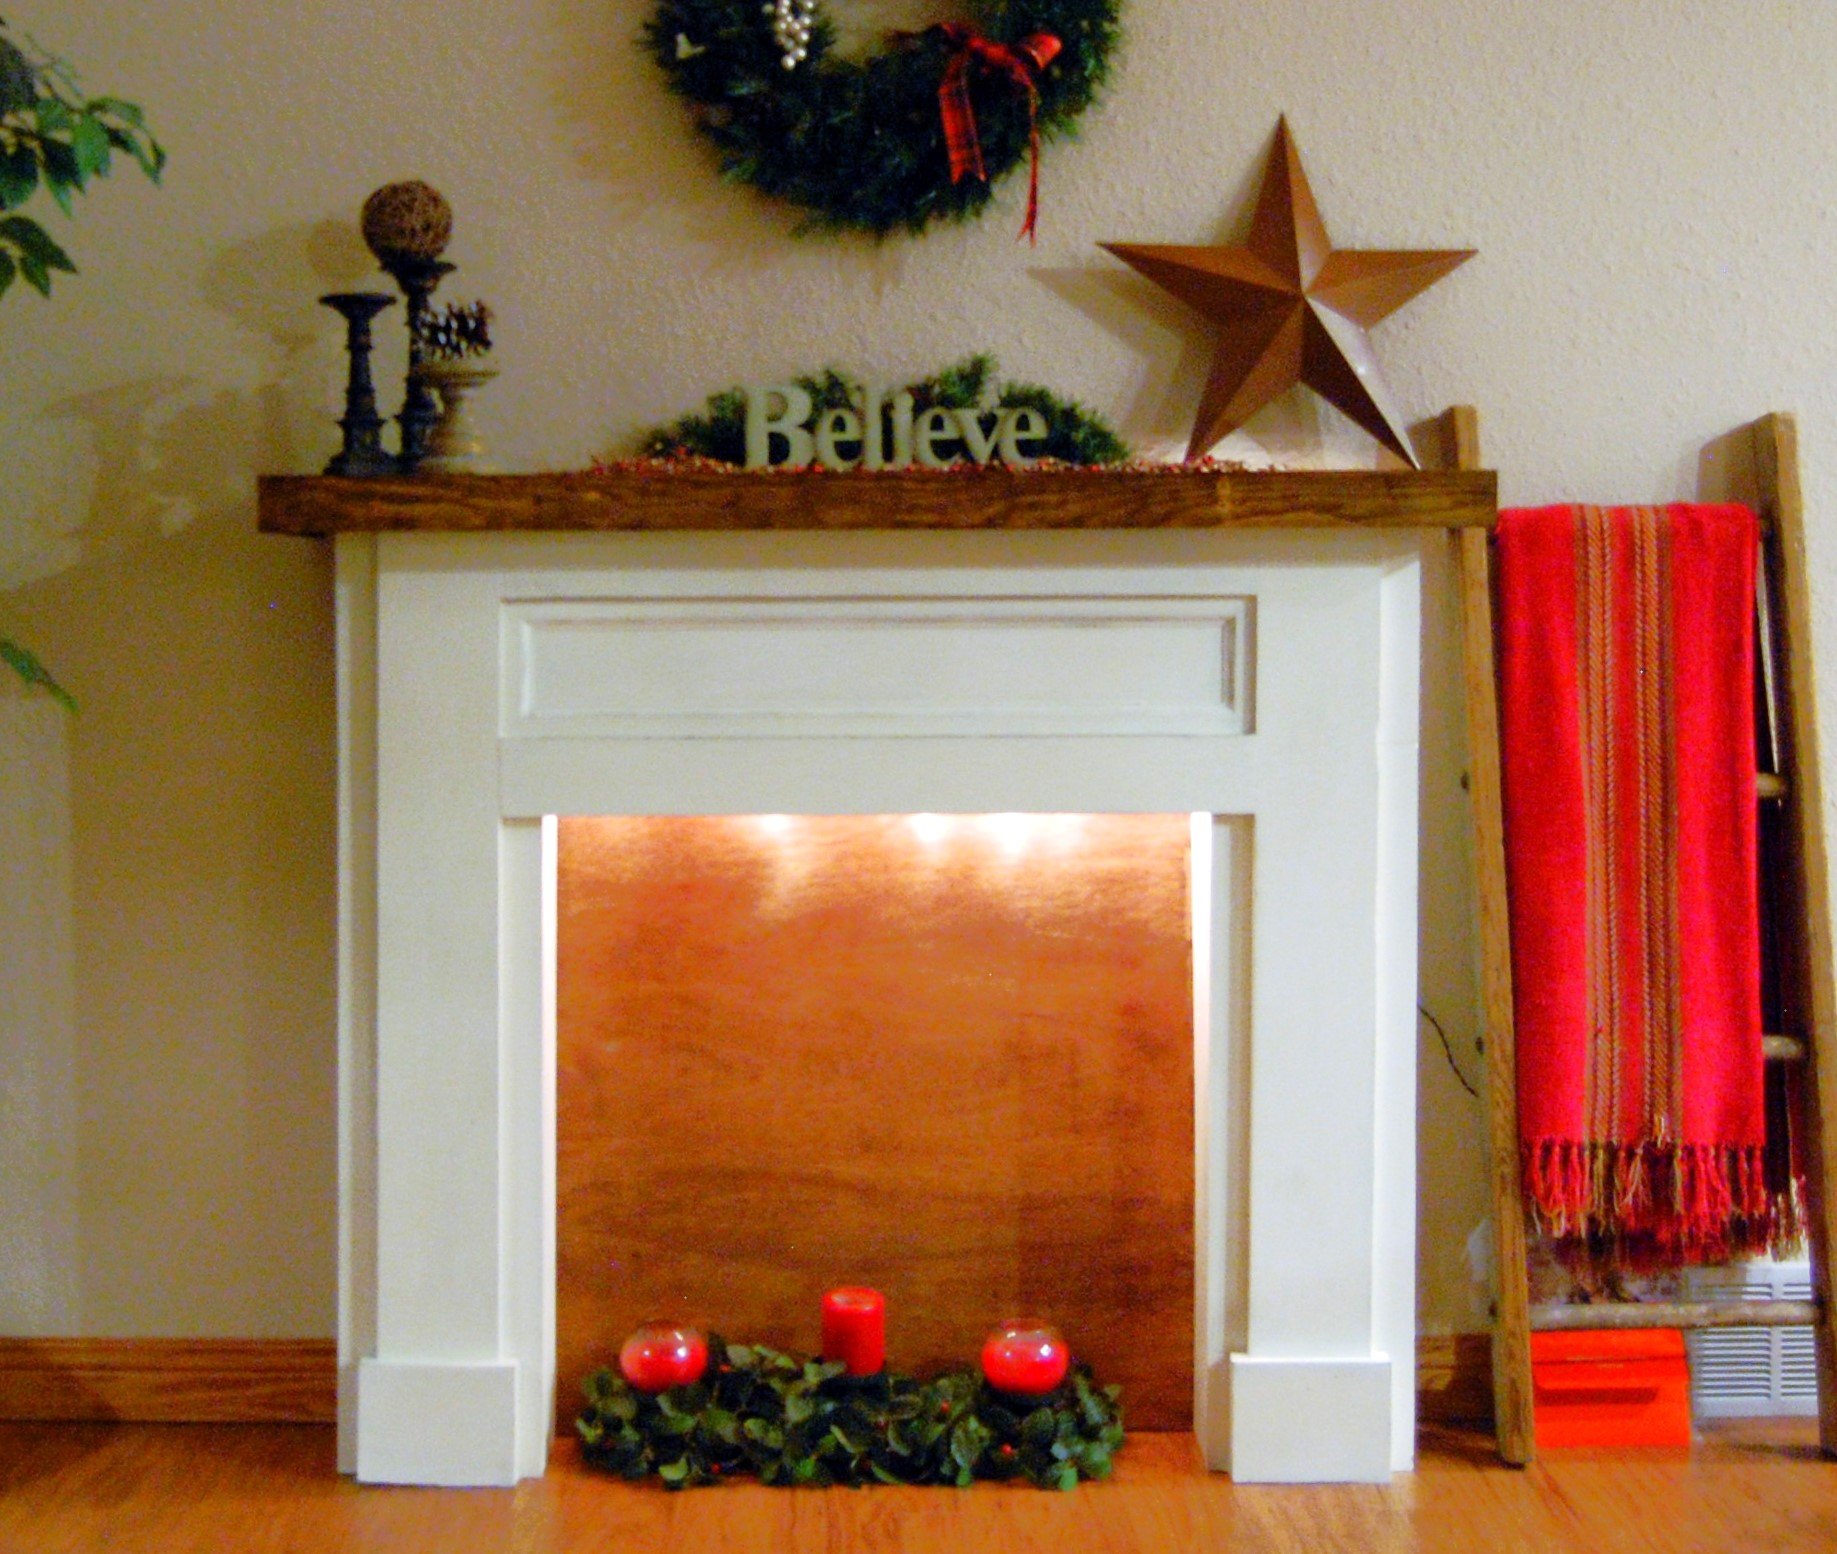
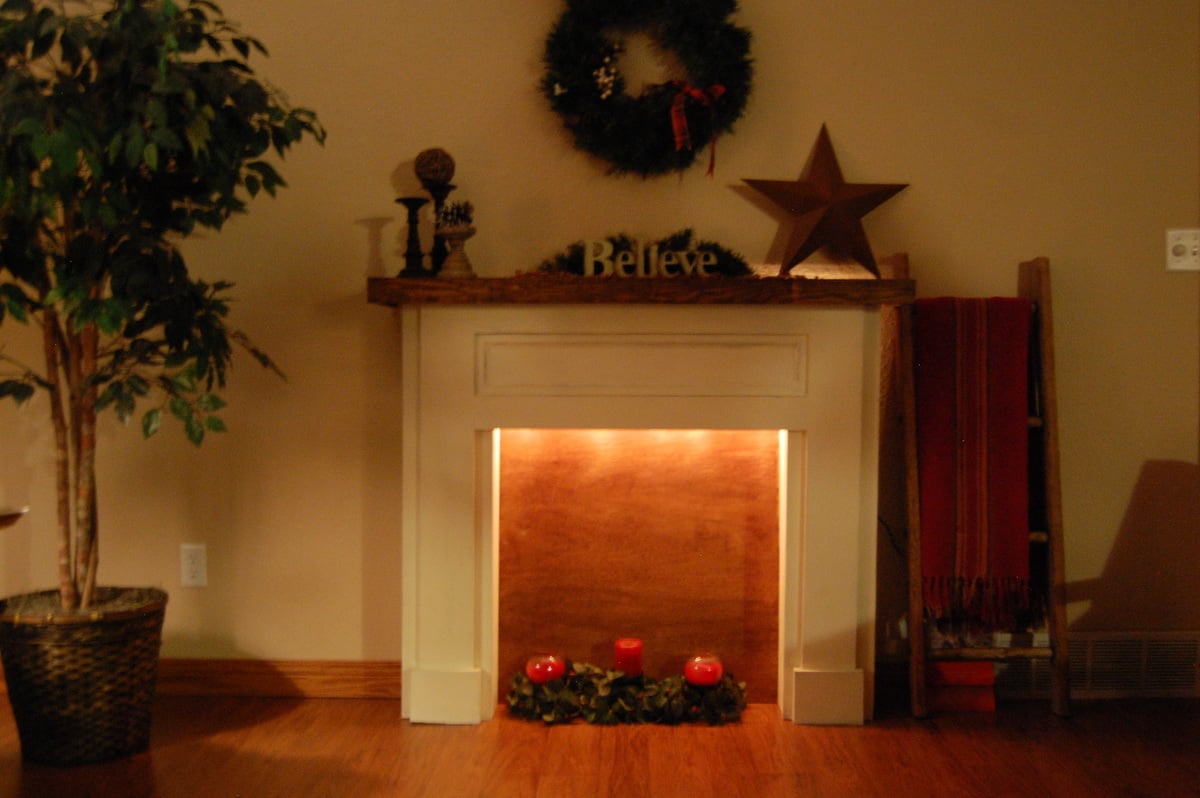
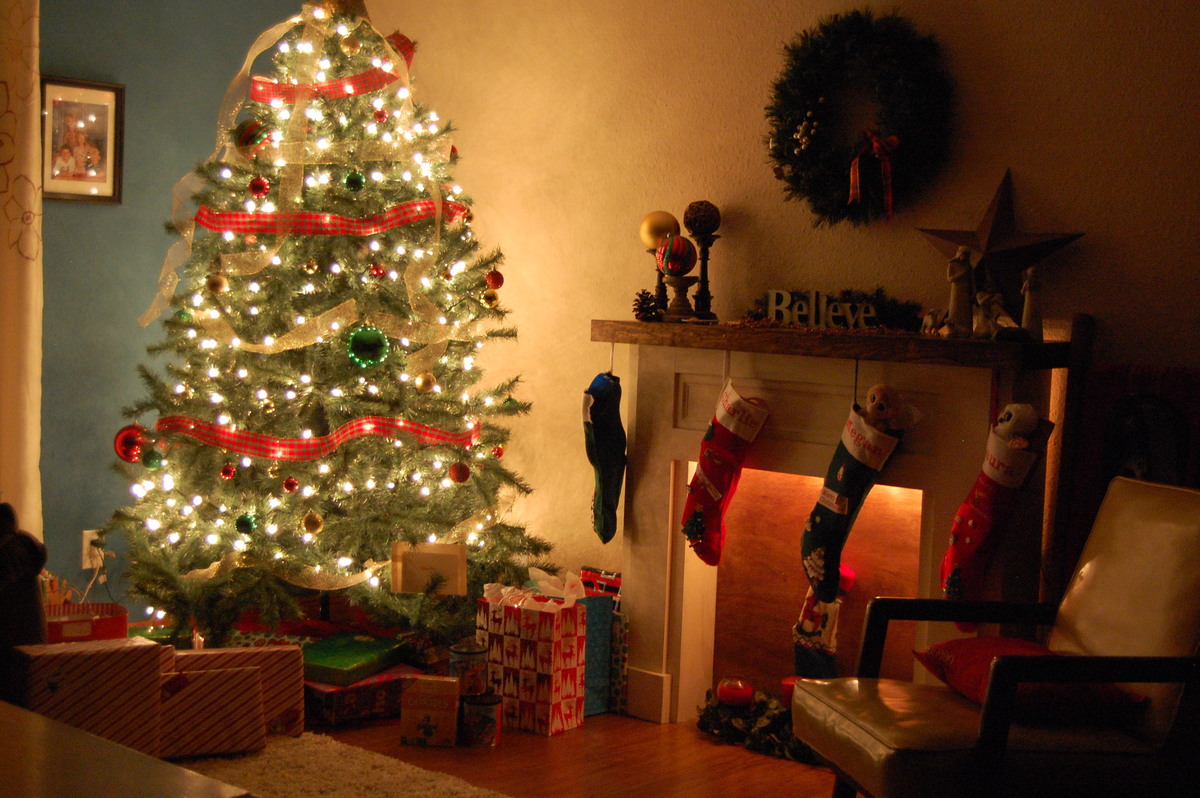
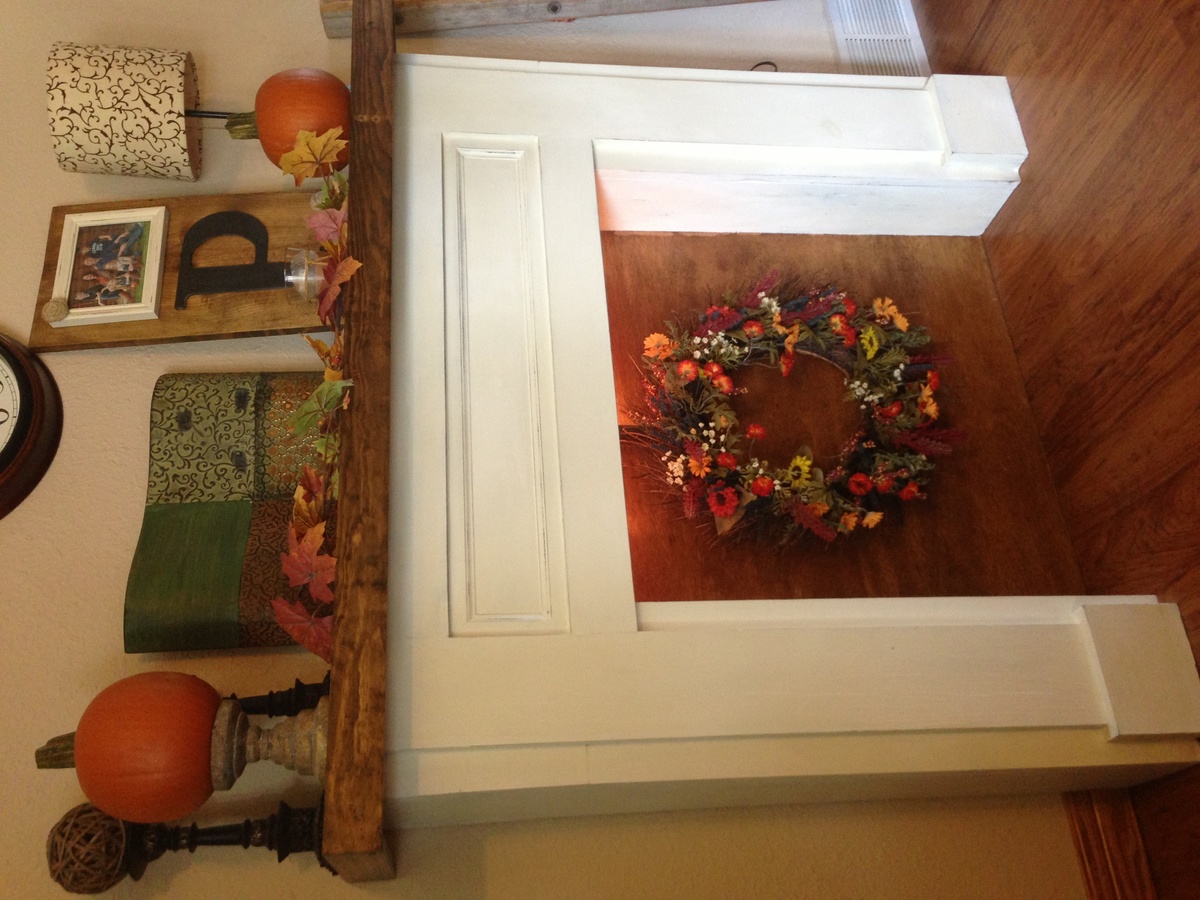
I searched hundreds of faux mantles online for just the right one to build! I ended up coming back to the very first one that inspired me...Mimi's! I revised it to make it deeper by using 1x8's for the depth. I used 1x6's for the inside box depth so that I would have some space behind for extension cords, etc. I also decided to insert wood ledges above the box (on the inside) so that I could put Christmas lights in for a soft glow, which I love. After building the top trim as shown in the plan, I decided that I wanted to "beef up" the mantle portion so I screwed 1x3's along the front and sides of the mantle top. I love how it turned out! I even ended up building a duplicate one for a friend that saw it and loved it! I am pretty new to woodworking and have 4 kids, so it took me much longer than it should have, but it was well worth it!
Thu, 03/26/2015 - 13:00
What are building plans and everything I need to have this made

Built from the Balin Console Table plan. I needed more storage for my entryway table, so I added the extra drawers. First, I had it stained but found this chalk paint in the mistints at Lowe's. Perfect color!

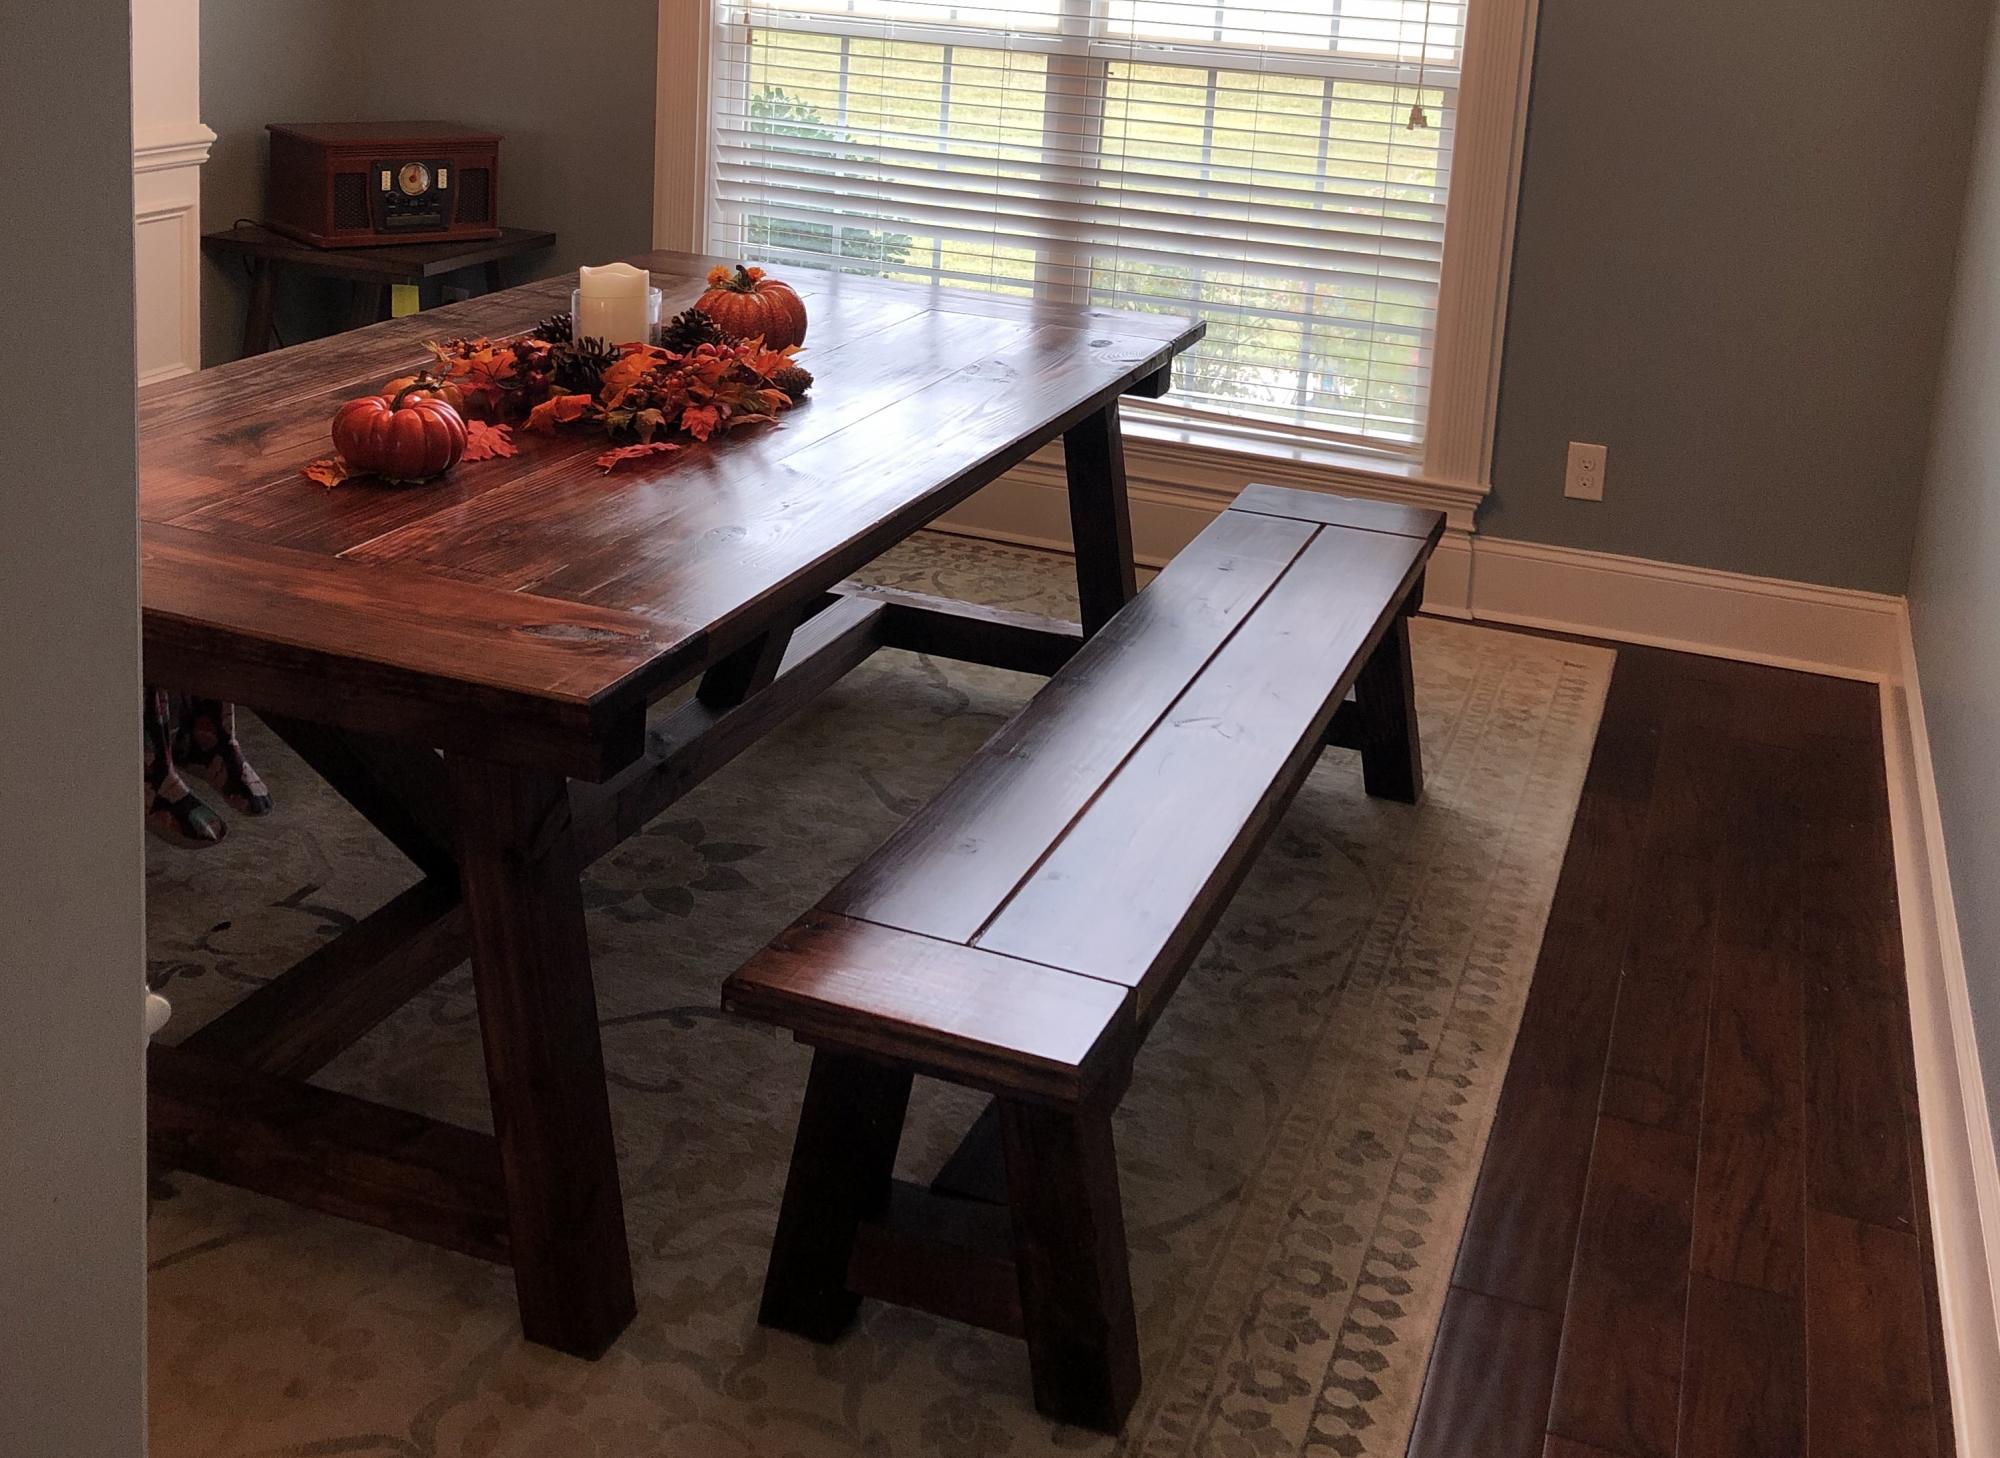
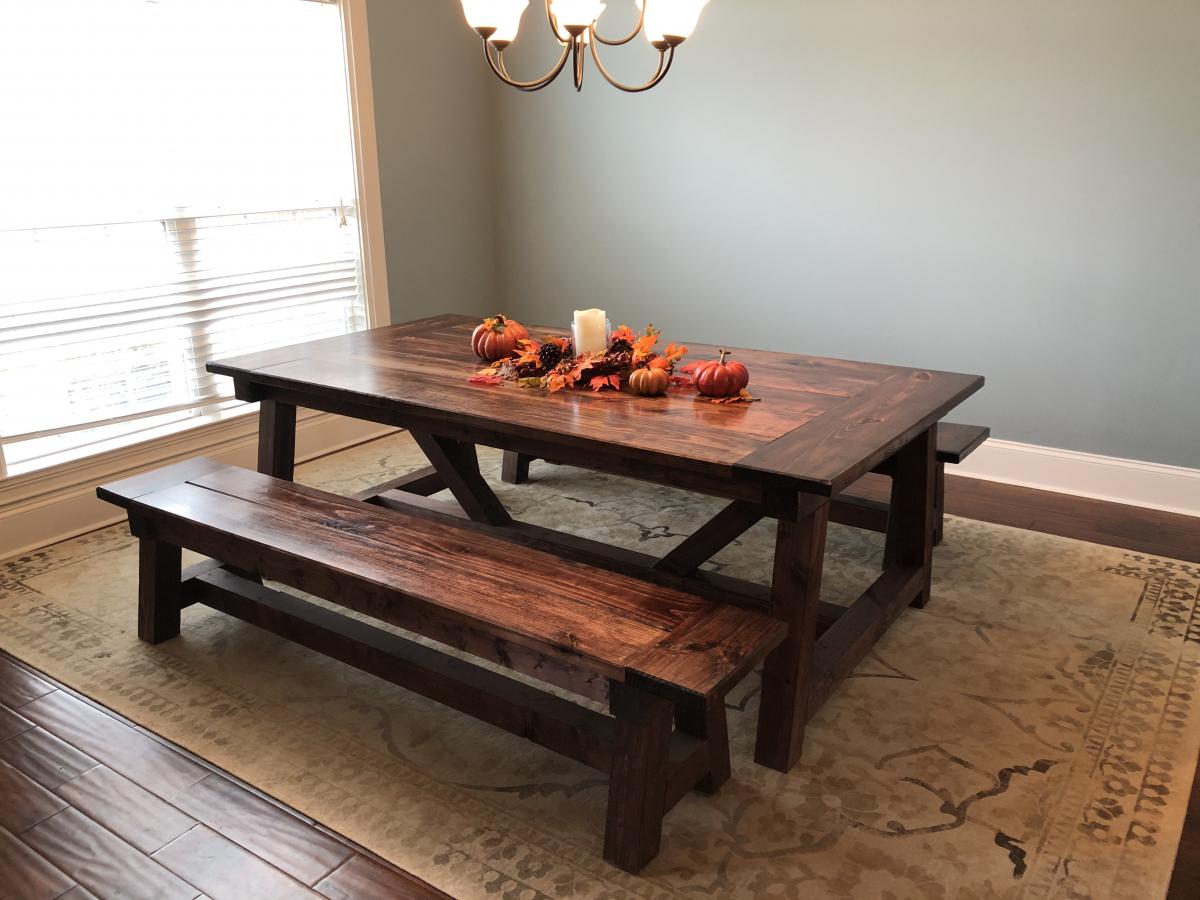
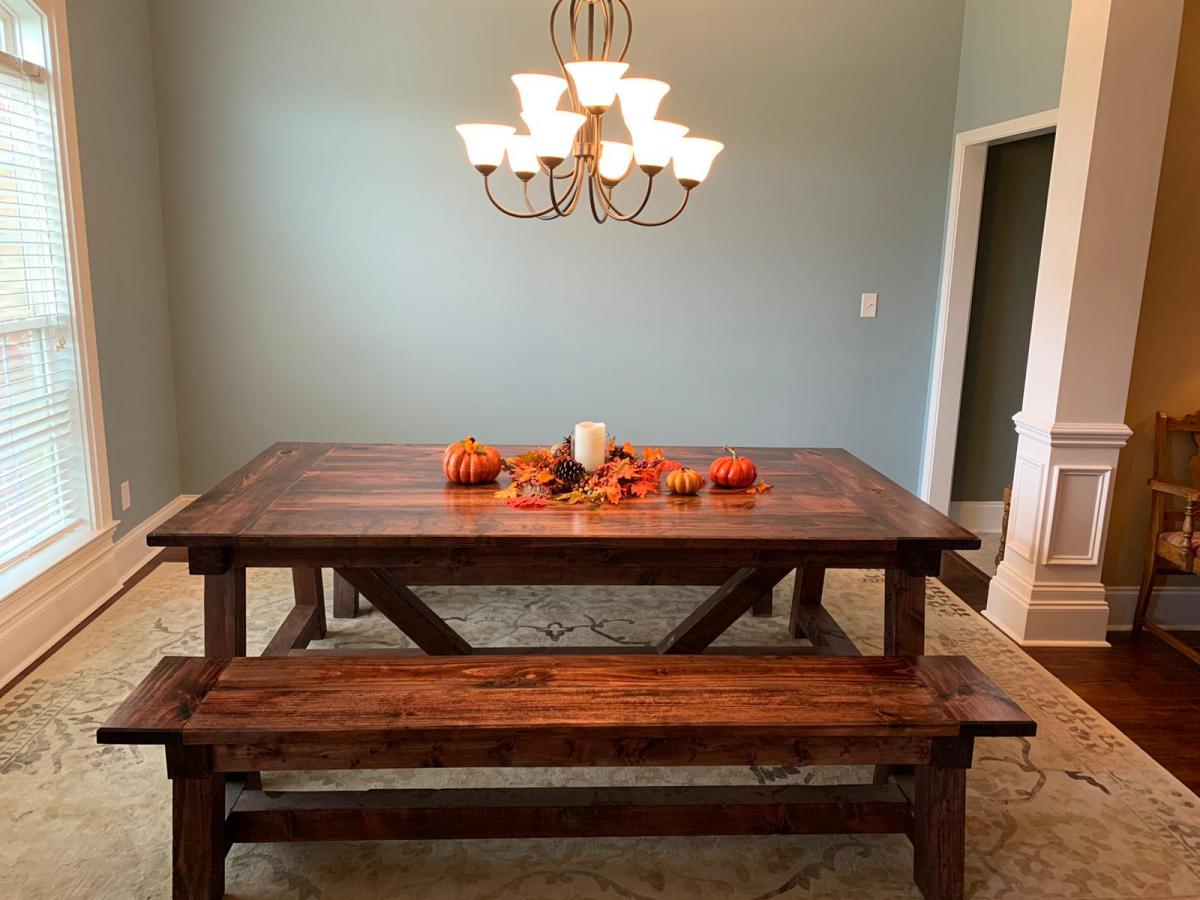
This is the third time I've used Ana White's plans--and while each has been solid and doable, I think I'm getting better. This project was based on Ana's amazing 4x4 Truss Table, and enlarged according to DIY Pete's 2x10 version. The final tabletop dimension is 87"x46" using 5-wide 2x10s. I added cross struts centered under the tabletop so that boards 2 and 4 are screwed to their neighbors as well as braced from beneath.
Pocket screws throughout, except the diagonal braces which are held together with 1/4"x6" countersunk wood screws.
Solid, tasteful, and built to last--my family wants to spend time around the table in ways they did not before. Ana's awesome!
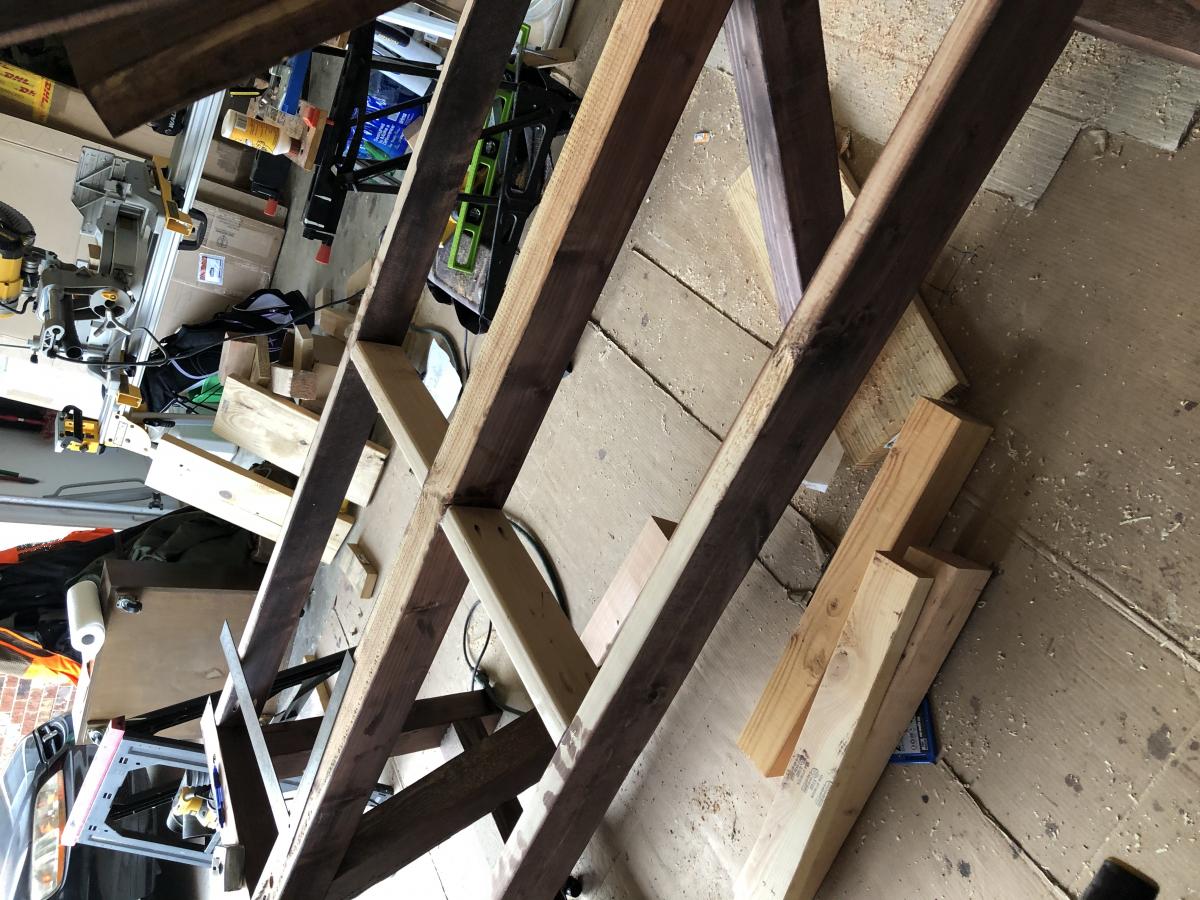


Ana's King Farmhouse Bed inspired me. I built this and added some decorative molding and tin tiles I purchased from Wayfair. I am very happy with the way it turned out. Thank you Ana White
Cathy B
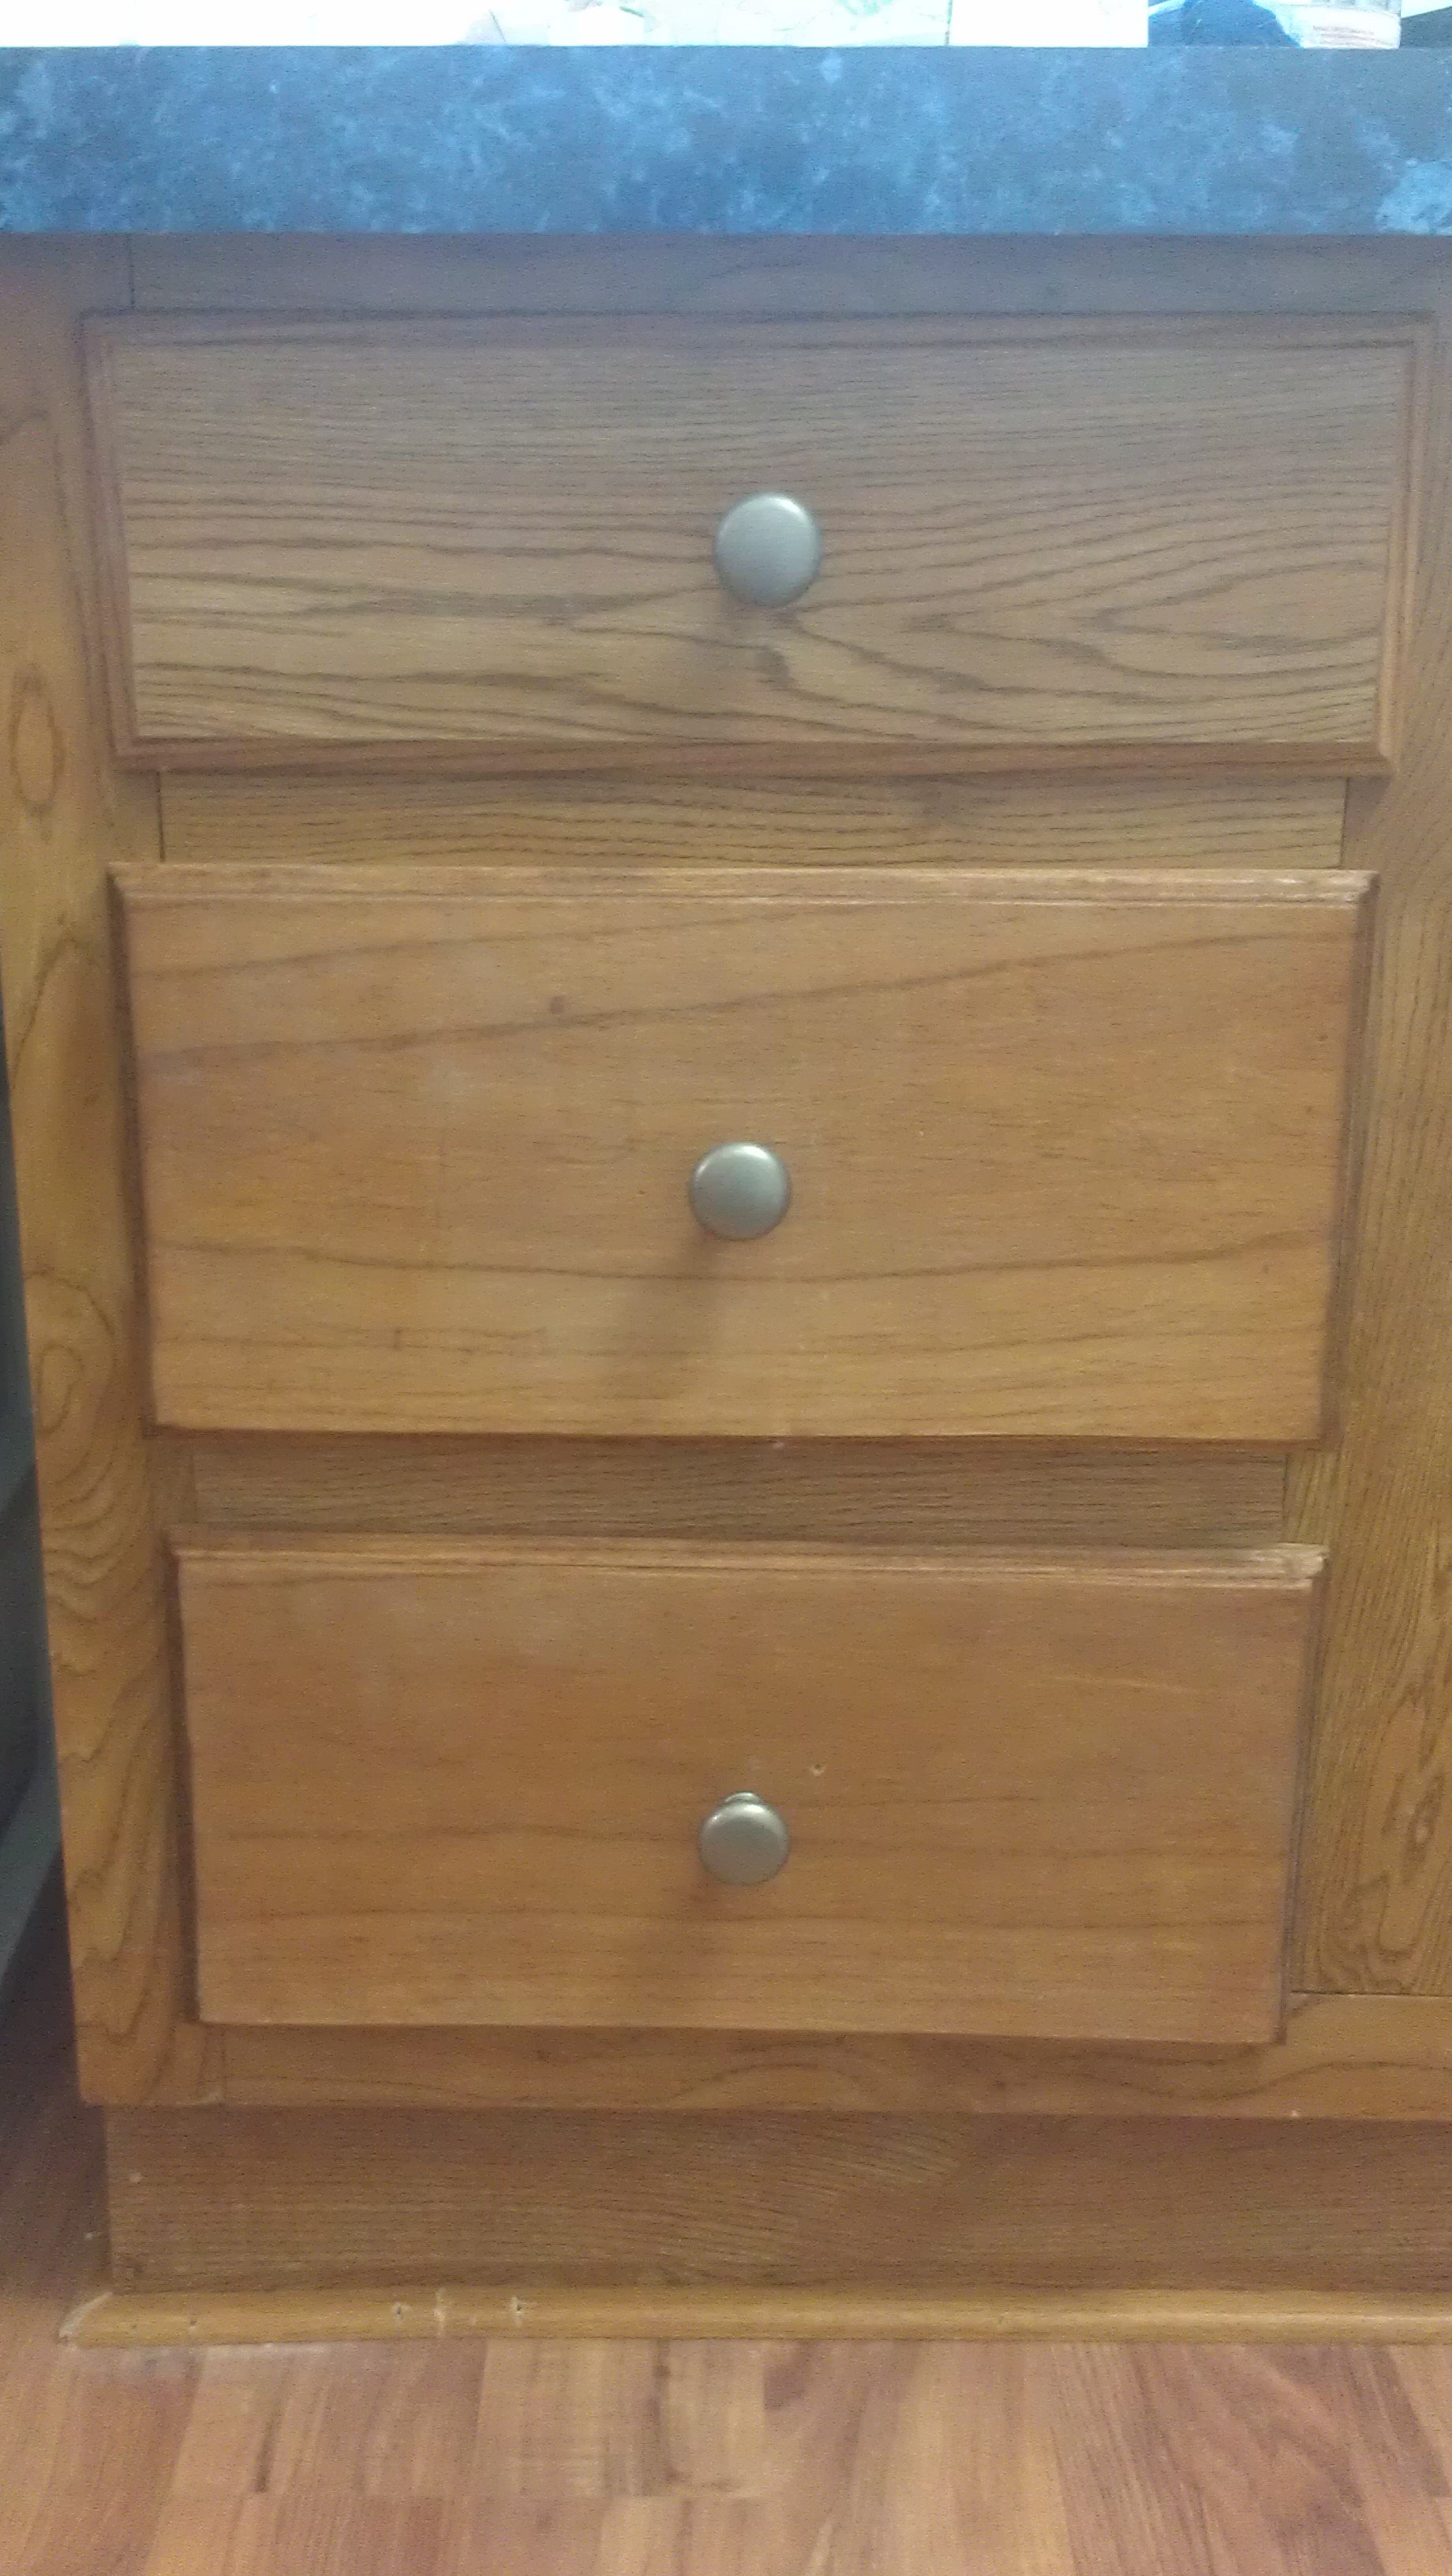
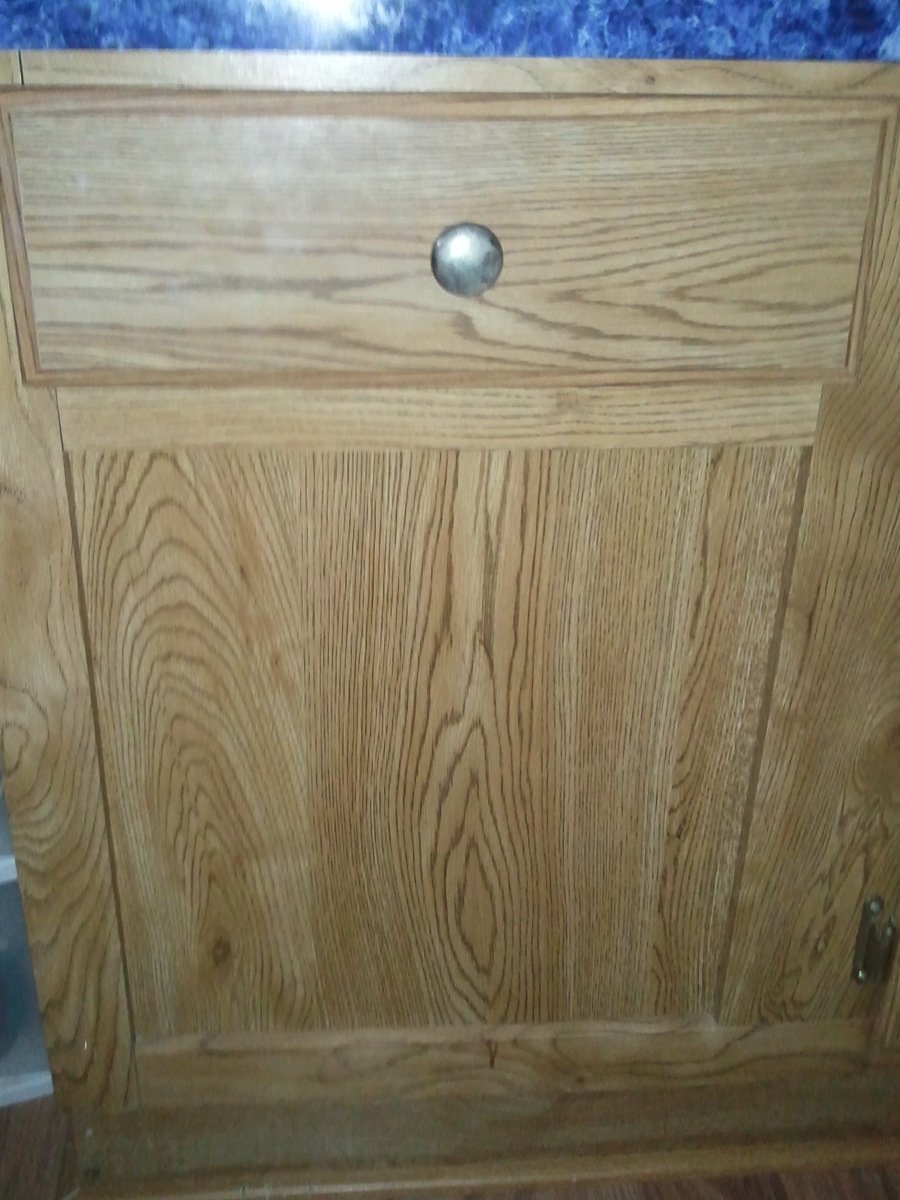
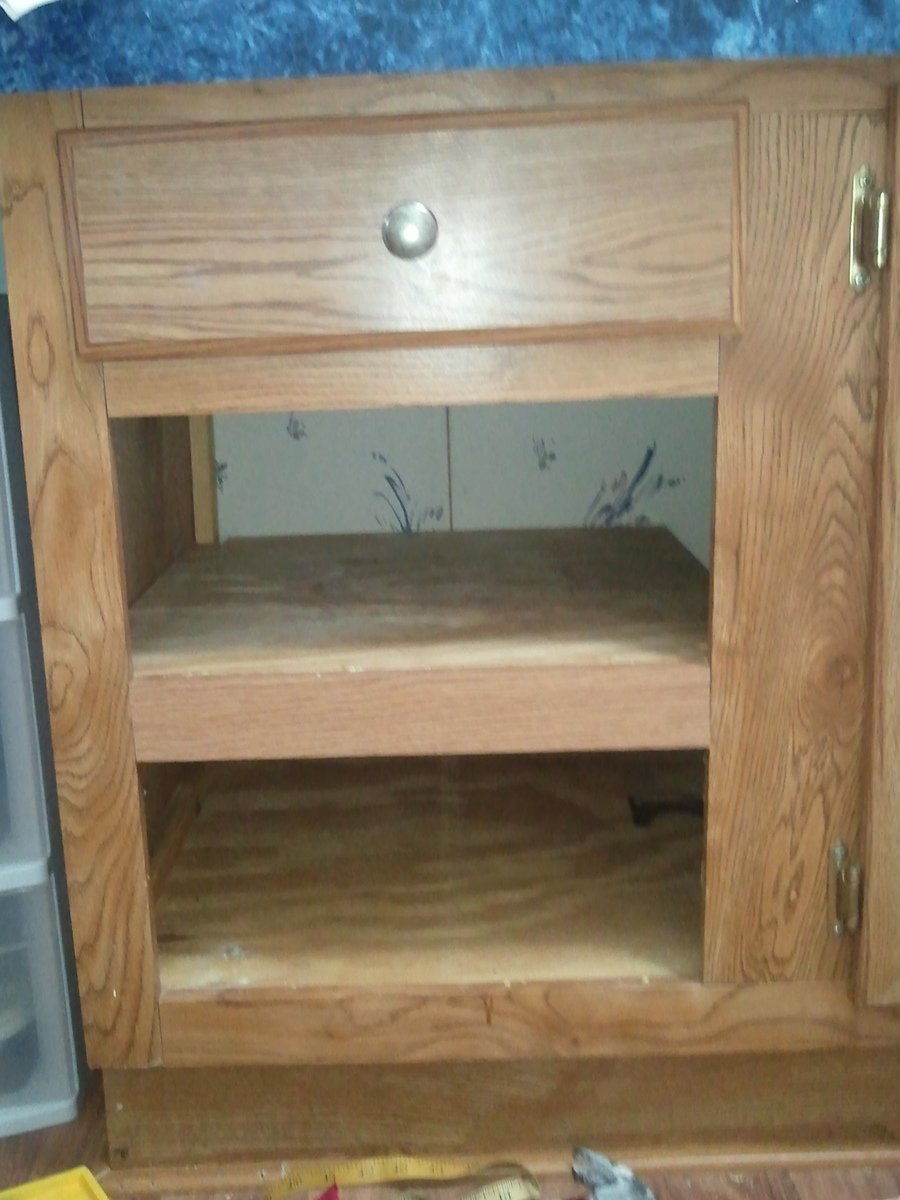
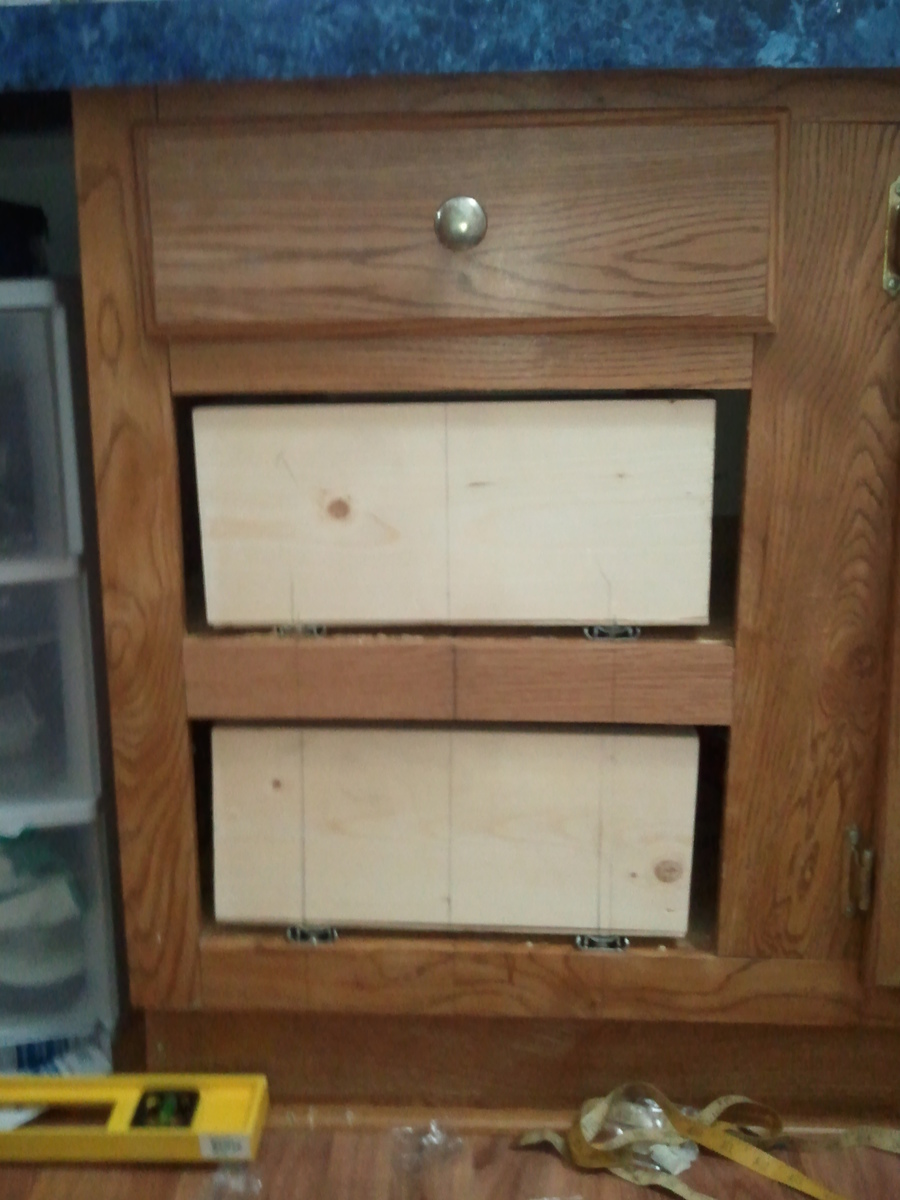
I bought my home a few years ago. The only thing about my bathroom I didn't like was the lack of storage. The cabinet only had one drawer with a panel below covering a large empty wasted space. I was told by 2 cabinet makers that I would need to replace my bathroom cabinets, but when I saw Ana's success, I thought "I can do this".
My woodworking experience is pretty limited, so things took a little longer than I would have preferred. The first weekend was spent popping the panel and building the shelf out of plywood & luan for the drawer bottom (thank you Home Depot cull section). The second weekend was spent making the drawers using a pocket jig and installing them into the cabinet. You WILL need a 90 degree clamp to assemble drawers, trust me. Third weekend was spent making the drawer fronts and staining them. I had never used a router so I practiced on every piece of scrap I could lay hands on. Since the cabinets were older and not made of solid wood, I had to play with the stains to ge the formula right; remember the scrap wood? It's baaack. The fourth weekend was spent pulling everything together.
When I show my family what I did, they look at me in disbelief. I know they're just drawers, but this is proof that I can make real changes to my home that has long lasting benefits. The bathroom still has a long way to go, but I know now that I don't have to hire someone to do it all.
Wed, 03/14/2012 - 19:14
Love the routed edges! It gives it a very polished finishing touch!
We must have had the same bathroom builder because I have that same single drawer with empty space underneath.
Thu, 03/15/2012 - 10:50
Thanks! I had never used a router before so I must have gone through every piece of scrap wood I could find. I even cut down the scrap wood so I could get a new straight edge.
Thu, 03/15/2012 - 10:57
I took pictures and showed them to the men I bought the lumber from when I finally finished, to show them how the project turned out. It may have freaked them out a little to have a crazy woman run up with her cell phone, but they were happy for me.
When I showed one of the people who recommended the cabinet makers (the one's who told me what I wanted was impossible) what I had done, they just rolled their eyes at me. Pssh, experts. Deep down, he was impressed. Really deep down;)
Thu, 03/15/2012 - 09:51
Just a question. Did you consider/try to use the wood from the panel you removed for the drawer fronts instead of using something new and having to try and finish it?
Thu, 03/15/2012 - 10:48
I thought about that, but it was basically luan with a "wood like" veneer attached to it, so it was about 1/4" thick, and the original drawer front was made from 1" stock.
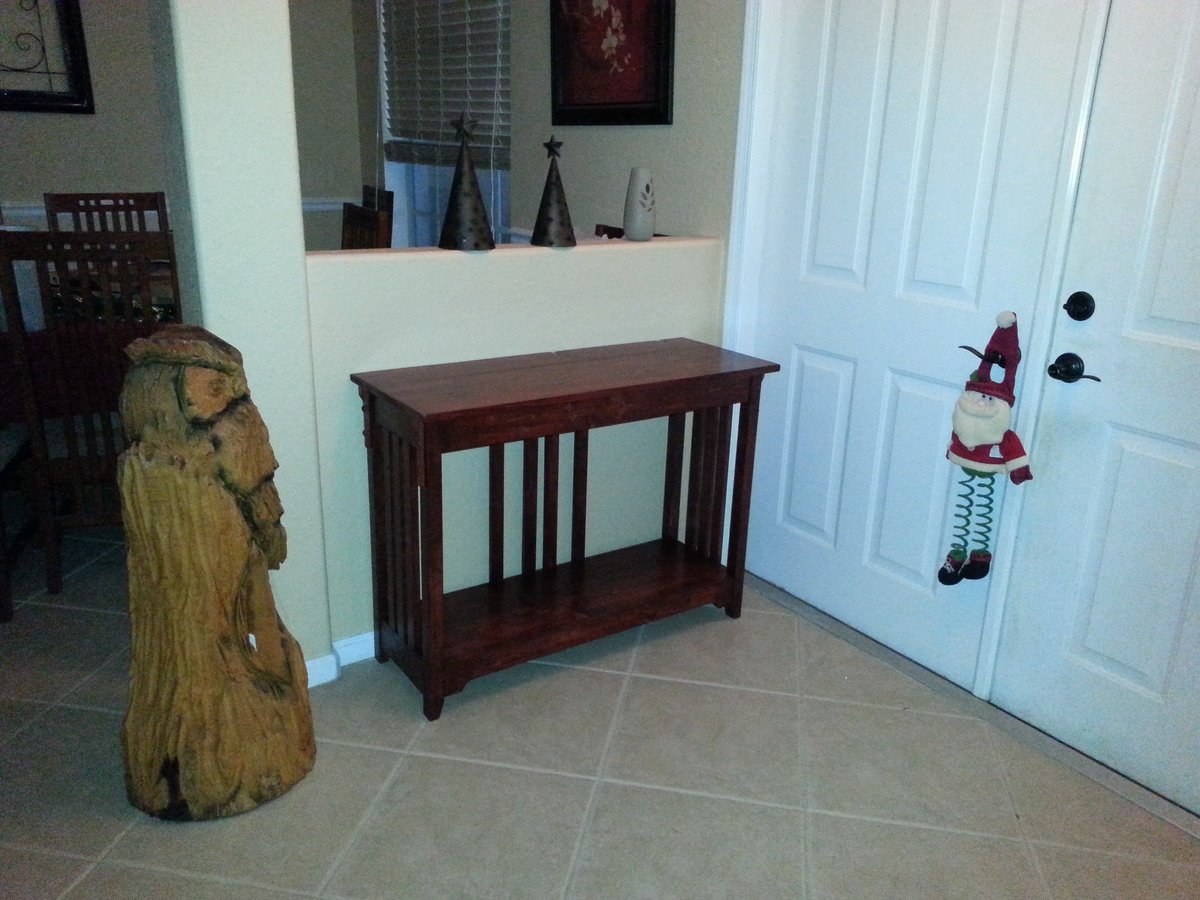
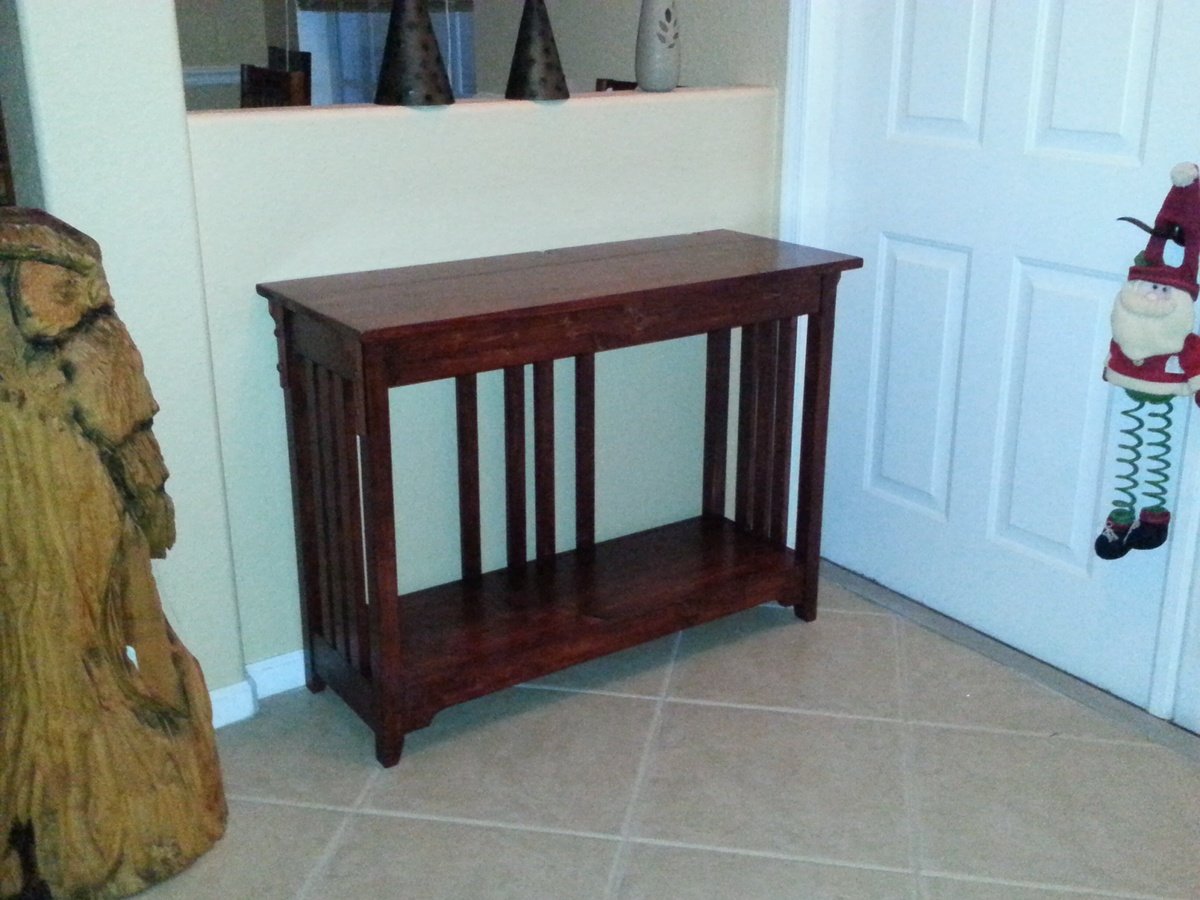
Built for my sisters house. I pulled a pic of a mission style table from the internet and then matched the details to her existing hutch. Color match took some work!
Just a tip for Florida folks. If it is humid and raining...stop and wait for another day to stain and poly. Trust me.
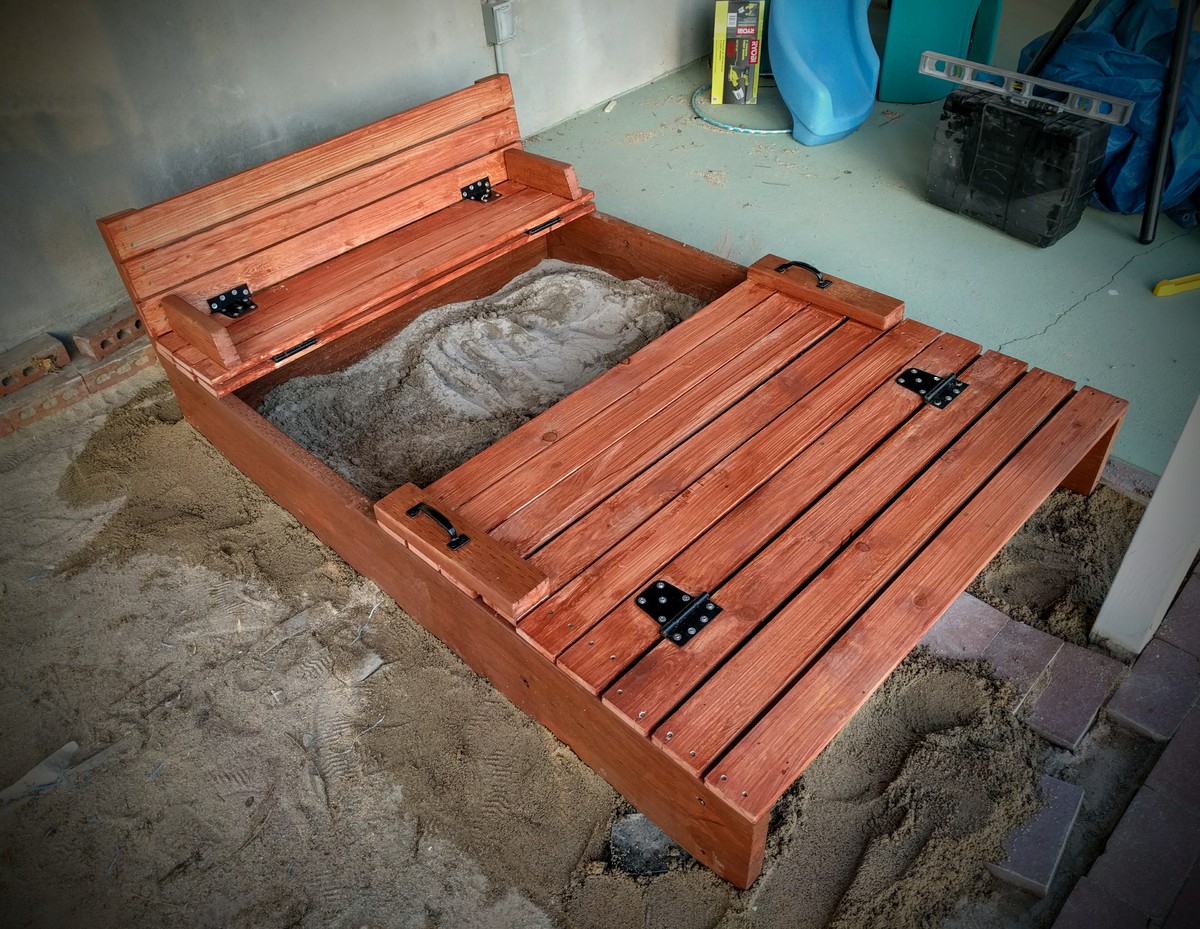
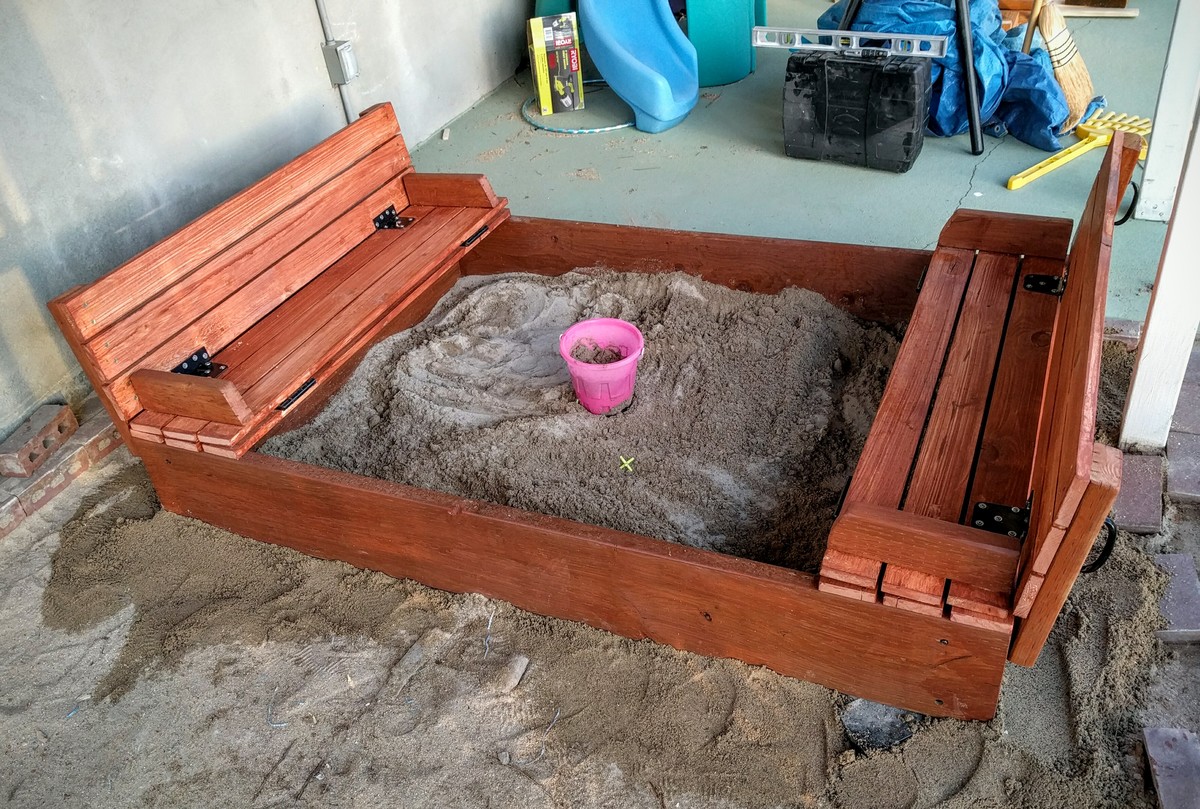
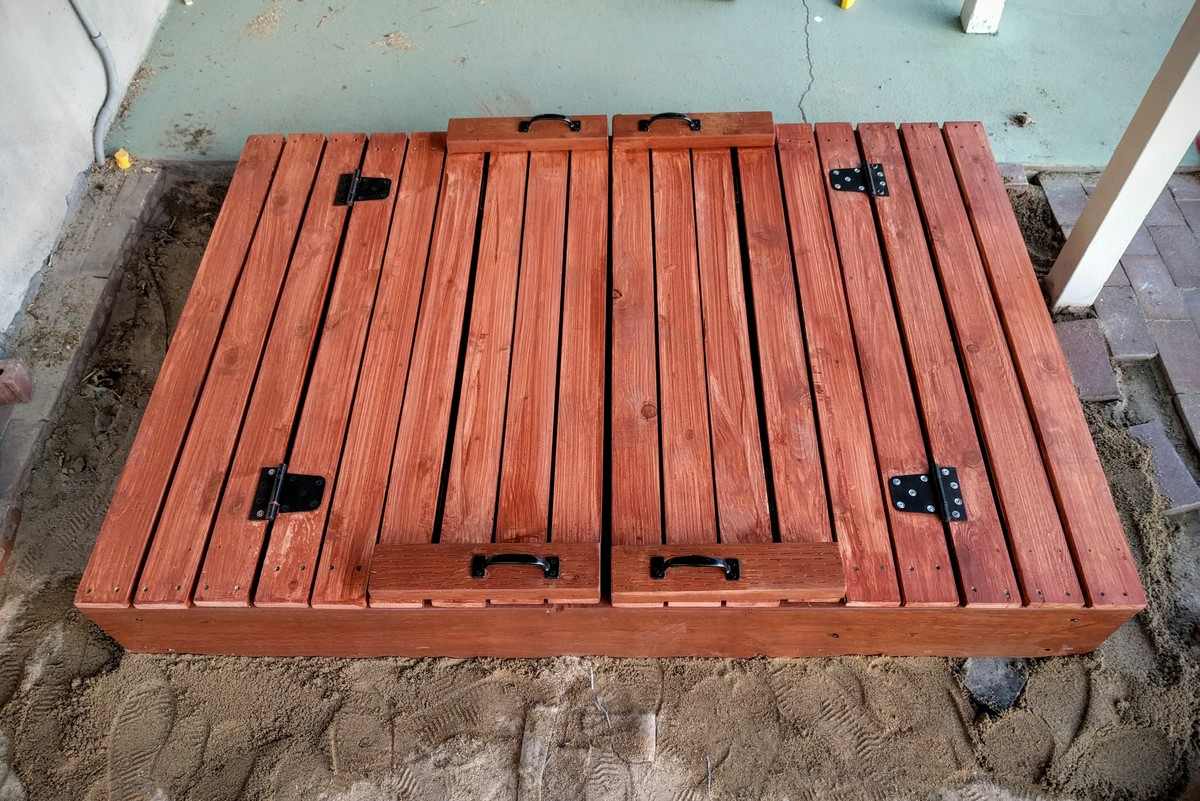
I made a few modifications that I think people starting this project may want to know. 1. 4x4 box gets a little tight for more than one kid. I chose 4x6 so that the bench dimensions would scale up to 3 slats per section correctly, but the length of 1x4 boards would not have to be lengthened, which would required additional support. 2. As a rule of thumb, any outdoor lumber that may have prolonged exposure to water (IE. Touching the ground) should be pressure treated. I couldn't find 1" thick treated boards, so the box uses 2x10 boards. 3. Used a redwood semi-transparent stain.
Beautiful showcase of maple wood. Love the storage
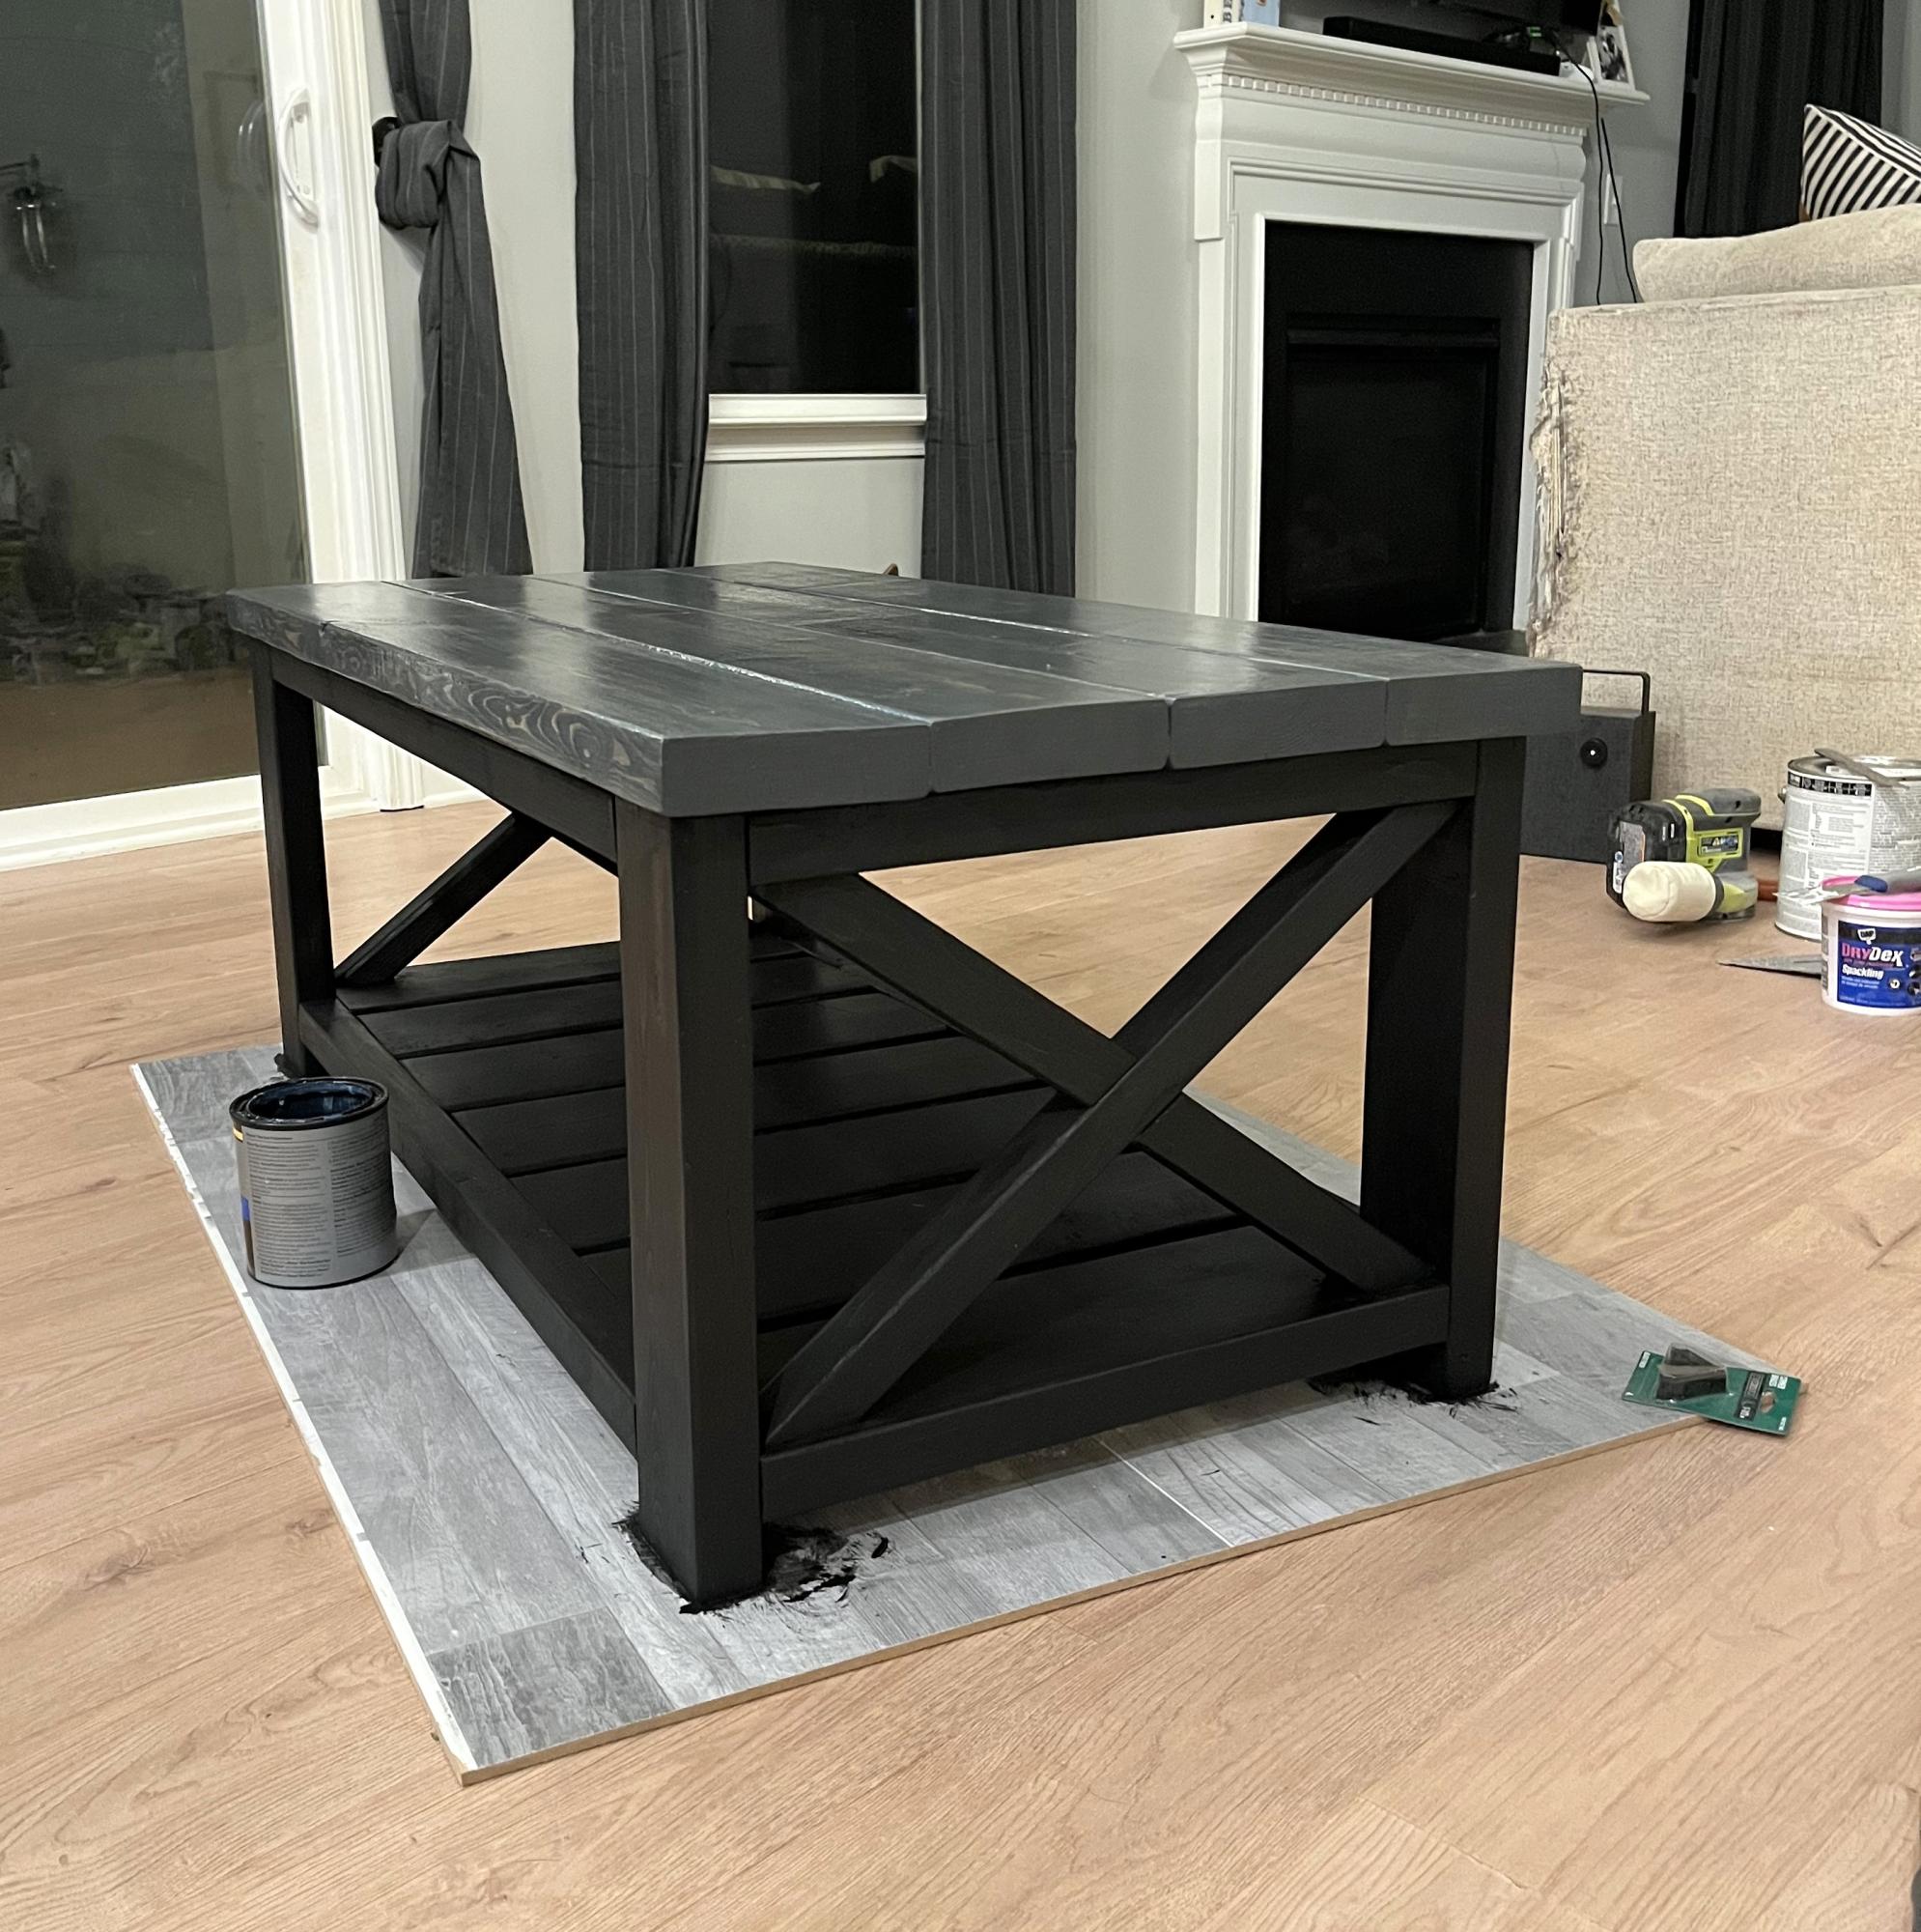
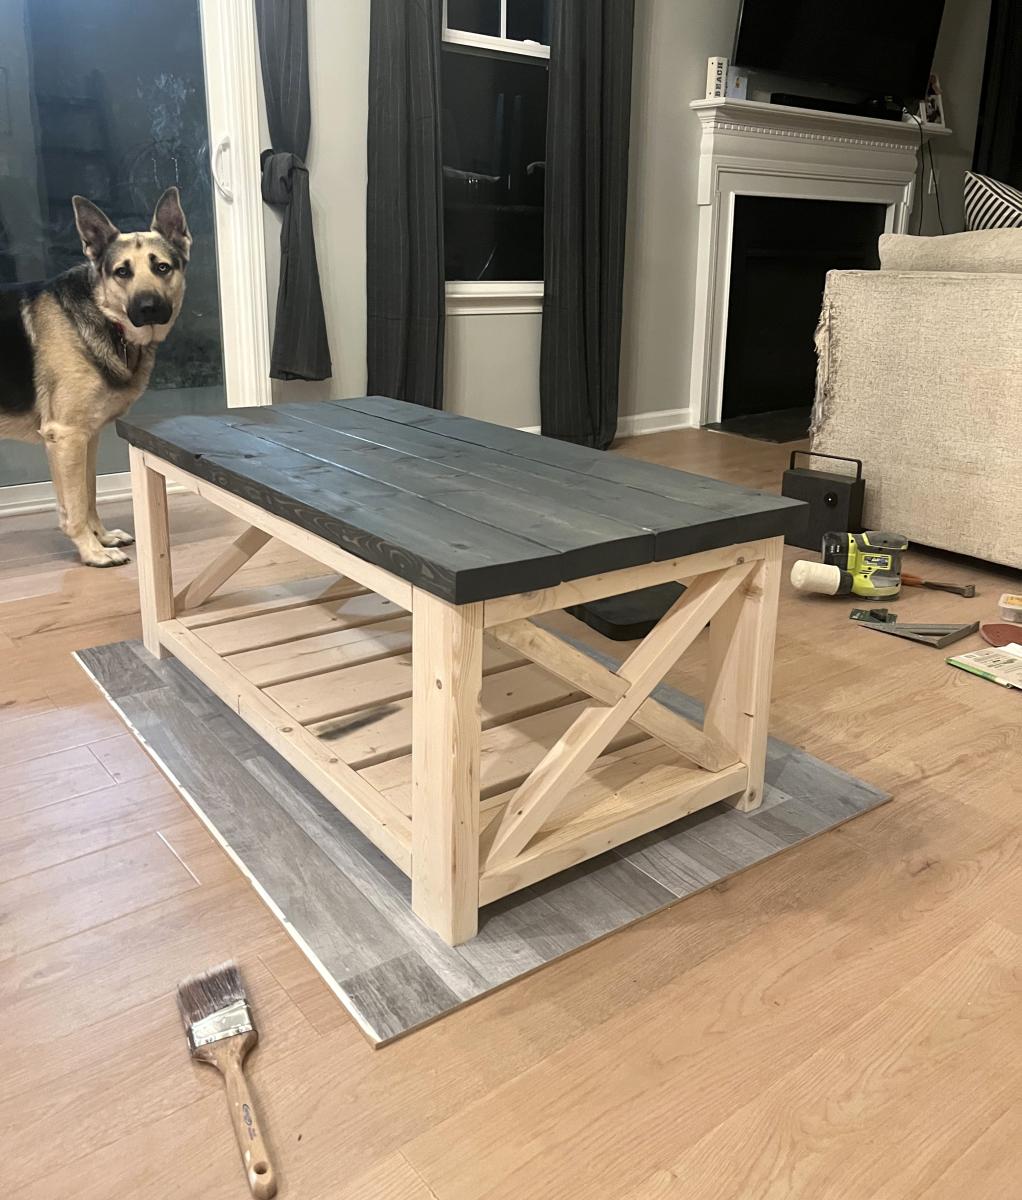
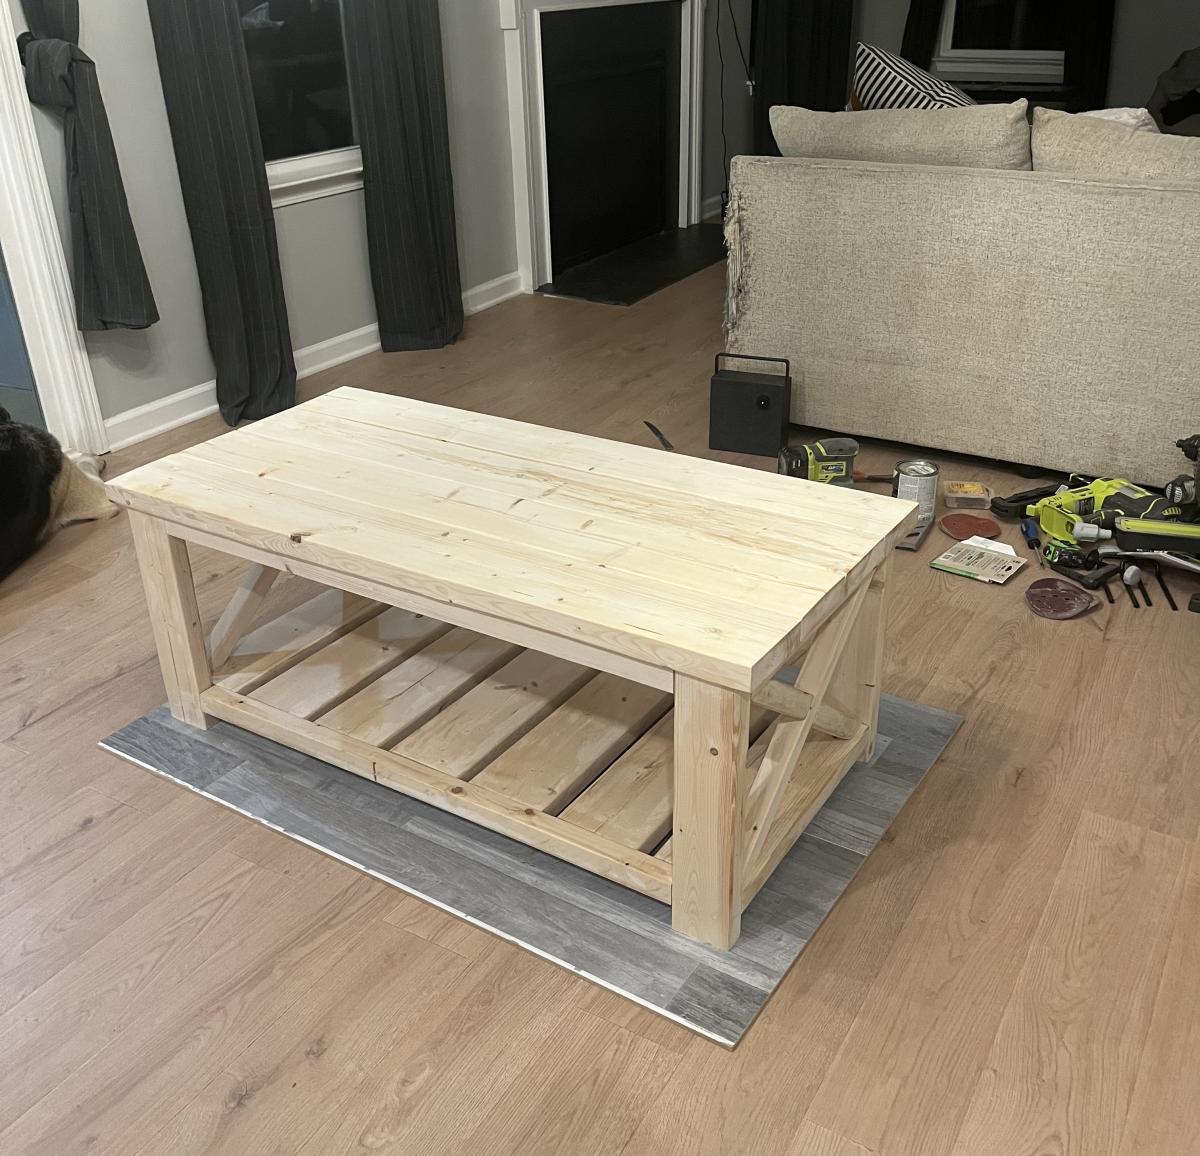
Farm house coffee table. I painted the bottom black and stained the top a dark gray color. I don’t ask happily surprised on how easy it was to build this table and how strong and sturdy it is! From start to finish it took me 9 hours, paint and all. Highly recommend this plan.
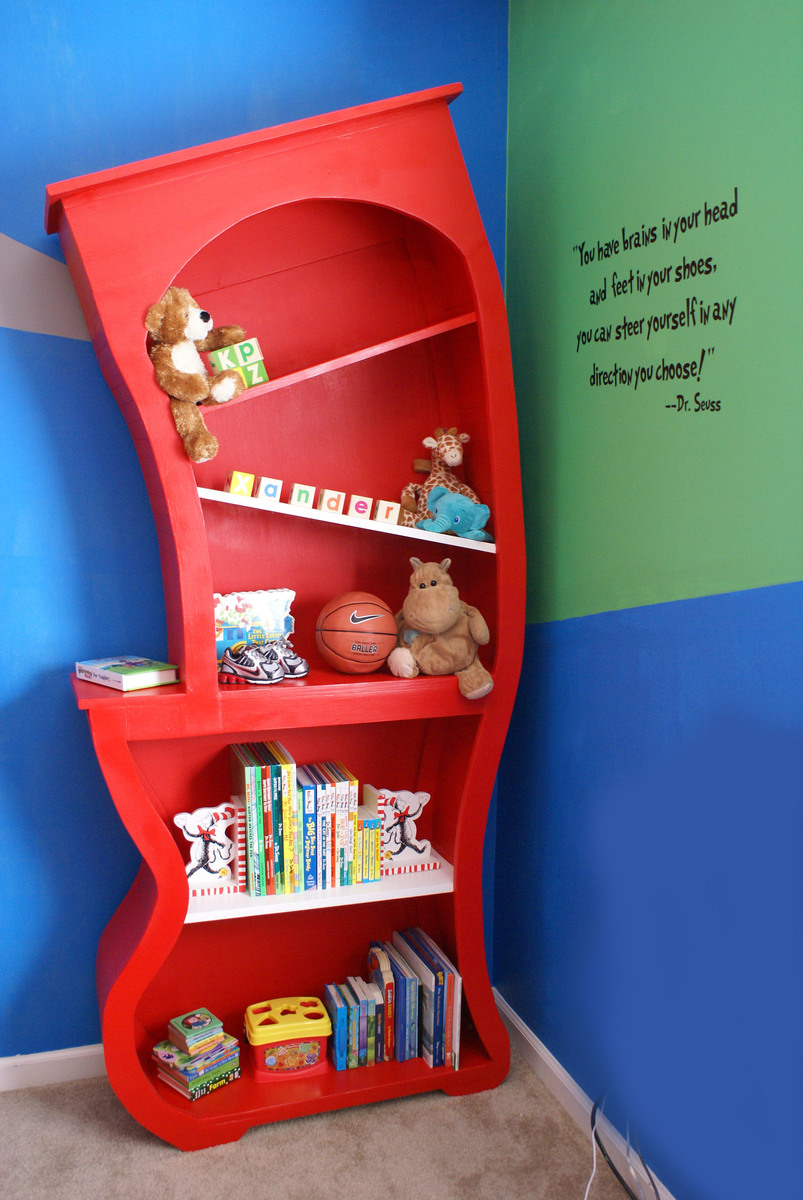
This was a Baby Gift for my sister and her little boy, Xander who was born just a couple weeks ago. I wanted to do something special that would last for my sweet nephew. She found a bookshelf similar to this on cool-rooms.com and we decided to try to make our own version. I've posted about it on my blog if you're interested in the process.
Sun, 03/18/2012 - 16:03
The best 'plans' I could come up for this are described here on my blog post for this... not too specific, but hopefully gives you a good idea of the process: http://alabahamians.blogspot.com/2012/03/dr-seuss-bookshelf-for-sweet-b…
Thanks for the sweet comments!!!
Mon, 01/22/2018 - 17:52
I would love to see the instructions you have in your blog, but it says you must be invited to see the blog. May I have access? Thanks! Brooke
Mon, 01/22/2018 - 17:52
I would love to see the instructions you have in your blog, but it says you must be invited to see the blog. May I have access? Thanks! Brooke
Sun, 03/18/2012 - 19:22
Clever cute creative. Cant stop looking at it. I love it. Thank you so much for posting.
Sun, 03/18/2012 - 19:52
Thank you so much for posting .You did a beautiful job. Your a good sister and a Terrific aunt.
Sun, 03/18/2012 - 22:16
WOW!!!!!! Wow wow wow wow!!! This is just beyond cool.
Sun, 03/18/2012 - 23:30
I love how you have taken a typical shelf and gave it a spark that is SO ONE of a KIND! WOW! This gives me ideas! There is just not enough time in the day thought.
Thank you for sharing your Awesome creativity. Your Family is SO lucky to have someone as talented as you! Keep up the good JOB!!!
Again AMAZING!!!