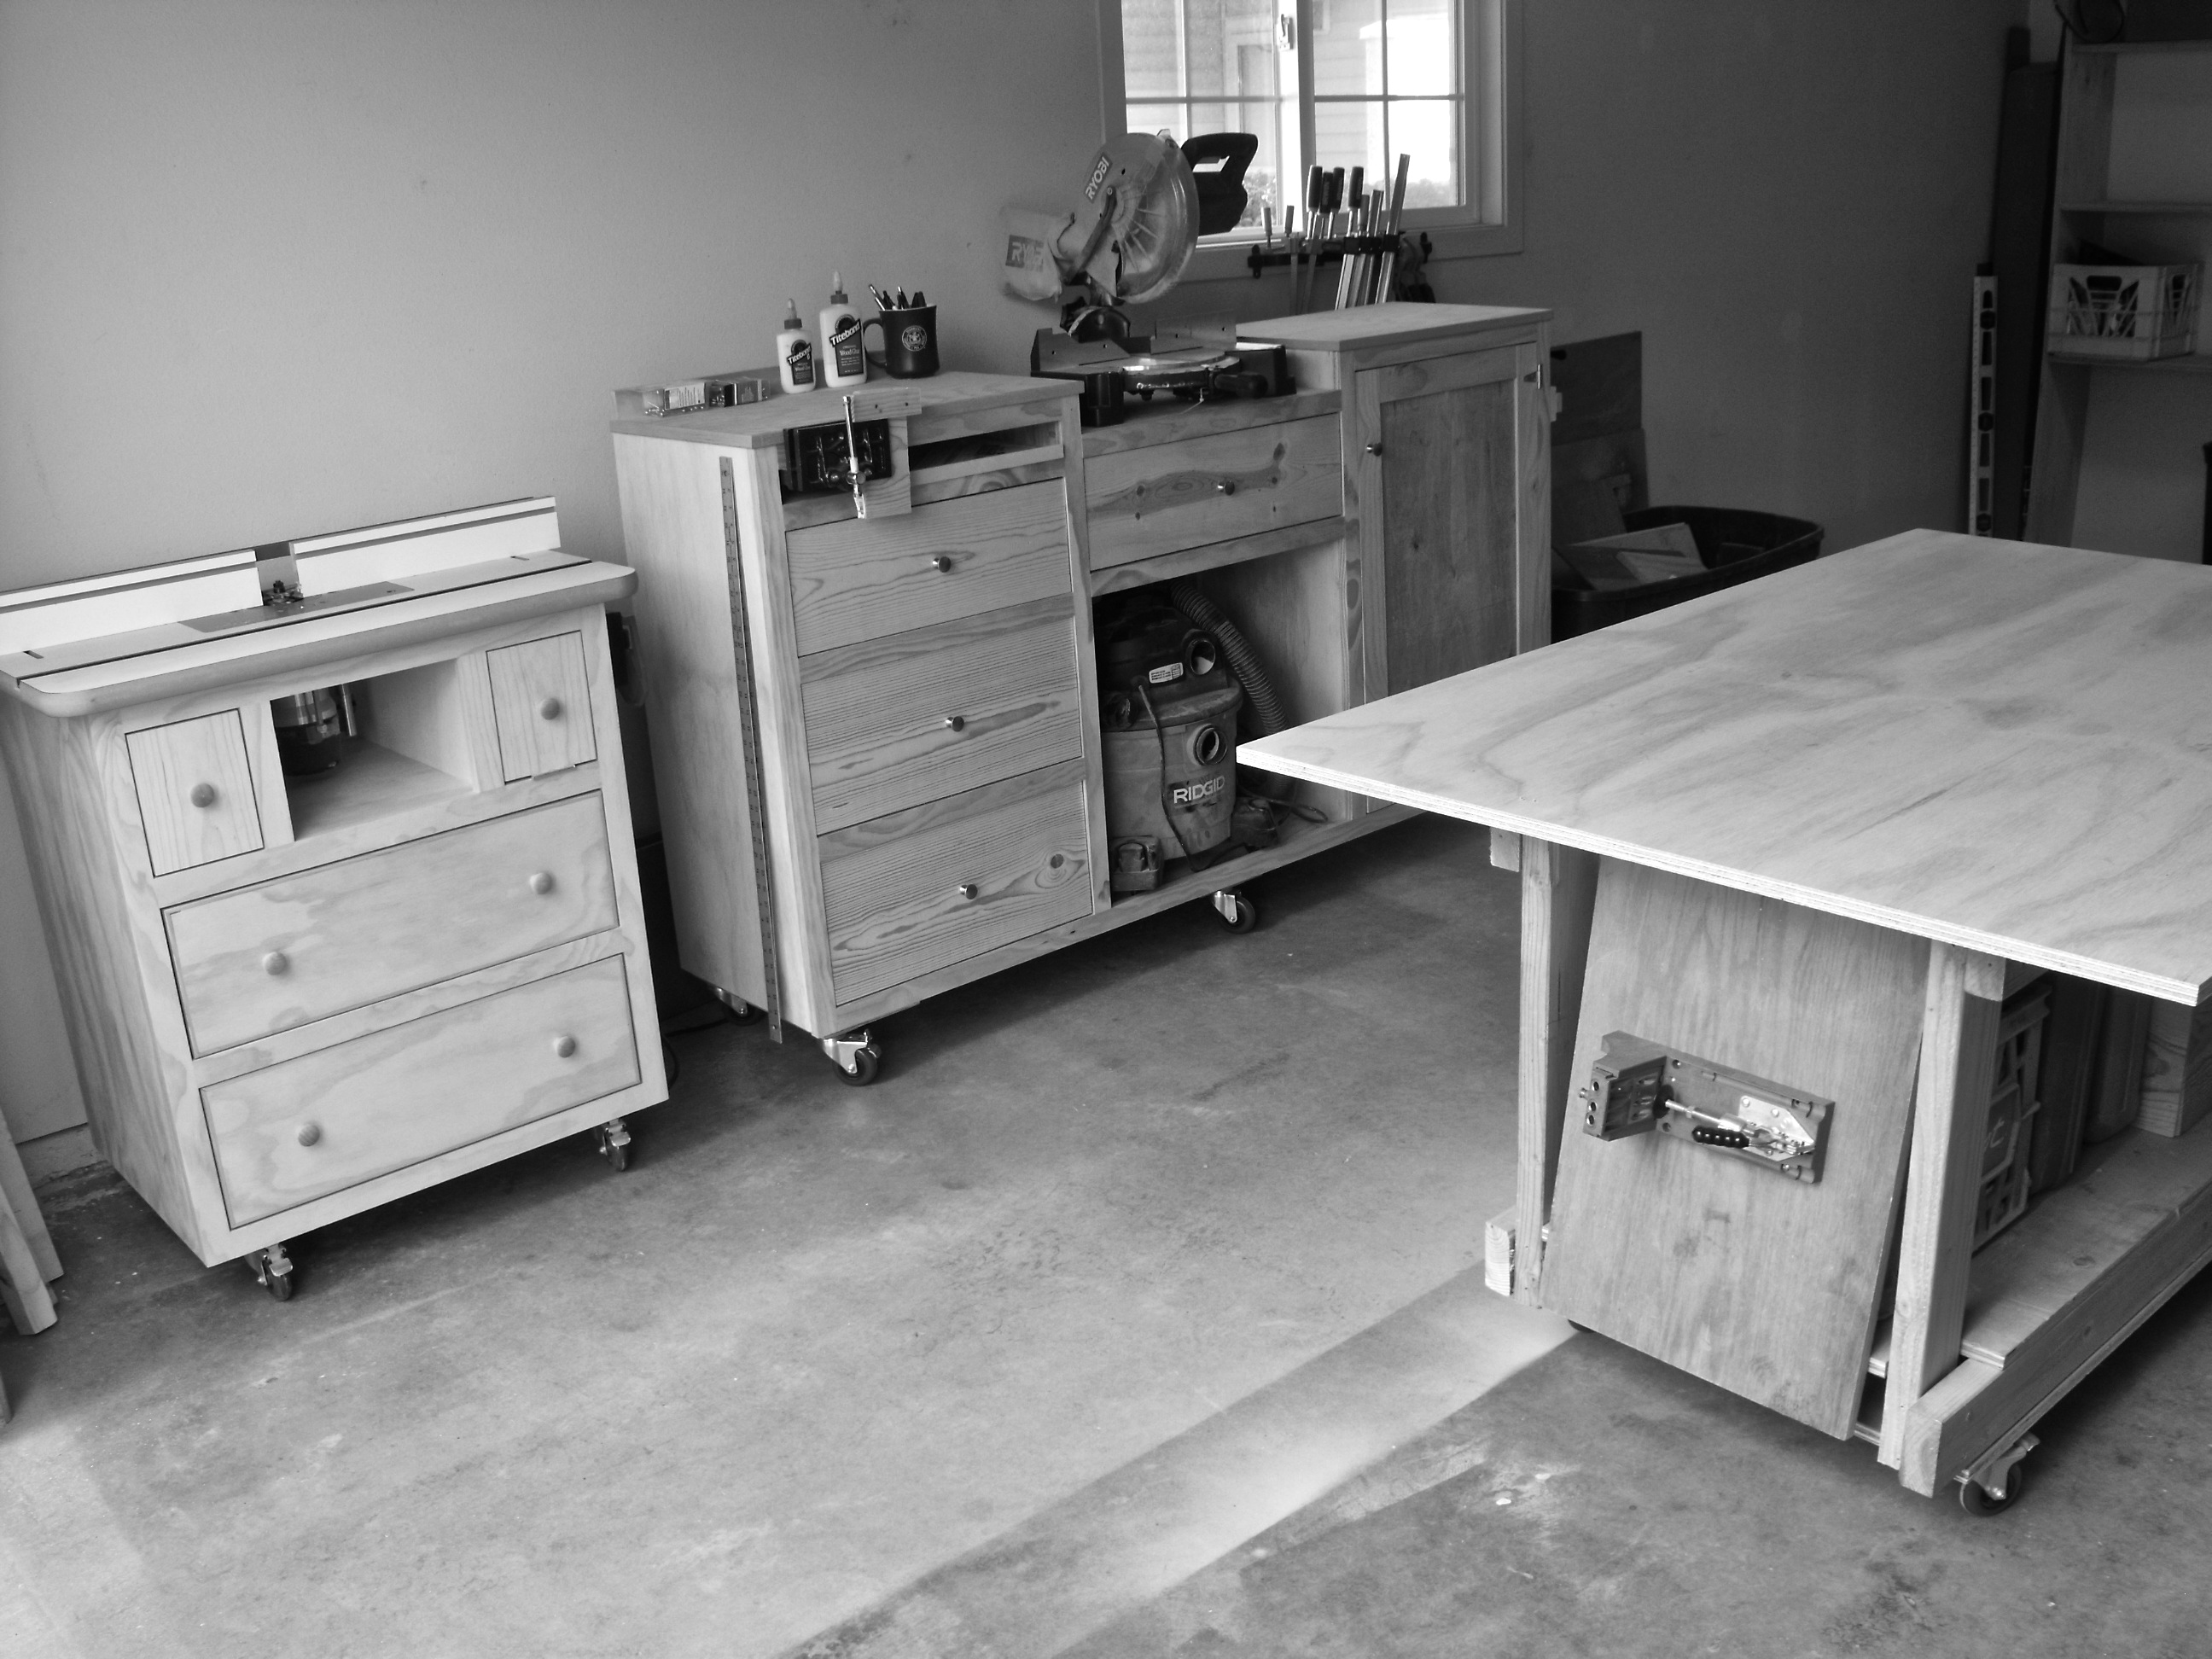
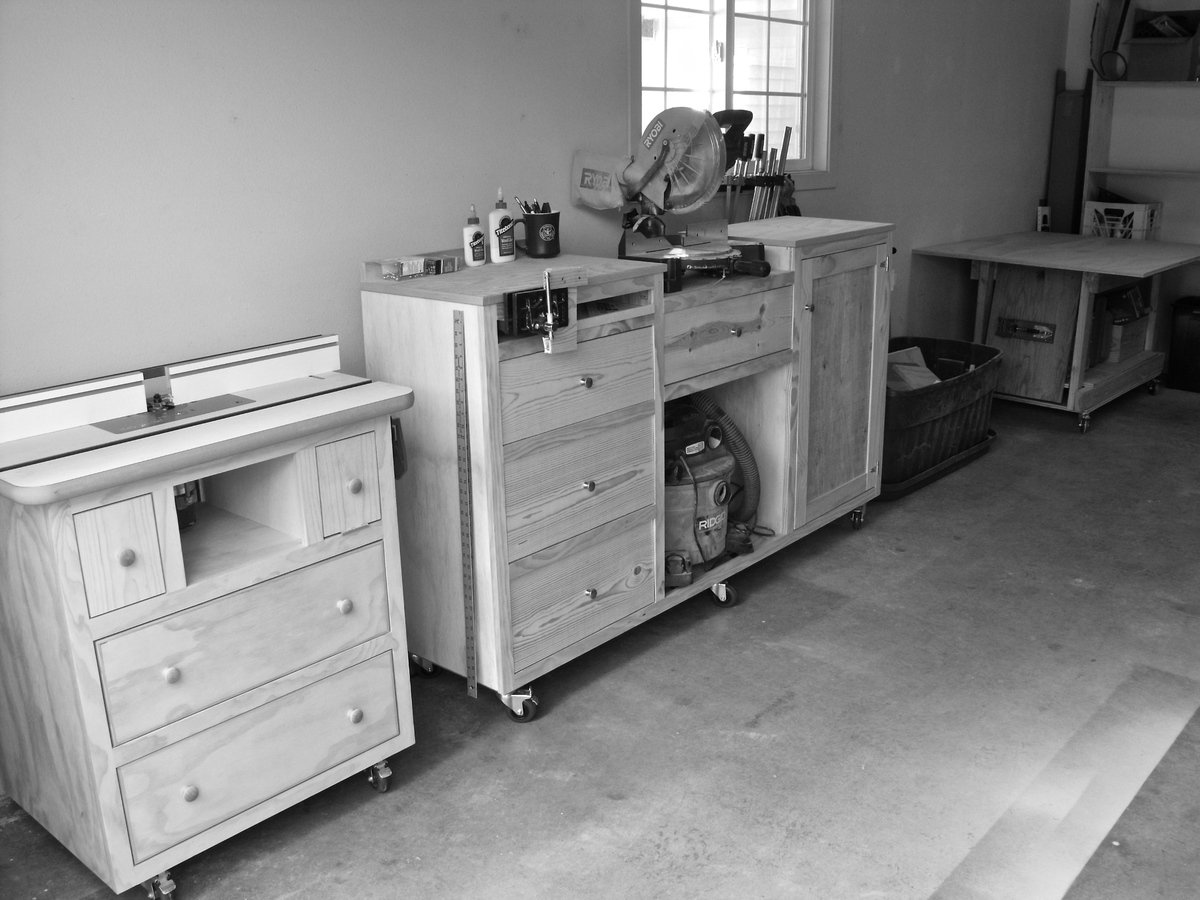
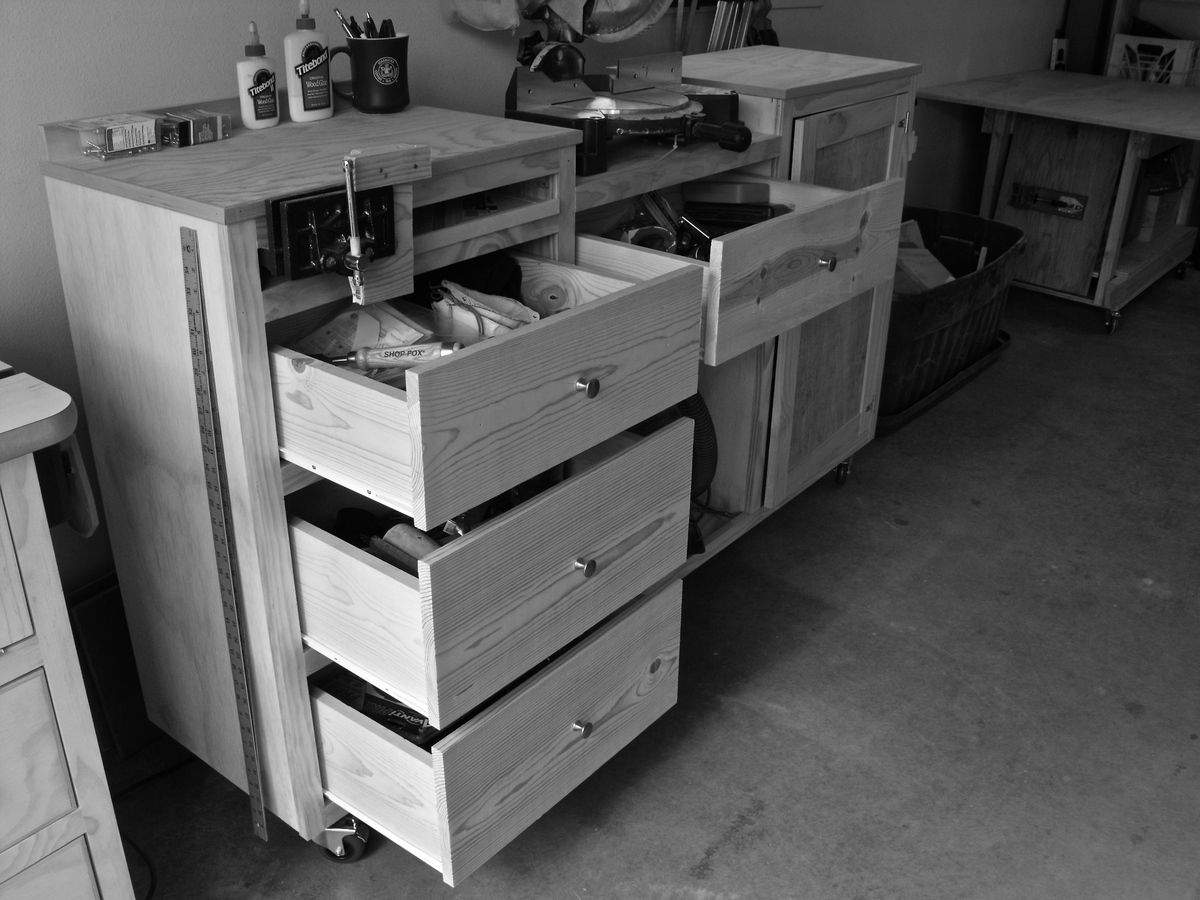
It seems like organization is always a work in progress especially in my one car garage shop. Honestly it took years to realize what I needed to customize my space in order to organize things. I've built bulky work benches out of 2x4s and plywood. I've rearranged the work space over and over again over the last few years and finally came up with my own system
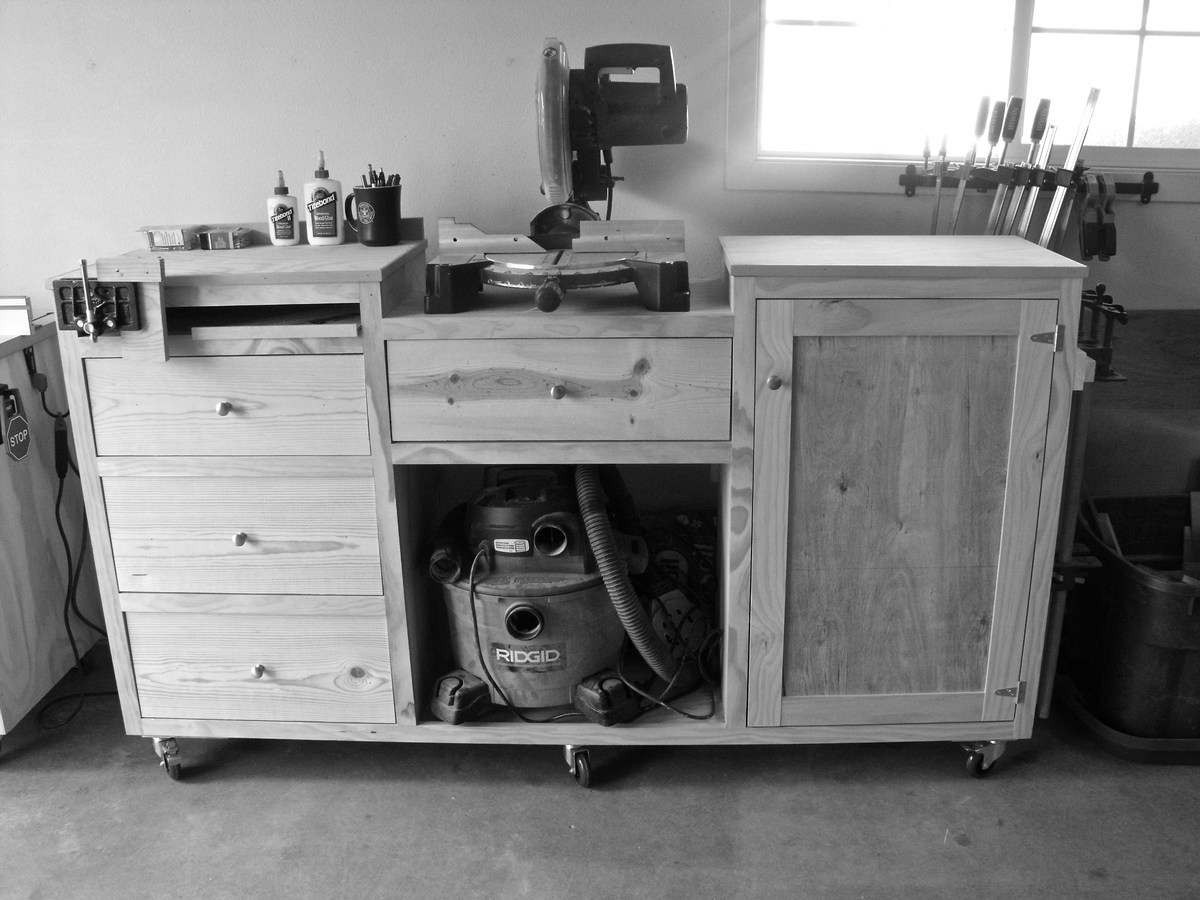
The miter station is a life saver. I had one of the fancy ones with the foldable wings but didn't like it. The object of it was to be able to fold the wings down for storage but I never did and it caused other space saving problems. Now I can easily store all of my small tools and woodworking knick knacks all in one spot. You can find plans for these if you google miter station, but take my advice and custom make one that fits all of your needs. There's a spot for my vice and speed square too. Things like that make it count.
The router table is probably my favorite tool in the shop. You can do so many things with the router table. I started out with just a top and a base and worked from there. Now everything router is in the cabinet ready to go.
Everything is on wheels. Us military guys and gals have to move around a lot so we have to plan for that. Now everything can just roll up the ramp and in to the truck.
Take some time and think about the efficiency of your shop space. How does everything flow? Or do you even flow at all? I used to woodwork myself in to a bunch of brick walls and now I don't.
Thanks for checking it out
Patrick


Comments
Ana White Admin
Sun, 08/27/2023 - 12:48
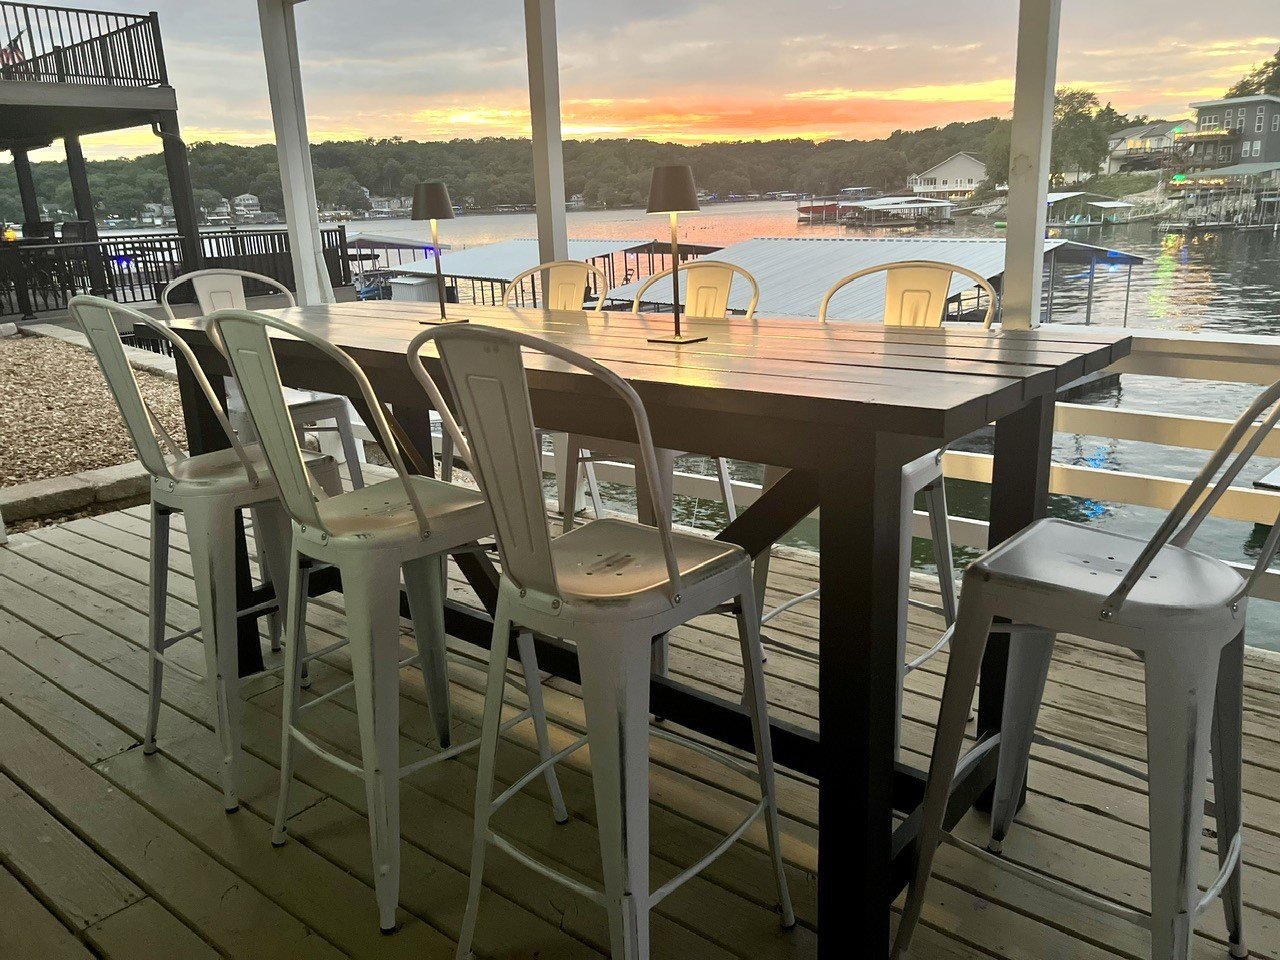
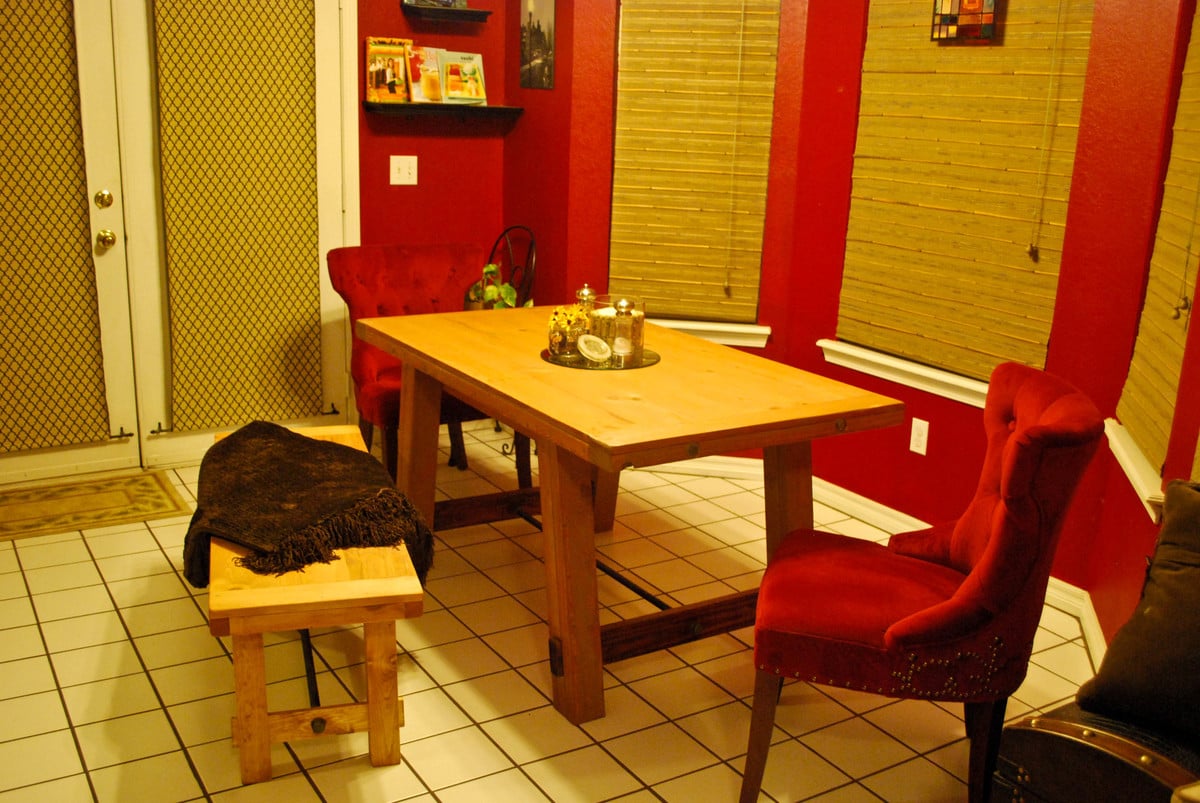
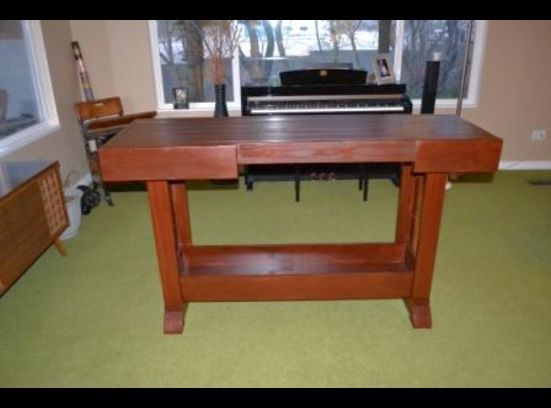
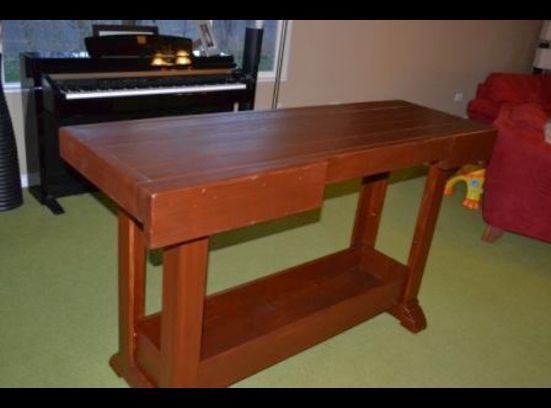
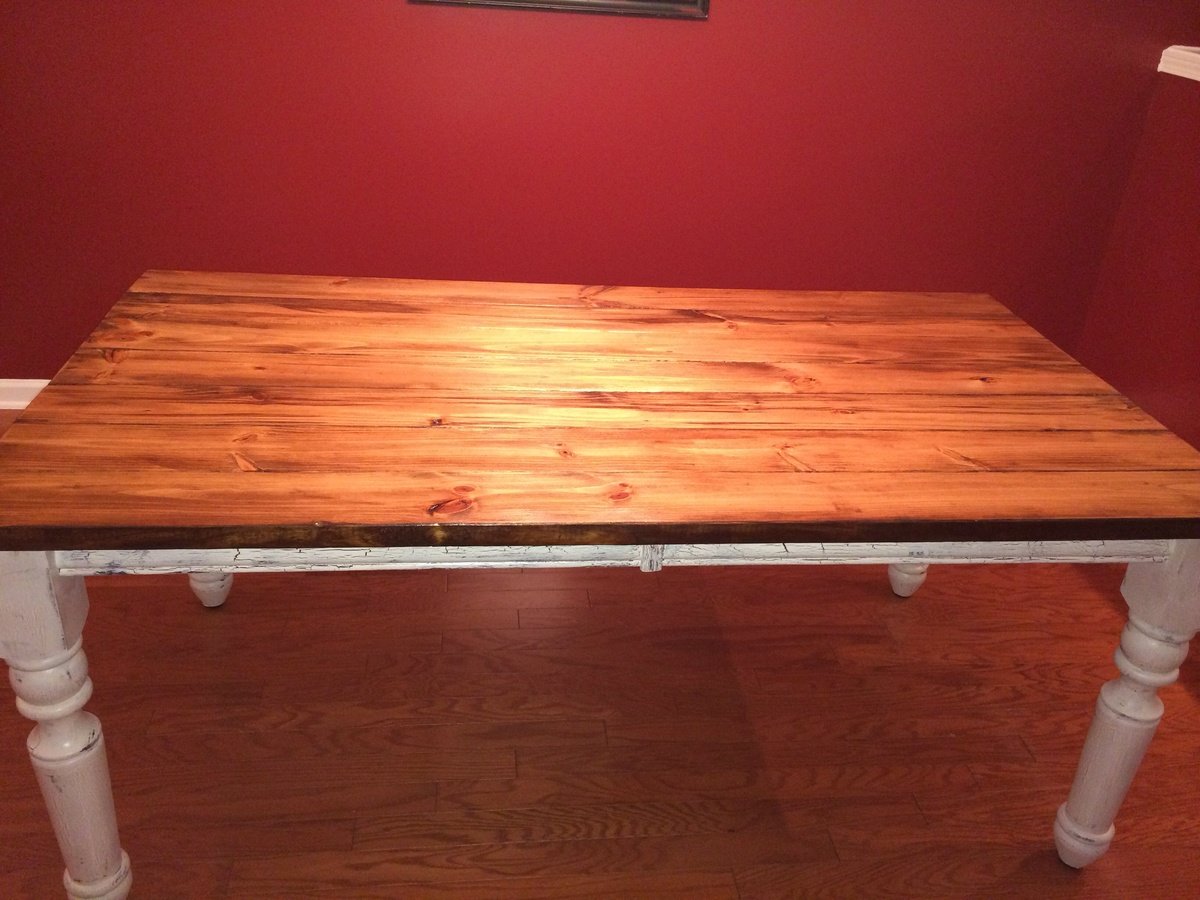
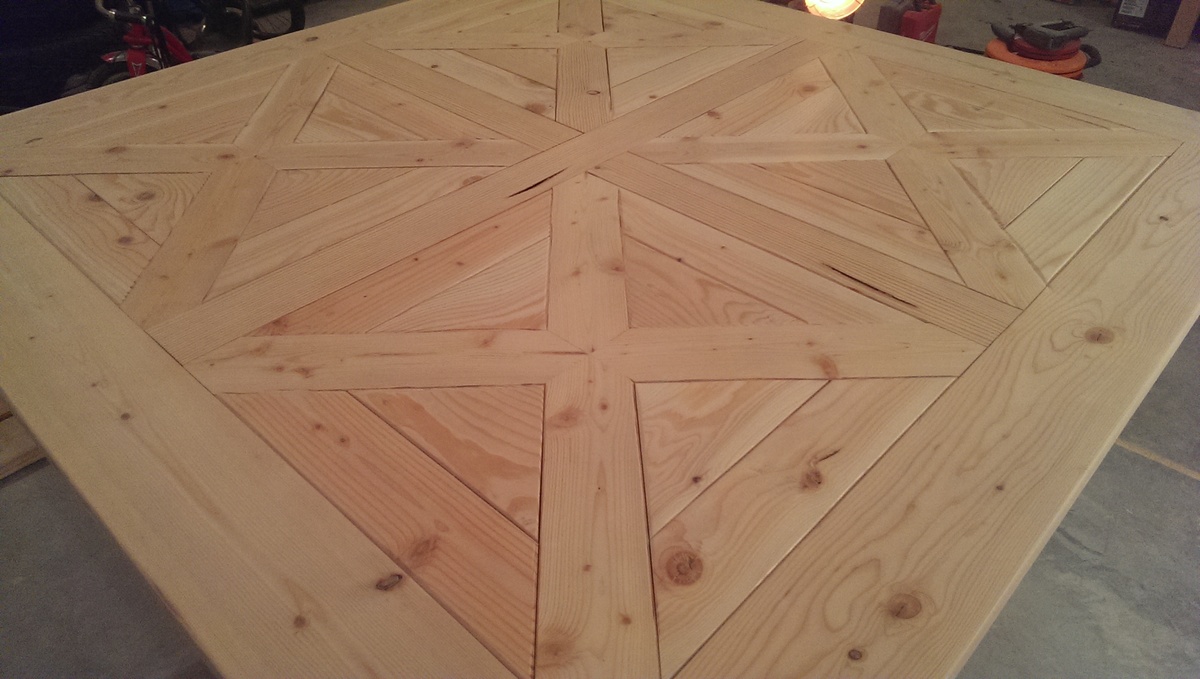
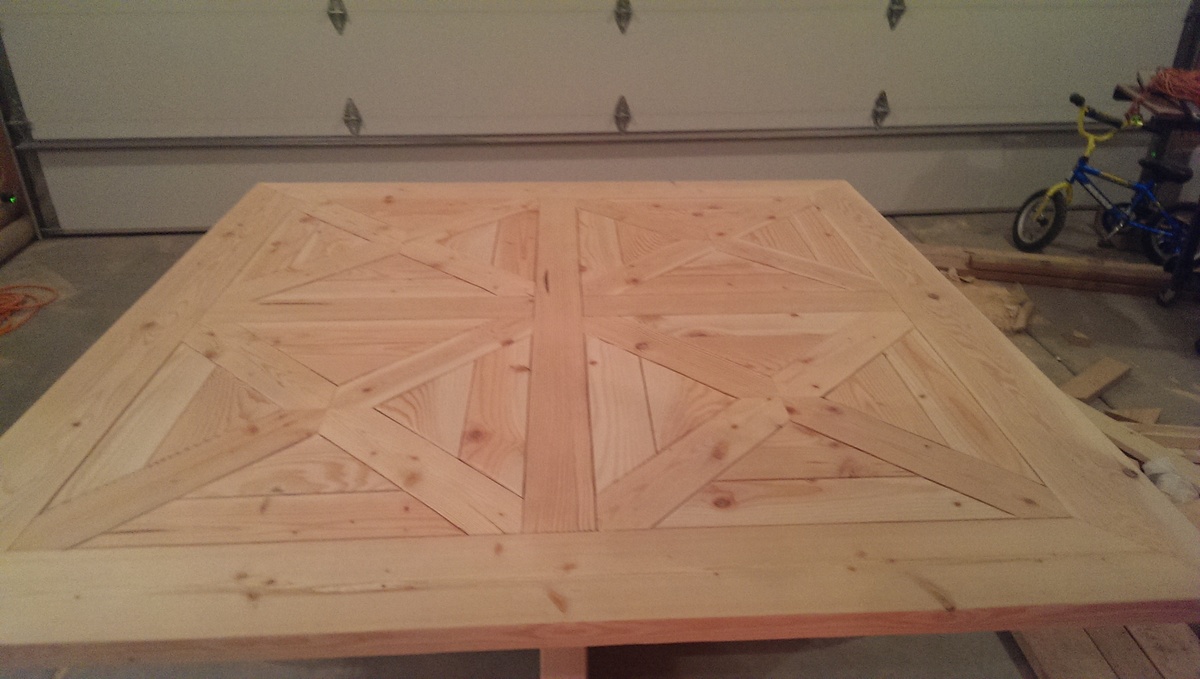
Stunning table and view!
Love this view and what a gorgeous table to go with it! Thanks for sharing.