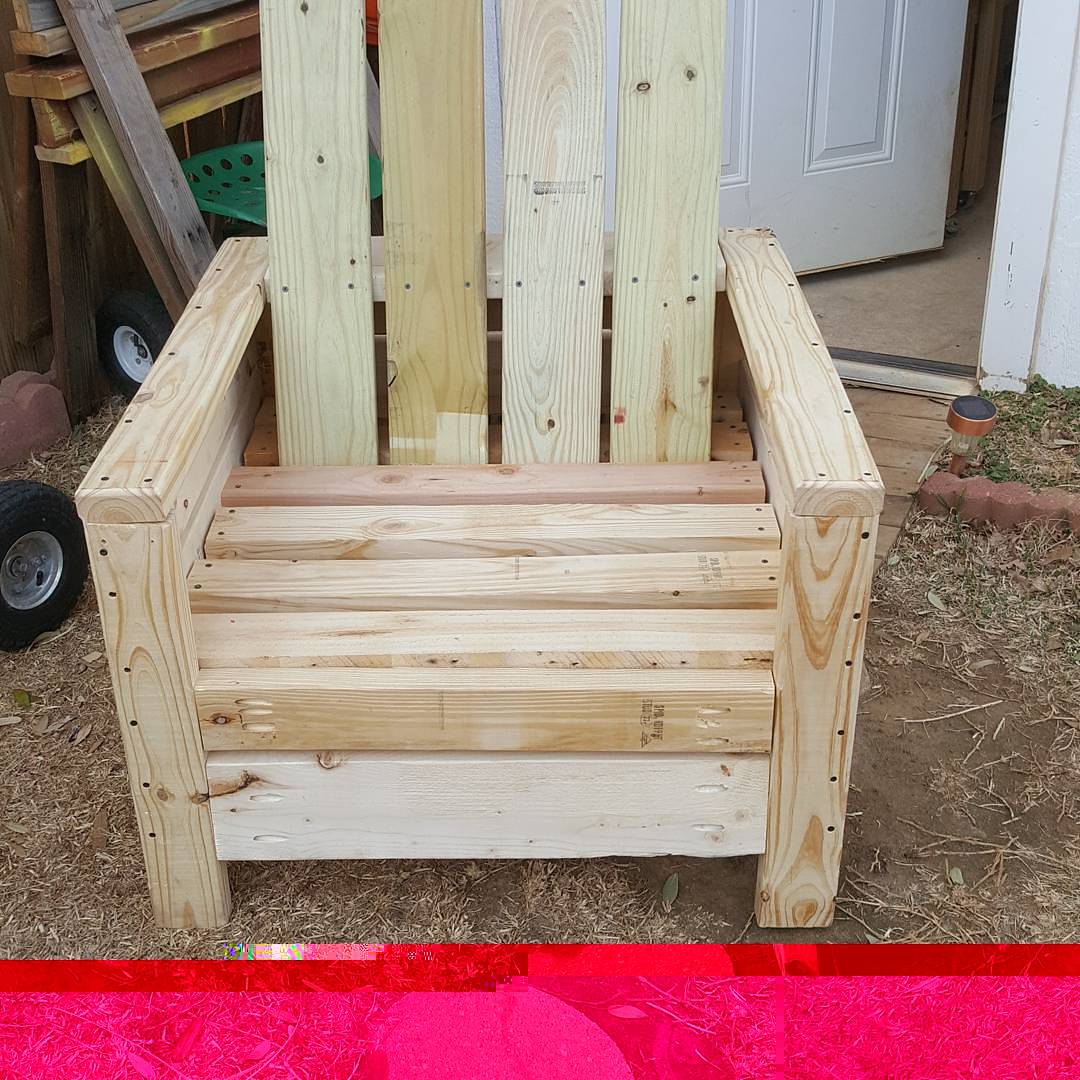
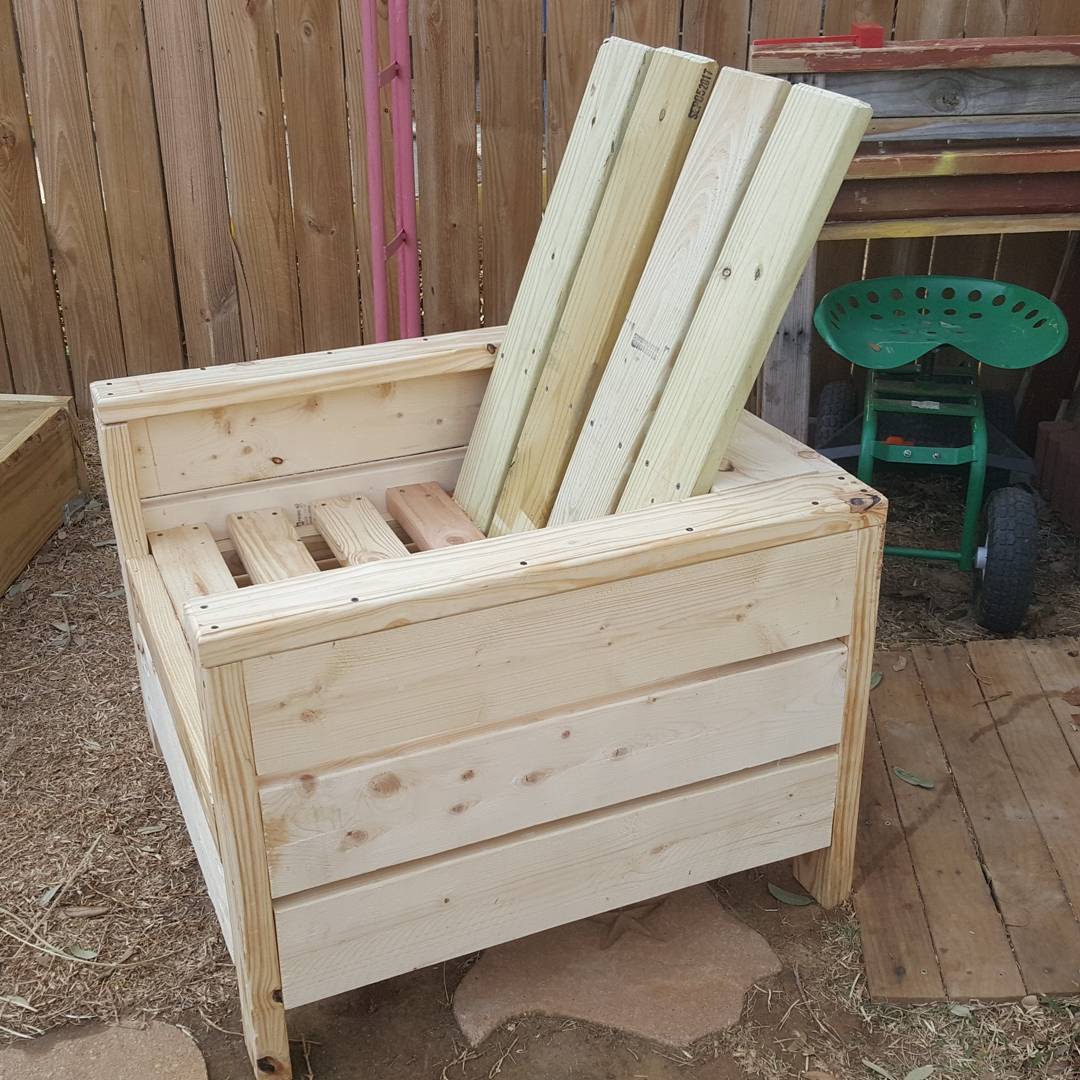
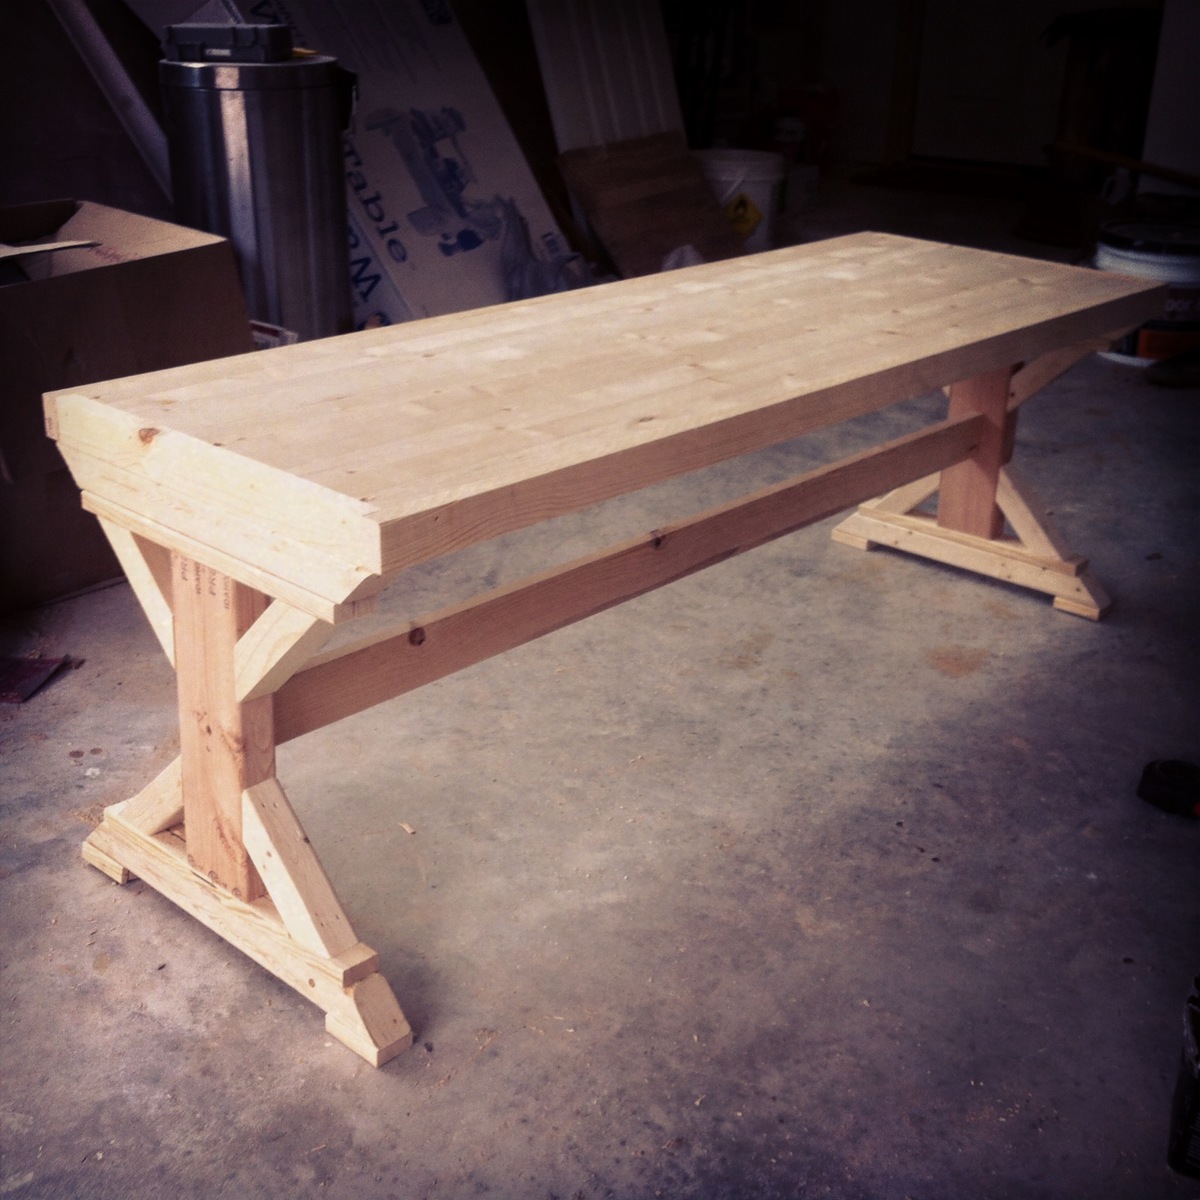
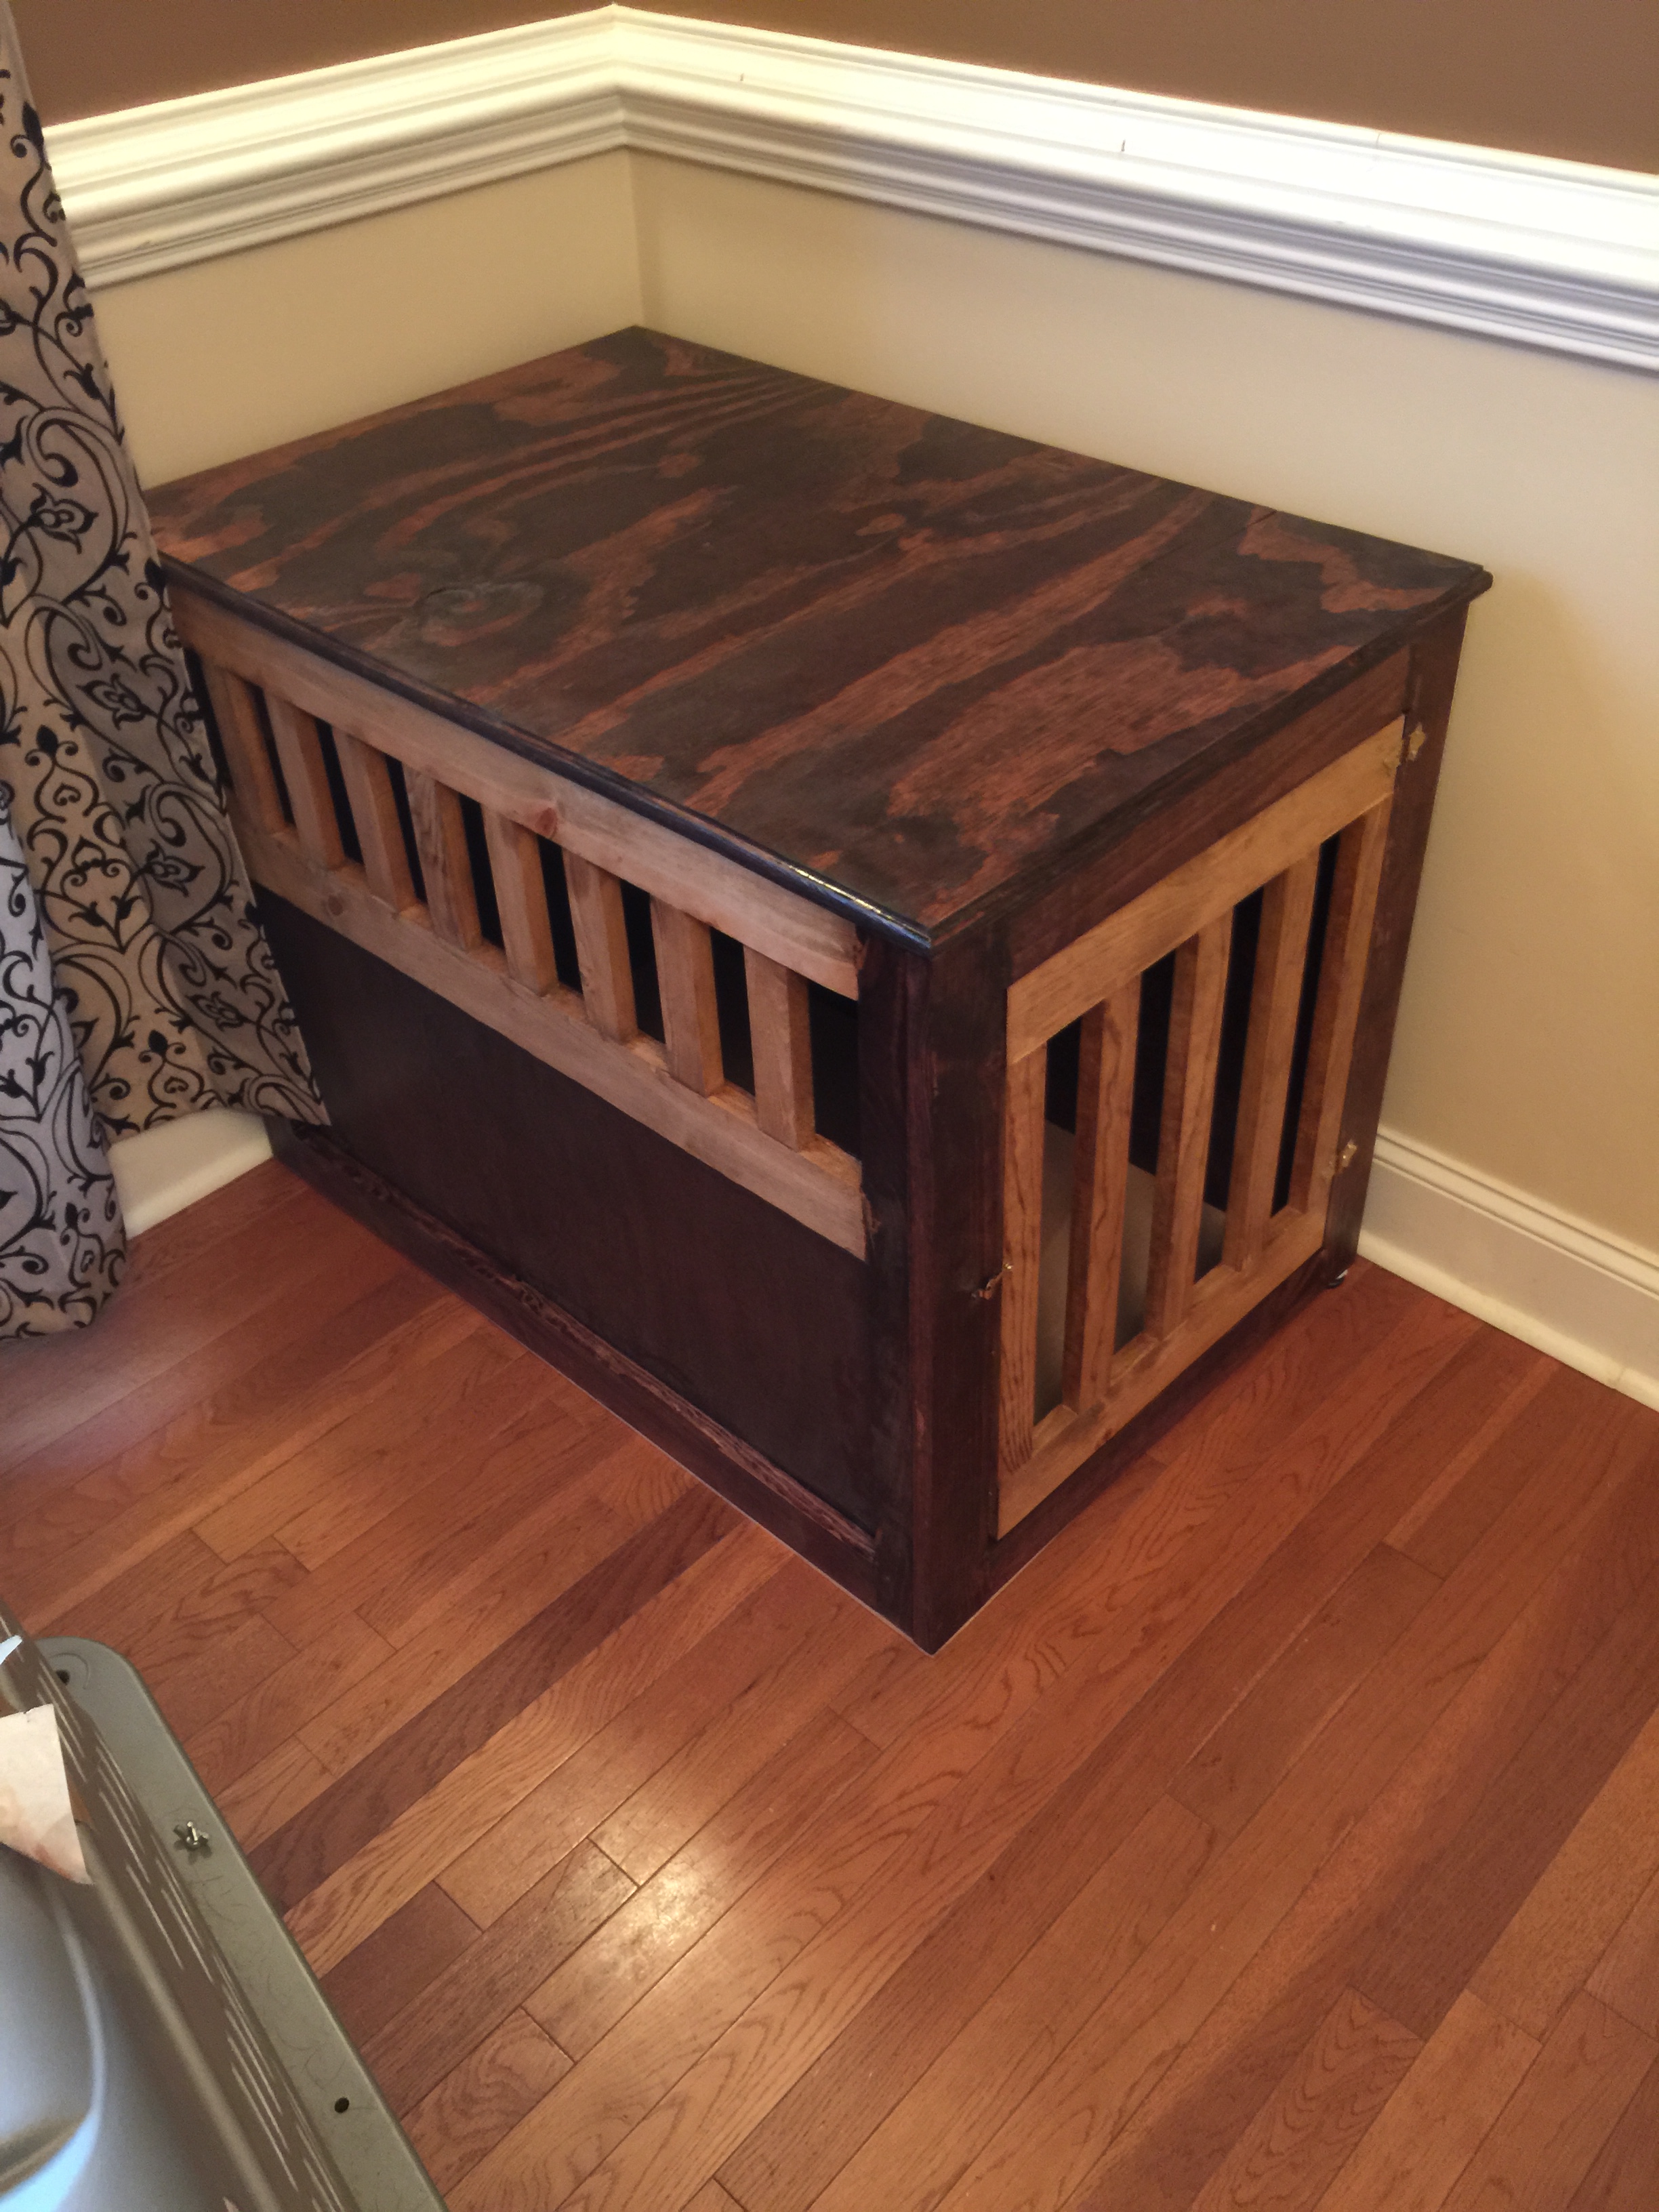
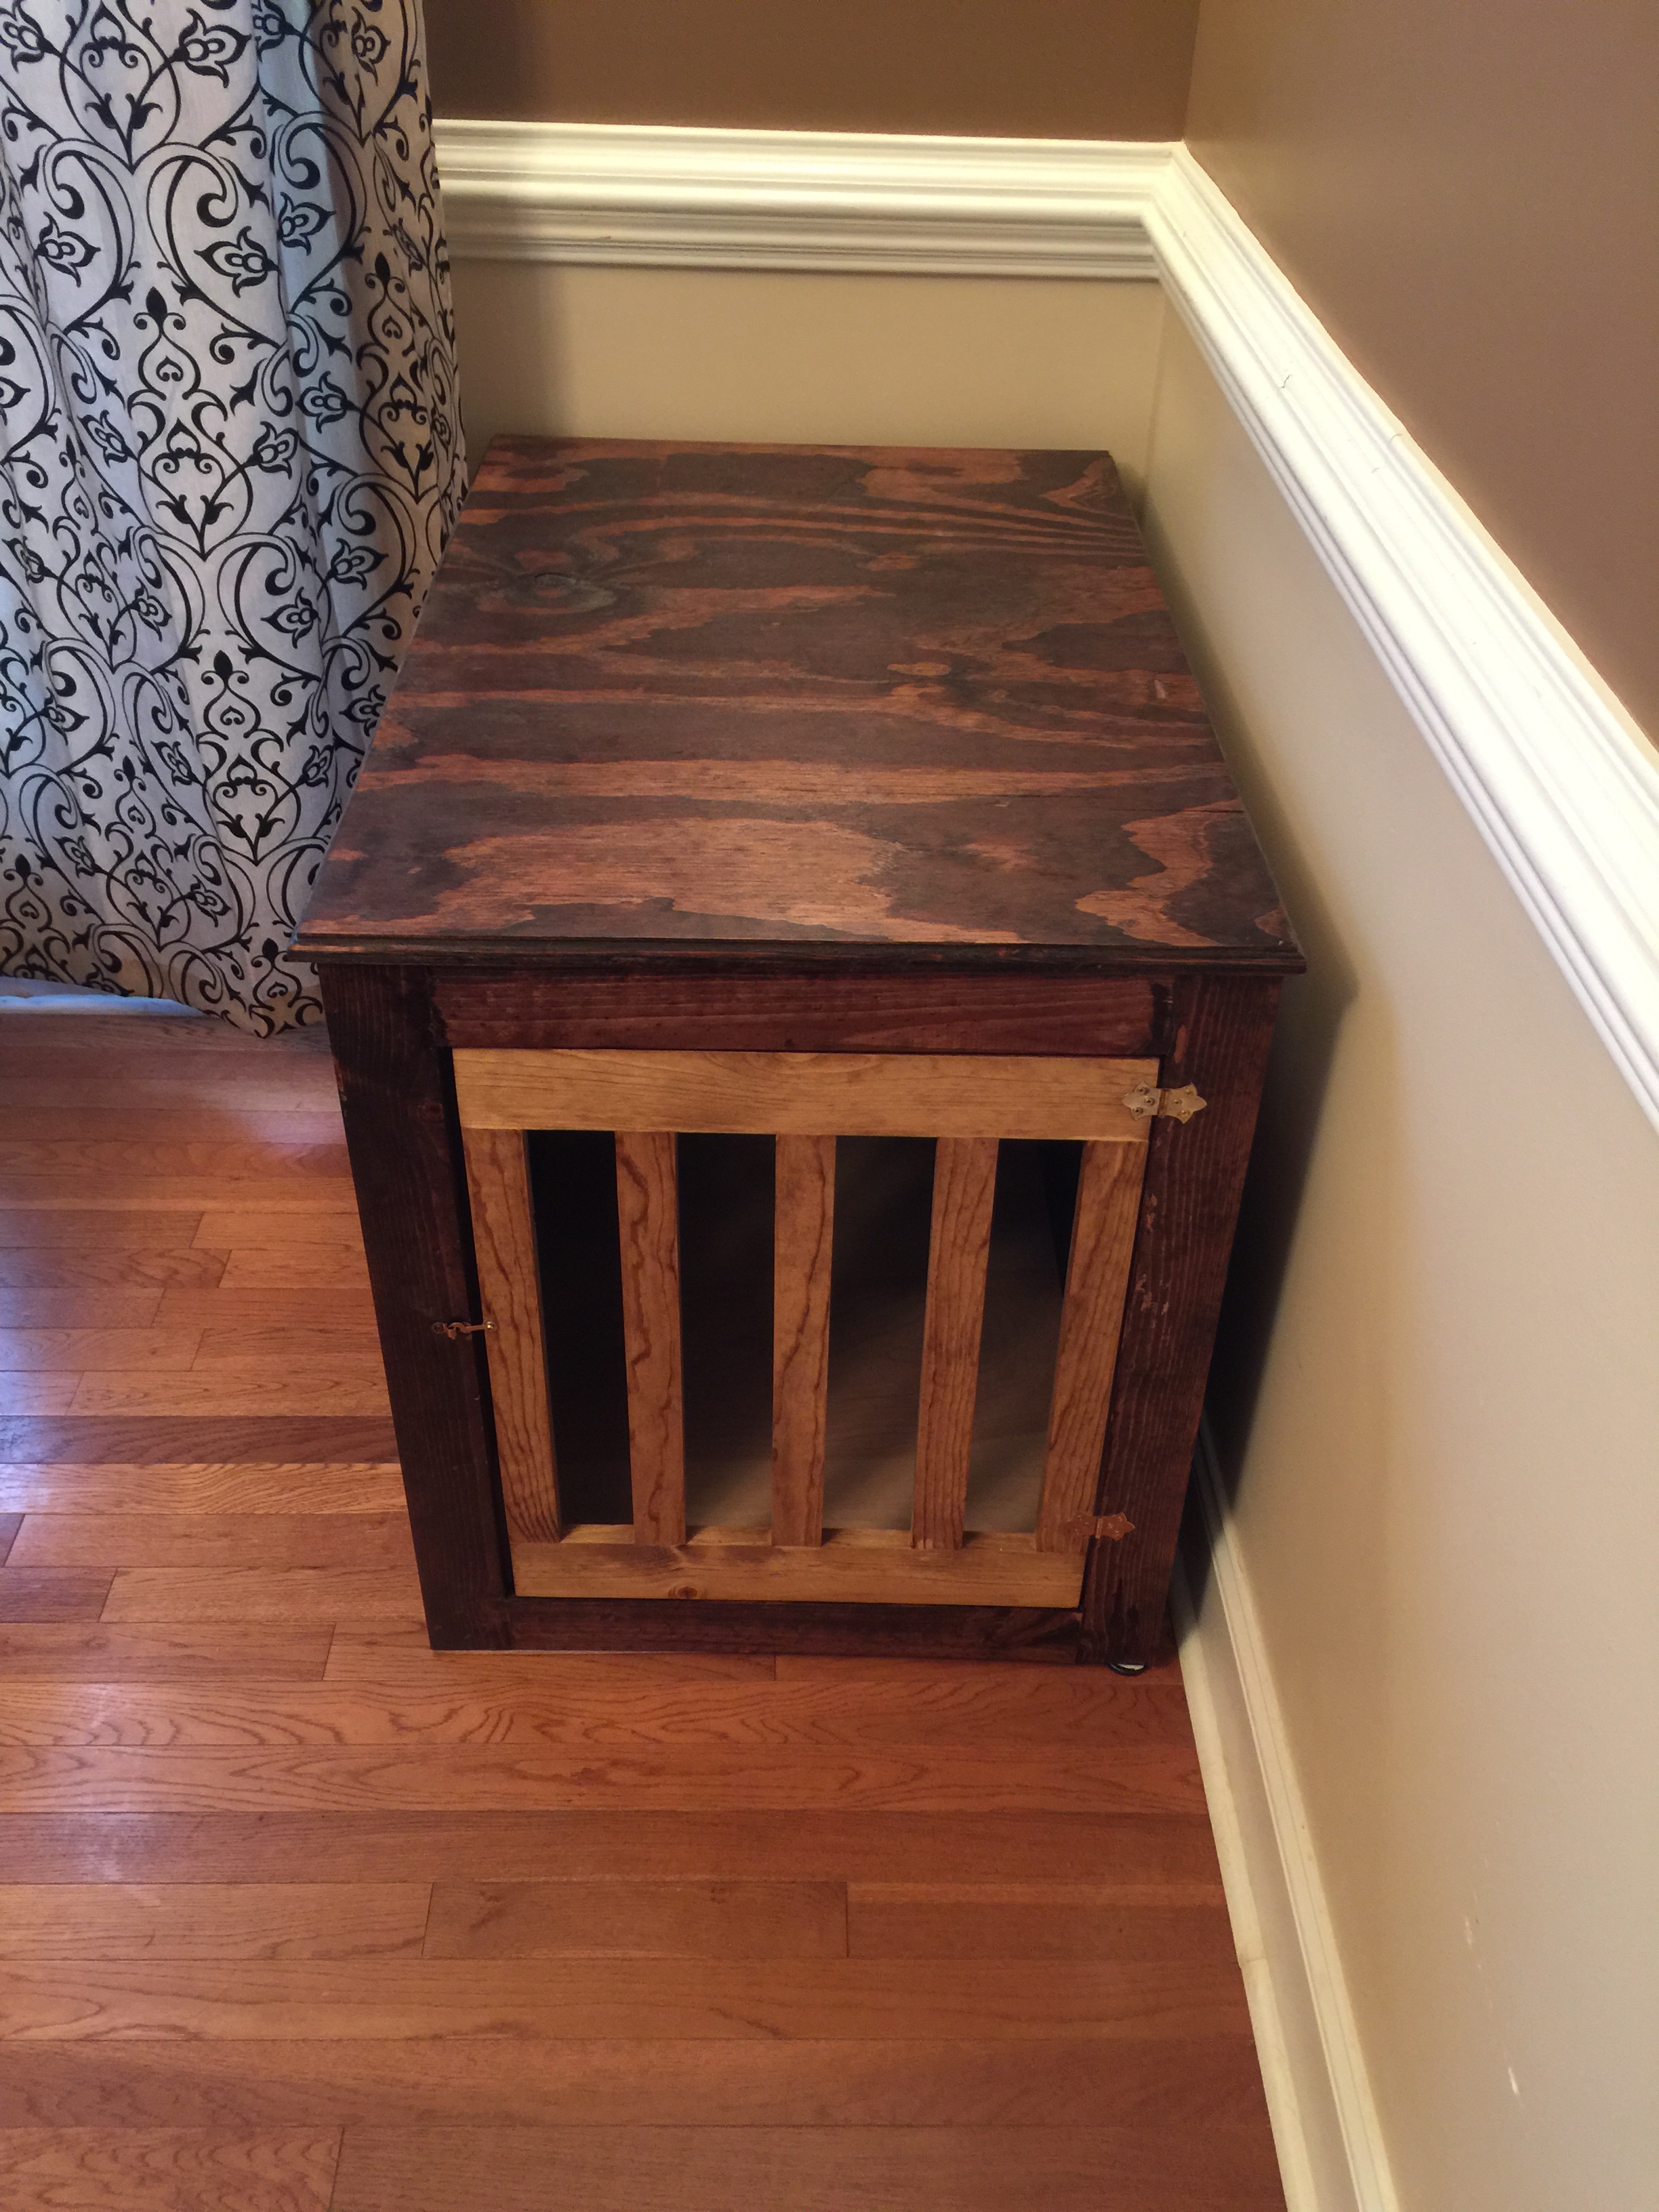
Community Brag Posts

Toy Box

Submitted by JustJ on Sun, 02/18/2018 - 07:13

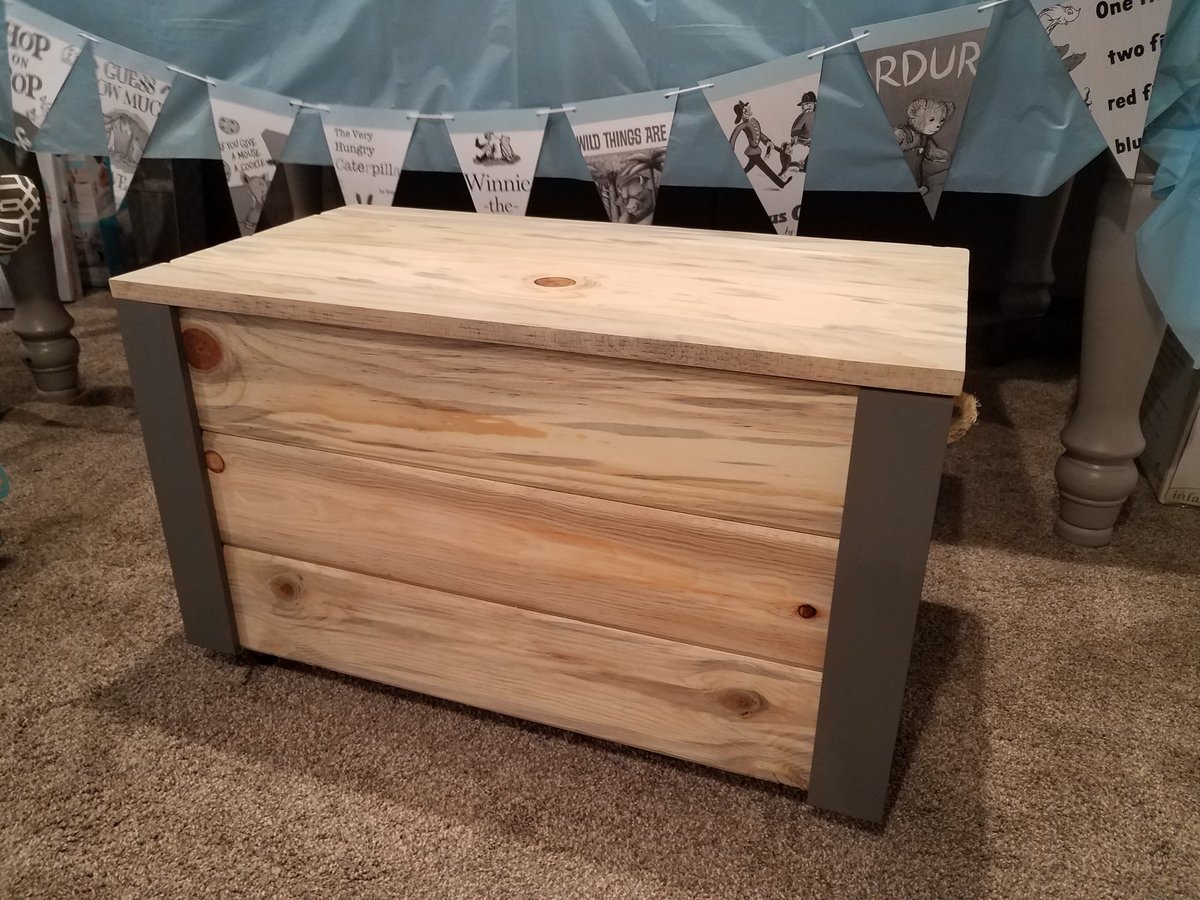
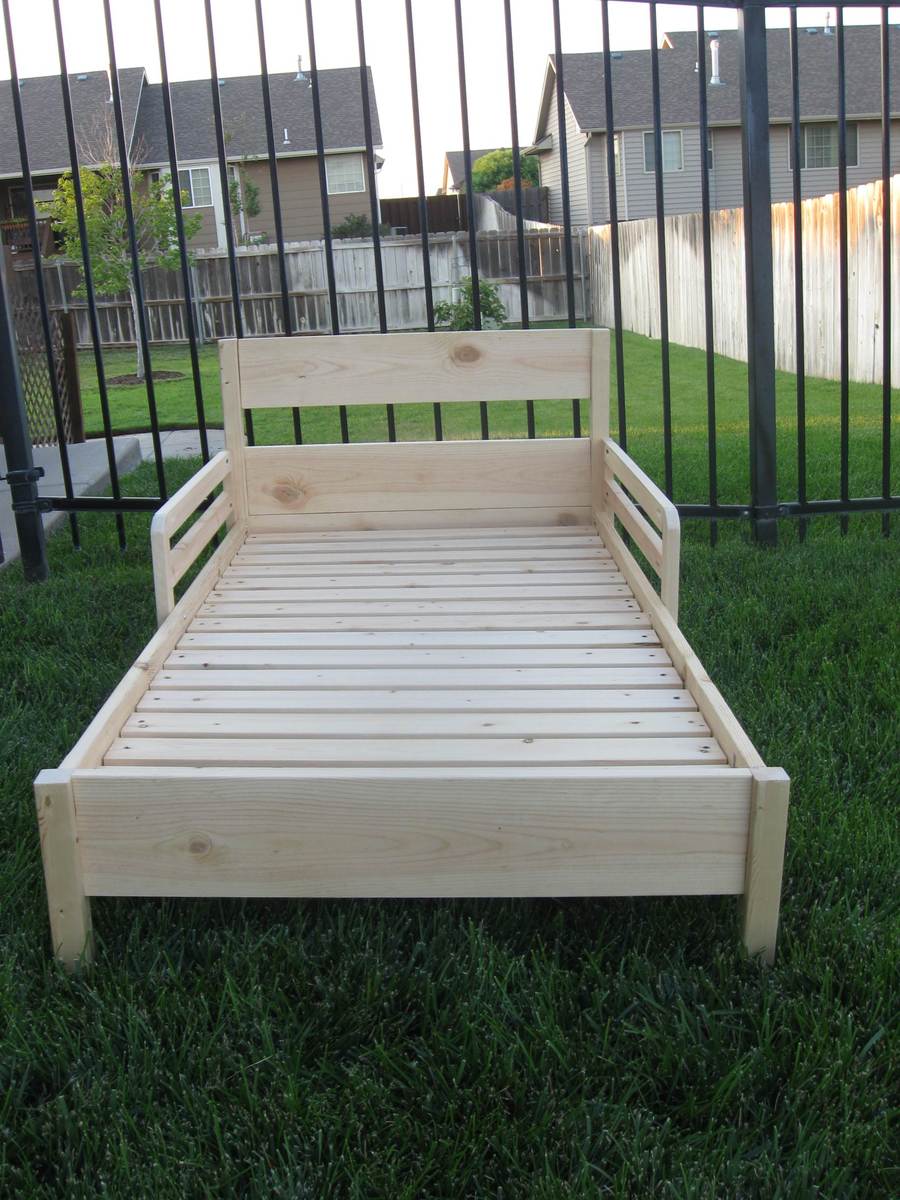
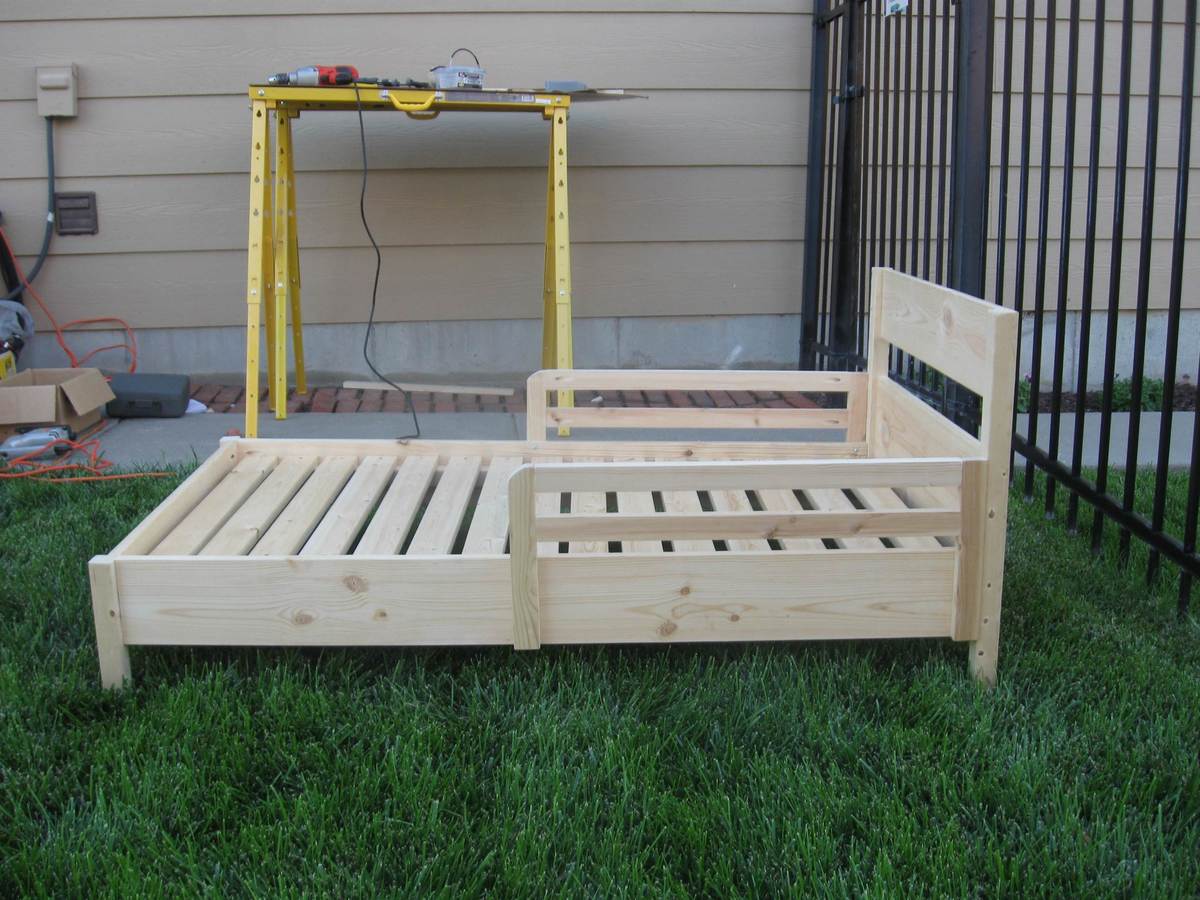
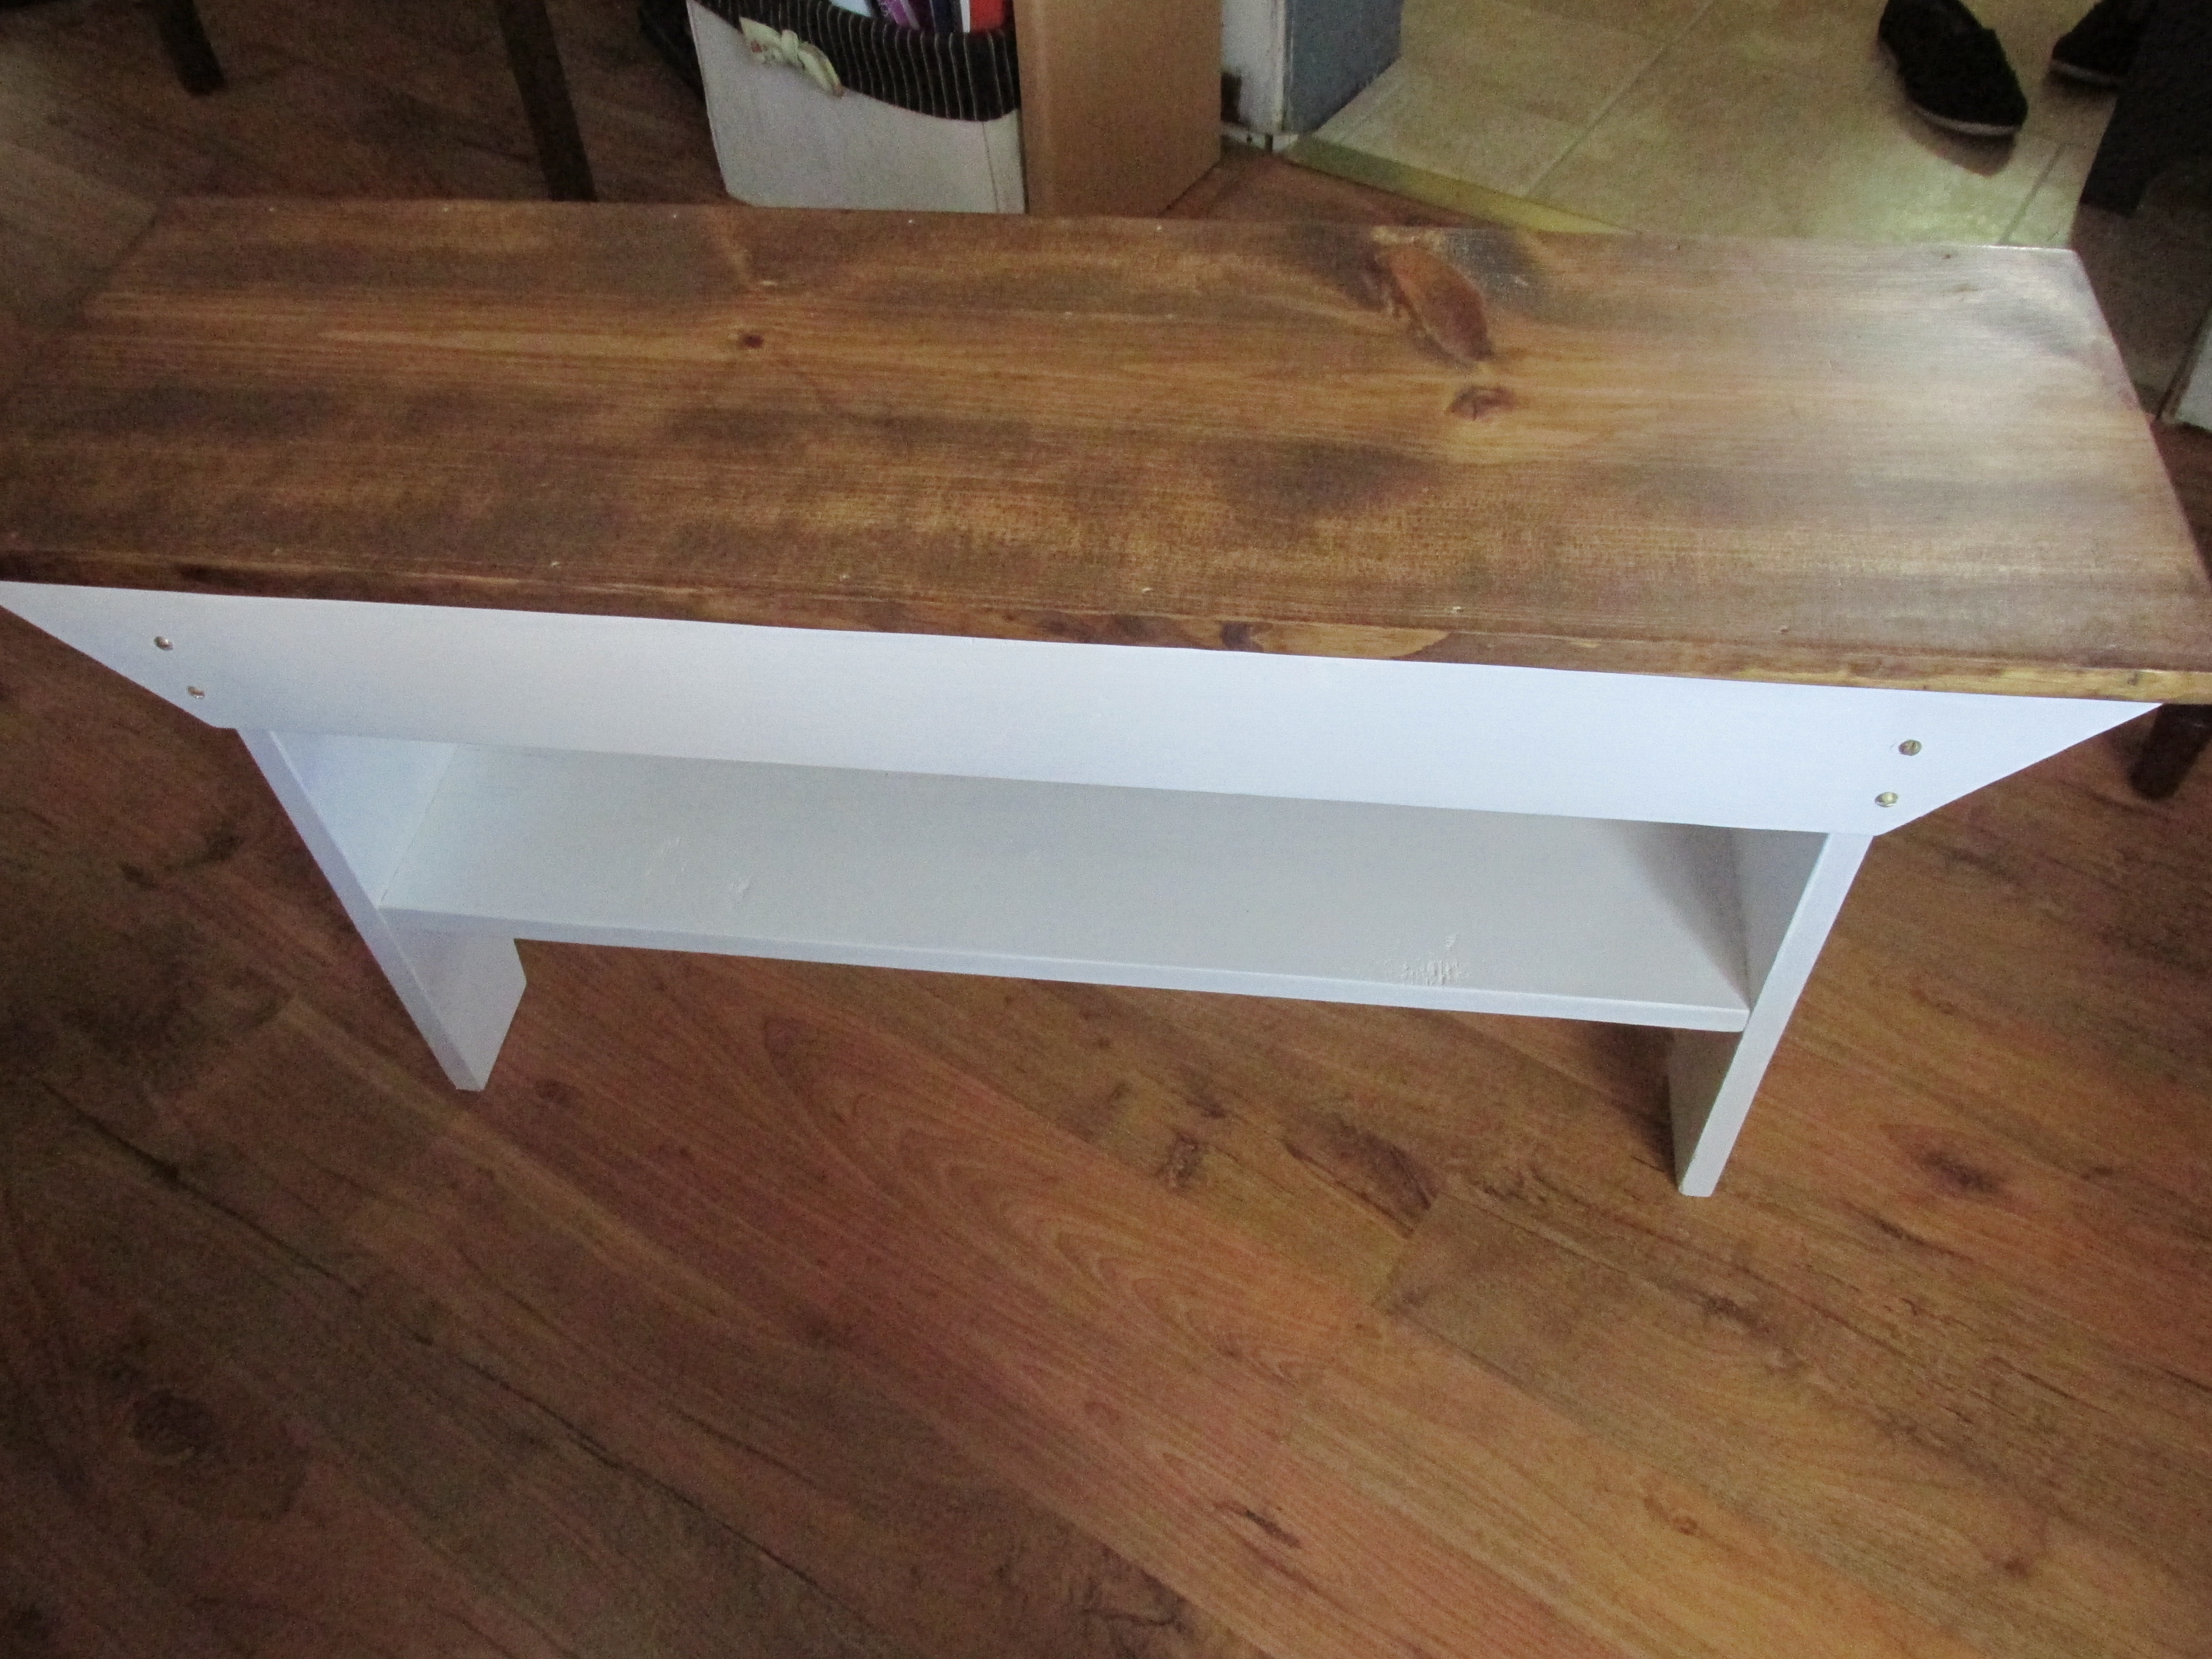
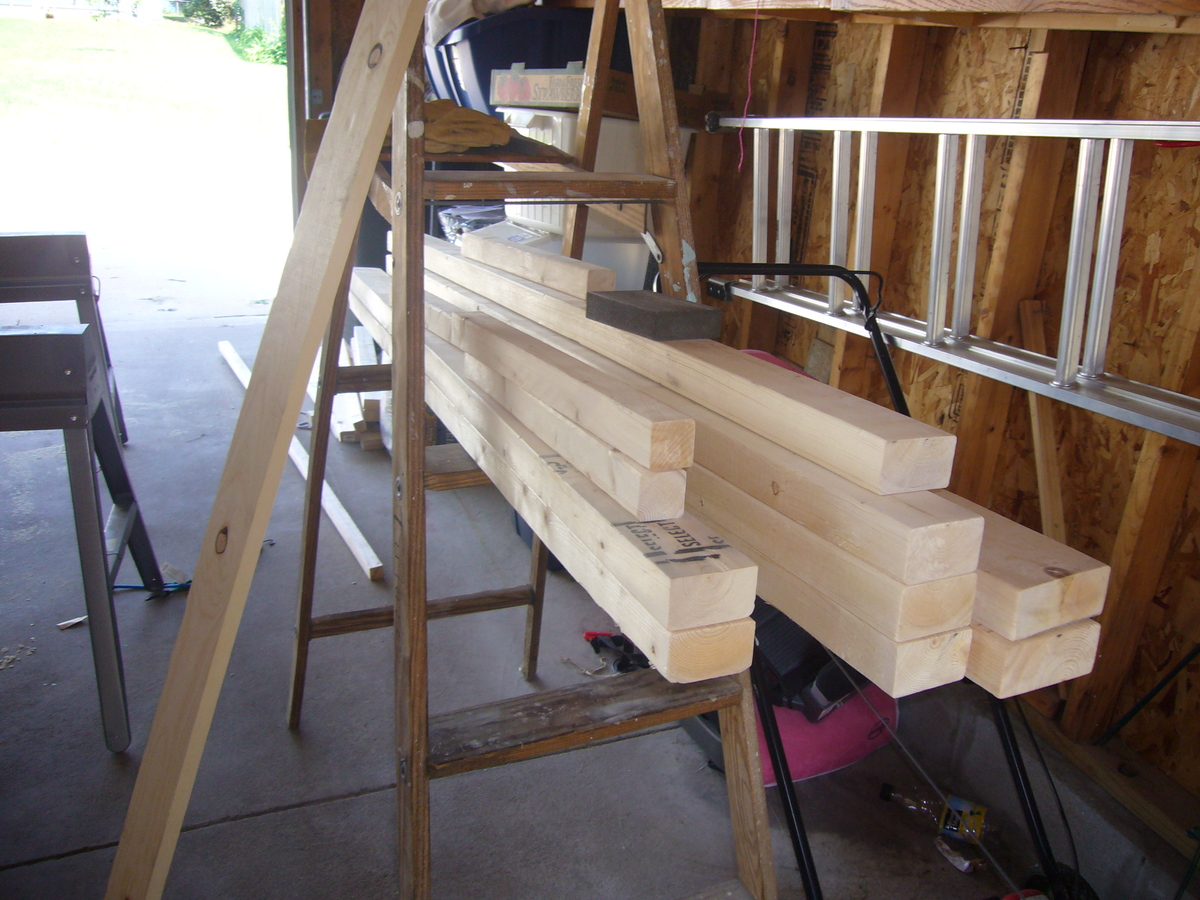
I used your basic plans,  but modified it to use some scrap wood I had from another project. I used blue stain pine,  tongue and groove. 

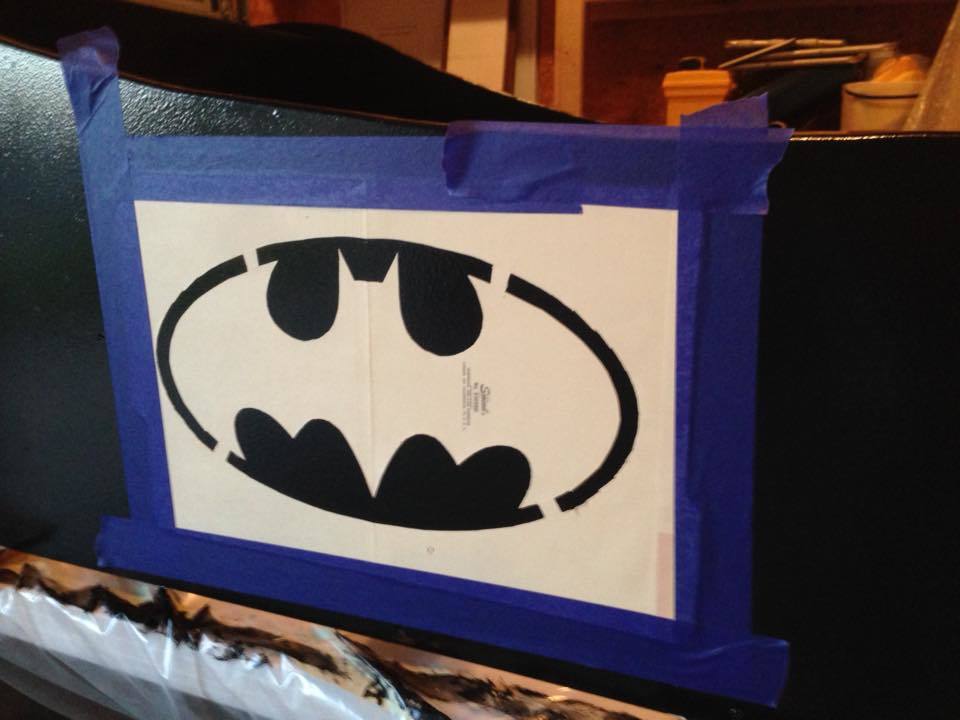
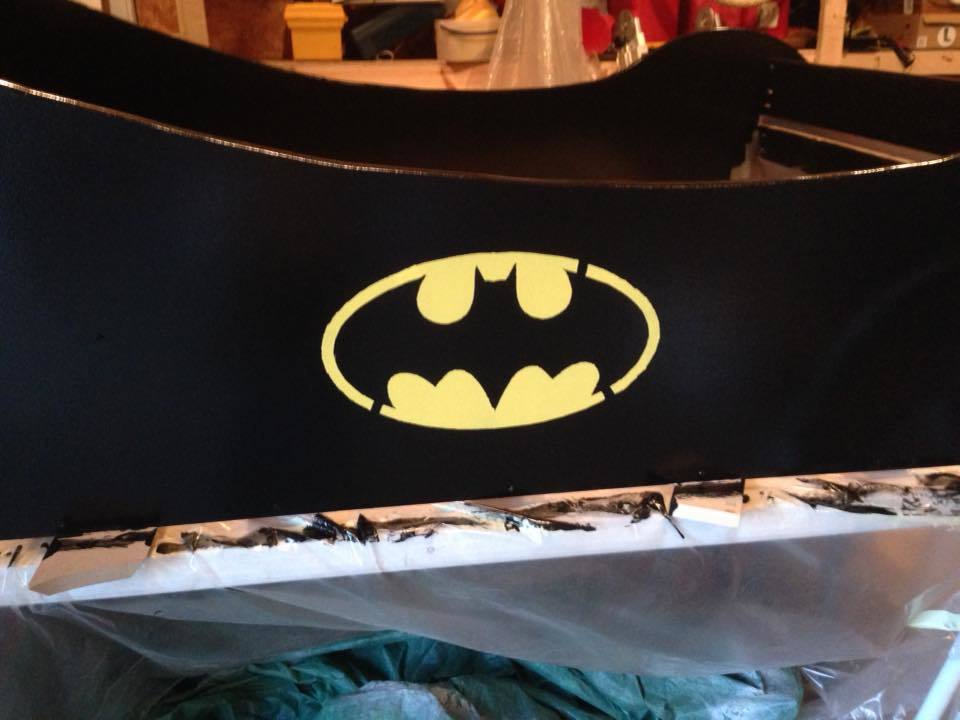
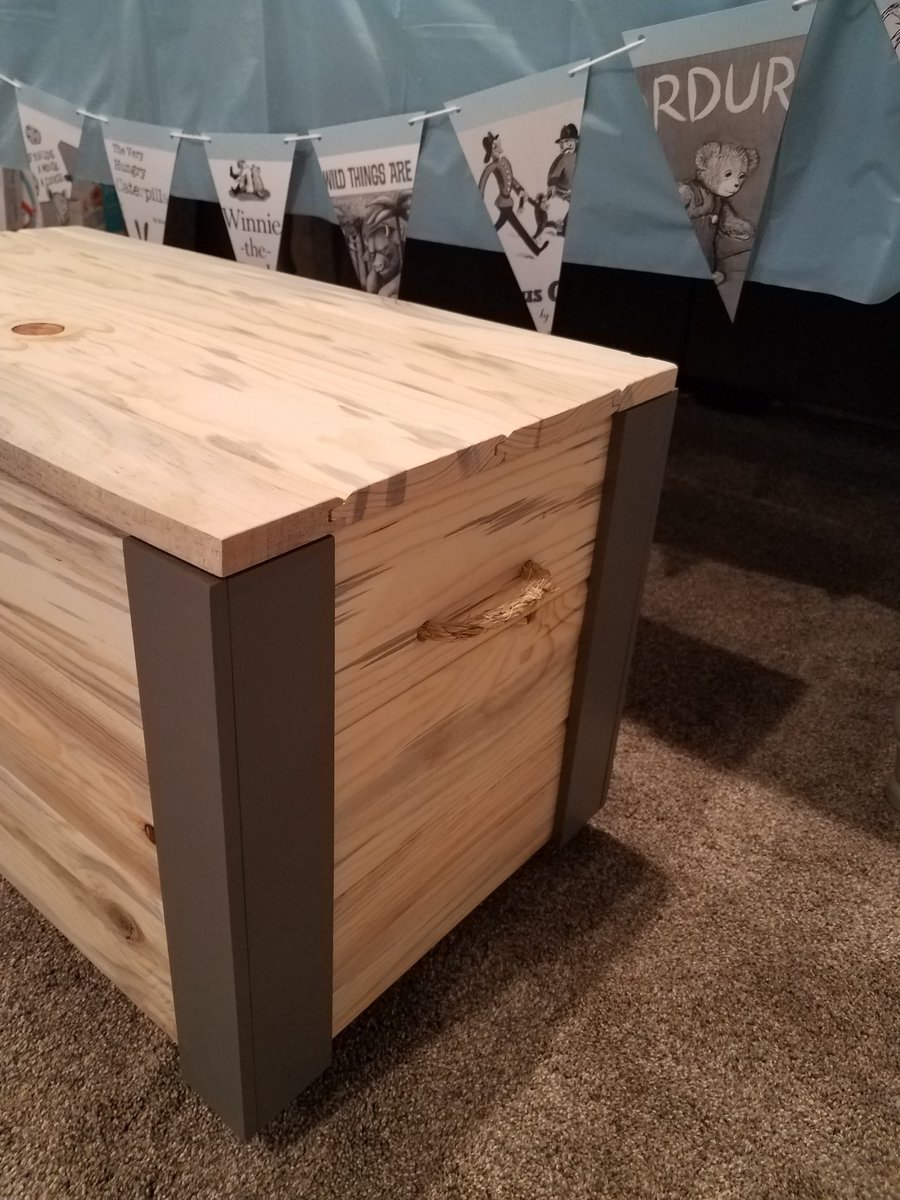
I made this toy box for my niece who is expecting her first baby (it's a boy).  I know she likes things clean and uncluttered,  so I added a lid, and then added some corner pieces to make it a little more juvenile. 

It was so much fun. 

Estimated Cost
If you have to buy everything, it's around $75.

I really only had to buy some hardware and rope, so it was minimal for me.
Estimated Time Investment
Afternoon Project (3-6 Hours)
Finish Used
Satin finish, poly coat.
Recommended Skill Level
Beginner

Doll Farmhouse Bed

Submitted by rcoulth on Thu, 03/31/2022 - 02:20

I made this for my granddaughter’s birthday. It was super easy, but it’s really big. I’d reduce size if I made it again. She said she can fit 2 dolls in it.

Comments

Hooray for the $10 ledge!

Submitted by kaleidiehl on Tue, 05/31/2011 - 20:05

This project was so EASY and it is just what I wanted over the entertainment area. We had some So excited that it came out so well and looks great! Thank you for such easy to follow instructions!

Estimated Cost
$8 (had some supplies on hand)
Estimated Time Investment
An Hour or Two (0-2 Hours)
Finish Used
Paint Brand: Ace Hardware
Color: Ace of Spades
Finish: Satin
Recommended Skill Level
Starter Project

Fort Bed

Submitted by CaseyM27 on Fri, 07/19/2013 - 12:57

We're in a rental and the rooms are a good size, but on the small side of good sized. Thought this would be perfect to give my 4 year old a little extra play space. I added three extra 2x2s to the guardrail, it was a bit short for my liking. Other than that, stuck to the plans. It seemed when putting together the ladder that we were missing a piece and couldn't figure where it was in the plans, but I just ran to the store so we could keep the ball rolling. We love it!

Estimated Time Investment
Day Project (6-9 Hours)
Finish Used
Black gloss paint
Recommended Skill Level
Starter Project

My Patio Chair

Submitted by Supertoy on Thu, 02/22/2018 - 20:09

I used 2x4 and 2x6's on this project. I am a larger woman so I wanted it to be very strong... and wow is it strong! I also routered the edges on the arms. I love it and it really does sit comfortable. Next I want to make a footstool for it. Thanks Ana for making these plans available to me. 

Estimated Cost
Roughly $30.00
Estimated Time Investment
Weekend Project (10-20 Hours)
Finish Used
I used Miniwax Polyurethane two coats.
Recommended Skill Level
Beginner

Bookcase Surprise!

Submitted by Anonymous (not verified) on Wed, 04/06/2022 - 17:17

We began by collecting books and encyclopedias from thrift stores that were donated but the store was discarding. My husband cut them down to about 1 inch. After painting a 4X8 sheet of plywood black, we glued them in a pattern we liked. He cut faux looking drawers attaching them to the lower portion of the "bookcase". The center section actually opens for storage. Not willing to pay $20 for each of nine handles, hubby got dowels, sprayed them silver and made our own: for $2.00 total!! A strip of tape lights (which are actually white but photographed purple for some reason) with a remote runs across the top, and battery puck lights from the Dollar Tree light up the center shelves. The magic happens behind the books as they pull down to reveal two twin Murphy Beds. Purchased the kit for the beds online. Awesome for extra guests, but out of the way when used as an office. And only takes about 12 inches of room from the wall. In the last picture, we applied the same idea to hide a hallway door leading to a store room. Lots of picture taking and rave reviews from all who see these fun projects.

Comments

Music Stand for RoRo

Submitted by drkellie on Sat, 06/04/2011 - 12:32

My husband's a music teacher and I had to build him this for our fifth wedding anniversary! I was looking and thinking about what to get him for a long time...then, I looked up what the "traditional" gift is for the 5 year mark. Wahoo, wood! Since I started dabbling into making things after discovering Ana's site last Fall, I thought, well no problem! Ha! Well, I had 2 evenings to build this thing with 2 toddlers helping me :-). I used the base of the stand from the plan for the Coat Tree. Then, I designed the top using the letters "R" & "R" for RoRo (what I call my Hubby). The top was cut using a jigsaw. Everything else, either a mitre or circular saw. The hardest part was affixing the top to the stand. Argh! Angles, drilling, messing up, argh! Somehow, it's put together and holding up, lol! Might I mention that when I first started building things, my hubby's first request was for a music stand. Well, there you go RoRo! Happy Anniversary!

Estimated Cost
$15
Estimated Time Investment
Day Project (6-9 Hours)
Finish Used
rich cherry stain after sanding and using steel wool for smoothing out after the stain
Recommended Skill Level
Beginner

Traditional Toddler Bed with a few changes

Submitted by GhostLake on Mon, 07/22/2013 - 10:26

This was basically my first ever wood working project. It didn't turn out perfect but I had fun doing it and my daughter likes it too! It isn't done yet, still need to figure out the color of paint I'm going to use.

Built from Plan(s)
Estimated Cost
~35 for lumber, Kreg jig, screws, paint additional
Finish Used
Not finished yet.
Recommended Skill Level
Beginner

Comments

My first DIY

Submitted by momncrew8 on Thu, 07/30/2015 - 07:54

I built this bench in one afternoon and did the finishing work on the other. Tools used were a handsaw, jigsaw, Kreg Jig Mini and electric sander.

I modified the plan to use 10 inch lumber for the sides so that it would fit in the space where it would be used. Overall length was increased to 30 inches. Most of the wood was already on hand, but a 12"x4' piece was purchase for the top (instead of reclaimed pieces)

Bottom shelf was joined with the Kreg screws. Aprons were fastened with brass screws. The top was put on with finishing nails.

Estimated Cost
$15
Estimated Time Investment
Day Project (6-9 Hours)
Finish Used
Minwax "Early American" for the top and Krylon Cover Maxx for the white (bottom). Entire piece was finished with paste wax.
Recommended Skill Level
Starter Project

Comments

Sliding Barn door TV Console

Submitted by Anonymous (not verified) on Wed, 04/13/2022 - 05:20

This is my favorite plan that Ana provides! It's easy to modify and adjust to different sizes. Thank you Ana!

Built from Plan(s)

Comments

Dress Up on Wheels

Submitted by tatifl on Mon, 06/06/2011 - 14:13

I've wanted to make this dress up storage since the moment I saw it; I planned to do this as my first building project. I finally got around to getting all the supplies and then I asked my father to assist me since i never really built anything like this before - well, he's not a patient man and he ended up building the whole thing without me (boo!) ... but I at least got to paint it! I absolutely love it and it looks fantastic in my girls' playroom.

Estimated Cost
$50
Estimated Time Investment
Afternoon Project (3-6 Hours)
Recommended Skill Level
Beginner

Comments

Garden bench

Submitted by Tamra on Wed, 07/24/2013 - 14:51

I used Ana's garden bench plan and had a blast finishing this project. The plans are well thought out and finished very square and sturdy. I altered the depth of the bench to 18 inch seat supports as I am short and felt the 24" span would leave me feeling like Edith Ann. (This also required shortening of the armrests to 24") I also was inspired by an abandoned headboard that had nice detail and some Oak spindles. My son, bless his heart, carried it on his back about 6 blocks so I could make this. (He knows how to stay on my good side.)
I spent more time painting the project than cutting out the boards. I prepainted all the pieces before assembly. I wanted it to withstand the Wisconsin weather so I diligently primed it and then did two coats of outdoor latex paint. I elected to tint the primer as I was not sure how much paint I might need. One quart of Zinsser 123 primer and one quart of Dutchboy Maxbond semi gloss paint in plum mauve was enough. The dark paint is Rustoleum spray paint in purple. If I thought it was cost effective I might have spray painted the whole thing but it was summer and I didn't want to deal with the fumes. Of course, I picked the hottest two weeks so far this year to do this project. My sewing room became my painting station.
The width is close to 62", seat height 20" and seat total depth is 22". I trimmed about 3" off the leg post of the headboard.
I am eager to pick another project from Ana's plans.
My cost is higher as I had no scraps to work from and needed all the screws and paint. I also bought $90 in cordless tools and some collapsible sawhorses. All of these items I will use again for other projects.

Built from Plan(s)
Estimated Cost
$75.00
Estimated Time Investment
Weekend Project (10-20 Hours)
Finish Used
Semi Gloss exterior paint Plum Mauve over Zinsser 123 primer. I tinted both paints the same color. I spray painted the spindles purple, then protected the spindles by wrapping them in plastic wrap and then just taping it in place. It is not perfect but I like the details.
Recommended Skill Level
Beginner

Comments

spiceylg

Thu, 07/25/2013 - 05:02

Great job of recycling and incorporating it into a new build. Had to laugh at the Edith Ann reference. I did the same recently with a couch my hubby and I have on order as it's quite deep. Ha, I'm not sure Ana and those in her age group will get the reference. I, on the other hand, thoroughly enjoyed it!

Batmobile full Bed

Submitted by bbcarey on Mon, 08/03/2015 - 10:12

My son had a 'lightning Mcqueen' toddler bed- but we needed to get him into a little bigger bed.  We had a spare full bed, and Batman is his current favorite... Since there aren't Batman full race car beds- time to start planning and building from sketchup!  Took me about 2 weeks of evenings (after the kids go to bed) and about $110 in materials.  The model is available in the sketchup warehouse at:

https://3dwarehouse.sketchup.com/model.html?id=u6b750a53-37a4-4d52-9d31…


For the wheel covers I ordered online at Amazon for $25 for a set of 4.

For the Wheels both HD and Menards make a 18" wood table top for ~$7 that I just cut the middle out  with my router to fit the wheel covers.

The slats to hold the bed (made to fit both box spring and mattress) were just 1x4 pine boards from menards.

The body was made from 3/4 MDF, though you could of course use plywood. 

I used a projector to project the image from sketchup onto the board to get it transferred- else it would have been 50+ pages if printing..

For the logos I just used a minila folder as my stencil and cut out the logo.  Needed to touch up the 'tabs' to hold the logo in the circle after pulling off the stencil.

Estimated Cost
$115
Estimated Time Investment
Week Long Project (20 Hours or More)
Finish Used
High gloss Latex paint.
Recommended Skill Level
Intermediate

Comments

In reply to by Ana White Admin

bbcarey

Fri, 01/29/2016 - 21:18

I give you credit when people ask how I got started in woodworking because until I found your site and my first project (library cart) then 2 helper stands for my kids and other friends kids and it just went on from there. The skils taken from this site and learning Sketchup have brought a lot of nice furniture to our home as well as a sense of confidence to me!! Thank you!

MoxieMan13

Sat, 09/12/2015 - 19:10

My son really wants this and I promised him that I would make it.  Do you have a PDF or anything of the outline of the batmobile?  Thanks! 

Woodlandfox

Sun, 02/21/2016 - 14:29

Thank you so much for the greatest idea ever!  We stumbled on this and believe it will be the perfect next bed for our son, however, we cannot download any of the files.  Do you have a PDF of the measurements or any other form you can upload so we can make this bed?  Thanks in advance!  Great work!

SDonahue9807

Tue, 12/06/2016 - 07:23

I apologize if I am just missing this, but... do you have step by step instructions on building this bed? I see the pictures of each part and its corresponding dimensions, but I cannot located instructions on assembling the bed. 


Thanks!

Triple cubby inspired part 2

Submitted by willowpond on Sun, 03/04/2018 - 15:13

I started with the triple cubby design, resized it to fit my space, made it desk height (30"), added shelves and doors.  It was my second project based on the triple cubby.  In the process I used a multitude of Kreg items - the rip cut, the pocket hole jig, the hinge jig, the cabinet knob jig, and the corner clamps.  Next up:  queen size drawer bases for my son's bed.

Estimated Cost
Domestic birch plywood (very high quality) - $70; moulding - $10; hinges - $33; cabinet knobs - $8
Estimated Time Investment
Weekend Project (10-20 Hours)
Finish Used
White latex paint
Recommended Skill Level
Beginner

Christmas Tree Shelf

Submitted by Anonymous (not verified) on Thu, 04/21/2022 - 12:17

Ana, here is one of five Christmas Tree shelves I have built. Very easy to make, great gifts.
Al

Built from Plan(s)

Comments

Simple Outdoor Lounge Chair in Coral.

I built this chair for my sister. I added small 2X2 support for the front legs and the arm rests because the pocket holes split. It was a little tough building this one since I had to rely on the HD staff's cuts, which are not always exact. But I'm happy with how it turned out, and my sister loves it too!

Estimated Cost
$40
Estimated Time Investment
Day Project (6-9 Hours)
Finish Used
3 coats of paint, and will be putting poly on soon.
Recommended Skill Level
Beginner

Comments

Guest (not verified)

Sat, 06/25/2011 - 15:17

These chairs look great! I got all my wood cut and ready to build two of these chairs and went to access the plans but have found they disappeared. Anyway they could be reposted?

Wedding Guest Book Bench from Modified Fancy X Bench

I was honored this past March to be Matron of Honor in one of my best friend’s wedding, and as a gift to the happy couple I made them a guest book bench. I wanted this one to look extra special. I started out with Ana White’s Fancy X Bench plans and made a couple of modifications. I reduced the overall length to 54″ to sit at the foot of a bed or under a table, and used only 2 pedestals instead of 3. To make the top better for signing, I decided to substitute the planked 2×6′s for a pine 3/4" thick “hobby board” that was 15″ wide, purchased at Lowes. I framed it out with some 1×2′s to make it look chunkier. Once it was built I gave it three coats of white semi-gloss latex, and then drew up the art for the center. It’s the same font used on the wedding invitations. I wish I had thought to take a photo of the signed bench at the wedding! But I was a little bit busier at the moment. I’m really proud of this pretty little bench. As I received in one of the messages on my own wedding bench, I hope it sees the butts of many friends for years to come!

Built from Plan(s)
Estimated Time Investment
Afternoon Project (3-6 Hours)
Finish Used
three coats of white semi-gloss latex. As it was going to be signed with paint pens, I left it unsealed for the bride and groom to seal later
Recommended Skill Level
Intermediate

Comments

brookifer86

Sat, 07/27/2013 - 09:15

I design the art in Adobe Illustrator, though I'm sure word would work just fine too. Then I print it out at the size I want (tiling the pages if I need to and taping them together), tape it down in place, then trace over the letters with an unclicked pen to make an indention in the wood. I use that to fill in with paint. Here's an old tutorial I made about it http://www.killerbdesigns.com/wrapping-it-up/ . Though I skip tracing the back with pencil now, it's just a redundant step.

Linda7

Tue, 08/05/2014 - 15:24

Brooke, it's over a year since this post, so I hope you'll see my reply. I built a wedding bench for a dear friend's daughter using your mods for Ana's plan. Thanks so much for the details, especially on your blog. It was a big help, since I don't wing anything! The bride loved her guest bench. I am posting on Ana's blog if you'd like to see it. Thanks again.

Large Dog Crate

Submitted by bkis1969 on Sat, 08/08/2015 - 13:43

I built this crate in about a week (a few hours at a time). It is big enough for my Lab but too small for my Rottie. It needs to be about 6 inches wider and three inches taller. Inside dimensions on this one were 23" Wide x 35" long. I will post pics of the next one when complete. Thanks Ana!

Estimated Time Investment
Weekend Project (10-20 Hours)
Finish Used
Stain, Polyurethane
Recommended Skill Level
Beginner