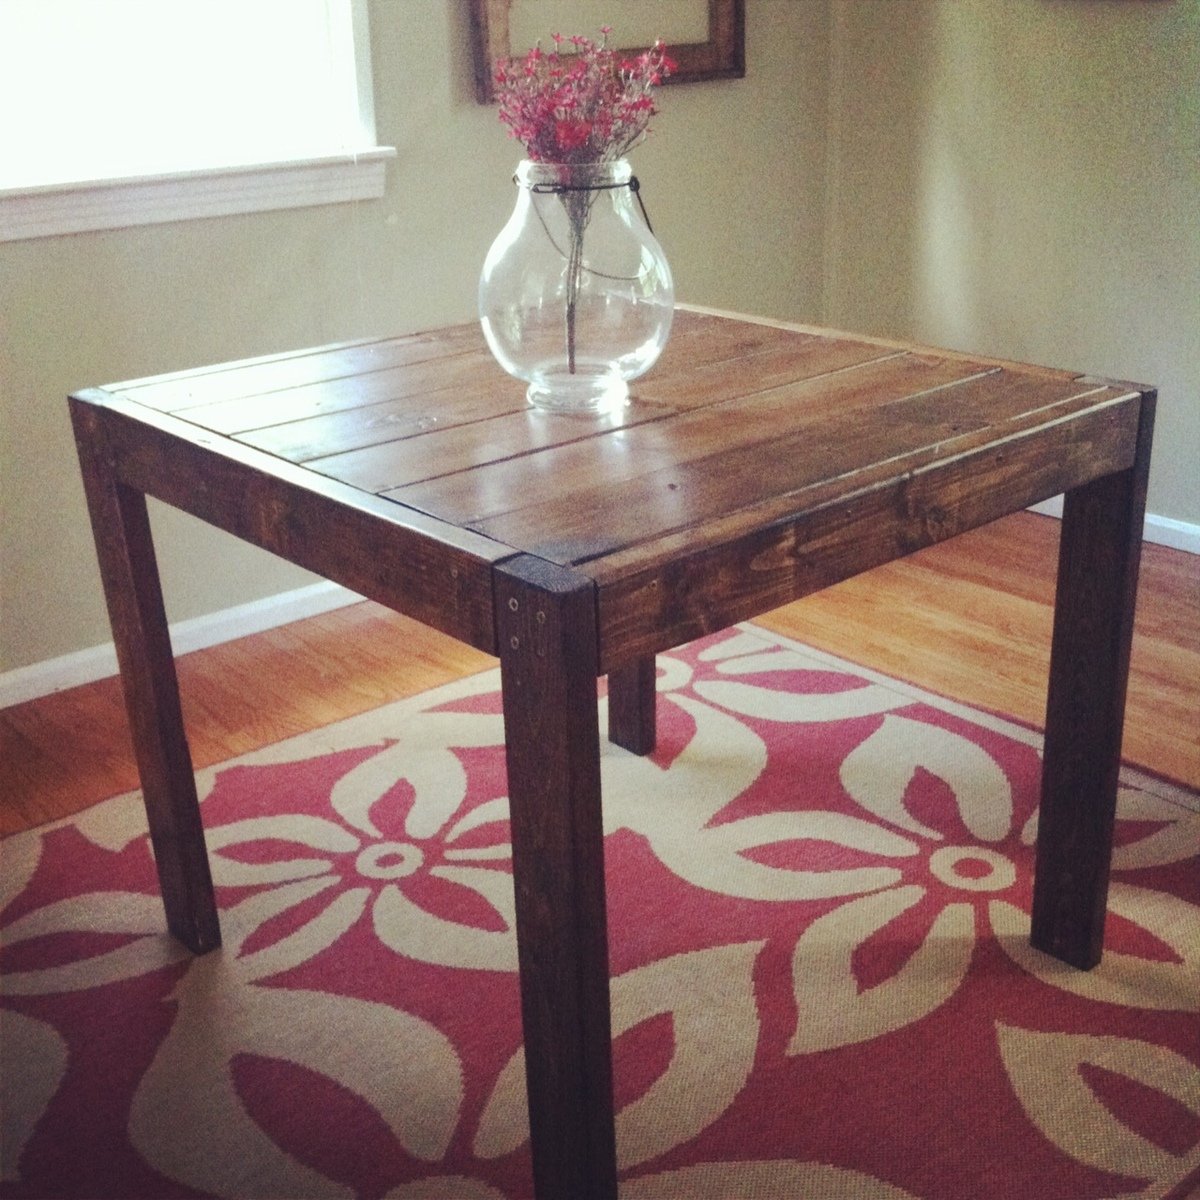
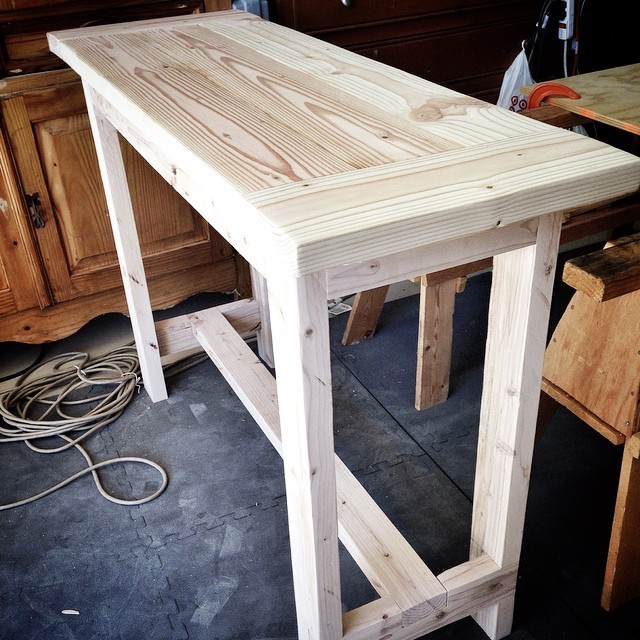
LARGE FARMHOUSE TABLE
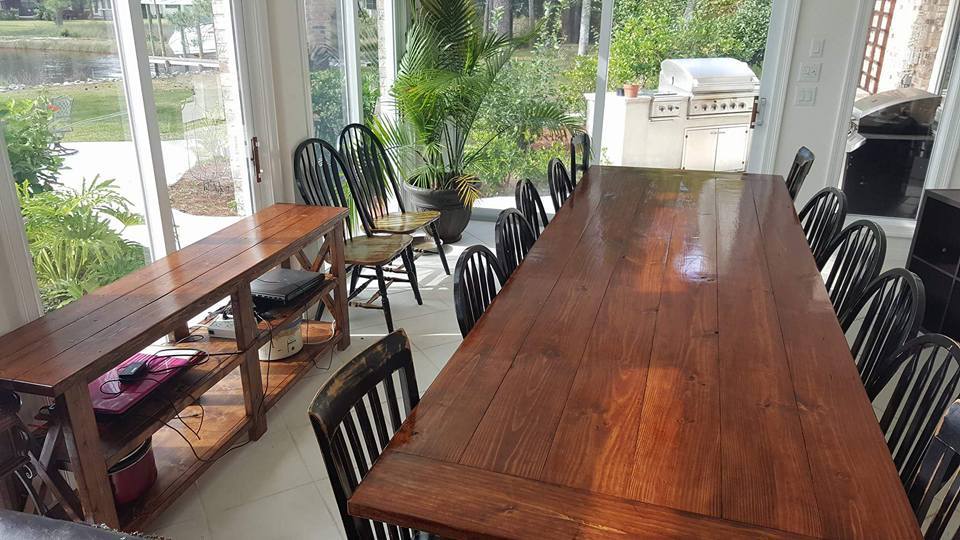
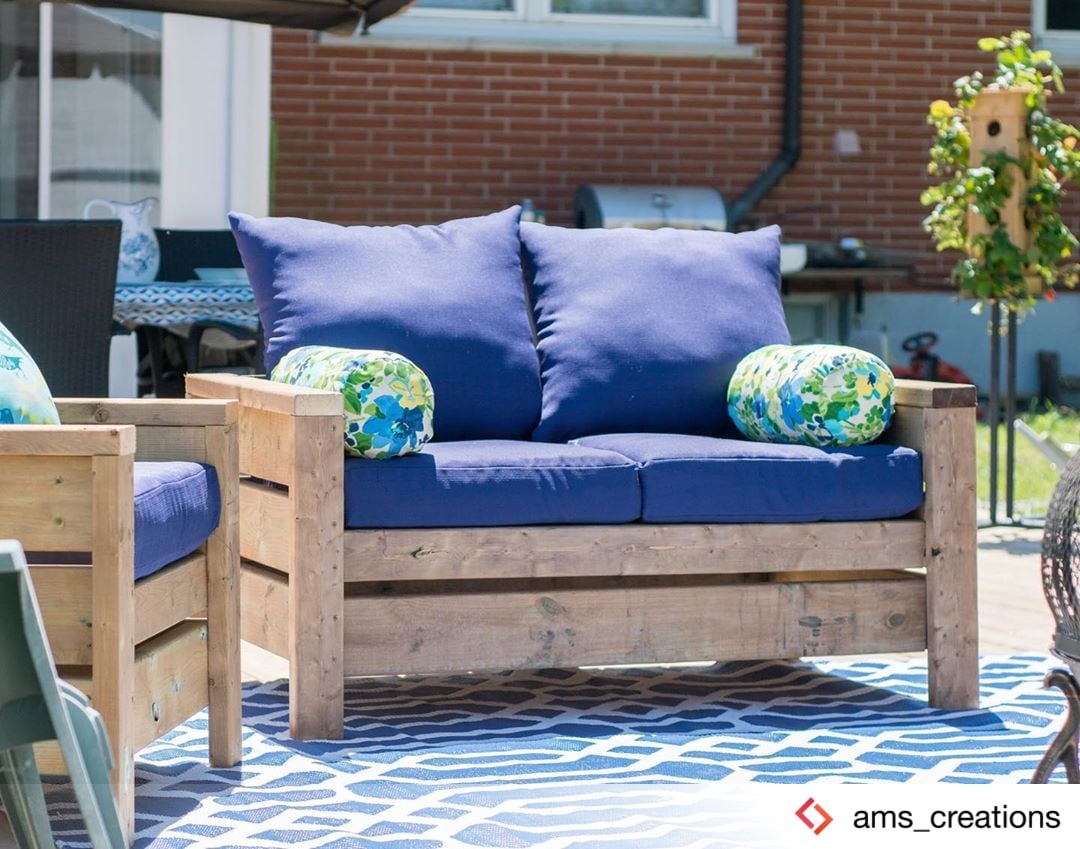
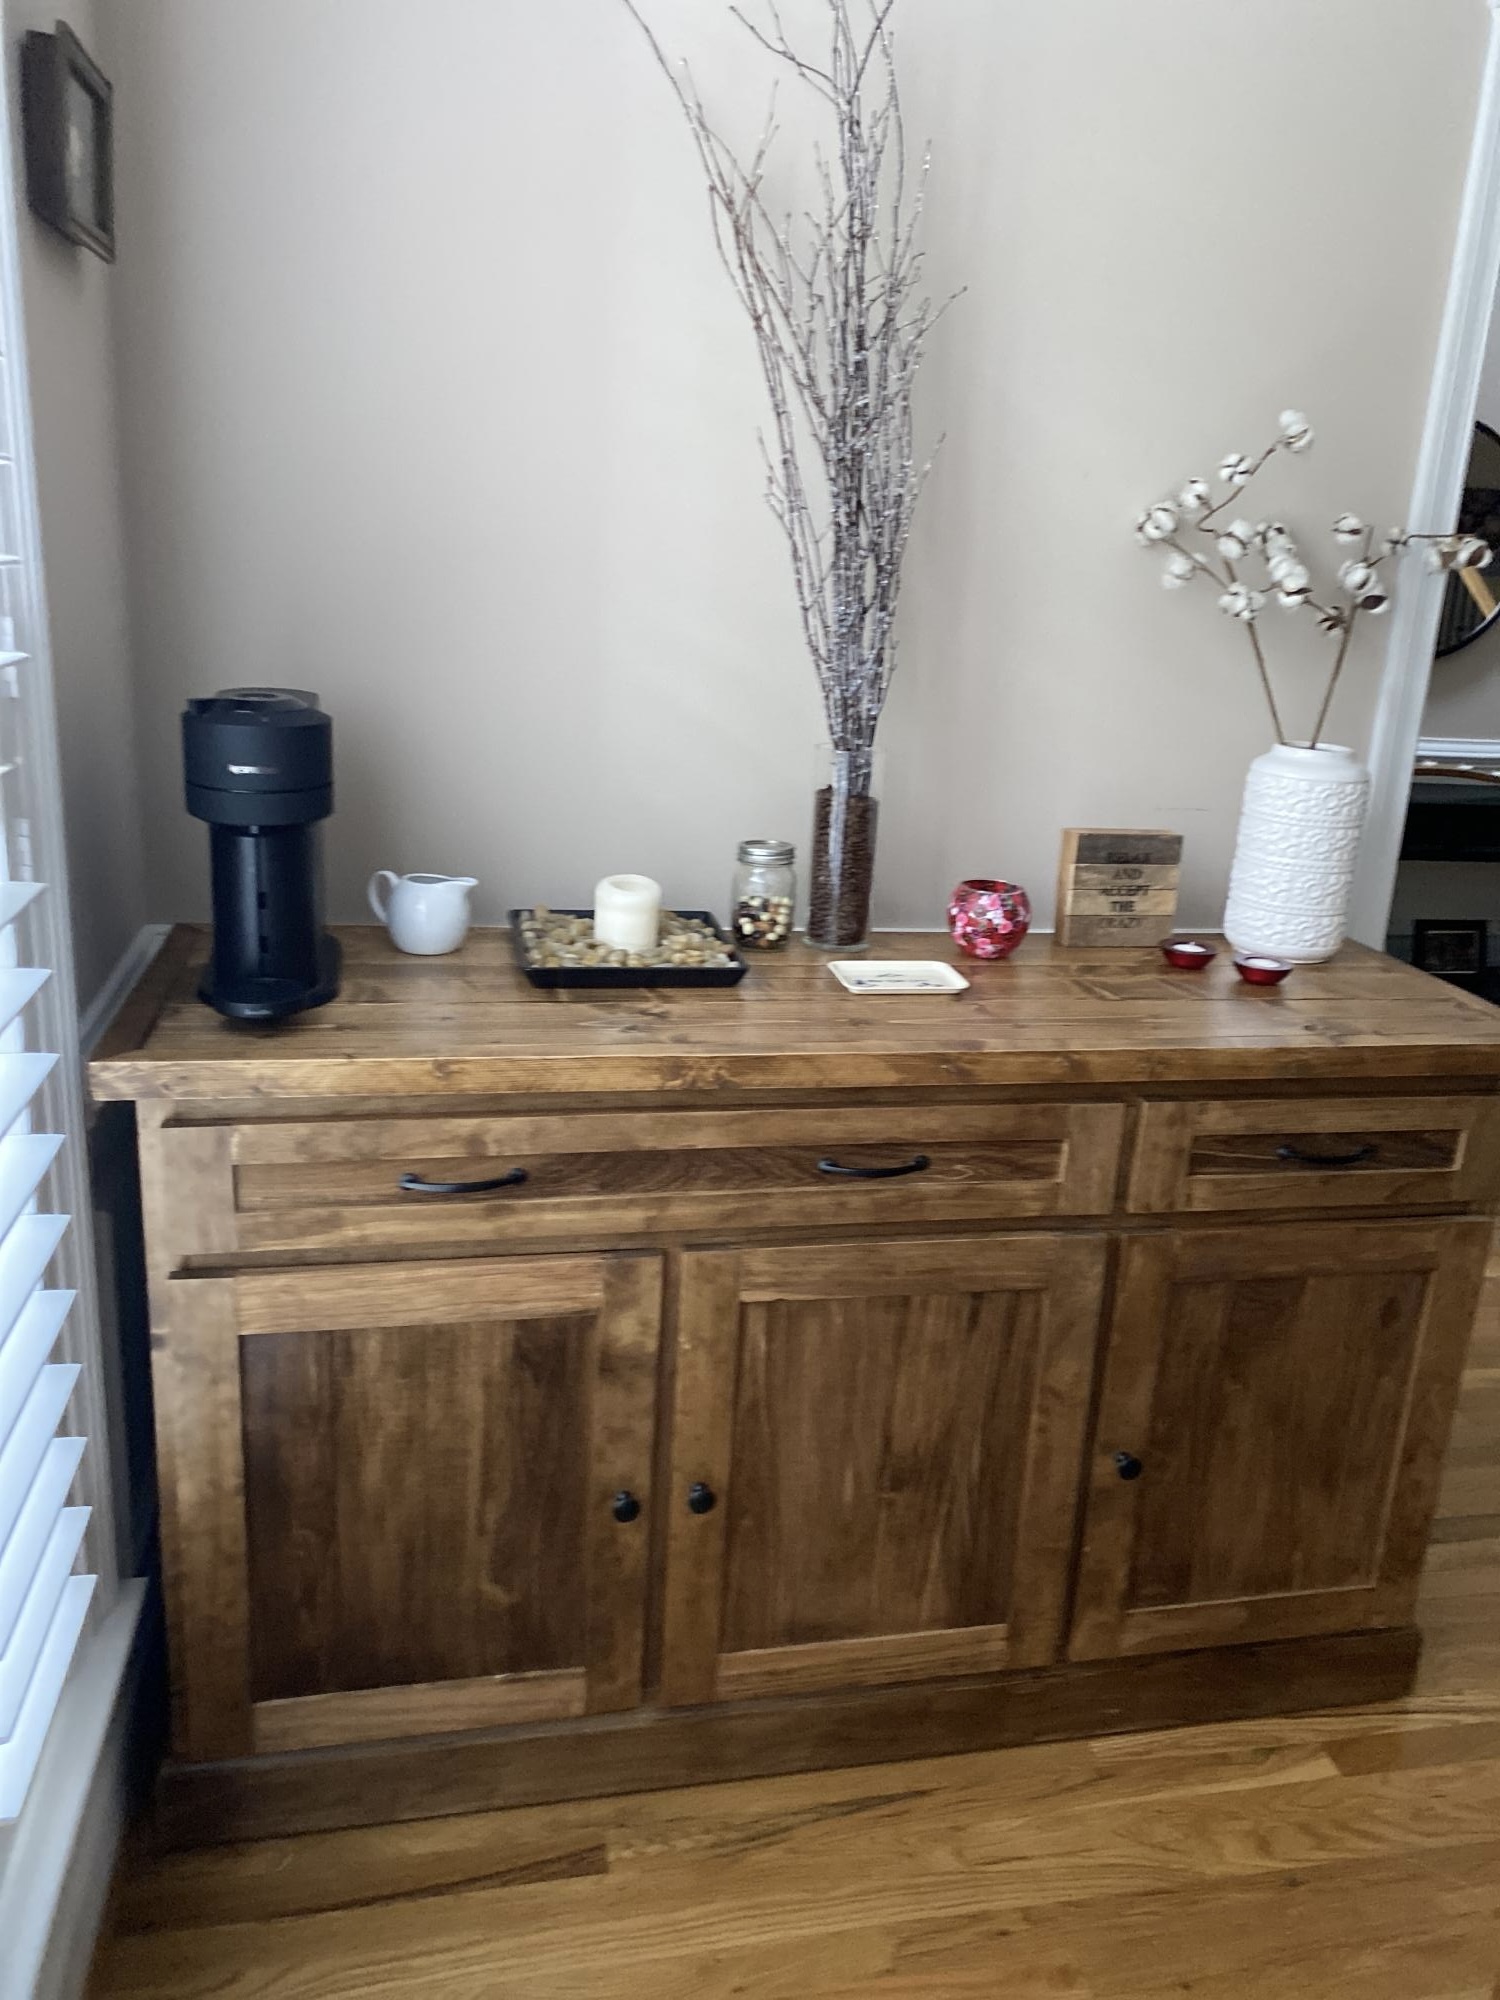
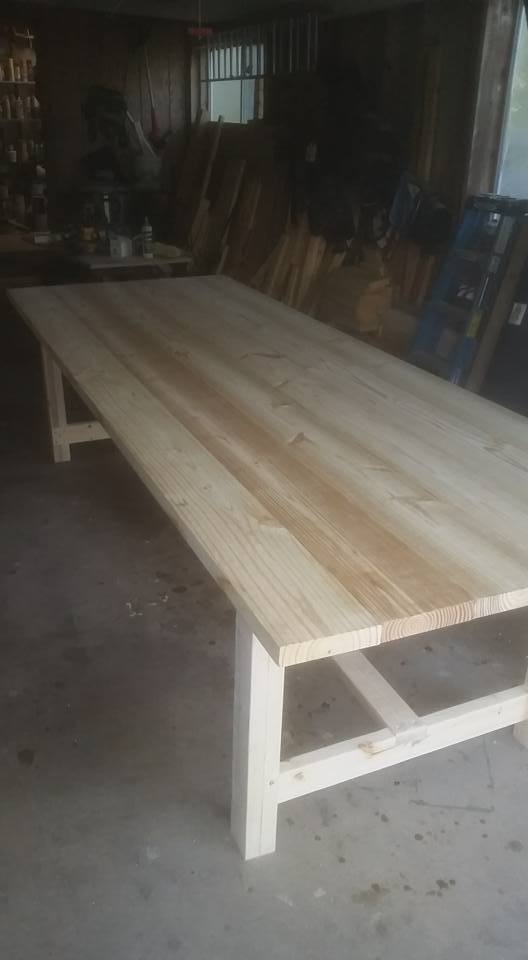
I used Ana's plans for this project, but had to deviate since I built it for a friend who needed a table for 14!! This thing is huge, 12 feet long, and about 44 inches wide. I made it out of pine, 2x8s for the top but stuck to the plans for the frame. It weighs about 200lbs or more, and had to move it with 4 guys...used an enclosed trailer to move it from my house to theirs. They love it so that's all that counts! Oh ya, in the picture, you will see Ana's rustic X console table too!
Estimated Cost
$150
Estimated Time Investment
Weekend Project (10-20 Hours)
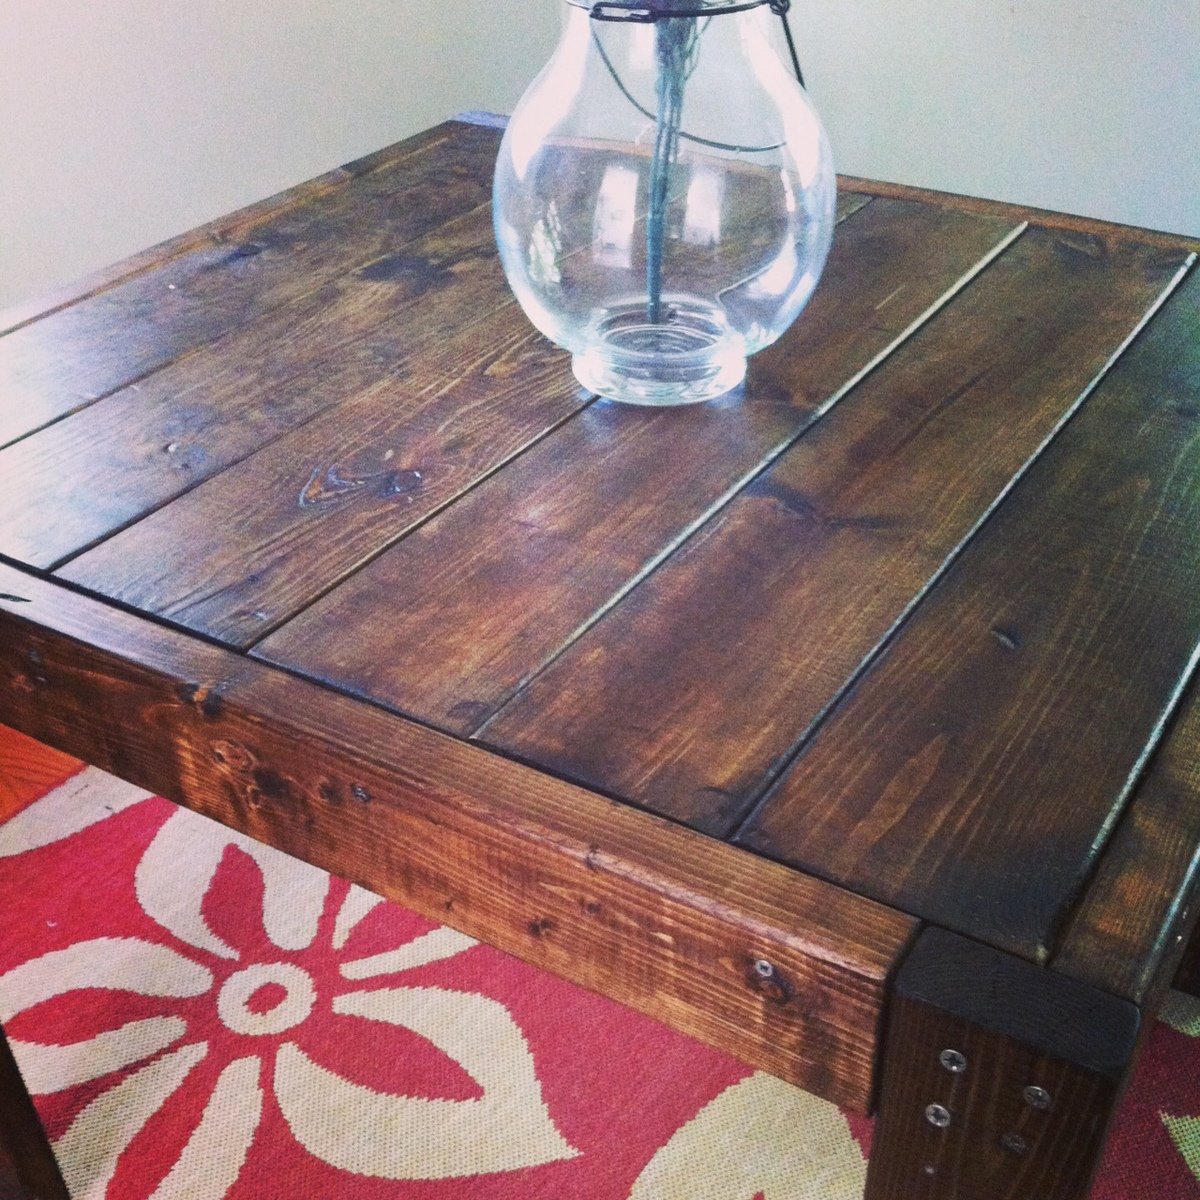
Finish Used
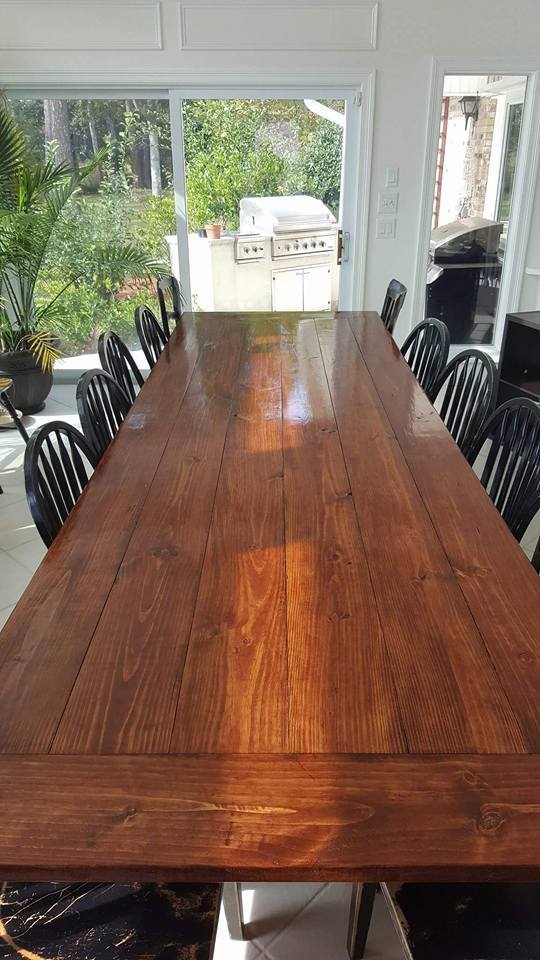
Minwax English Chestnut stain, then a GLOSS polyurethane
Recommended Skill Level
Beginner