Community Brag Posts

First Project - Loft Bed!

This is my first ever piece of furniture. I bought the Kreg Jig, which is awesome. My son has a fairly small room, so extra floor space is handy. I plan on turning the bottom into a reading nook with come comfy pillows, some lighting and a few small bookcases.

I used 2x6s to support the mattress. put in 6 slats, but I think I'll add one more for extra support. I also want to add a 2x4 across the back to keep the legs in place. Pretty sturdy though. I got up there with my son and between the two of us we're about 230lbs.

Can't wait to build something else!

Estimated Cost
$150
Estimated Time Investment
Weekend Project (10-20 Hours)
Finish Used
Minwax Walnut and 3 coats of Poly
Recommended Skill Level
Beginner

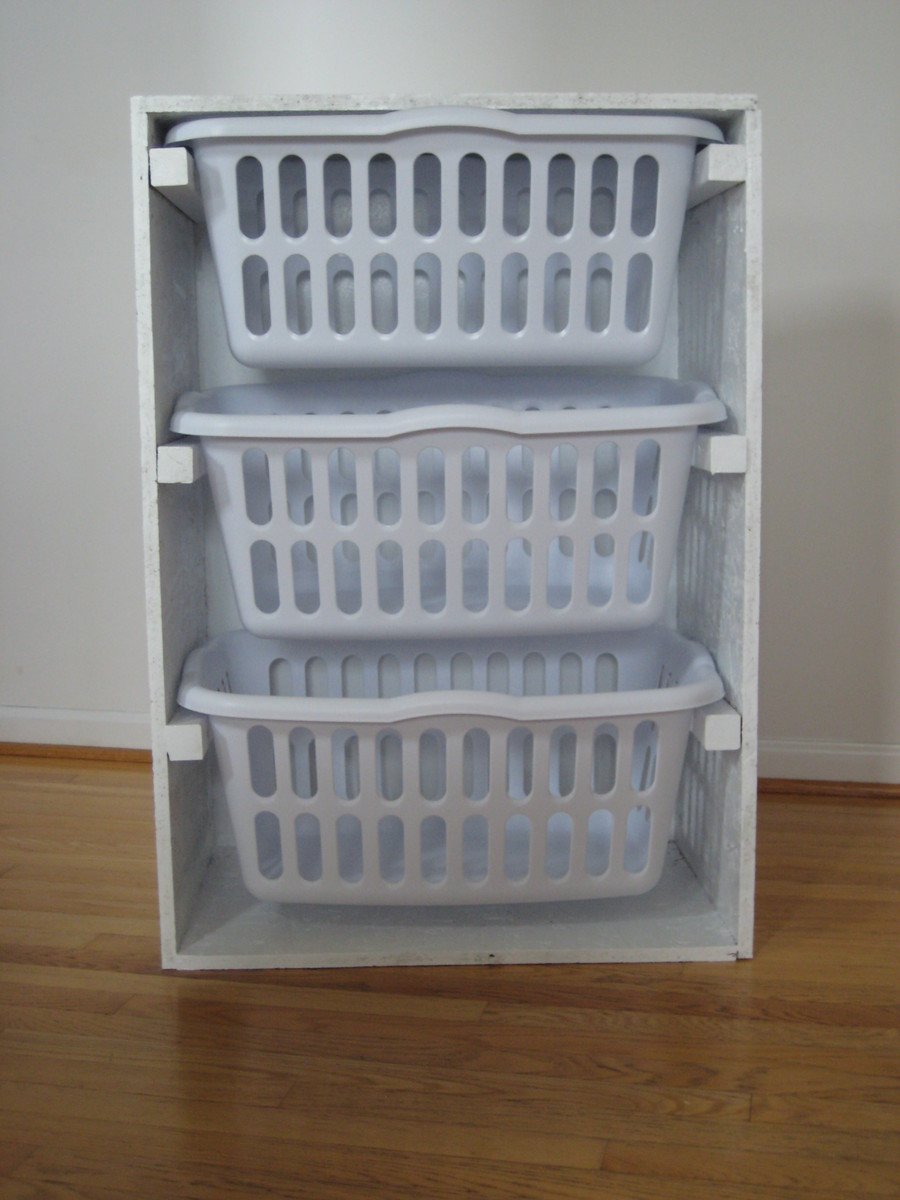
Laundry Basket Organizer

Submitted by Lovelace on Mon, 04/25/2011 - 07:48

I use this dresser in my walk-in closet to separate dirty laundry...each basket holds either "whites", "lights" or "darks". The size of each basket is perfect for one wash load. I just love how much more room I have in my closet because of it!

Built from Plan(s)
Estimated Cost
$35
Estimated Time Investment
An Hour or Two (0-2 Hours)
Finish Used
I lighting sanded all sides and edges then put done two coats of Sherwin-Williams ProClassic acrylic latex paint
Recommended Skill Level
Beginner

Comments

Garage Workshop Bench

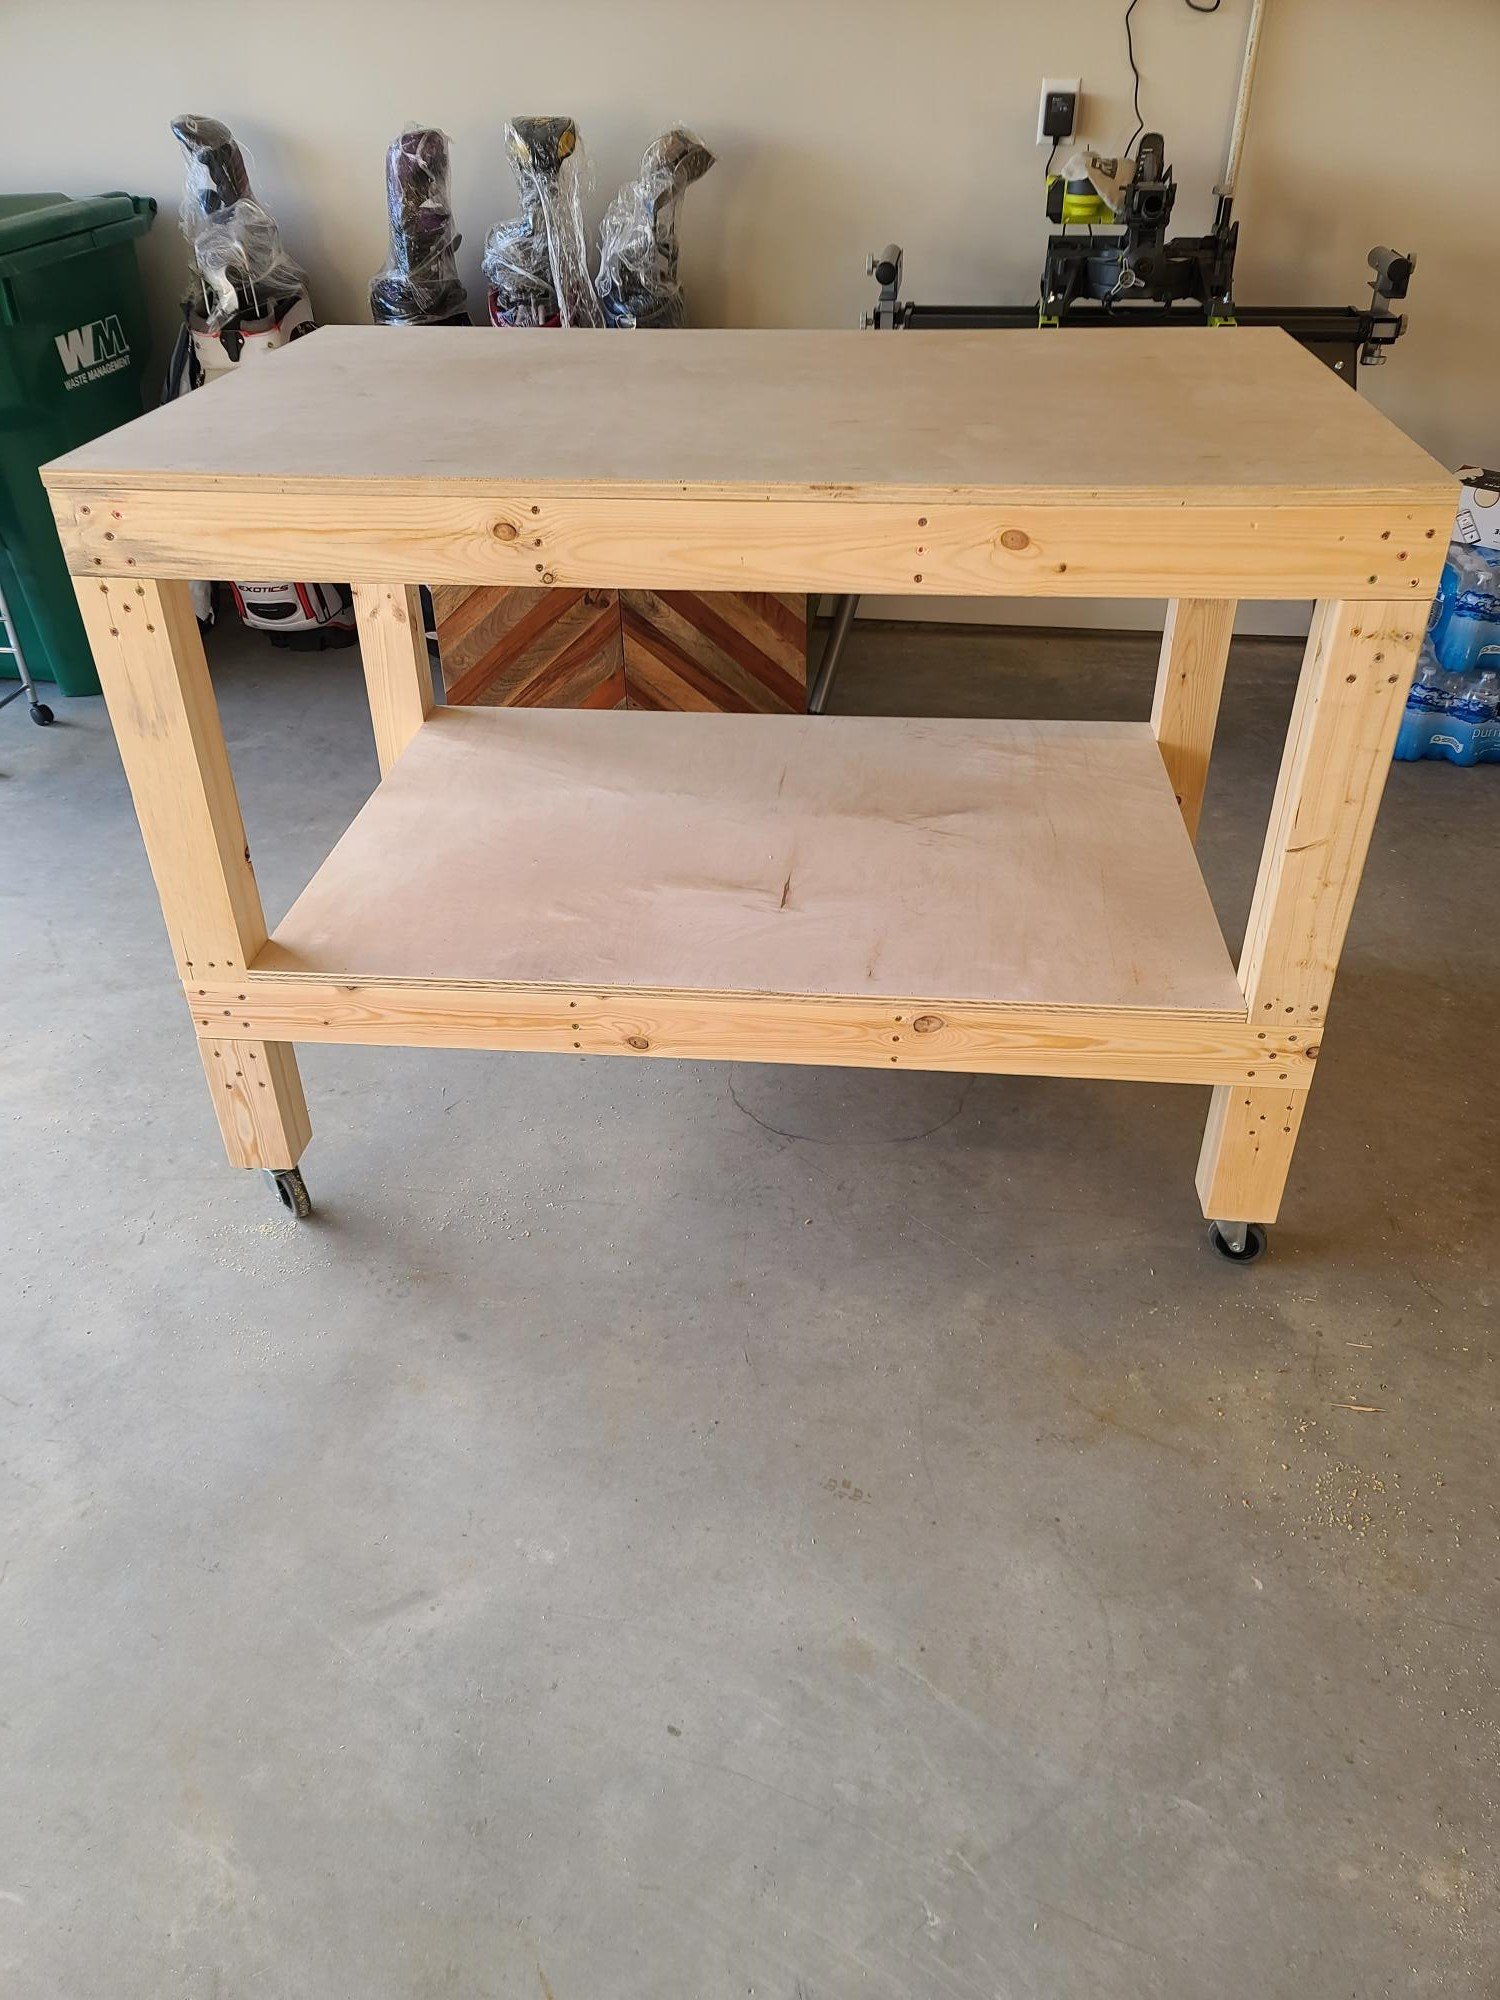
This was my second project, with so many more projects in mind, figured I needed to get started on a Workshop bench. This was a fun and easy project and such a great plan.

Comments

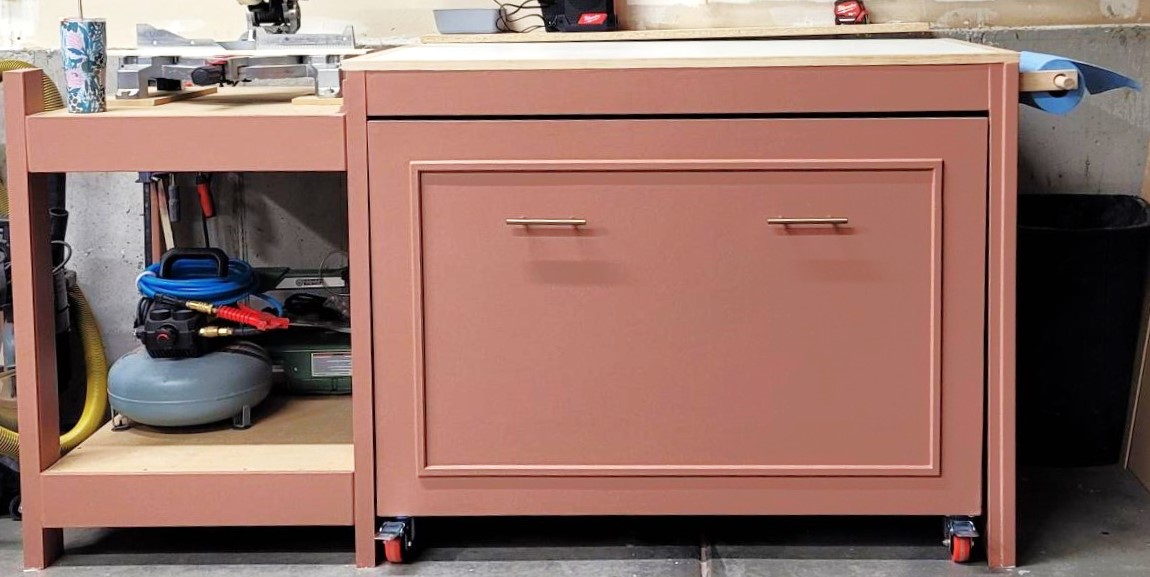
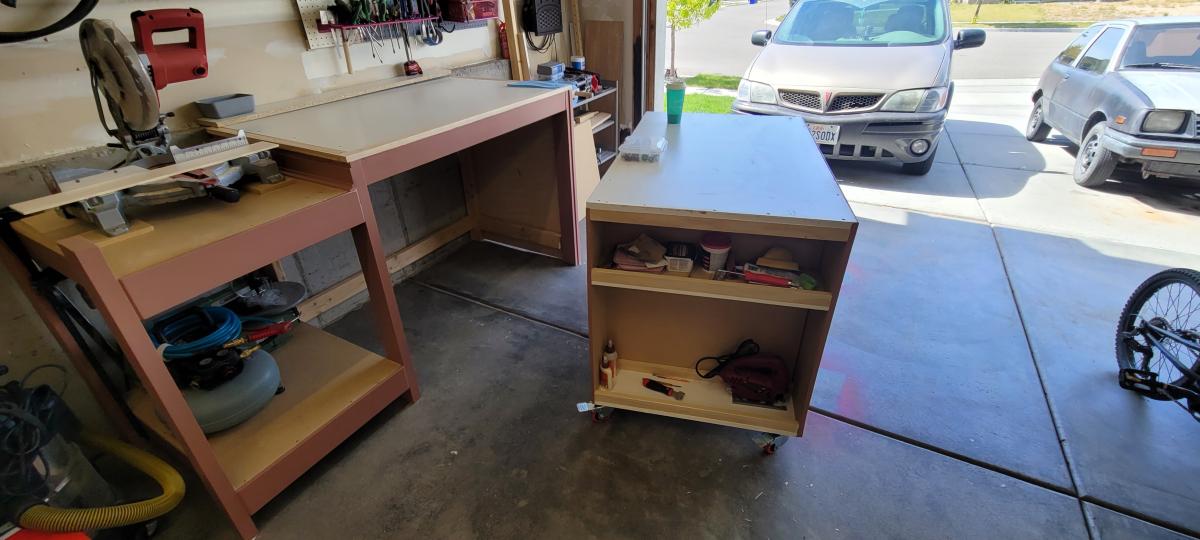
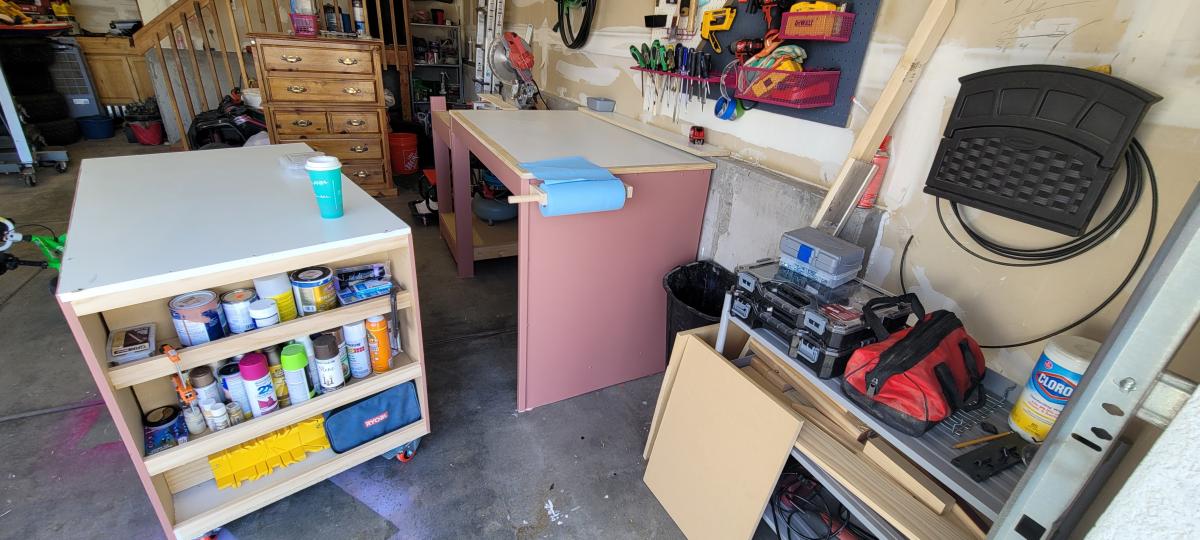
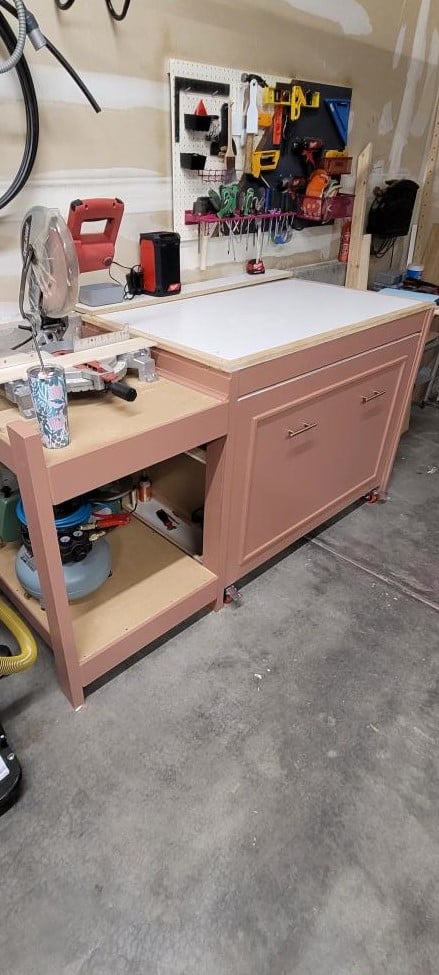
Ultamate Roll Away Workbench

Submitted by Anonymous (not verified) on Fri, 05/13/2022 - 15:54

Adjusted the shelves slightly. Love the roll away portion.

Comments

Ana White Admin

Sun, 05/15/2022 - 11:55

This is gorgeous, thank you for sharing! Just shared on our facebook page, we'd love to give credit if you'd like to respond with your name:)

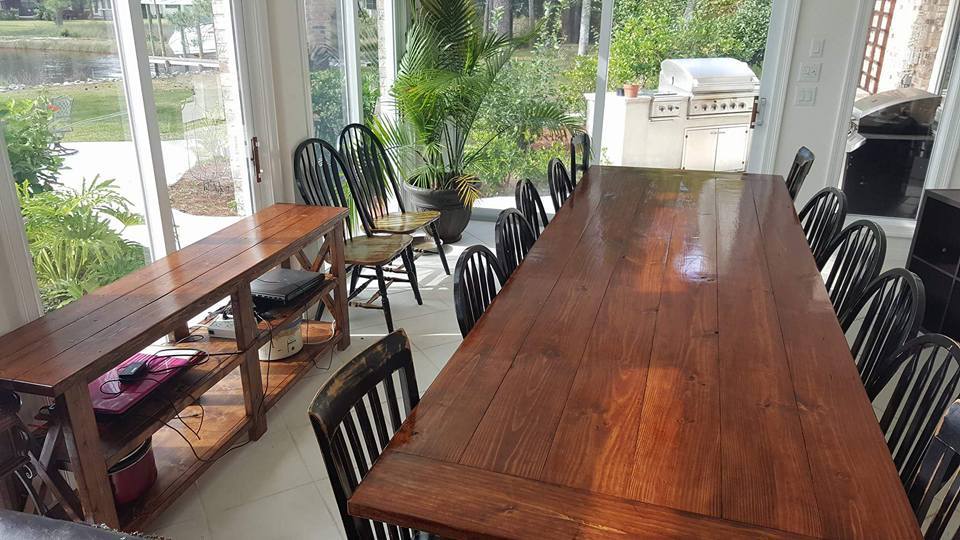
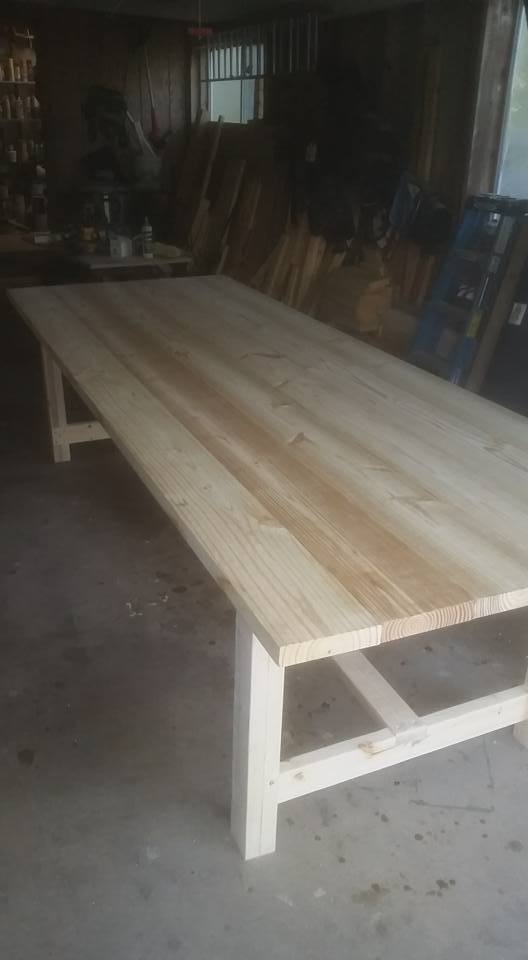
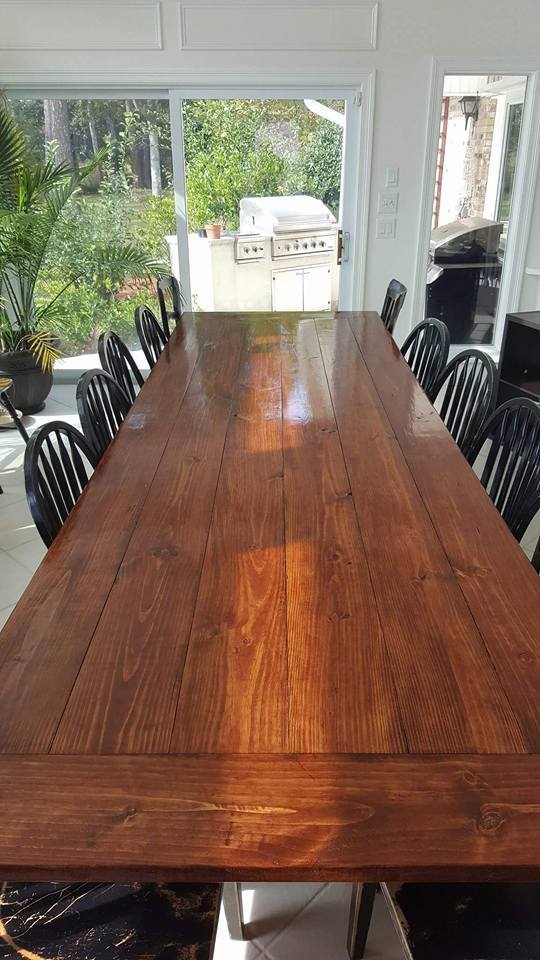
LARGE FARMHOUSE TABLE

Submitted by mdbennes on Mon, 11/23/2015 - 09:25

I used Ana's plans for this project, but had to deviate since I built it for a friend who needed a table for 14!!  This thing is huge, 12 feet long, and about 44 inches wide.  I made it out of pine, 2x8s for the top but stuck to the plans for the frame.  It weighs about 200lbs or more, and had to move it with 4 guys...used an enclosed trailer to move it from my house to theirs. They love it so that's all that counts!  Oh ya, in the picture, you will see Ana's rustic X console table too! 

Estimated Cost
$150
Estimated Time Investment
Weekend Project (10-20 Hours)
Finish Used
Minwax English Chestnut stain, then a GLOSS polyurethane
Recommended Skill Level
Beginner

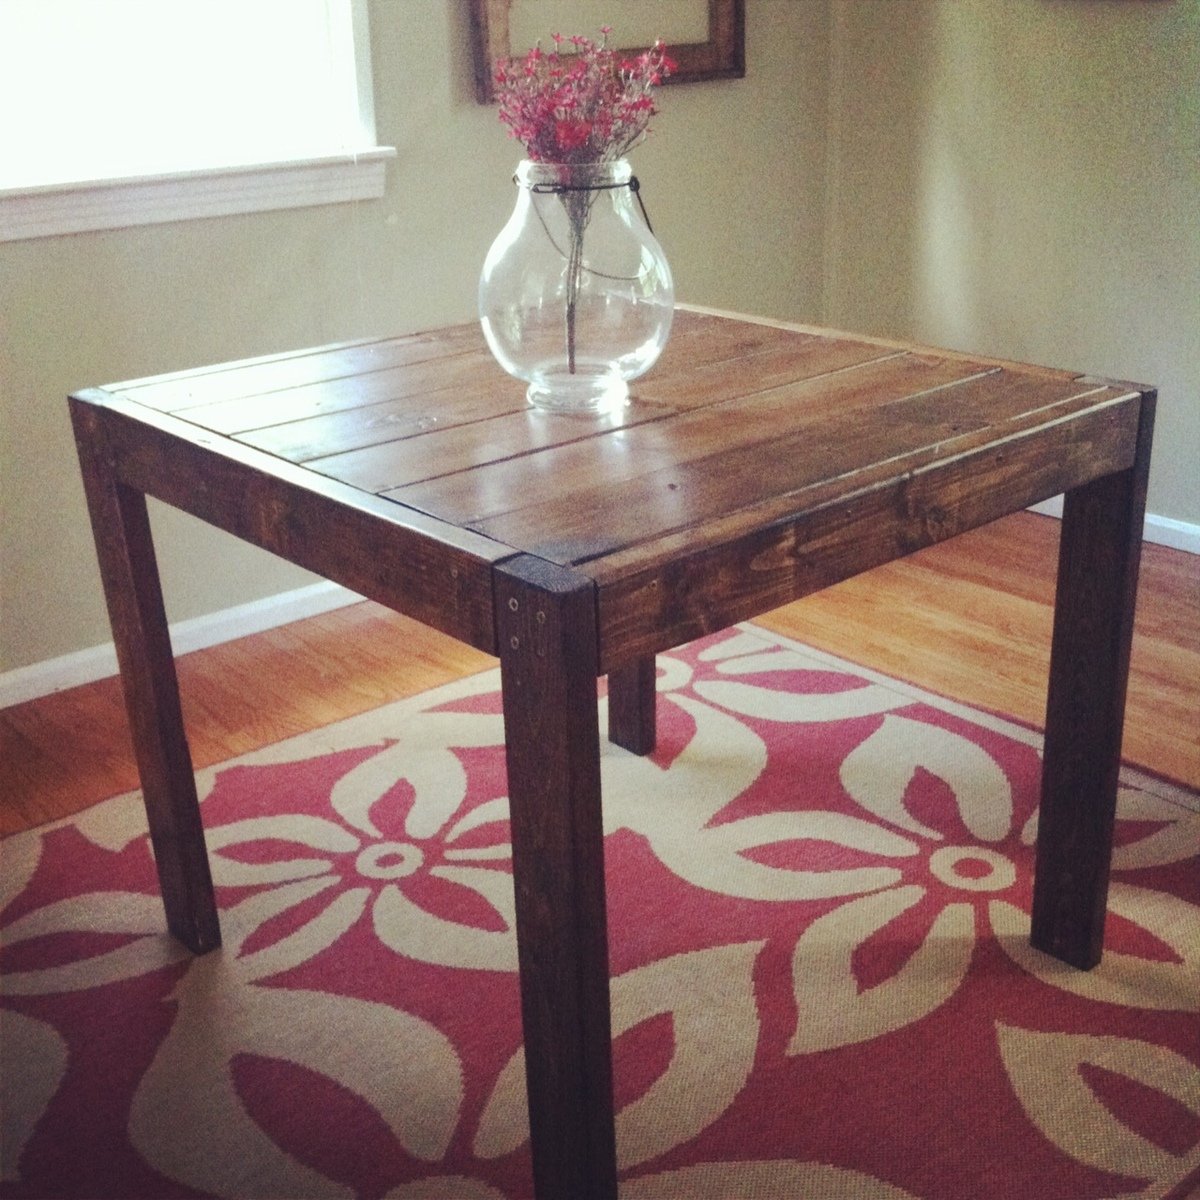
Farmhouse table- love it!

Submitted by DogDoc25 on Sat, 09/21/2013 - 13:26

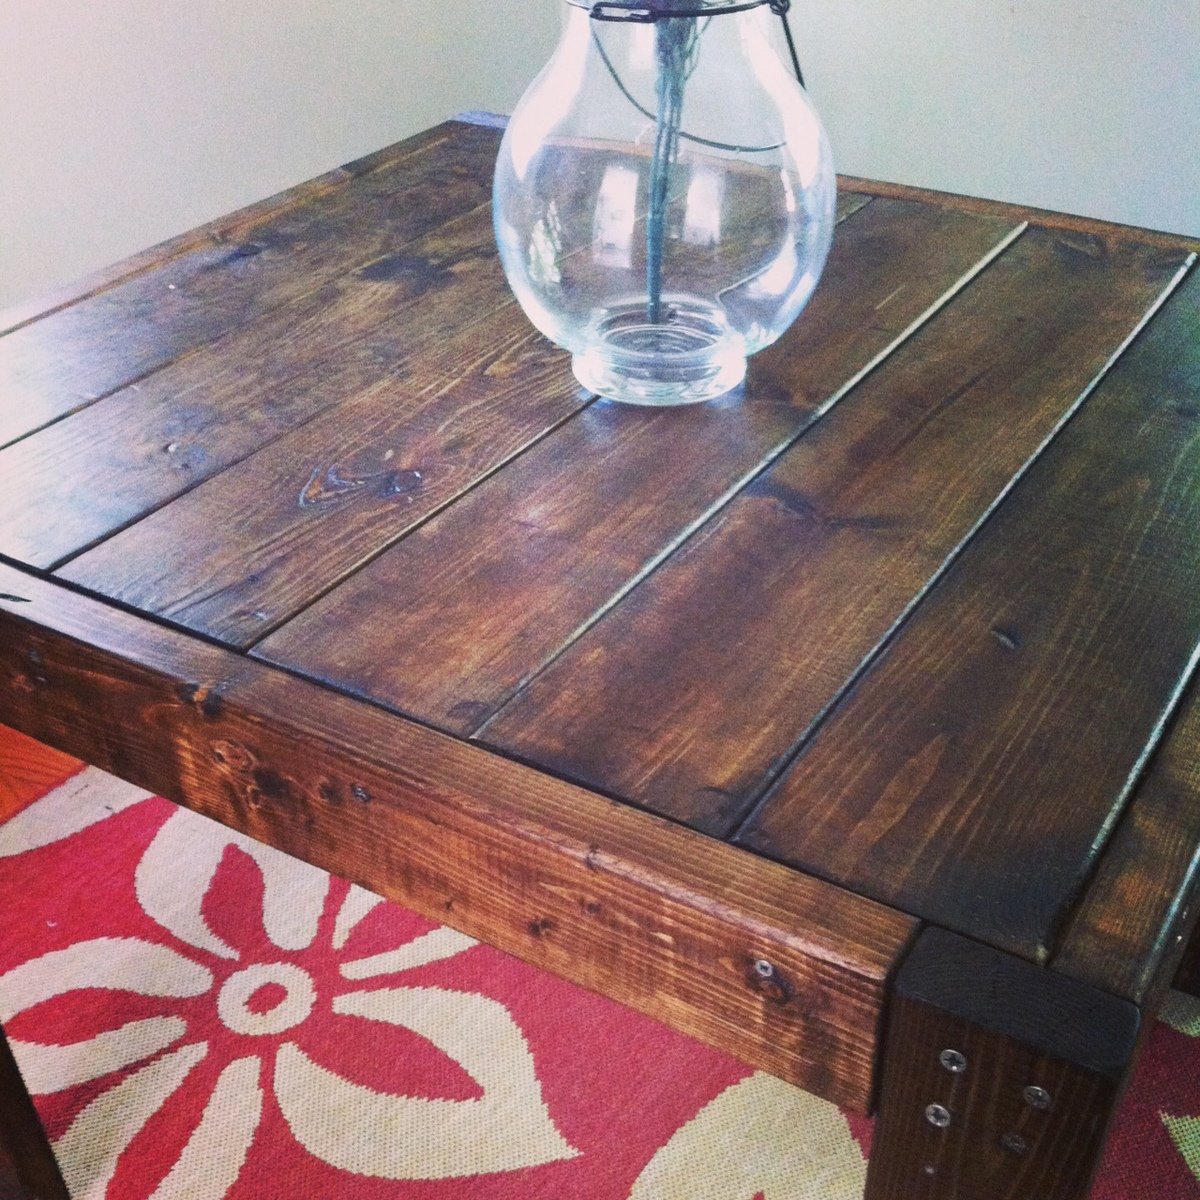
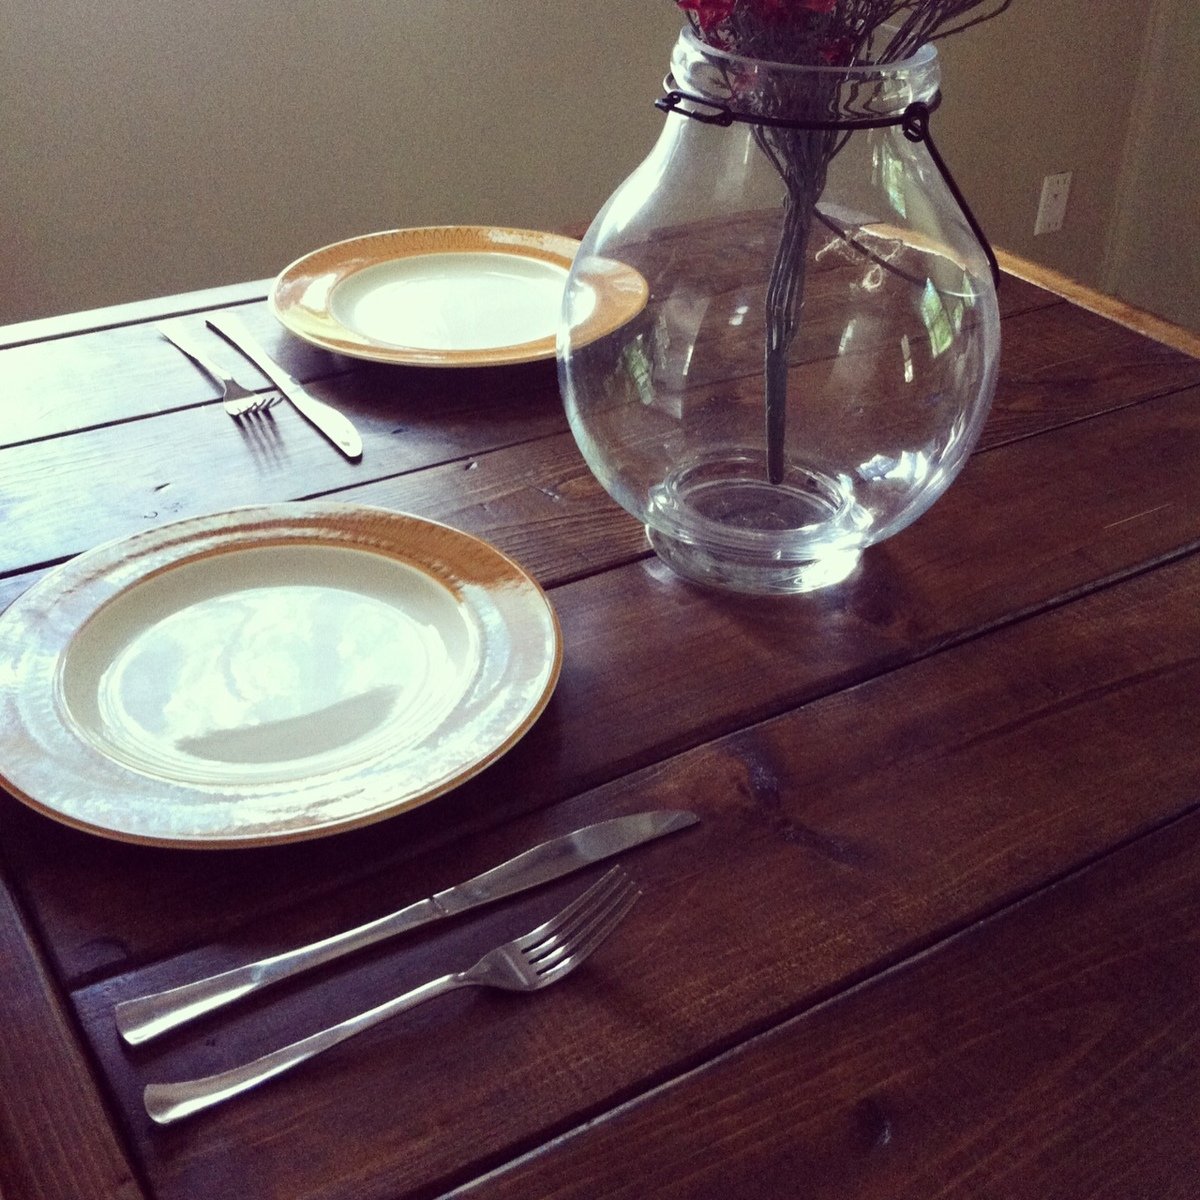
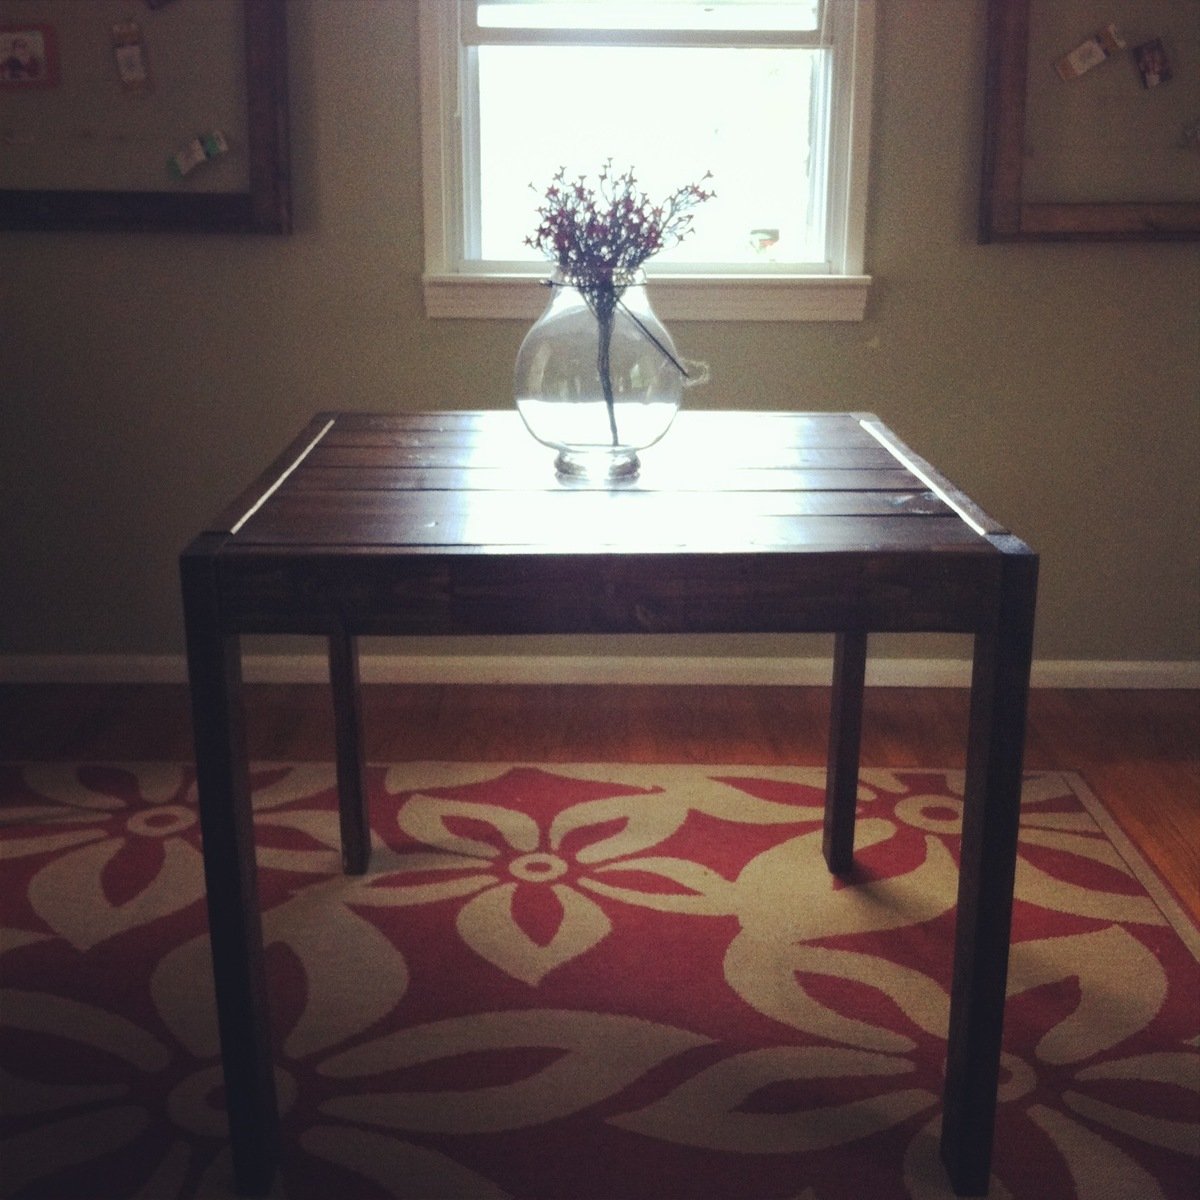
I made this table because I have a very small house and needed a table that was more of a compact size. This table was perfect for that. I also love the farmhouse style. Originally, I didn't realize how much my screws were going to show on the outside, but I actually like how it looks, with the mix of hardware and wood. This table is very heavy and thankfully ended up sturdy! I used a compound miter saw (which I LOVE!) to cut the wood for this project which made it a lot faster than cutting with my jigsaw like I started out with. I bought the wood from home depot, and it took about a whole afternoon to cut the wood, sand, and construct and then about 2 more hours to stain and put the polycyrlic coats on. I did have a little trouble getting the legs on by myself since I had to hold them in place while I was screwing them on, and it was awkward and more difficult than if I had someone to help me hold them while screwing them on. But overall, not too difficult and love how it turned out!

Estimated Time Investment
Day Project (6-9 Hours)
Finish Used
1 coat of wood conditioner- let it dry for about 30 minutes
1 coat of minwax dark walnut, (which I loooove) let sit for 20 minutes then wiped off, let that dry overnight
2 coats polycrylic
Recommended Skill Level
Beginner

DIY seesaw

Submitted by Anonymous (not verified) on Thu, 03/14/2019 - 11:08

We were setting up our finished seesaw the same day we bought the project supplies, so this is a fun project without a lot of waiting around. It’s been a huge hit in the backyard and the extra-long seats allow a couple of kids to pile on each end.

Built from Plan(s)
Estimated Time Investment
Afternoon Project (3-6 Hours)
Recommended Skill Level
Beginner

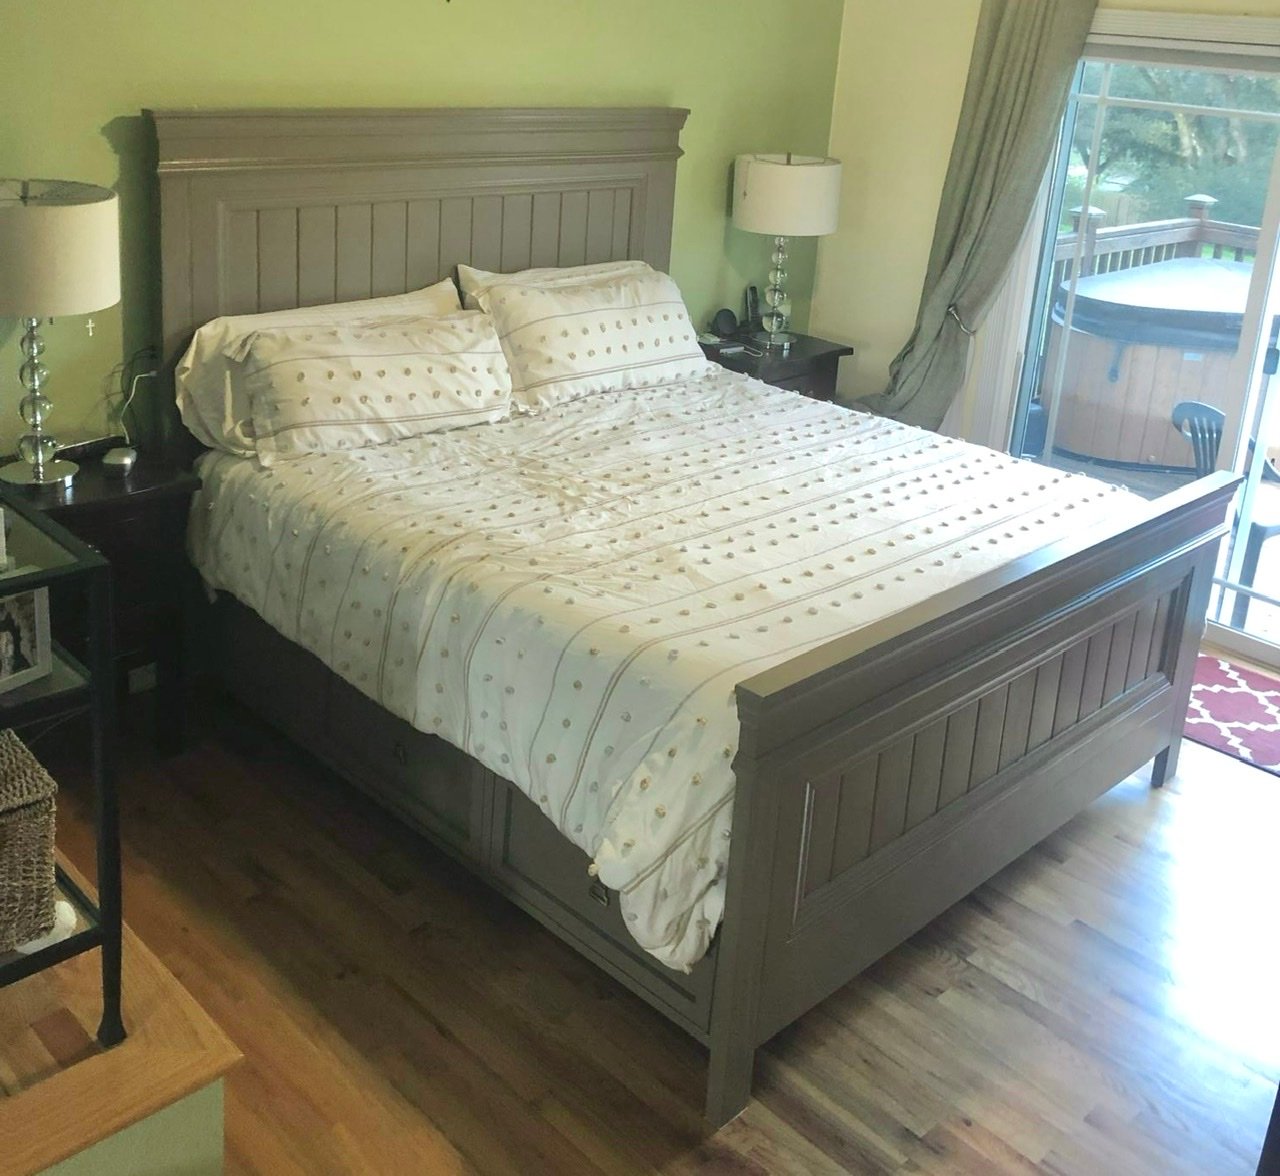
King Farmhouse bed with drawers

Submitted by Anonymous (not verified) on Mon, 02/13/2023 - 19:01

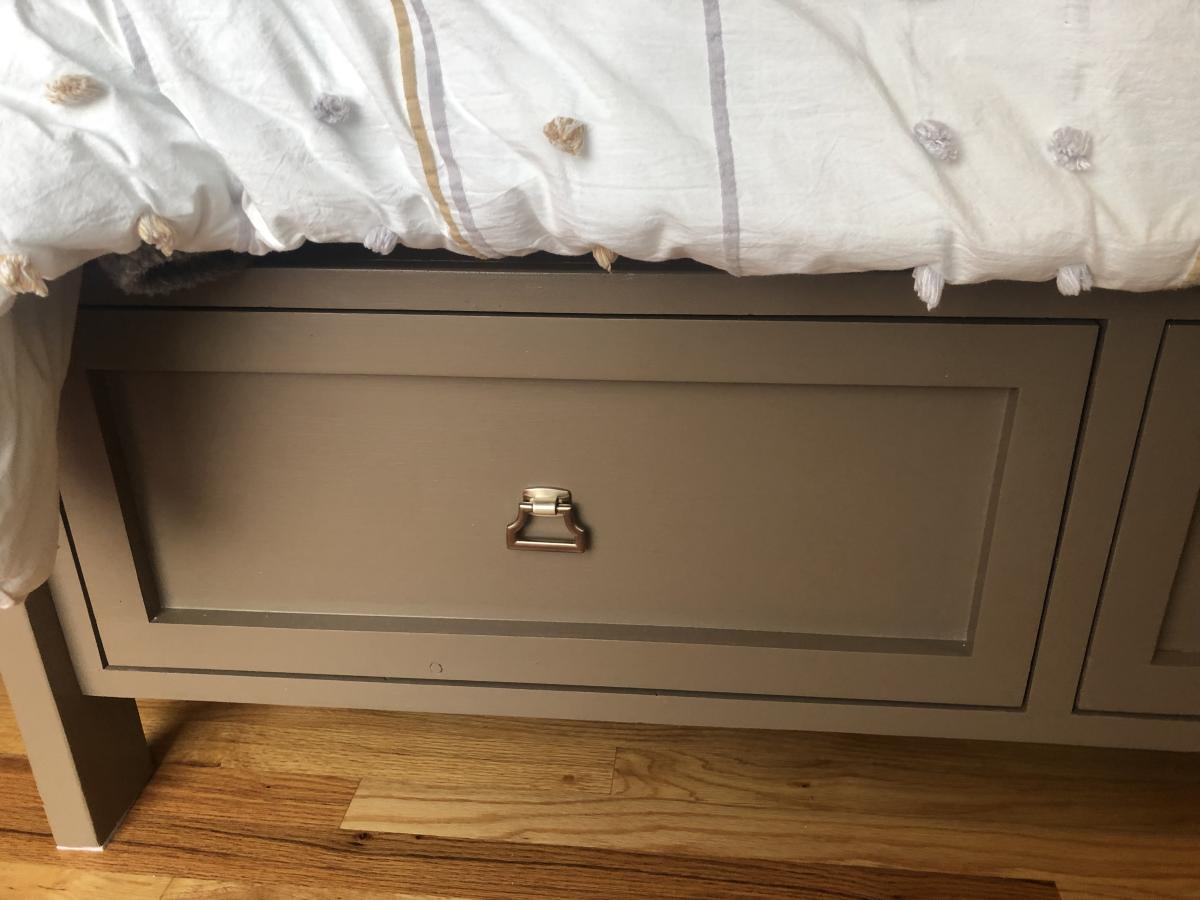
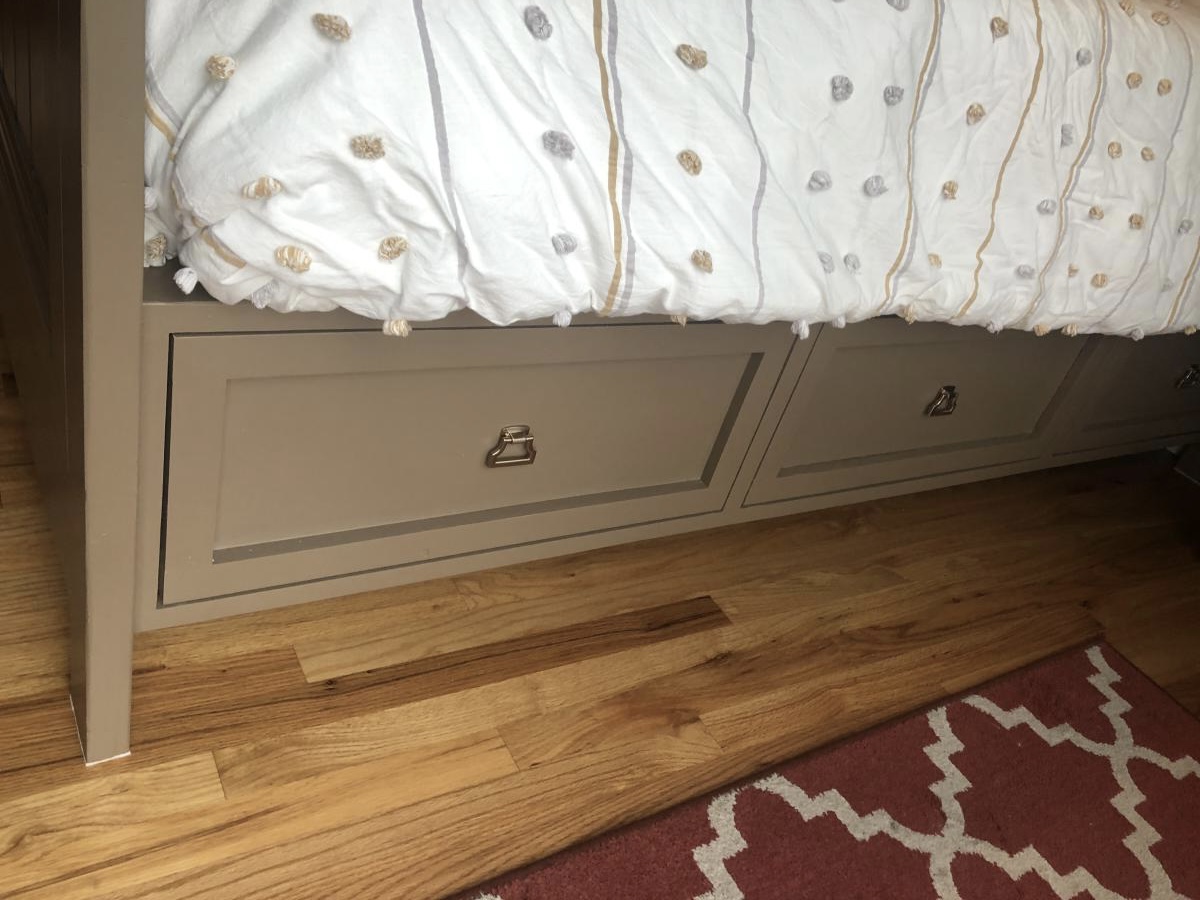
I started with your king size fancy Farm style head board and made it taller (67” tall”) and created a footboard using same pattern. Then added three drawer on each side adding supports for king size bed - followed up by installing 4 usb charging ports behind each side of headboard.

Comments

Twin Storage Beds with corner unit

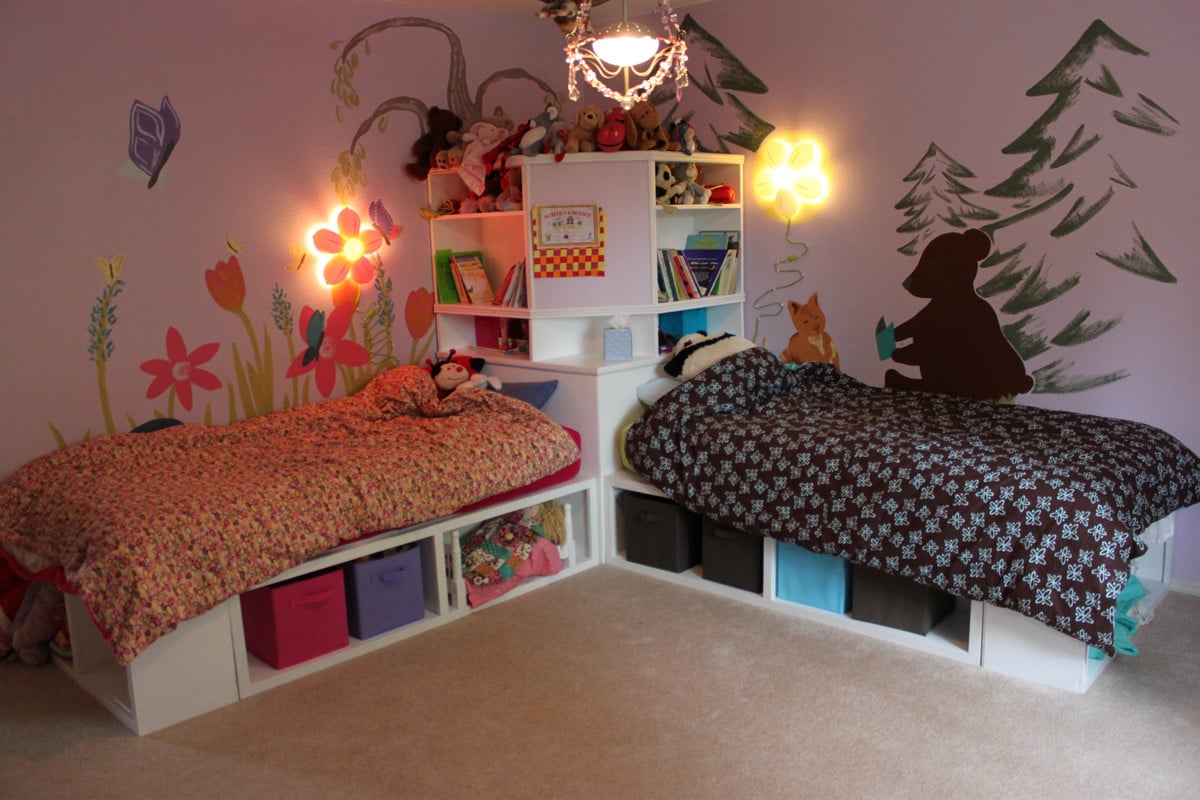
When we moved into our new house, I figured it was time to replace my girls's mattresses on the floor with actual beds. so I set about making the twin storage beds with corner unit. I primed all the wood prior to cutting and assembling, and that made things go much faster. Assembling the corner unit was tricky, since i really didn't want to have sanding and much paint in their bedroom. (i loaded in the beds first and the corner unit a week later). I added trim that wasn't on the plan, and also used the magnetic paint on the center area, although it makes a weak magnetic surface. All in all, I LOVE the way it turns out and no one can believe that I built it and didn't buy it... (although it seems obvious to me when you look closely LOL)

Built from Plan(s)
Estimated Cost
~$500?
Estimated Time Investment
Week Long Project (20 Hours or More)
Finish Used
paint
Recommended Skill Level
Intermediate

Comments

tannisg

Fri, 11/04/2011 - 11:42

It looks great, and I love what you did with the walls! Free hand with paint, or decals? Either way, its darling and clearly gives each girl her own space.

We have the same lamps - quite popular :)

I am trying to figure out a clever way to put three girls in a (huge) room and I think something like this or a bunkbed combo would make it fun and new for them..

Guest (not verified)

Sun, 01/08/2012 - 18:36

Where can I find the plans for the top half of the corner unit.? Your beds are exactly what I want for my girls. Thanks for sharing.

Coffee Bar Sideboard

Submitted by Anonymous (not verified) on Fri, 04/28/2023 - 05:48

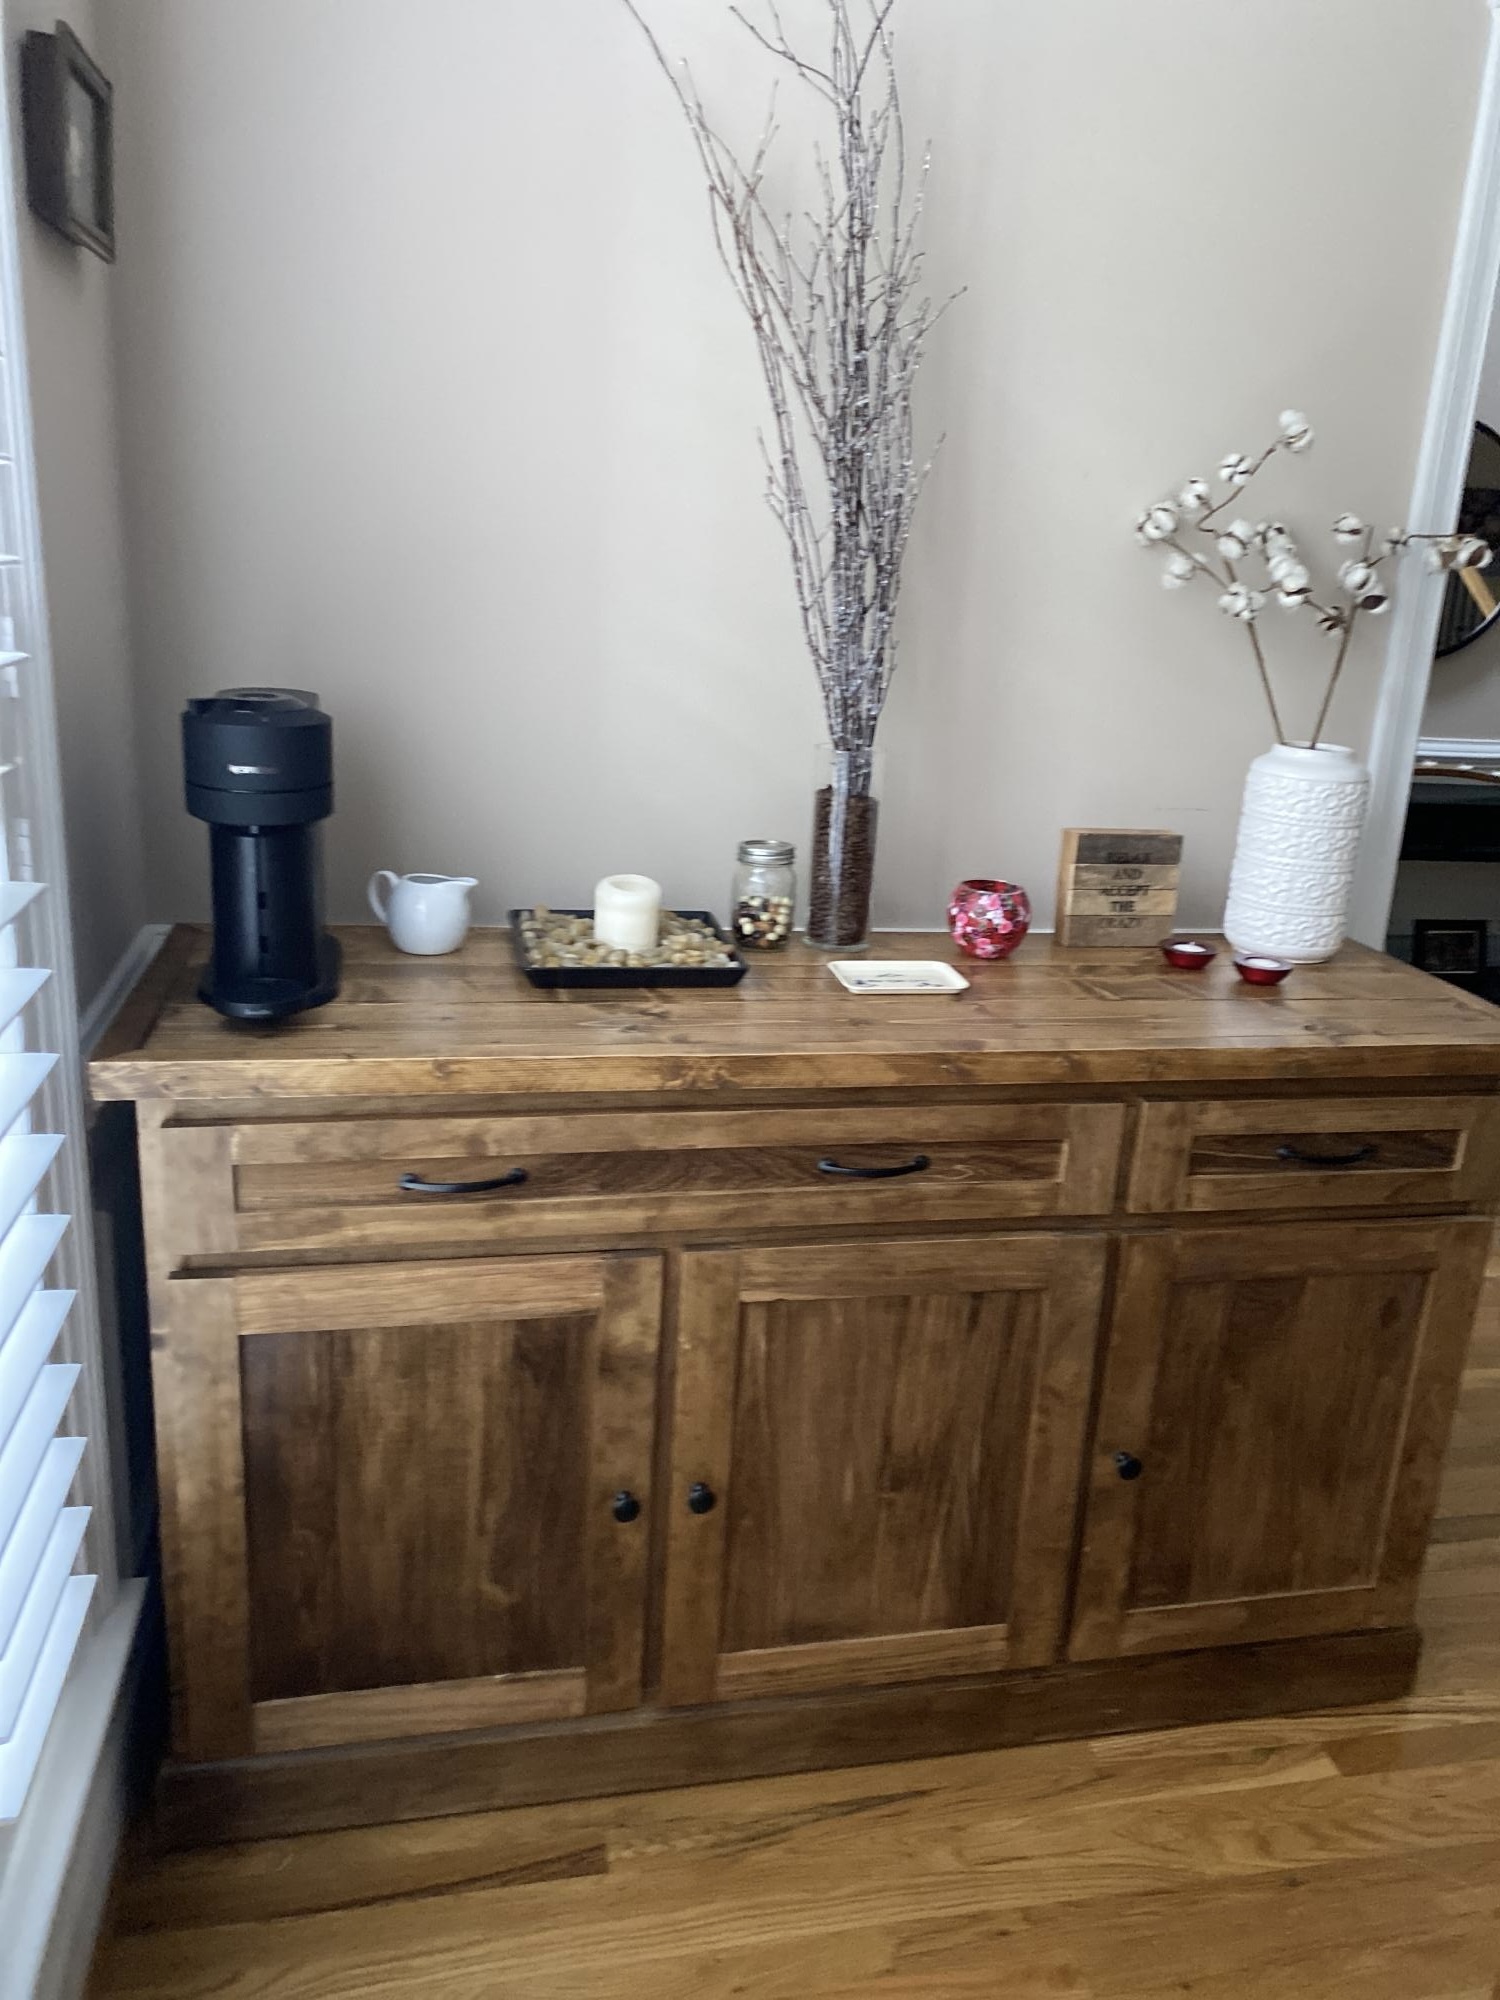
I made this coffee bar from your plans making modifications to fit our space .It came out beautiful, I have made numerous pieces of furniture from your plans but this is my favorite . They plans are super easy to follow and modify to my needs .
Thank you Ana and keep up the good work!!

Comments

Coffee table

Submitted by Anonymous (not verified) on Wed, 10/02/2019 - 16:02

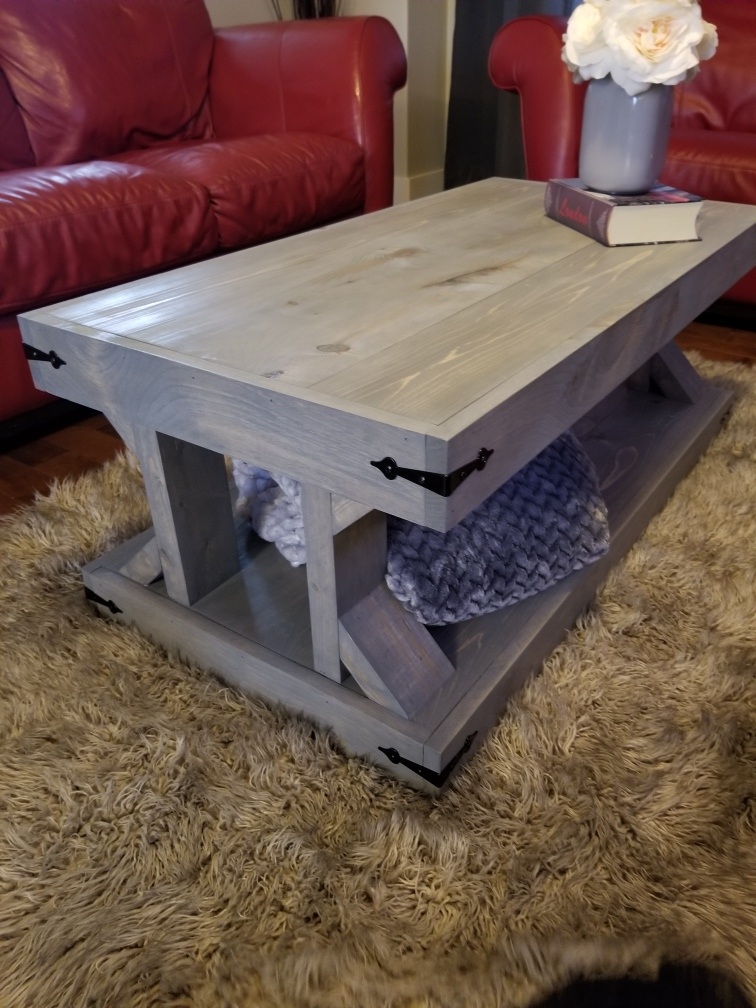
My first build

Estimated Cost
80
Estimated Time Investment
Afternoon Project (3-6 Hours)
Recommended Skill Level
Beginner

Comments

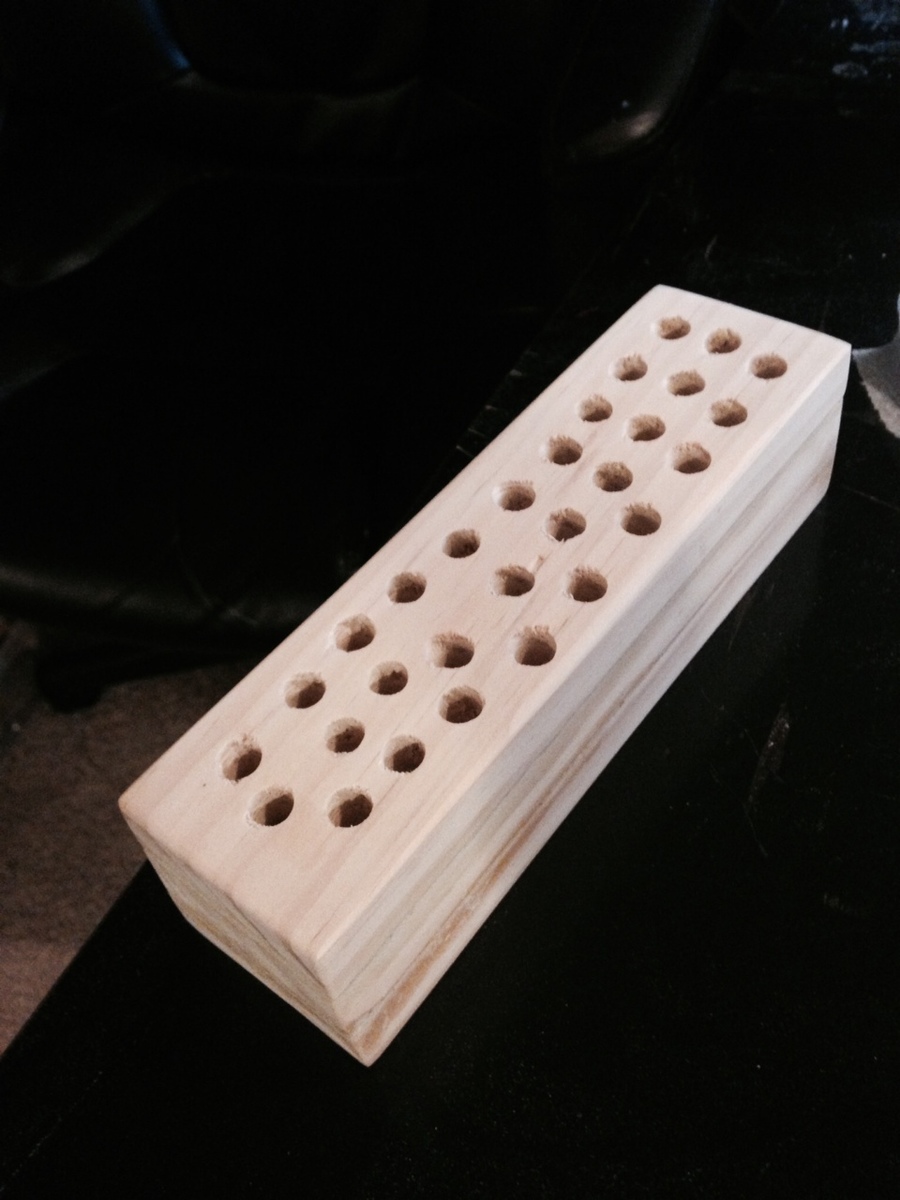
Easy Scrap Wood Crayon or Pencil Block Holder

Submitted by DMax2010 on Mon, 12/23/2013 - 07:40

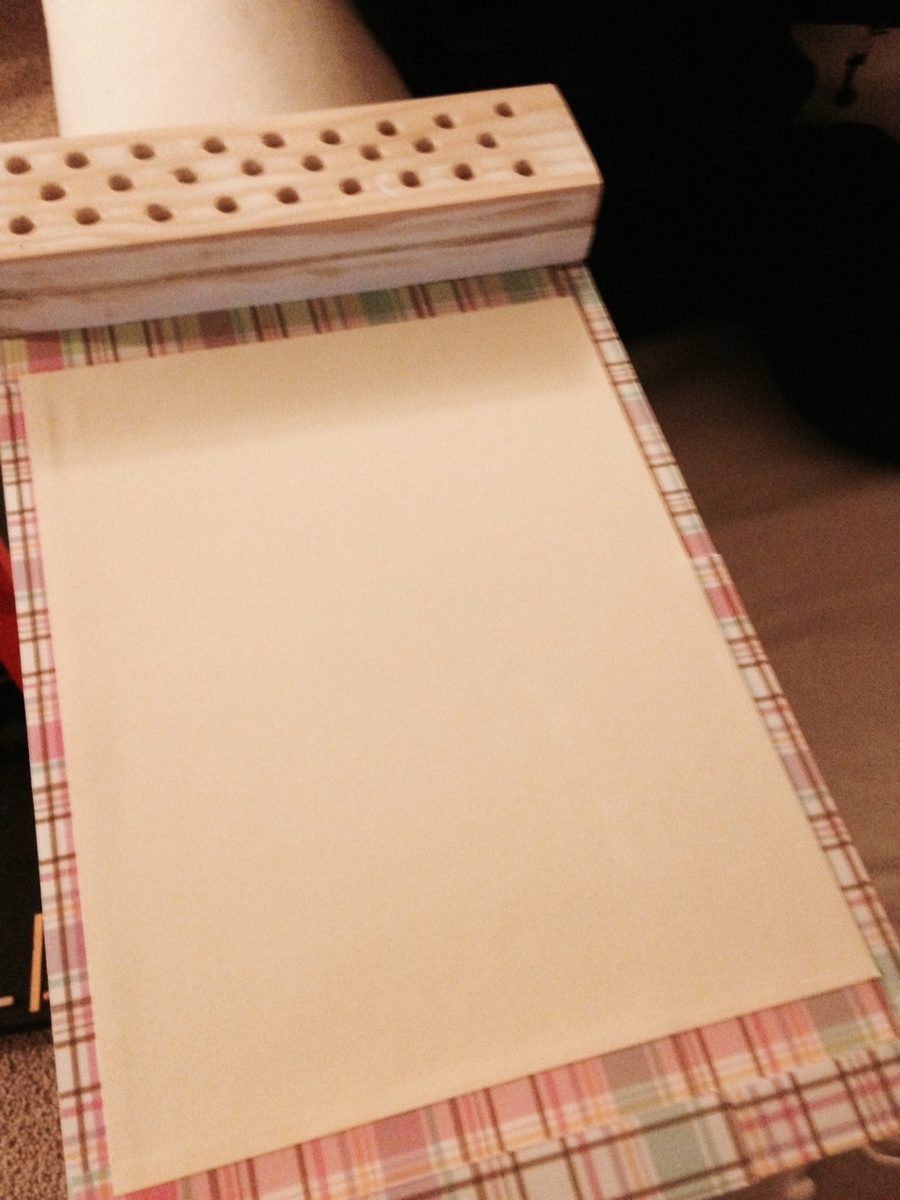
I wasn't planning on doing another project so close to Christmas but I saw this and couldn't resist. After the holidays, I will be making one for myself, because it is really comfortable to hold!

I did both versions, one with just the crayon holder and one with the lap pad. For the lap desk, I used 1/4" birch (purebond) plywood, just because its lighter.

Thank you ladies so much for all the fun projects! I have to catch up on my brag posts, I've been so busy building (and trying to finish my dissertation!)

Happy Holidays!

Estimated Cost
Less than $5
Estimated Time Investment
An Hour or Two (0-2 Hours)
Finish Used
Sanded, then used some cardstock paper to mod-podge on with some white paint.
Recommended Skill Level
Starter Project

Fireplace Wood beam hearth,shiplap and new molding

Submitted by Anonymous (not verified) on Fri, 03/04/2016 - 05:10

I started this project with 1x3 mdf primed molding and used 1x5 for the base. For the hearth I used 1x8 knotty pine and created a box, distressed and stained it. I glued veneer to the sides so you couldn't see the seems. To finish off the project I used 1x6 mdf boards to create shiplap effect and painted them grey. I love how cozy this fireplace makes the room.

Estimated Cost
The shiplap effect was about $65, the rest of the project was about $100.
Estimated Time Investment
Week Long Project (20 Hours or More)
Finish Used
Polyurethane Dark Walnut Stain & poly in one, Sherwin Williams Peppercorn paint.
Recommended Skill Level
Beginner

Outdoor Sofa and Chair with Slanted Back

Submitted by Anonymous (not verified) on Sun, 07/16/2023 - 10:22

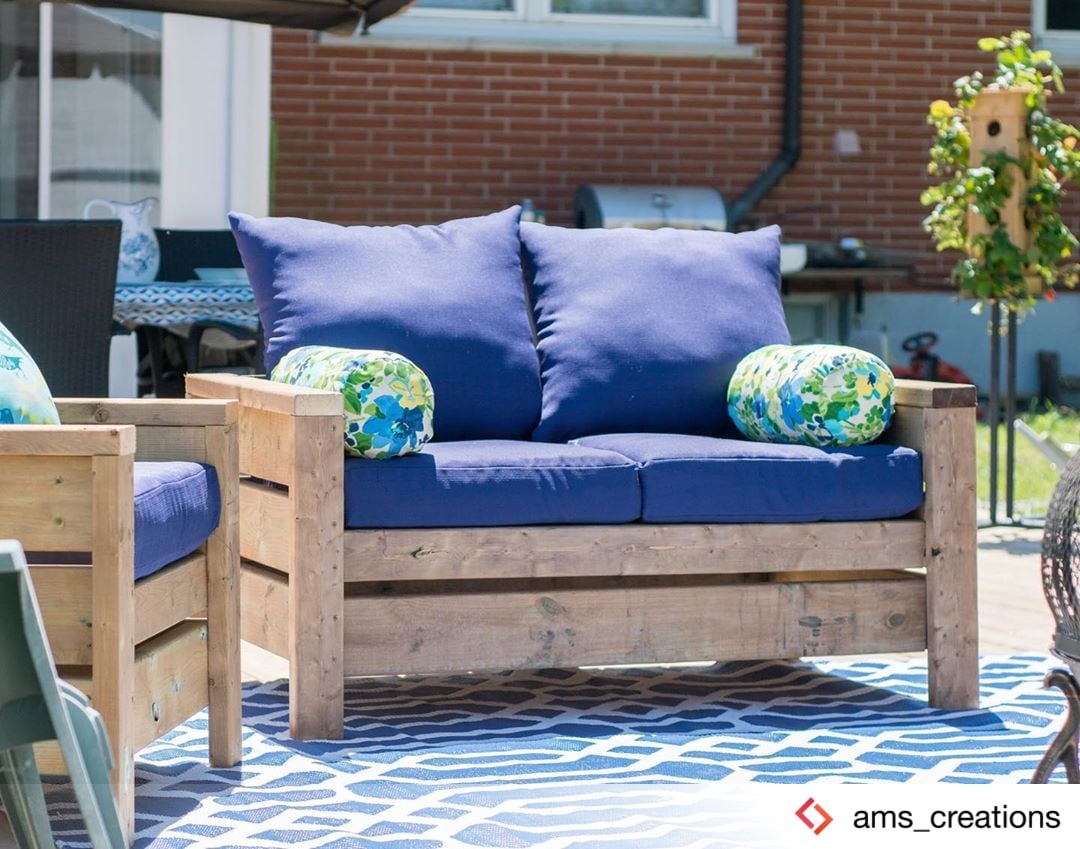
OK, I think this build may be my biggest project yet! It is definitely the heaviest. With the strong winds we can get here in Florida we needed substantial outdoor furniture.
I did make some modifications along the way measurement-wise so the sofa would fit my front porch better. All in all, this took 2 full days. I built the sofa first, stained it the next day and then decided (due to trying to get stain in all the nooks and crannies) to stain the chair pieces first before putting it together.
I am so happy with the results and so far, almost a year later, this furniture looks great and hasn't moved an inch in any of the thunderstorms we've had! Thank you Ana!!

Simple Bunk Bed Triple Bunk

Submitted by Anonymous (not verified) on Wed, 04/20/2016 - 07:07

I loved the look and design of Ana's Simple Bunk Bed but due to limited space in our home, needed a triple bunk bed. I wasn't interested in the hassle of a trundle so I decided to modify the simple bunk bed plan and make it a triple. I have to say, I was a little worried about how sturdy it would be but this plan is so solid with the 4x4 posts that there is no need to even even think about that for another second!
I changed the ladder so that it was attached to the side rails of the bunk bed as someone had posted they did earlier and decided to add another little ladder for the middle bunk so my little one wouldn't have to leap from the ladder to get into her bed. ;D

In order to do a triple in our home (with 8 ft. ceilings), I needed to bring the height down so I made the bottom bunk sit on the floor with the legs only being as long as the height of the headboard. I also made all the headboards and footboards only as tall as the footboards in Ana's original Simple Bunk Bed plans.

This was my first build and there are definitely things I would do differently to make this work better if I had it to do all over again. I would make the legs a little shorter on the 2nd and 3rd bunk so that there is more head room for the person on the top bunk.

All in all though, I had a great time building this and can't wait to try some more of Ana's plans!!!
Estimated Cost
$450 including hardware
Estimated Time Investment
Week Long Project (20 Hours or More)
Finish Used
White paint, not sealed
Recommended Skill Level
Intermediate

Comments

wbmclaurin

Mon, 11/01/2021 - 21:30

Do you happen to have the exact plans for this triple bunk? I saw that you modified the simple double bunk to fit your space but I'm wondering if you drew up plans wih measurements to make it easier for beginner folks.

Farmhouse Bed Headboard

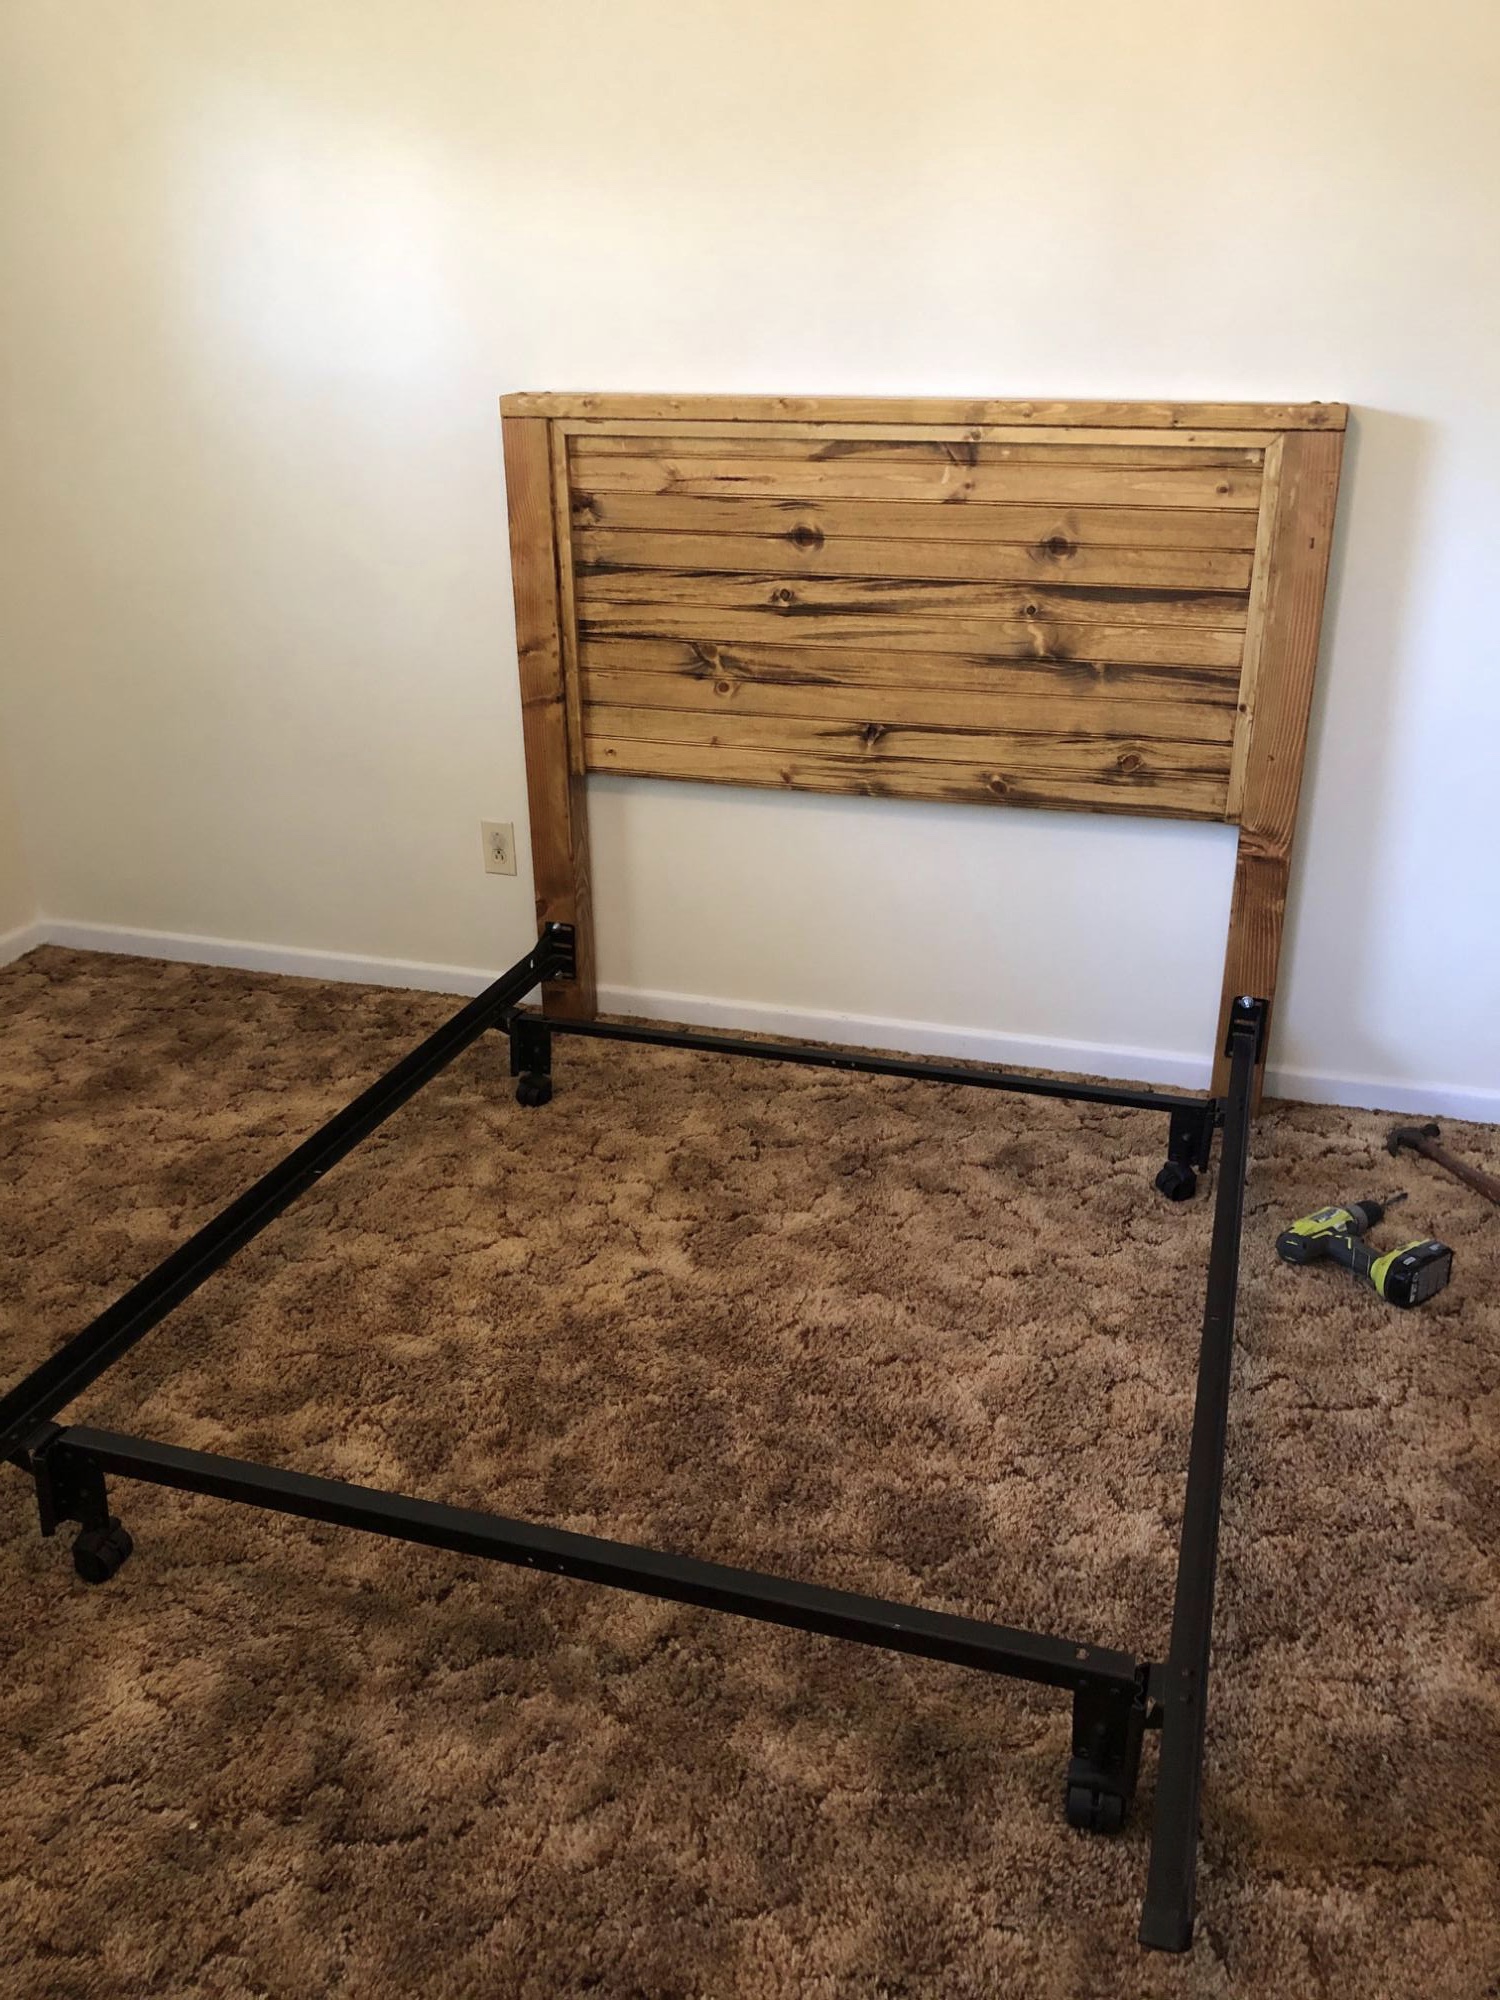
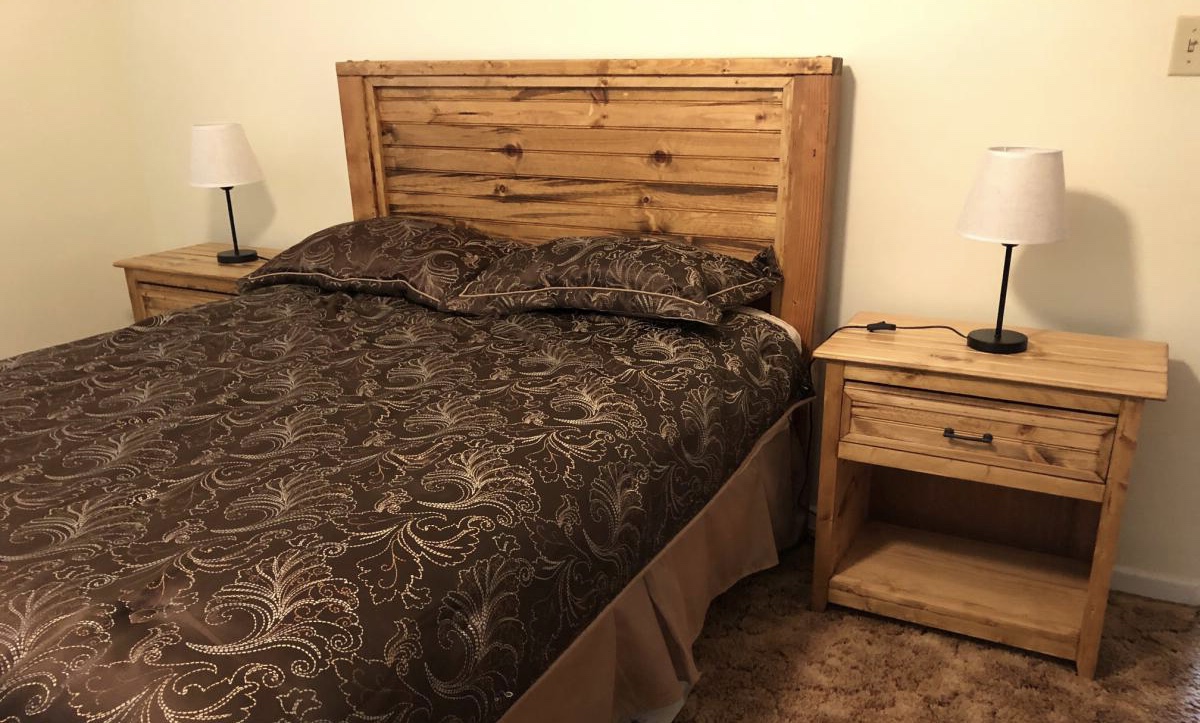
Submitted by Anonymous (not verified) on Mon, 01/27/2020 - 14:26

I only needed a headboard for the full size bed in my guest room. I attached it to the existing metal frame with carriage bolts. I built matching nightstands from plans found elsewhere on this site.

Built from Plan(s)
Estimated Cost
$35
Estimated Time Investment
Afternoon Project (3-6 Hours)
Finish Used
Honey Oak Stain
Water based polyurethane
Recommended Skill Level
Starter Project

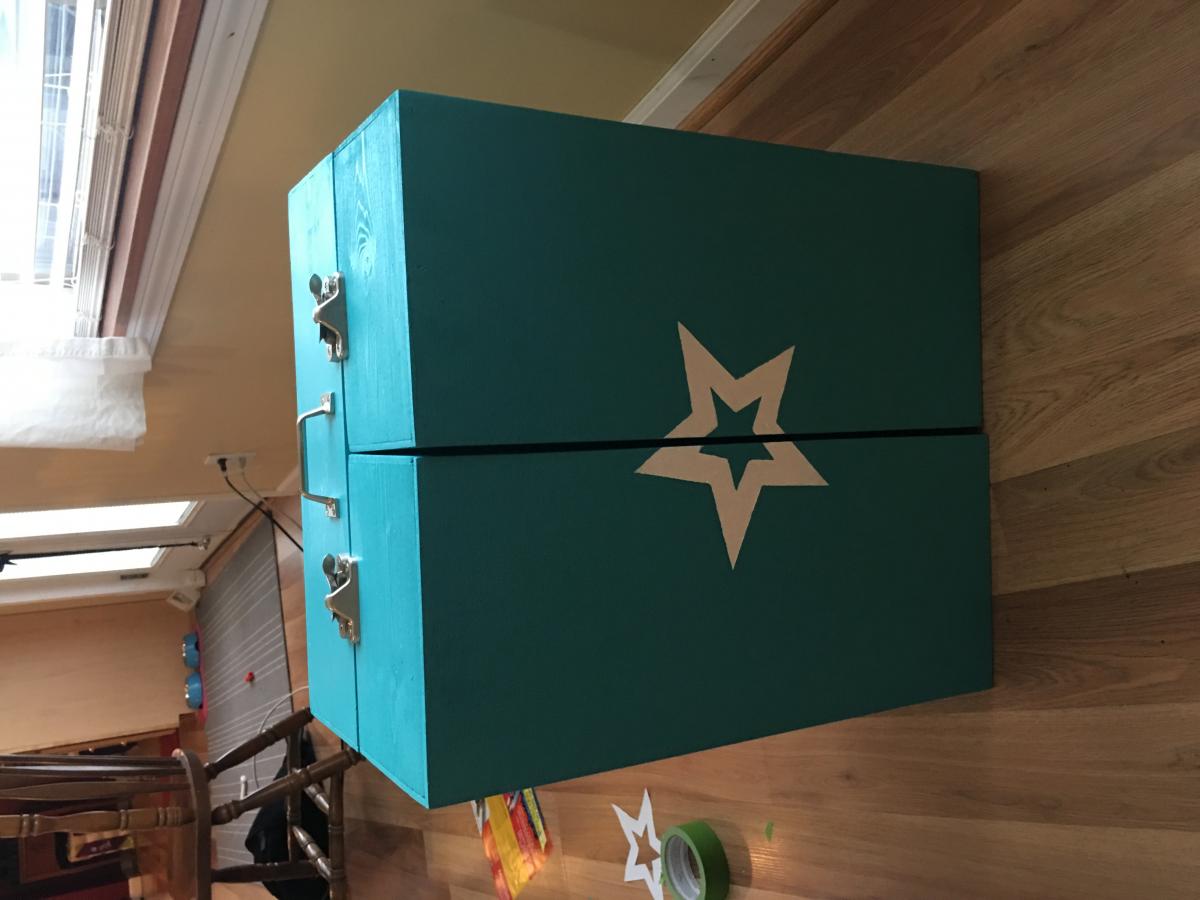
American Girl Doll Storage and Bed

Submitted by advanlente on Sat, 03/28/2020 - 11:09

For my niece's birthday, I built her this awesome storage solution. Mom was super happy that everything could fit together in one spot and my niece takes this with her wherever she goes. I was so happy to find plans to build this as I was not sure what to make her for her birthday!

Estimated Time Investment
Afternoon Project (3-6 Hours)

Comments

mlrussell65

Sun, 10/20/2024 - 09:56

Could you send me plans for trunk for American Girl dolls and accessories please

Cedar sectional

Submitted by rhn0489 on Mon, 07/06/2020 - 11:39

My sister needed new outdoor furniture for her deck and liked the look of the sectional. I used cedar with a clear varnish to creat this piece for her that was perfectly sized for her deck. The challenge to this one was getting it to her house about 3 hours from mine. Fully assembled it would have been tight getting it in my truck. I ended up cutting all of the boards and drilling all of the pocket holes in my shop and then assembling at her house. I have added backs to some of the pieces I have made fro others that want the extr support. I add a 1x4 laying flat across the back of the seat. The slats going up and down then have a slight angle to them which adds comfort and support. I attached the pieces to the 1x4 and the upper back rest piece in the plans.

Estimated Cost
$340 including lumber and hardware
Estimated Time Investment
Weekend Project (10-20 Hours)
Recommended Skill Level
Intermediate
Seasonal And Holiday

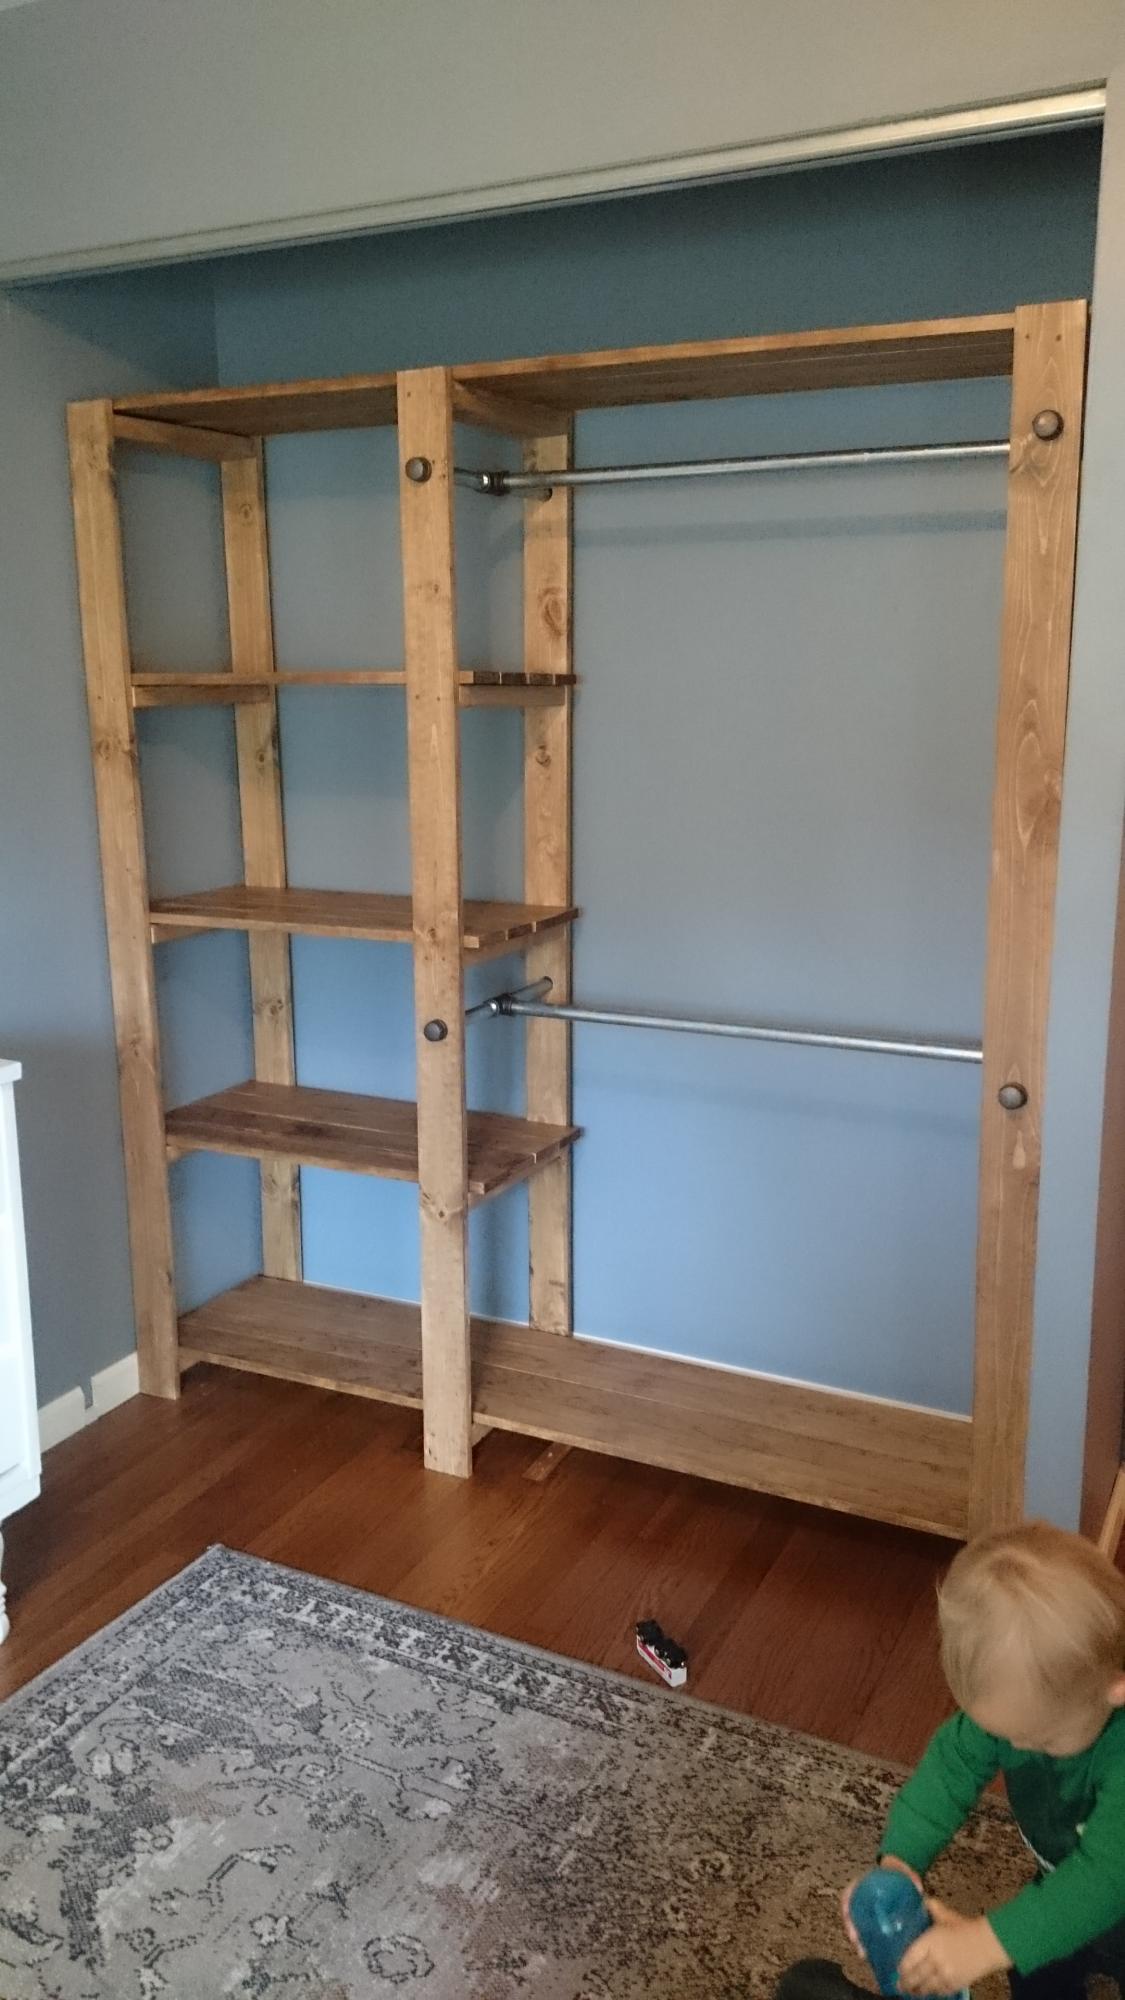
Baby Ray's New Closet!

Submitted by Katurn89 on Wed, 11/14/2018 - 08:24

This was the second building project I've ever completed. I had to make a few adjustments to make it fit the size of ray's closet, but it was totally worth it. most of the work was in the measuring, sanding, and sealing of the wood. Ftting the frames can be a little tricky if your planks aren't perfectly straight. Otherwise, this project was pretty straight forward and can be done in just a few days depending on how much time you have to dedicate to it. Thanks Ana!

Built from Plan(s)
Estimated Cost
About $150
Estimated Time Investment
Week Long Project (20 Hours or More)
Finish Used
Early American stain and polyurethane
Recommended Skill Level
Beginner

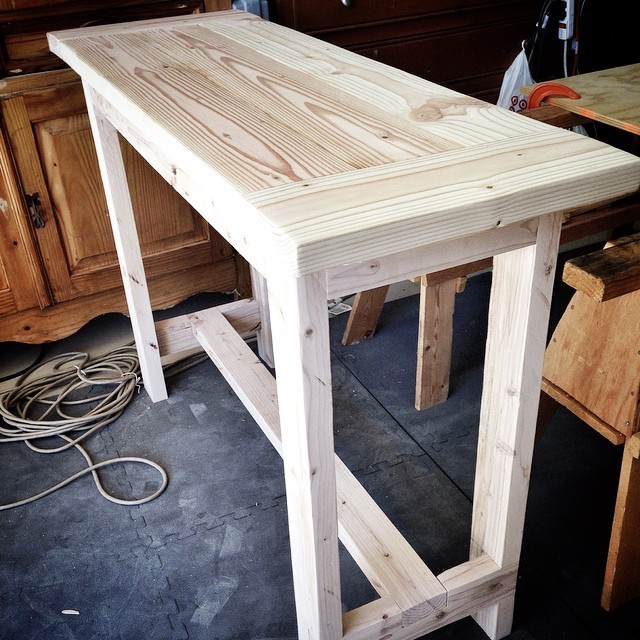
Console Table

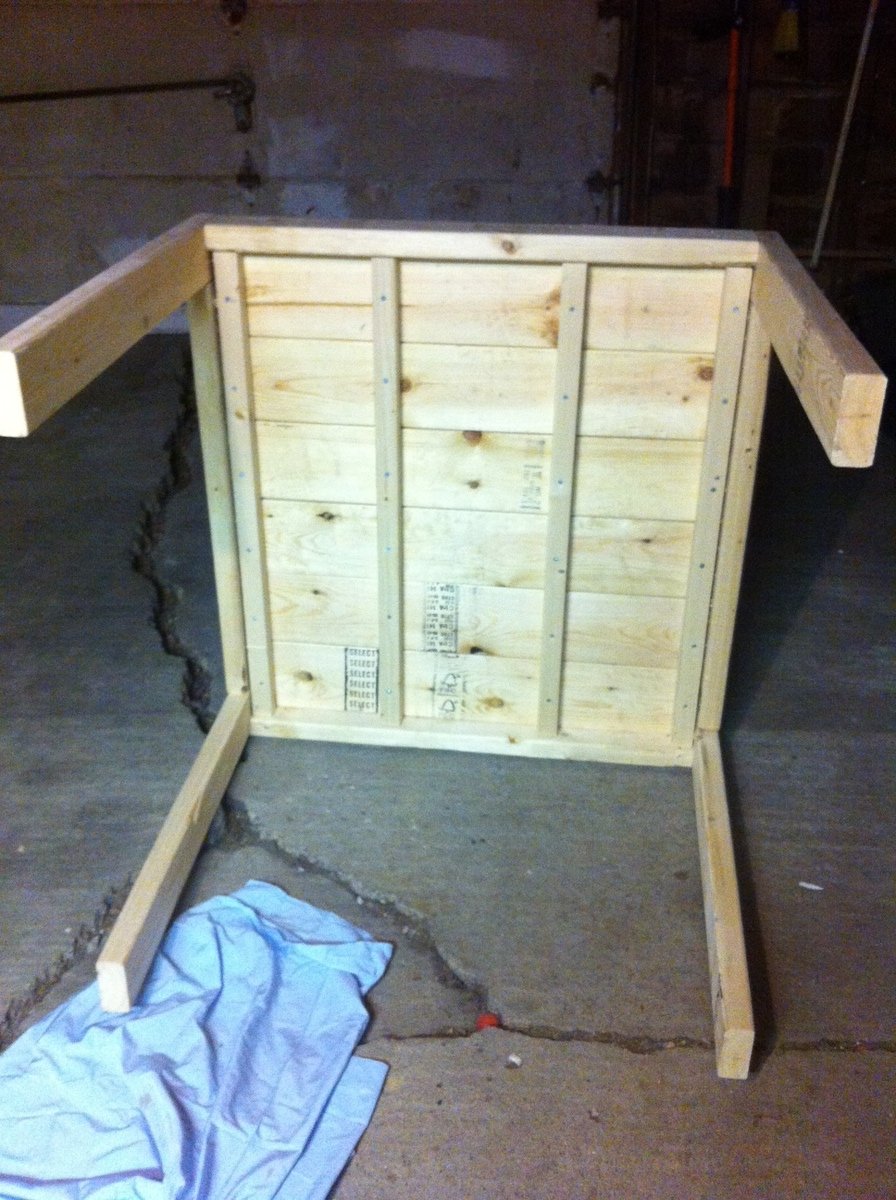
Submitted by kcragun on Sat, 08/16/2014 - 21:36

The Tryde Console table was the inspiration piece. Used kreg jig to join the top boards and connect the legs and aprons. The bottom stretchers were similar to the Farmhouse table plans. I plan on using this outside for a grilling table. I am not going to apply a finish - I want to see how the wood changes when exposed to the elements - hopefully it gets a nice Restoration Hardware-type finish.

Estimated Time Investment
Weekend Project (10-20 Hours)
Finish Used
No finish
Recommended Skill Level
Intermediate