Our Faux Fireplace!
So easy! We need to hide a return vent on the wall and a faux fireplace was an excellent solve!
Thanks for the plan!
My in-laws were in need of a place for their new tv. They choose the plan and I got to work.
I really wanted it to look similar to the furniture that They already had so I used oak and provincial stain.
I surprised them by adding one pull out drawer to each side for easier location of the movie collection.
I was happy with the results!
Sun, 04/14/2013 - 19:25
Wow -- you did an unbelievable job of coming up with something that looks like it should have been there all along. The stain matching looks flawless. Really nice job.
Sun, 04/14/2013 - 20:34
Thank you, that is great to hear! I really enjoyed the challenge and wanted the best for them!
Thu, 07/07/2016 - 08:54
Did you make the top and shelves out of oak plywood with edge banding?
Is that commercially available trim at the top, or did you make that?
This massive 10 foot sofa table had to be built in 2 sections for transport, then re-attached in place. Power strip is in a hidden cubby in the center of the table with a cover that pops off when in use. Boards cover the end of the table to prevent the kitties from hiding behind the couch.
Used a combination of several plans to create my own design!
I thought you had a plan for these but I'm looking through and the closest I can find is the Vintage Step Stool. Either way it is because of your site that I have learned and become comfortable with building so I thought I would share these stools here. I made a little toddler chair to go with them to that you can see on my blog. Thanks for helping to make things like this possible!!
Wed, 04/17/2013 - 11:06
Nice design! The colors are fun and cheery, too.
For my first build I am super proud. Plans were very understable & made it easy to build. Definitely looking forward to building more things!
Here's the second project I tackled from The Handbuilt Home, the Bathroom Wall Storage unit. The first photo is according to the plan specs. I liked this project so much that I built a second one for the smaller bathroom using 1x6's instead of 1x10's, so it's not as deep. Drilling the shelf pin holes without a jig took forever on the first shelf! I bought a Kreg Shelf Pin Jig to try out on the second one, and had it done in minutes! It's so nice to have pretty storage in the bathrooms!
In reply to Very nice! by Debi G
Tue, 07/16/2013 - 17:56
Thanks Debi! I'm so glad I bought Ana's book!
Except that now, of course, I'm addicted to building!
I actually emailed Restoration Hardware and although they no longer carry this chair , it was priced starting at 795$!! Not even close to what it cost me to make it myself. I spent 88 $ on the cushions, 5$ on screws and approx 65$ on the wood so all together this chair cost me about 158$. Thanks Ana!
I tried to make a similar sand box as yours but as space was limited I decided to only make a 1 seat version. As a first attempt of making something proper I think it turned out well. Base frame is made of 4 x2s and the lid and seat contruction it pallet wood planed to make it nice and smooth. Granddaughter loves it.
Liked this project. Make sure all the pieces are straight or you will have issues. And having an extra person to help with drawer slides made a huge difference.
I saw the Shirley table post and was inspired to build this for our entryway in our new home. Maybe not the best first project to pick in the new home, but man was it worth it! Turned out great. Used some leftover paint from an old painting project and it works really well with our new living room set. I listed it as a weekend project because if you're not super experienced or don't start this early in the morning you will probably need to take your time and finish this over two days.
Build Instructions:
http://www.instructables.com/id/Harvest-Basket-Garden-Trug/
Video of Build:
https://www.youtube.com/watch?v=3DlhZ6-gpak&feature=youtu.be
This is a simple design built from reclaimed wood and purchased ¼” wood slats. It cost very little and only took a couple of hours to complete the build. The goal was light weight, shallow and wide for collecting leafy vegetables, easy to handle and somewhat attractive.
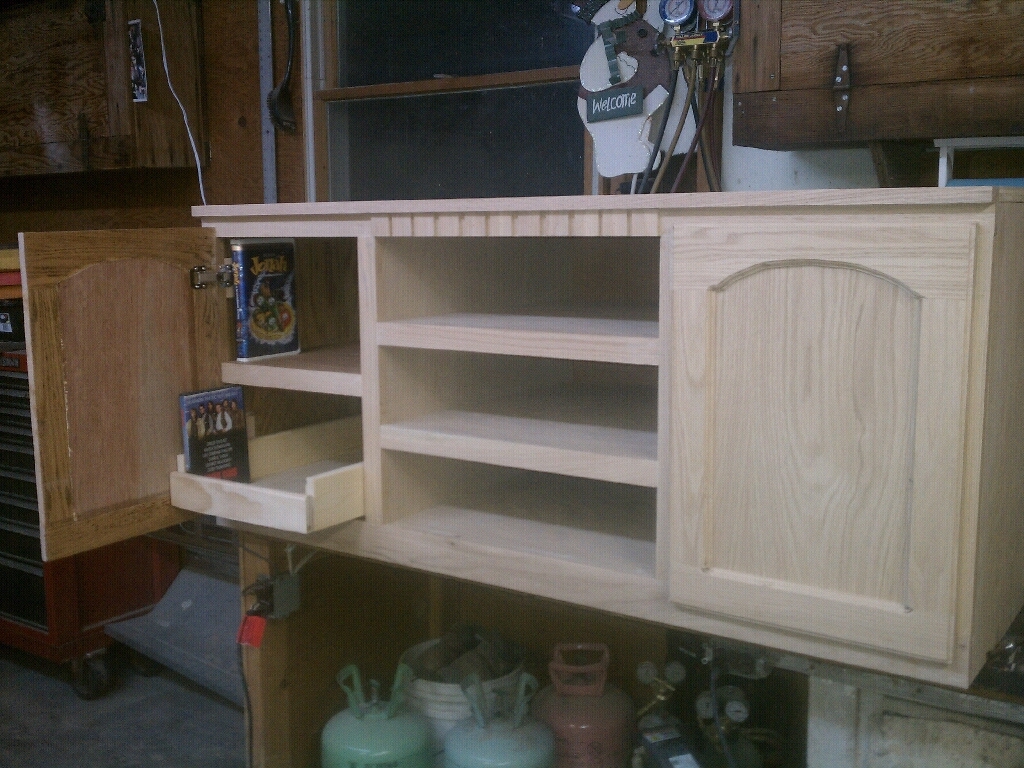
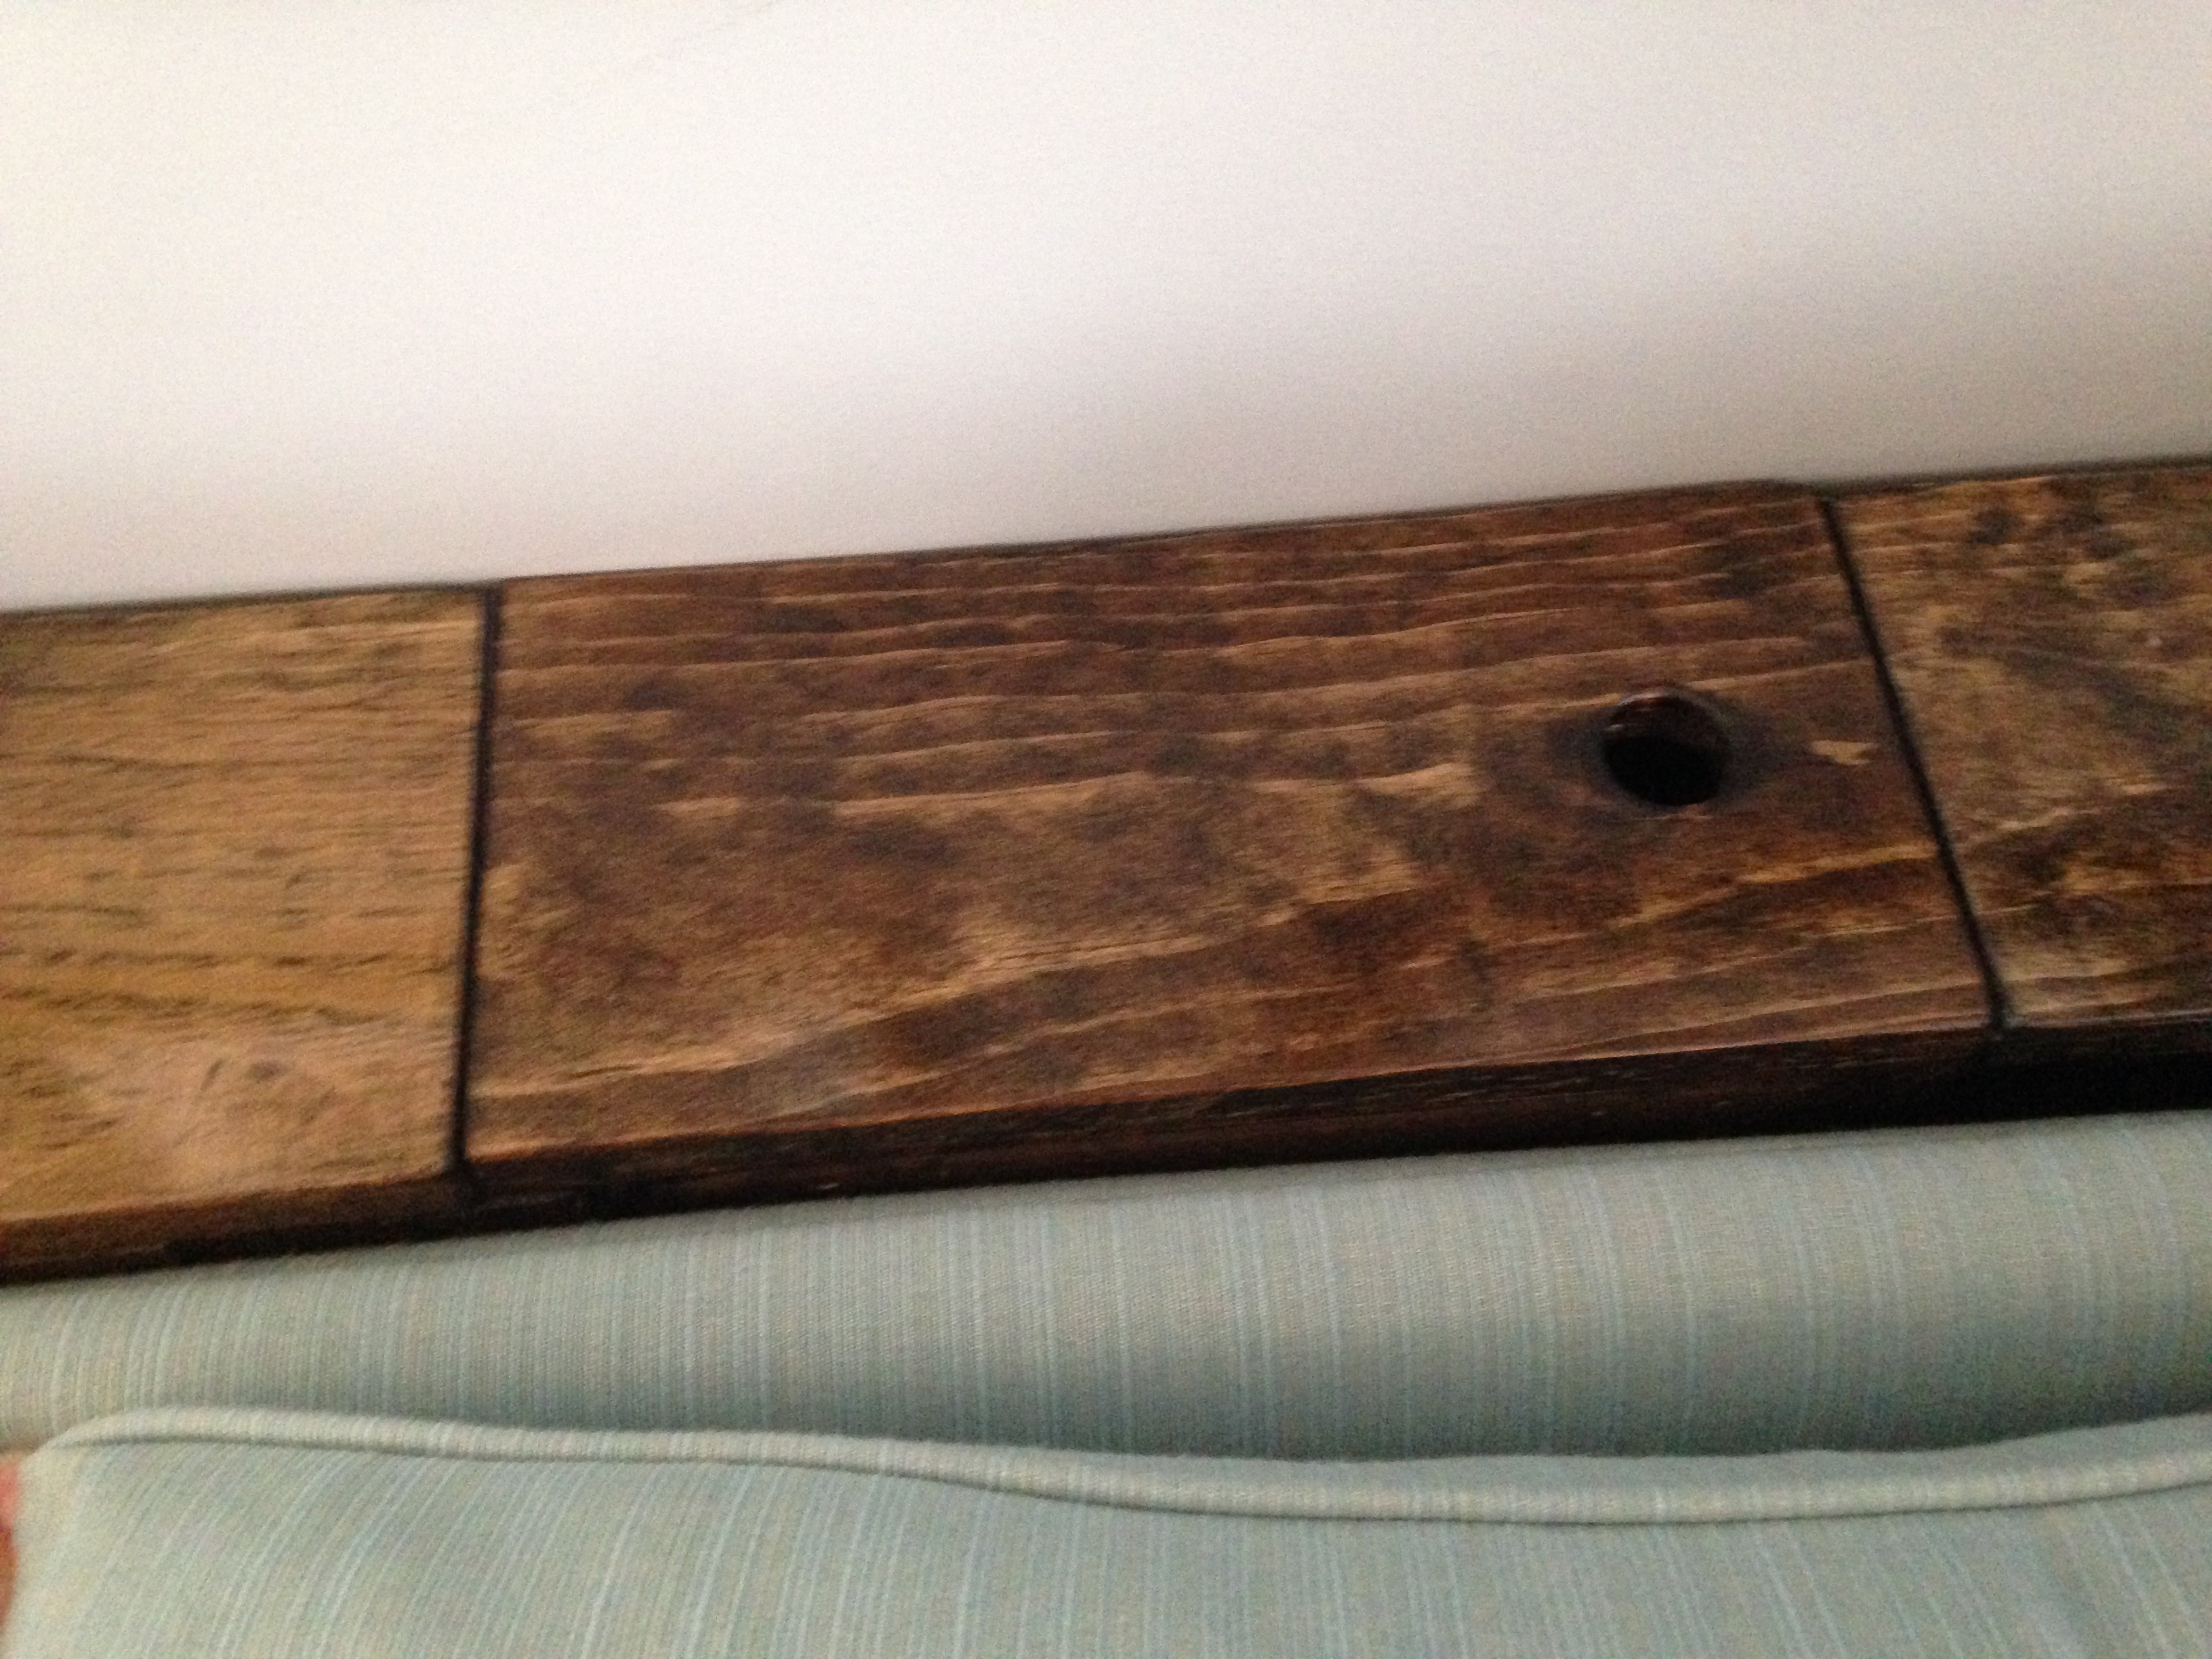
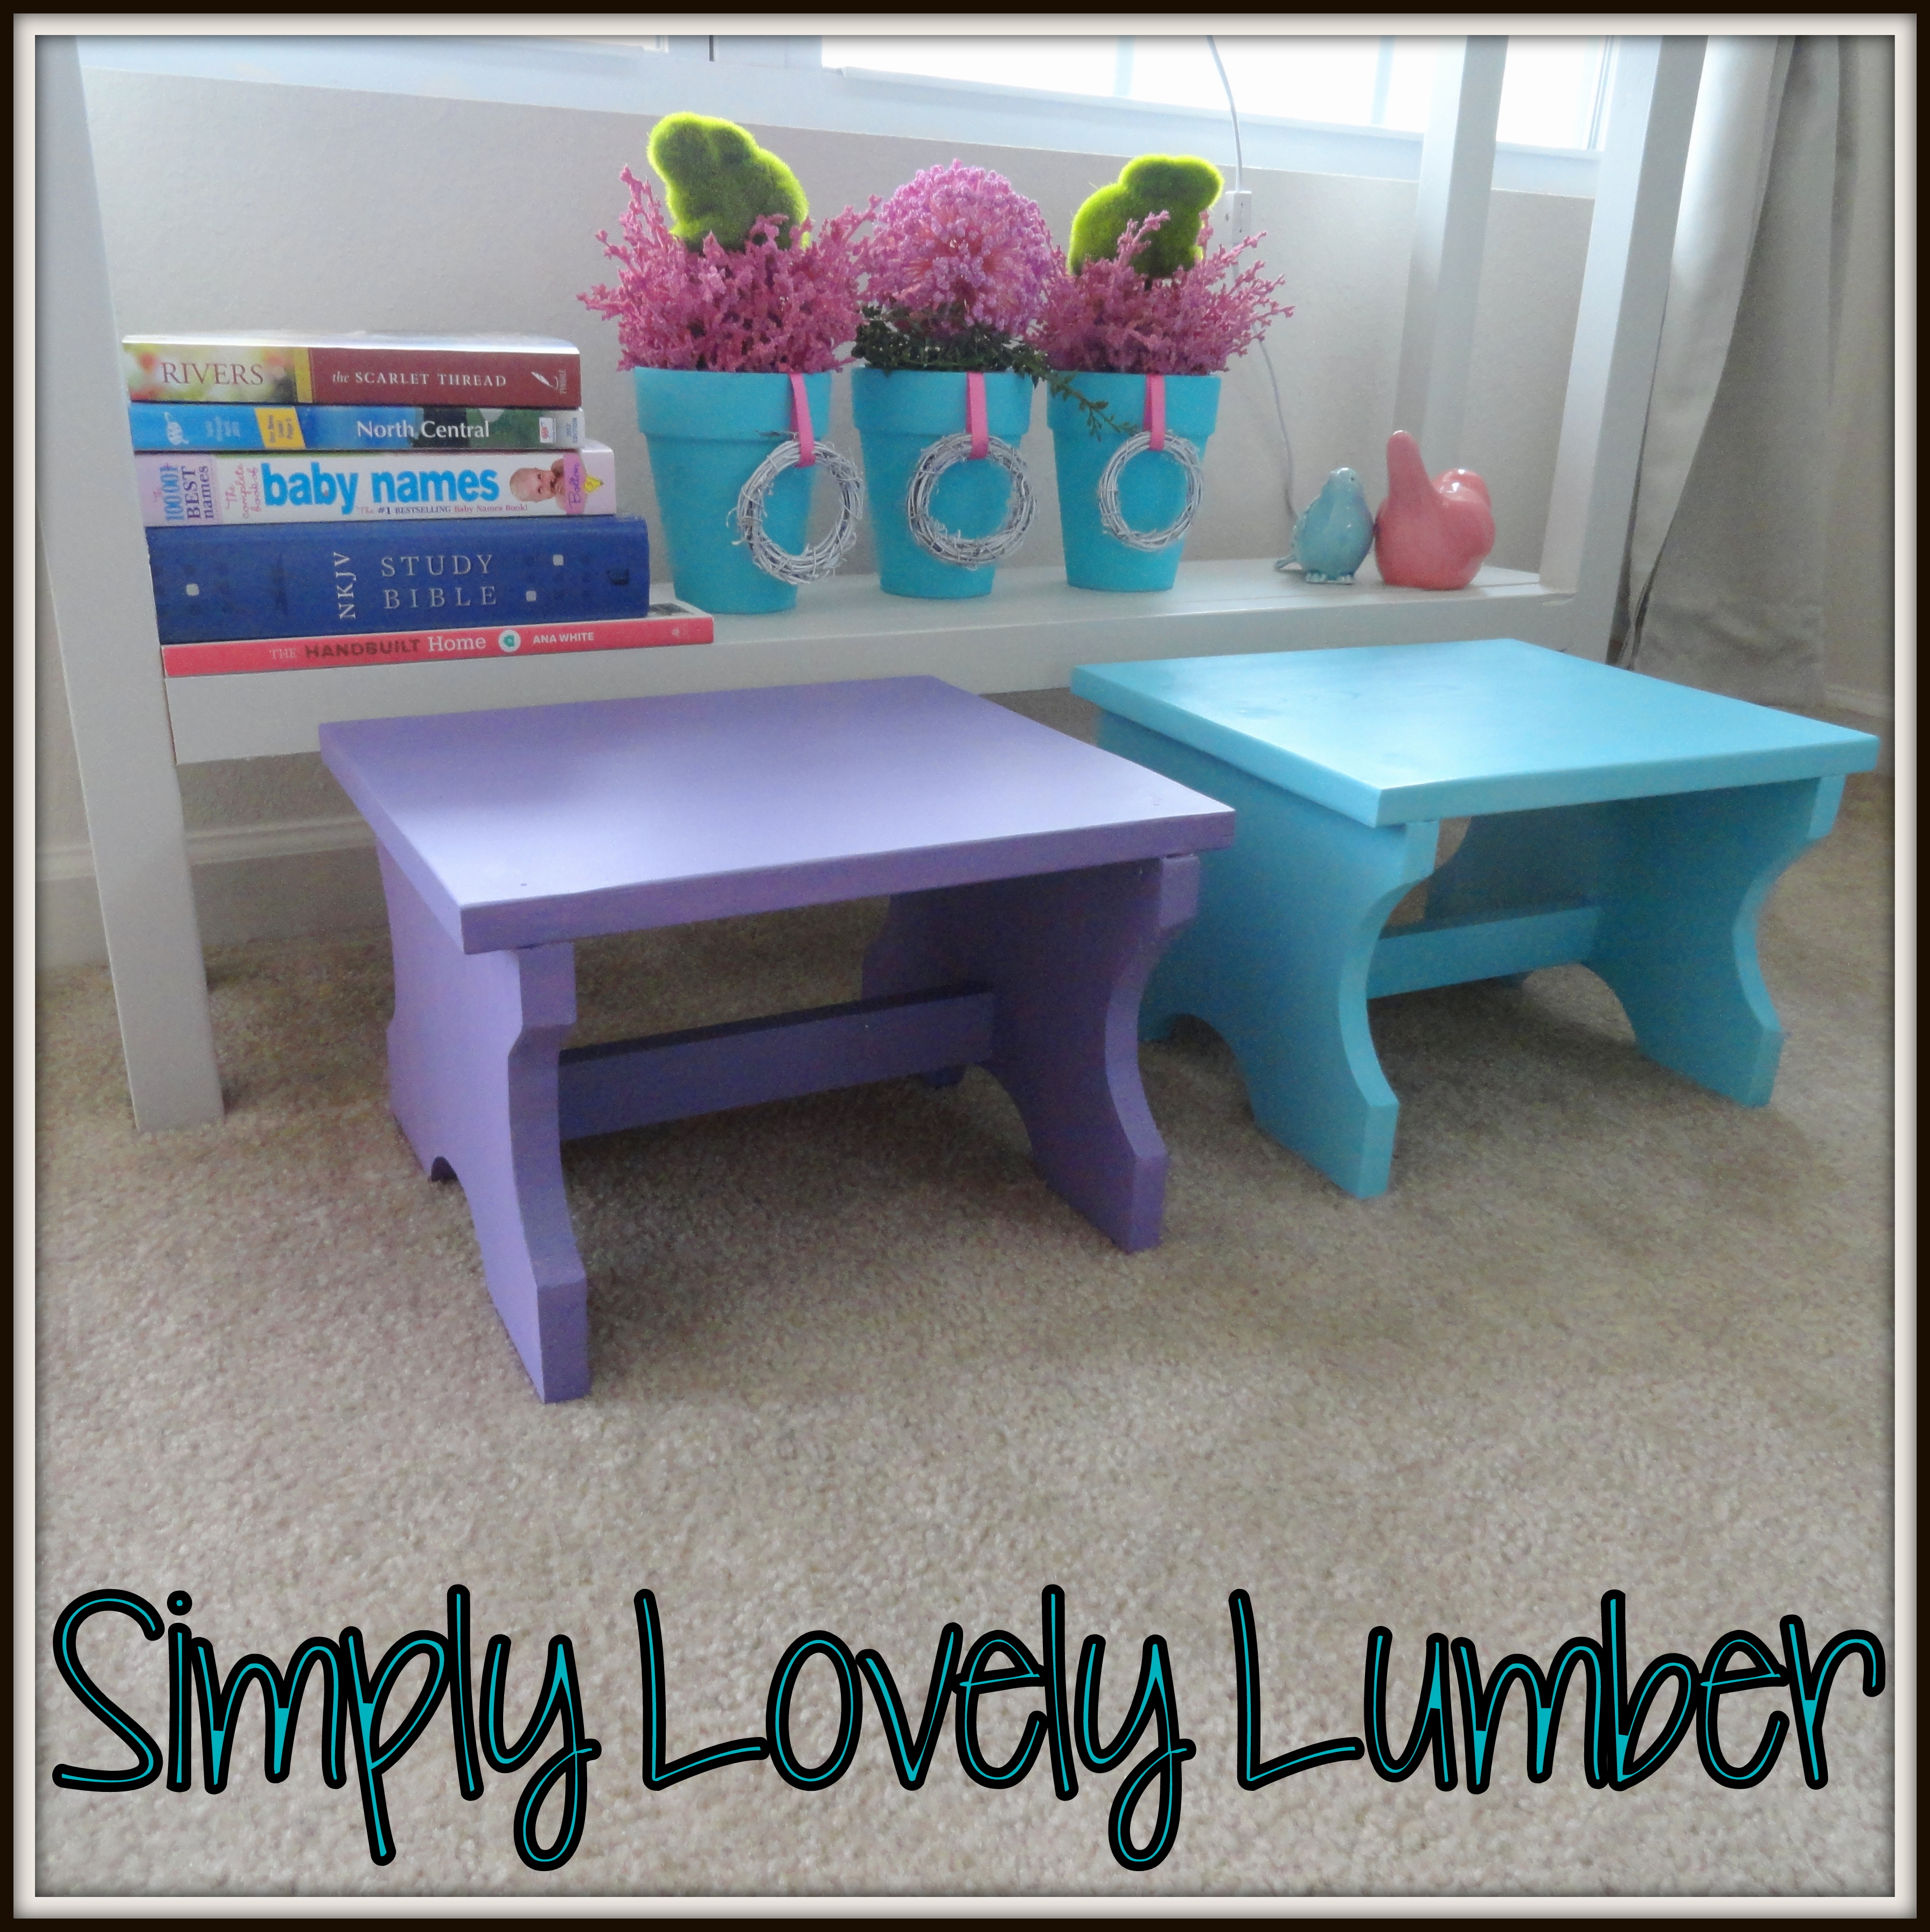
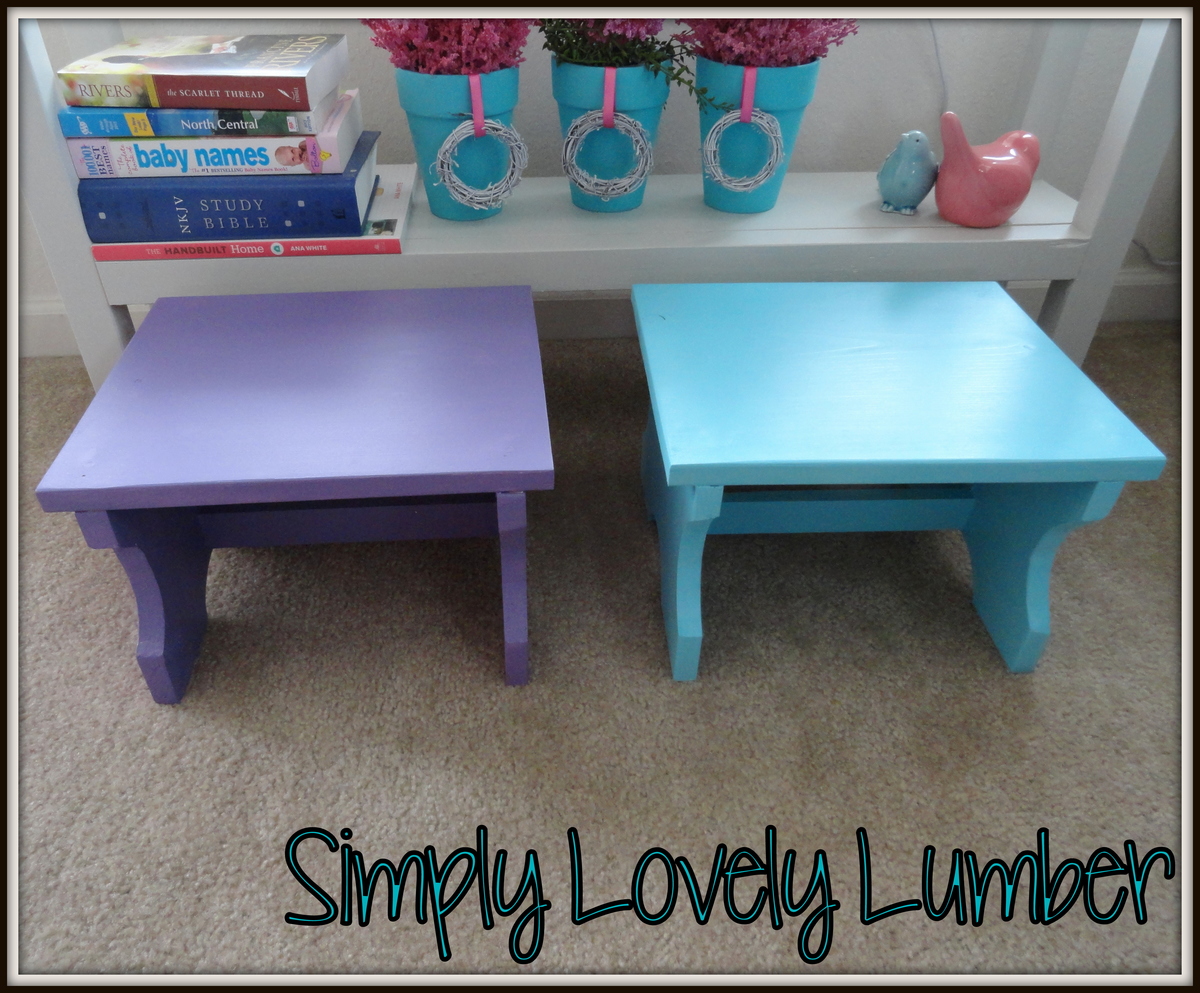
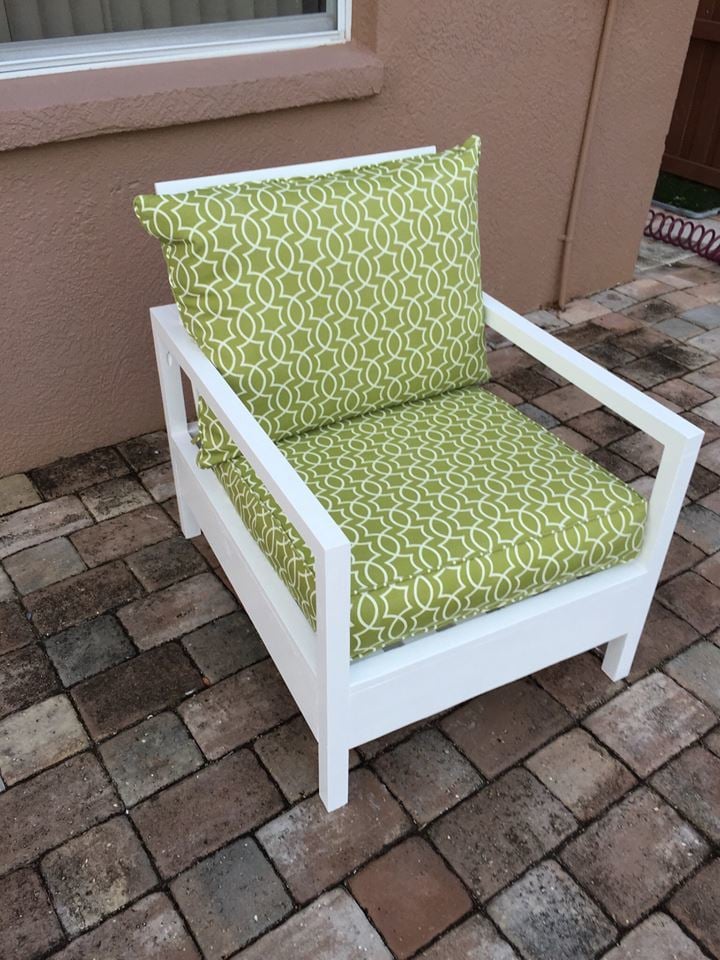
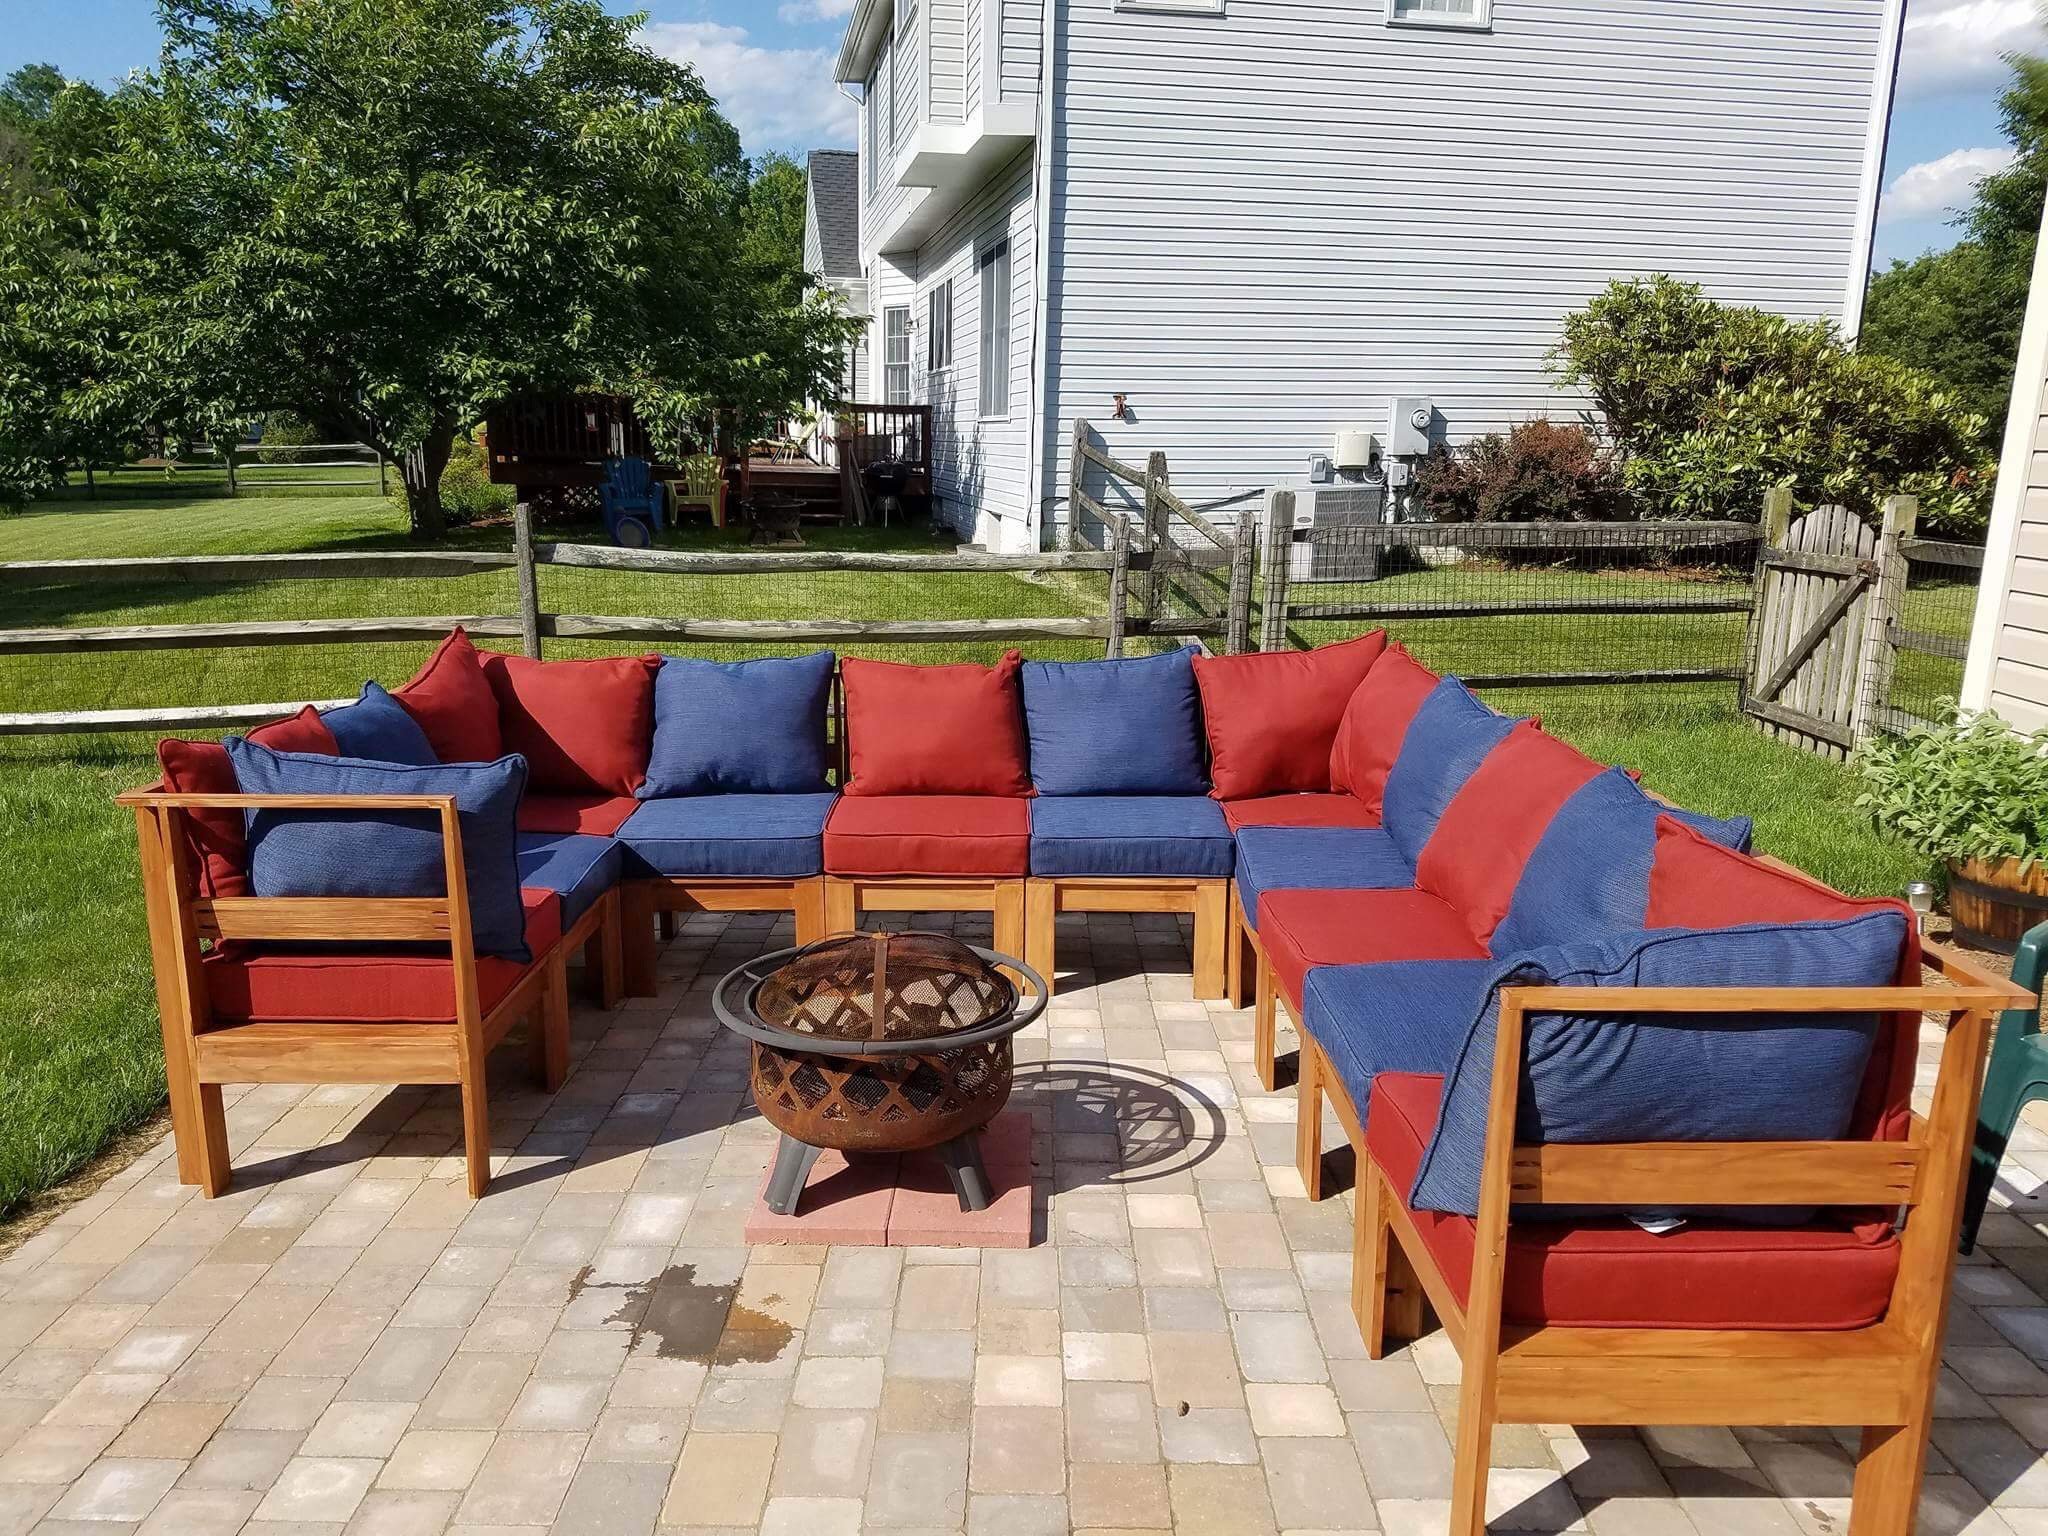
First attempt at a project of this size. 7 middle, armless sections, and 4 corner/end sections. Increased the height of the backs and gave them a slight recline. Didn't have the effect that I wanted. Learned lots of lessons over the course of the month or so I was working on this. 1. Spring for the premium boards instead of the terrible ones you have to pick from for the common boards. 2. Use a stop block on your miter, and cut all your boards before starting assembly. Uniform cuts save lots of frustration. 3. They make outdoor use pocket screws. Who knew? We will see how long the first couple of sections hold up over time. 4. Stain REALLY doesn't stick to glue. Seriously, not even a little. Watch the over application and sand if it you have to. 5. Cushions are EXPENSIVE! 6. I HATE finishing. My wife stained the last 7 pieces.
Taking a break from building for a bit. It's summer, and I'd rather spend it at the pool than sweating it out in my 100 degree garage.
Rustic X coffee table and end table. Used Minwax Special Walnut for the tops and shelves, and Rustoleum Heirloom White for the frames.
I've been wanting a farmhouse table for the past year or so ever since we updated our kitchen cabinets. The thought of spending lots of money on a dining table was not something I wanted to do with two little boys who tend to get a little rambunctious at times! I found the plan for the farmhouse table, sent my husband a text with the link and asked if he thought we could build it. We've been on a roll recently building closet systems, and laundry organizers so I thought I would nab him while he was in building mode. He agreed to give it a try, and we built it this past weekend, with the help of a 2 and 4 year old.
The plans were very straight forward and easy to follow. We moved it inside to build after all the cuts were made (other than the bread board ends) as we knew it would be too large to carry in the house. We also cut 10 inches off the length as we did not have a big enough dining area for an 85" table.
Then we made the large rustic x bench for seating!
I really enjoyed this project! It was very easy and inexpensive. I used Weathered Oak stain to make the pine look aged. I also countersunk all of the screws and used oak button dowels to give it a finished look. I learned how to create the wording and images through YouTube. Search: how to transfer an inkjet photo to wood. Cool trick.
Tue, 12/01/2015 - 04:50
My sister in law would like one of these and I'm wondering what angle cut you used for your support boards? I like the idea of going corner to corner vs trying to get each one centered and not making a mistake. I'm also wondering about spacing and if you kept the measurements the same as "Over The Big Moon" ? Thanks so much!!!
Debora Cadene
First large build I did by myself. Took a long time because I pre-drilled for every screw. Gave this table and bench to my brother. Made new table in hours- no need to predrill except for the 1x4 on the bottom.
There were no exact instructions so the project was just eyed. We used finishing nails to put it together so it would be easy to take apart if a mistake was made, then later we added the screws. Bought a can of rustoleum paint in navy blue. I get pallets for free from my mothers work, and we had screws laying around, so essentially the project was free.
Ask for materials used
Comments
Ana White
Mon, 03/02/2015 - 15:58
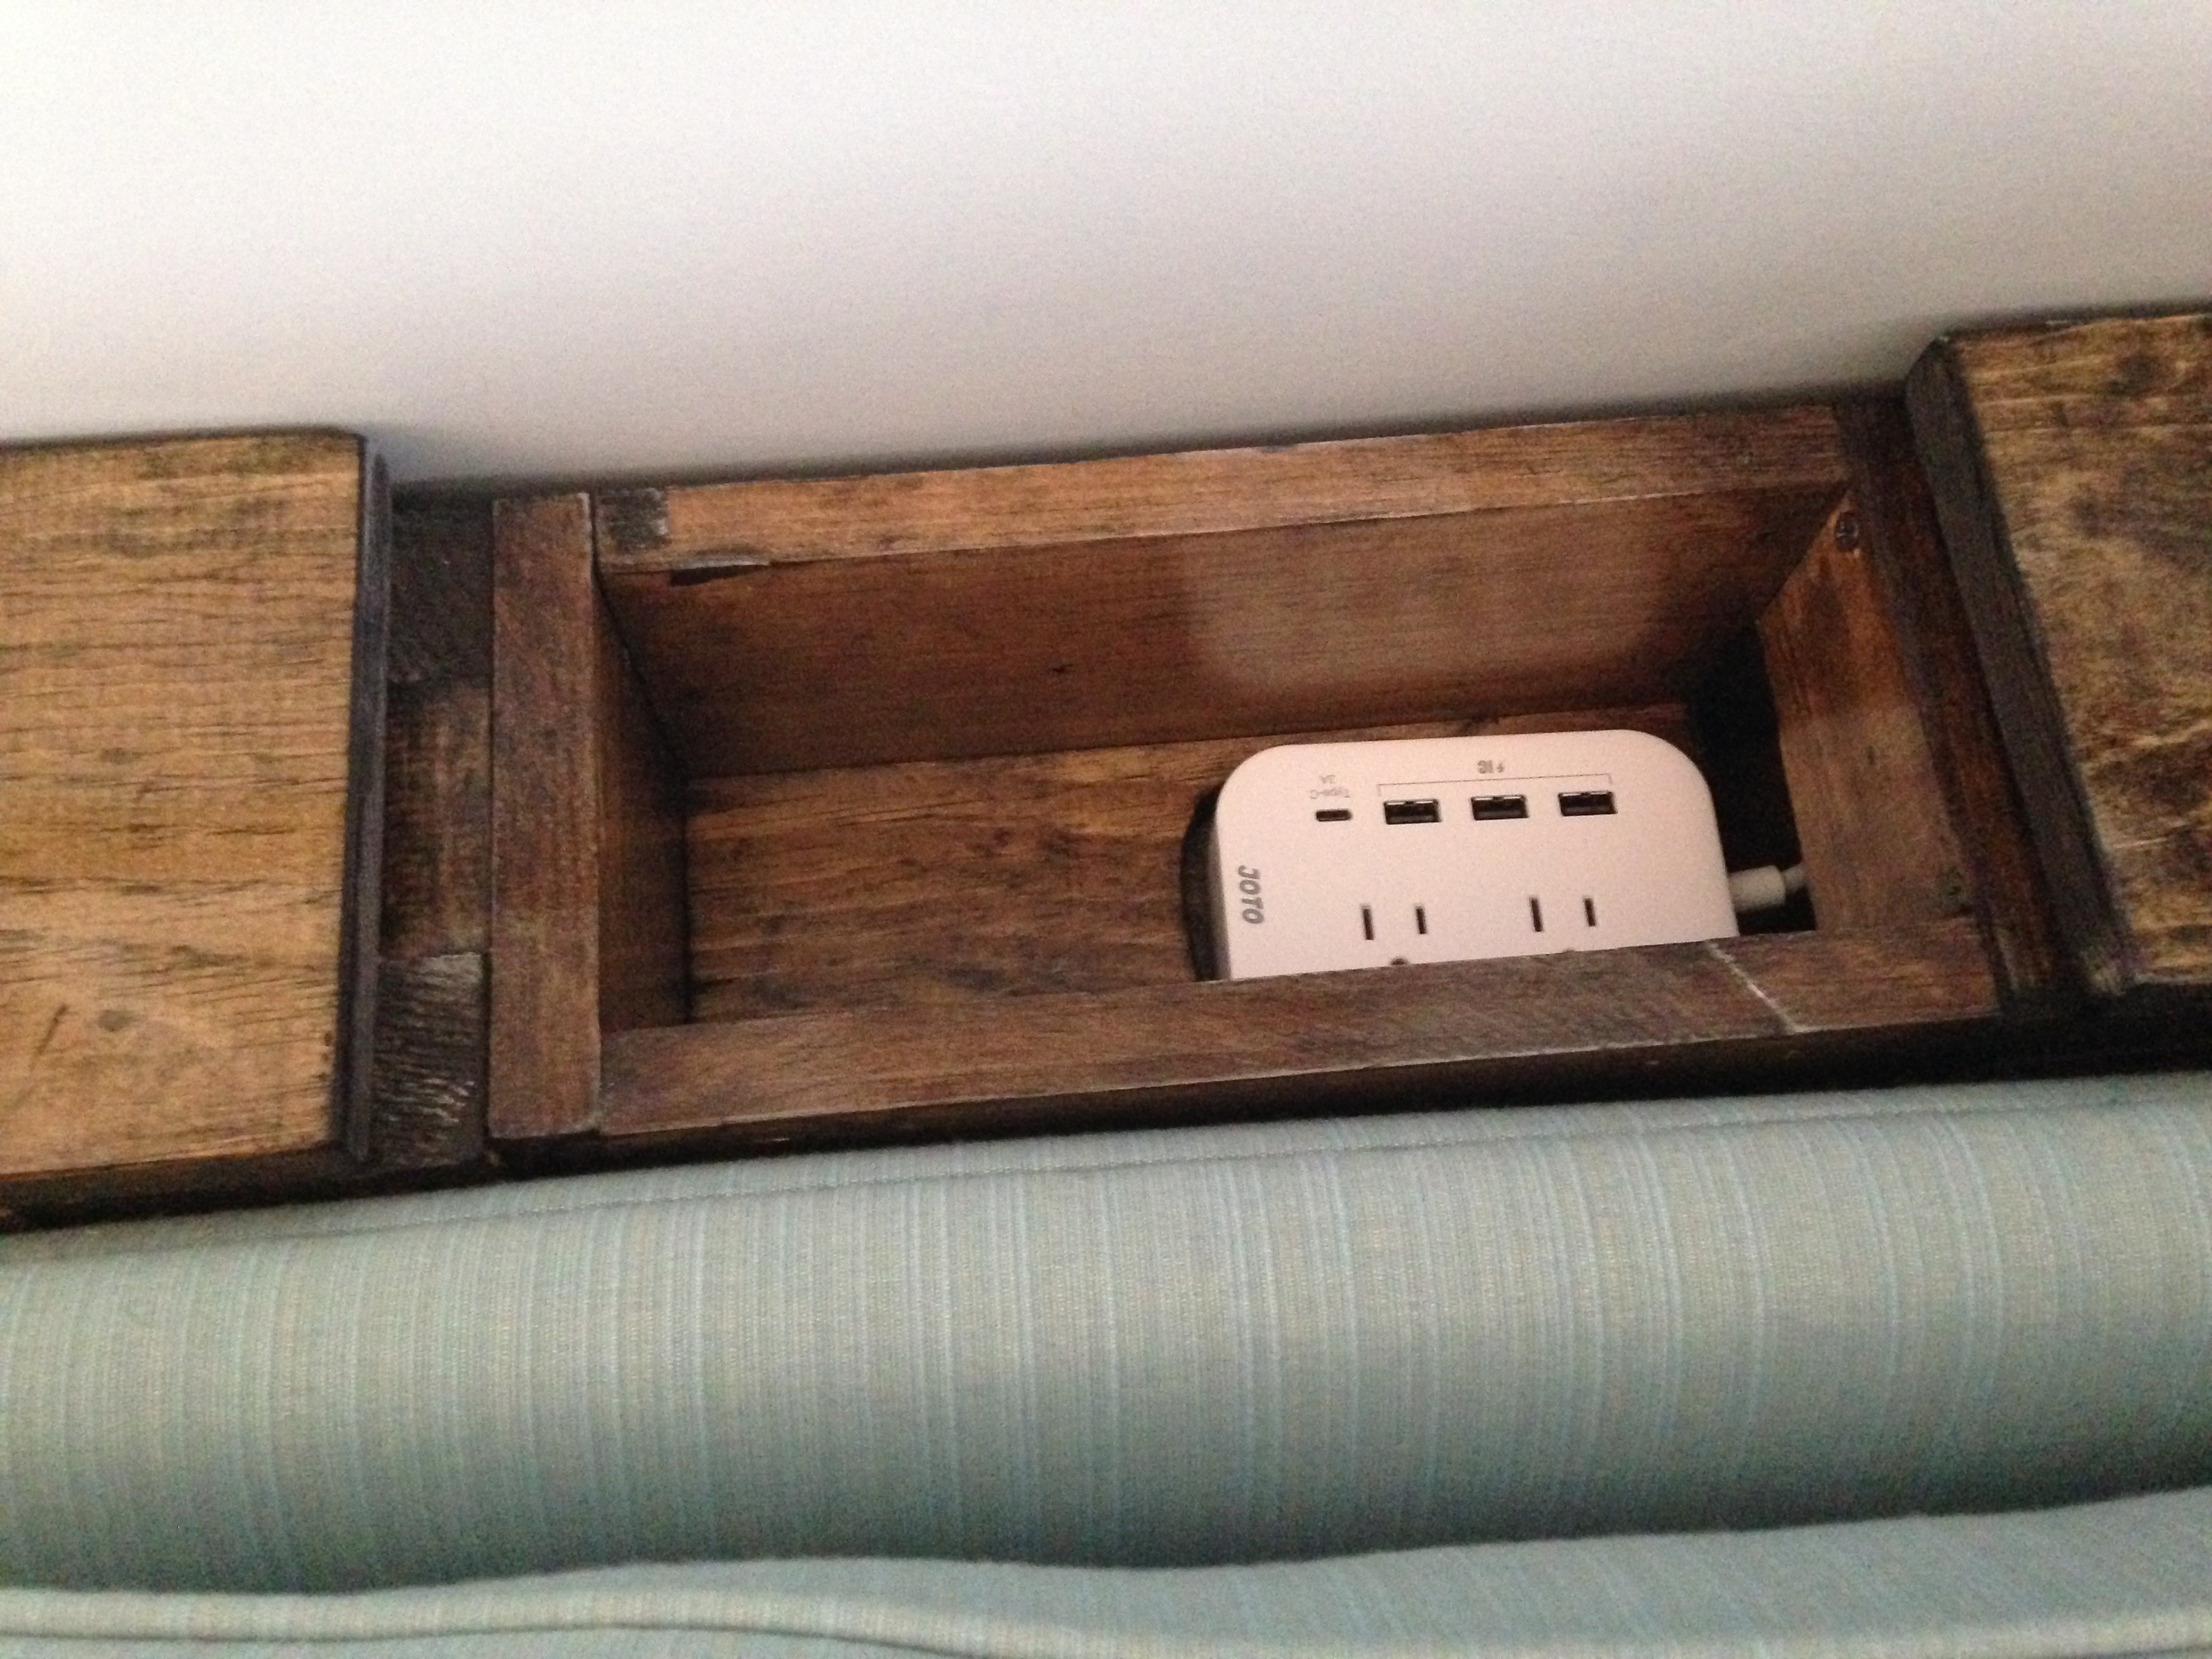
That's genious!
That's genious!