Doll Picnic Table
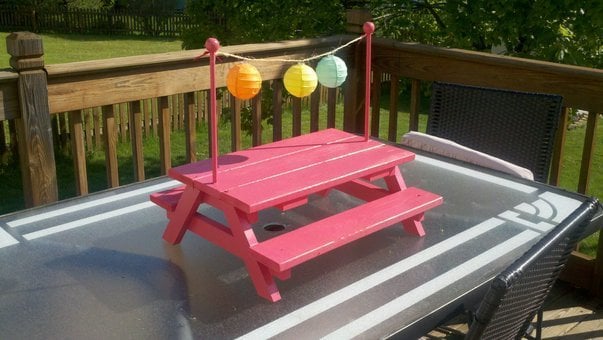
My 10 yr old son and 8 year old daughter really loved helping make this for their cousin. They've never been so excited to give a gift!
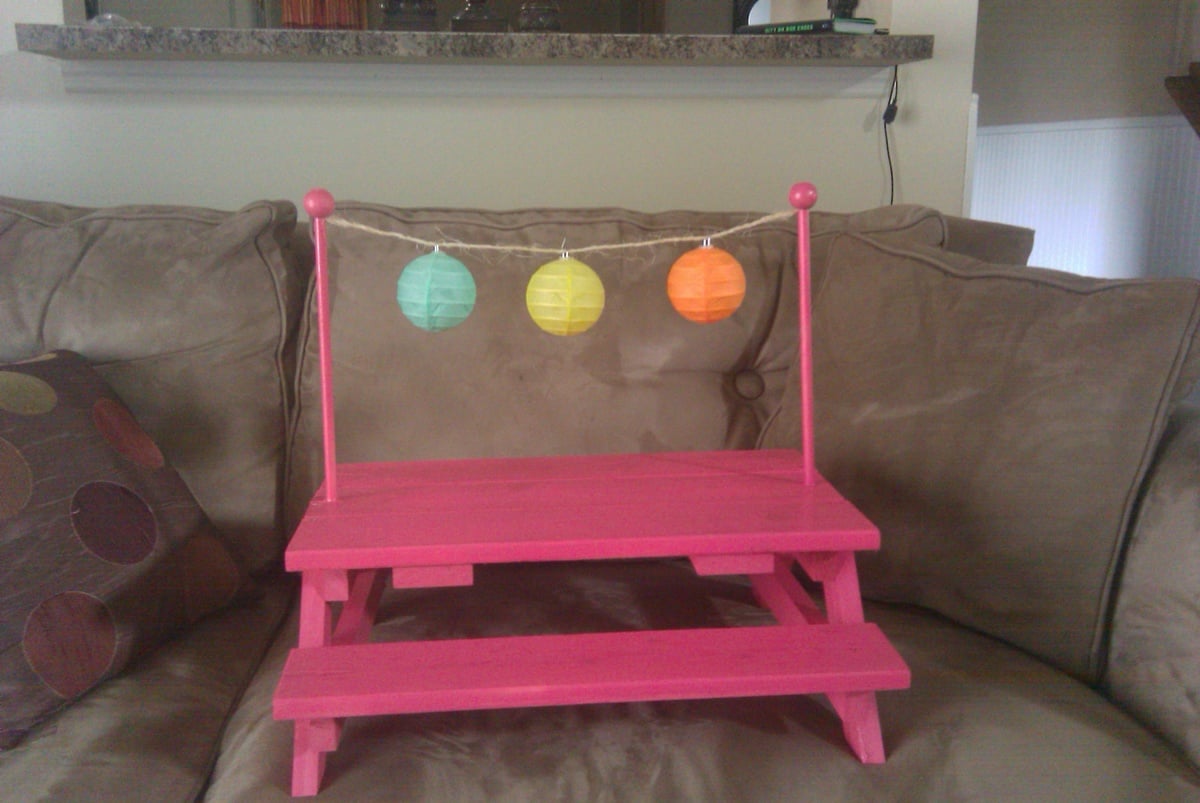

My 10 yr old son and 8 year old daughter really loved helping make this for their cousin. They've never been so excited to give a gift!

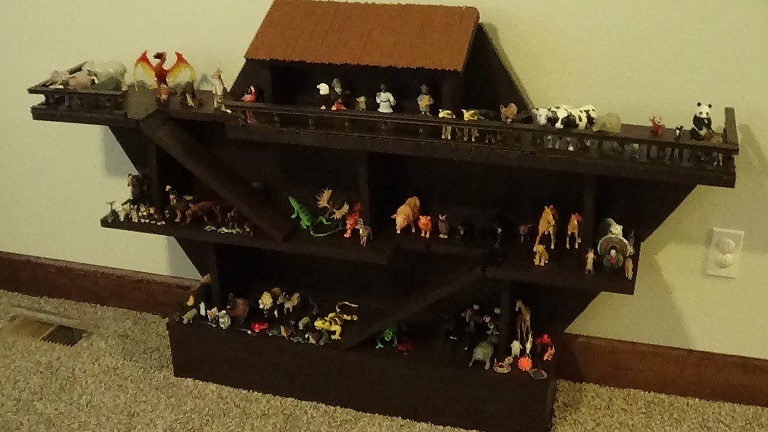
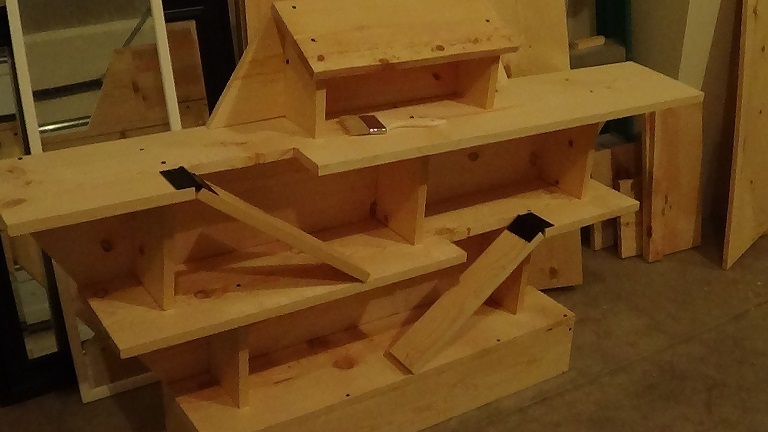
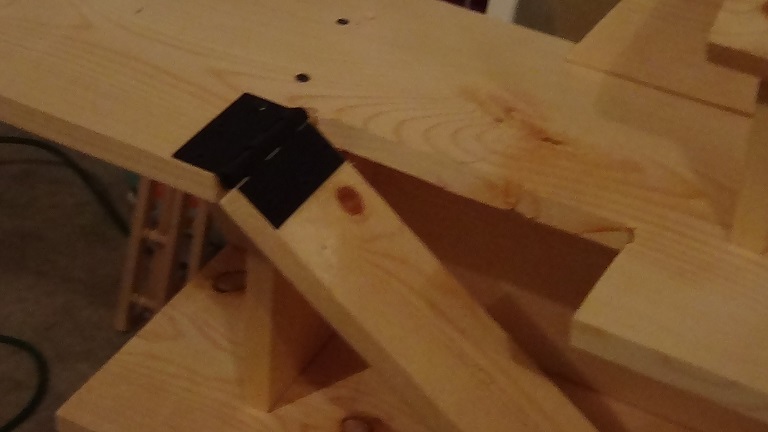
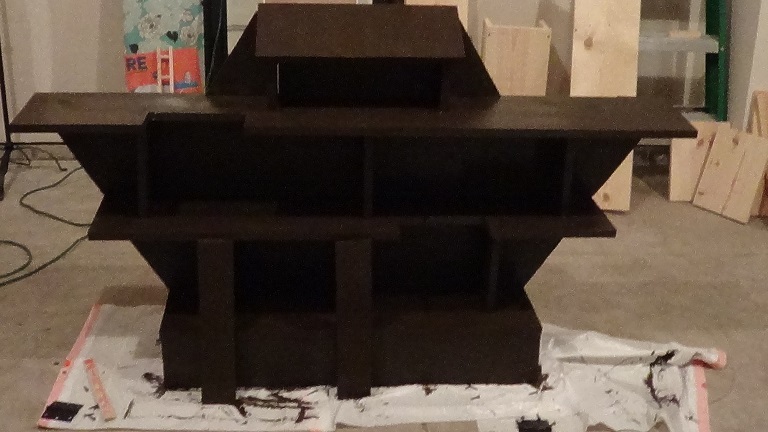
My son is three and loves animals. His collection of animals keeps growing. They were originally sitting on his toy chest. This made things difficult because we could not use his toy chest storage. He liked having all his animals lined up. So I thought I would build him some shelves. But something cool and fun for a little boy with a growing animal collection. So I set out to build the Noah's ark. It didn't take me a hundred years but I kind of know how Noah felt because we messed up and had to rebuild. There was supposed to be sides with a drop down bridge so he could load his animals on to the arc. It was supposed to be attached by hinges and have a latch to hold it up. My husband and I are beginners at cutting wood and were unable to make the proper cuts. So we decided to go without sides. If anyone does this arc with the drop down side please let me know. I would love to see it like I originally imagined it. I first set out to make it 4 feet long but after building it and messing up some of our wood; I thought my son will need a bigger arc. The final product is 5feet long at the top and 3 feet at the base. I used 6 inch wide base because we have baseboards close to that wide. The shelf width is 10 inch. I would recommend attaching to a wall. I used some left over railings I had from another project. You can buy them at a hardware store. I was going to stain it but did not have the time. So we painted it. I used dowel rods for the roof and glued them on.
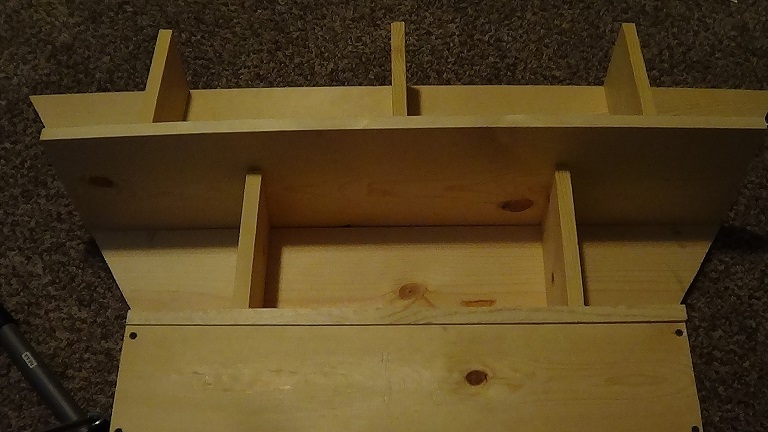
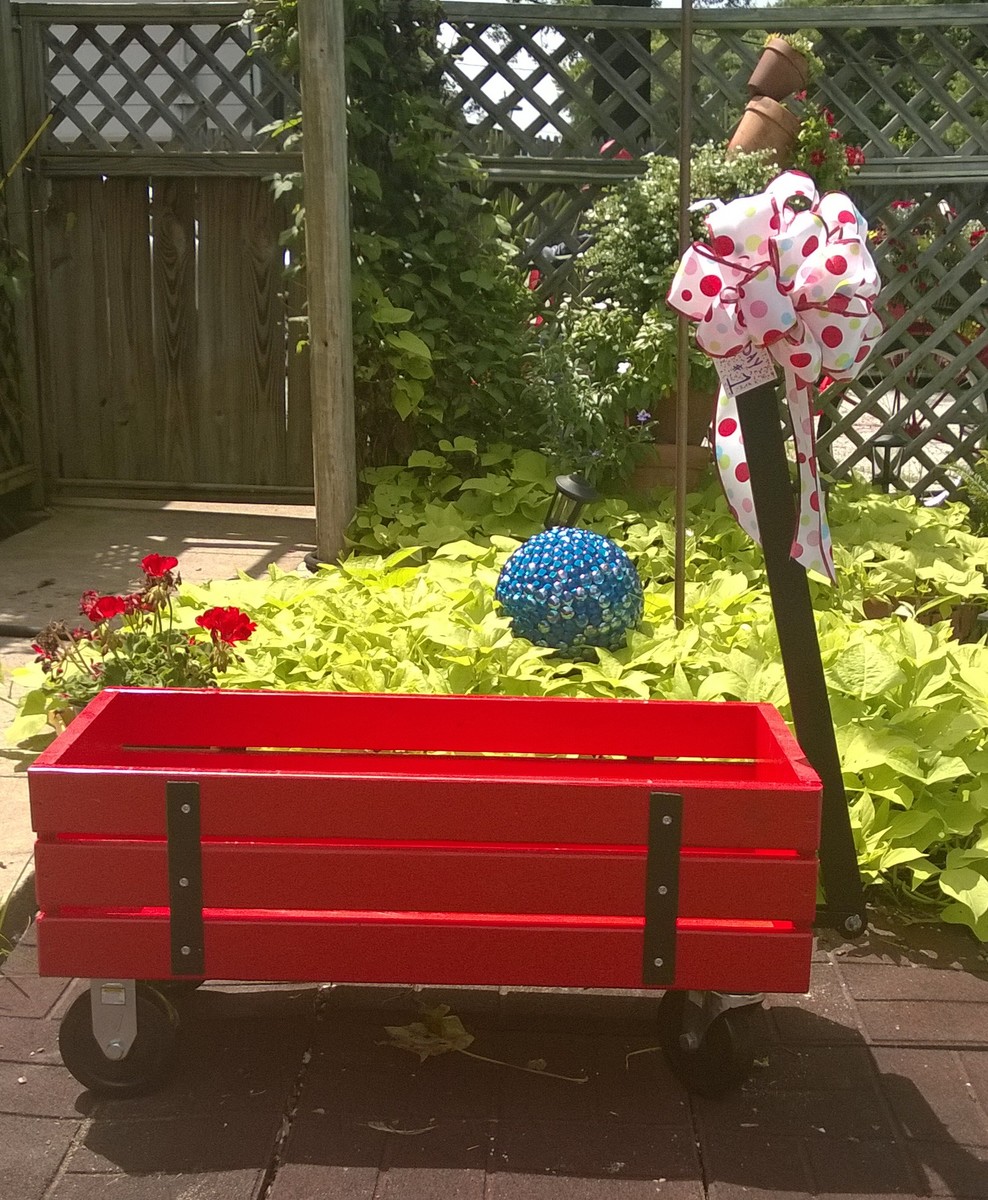
I used 5 inch wheels as I wanted the wagon to sit a little higher. http://www.harborfreight.com/5-in-polyurethane-heavy-duty-swivel-caster-69852.html and http://www.harborfreight.com/5-in-polyurethane-heavy-duty-rigid-caster-61757.html We bought these metal pieces for the straps http://www.lowes.com/pd_44138-37672-11662 Our Lowes didn't have snow blower parts in July. But we were able to find a shear pin in the draawers where much of their specialty hardware connectors are located. . I opted to screw everything together and not use nails. Thanks so much for plans that include a seperate shopping list and cutting list and easy to follow directions. The wagon was a huge hit with the birthday boy.
Sun, 07/19/2015 - 18:34
The color is beautiful and it looks solid...definately grandma's heirloom wagon.

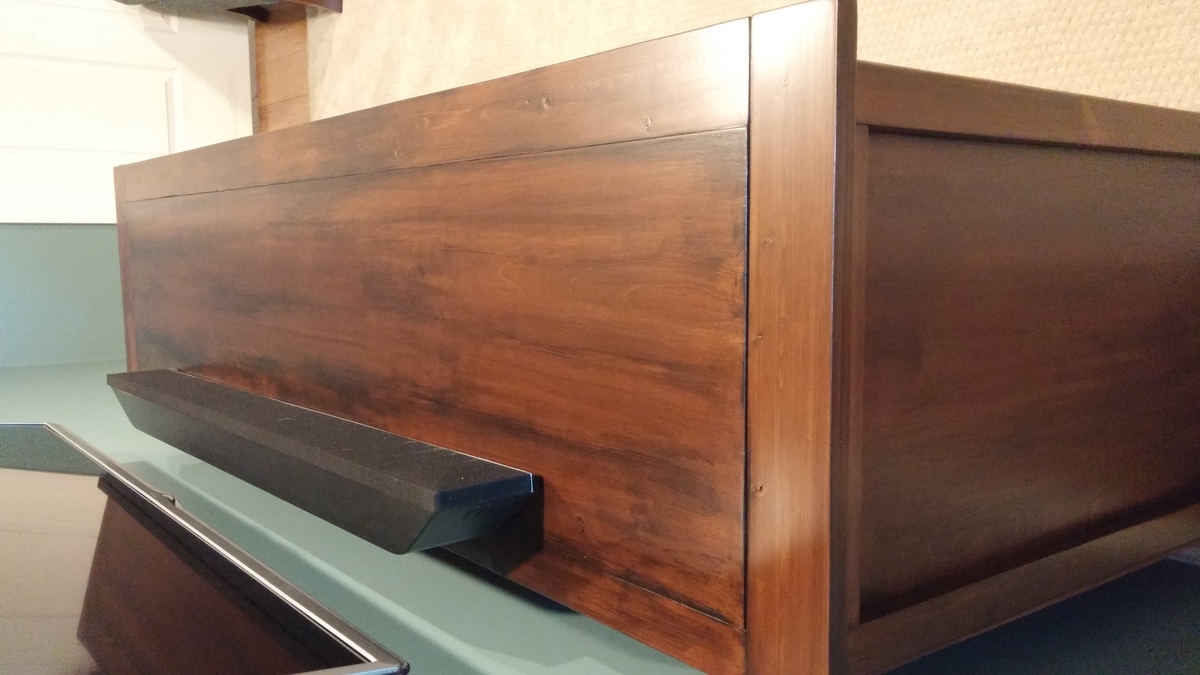
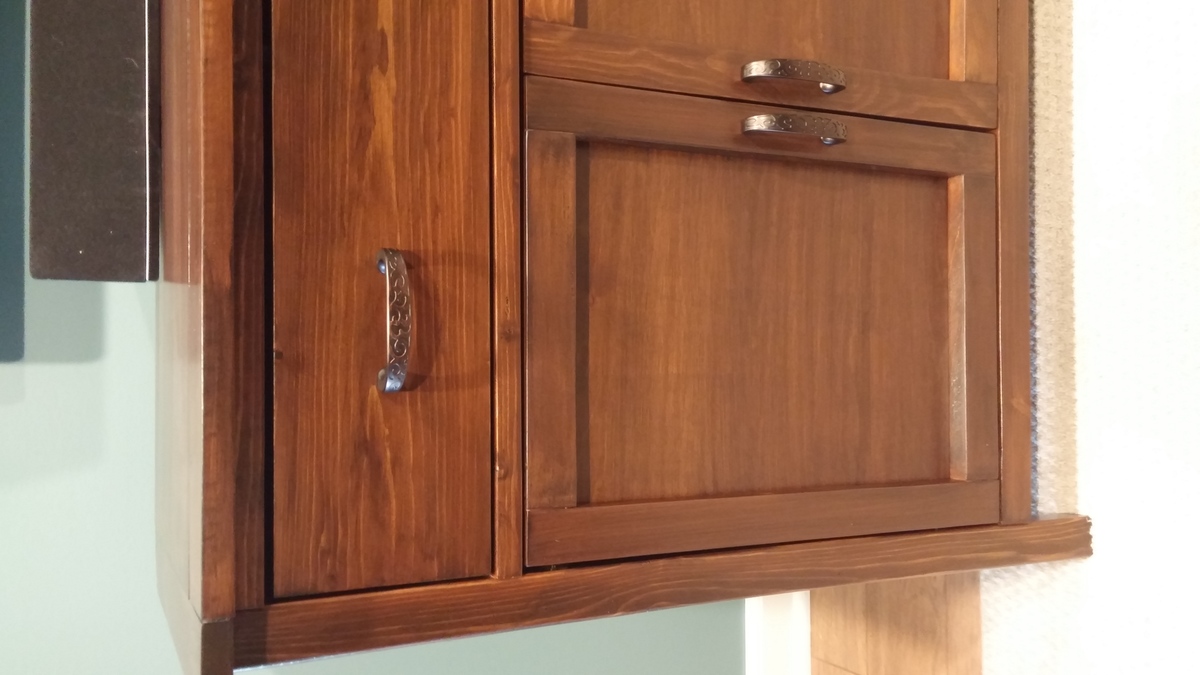
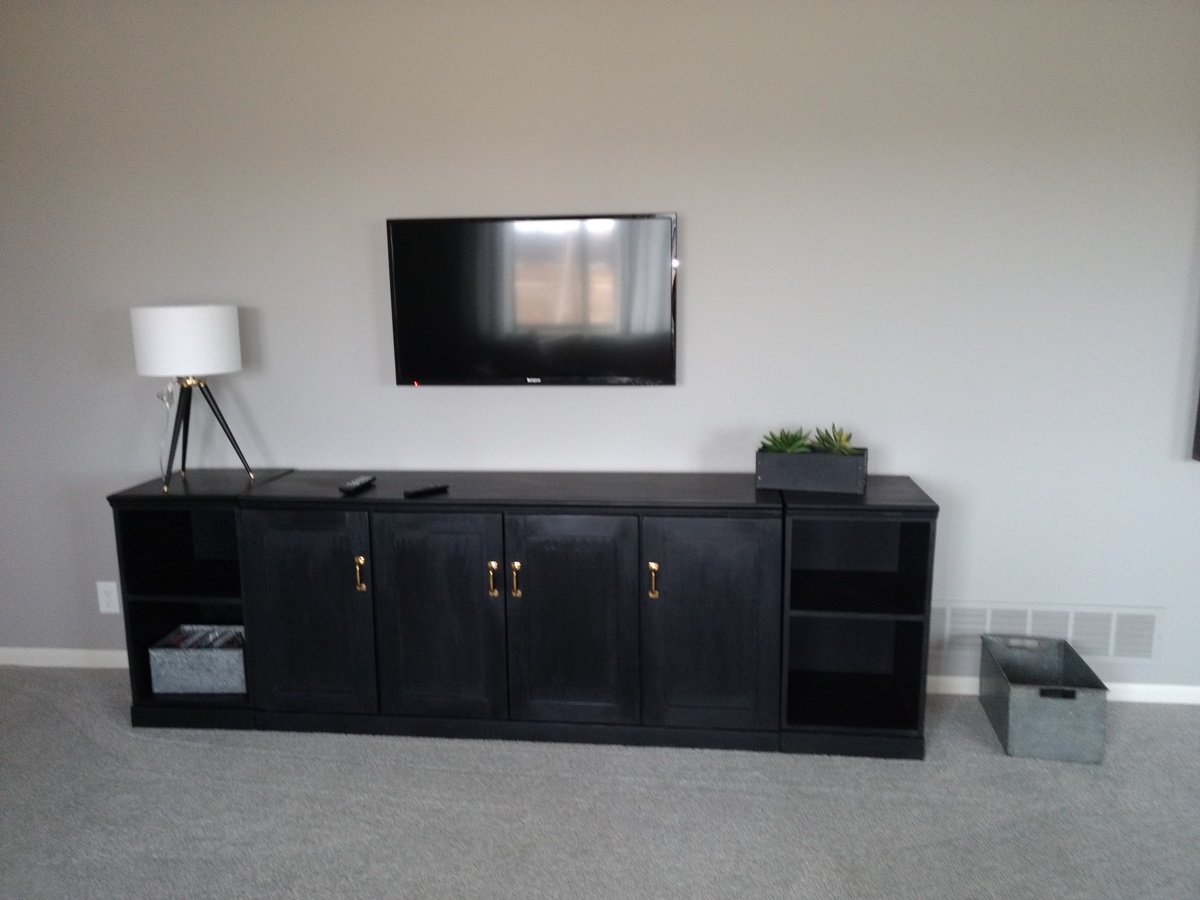
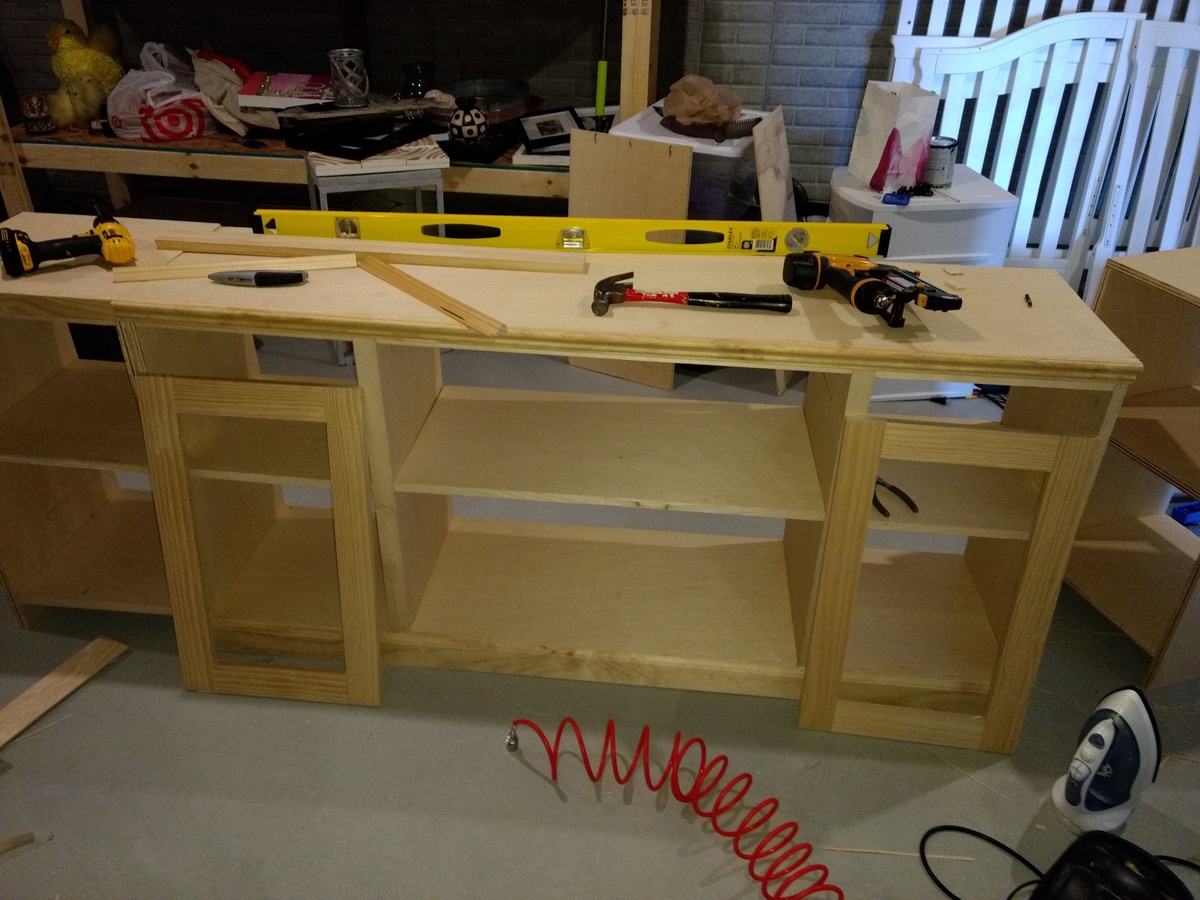
Our version of the Benchmark Media console. We shortened the width to accommodate our space, and decided to do 4 doors instead of two. Had some trouble with them not being square, might redo the doors if we get around to building the matching bookcases, but it's not something I can't live with for now. Used General Finishes light brown dye stain, followed by GF shaker maple water based stain, GF Pitch black glaze, and Endurovar satin.
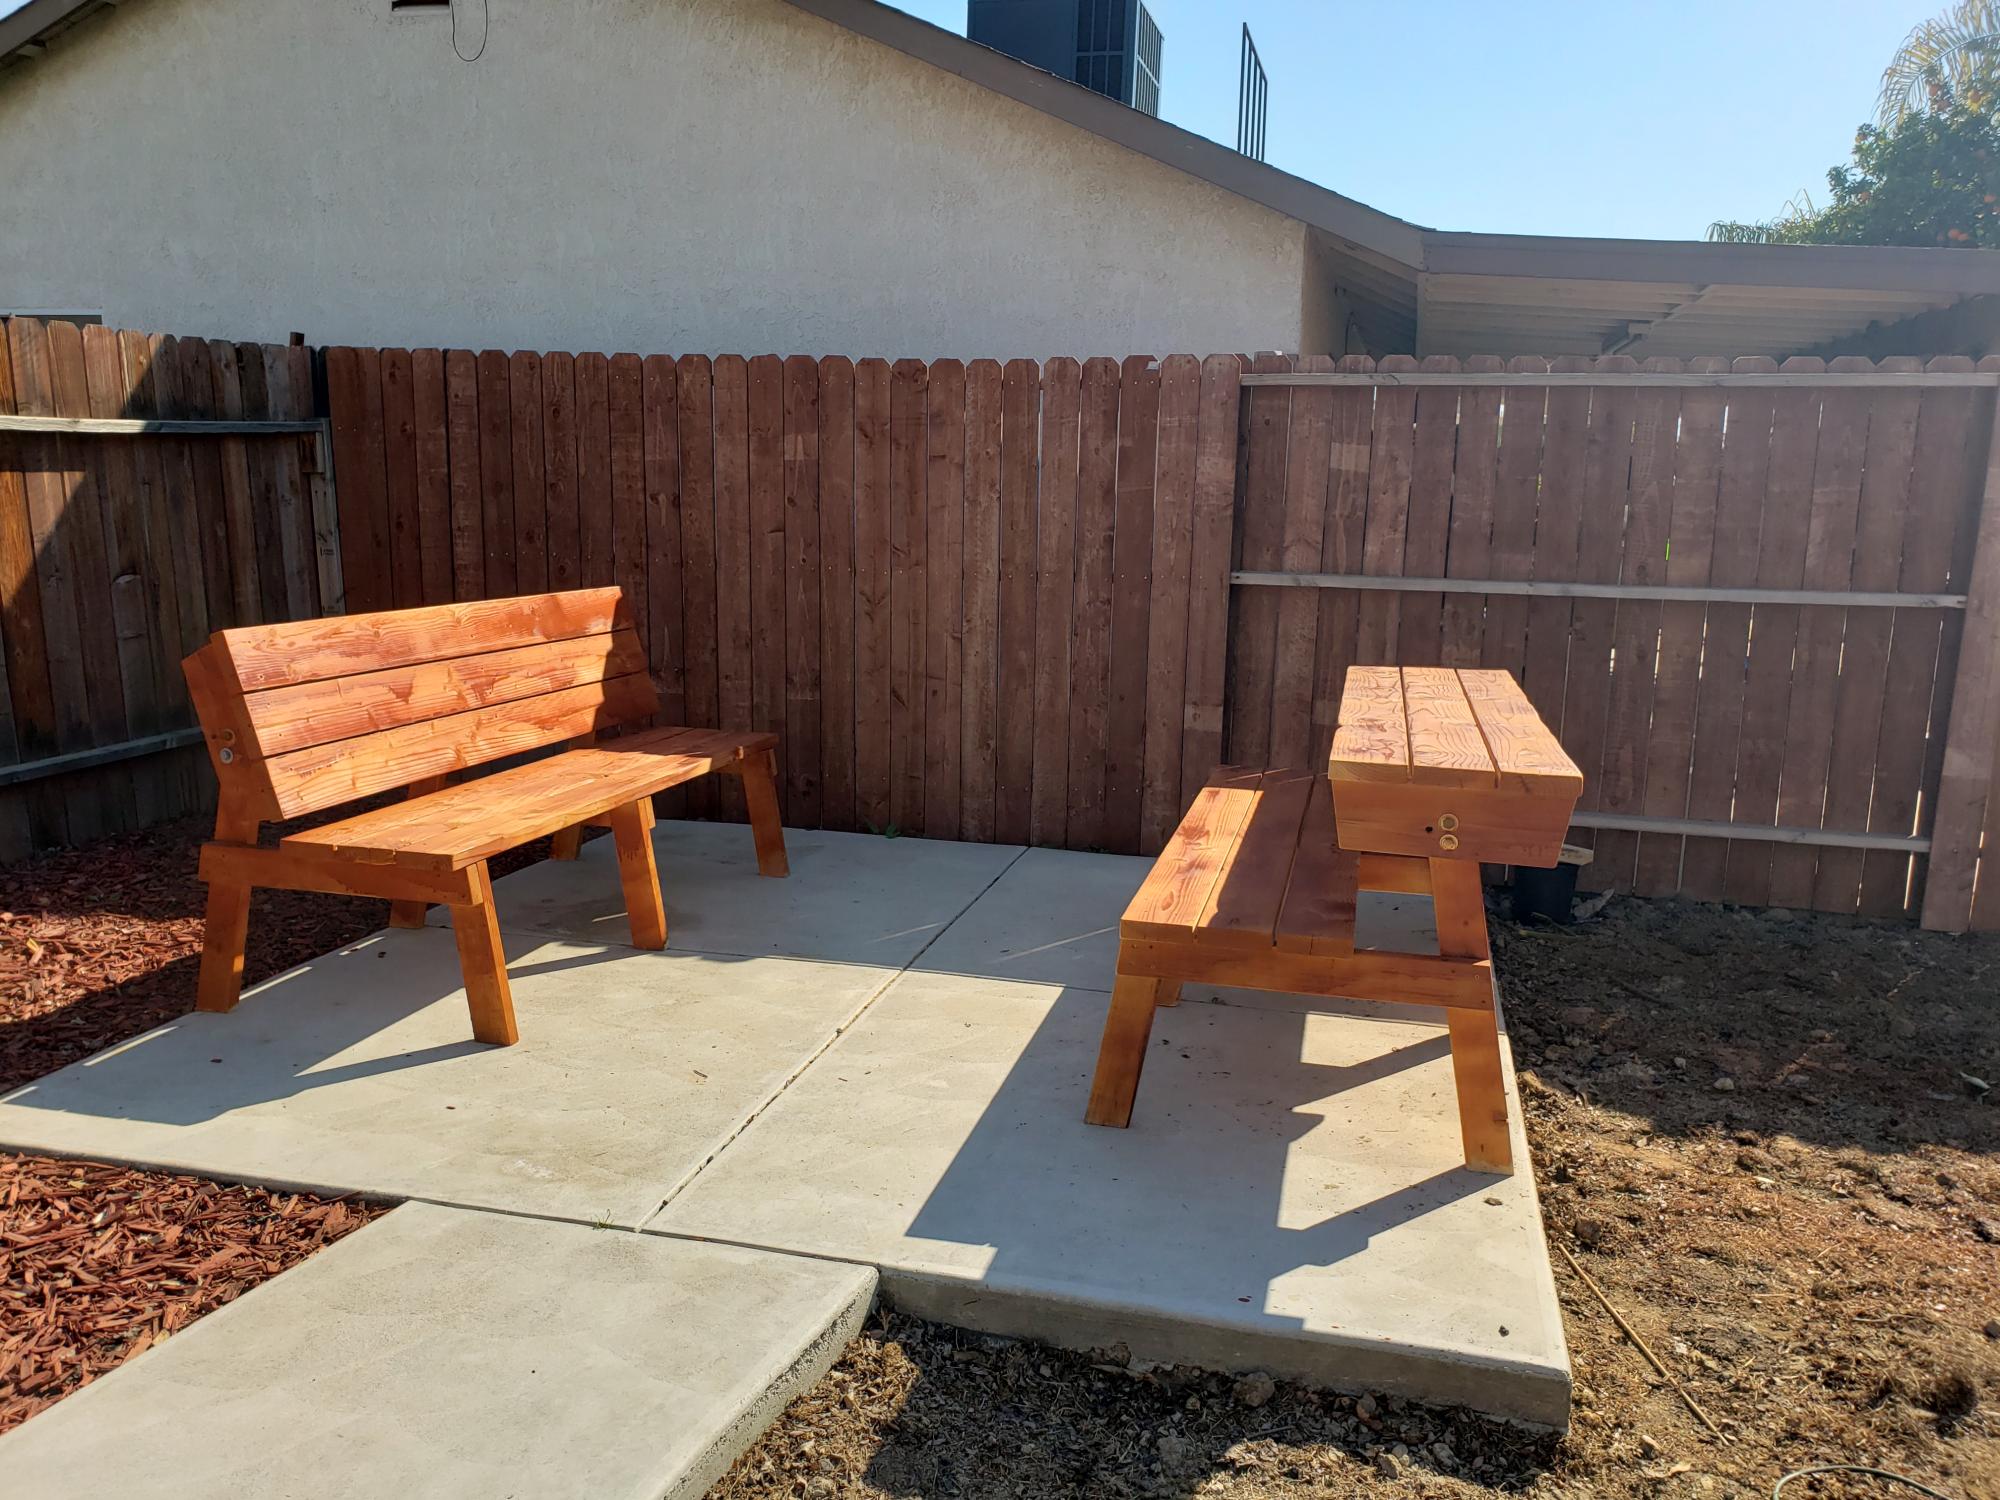
We love these benches! We actually just leave one of them in bench form and the other in table form for everyday use.
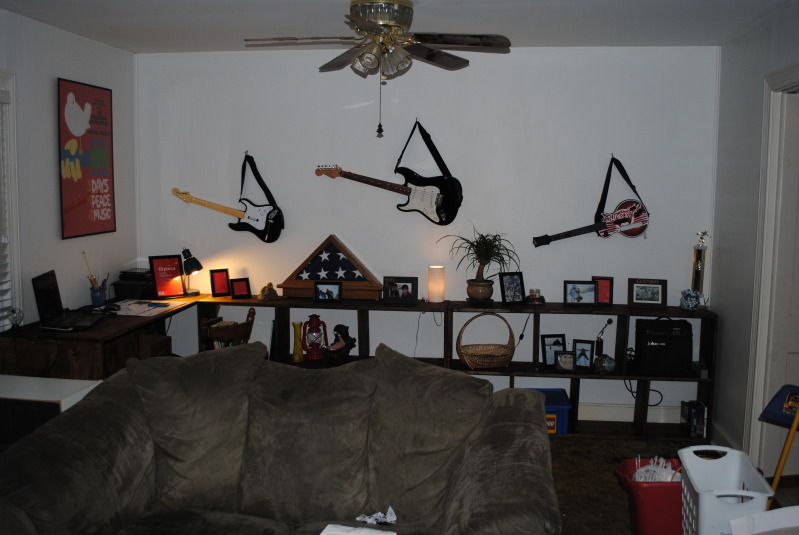
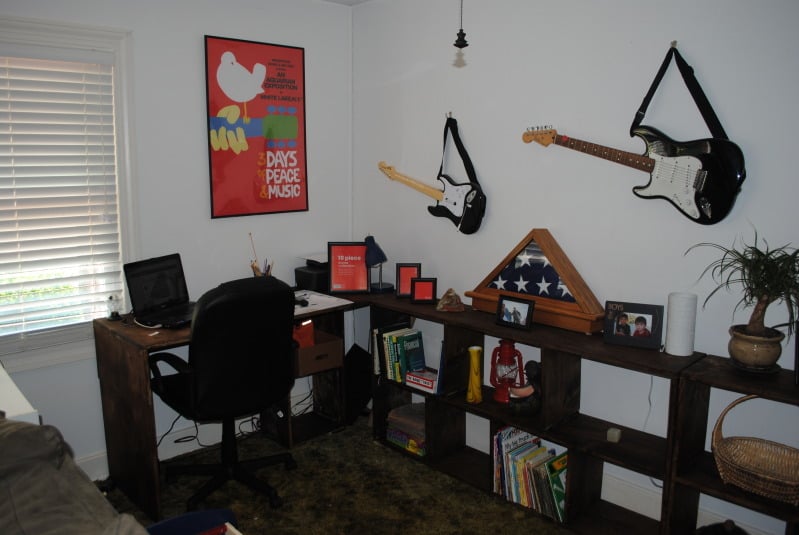
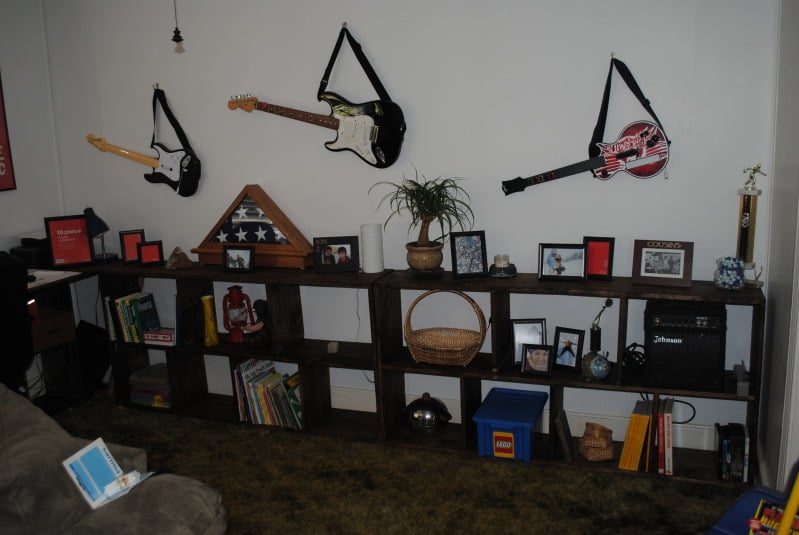
well it's hard to see in this picture becuase the loveseat is in the way but I made 2 of the 2x4 cube shelves and then added my own twist to add desk to the end of the shelves to take up the space ( intended ) left by the shelves and have the desk come out to wrap around the corner... I am very pleased and learned alot as these arent perfect but I still love them ( and my decor is not so "thrown" on there .. my daughter helped move them in and she was anxious to get them filled ) I was just so excited to take pictures and share online lol ..
I would like to add that apparently ( as I said I am very new to building ) and newbies should know that the measurements on lumber is 1/4 - 1/2 of an inch shy of what it sells as... BIG learning curve there .. I assumed it was so my cuts were off and had to improvise.. which is why my shelves aren't a true 2x4 cubby kinda shelf.. I put 3 dividers on on the bottom and only 2 on the top..
Quick and fun Saturday working on building these cool new nesting boxes for my friends farm. Yes, the alterior motiv is that I keep getting free eggs LOL guilty!!!
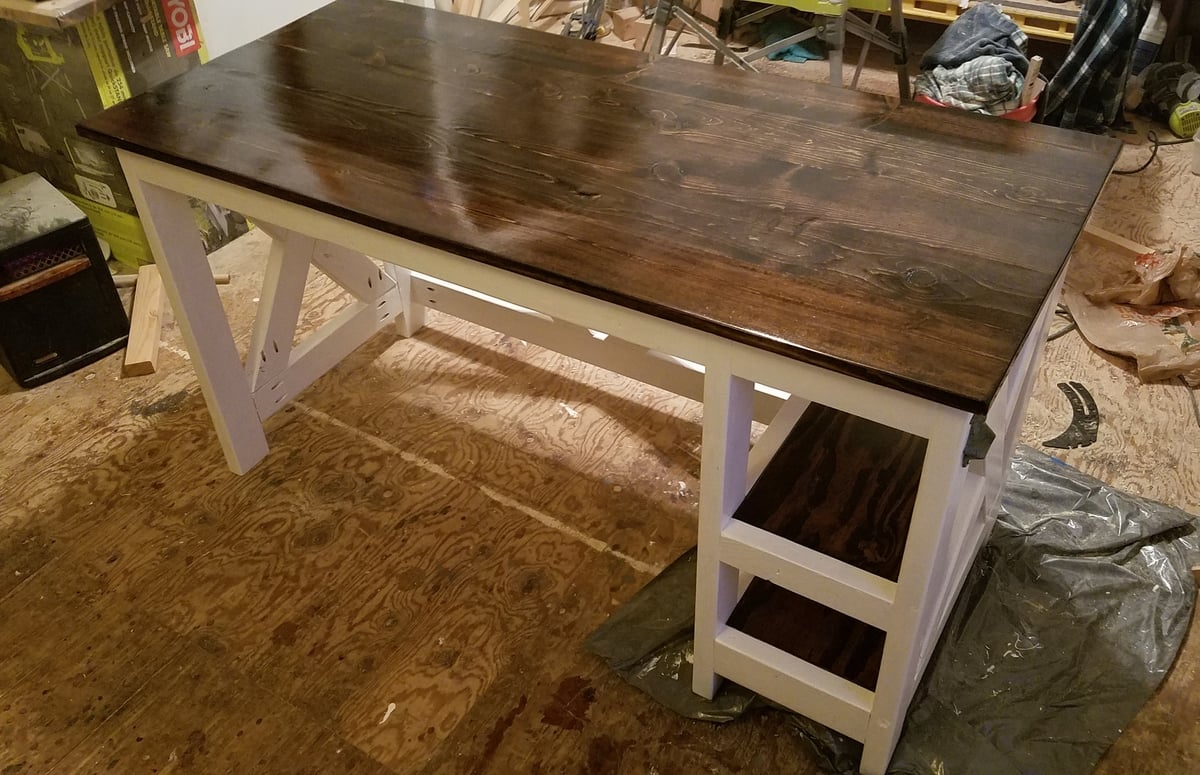
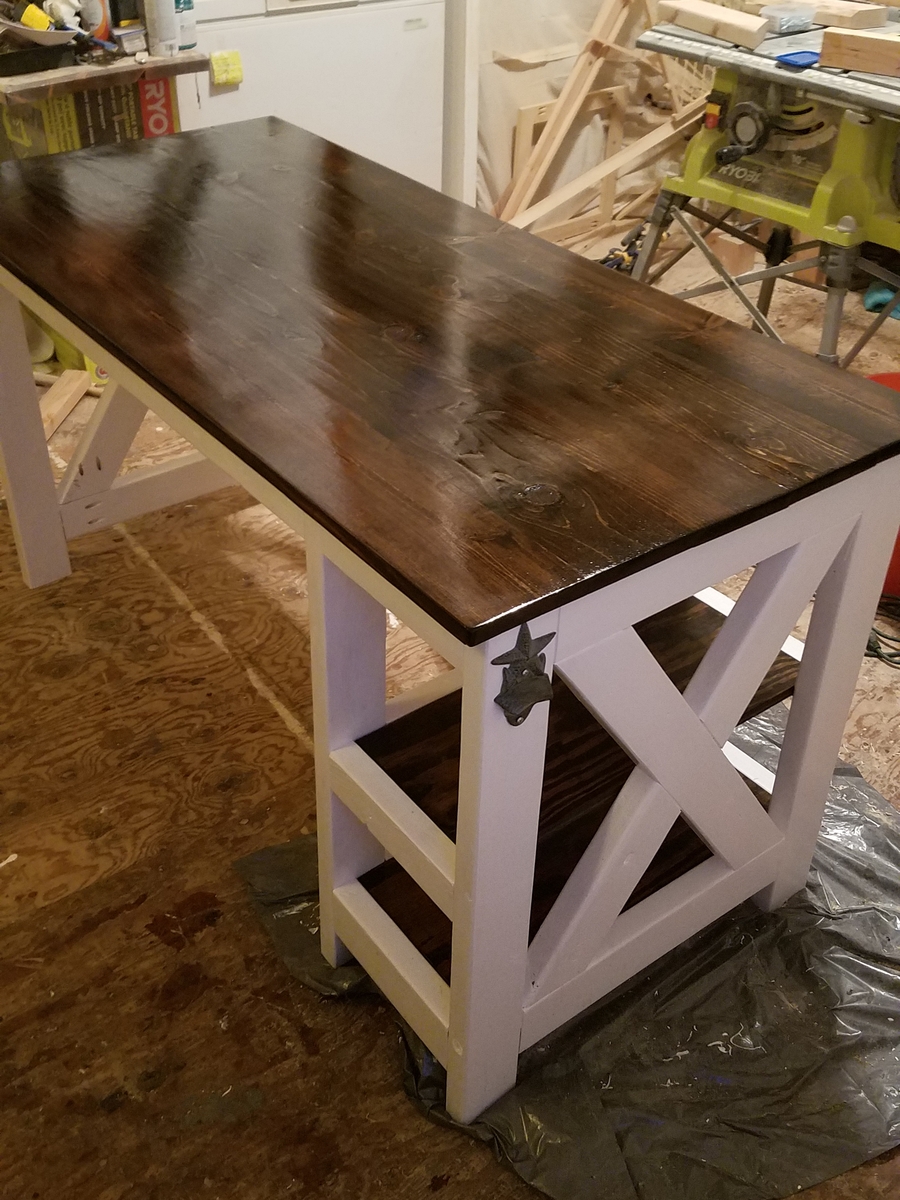
My fiance wanted a new craft desk so I sent her some ideas from Anas site, and she loved this one. I had her pick out paint (bright white by behr) and stain (minwax dark walnut), then got to work. Easy build overall, though I strongly recommend people measure the X brace angles they'll need before cutting them, because using the angles provided in the plan left gaps I wasn't happy with and had to redo the cuts.
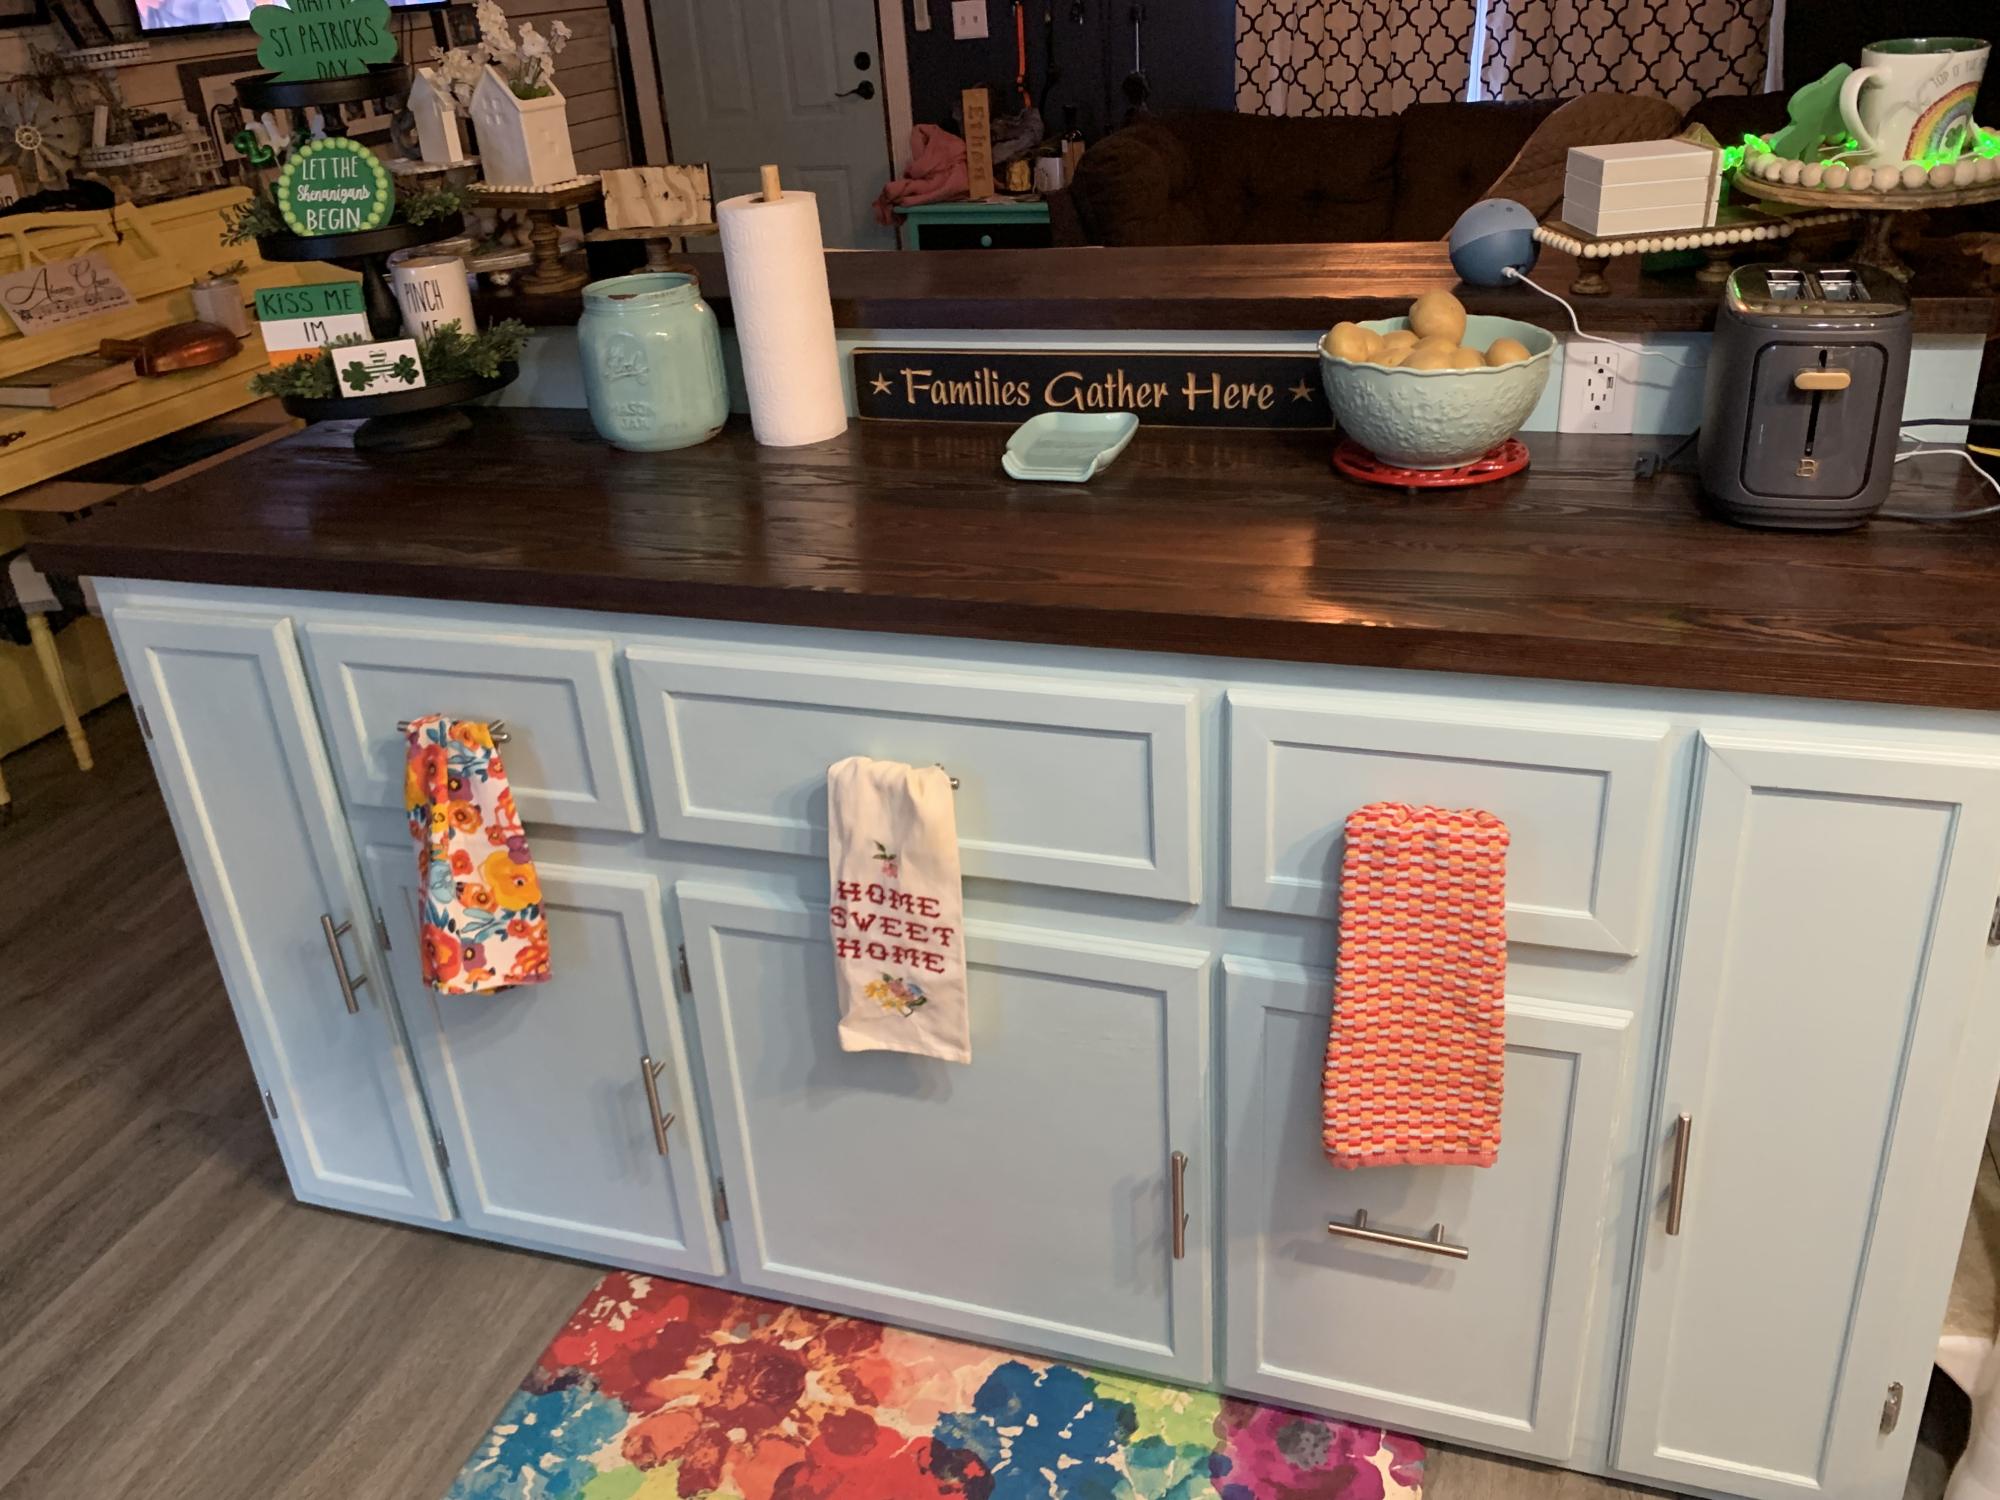
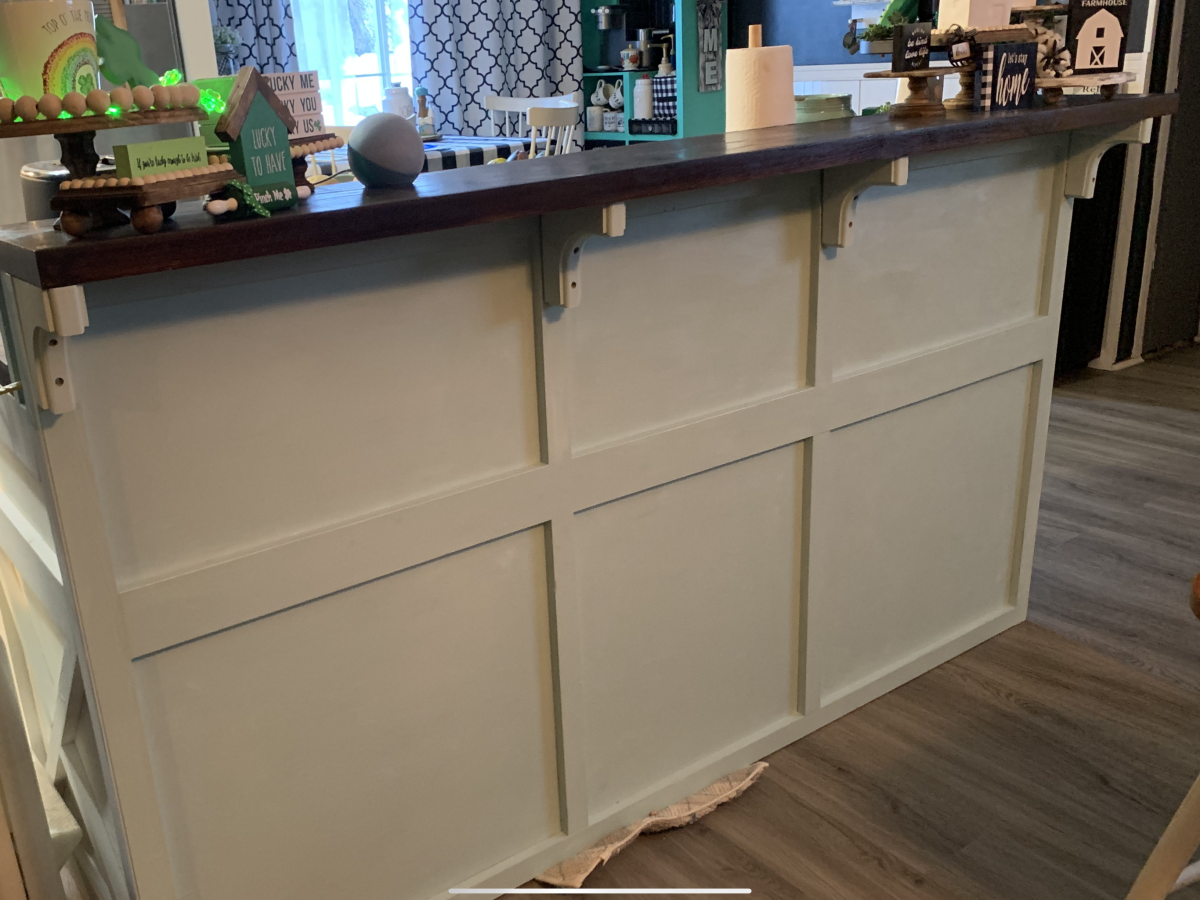
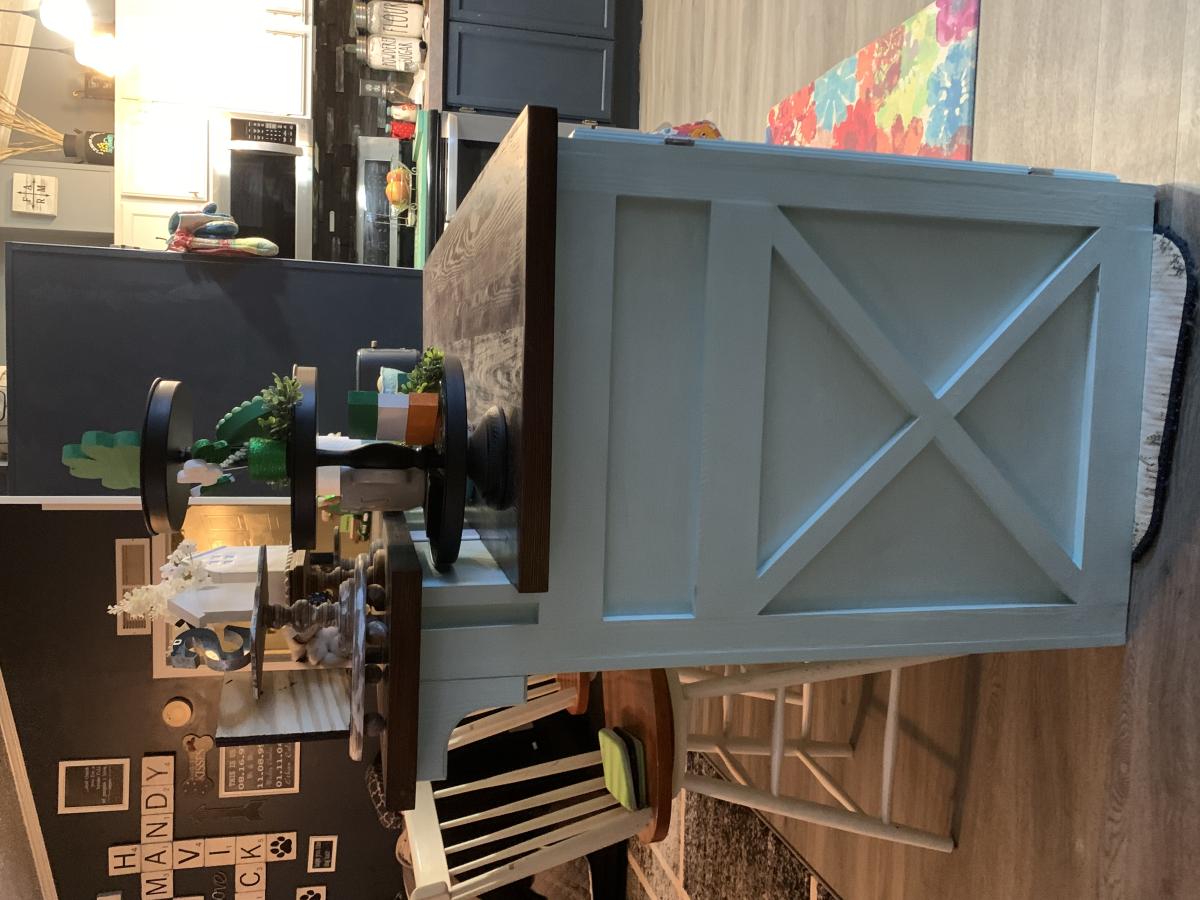
I used Ana’s Shepard Kitchen Island plans. Made some alterations per my wife’s request. Added ten inches on each side to store kitchen items and cookie sheets, etc. She also wanted a raise bar on the back and X's on the side. We replaced the wine rack in the middle with a pot and pan slide out rack. Also made the right side bottom door into a deep drawer for her storage containers. Ana’s plans make builds so easy. I appreciate all the plans she shares with us.
Mon, 03/14/2022 - 08:41
This is so beautiful! Thank you for sharing your awesome build!
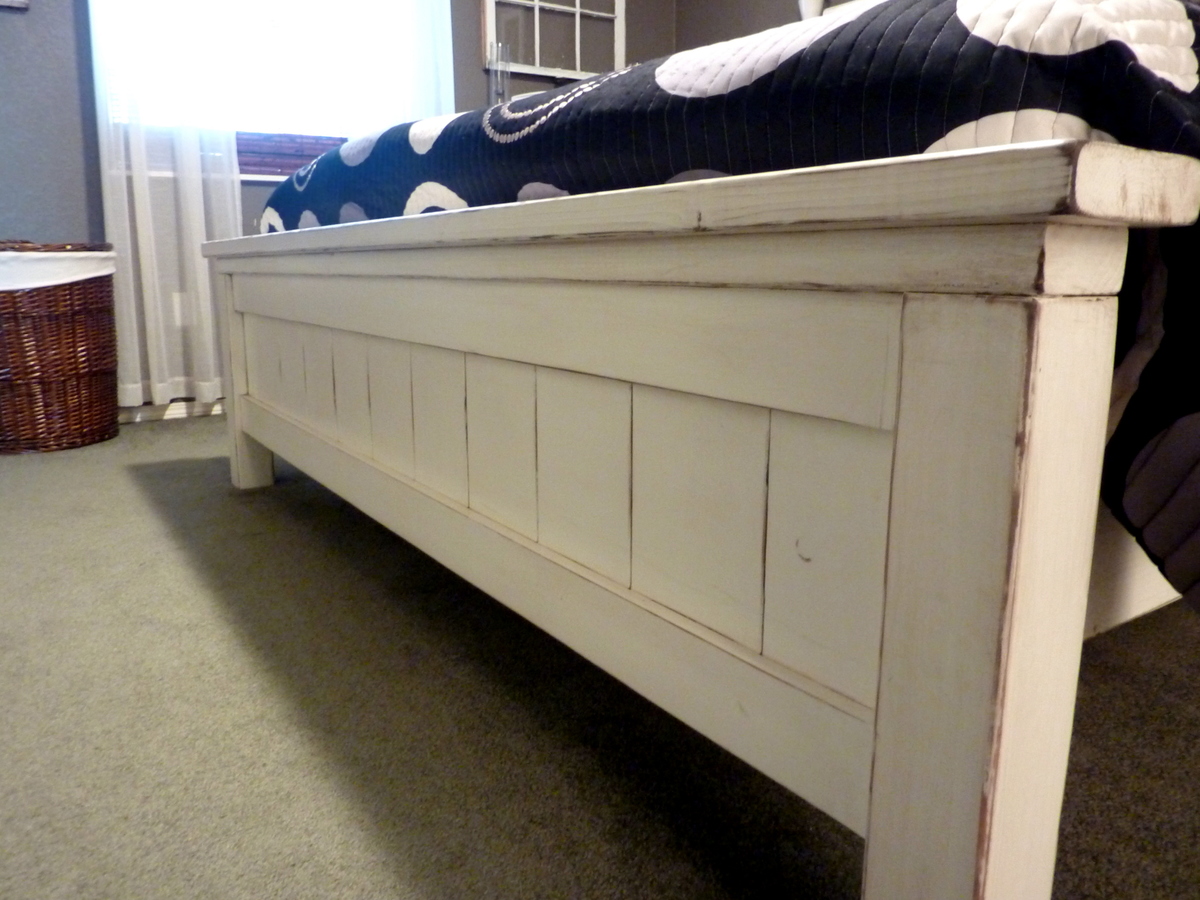
I had been dying to make this bed for awhile but first I needed to convince my husband that it really would be okay to let his sentimental old headboard go. He doesn't like change. Obviously I eventually won. This bed is absolutely bomb proof! I built it as a platform bed and plunked a brand new memory foam mattress on it. We love it!
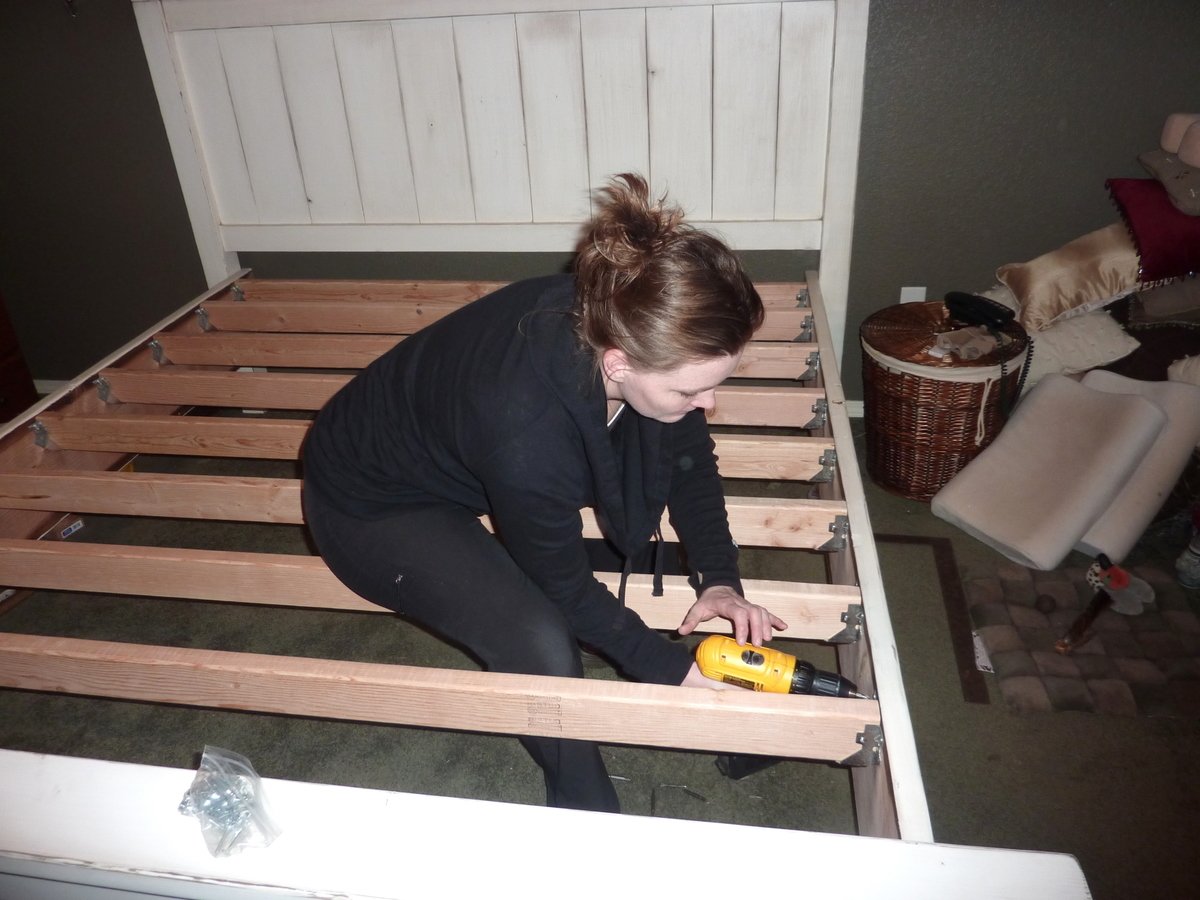
The main thing I learned on this build is to measure and make sure something will fit where its supposed to go! I had already edited the plans to be the width I wanted, but not the height. They were about 6 inches higher than my couch :D I had to pry them apart and re cut them!
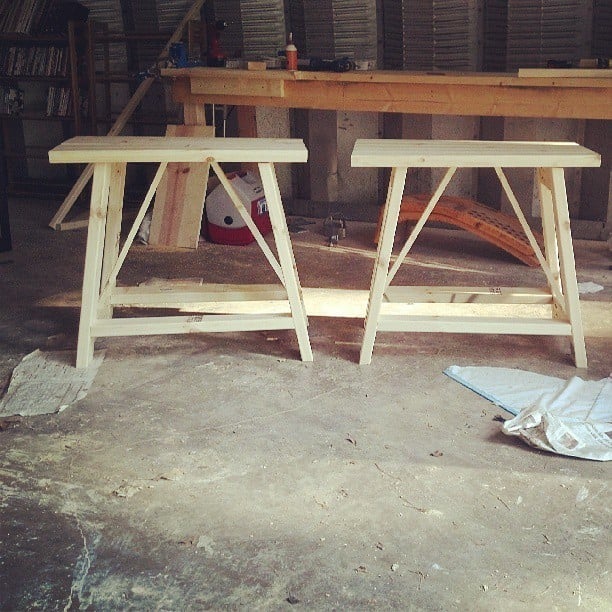
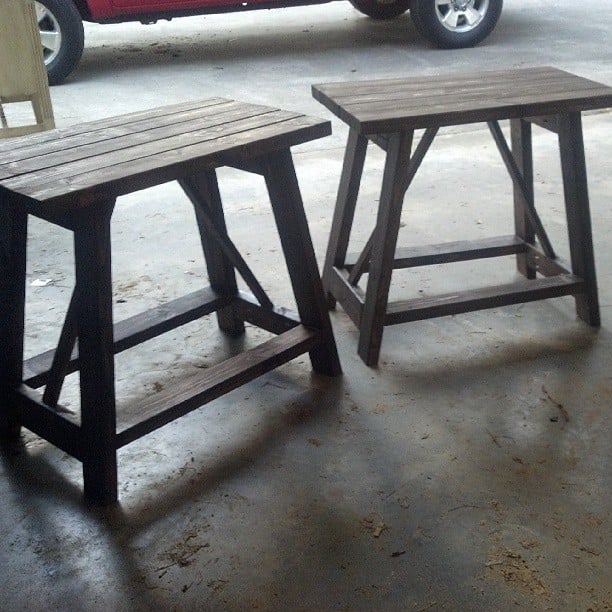
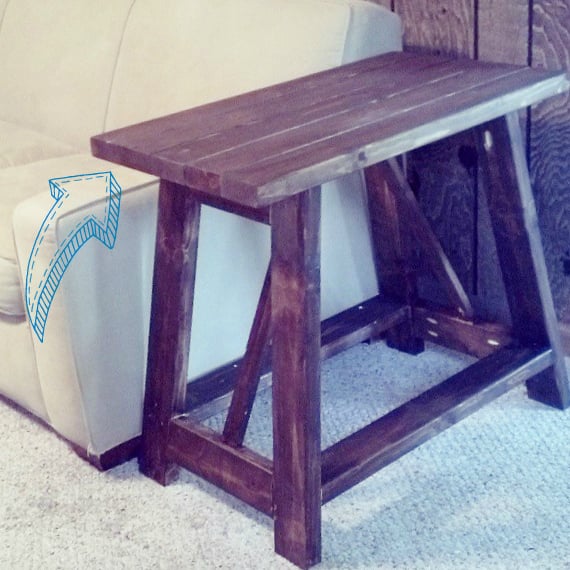
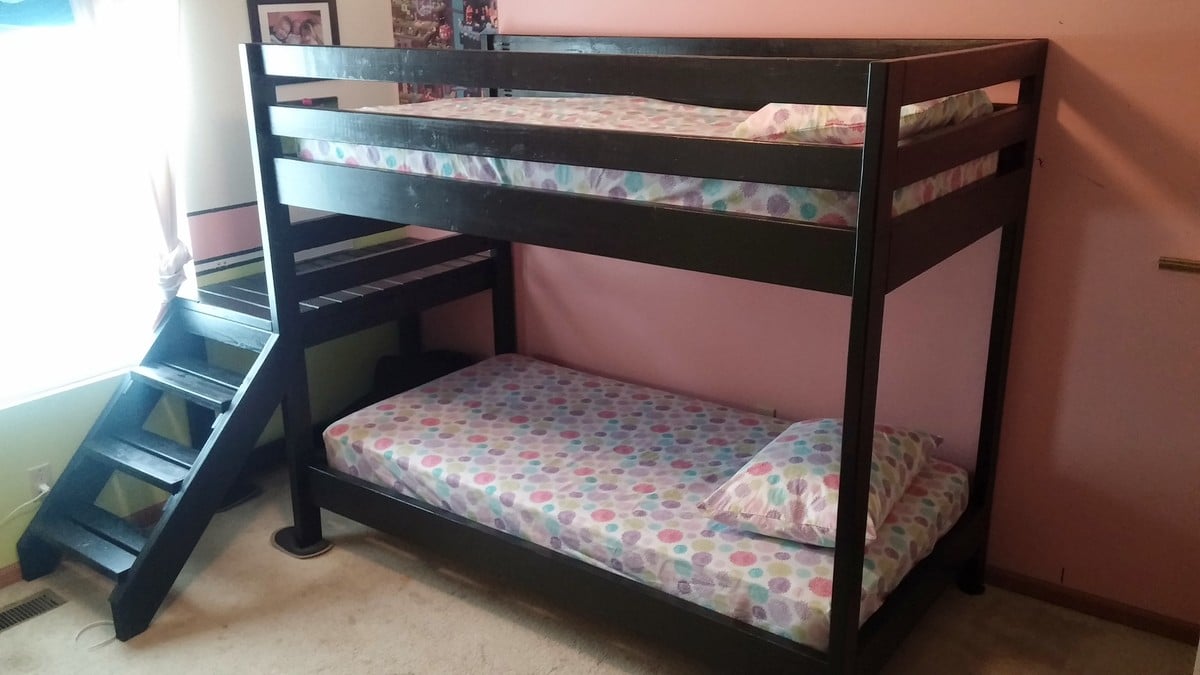
I followed the plan and it was way easier than I expected. This thing is sturdy as a rock! Shake it all you want, it's not going anywhere. I'm doing my son's full bed next.
We used the plan from the basic open base collection. I attached four and left two unattached.
I have to give a massive shout out to Anna White and to all the other folks who did their own variation on the Salsa Console Table.
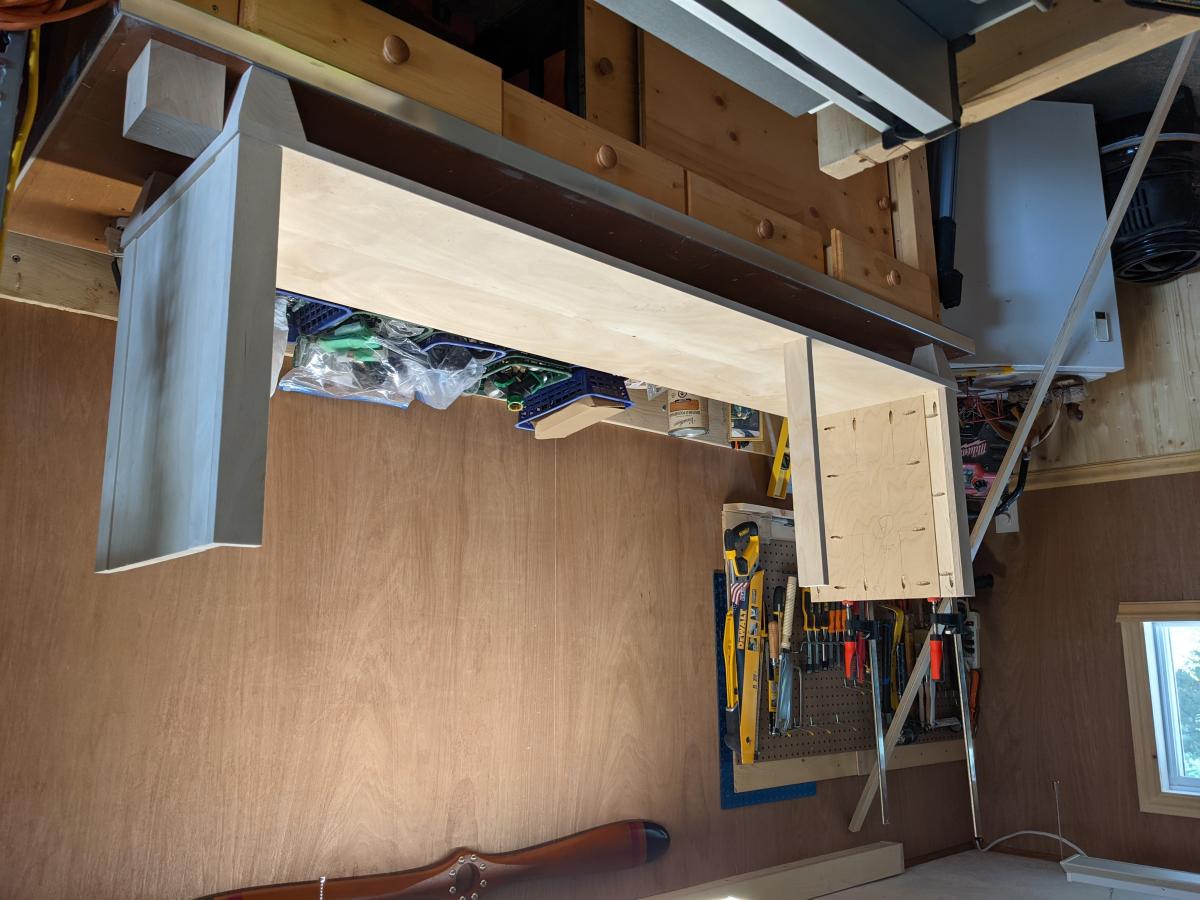
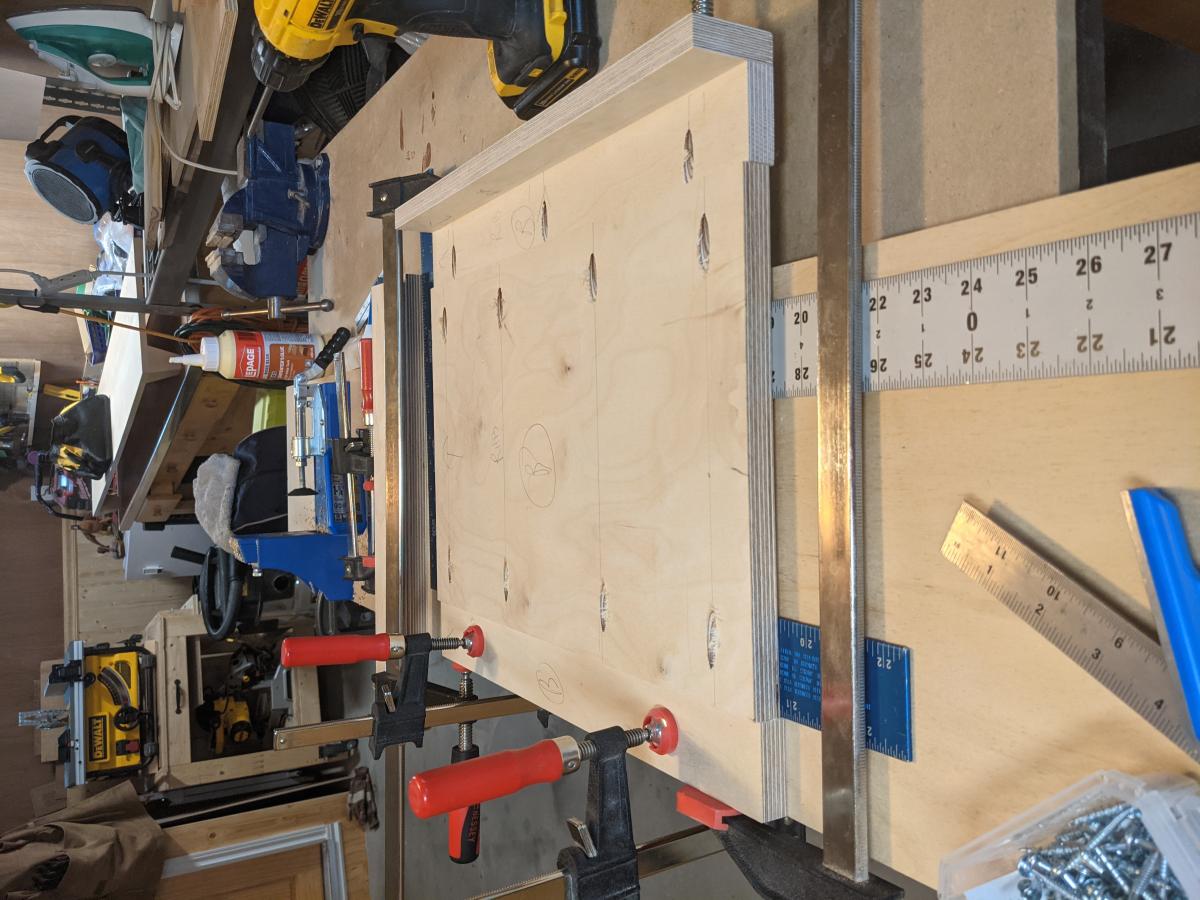
I started this project before my daughter was born, and needless to say, that turned it from a "couple of weeks" project to a "most of the year" one!
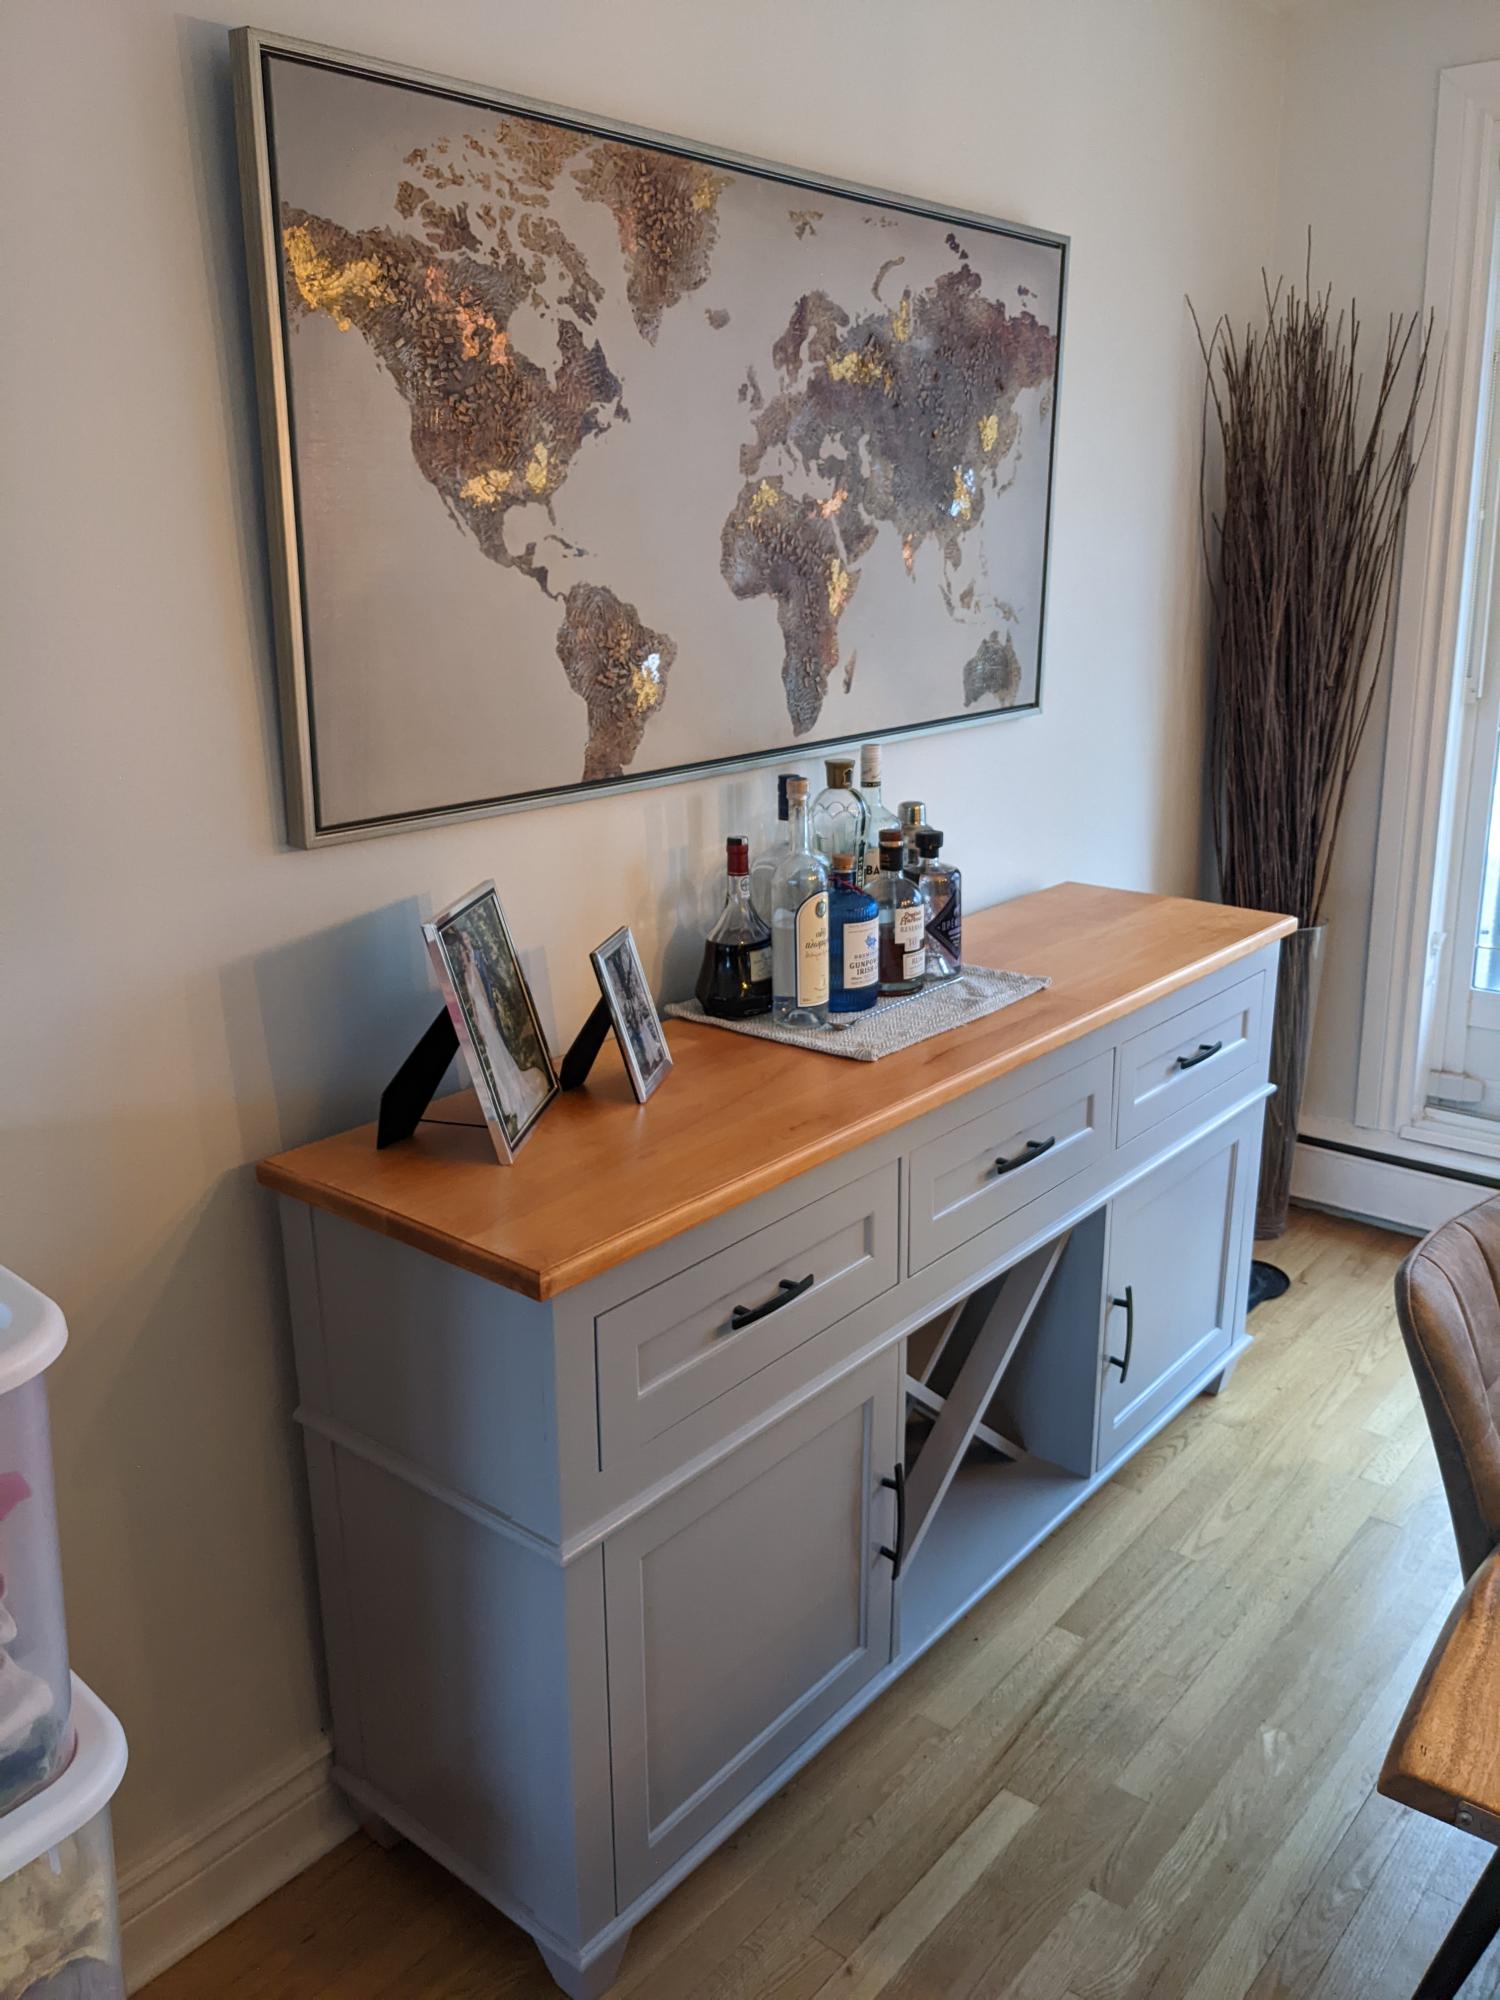
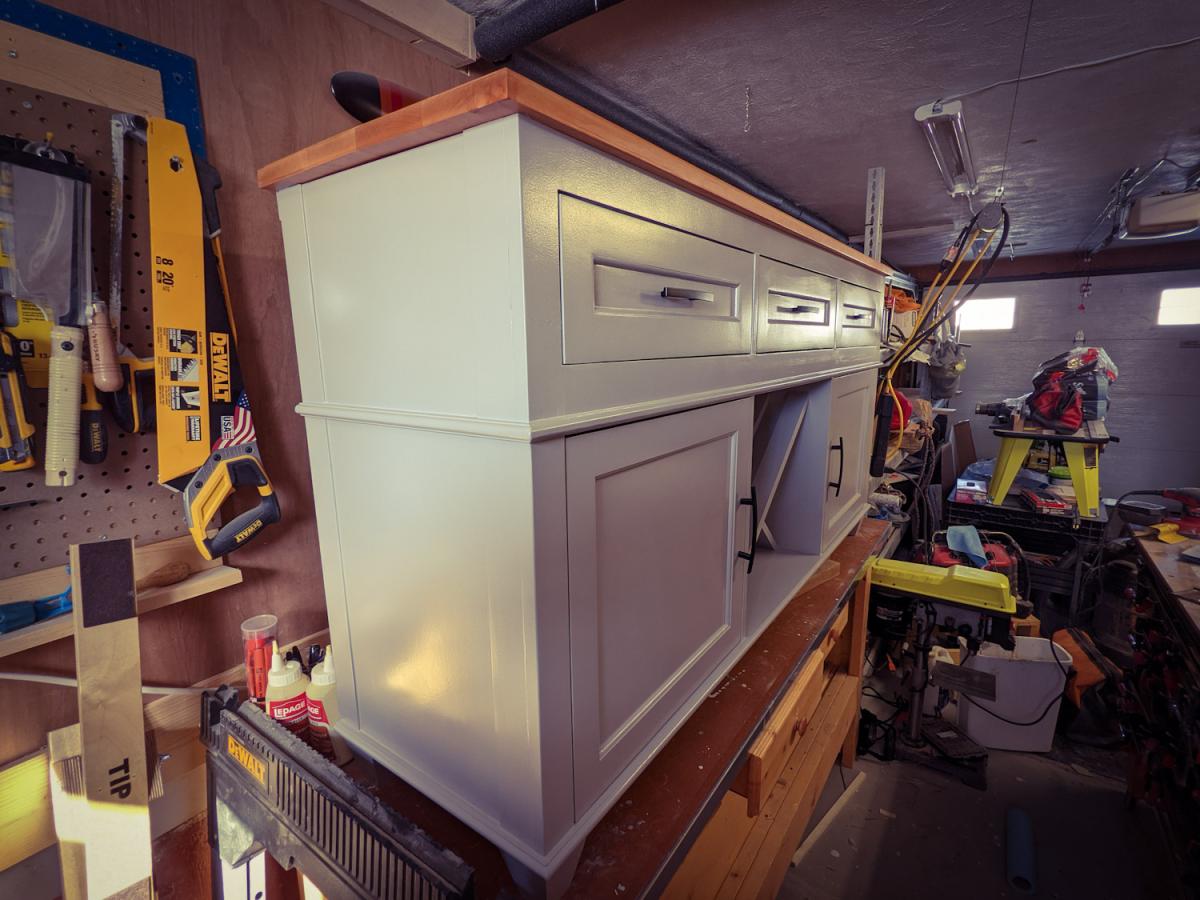
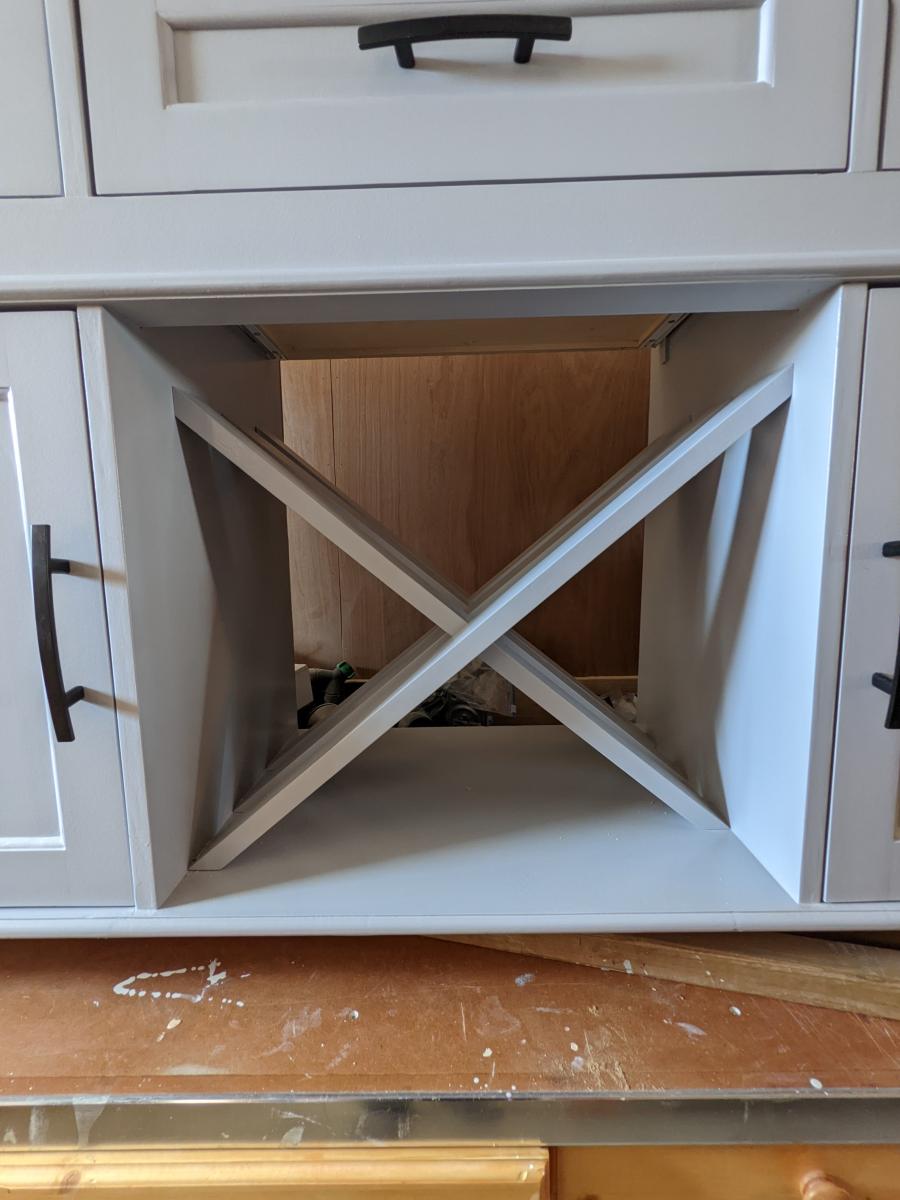
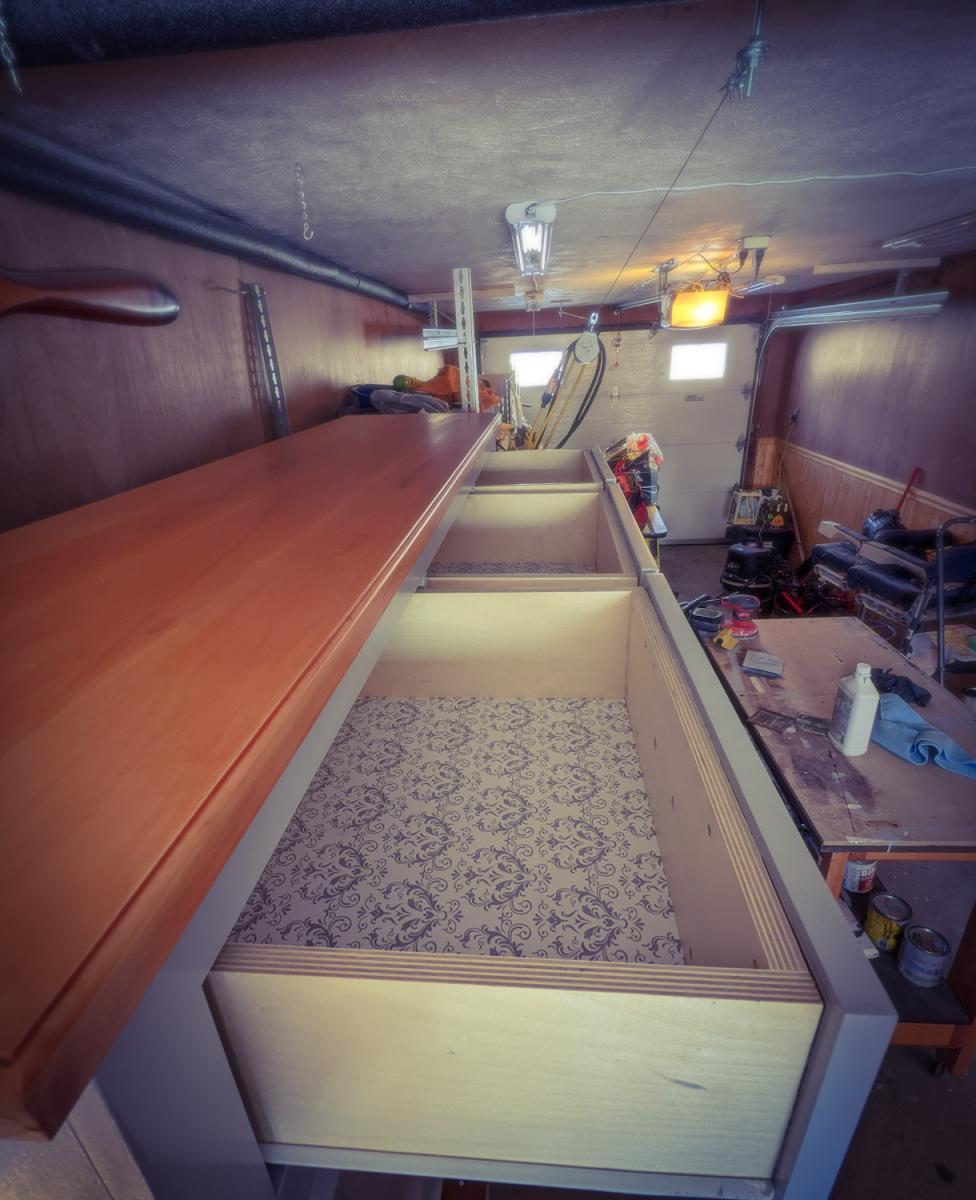
The good news is that in taking my time, I was able to think and re-design and that made the final project so much better! I kept the original idea of a 'criss-cross' wine rack, elevated the drawer/cabinet design with shaker-style joinery, and laminated the top myself (sooooo happy with how that turned out). I made the extra bits of trim around the mid-section and base myself with a router and scraps from the drawer faces (since trim is so expensive at box stores)
Lastly, the finishing involved two of my very favorite products: Benjamin Moore Advance for the body(expensive but diamond-hard finish) and Varathane Poly Stain and Seal (there is just no substitute for slow-drying oil finishes on tabletops - so smooth and rich in colour)
All in all, the project cost me around $600 (high prices of wood during Covid to blame) but there is just no substitute for doing it yourself, and since most solid wood buffet tables run $2000+ I still came out ahead.
Cheers fellow woodworkers!!!
Fri, 04/01/2022 - 09:35
WOW, you did amazing, love the finish choices and all the little details! Thank you for sharing:)
I love the library cart idea, but needed something for my 4 yo and 7 yo crafter/artists to use to keep their supplies on hand and contained. I modified the cart to have 2 shelves (not angled). The top shelf is converted to a tray to keep supplies stable as the cart is moved around on its wheels. Stores in the closet and can be pulled out to use.
This was a quick morning project. It took an hour and a half to cut and build I have not done the finish yet but it won't take longer than an afternoon.I am available to do builds for people who like what they see and dont want to pay retail price for this stuff. check out my profile.
http://ana-white.com/users/daddydrew
Fri, 07/19/2013 - 13:43
You did a great job with the table, but I think you are way off on the time estimate. I just finished making the same table and two matching benches to go with it and there is no way that I could make the table in 2 hours.
In reply to Fancy X Table by Newfey
Fri, 07/19/2013 - 13:53
Two hours was just for the one bench that is unfinished.
Thu, 01/05/2017 - 15:44
How do you attach the table top. Im no master craftsman but I have the table and tabletop built but the plans on the website dont say how to attach. Im assuming pocketholes but I have no idea where or how to do it. Can you lend any help on this?
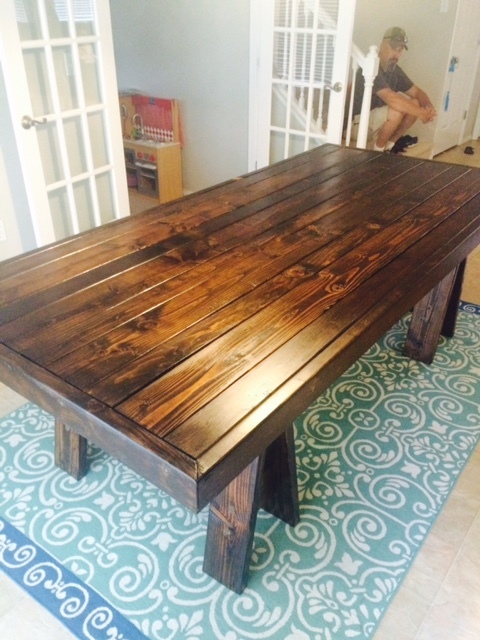
My dad built this table using Ana's plans. He had it together within 24 hours of buying the lumber. It was meant for me to use on my back patio, but it's way too pretty to be outside!

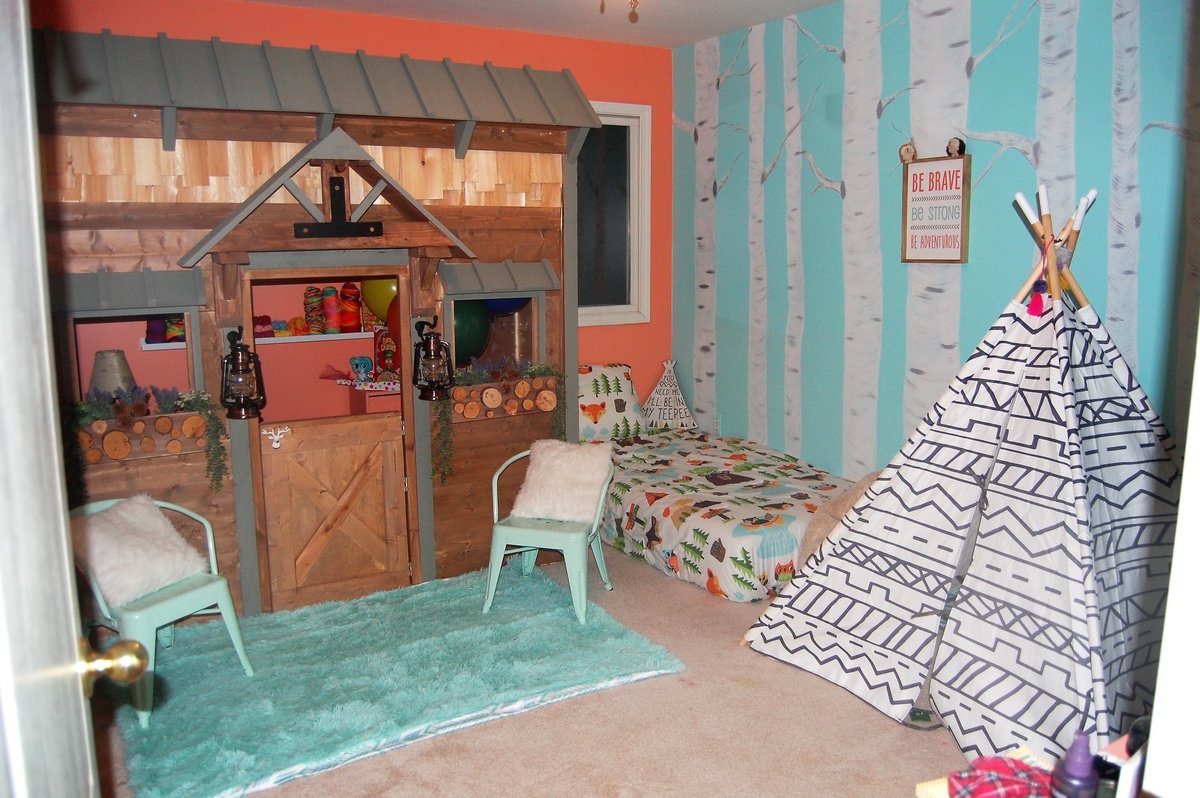
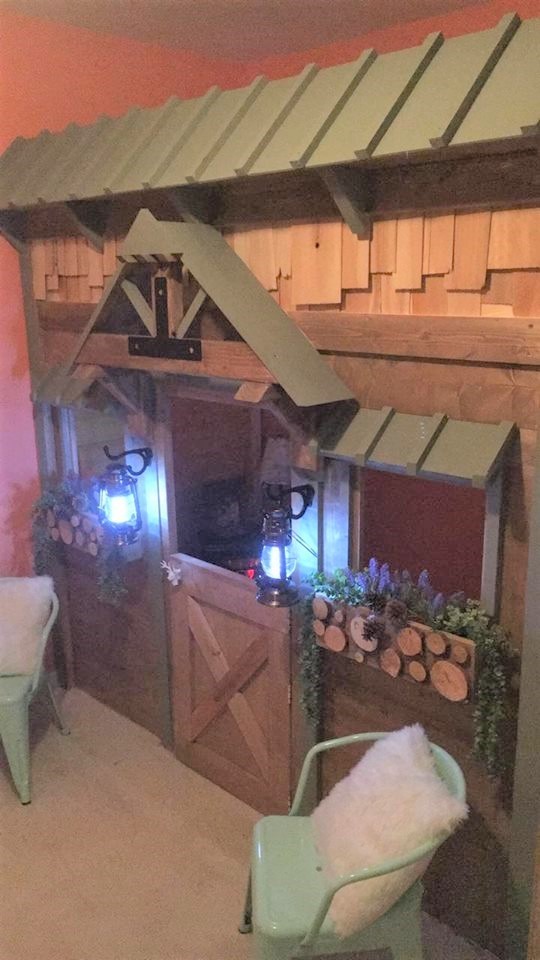
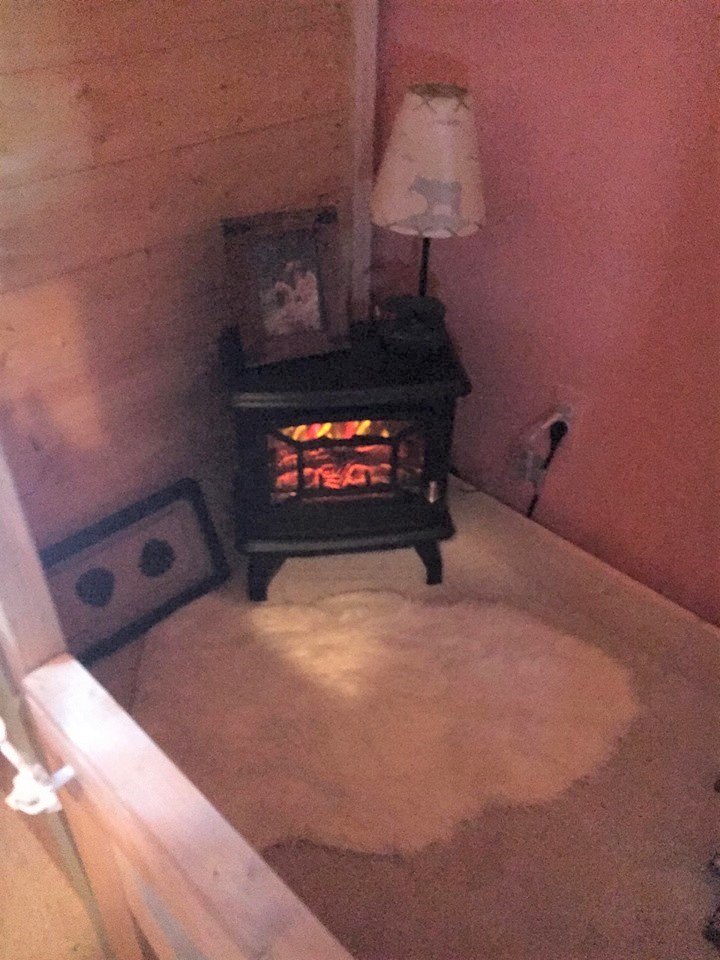
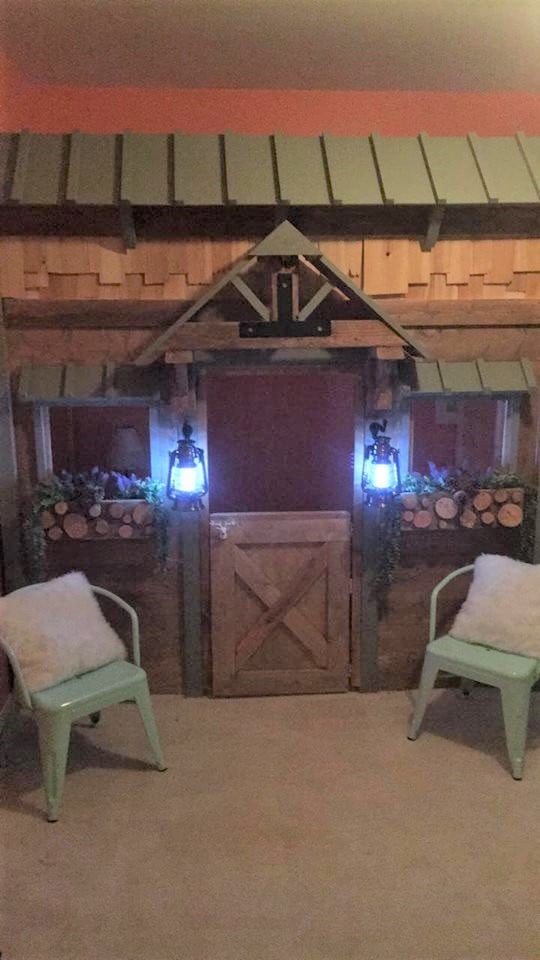
So thankful for these plans! My daughter requested a cabin loft bed that could double as a "crafting nest". I only had to make a few architectural modifications, but I built this by myself in five days, so I would say it's a very DIY-friendly build! My daughter loves it and it adds functional and aesthetic appeal to the room!
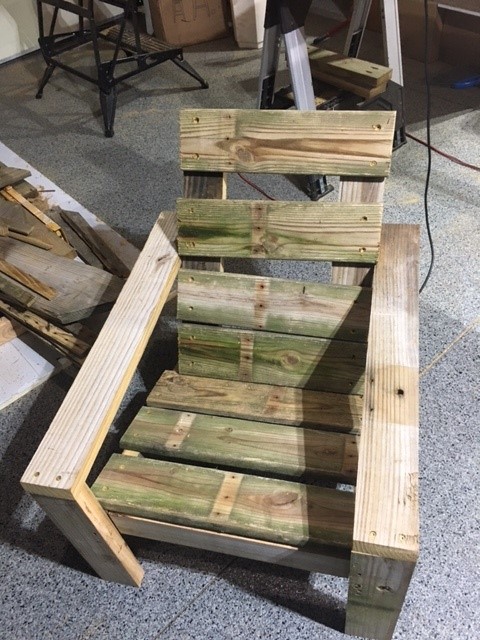
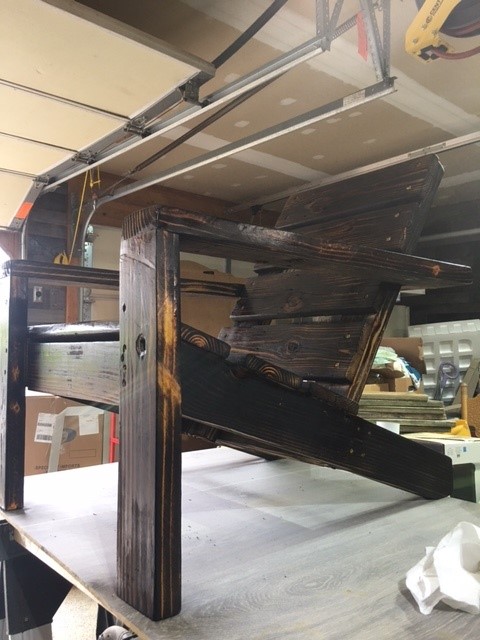
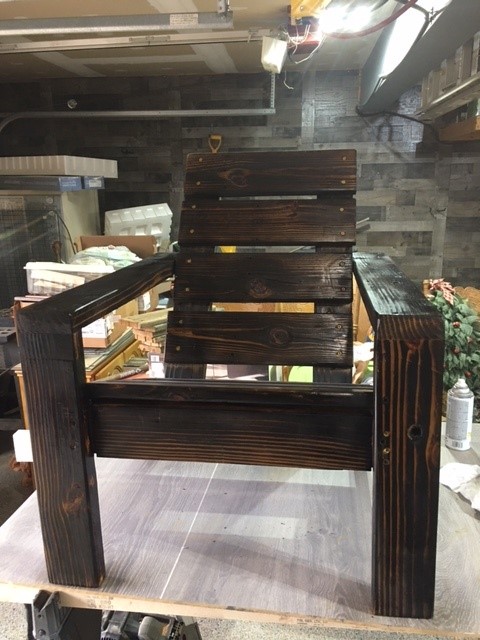
I used the 2x4 modern Adirondack chair plans. I made it entirely from old treated lumber that came from a deck I tore down. All decking boards and 2x10 beams that I ripped to size. The finish is burned.
I used the plans for the craft desk and modified it a little. I made the top like a lid that just sits on top so I can take it apart easier. I also put on full extension drawer glides and made the drawer larger. This took me quite a long time because I was working on it and studying for finals! Well worth it though!
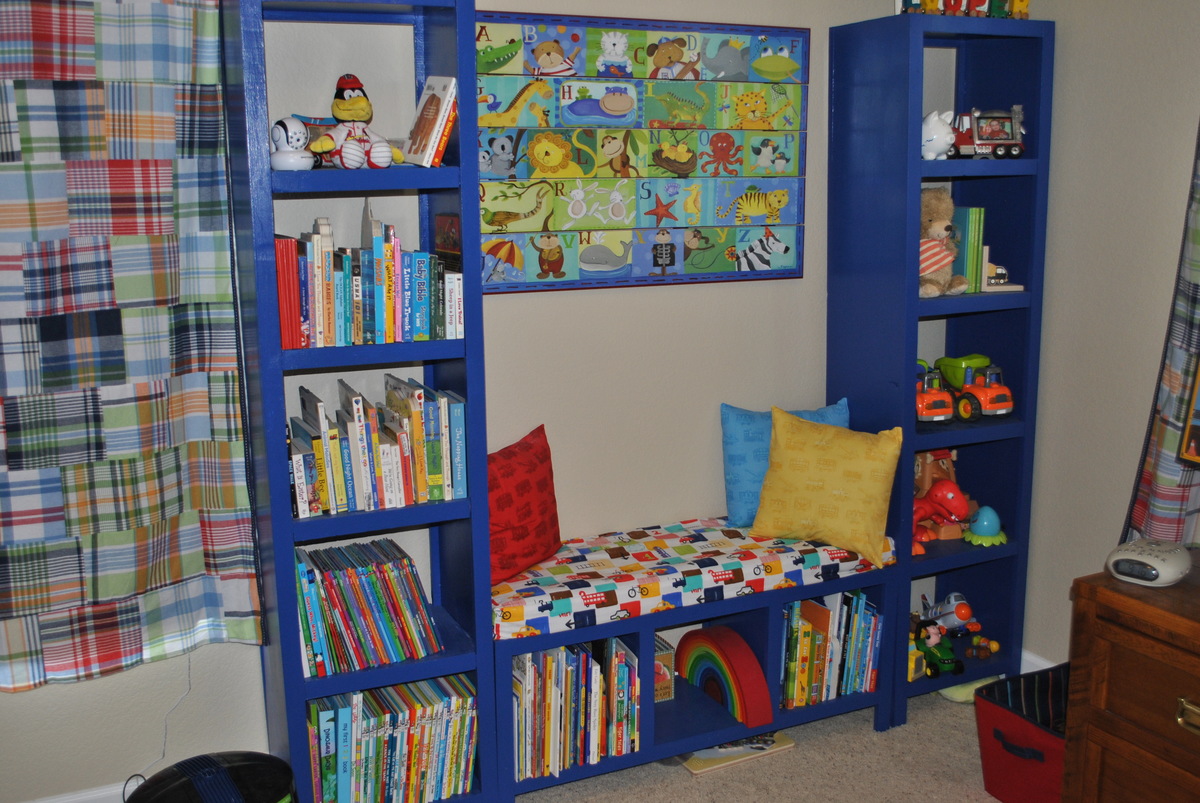
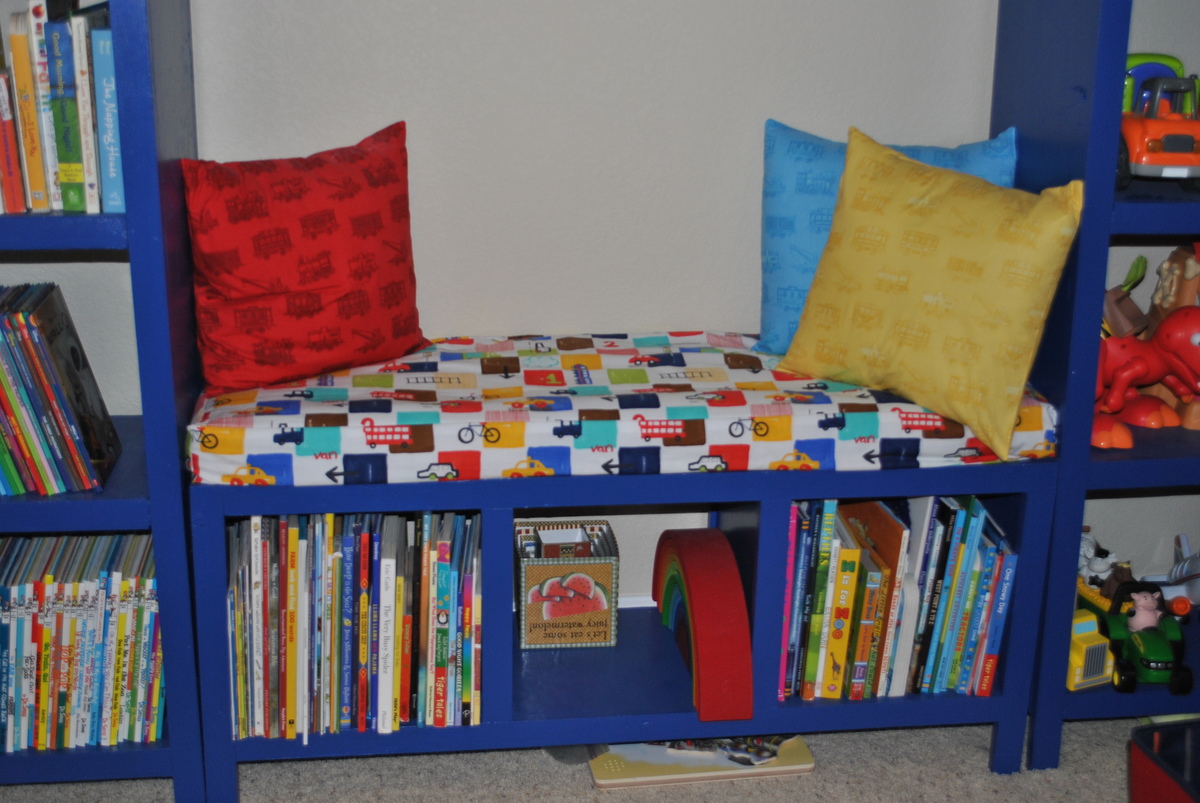
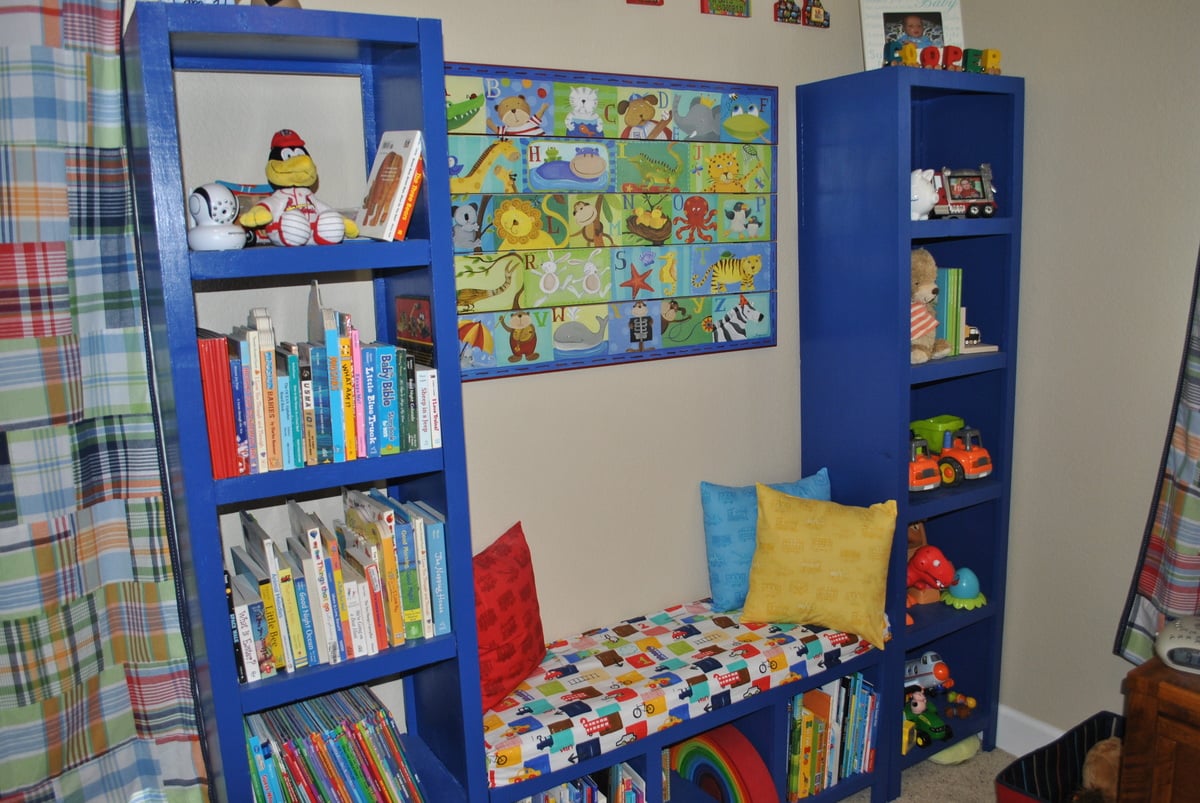
This was our first project. We needed storage for my son's small room and this worked out perfectly!
Sat, 10/04/2014 - 20:20
This was my first project too!! I just finished today & mine went in my son's closet. Tomorrow I'll install 4 rails (an upper & a lower one on each side of the tower for hanging his clothes) and the project will be complete.
My next project is very similar to what you've got shown here - a tower on either side of his window, with another one on it's side & the feet removed.
Great job!!
Camille