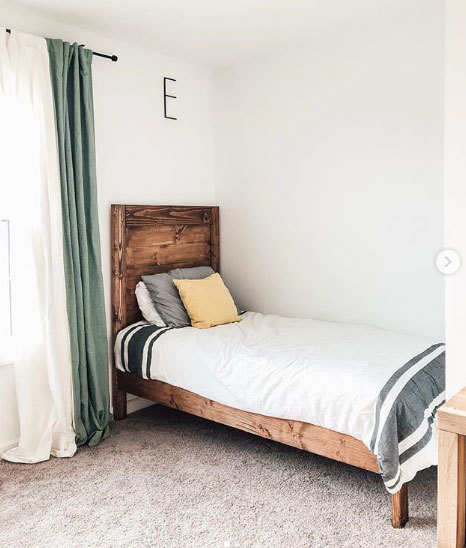
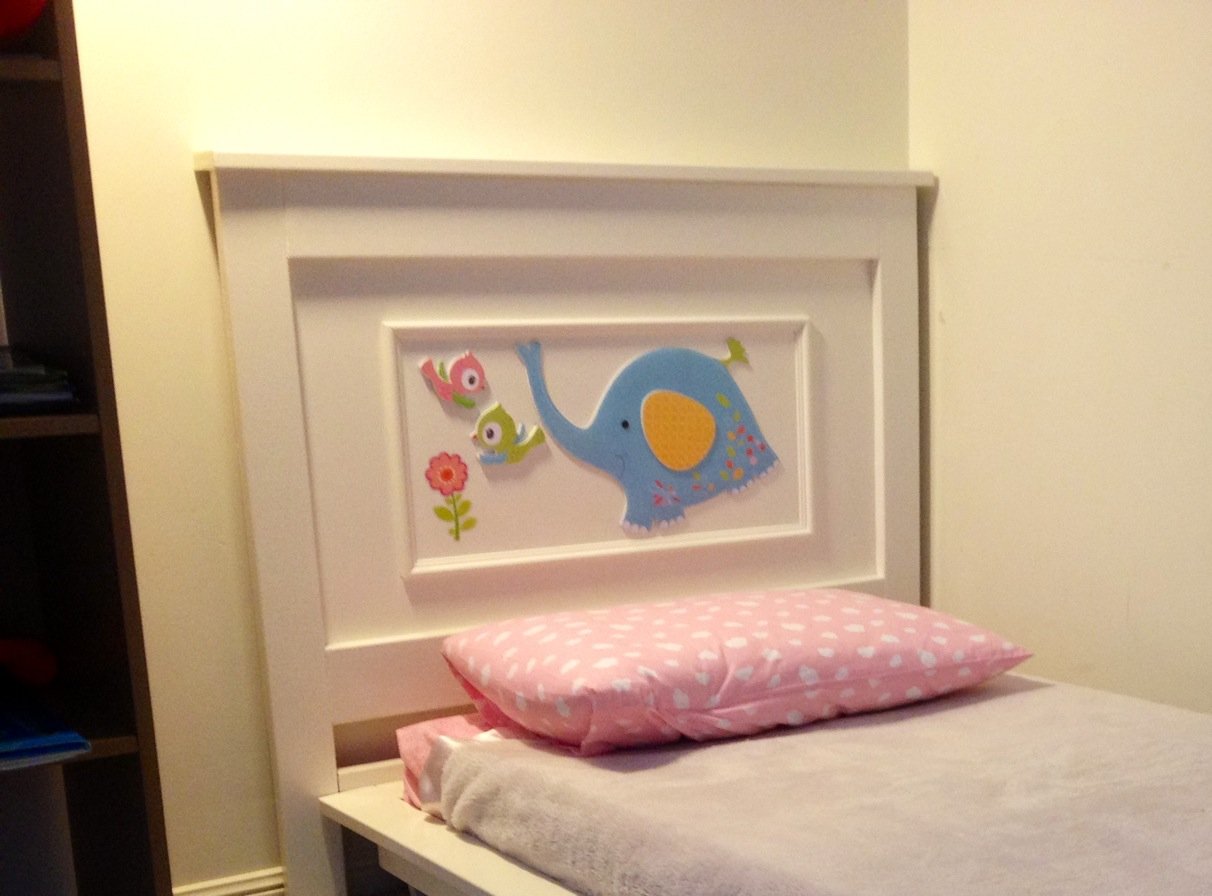
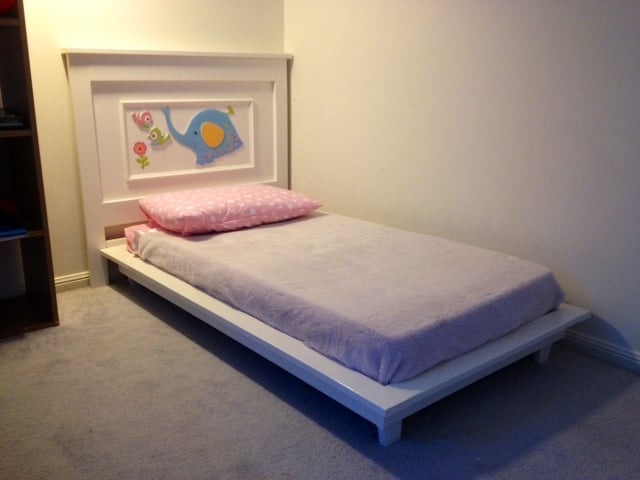
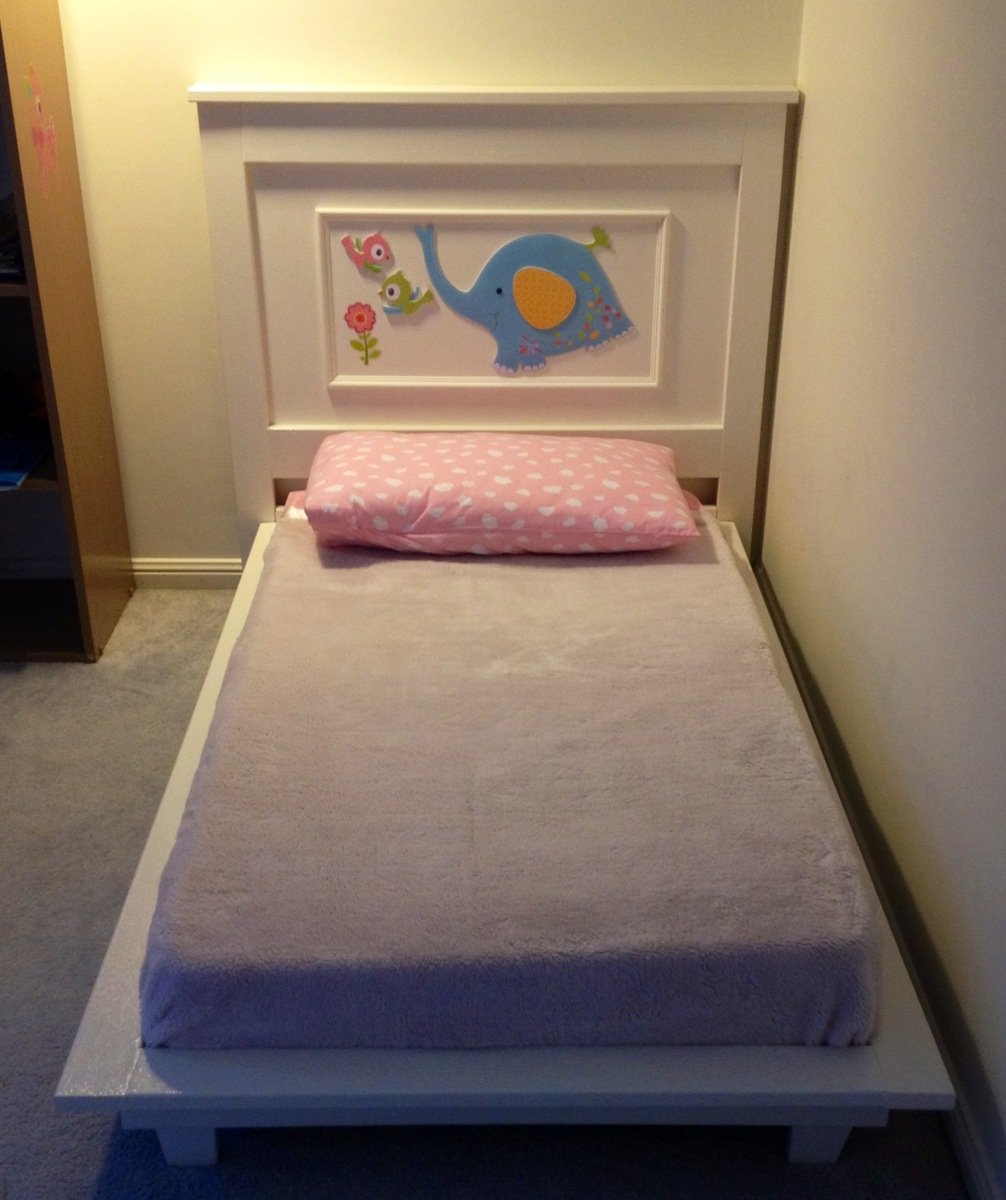
Simple Planked Wood Farmhouse Bed

So proud of hubby for making these amazing beds for the boys!
Built from Plan(s)
Recommended Skill Level
Intermediate
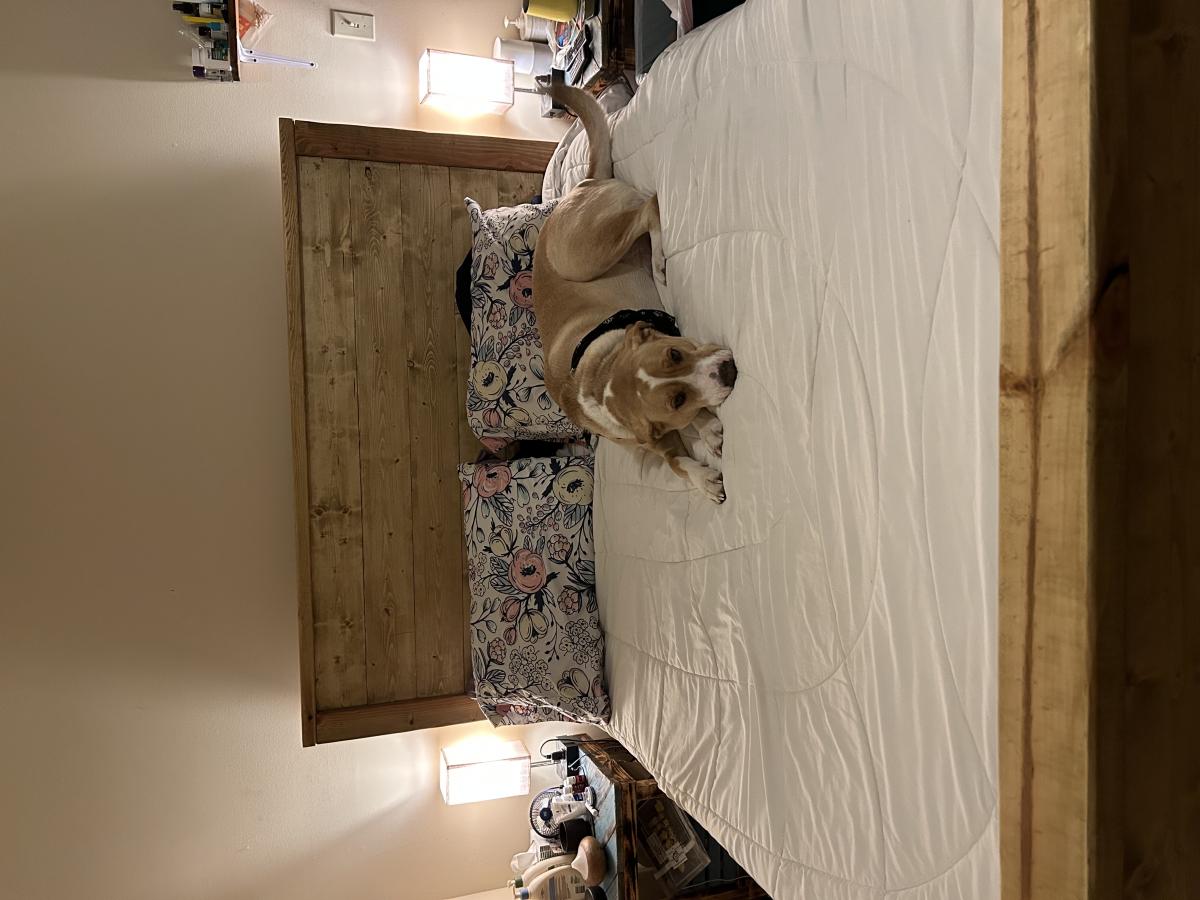
So proud of hubby for making these amazing beds for the boys!
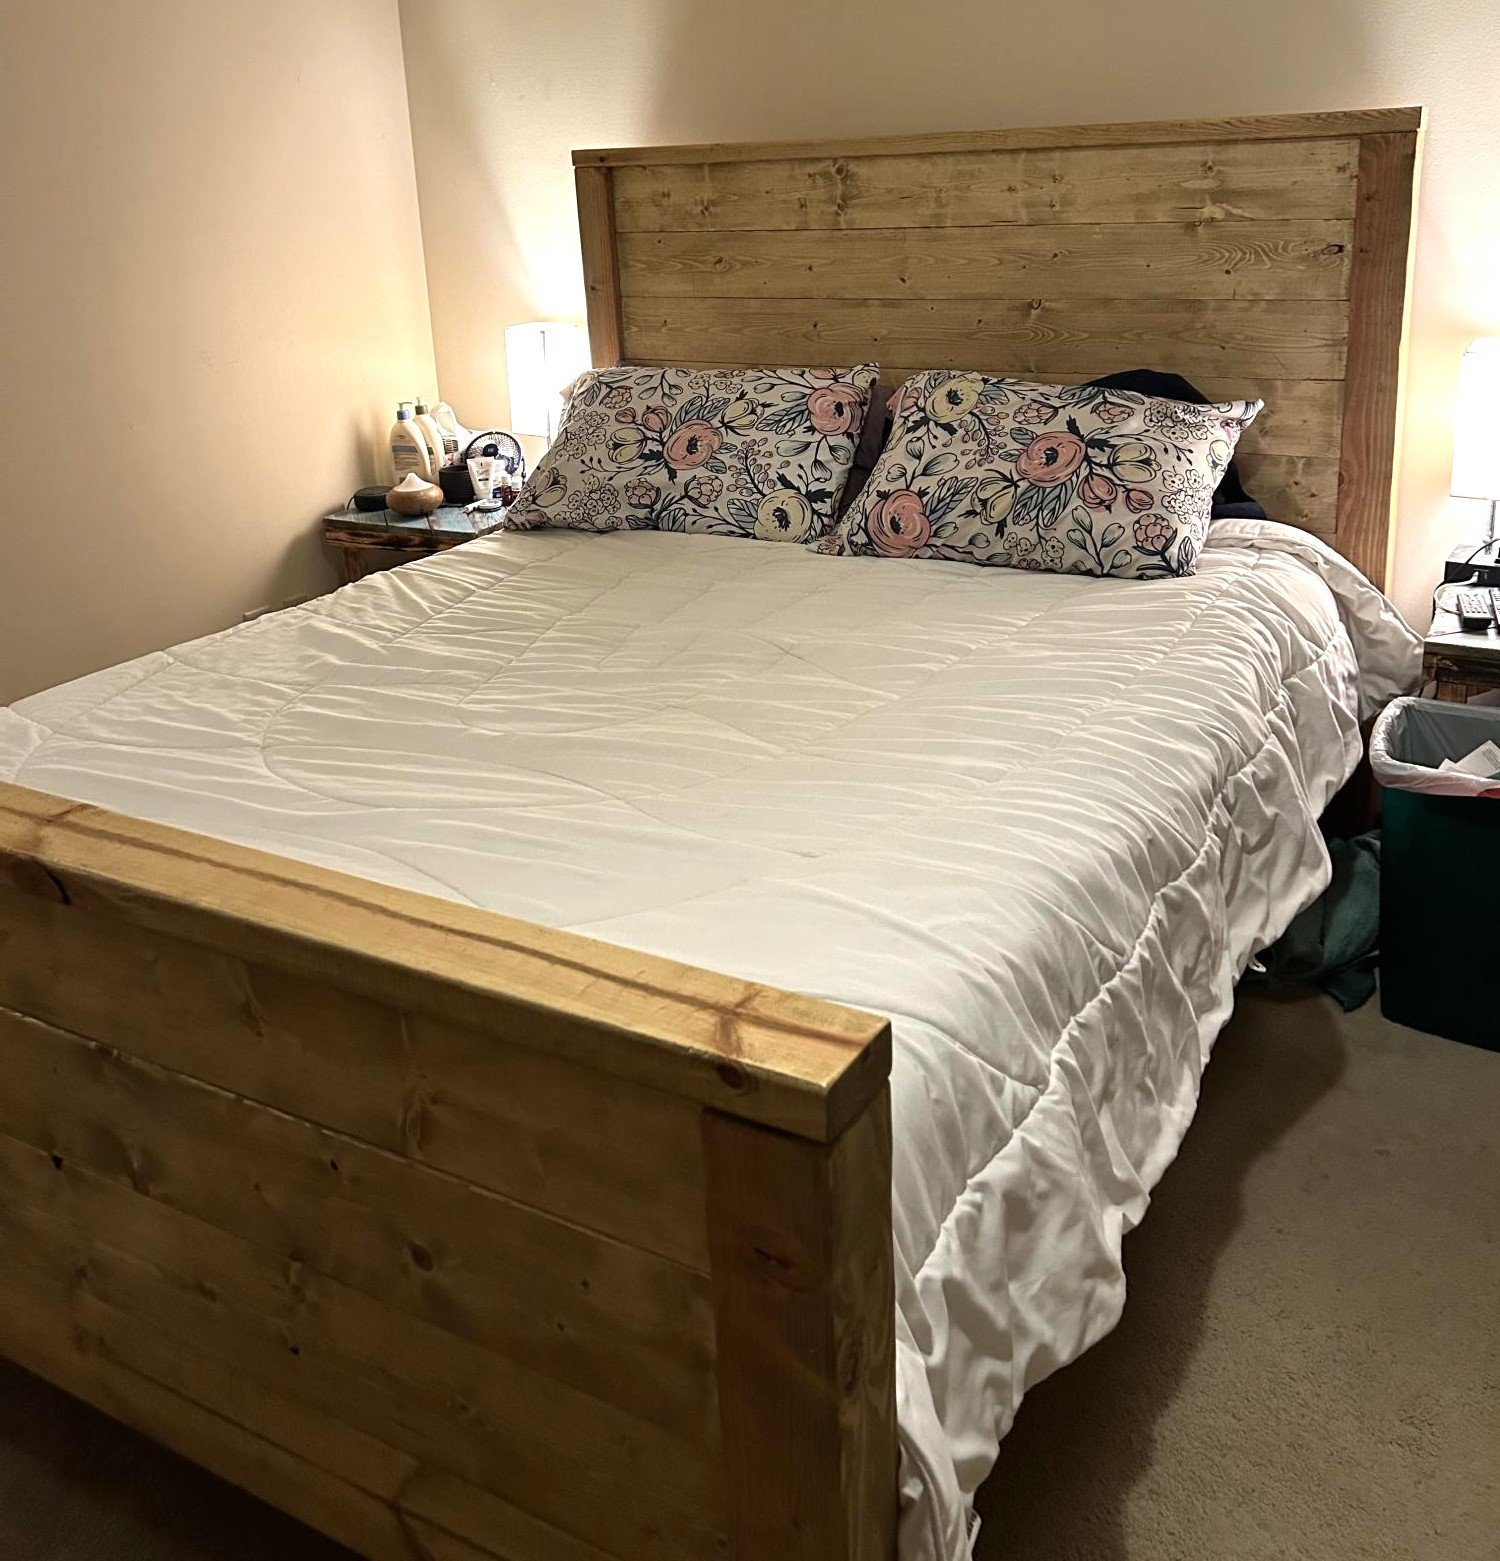
We made the footboard a little taller, pattern was simple to follow and adjust to meet our needs.
My first project, great for learning the very basics, didn't take long to build, but took a couple of days to finish, with drying times of paint and finish.

Mon, 11/07/2011 - 21:38
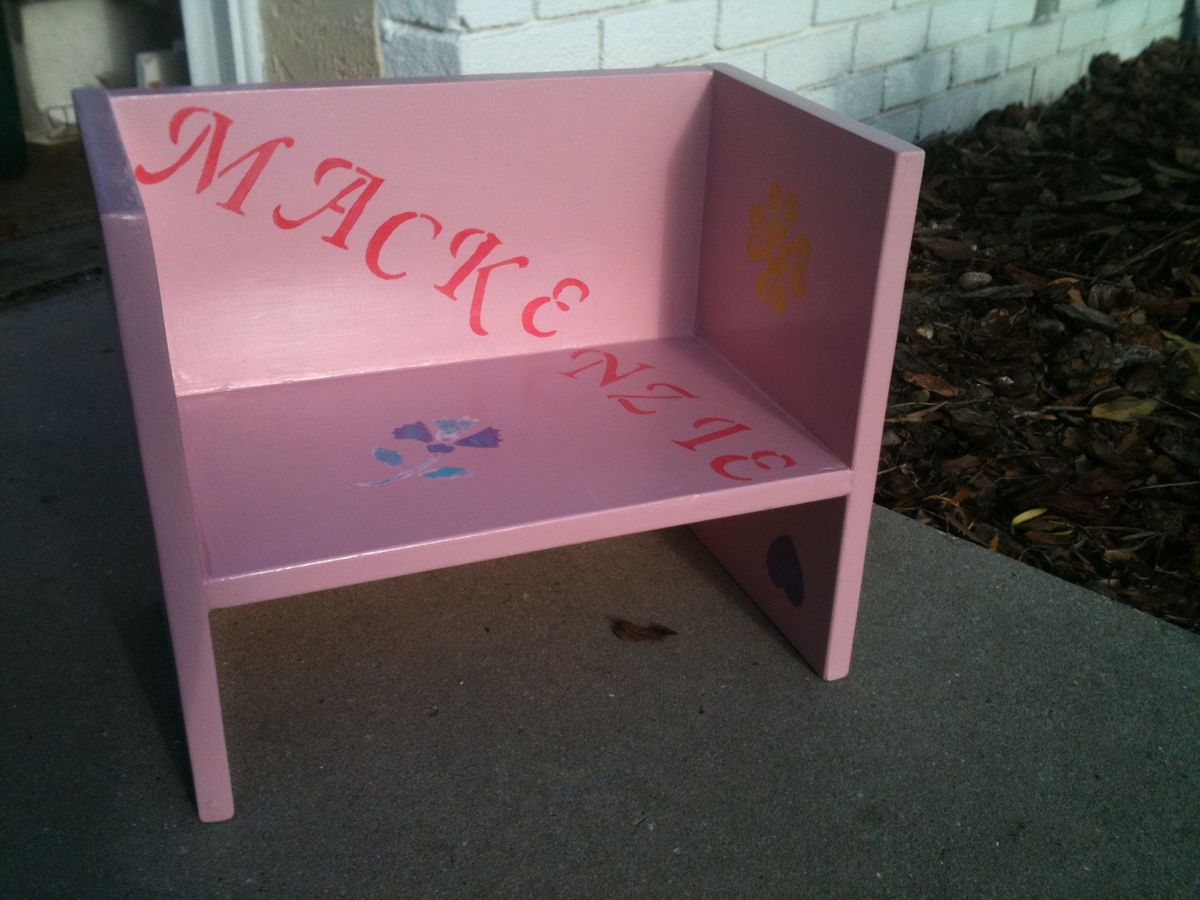
I was excited to see your post made from my plan. I hope Mackenzie loves it as much as my kids do!
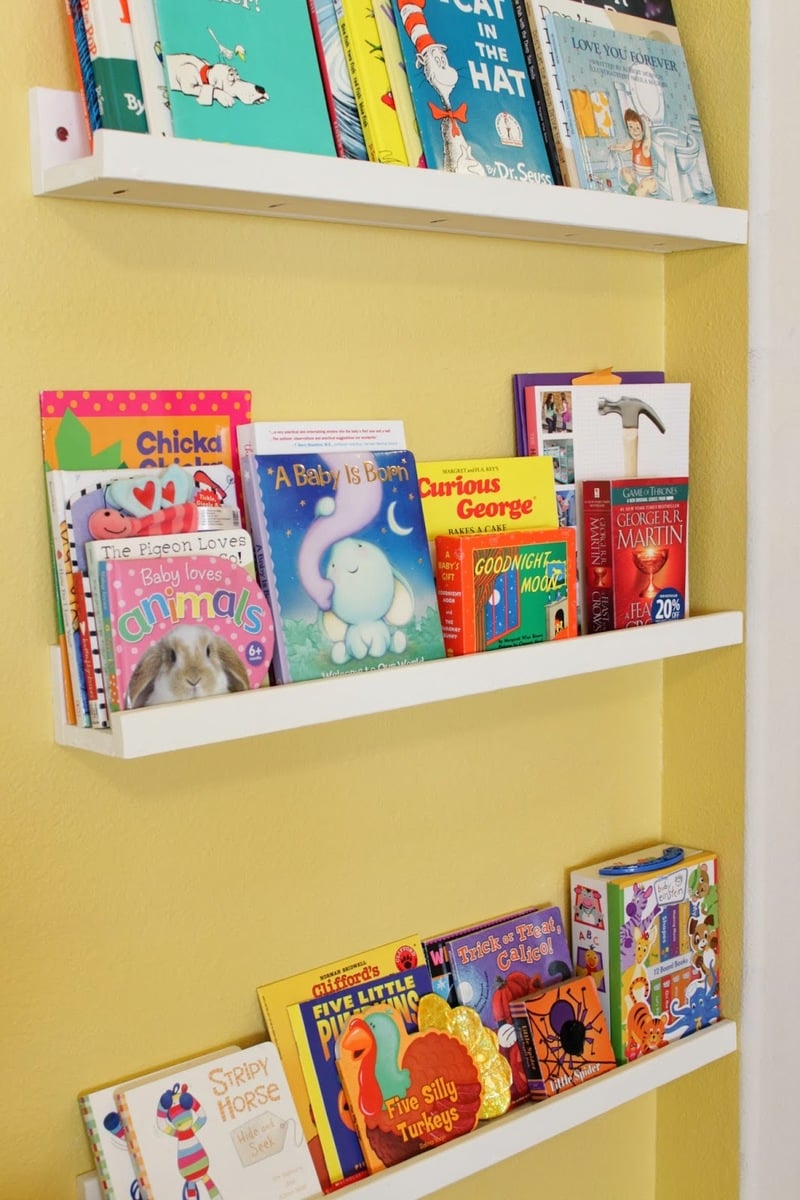
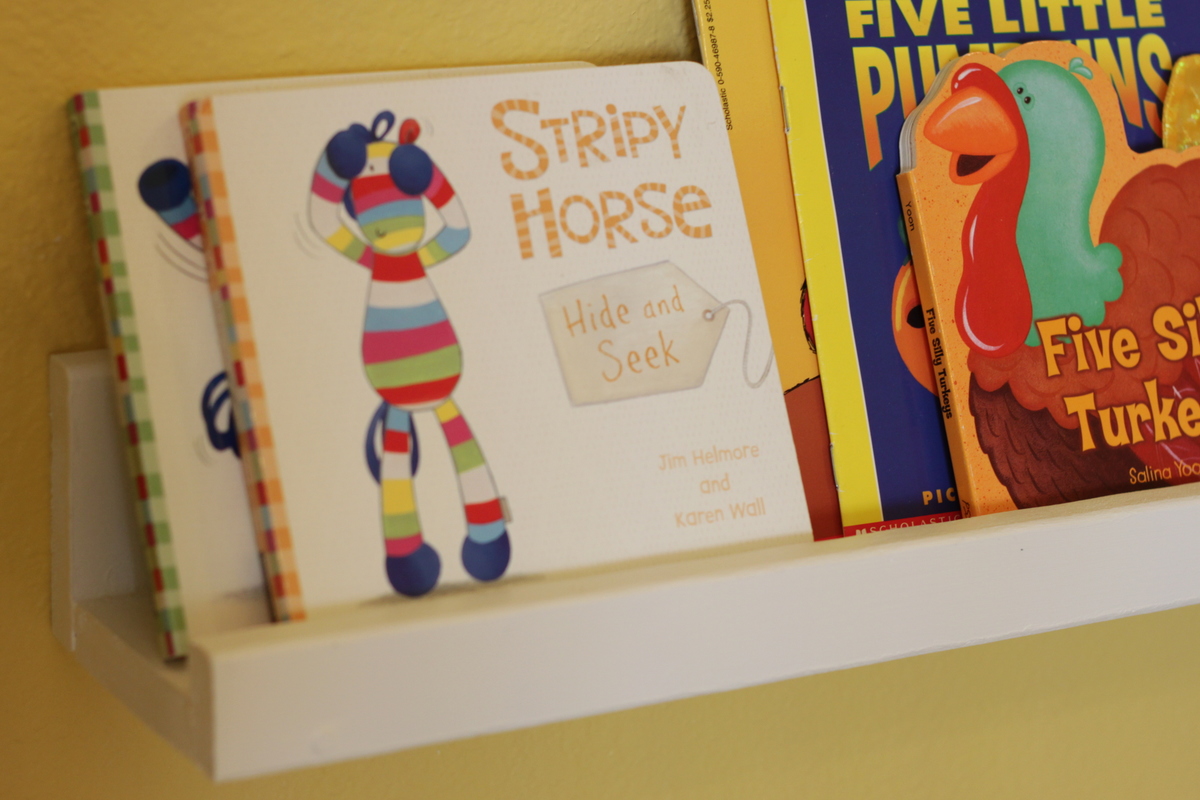
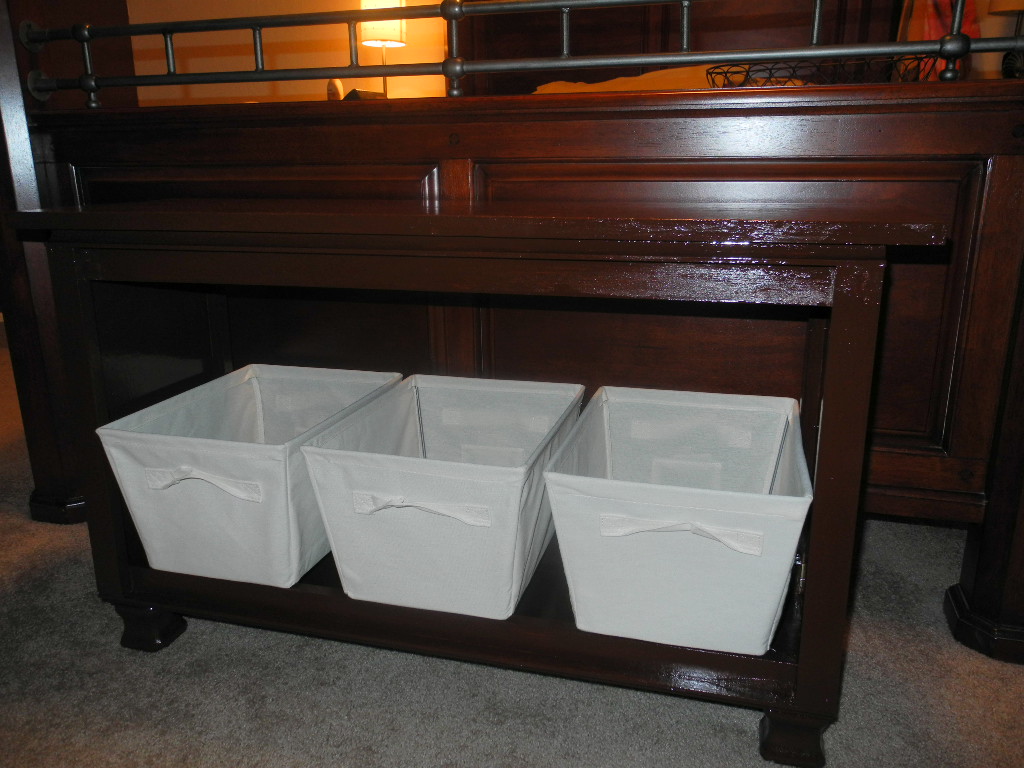
We used a pocket hole jig to build the ledges (to practice using our pocket hole jig), and loved how easy it was to put these together. We made each ledge 32" so we only had to use 1 1x2 and 2 1x4.
Turns out these ledges work perfectly to "house" or baby's books (and a couple of our own in the mean time). Love this build –and so much cheaper than buying (or building) a bookshelf!
Not the best picture. This was my first project using plans from this site. What a breeze! Took about 8 hours total to build and 2 hours to finish (sand/paint/stain)

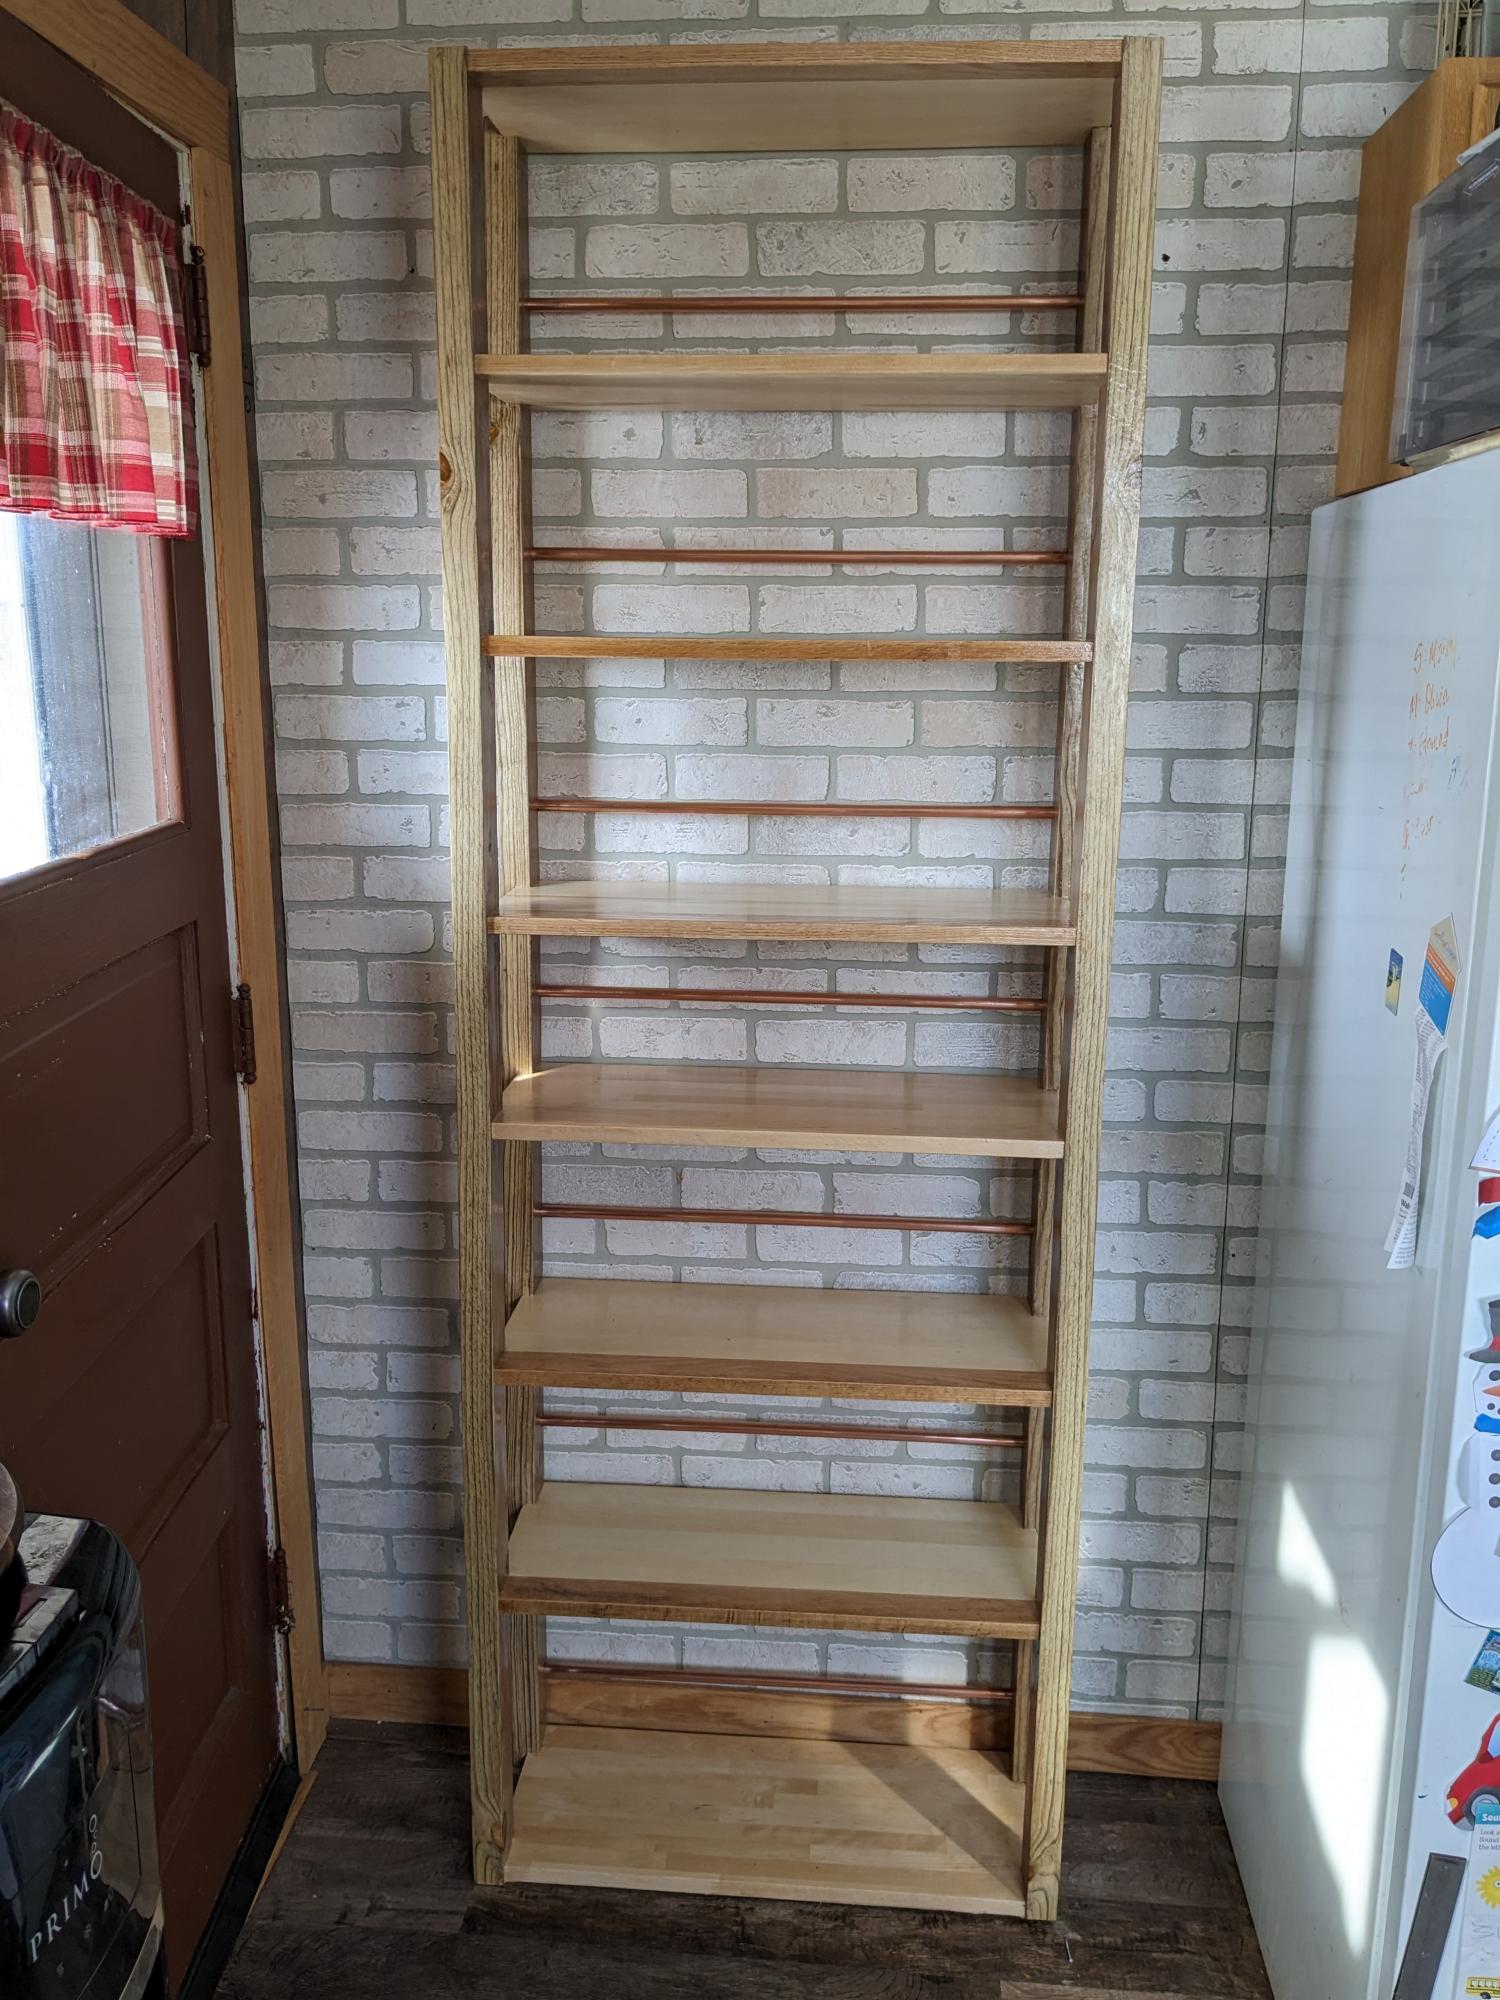
I have a small kitchen. I found this plan on Ana's site to turn it into a pantry shelf. Initially, I was going to have wheels. That way, I could roll it to sweep. I took measurements to match the height of my upper cabinets and width so my door would clear. I put this shelf up to the side on my fridge. I didn't account for the height difference adding wheels. I still can add wheels if I change my mind. I did differing spacing, considering spices and cereal boxes and items between. I haven't quite figured out the end placement for items. I also am considering appliances to be placed on the bottom. I purchased baskets and spice drawers so I can visually organize and see what works. I used odd and end prices of wood and adjusted the measurements to fit my space. I love my corner 2x4s! They are dark and once planes, have these dark brown ribbons revealing the growth rings. We think they might be brown treated boards. Some of the shelves have a darker brown edge, 5 total. I purposely wanted the dark edge facing out. But I didn't have enough so I used different looking boards (same thickness) and played around with assign them their spot. My friend had copper pipes laying around, so I used those in the back to stop my items from falling off the backside. I polyurethaned to keep the natural wood colors. I really love it and am excited to do more projects!!
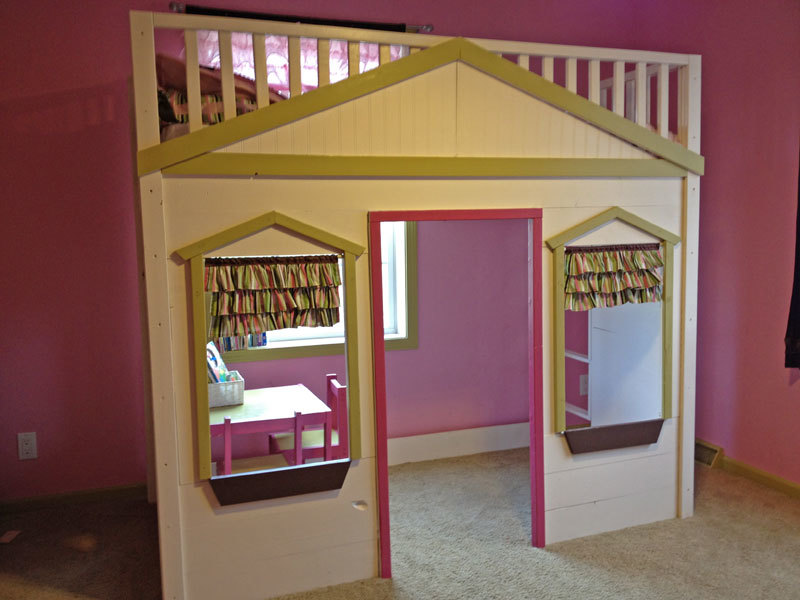
I was looking for a bed for my daughter, and a project for my sister and me. I looked at a well-known children's website and fell in love with their cottage loft bed, but didn't want to pay $1,300 for it. My sister found Ana's website with plans and everything for the same bed! We built the bed, (with the help of our husbands) that weekend. Abbi loves her bed! Thanks, Ana!
Wed, 11/23/2011 - 15:45
Need plans for a cottage loft bed with stairs. Where do I find plans
Wed, 03/07/2012 - 13:44
Hi. I would love to have a copy of the plans. This is perfect for my daughter!! Thank you
Sat, 05/19/2012 - 20:28
This photo looks like there is more space under than he other photos. Did you follow the exact plans or alter them. I want to put another mattress on the bottom as well
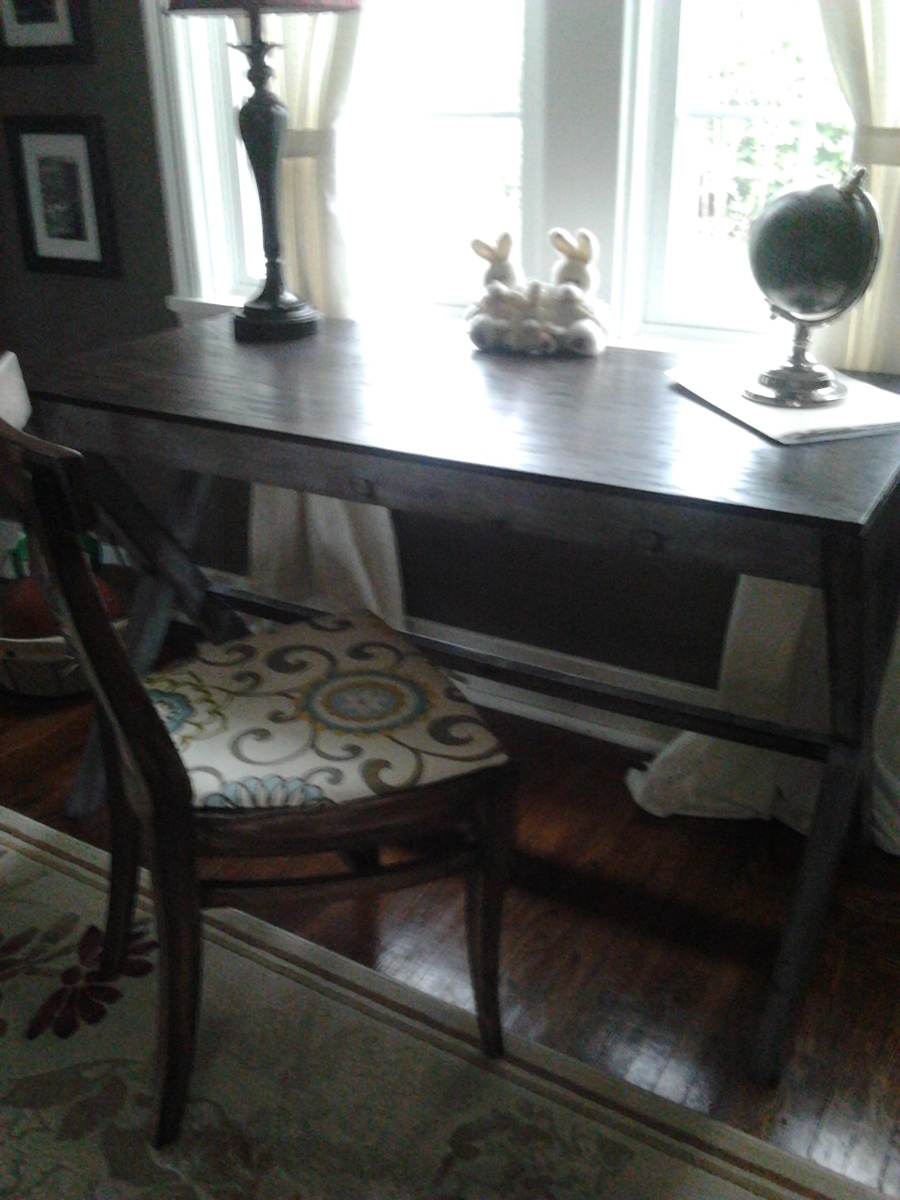
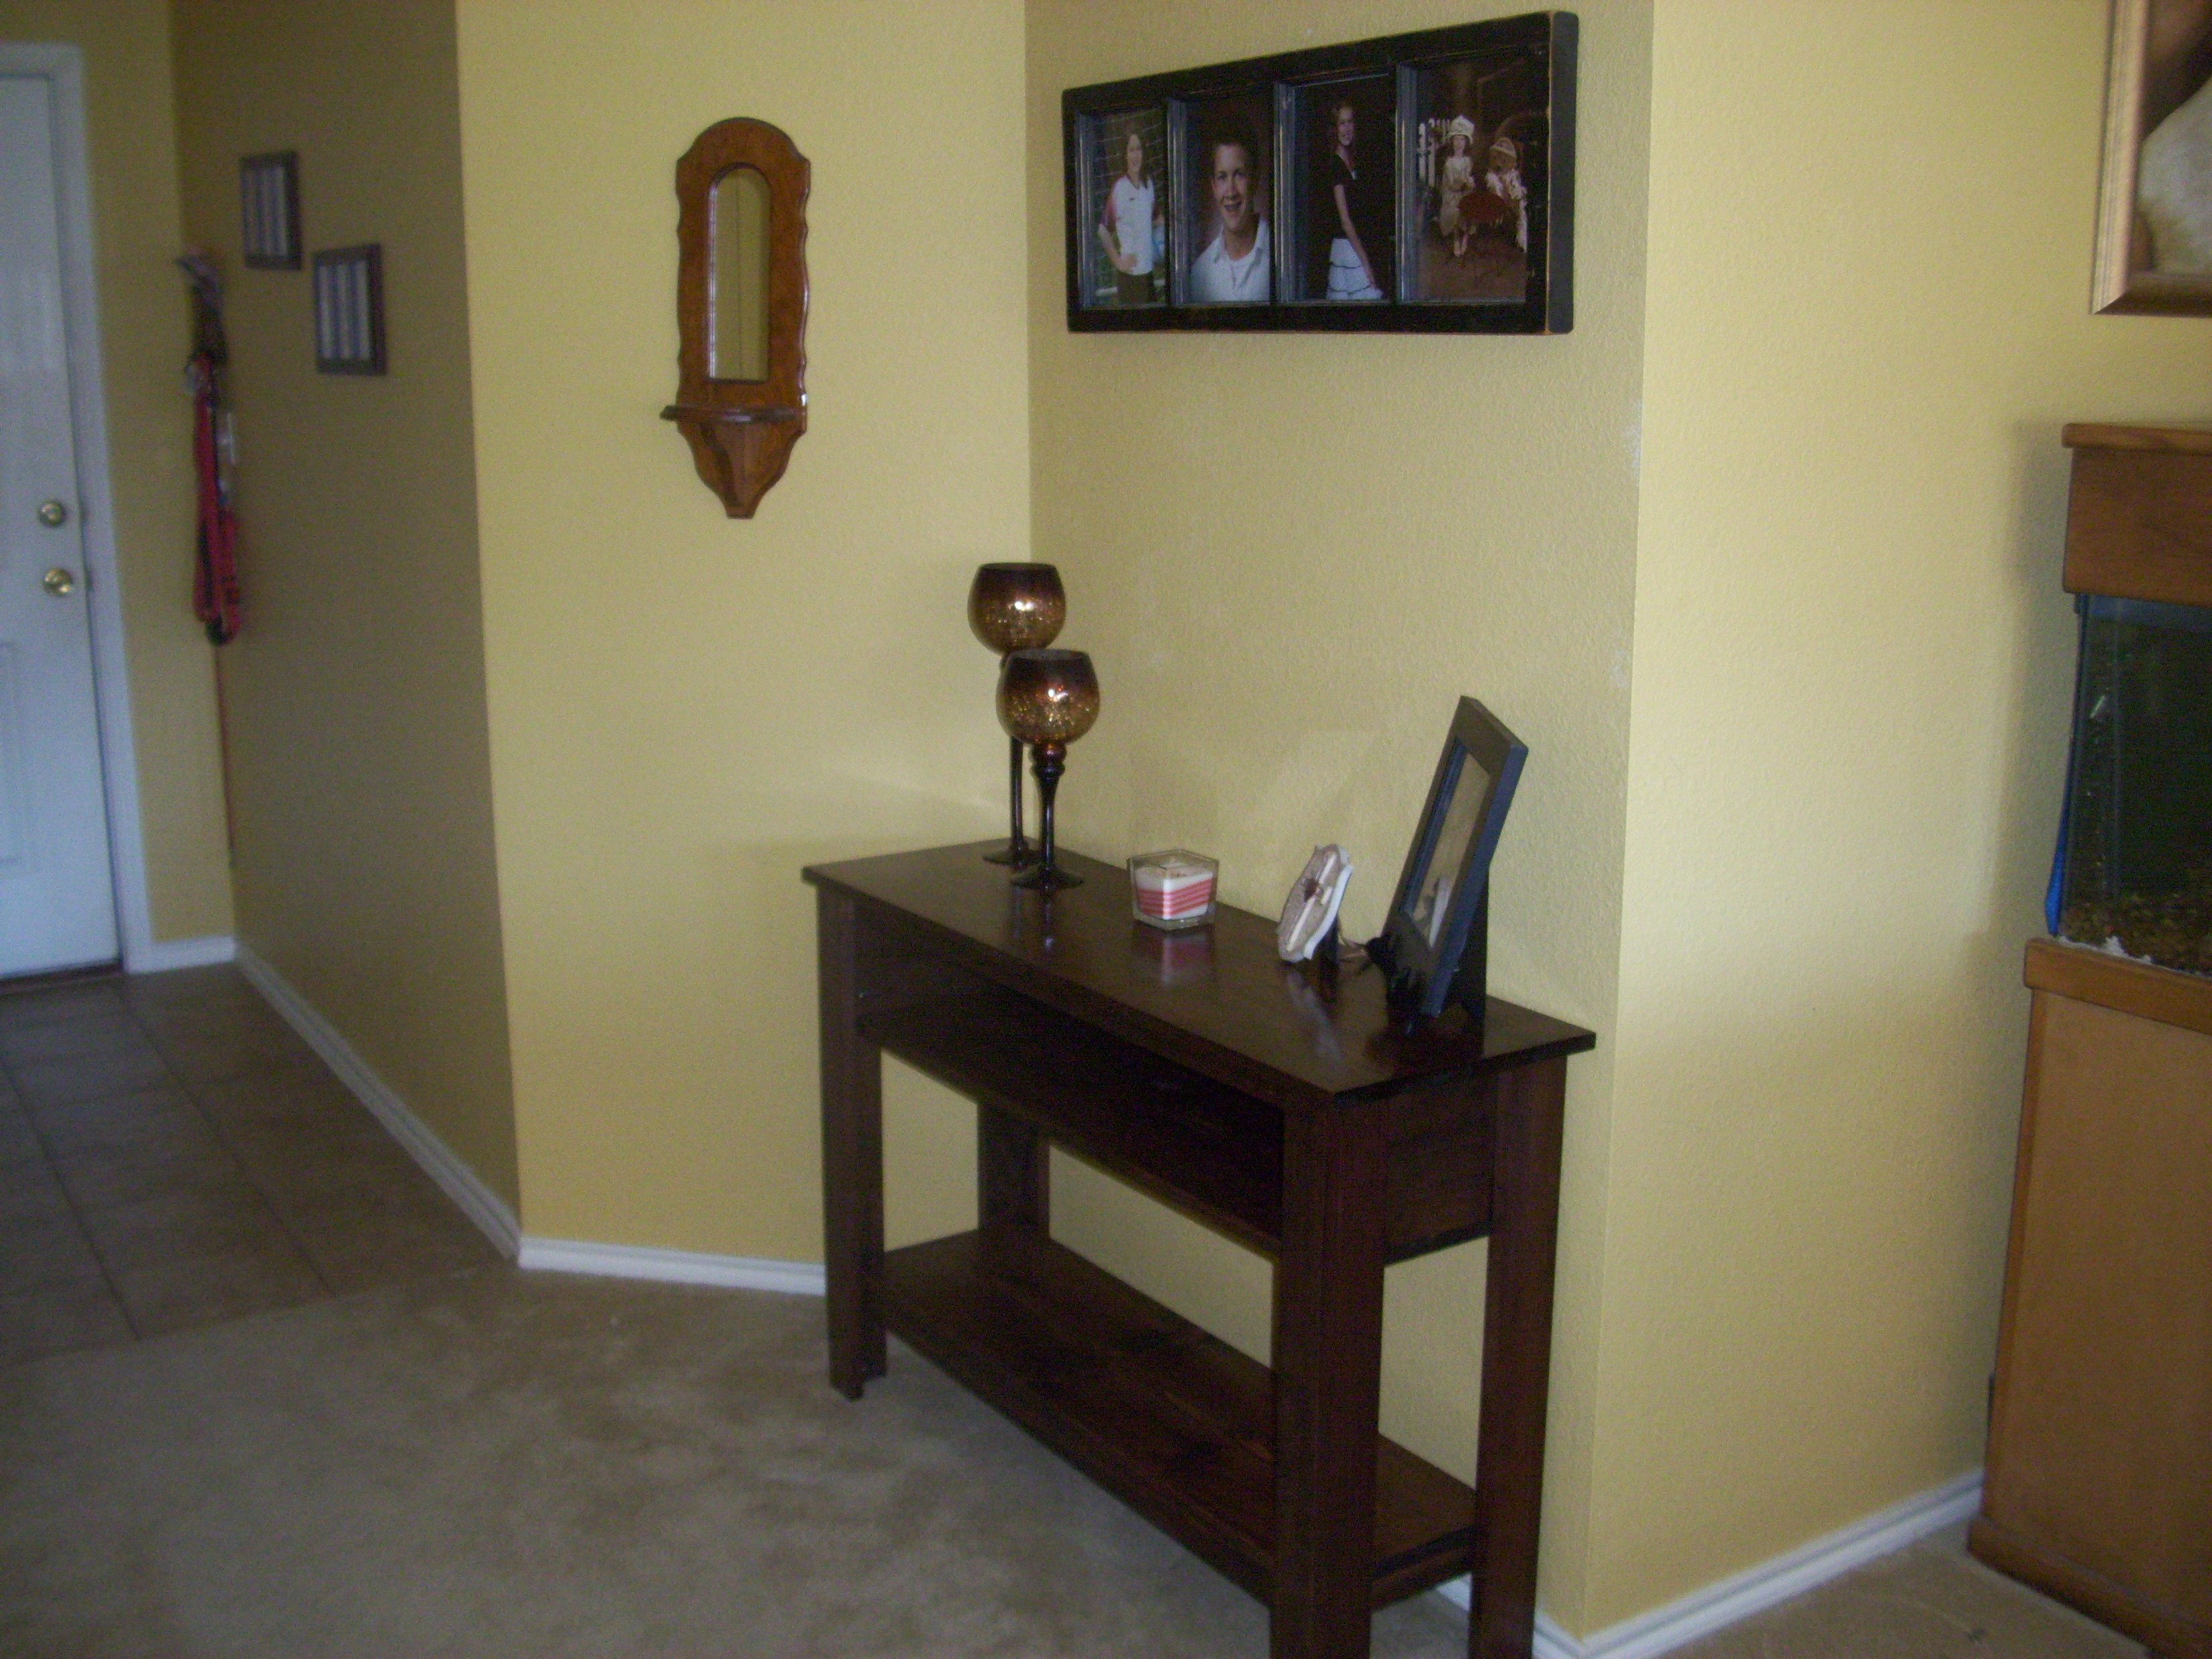
This desk cost me ~$40 to build. I used a precut piece of oak for the top and worked the dimensions around the piece itself.
I omitted the drawer out of laziness.
Fun build 4hrs to complete.
One of of the cuts is off says long to short it's long to long.
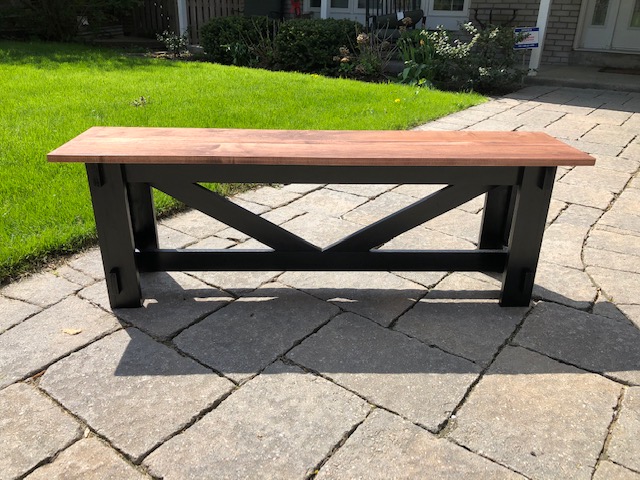
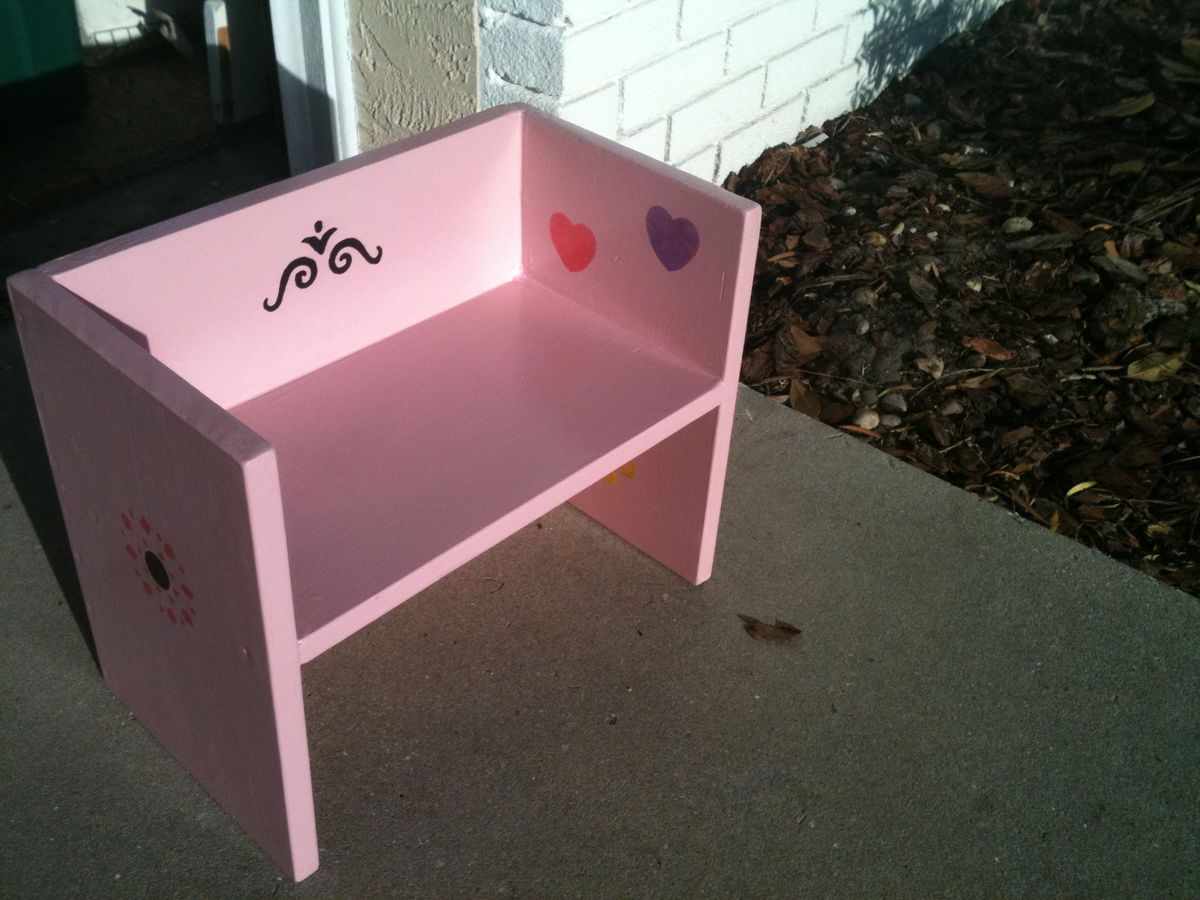
Farmhouse Bench completed. Pine base painted black. Bench top is mahogany stain on maple.
This is going to the cottage to live at the end of the bed. Will be used as extra seating at the dinner table as required.
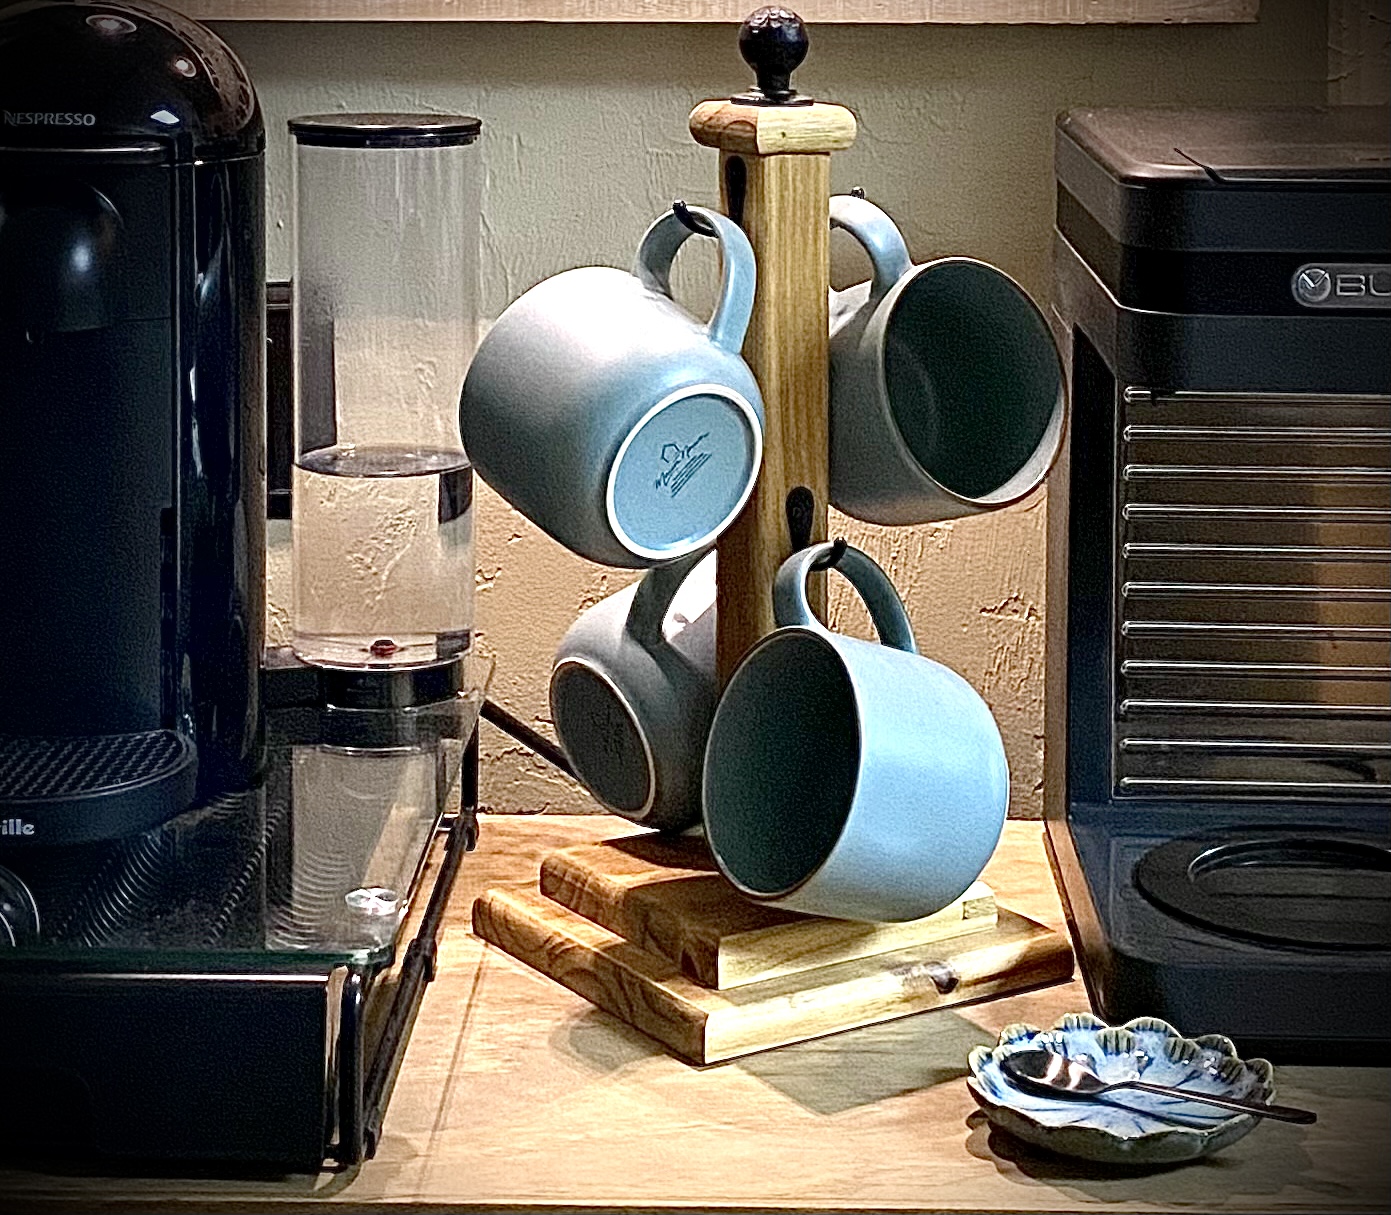
Used Anna’s cup tree plans for this project. Thank you Anna!
I’ve also successfully built a few of your beds. Your plans are always straightforward and easy to follow.
What you do is so appreciated!!!
Angel
Sun, 03/12/2023 - 22:11
Attempted to submit while logged in, but could not. Thank you
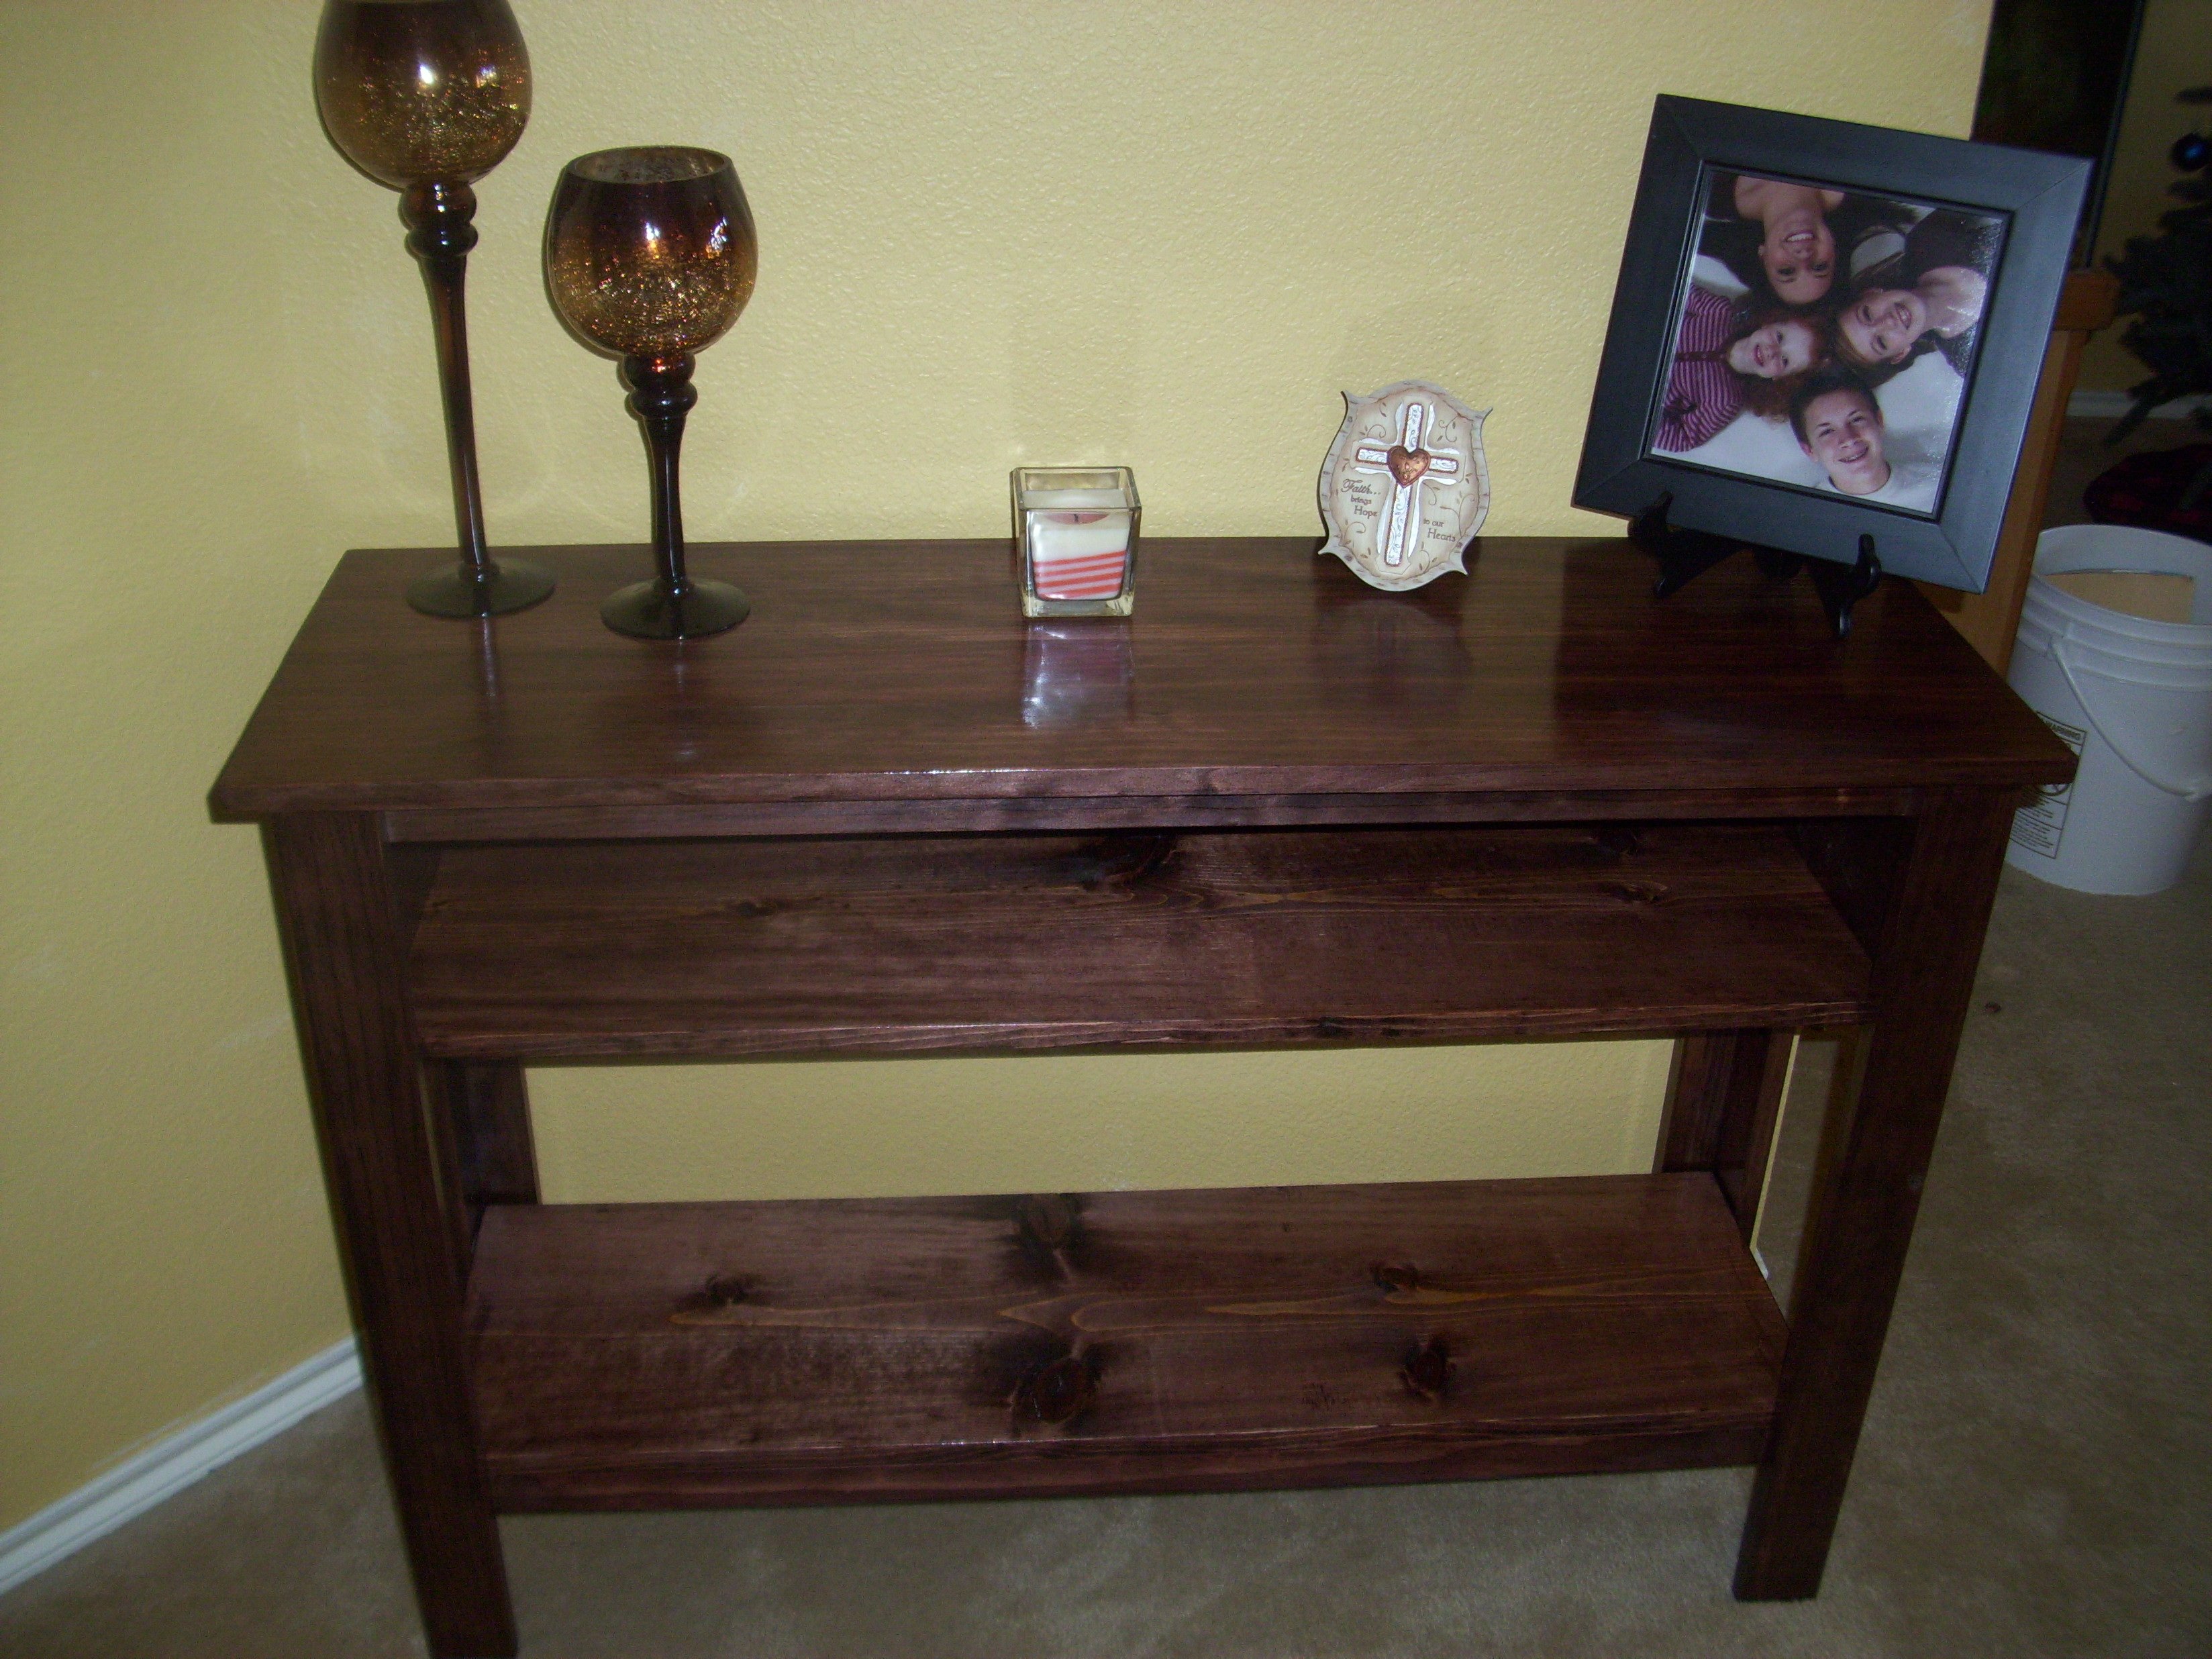
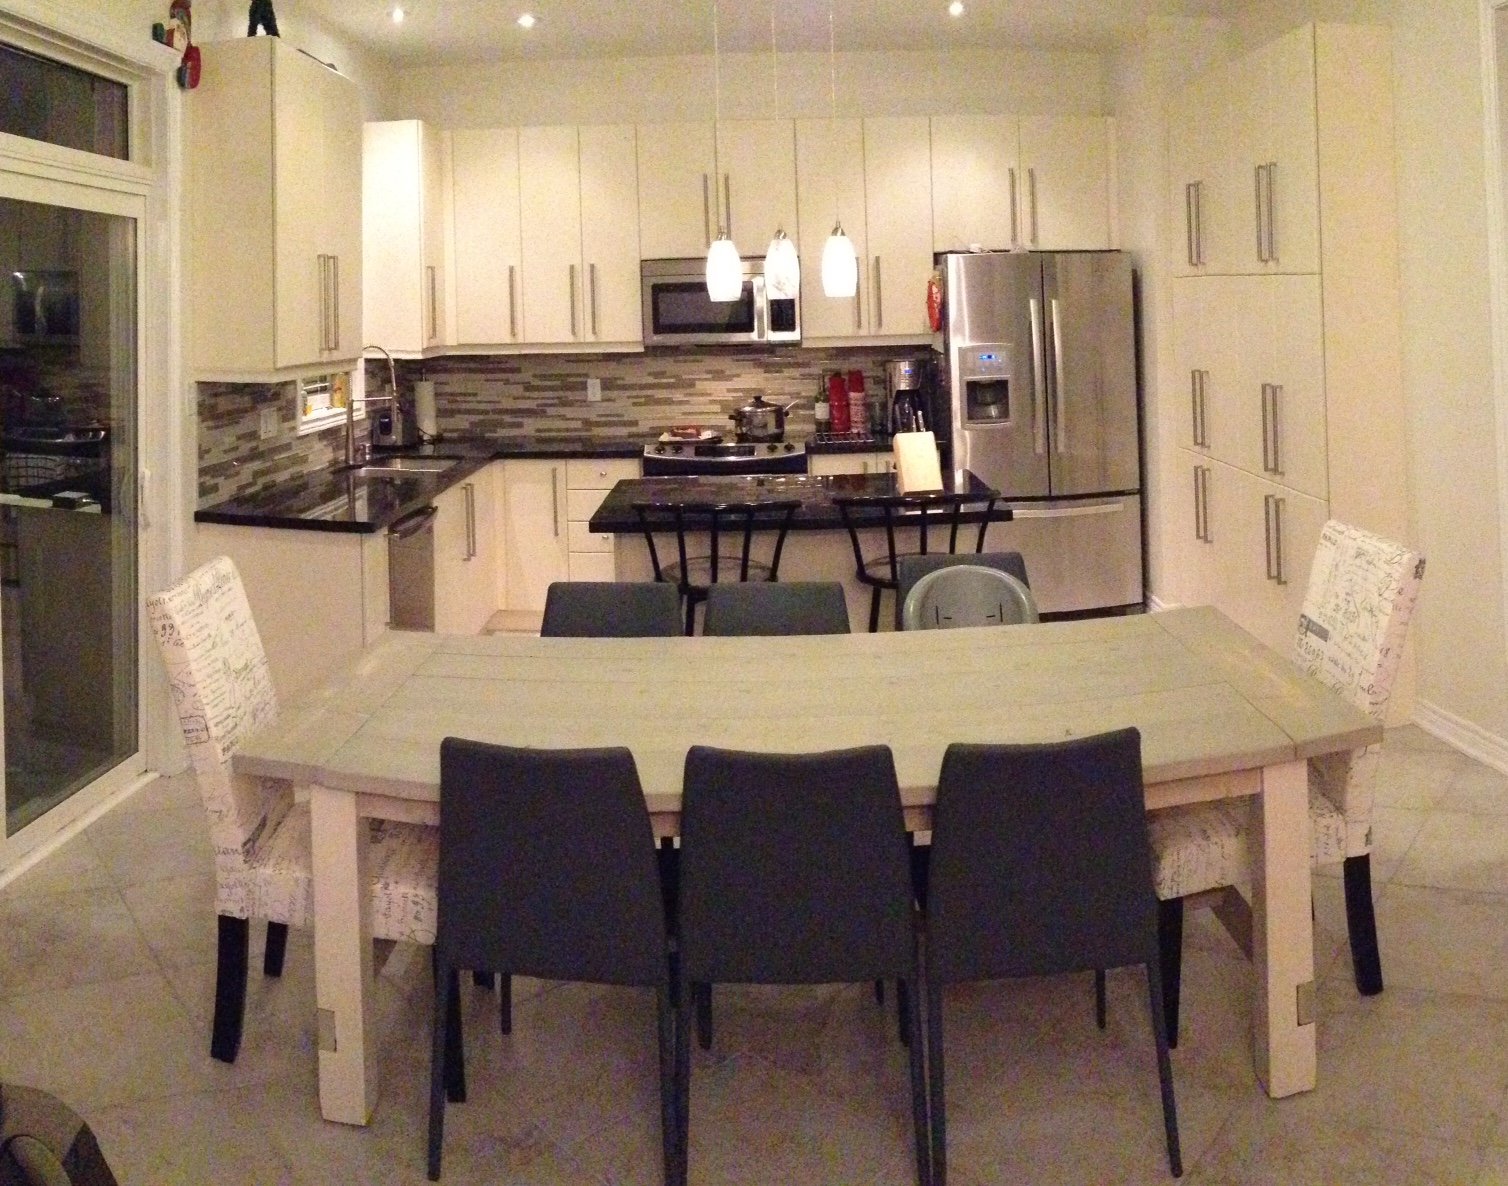
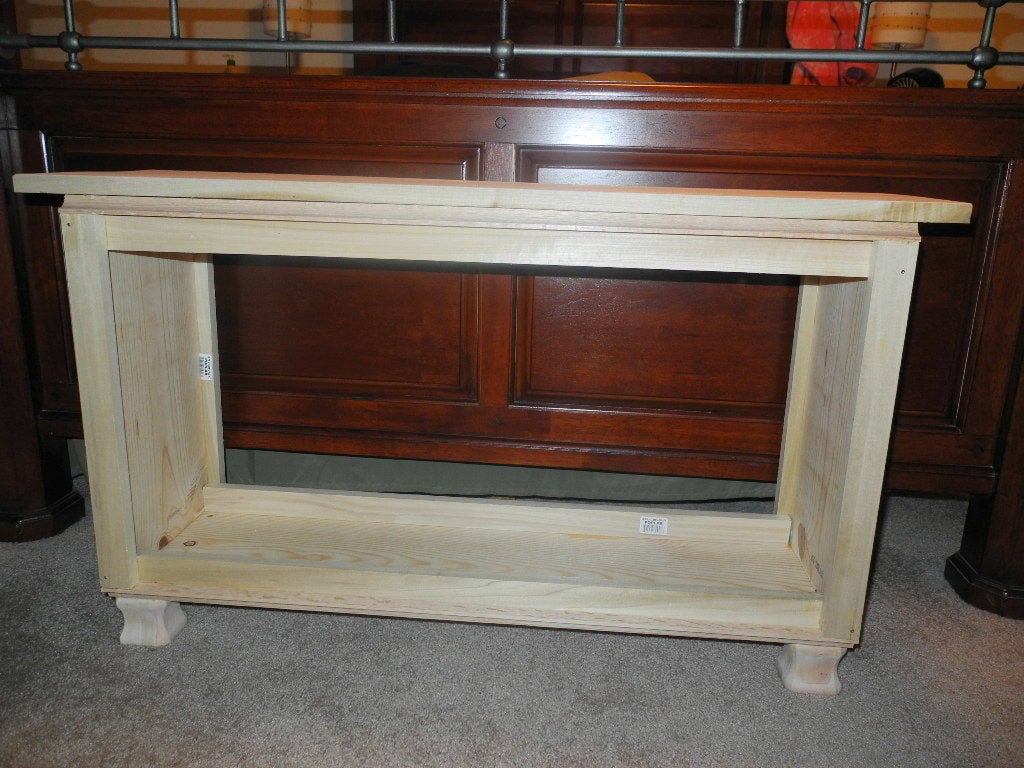
I used the narrow farm house table as my starting point. I added two shelves. I used select grade Pine for this project for all except the 1x12 that was used for the shelves. I didn't want to spend 30 bucks for the select grade 1x12 for the shelves, so I used whitewood for that. I used pocket holes to join the 4 1x4s that makes up the top. I sanded the joints to try to give the appearance that it is a single boards. Can't tell unless you really look close. I am pretty happy with the way it turned out. Biggest problem I had with this project was my 10 year old cordless drill. Batteries would only hold a charge for 4 or 5 pocket holes, so this project took me much longer then it should have. That's okay, I used the time waiting on the drill to charge to sand, and measure. That problem has been corrected with the Black Friday sale at Lowes. My next project is a desk for my daughter, I designed it myself, but would never have attempted something like this without this great website!!!
I added just a little bit of extras to this bench. I was wanting to match some of our bedroom furniture detail to it. This was my first home furniture project and with Ana White's plan, it was very easy to do. Thank you! Looking forward to what I can make next!

We needed something to fill the space in a corner in our kitchen. I modified this plan slightly from the original in order to fit in the space. We then topped it off with Marble top to match the counters in the rest of the kitchen.

I modified this sideboard from the Anna White plan that used 2x4s and 3/4 inch plywood, by substituting select pine 1x4s for the face frame and 1/2 inch maple veneer plywood for the vertical partitions and shelves. Vertical partitions were inserted into dadoes in pine 2x4 cross pieces joining the two base 2x4s. The end pieces and doors were made with tongue and groove joints using 1/4 plywood and 1x4 or 1x2 frames. Next was addition of the face frame(1x2s)and base. The 1x4 base covered up the 2x4s, and was mitered at each corner. I used ball bearing slides to attach the drawers, made of 1/2 inch plywood. I painted the carcass with a latex paint and purchased 13/16 inch Cherry boards to join together to make the top. The drawer fronts where made from 1/2 inch plywood, with rabbitted pine edging added to match the doors. The Figure shows the finished side board with hardware installed.

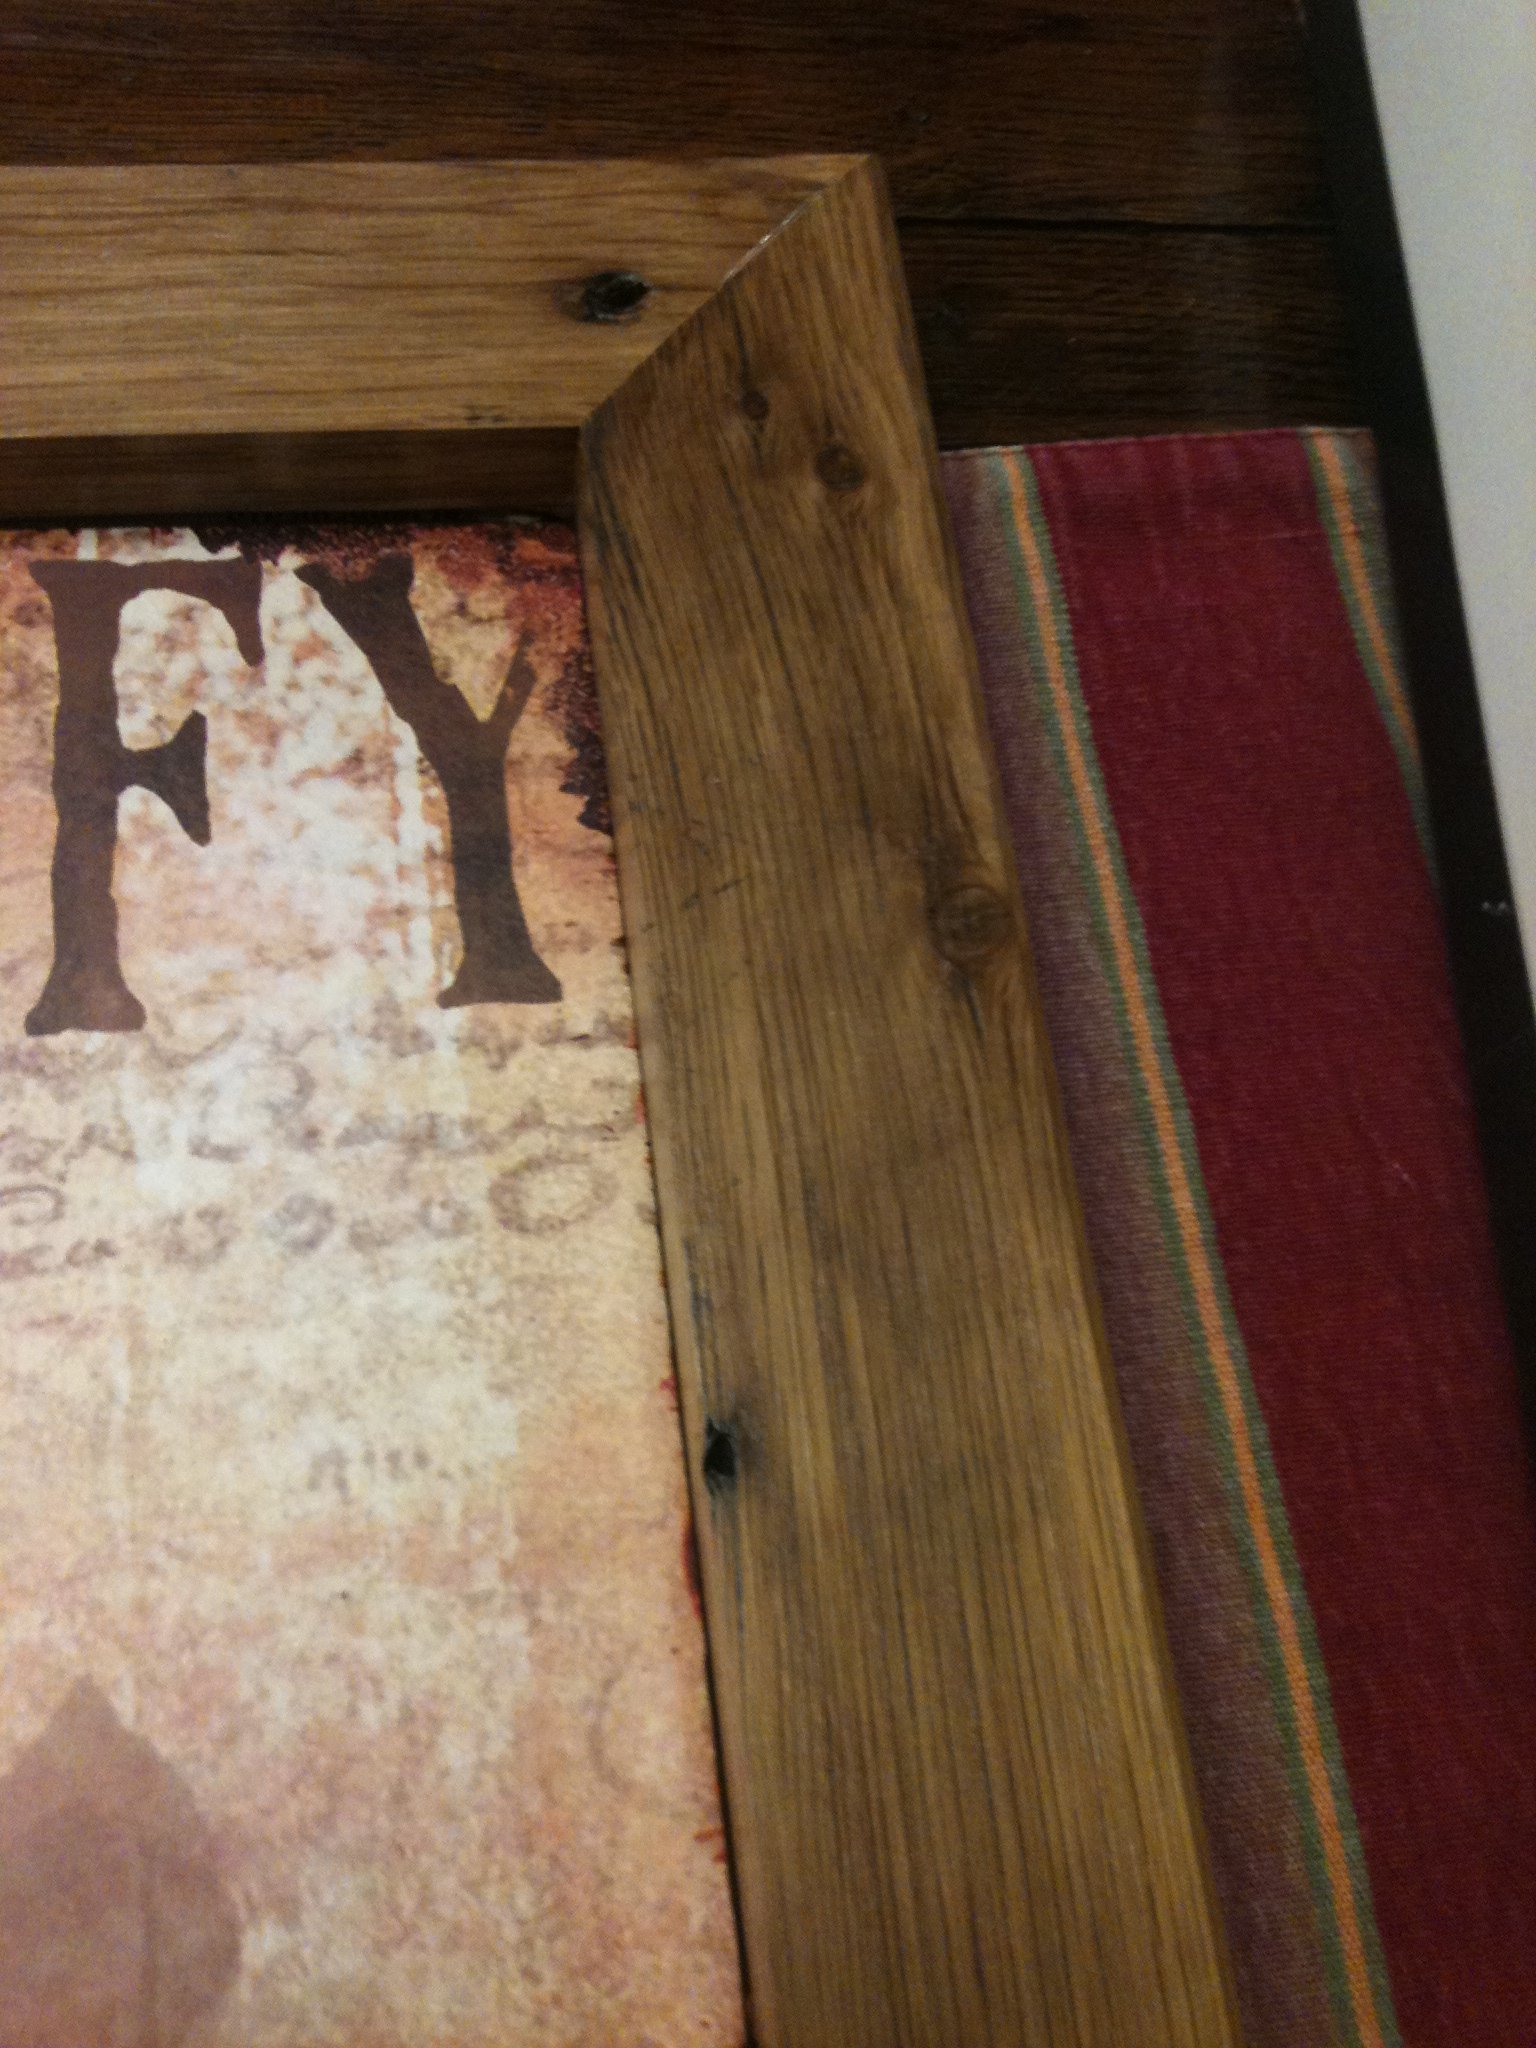
We loved the barn wood frame plan, and we just happen to have a barn that is coming down soon, so this project was a no-brainer. The picture is actually a metal sign purchased half off at Hobby Lobby, and was the only expense associated with the project. All he did to the wood finish was plane and clear coat.
Loved this design as was sinple and elegant and easy to execute !! Constructed out of salvaged timber so only real cost involved the screws and paint .

Sat, 11/02/2013 - 18:15
What a great bed, this is super cute! Love the decorations for the headboard. Looks better than the PB Kids bed!
Fun project.
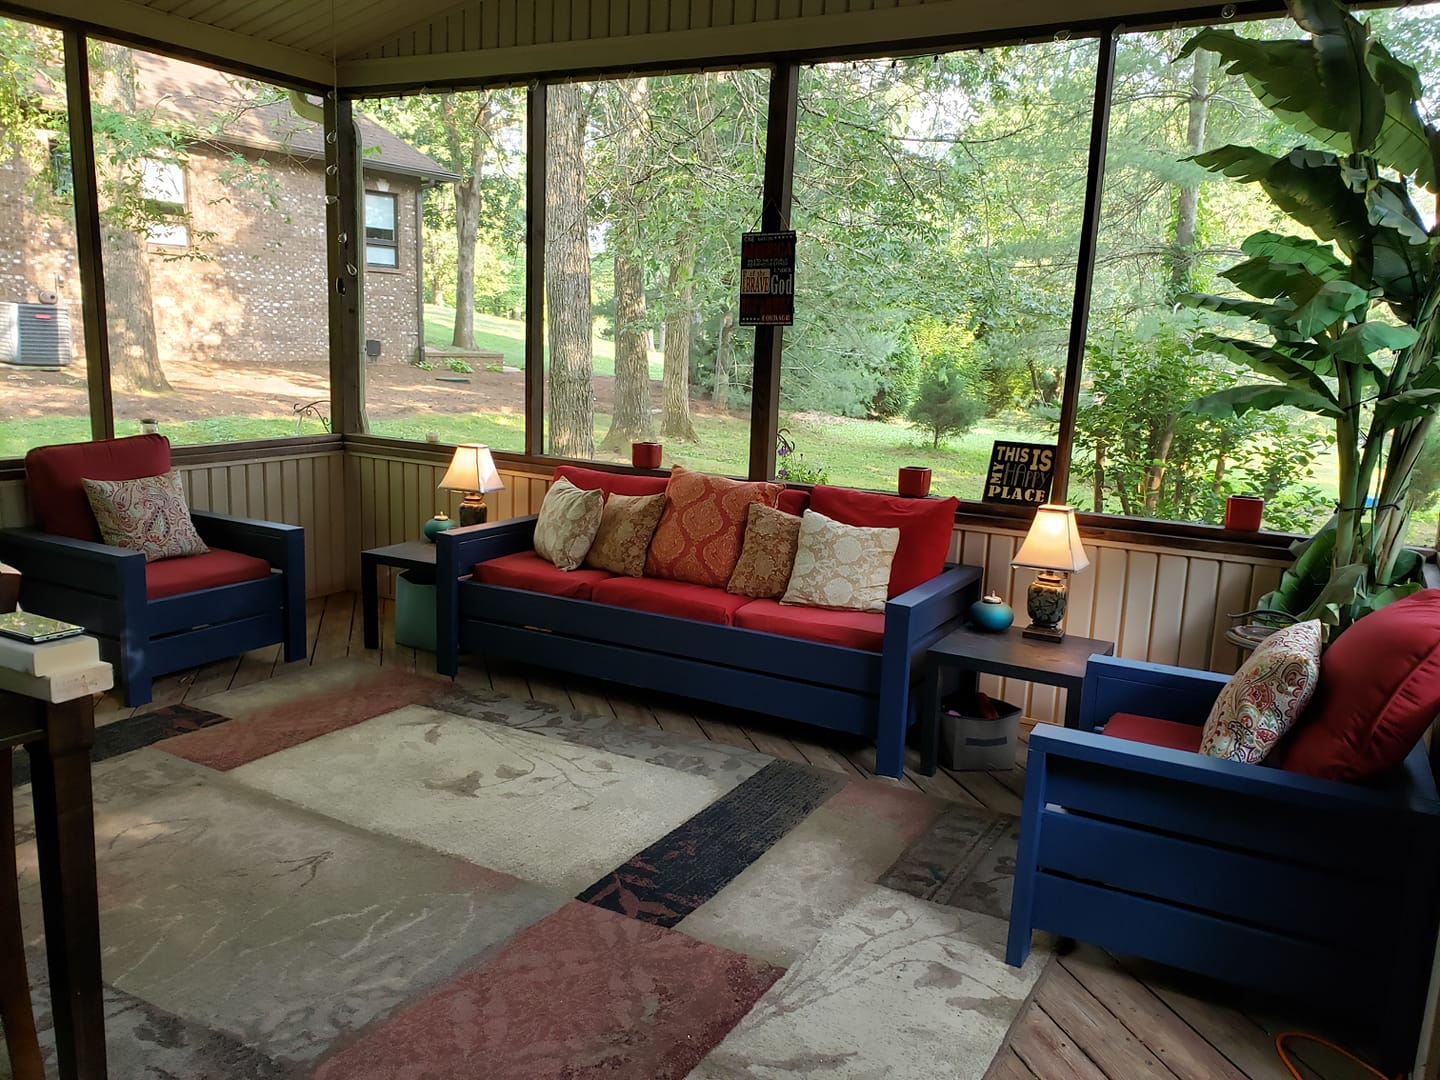
We built the chairs first using the Modern Outdoor Chair Plans found here on Ana White. We then modified the plans to make a 75" couch that fits 3-25" cushions. Both were super easy to build. We are very happy with them. We built the couch on the porch because it is very heavy when finished. Everyone loves them!

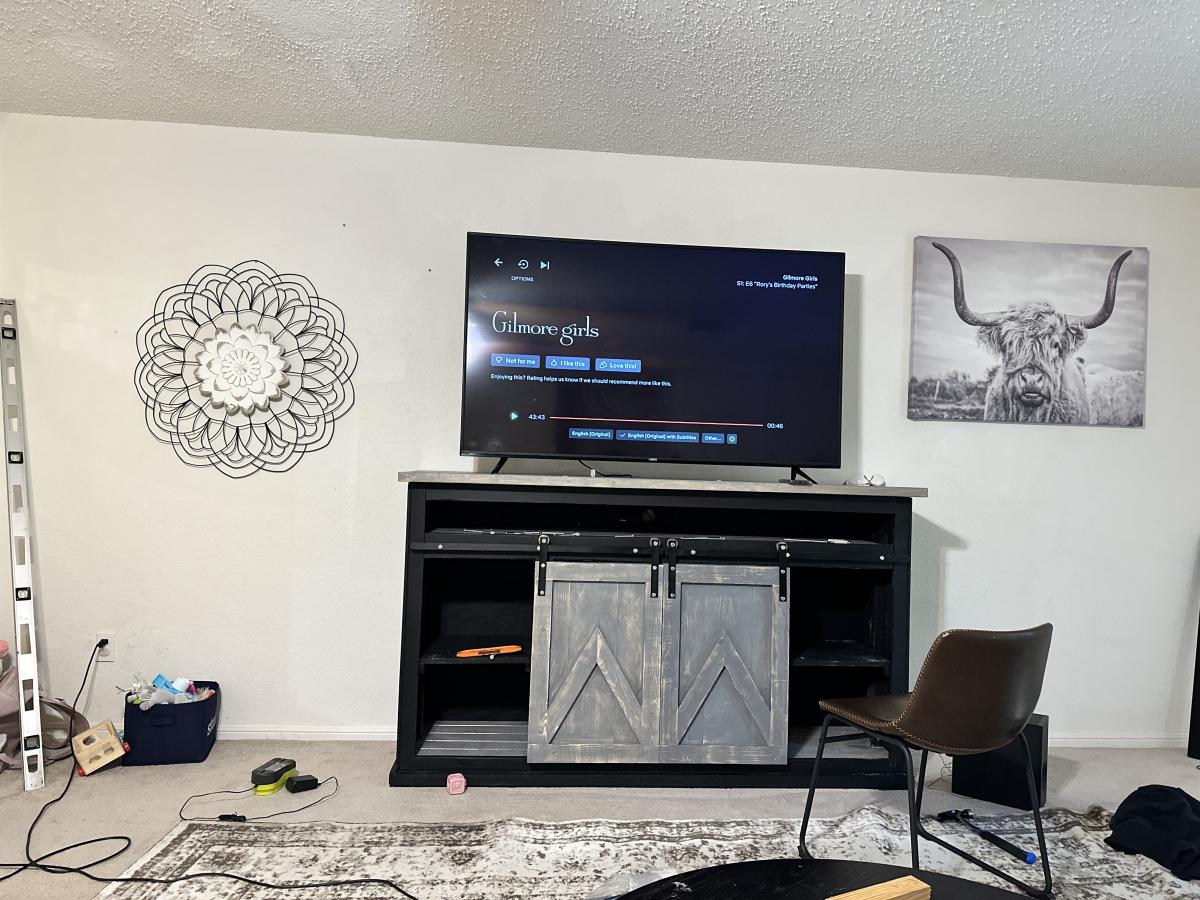
My daughter wanted a TV stand with a space for her sound bar, along with storage for toys and blankets. Hardware for barn doors were used from a video you had posted
Tue, 03/28/2023 - 15:44
This looks fabulous, love the finish choice. Thanks for sharing!
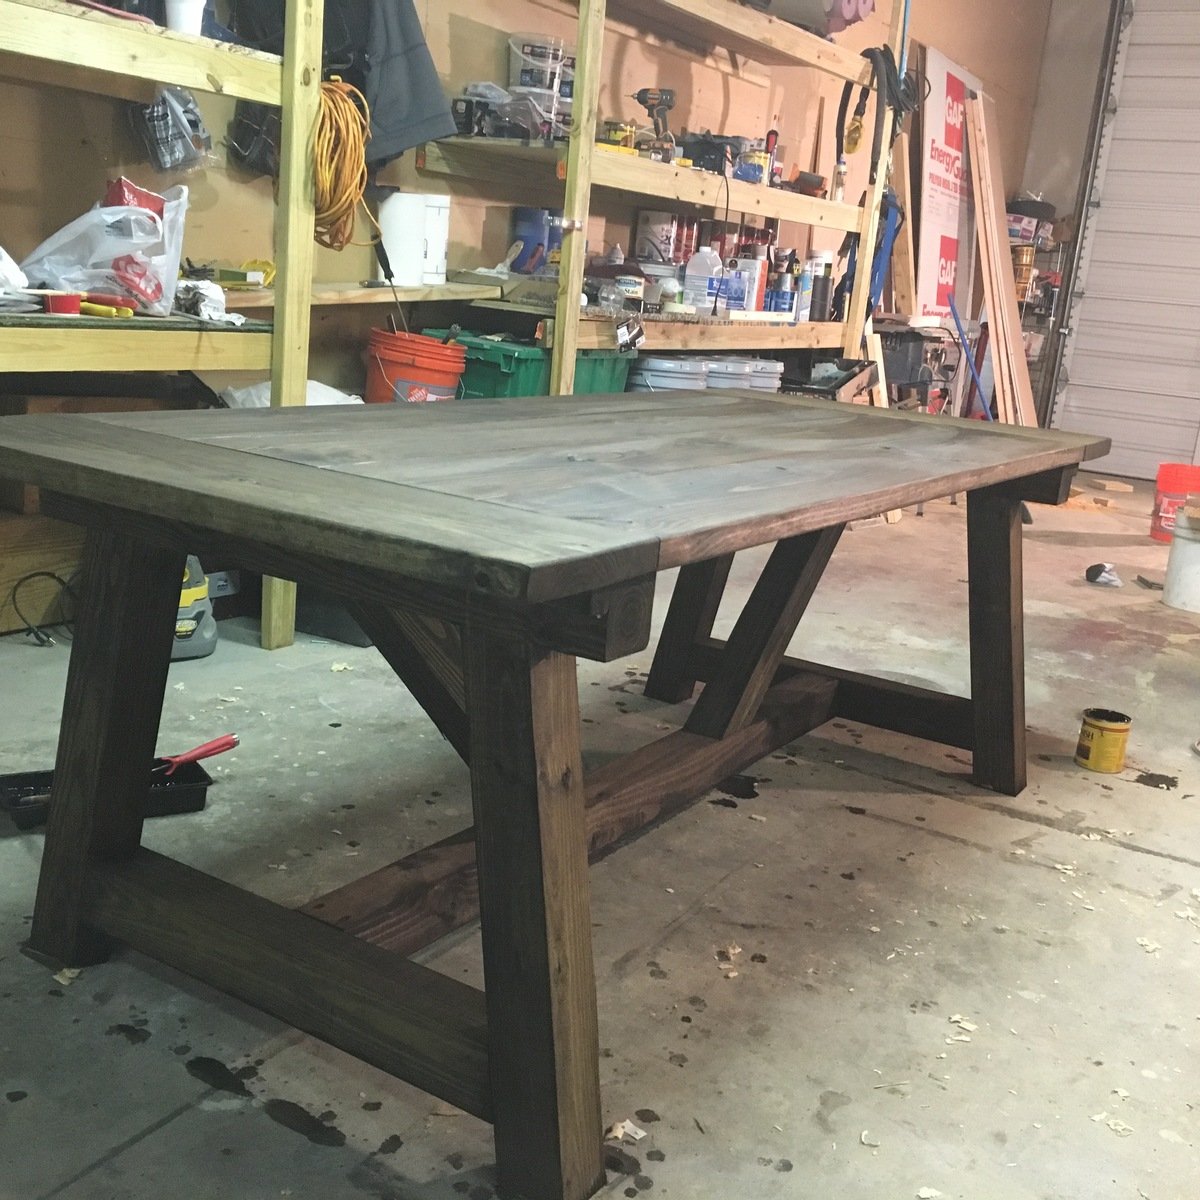
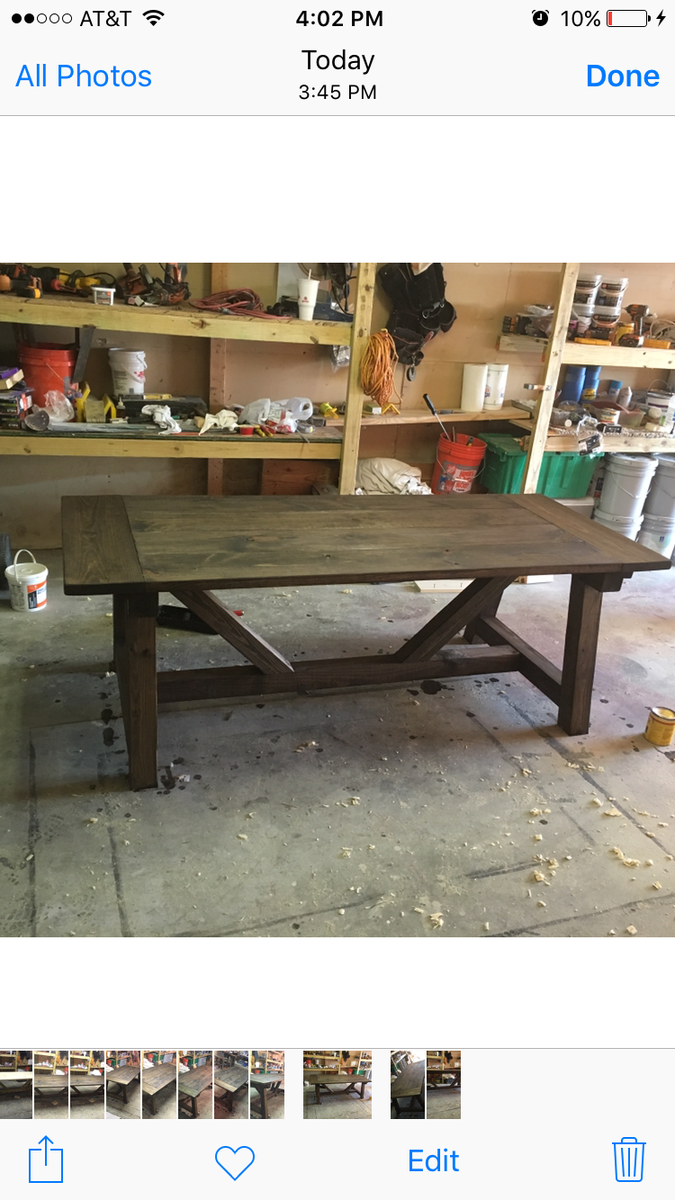
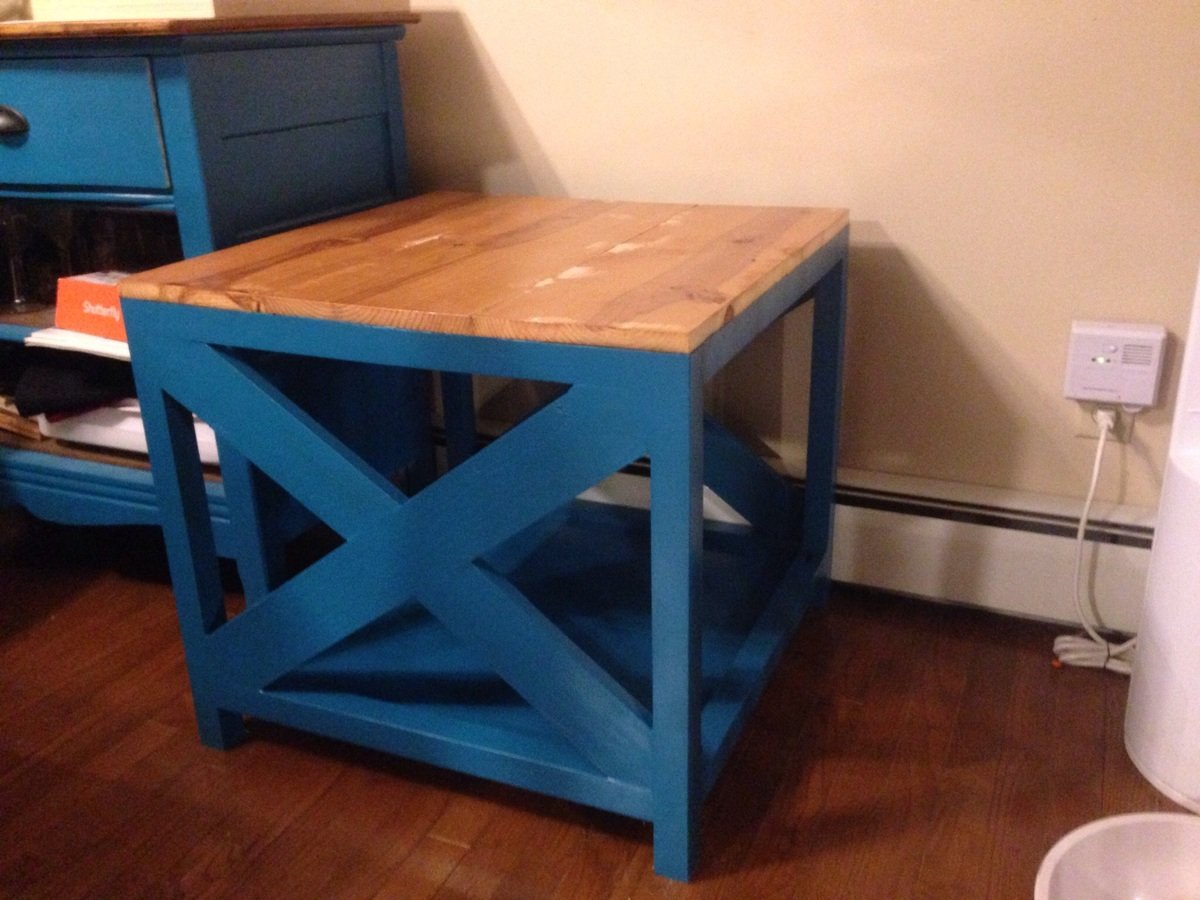
This is my first build cutting angles. I was quite intimadated at first but lucky for me I have a carpenter husband who mentors me :) So he went to work and I got to cutting...now to build table 2. We still have yet to commit to a finish but I am still thrilled with the finished product.

