Rustic X Desk
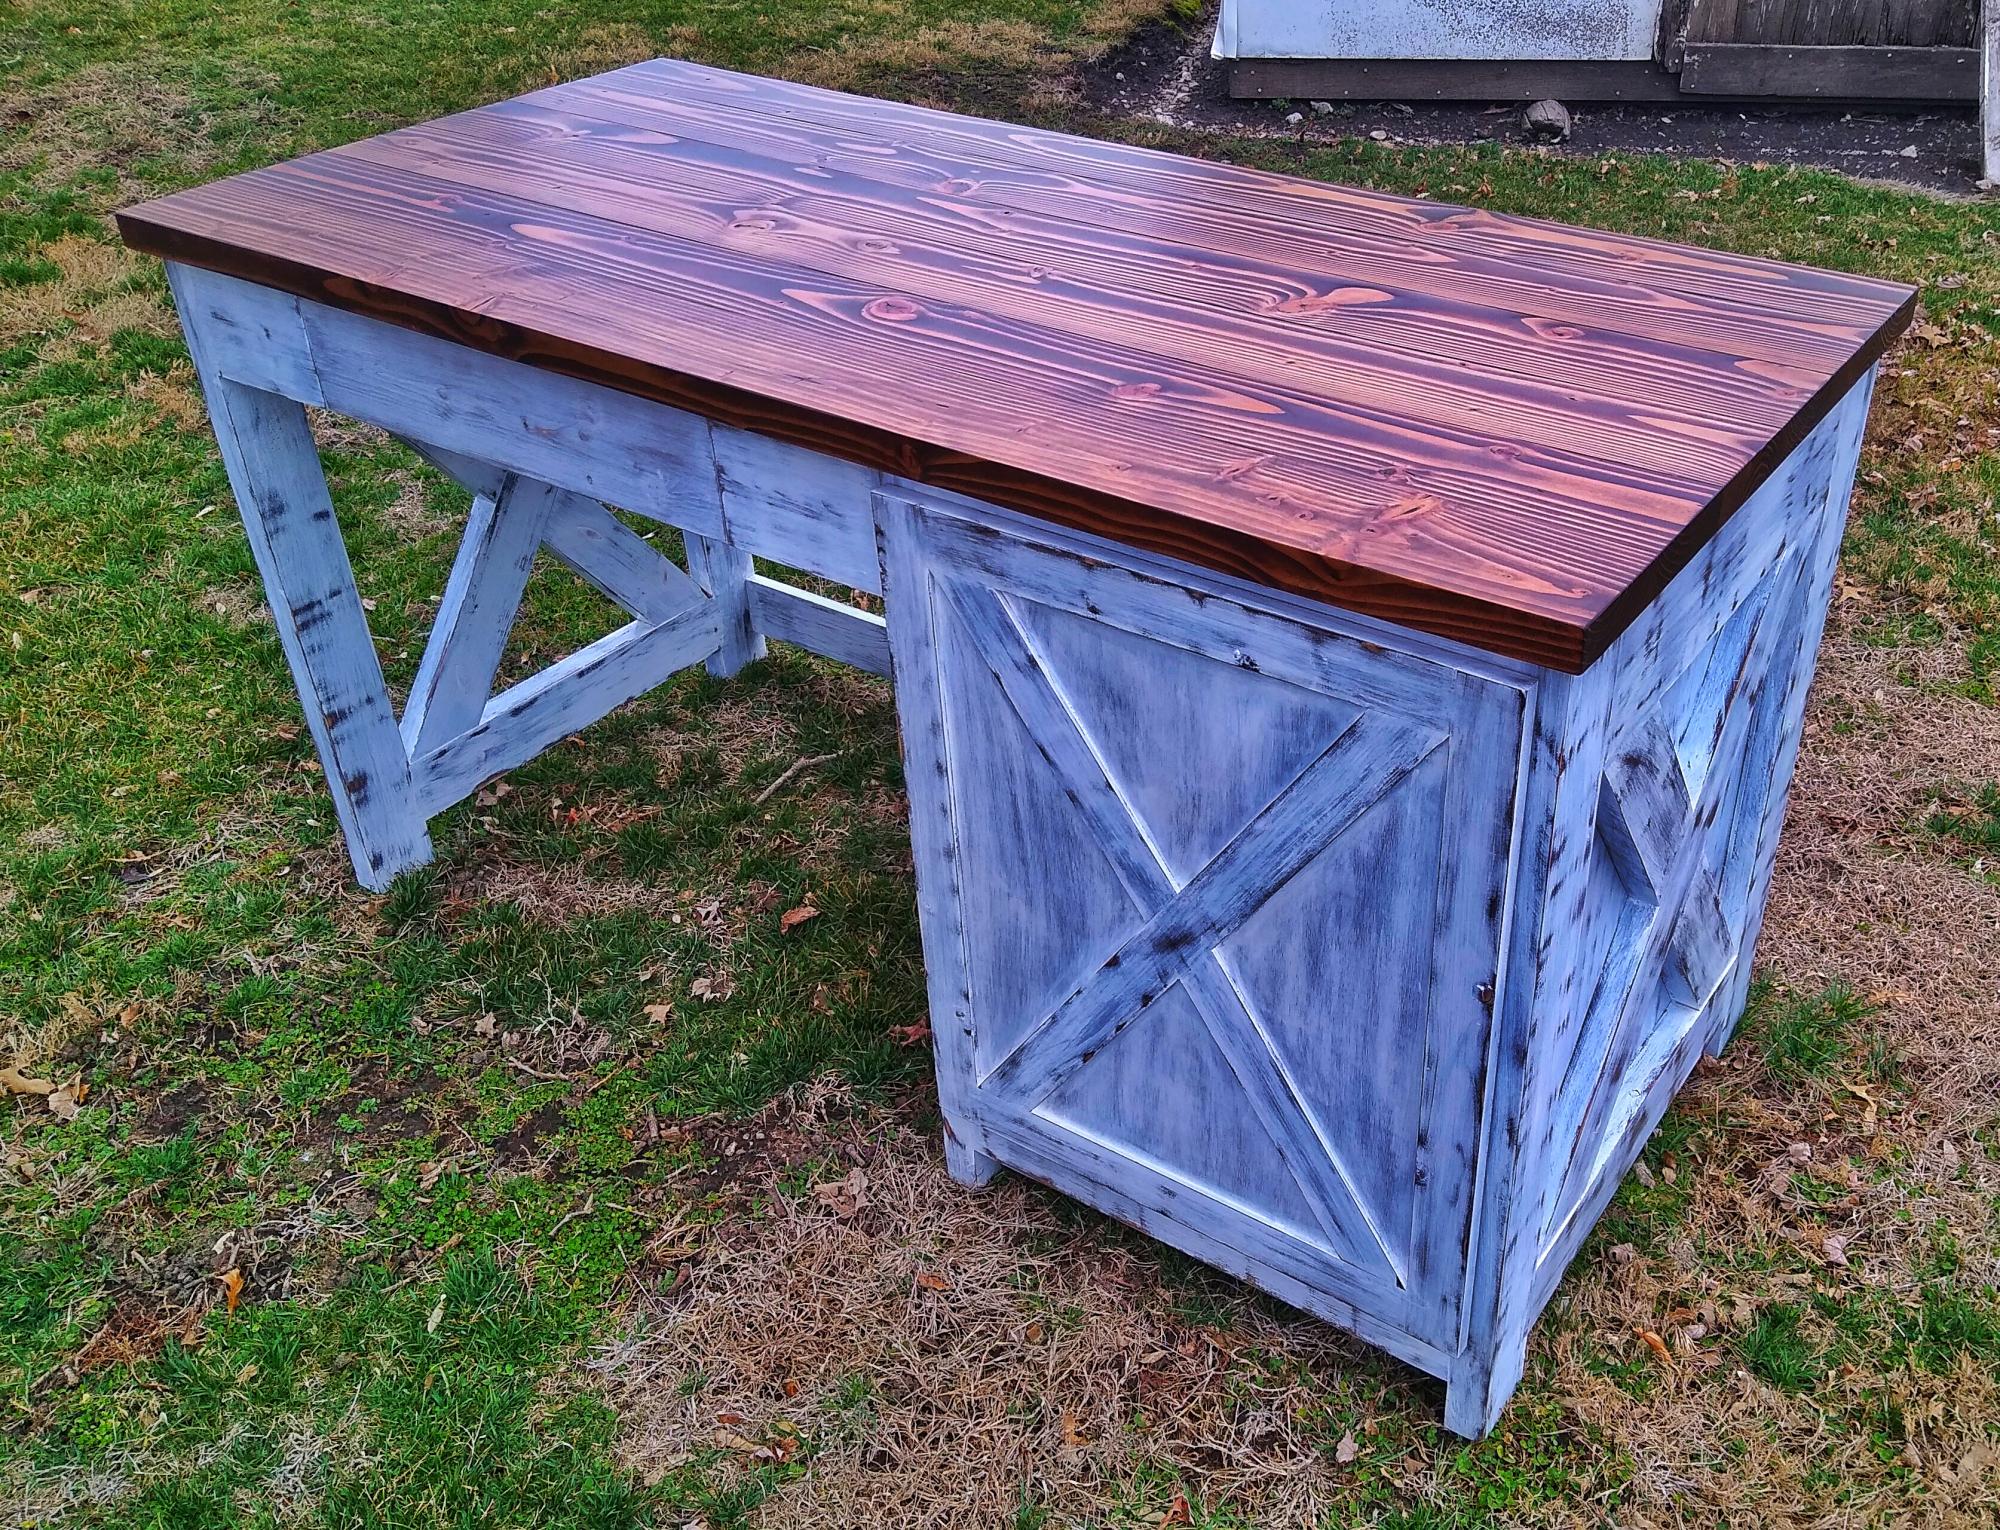
I was commissioned to build this Rustic X desk with a drawer and door incorporated into it. The finish is distressed white and a combination of Special Walnut and Espresso stain.
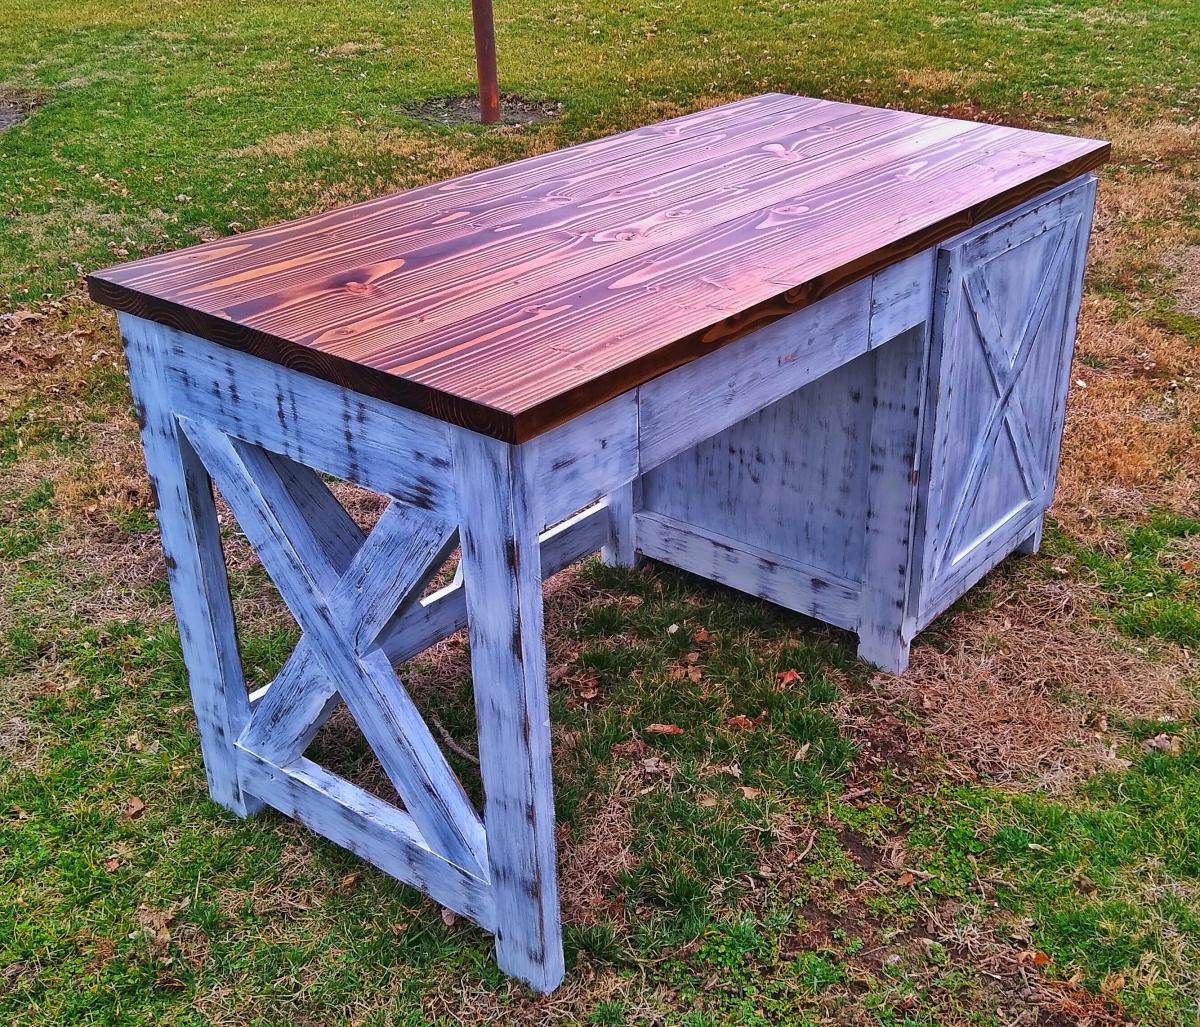
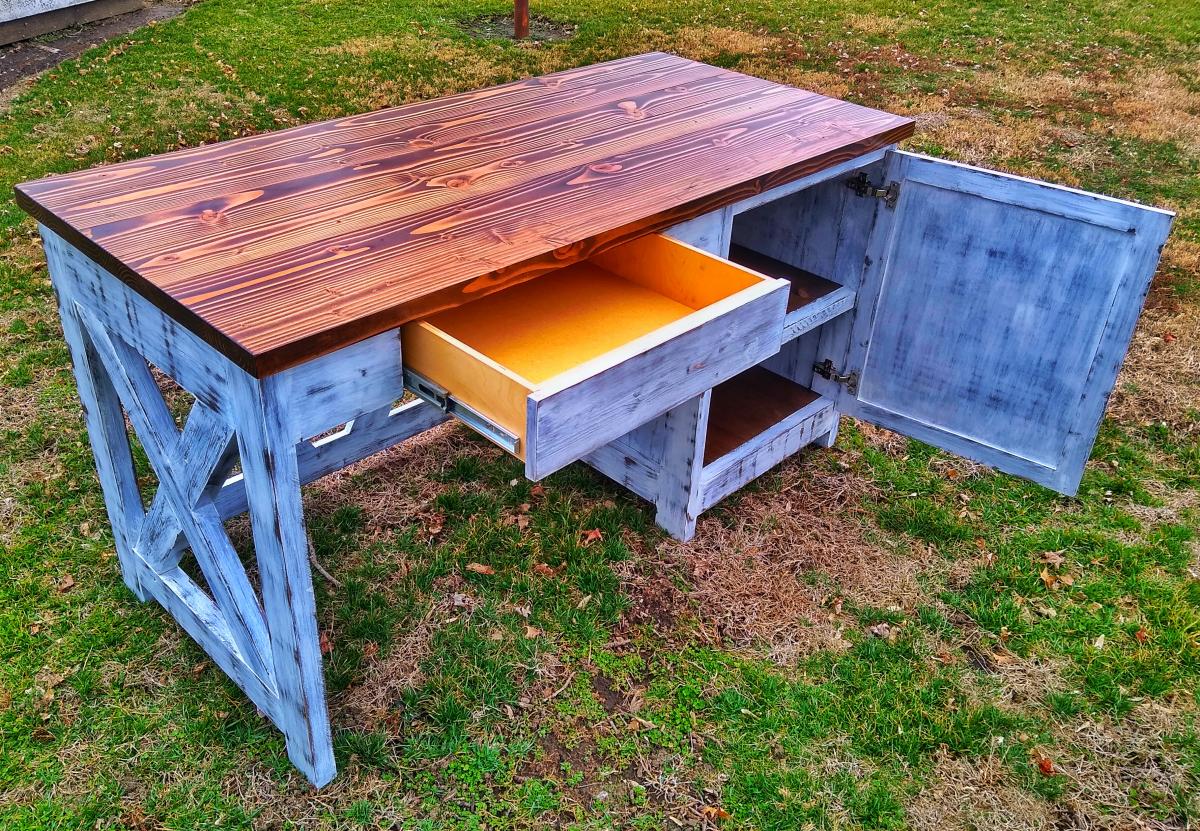
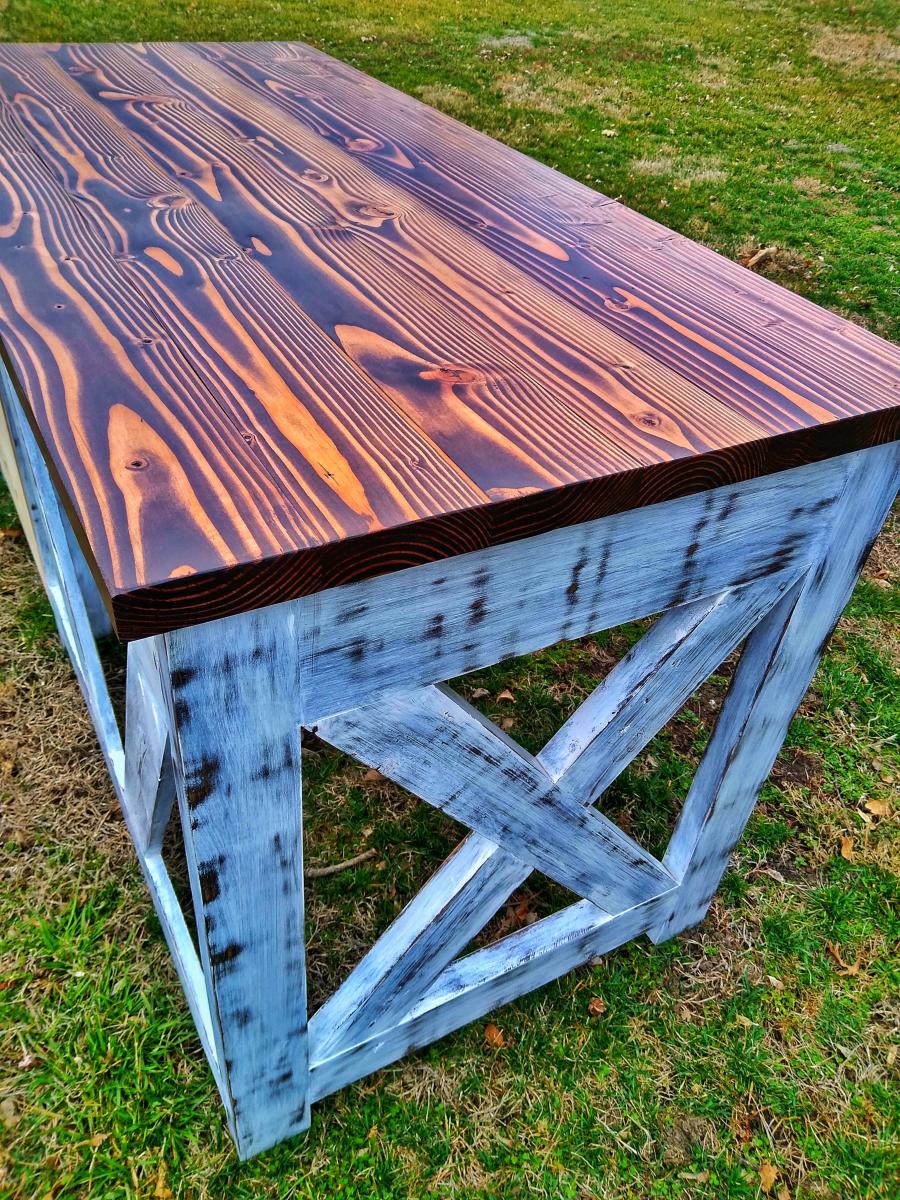
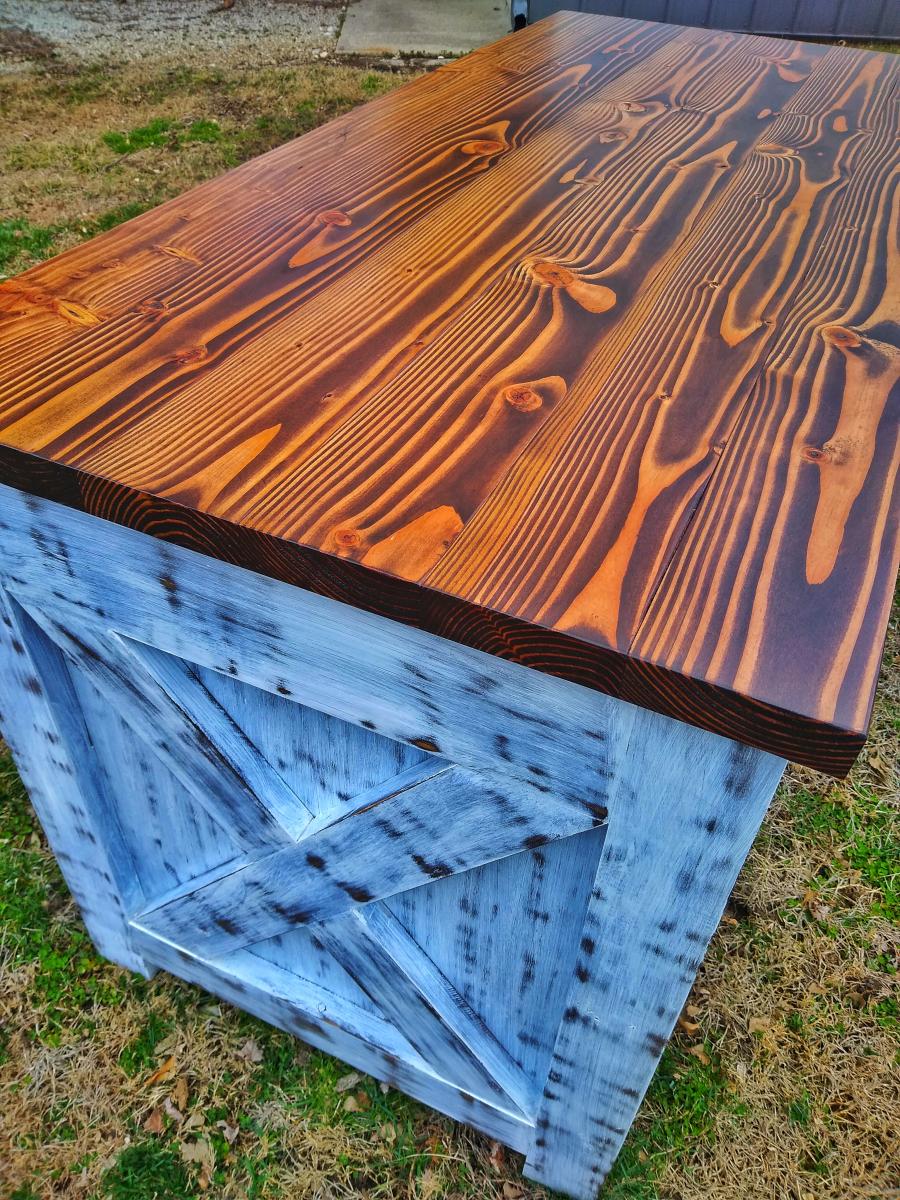
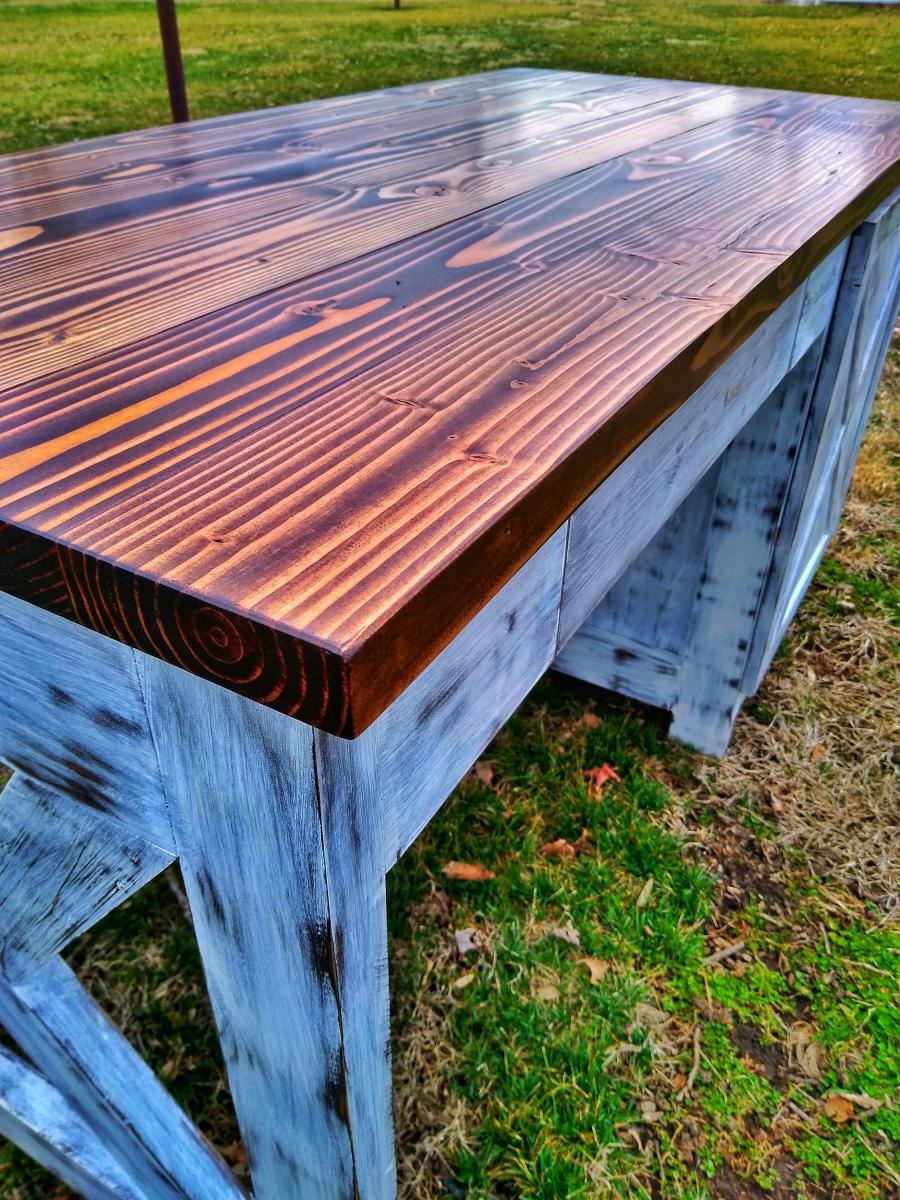

I was commissioned to build this Rustic X desk with a drawer and door incorporated into it. The finish is distressed white and a combination of Special Walnut and Espresso stain.


I live in a smaller rental with limited garage space, so I needed a place for my kids bikes. This is what I came up with. It required minimal screw holes in the treated fence posts and I attached a rail system(rubbermaid fasttrak) for the bikes to hang from. I used Ana's easy shelves plan for the upright supports and then just added some corrugated roofing and cedar fence pickets (which I had on hand) to finish off the top.
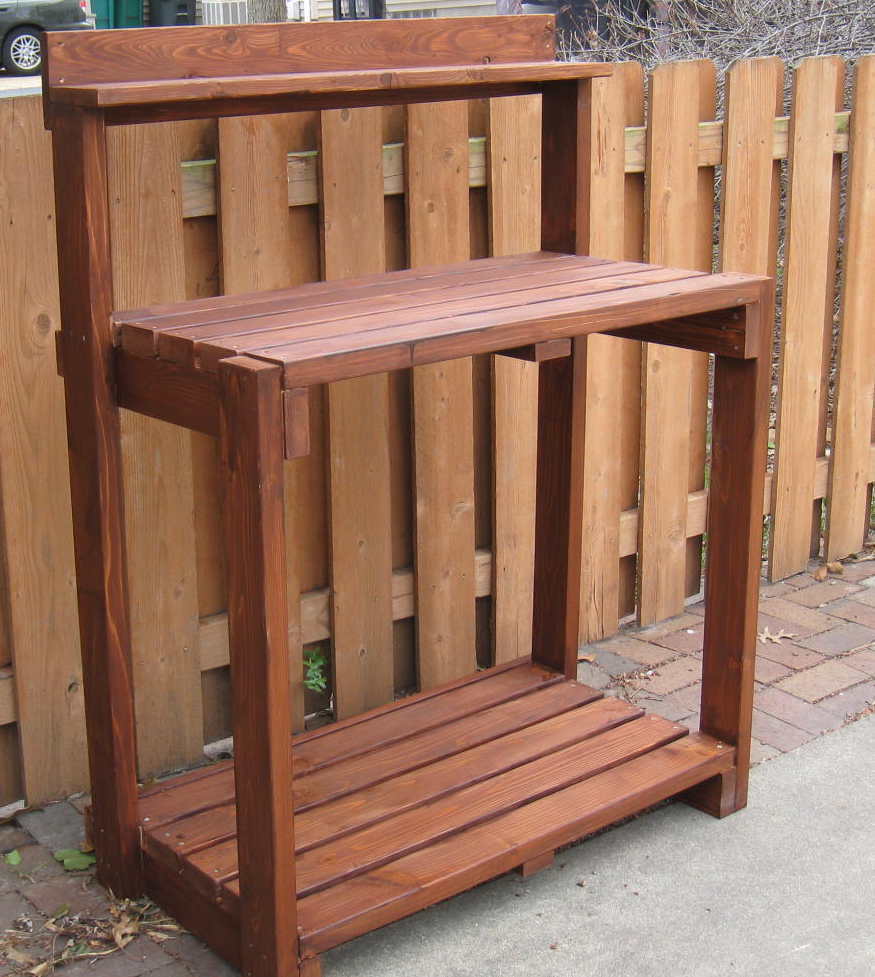
The plans are great. This went together really fast. I am cheating a little here, it is not quite complete; I need to add the side blocks on top and my wife would like a another panel added to the front at work height level, just for looks. But the overall look won't be changed. I struggled some with finishing (I usually do). A couple spots have runs I didn't see. One will be covered by the front panel I'll add,but another needs sanding.
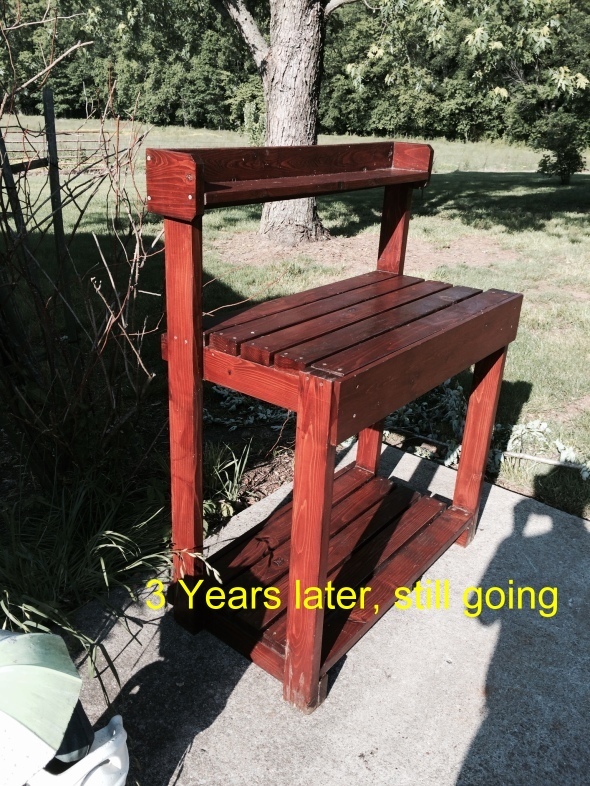
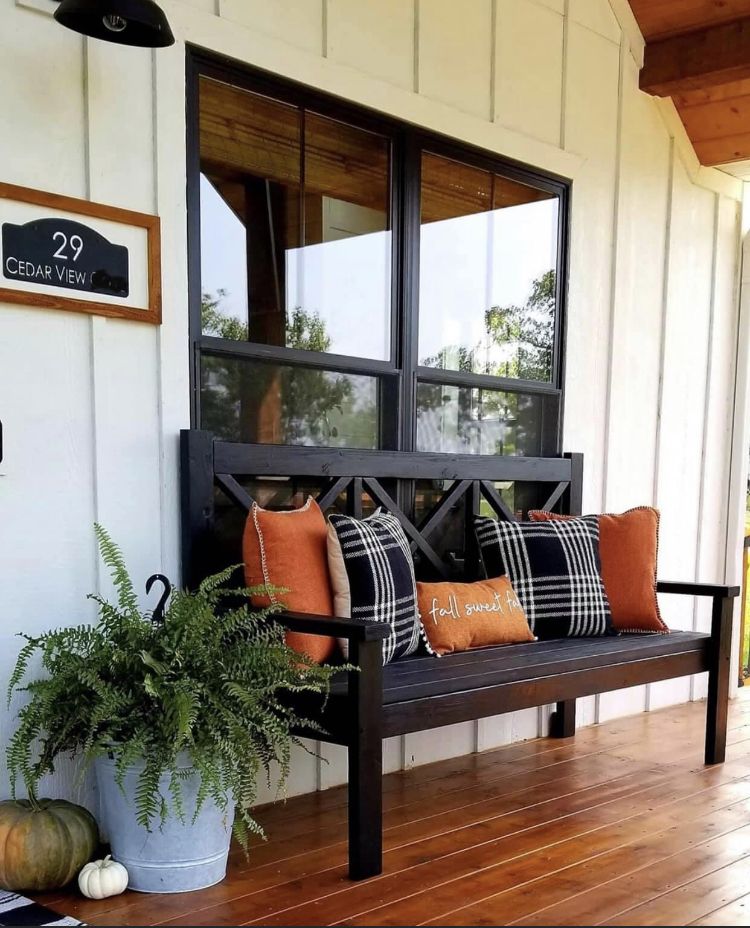
Just for fun I added a picture of the bench 3 years later. Its held up well to a lot of use and a lot of sitting out in the elements.
This is my first ever piece of furniture. I bought the Kreg Jig, which is awesome. My son has a fairly small room, so extra floor space is handy. I plan on turning the bottom into a reading nook with come comfy pillows, some lighting and a few small bookcases.
I used 2x6s to support the mattress. put in 6 slats, but I think I'll add one more for extra support. I also want to add a 2x4 across the back to keep the legs in place. Pretty sturdy though. I got up there with my son and between the two of us we're about 230lbs.
Can't wait to build something else!
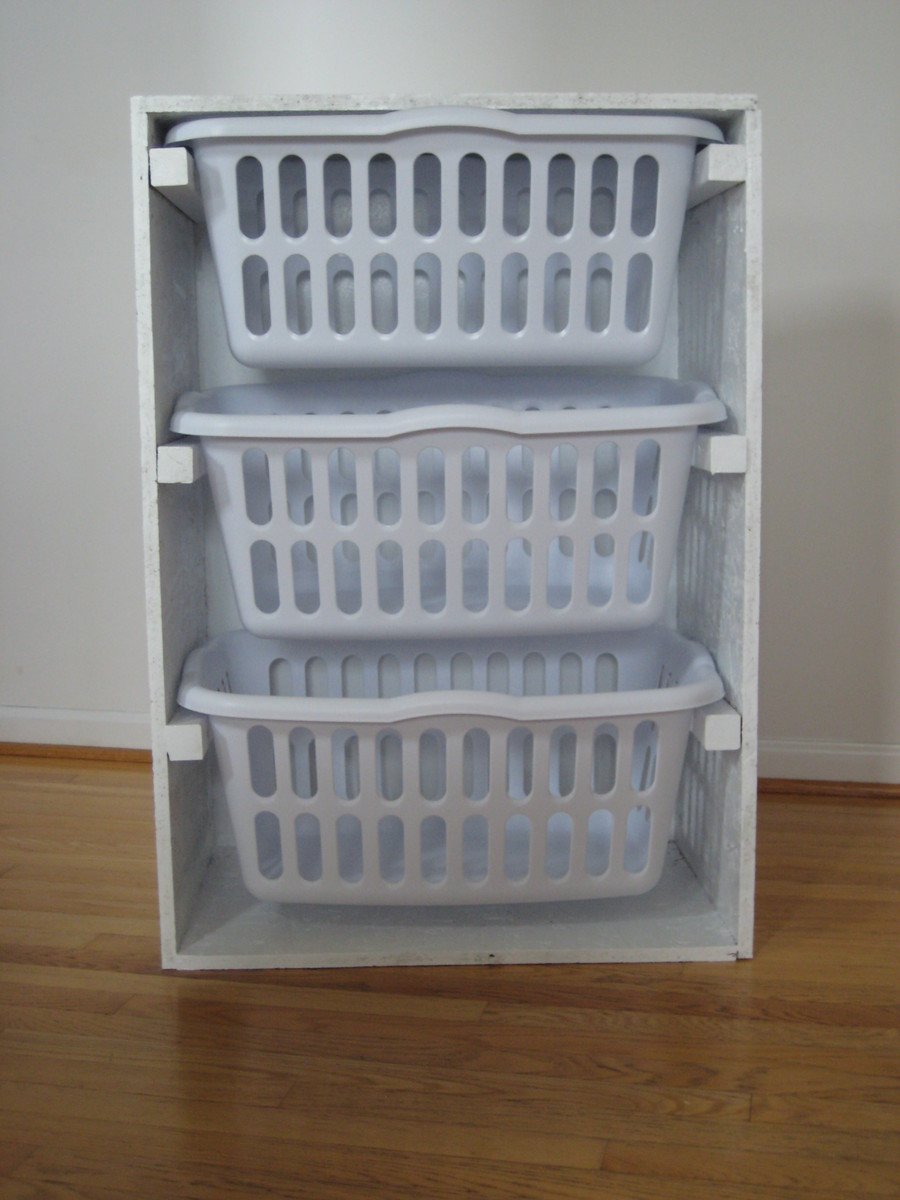
I use this dresser in my walk-in closet to separate dirty laundry...each basket holds either "whites", "lights" or "darks". The size of each basket is perfect for one wash load. I just love how much more room I have in my closet because of it!
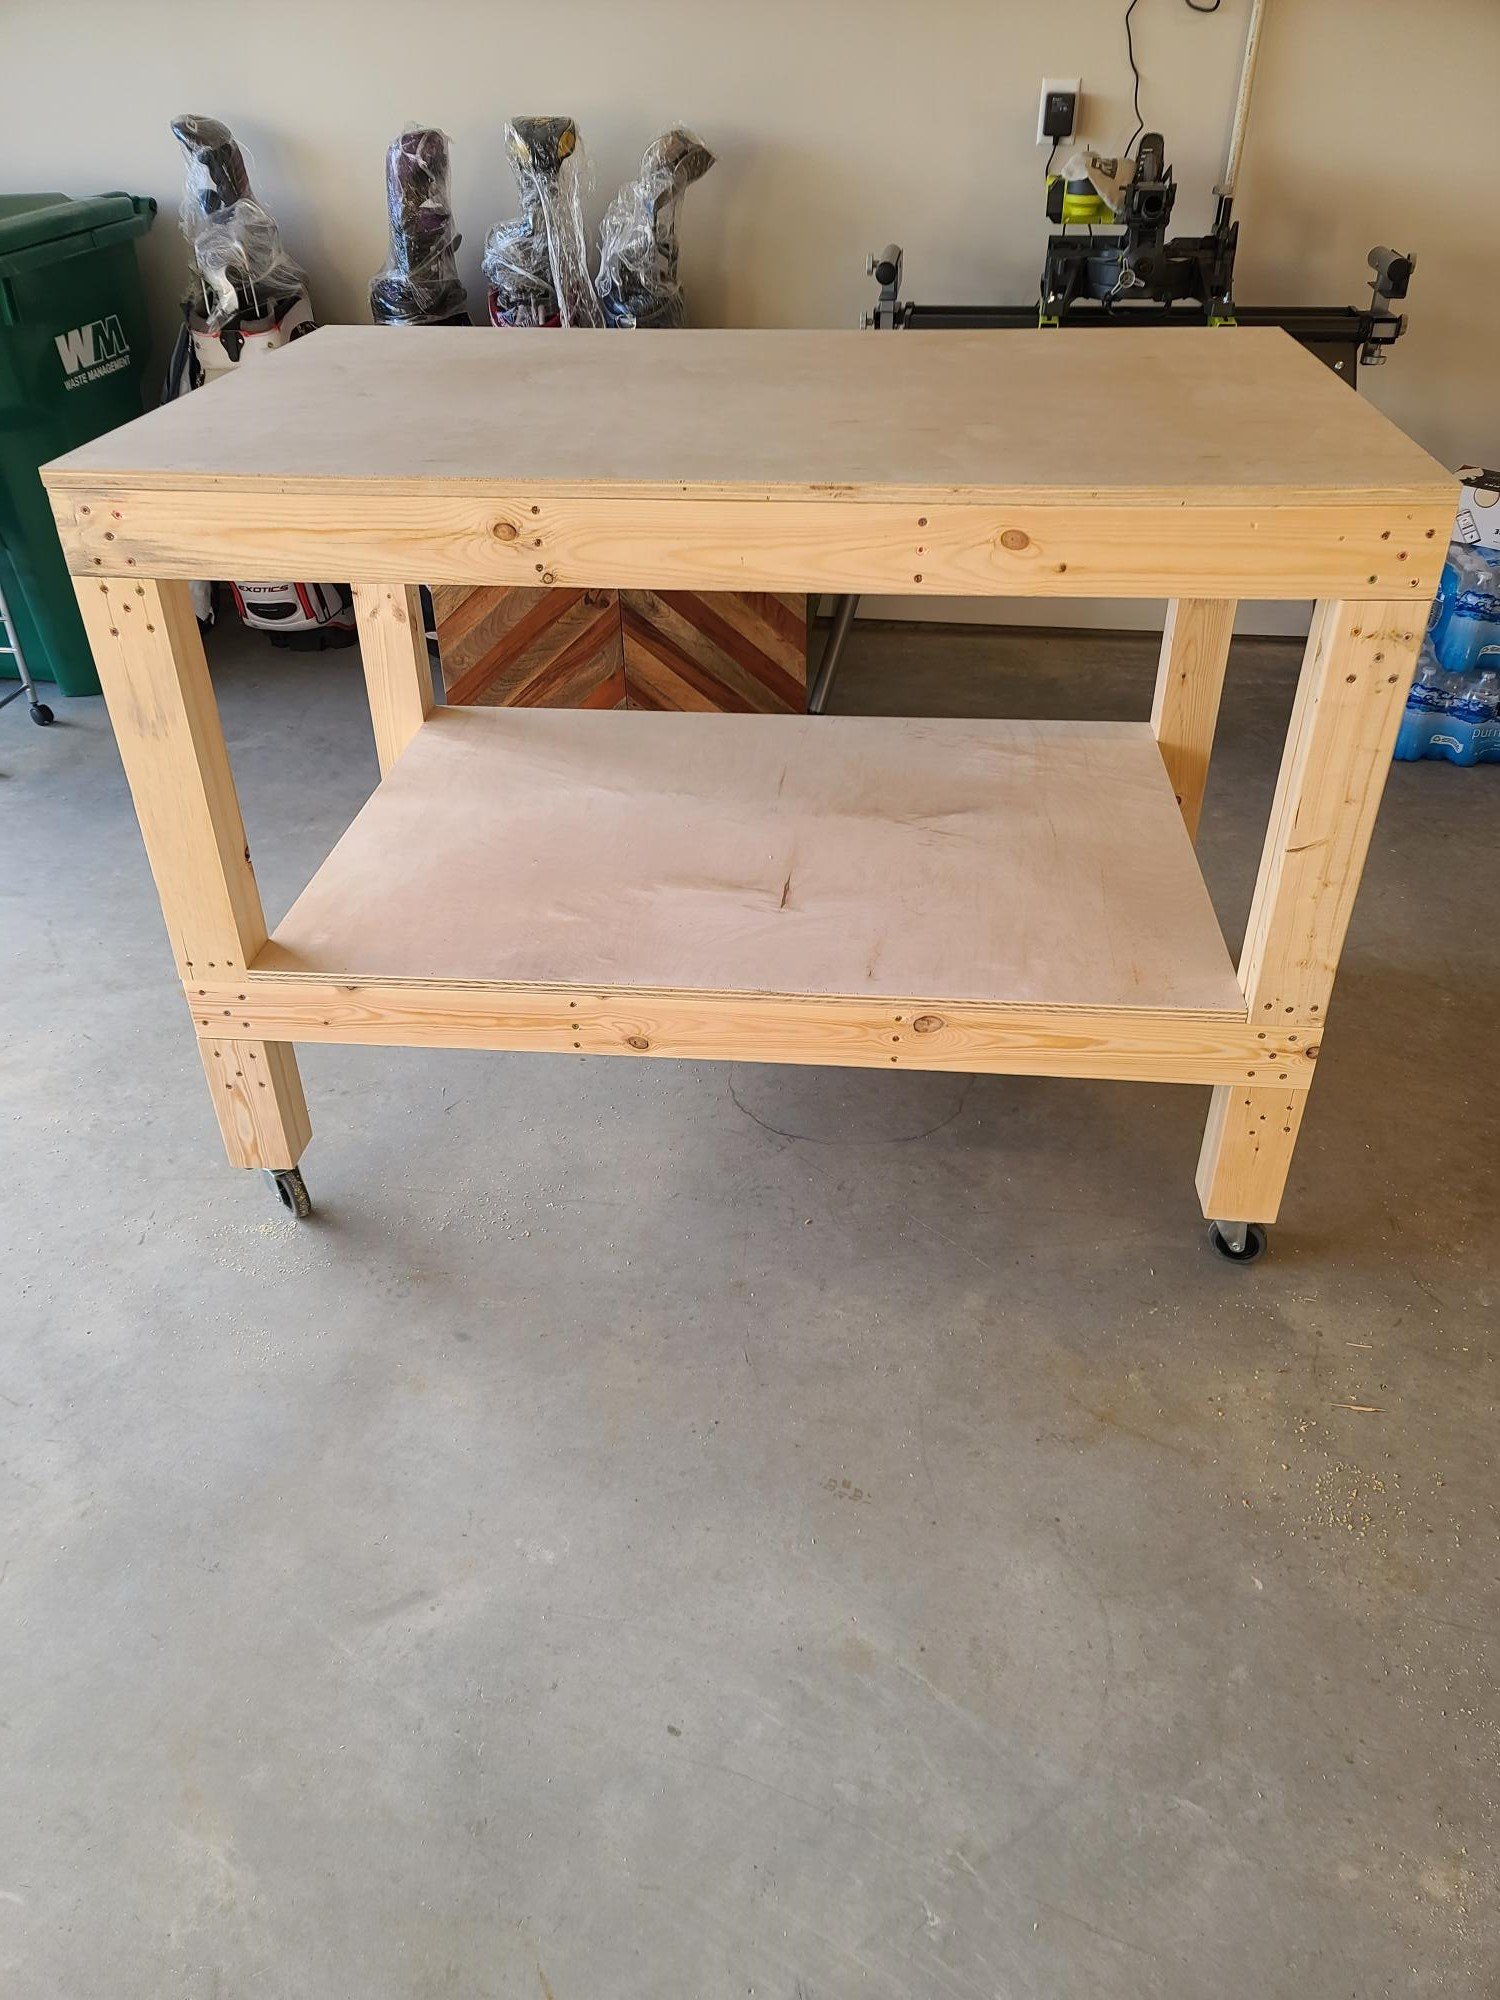
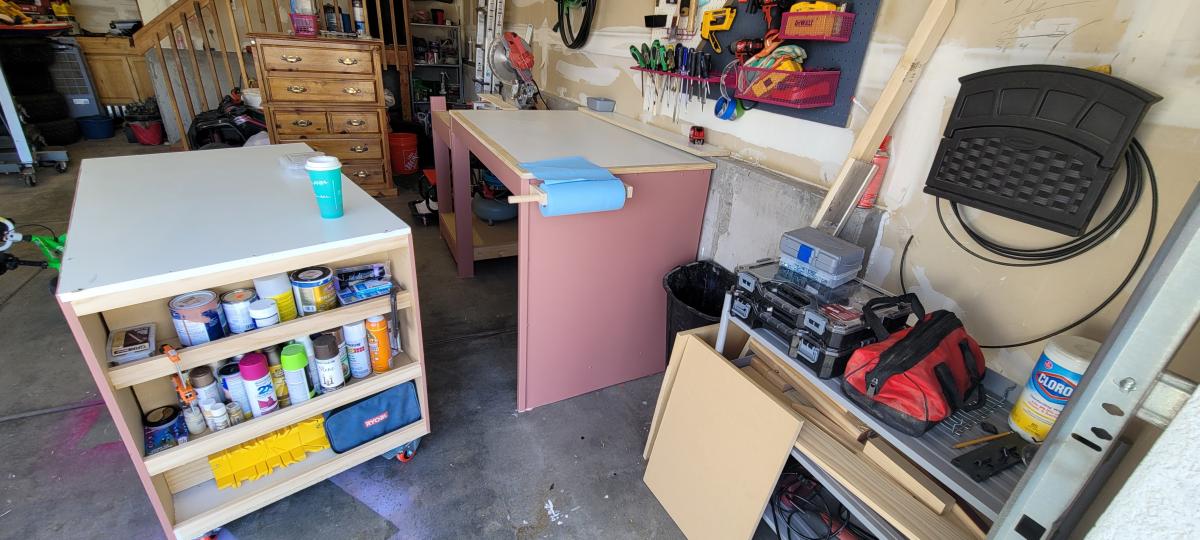
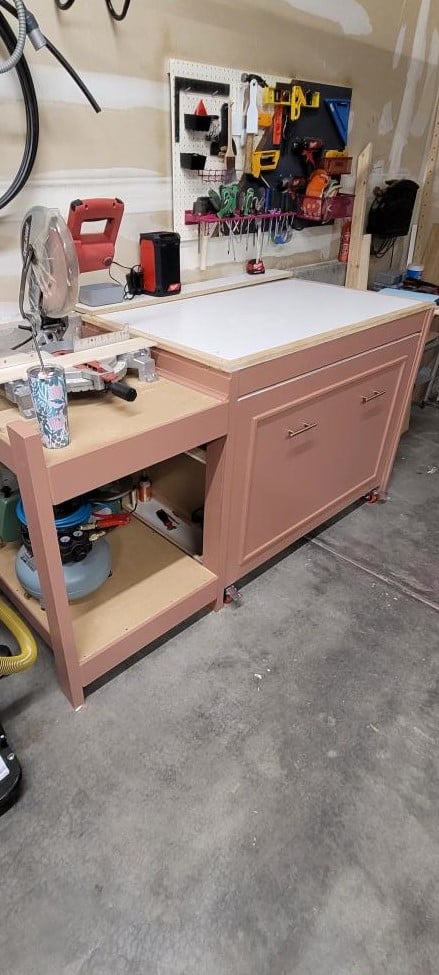
This was my second project, with so many more projects in mind, figured I needed to get started on a Workshop bench. This was a fun and easy project and such a great plan.
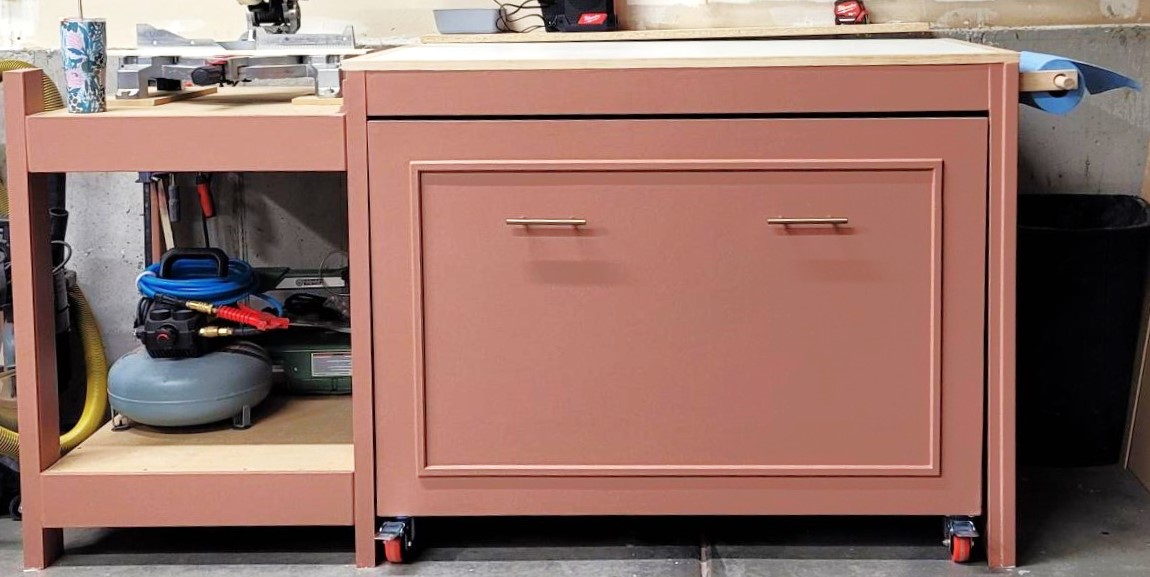
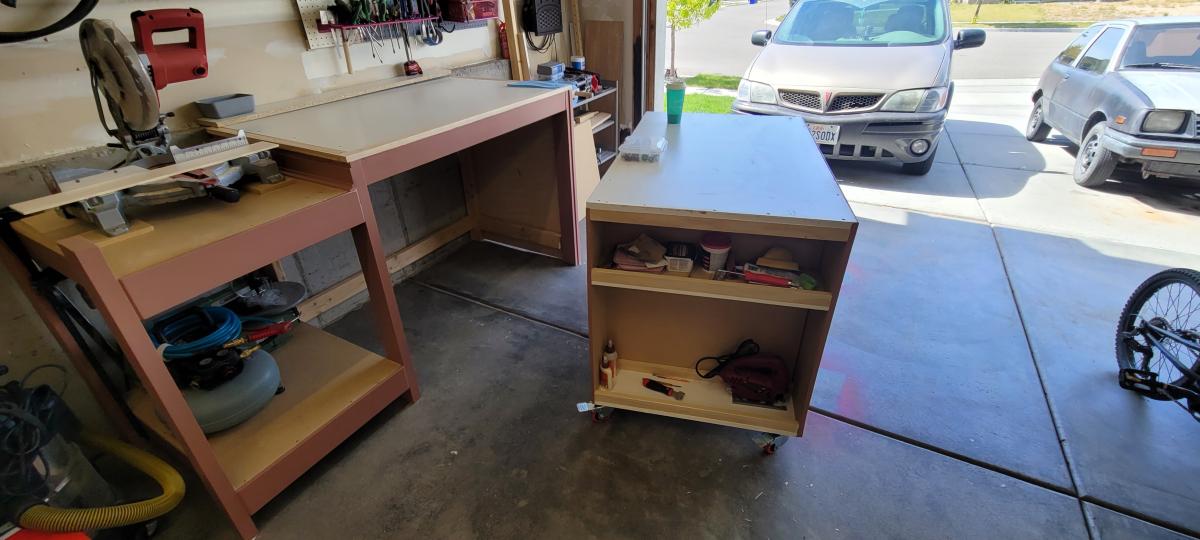
Adjusted the shelves slightly. Love the roll away portion.
Sun, 05/15/2022 - 11:55
This is gorgeous, thank you for sharing! Just shared on our facebook page, we'd love to give credit if you'd like to respond with your name:)
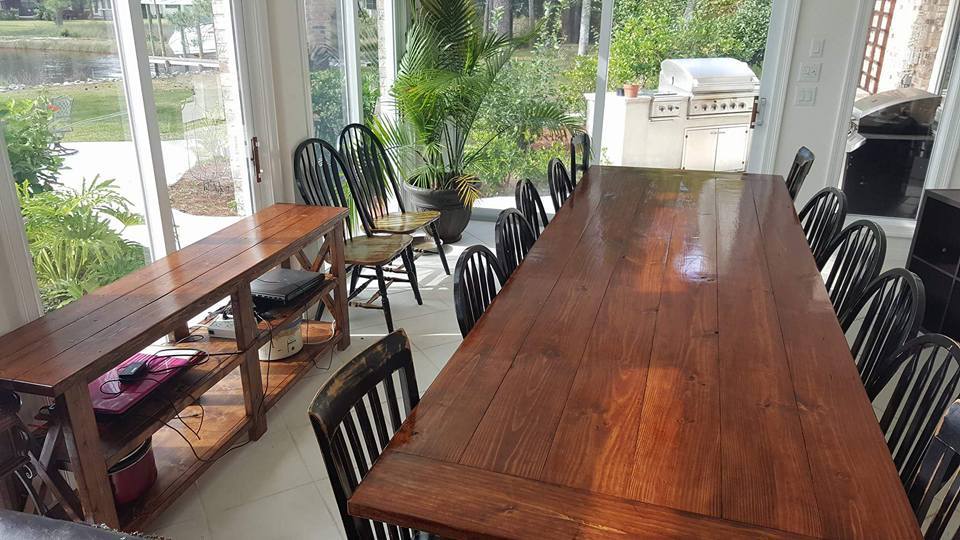
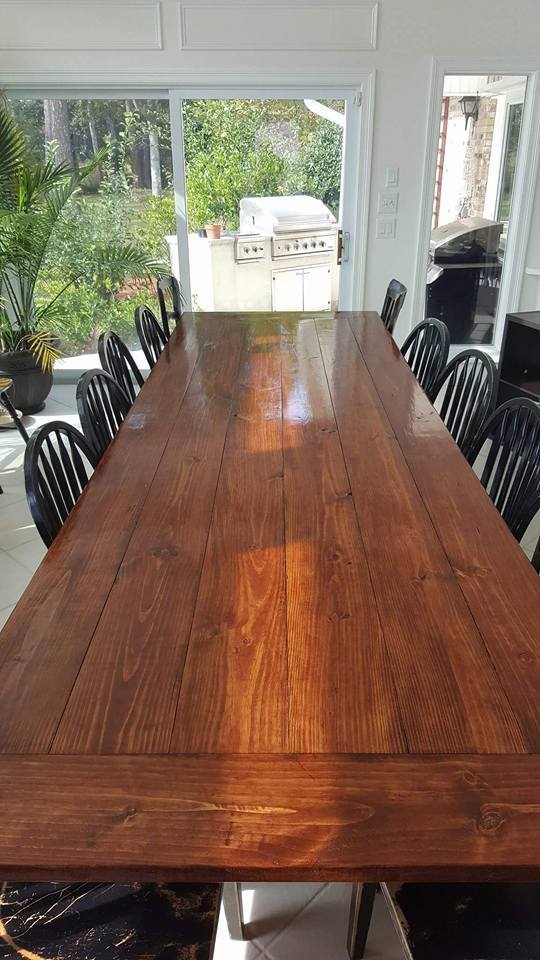
I used Ana's plans for this project, but had to deviate since I built it for a friend who needed a table for 14!! This thing is huge, 12 feet long, and about 44 inches wide. I made it out of pine, 2x8s for the top but stuck to the plans for the frame. It weighs about 200lbs or more, and had to move it with 4 guys...used an enclosed trailer to move it from my house to theirs. They love it so that's all that counts! Oh ya, in the picture, you will see Ana's rustic X console table too!
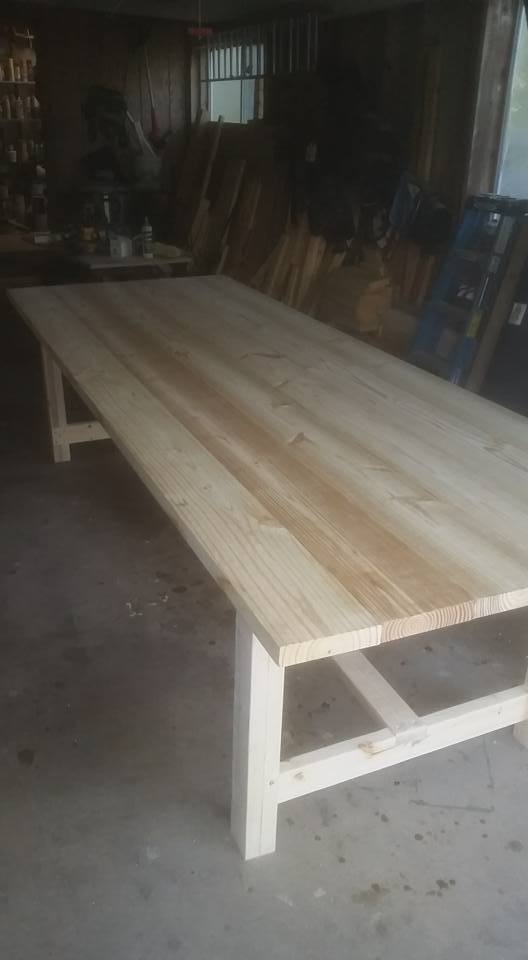
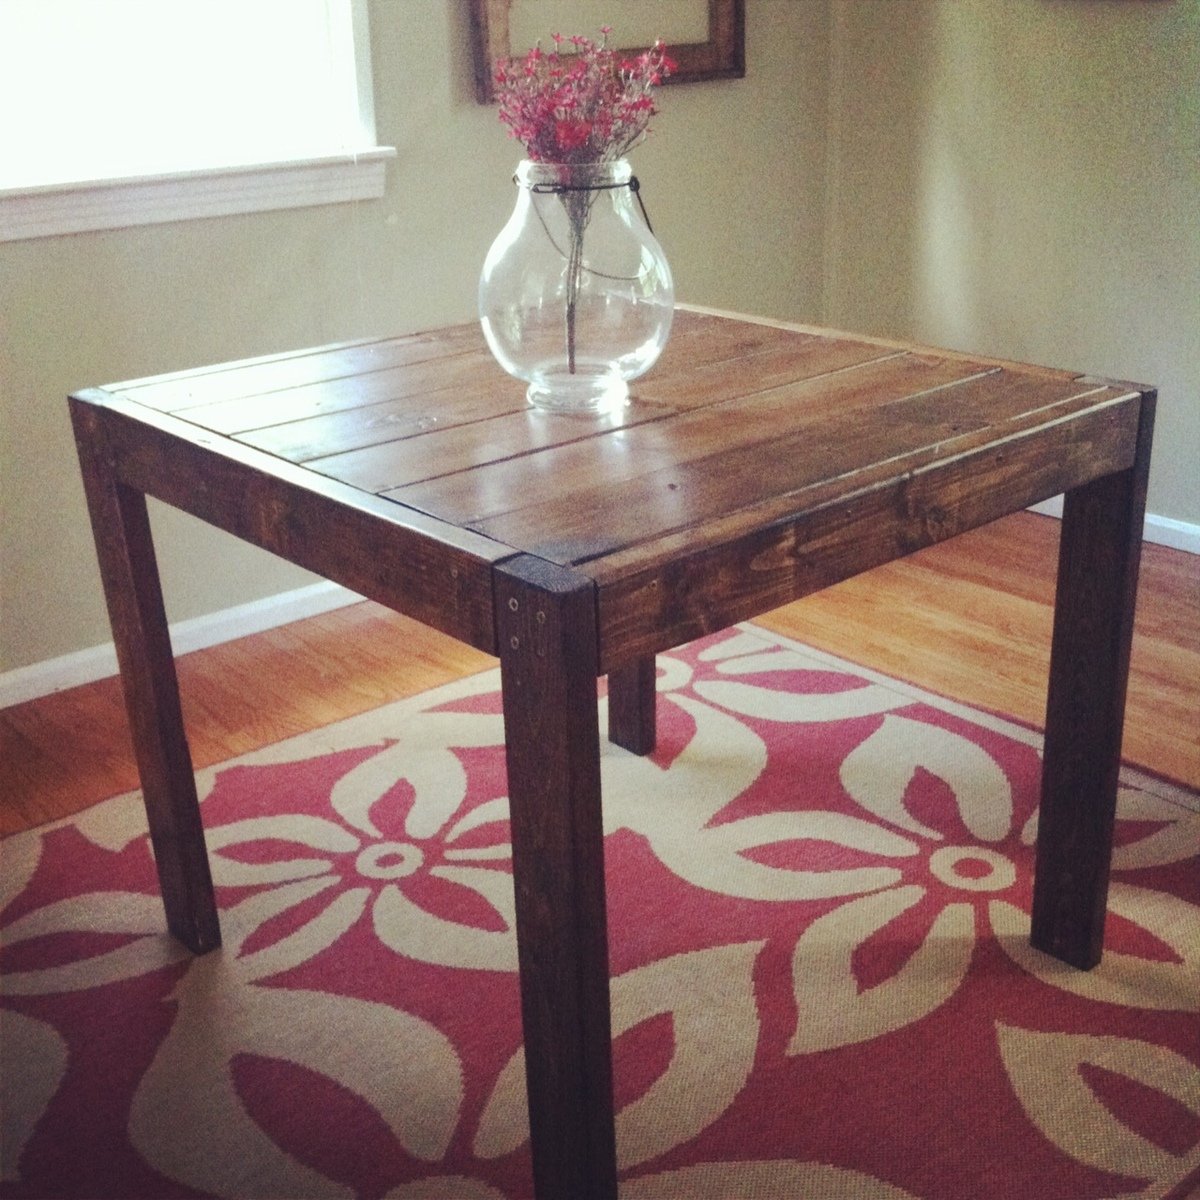
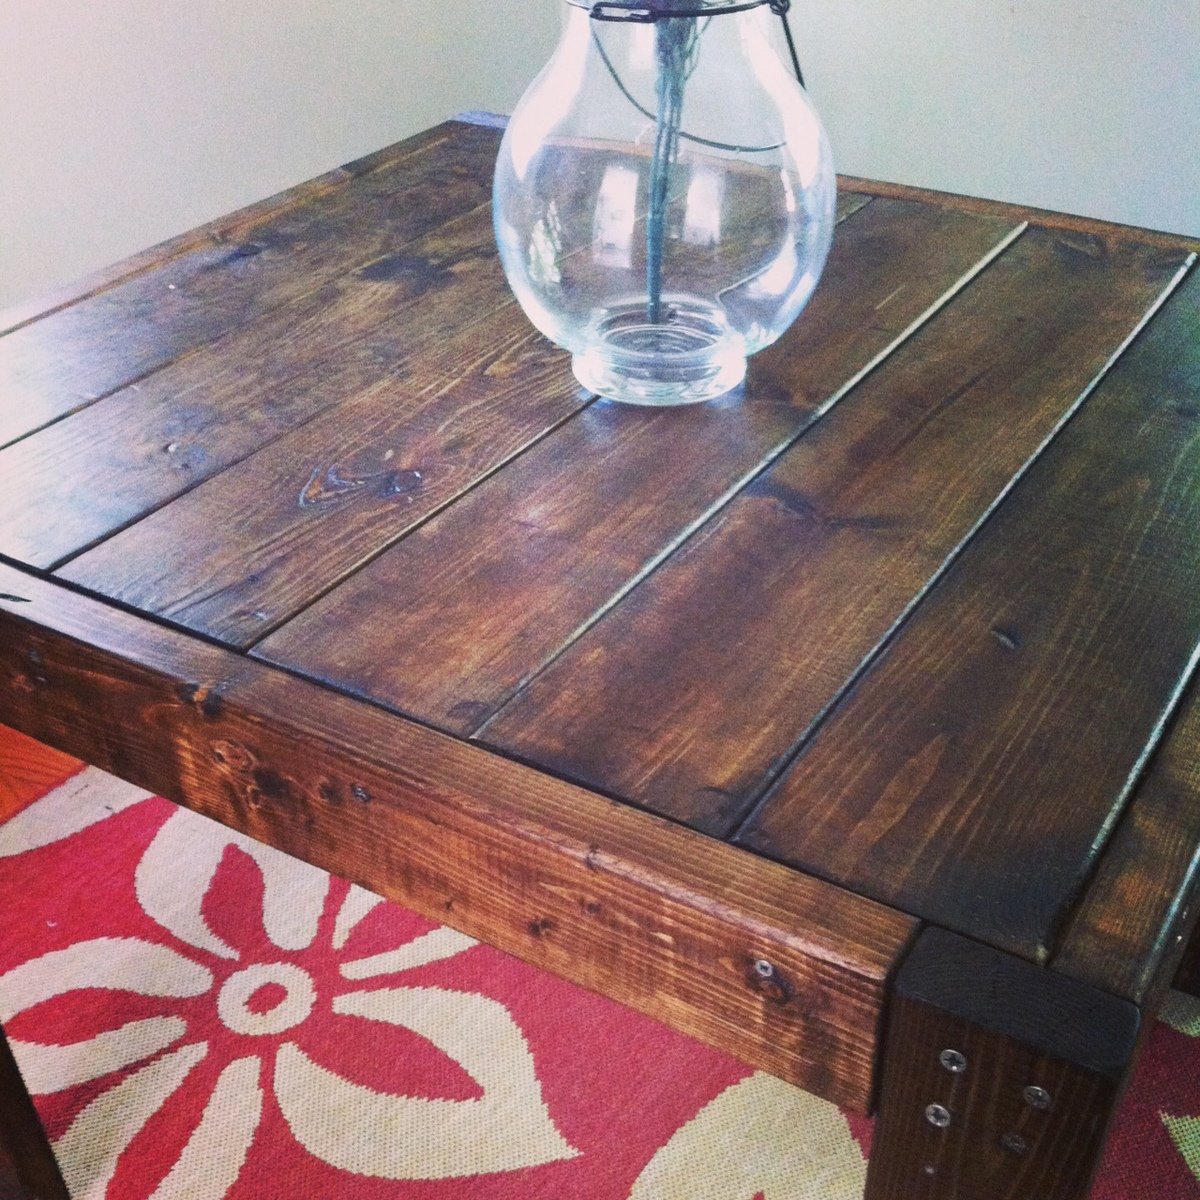
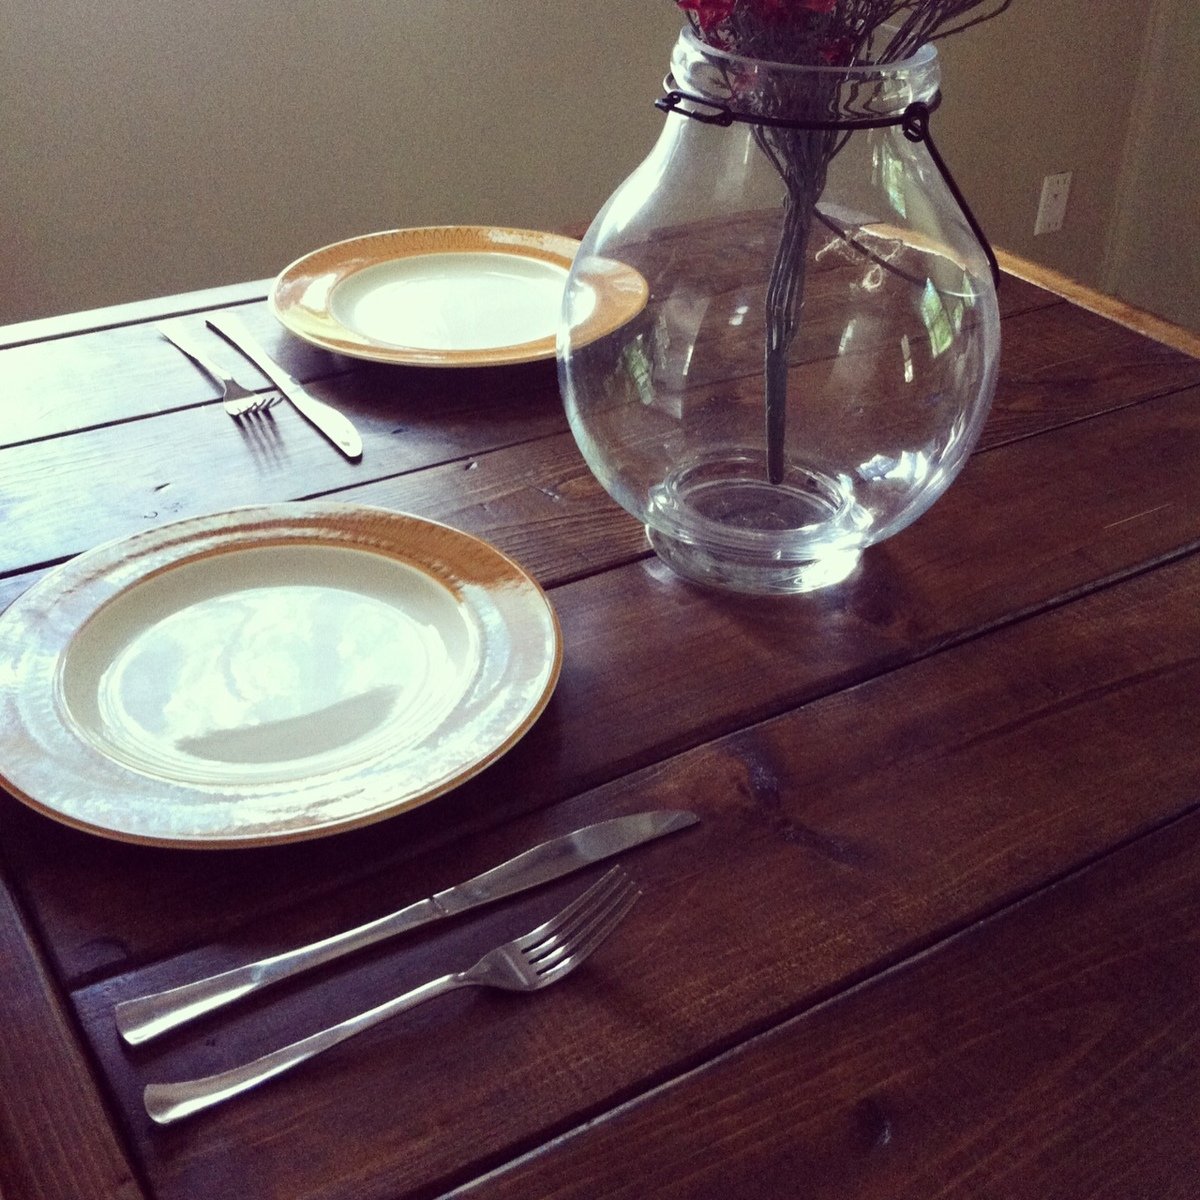
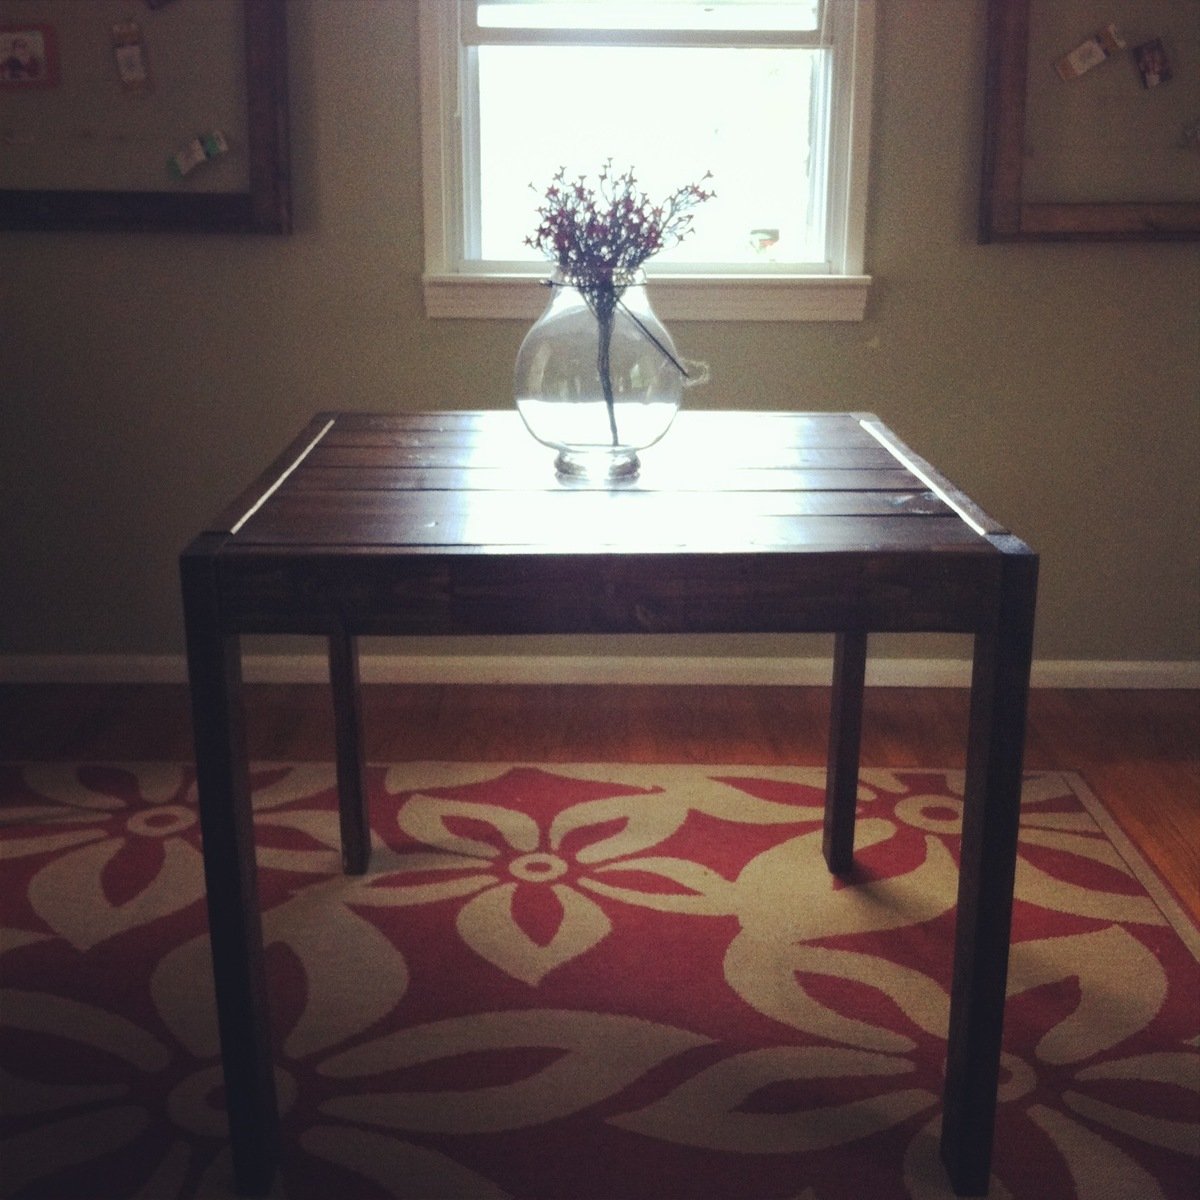
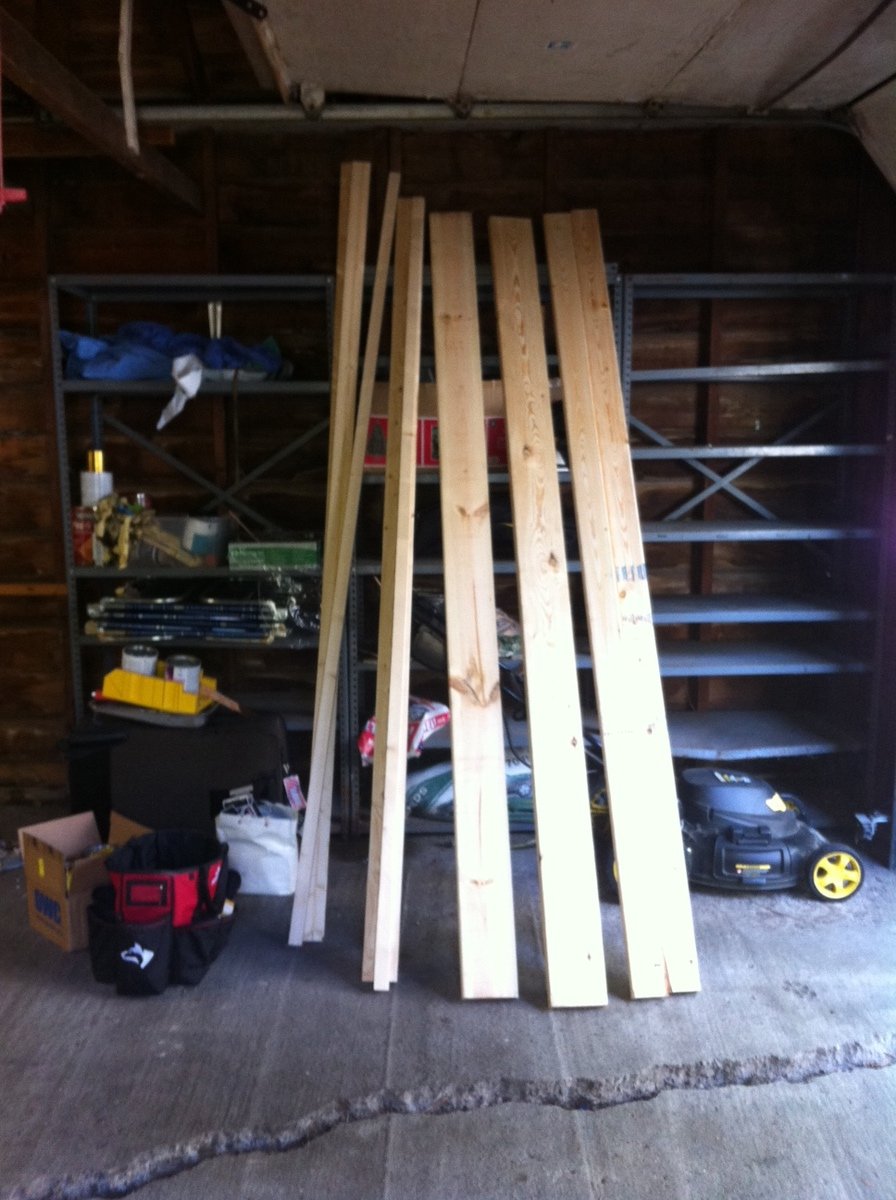
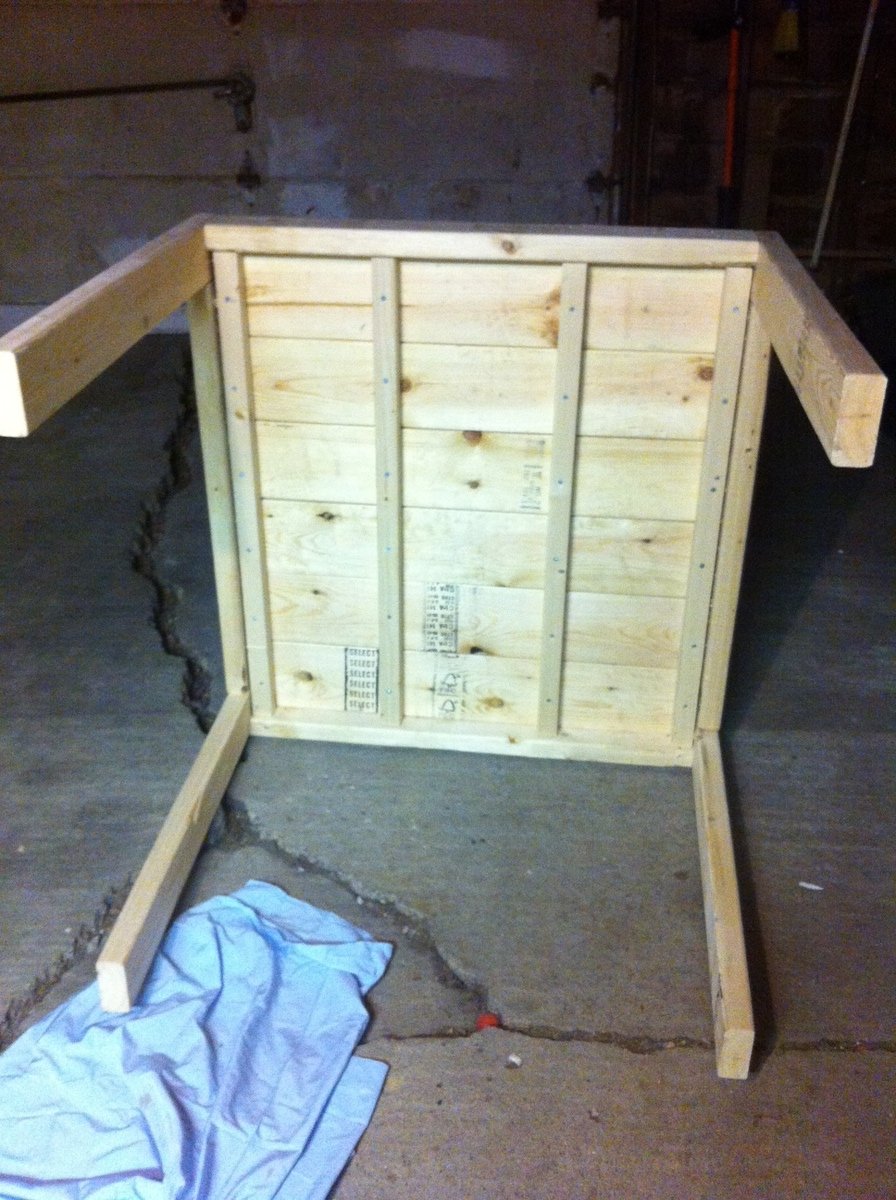
I made this table because I have a very small house and needed a table that was more of a compact size. This table was perfect for that. I also love the farmhouse style. Originally, I didn't realize how much my screws were going to show on the outside, but I actually like how it looks, with the mix of hardware and wood. This table is very heavy and thankfully ended up sturdy! I used a compound miter saw (which I LOVE!) to cut the wood for this project which made it a lot faster than cutting with my jigsaw like I started out with. I bought the wood from home depot, and it took about a whole afternoon to cut the wood, sand, and construct and then about 2 more hours to stain and put the polycyrlic coats on. I did have a little trouble getting the legs on by myself since I had to hold them in place while I was screwing them on, and it was awkward and more difficult than if I had someone to help me hold them while screwing them on. But overall, not too difficult and love how it turned out!

We were setting up our finished seesaw the same day we bought the project supplies, so this is a fun project without a lot of waiting around. It’s been a huge hit in the backyard and the extra-long seats allow a couple of kids to pile on each end.
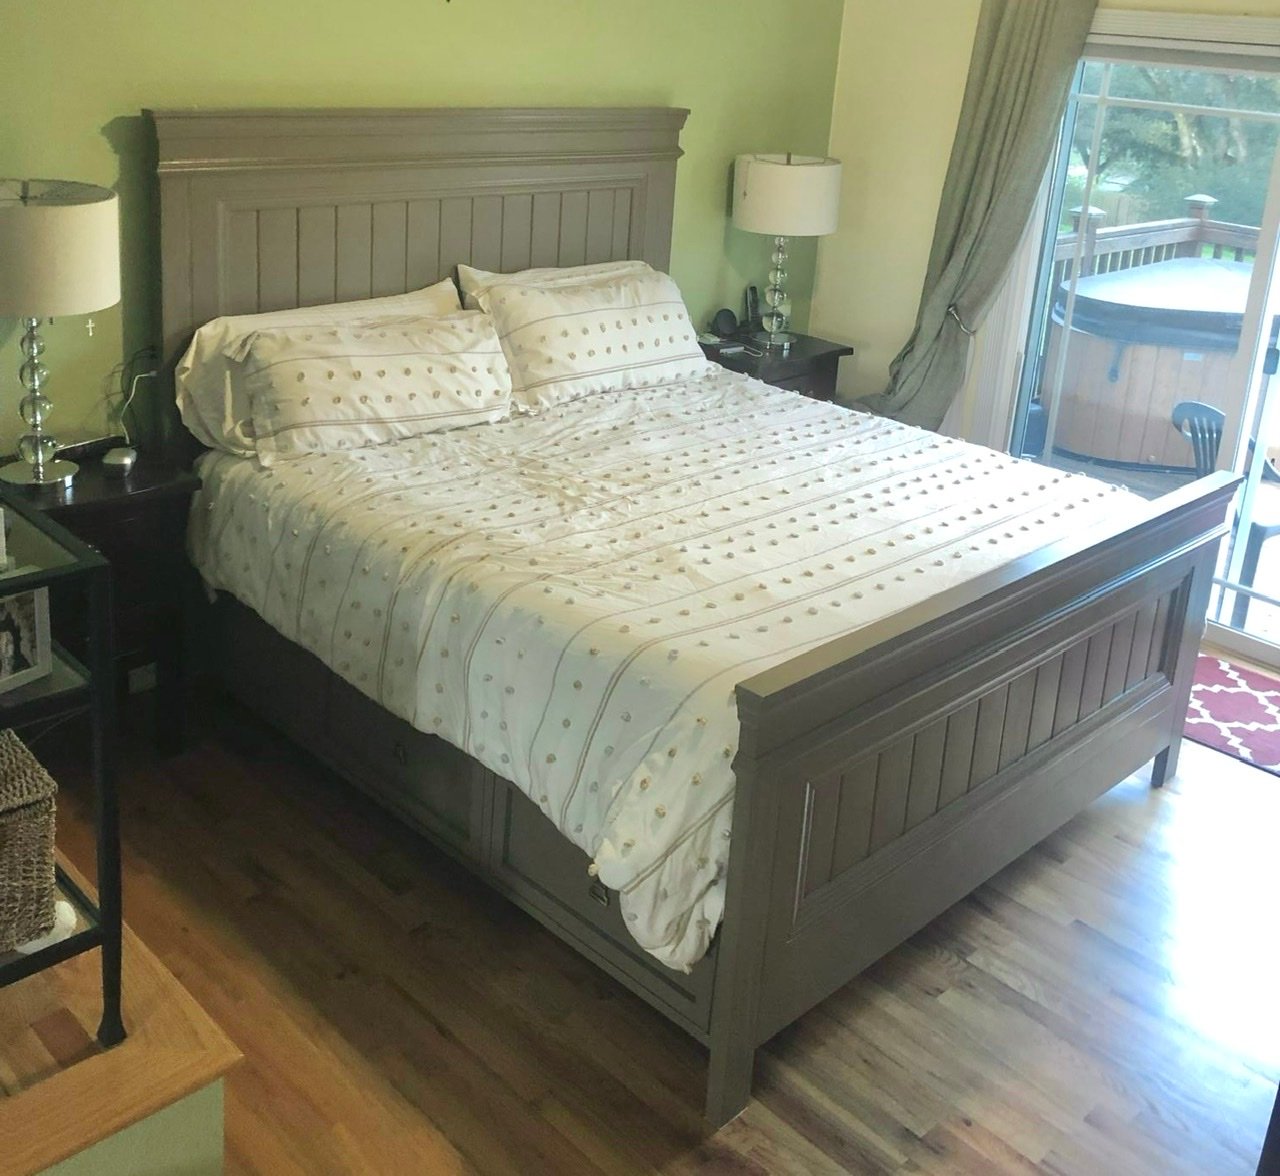
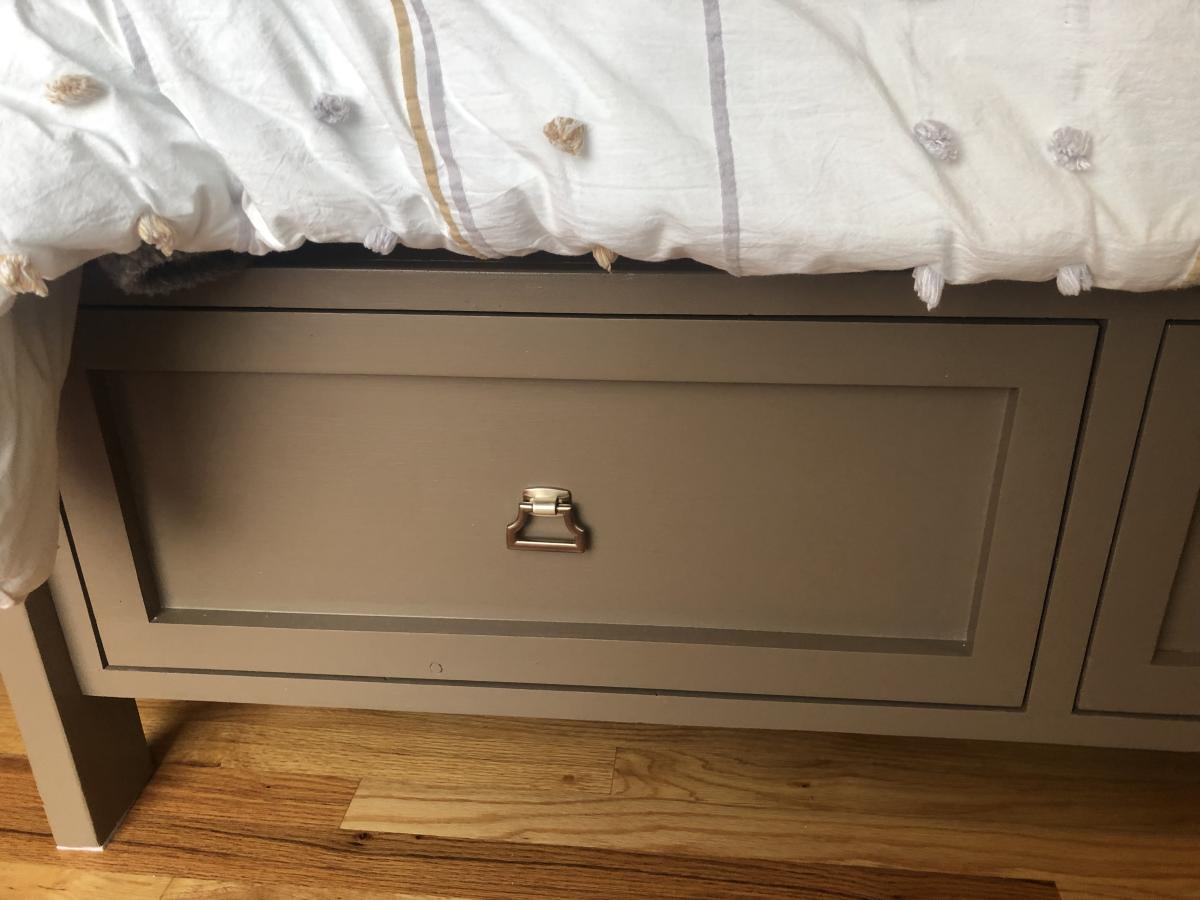
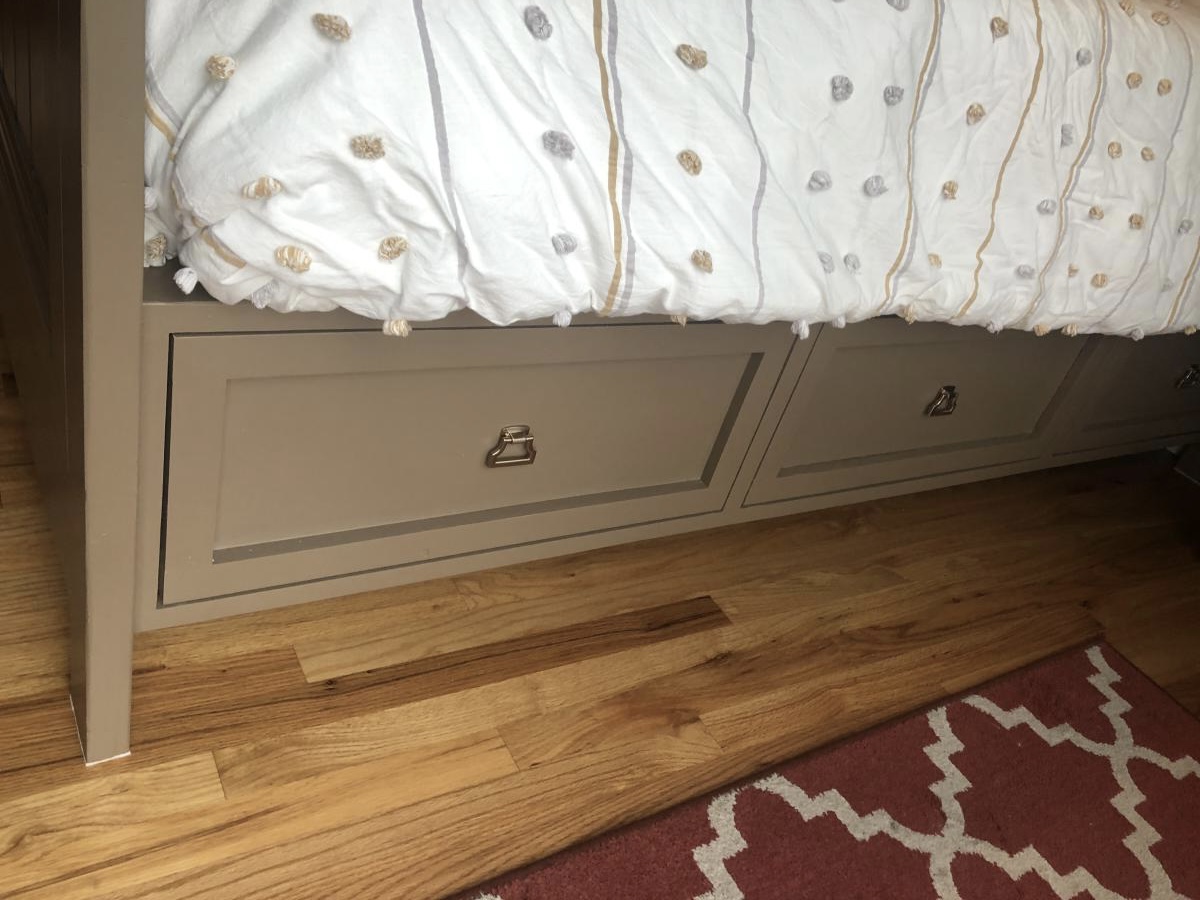
I started with your king size fancy Farm style head board and made it taller (67” tall”) and created a footboard using same pattern. Then added three drawer on each side adding supports for king size bed - followed up by installing 4 usb charging ports behind each side of headboard.
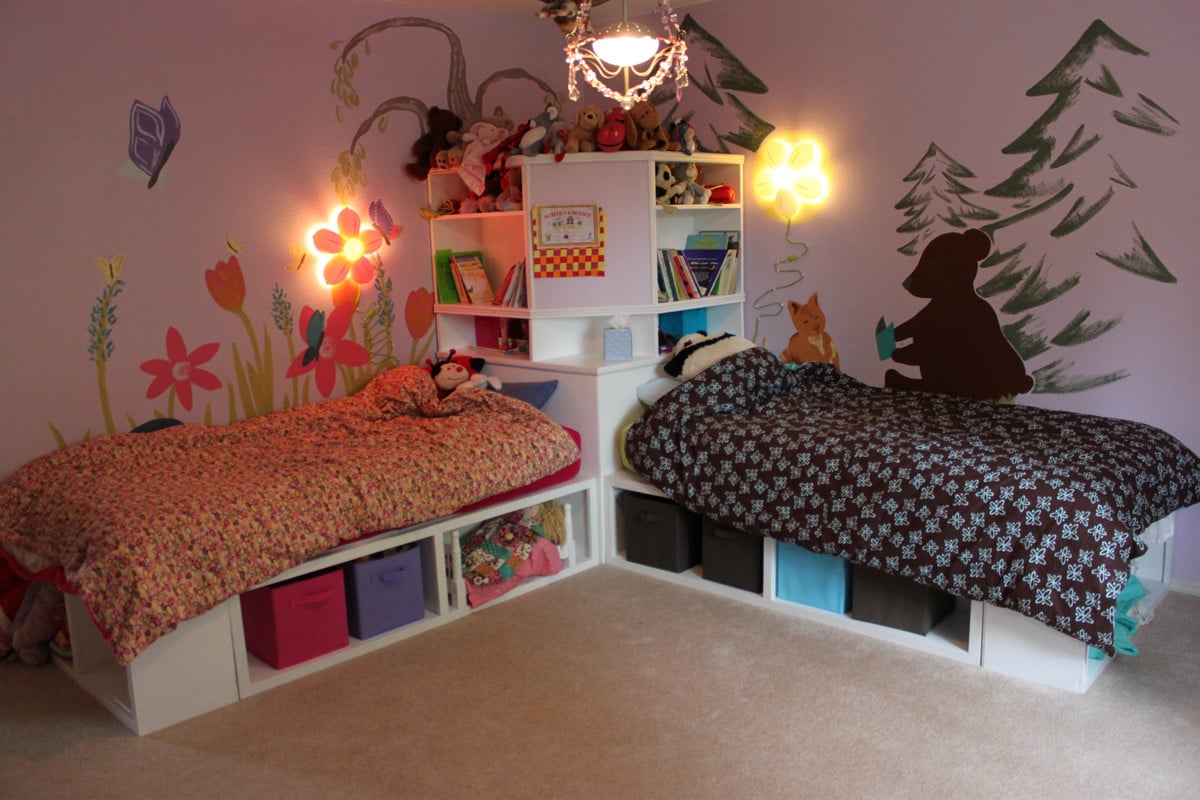
When we moved into our new house, I figured it was time to replace my girls's mattresses on the floor with actual beds. so I set about making the twin storage beds with corner unit. I primed all the wood prior to cutting and assembling, and that made things go much faster. Assembling the corner unit was tricky, since i really didn't want to have sanding and much paint in their bedroom. (i loaded in the beds first and the corner unit a week later). I added trim that wasn't on the plan, and also used the magnetic paint on the center area, although it makes a weak magnetic surface. All in all, I LOVE the way it turns out and no one can believe that I built it and didn't buy it... (although it seems obvious to me when you look closely LOL)
Fri, 11/04/2011 - 11:42
It looks great, and I love what you did with the walls! Free hand with paint, or decals? Either way, its darling and clearly gives each girl her own space.
We have the same lamps - quite popular :)
I am trying to figure out a clever way to put three girls in a (huge) room and I think something like this or a bunkbed combo would make it fun and new for them..
Sun, 01/08/2012 - 18:36
Where can I find the plans for the top half of the corner unit.? Your beds are exactly what I want for my girls. Thanks for sharing.
Mon, 10/08/2012 - 17:25
I see the plans for the beds and for the top part of the corner unit but what about the bottom part. please HELP I'm I totally missing it?
Mon, 10/08/2012 - 17:25
I see the plans for the beds and for the top part of the corner unit but what about the bottom part. please HELP I'm I totally missing it?
Mon, 10/08/2012 - 17:25
I see the plans for the beds and for the top part of the corner unit but what about the bottom part. please HELP am I totally missing it?
Mon, 01/18/2016 - 06:30
The links to the top and bottom of the corner unit seem broken; is there still access to these plans? Thanks for your help!
Fri, 11/18/2016 - 17:24
I have been round and round where are the plans for the Hutch?
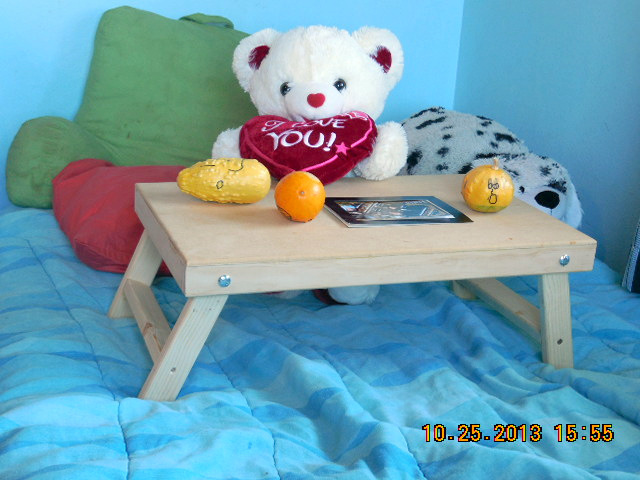
A lap desk for each Grandkid. They love using them for watching TV, reading, and a flat surface for building Lego castles...
Just a couple of suggestions. First the holes must be drilled exactly in the middle of the leg and the frame or the leg will not fold properly. I suggest placing the hole about 1/16" off center and then sanding the leg to make it flush when folded. Second the bolt only needs to be 2". I also used my $30 trim router from Harbor Freight to round-over all of the exposed edges.
Sat, 11/30/2013 - 06:55
Did you have any issues with the cap nuts loosening when you raise and lower the legs? I bought 2" bolts (1/4" bolts and drilled 1/4" holes. Now the bolts turn when I raise and lower the legs and the cap nuts loosen. I'd appreciate any suggestions you might have. Thanks!

This was my seventh outdoor couch but my first sectional. My very first couches were all inspired by Ana White's plans and I have gotten so much better with my skills that I building other things as well. Thanks Ana for all your inspiration!

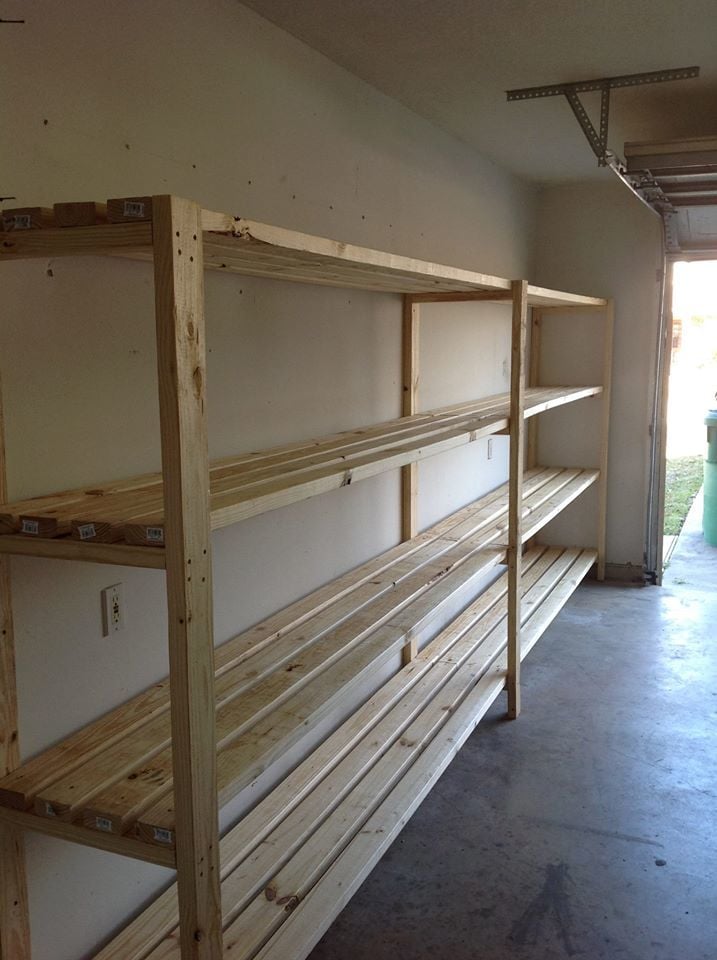
Thank you for the plans! Love the shelves!
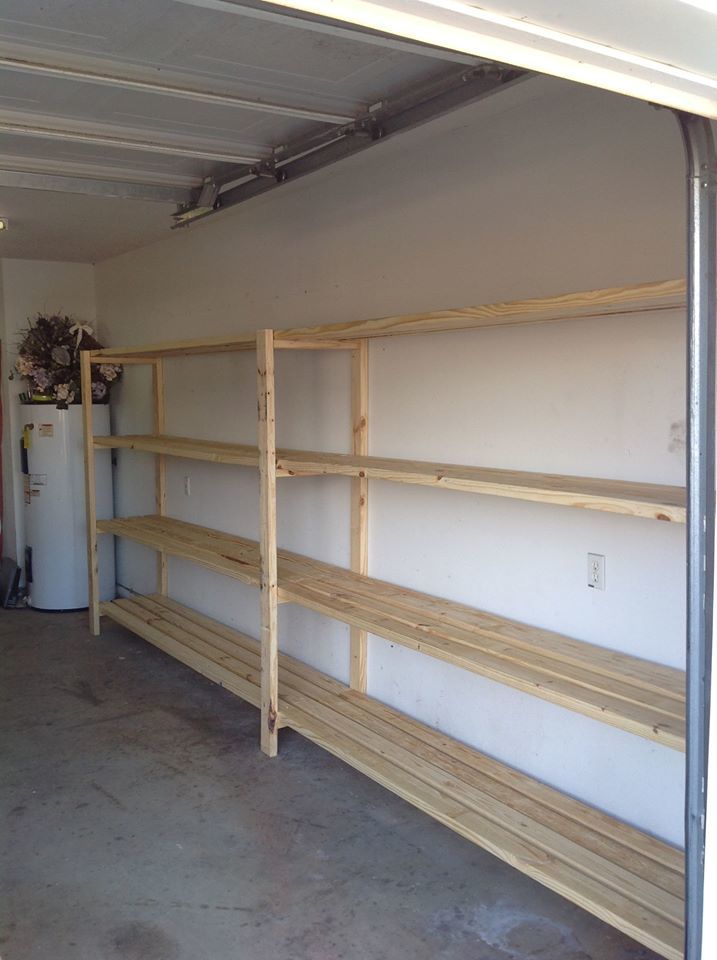
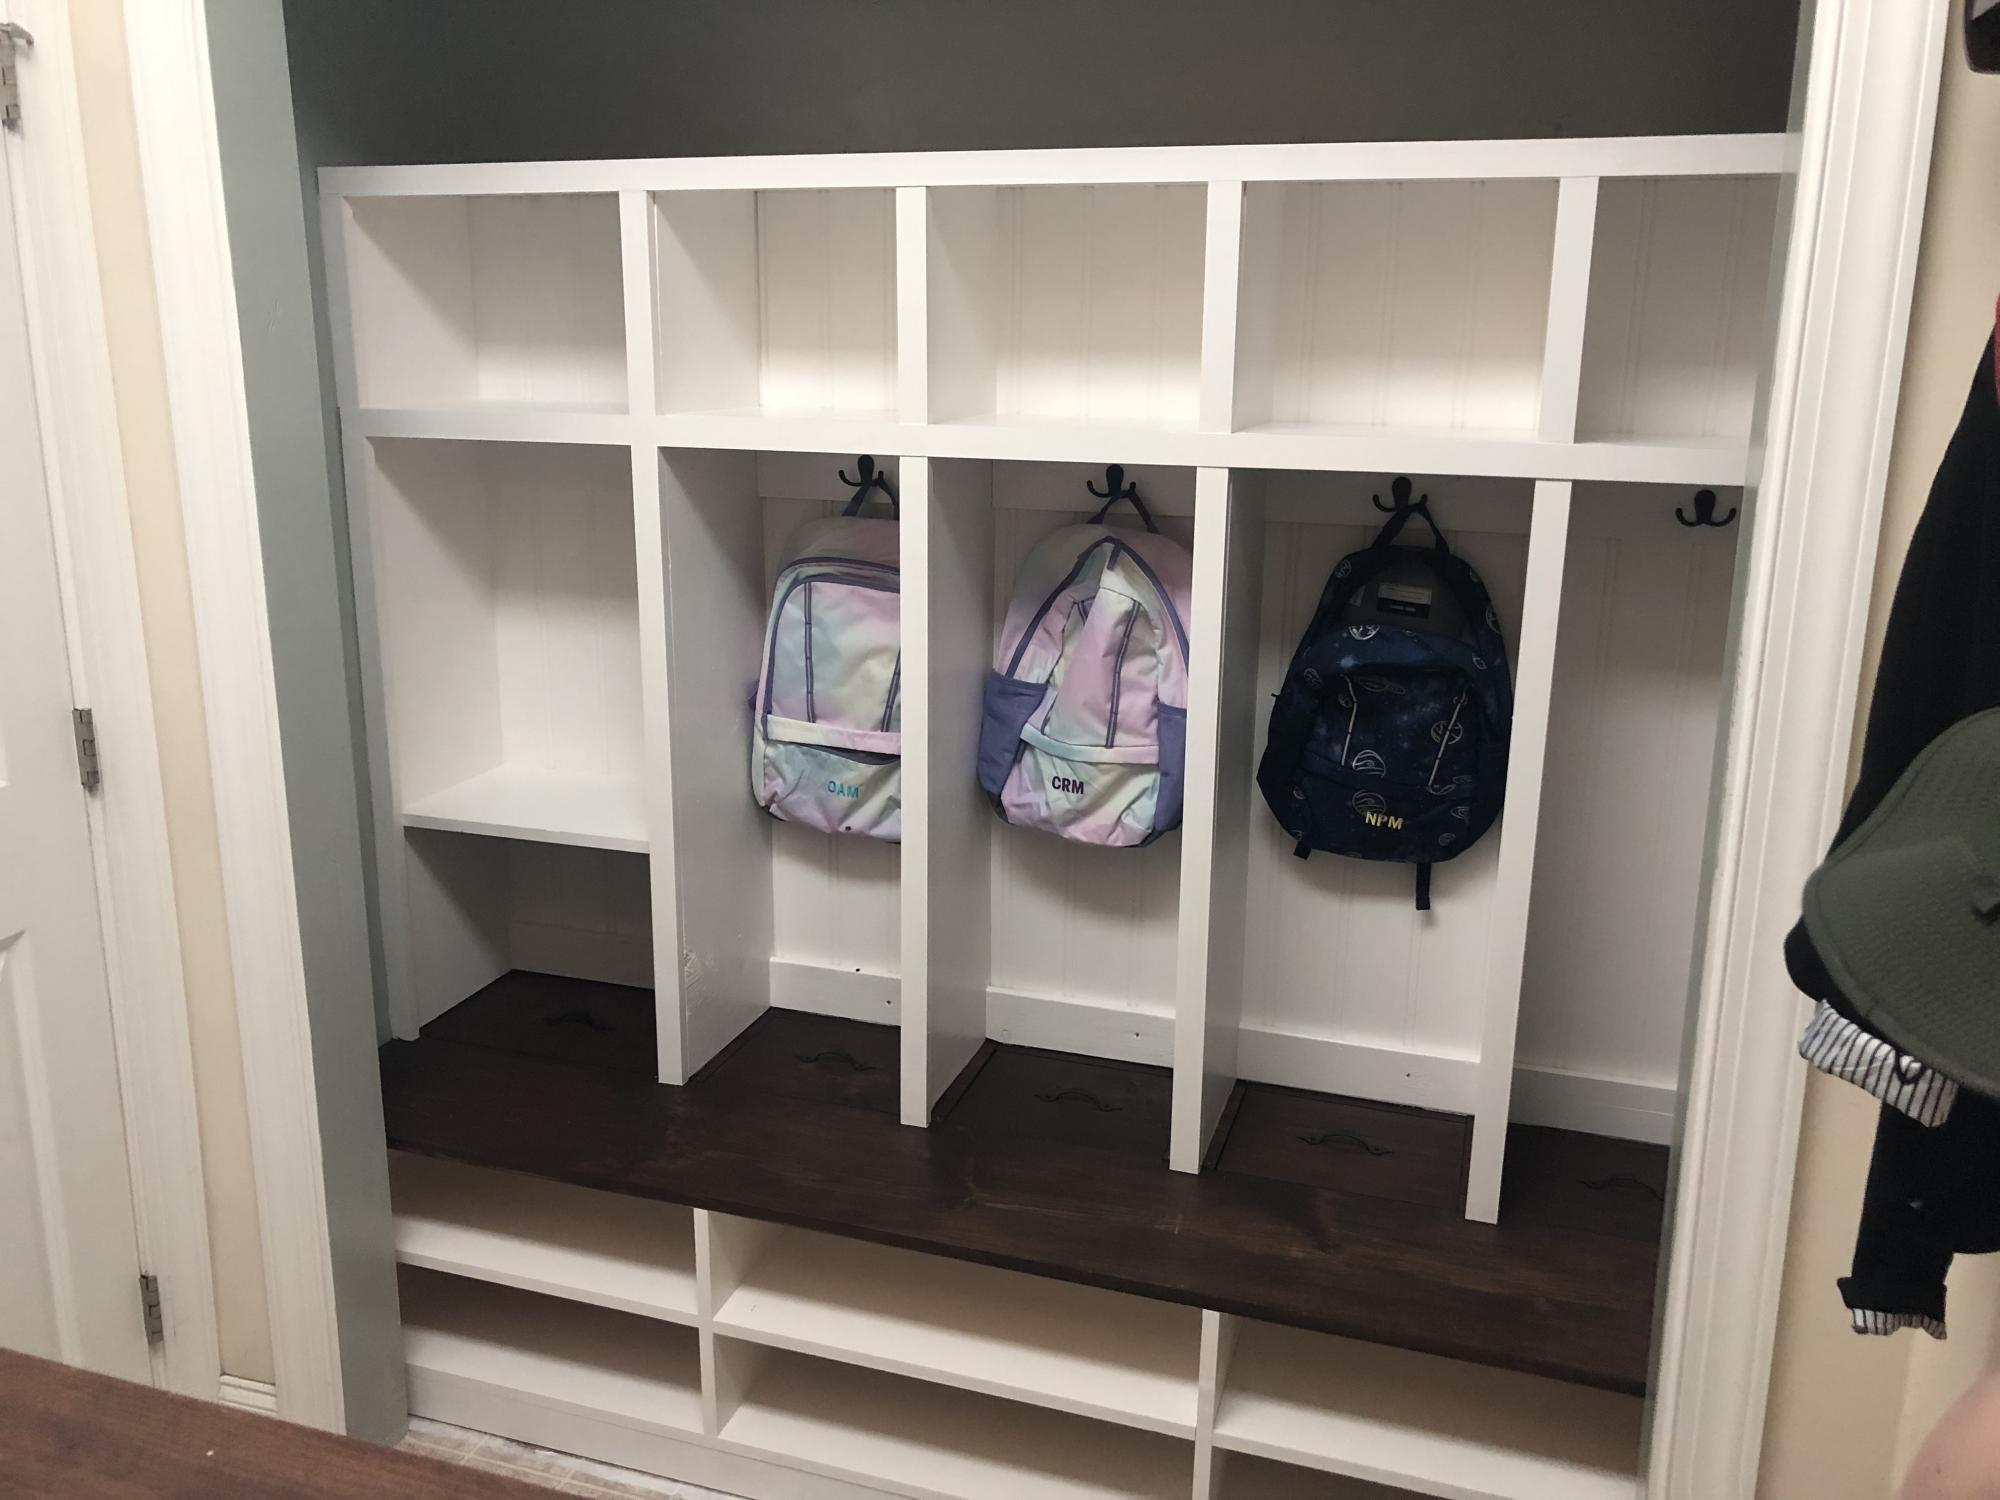
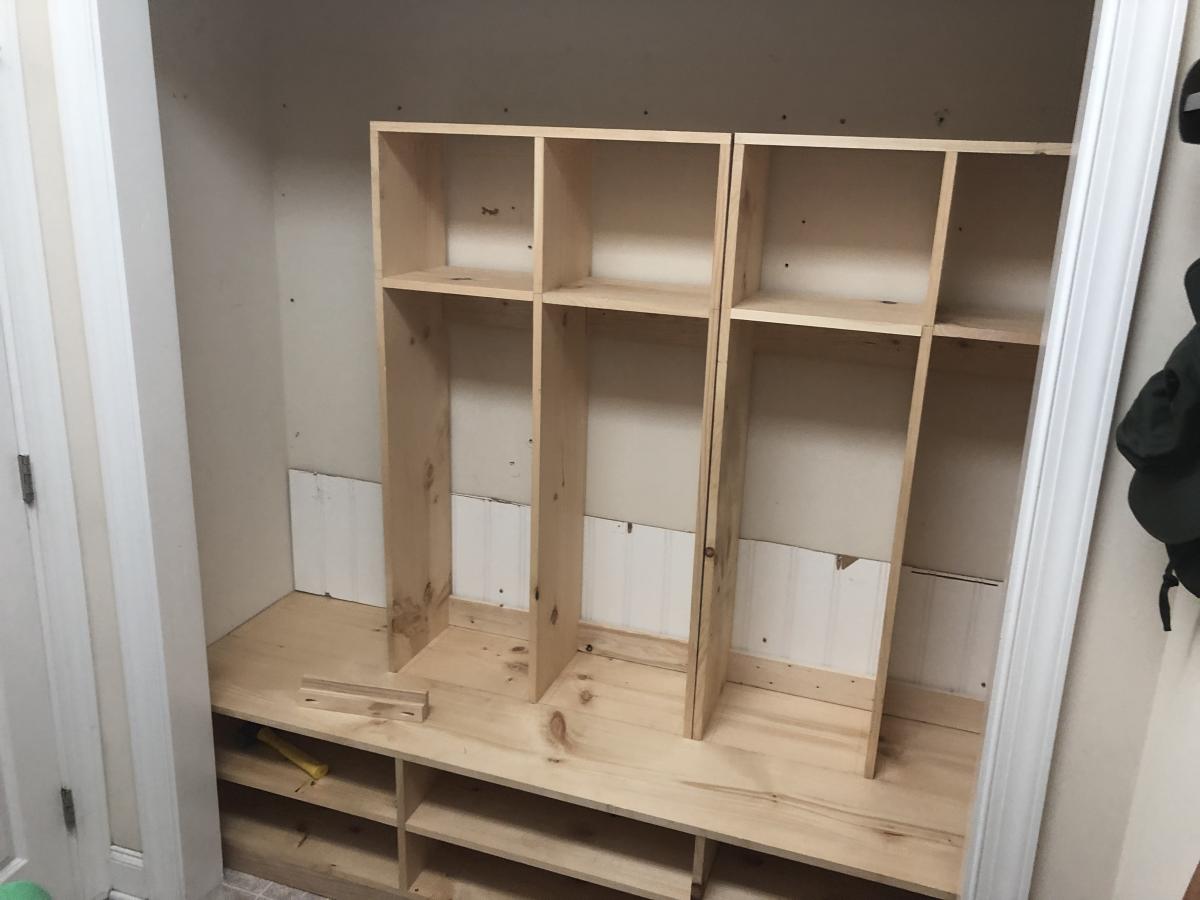
Combined the Extra Wide Shoe Bench and the Braden Entryway Hutch plans and added some customization to make the perfect mud room closet organizer! I modified the measurements to fit the width of the inside of the closet. Each kid has a ‘locker’ with hooks, a storage cubbie above and hidden storage below. The bottom of each locker has a removable lid that hides winter boots or off season gear behind the shoe shelf. So nice to have out of sight storage for items we only need for part of the year!
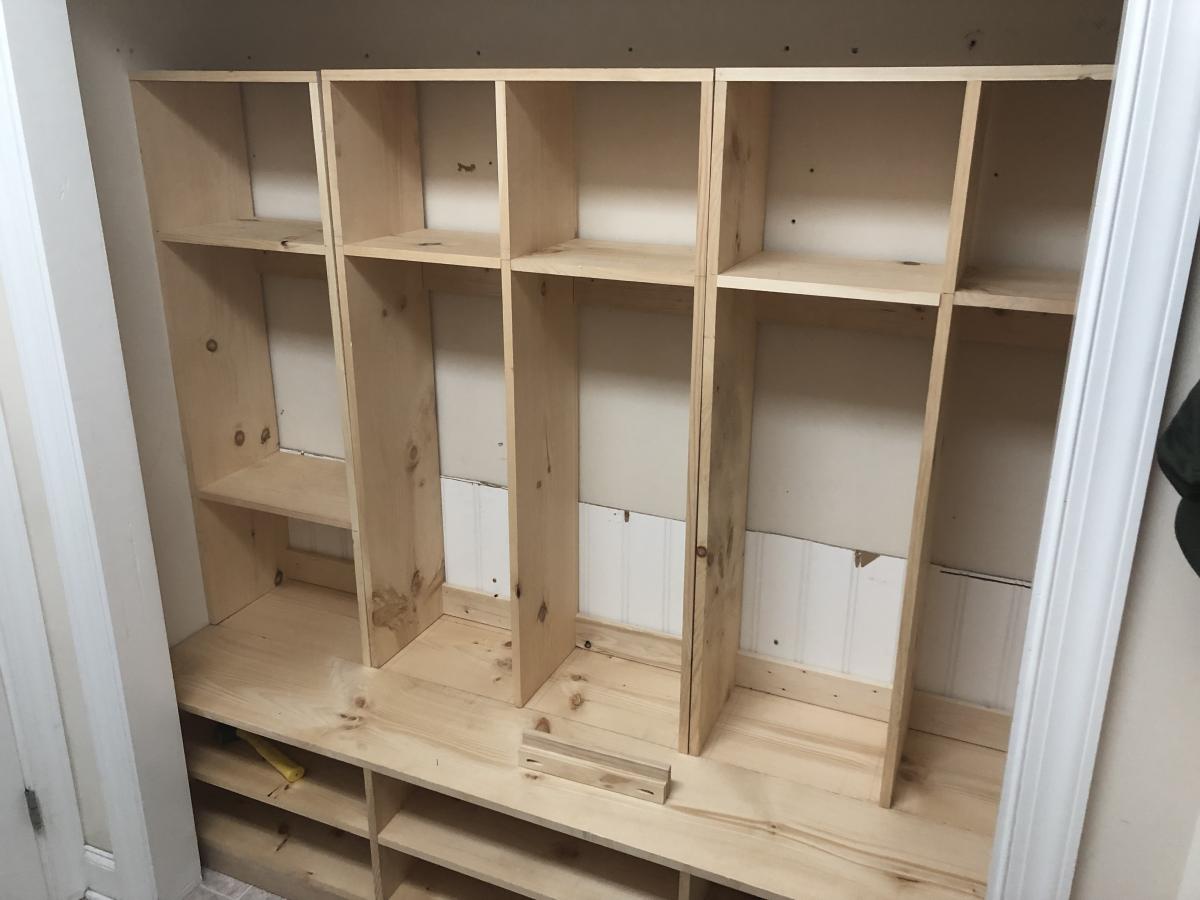
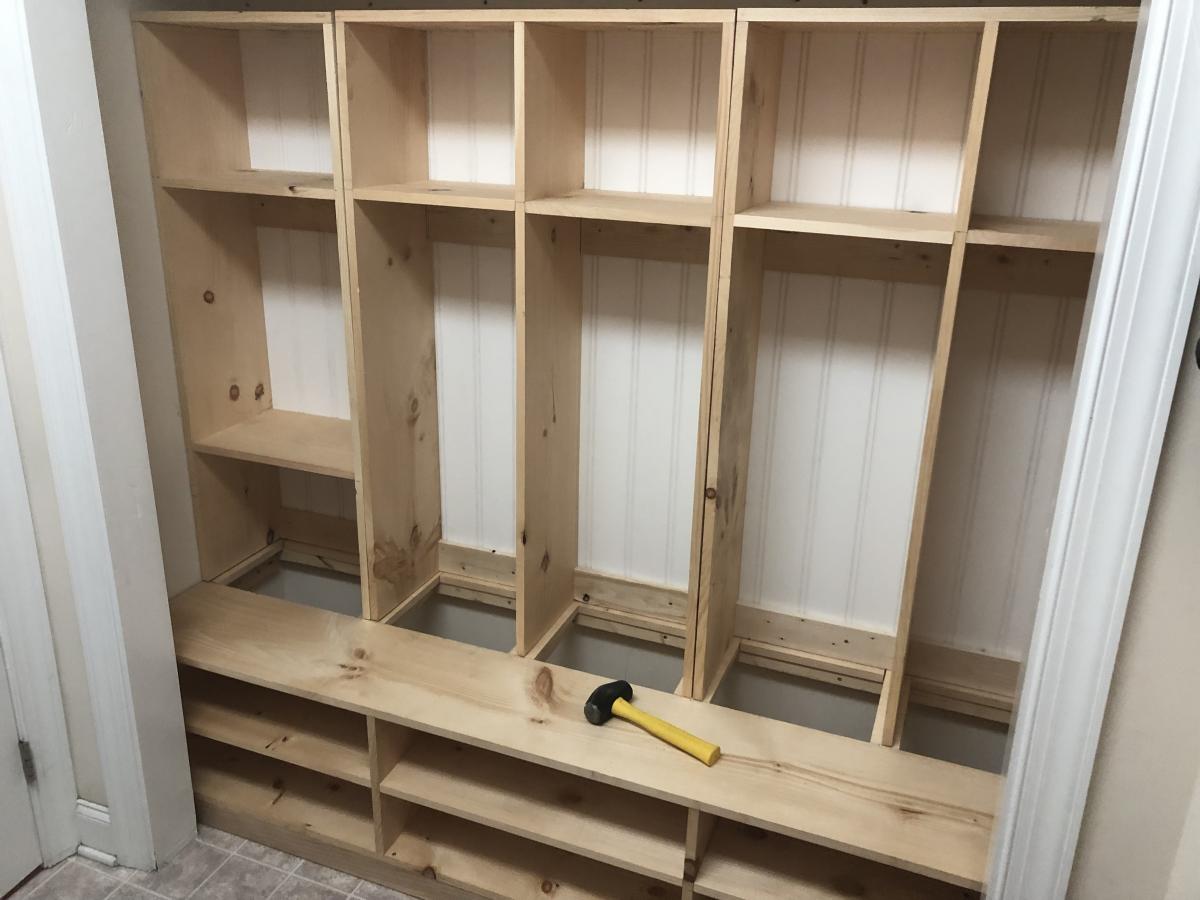
Wed, 10/02/2019 - 09:48
The little hinge up cubbies are so awesome!!! What a great project!
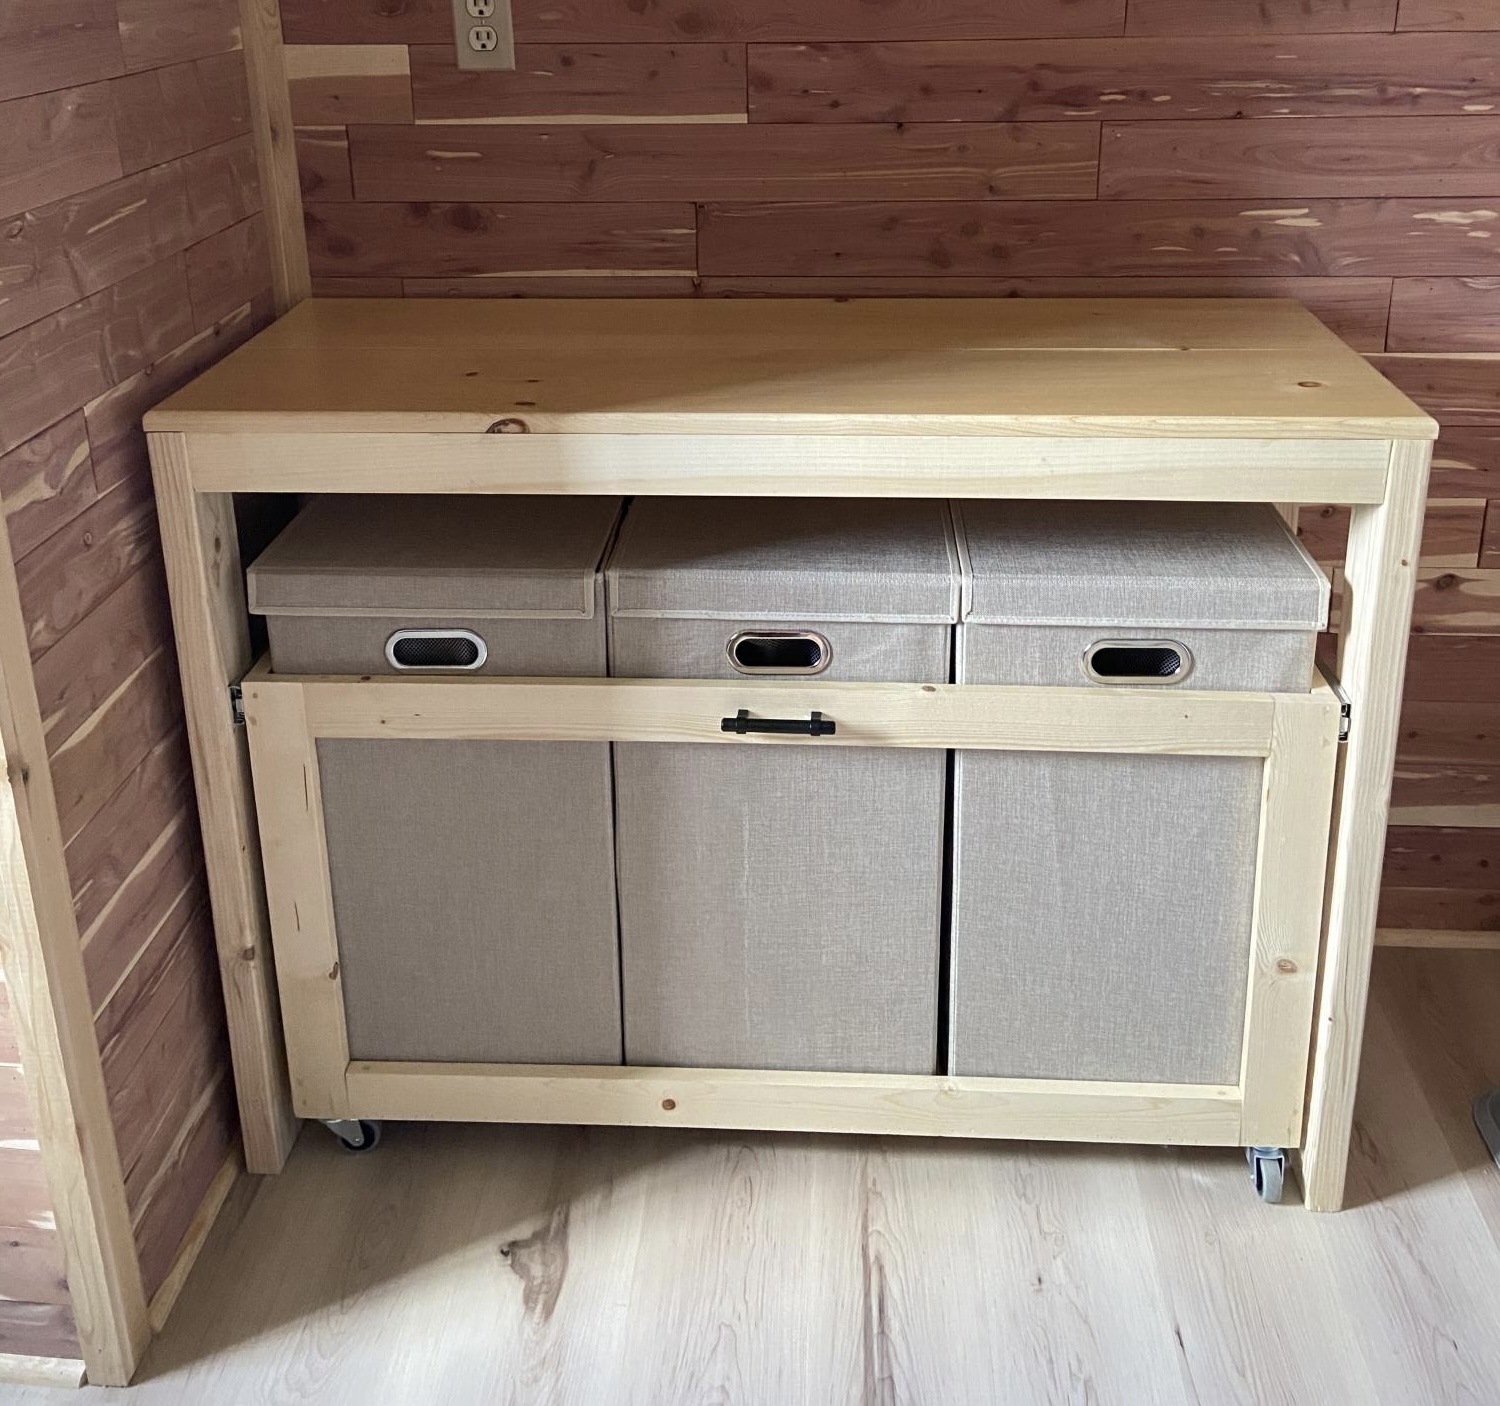
This laundry station is perfect for our new red cedar laundry room. We left the wood natural to match the unstained trim and the light color in the cedar planks. Coated with polyacrylic for a smooth finish. Thank you so much for providing the inspiration and plans for such an amazing laundry room solution!!
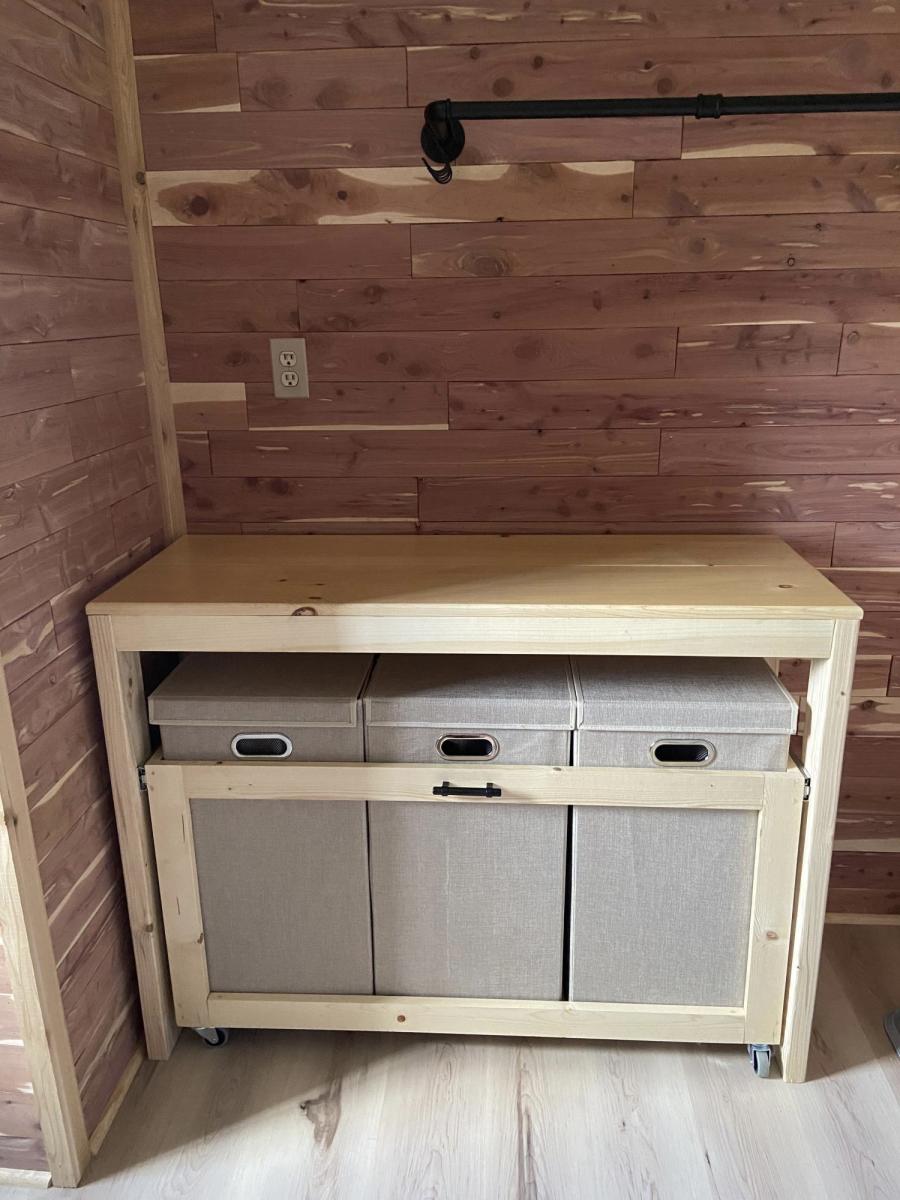
Mon, 06/05/2023 - 07:48
Fabulous job, absolutely love the light wood look! Thanks for sharing.
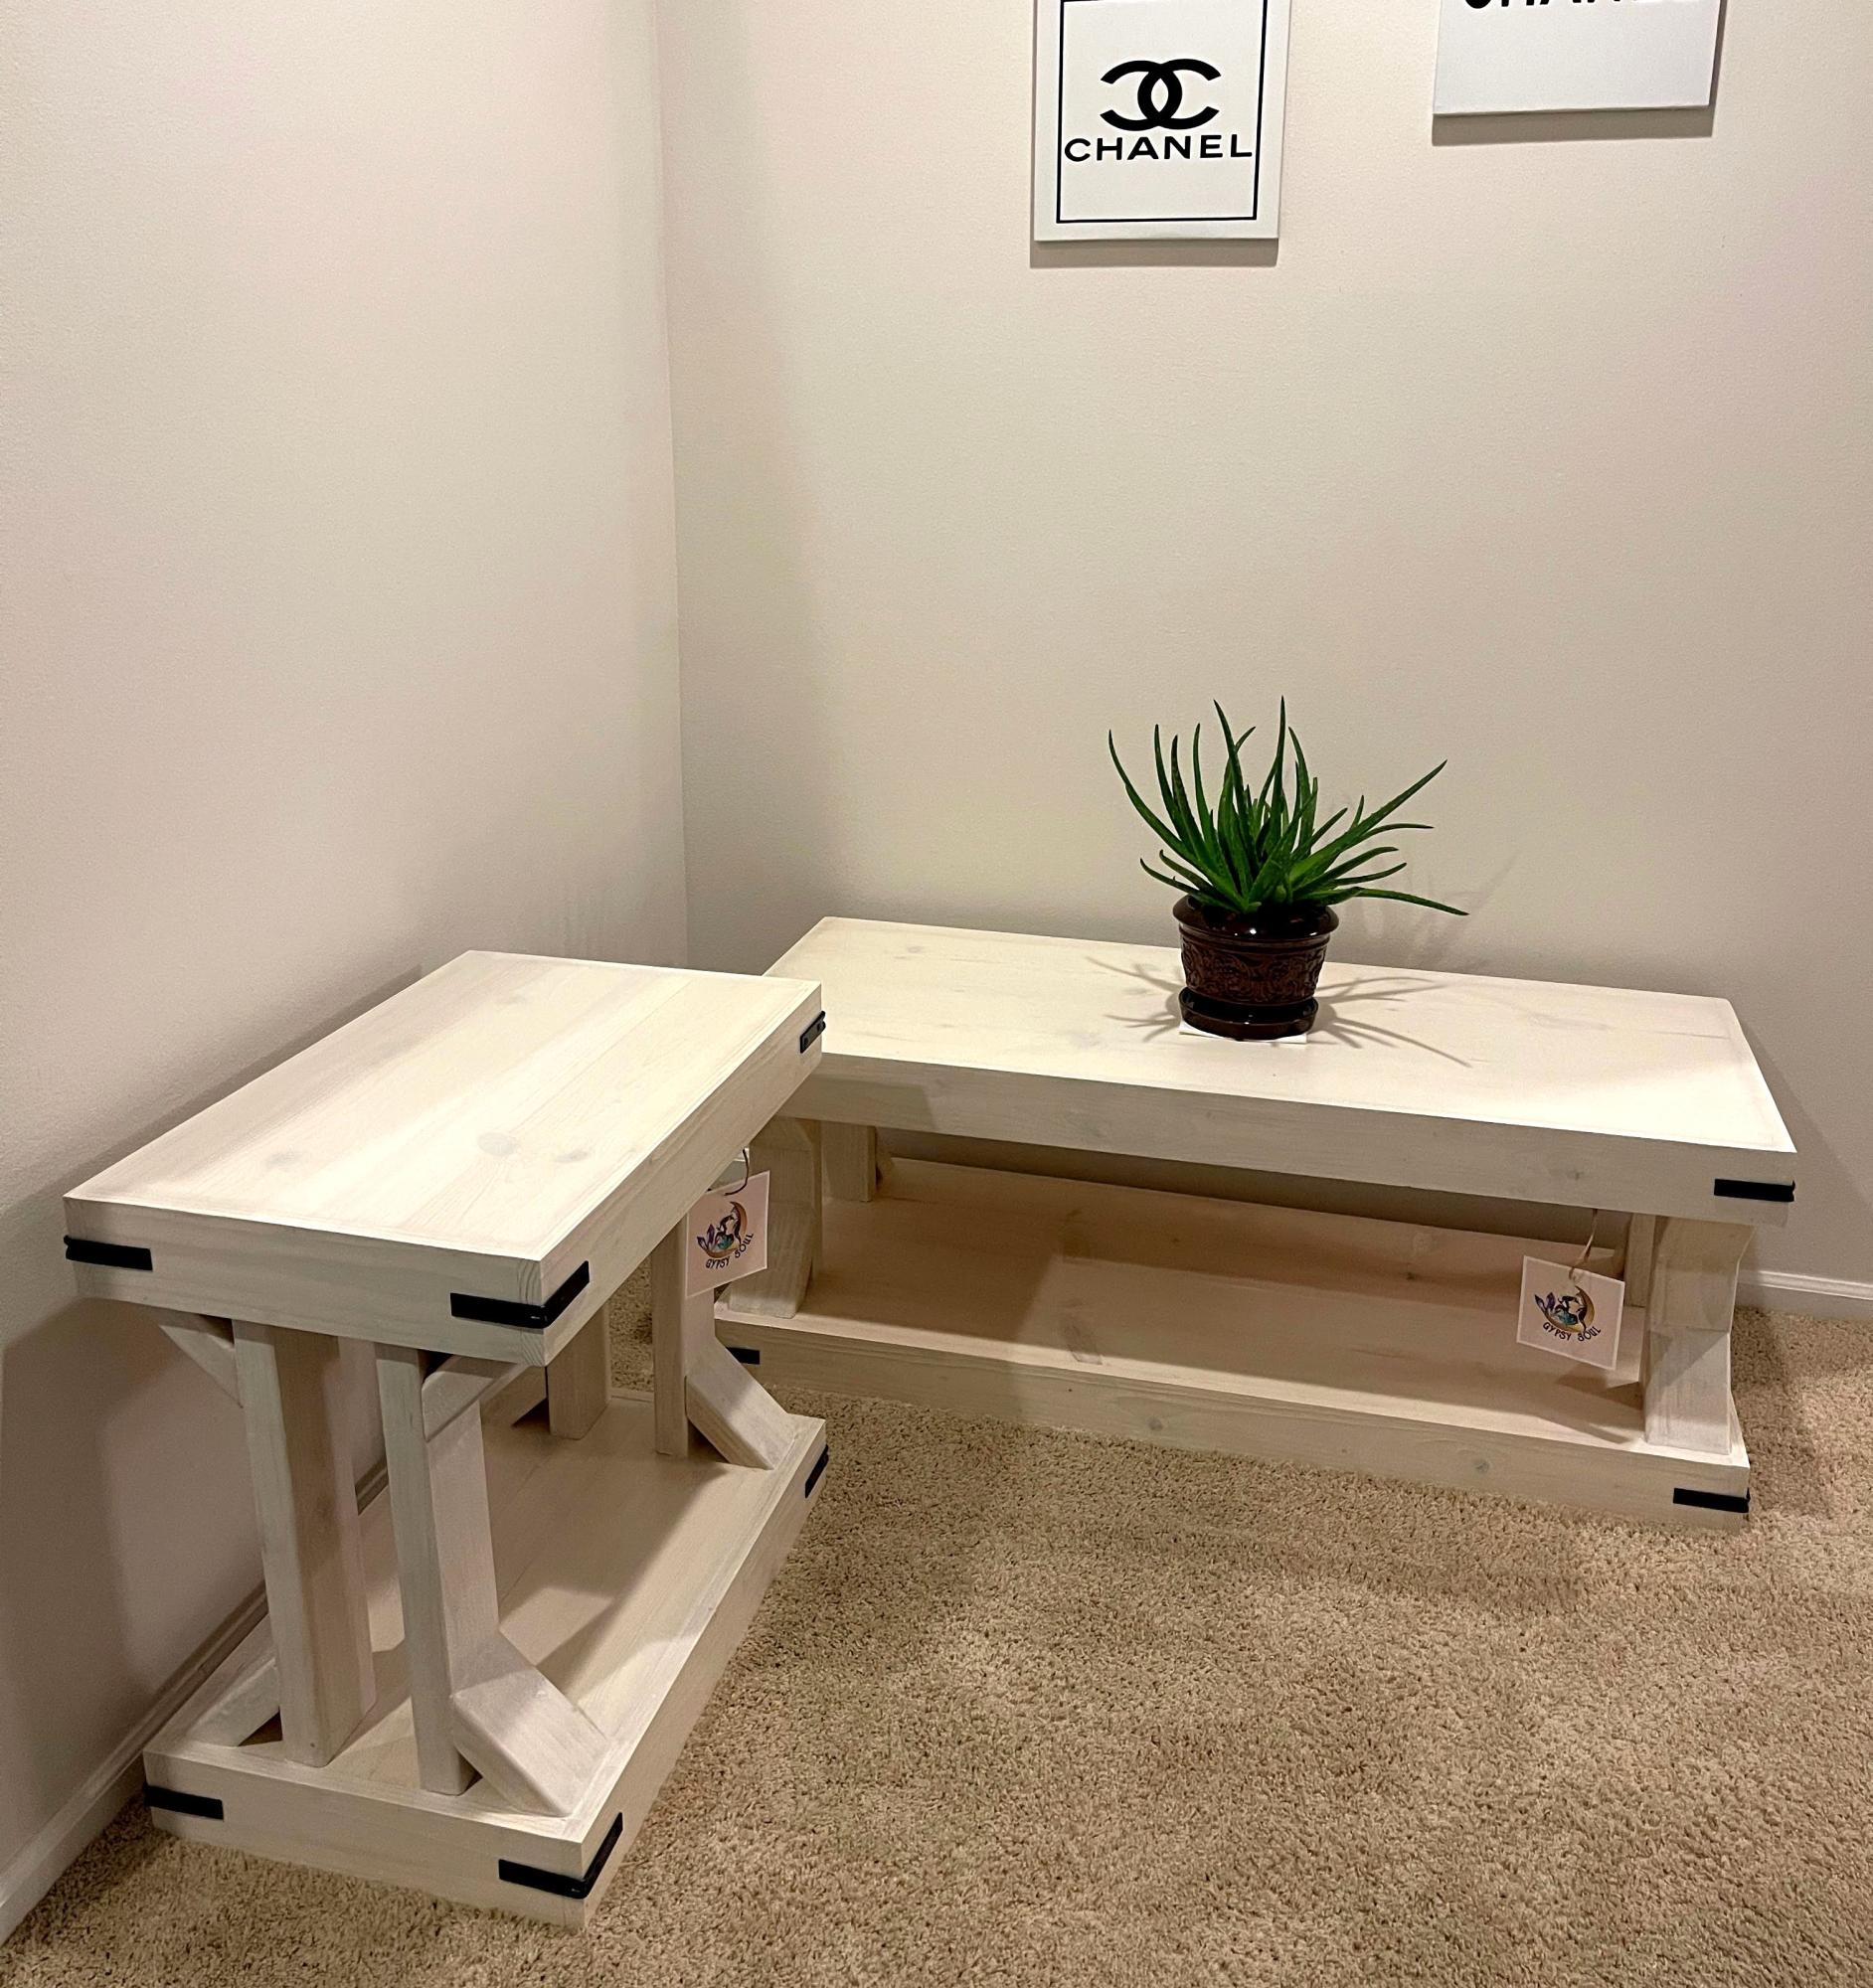
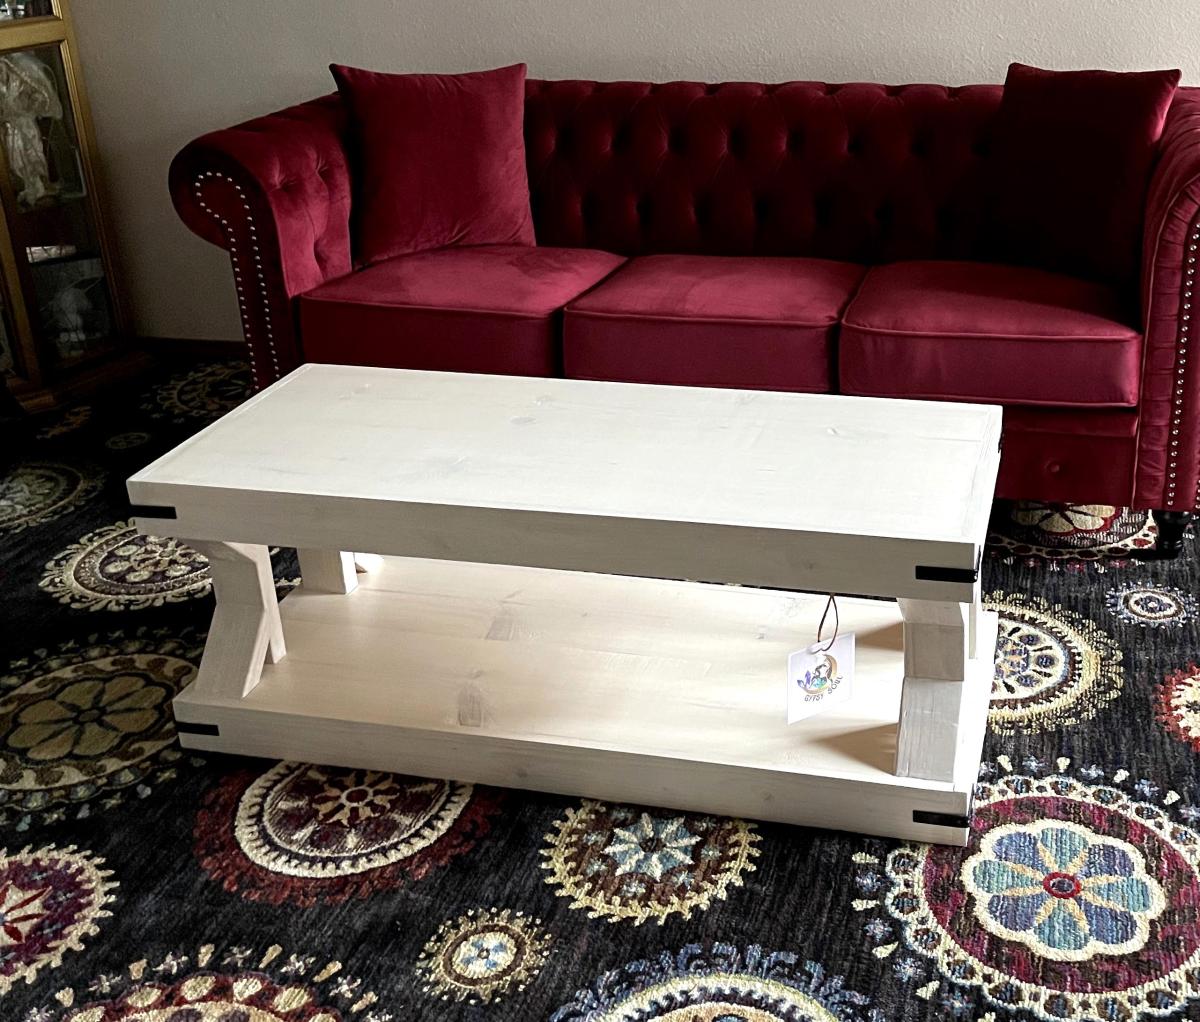
Ana White's plans are super easy and fun to do! I made these for my mom and I really enjoyed doing it. It’s an antique white water base stain.
David Marks
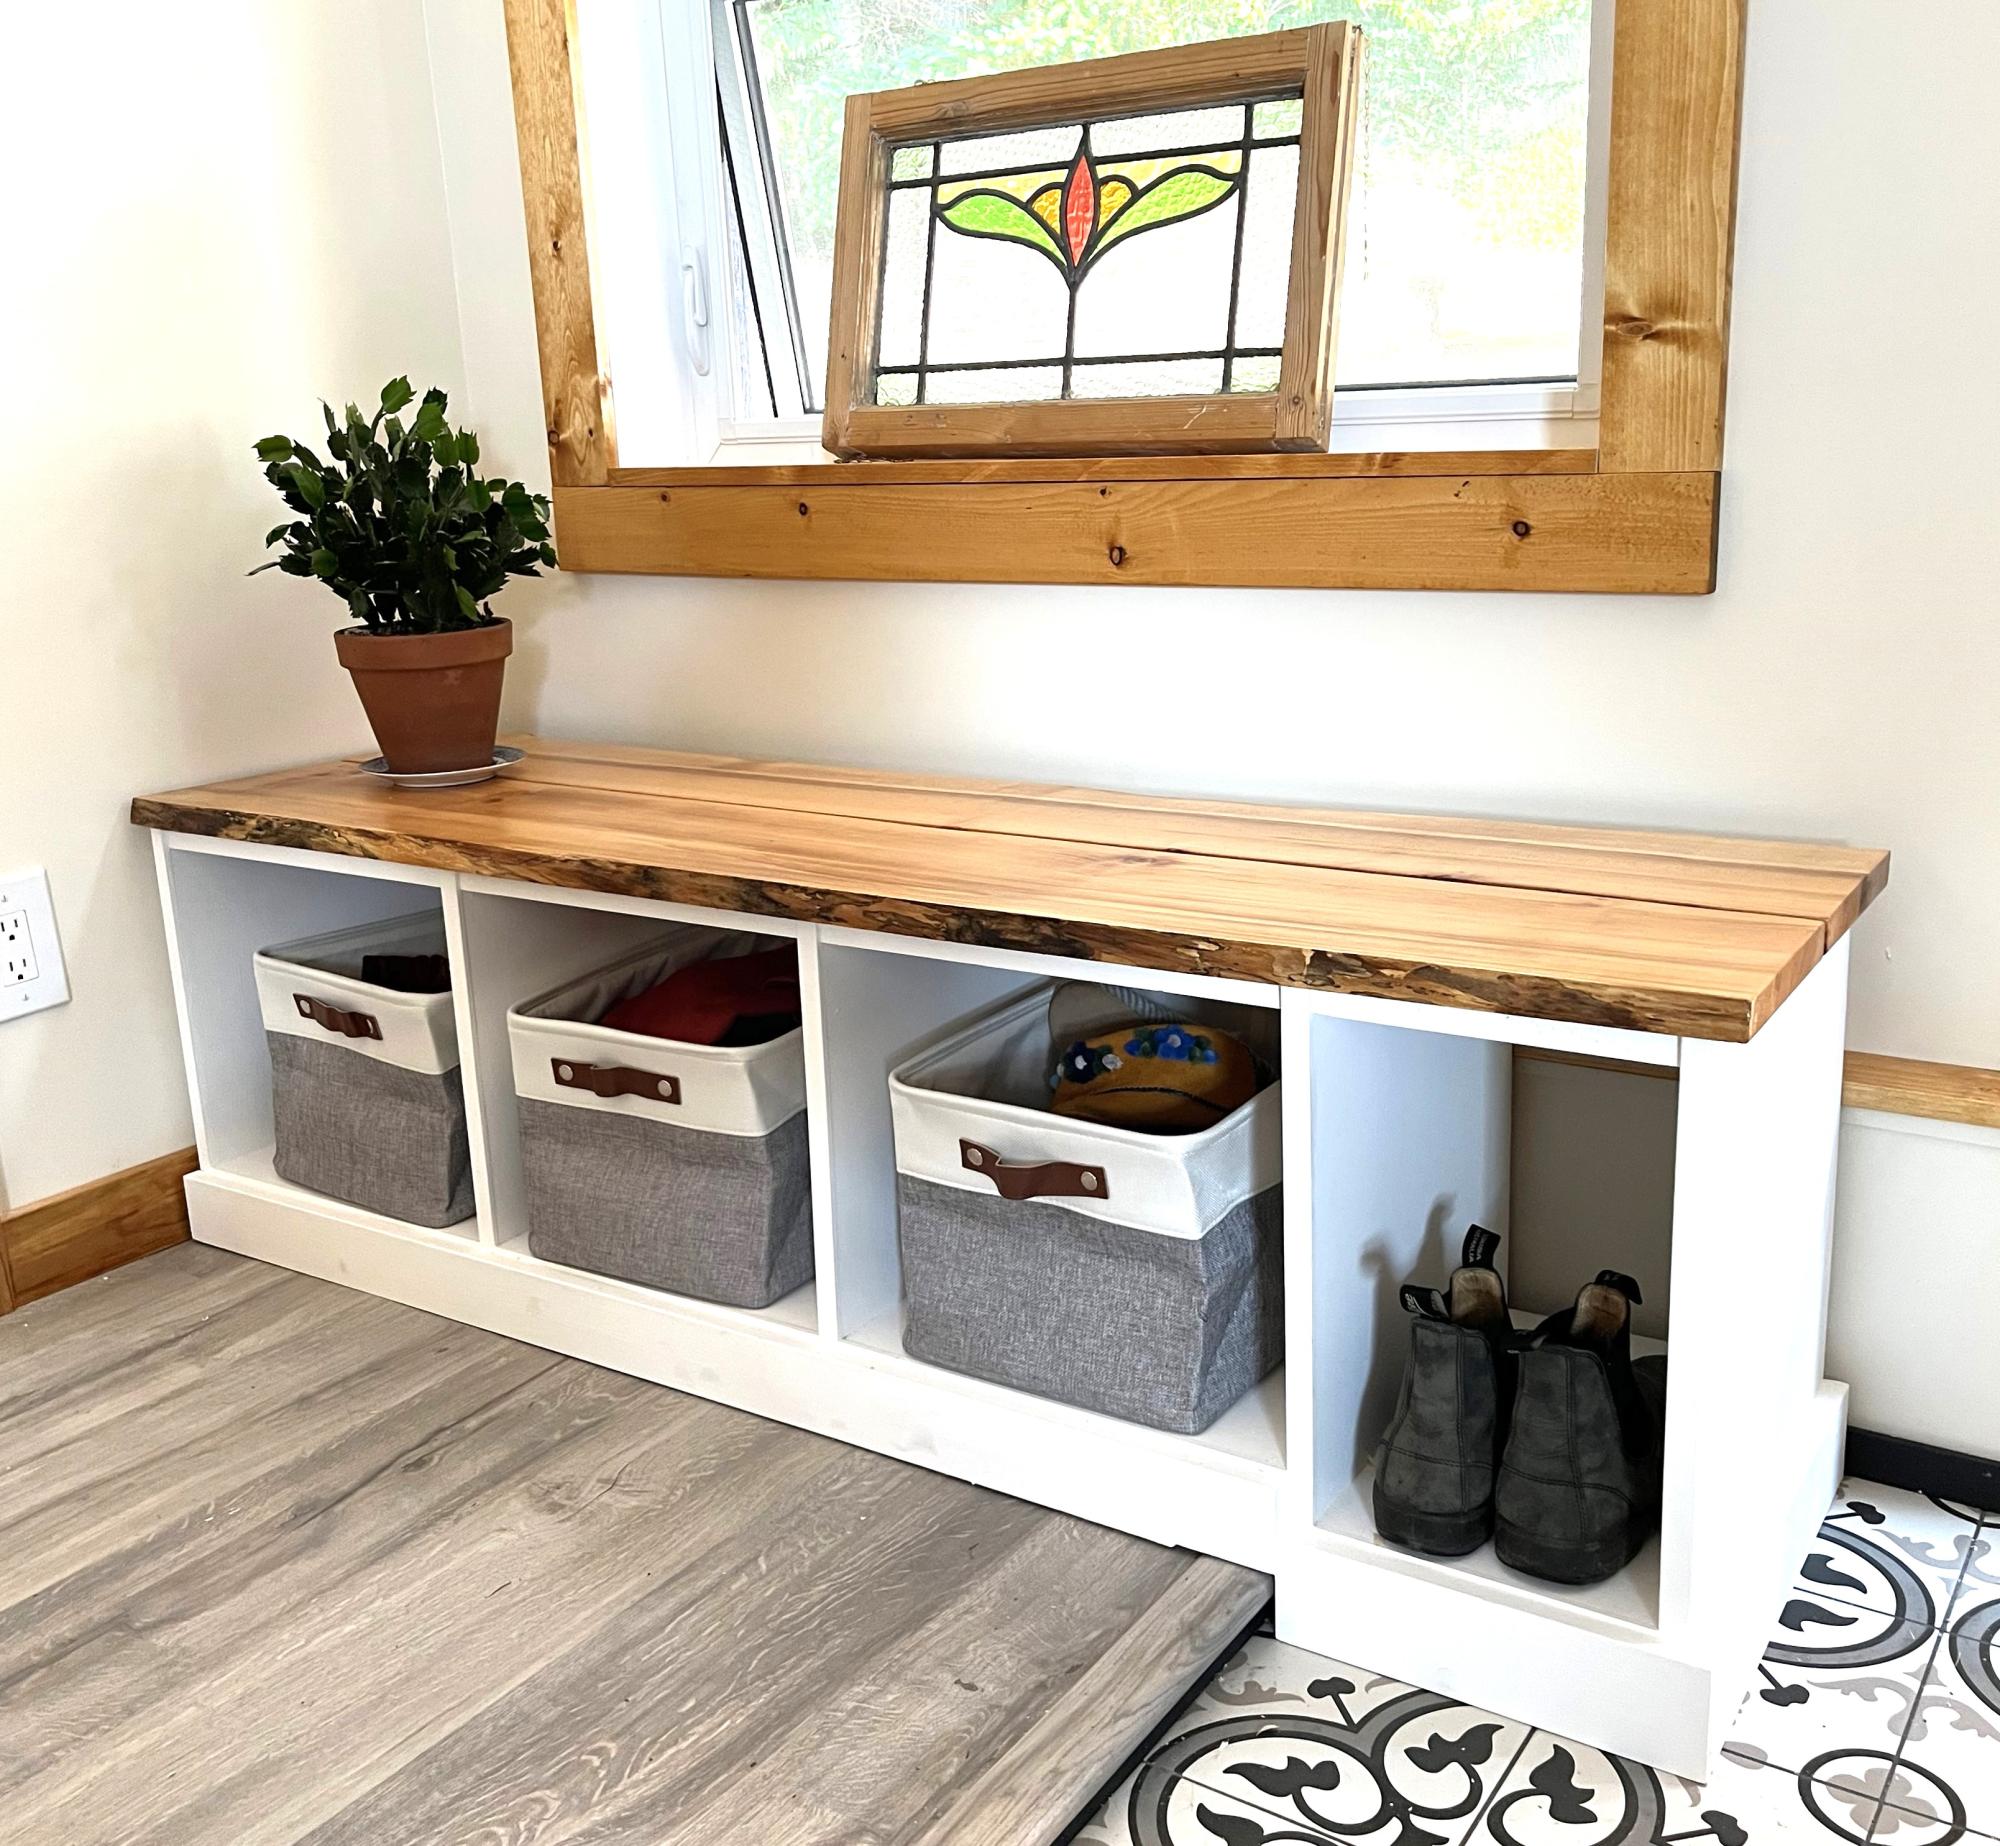
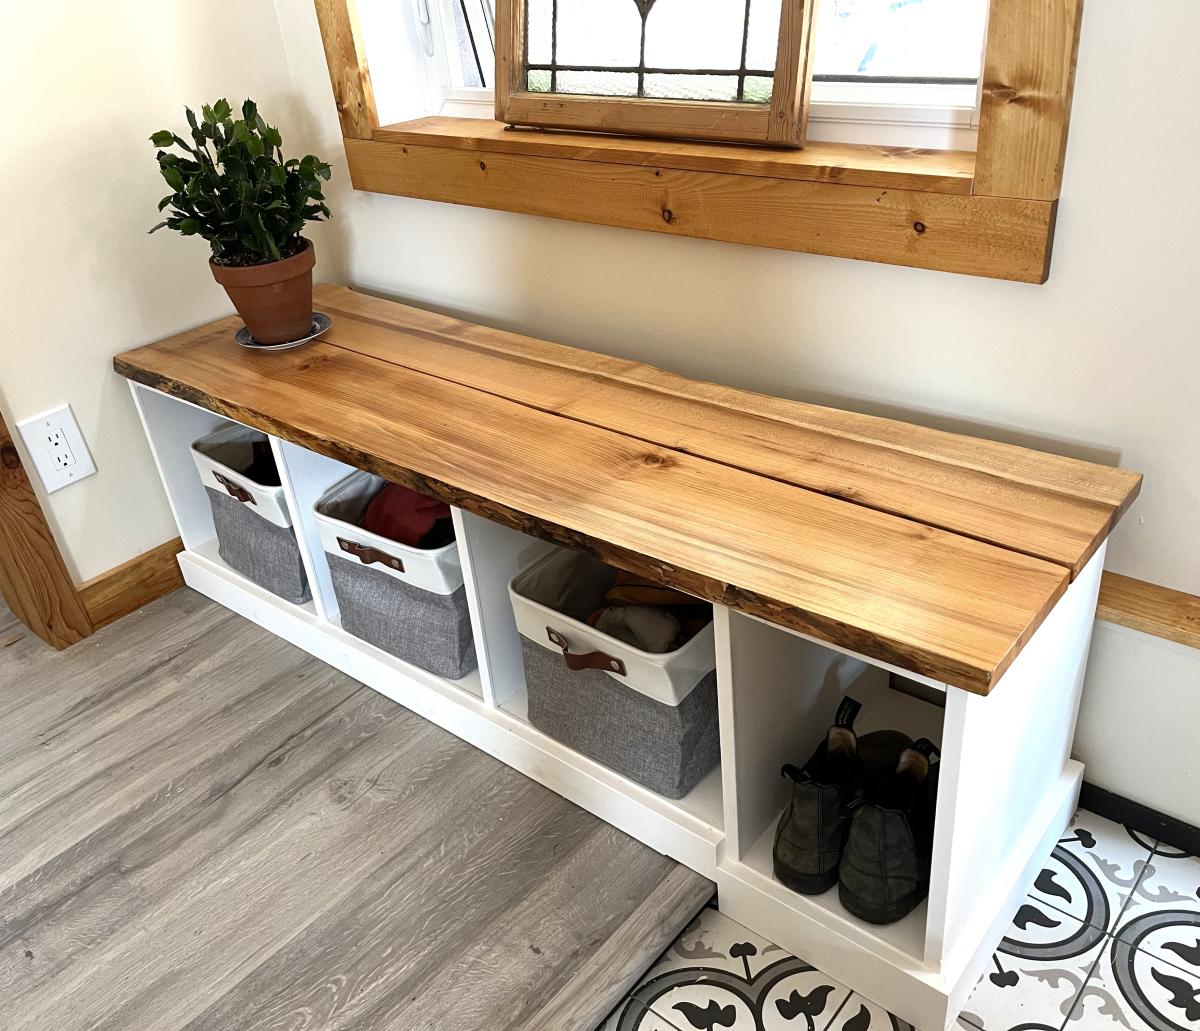
Entryway Bench. I customized the plan with a maple live edge top and a fourth bay that had to be modified to extend the right side of bench down to lower level floor. Worked out perfectly! I am a total amateur woodworker but impressed with how easy it was and how professional it looks.
web: floatingislandsstudio.com

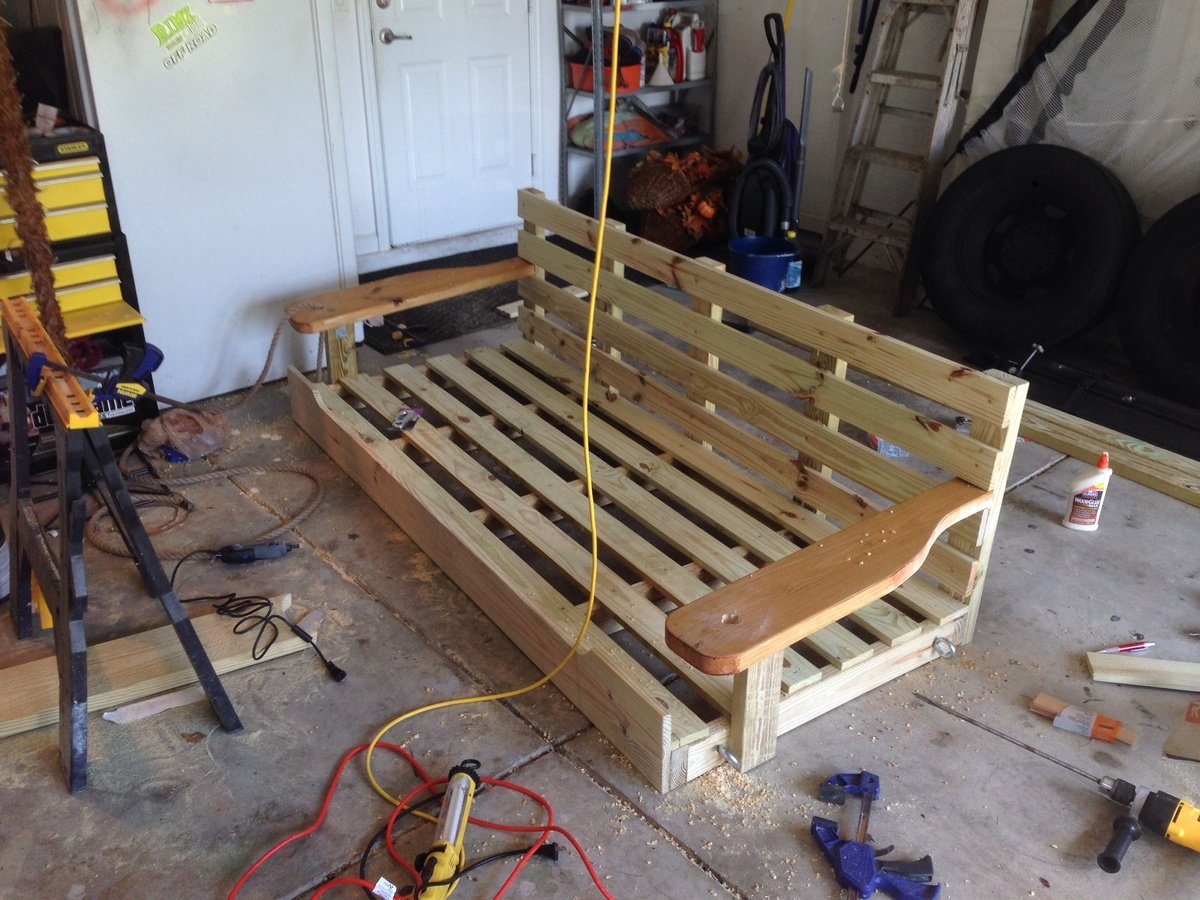
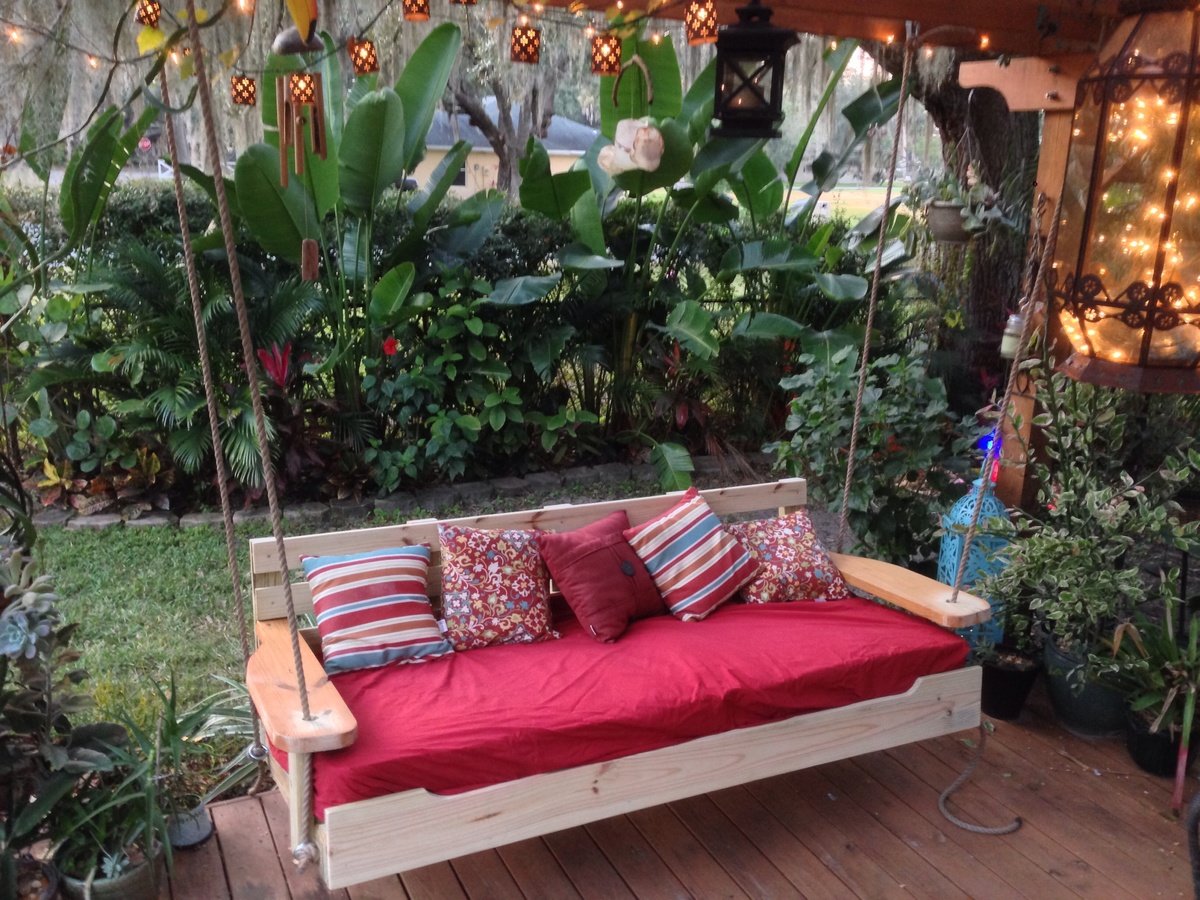
Started off with the original design but enlarged it to fit an oversize single mattress. The mattress cost me $35 from a local faith farm, while the materials came in around $200. I decided to hang under my backyard pergola. Fun and easy project.


Tue, 01/28/2014 - 21:10
Wow this looks so inviting I might just have to make one too! Nice work-- it looks great!
Mon, 04/07/2014 - 22:49
Really lovely! Great job! This will be one of your favorites spots all summer long.
Mon, 07/27/2015 - 22:45
I want this! I just made a couple of plant stands for my front porch. My husband asked me what my next project was, why, a swing bed. (This was only my second project!) I want to put cup holders in those big ole arms! We have a house at the beach in South Alabama, so, you gotta "hydrate." This is an awesome swing. I can't wait to do mine...pillows to rest on, one foot on the concrete pushing me in a slow swing. Cold beverage in my hand or in my cup holder. Yep, southern girl has a new project. Love it!
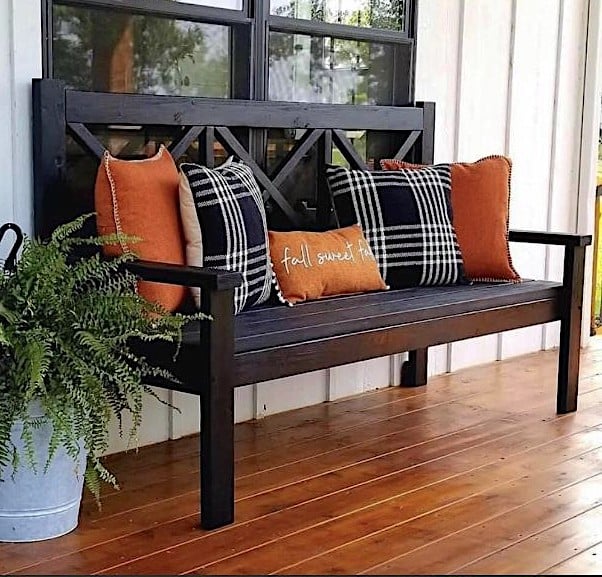
Perfect for porch sitting!
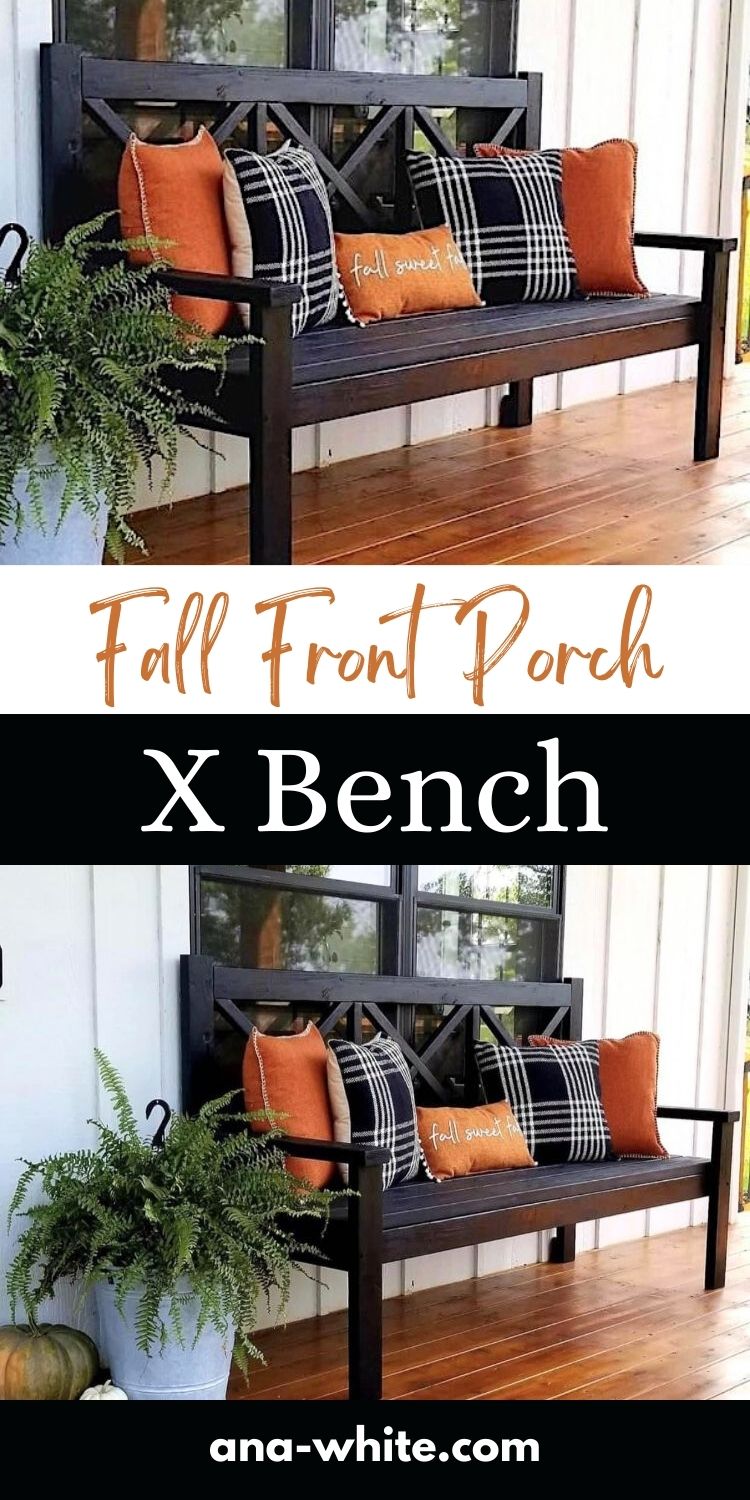
Comments
Ana White Admin
Tue, 10/05/2021 - 12:15
Love the finish!
Beautiful build and finish!