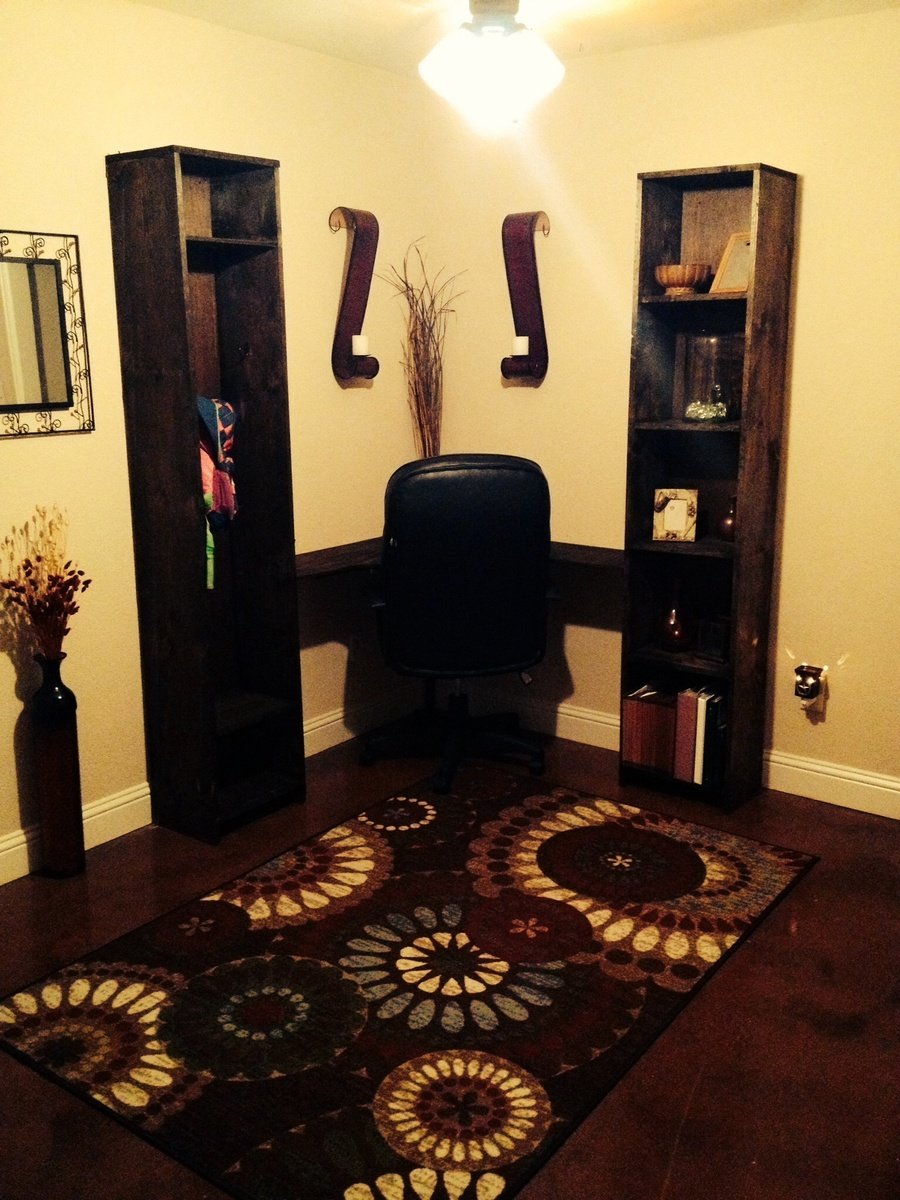
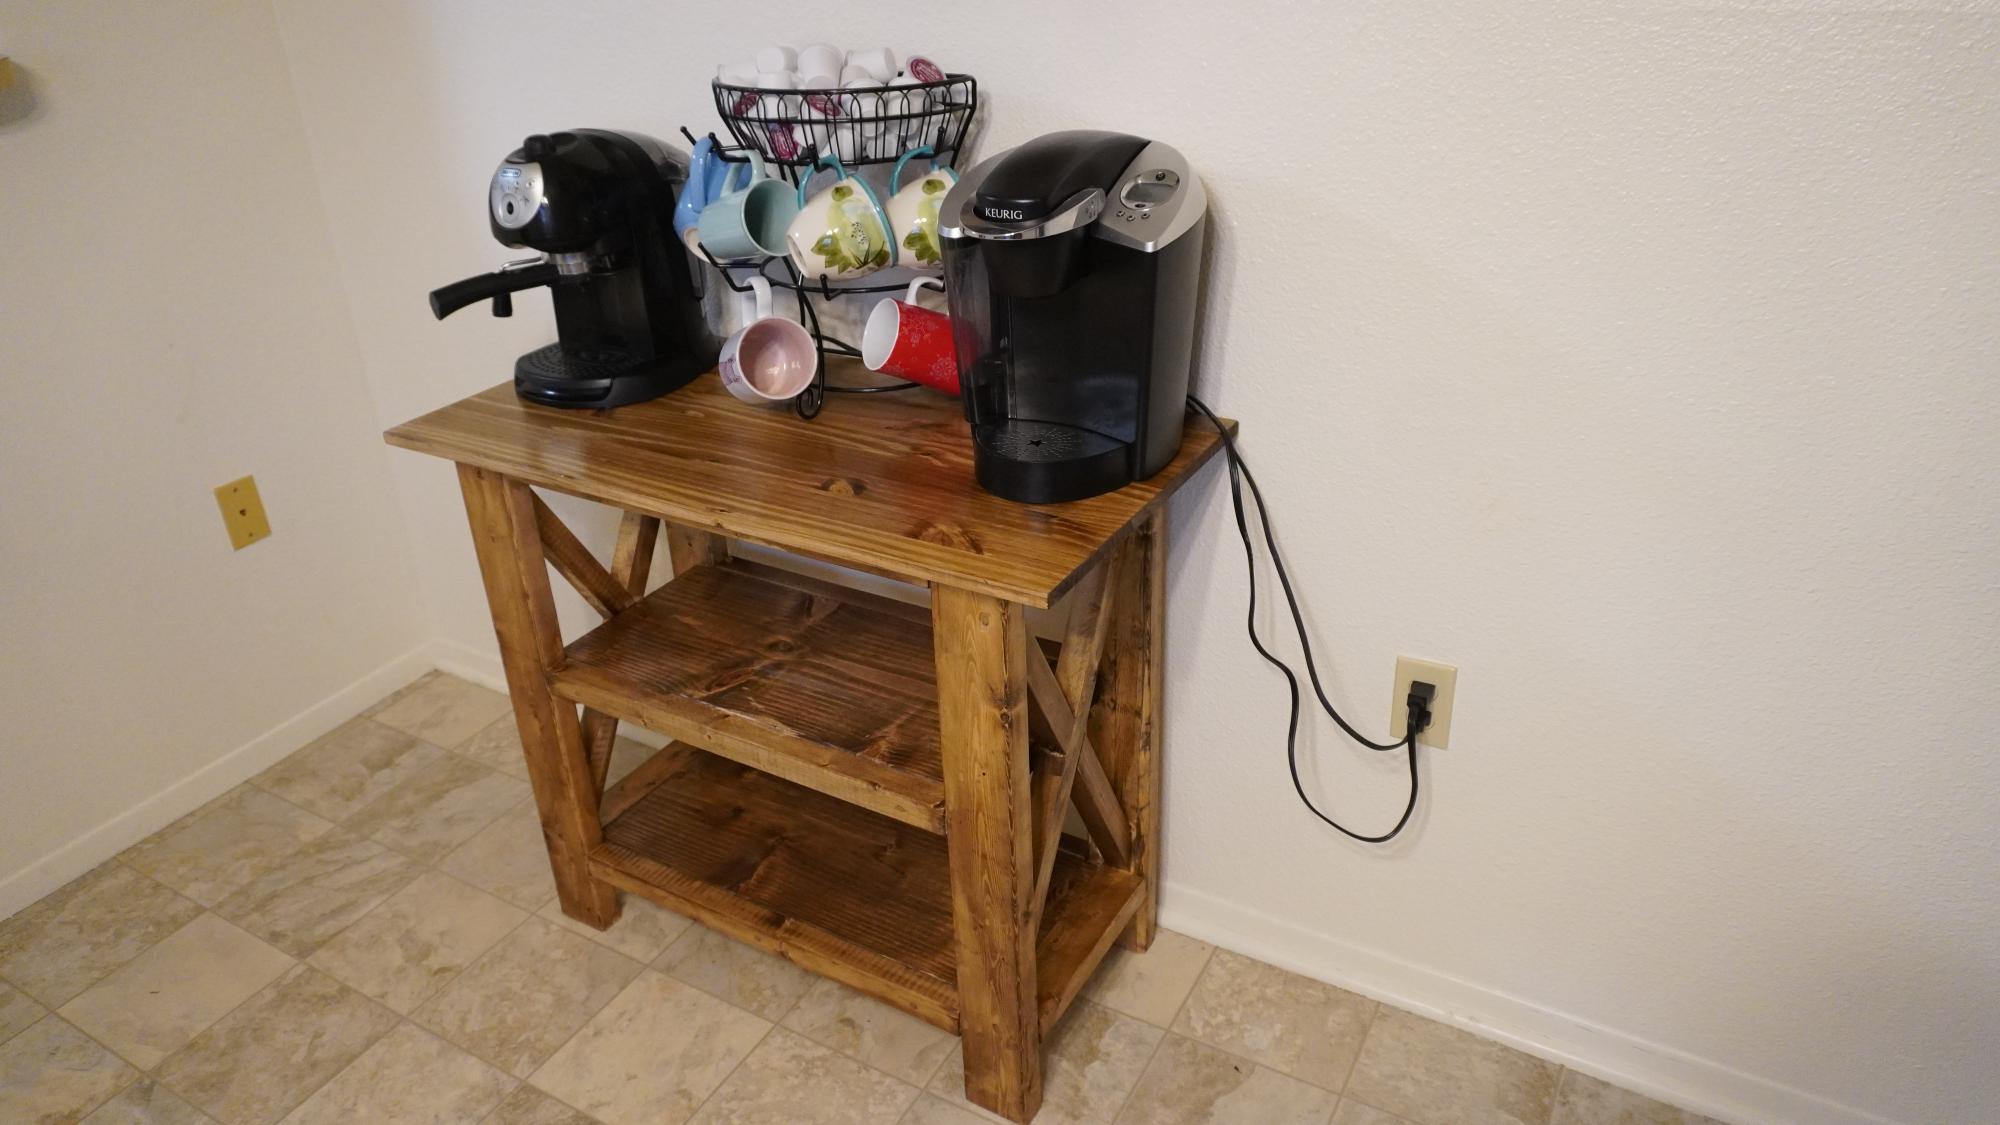
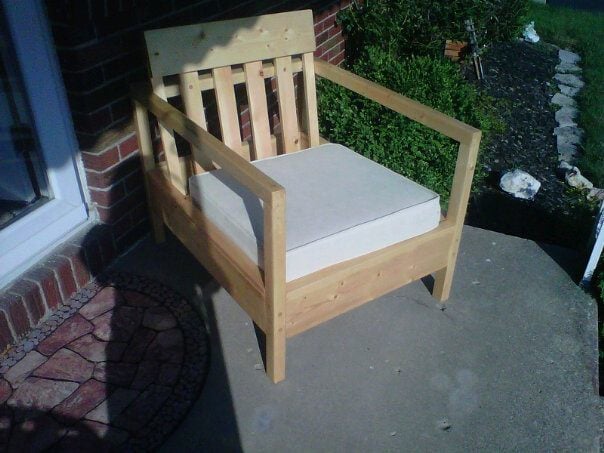
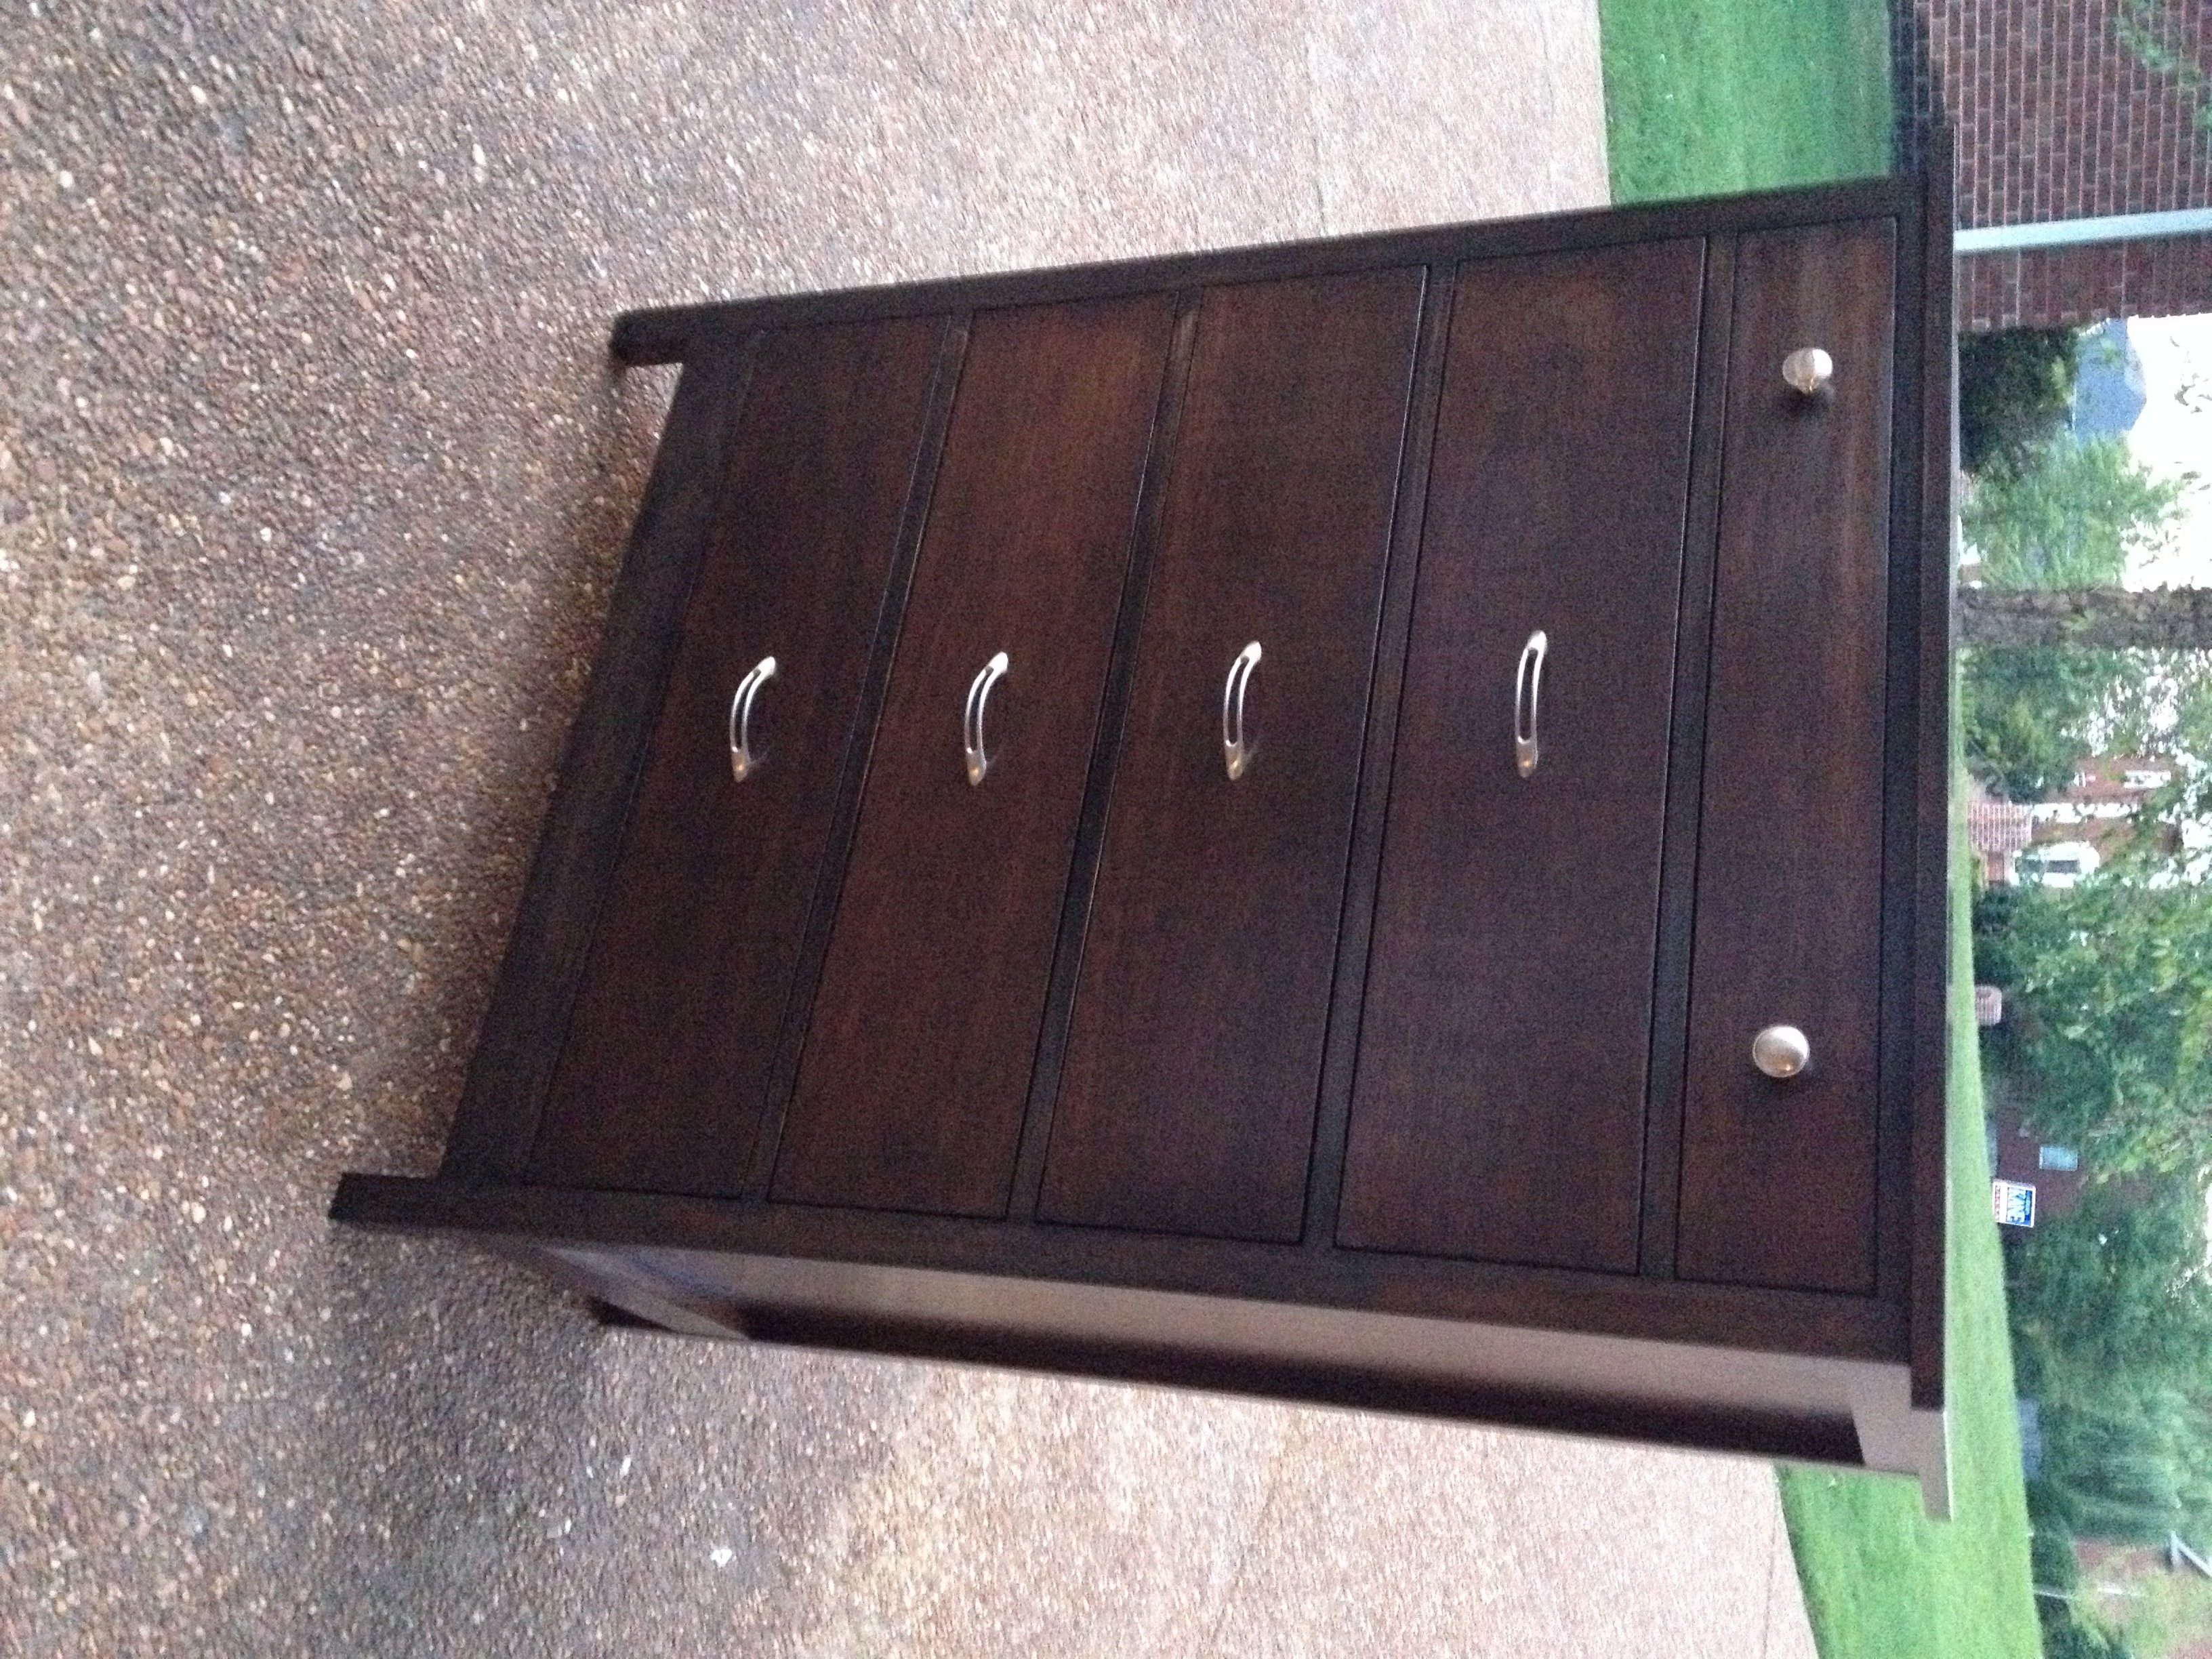
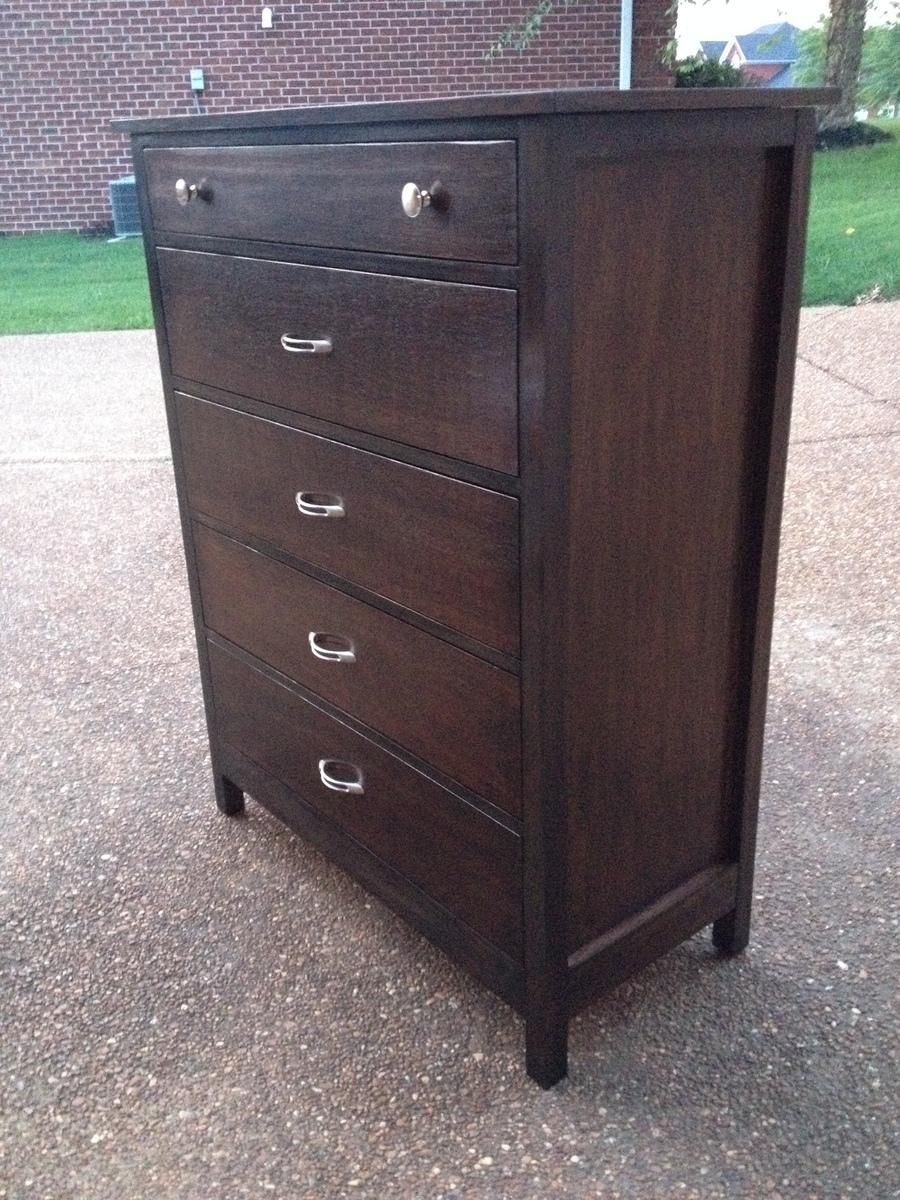
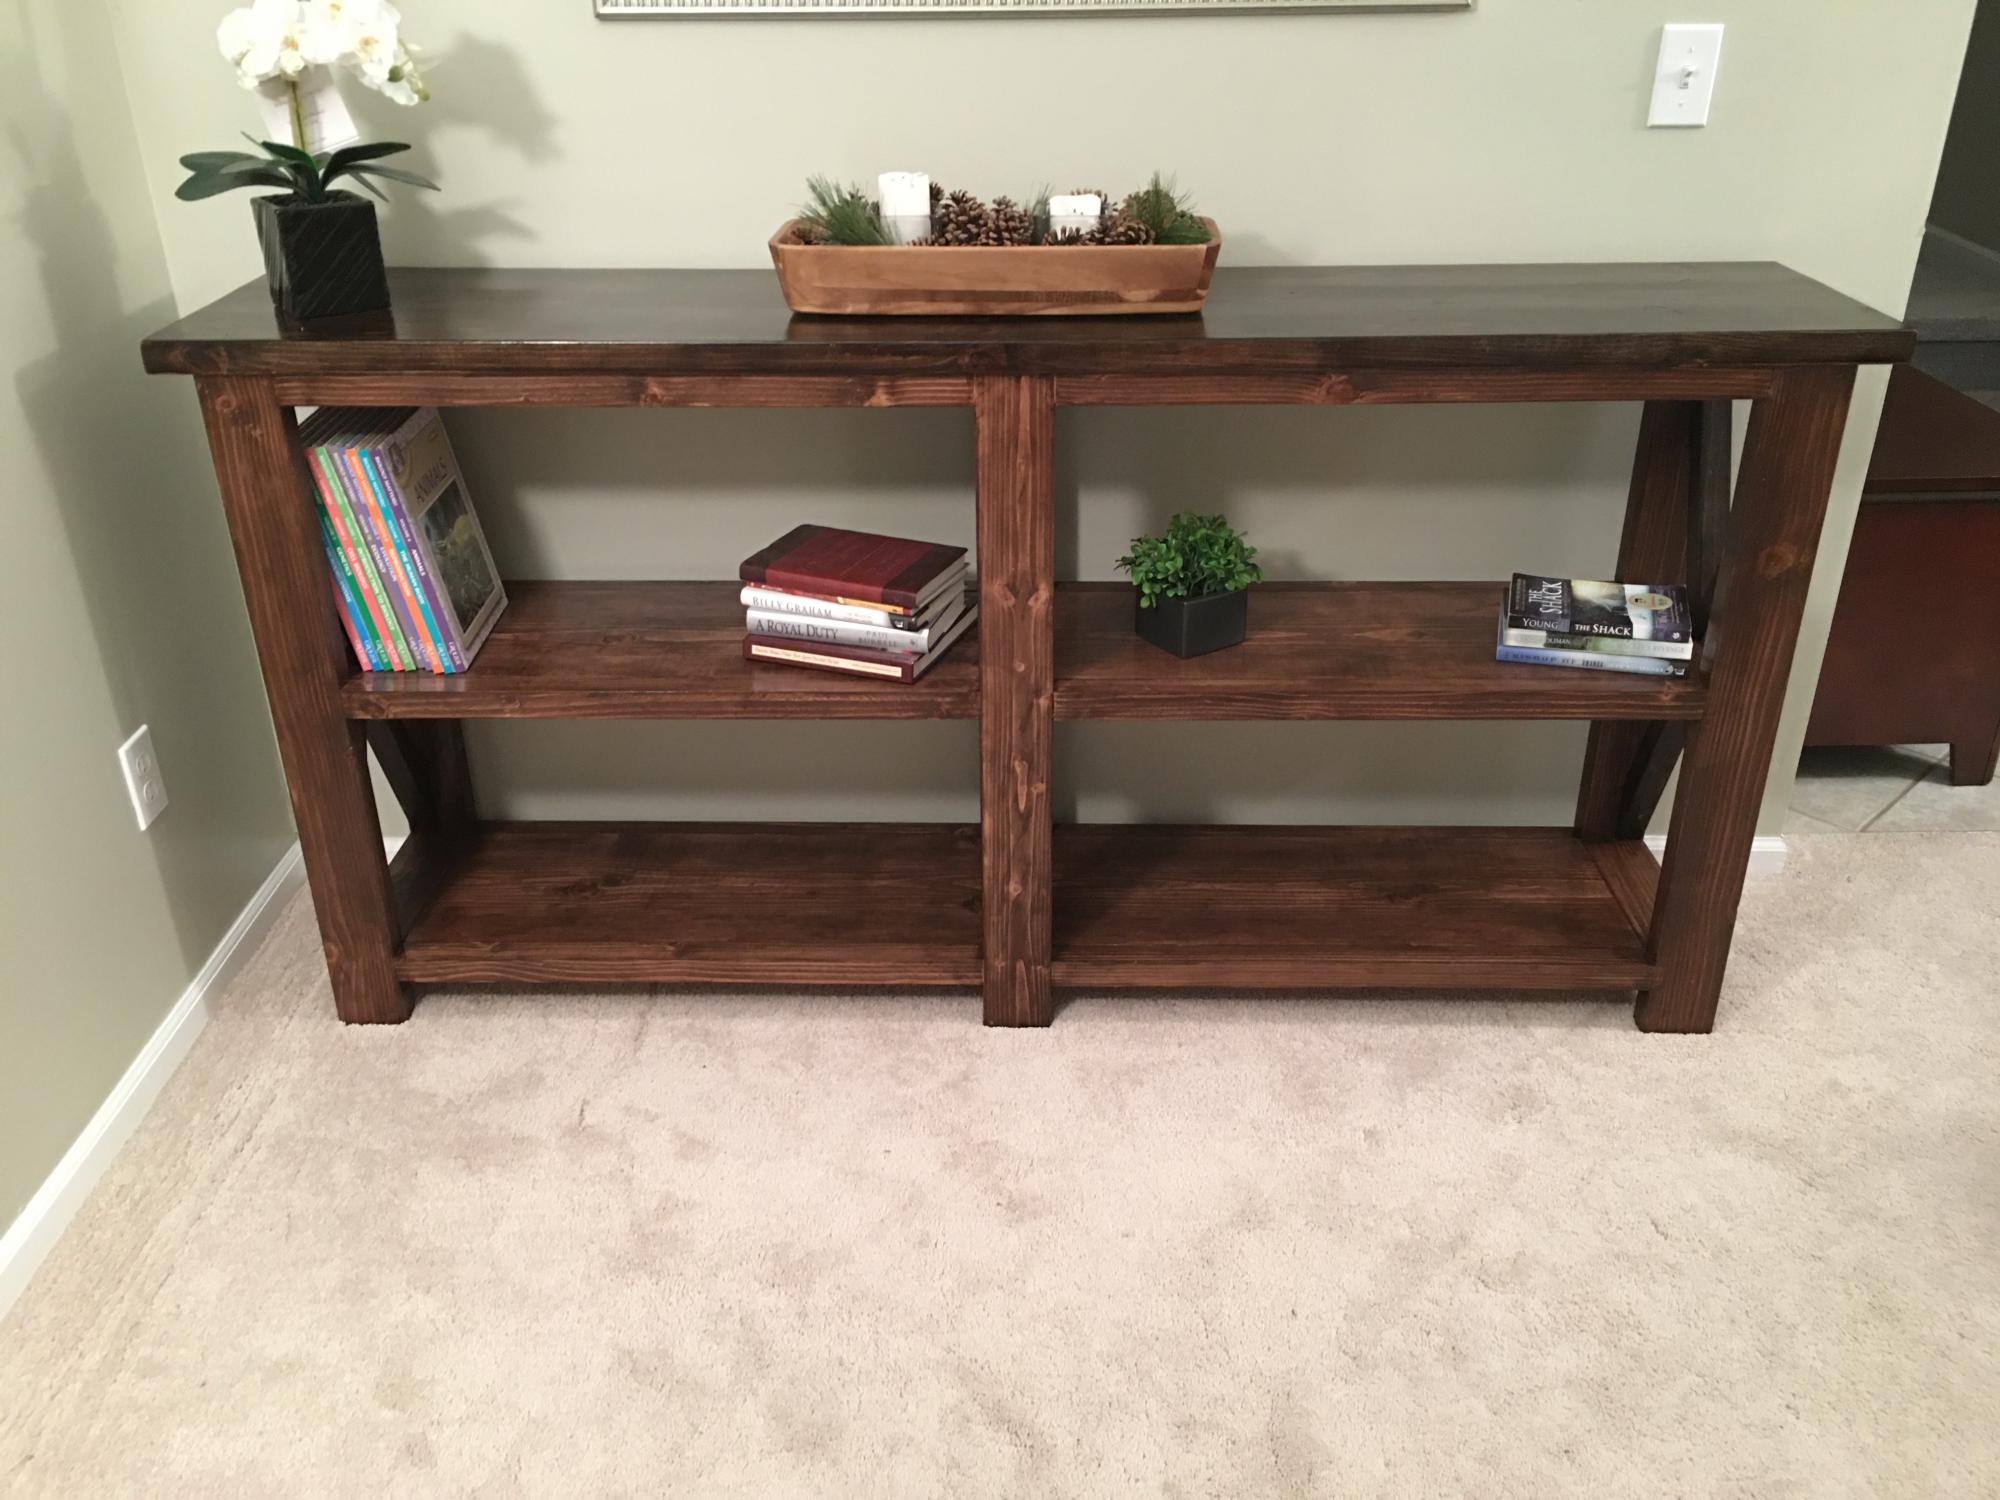
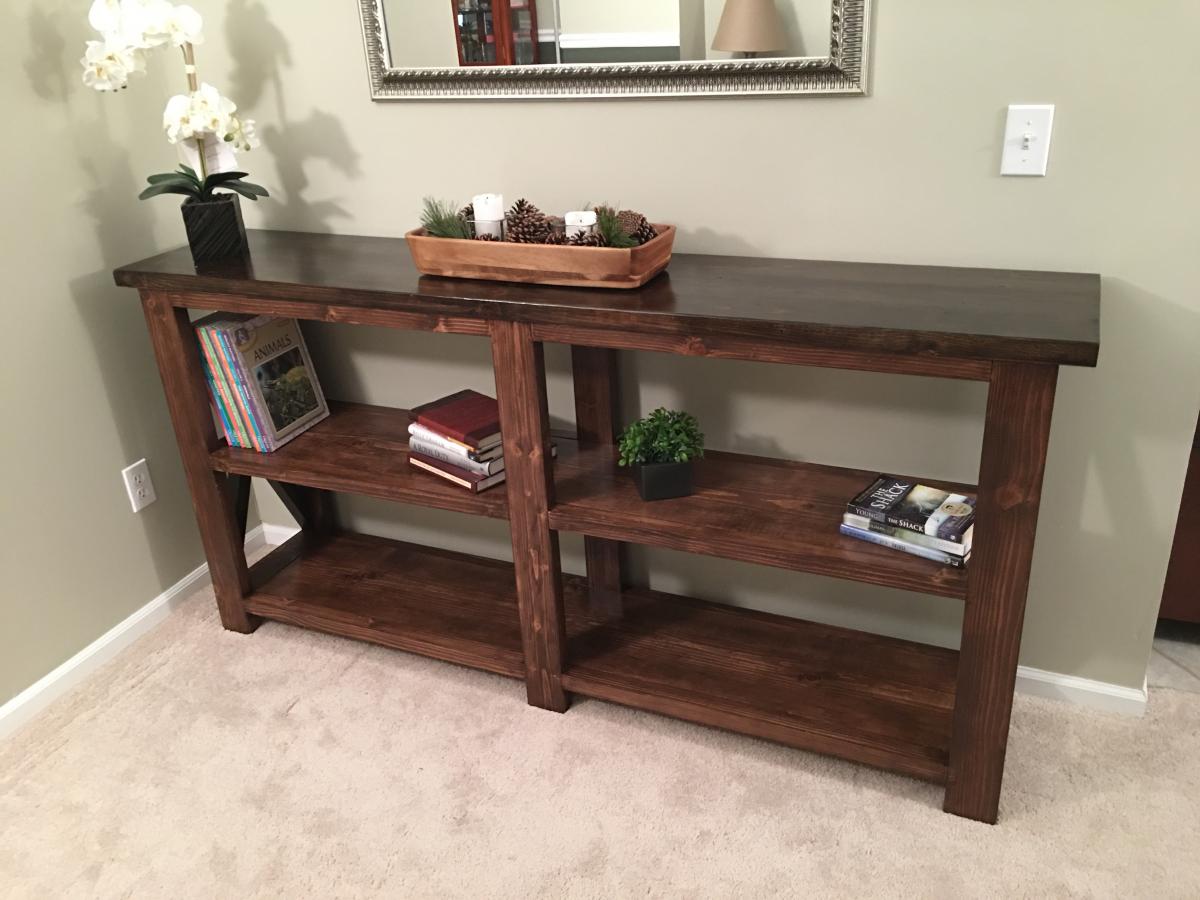
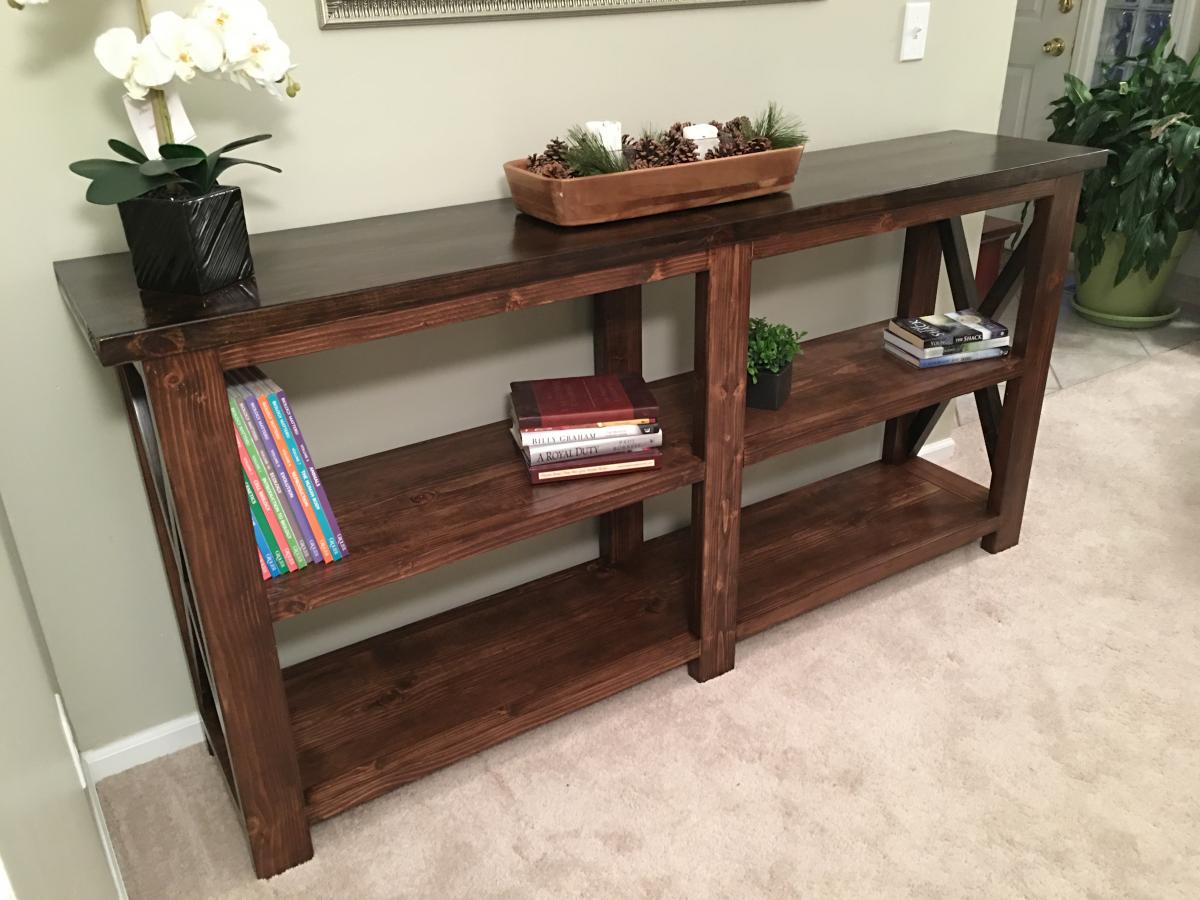
Great Corner unit

Hi,
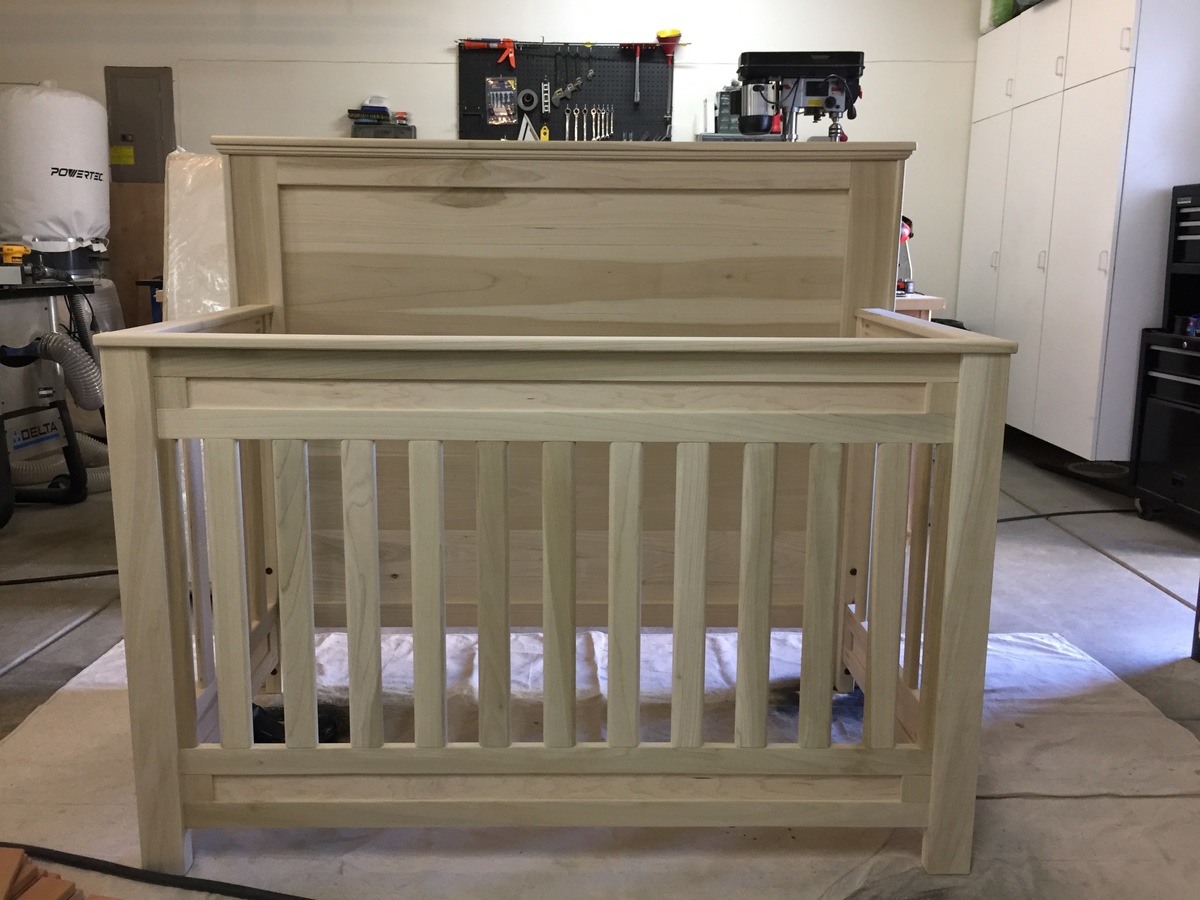
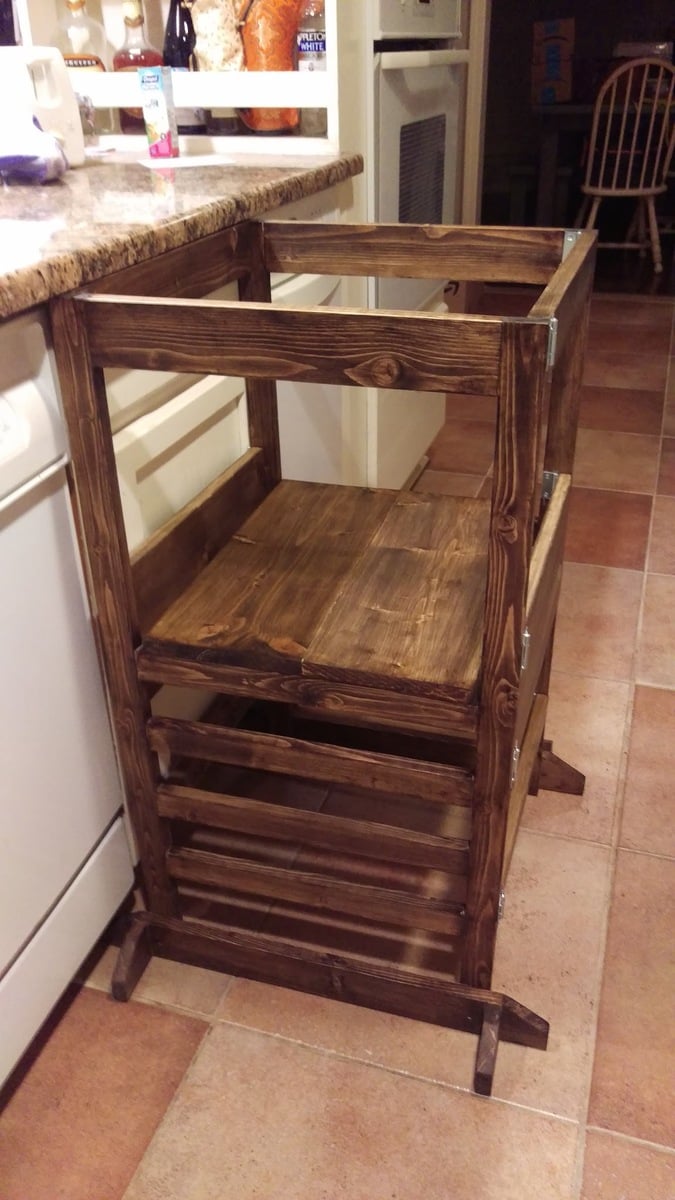
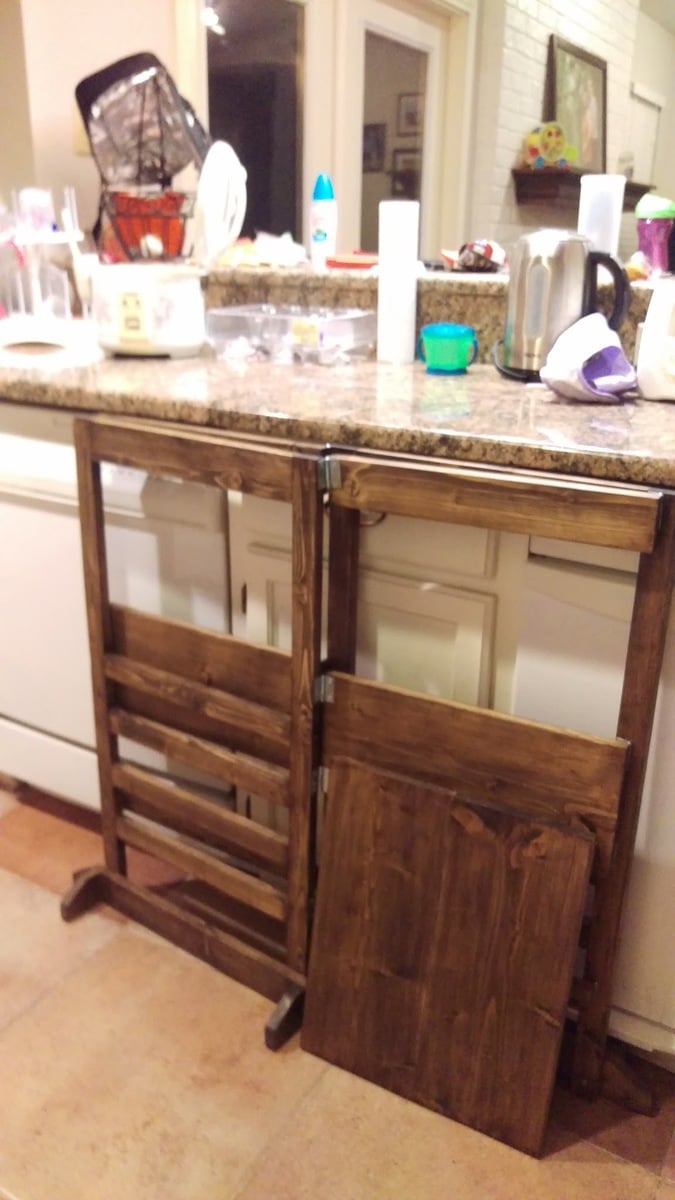
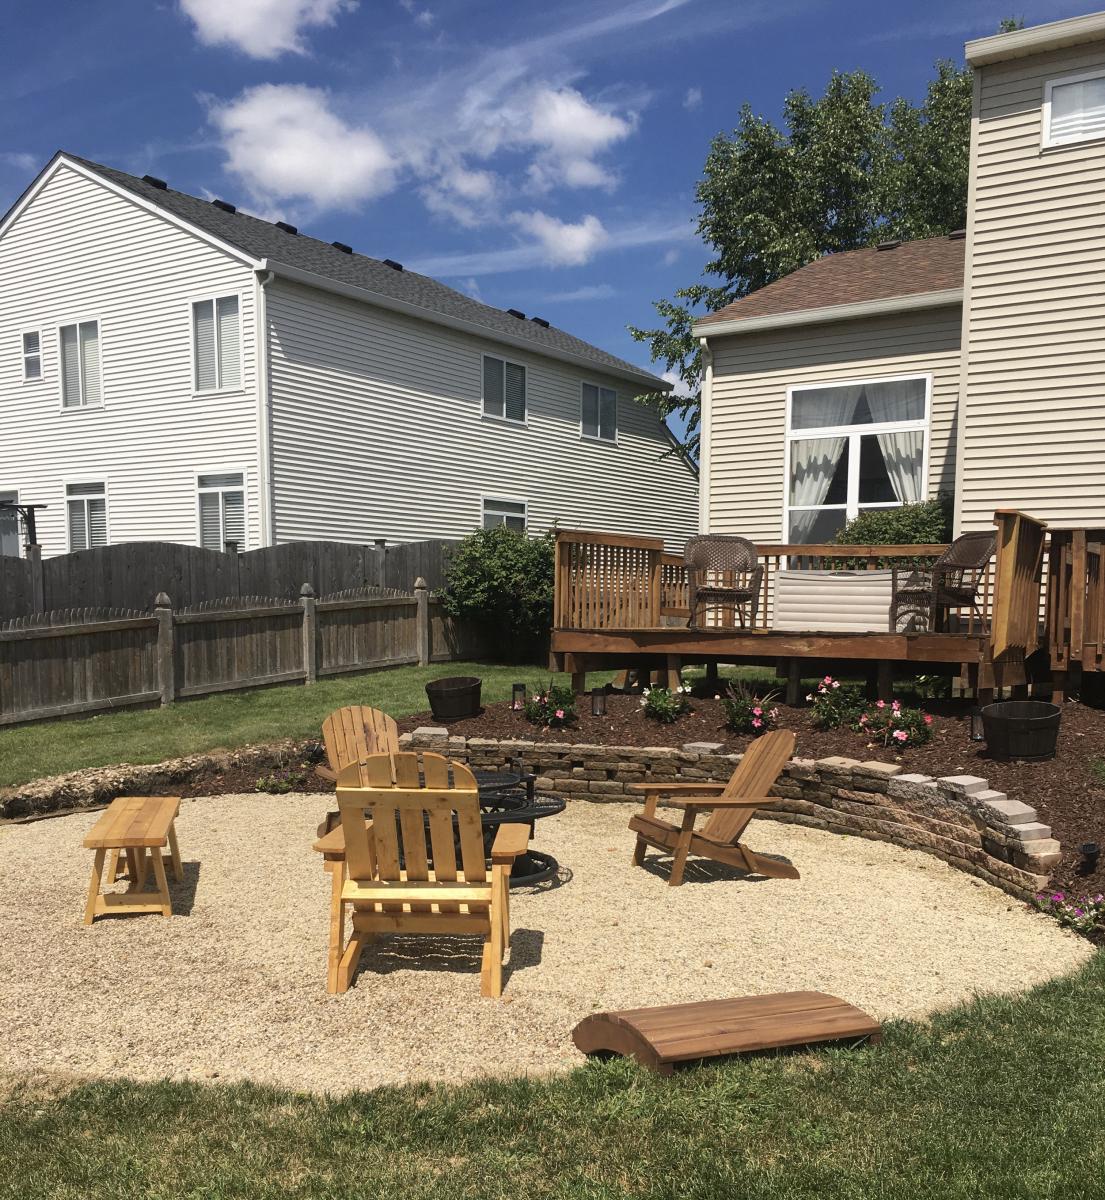
My name is Bas and I am presenting my first project to you.
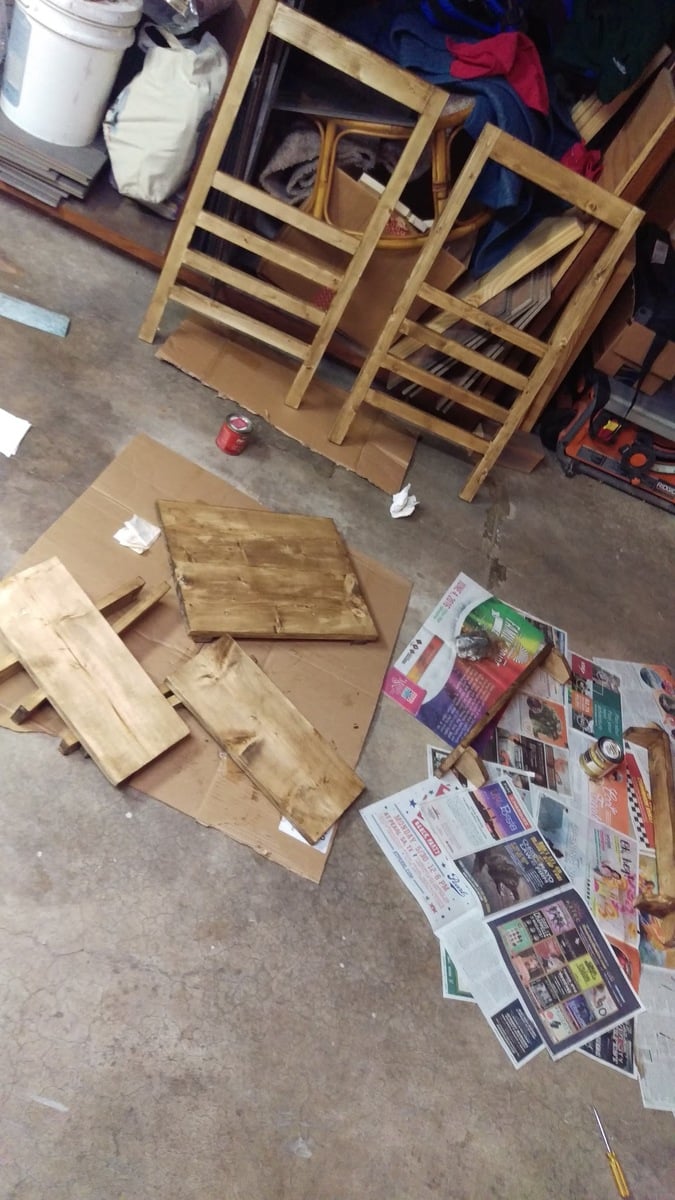
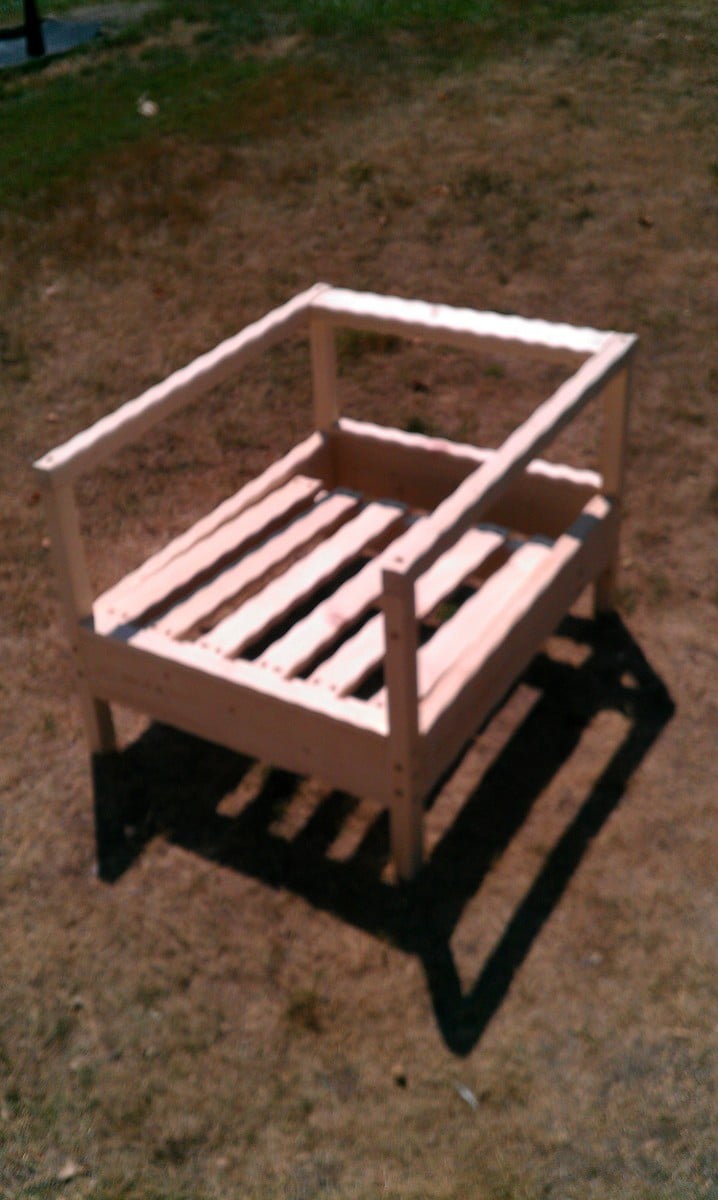
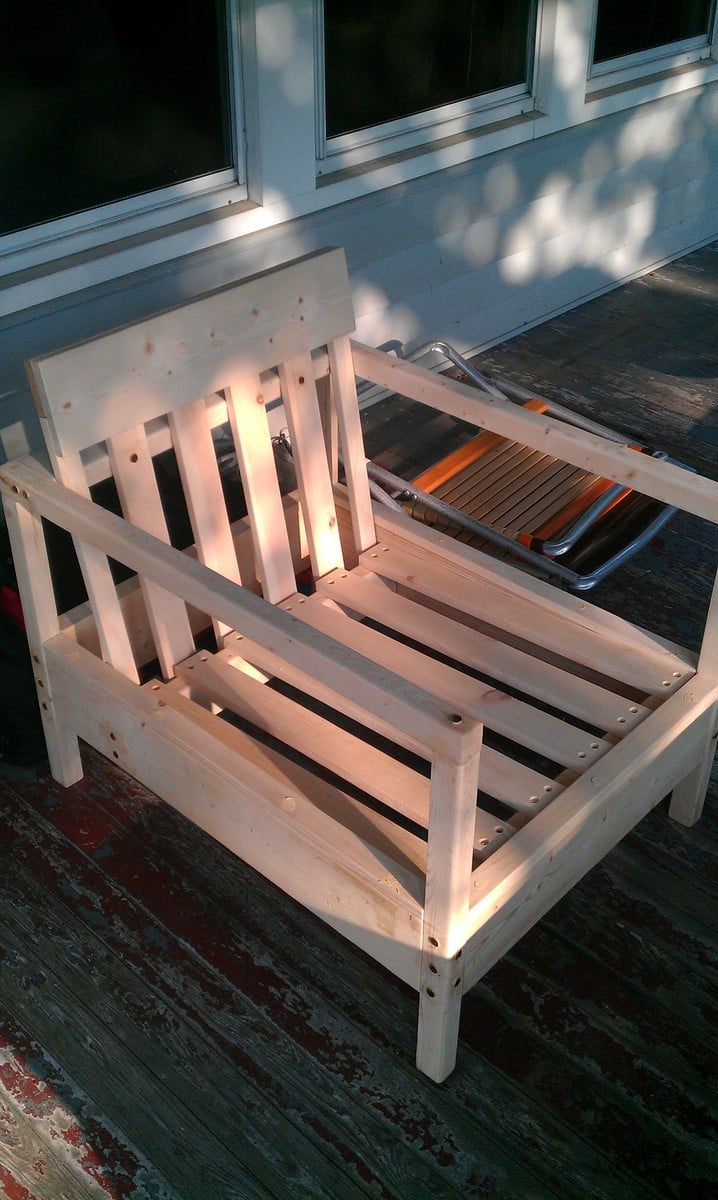
I am new to this website and after I saw all the beautiful handmade furniture I could not wait to get started. It started a few weeks ago, when I bought a single tablesaw for five dollars at a garage sale. Never having done anything with wood before I was pretty curious how I would be able to do this.
I started off a few nights ago by buying materials that are described on the shop list.
I had to work at night in a dark garage as I work during the day which made it a bit more challenging than expected.
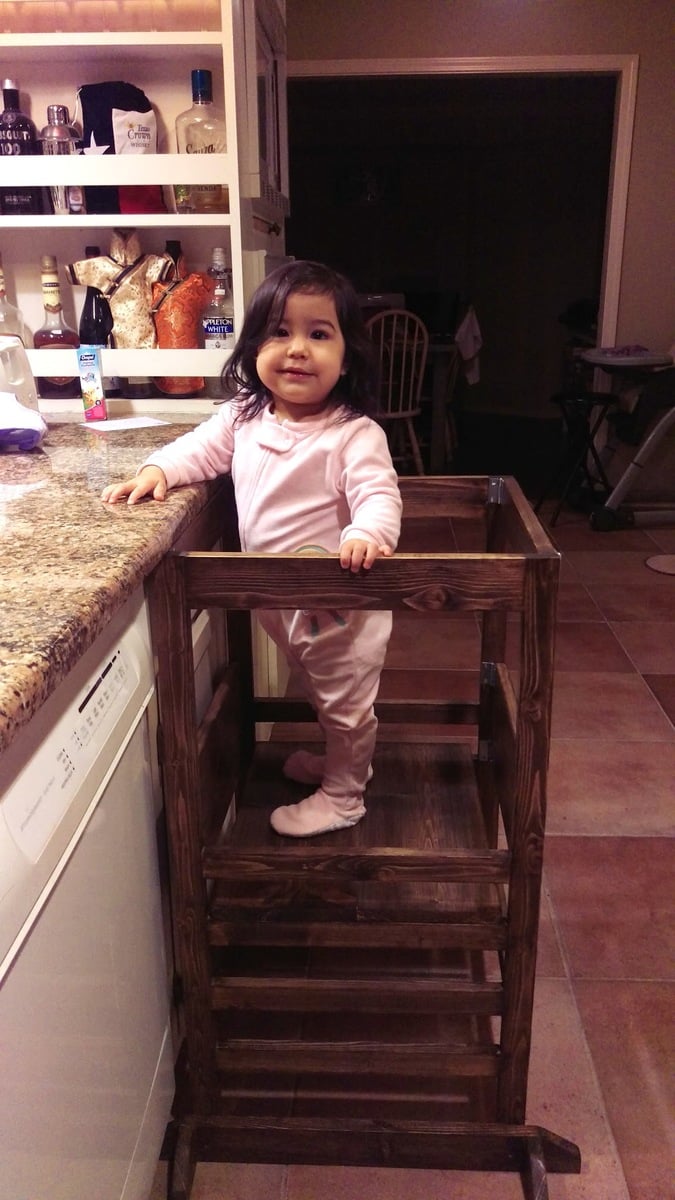
I just made sure to take my time and to do it step by step which in the end worked out great. I am very happy with the results and it's definitely a great addition to our home.
I've had a friend ask me to build her one as well, which I can't wait to start building.
Please let me know if you have any questions or feedback. Thanks to Ana White and all those others that have inspired me so far.
Bas


Comments
spiceylg
Mon, 10/01/2012 - 18:44
Nice
Beautiful job, especially for a first project. I'm always amazed when people take on big projects for their first one. Welcome to the community!
Pam the Goatherd
Mon, 10/01/2012 - 20:35
That looks really good! I
That looks really good! I would never have guessed this is your first project.
bas.beer
Tue, 10/02/2012 - 12:18
Thanks
Thanks for sharing your feedback, much appreciated.