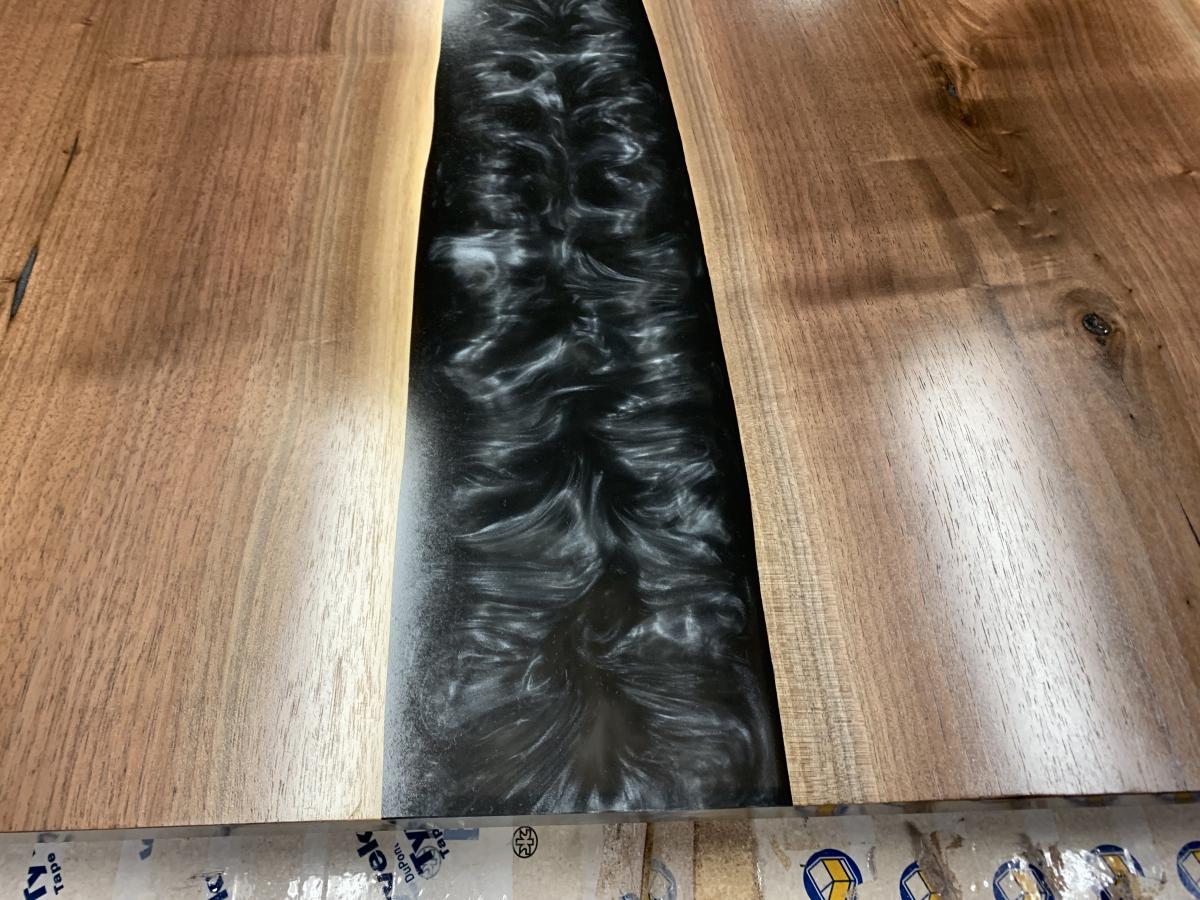
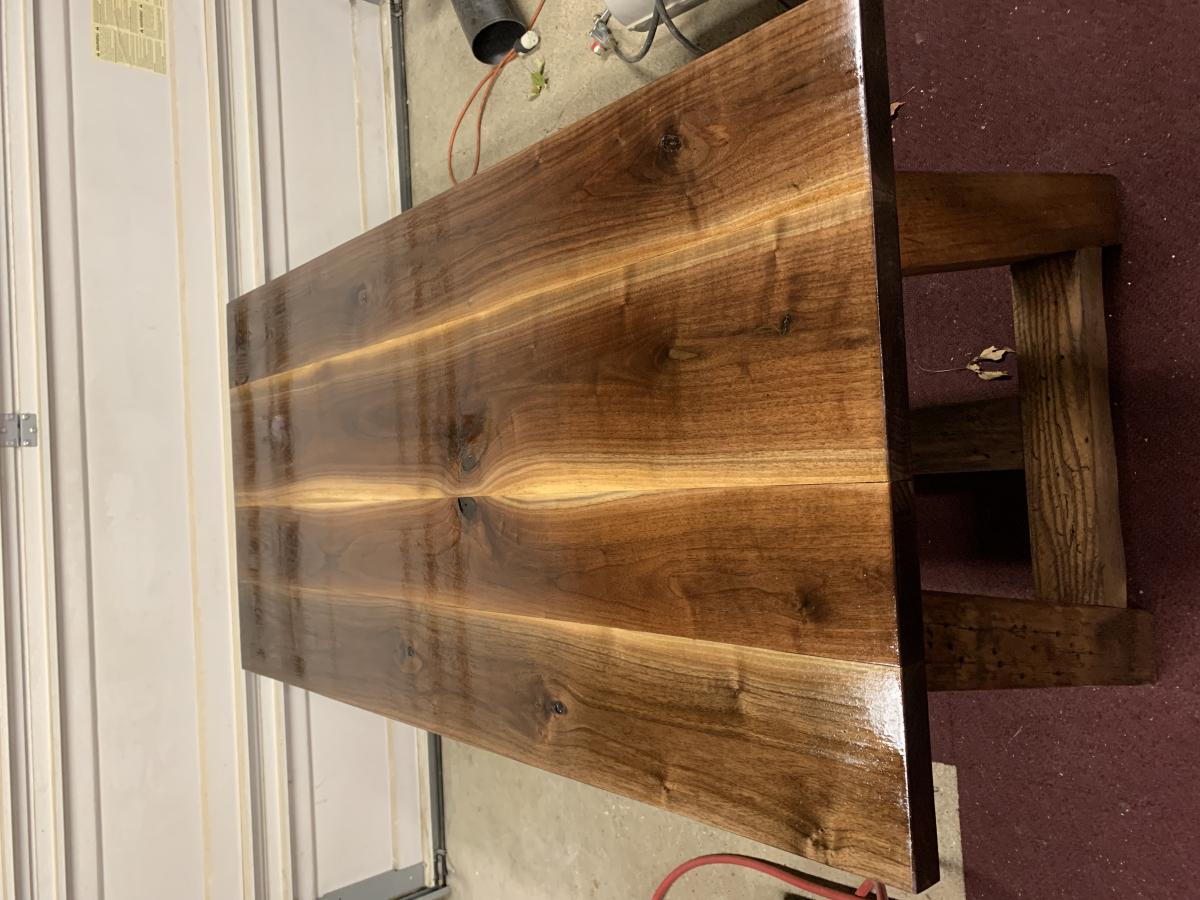
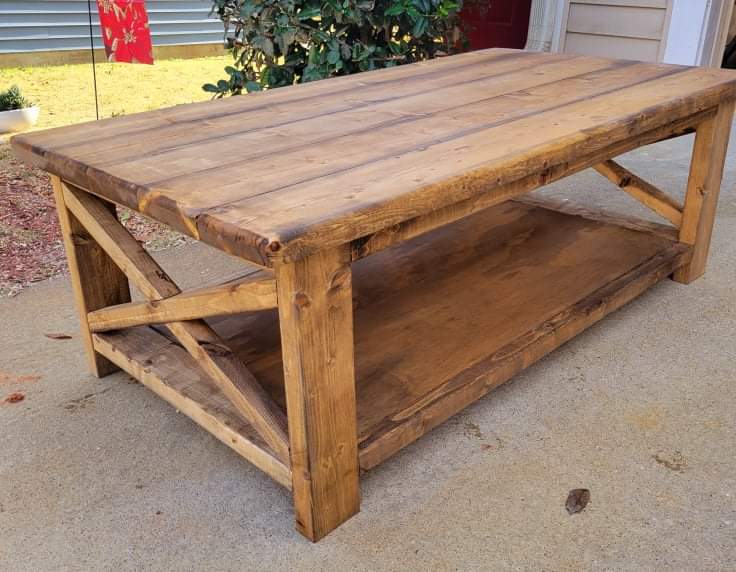
Farm table

I used some of the measurements that I found on your site and downsized them to fit my needs. The table was a wedding gift for my granddaughter. She and her new husband were very pleased. Thanks for your help.
Built from Plan(s)
I used some of the measurements that I found on your site and downsized them to fit my needs. The table was a wedding gift for my granddaughter. She and her new husband were very pleased. Thanks for your help.

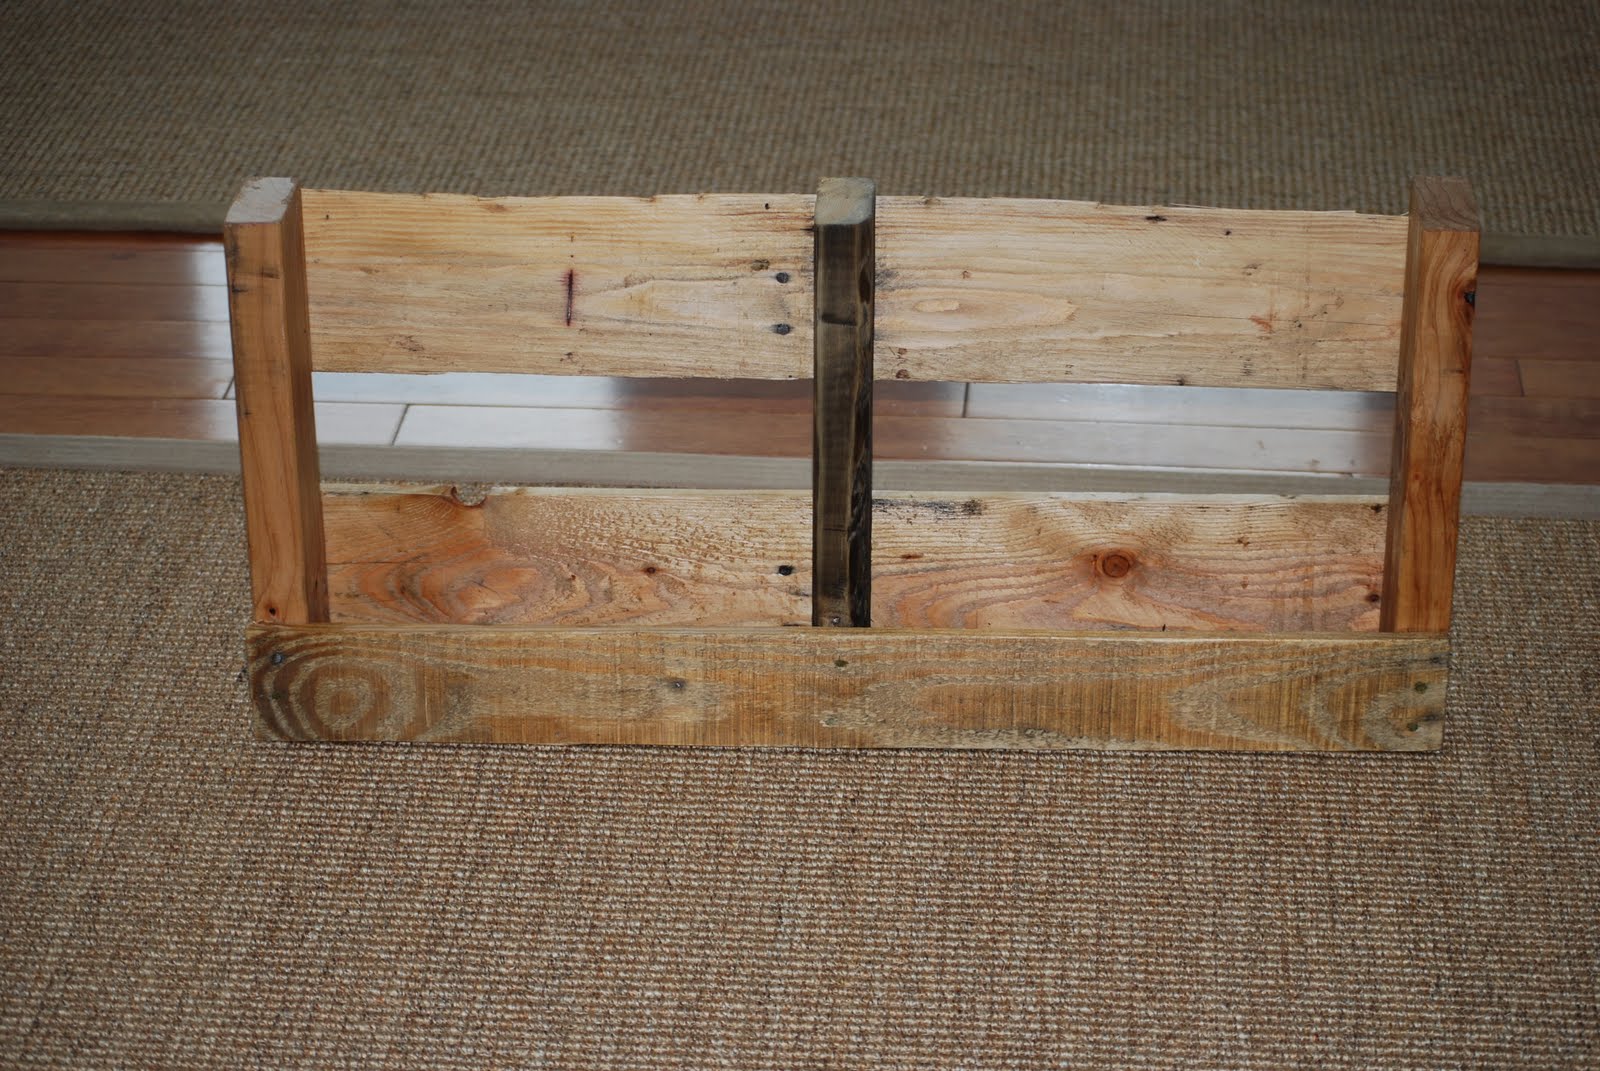
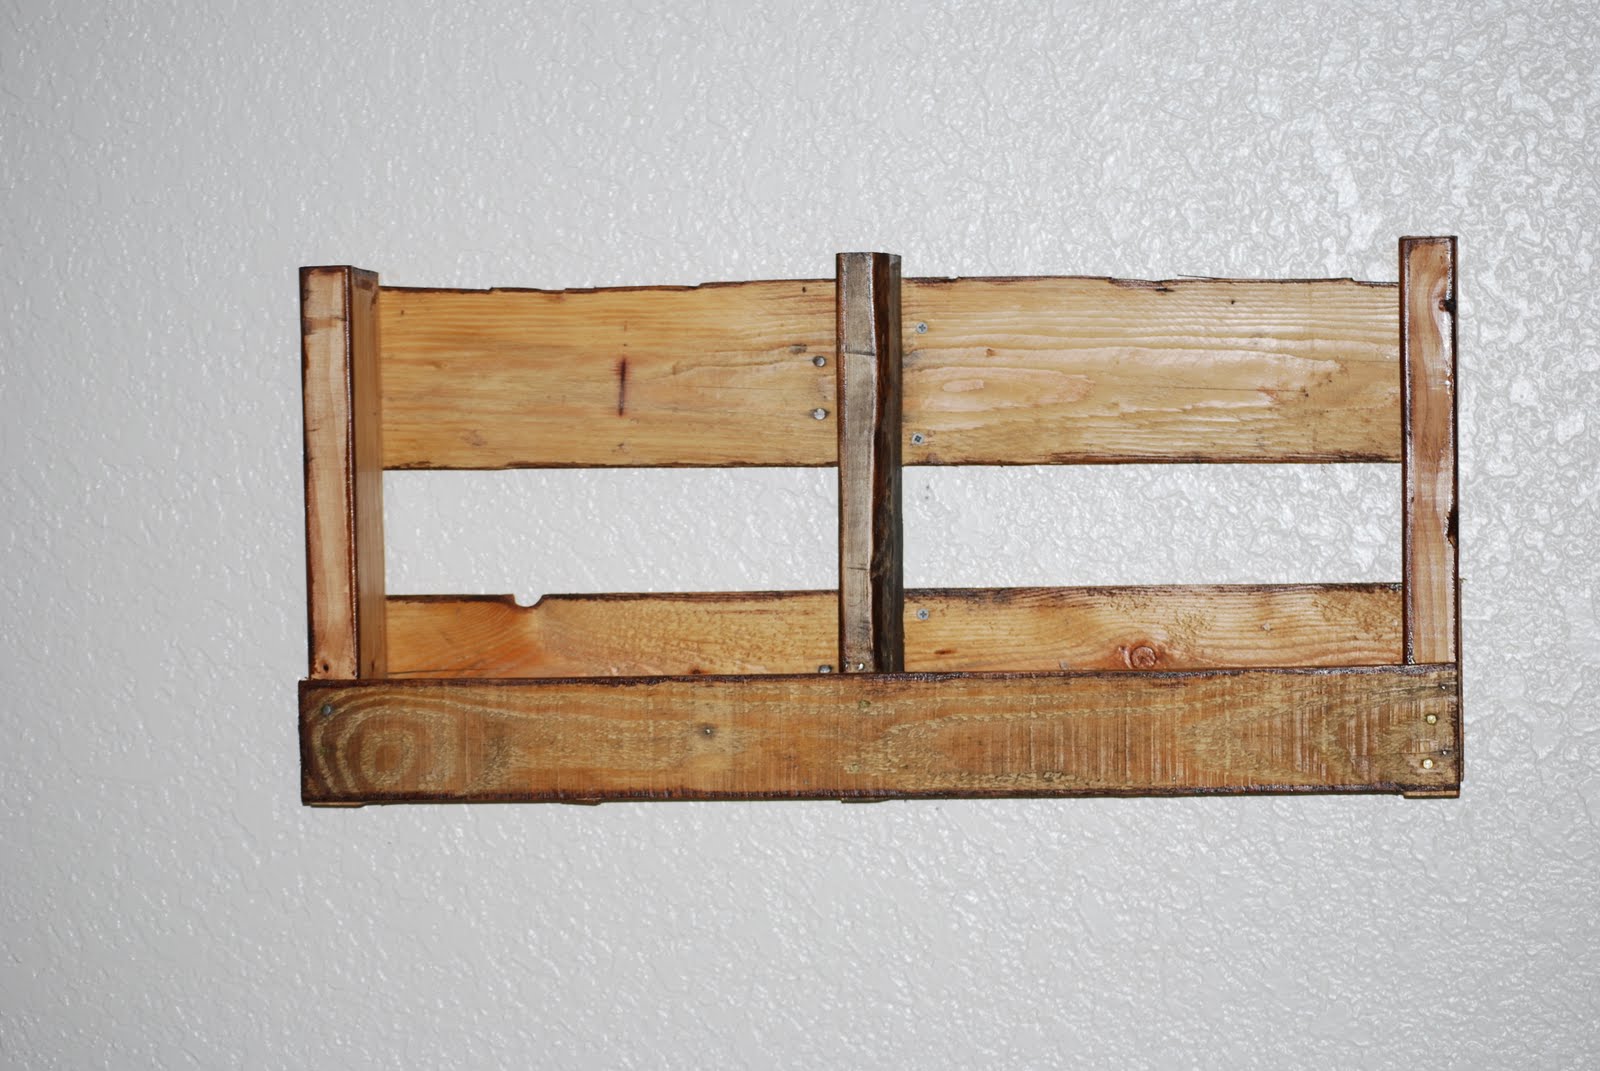
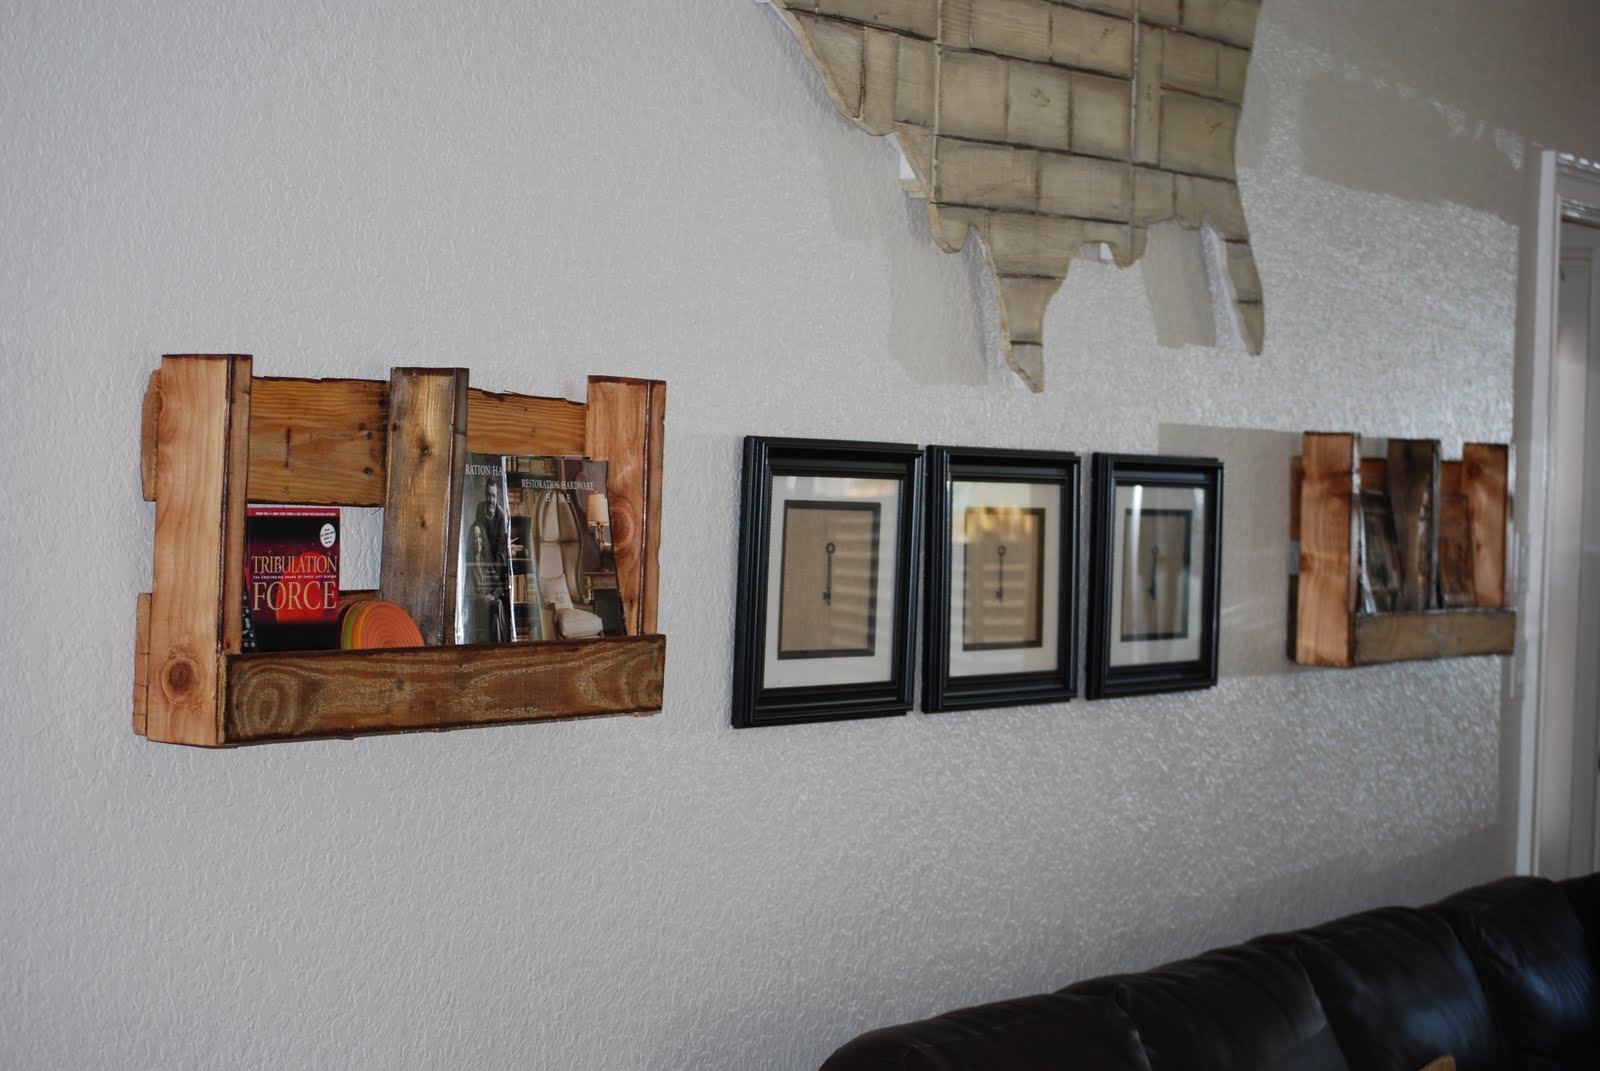
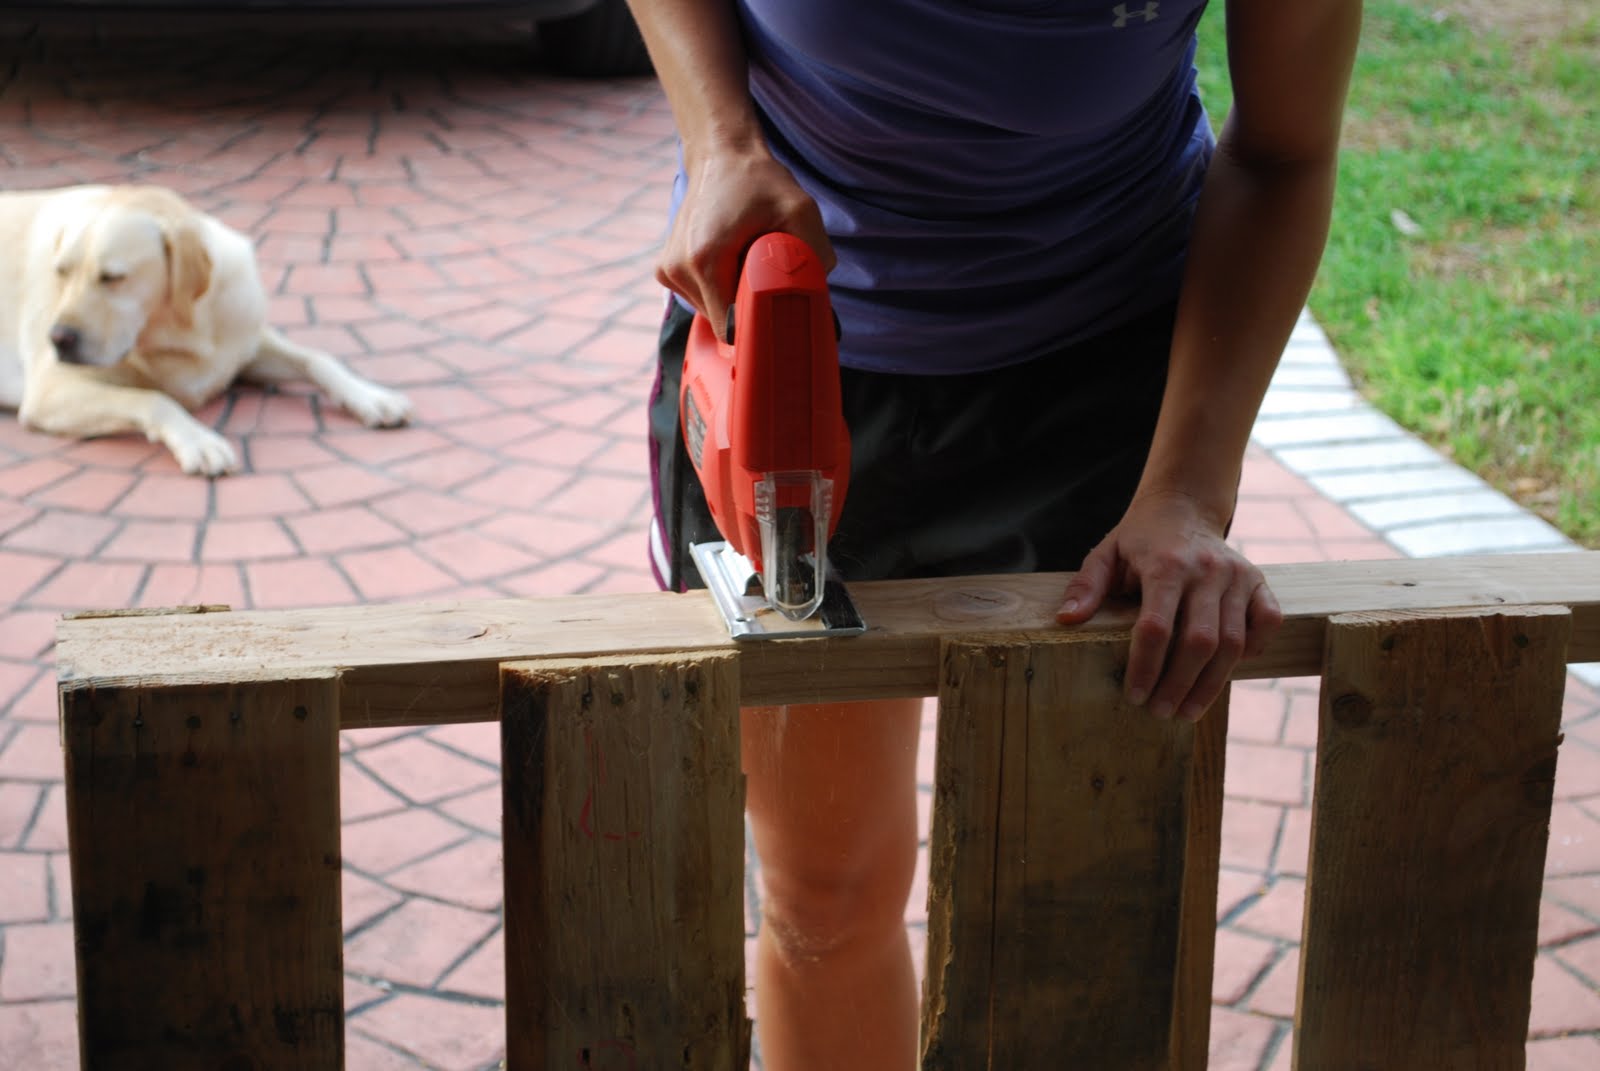
I made these two pallet shelves to go in my living room to hold all of our magazines, coasters, and remote controls that were constantly getting left all over the place. They've been there for almost a year now, and they work so well!
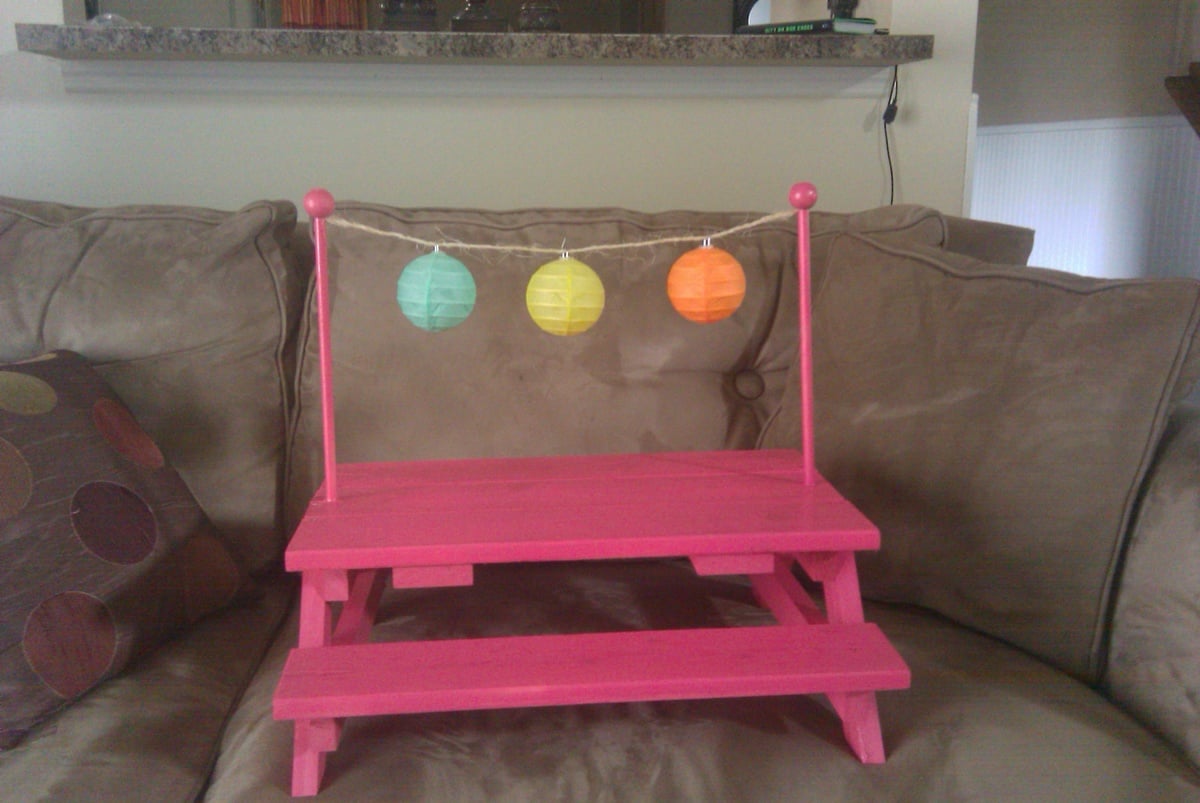
I did this project as a Father's Day gift for my dad who is a photographer and has lots of pictures! I plan on making another one for my house because I like it so much. Mine took longer than it should have because I made a few mistakes, like not making sure the pocket holes were facing the right way before I screwed the main frame together. I also accidentally measured and drilled in the twine screws on the wrong side and had to fix that. So if i had done everything right the first time, this project would have only taken a few hours to complete. Fun and easy to do!

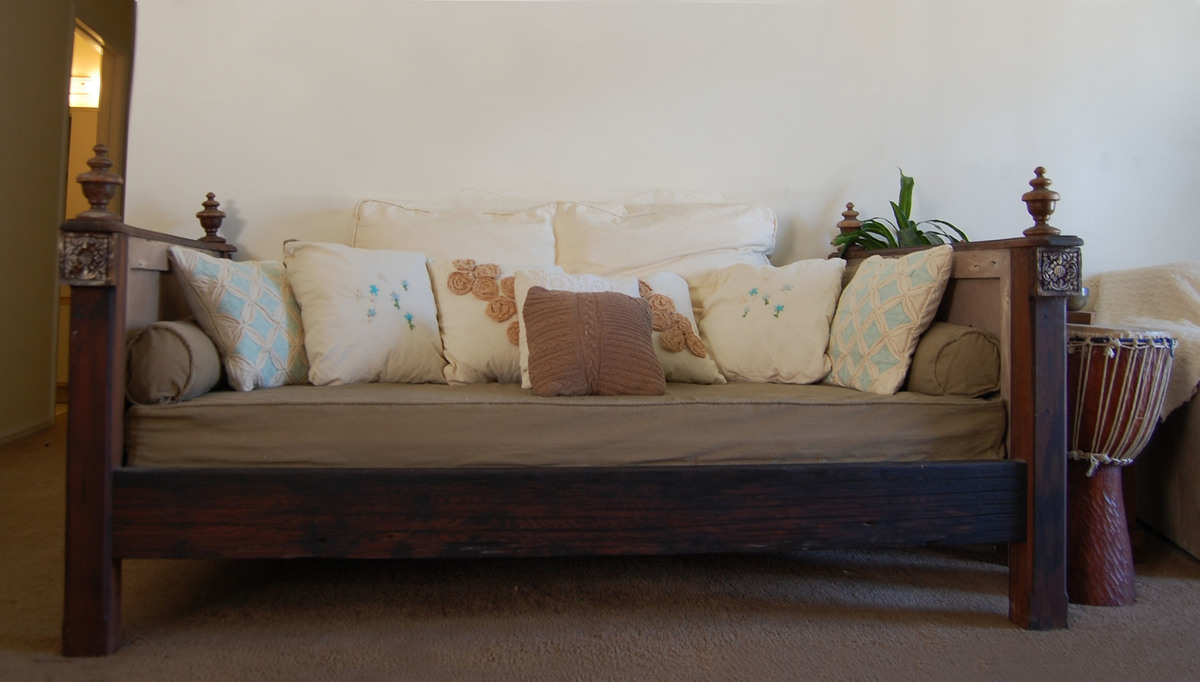
I originally planned to make the Lydia daybed as is, but we decided to make it with reclaimed materials after being inspired by redwood we found that had been salvaged from old pickle barrels. We ended up with chunkier posts for the legs (3 1/4" by 3"), and used a thick solid piece of wood for the front (2"x 7 1/2") , which did change the dimensions of our project a bit. We attached an old shutter to the plywood for the sides, and found salvaged bed post tops for the tops. We left off the scalloped edges because they seemed too delicate for the look we had going. Also, my husband had fun with his new router on the edges. We decided to use 1x8's for the slats under the bed b/c we thought it would give more support to the latex foam we had used instead of a traditional mattress. Because we move a lot, we wanted to be able to take the daybed apart if necessary. We attached the sides to the daybed with bed rail brackets. I posted more about the daybed on my blog. Sewing the cushions/pillows took much longer than making the actual daybed!
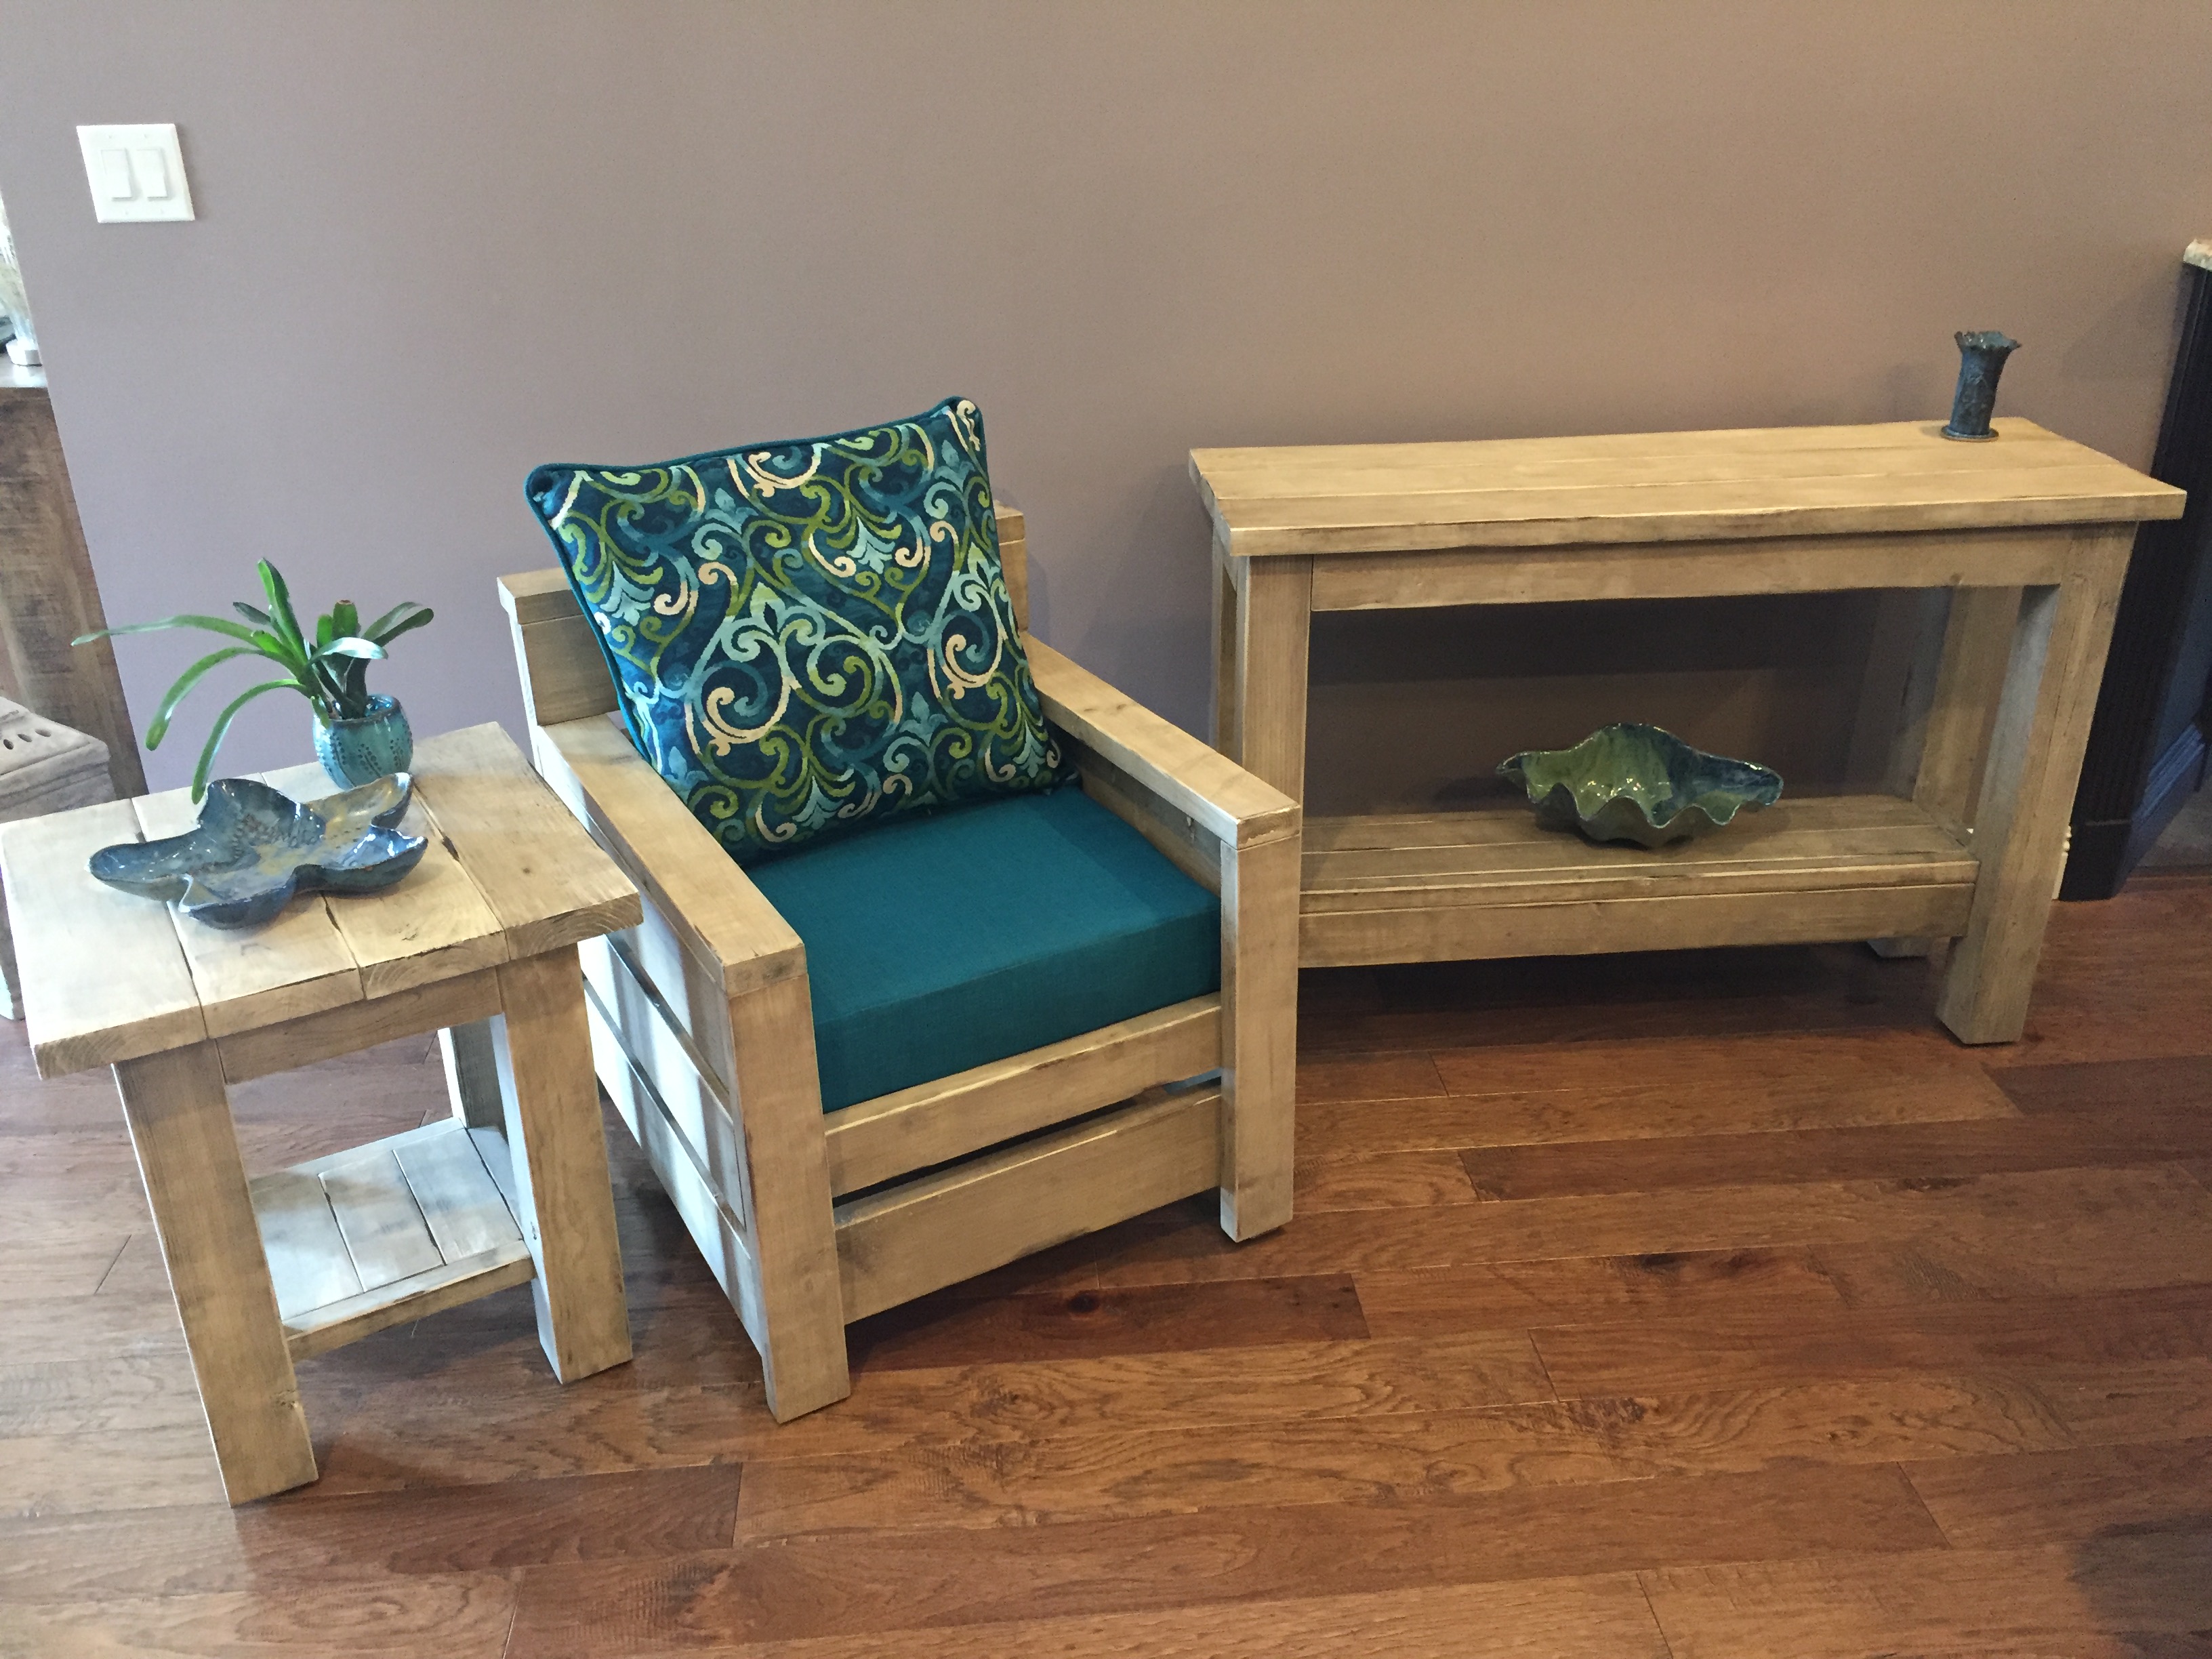
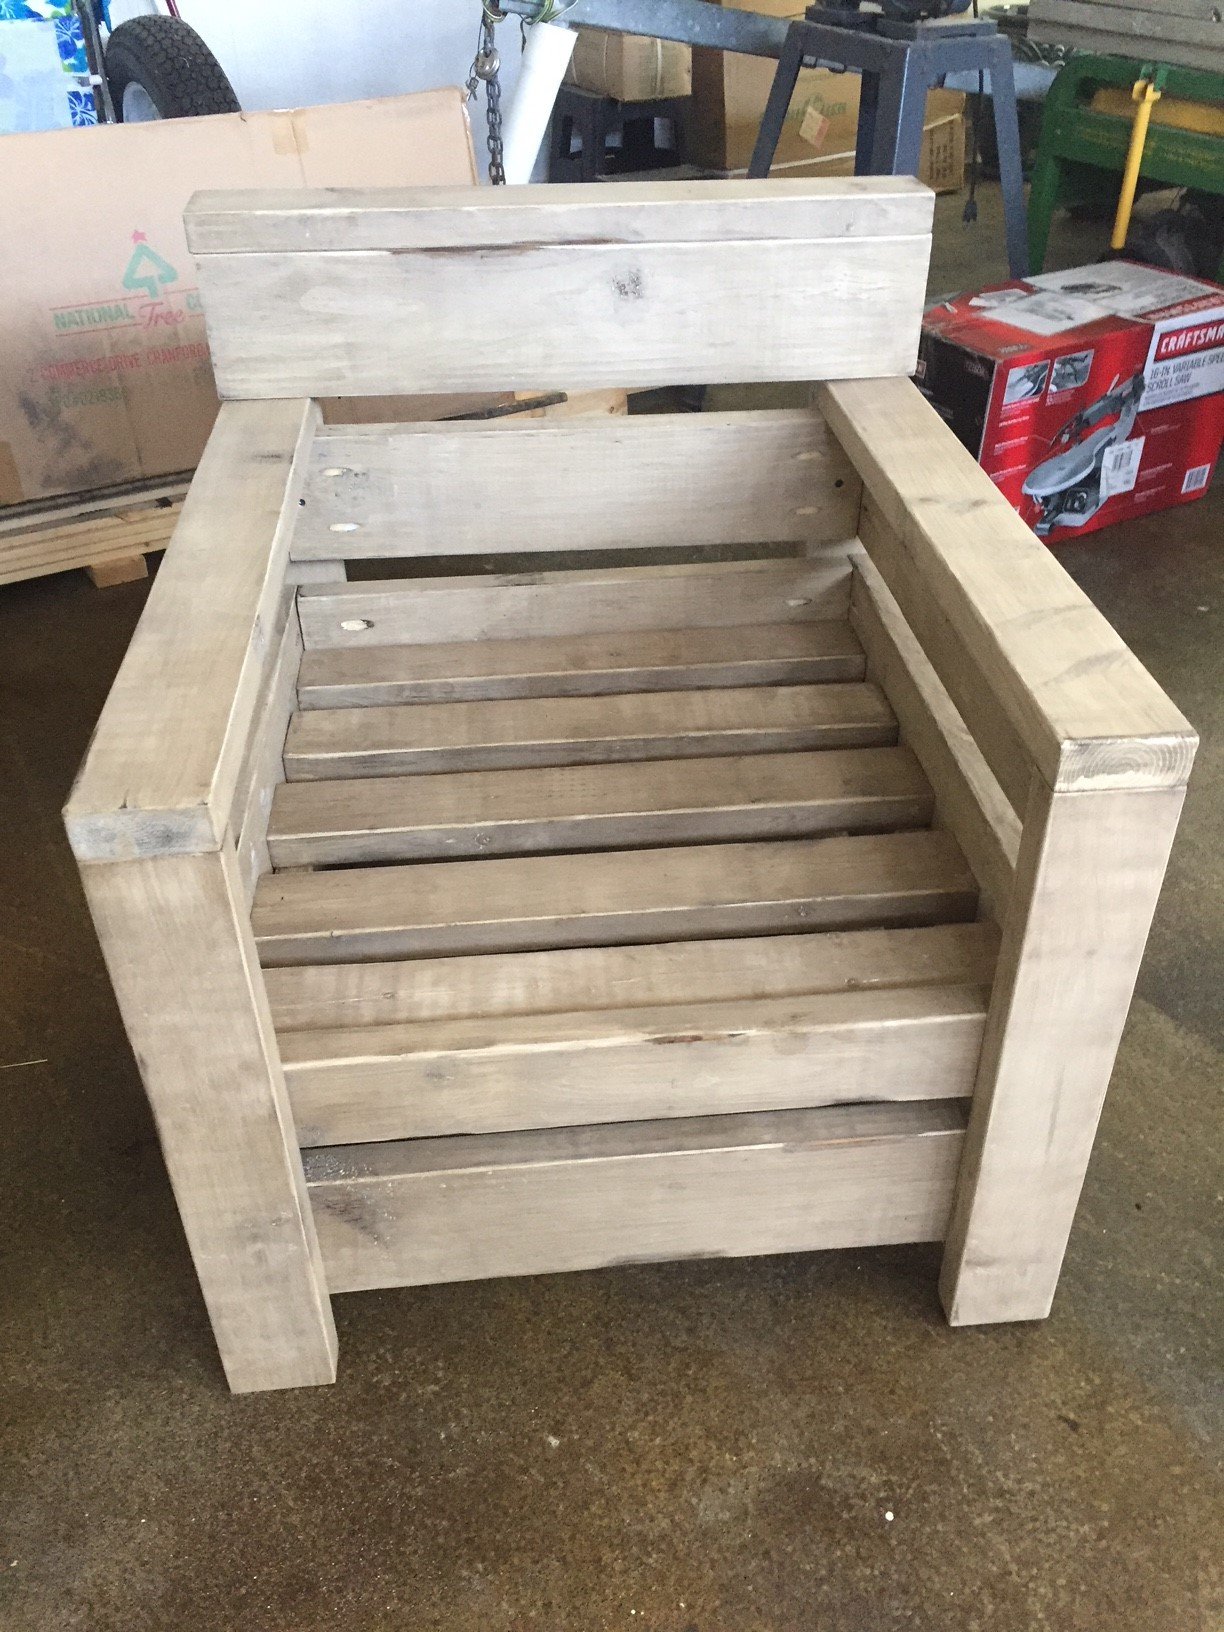
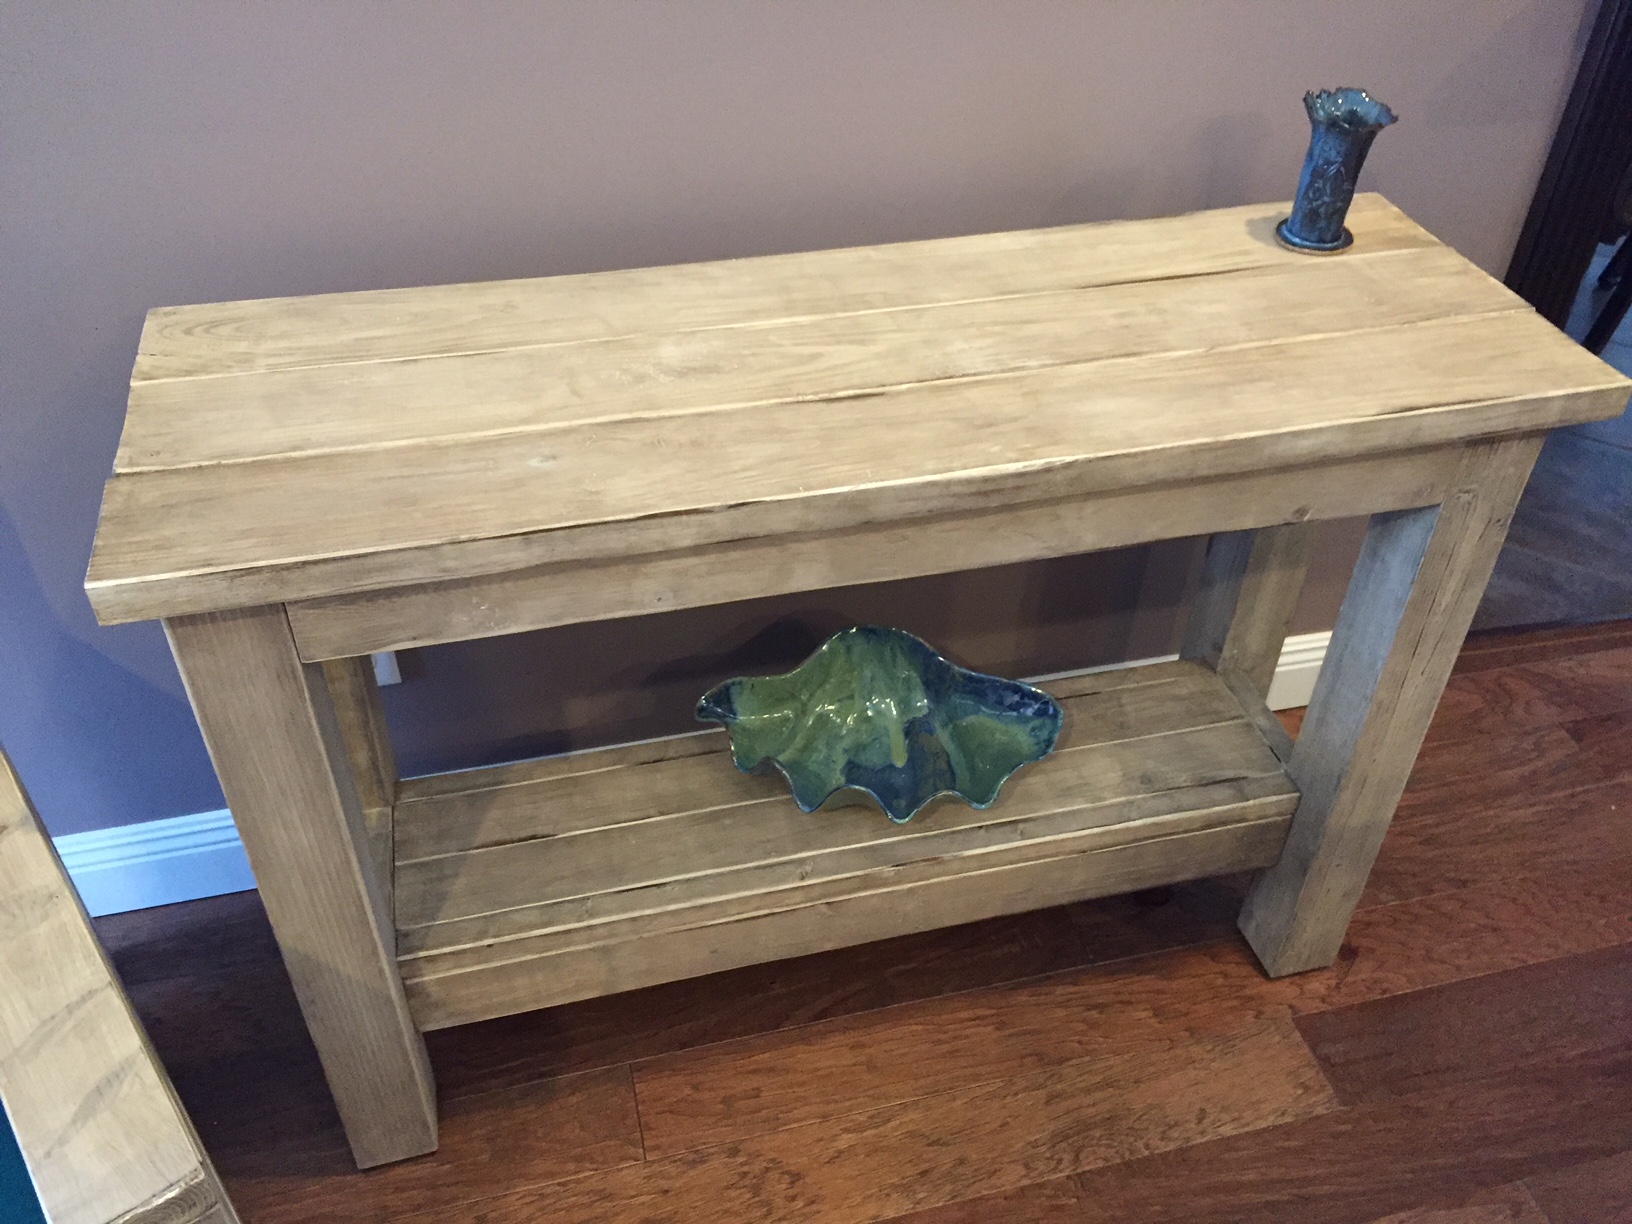
My mother had a cheap particle board sofa style table on her back porch that was coming apart. She said she'd like to replace it, so I told her I would her one.
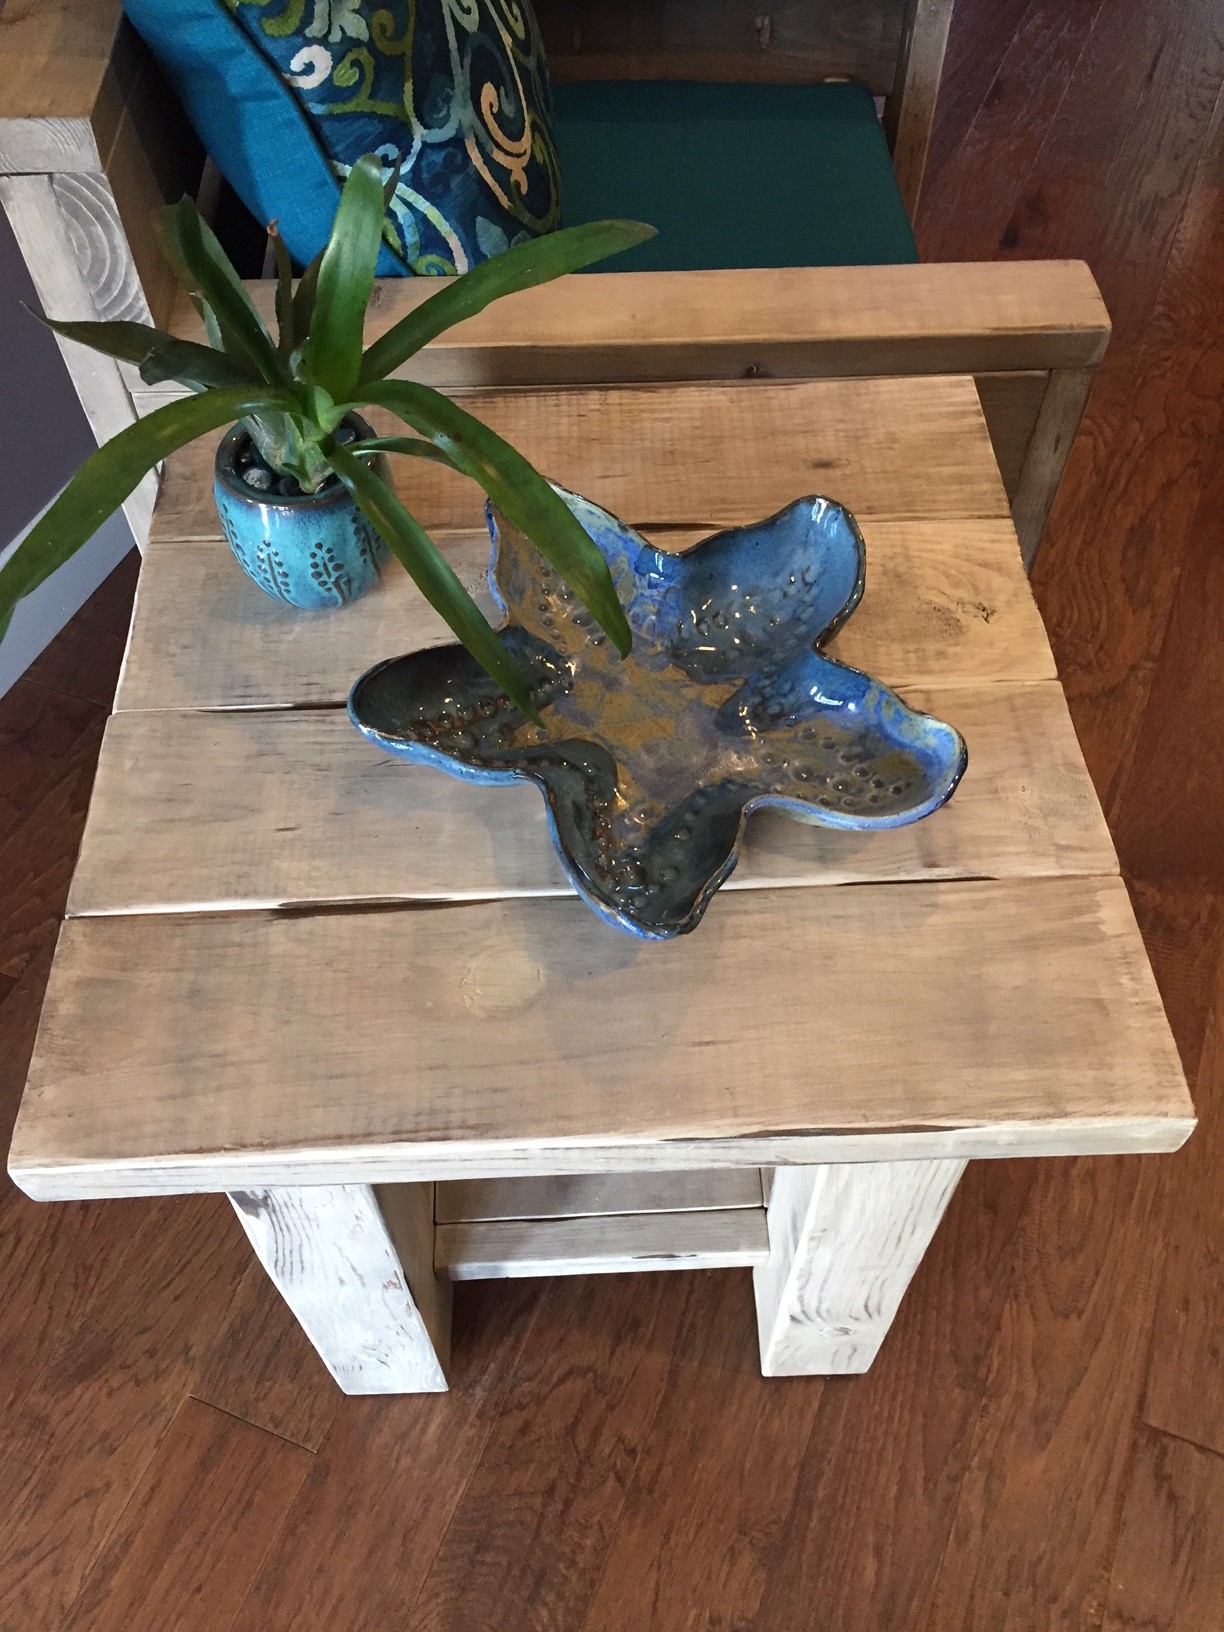
I decided to make her a few end style tables to go with it as well.
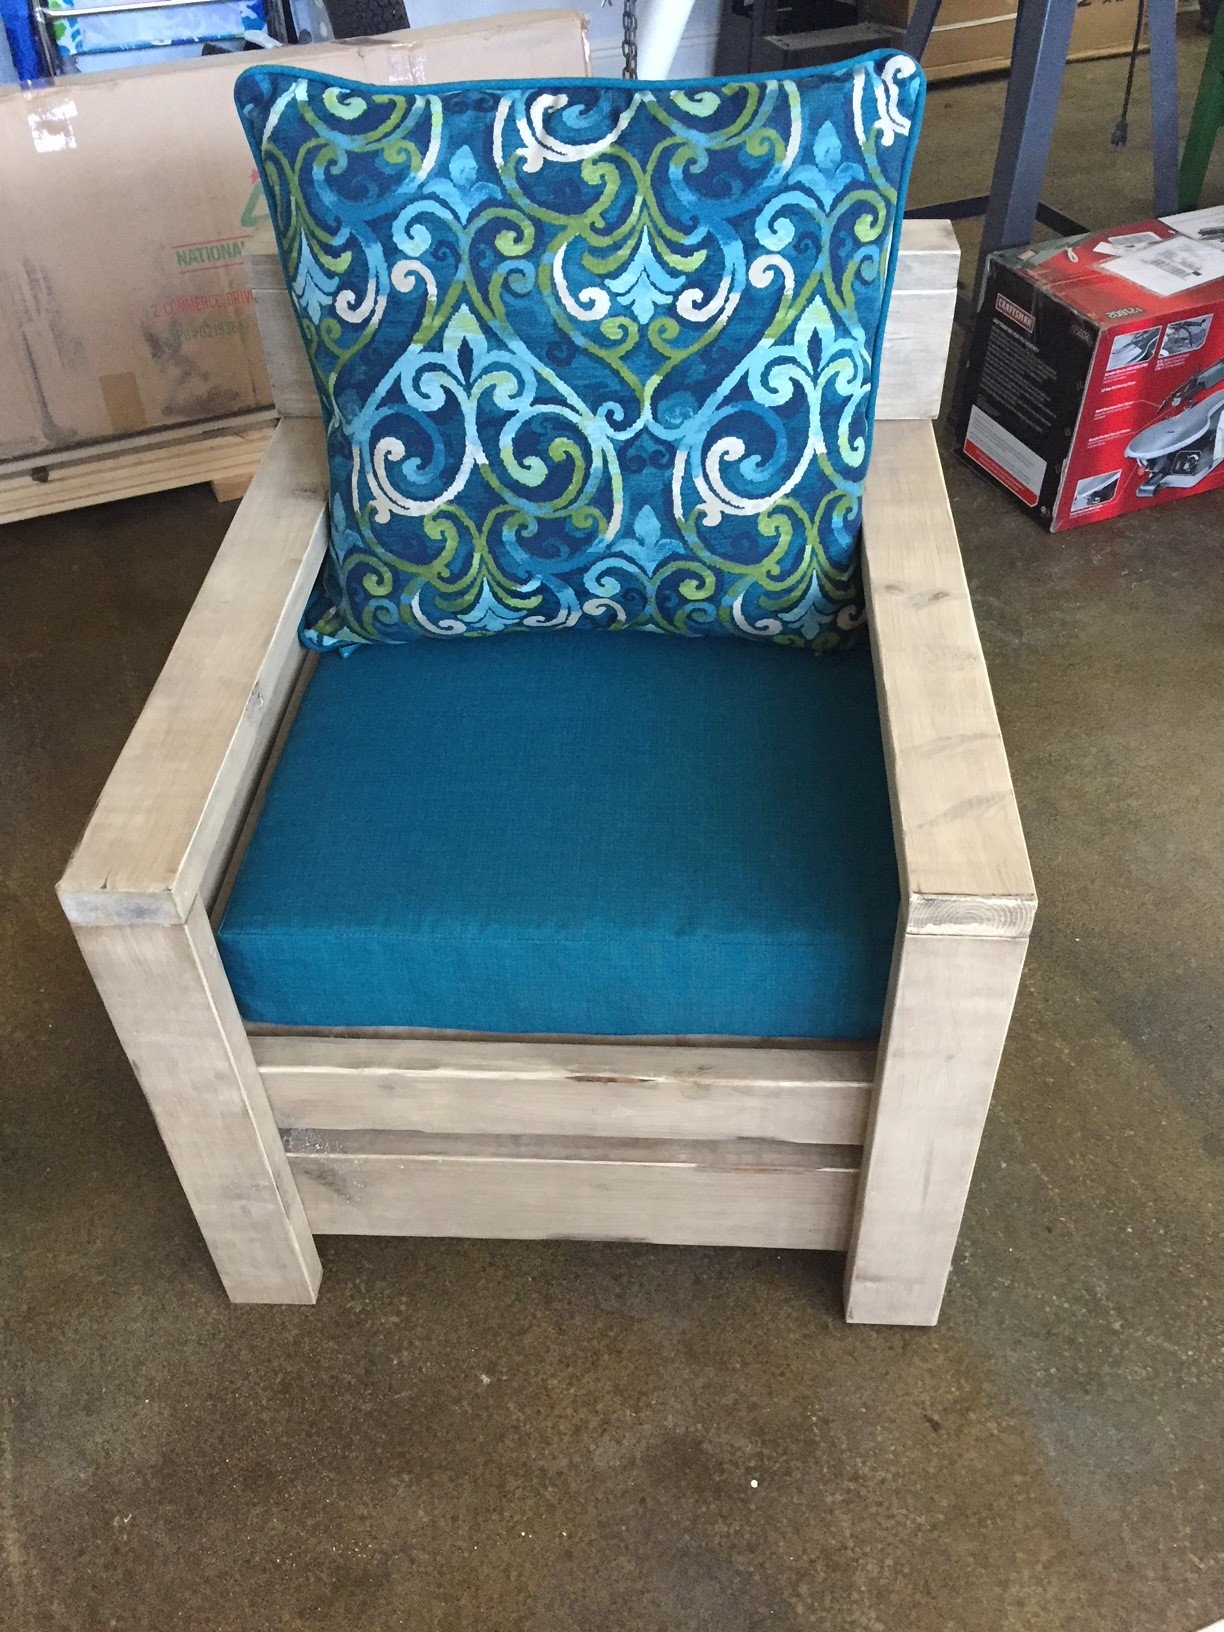
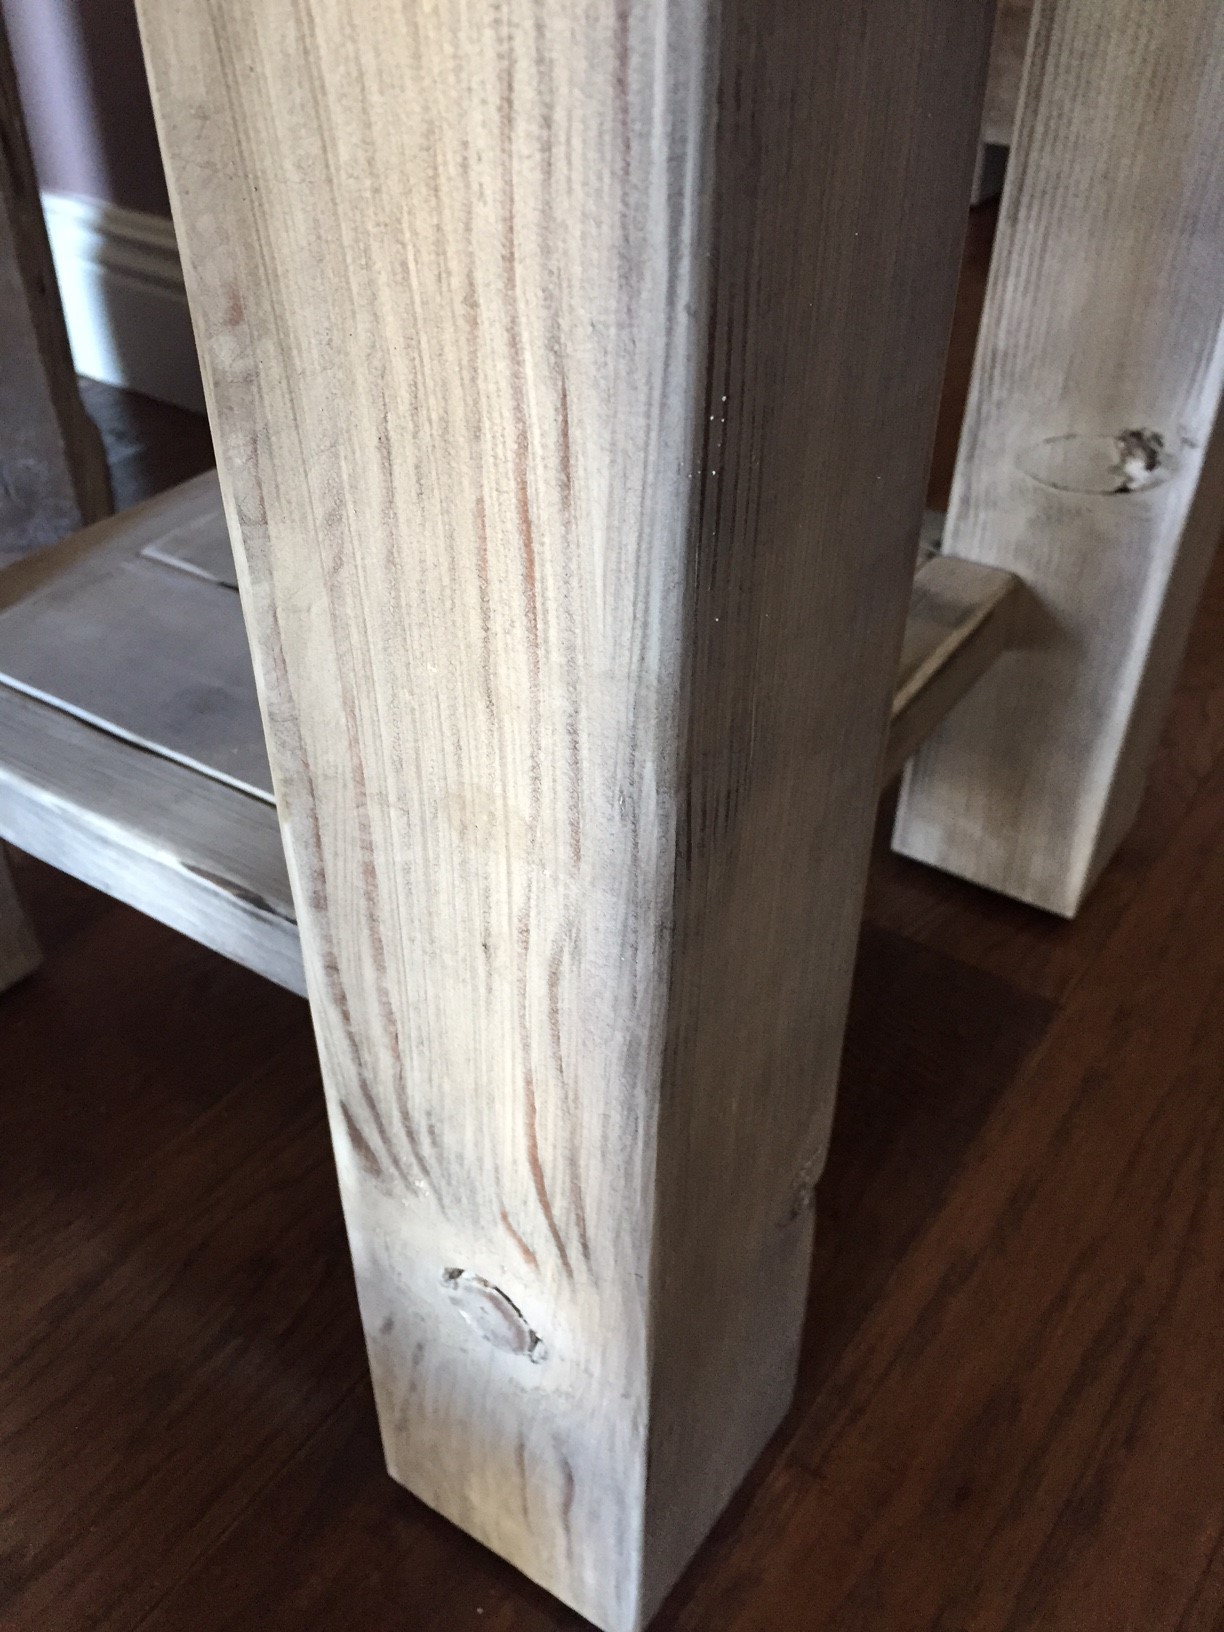
Finally, I had seen these chairs and decided to make her a few of these also. I liked the Ana White plan, but I didn't like the idea of seeing all the screw holes, so I developed my own method using Kreg and my own assembly method that allowed me to make them strong, without seeing all the screws.
I (and my mother) were very pleased with the final project.
Mon, 06/10/2019 - 18:49
Thank you for posting this! I built the chair as is from the plans but I realized it really needed a backrest. I like how you added one and if you don’t mind, I think I’m going to “borrow” your idea. I lucked out on the cushions-I got mine from Home Goods for $40. I don’t think everyone has a Home Goods near them though. Love the tables too!
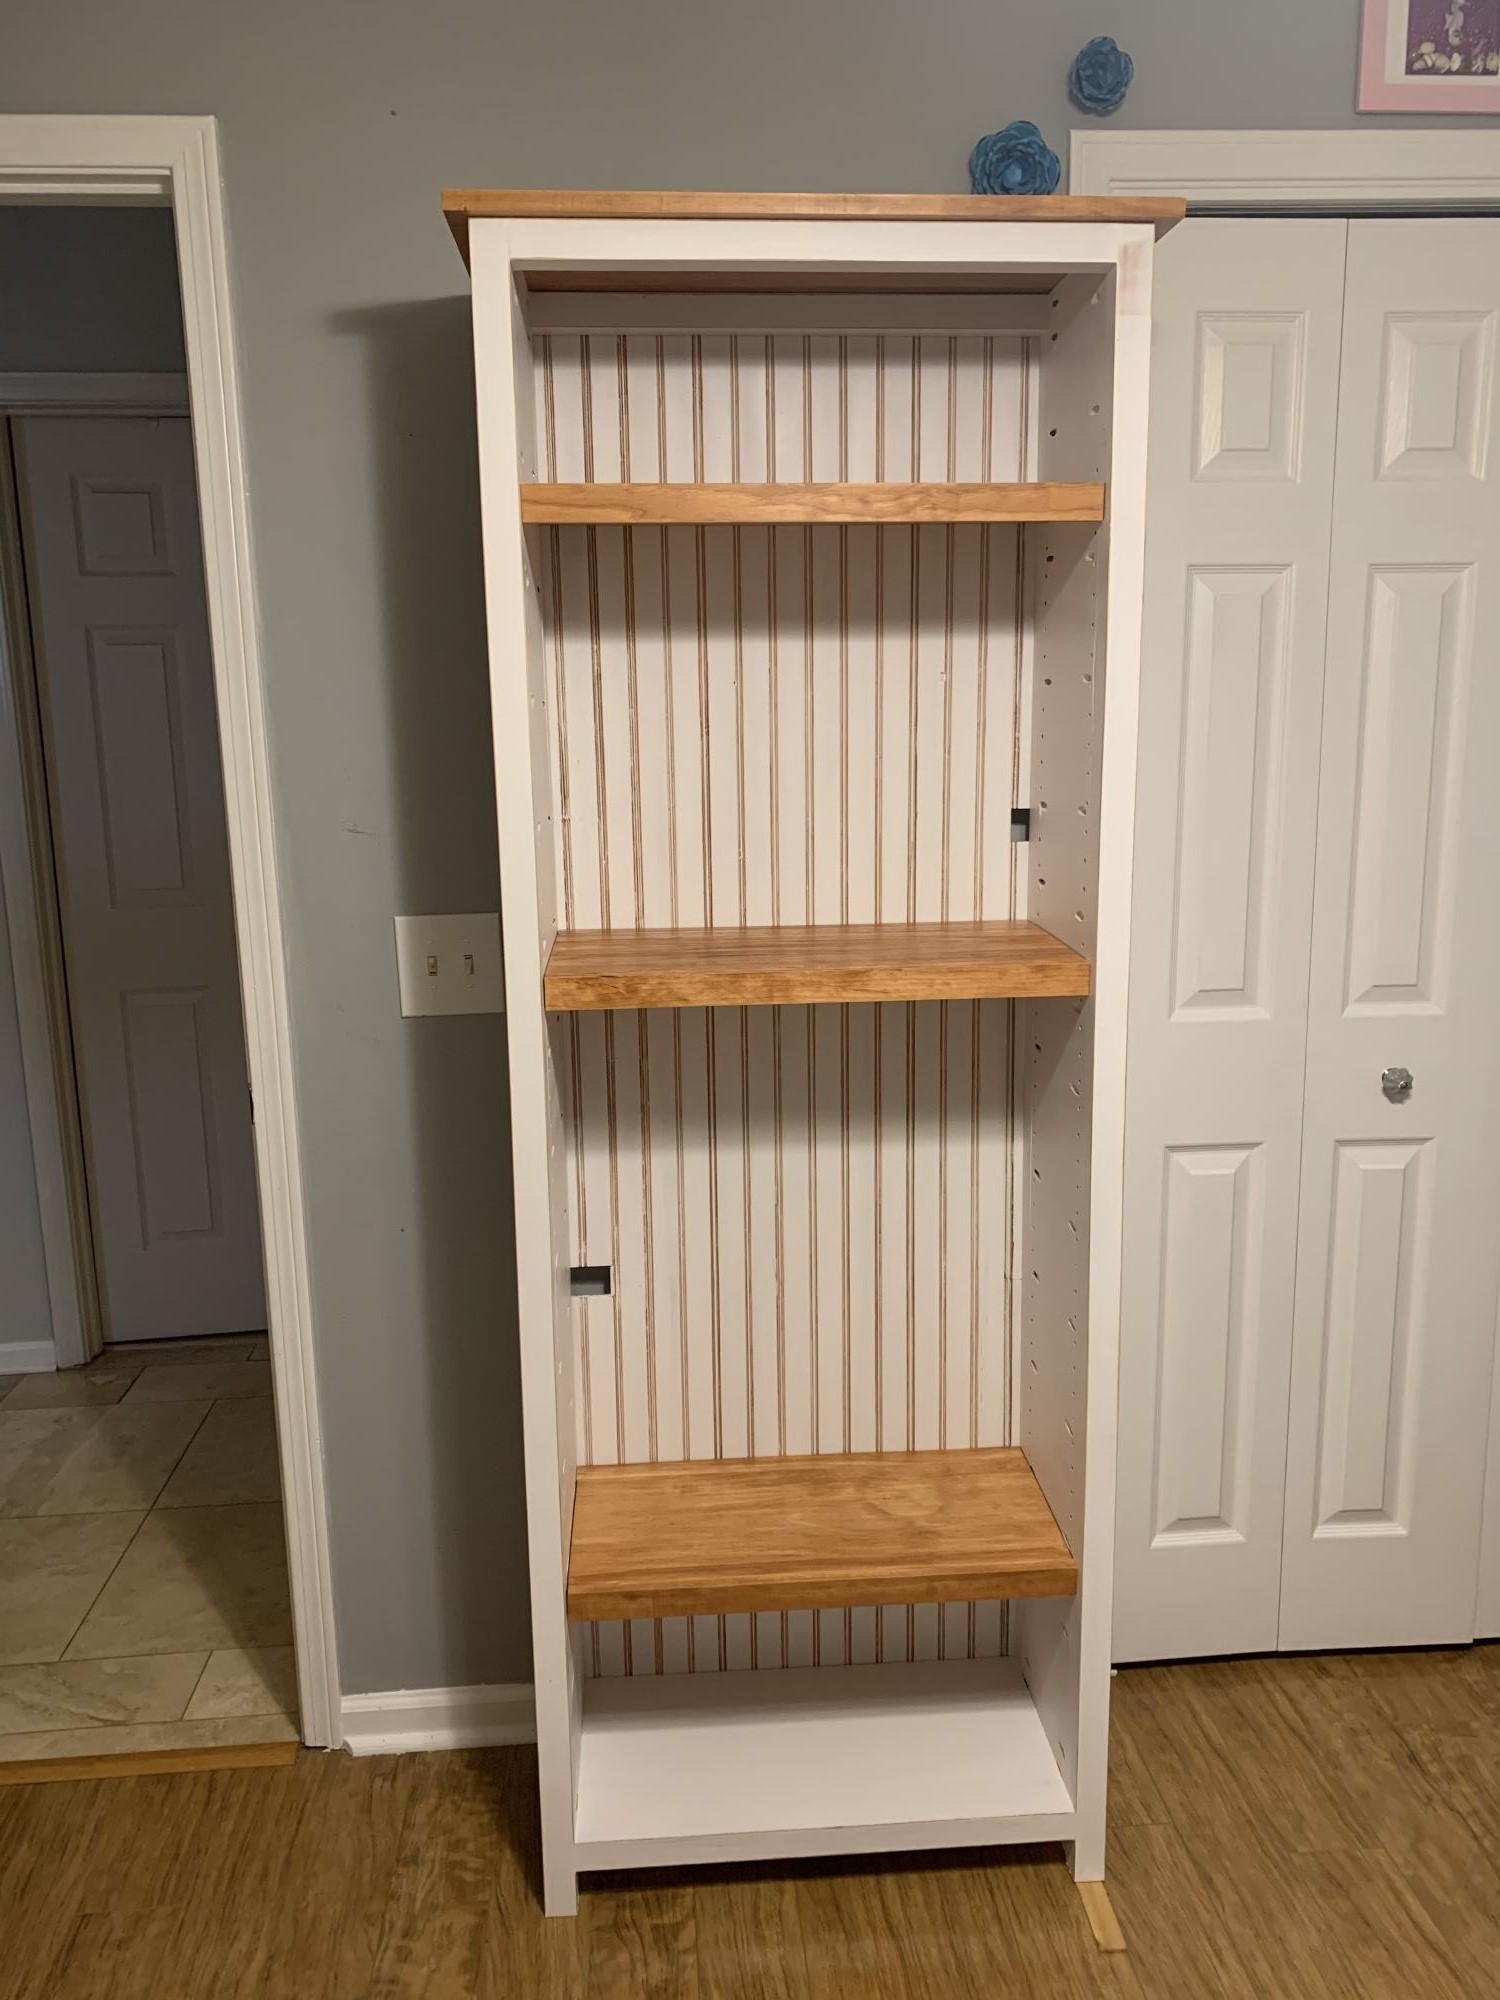
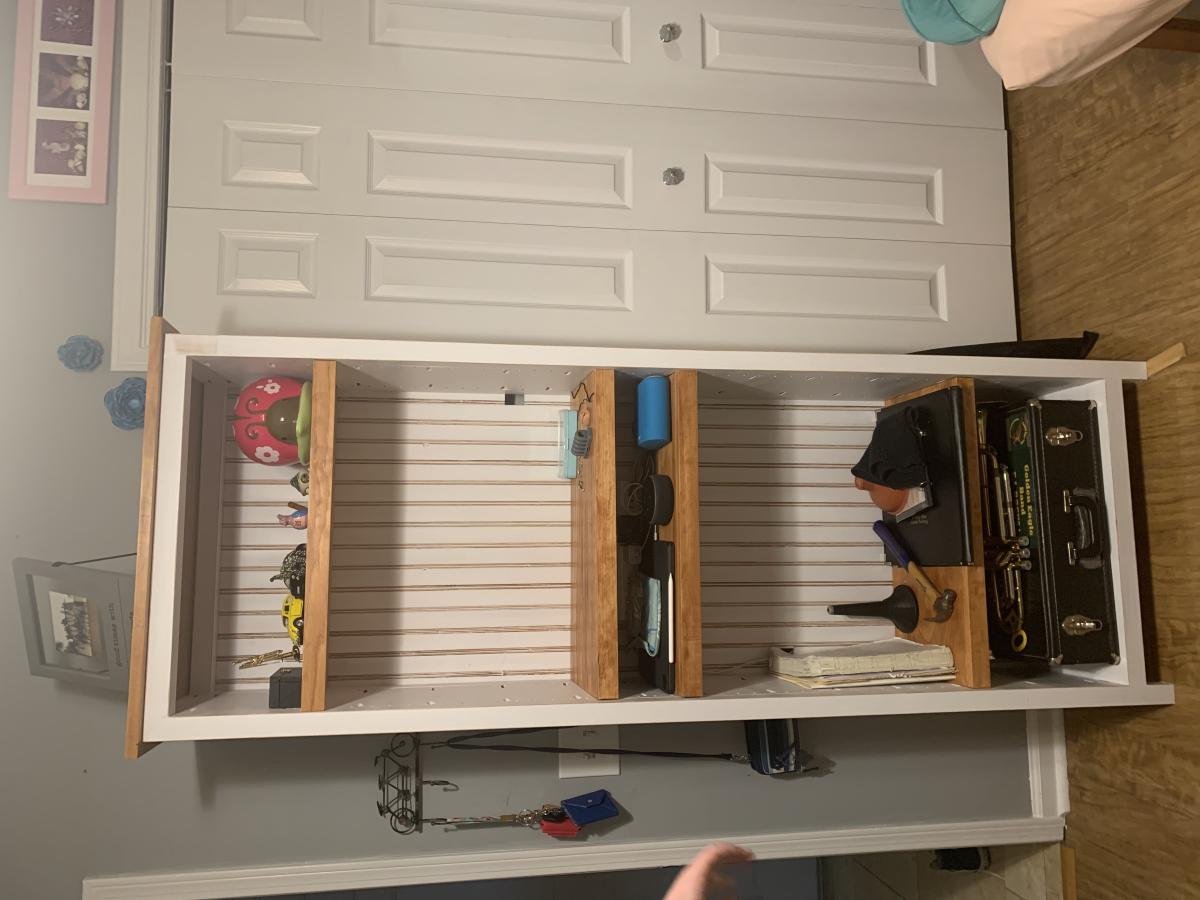
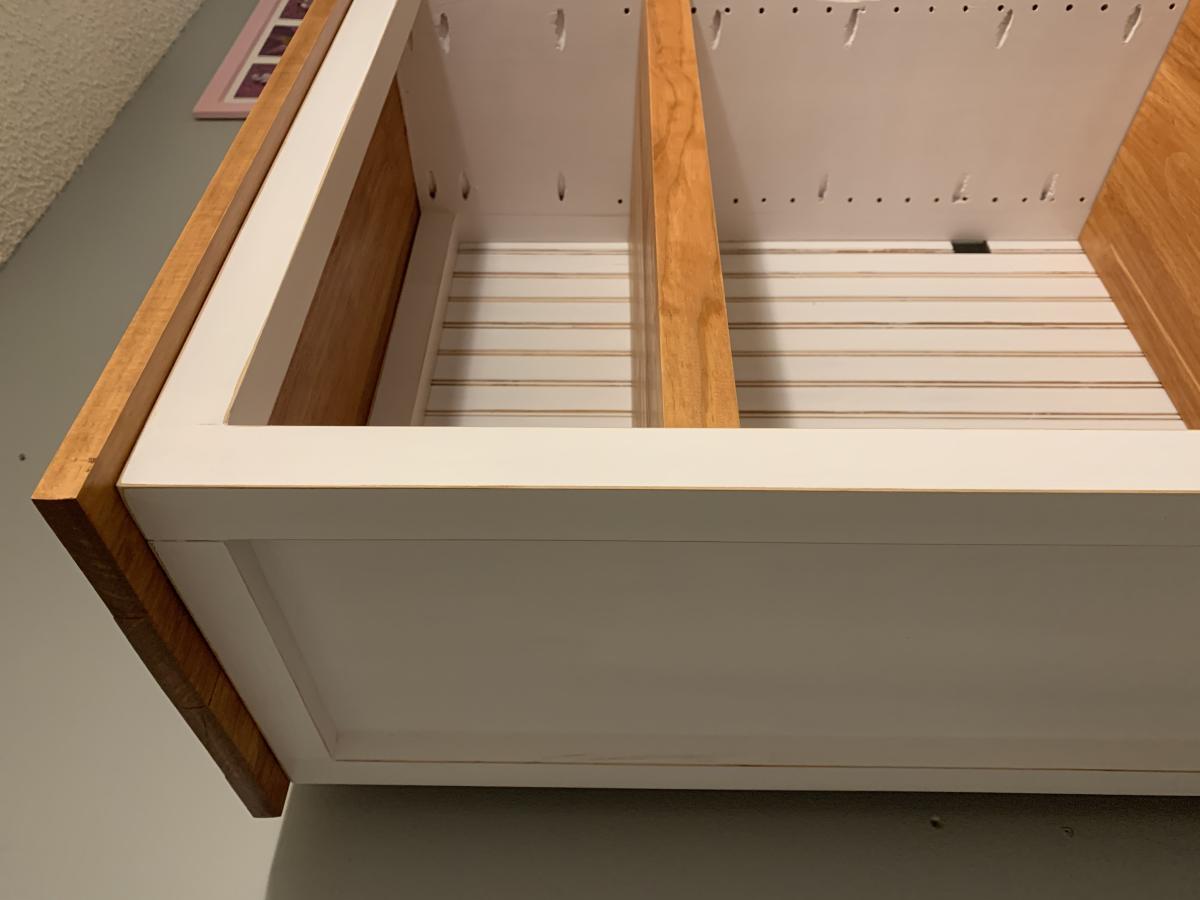
I used the Kentwood bookshelf plans and tweaked it to fit the space. My daughter loves it and is working on organizing her room. She is looking for the perfect mirror to put in the biggest shelf, and an earring jewelry box
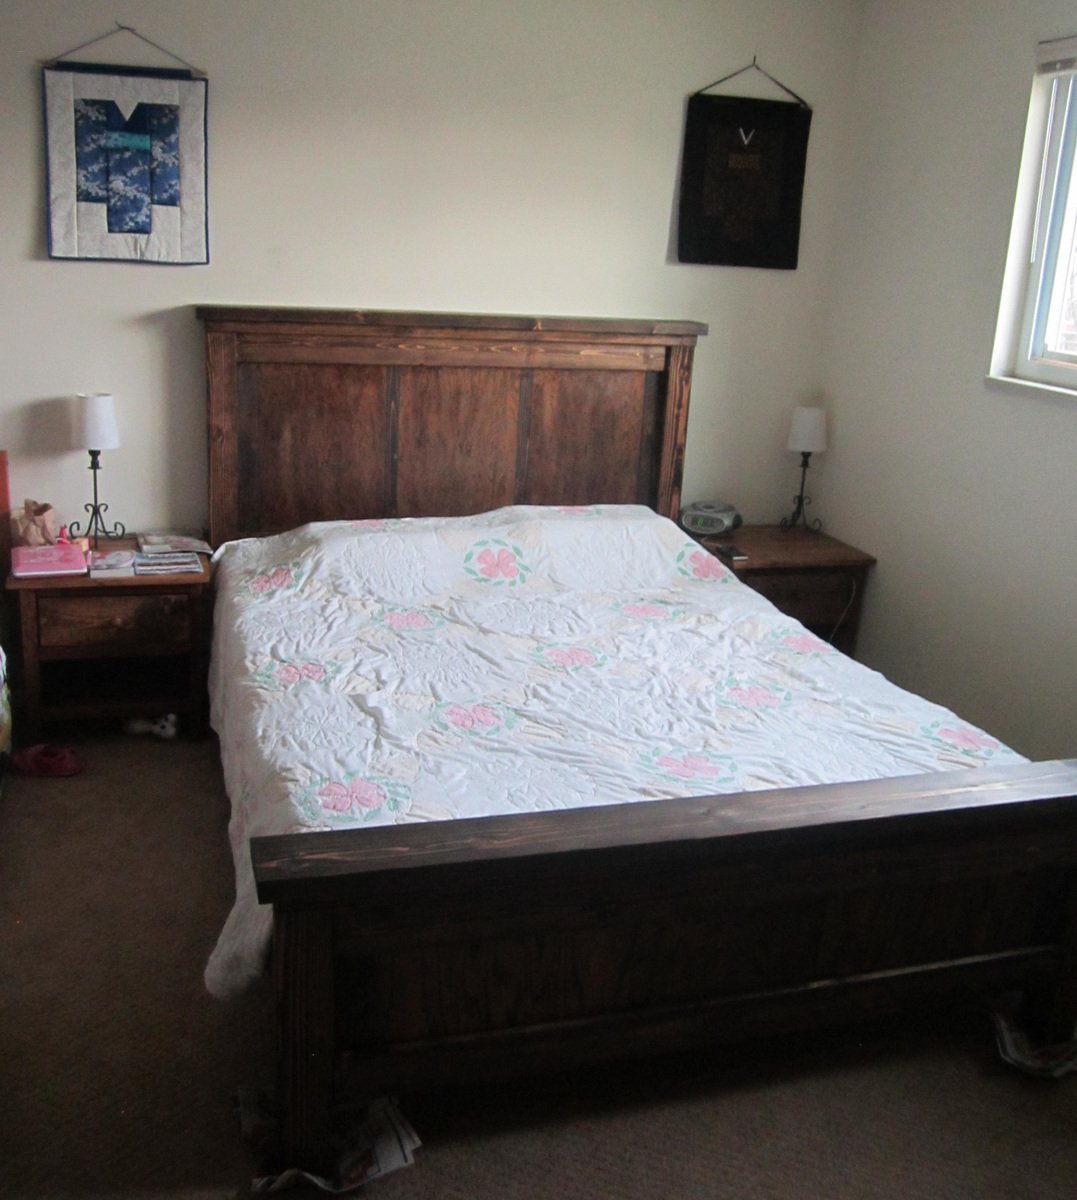
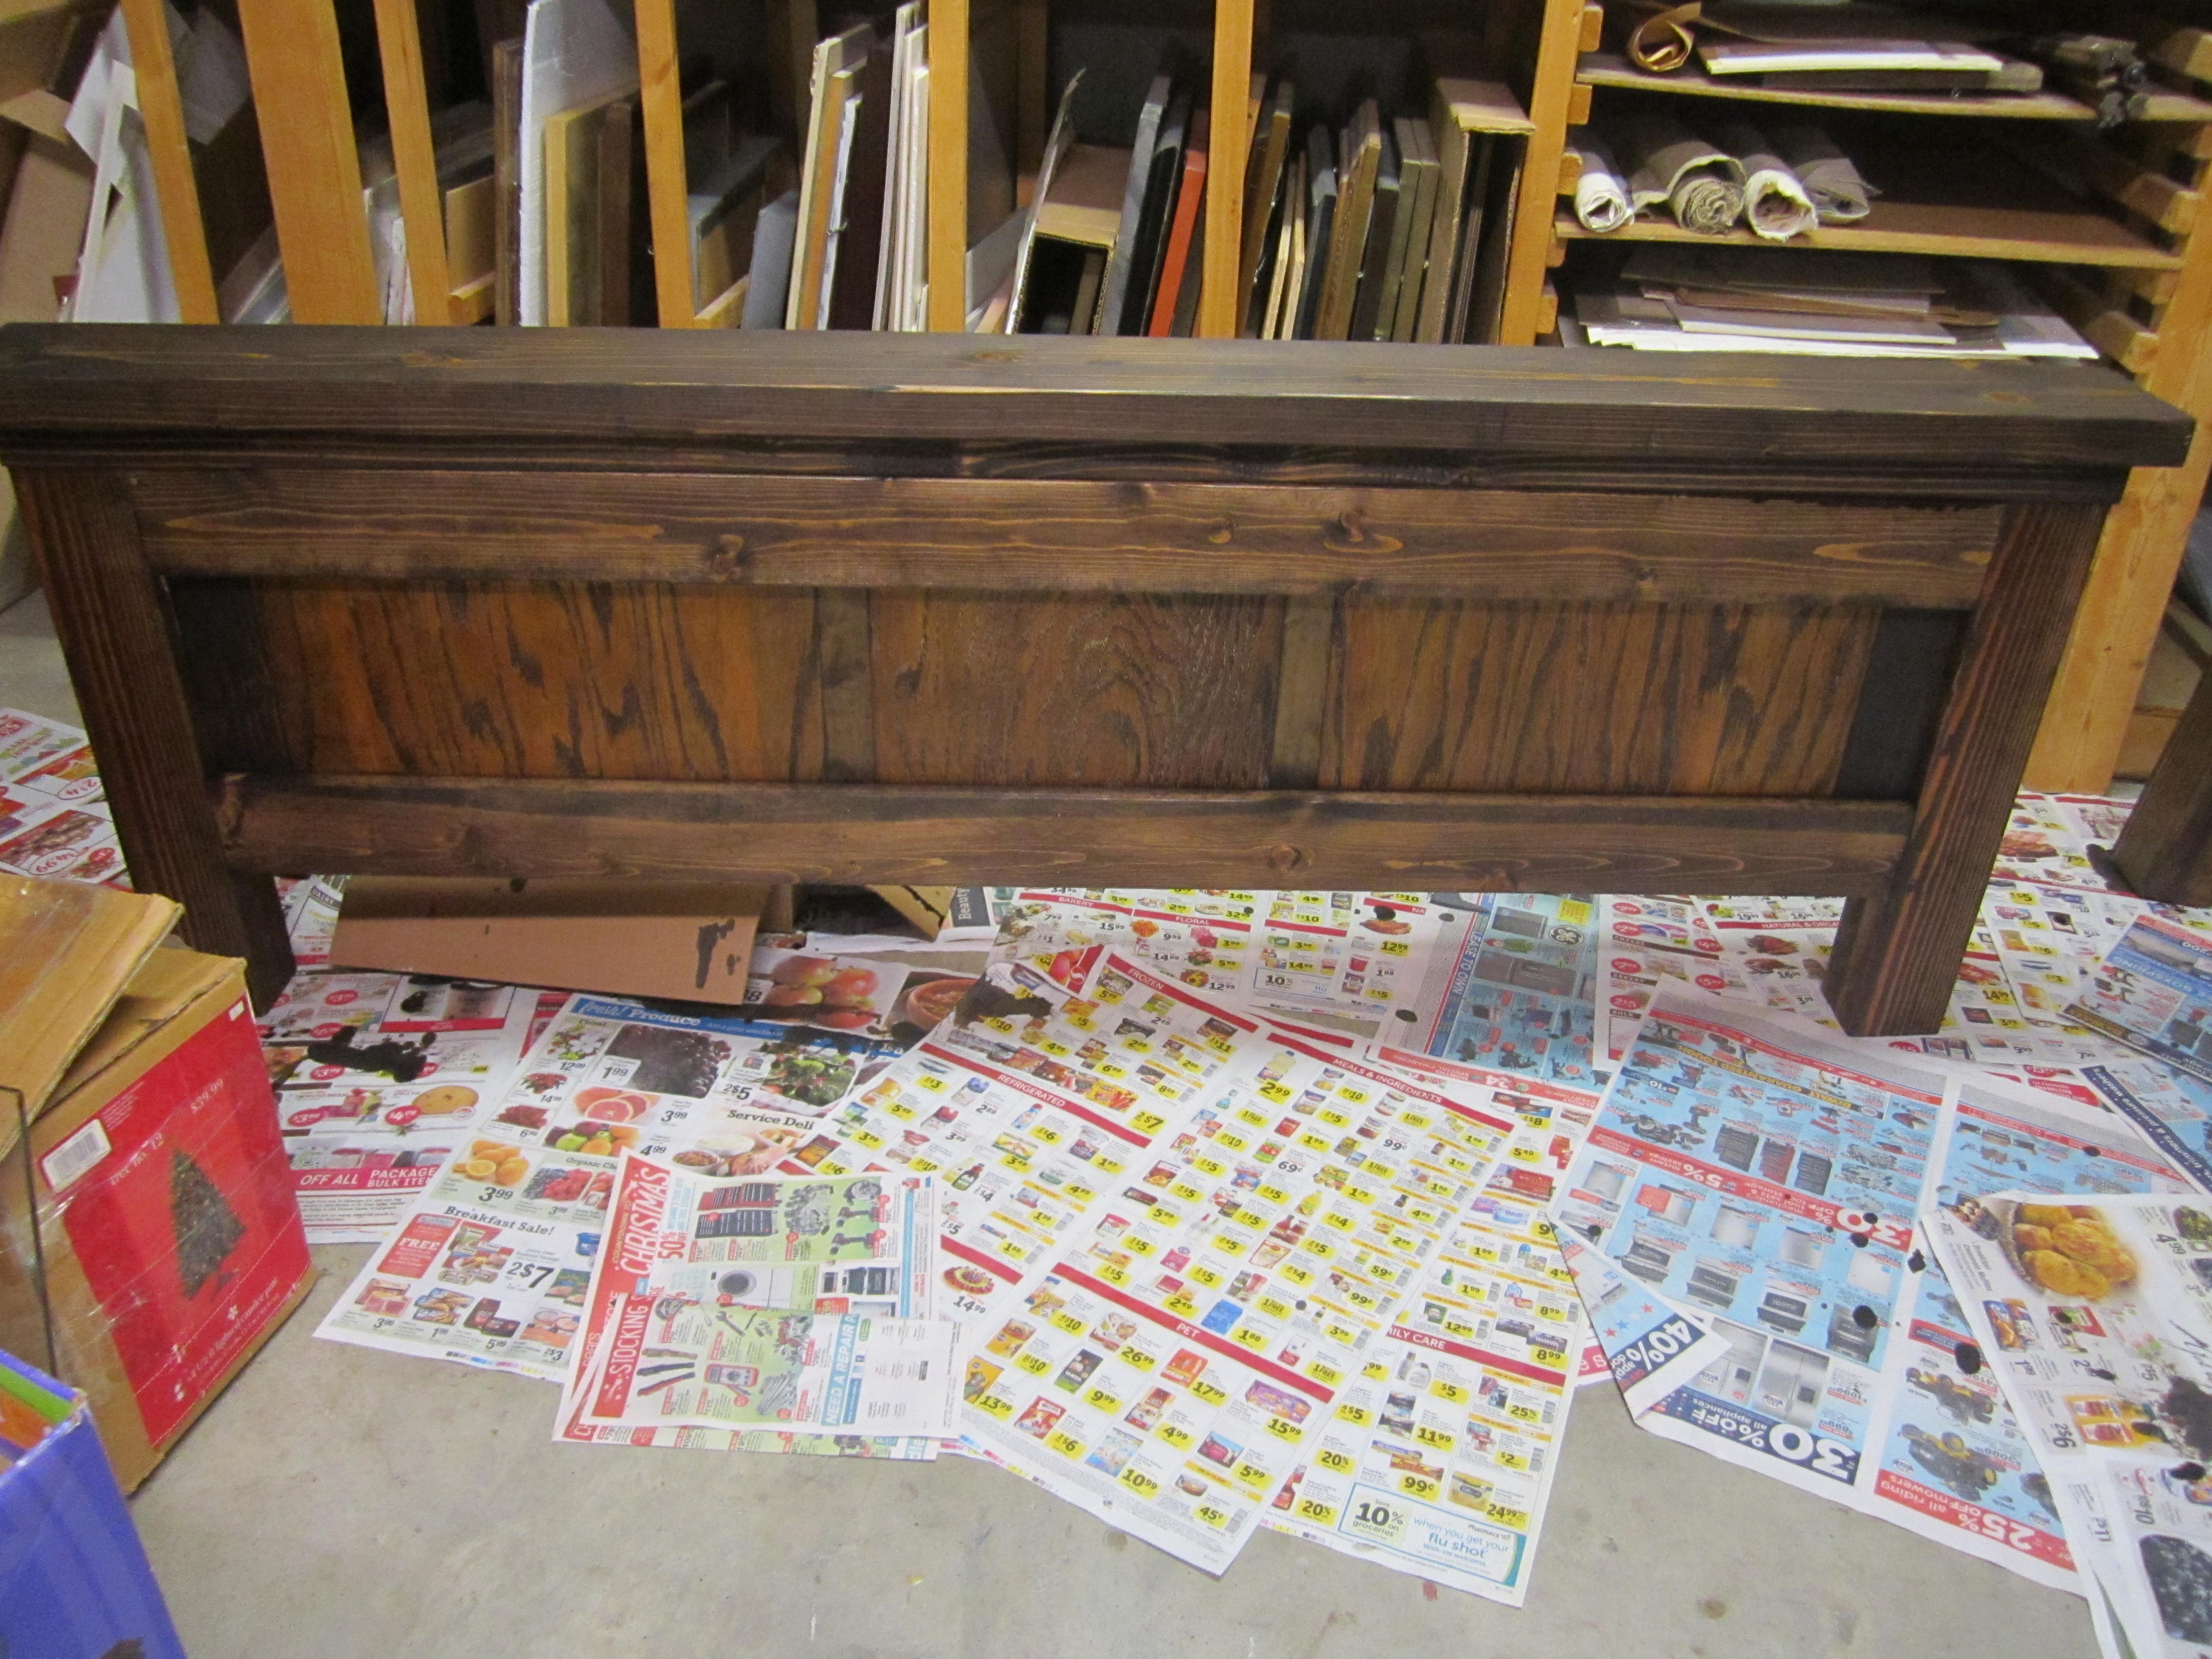
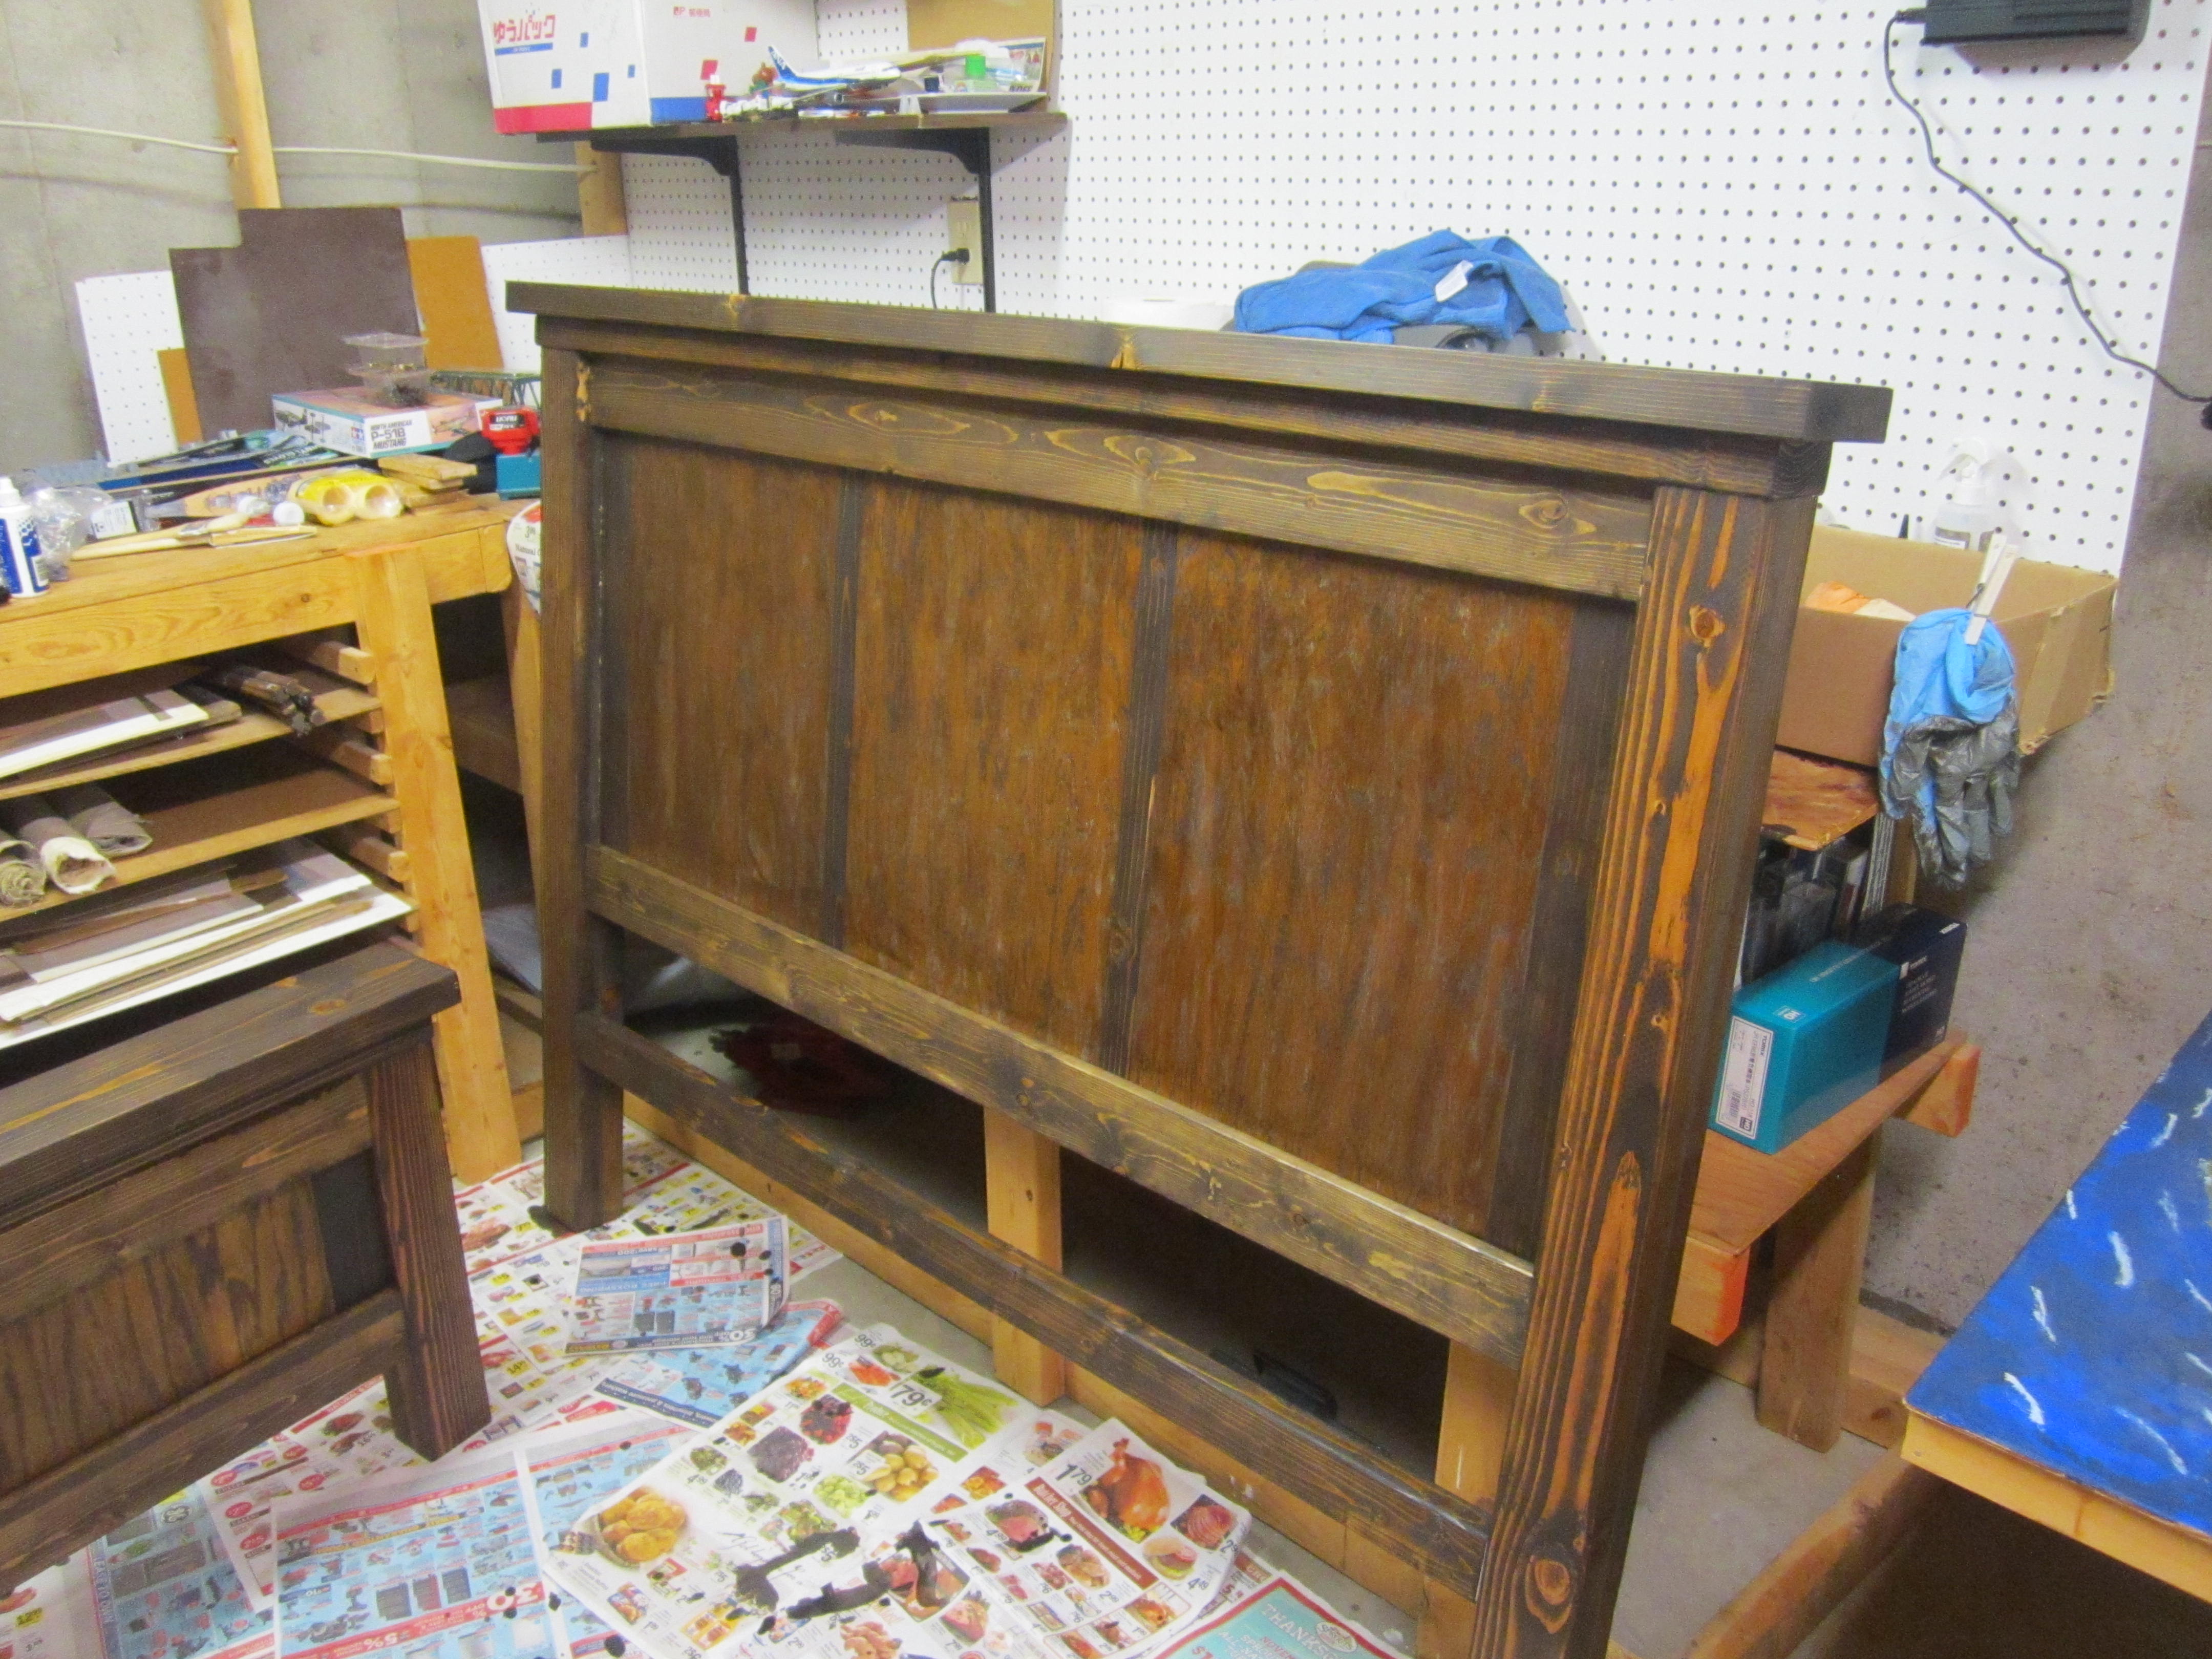
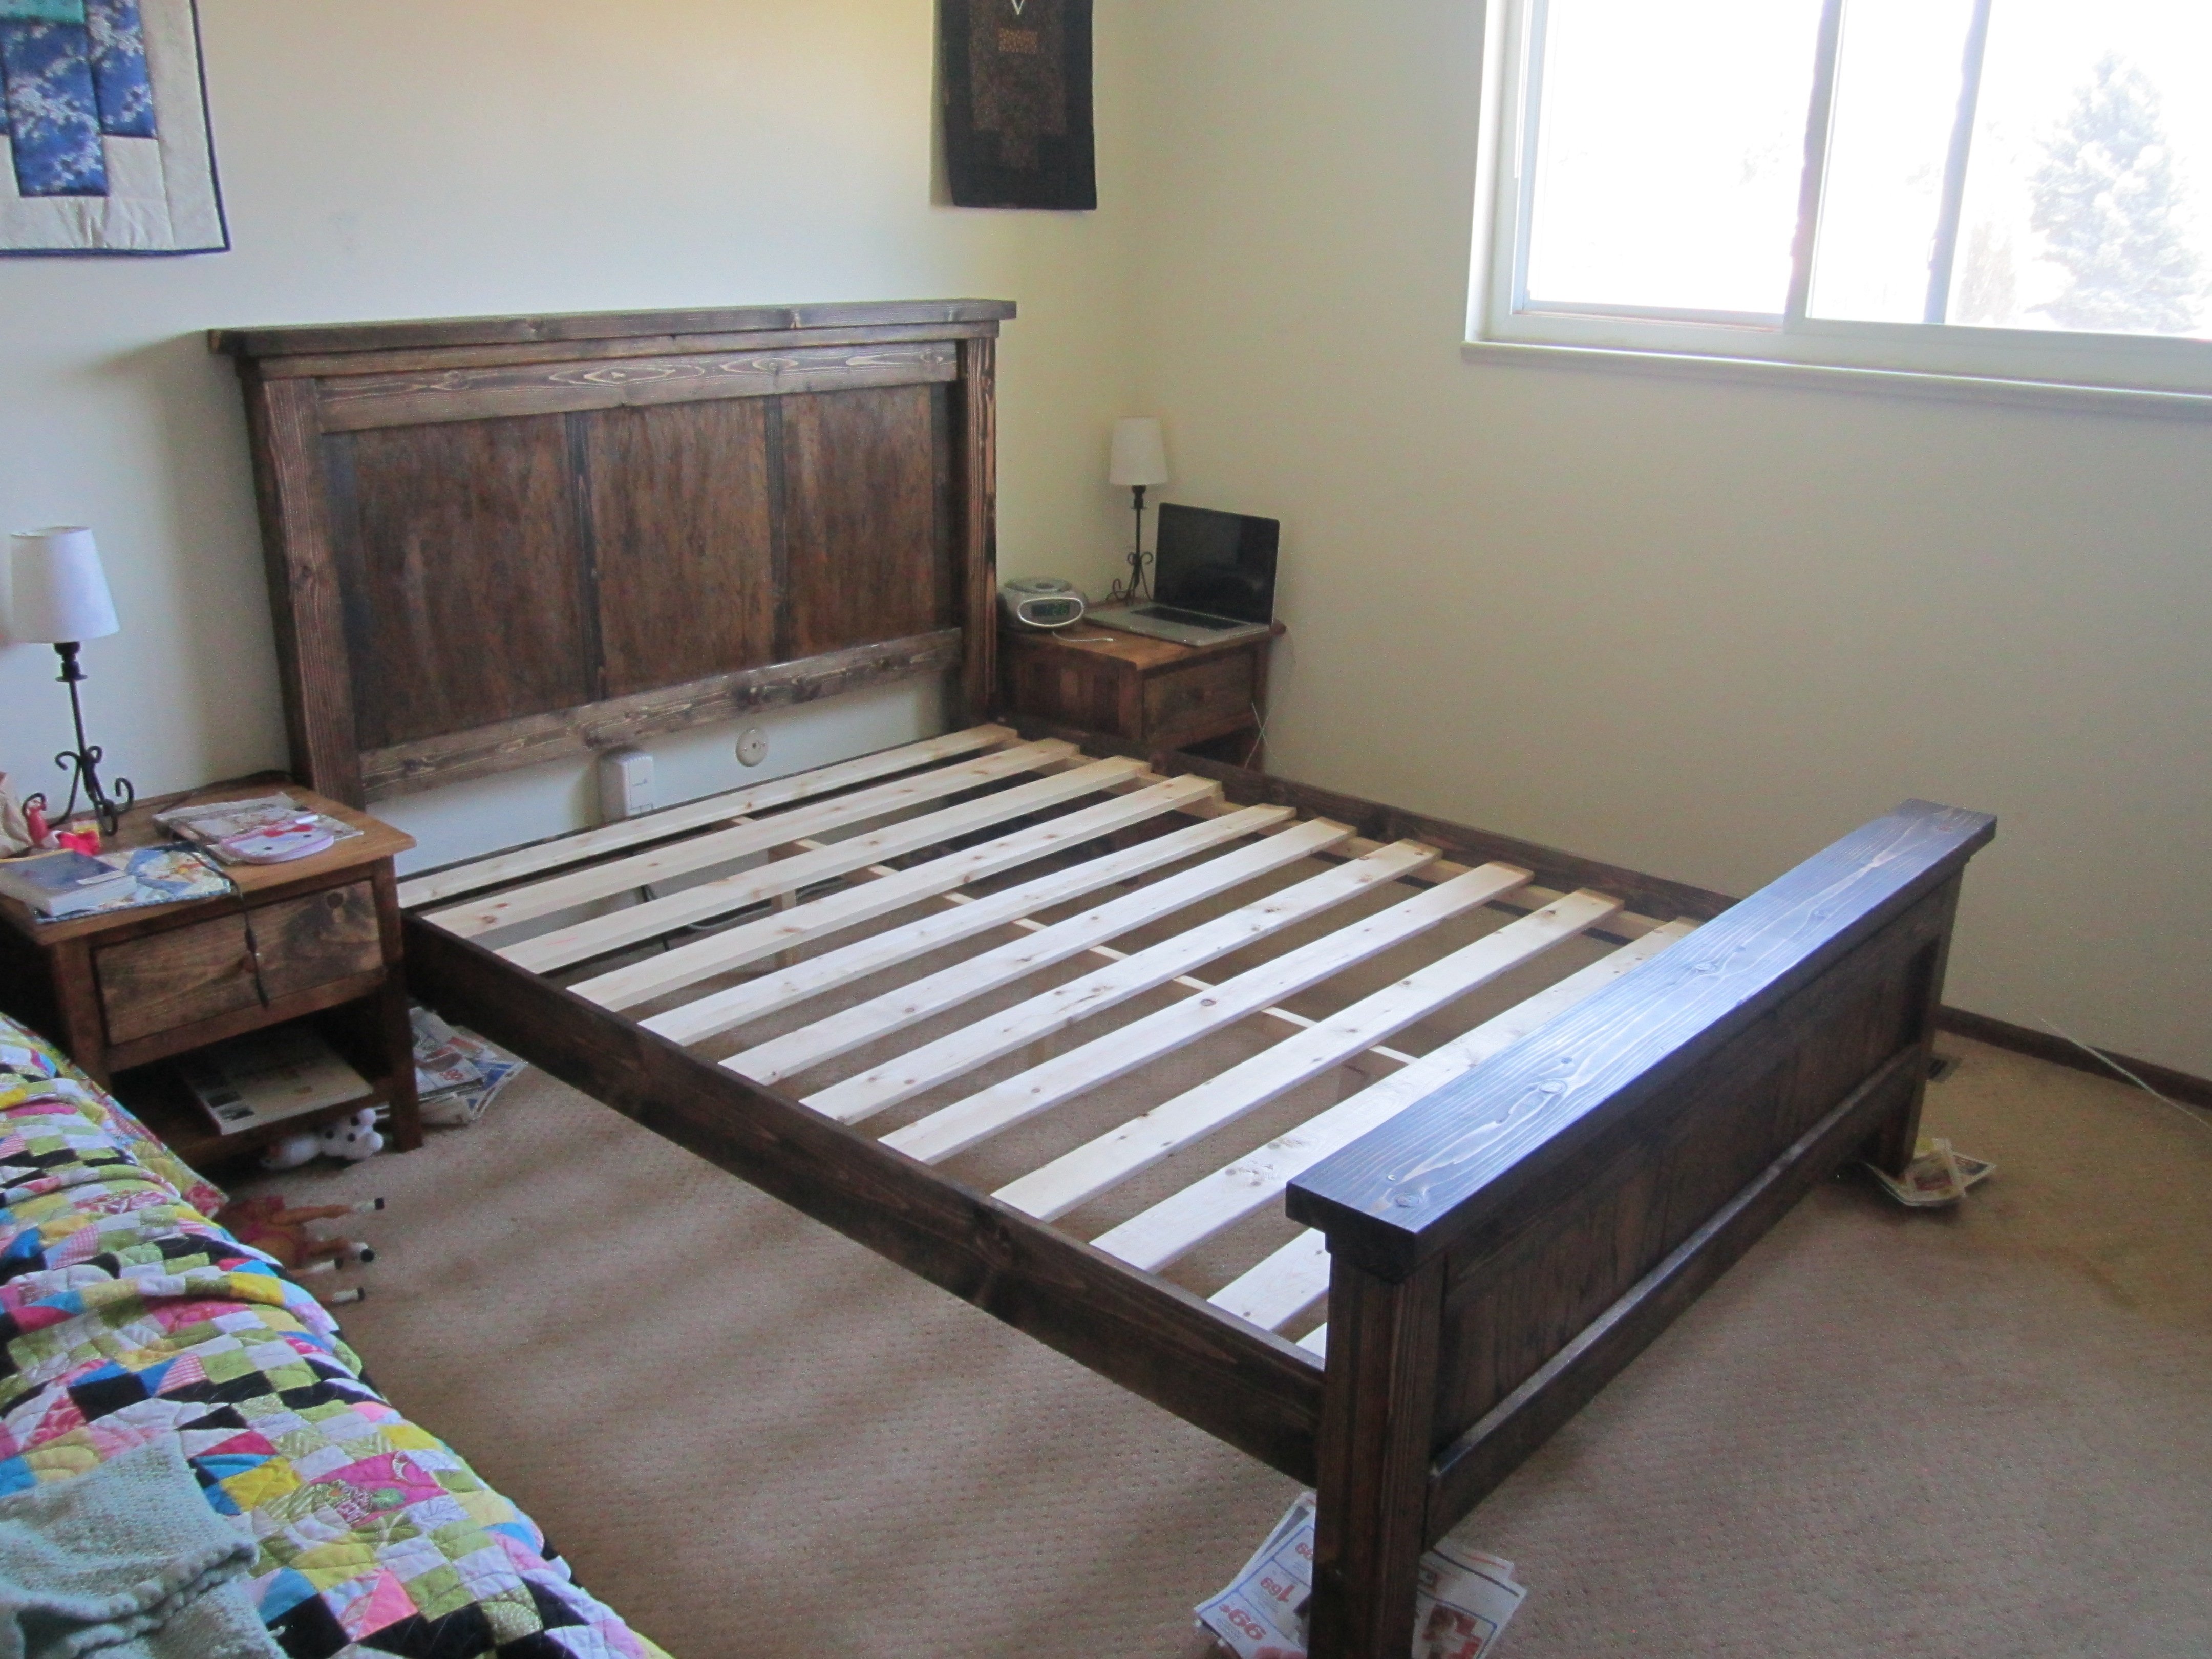
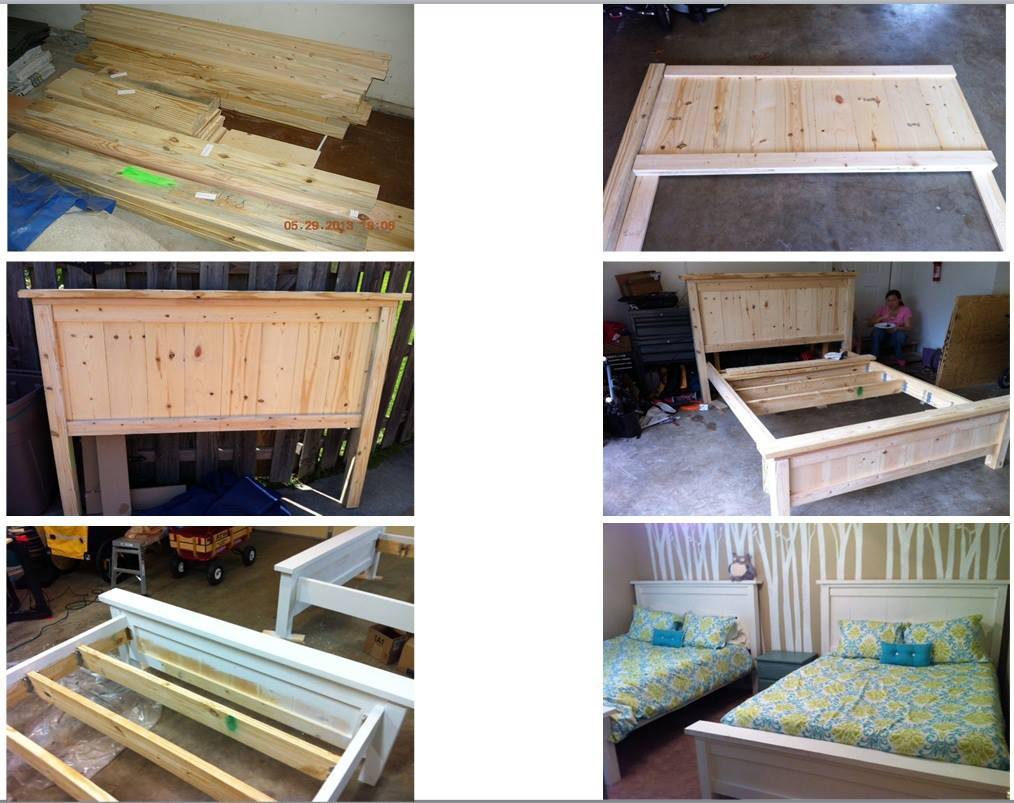
This bed is made using the Farmhouse Bed plan from page 136 in Ana's book. We just had our kitchen remodeled, so I took the cabinet doors and swapped those out for the 1x10's in both the headboard and foot-board. The cabinet doors took a while to strip the paint off and I used paint stripping sandpaper for that. Once the cabinet doors were stripped, I cut 1x2's for the two center dividers and 1x3's for the two outer dividers to get the desired width. I then stained the cabinet doors and dividers before attaching them to the 1x4 trim. I did not get 4x4's, so I cut 2x4's to length and glued and screwed them together.
Our mattress does not use a box spring, but slats, so I borrowed slat directions from Shanty 2 Chic's platform bed and our old IKEA bed frame. I used 2x2's for the supports and 1x4's for the slats. I used scrap 2x2's to support the center slat support and attached the side 2x2's to the bed rail (1x6 vs. 1x10 due to matress depth) with glue and screws.

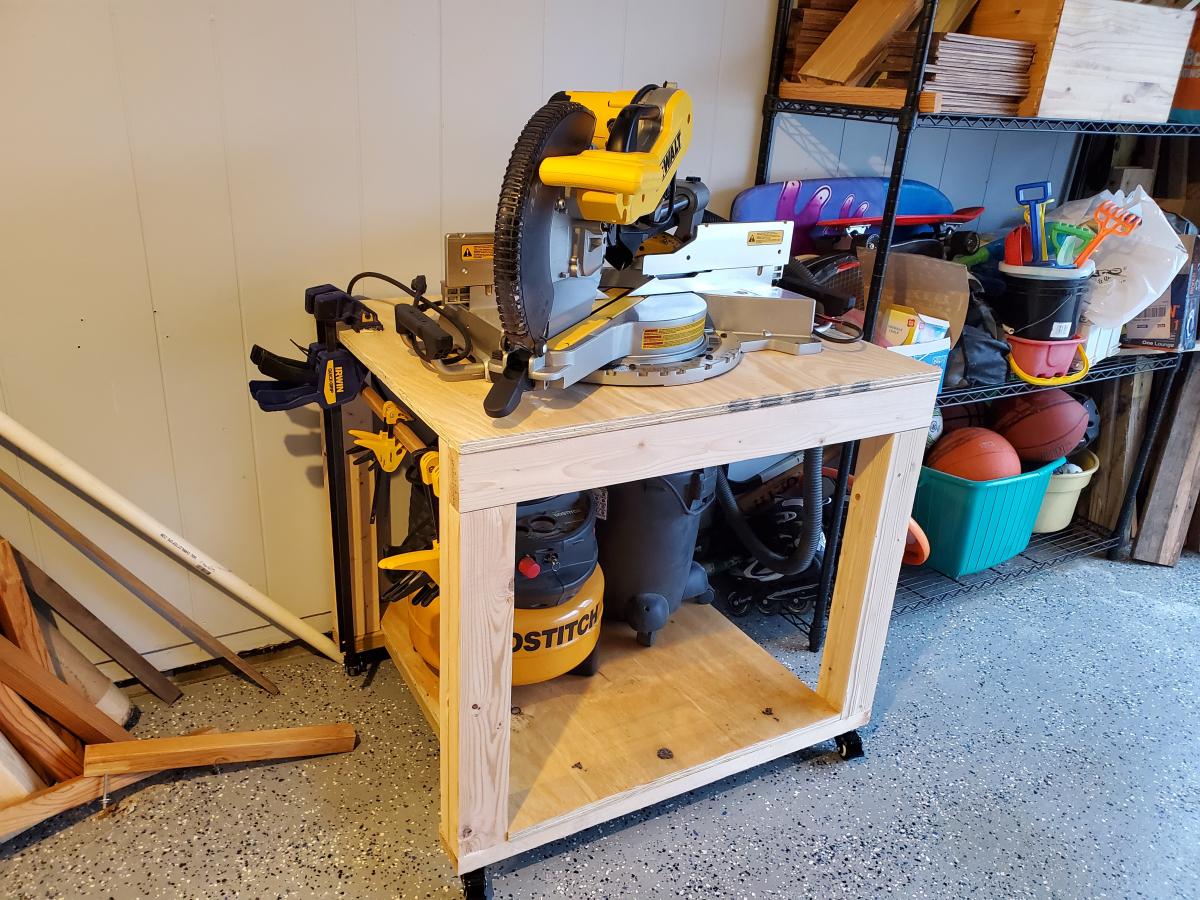
My fabulous husband bought me an awesome new miter saw for Christmas, and it is way too heavy to lug around! So my first project with the new saw was a workbench to mount it on! I added wheels so it can roll anywhere. I'm also very short and wanted to store a very tall shop vac on the lower shelf so I made modifications to accommodate that. I also made it 30" x 36" to make it just the right size for my saw. I will be using this piece as the center of other work tables I will build in the future!
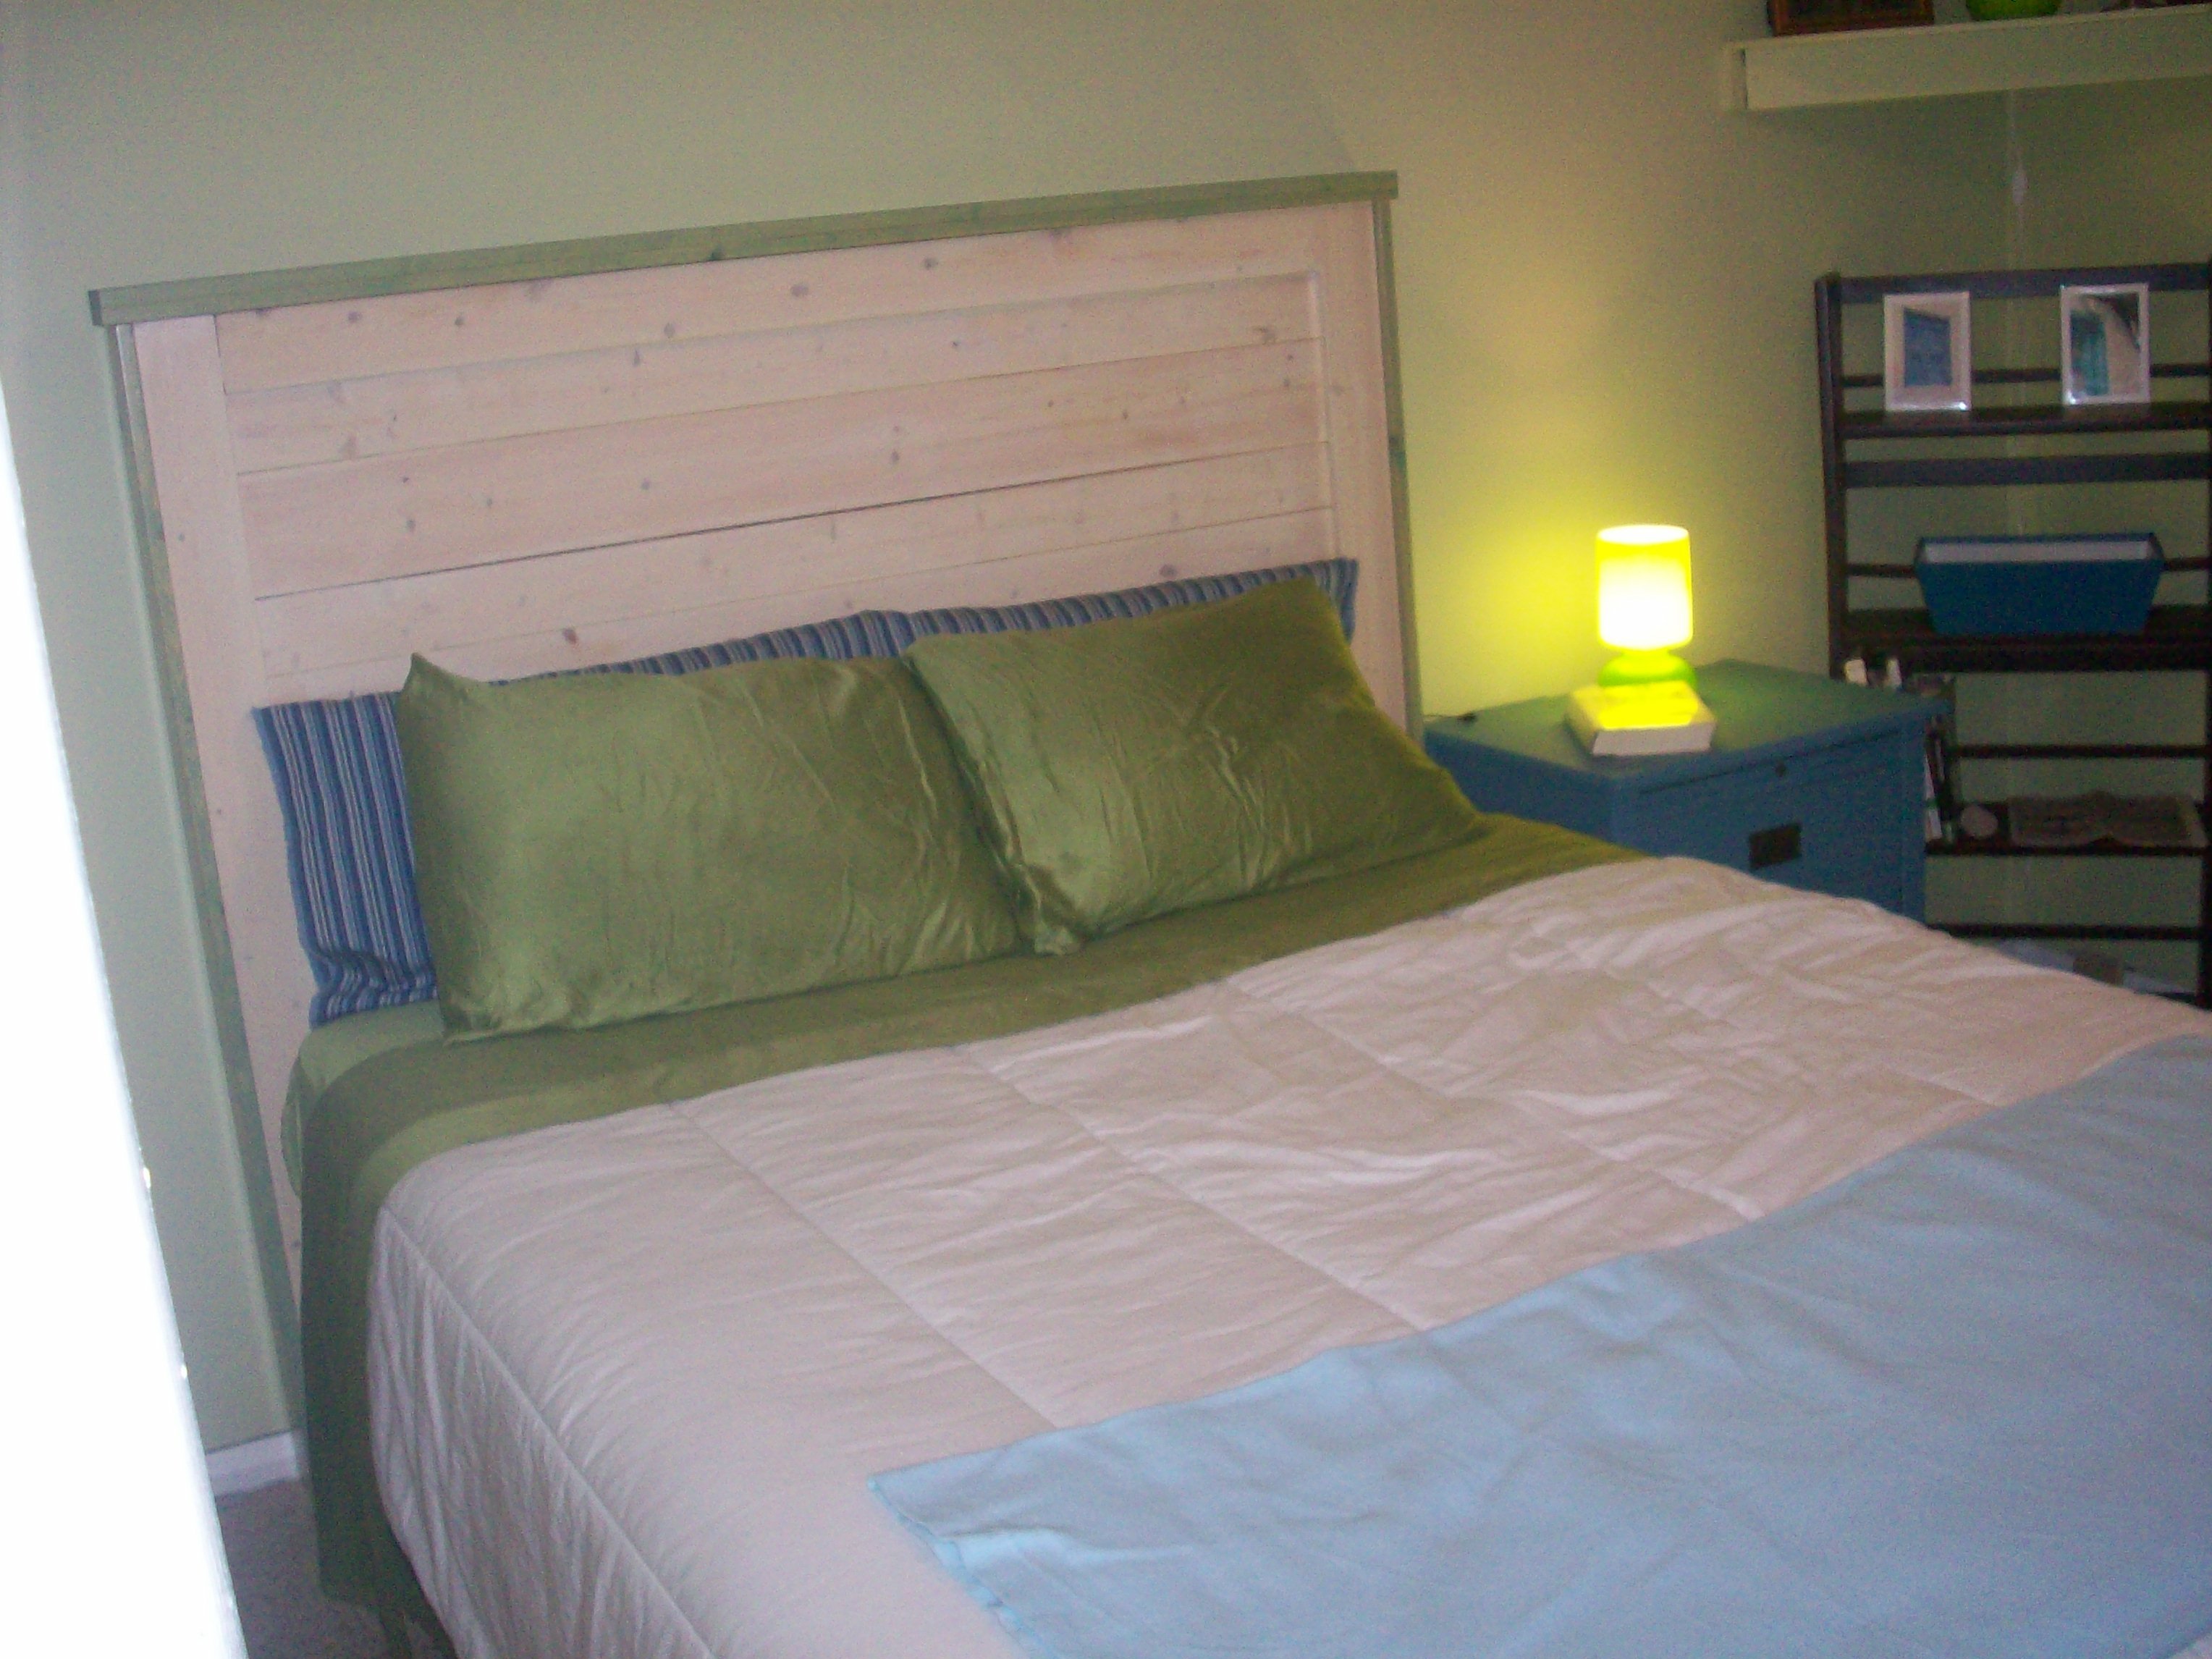
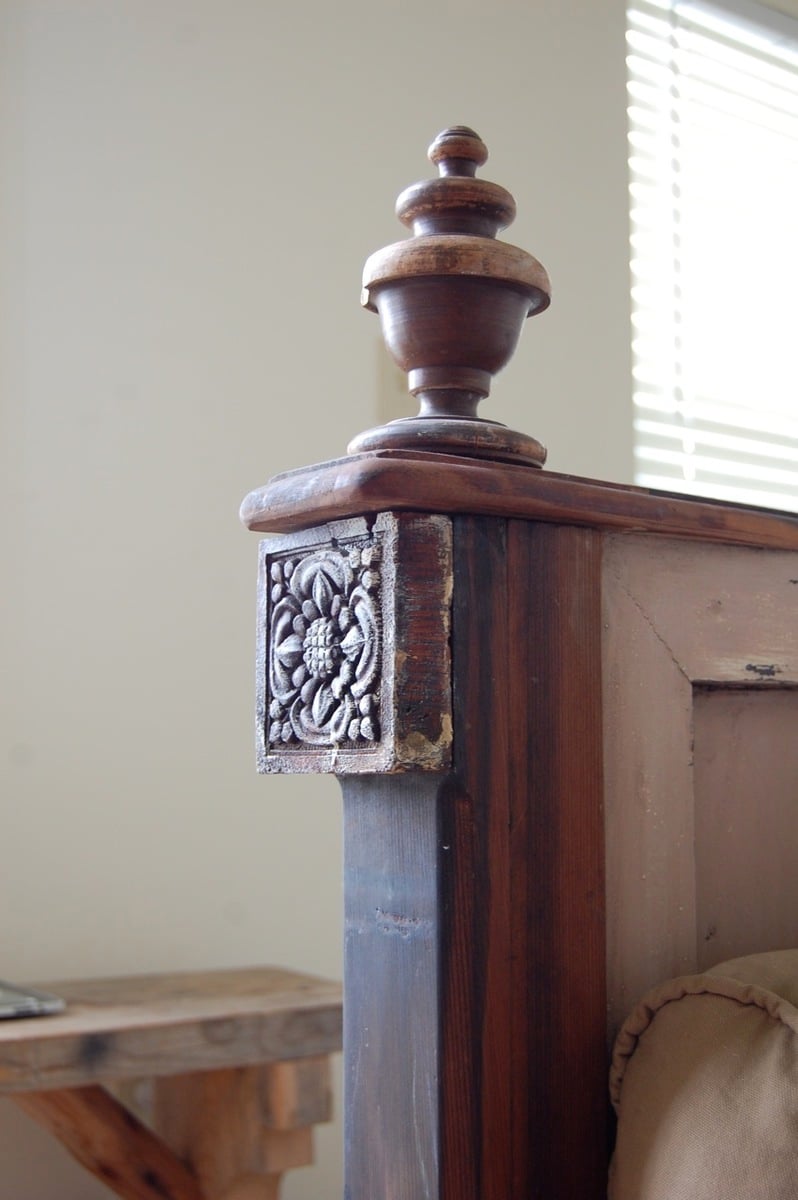
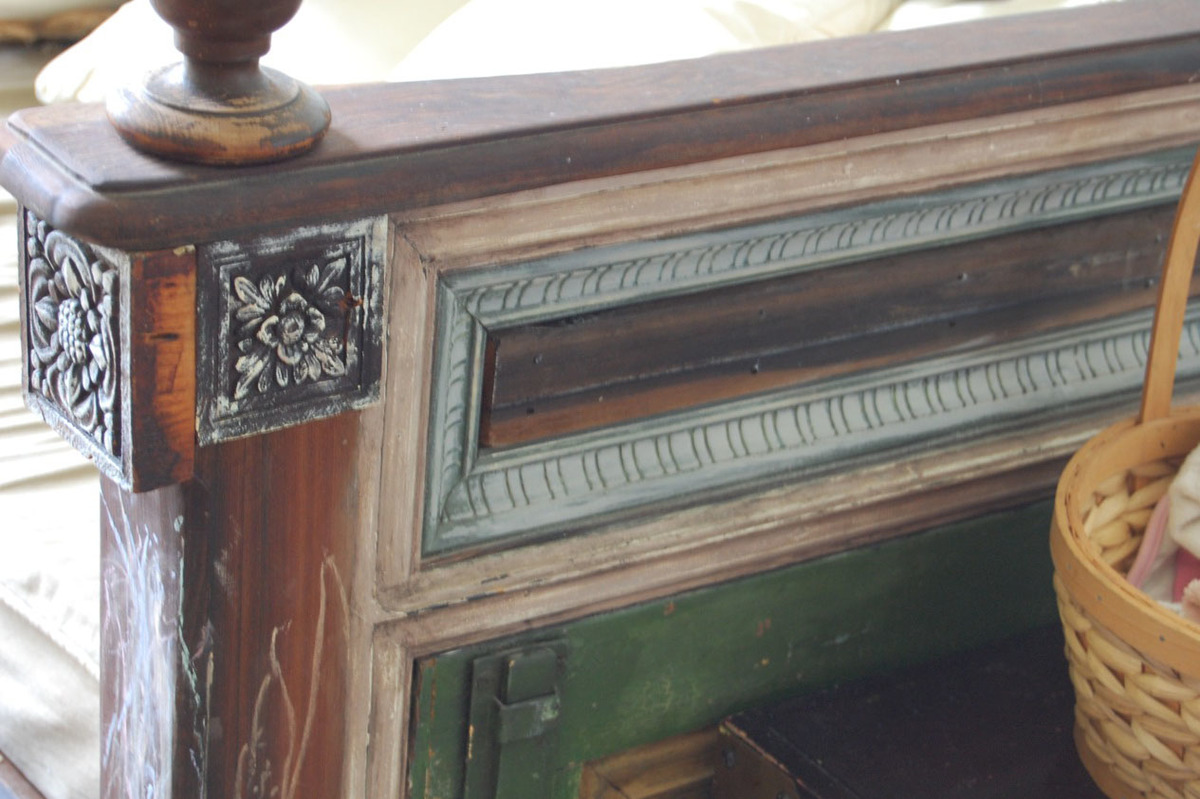
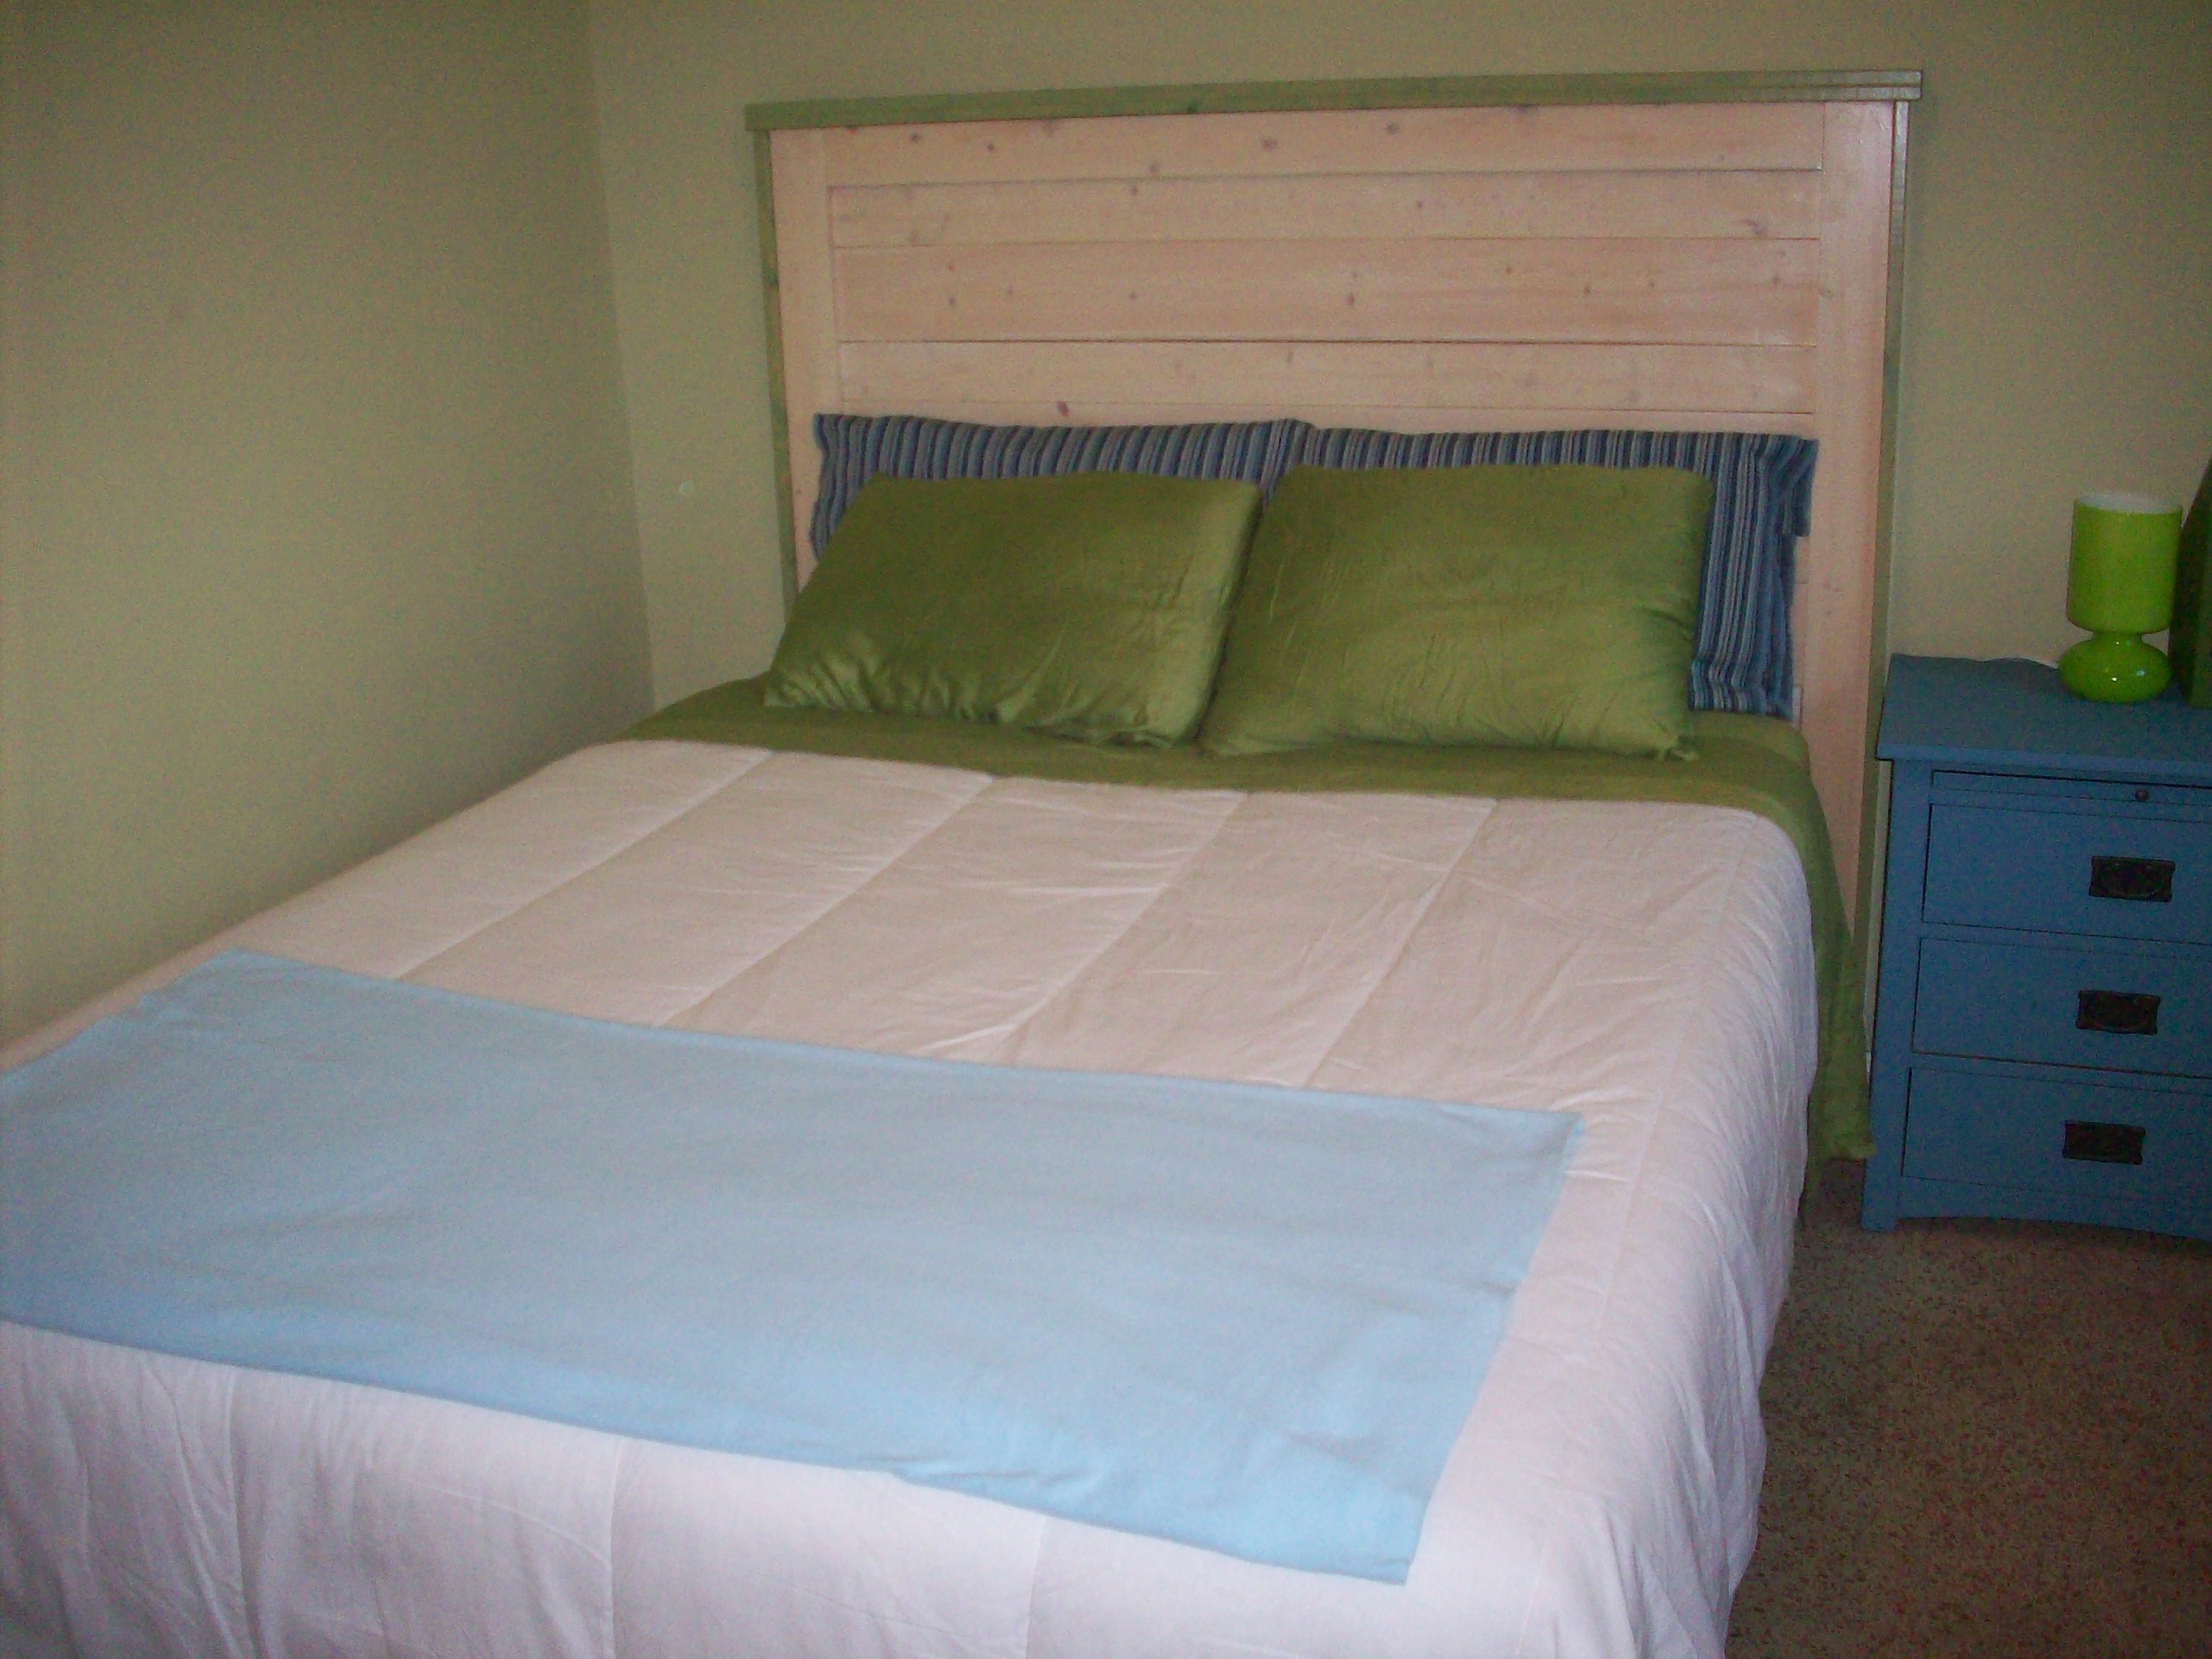
After moving to Miami from a Log Cabin in Western Pennsylvania, I wanted to have a bedroom that was decorated very "Miami." The best option was to build a bed and finish it myself. The body of the headboard is whitewashed and the trim is a cactus gel stain. Thanks Ana!

My wife wanted me to make this. The frame was meant to be coated in polyurethane but as the wood did not look the best, i painted it. I think the colours work quite well.
The stairs are different, i wanted something unique for those.
My daughter loved it as it was a birthday present for her.
The project took about 3 weeks in the evenings after work for a couple of hours most days.


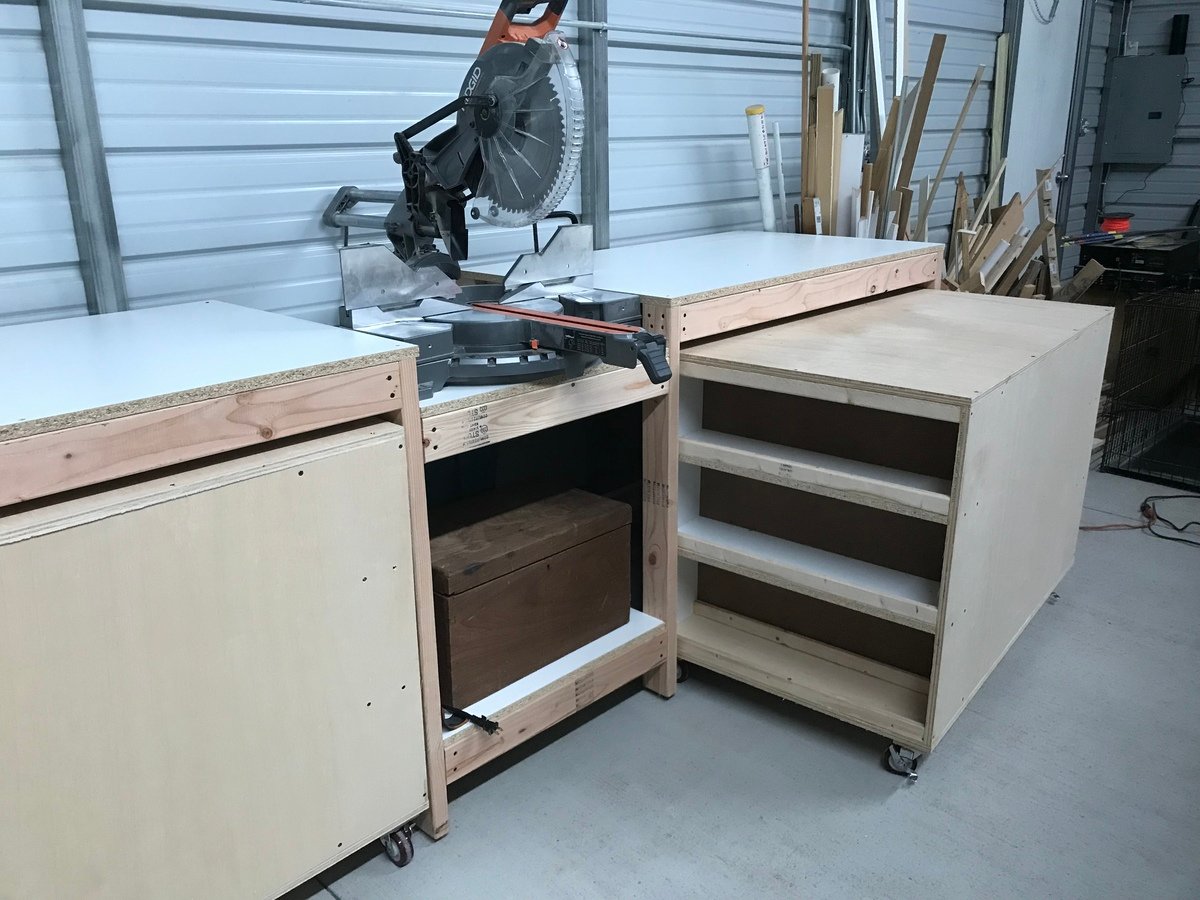
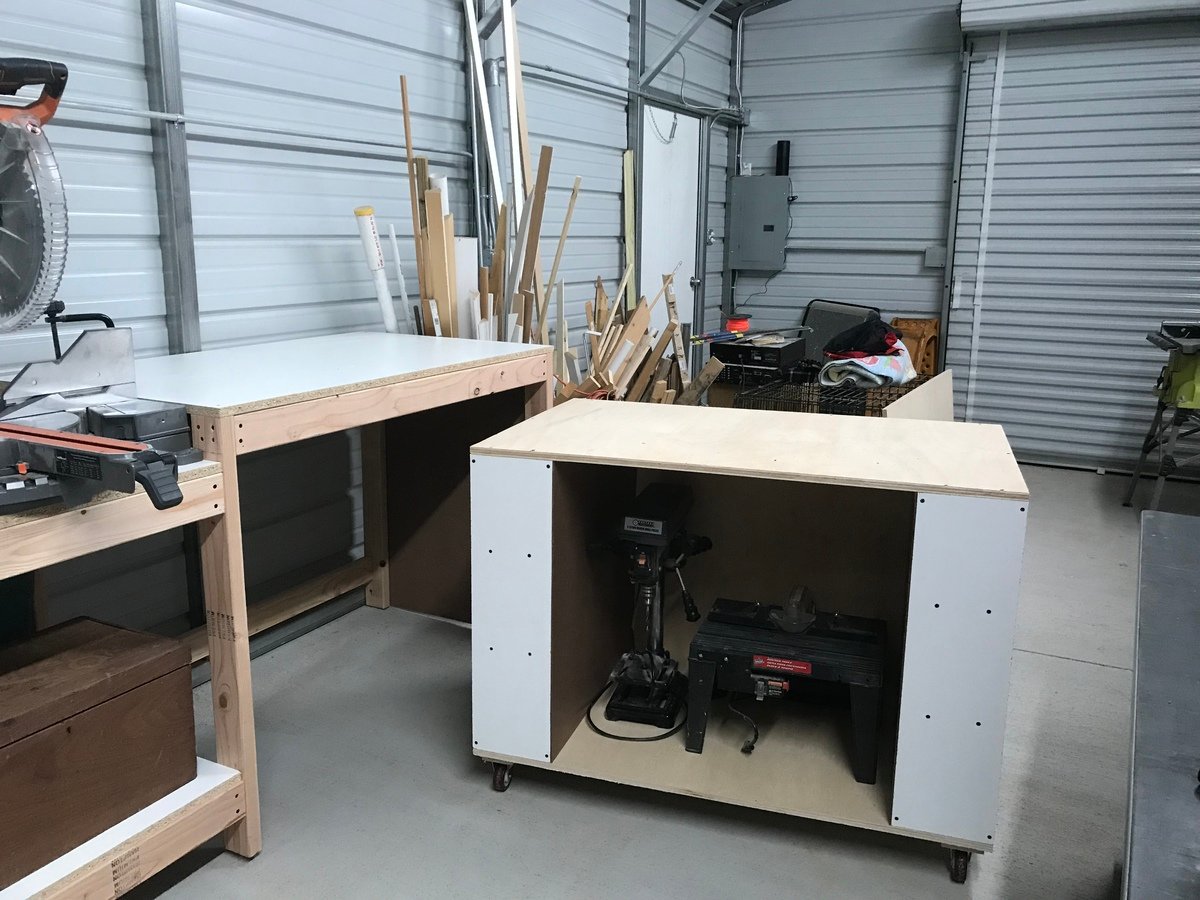
Easy instructions and simple design. One cart houses table saw, and the other I plan to make a router table. I did make a slight modification in design by adding T-nuts and 5/16” bolts for feet. (My shop floor is crowned). I also used 3/4” melamine white panels for table tops. Difficult to work with but cheaper and has a smooth surface. (Be careful using for structural parts due to glue not impregnating through melamine)
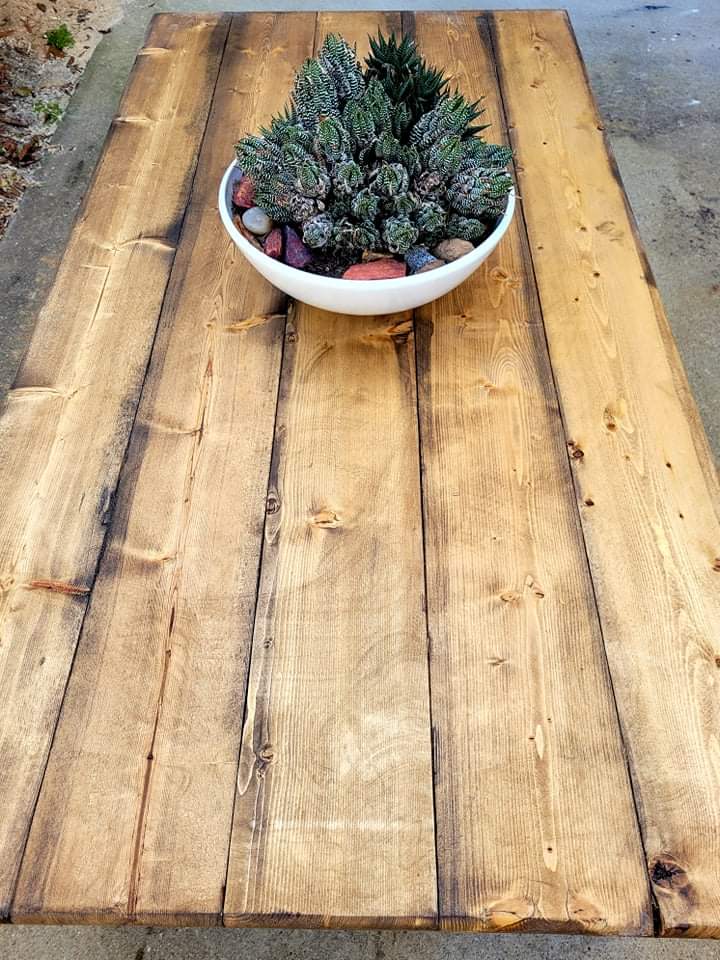
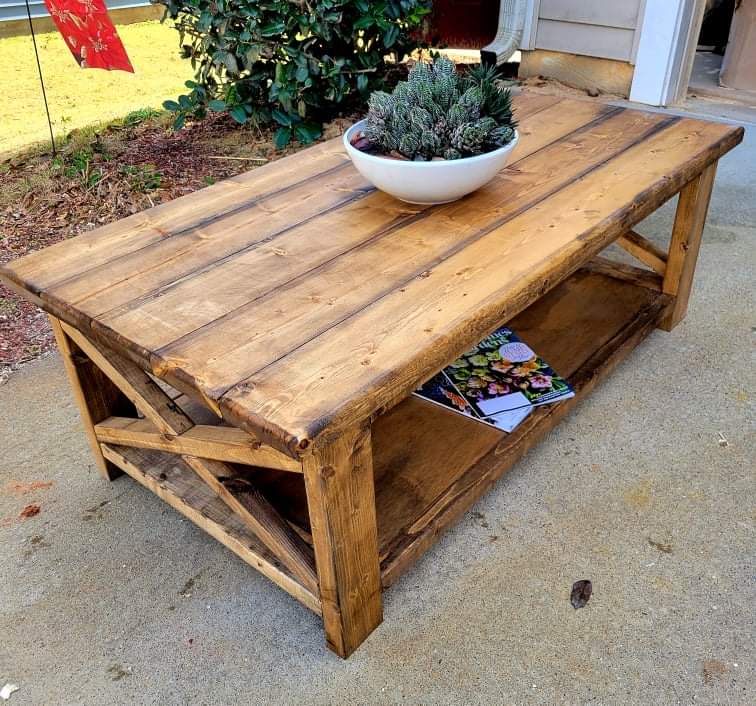
Had fun with this build. Love how large this table is. Gives me a place to put my feet up and there is still room for the kids to play with Legos. Lots of storage space underneath.
Finished with Varathane Golden Oak with Minwax Ebony lowlights.
Wed, 01/19/2022 - 12:29
Great job on the build and finish choice! Thanks for sharing:)
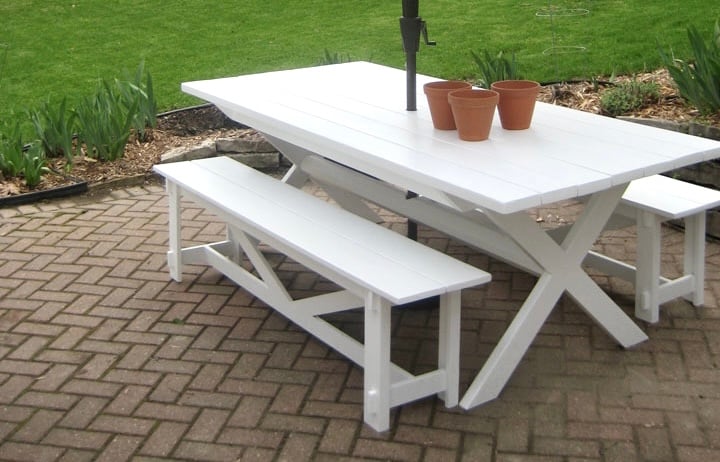
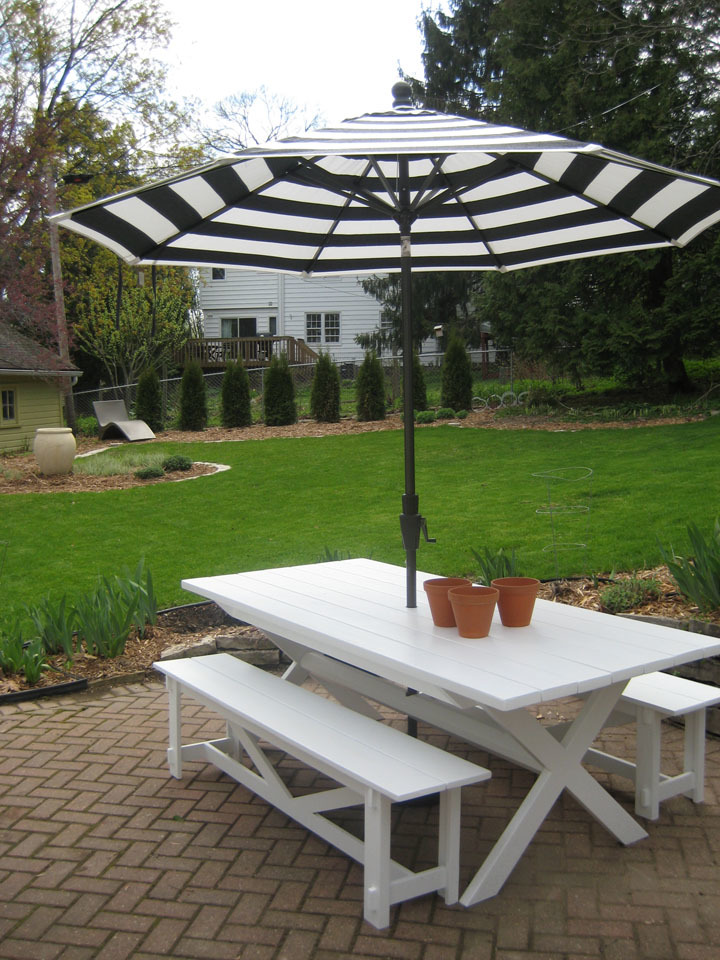
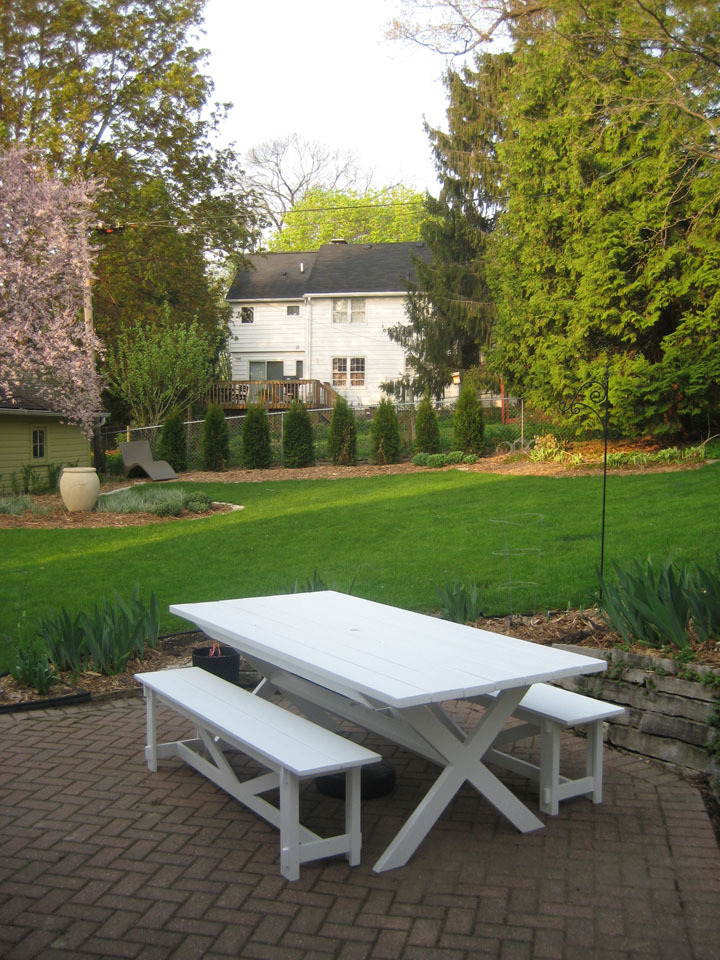
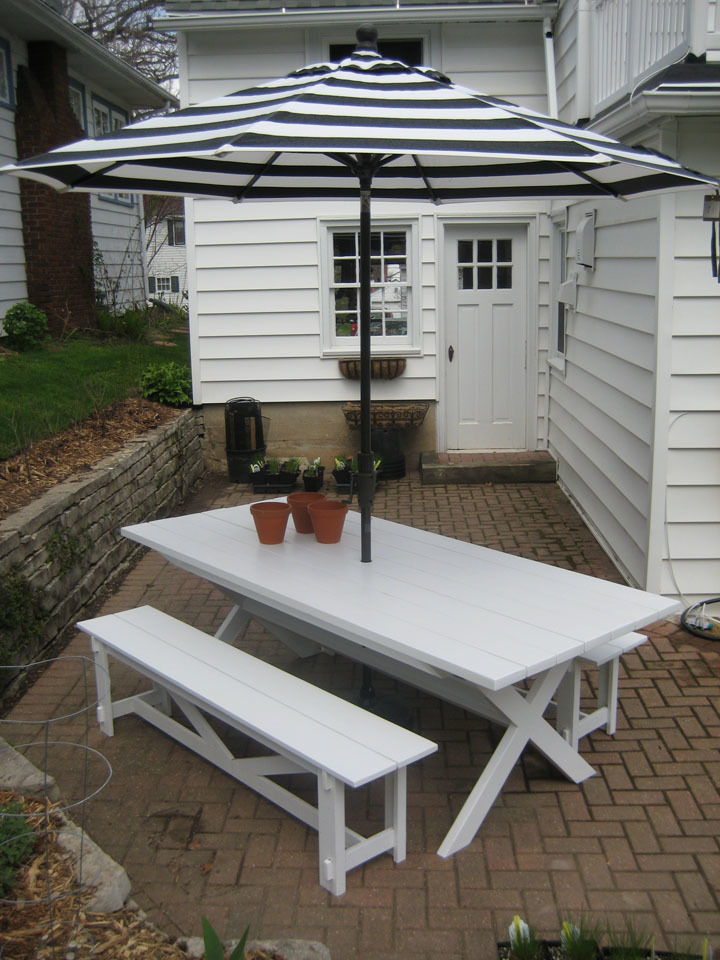
Pottery Barn Bench: Length Modified and utilized 2-1x6s for seat. X Table: Length Modified, utilized a 6x6 for the stretcher and drilled a hole through both the 1 top material and 6x6 stretcher beam. Holds the Pottery Barn umbrella real well. All made of Cedar and painted for good measure. Everything counter sunk and plugged, sanded to high heavy and ready to last.
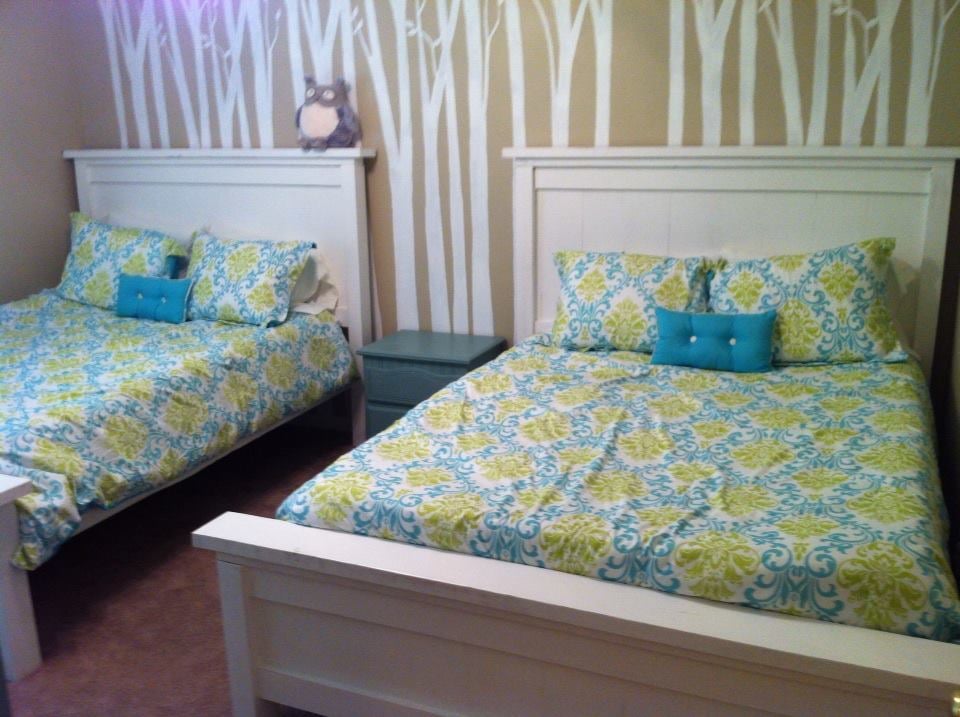
Decided to build beds for my two daughters. We went with two queen sized farmhouse beds that I hope they can keep with them for a very long time. I used joist hangers and attached the head board and foot board so that they could be disassembled easily for moves. The beds came out great and I painted them using Chalk Paint. The project took about three weekends to complete.

Sun, 07/14/2013 - 01:37
What a lovely room you are making for your daughters. Love the tree background, love Totoro, love your builds. =D
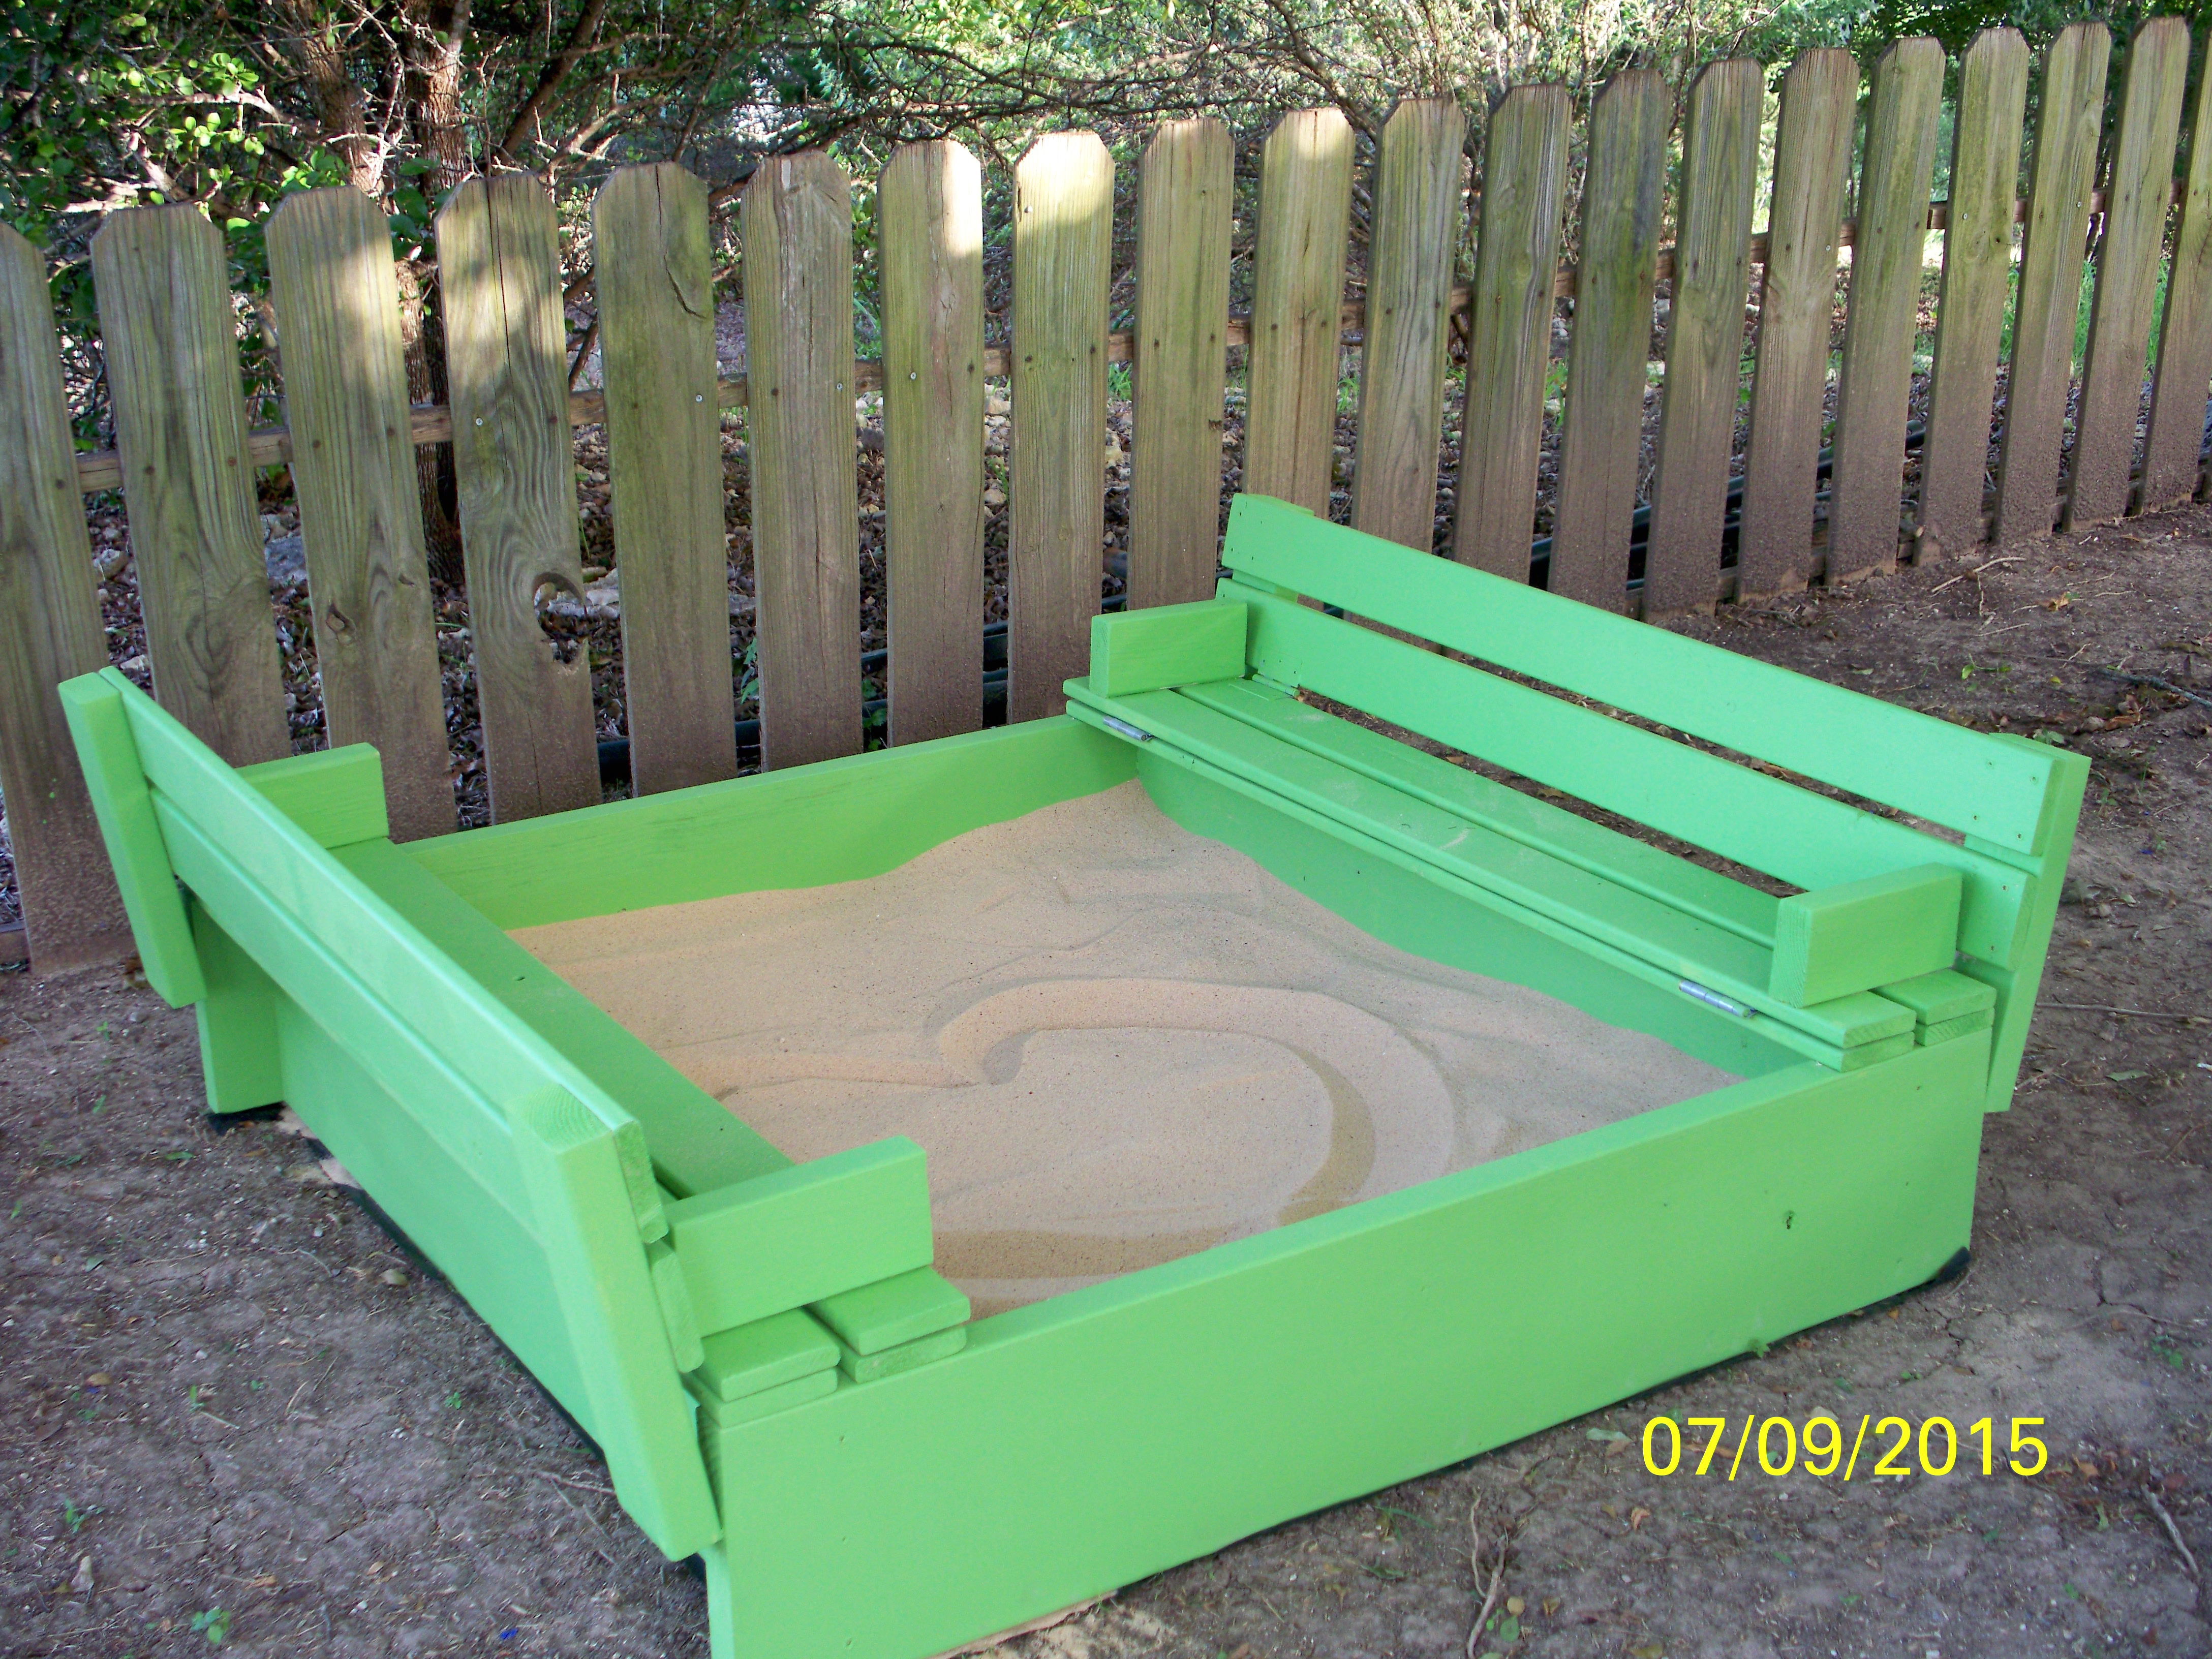
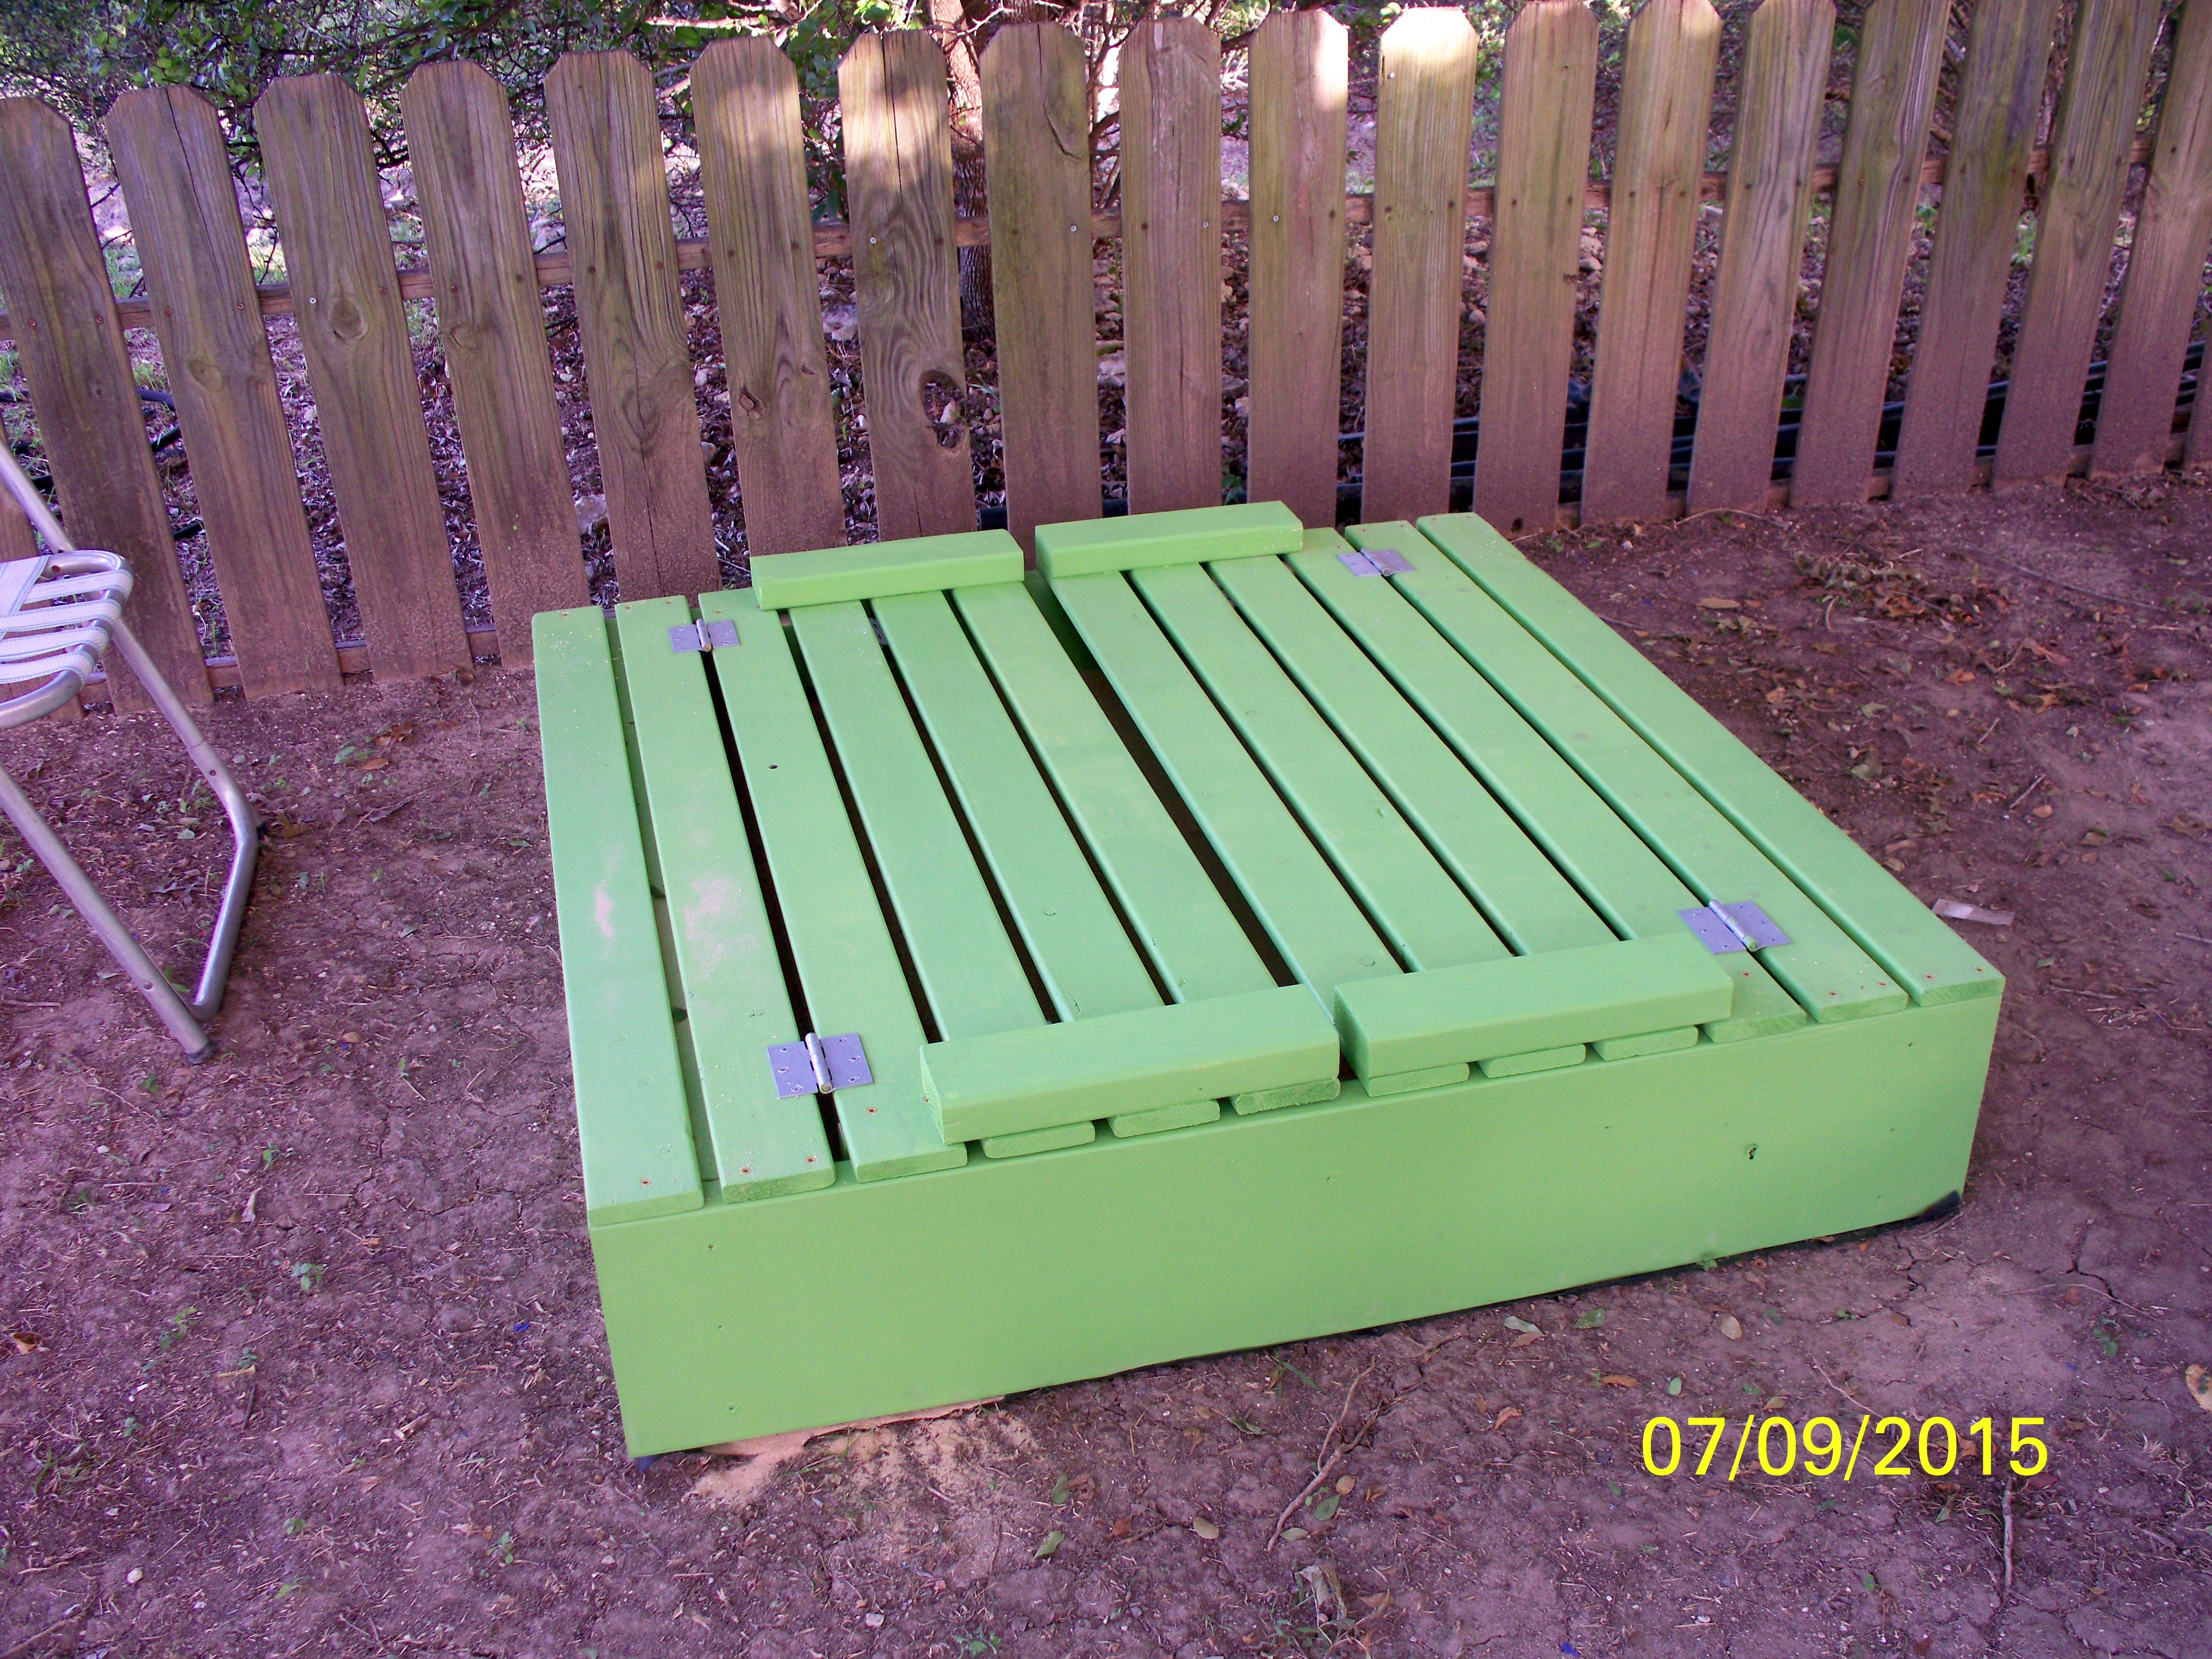
This sandbox has been around for some time BUT it is still a great project to build The plans were simple to follow and would be an excellent project for beginners. We built this for our grandson and future grandbaby. Was easy to complete in one day, including painting

Sat, 07/11/2015 - 20:31
It makes me happy, every time I see someone build this sand box. LOVE the color you chose! Great job!
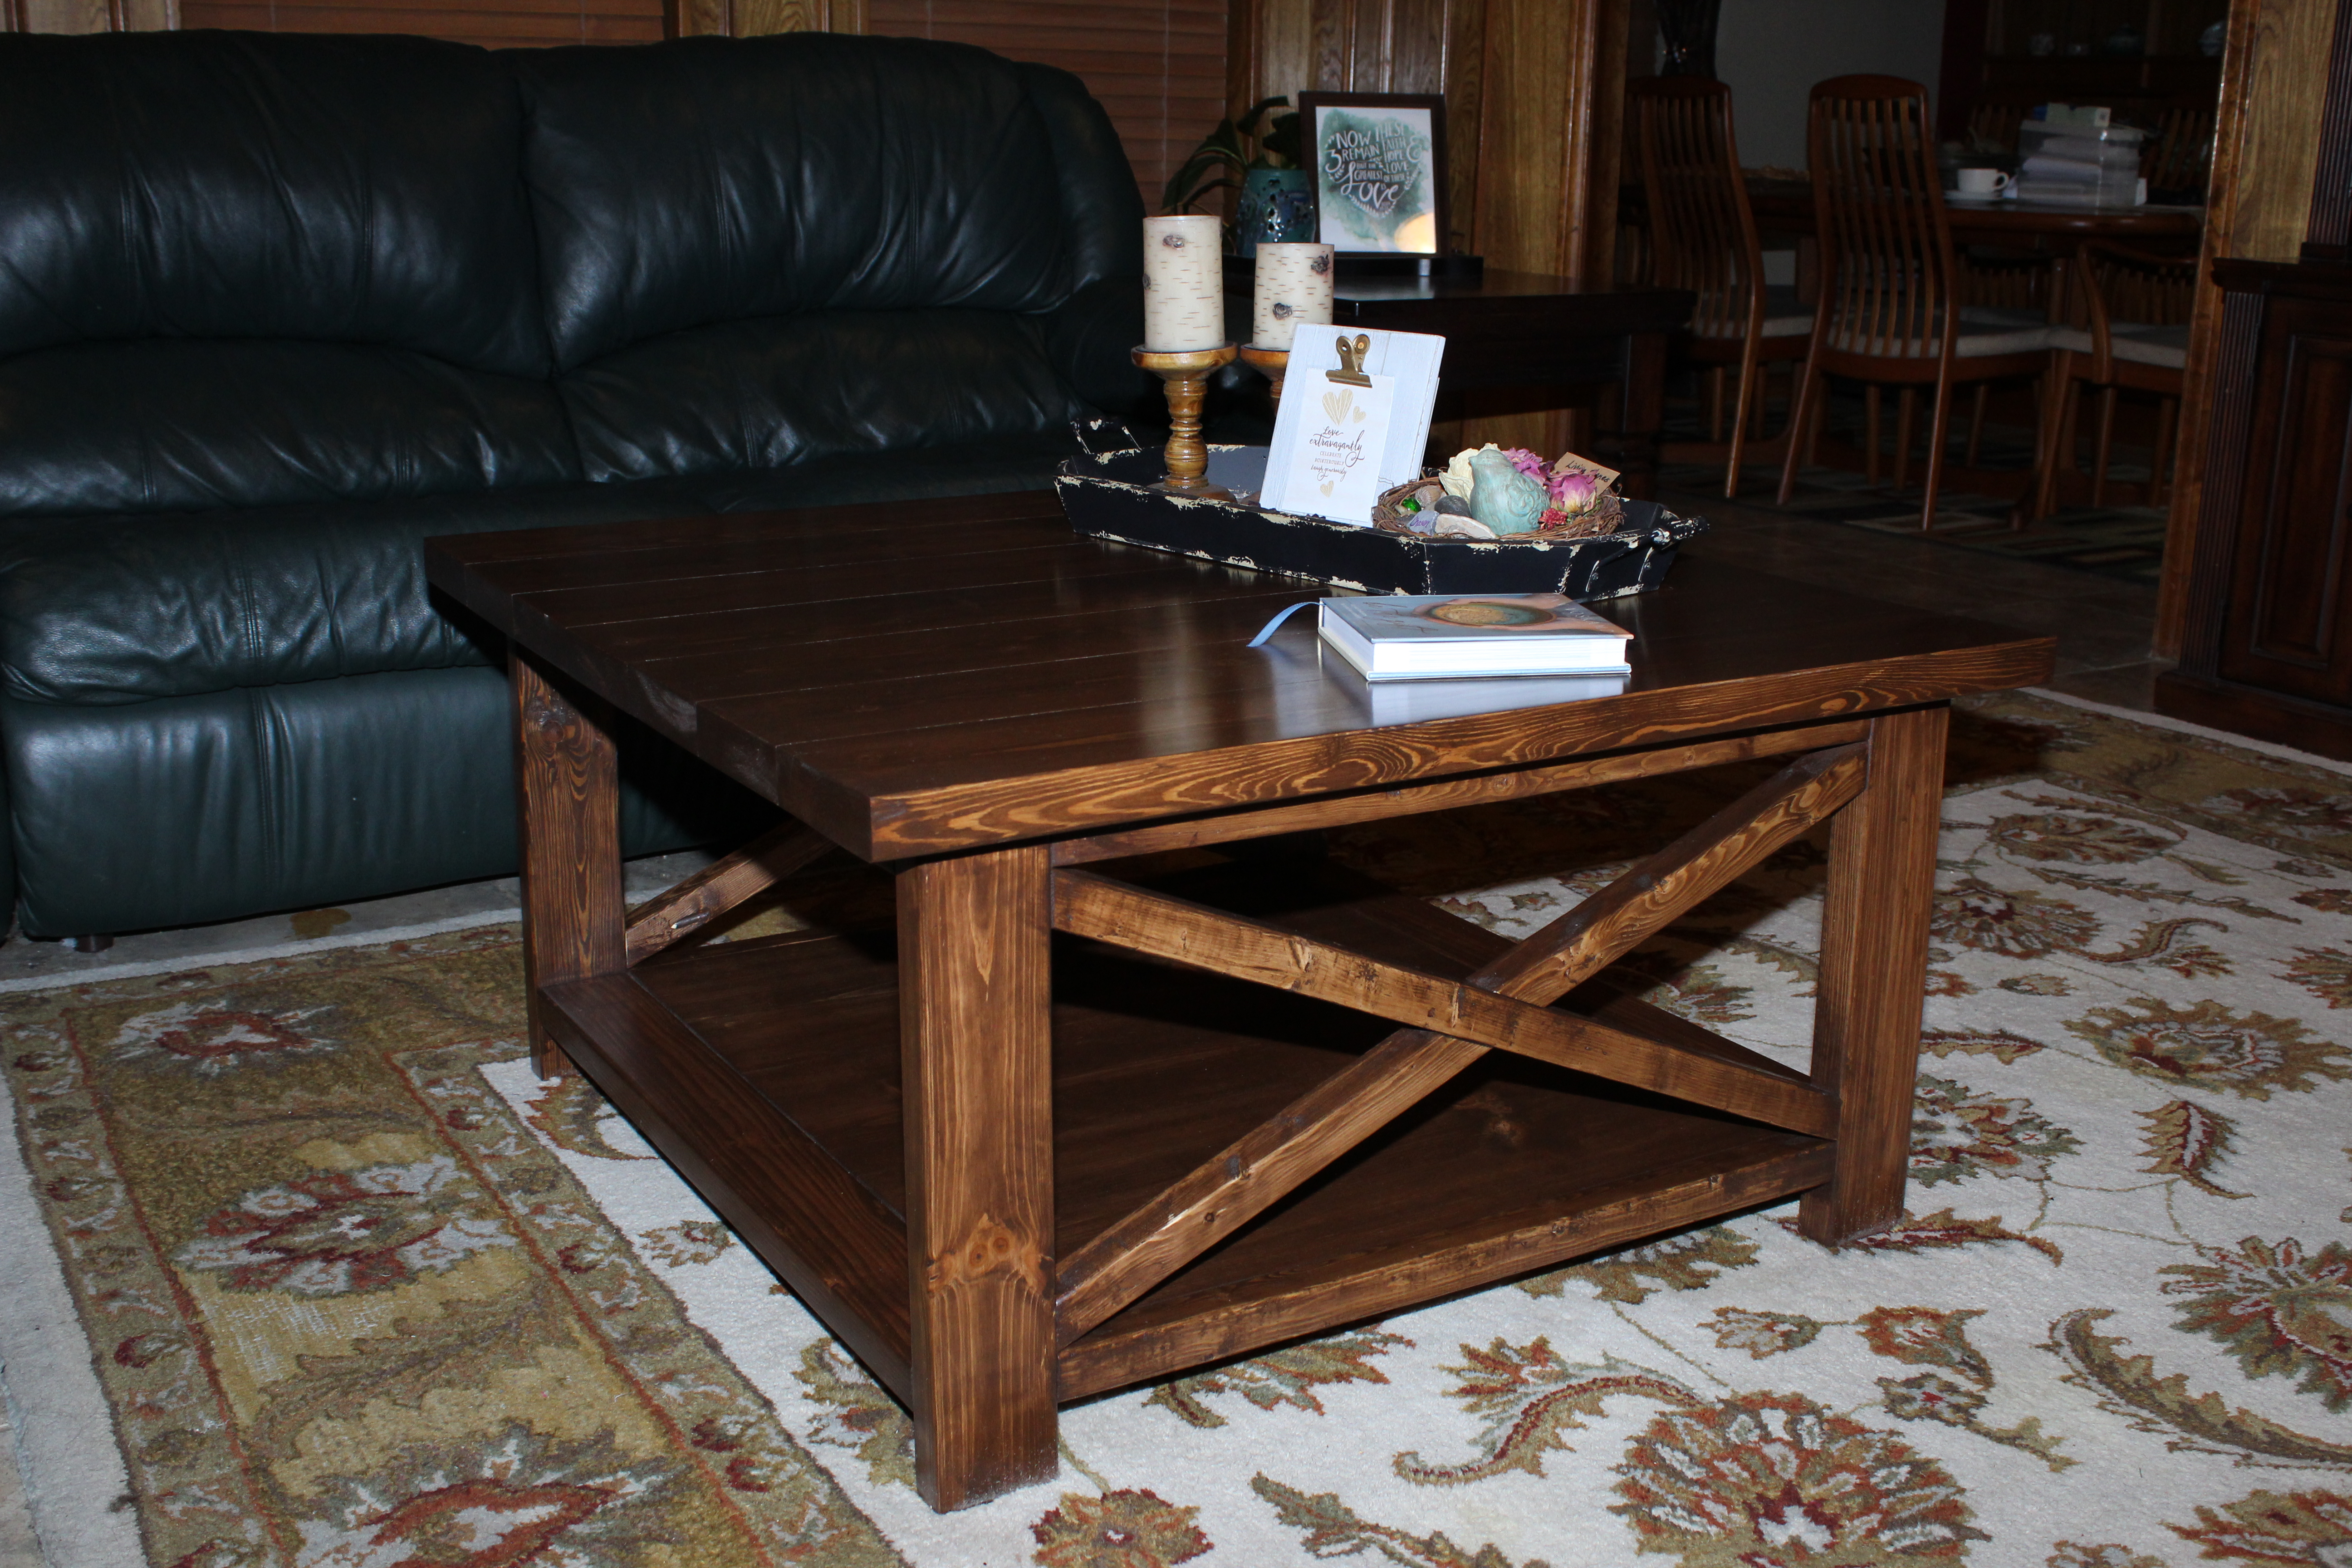
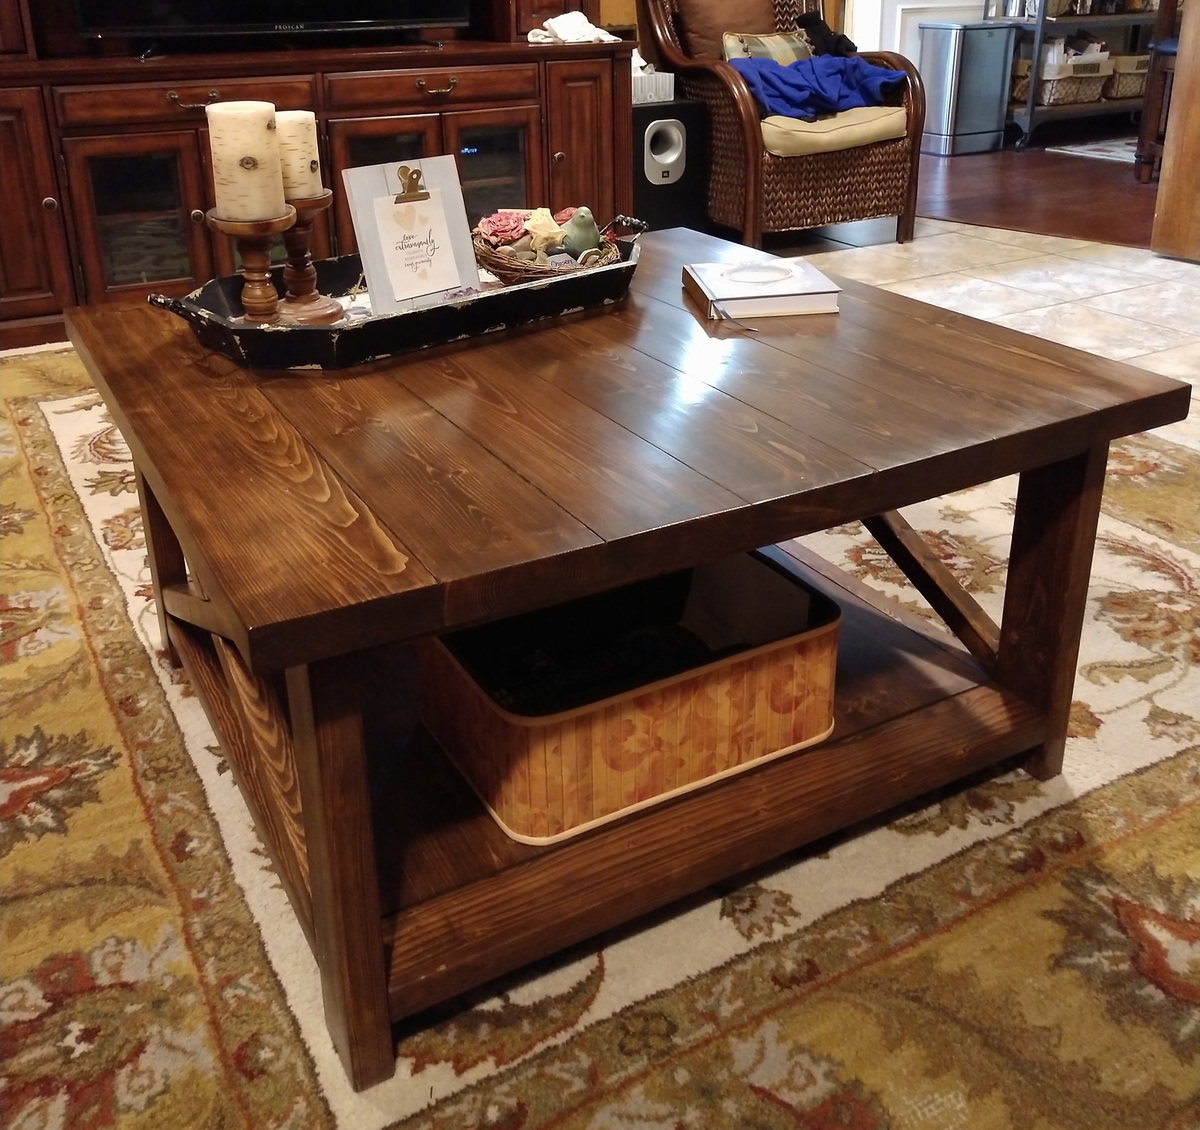
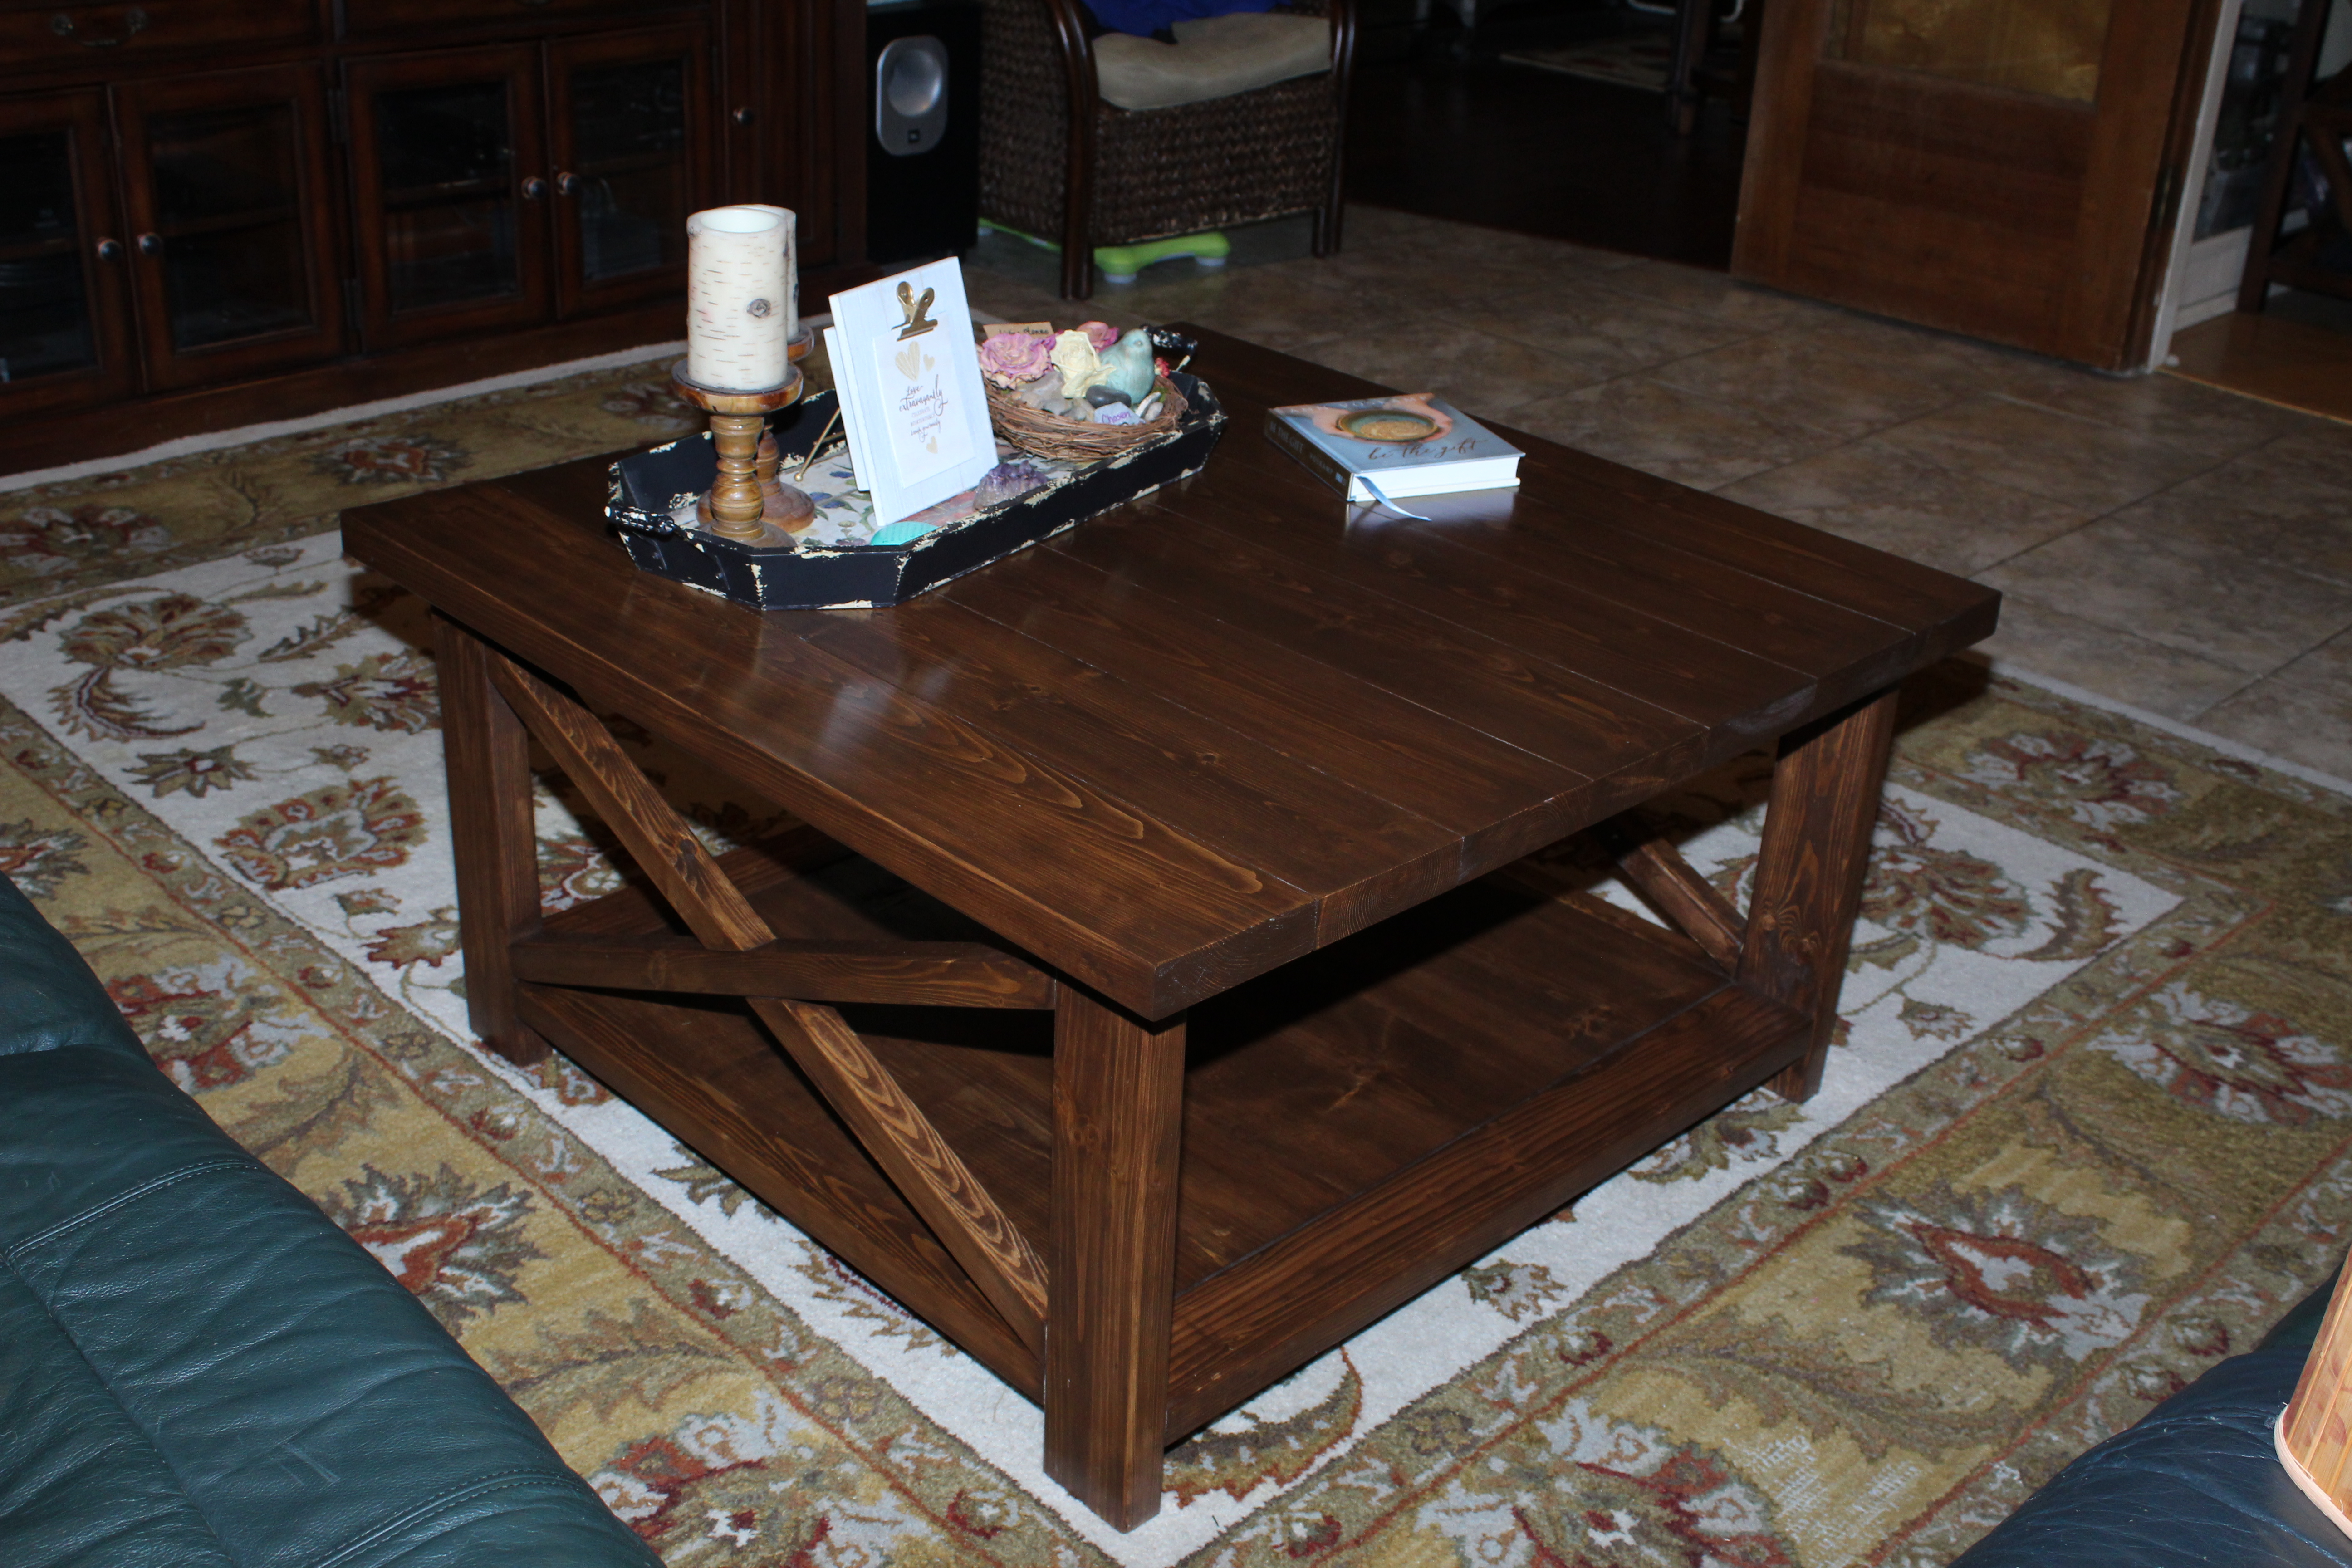
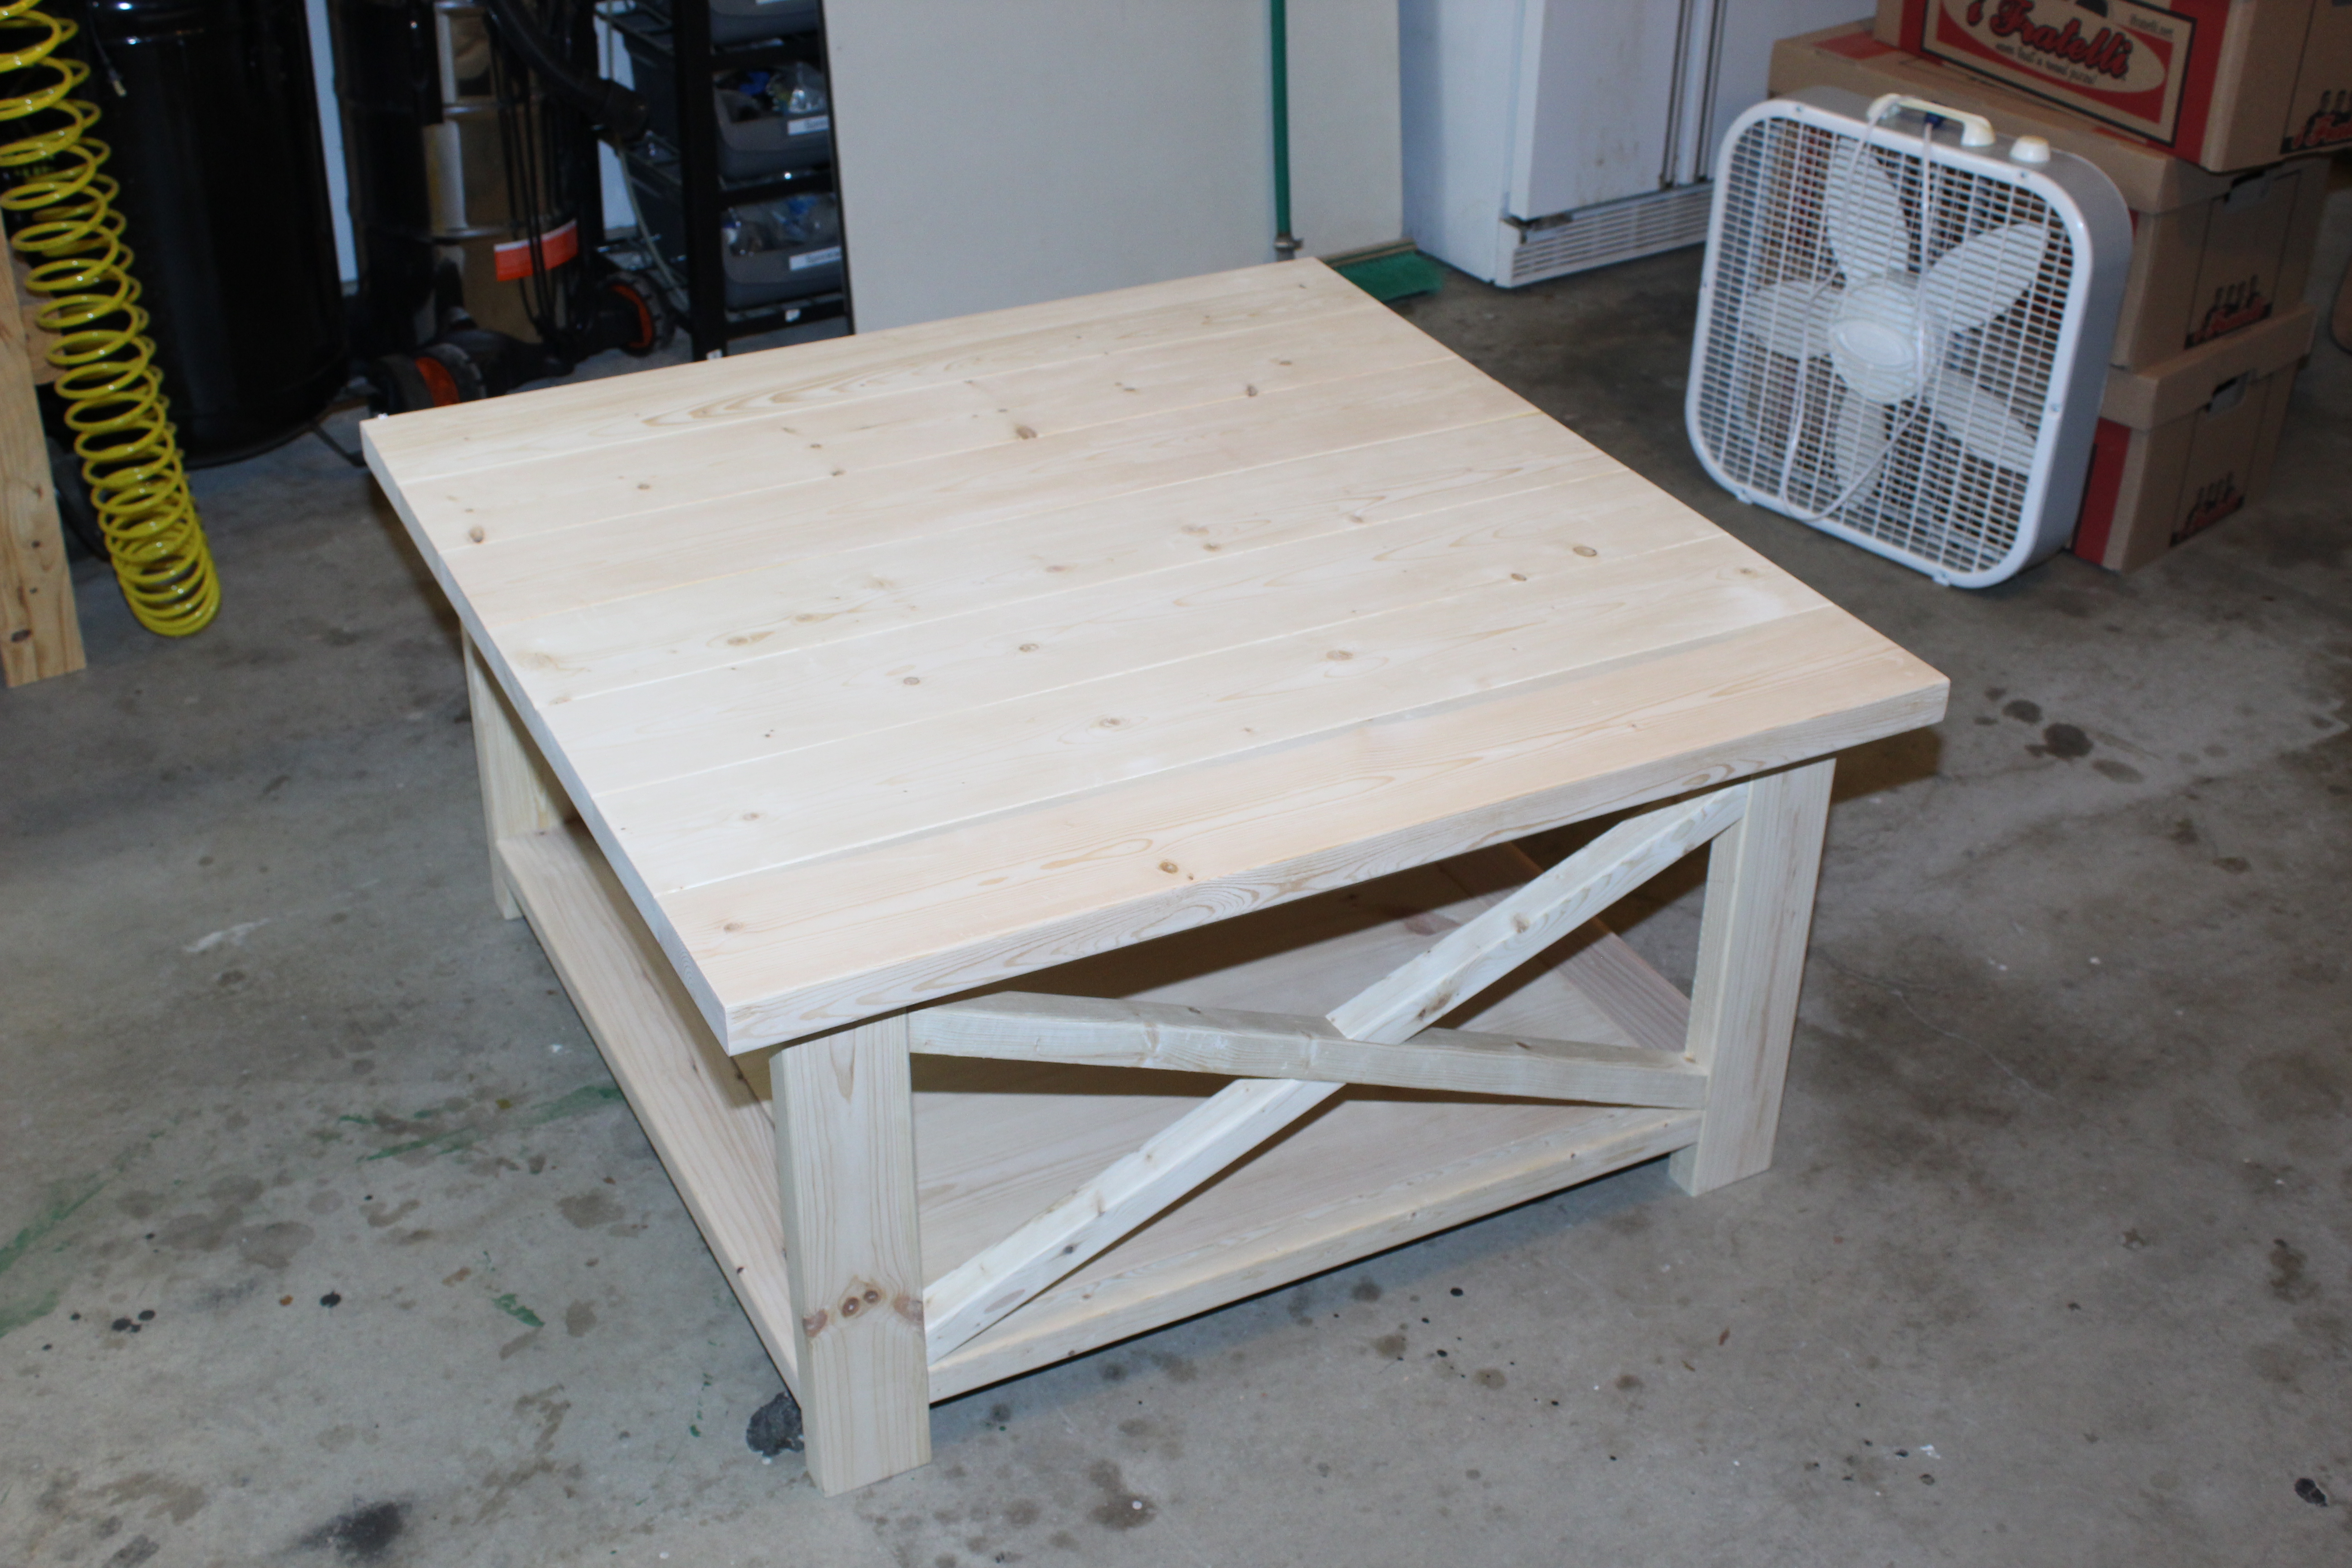
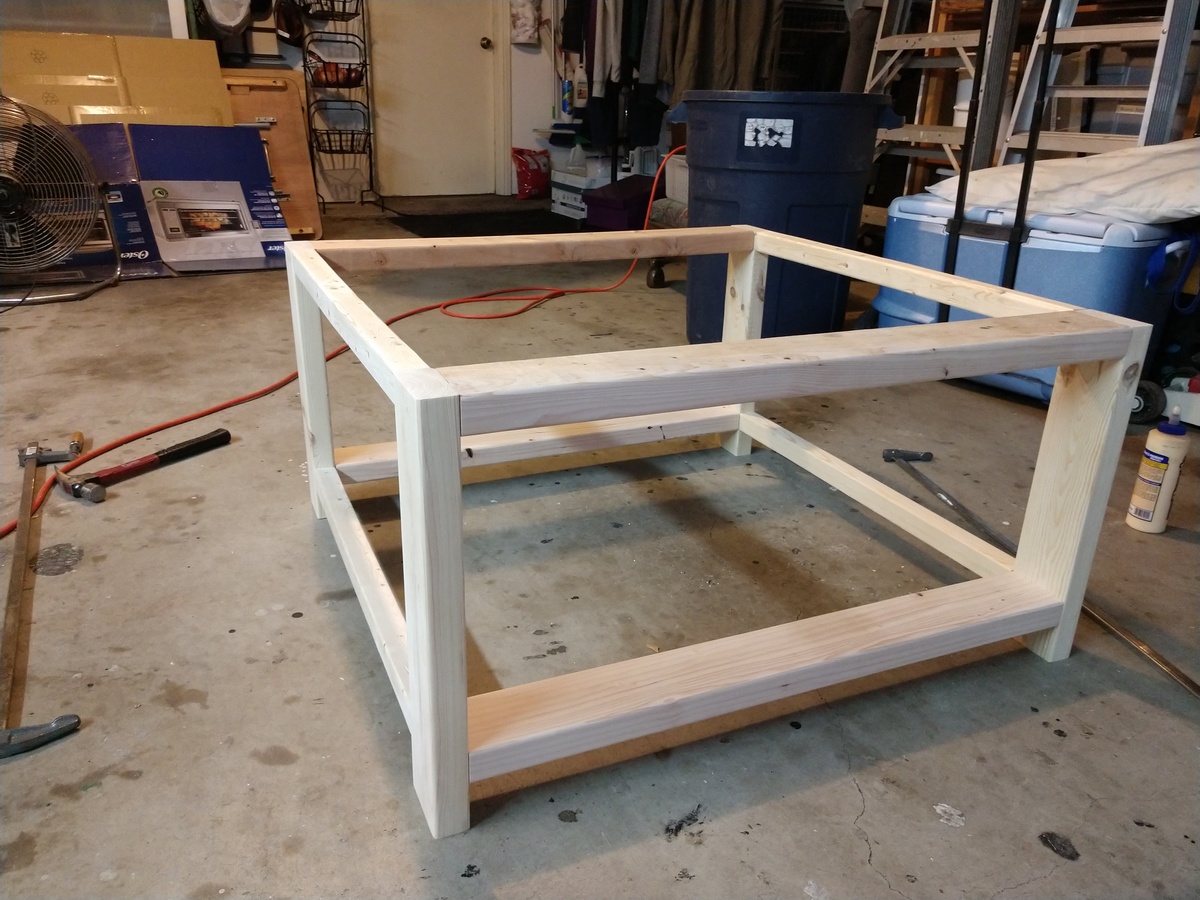
I wanted a square coffee table, so I adjusted the Rustic X Coffee Table plans to fit my dimensions. The table top is 38.5 by 38.5.
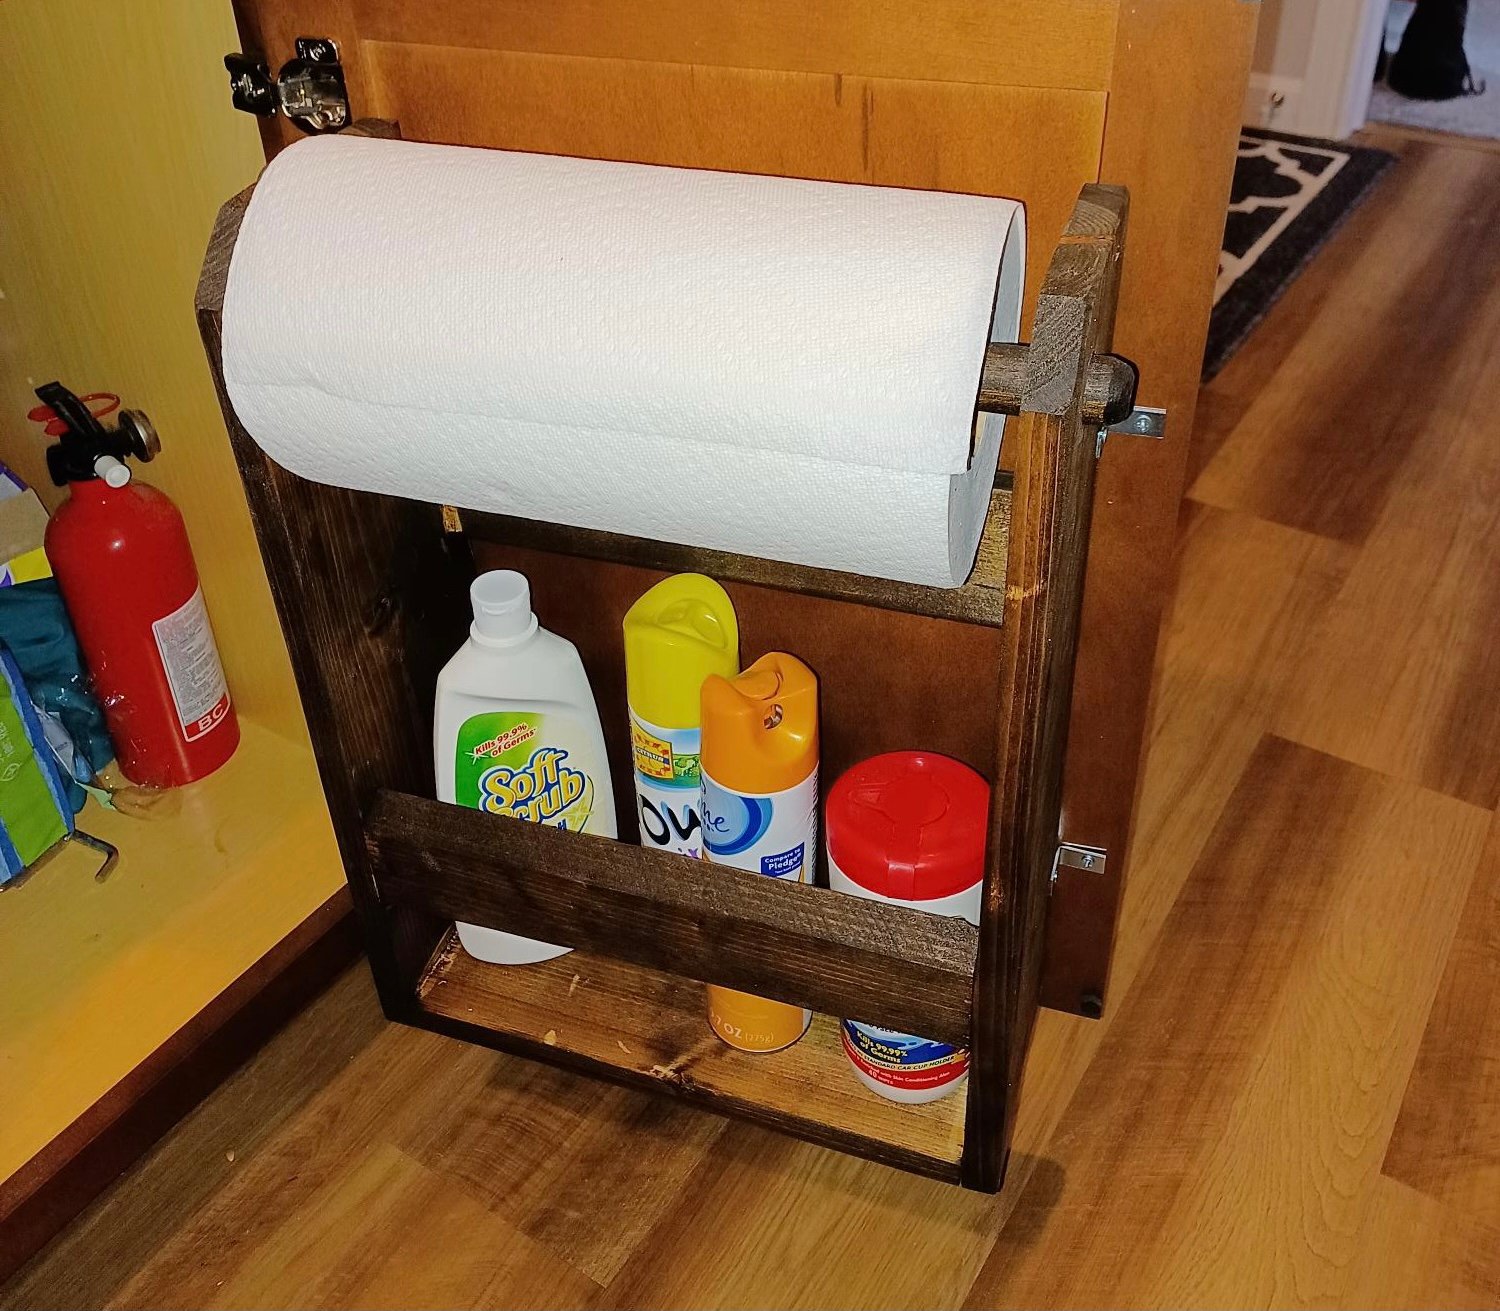
Yea, I know these were posted way back in 2013, but I only recently found them. Was looking at some kitchen organization ideas and I knew I wanted to make a paper towel rack. I liked this idea and went with it. My variance from original was to use a dowel rod for the paper towel holder and I cut 45 degree angles in place of the radius.
Sat, 01/29/2022 - 08:50
So glad you found it and built it! Thanks for sharing:)

My 10 yr old son and 8 year old daughter really loved helping make this for their cousin. They've never been so excited to give a gift!
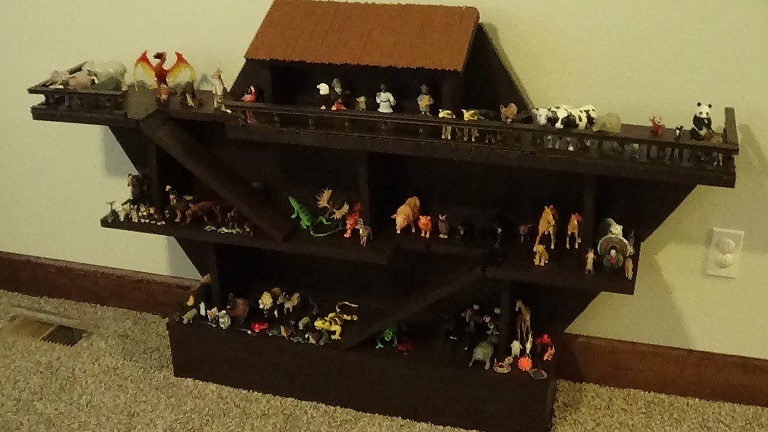
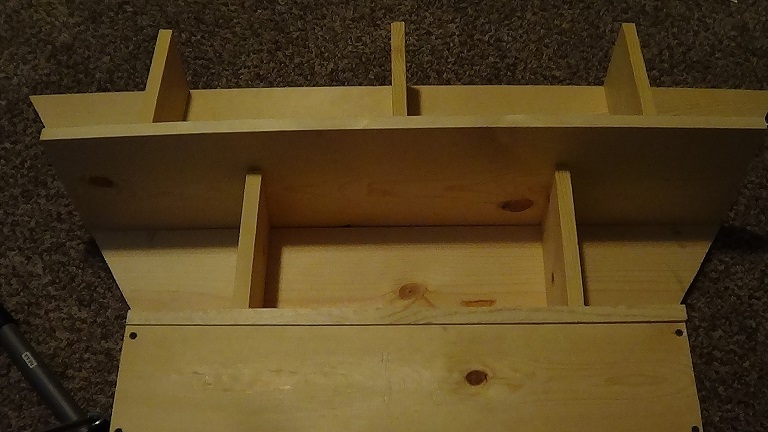
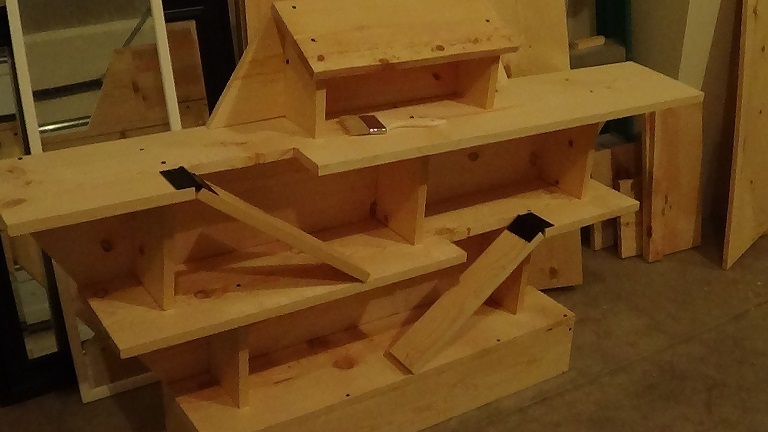
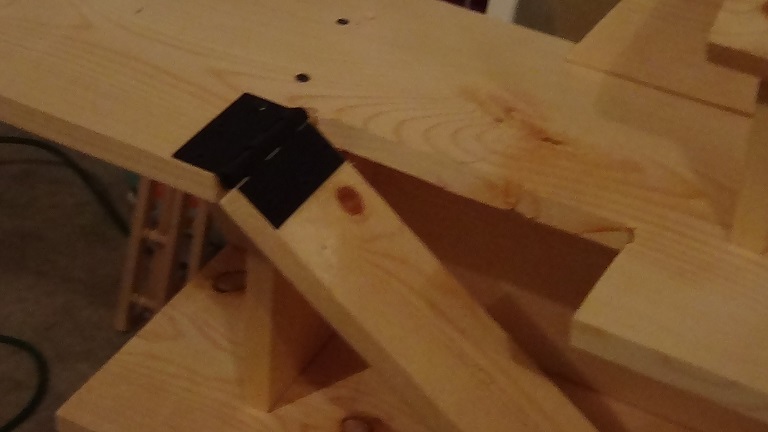
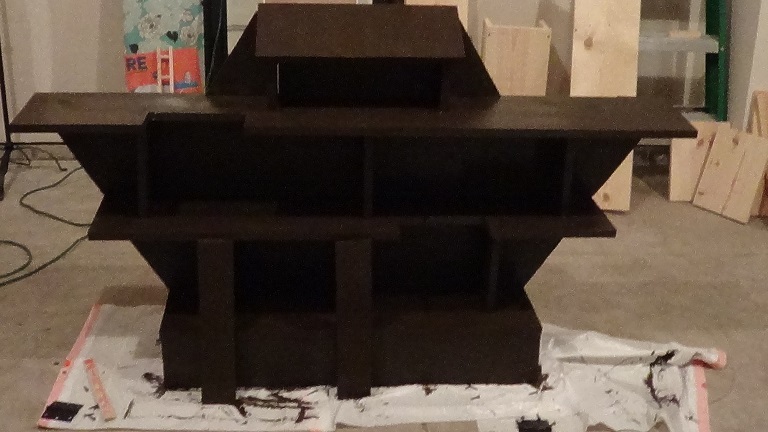
My son is three and loves animals. His collection of animals keeps growing. They were originally sitting on his toy chest. This made things difficult because we could not use his toy chest storage. He liked having all his animals lined up. So I thought I would build him some shelves. But something cool and fun for a little boy with a growing animal collection. So I set out to build the Noah's ark. It didn't take me a hundred years but I kind of know how Noah felt because we messed up and had to rebuild. There was supposed to be sides with a drop down bridge so he could load his animals on to the arc. It was supposed to be attached by hinges and have a latch to hold it up. My husband and I are beginners at cutting wood and were unable to make the proper cuts. So we decided to go without sides. If anyone does this arc with the drop down side please let me know. I would love to see it like I originally imagined it. I first set out to make it 4 feet long but after building it and messing up some of our wood; I thought my son will need a bigger arc. The final product is 5feet long at the top and 3 feet at the base. I used 6 inch wide base because we have baseboards close to that wide. The shelf width is 10 inch. I would recommend attaching to a wall. I used some left over railings I had from another project. You can buy them at a hardware store. I was going to stain it but did not have the time. So we painted it. I used dowel rods for the roof and glued them on.
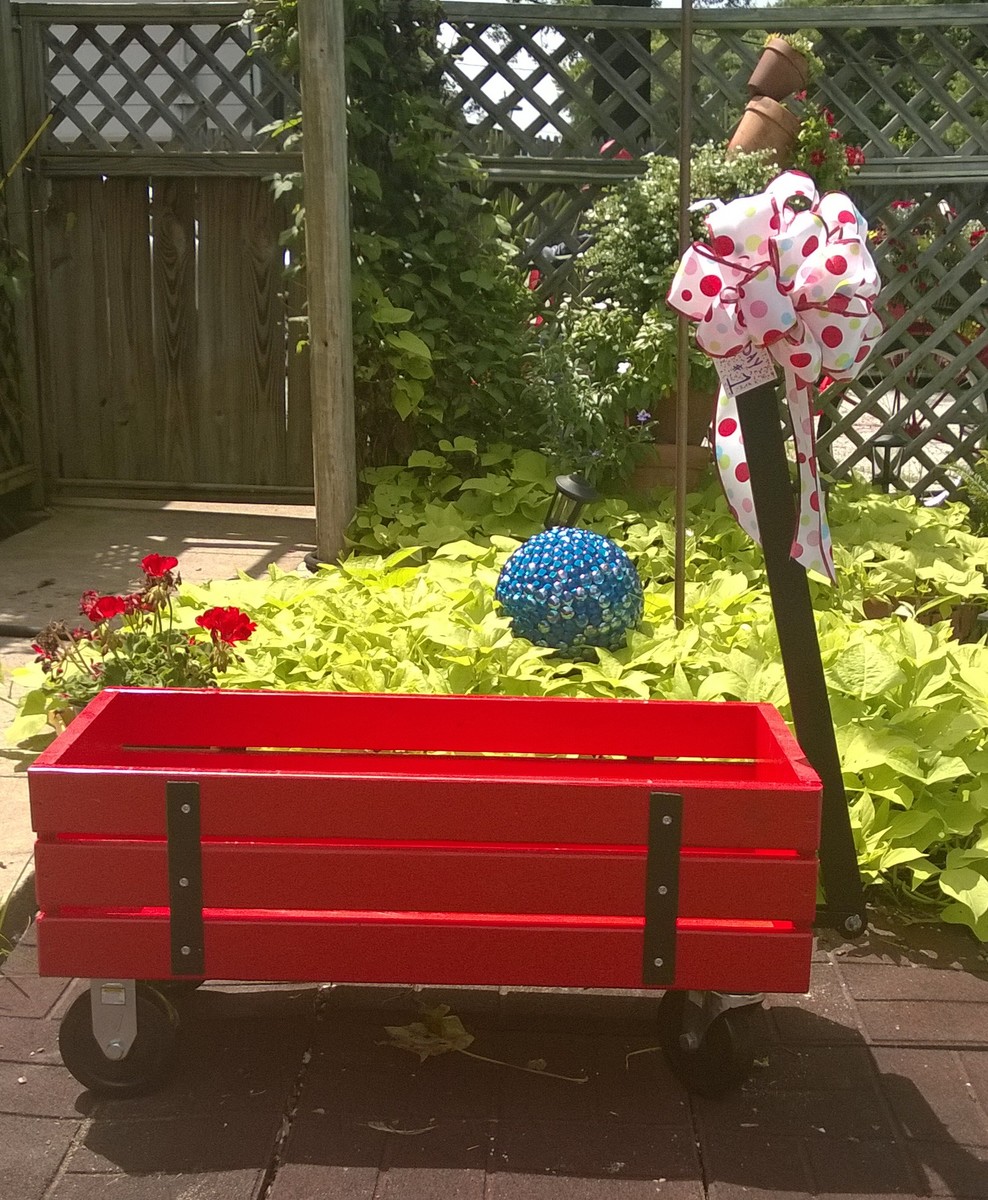
I used 5 inch wheels as I wanted the wagon to sit a little higher. http://www.harborfreight.com/5-in-polyurethane-heavy-duty-swivel-caster-69852.html and http://www.harborfreight.com/5-in-polyurethane-heavy-duty-rigid-caster-61757.html We bought these metal pieces for the straps http://www.lowes.com/pd_44138-37672-11662 Our Lowes didn't have snow blower parts in July. But we were able to find a shear pin in the draawers where much of their specialty hardware connectors are located. . I opted to screw everything together and not use nails. Thanks so much for plans that include a seperate shopping list and cutting list and easy to follow directions. The wagon was a huge hit with the birthday boy.
Sun, 07/19/2015 - 18:34
The color is beautiful and it looks solid...definately grandma's heirloom wagon.


Comments
Ana White Admin
Sat, 01/01/2022 - 12:59
Stunning gift!
Thank you for sharing, it looks amazing!