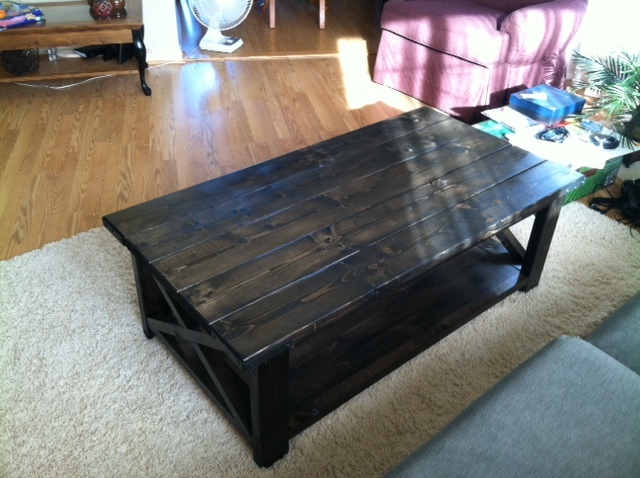
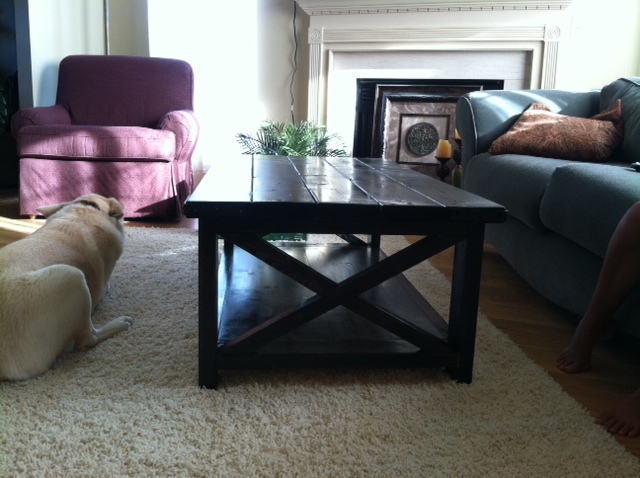
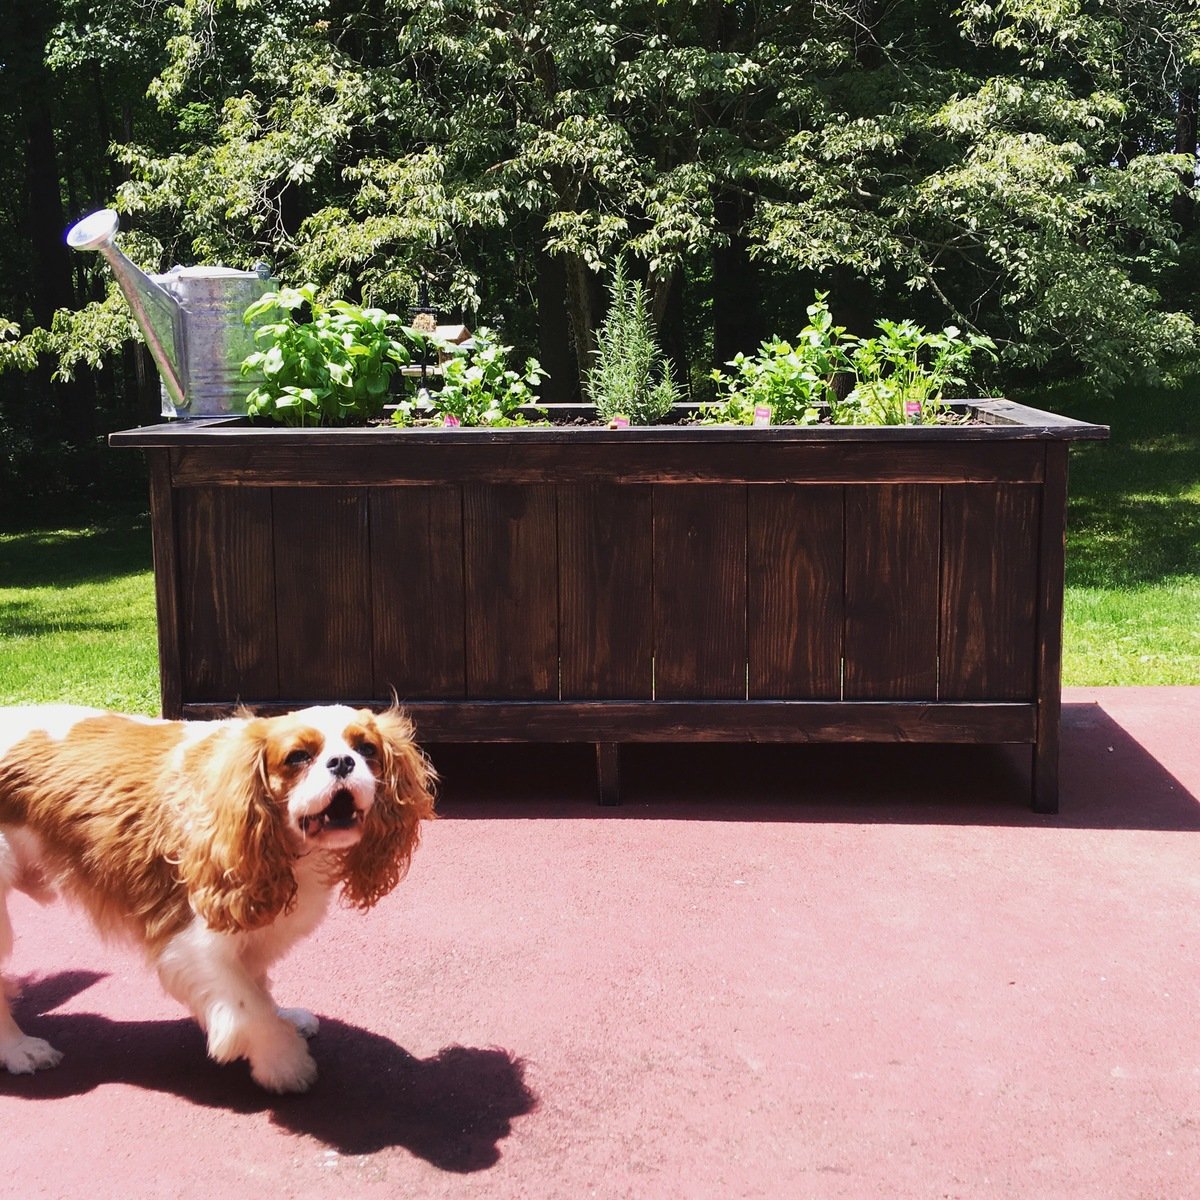
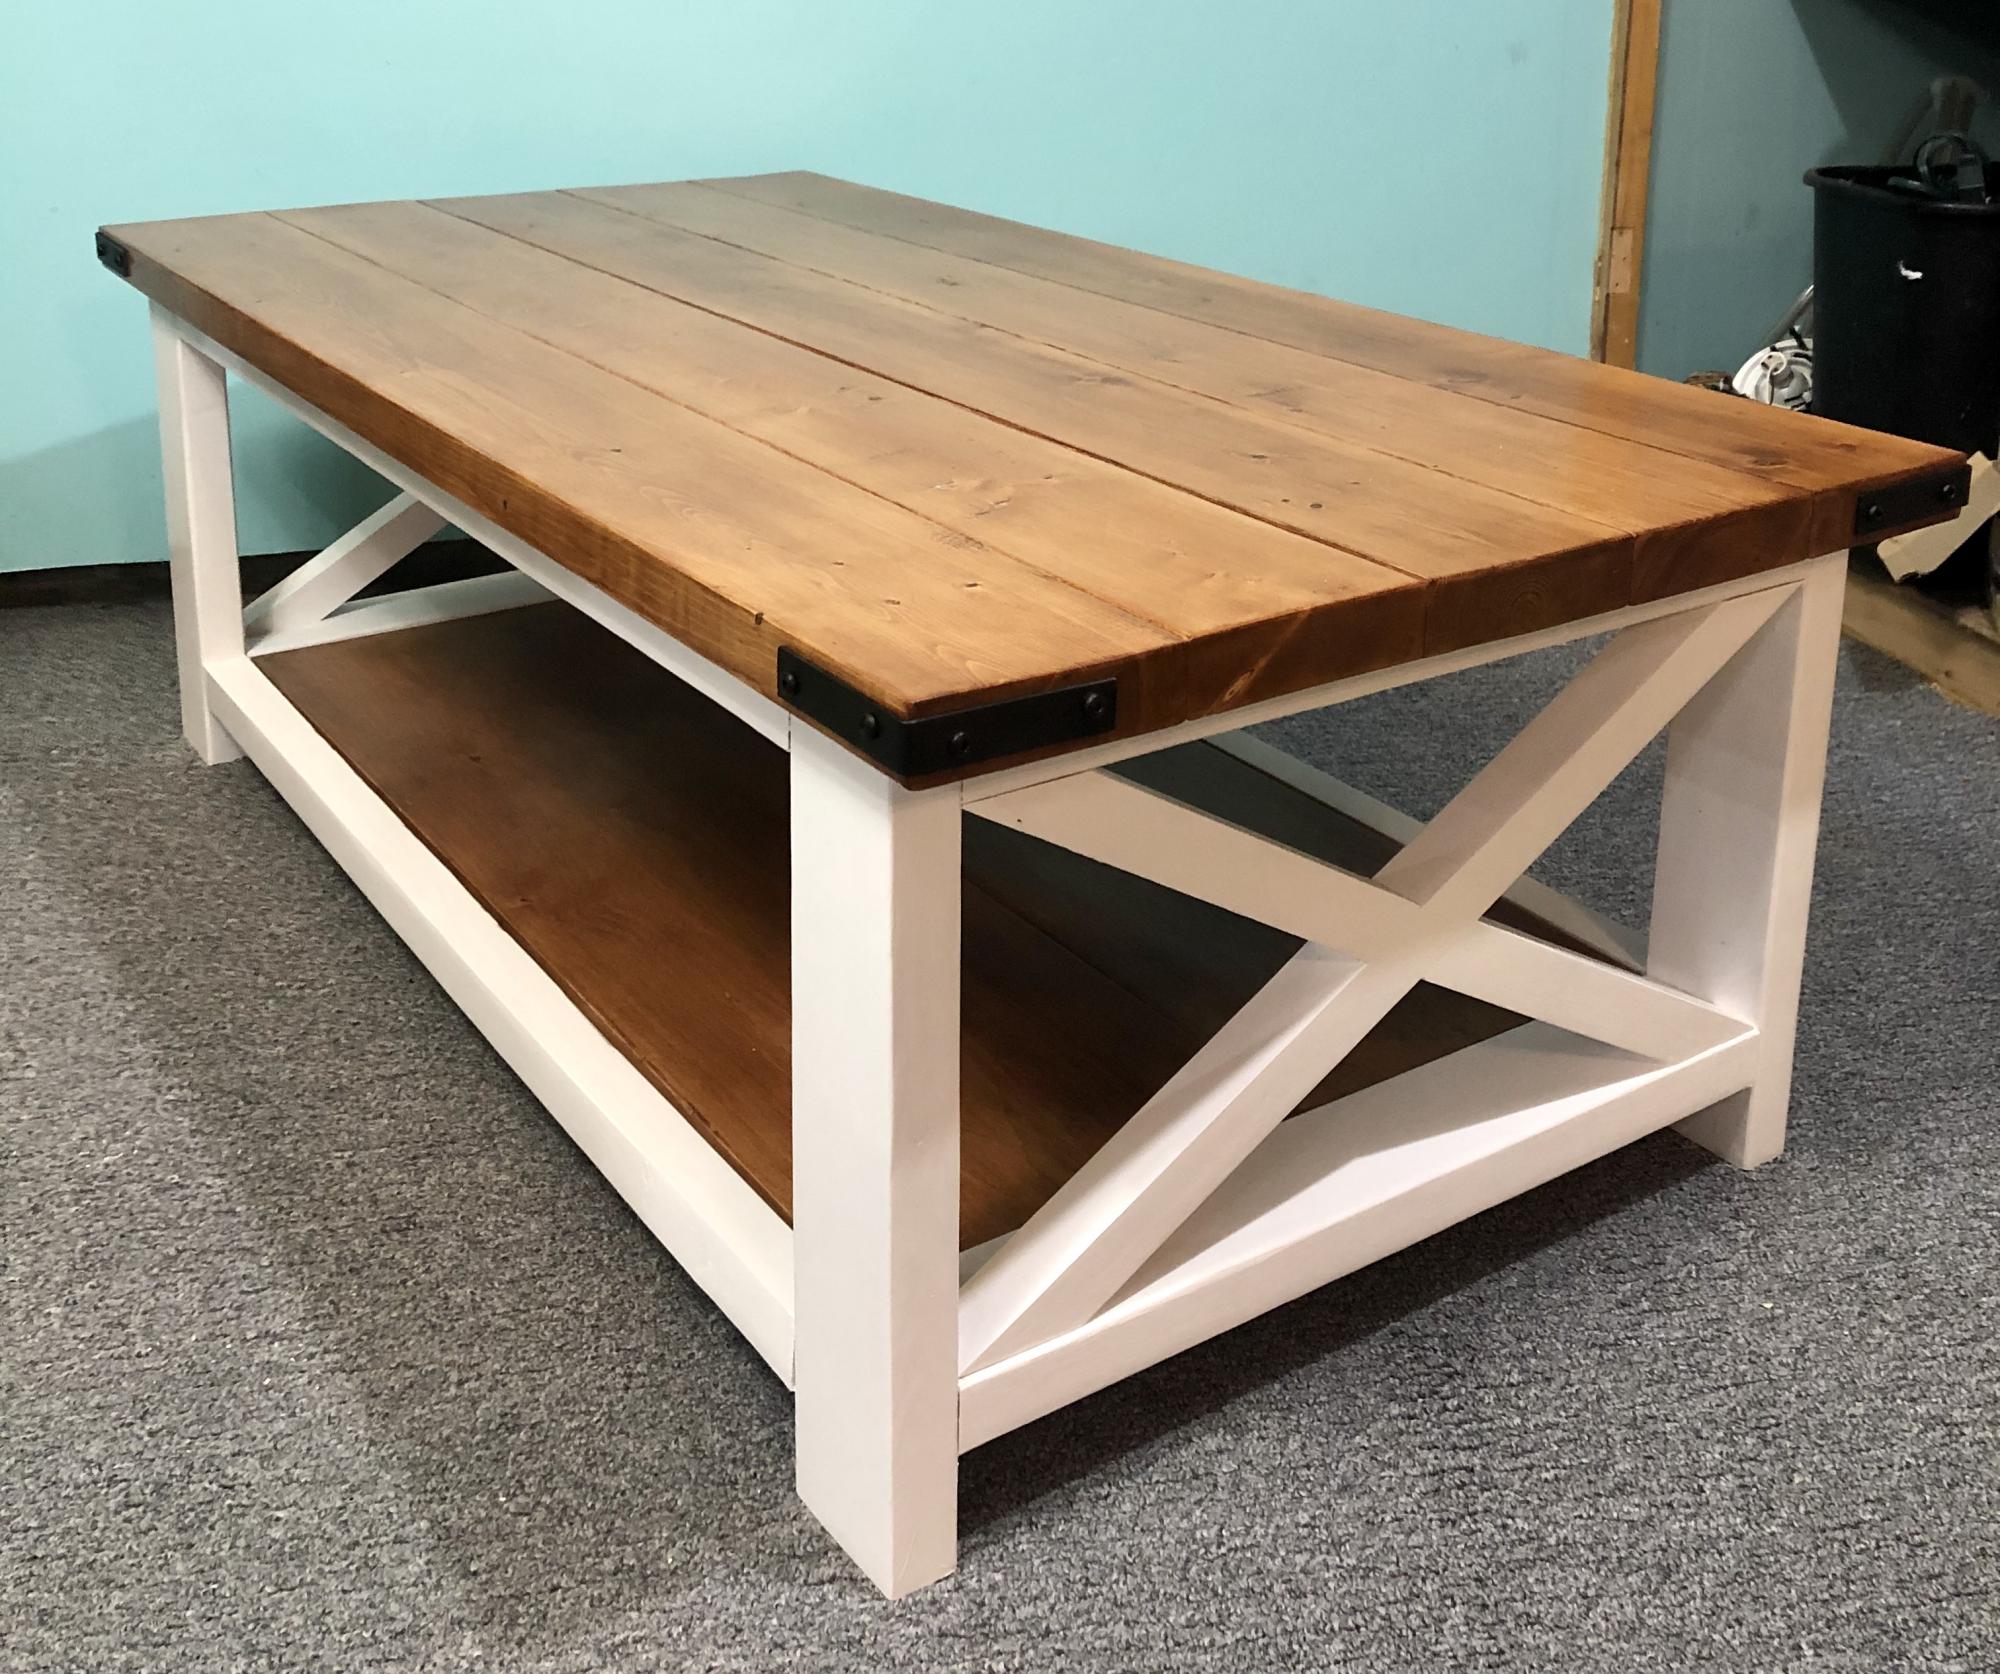
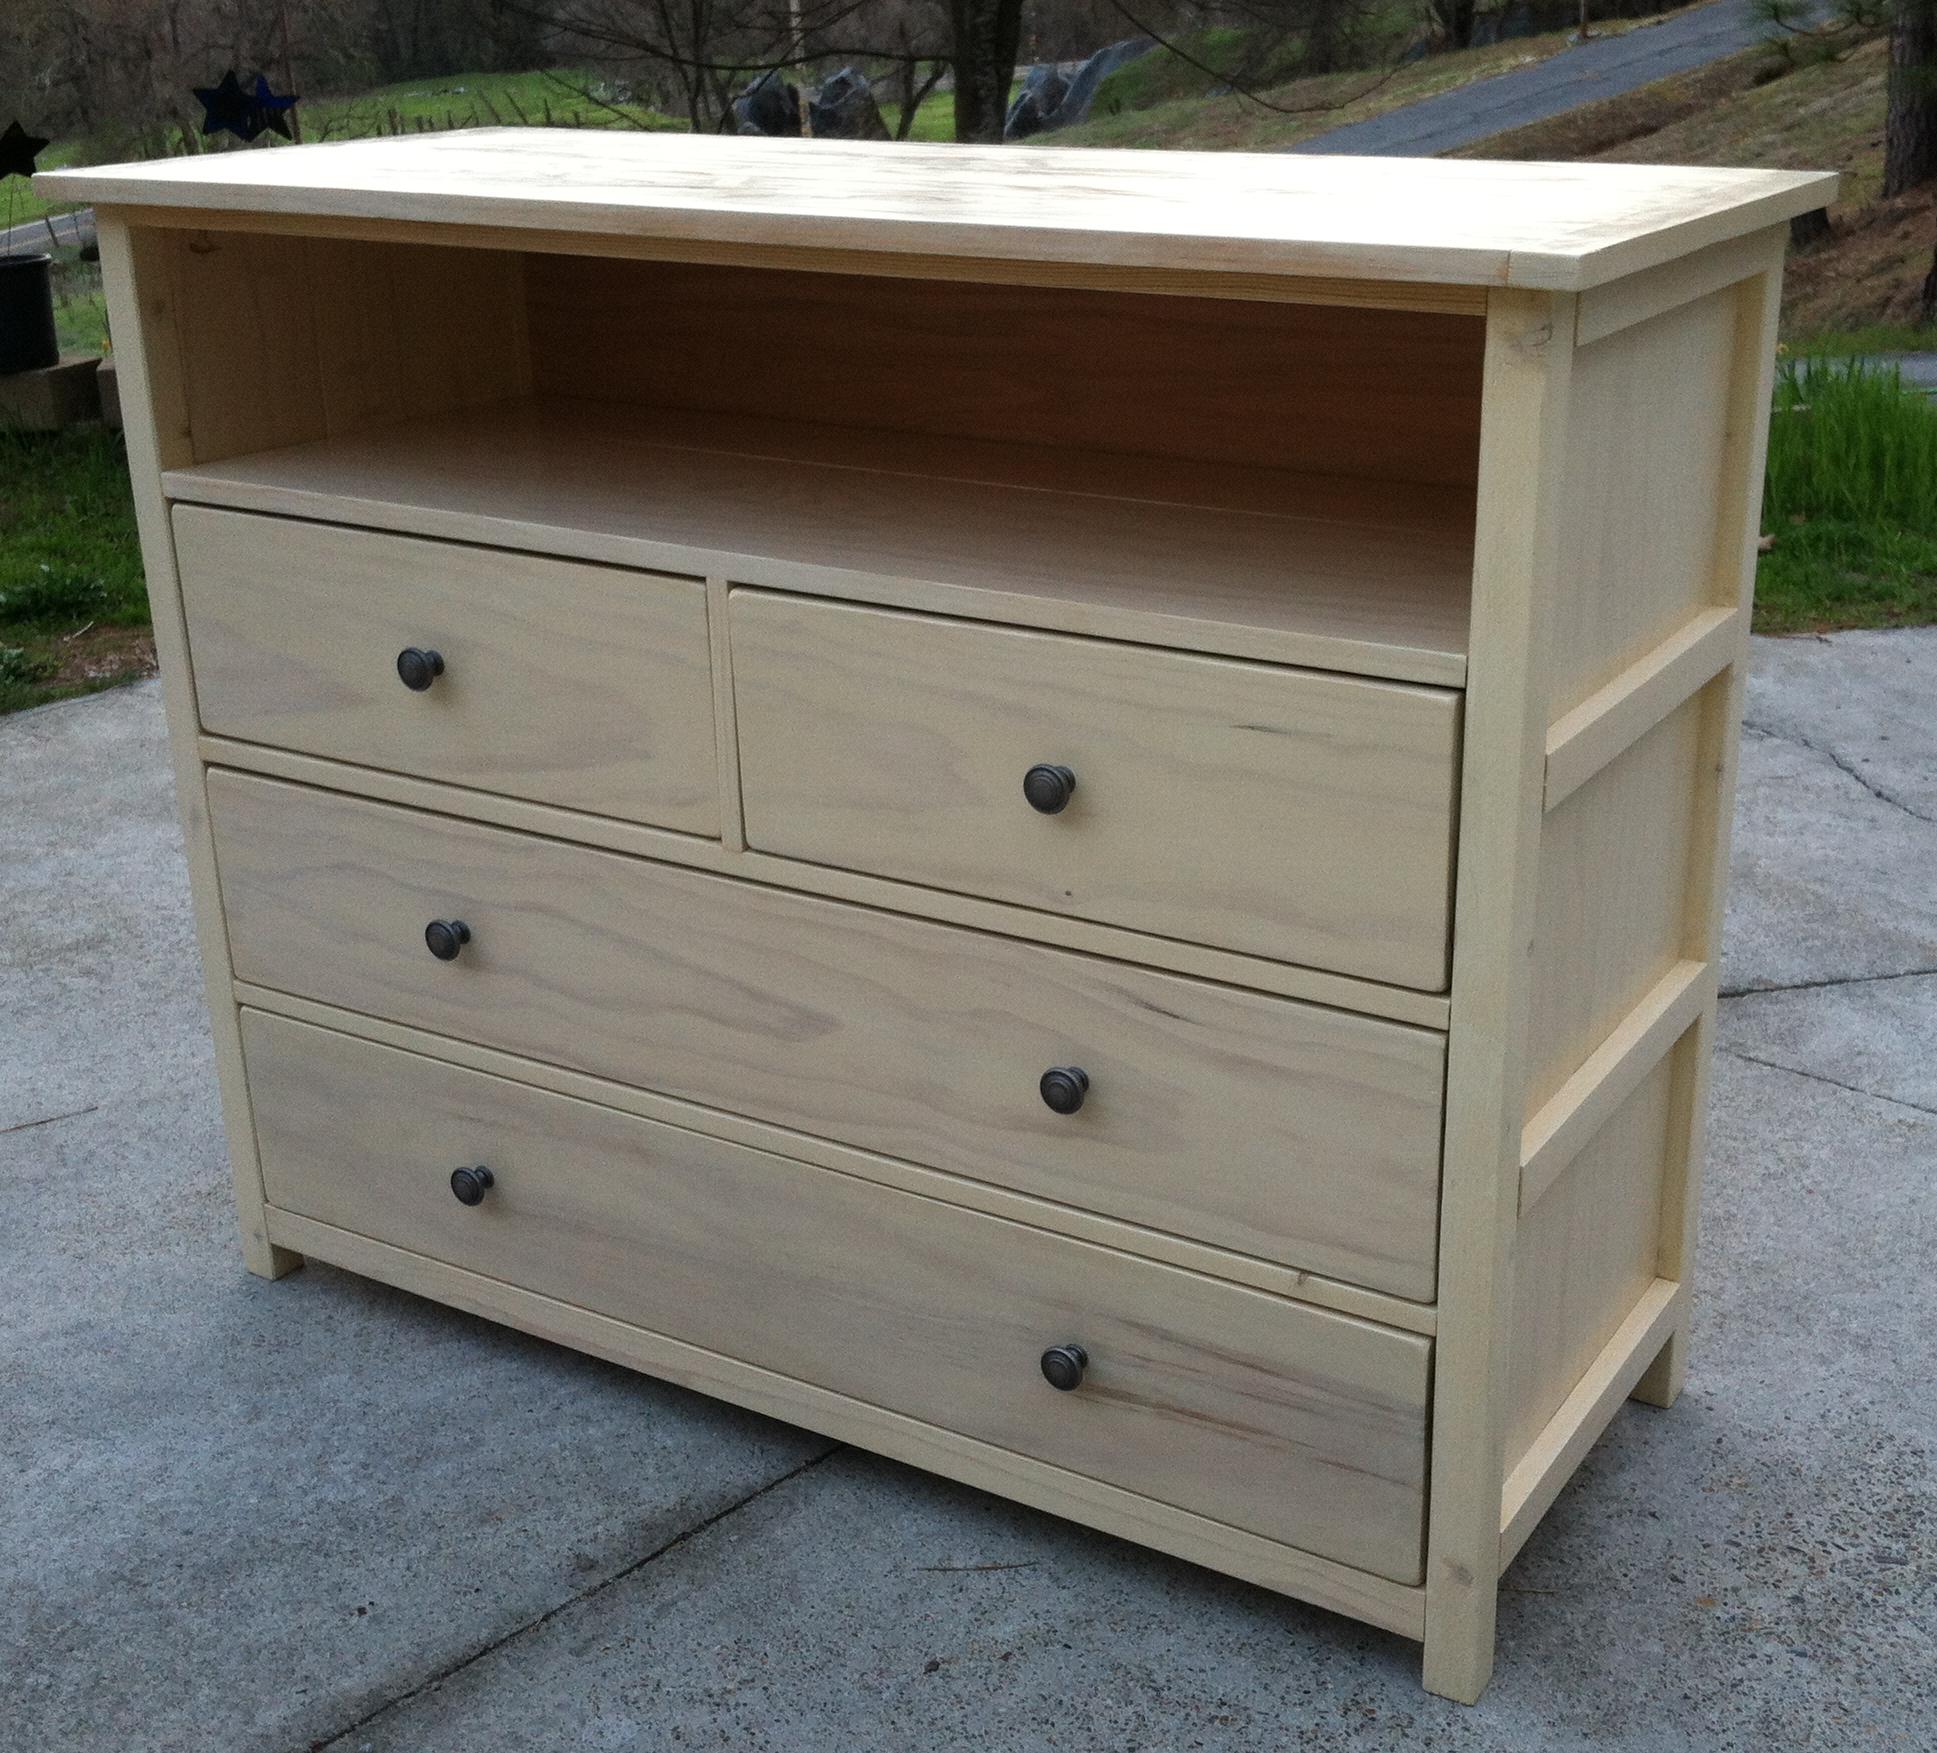
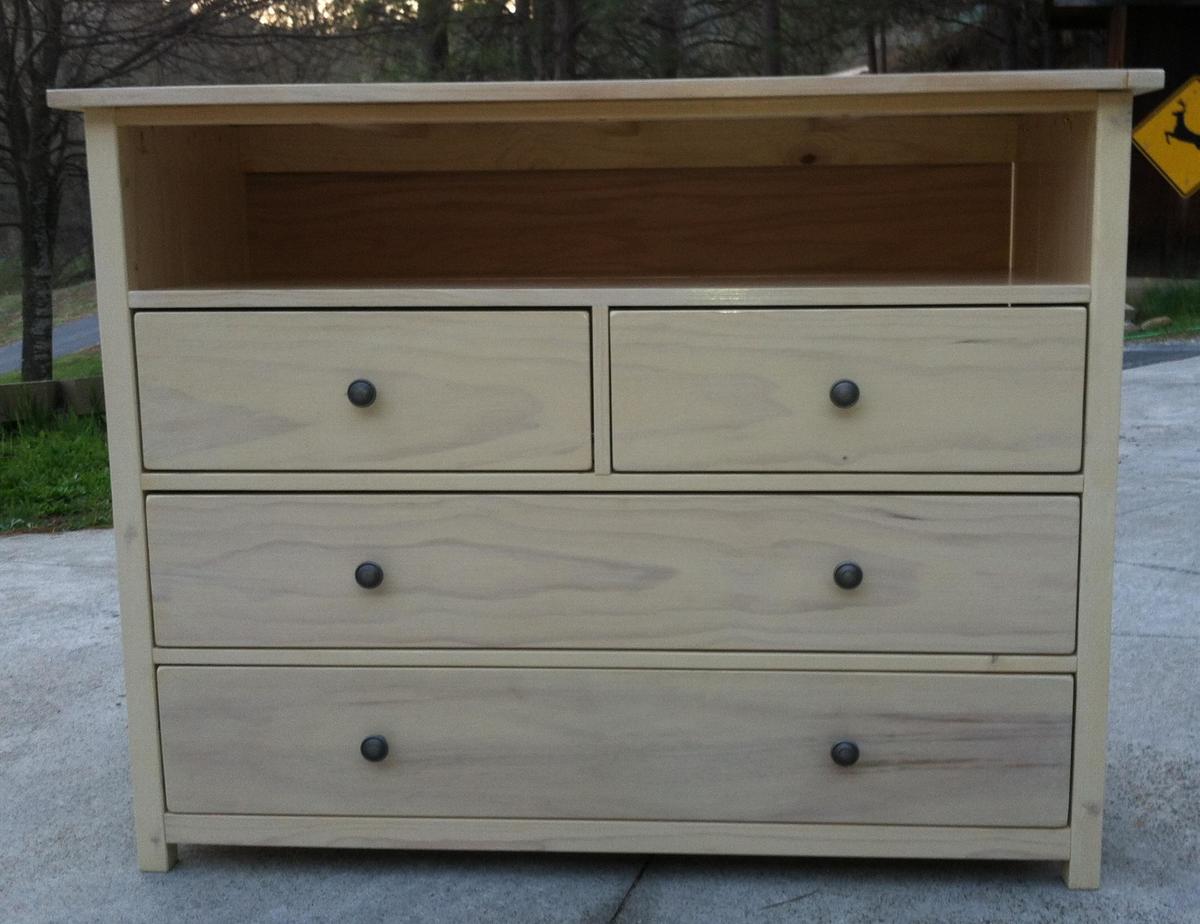
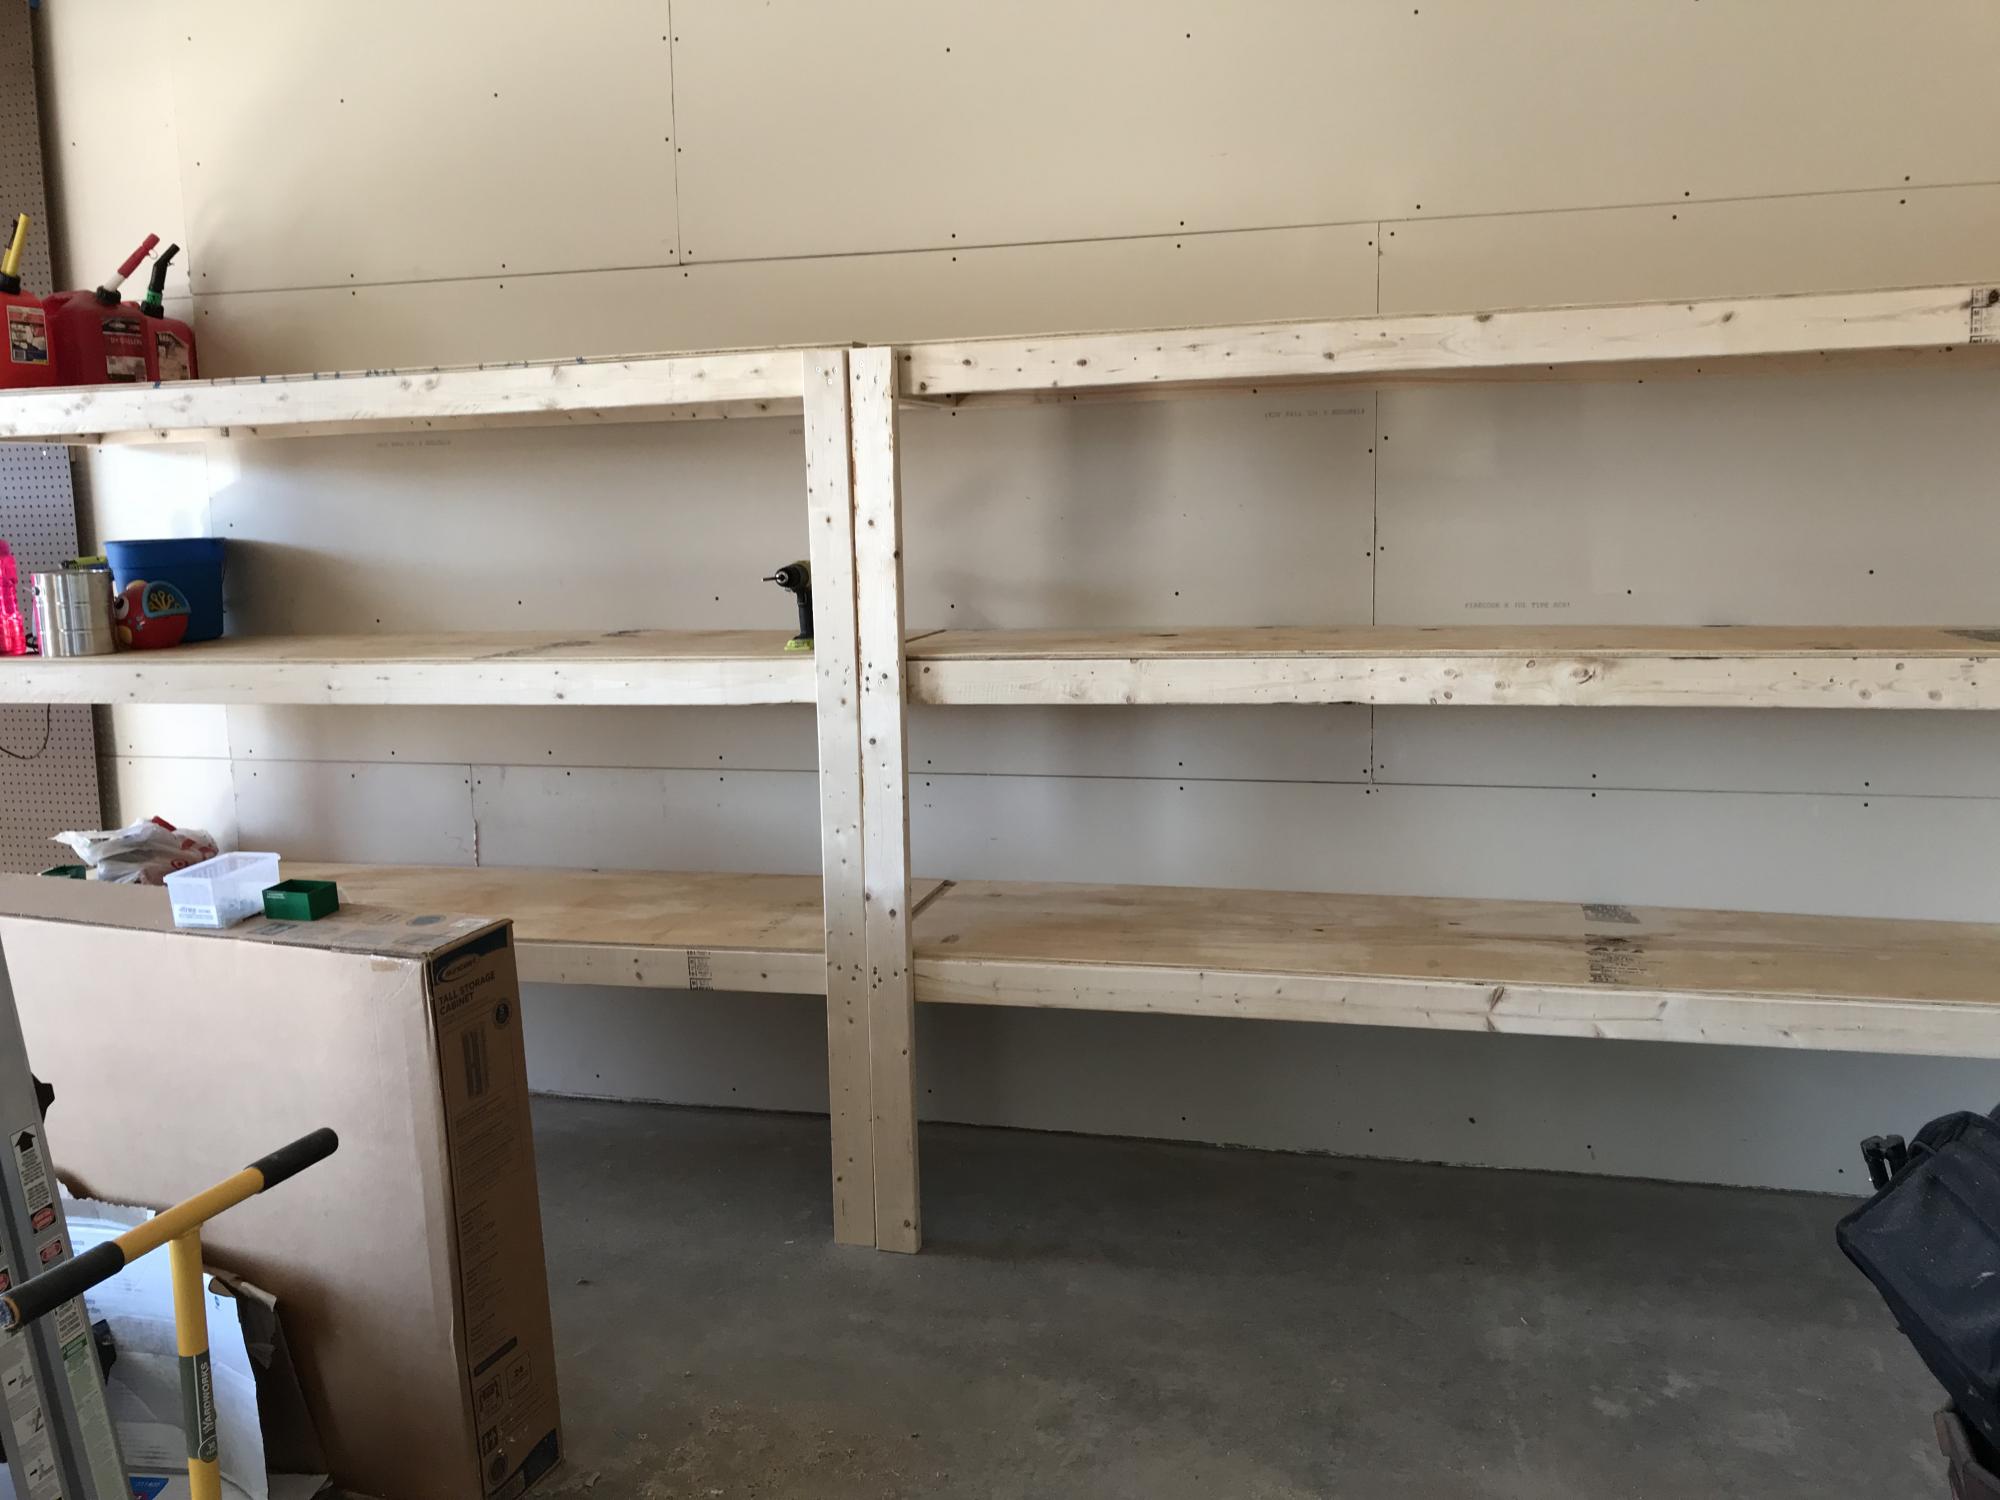
Rustic X Garden Shelf
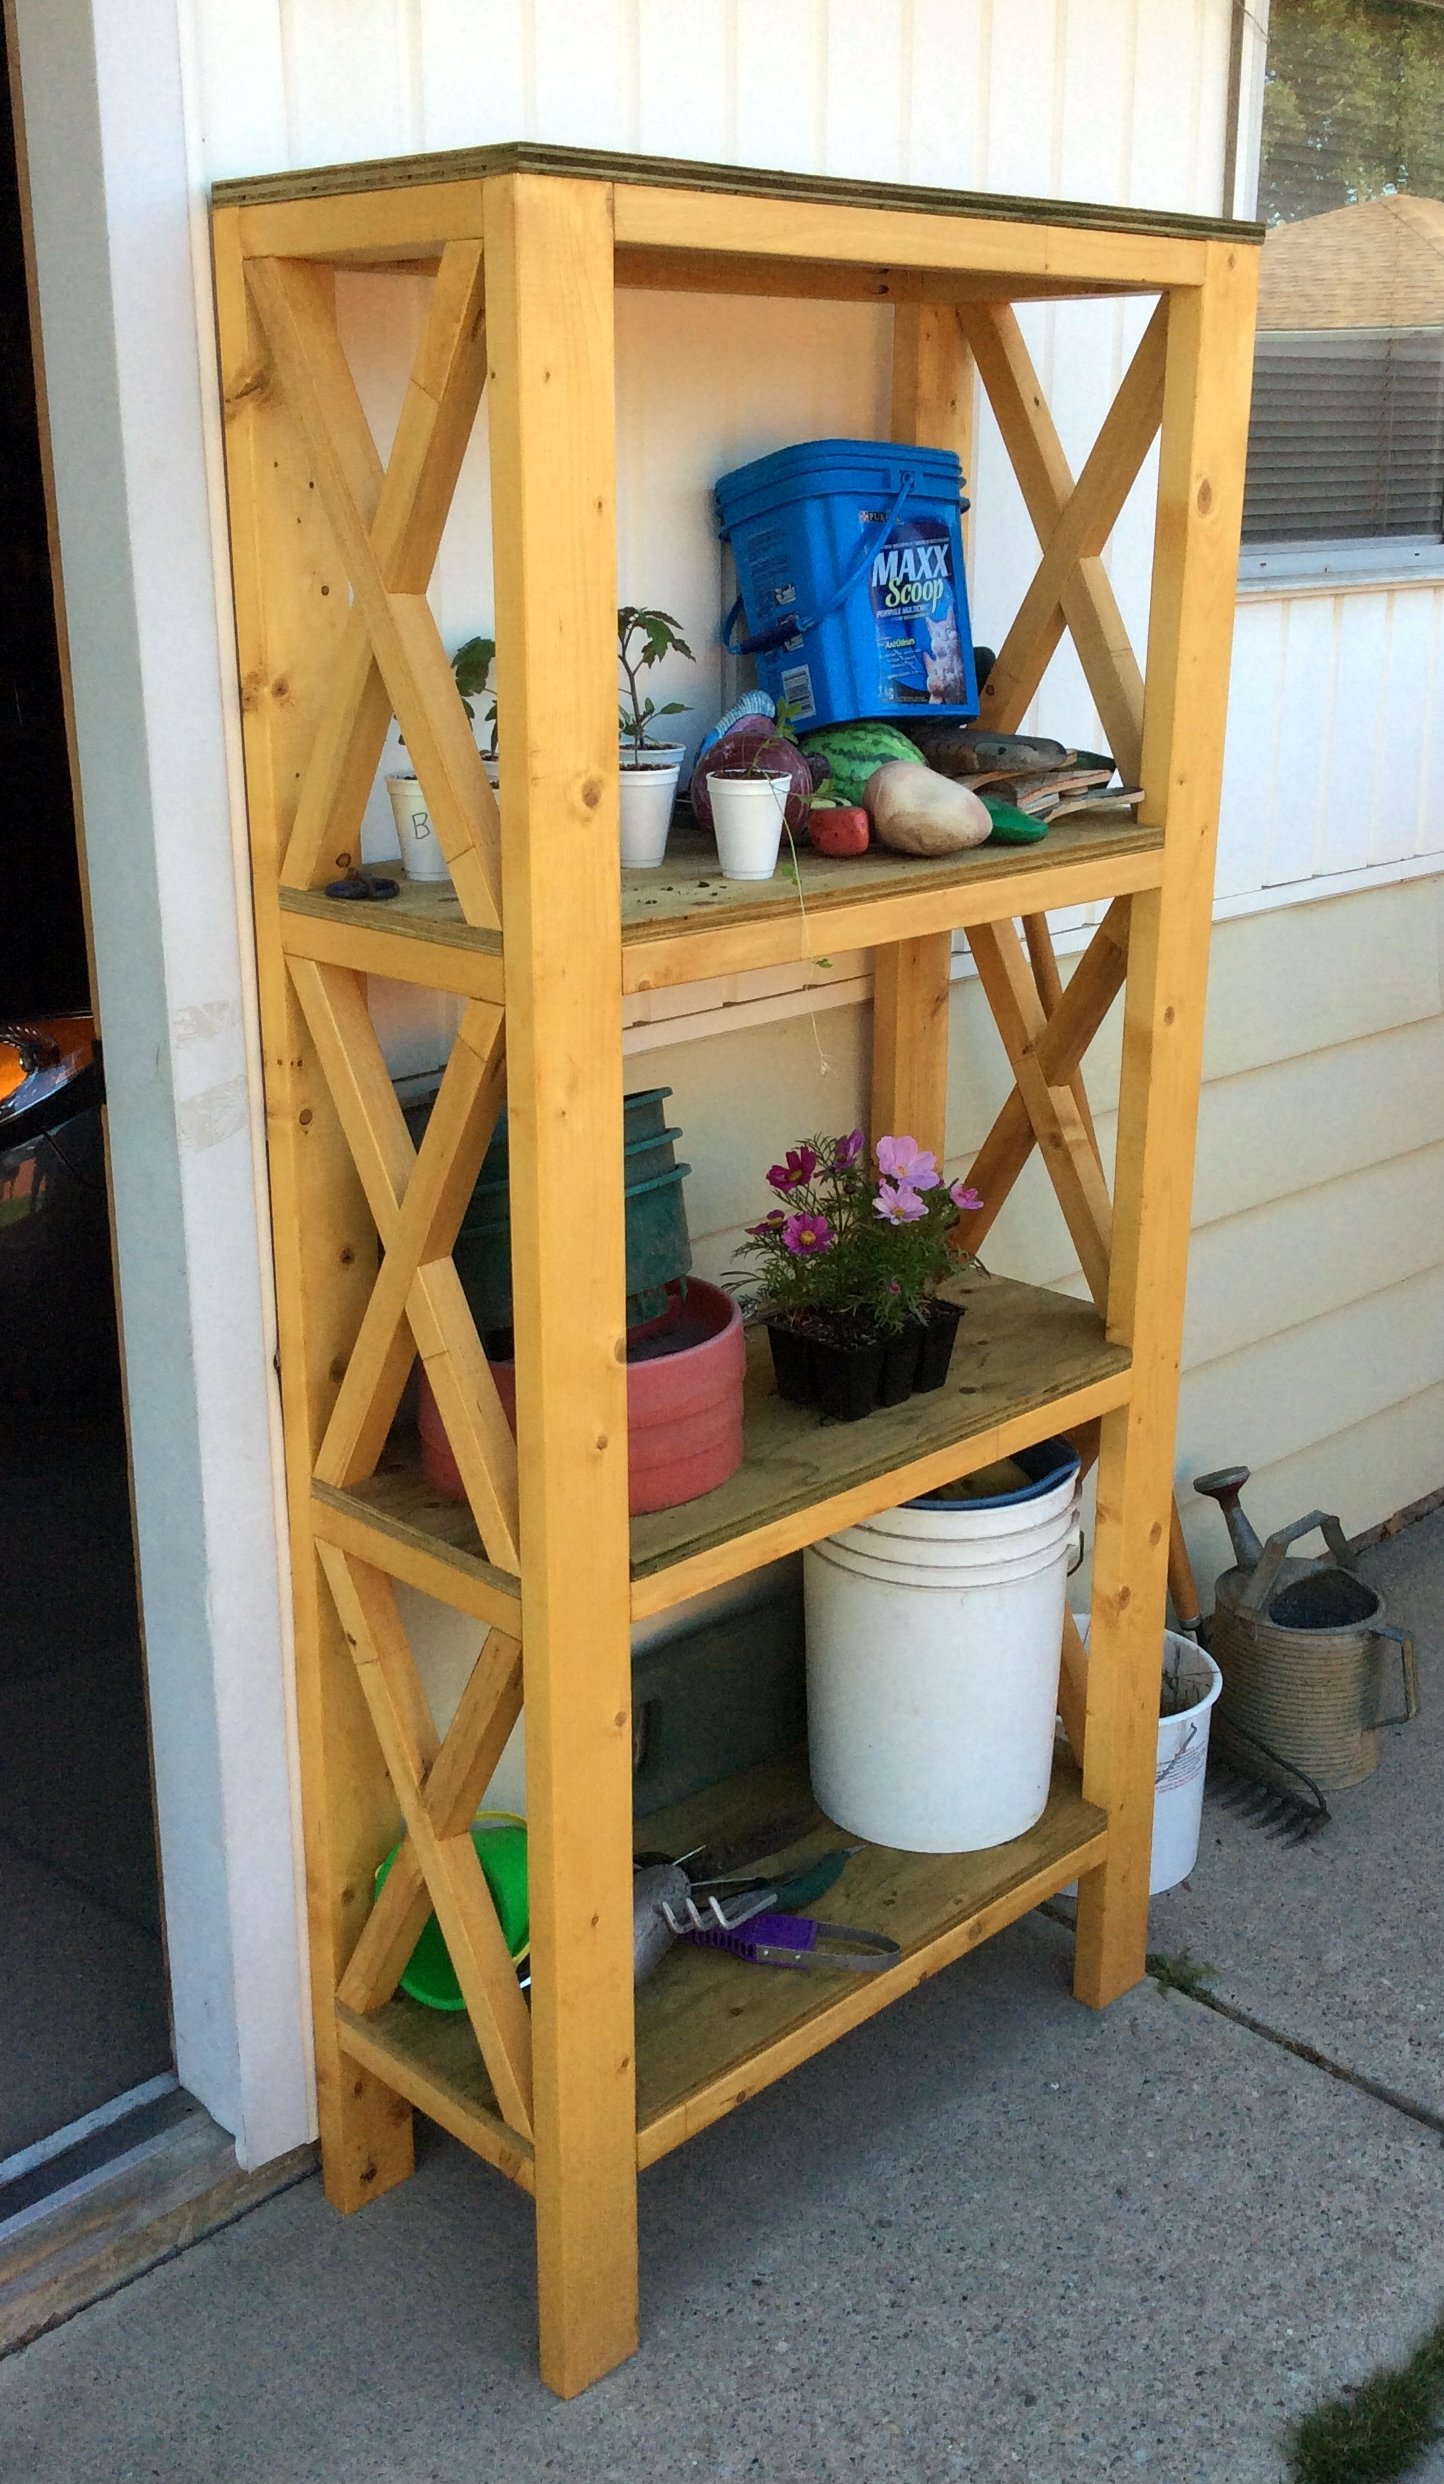
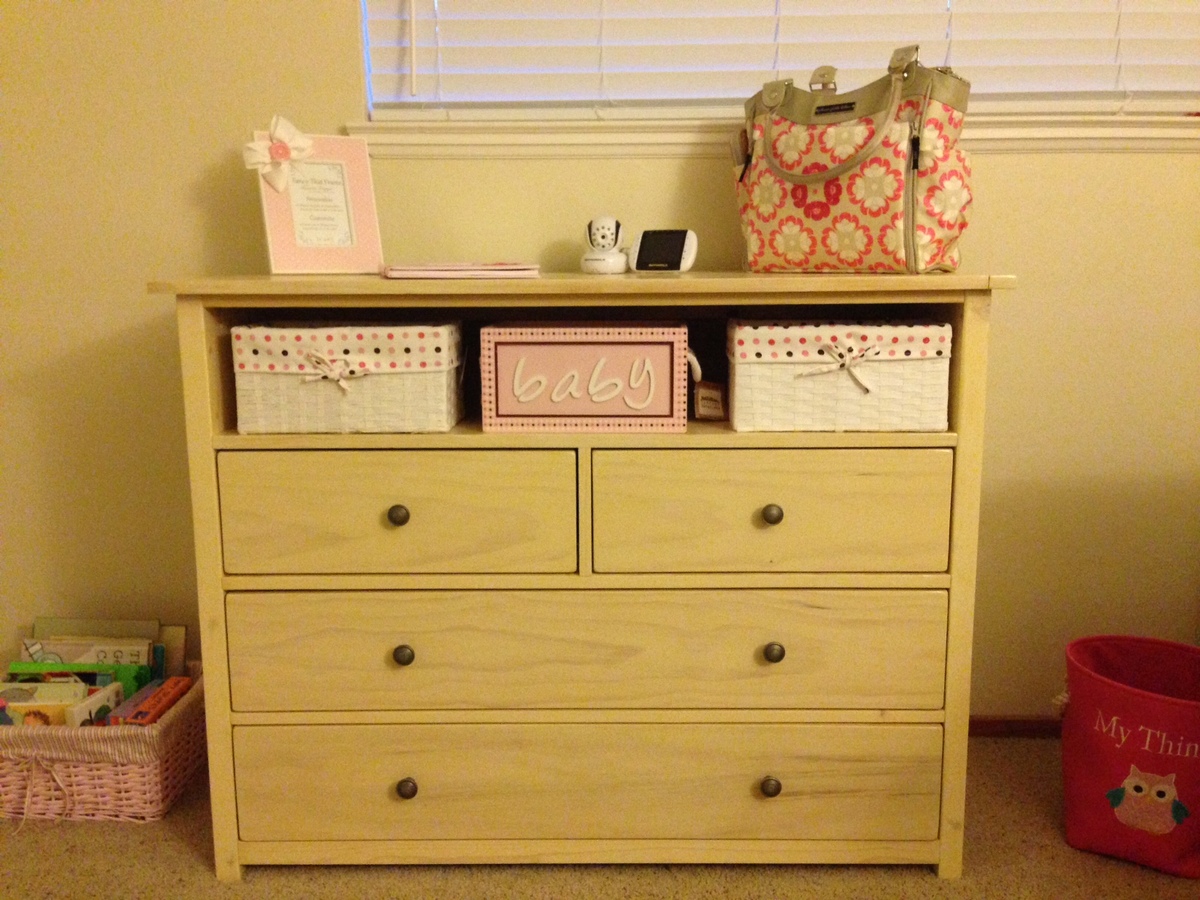
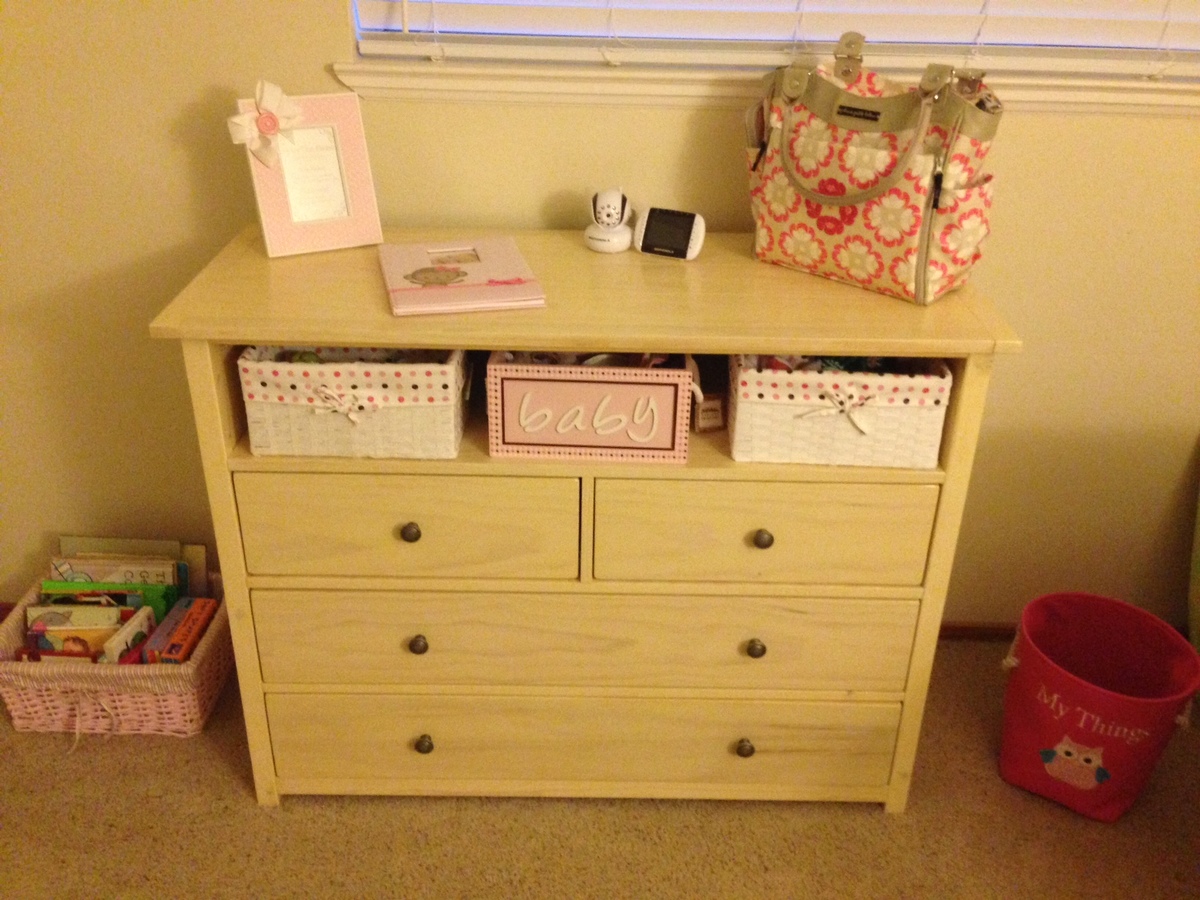
My wife wanted a Garden Shelf to replace the one that just gave up the ghost, so I browsed my favorite site for plans similar to what I was thinking. Thats when I found the Rustic X Book Case. Perfect.
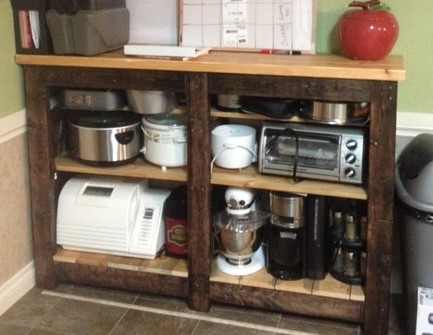
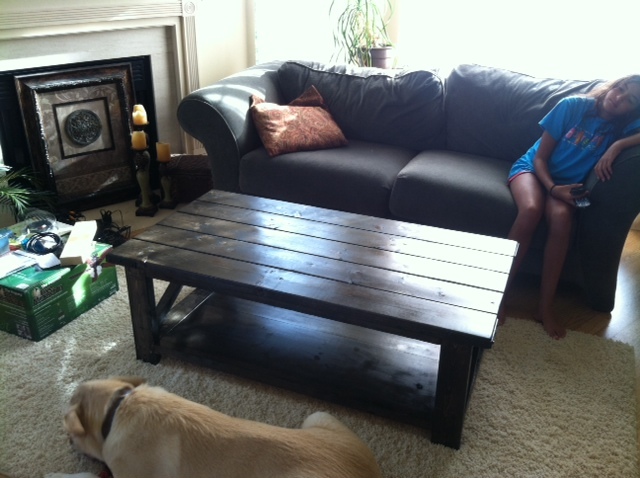
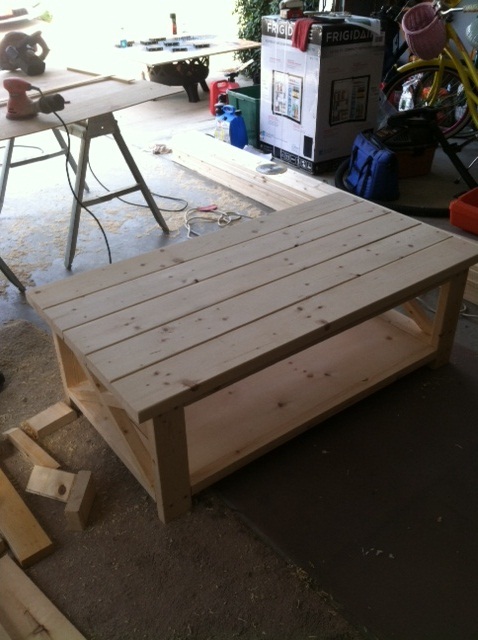
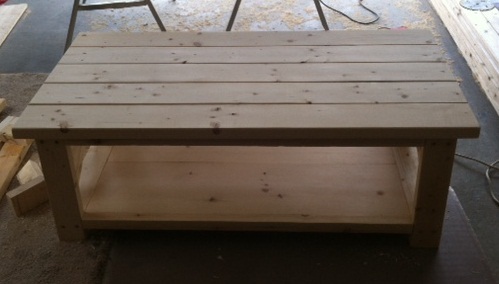
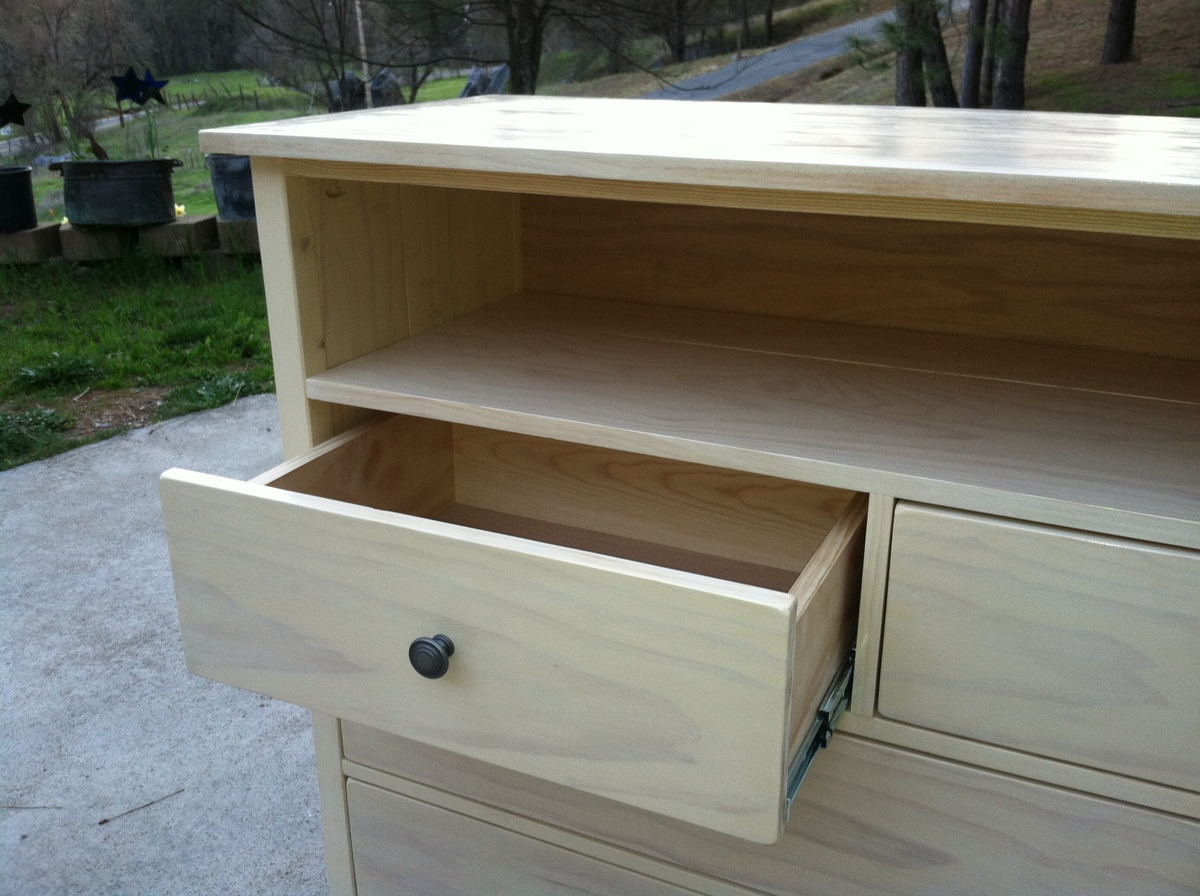
I need to stuff larger objects then books in there, so I changed it to 3 shelves and I put those on top of the cross members. That was easier and it gives it that work bench look.
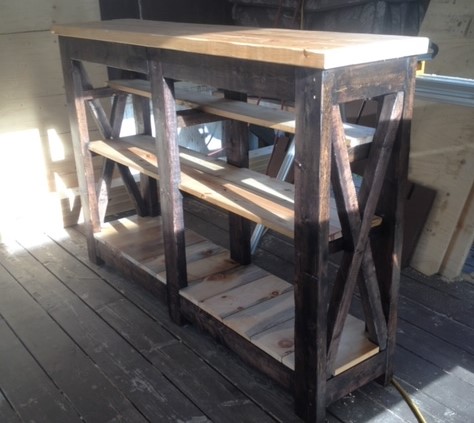
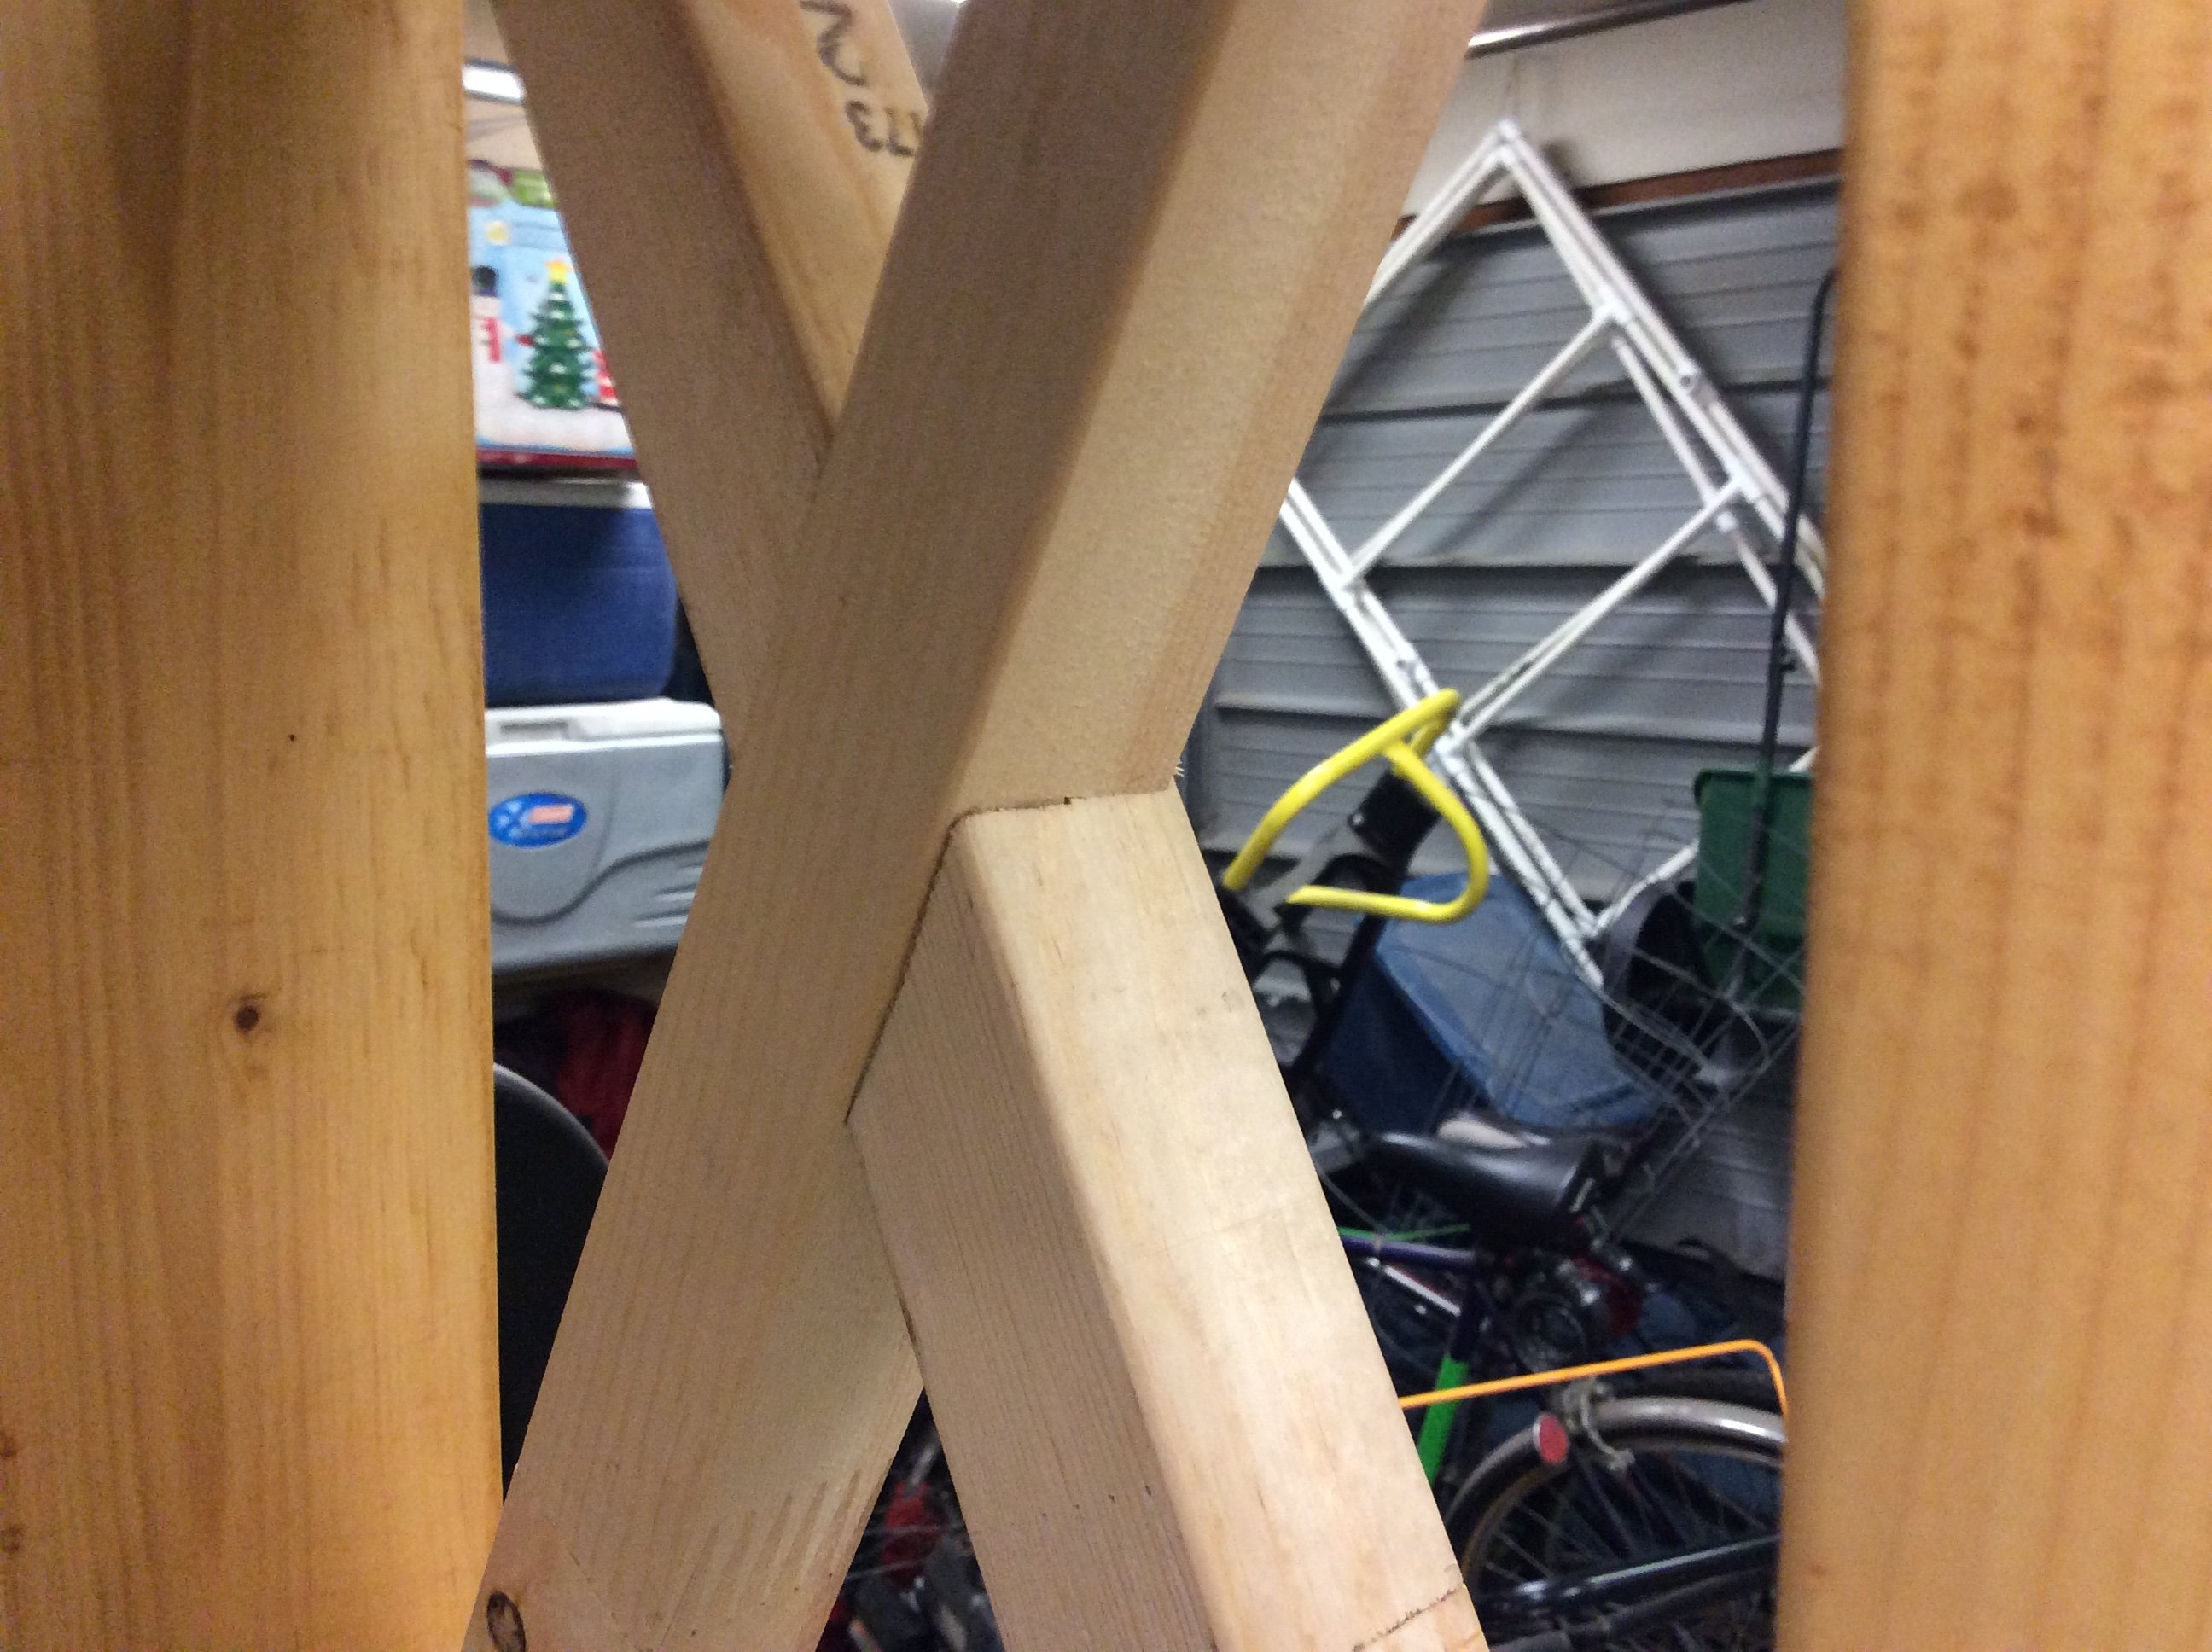
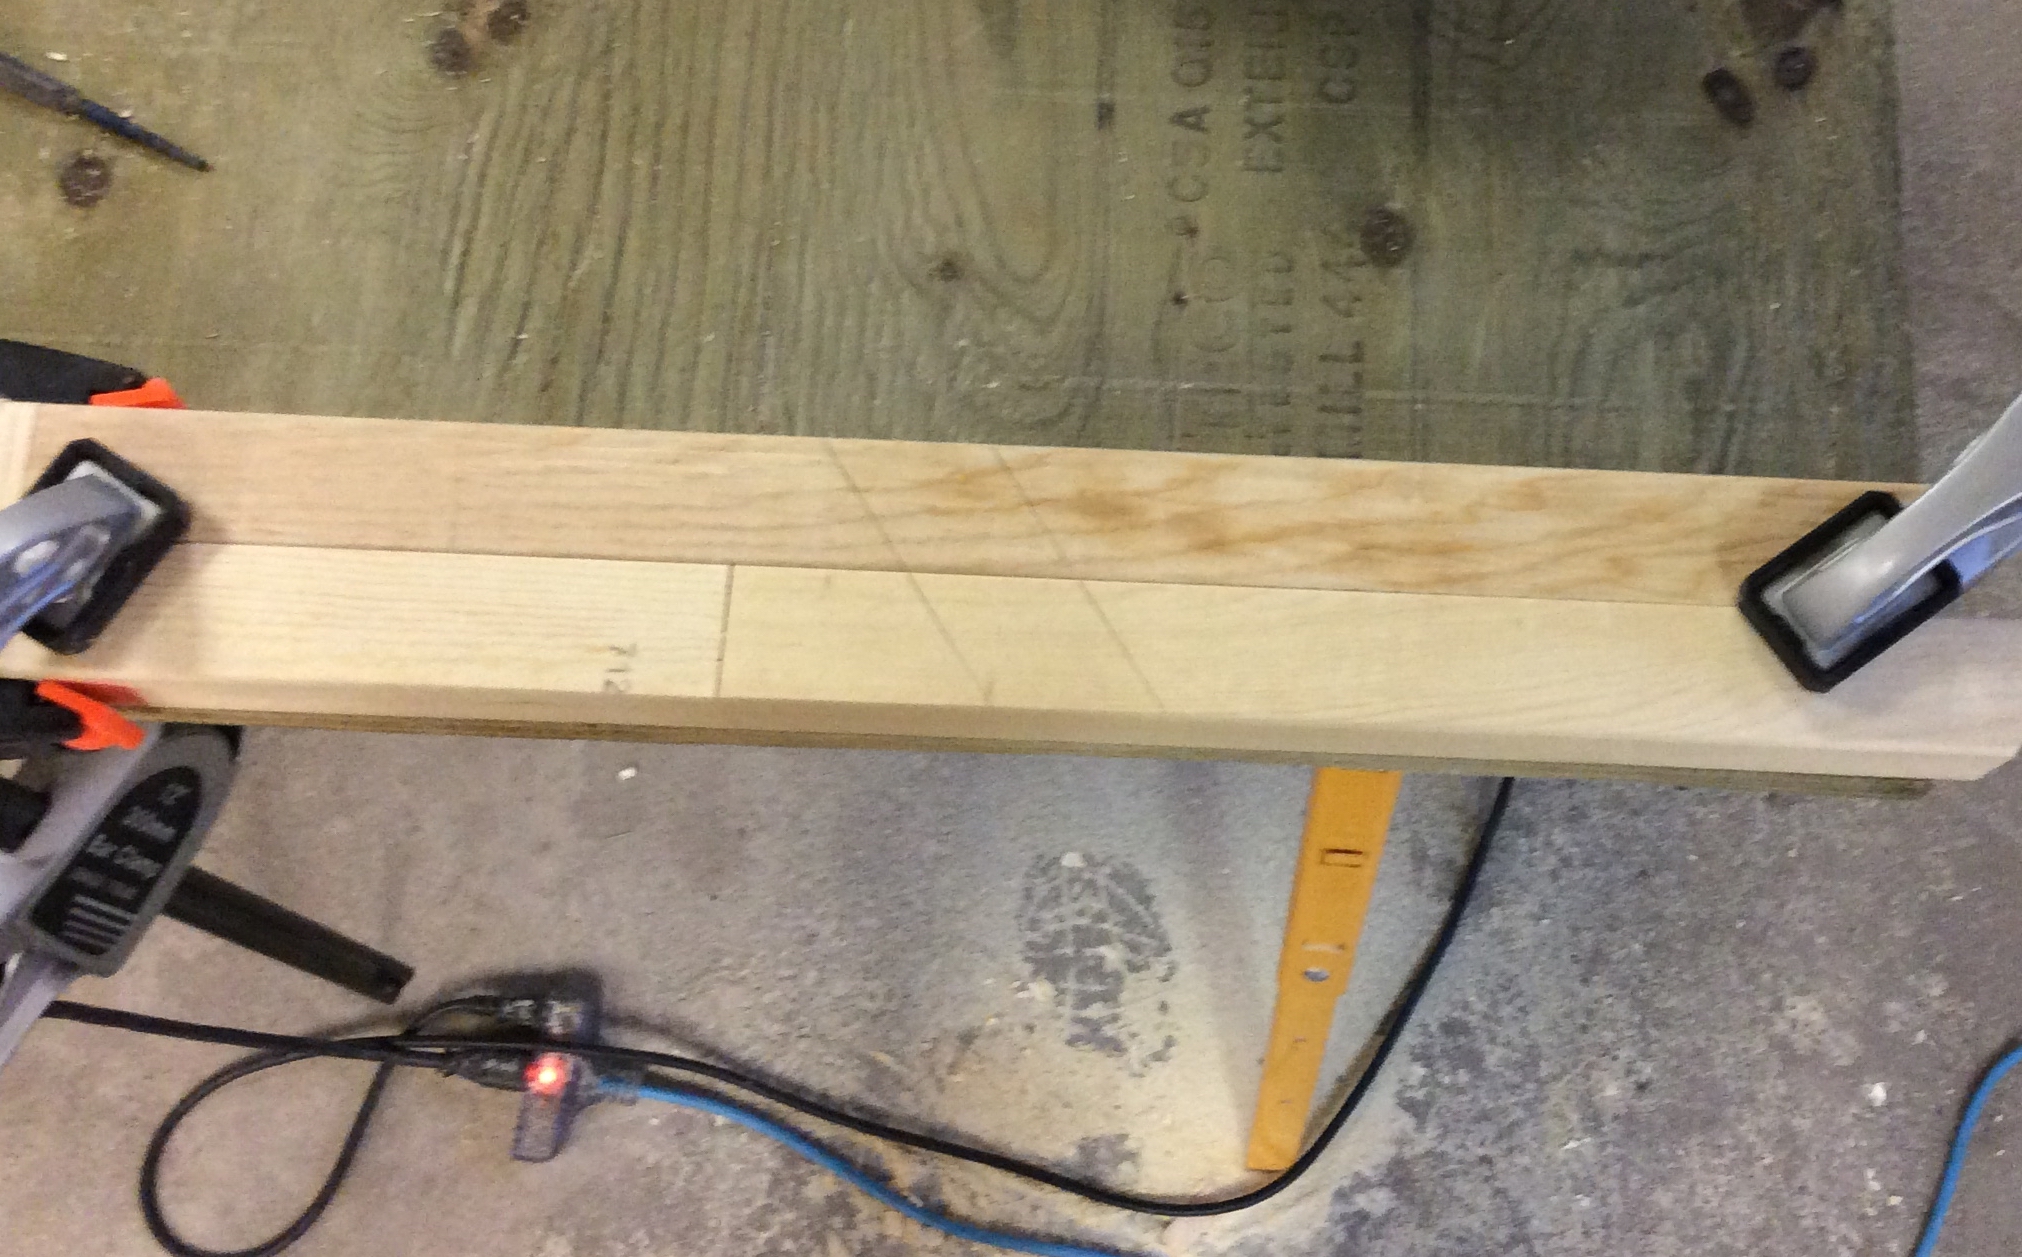
For the X's, I had the wood to risk so I tried recessing them. I dry fitted (chop saw highly recommended) and marked them and when I flipped them over, they aligned perfectly. With a circular saw set to just slightly less then 1/2 depth, and some very careful cutting, they fit together quite well.
Sturdy with a bit of class. I'm pleased. Thanks.
Built from Plan(s)
Estimated Cost
Less then $100
Estimated Time Investment
Weekend Project (10-20 Hours)
Finish Used
Thompson's Wood Seal - Honey Amber
Recommended Skill Level
Intermediate