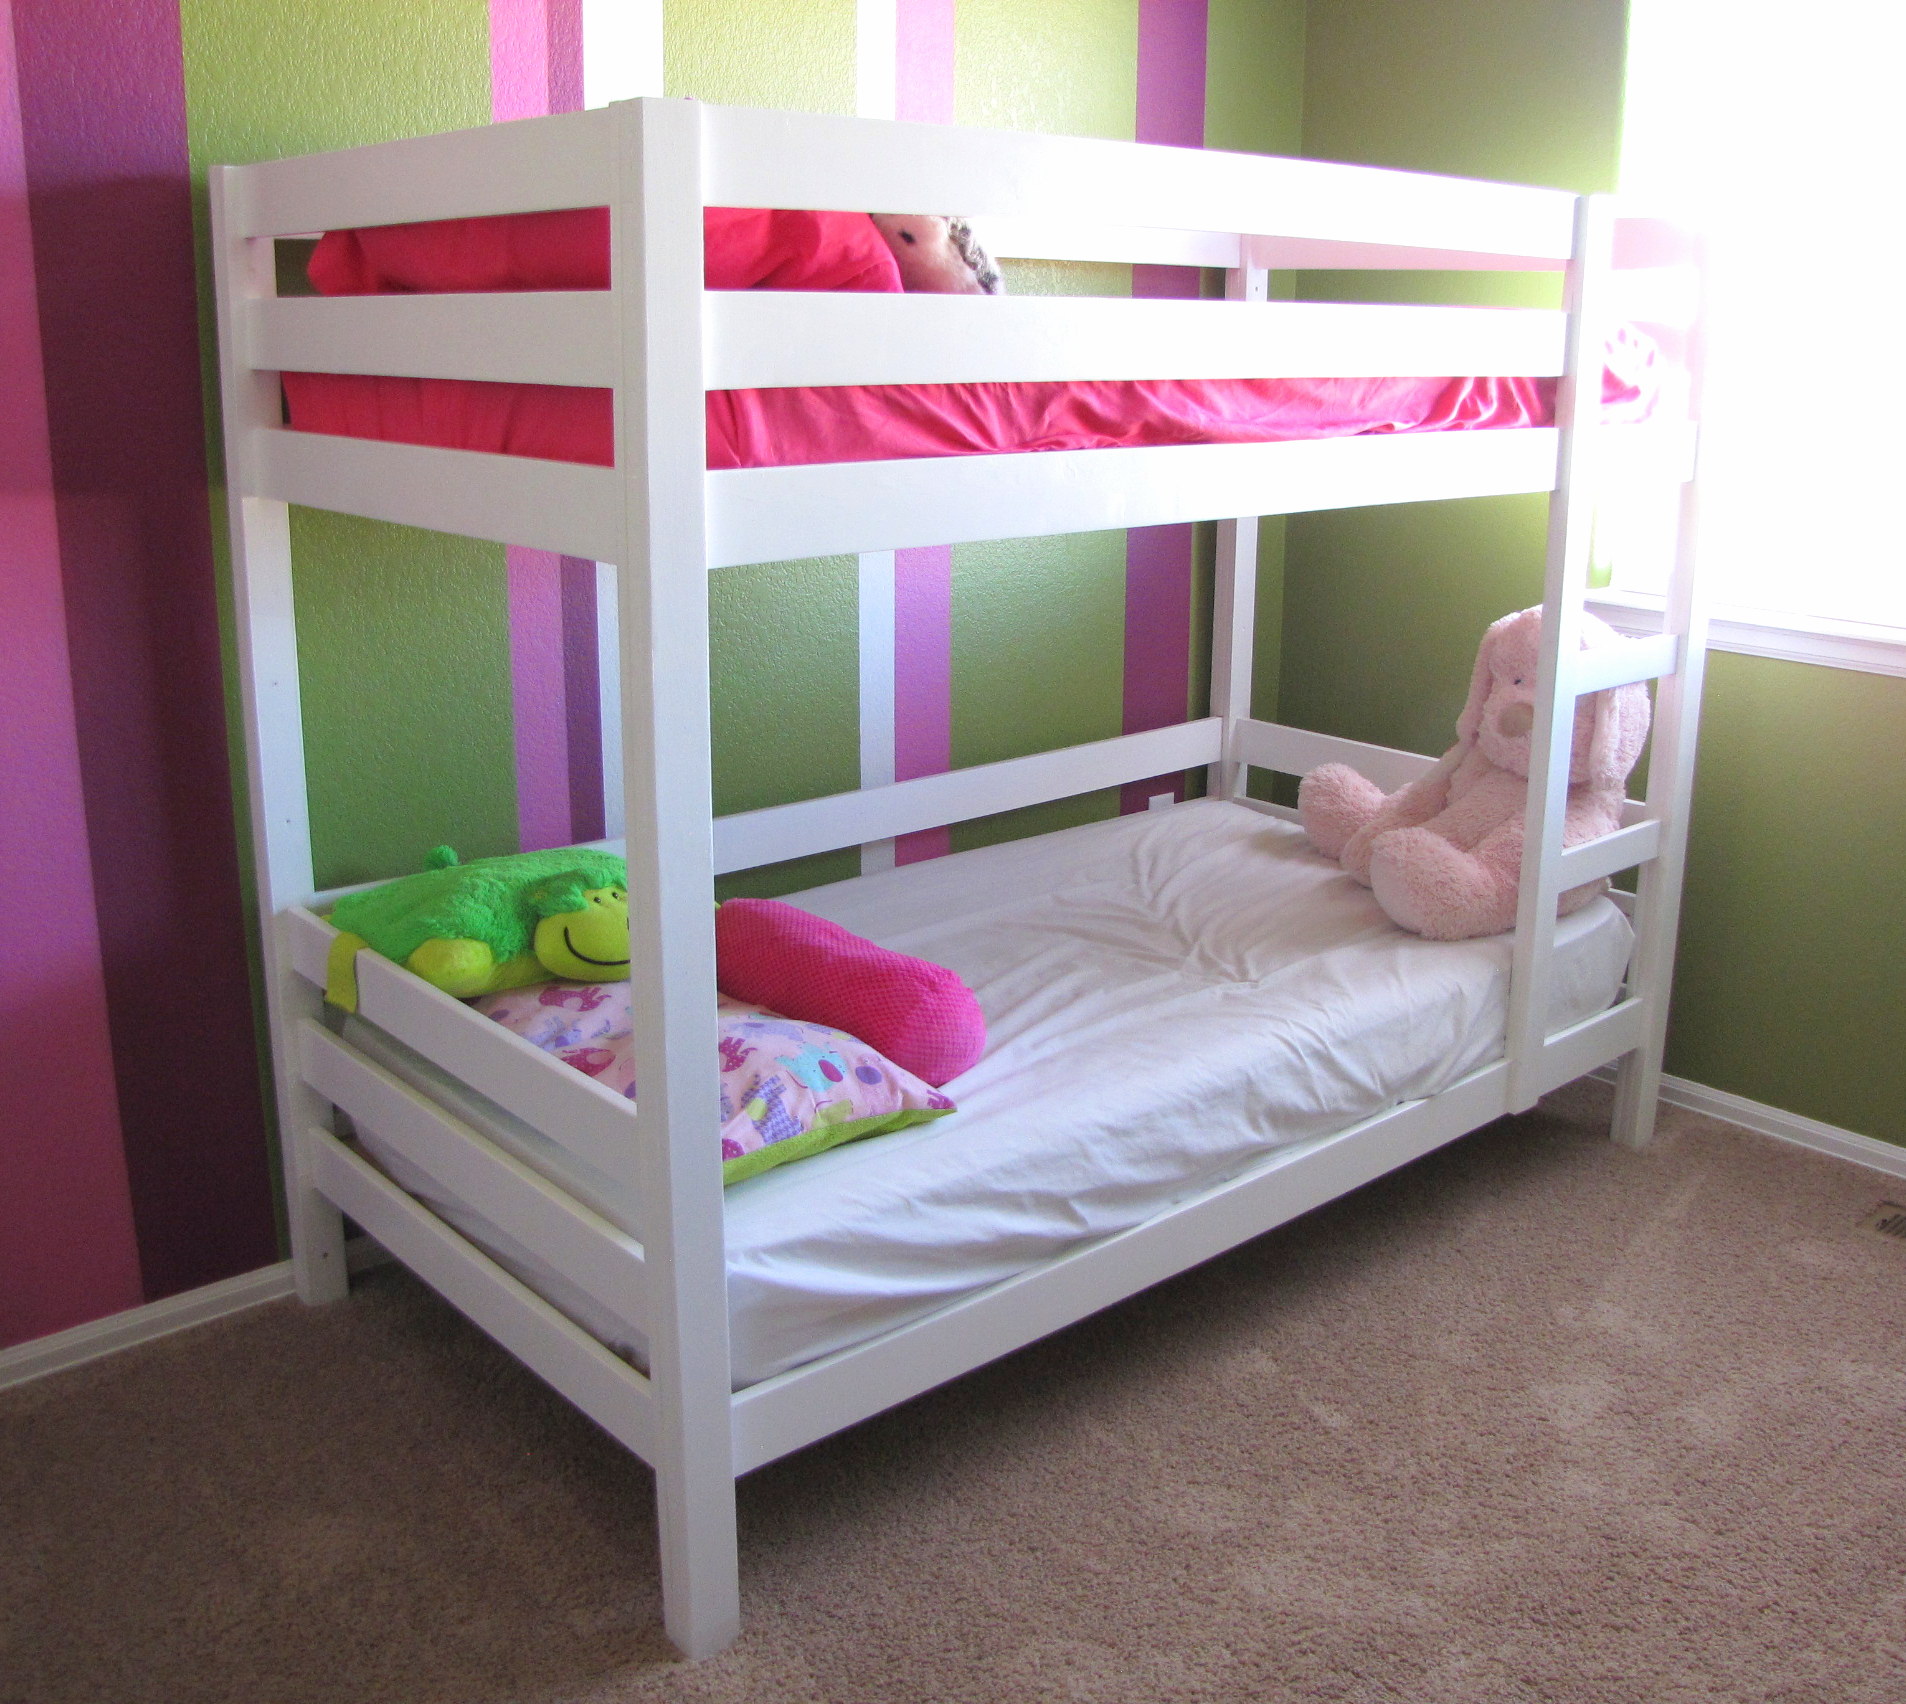
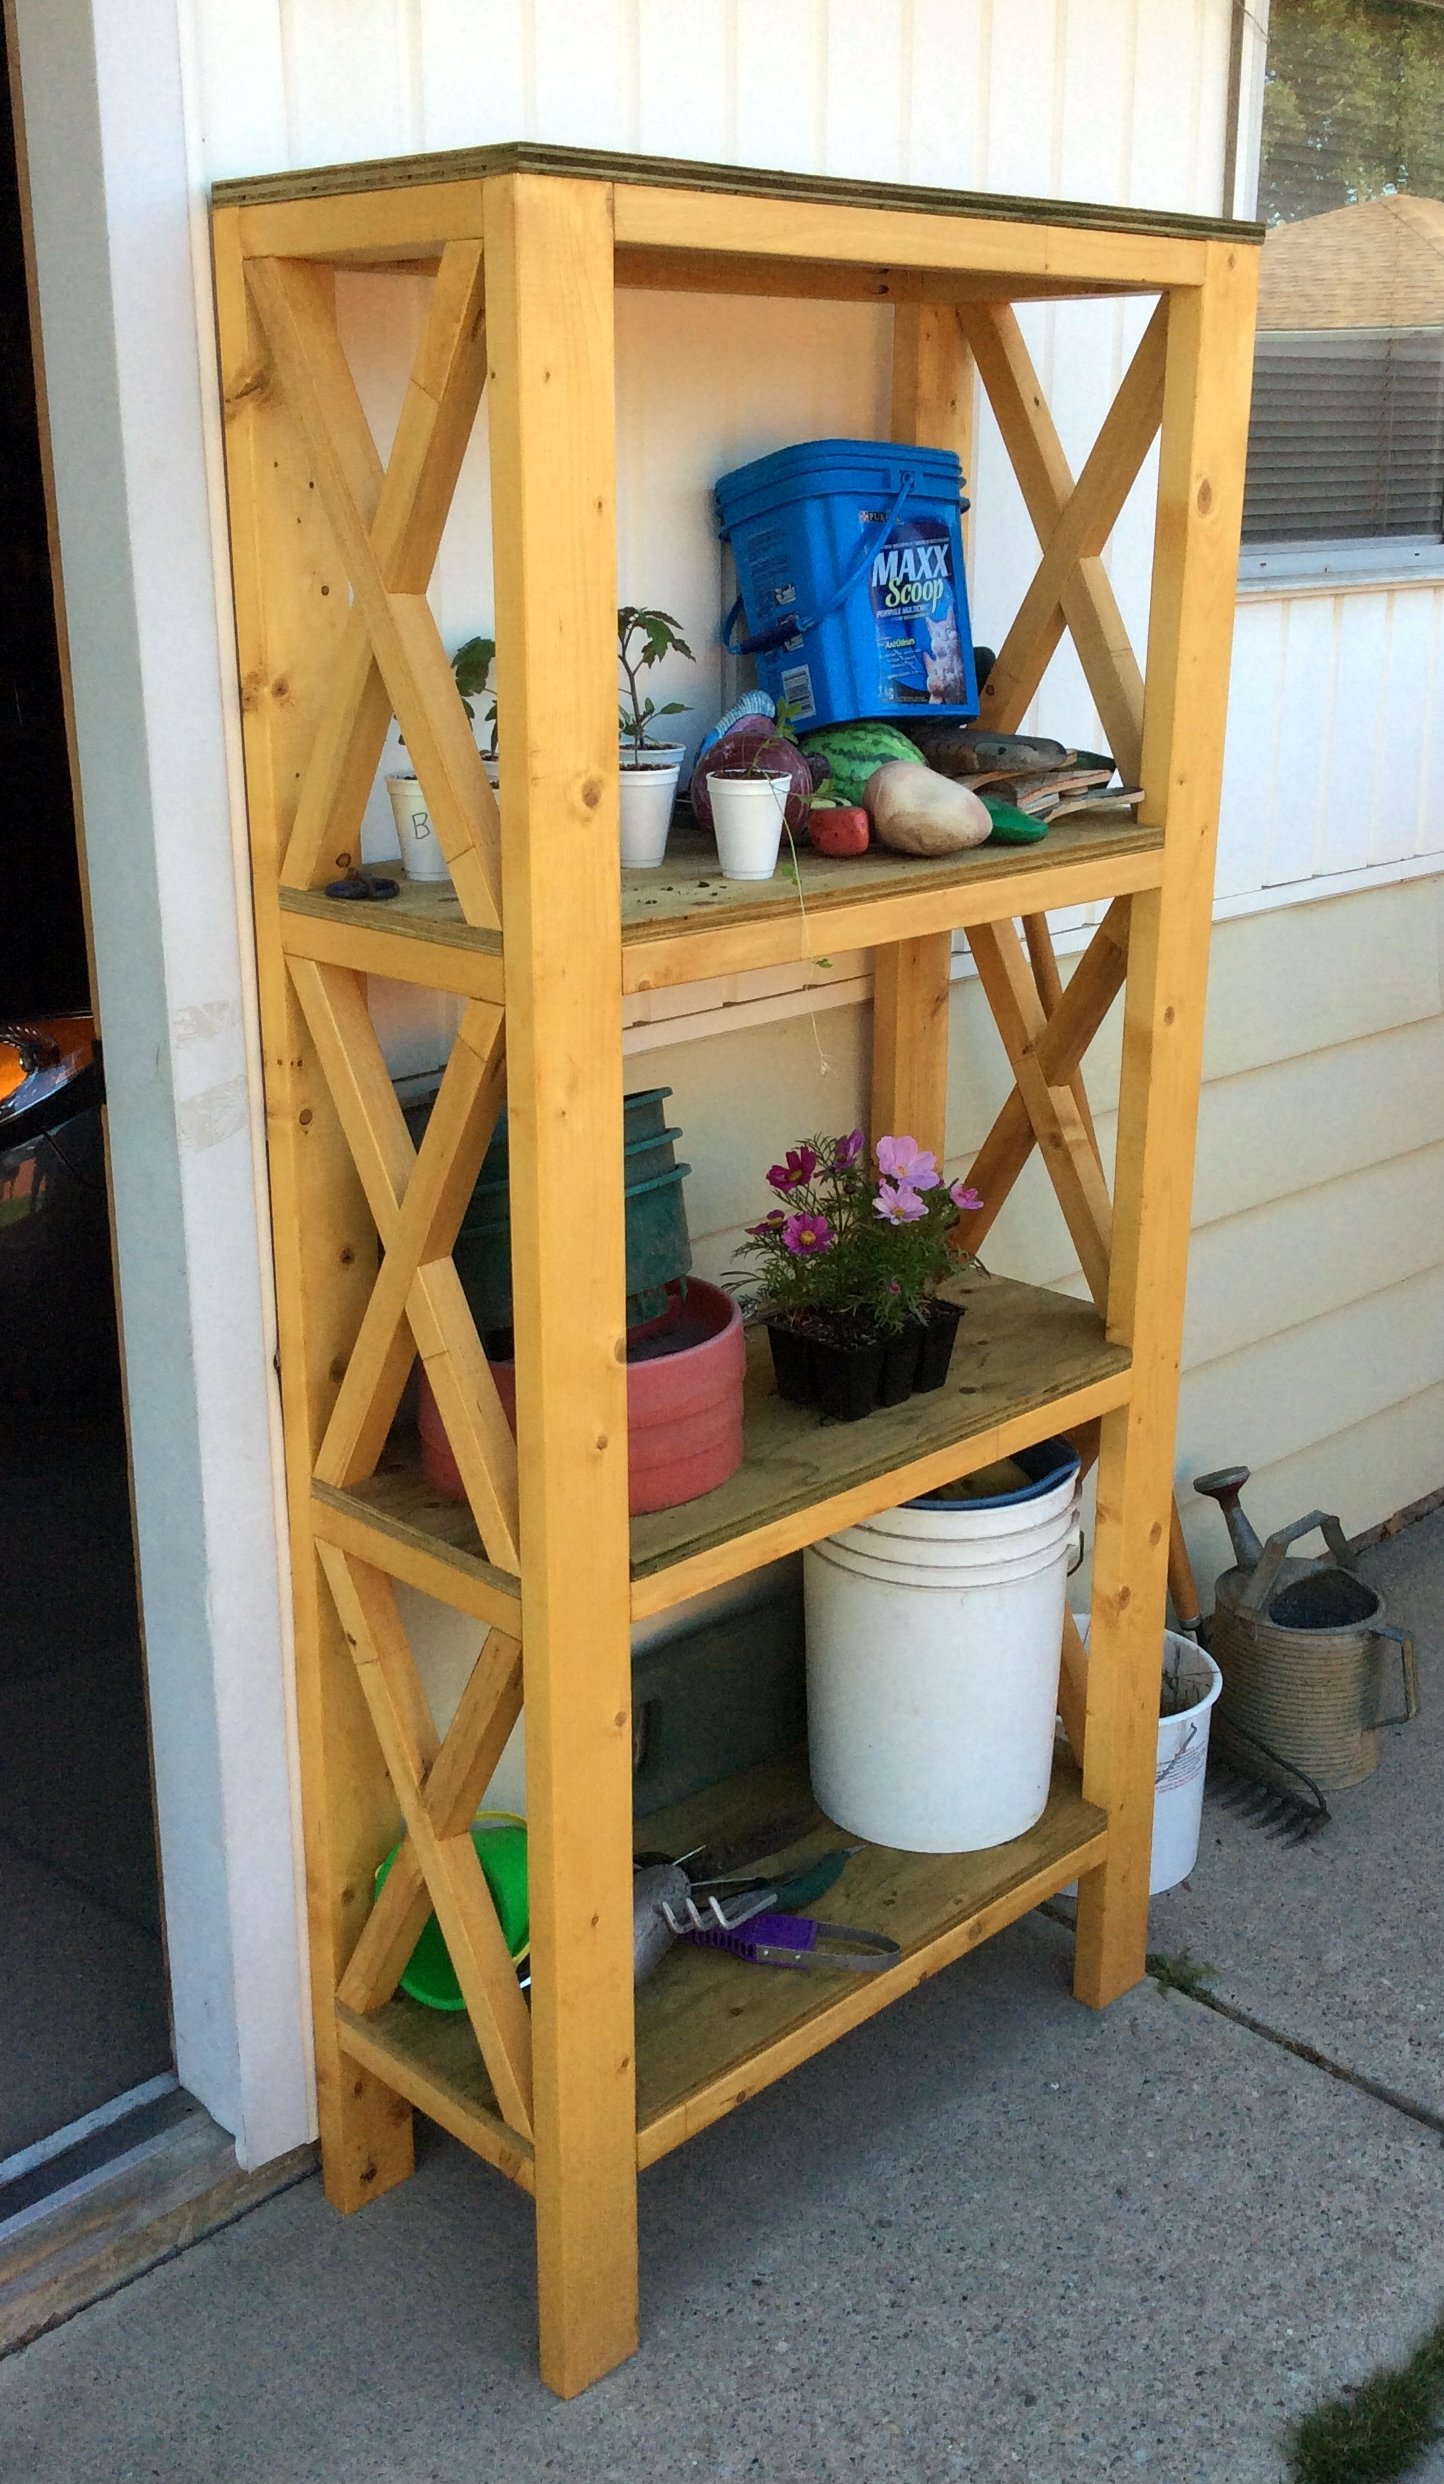
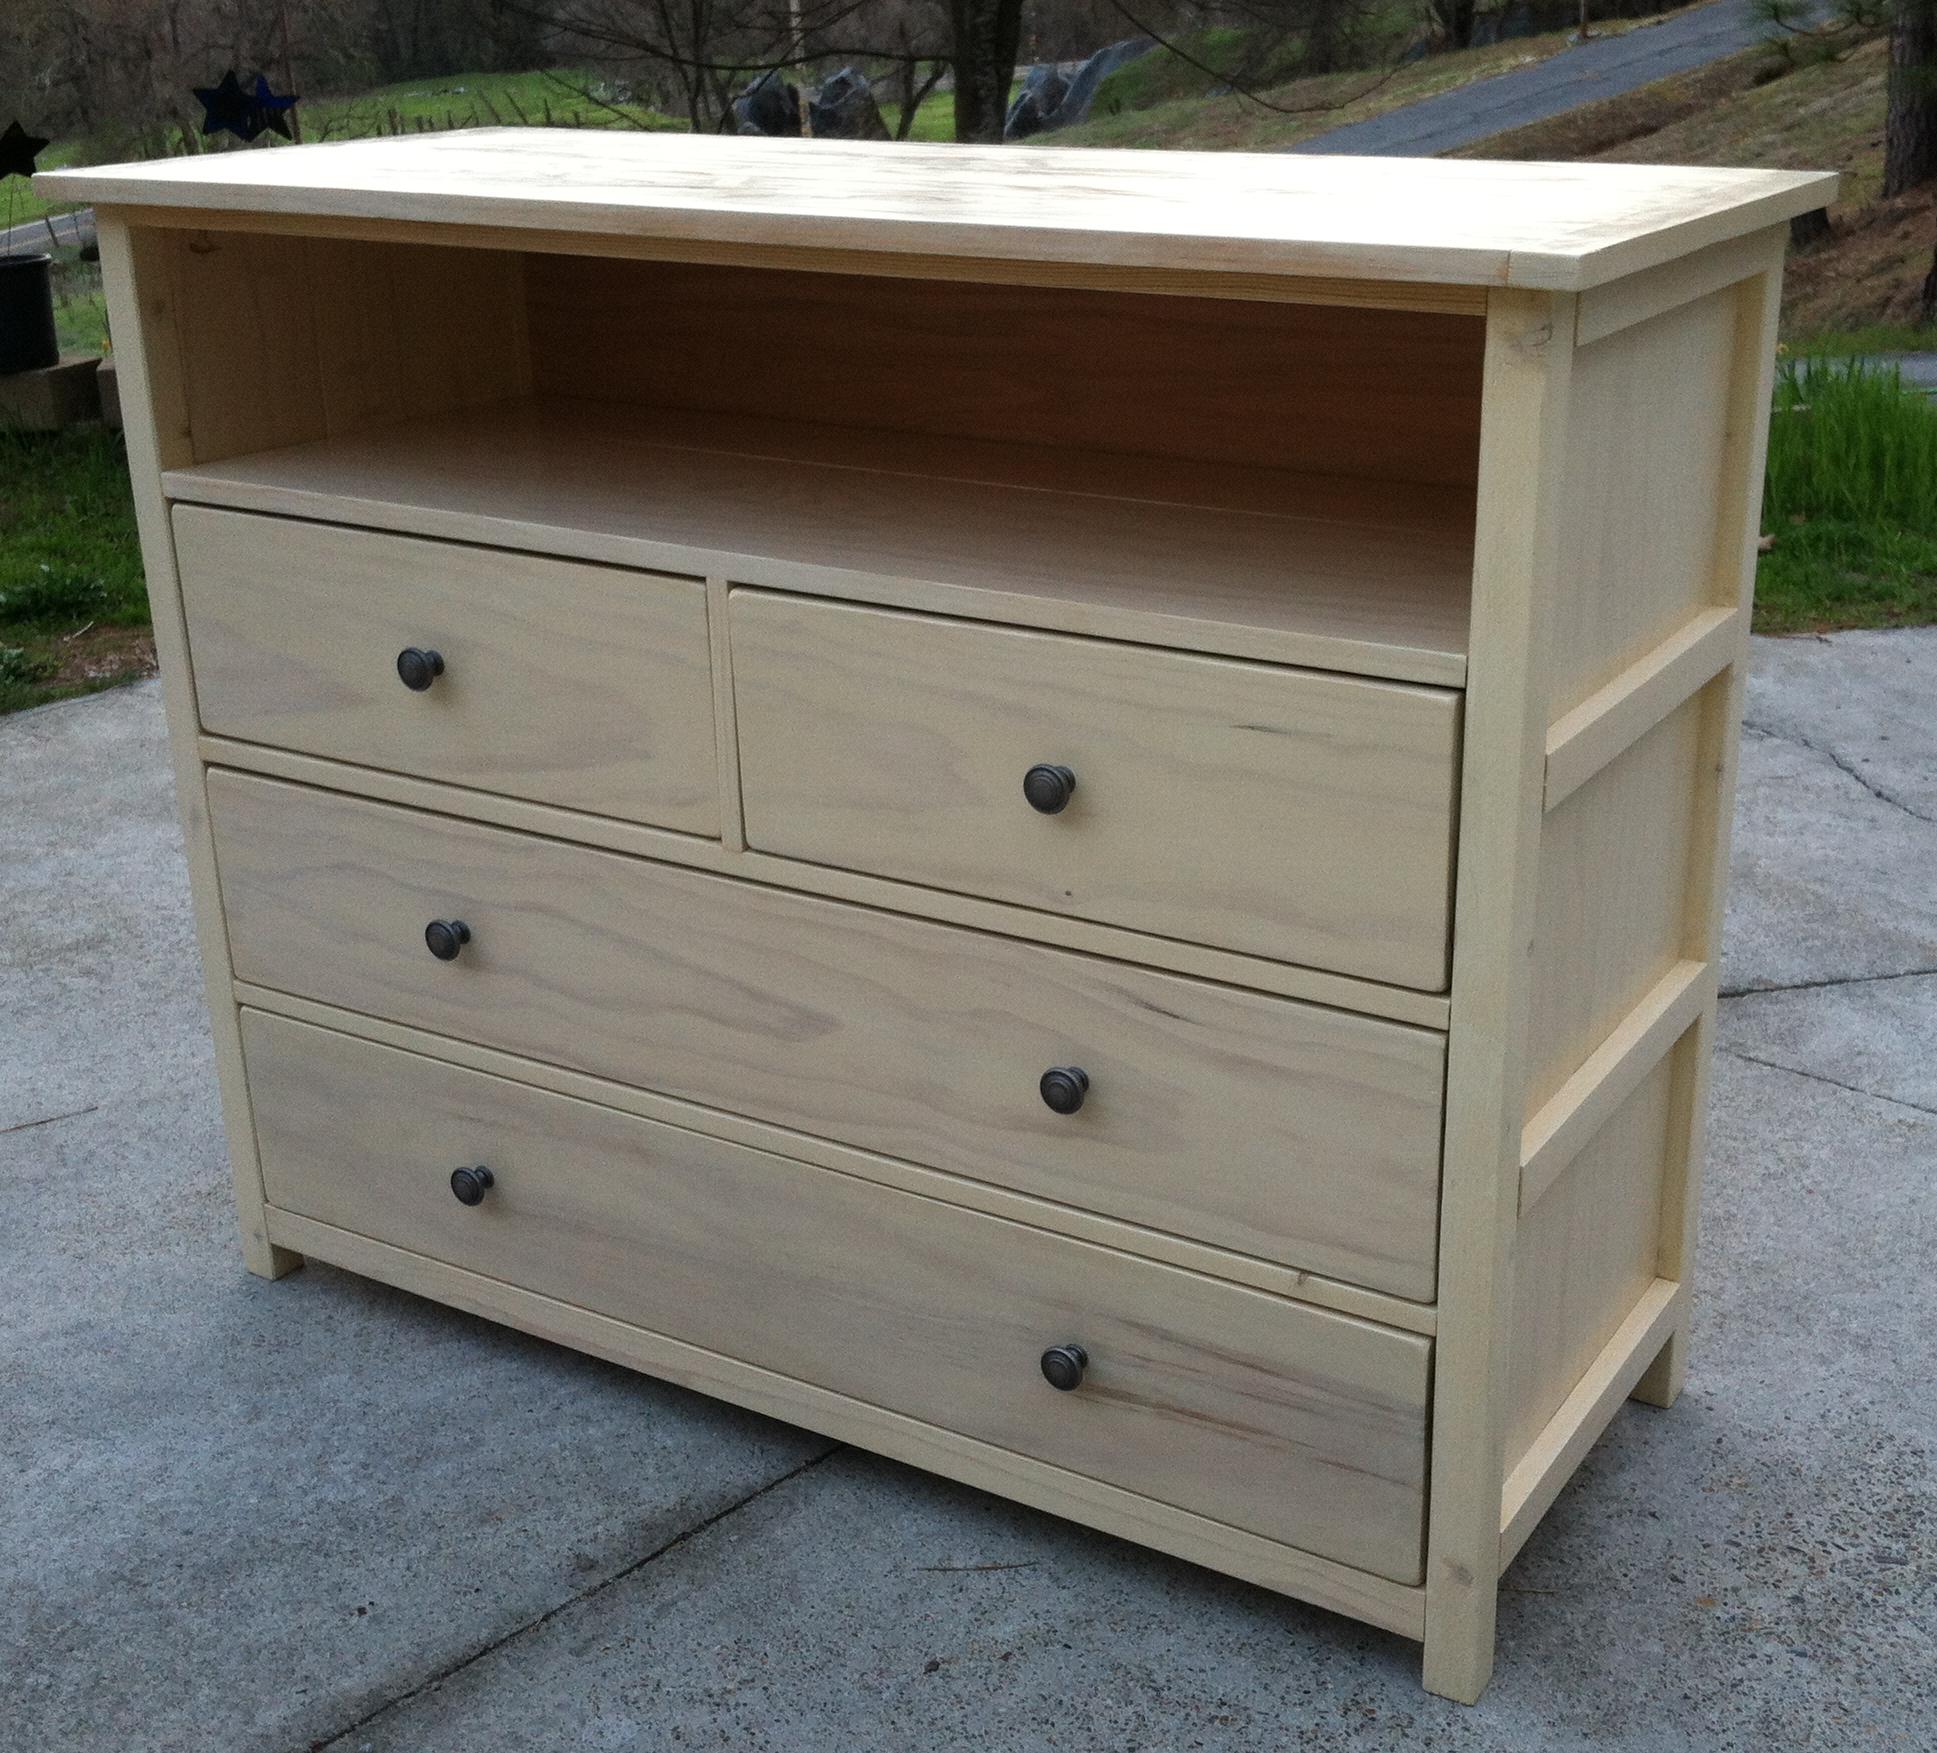
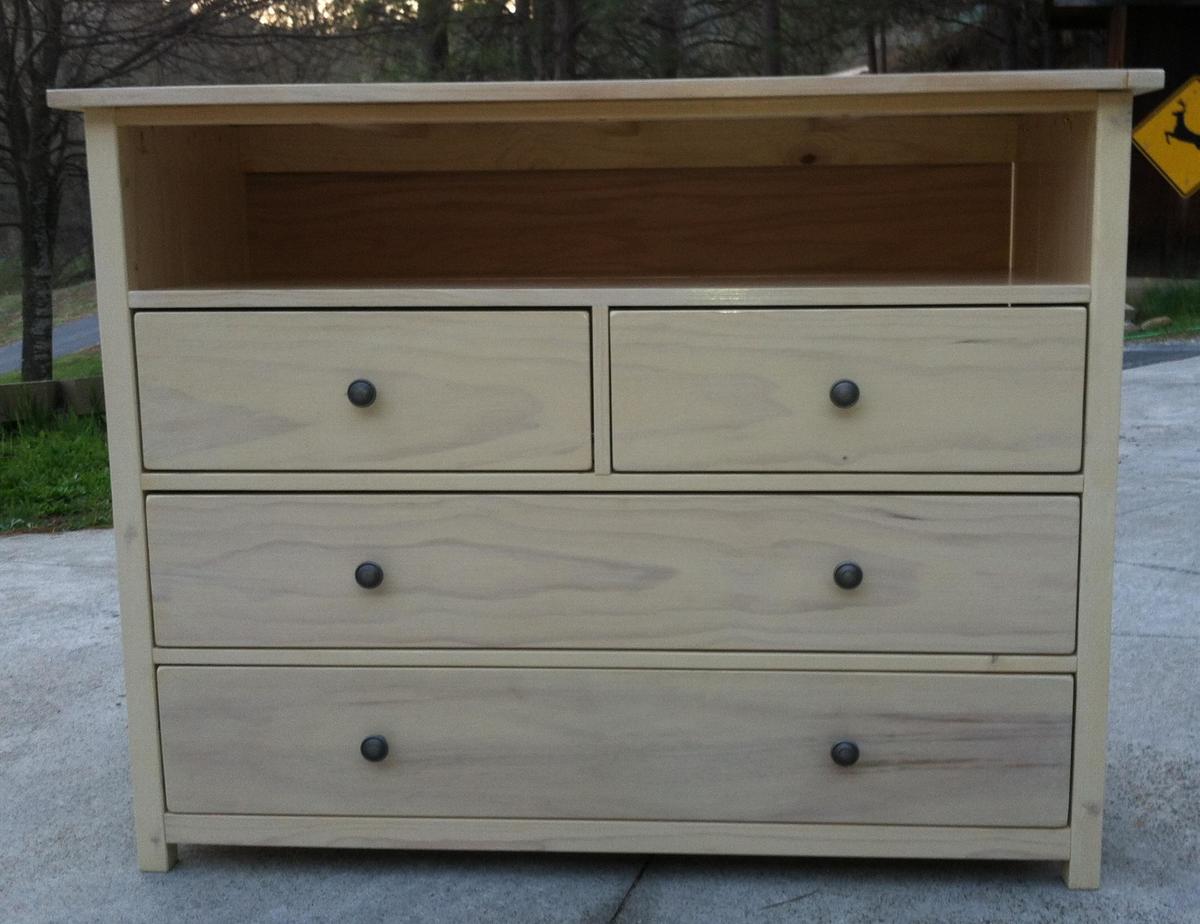
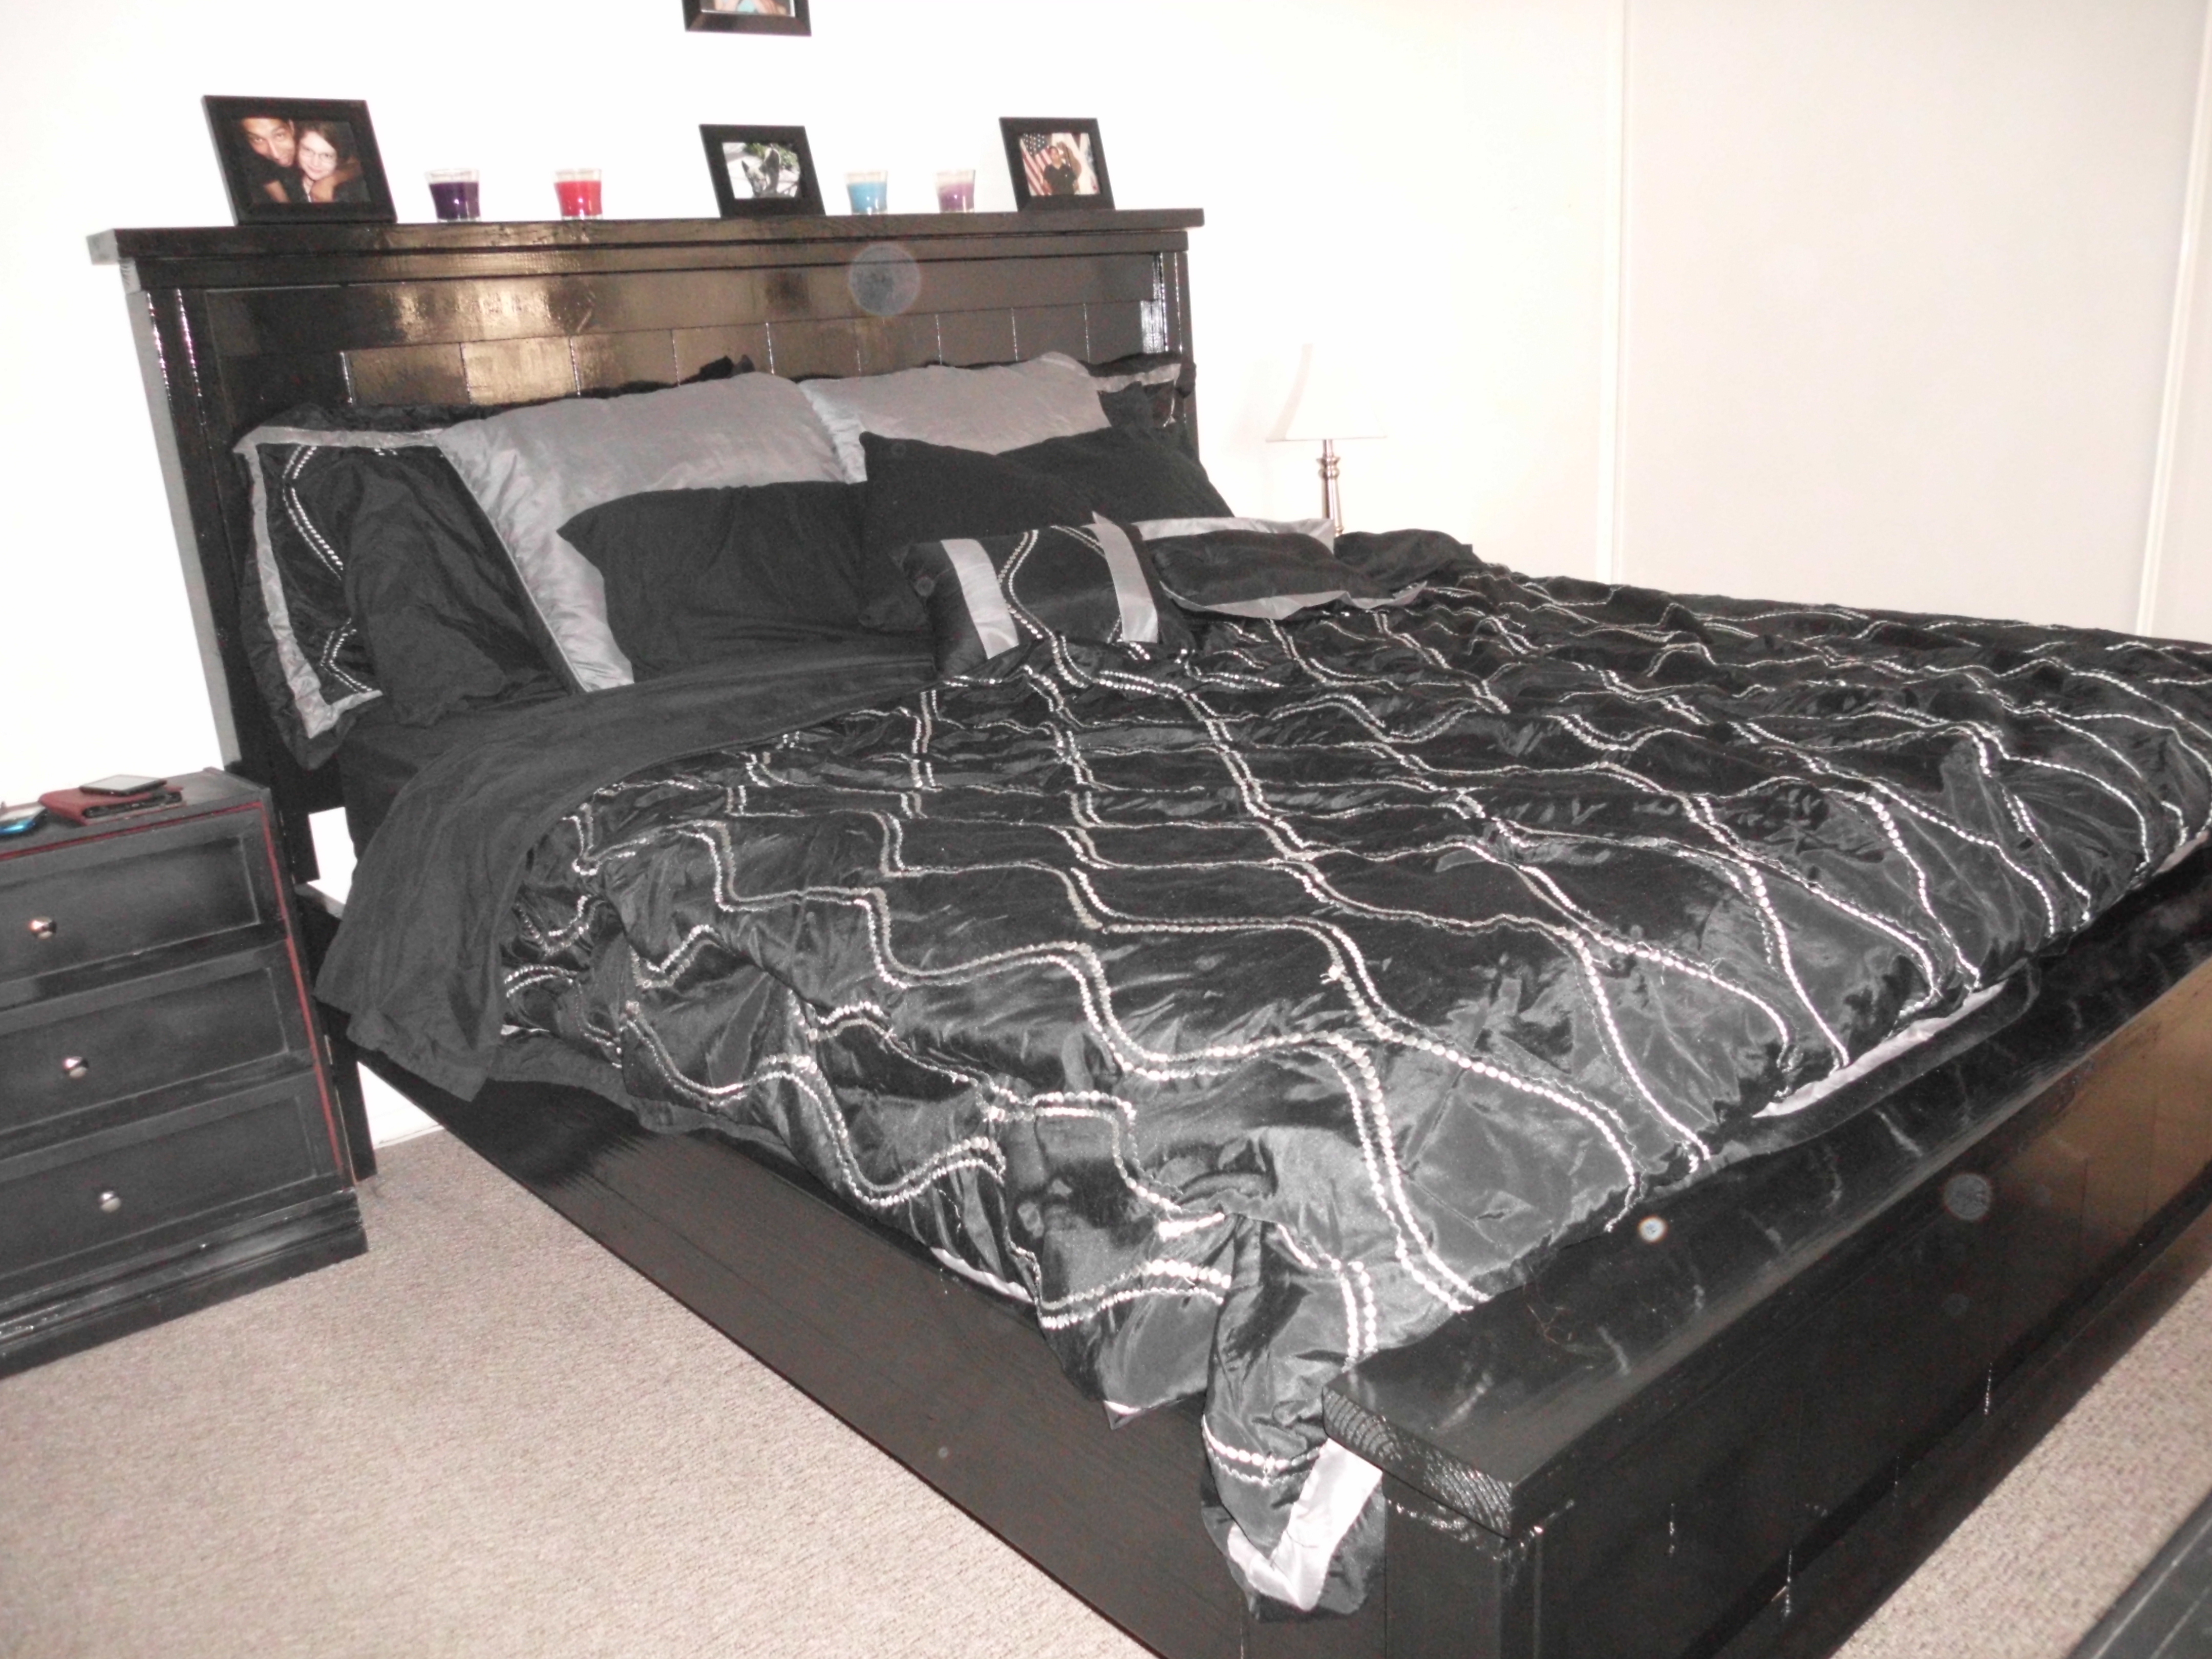
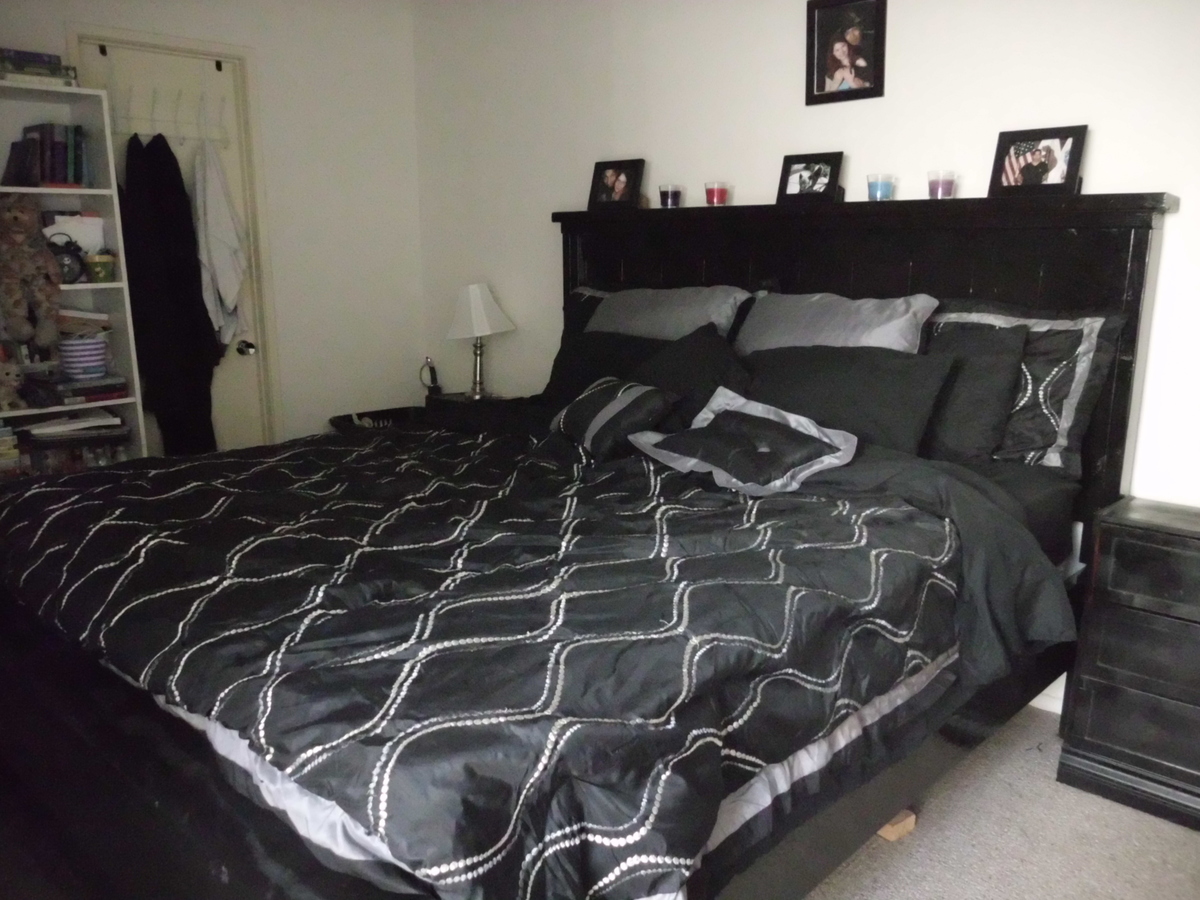
Twin fancy farmhouse bed

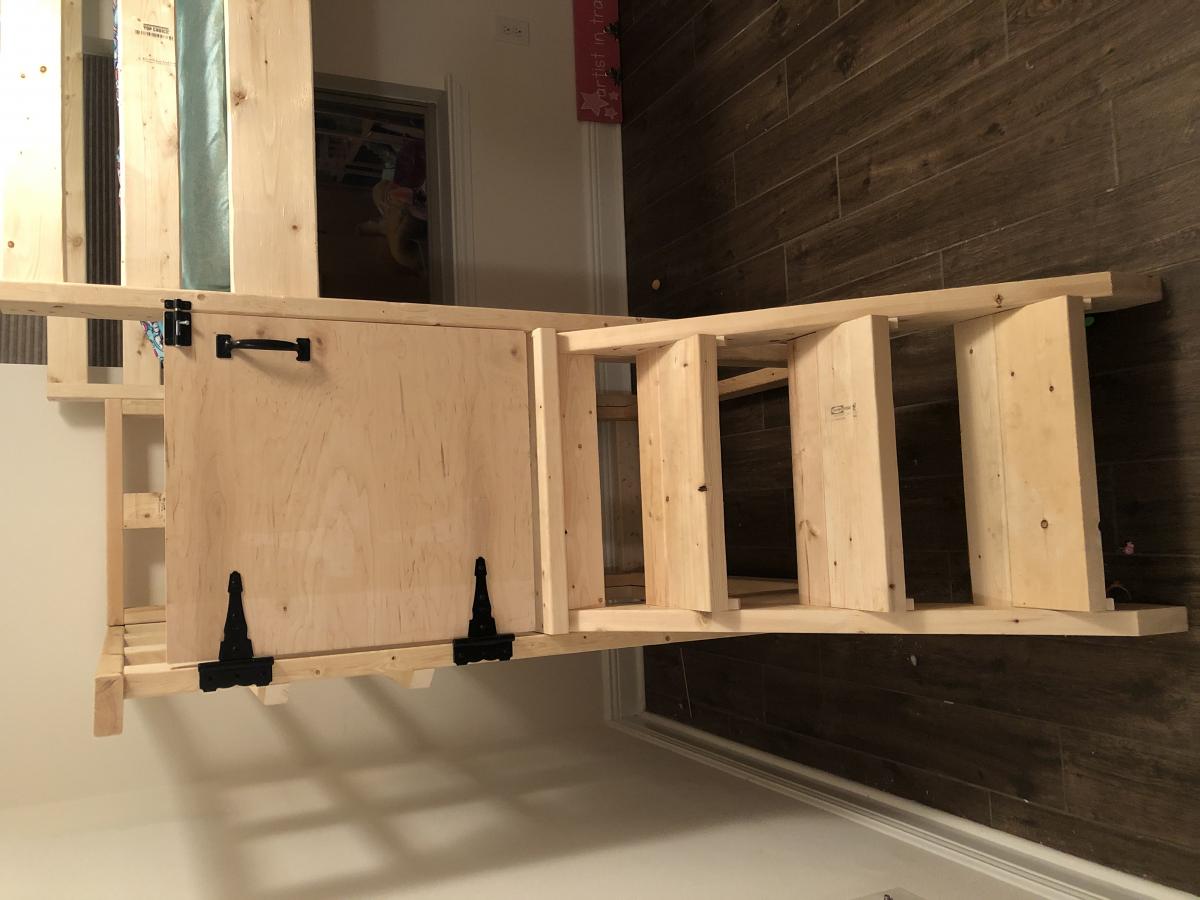
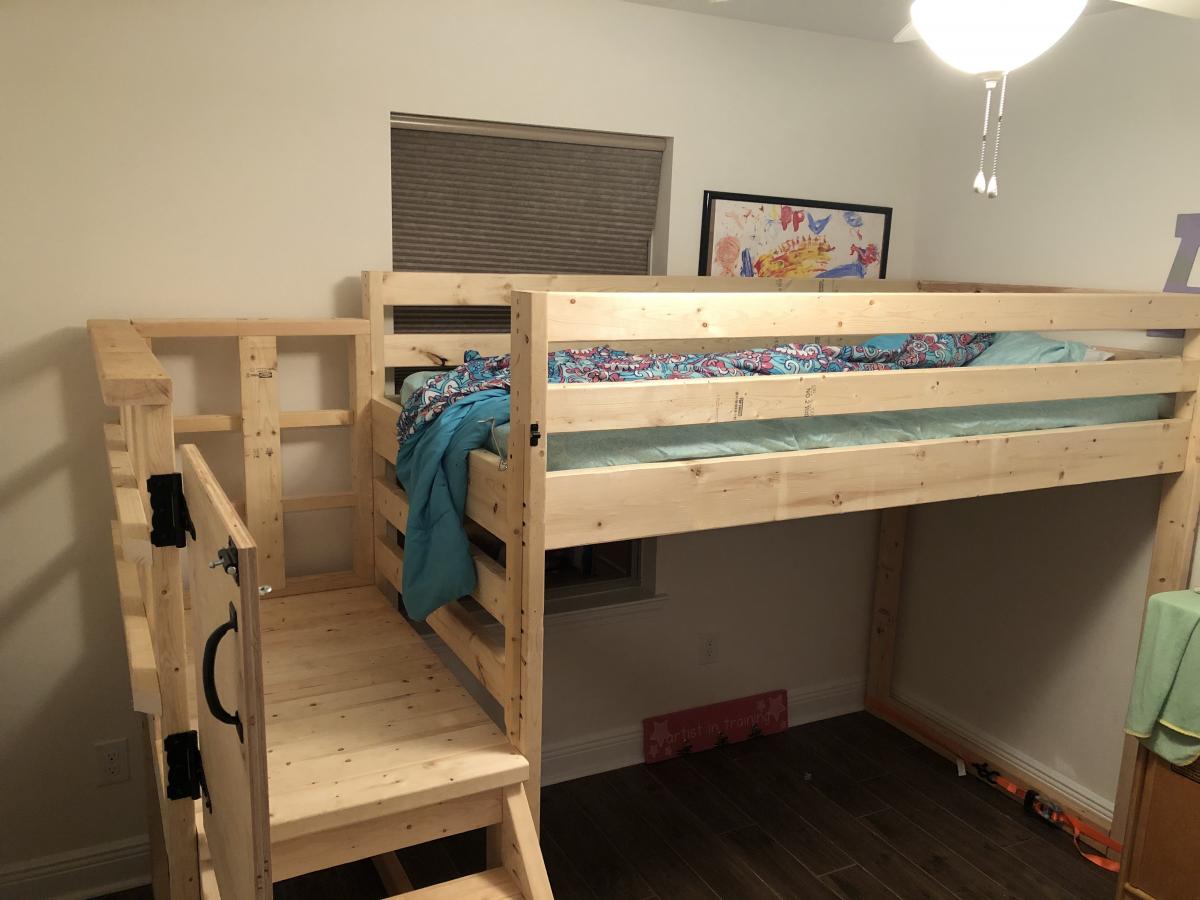
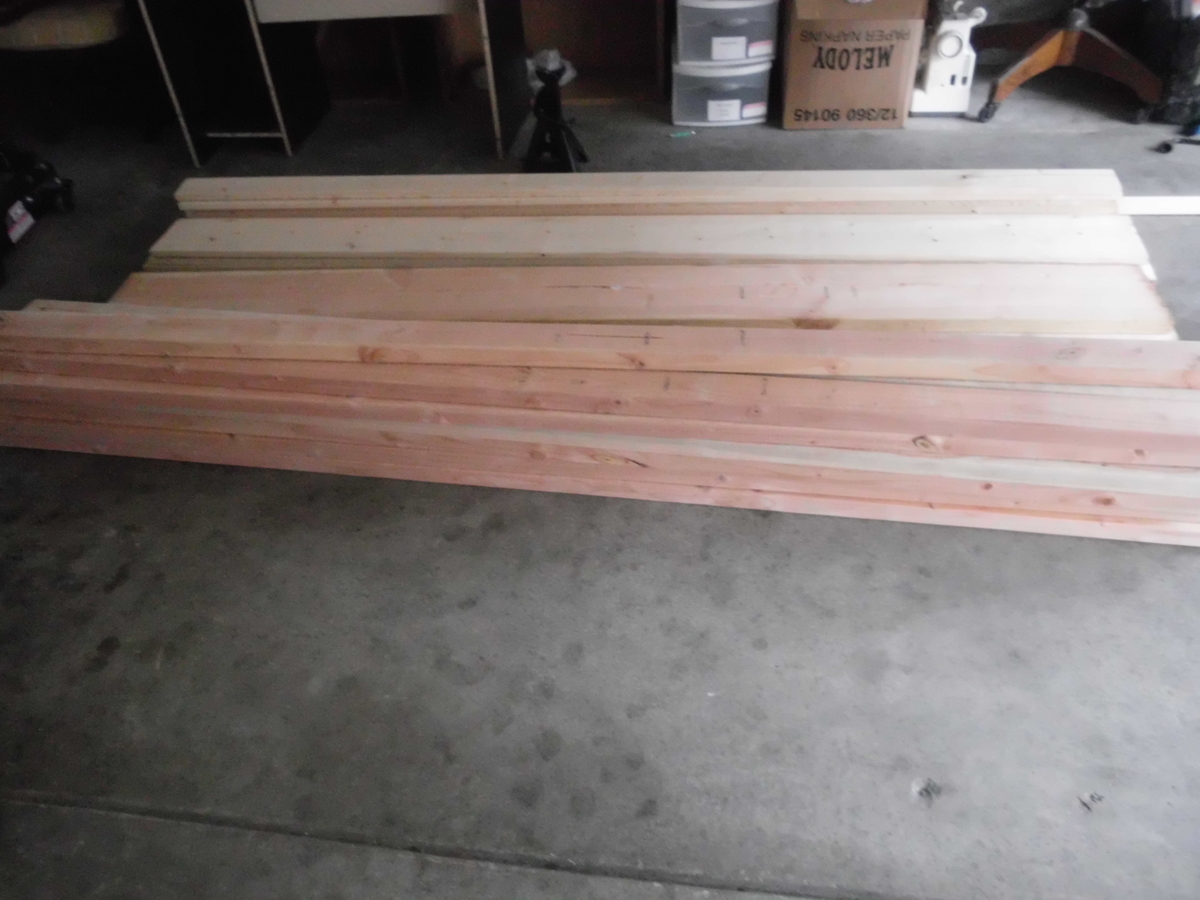
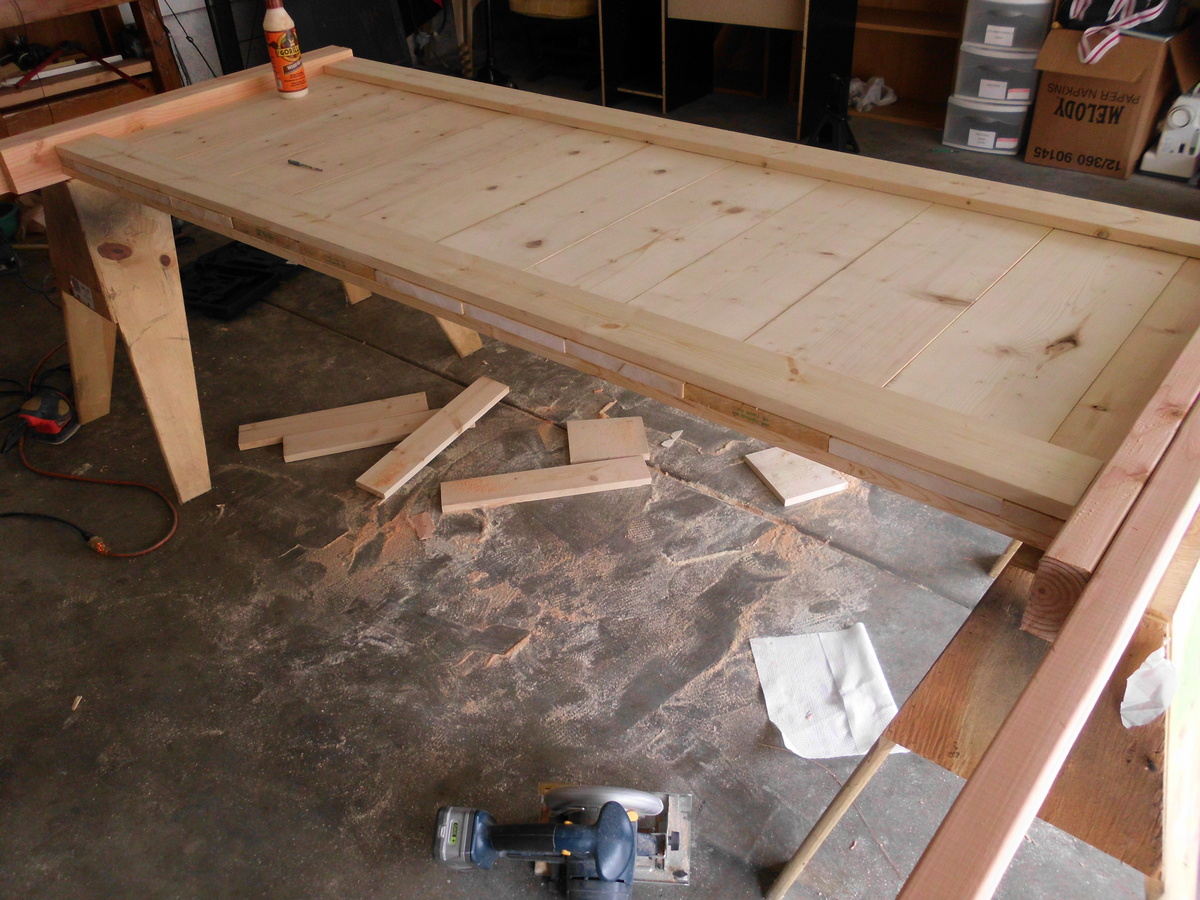
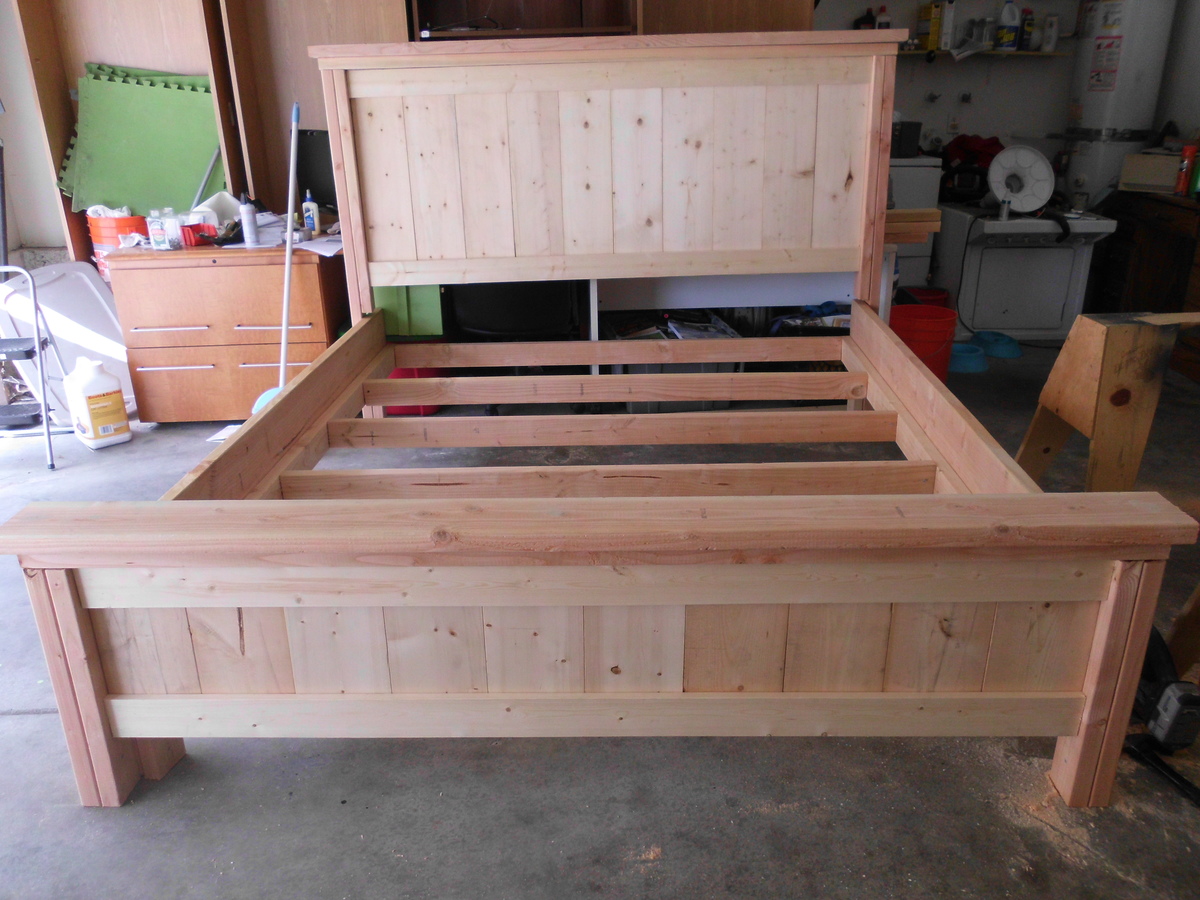
A twin version of "Mom's Fancy Farmhouse Bed" that includes a matching footboard. Kreg jig used all around. The bed takes about 6-7 hours to cut everything and put it together. Staining takes quite a bit more because of the dry times needed.
Estimated Cost
$150
Estimated Time Investment
Weekend Project (10-20 Hours)
Finish Used
Minwax English Chestnut
Satin polyurethane (2 coats)
Satin polyurethane (2 coats)
Recommended Skill Level
Intermediate


Comments
Our Monkey Farm
Sun, 05/27/2012 - 15:09
What a lucky little girl to
What a lucky little girl to have such a beautiful bed!
Beaker
Thu, 05/31/2012 - 14:44
Thanks!
We wholeheartedly agree! We love how it turned out.
Debbie440
Mon, 12/30/2013 - 11:01
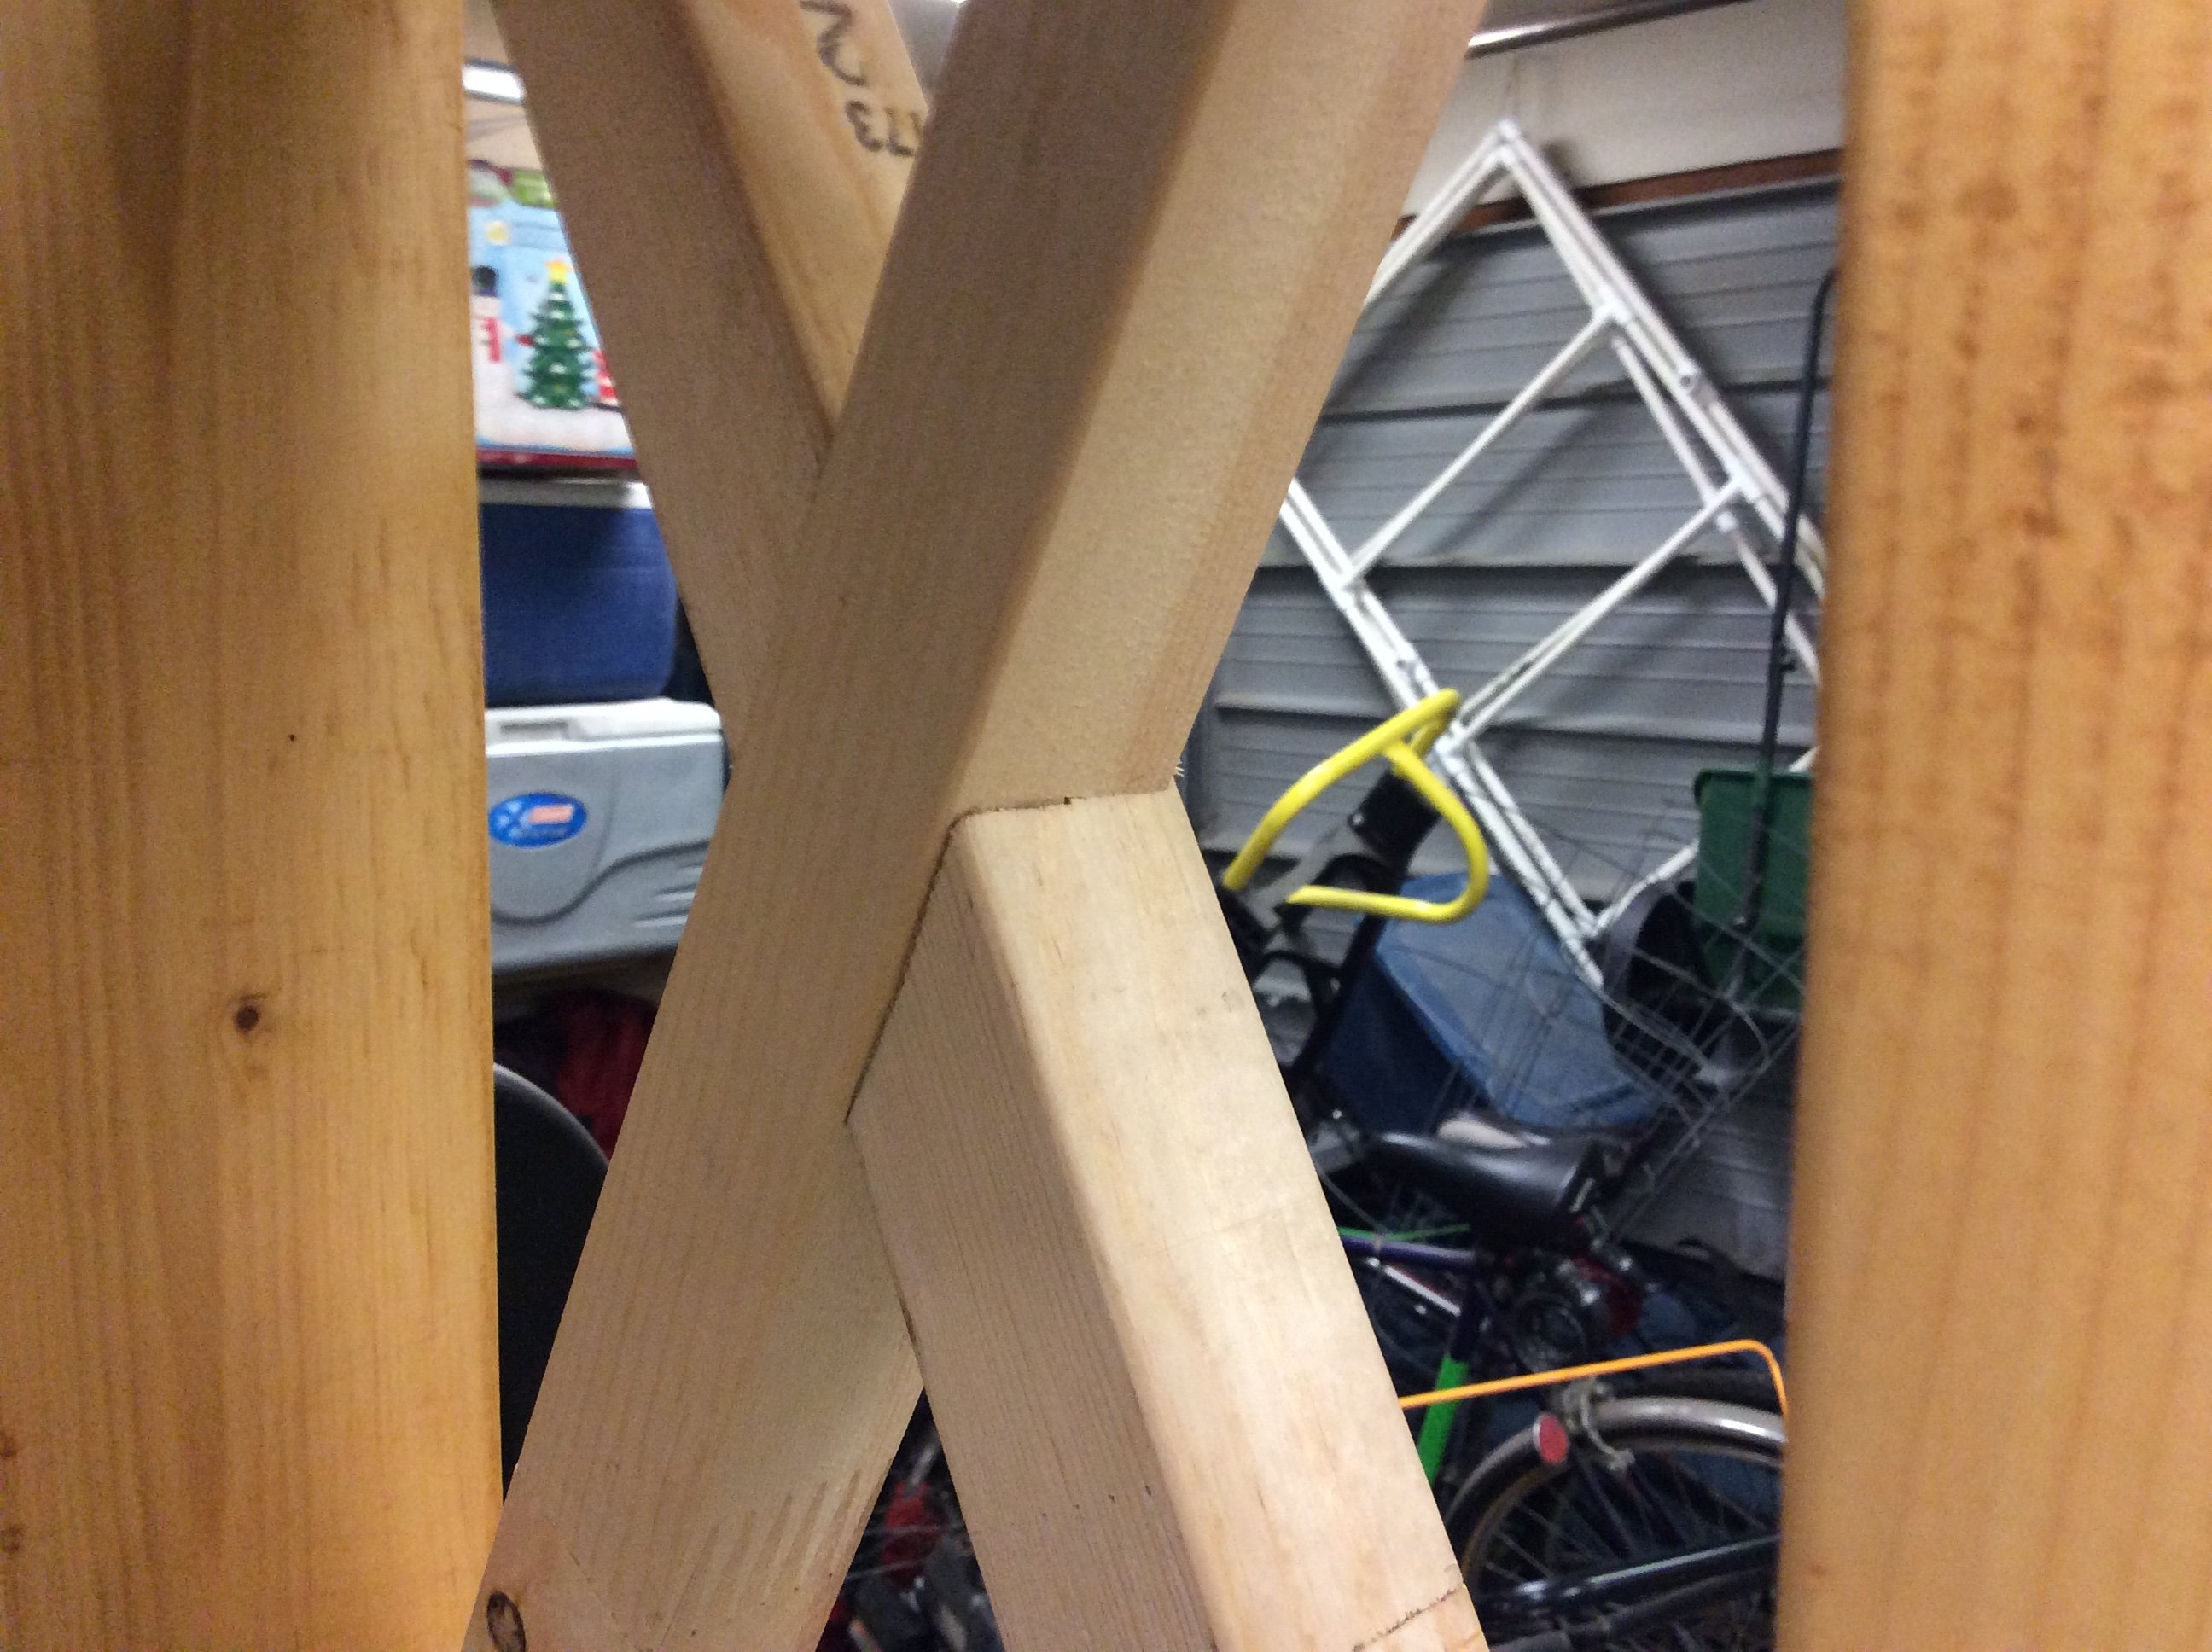
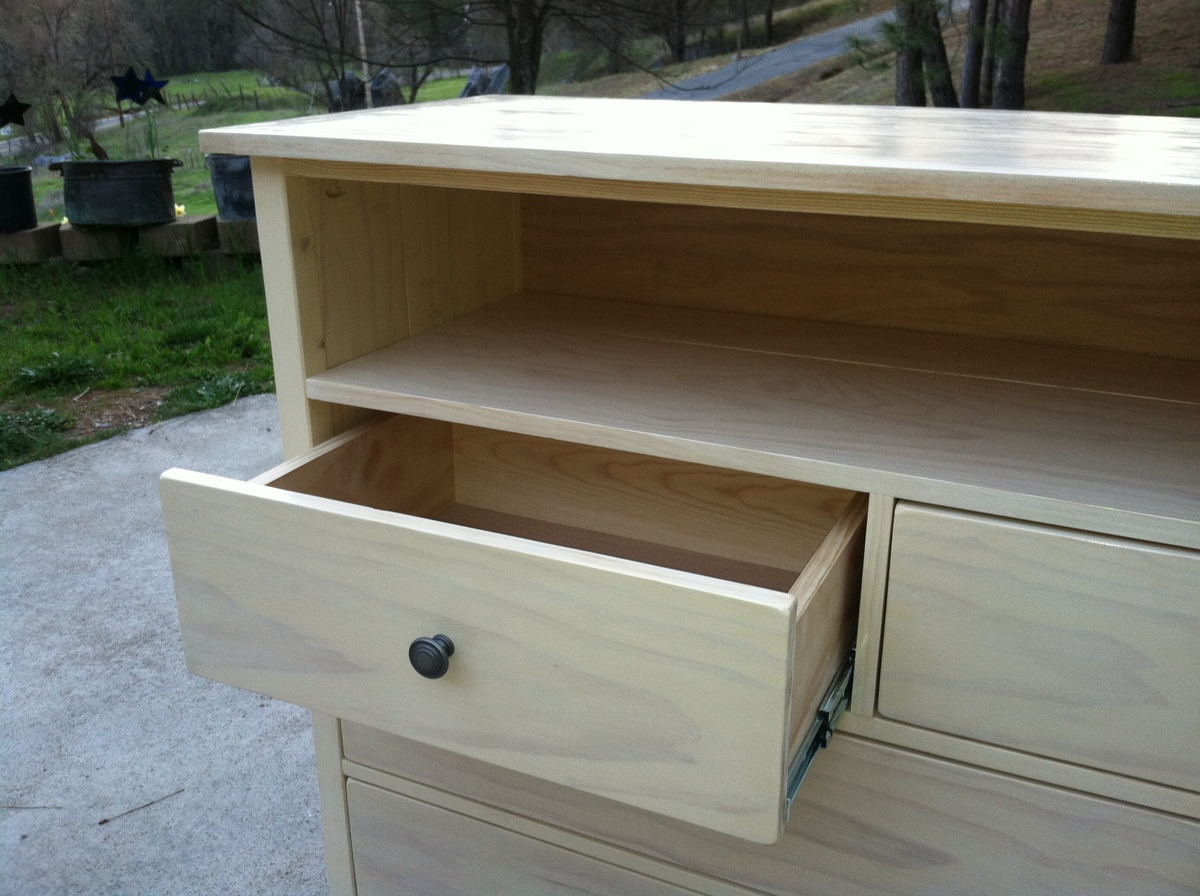
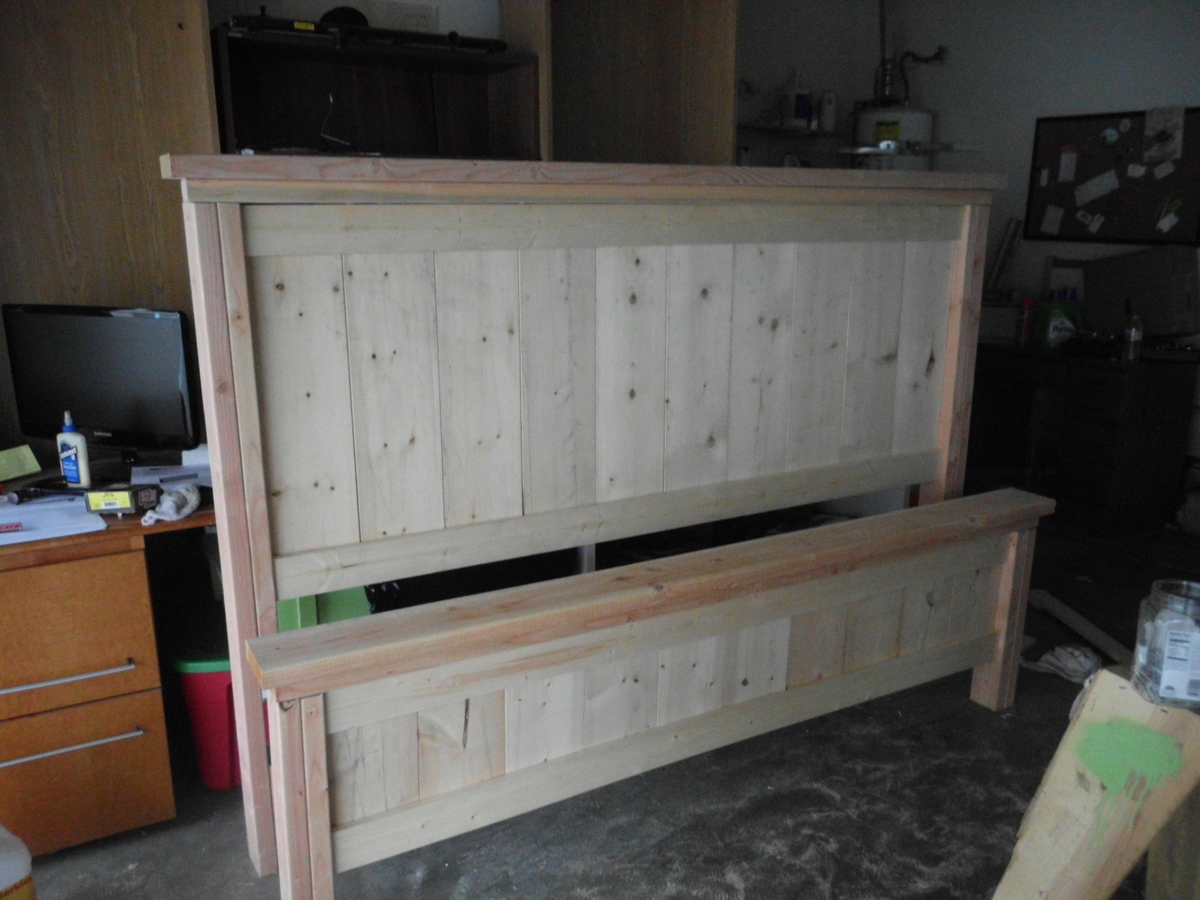
Footboard
Did you do anything to the footboard to hide the pocket holes? I made the headboard and want to make the matching footboard, but I wasn't sure how the inside of the footboard would look.