We did it! Our first every project!
We are in desperate need of toy storage in our playroom. We are planning to build several more of these bulk bins.
We are in desperate need of toy storage in our playroom. We are planning to build several more of these bulk bins.
Built this Folding Sewing Table for my daughter.
- 18 mm Baltic Birch
- Birch leds
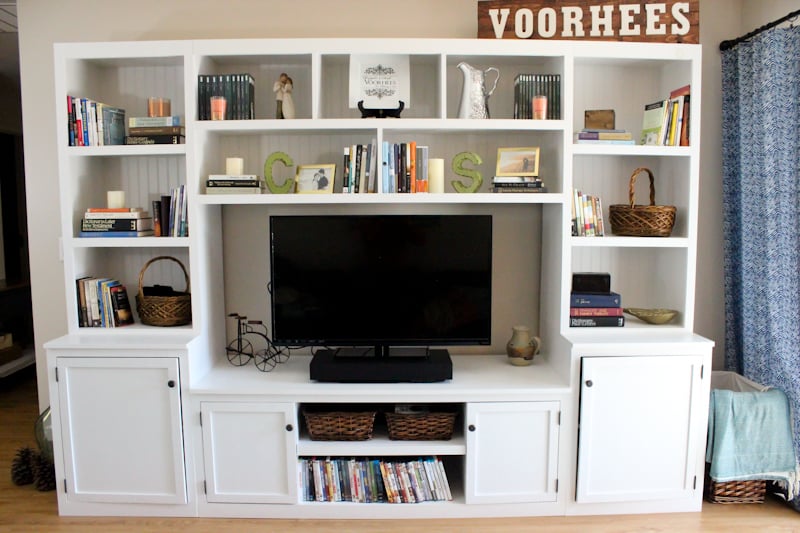
Hello everyone! I built the Logan entertainment center for our apartment and it is amazing! I used Ana's plans with a few modifications. This was the first projected I finished and while it's not perfect, I love it and I learned a lot in the process. Because I was learning to build as I went, it might have taken me longer than someone who has more experience. I built this project over several months and it took a long time, but it was totally worth it. Check out more details about my experience over at my blog.
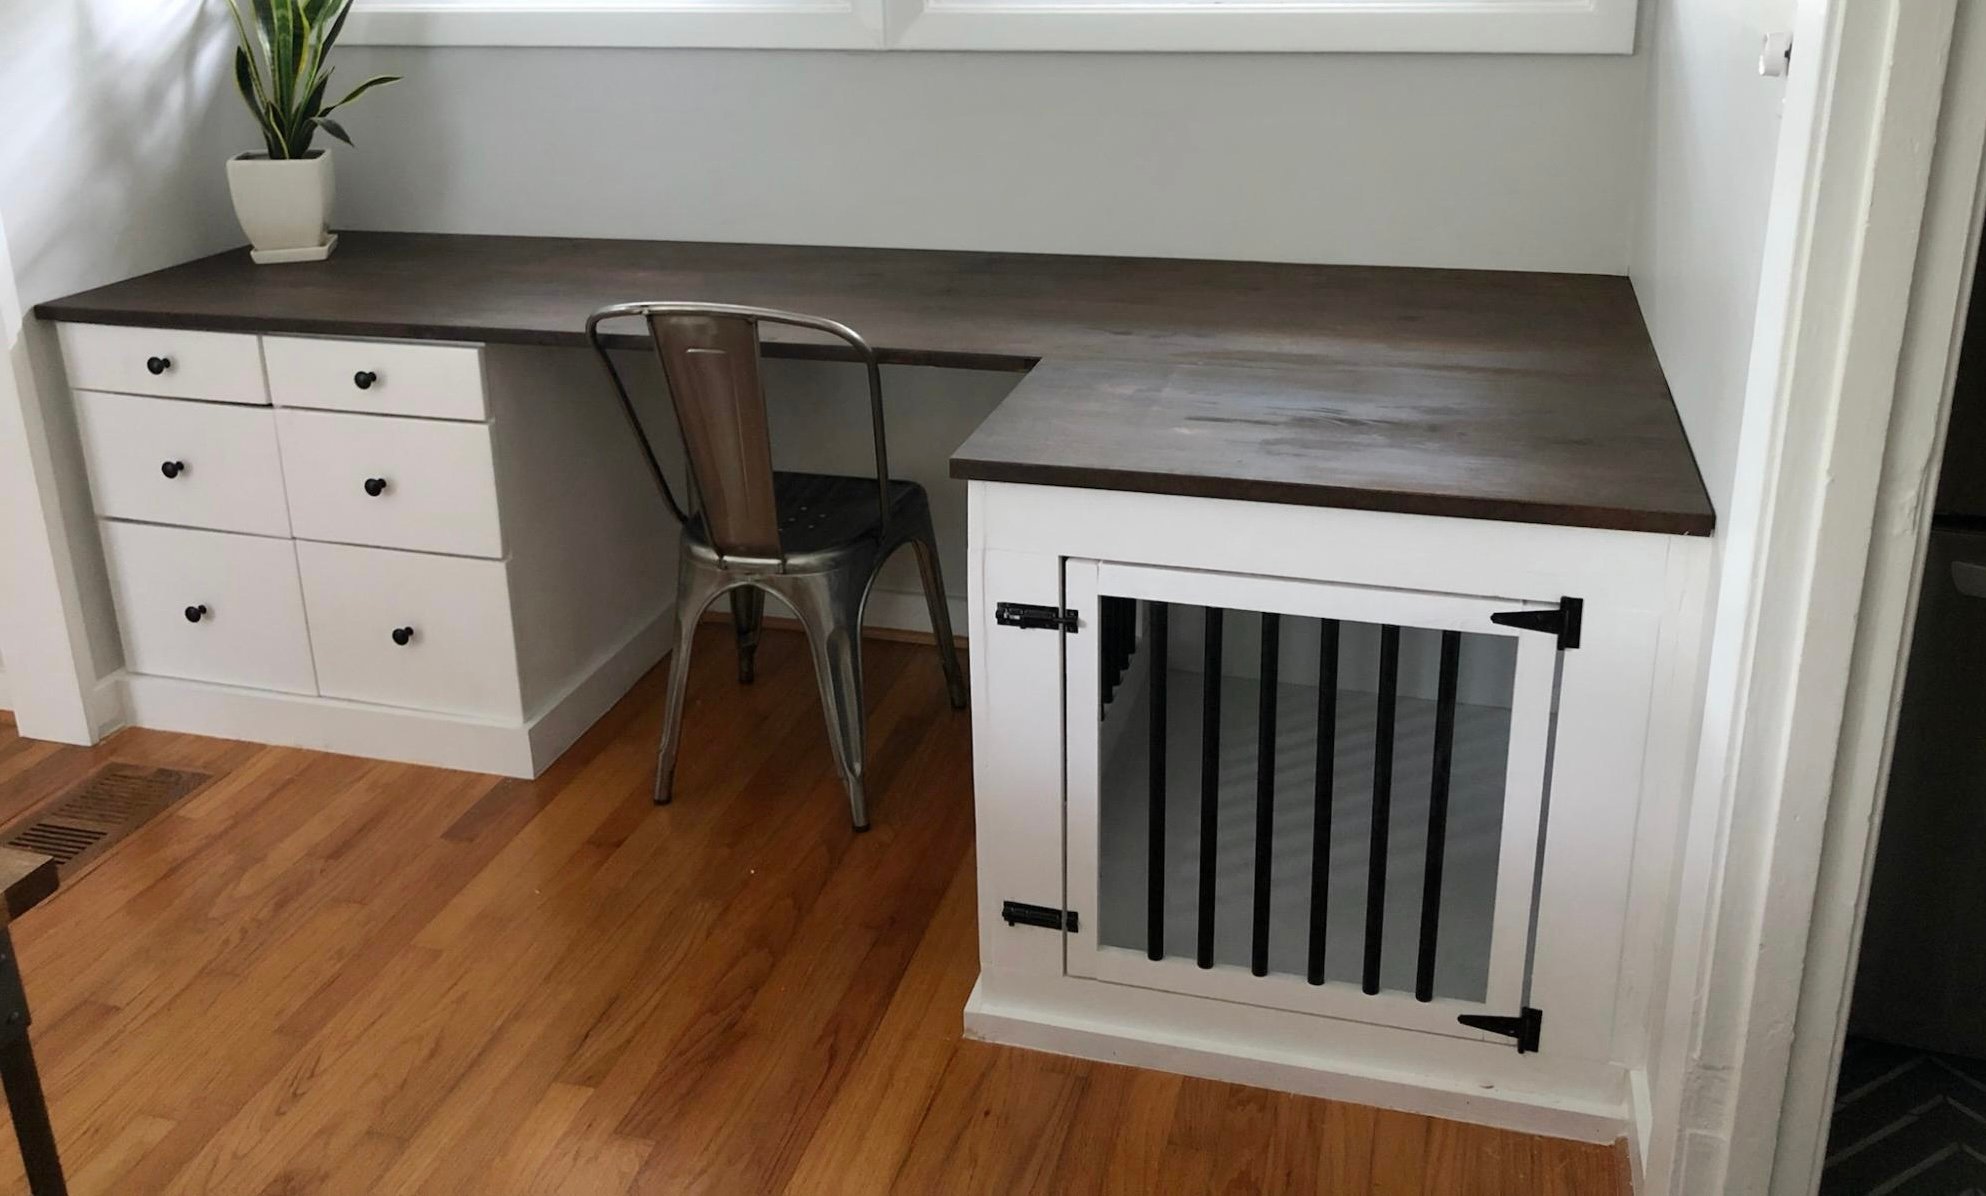
Built in desk with dog kennel complete with slide out printer drawer!
by Lisa

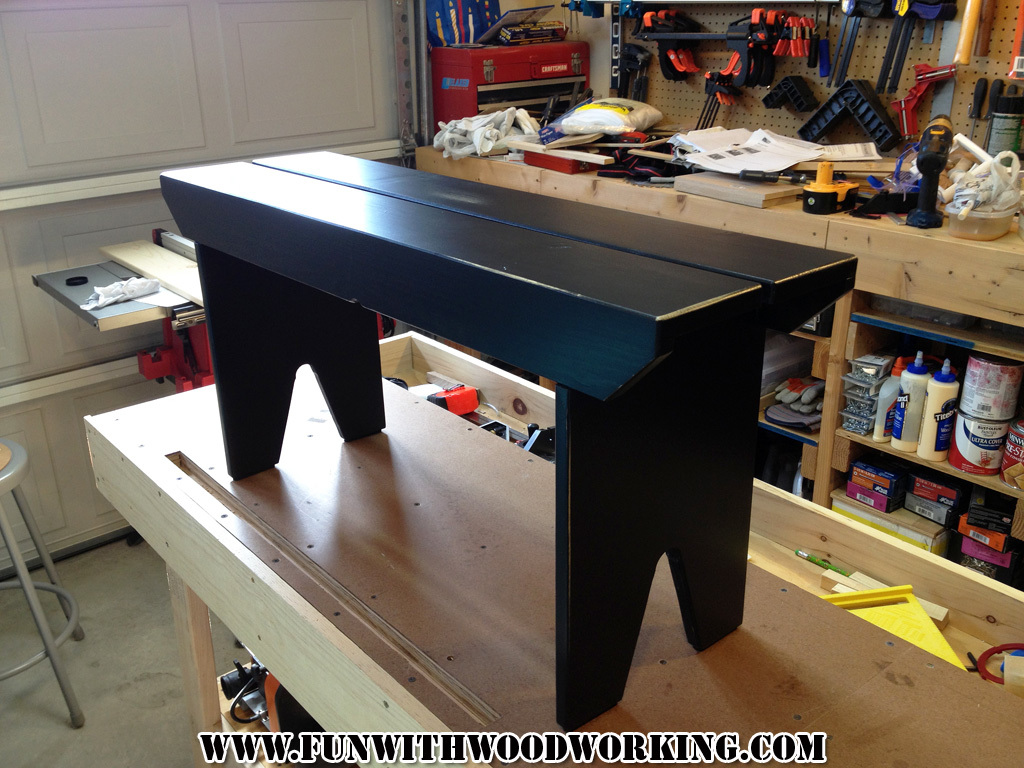
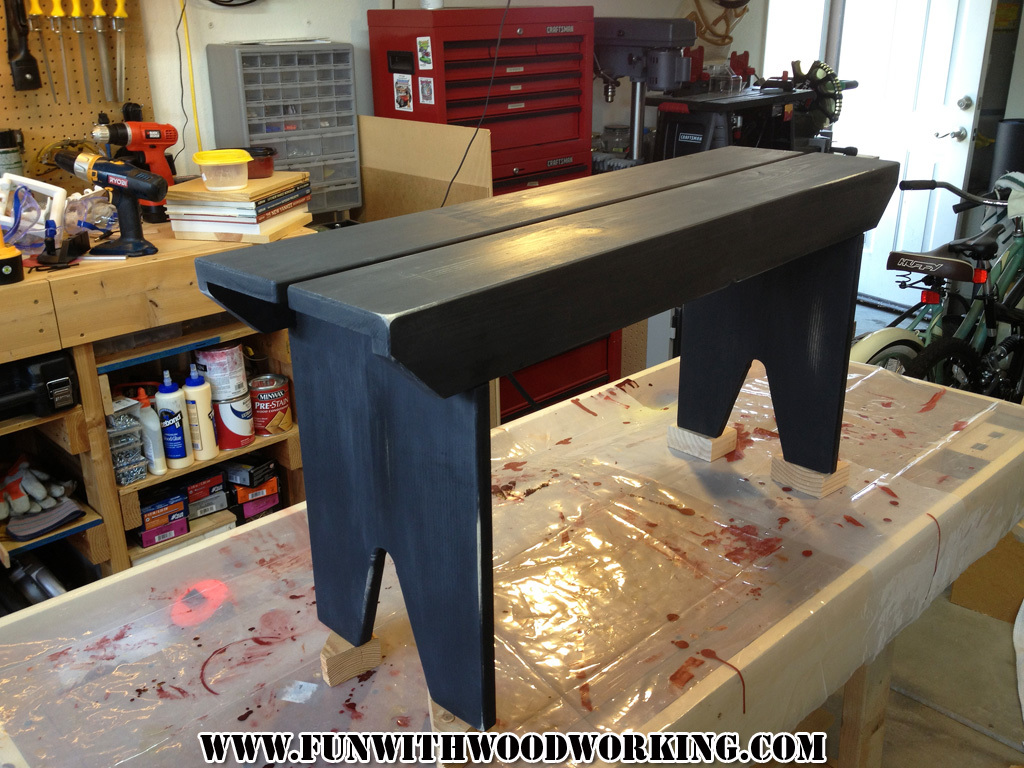
I was looking for a plan for a 5 board bench so naturally I came to your site. I made your basic design but made it a little bit smaller in all dimensions and I put a half inch split down the middle of the top. I built it out of pine and painted it flat black. I gave the legs and underneath 3 coats of satin polyurethane and the top and sides received 5.
You can follow the build on my blog at :
http://funwithwoodworkingtoo.blogspot.com/2013/09/project-how-to-build-…
You can also watch a video of the build on my YouTube page at:
http://youtu.be/1_hz2n7v9ss
Thanks for the free plans!
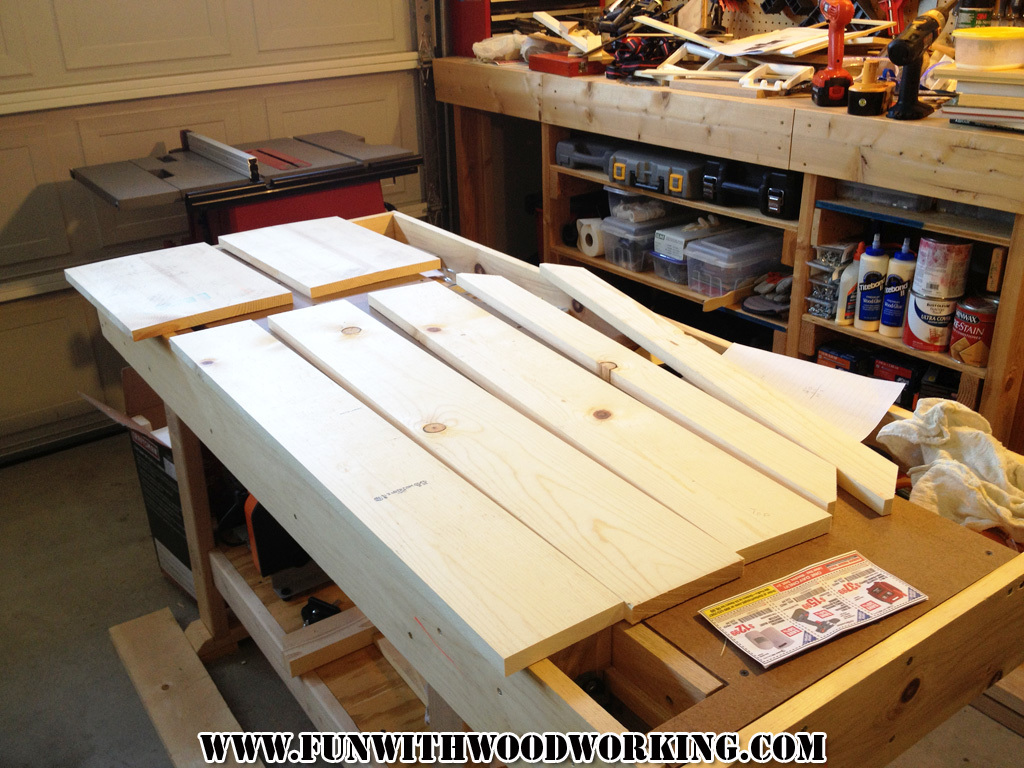
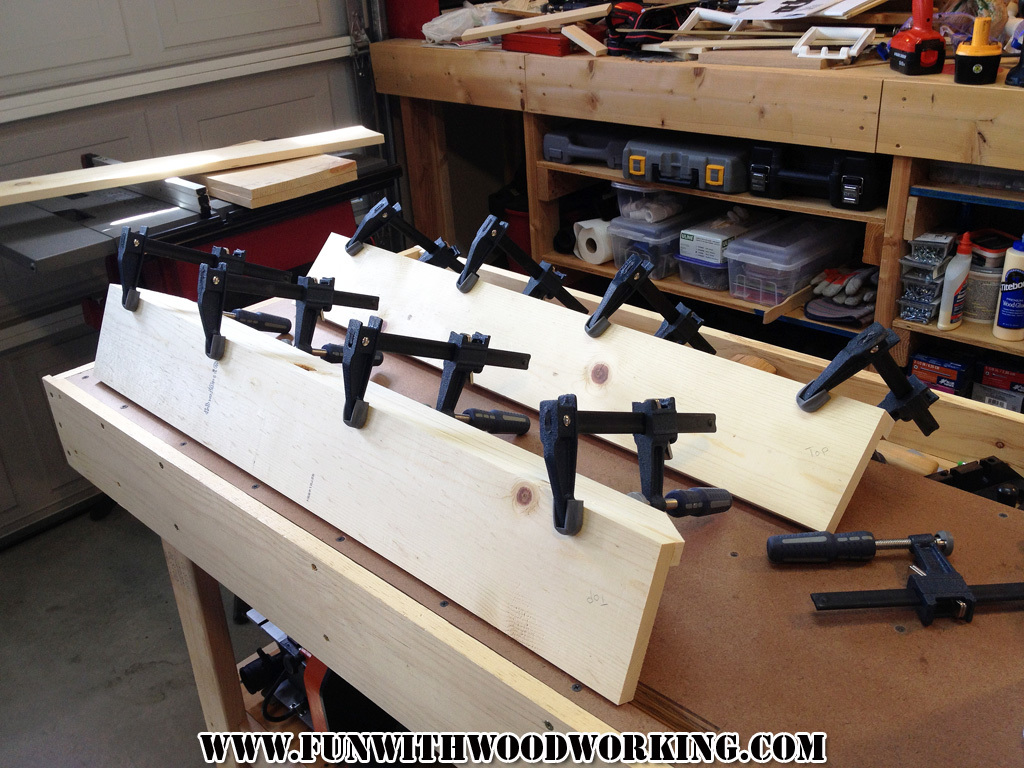
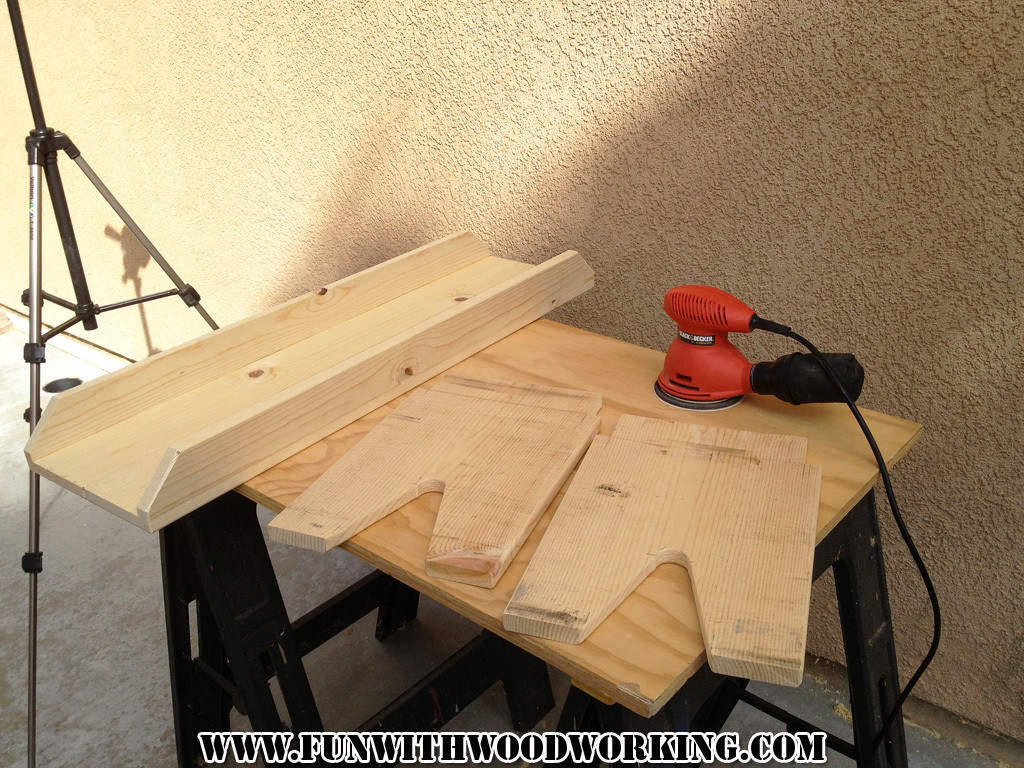
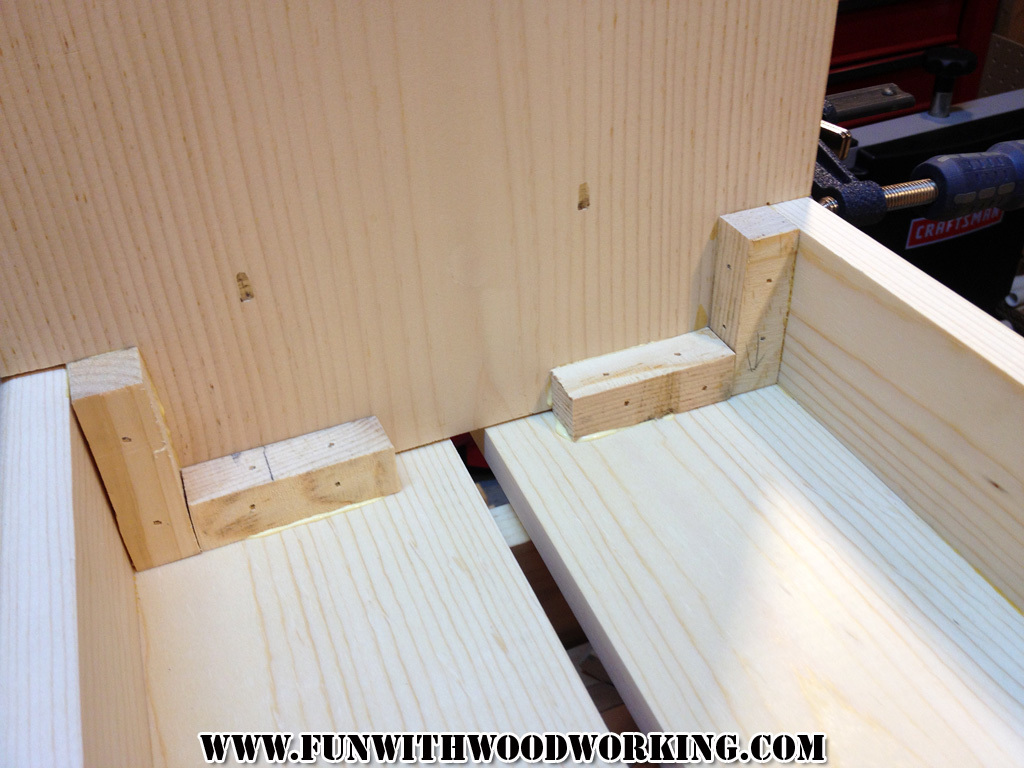
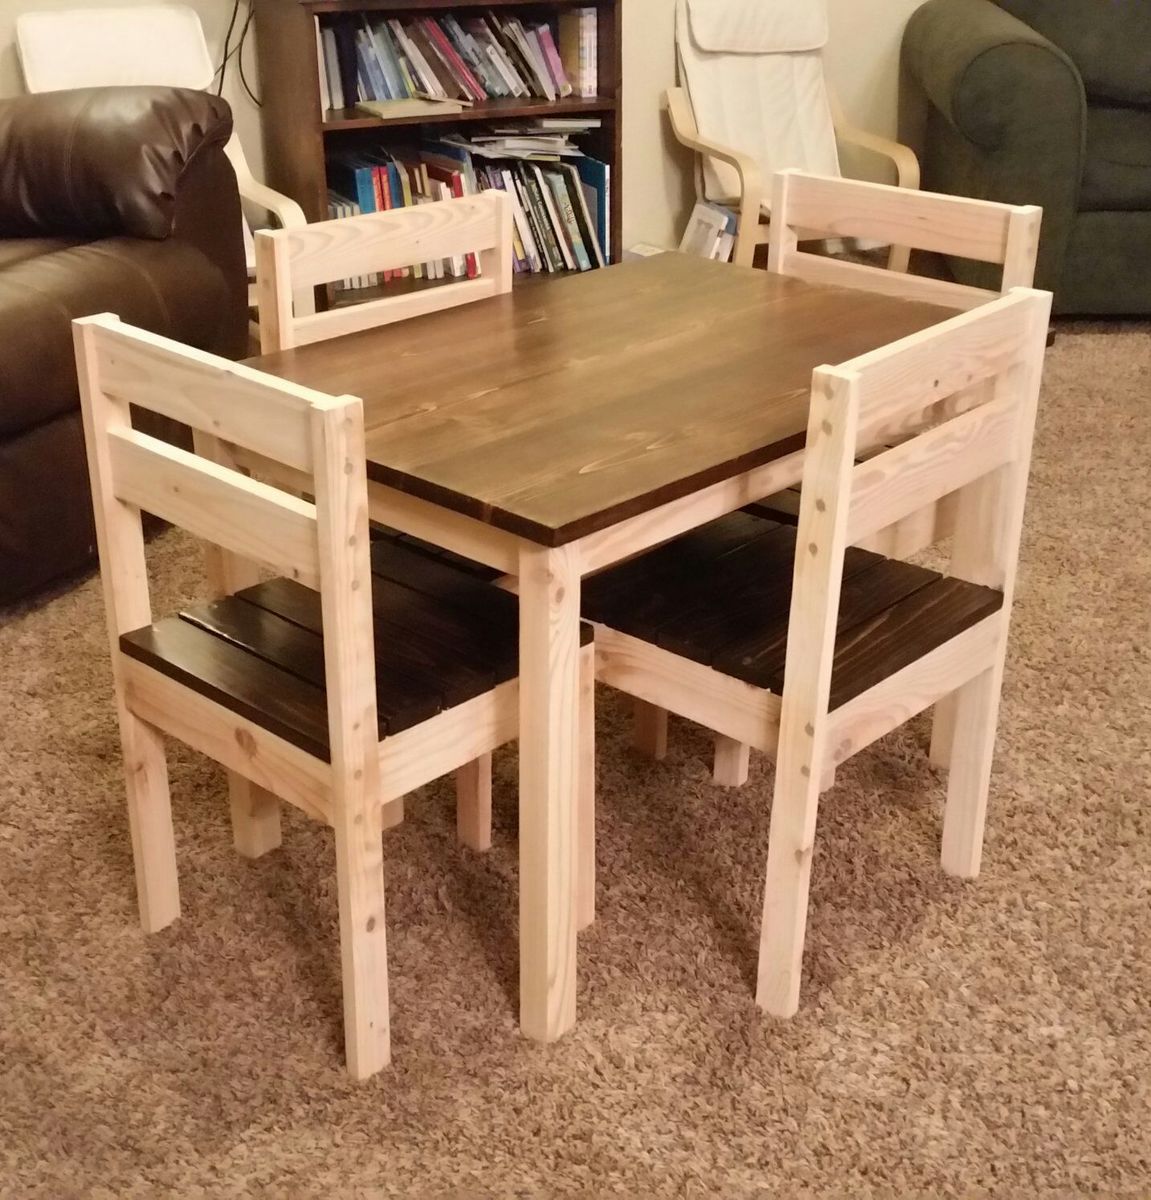
Great little project. Finished just in time for Thanksgiving.
Andy
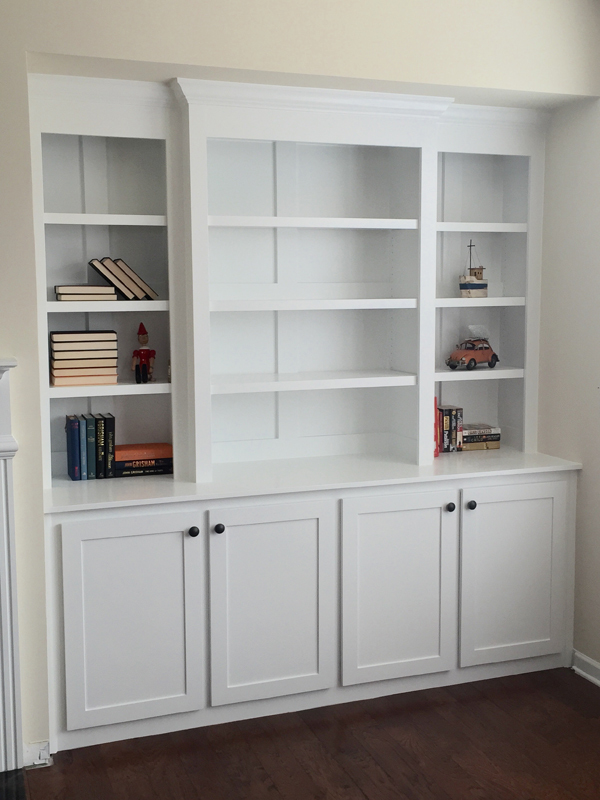
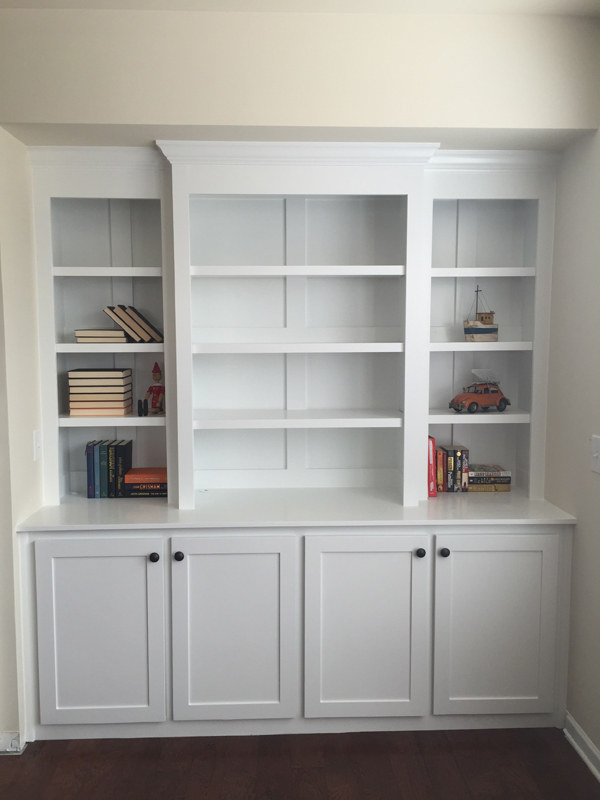
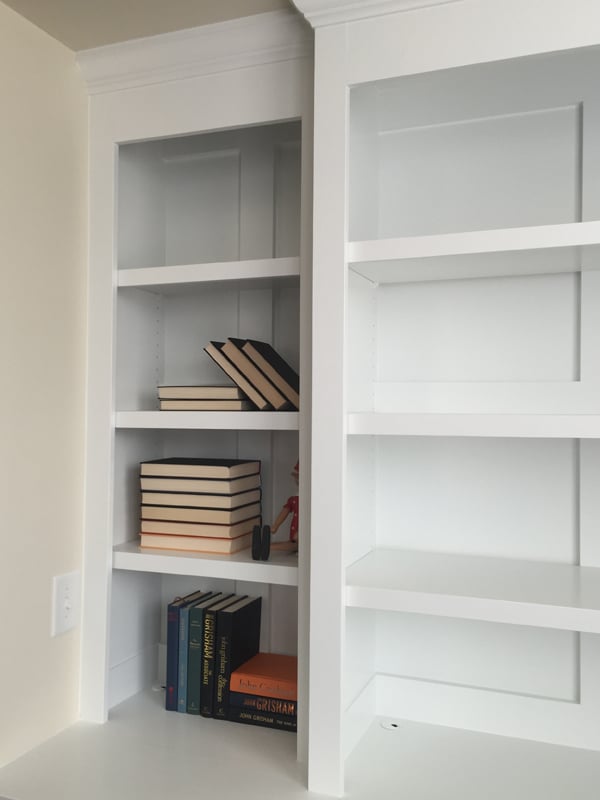
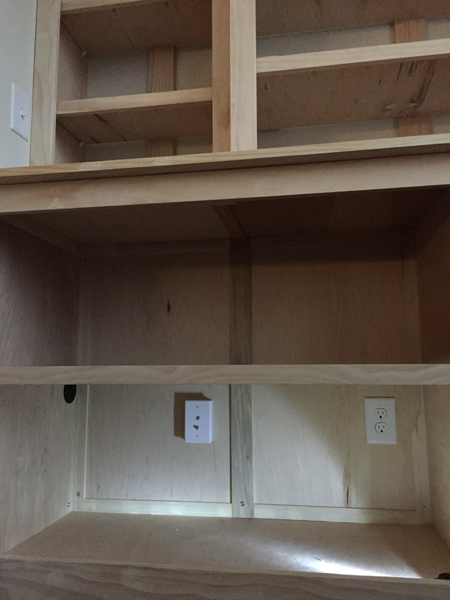
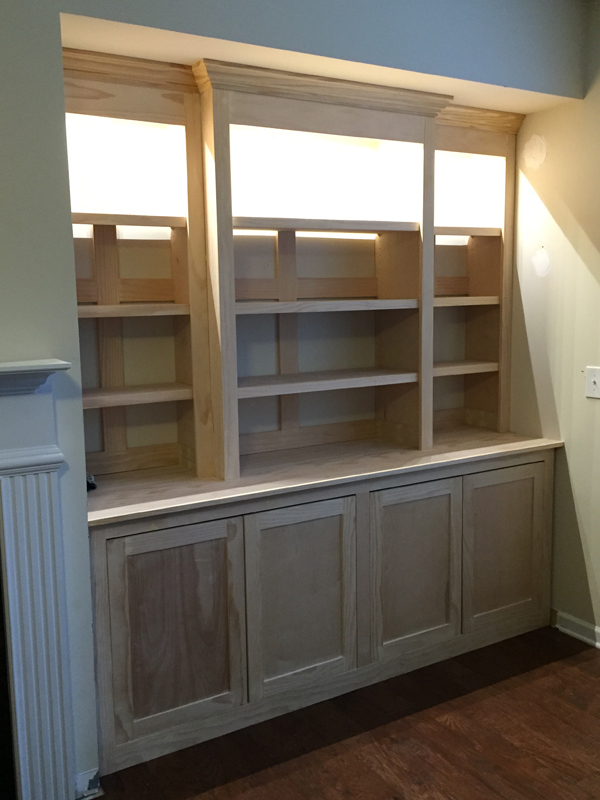
Built in bookcase with lighting and power outlets in cupboards for audio and DVD equipment to feed to the wall mounted tv (to the left).
The photo with the lights is when it was unfinished and I also decided that I didn't like the inset doors and so made new overlay ones. Now I have four doors I need to use on another project...
I tackled the Farmhouse Table over a long weekend while my boyfriend was away - he was surprised needless to say!
I have not attempted any woodwork projects since grade 8, but this was alot of fun - I did not find it very difficult and loove using power tools :)
I made the matching bench, however I guess I did not stir the bottom of the can well enough and my bench is now red :/ soo I am going to either stain it dark or paint it white and use it as a mudroom seat!
*I also made mine shorter - 7ft long to fit in our dining room and adjusted the bench to fit.
Fri, 10/07/2011 - 17:15
Thank you so much Ana! We are in the process of renovating our house and your website has inspired me to take on so many more projects now!! :)
Wed, 11/02/2011 - 04:52
I built a similar table and I am having problems with my kids getting food in between the pieces of wood. Do you have this same problem, is anyone having this same problem? Does anyone have any suggestion as to how to fix it, how to keep food and other particles from getting trapped between the cracks? Thanks! You did a great job!!
Wed, 11/23/2011 - 15:00
I am building this table as we speak. The thought occurred to me as well concerning the cracks attracting crumbs. I believe using clamps to make the fit as tight as possible will help. Also some poly finishes may be appropriate with children which may even seal the cracks... if sanded and clamped well.
Wed, 11/23/2011 - 15:11
I did try my best to clamp the wood together as tight as possible - due to the pieces of wood not being completely straight, they are there.
I haven't had this problem yet. I do use place mats when eating at the table, that generally stops any crumbs etc.That's probably the easiest way to avoid it :)
Thank you for your comments!
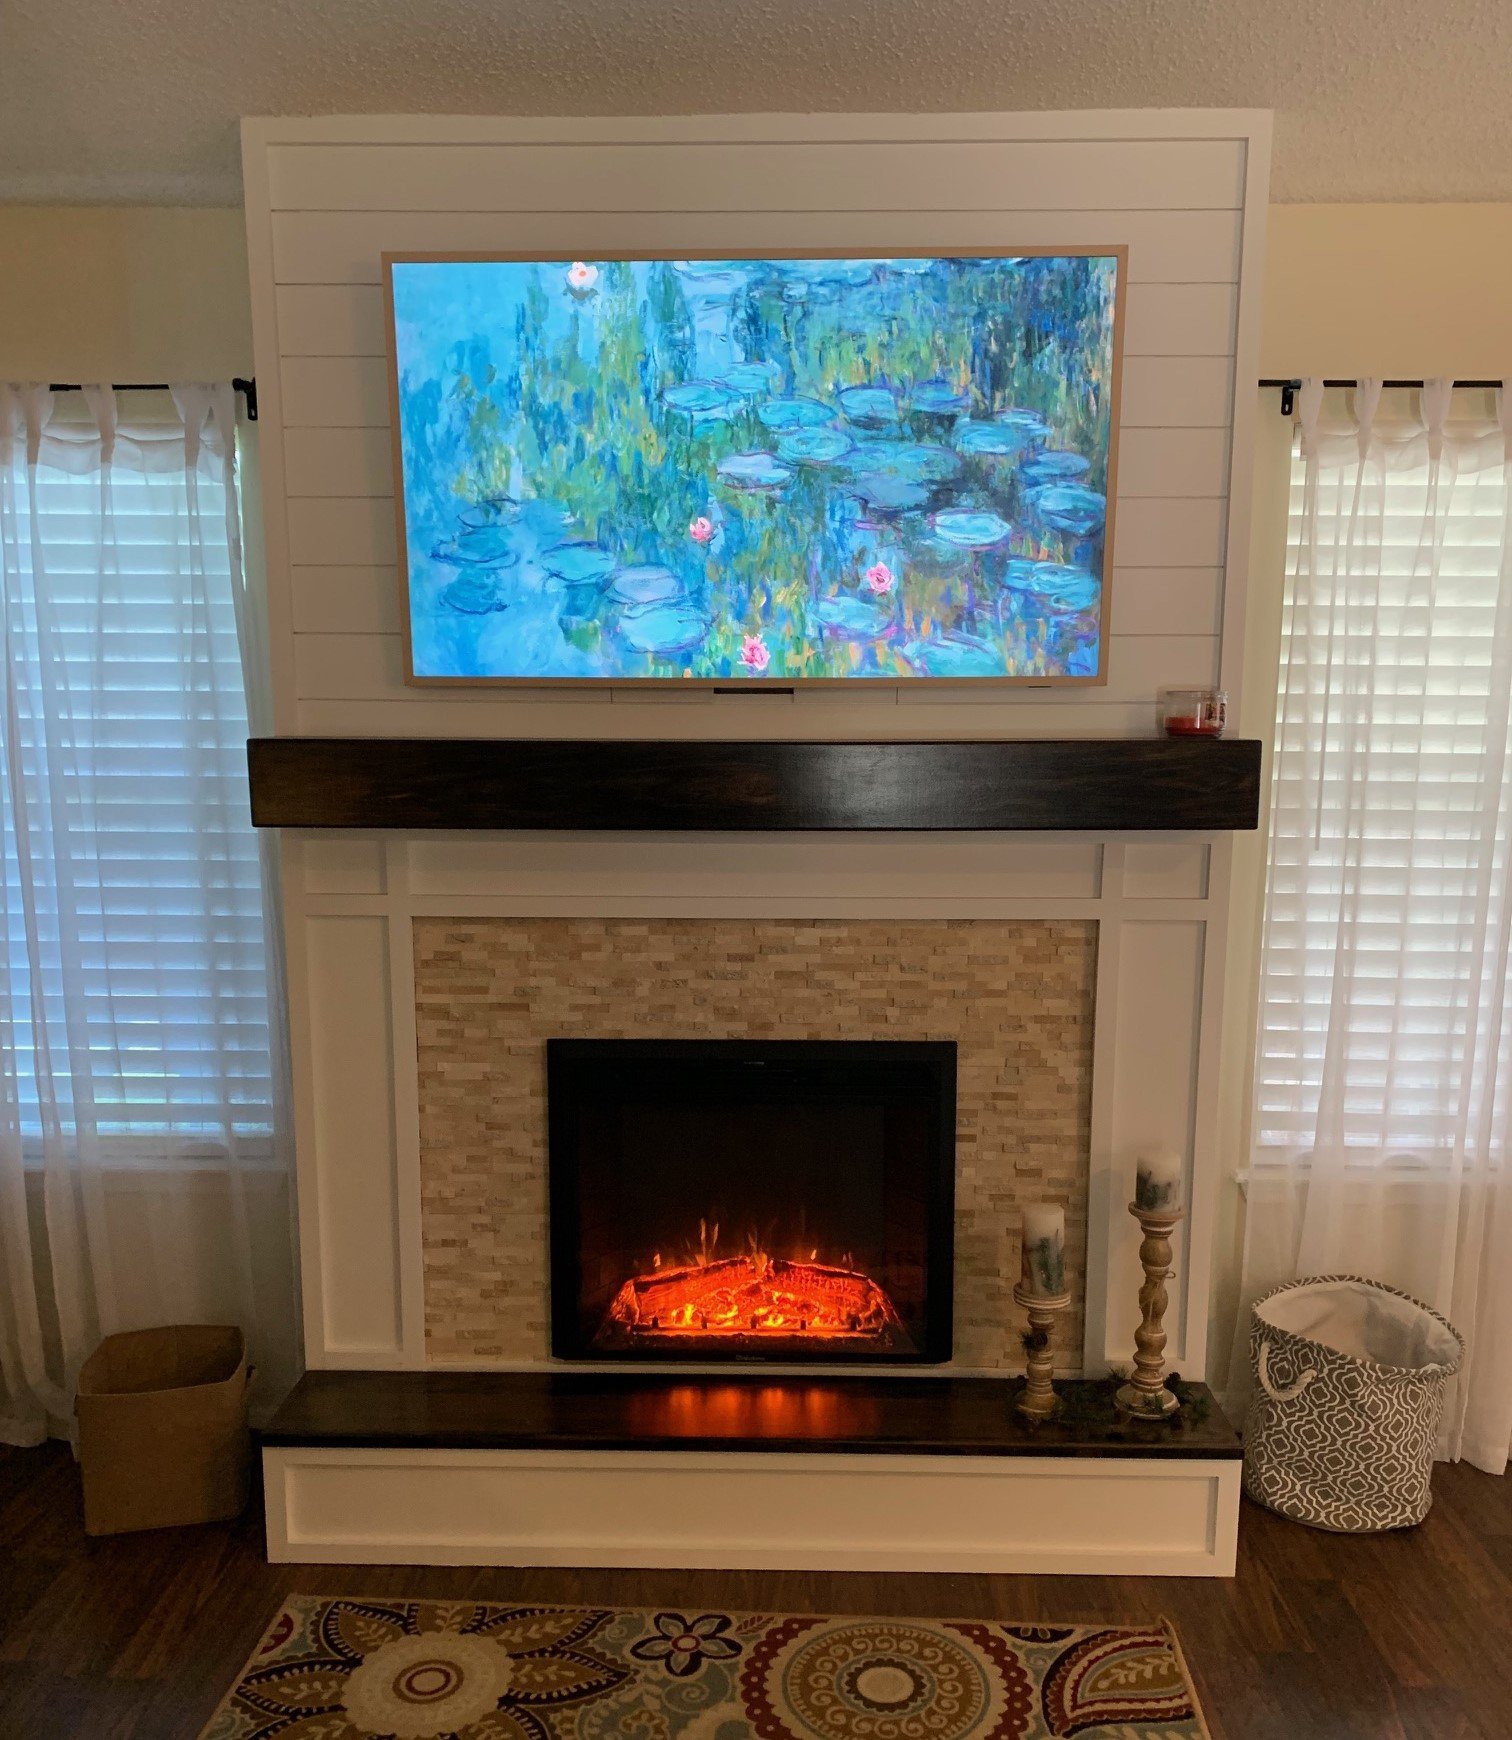
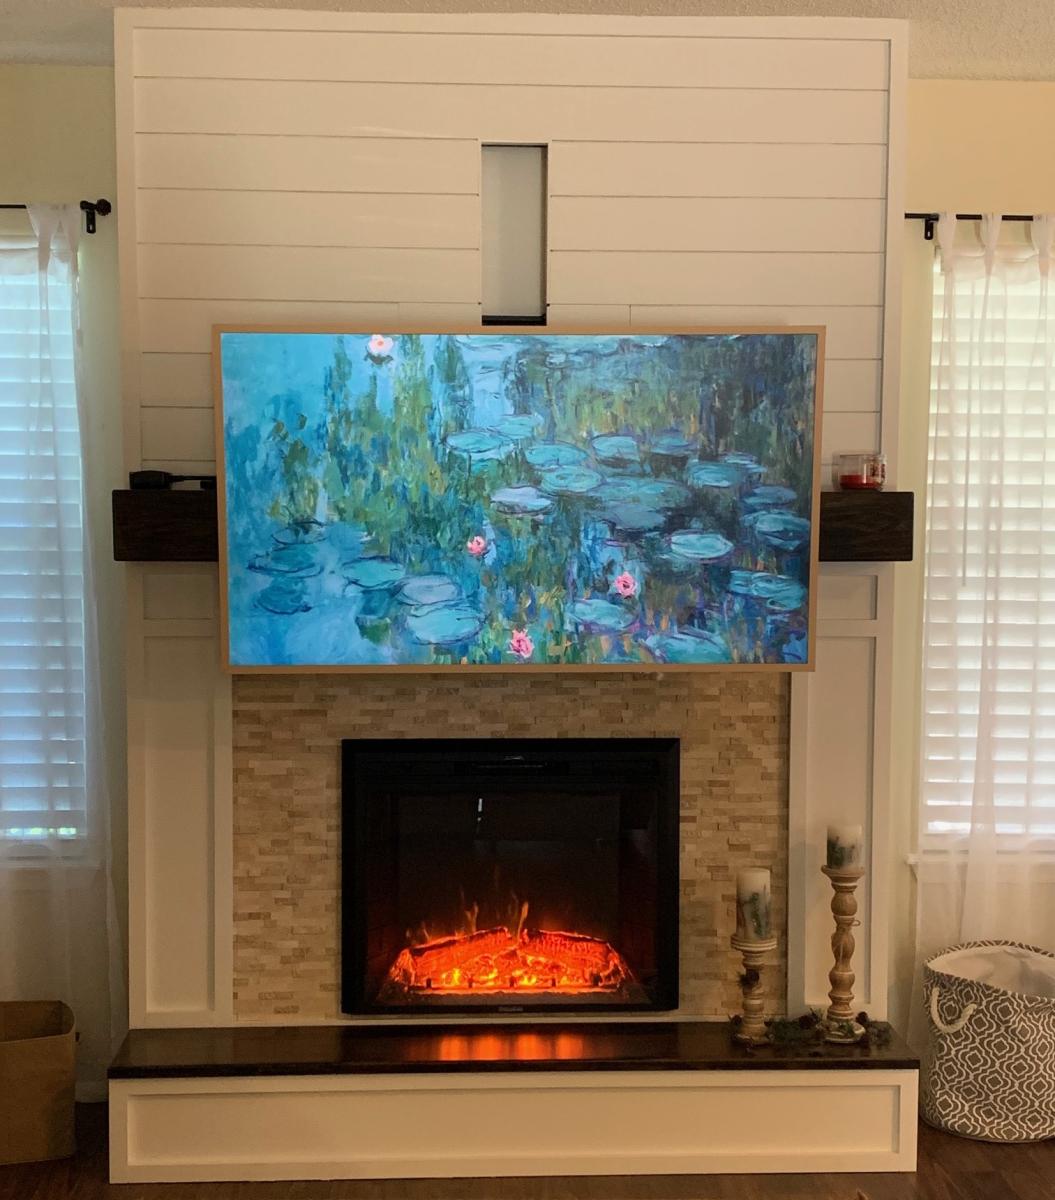
This is a very custom fireplace that I built for my wife as a 40th wedding anniversary gift. It is built around a Samsung 55” Frame TV and a Vivo motorized mount. The motorized mount allows the TV to be lowered to a better viewing height than the standard above mantle position which is usually too high for comfortable viewing.
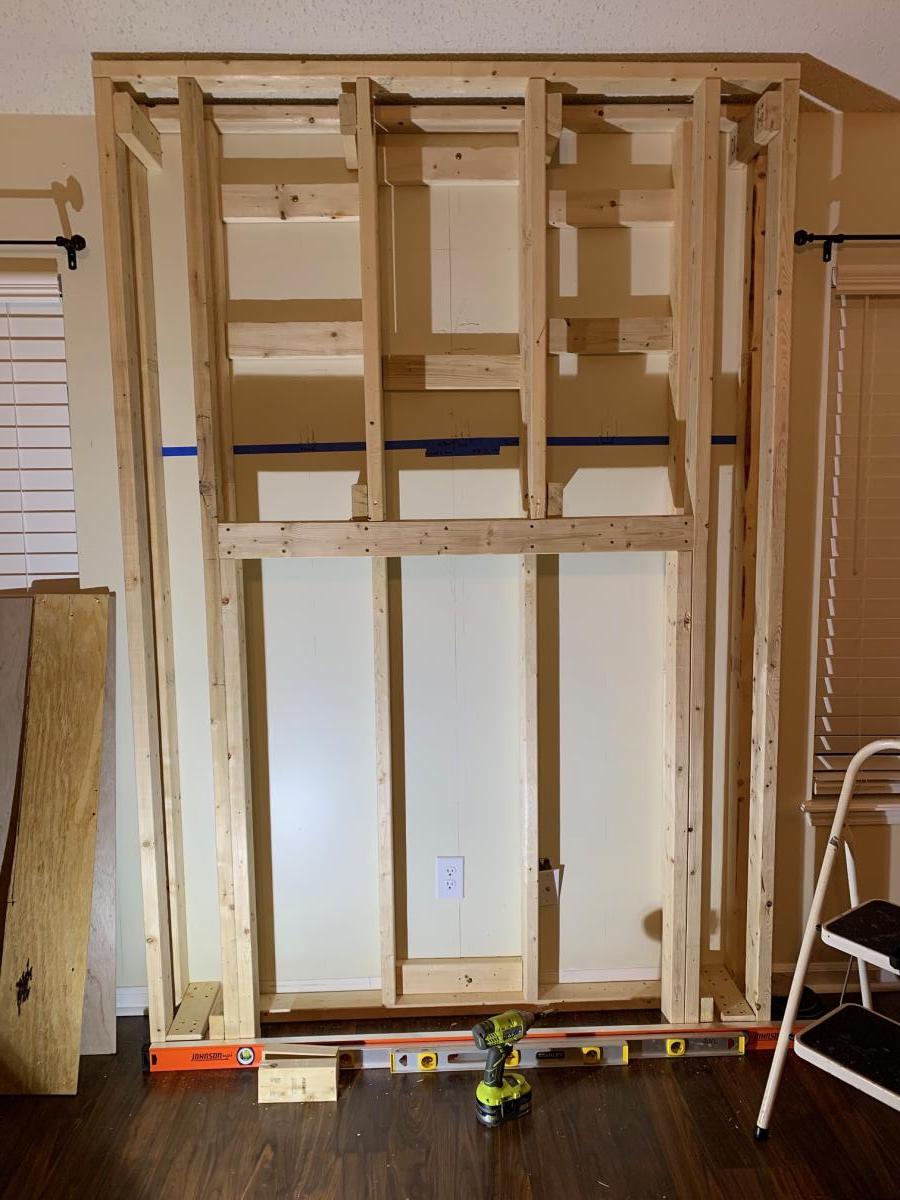
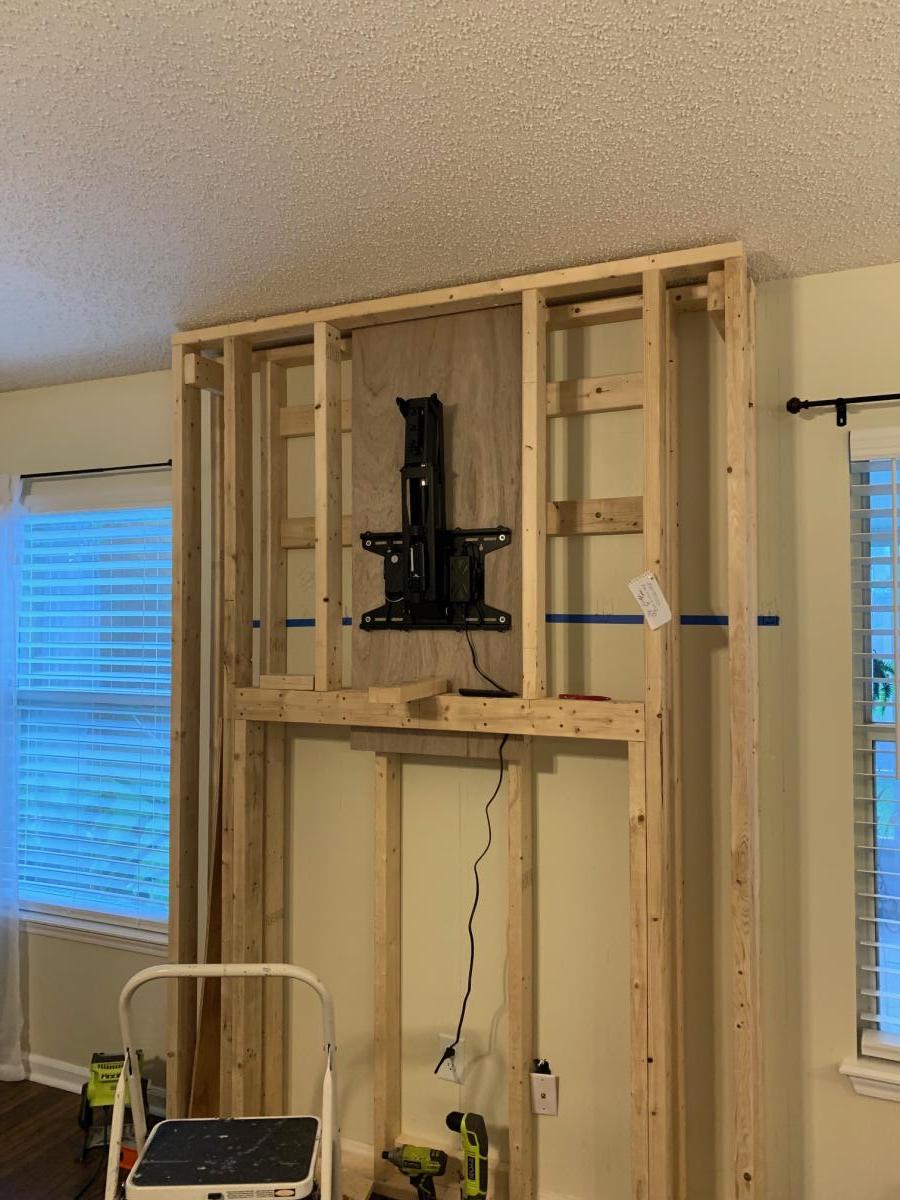
In order to maintain the flush mount effect with the TV in art mode, I recessed the mount into the fireplace. That required building a “back” frame for the TV mount then the outer frame for the surround. I covered the outer frame with ½” OSB then ship lap. The mantle and hearth is made from Poplar with walnut stain and Polyurethane satin top coat. The hearth opens for storage.
This was sourced from several different plan sets with a lot of customization and input from the Technical Support Staff at Vizo-US.
Thu, 02/16/2023 - 09:46
Happy Anniversary!
This is a beautiful, well thought out project.
I was hoping someone would do the recessed mount, and you nailed it! It's so much better with the tv flush like yours.
Also love the motorized mount.
Thank you very much for sharing photos.
Ana
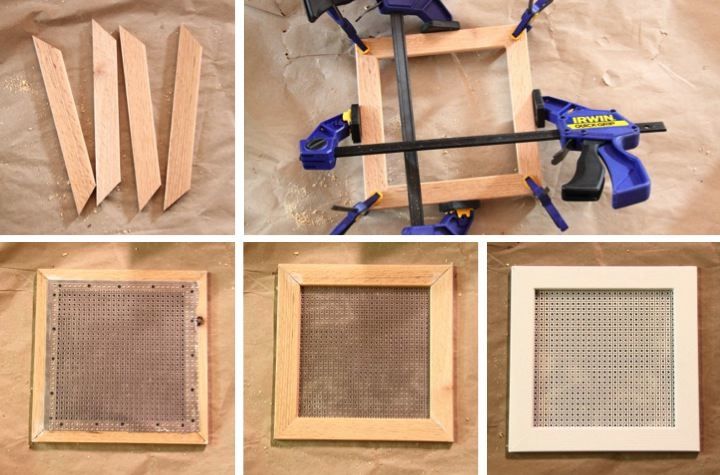
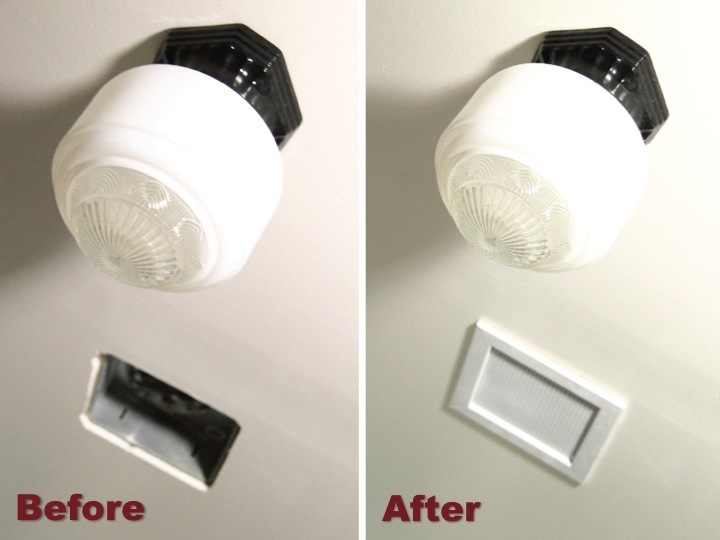
The plastic cover that came with the fan looked cheap and flimsy and really didn't fit in with the vintage style of my bathroom. I searched around to try and find something else that would work but was unsuccessful so I decided that I needed to make something myself.
For details on how to build it: http://www.homeandawaywithlisa.com/blog/2012/2/28/diy-bathroom-fan-vent…
Tue, 02/28/2012 - 06:38
Thanks lbrown, you just gave me an idea. We are painting our entire upstairs and hate those industrial looking air return vents. This would be a great replacement for them. Thanks for the inspiration.
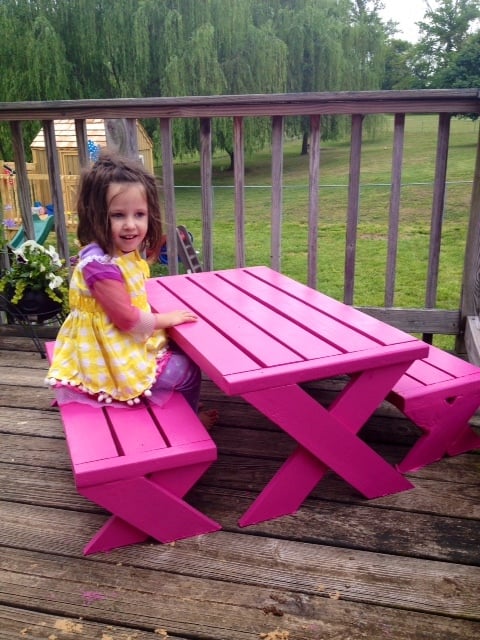
This is my very first wood working project! I know its not perfect and I learned from my mistakes. I found a miter saw at a garage sale and after three hours of plugging it in and unplugging it, I finally worked up the courage to make it make a noise! Then I eventually worked up the courage to cut wood lol! I'm pretty proud of myself for building something and I am going to continue practicing until I can make really cool stuff!
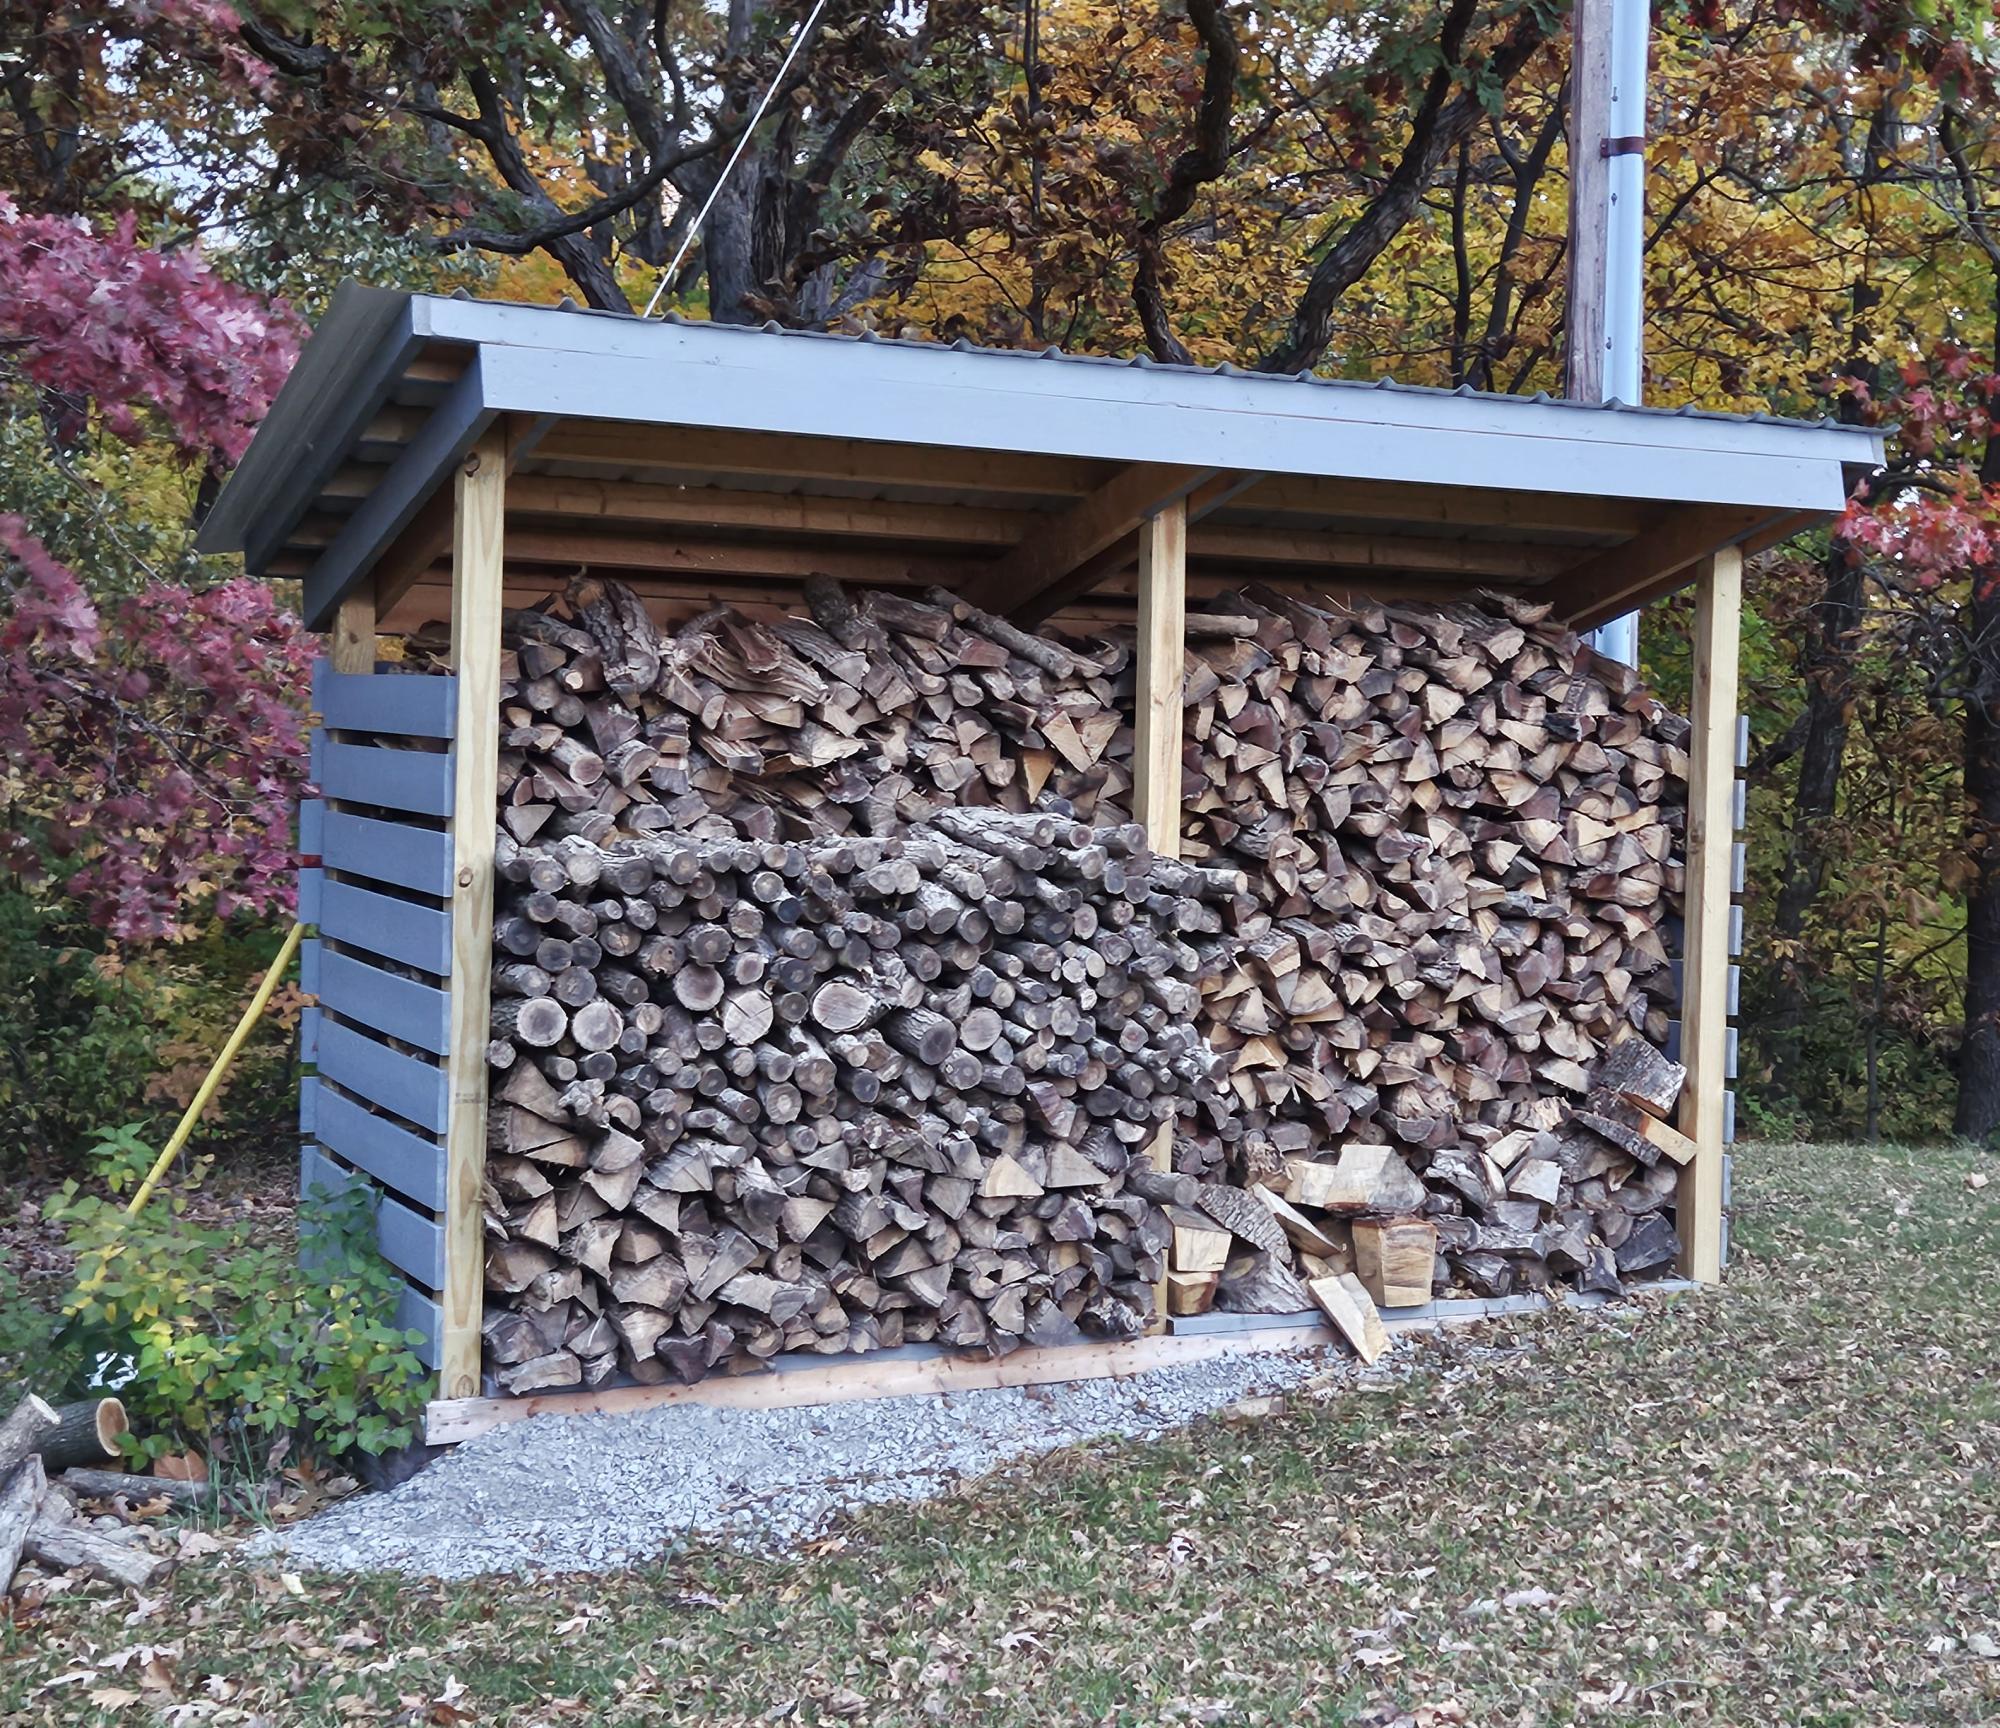
I am a mathematics teacher in Central IL. I teach a class called Geometry in Construction. I had my math students build this wood shed in pieces at the school, then I brought it home and put it together with a few of my son's friends. The students enjoy a math class that gets to go to the wood shop to apply their math skills to a wood working project. I am proud of my students hard work and dedication.
Shari Bruyn (I'm old, so I do not have Instagram or a blog page. lol)
We wanted a short bunk bed for our sons, age 4 and 1. Our 4-year-old insisted on a Thomas Train bed. We modified the fort bed plans slightly to add stronger barriers on the top bunk and add a barrier on the bottom for the little guy. We also used solid plywood rather than MDF. We used 2x4's and steel angle to hold up the top bunk. It should be sturdy enough for them to use into teenage years. Because we beefed up the strength, the cost increased as well.
We tried staining it and it didn't come out as nicely as we had hoped, but the boys added their own stickers to it and now they have a Thomas bed that they love. When the 1-year-old gets older, we will probably remove the barrier on the bottom bunk to make getting in and out easier.
Luv your site. Took your bench swing plan and modified it a bit (shortened depth) and then created a small pergola to hang it from. Just need to stain/poly to finish it off. Thanks for your plan and website it is very inspiring.
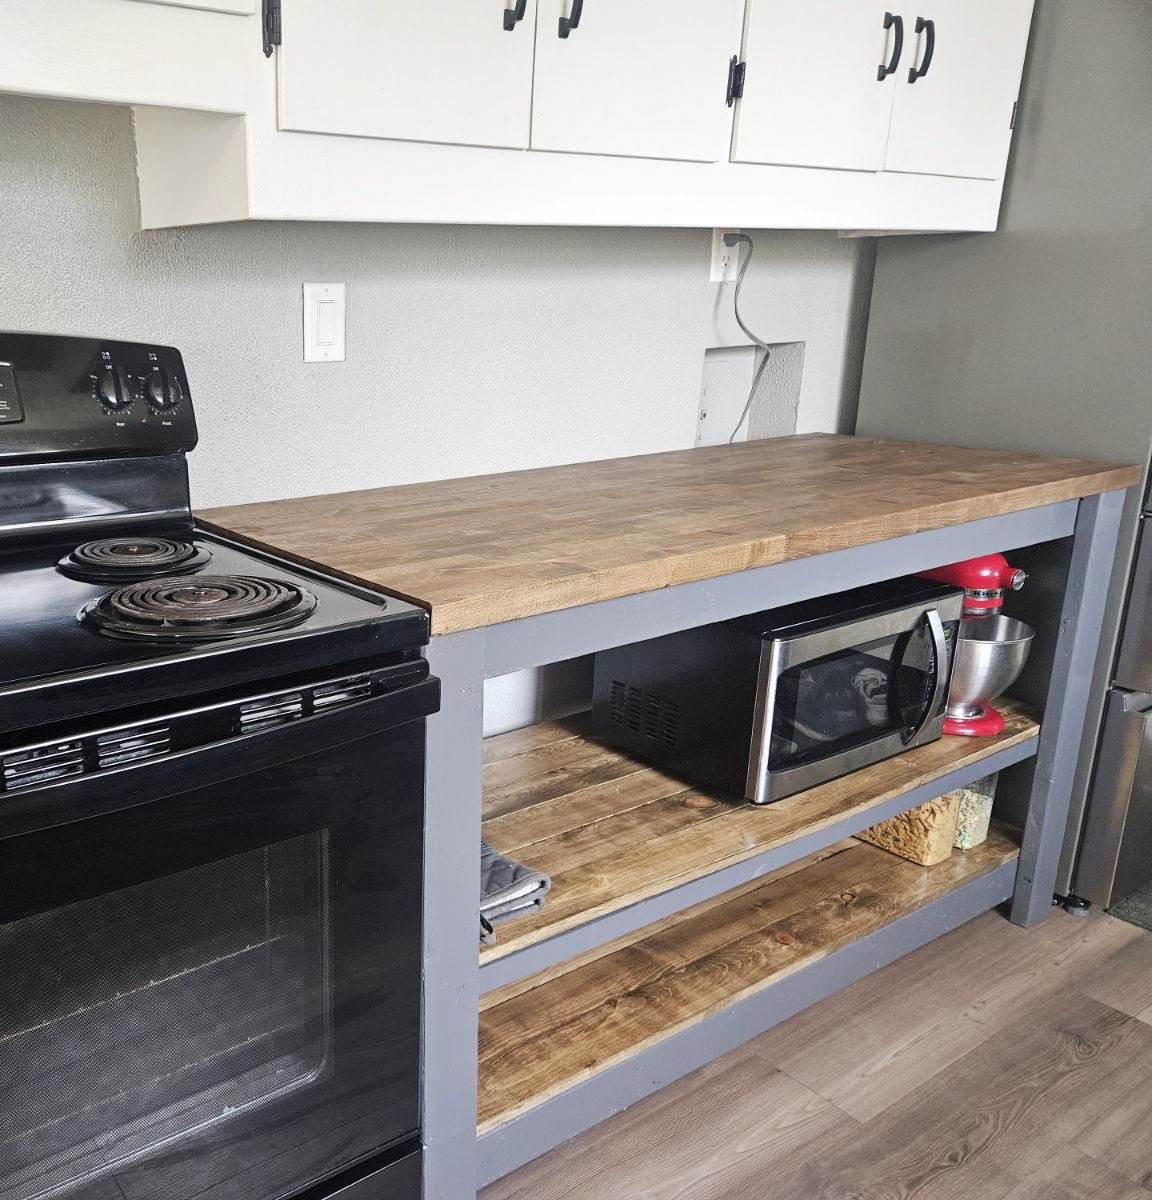
Built-in Kitchen Island by Nick Wiedenfeld
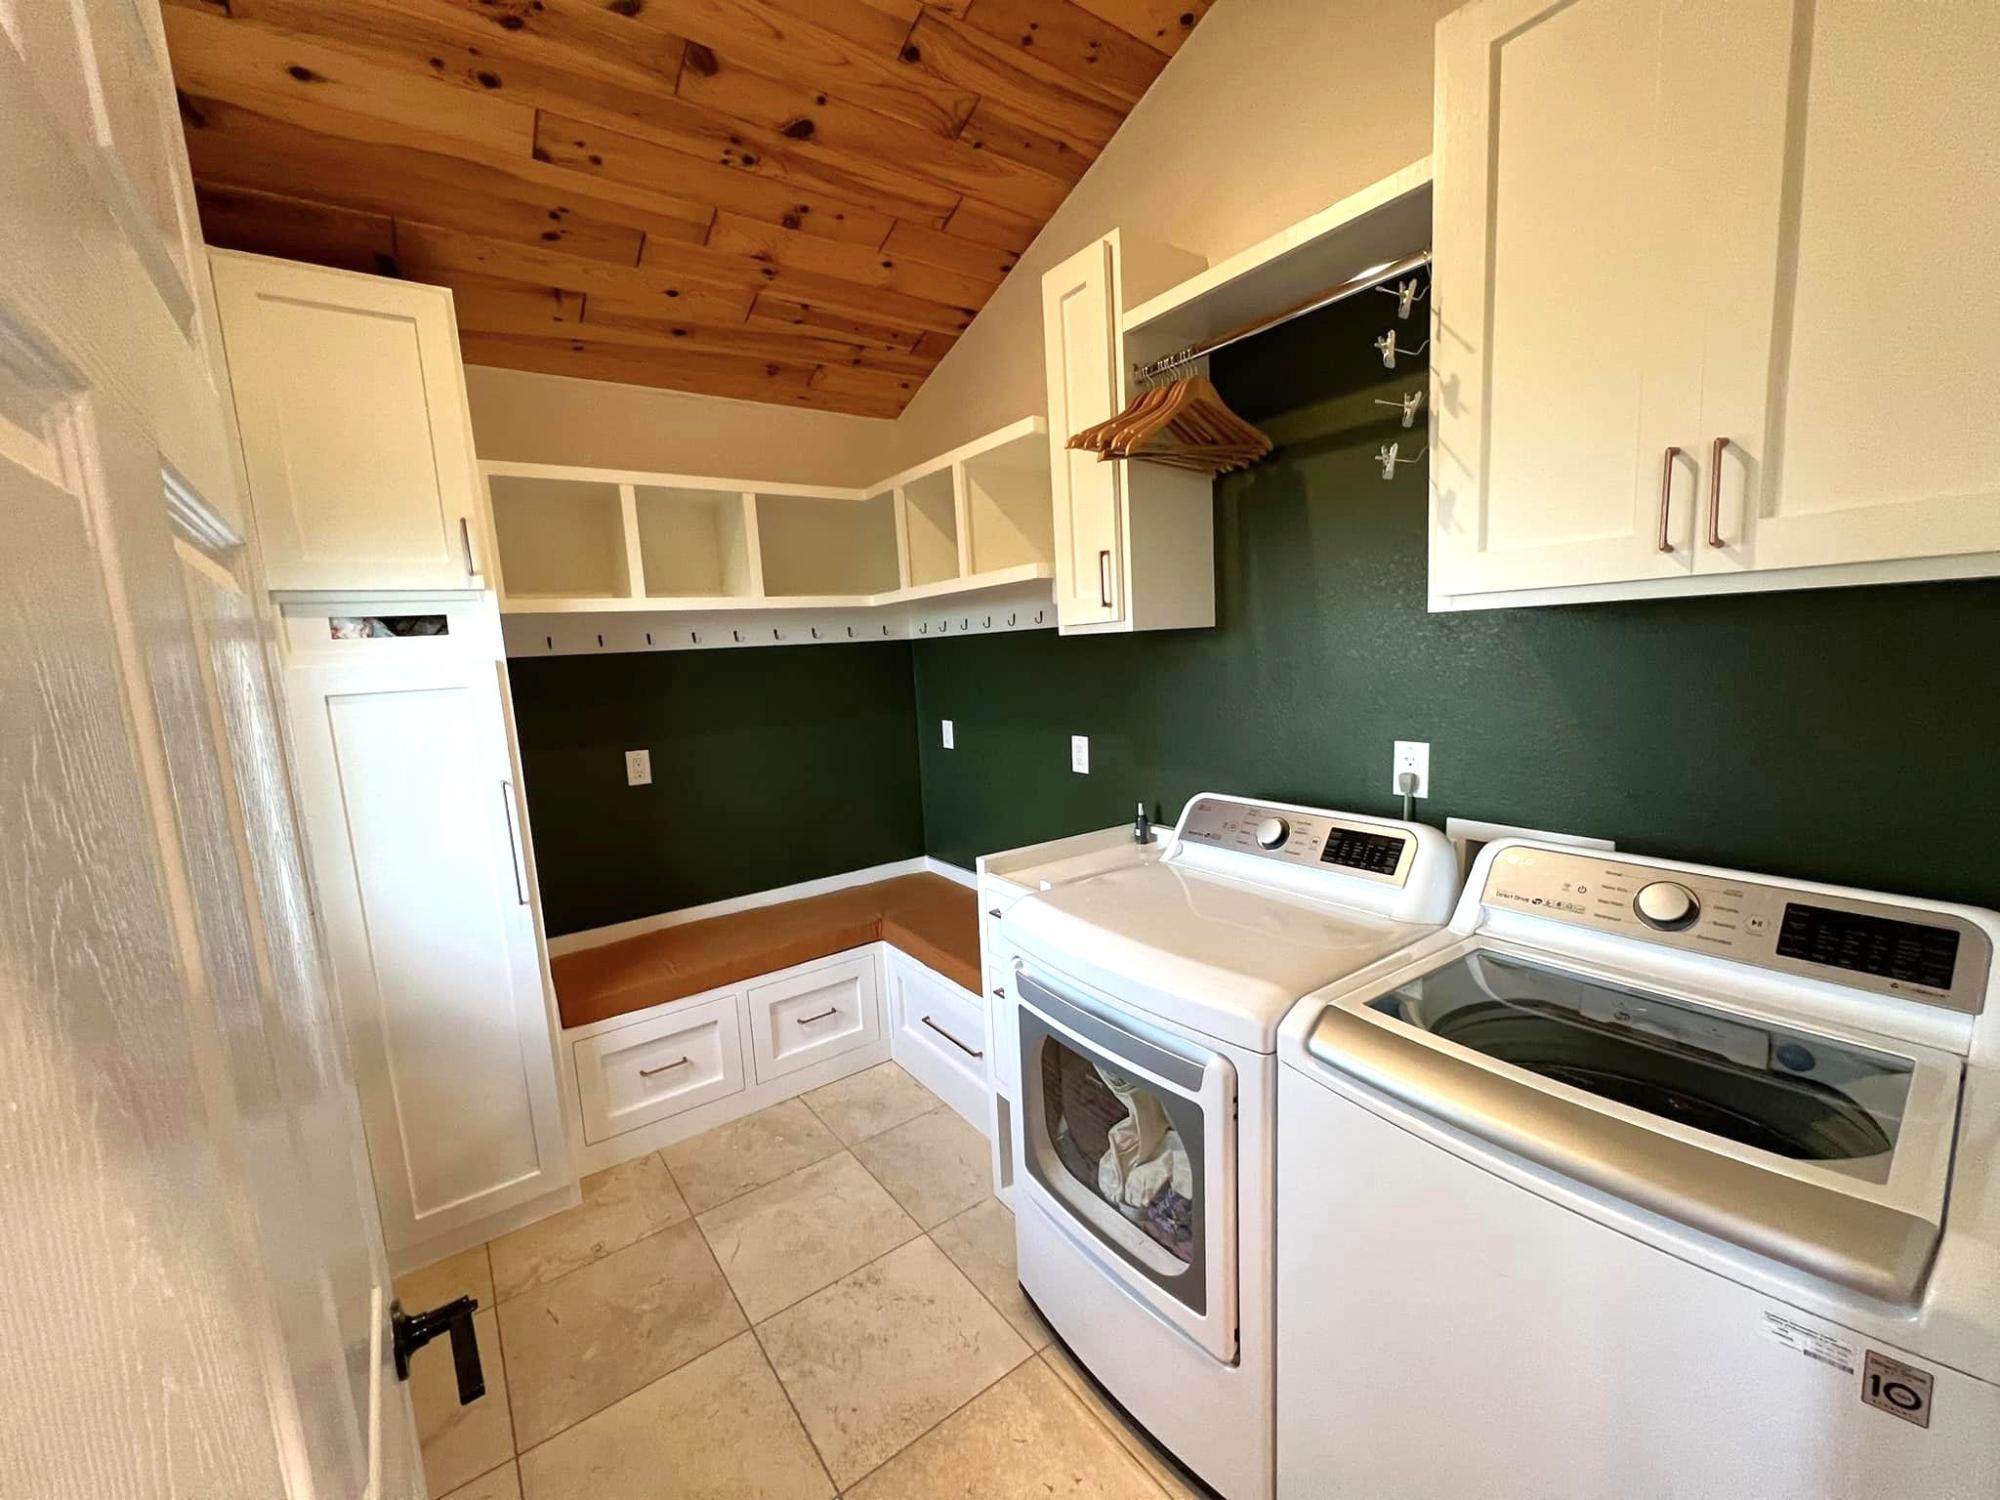
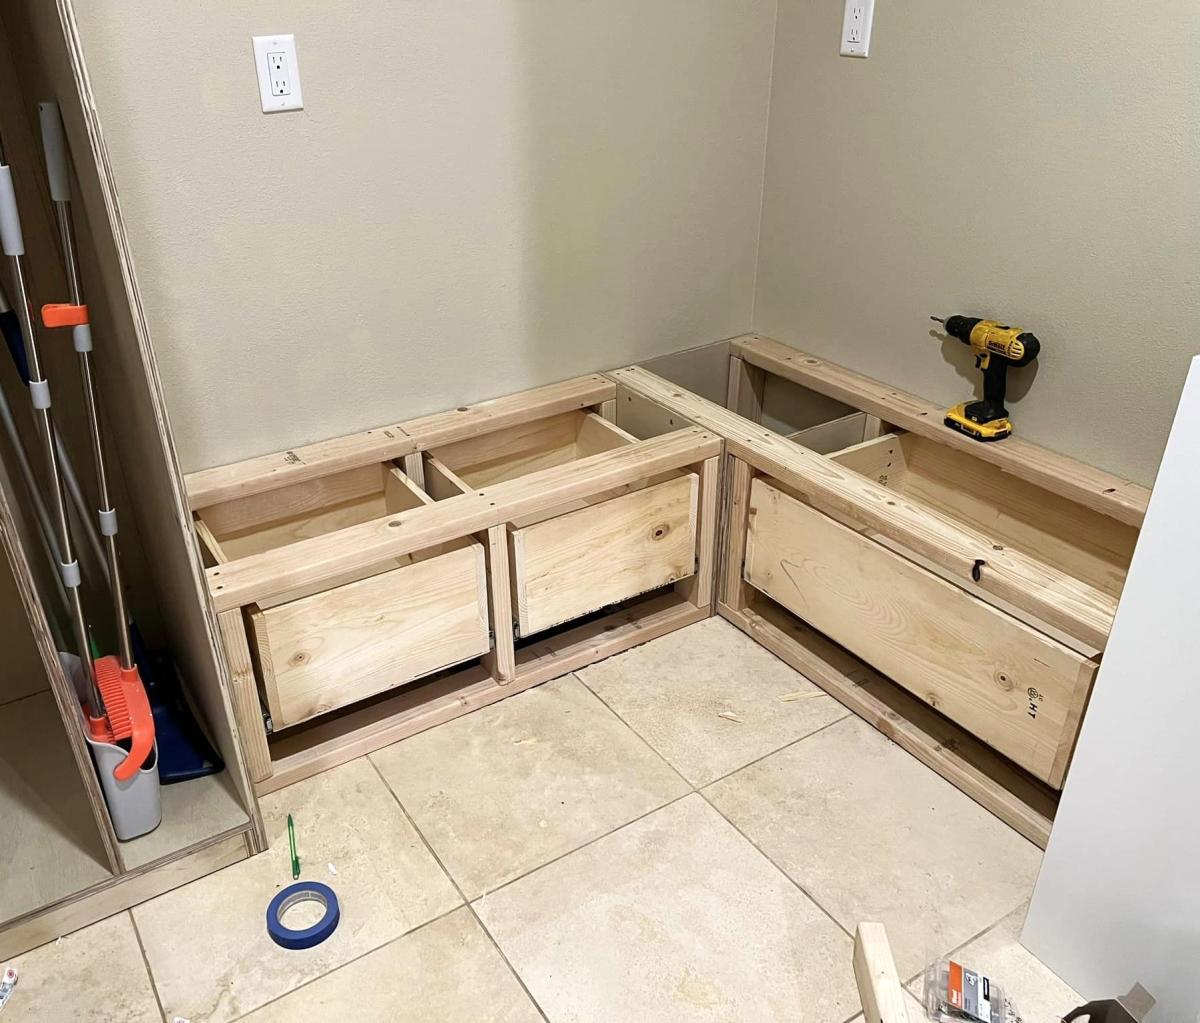
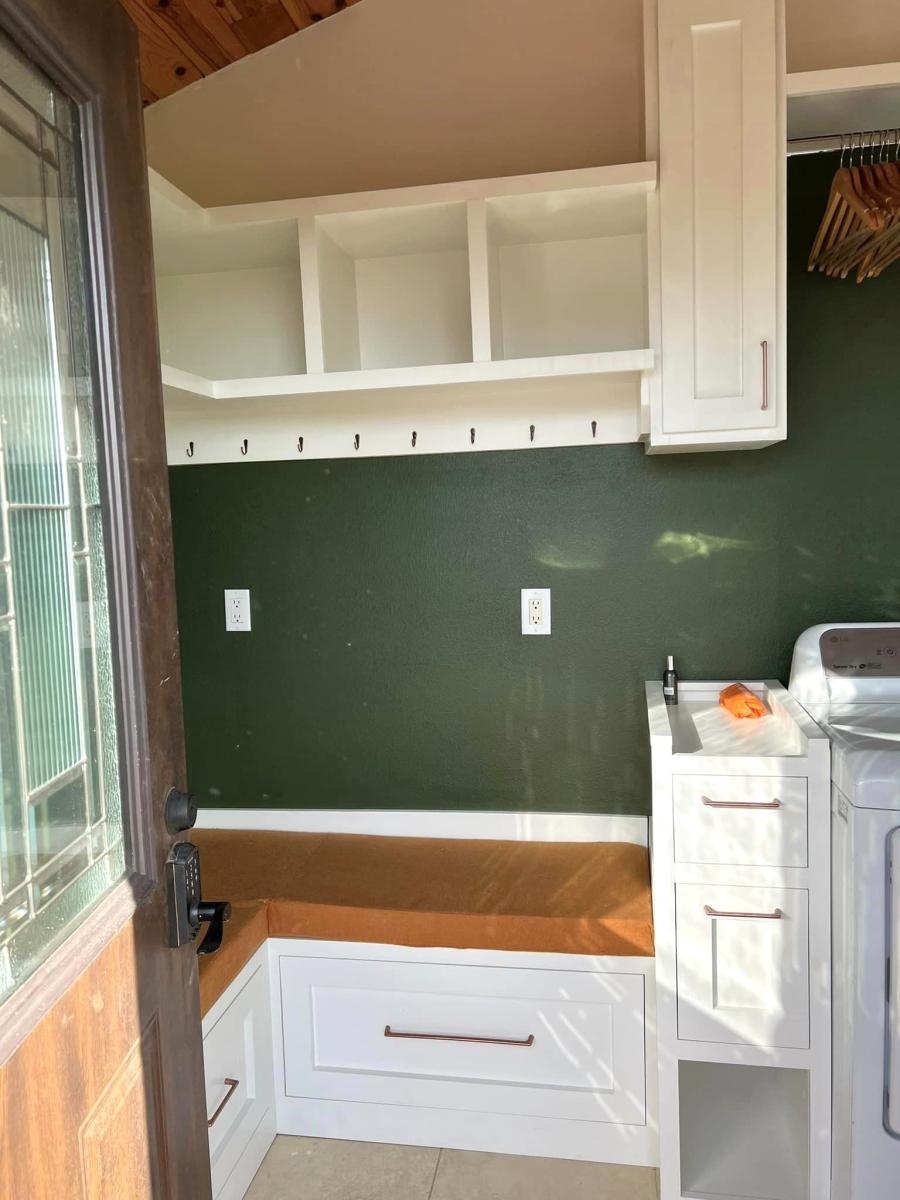
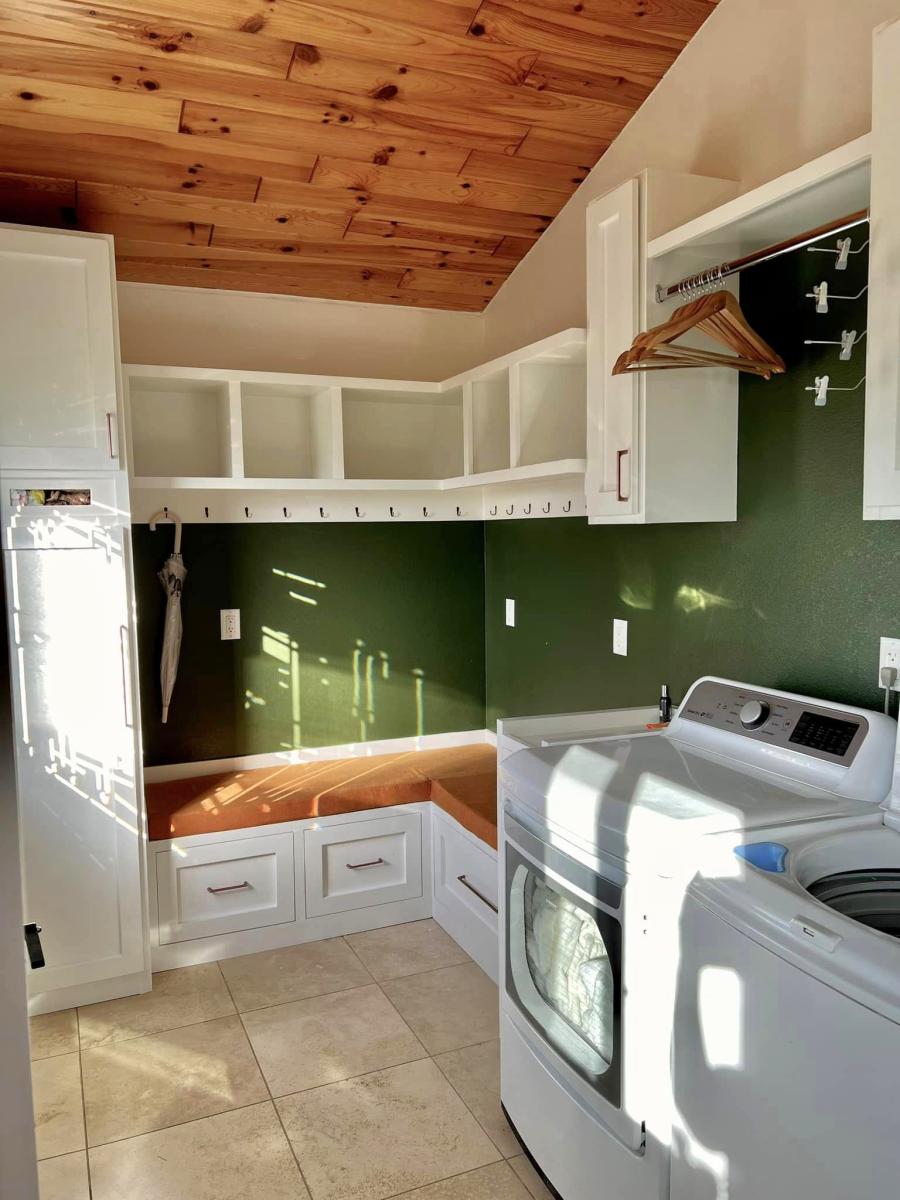
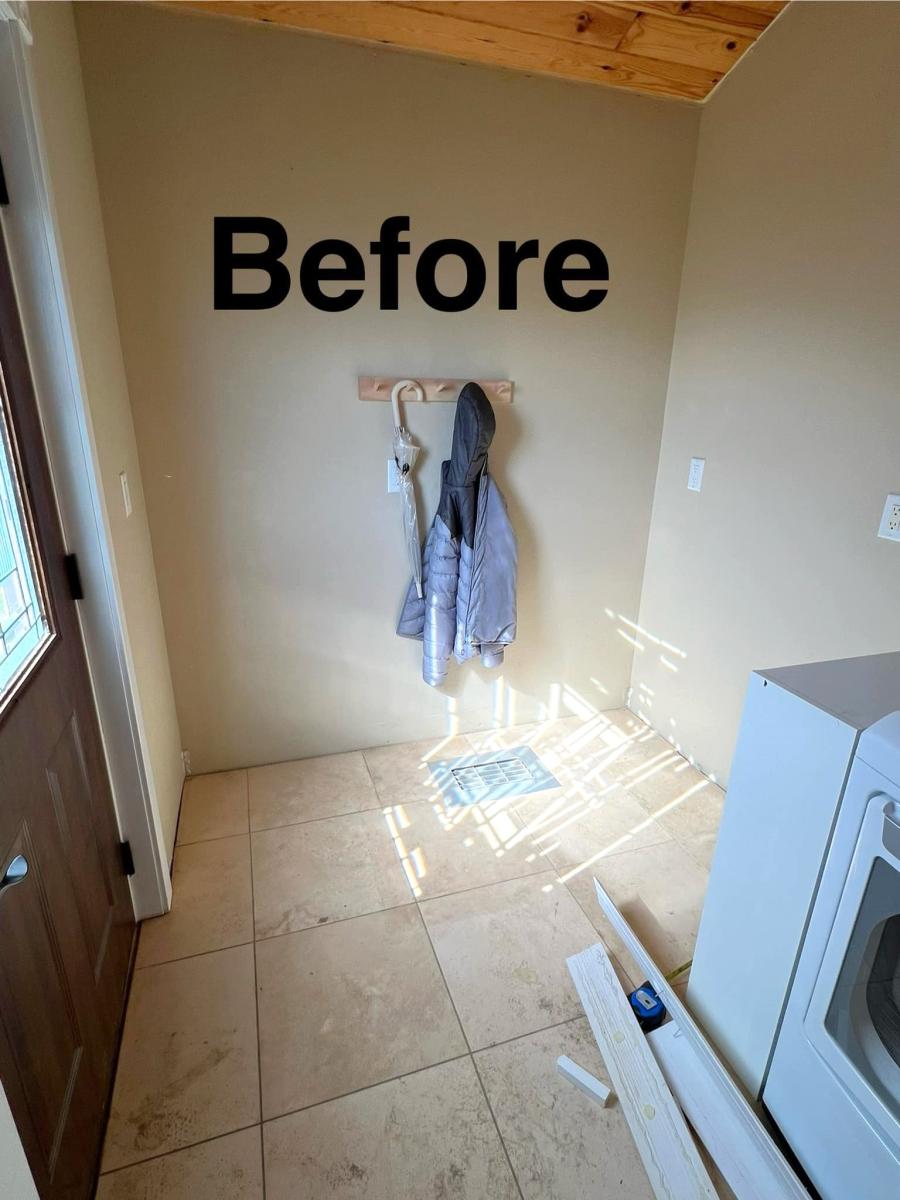
When looking for ideas/plans for designing my mudroom I came across Ana’s plans for the bench with drawers. I’ve NEVER built anything like it, or cabinetry, or anything like that type of stuff, but with her videos and plans I was able to design my own layout and make it all completely by hand and by myself. I’m in love with how it turned out!! Her designs/plans are so easy to follow and customize!! I can’t wait to do more in my house.
Mikishea Mauss on Facebook
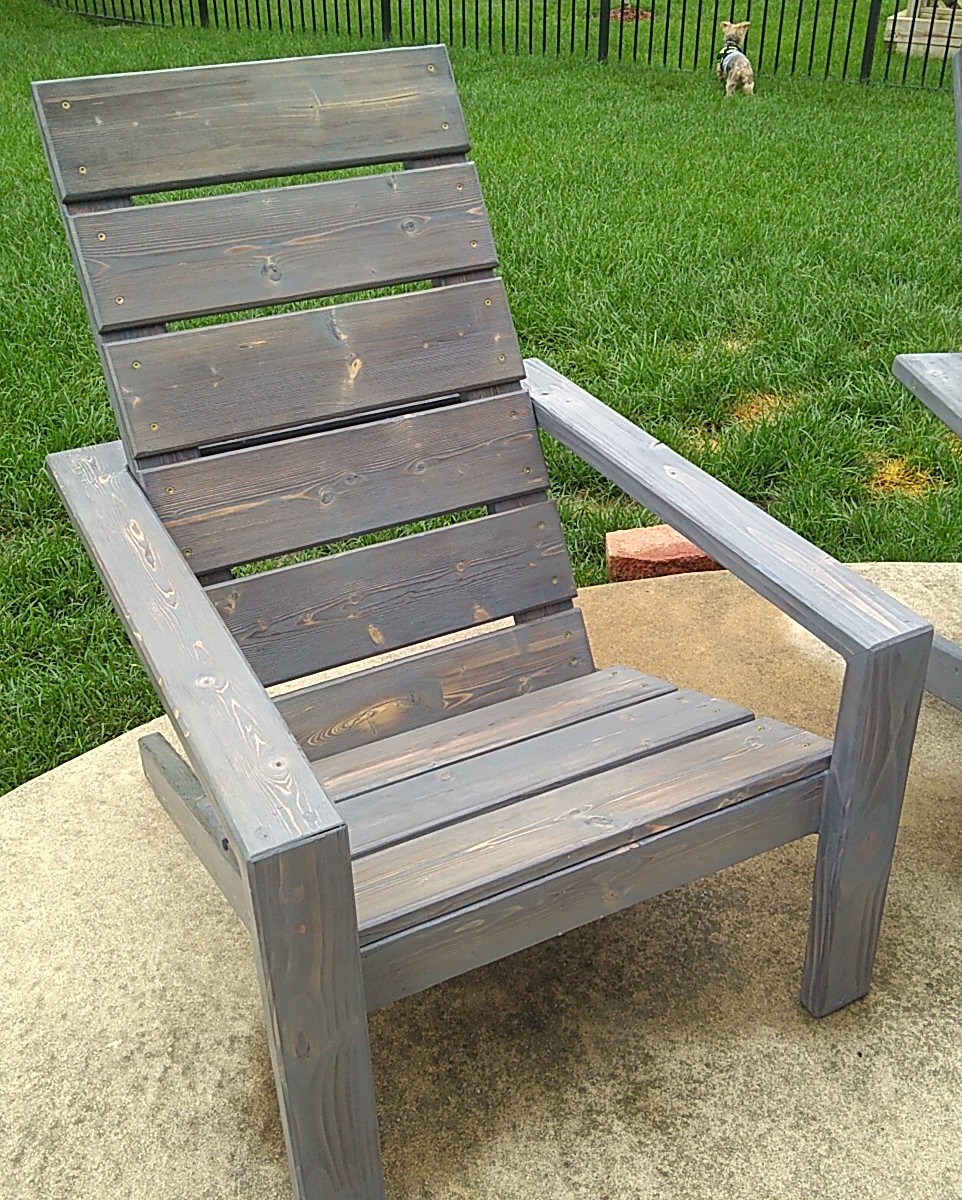
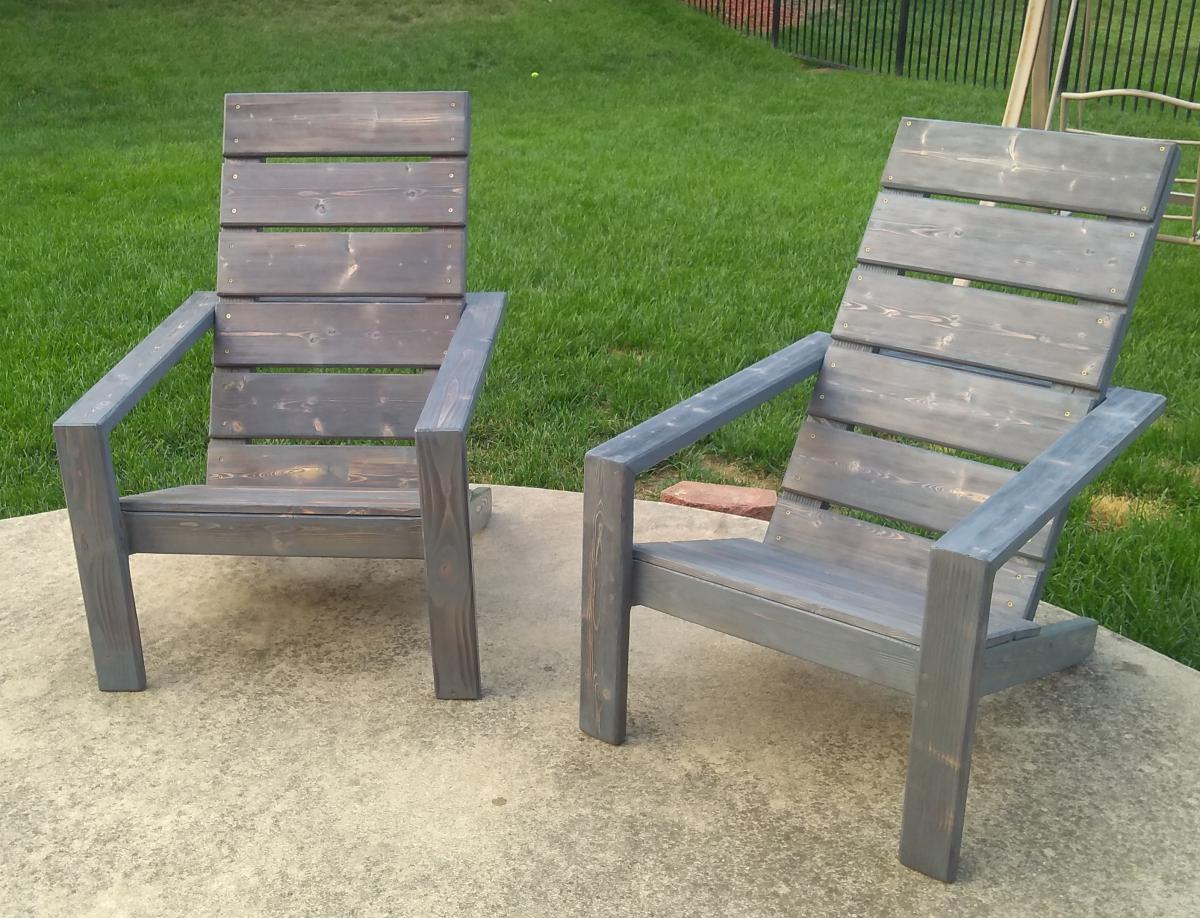
Chose 1x6 instead of the 1x10s in the plan and made the back supports a few inches taller to support my head laying back. 1st chair came out great however the second chair I made the seat wider just under 24in wide (had all the 1x10s precut to 24in at home Depot to easily transport them home.) My knees feel less cramped when sitting down in the wider chair.
Since I used warped scrap wood I had laying around I milled the 2x4s with jointer and planer. Way too much work honestly.
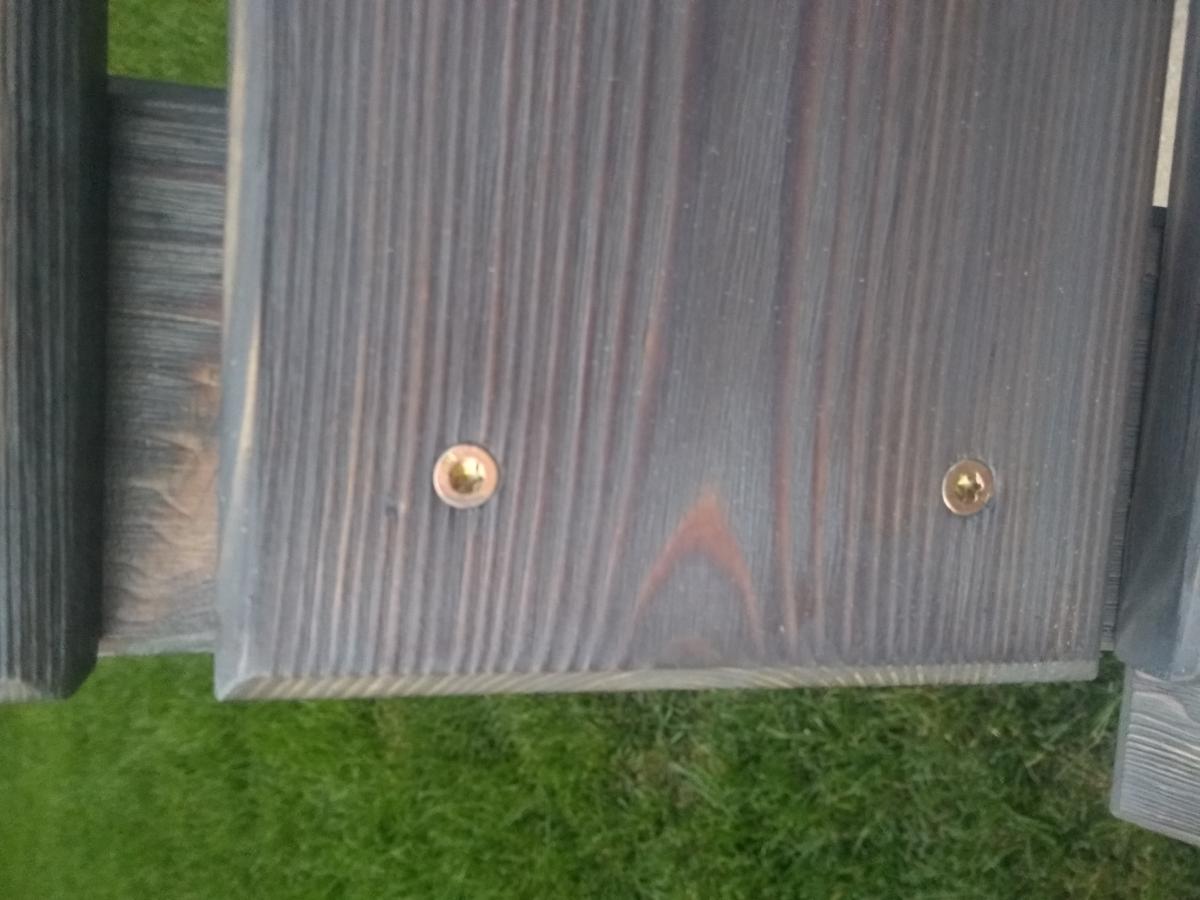
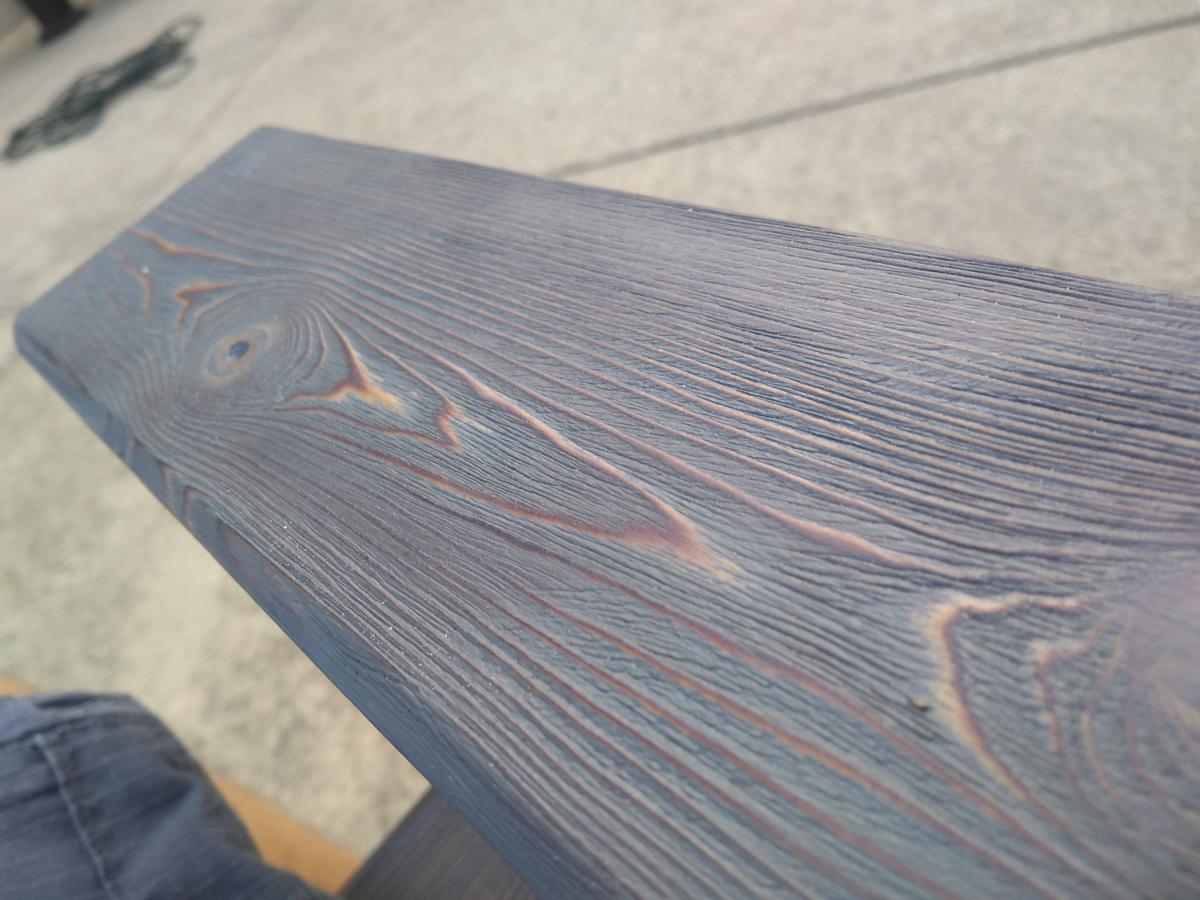
Glued and assembled the frame with dowels, Routed a 45° bevel on all edges then finished and sealed all faces before assembly. I used untreated lumber so I sealed all faces before assembling to give it a better chance of surviving on my uncovered patio. I also used a thick epoxy on the feet base that touch the ground to prevent rot.
Large cube shelf made to fit 13" cubes or milk crates, for my two and a half year old son. For the larger cubes, I added 2" to the measurements for each cube, so 6" to the horizontal and 4" to the vertical measurements. Total shelf measures 46.5" wide by 35" high by 13.5" deep.
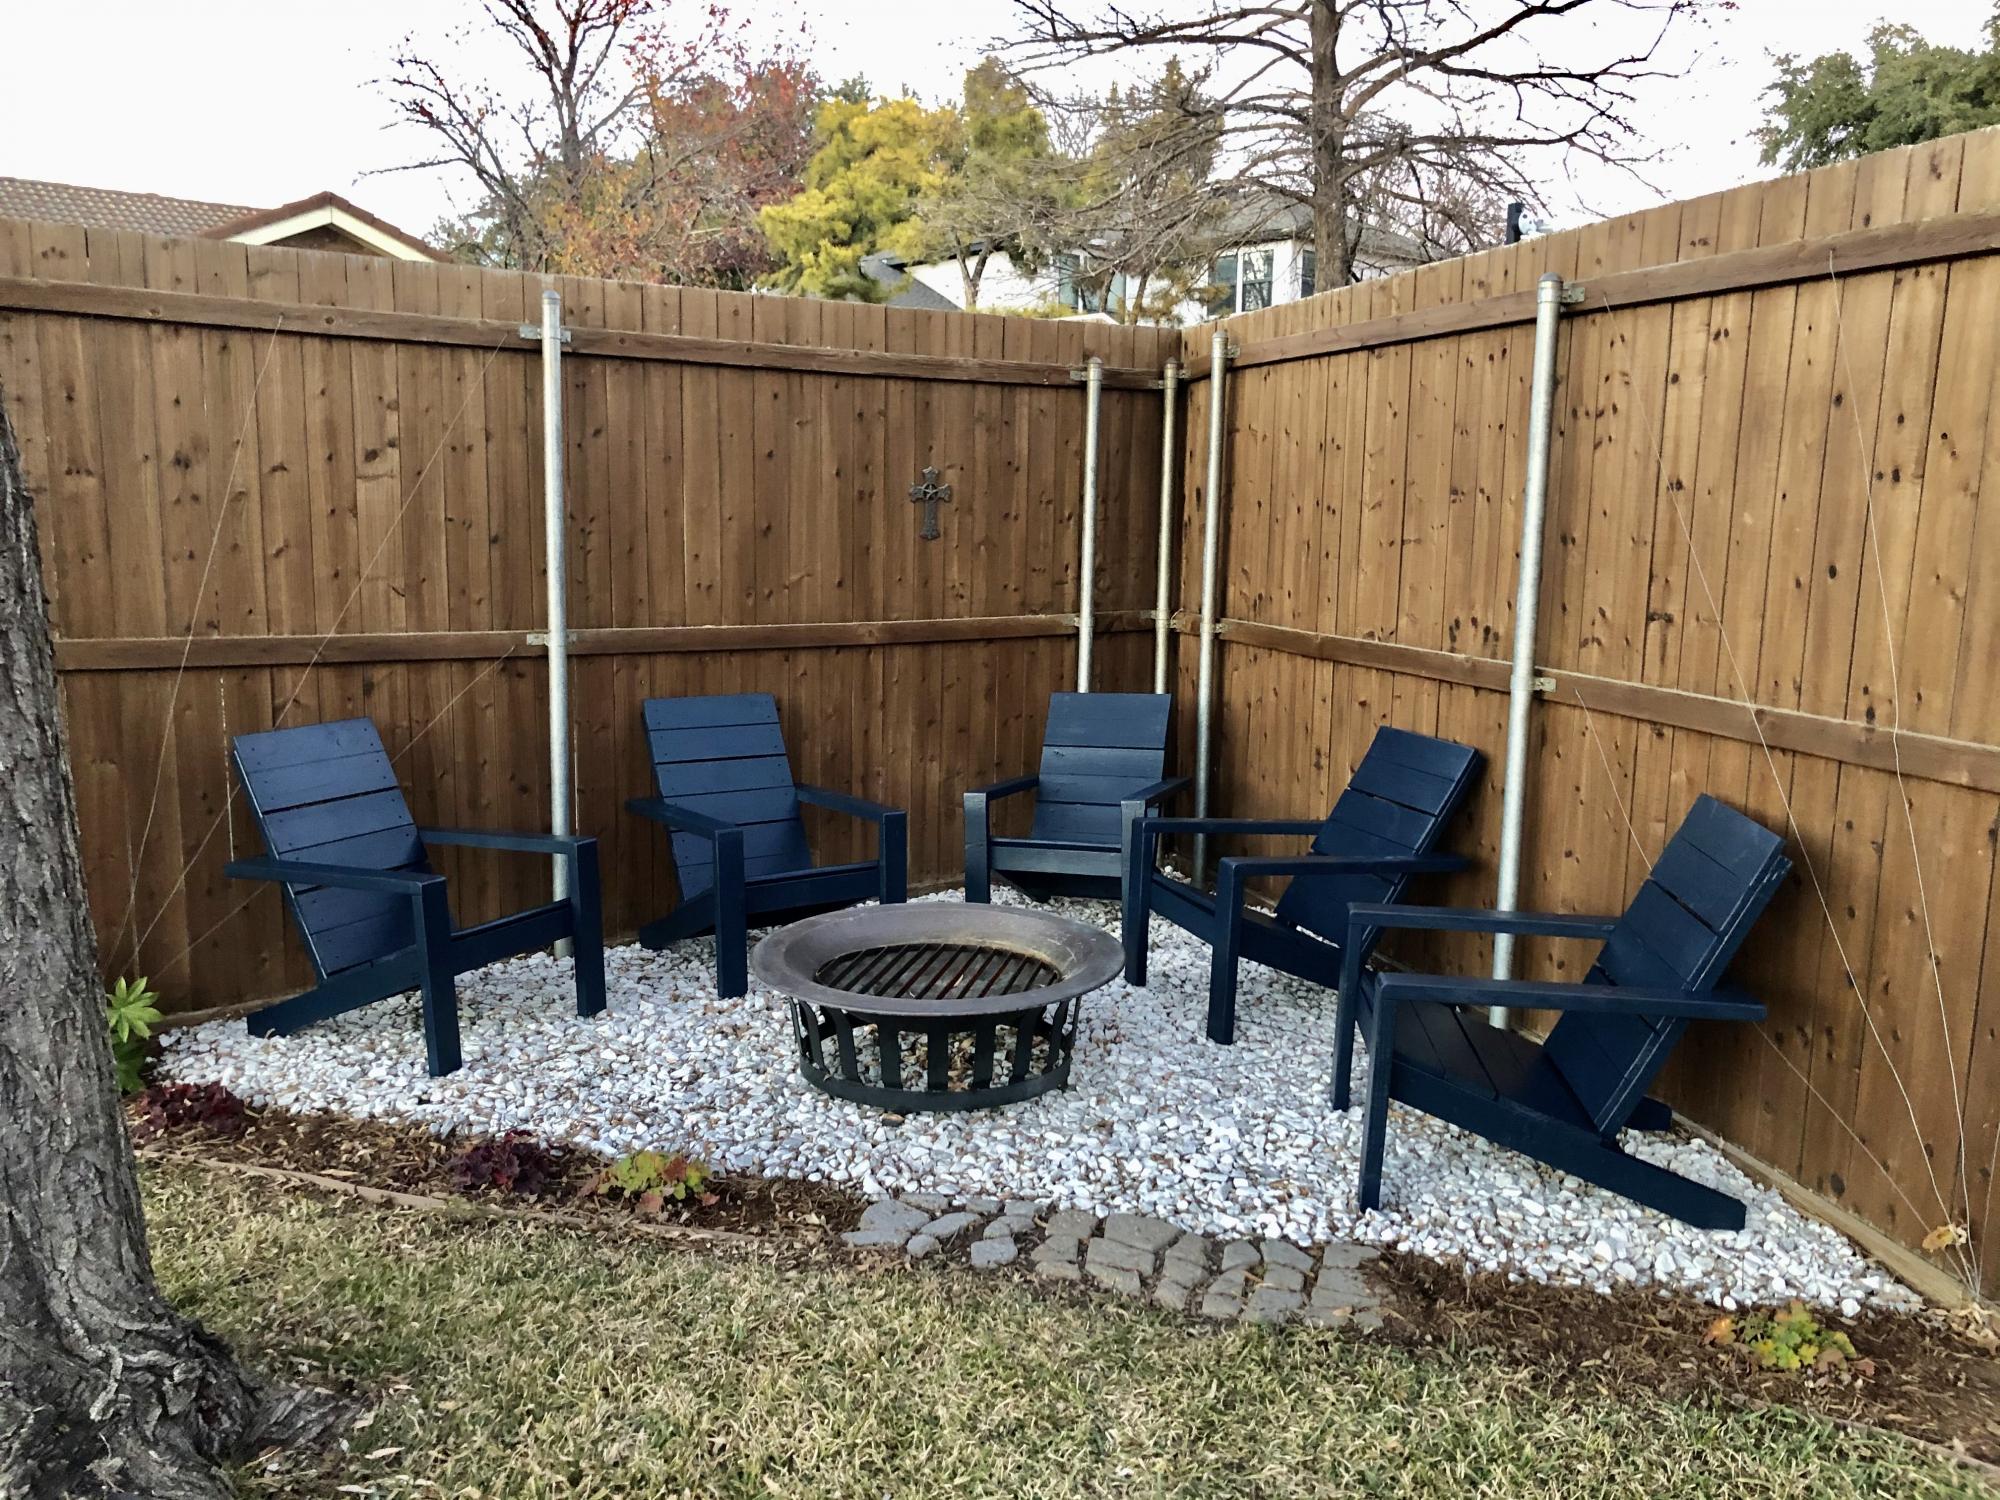
Thanks for the awesome plans Anna! God bless.
Eddie Jimenez
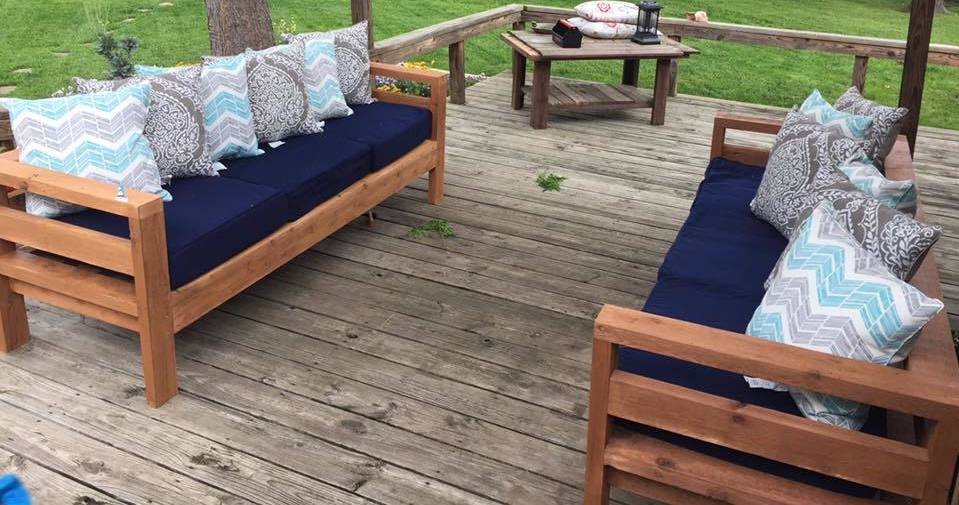
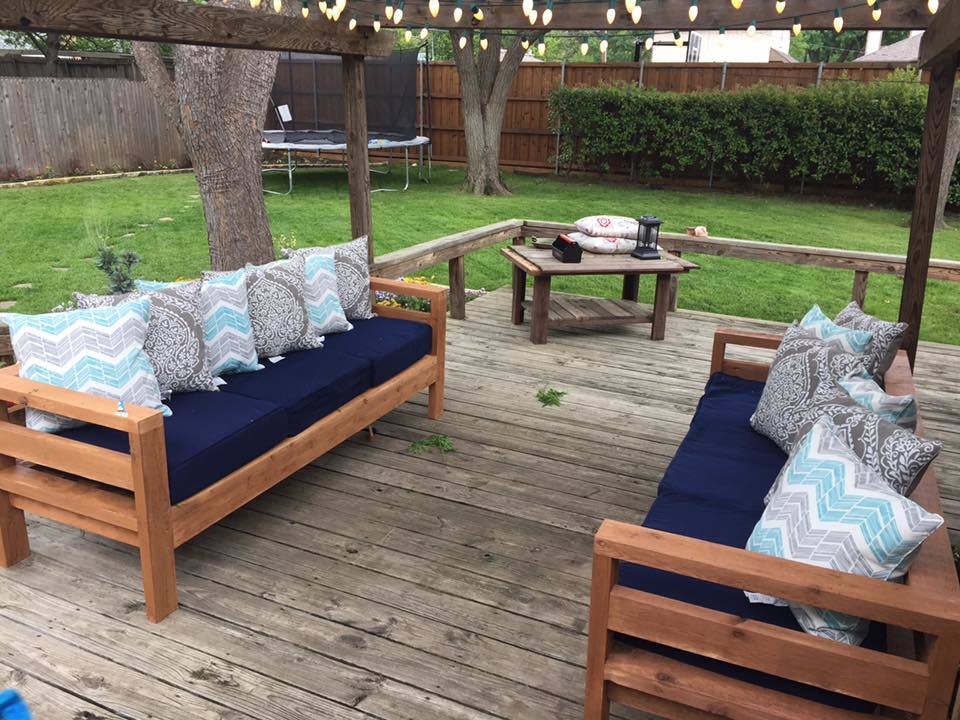
Super simple build! Thanks for the plans!
Wed, 06/05/2019 - 08:39
Hi this looks beautiful! I was wondering where you bought your cushions?
Comments
Ana White Admin
Mon, 05/04/2015 - 10:59
Awesome First Project!
You did great! Thanks for sharing, now fill those things up:)
kcasabella
Sat, 04/09/2016 - 21:03
Bulk bin
They turned out beautiful! What type of wood did you use, if you remember, and did you paint before assembling?
parwald
Sun, 11/20/2016 - 10:39
type of wood
It was just standard pine. We painted afterwards with grey paint leftover from a kitchen project.