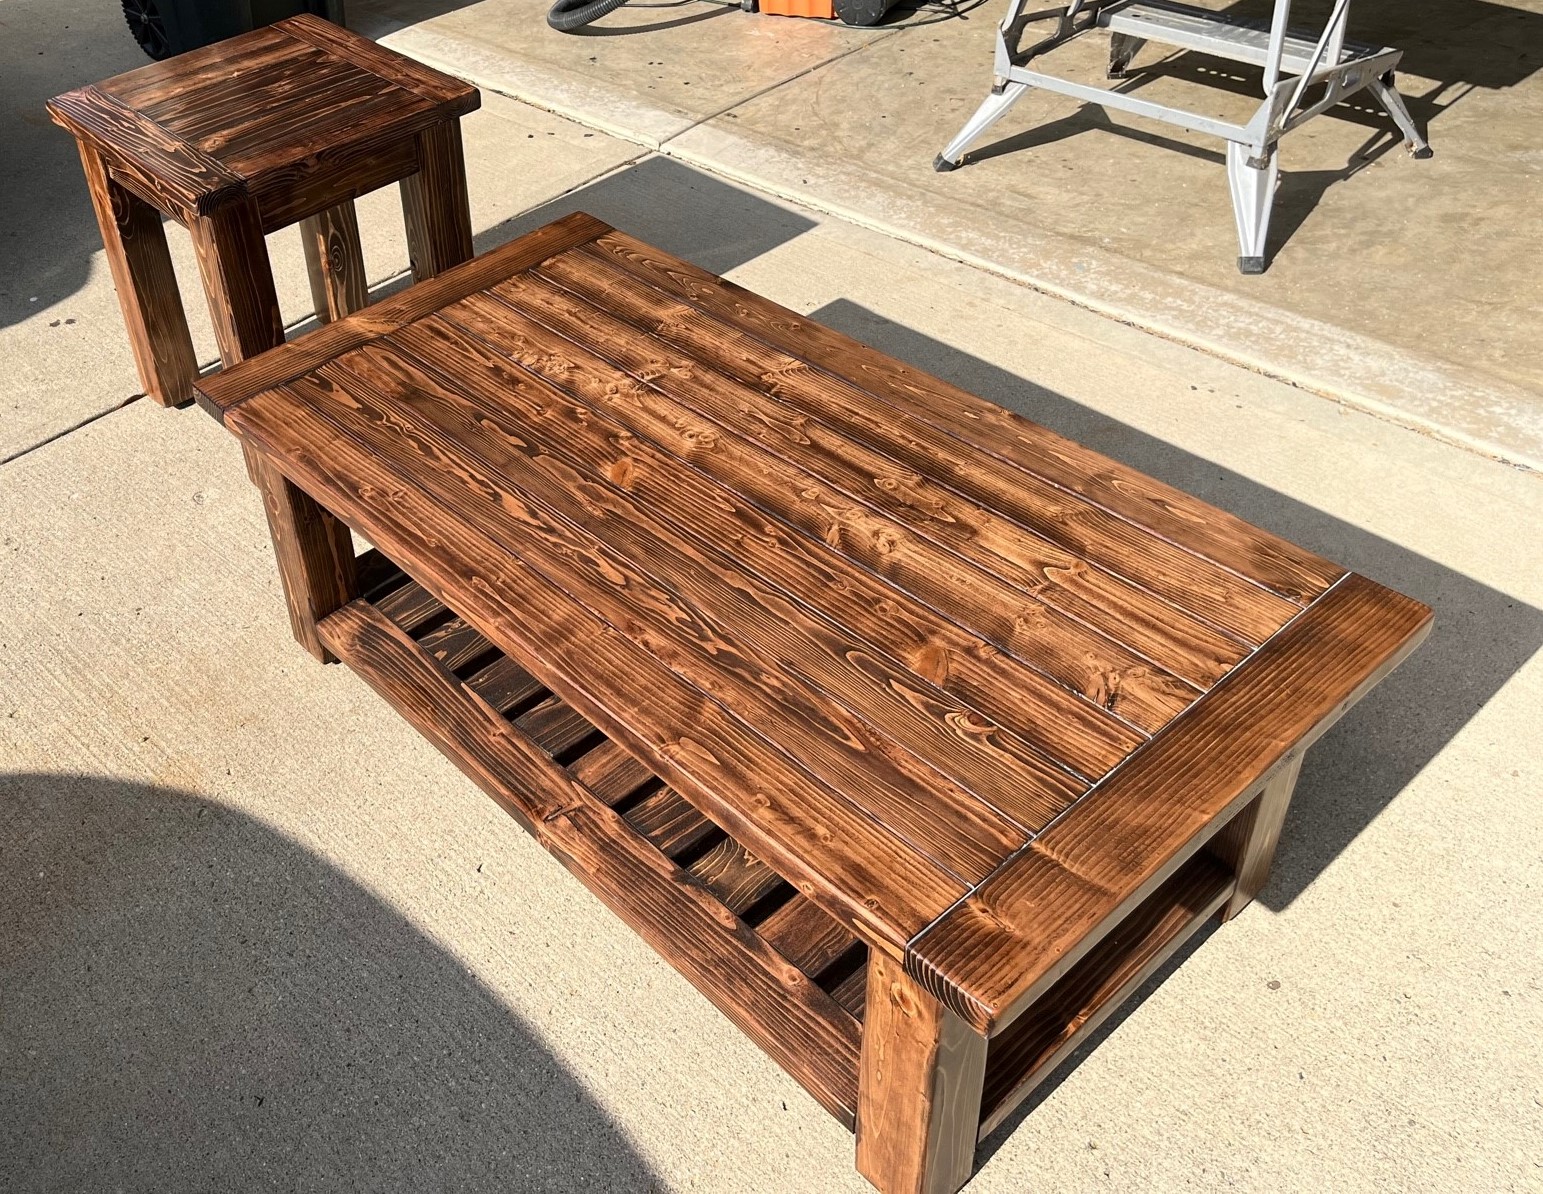
It has taken longer than I care to admit to finish this project, but life tends to get in the way sometimes. But it turned out great, there were little to no hickups during the process, and of course I had a lot of fun building this bed!
Thanks Anna for the plans!
I have posted pics of the process below.
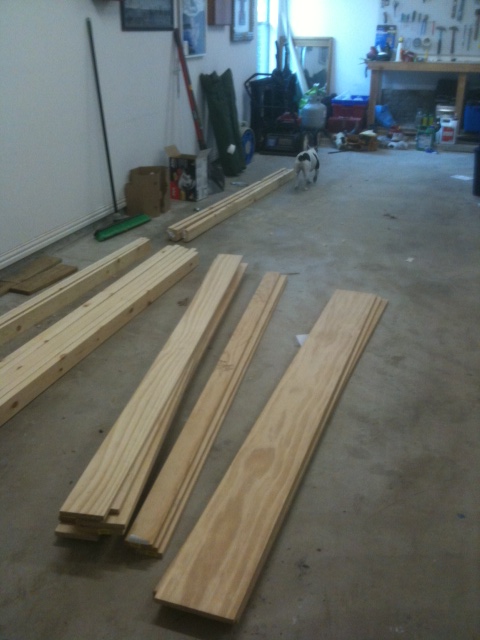
Pic 1: All the wood. Nothing smells better than a garage full of lumber! Oh, and please excuse my bulldog mooning you. She doesn't mean anything by it.
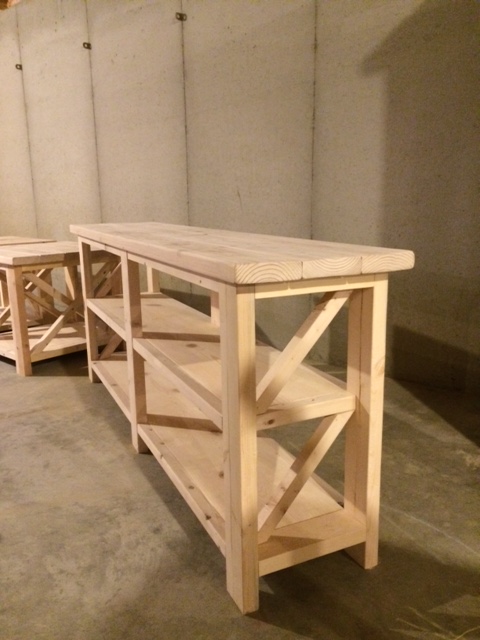
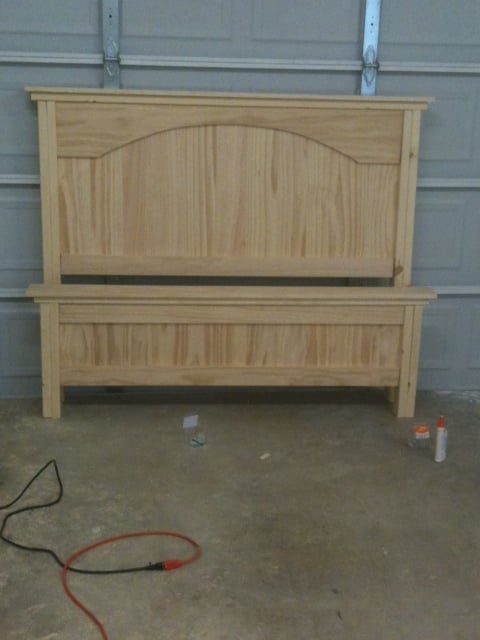
Pic 2: Headboard and Footboard finished and leaning up against the garage.
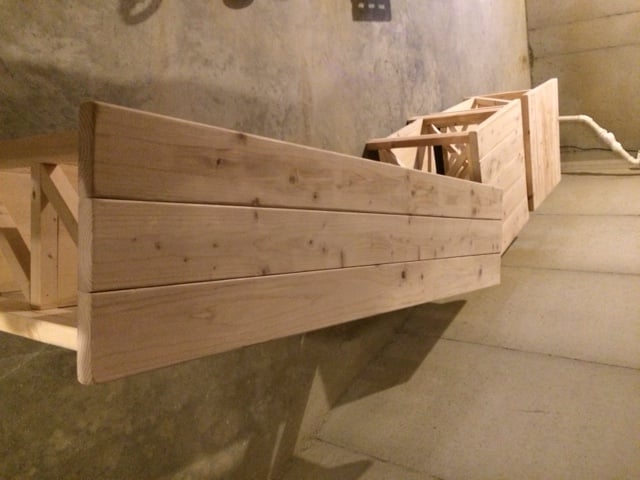
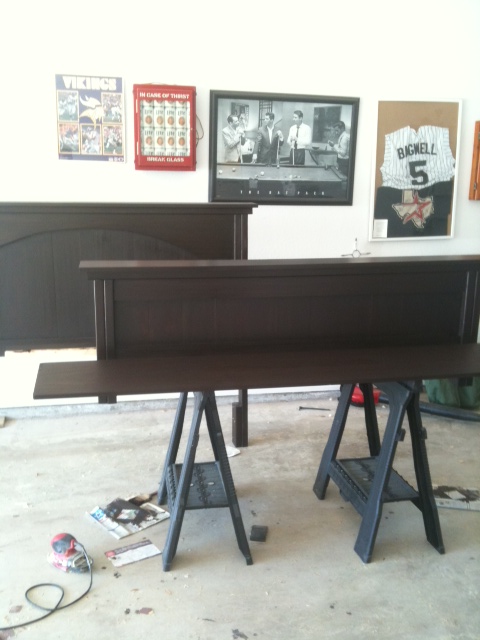
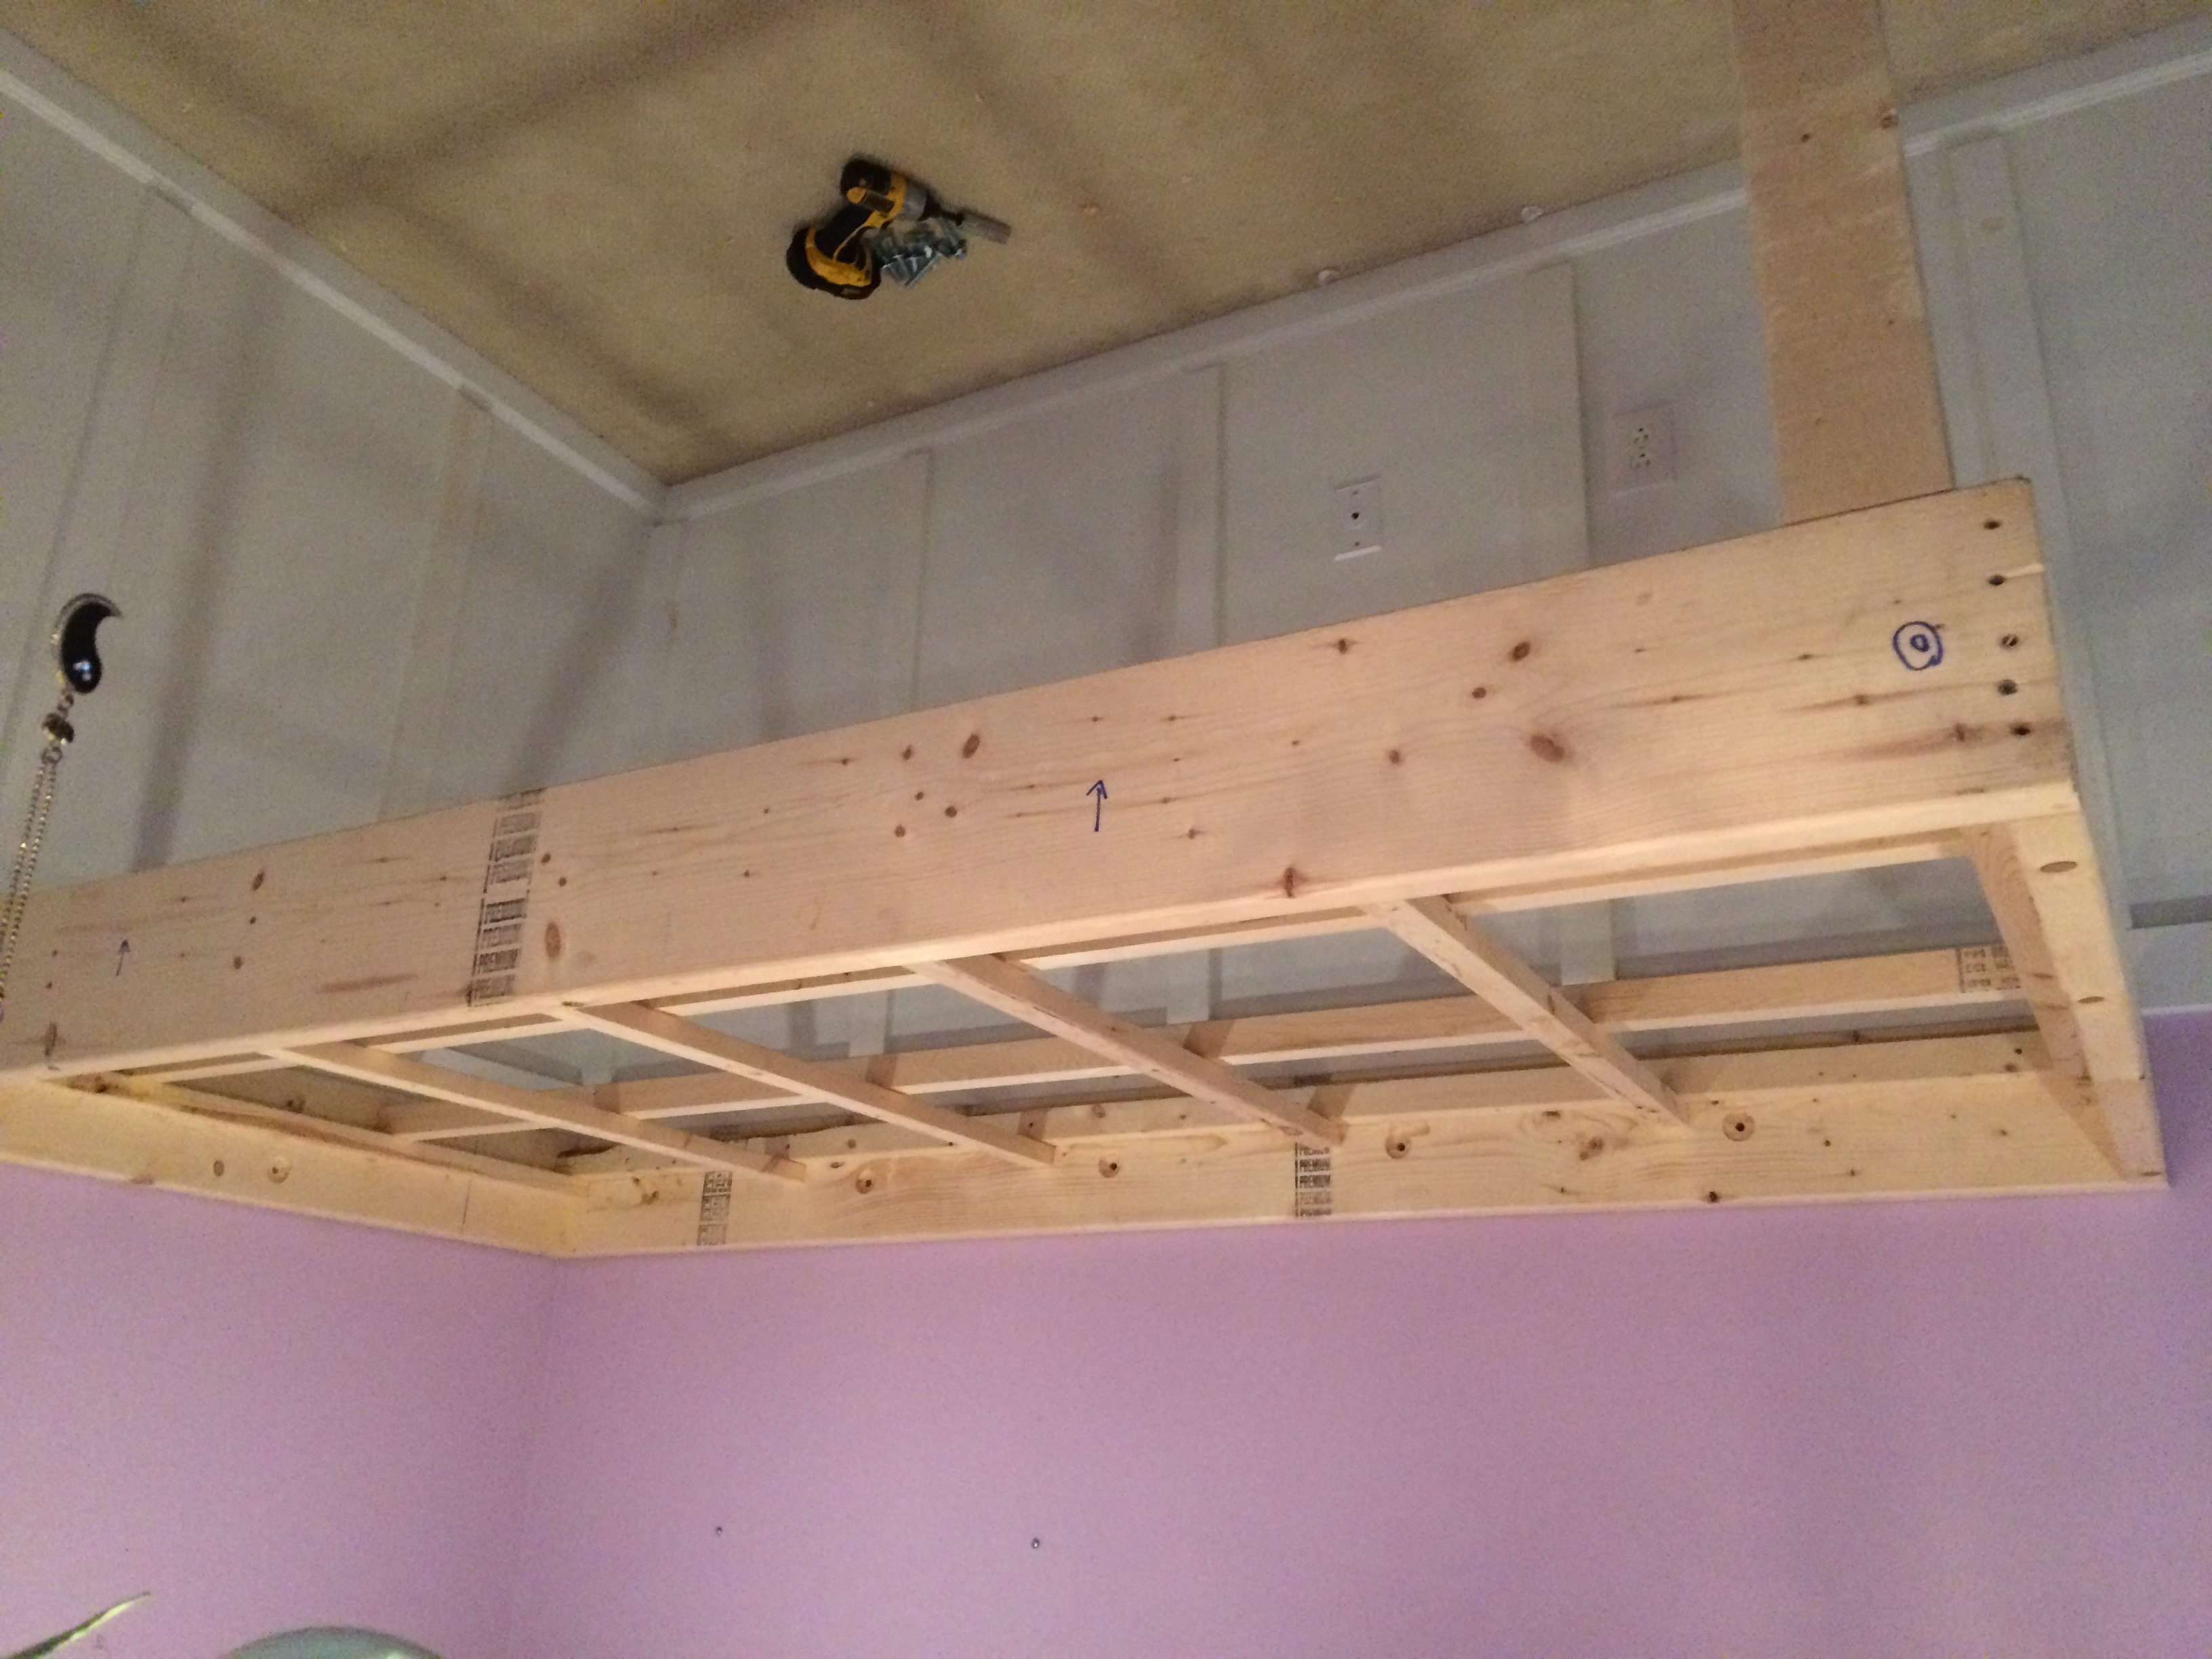
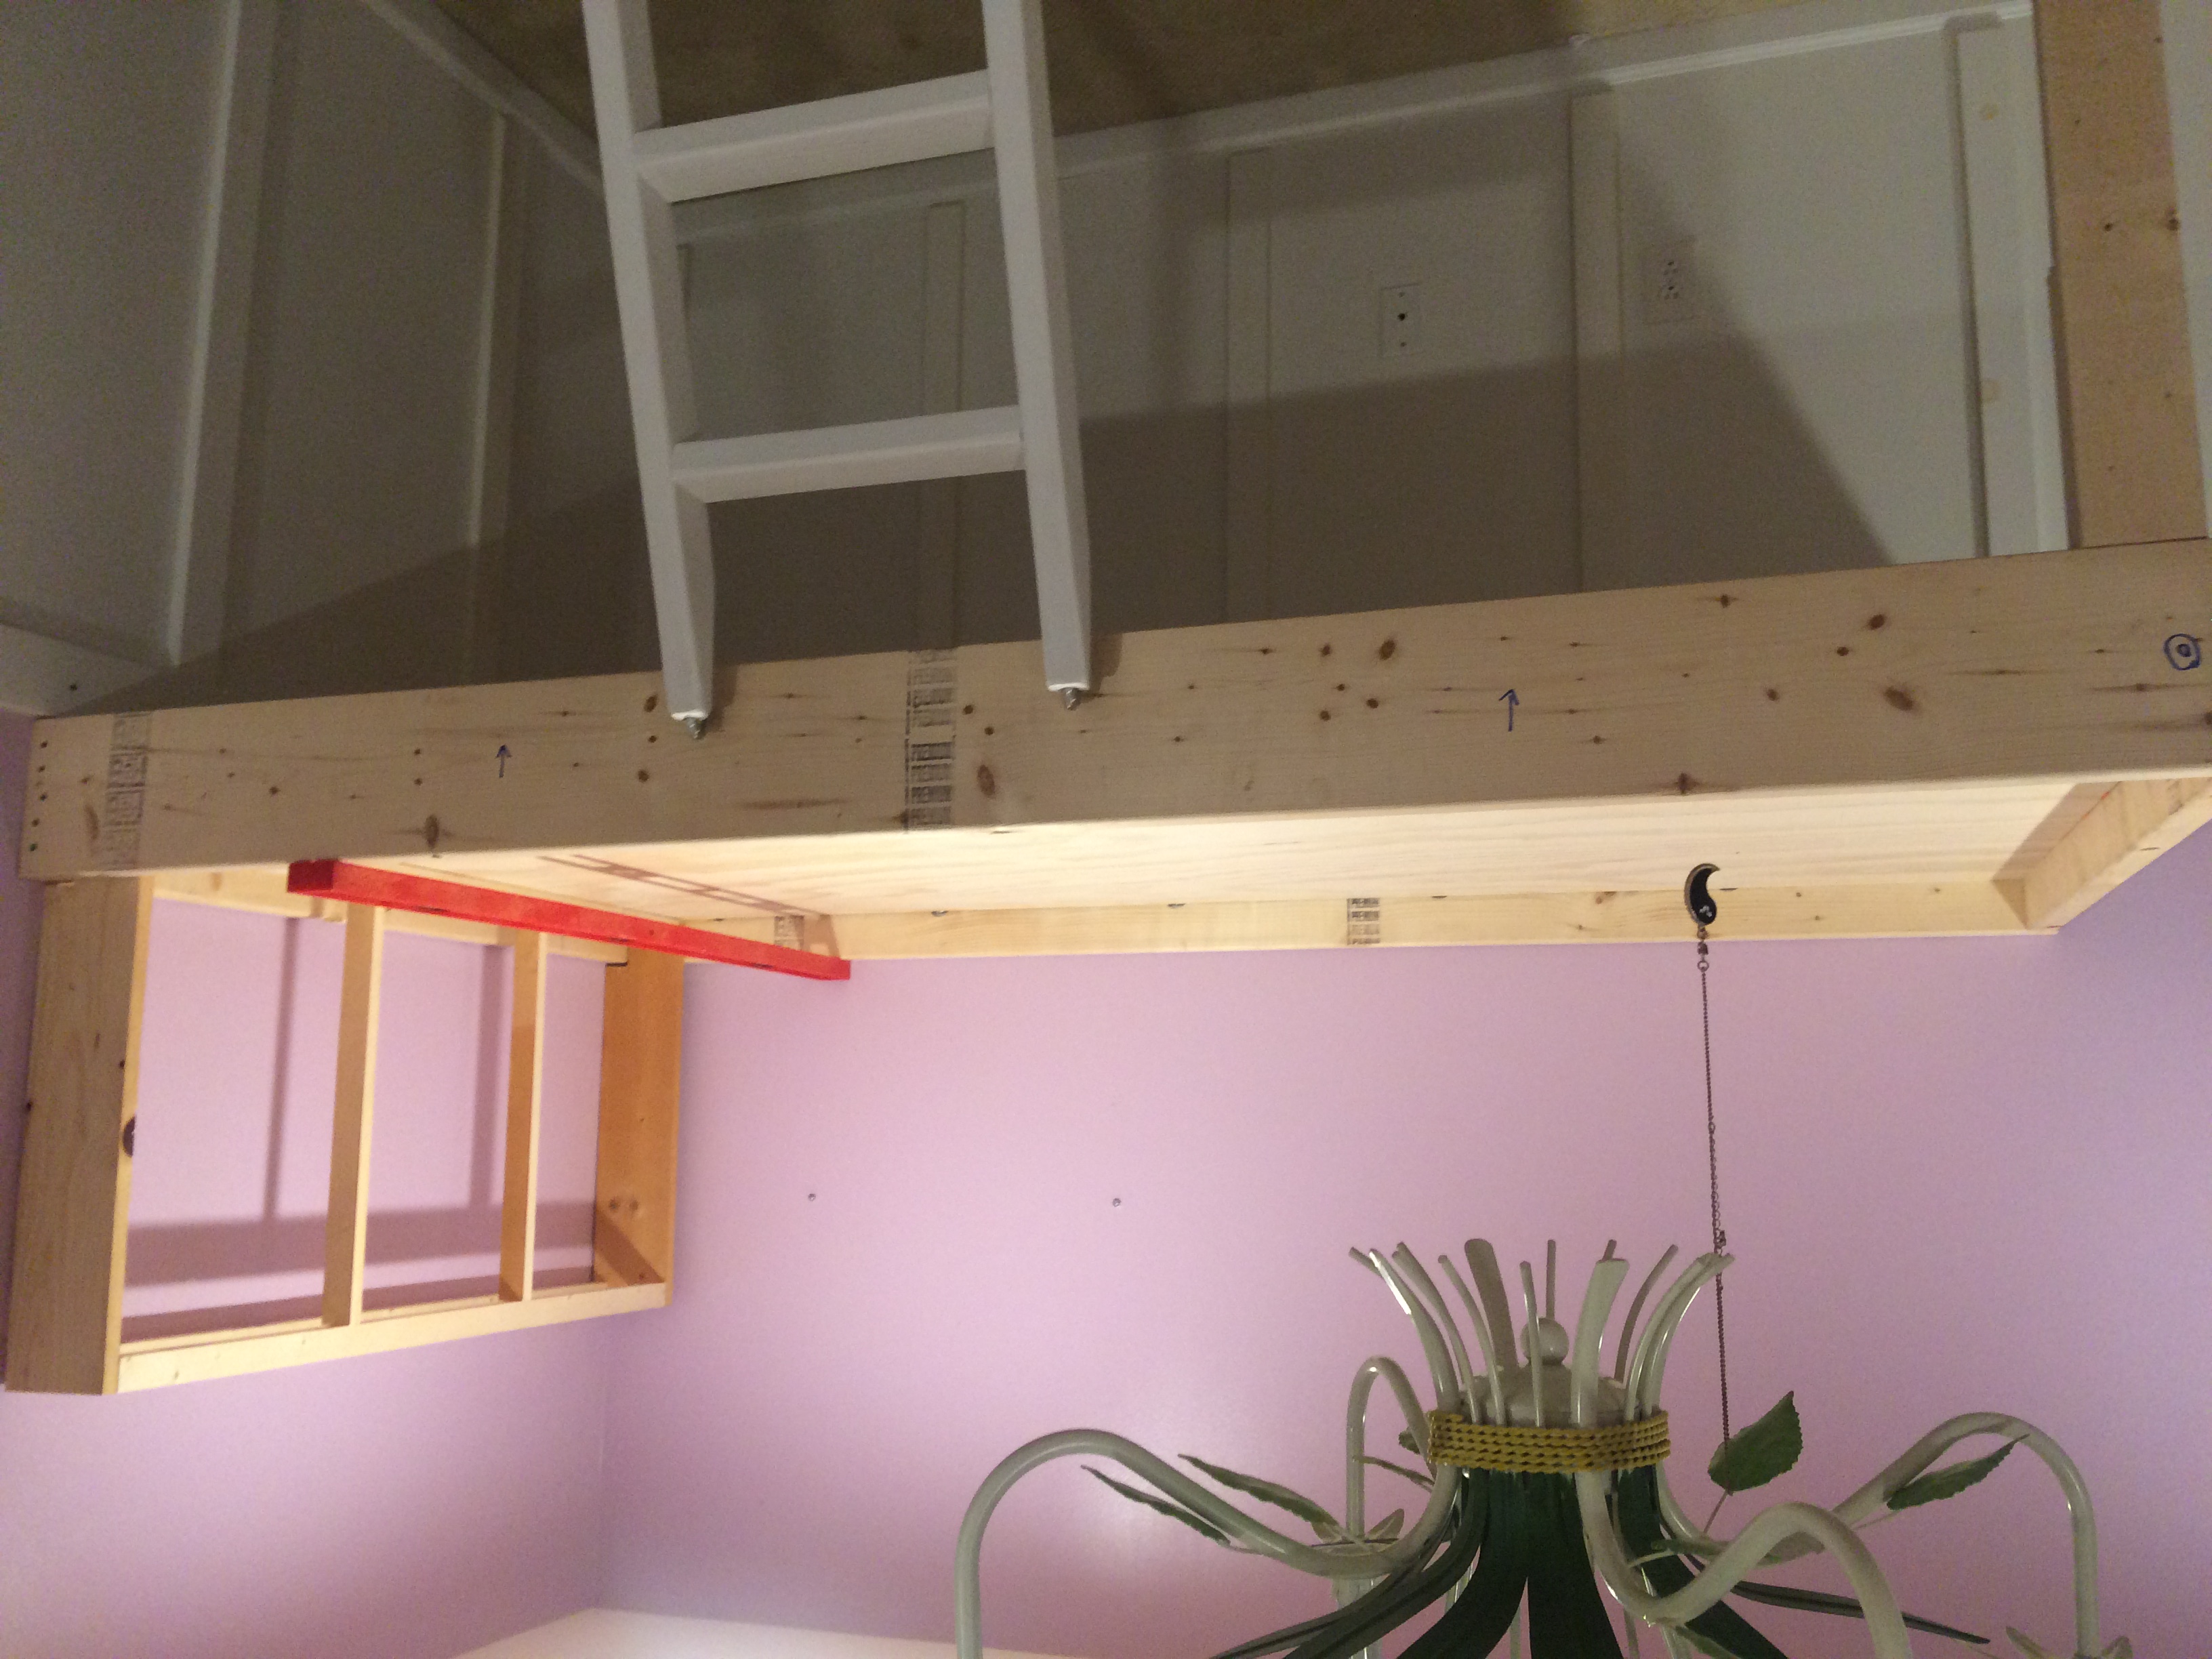
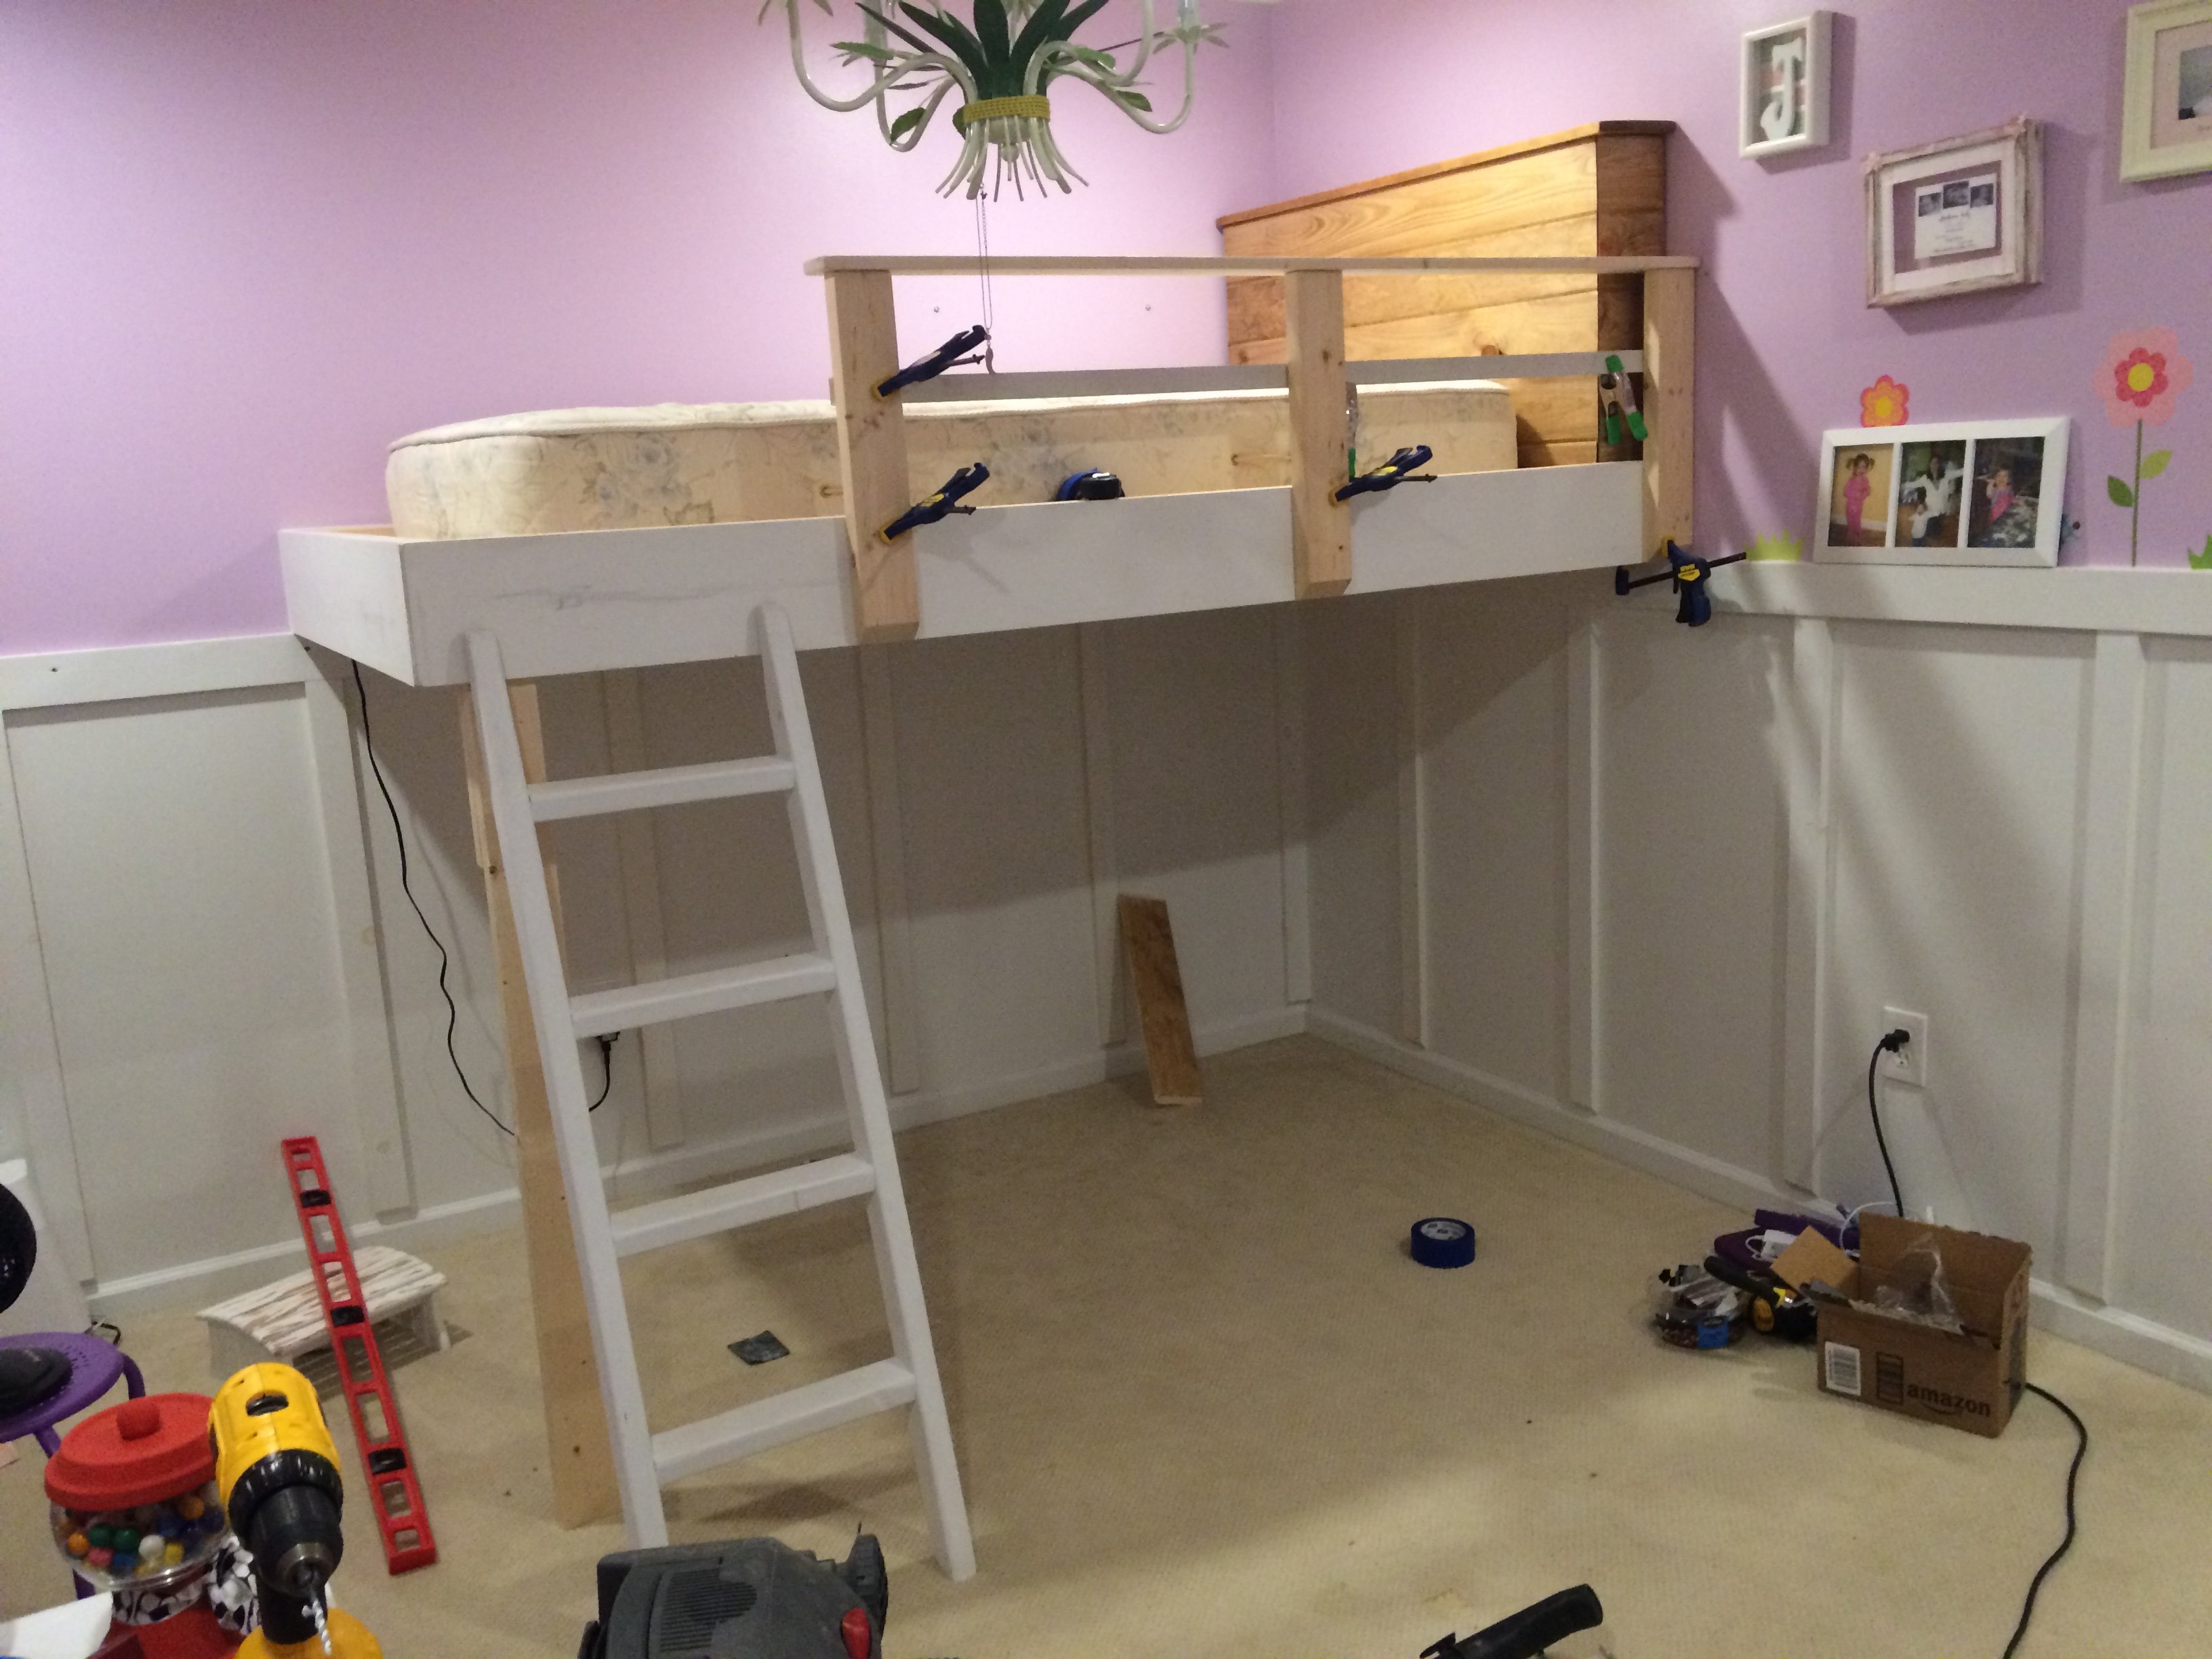
Pic 3: Just making sure everything would fit right. I used the cross-beam from the original bed frame as a guide.
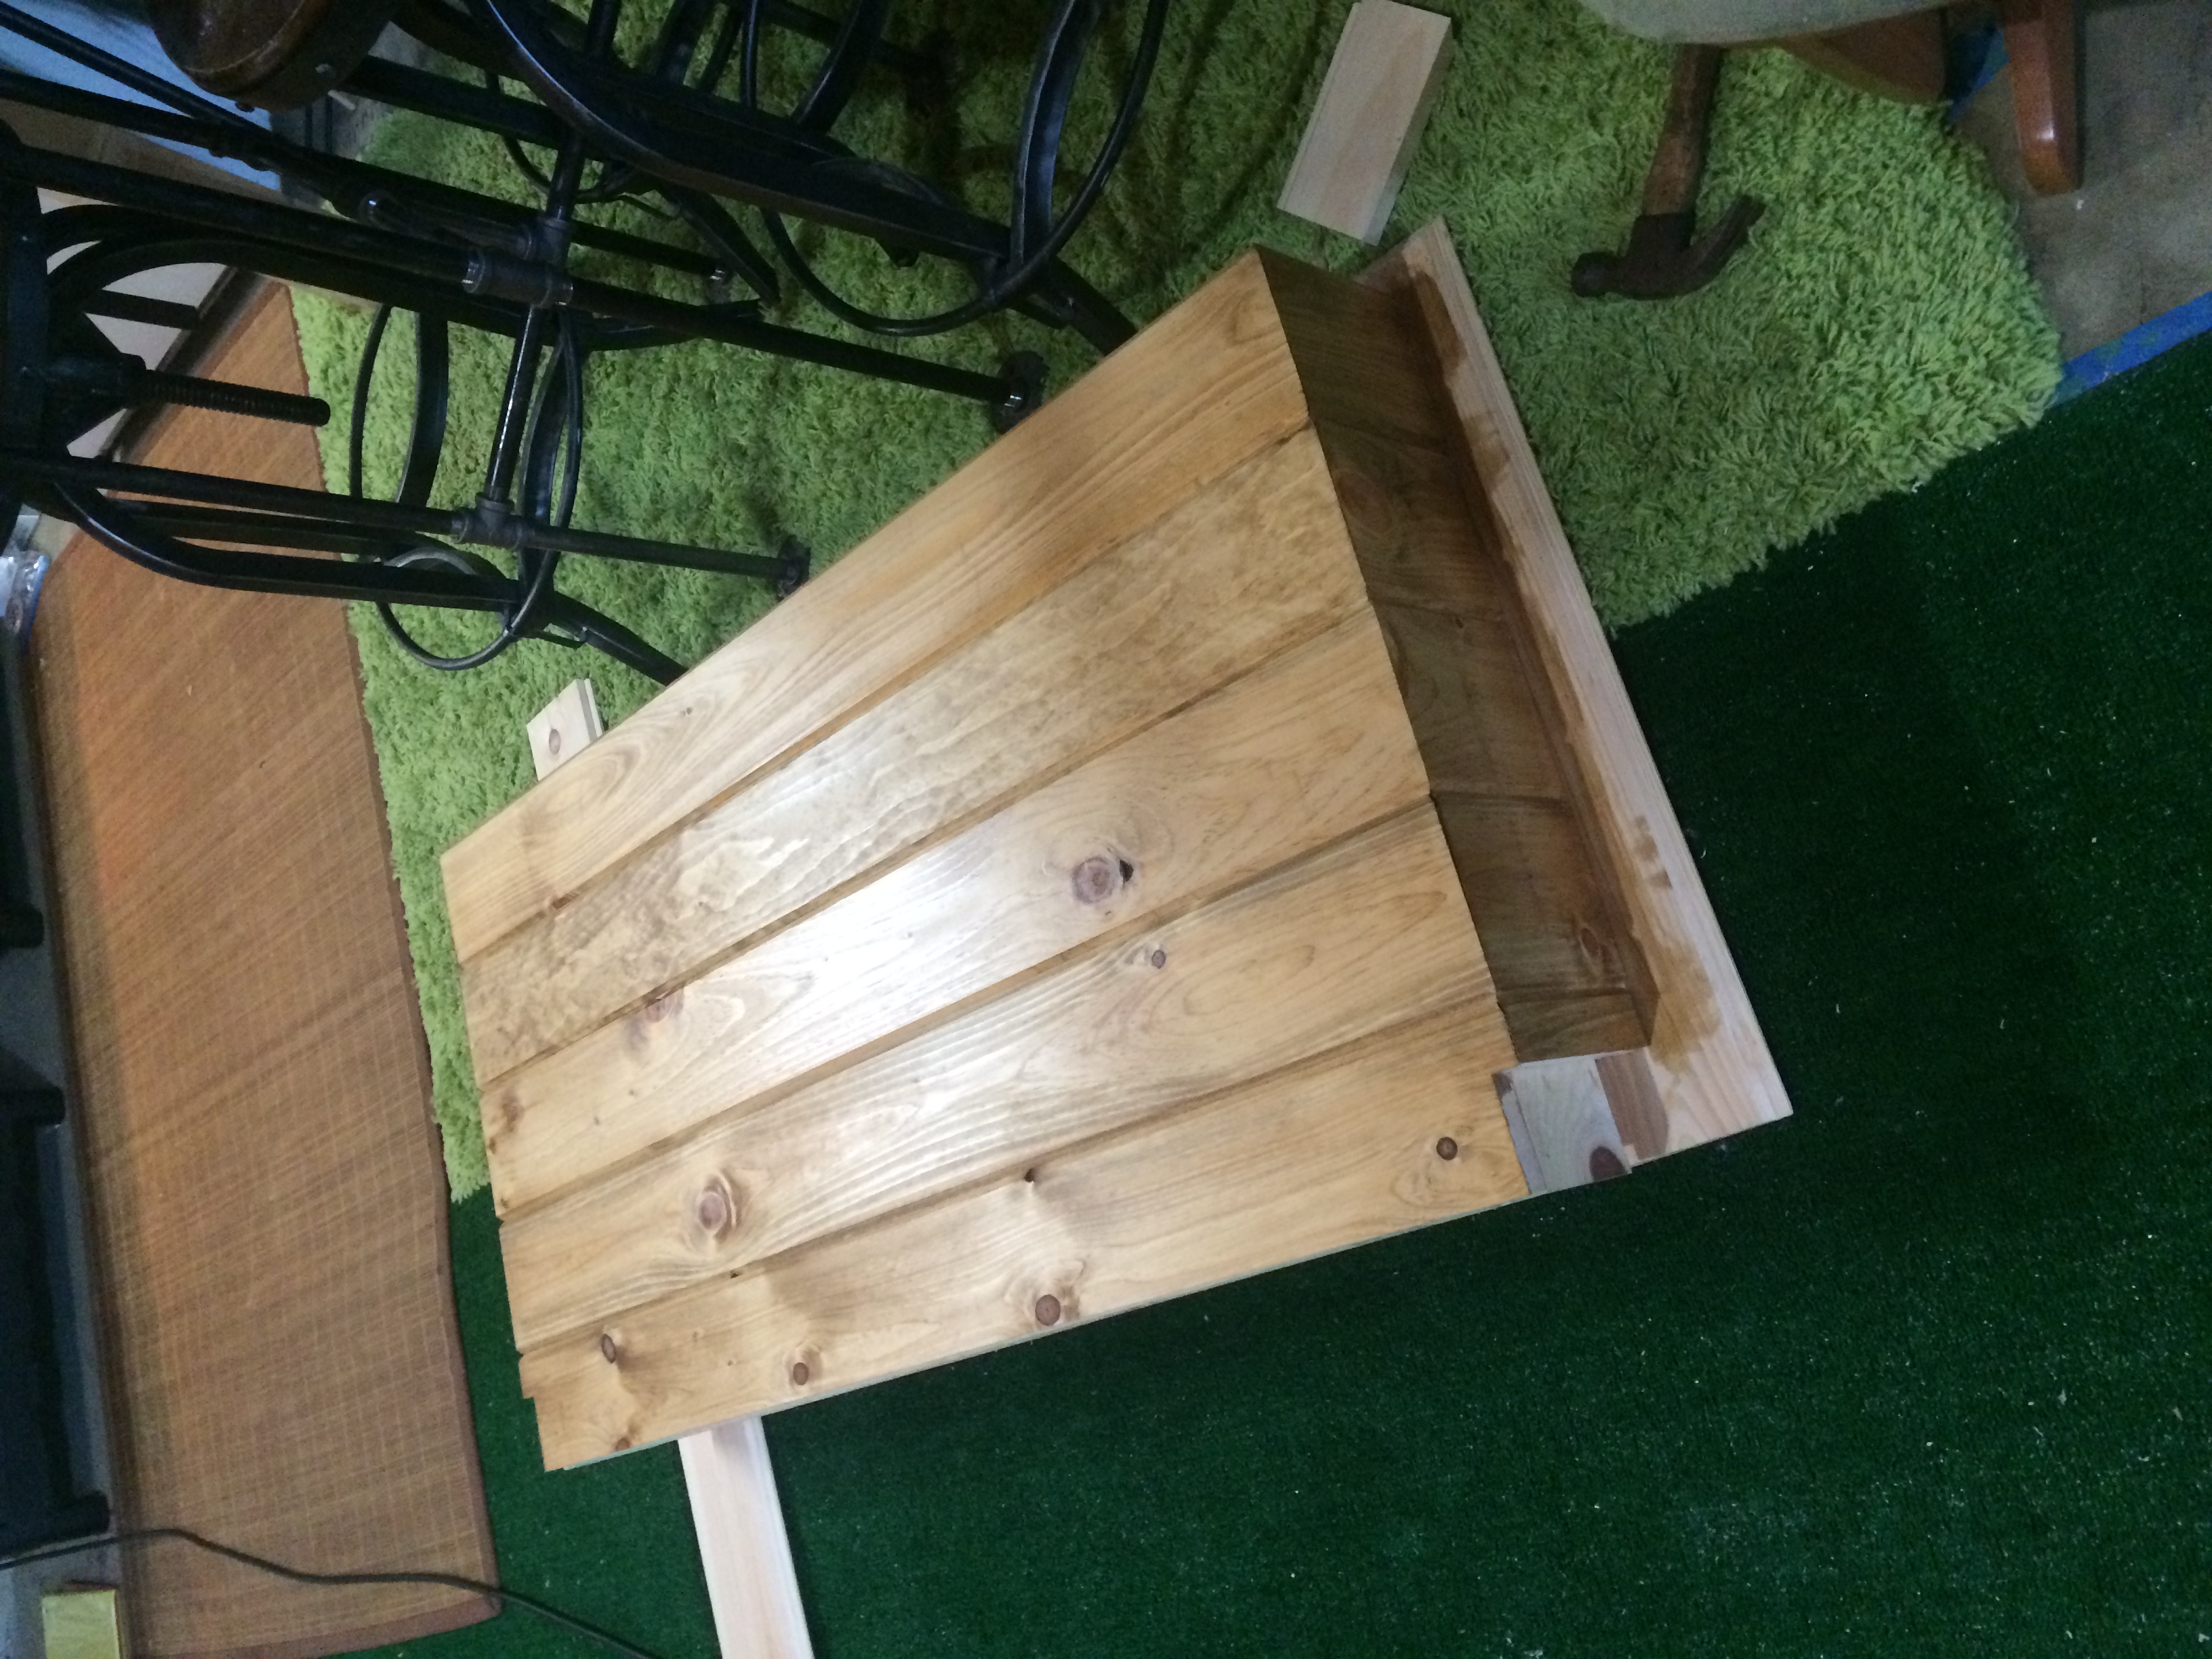
Pic 4: staining in progress.
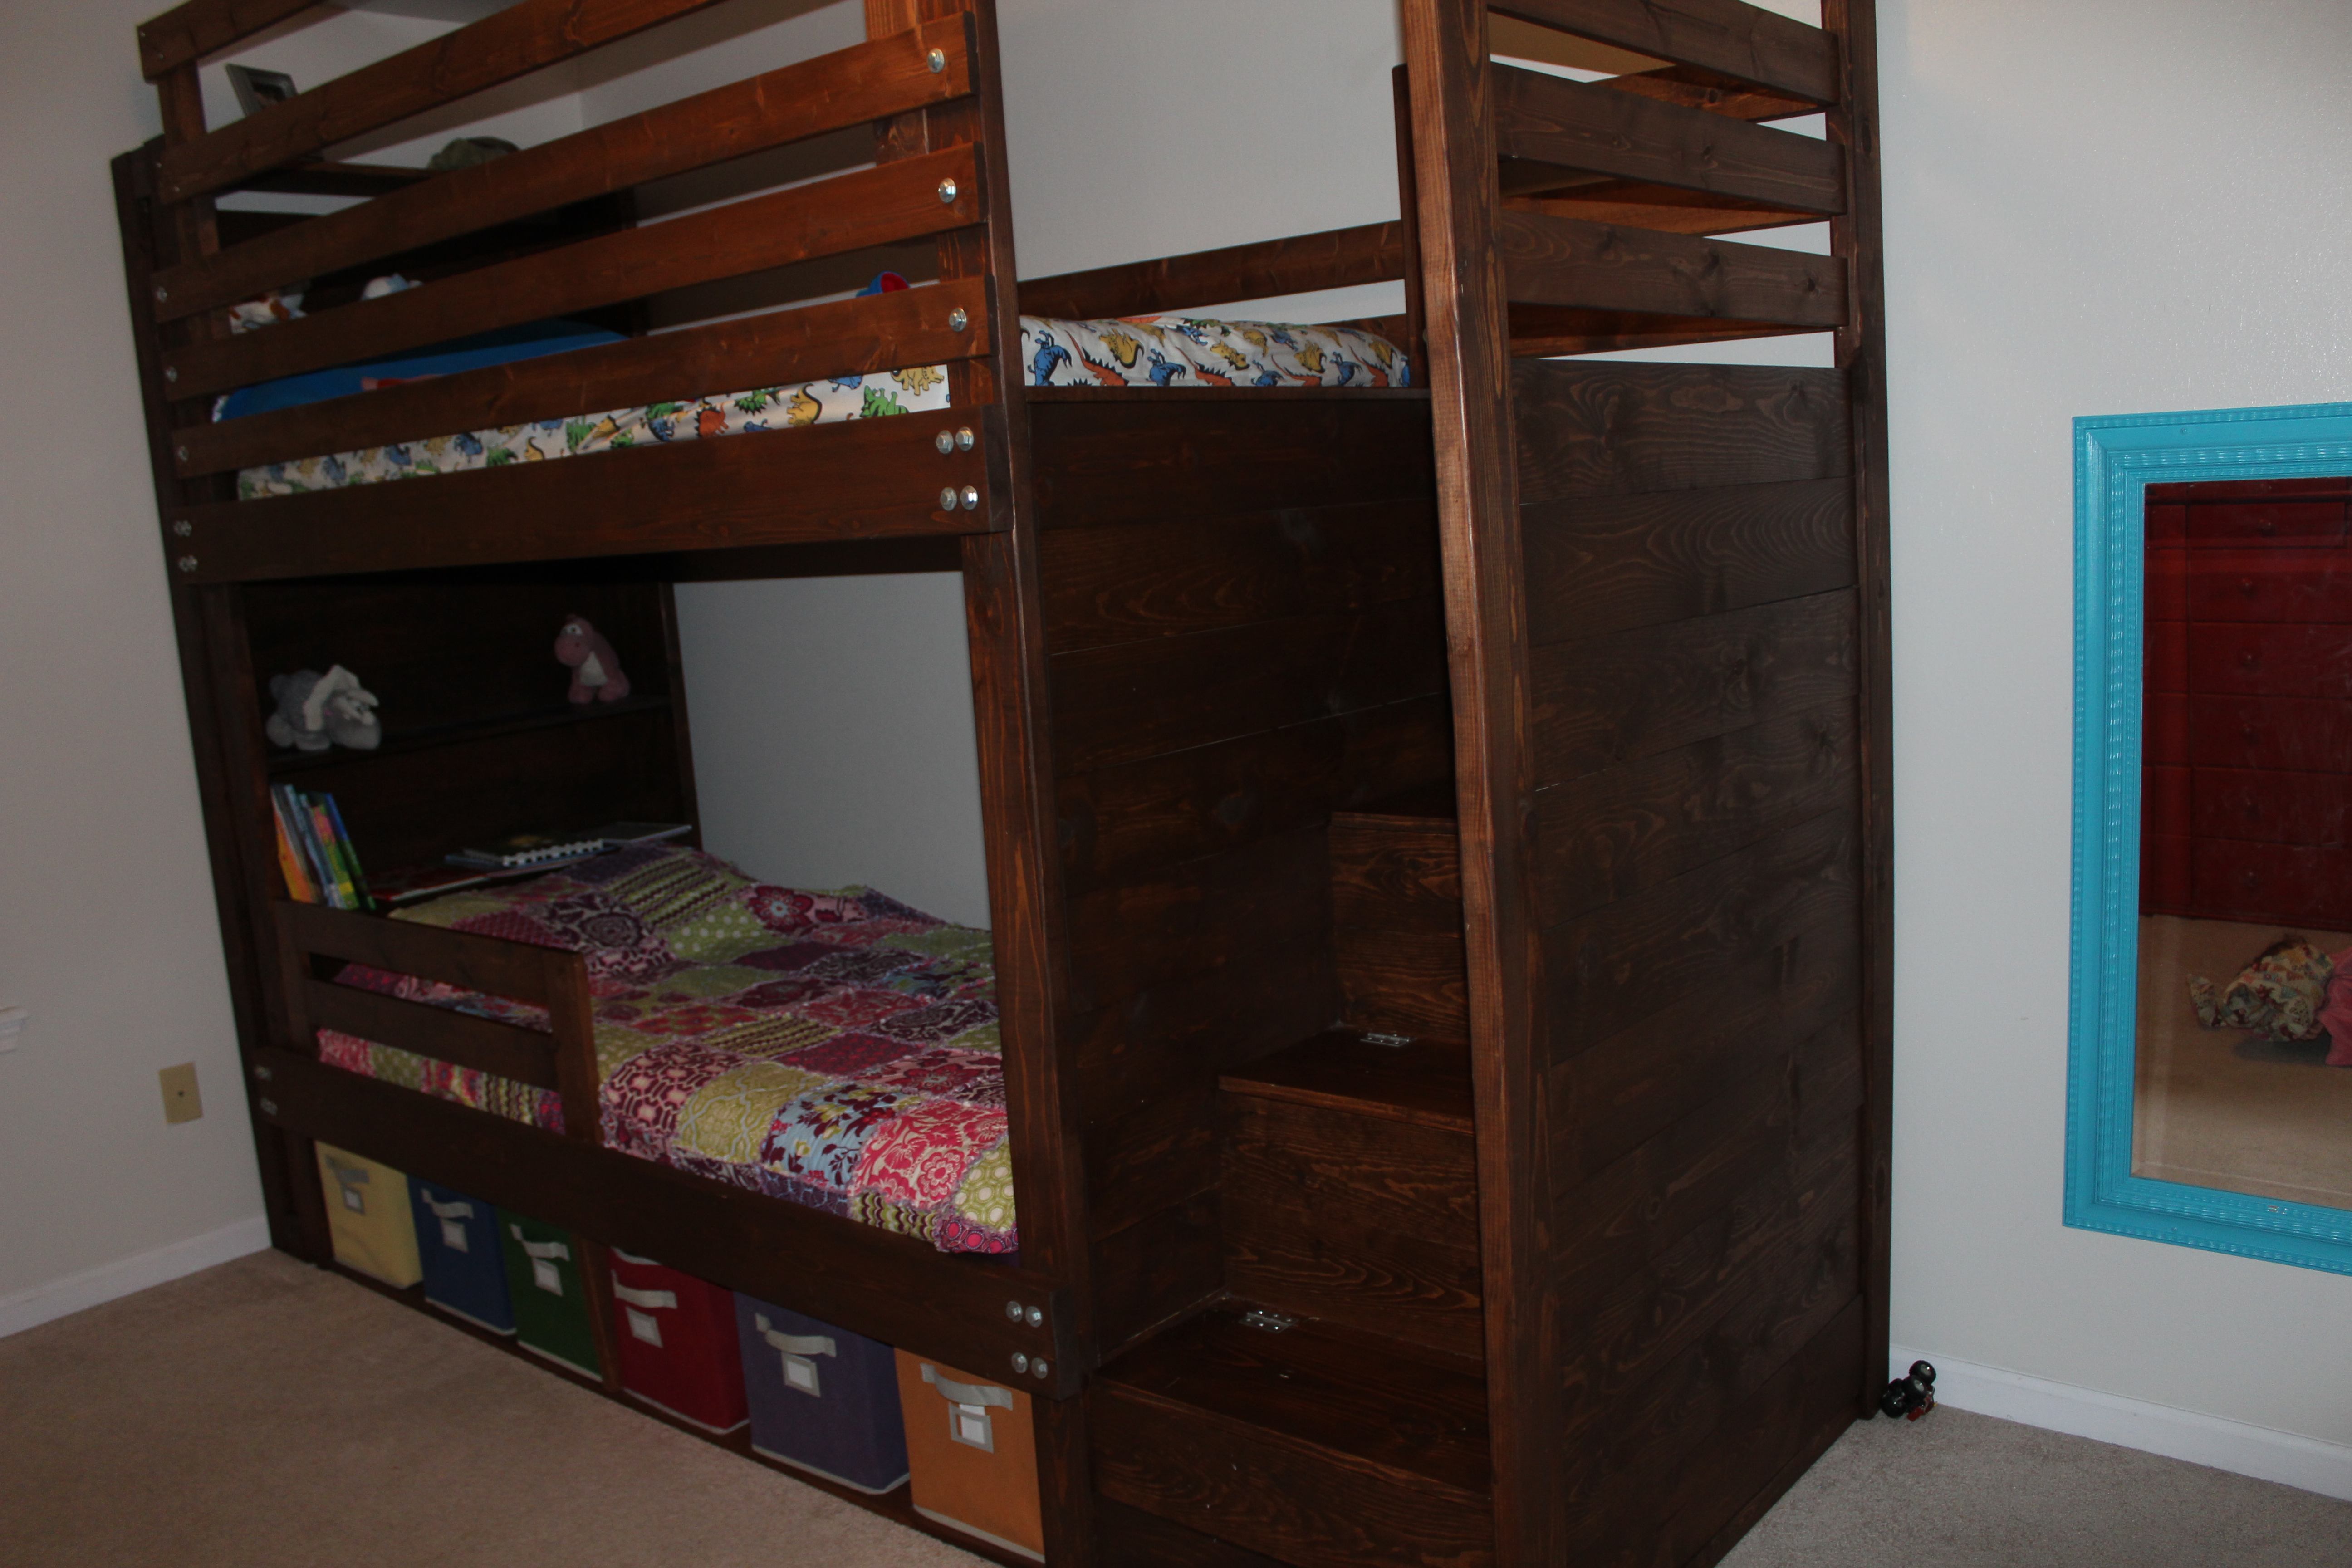
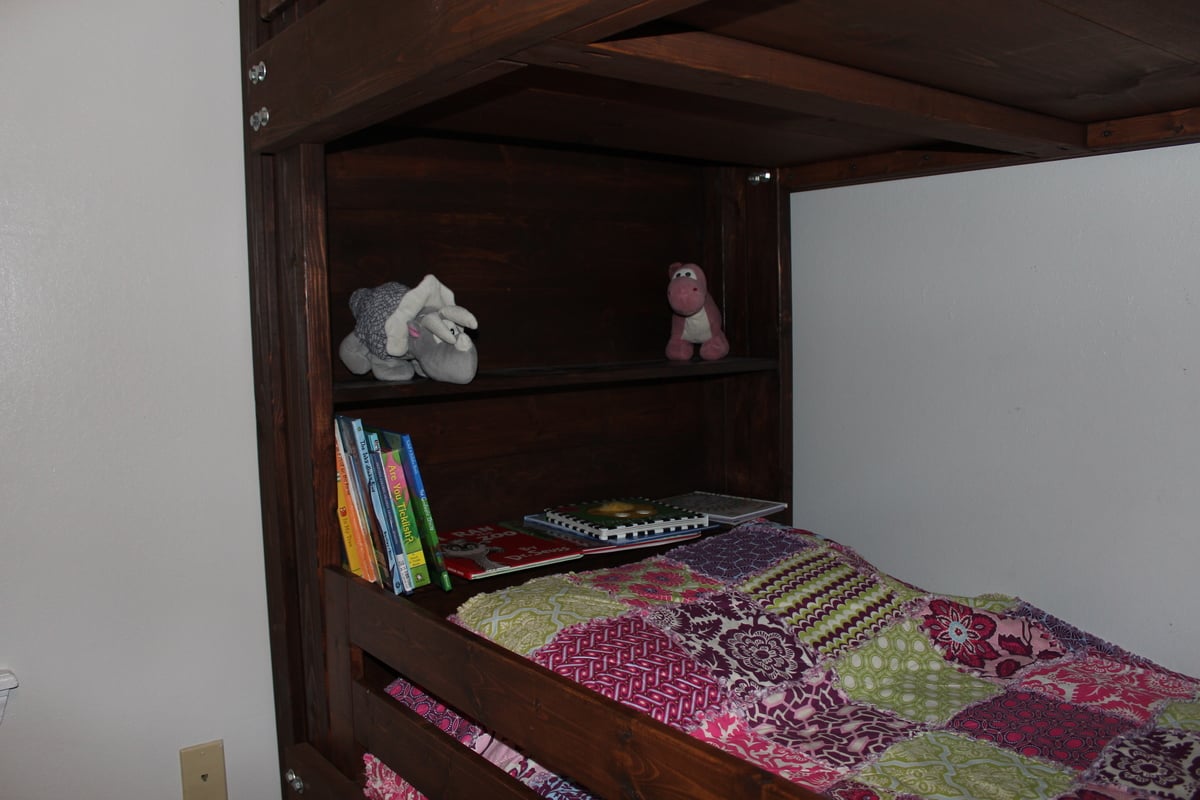
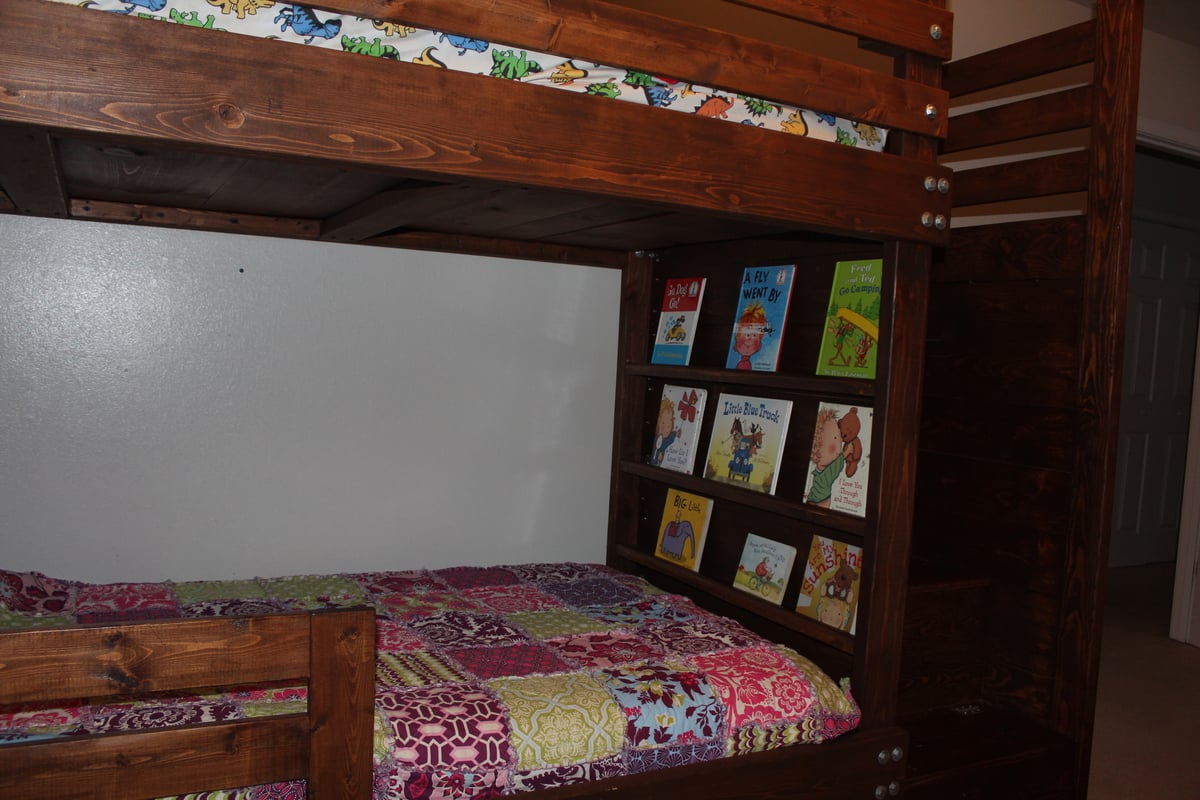
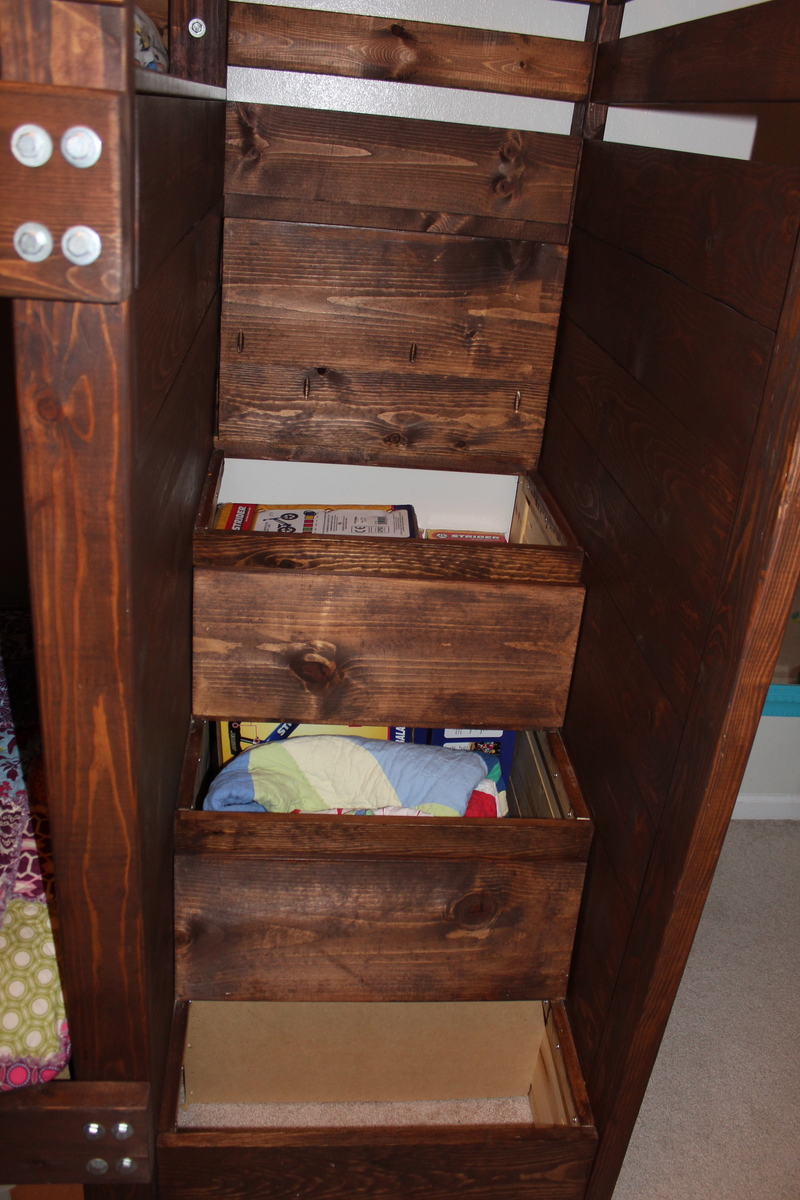
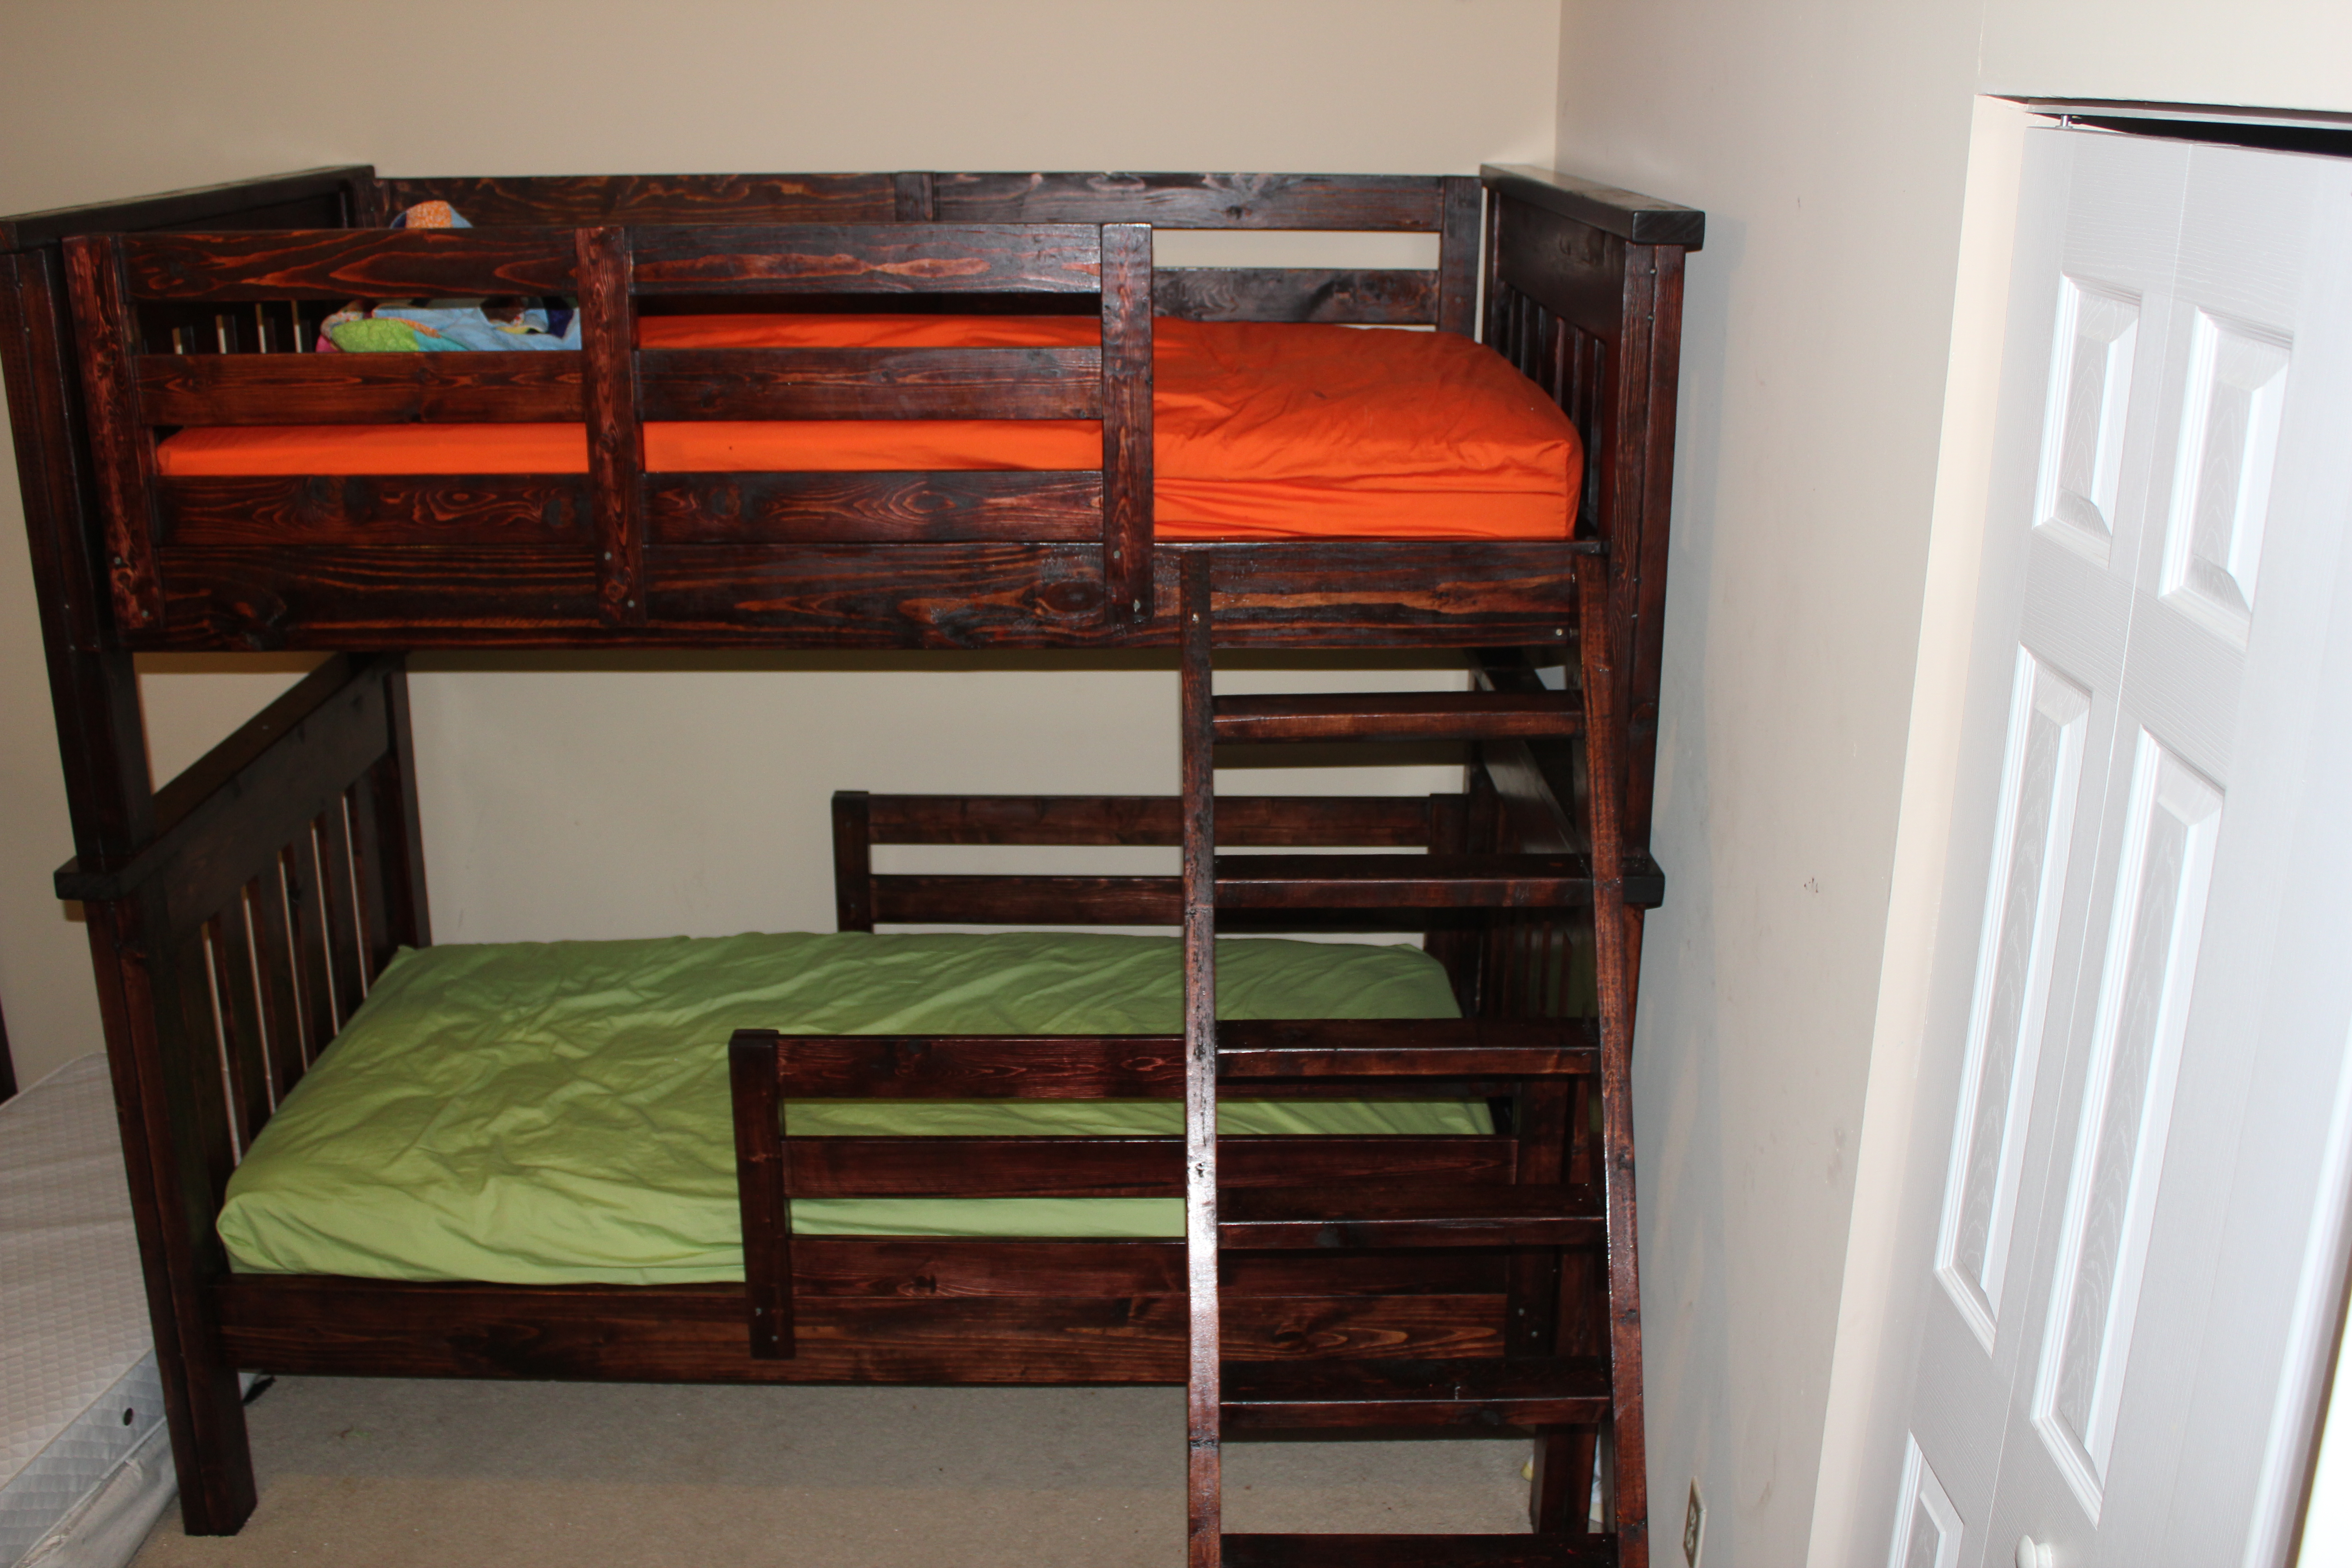
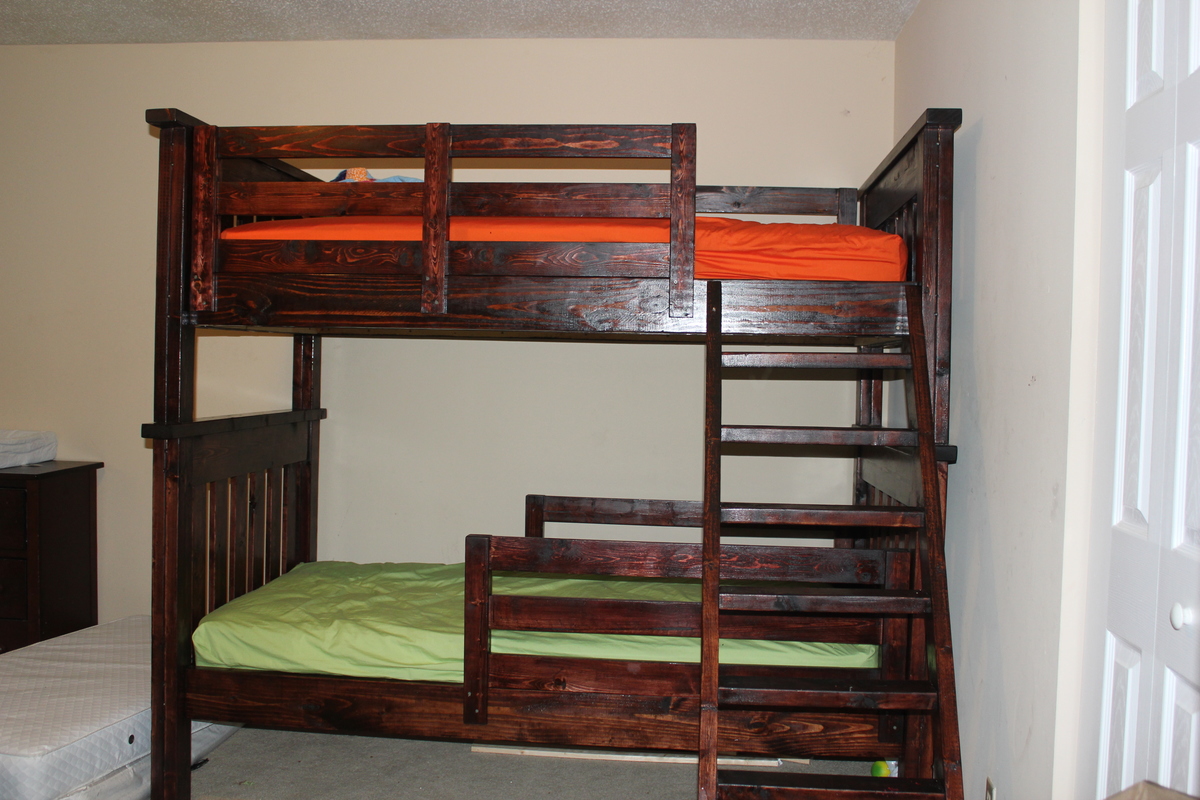
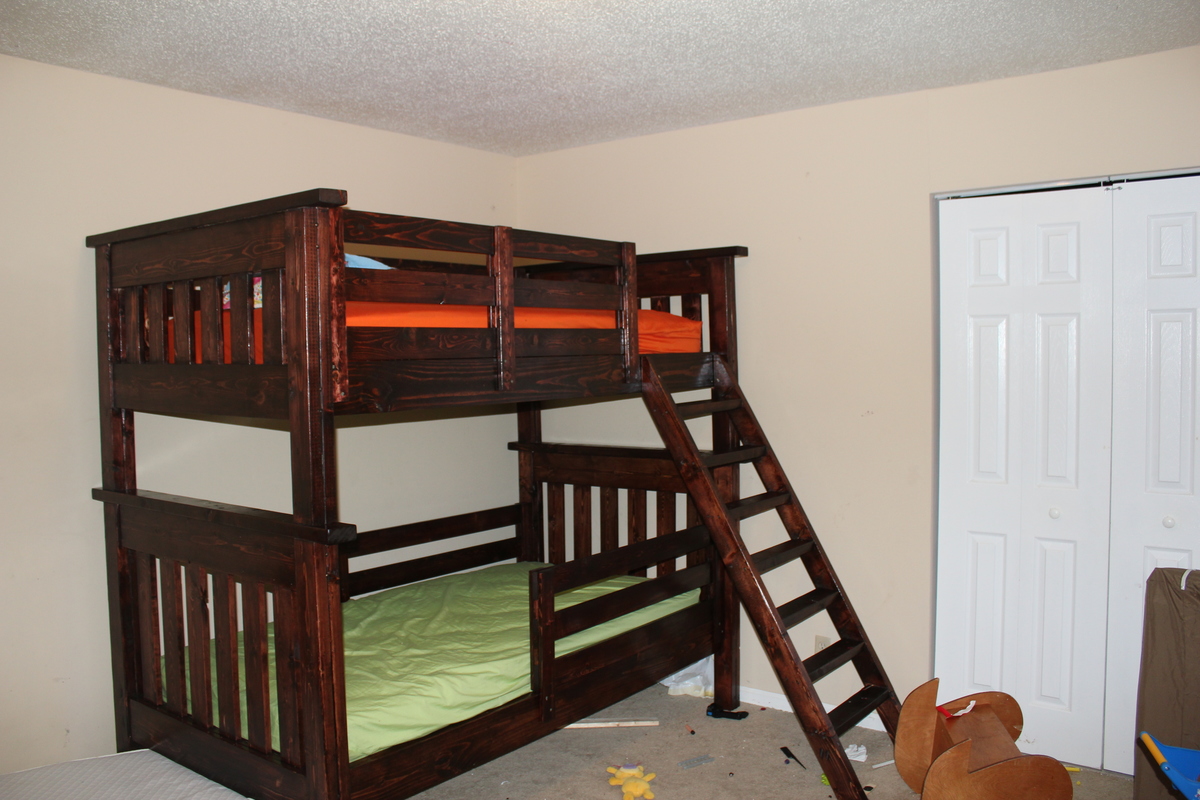
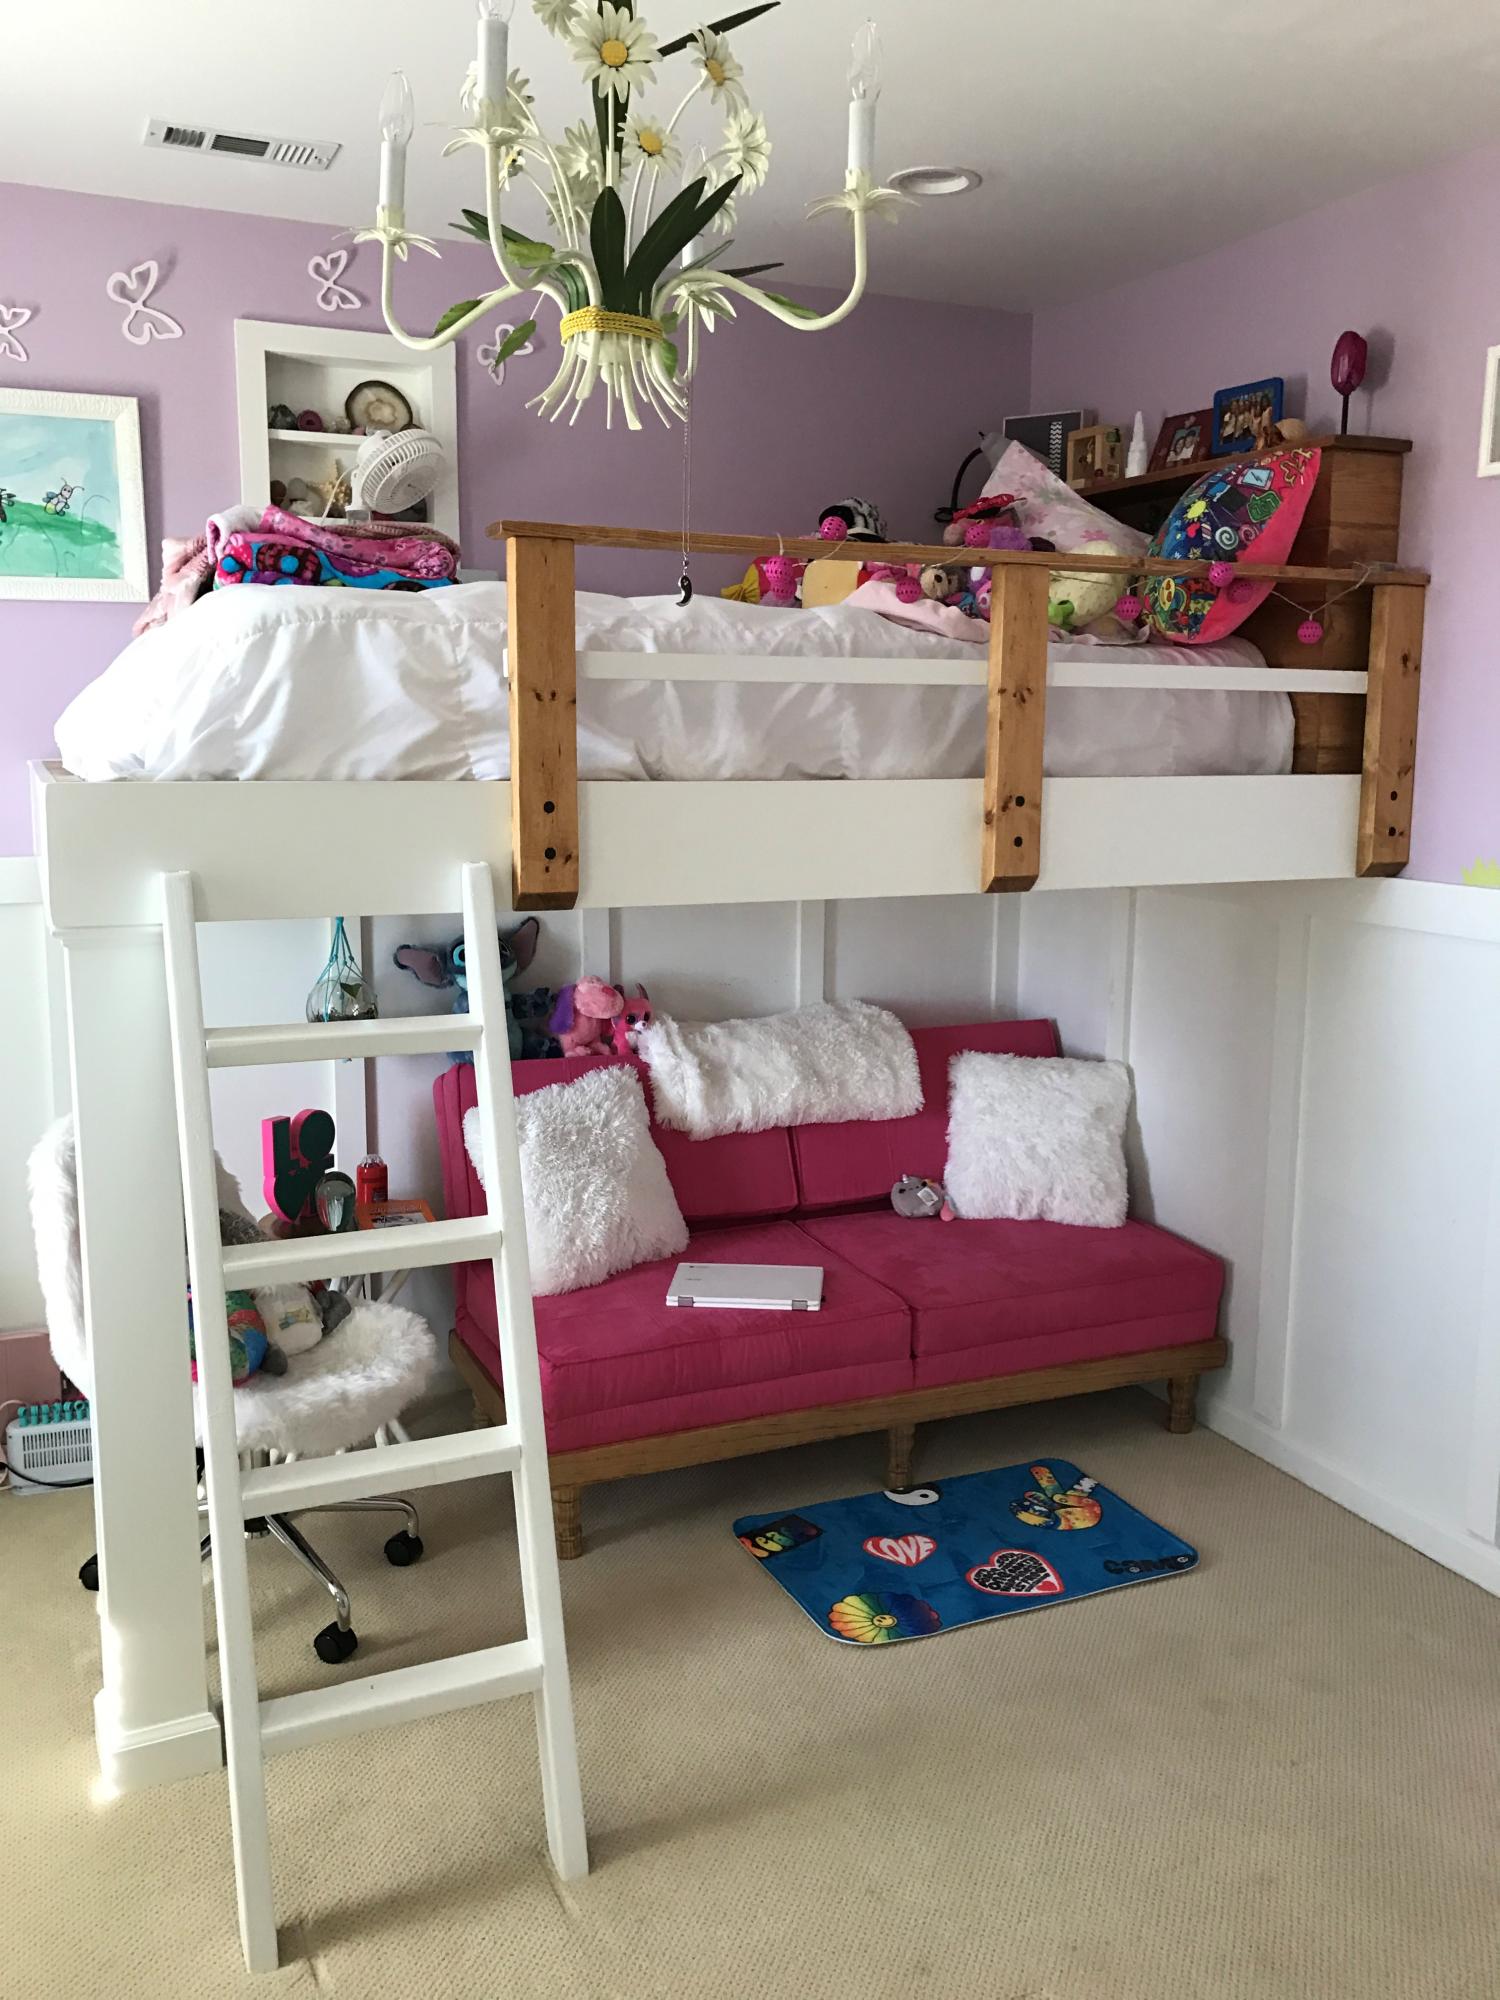
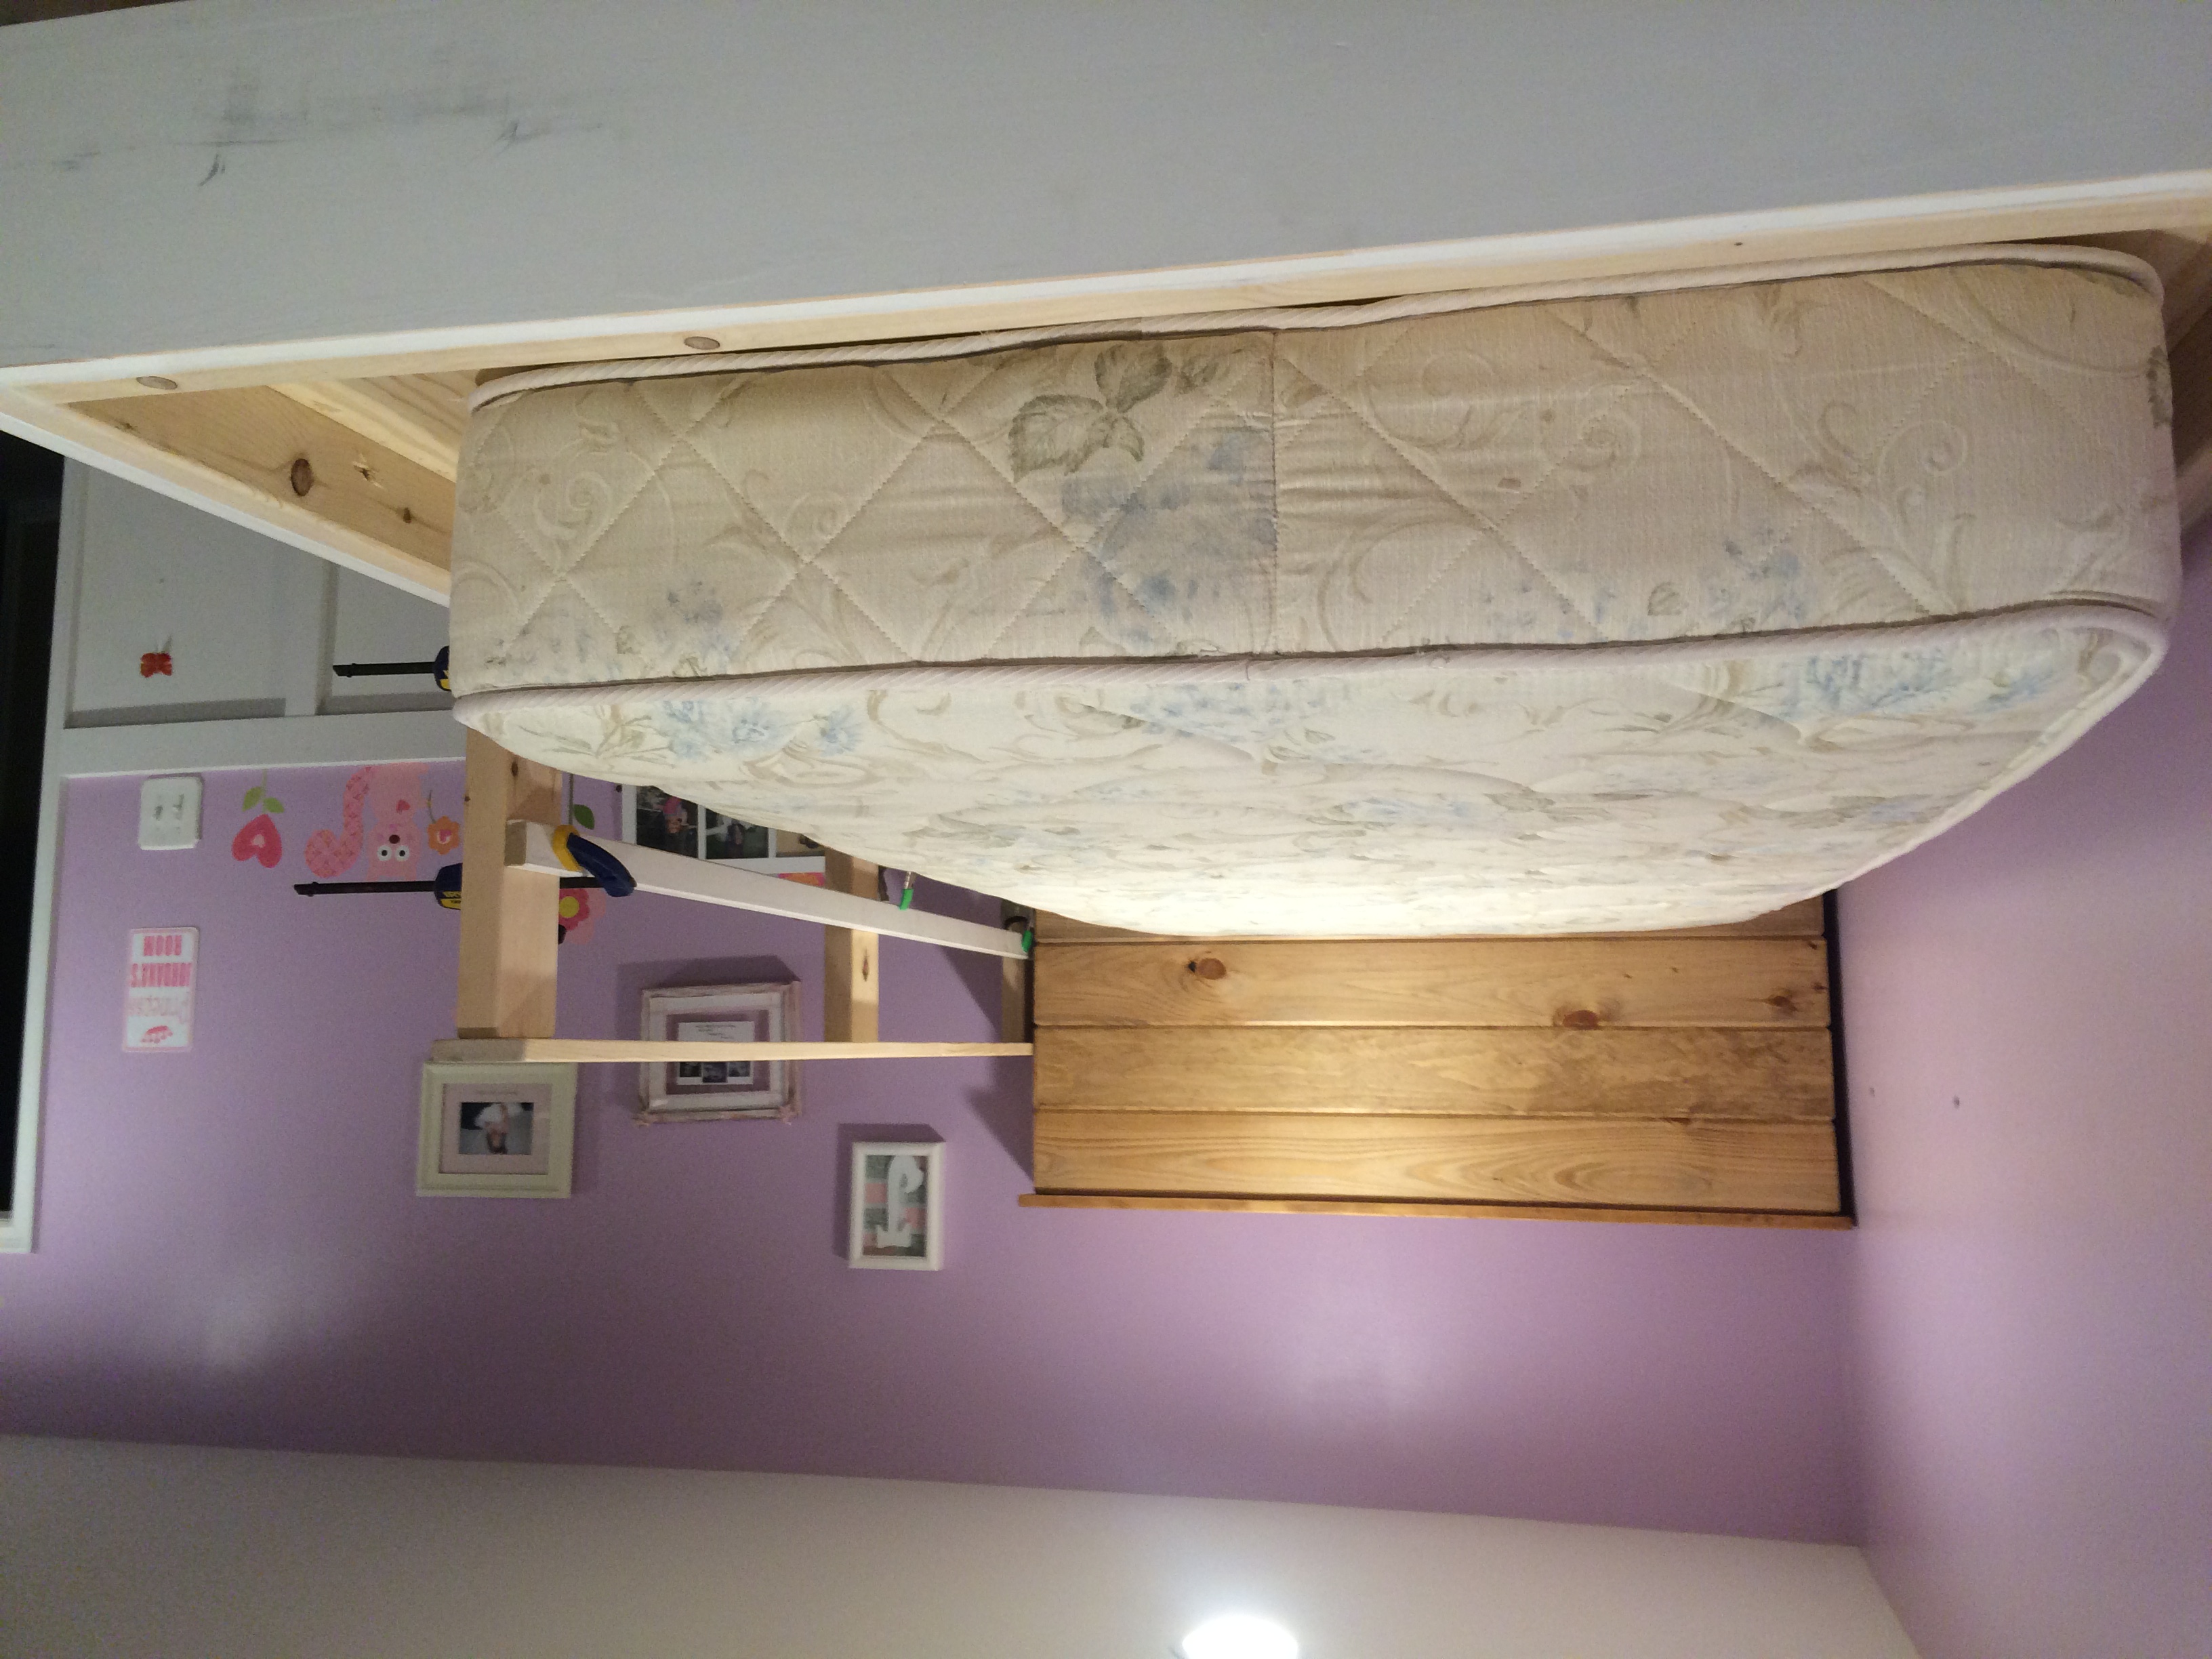
Pic 5: Finished and installed!
Estimated Cost
$350 - Since I was staining, I used select Pine (no knots) which is much more expensive.
Estimated Time Investment
Week Long Project (20 Hours or More)
Finish Used
Sanded well, increasing the grit from 120 - 150 - 180 - 220.
Used wood pre-treater to prevent blotchiness.
General Finishes Java Gel Stain - 2 coats.
General Finishes Gel Poly (Satin) 4 coats lightly sanding in between with 320 grit for the first two and 400 grit in between coat 3 and 4. For the final coat, I painted it on with a foam brush to make sure there were no marks from rubbing it on.
Recommended Skill Level
Beginner