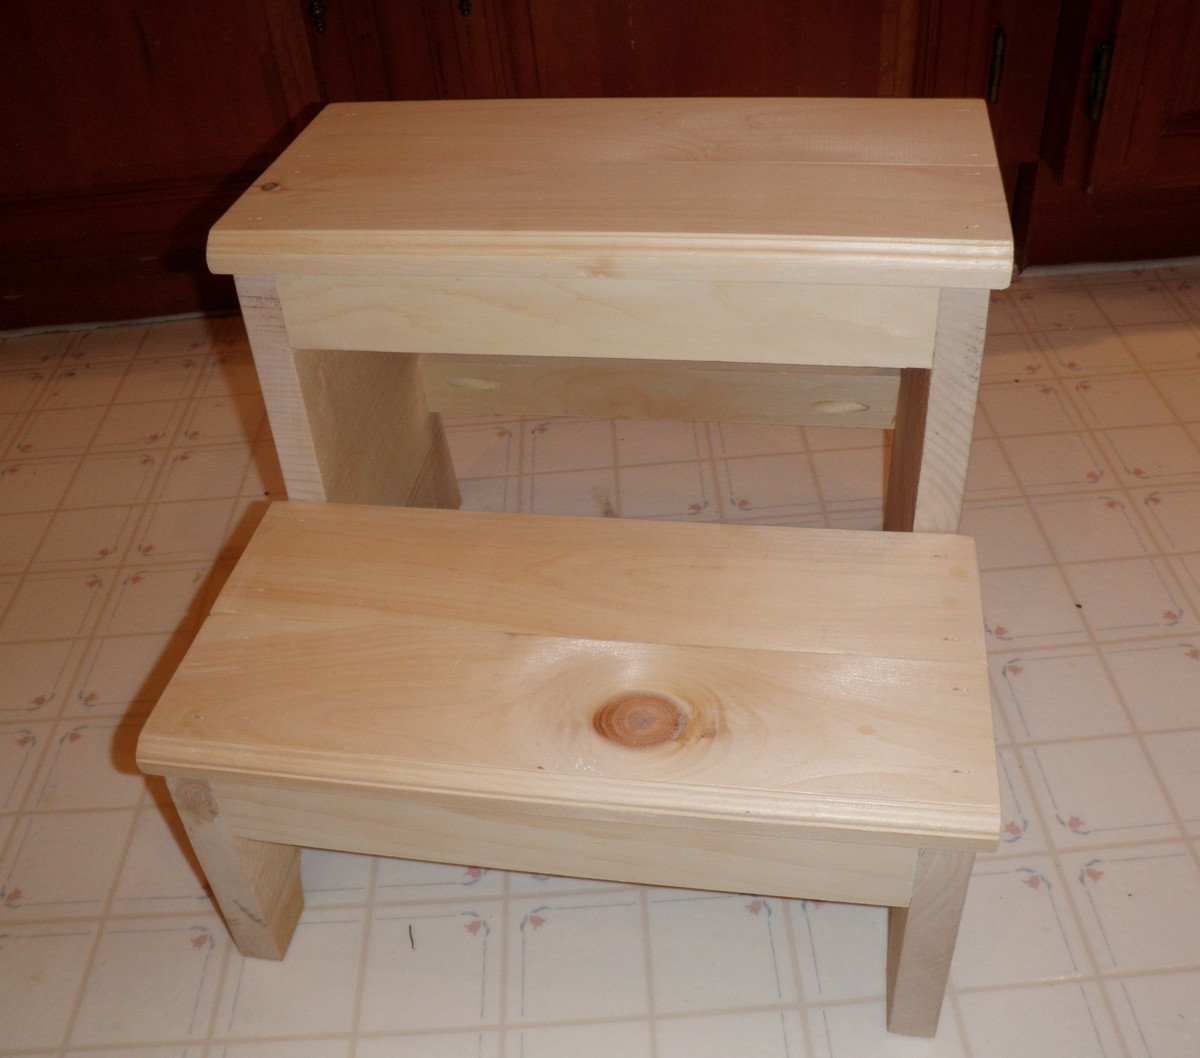
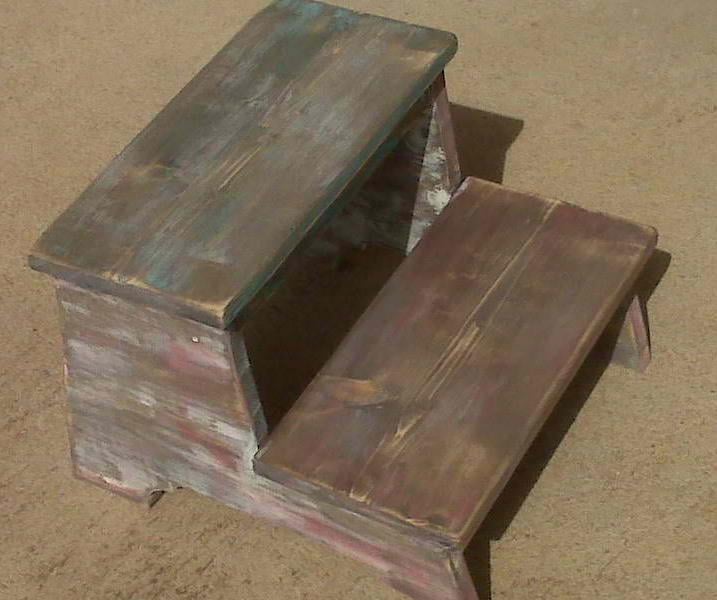
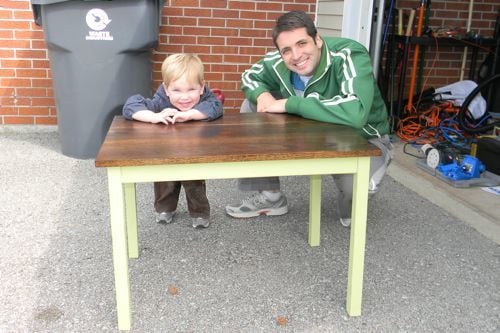
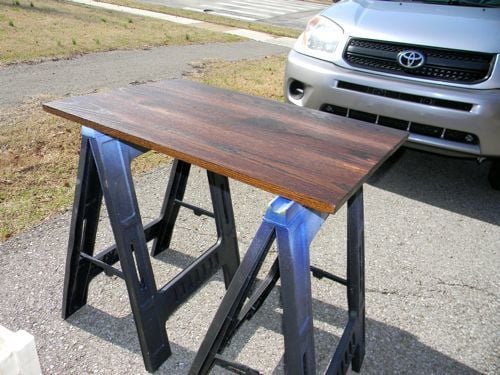
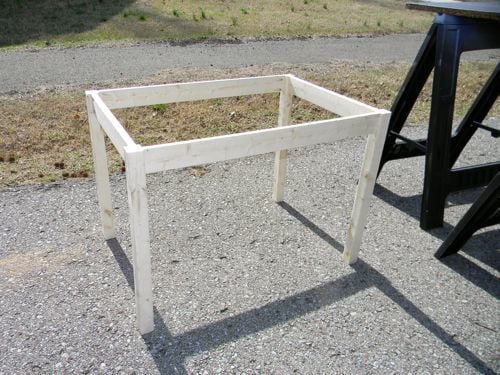
Trundle Bed For Grandma and Grandpa
![](/sites/default/files/0912151734b.jpg)
Built a twin bed trundle for visits from grandma and grandpa. Thrown together when we realized our setup was not going to work, we are planning to paint or stain once this visit comes to an end.
![](/sites/default/files/0912151835a.jpg)
Built a twin bed trundle for visits from grandma and grandpa. Thrown together when we realized our setup was not going to work, we are planning to paint or stain once this visit comes to an end.
Used the plans changed some dimensions a little bit.
My grandaughter and I built the super simple bed and modified the Hailey planked headboard. We used common douglas fir from Home Depot. The finish is equal parts Minwax cherry and early american with 3 coats of Minwax wipe on poly with a light sanding with 220 grit between coats. Total cost was about 250.00.
I built this simple but super cute locker for my daughters room! She loves it and so do all of her friends! This was a super simple build just follow Ana's awesome plans!
This build is the prototype for the 1-Board Cedar Desk Accessory Set plan. From 1 cedar fence picket, I was able to build this set in 1 afternoon. It was a fun project that I'm hoping will make a great gift. No angles, rips or special cuts were required. The only tools needed were the miter saw, nailgun and palm sander. Of course you could do this all with hand tools, but I love my power tools! :) The inspiration for this plan was some desk sets which I had built entirely from scrap wood. I thought it would be fun to make a plan to build them from just 1 kind of board, just 1 board, and cedar pickets came to mind. You could also do this plan with craft boards - you would need 2 pieces, 1/2" x 5 1/2" x 2'.
The build was really very easy. A lot of sanding to get the picket nice and smooth, but not difficult. The plans show where to cut as you go, to get the best fit and account for variations in the sizes of the wood.
I finished this one after assembly, but on the next one I'm going to try it by finishing all the little pieces first.
Sun, 08/18/2013 - 17:18
Fantastic! I need to find those cedar fence pickets and get started on some desk accessories! =D
Mon, 08/19/2013 - 02:31
Thank you so much for your nice comments! I hope you find your cedar pickets, I'm sure you'll be able to whip up some "desk bling" in no time! :)
Simple design, very practical, and the kids love them
The plans were super simple, and I had it finished in about an hour (worked around the little's nap schedule). I left it unfinished so that the recipient could paint it or stain it however she wanted. It was so nice to see it built and the bedding dressed up before kids got to it. :) I will definitely build another for my own daughter as soon as she's old enough to have her own American Girl doll.
I fell in love with the modern Adirondack chairs, I love how comfortable and simple they are. But I wanted benches to go around my fire pit area. So I decided to modify the modern Adirondack chairs to make 6ft and 8ft benches. I added in extra supports (of course) but it was an easy mod with a gorgeous outcome!
I used a combination of Ana-White's Building Plan along with close examination of the Pottery Barn Andover Table to create my Apothecary Console. I've recently picked up a bunch of free pallets and have been experimenting with ways to use them.
Pallets were used for about 95% of this project. The only thin I bought was 1/2" plywood for the doors, 20 wooden knobs, and two sets of hinges. I took some backing off an old dresser and used that for the back and I found an old rotted piece of antique wood at an antique store that I used for the top.
Since I didn't buy 1x12", I had to join together some 1x6"s that I pulled off the pallets. There's a lot more to tell about this project so if you're interested, I documented the whole thing on our blog:
http://www.tommyandellie.com/Site/Home/Entries/2011/7/18_A%7Bpallet%7Do…
Sat, 07/16/2011 - 05:52
In my blog, I posted that I would not build it like this again......I would buy 1x12"s for sure.
This was a first project for us. We decided to make it for my daughter's birthday, and it took us longer than it should, although the painting took the longest, with drying time and all. It turned out fabulous though!
This was inspired by Ana's wall jewelry cabinet, but with a few changes. I specifically wanted the long shaker style pegs so that I could hang several necklaces on each peg. I also wanted an earring bar, and fashioned one out of an 1/8" brass rod (found on amazon), after experimenting with a few different options. This particular option was small enough to easily hold the earrings, but sturdy enough to hold the weight. To "cap off" the brass rod, I cut a few pieces off a thick dowel rod, and ran a drill through them.
My niece requested this for her fourth birthday. Hoping this earns me the best Aunt award! Had some 6x6 cedar scraps from a project, cut them down, and voila!
Mon, 06/13/2022 - 11:51
And the best aunt award goes to YOU!!! Thanks for sharing:)
These 4 little chairs did not take very long to put together. But they did take me a while to sand, prime and paint. I hate that part of building-haha-so it always seems like it takes forever to get through with that and on to the fun part. They are very easy to make and inexpensive. My grandkids and others who have driven by and seen them out front have loved them!!
You made this project look so simple that I just had to try it. However, to suit my needs I had to make a few alterations to the plans. I had a set of bi-fold doors that were in need of replacement and I thought inset bookshelf doors would be the perfect way to replace them. This project was easy enough for me to do it myself and I am really new to the DIY game but I did have some help. I really love the way they turned out. You can read all about my my adventure at http://heresalittletmi.blogspot.com/2013/08/bookshelf-doors.html
We modified the plans for the Camp Loft Bed to accommodate a full size mattress. We also extended the platform so that the bed spread wall to wall in the bedroom. Since the platform was extended, we added a short railing to prevent falls. The height was pushed up to make it taller than the junior size of the original design. This way we were able to place a desk and add 2 pine shelves underneath the head of the bed.
We added a board along the long side at the bottom to take out some wiggling. The bed itself still seemed a little shaky until we attached the platform and now it is rock solid. We have had 1-2 adults and multiple kids up there at the same time with no problem.
The bed itself could have been built in a weekend. However, the time it took to sand, stain, and clear coat added many more hours. Those hours were definitely worth it for a finished product.
Fri, 10/02/2015 - 10:43
Thank you so much for posting this. My oldest wants a loft bed, but has a full right now. I am building my 2 youngest the junior loft this fall and the oldest was jealous. I was scared to build one. Afraid it would not hold up. Thank you for showing that it does. Great job!!!
This turned out to be a great birthday gift. So much better than more toys. My 5 year old nieces loved it.
Sun, 10/14/2018 - 18:01
Beautiful! You did an amazing job, what a lucky little niece!
I needed a new desk for my office and this one is perfect. I made it a little longer than the plans so I could accommodate all my "stuff". Mine is 6' wide
I found the cutest little nesting tables on PB, but I didn't want to spend $400. Instead, I adjusted the sizes a bit and built my own.
Tue, 07/26/2011 - 15:44
Wow you make it look so easy! Your details on your blog are awesome! Makes me want to go out and buy a router! LOL Hope your thumb is healing.
Tue, 07/26/2011 - 17:50
hahaha...I had to laugh at the thumb comment. I did break it, but that didn't stop me from picking up the router to finish the top :) I mean, it is just a thumb, not an entire arm, right?
Thank you for the kind comments. I try to post as much information as possible (and if I don't, please ask). I love seeing great project blogs, but found it frustrating when they would show the supplies or paint they used...then the finished project. But nothing in between. How did they do it?
When I found Ana's site, I was so relieved that there were communities where they thrive on sharing information. Y'all are amazing! A-MAZ-ING!
Just a simple, but solid and stable patio table to replace the IKEA version that was warping and disintegrating. So much happier with this version. Also used bolts and wing nuts for attaching the legs for easy disassembly and storage for the winter. Should get many years out of this table.
I made a few changes to Ana's plans to basically work with my cushions. I found cushions on clearance at Ballard's Backroom. I had to adjust the size of the sofas in order to fit the cushions. I also adjusted the height of the sofa, as I found it to be a little higher than I would have liked. The project took a while to complete, but it wasn't due to difficulty. This was an easy project for a novice like myself. I just primed every piece of wood with exterior primer and then painted the whole thing with 2 coats of exterior paint. It was the drying time that added to the total project time.
I also made a cocktail ottoman out of a lounge chair cushion that I purchased at Ballard's. Basically, the ottoman is a rectangular box built to the size of the cushion. I added feet purchased at Home Depot just to make it look a little less box-like. I applied a couple of coats of primer as well as the exterior paint to every piece.