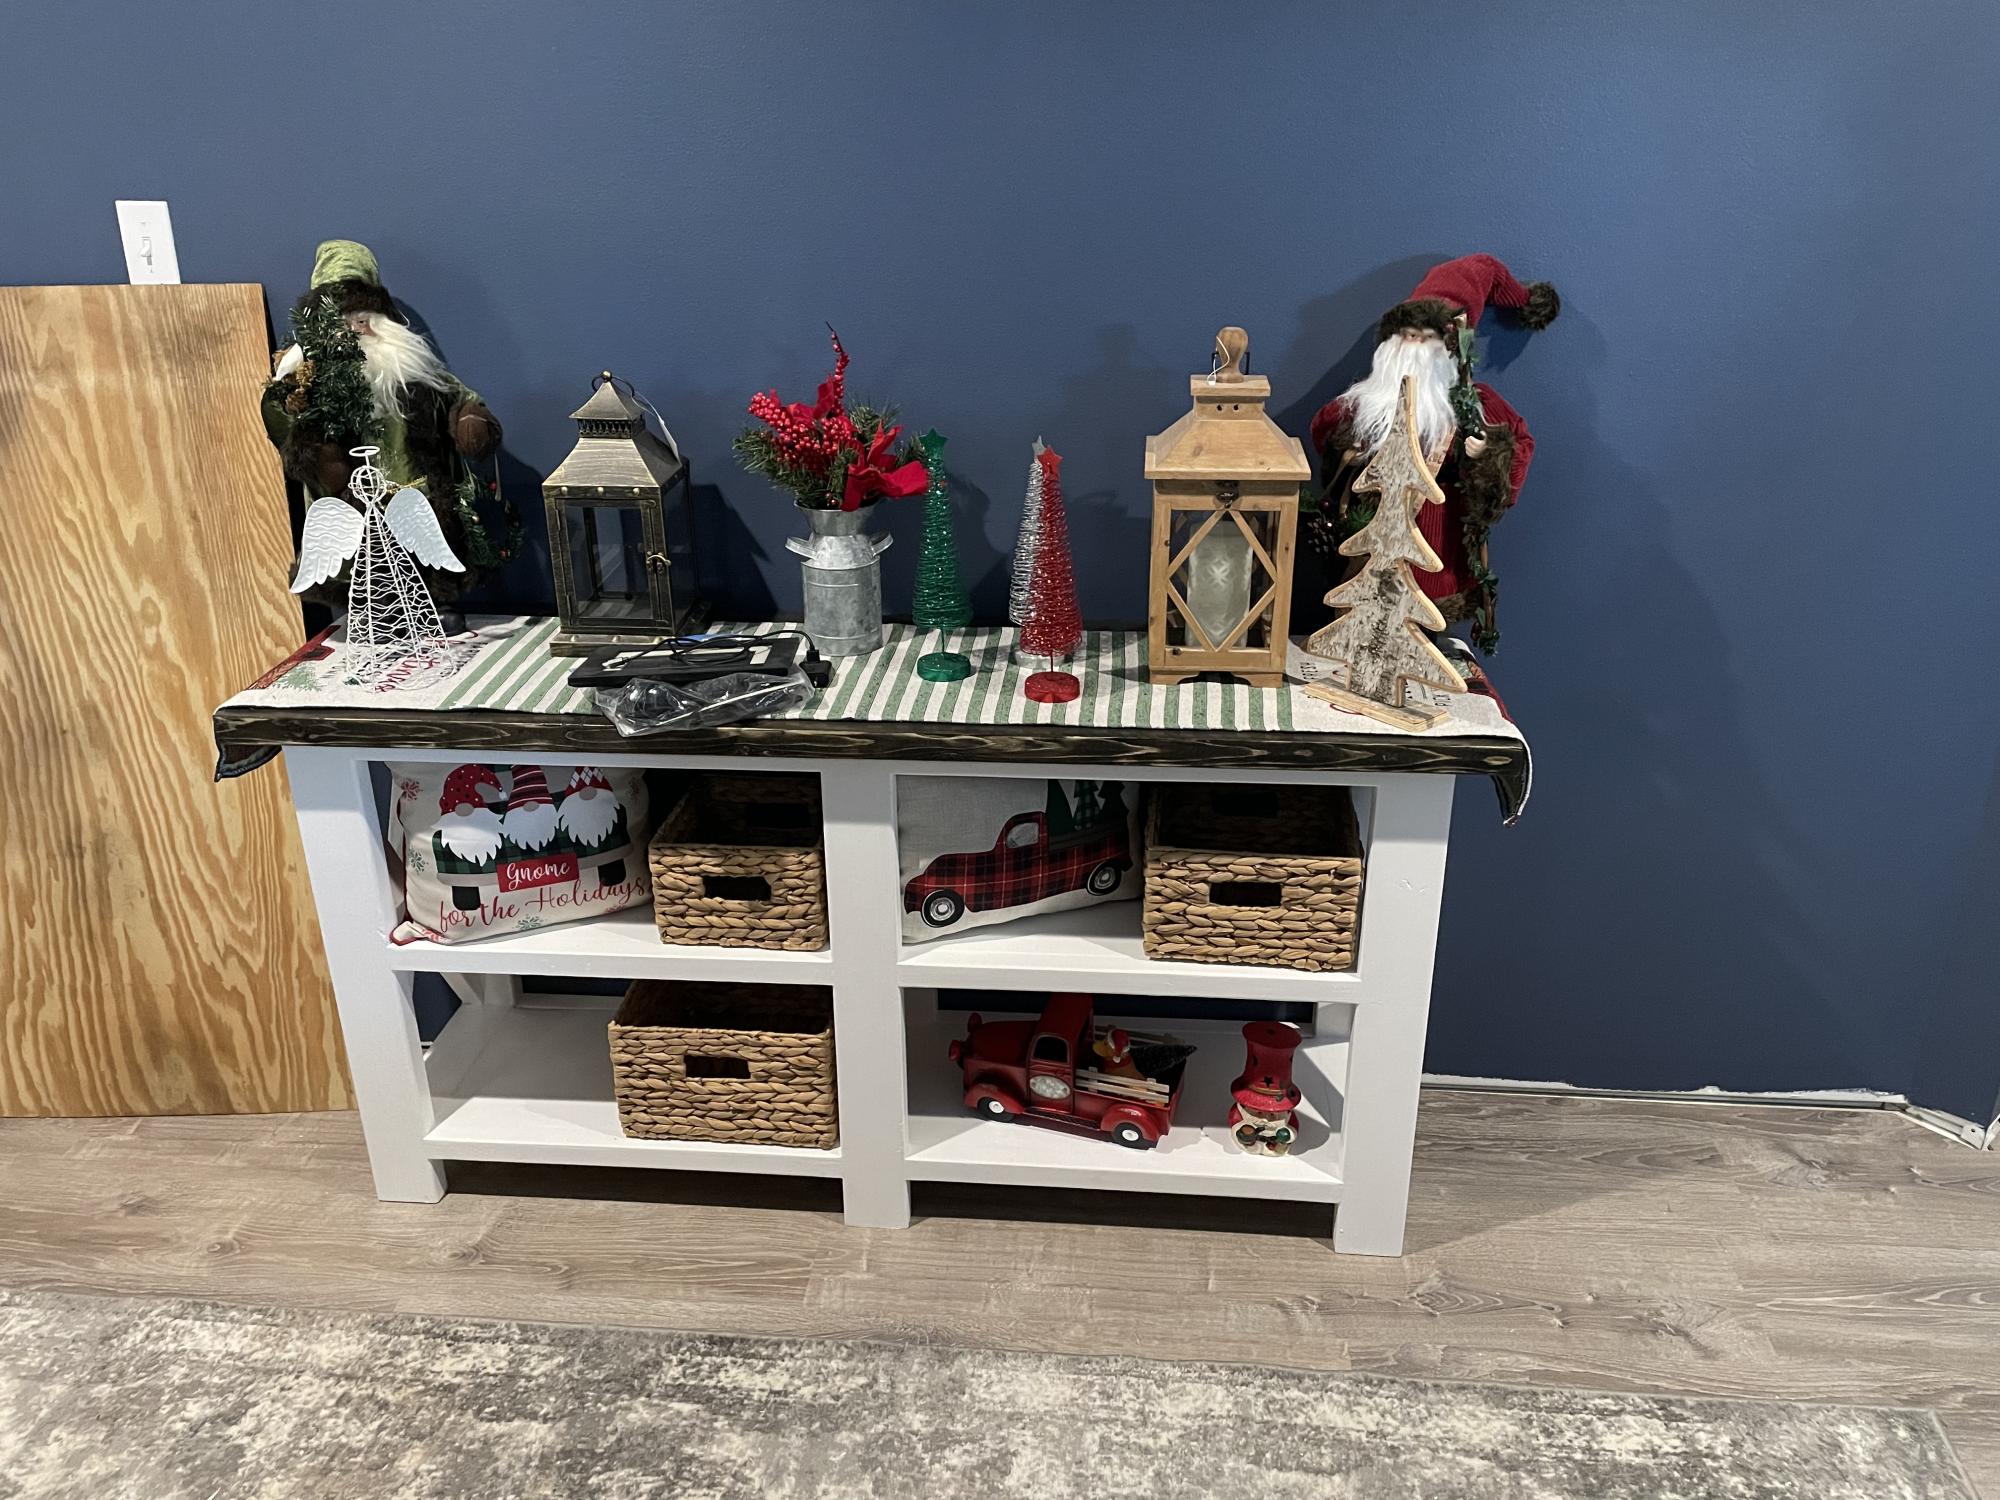
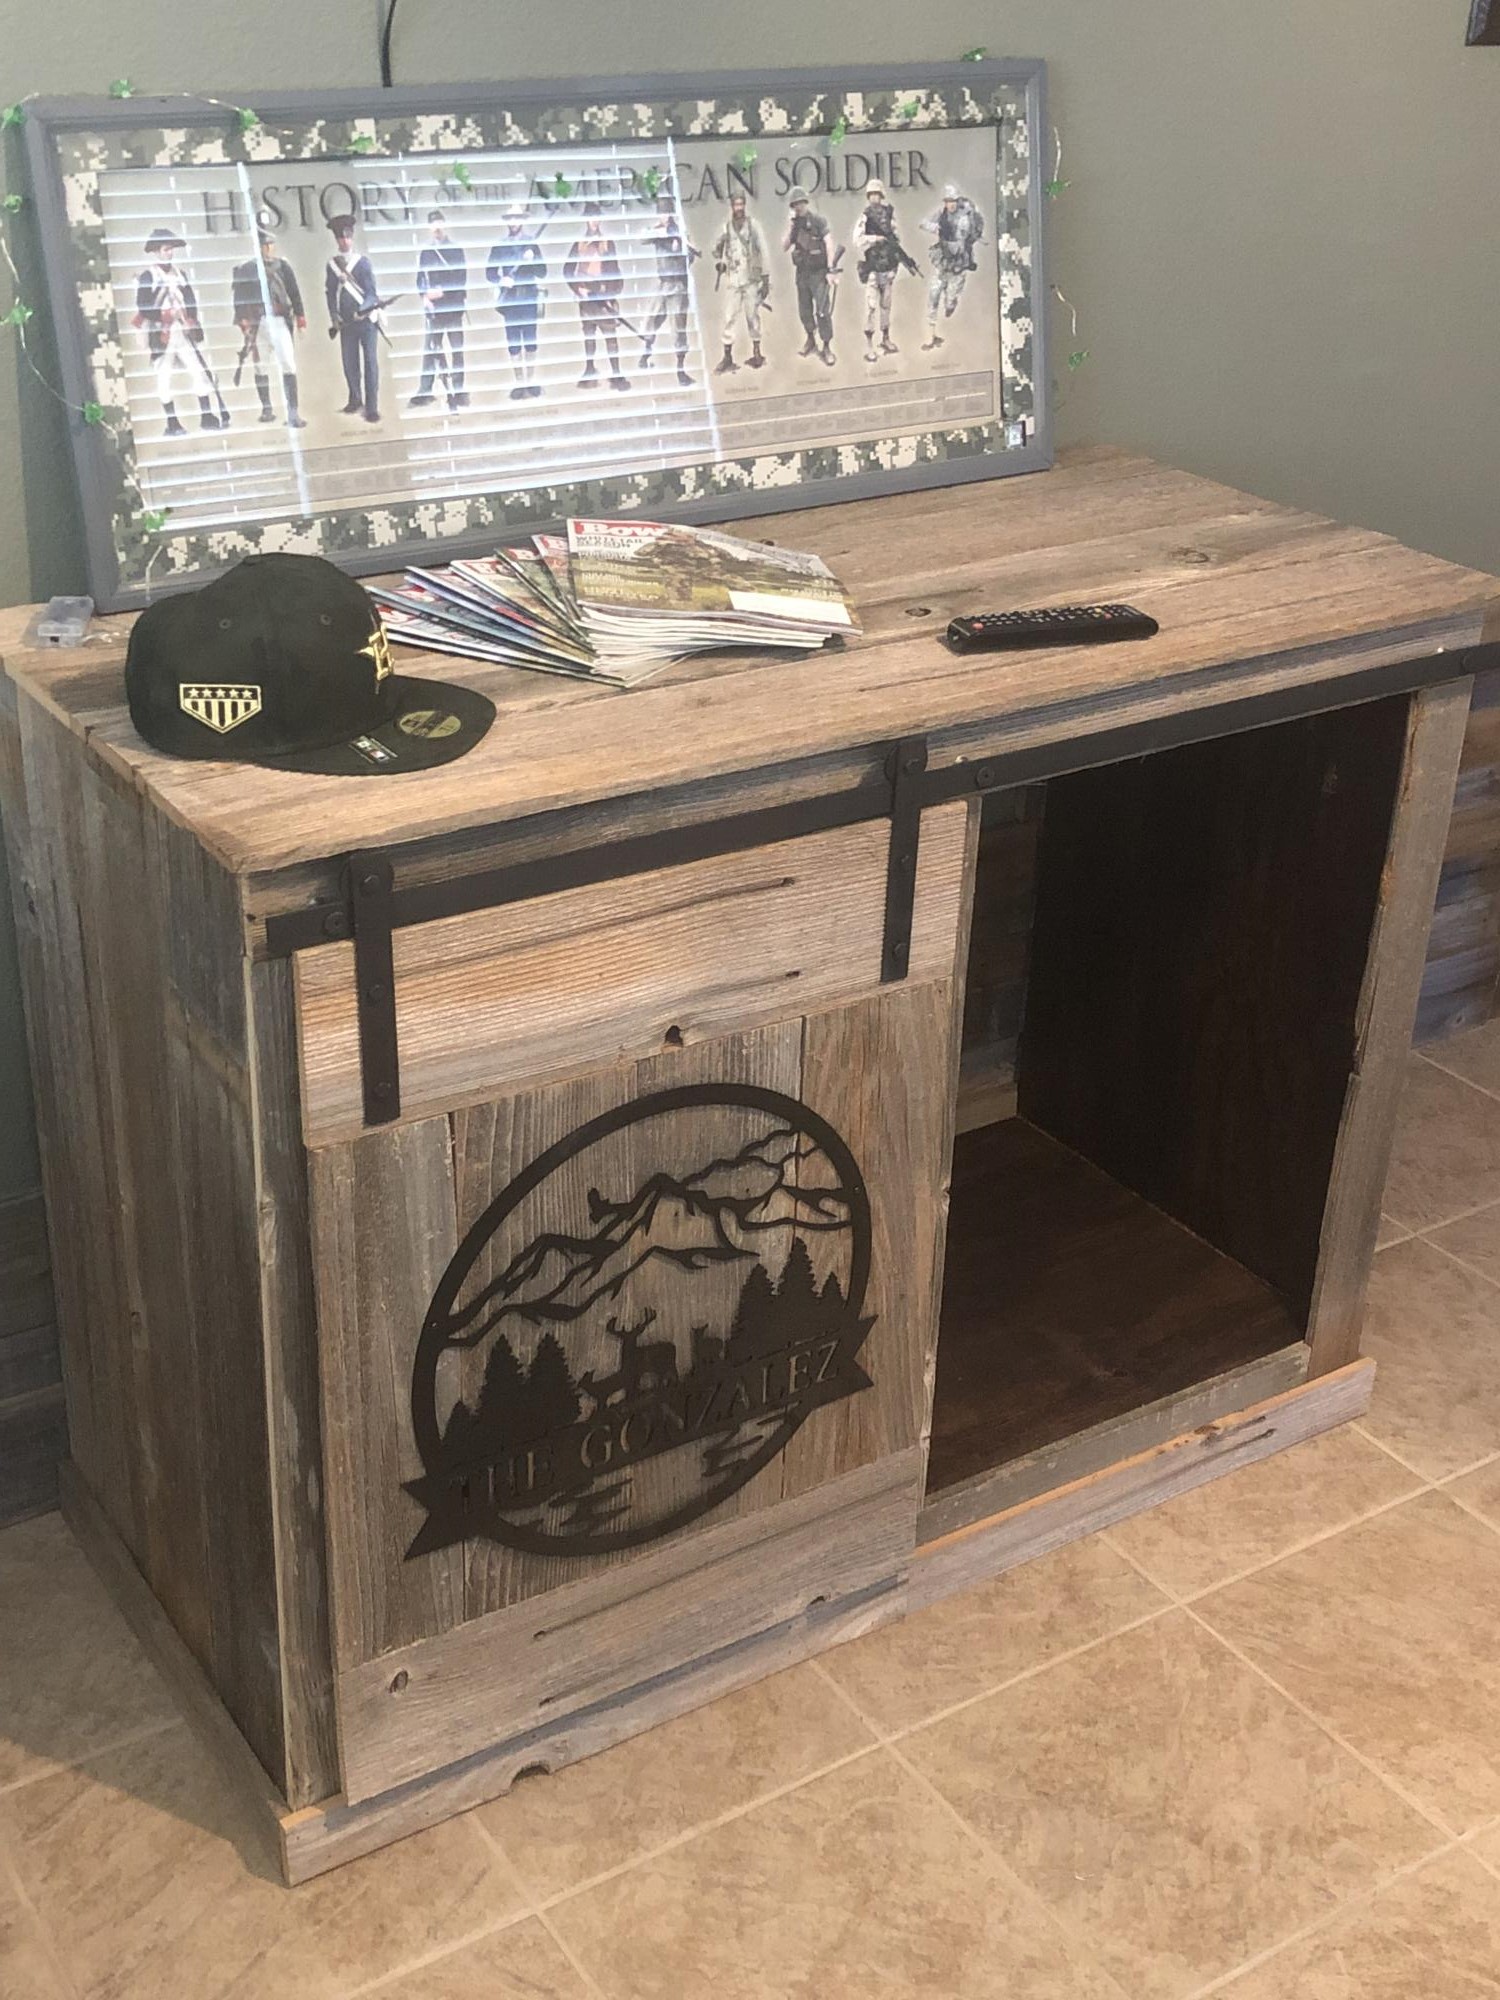
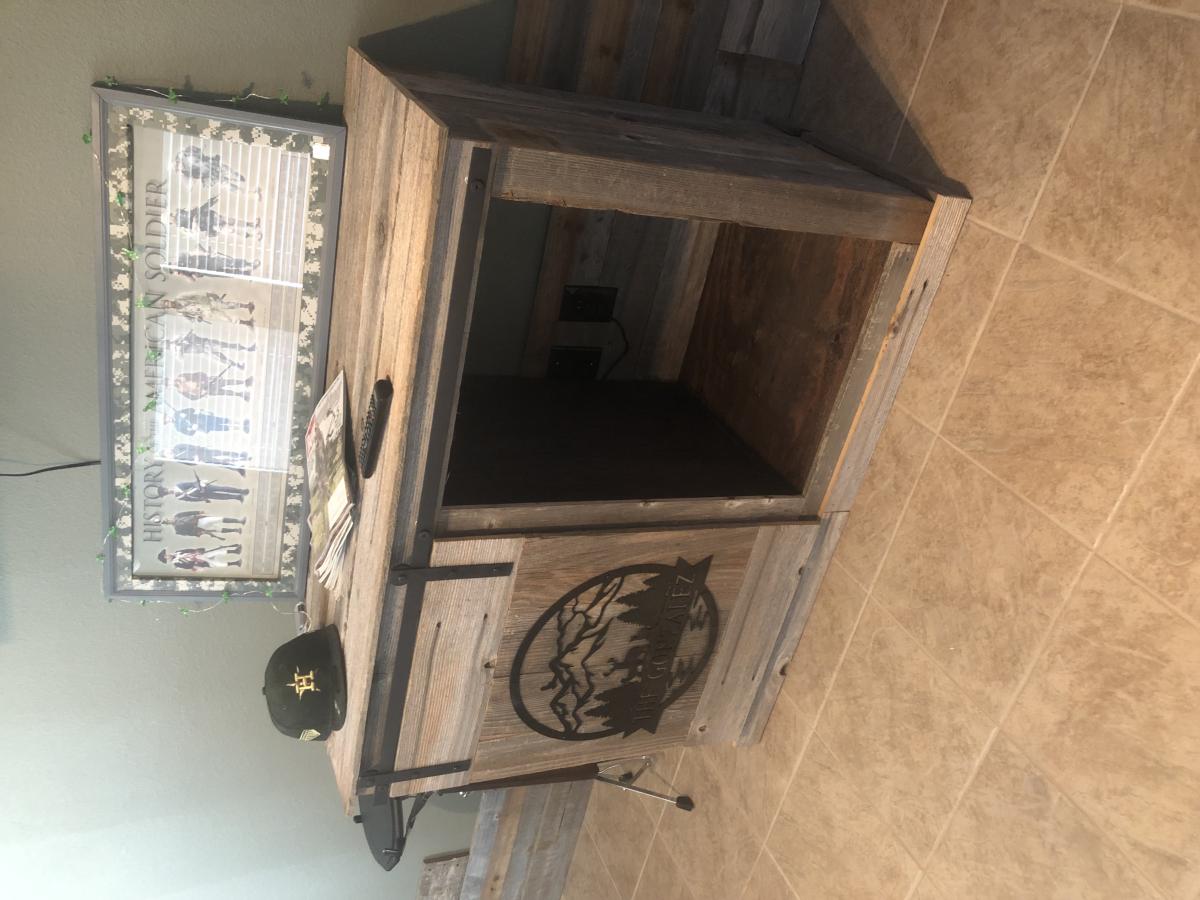
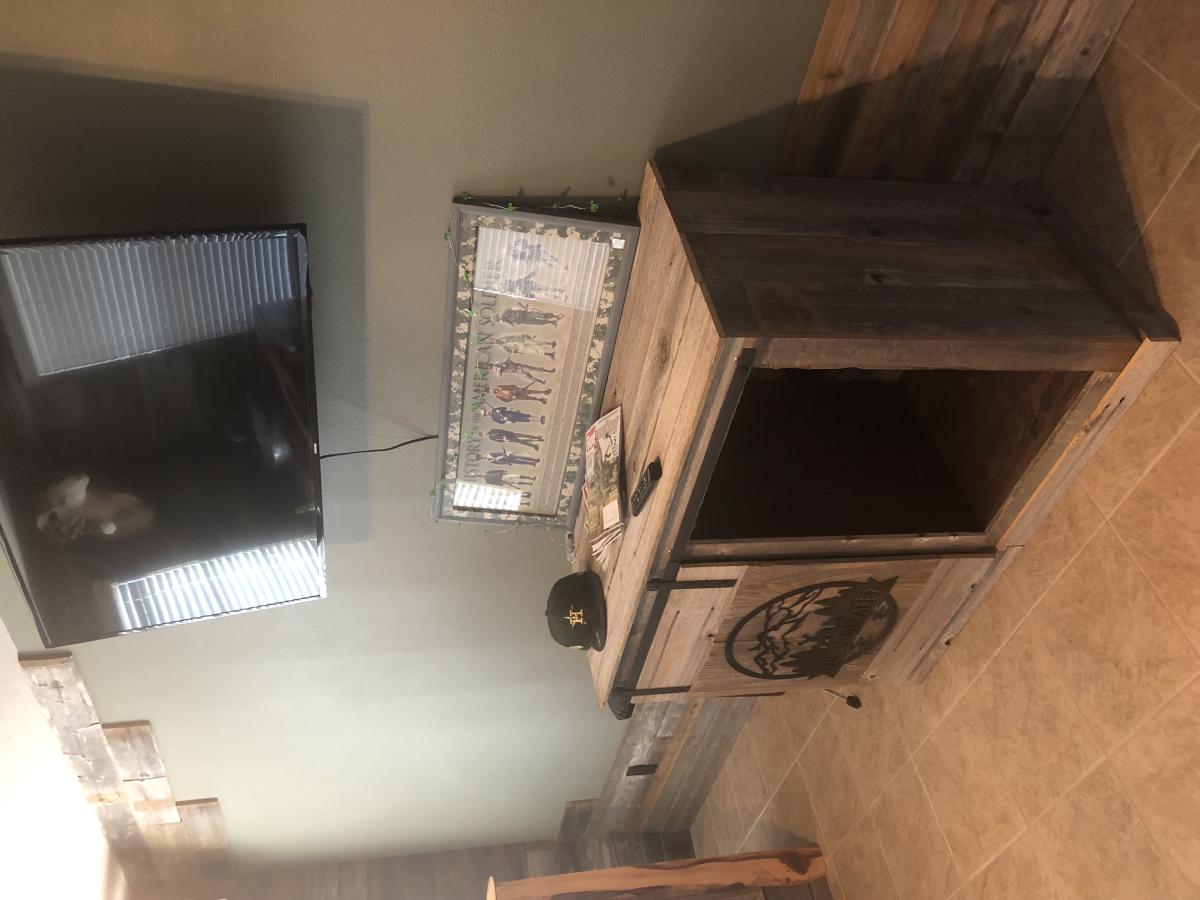
First rustic build
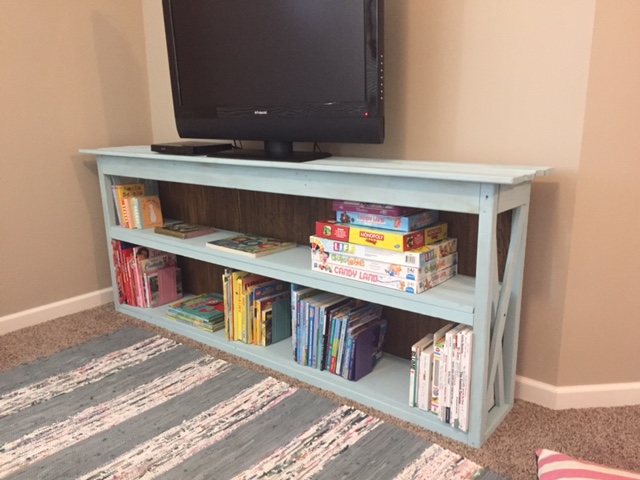
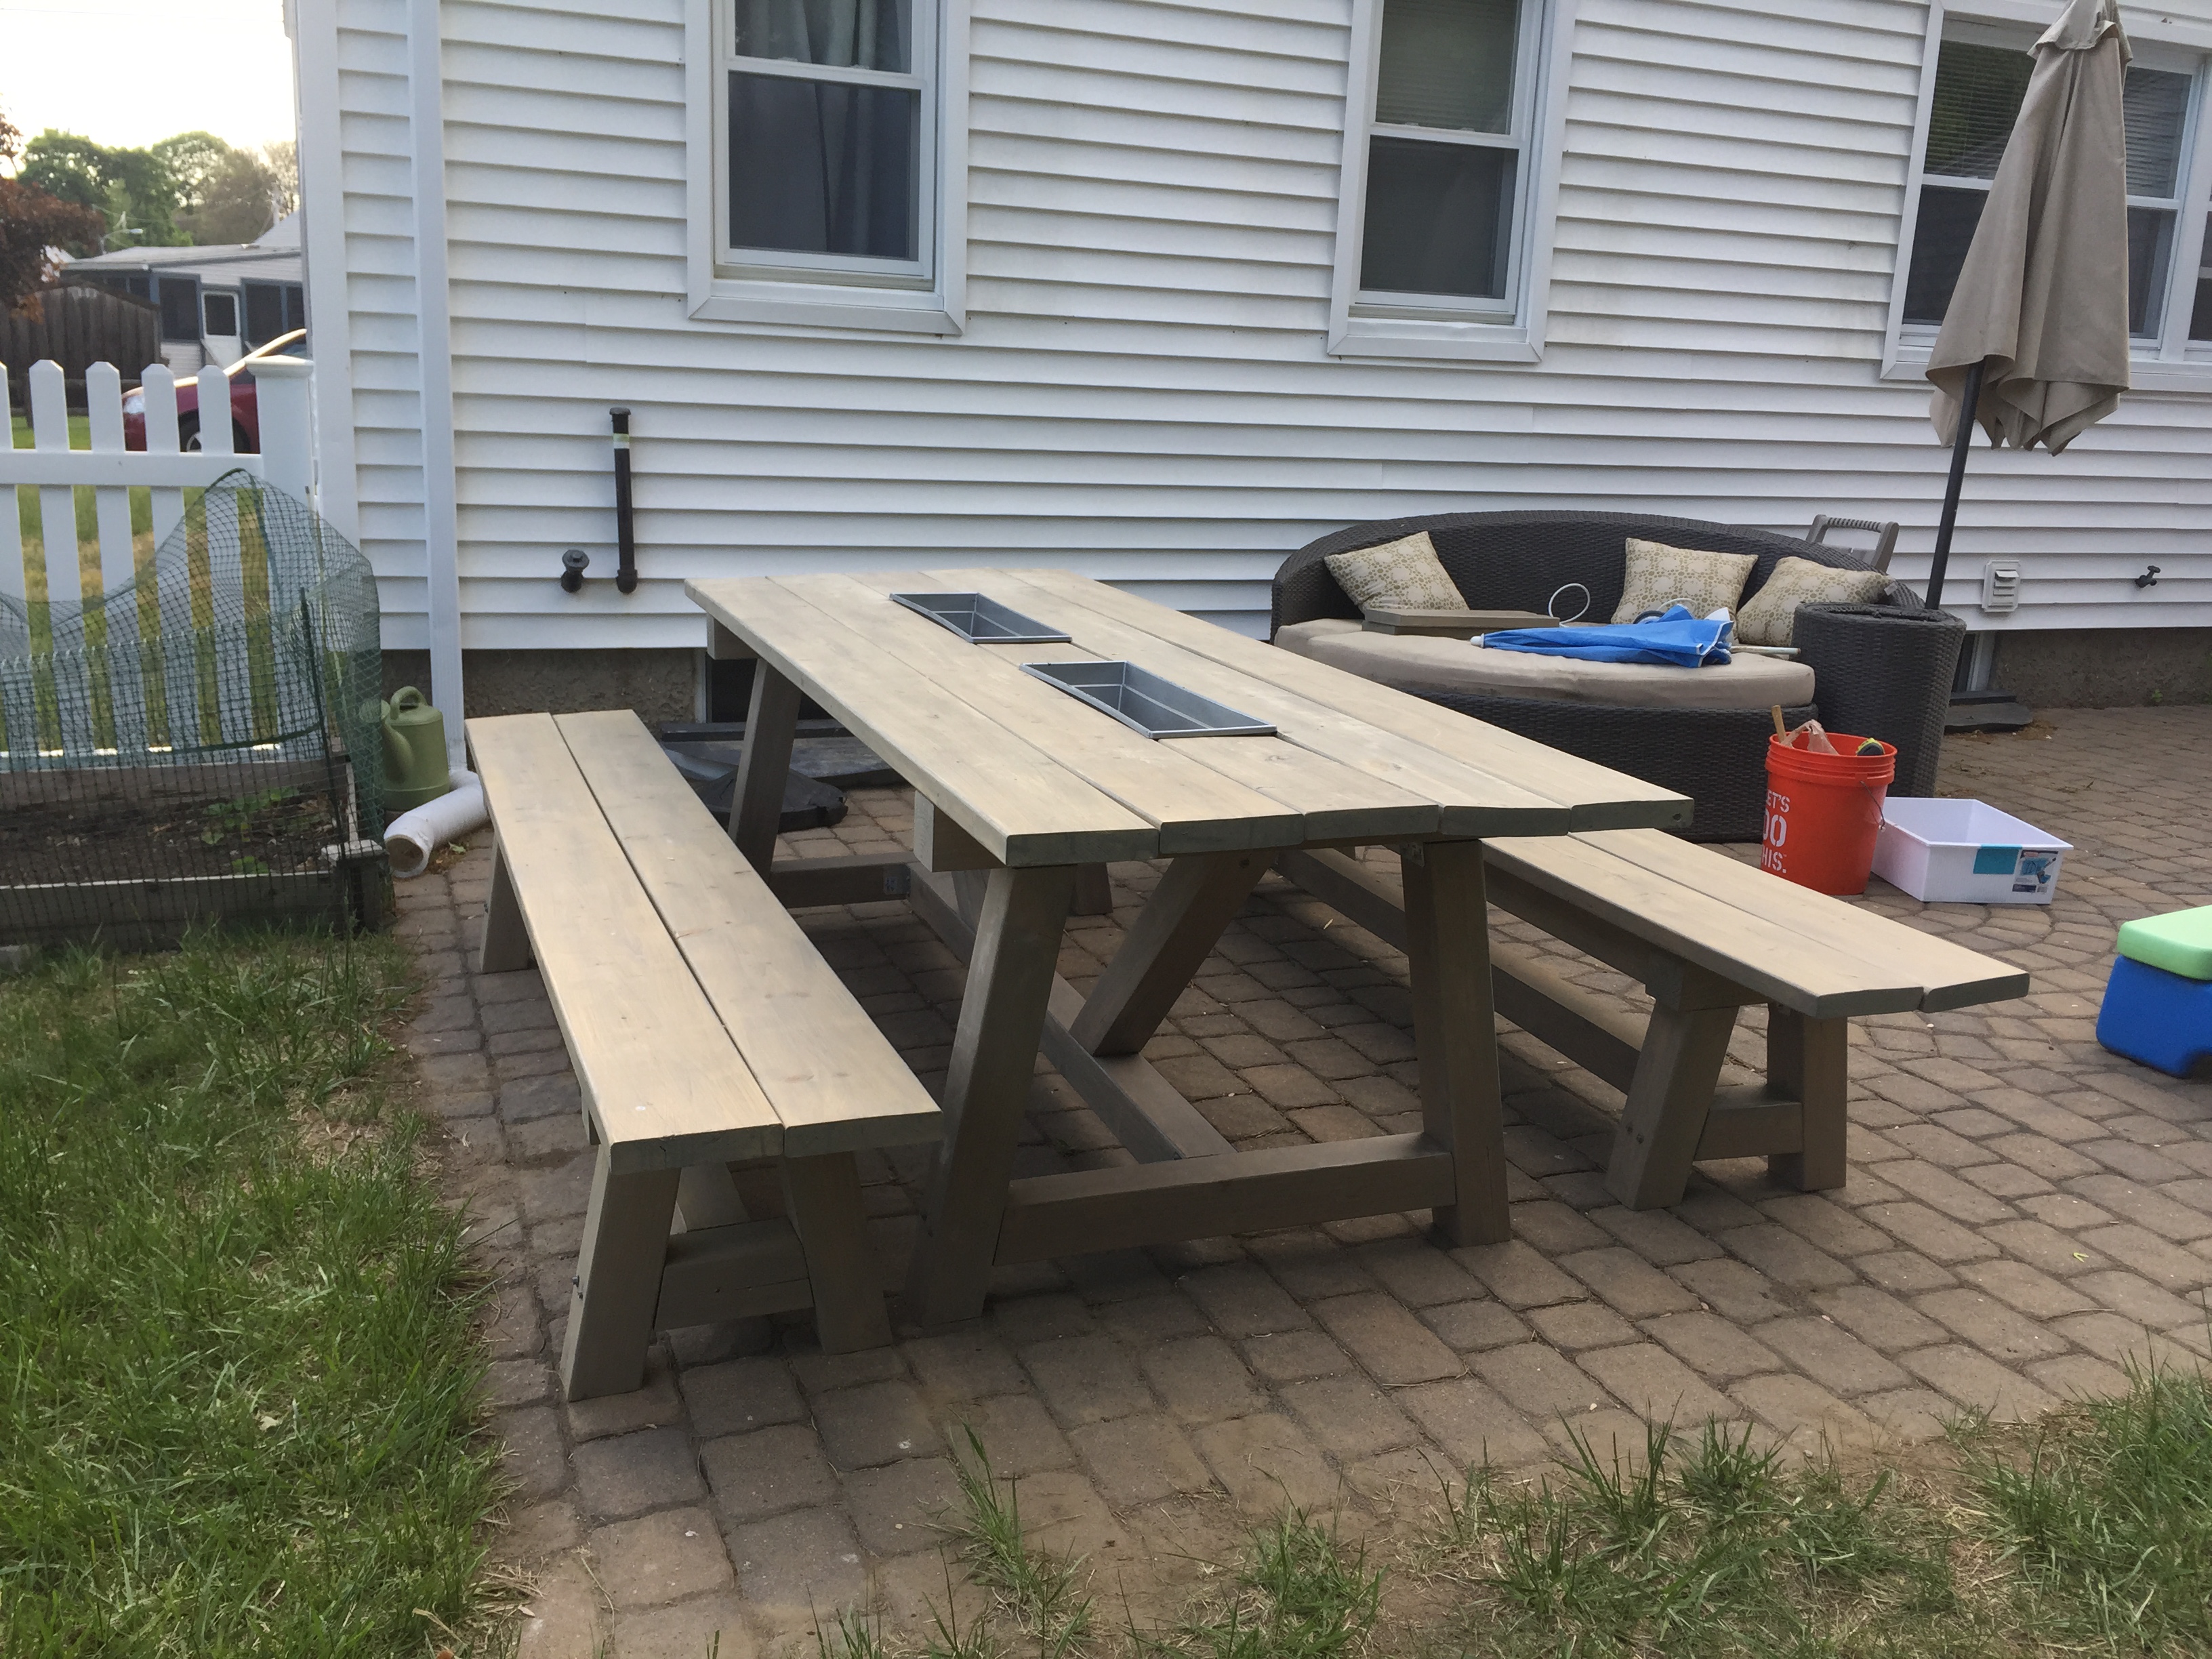
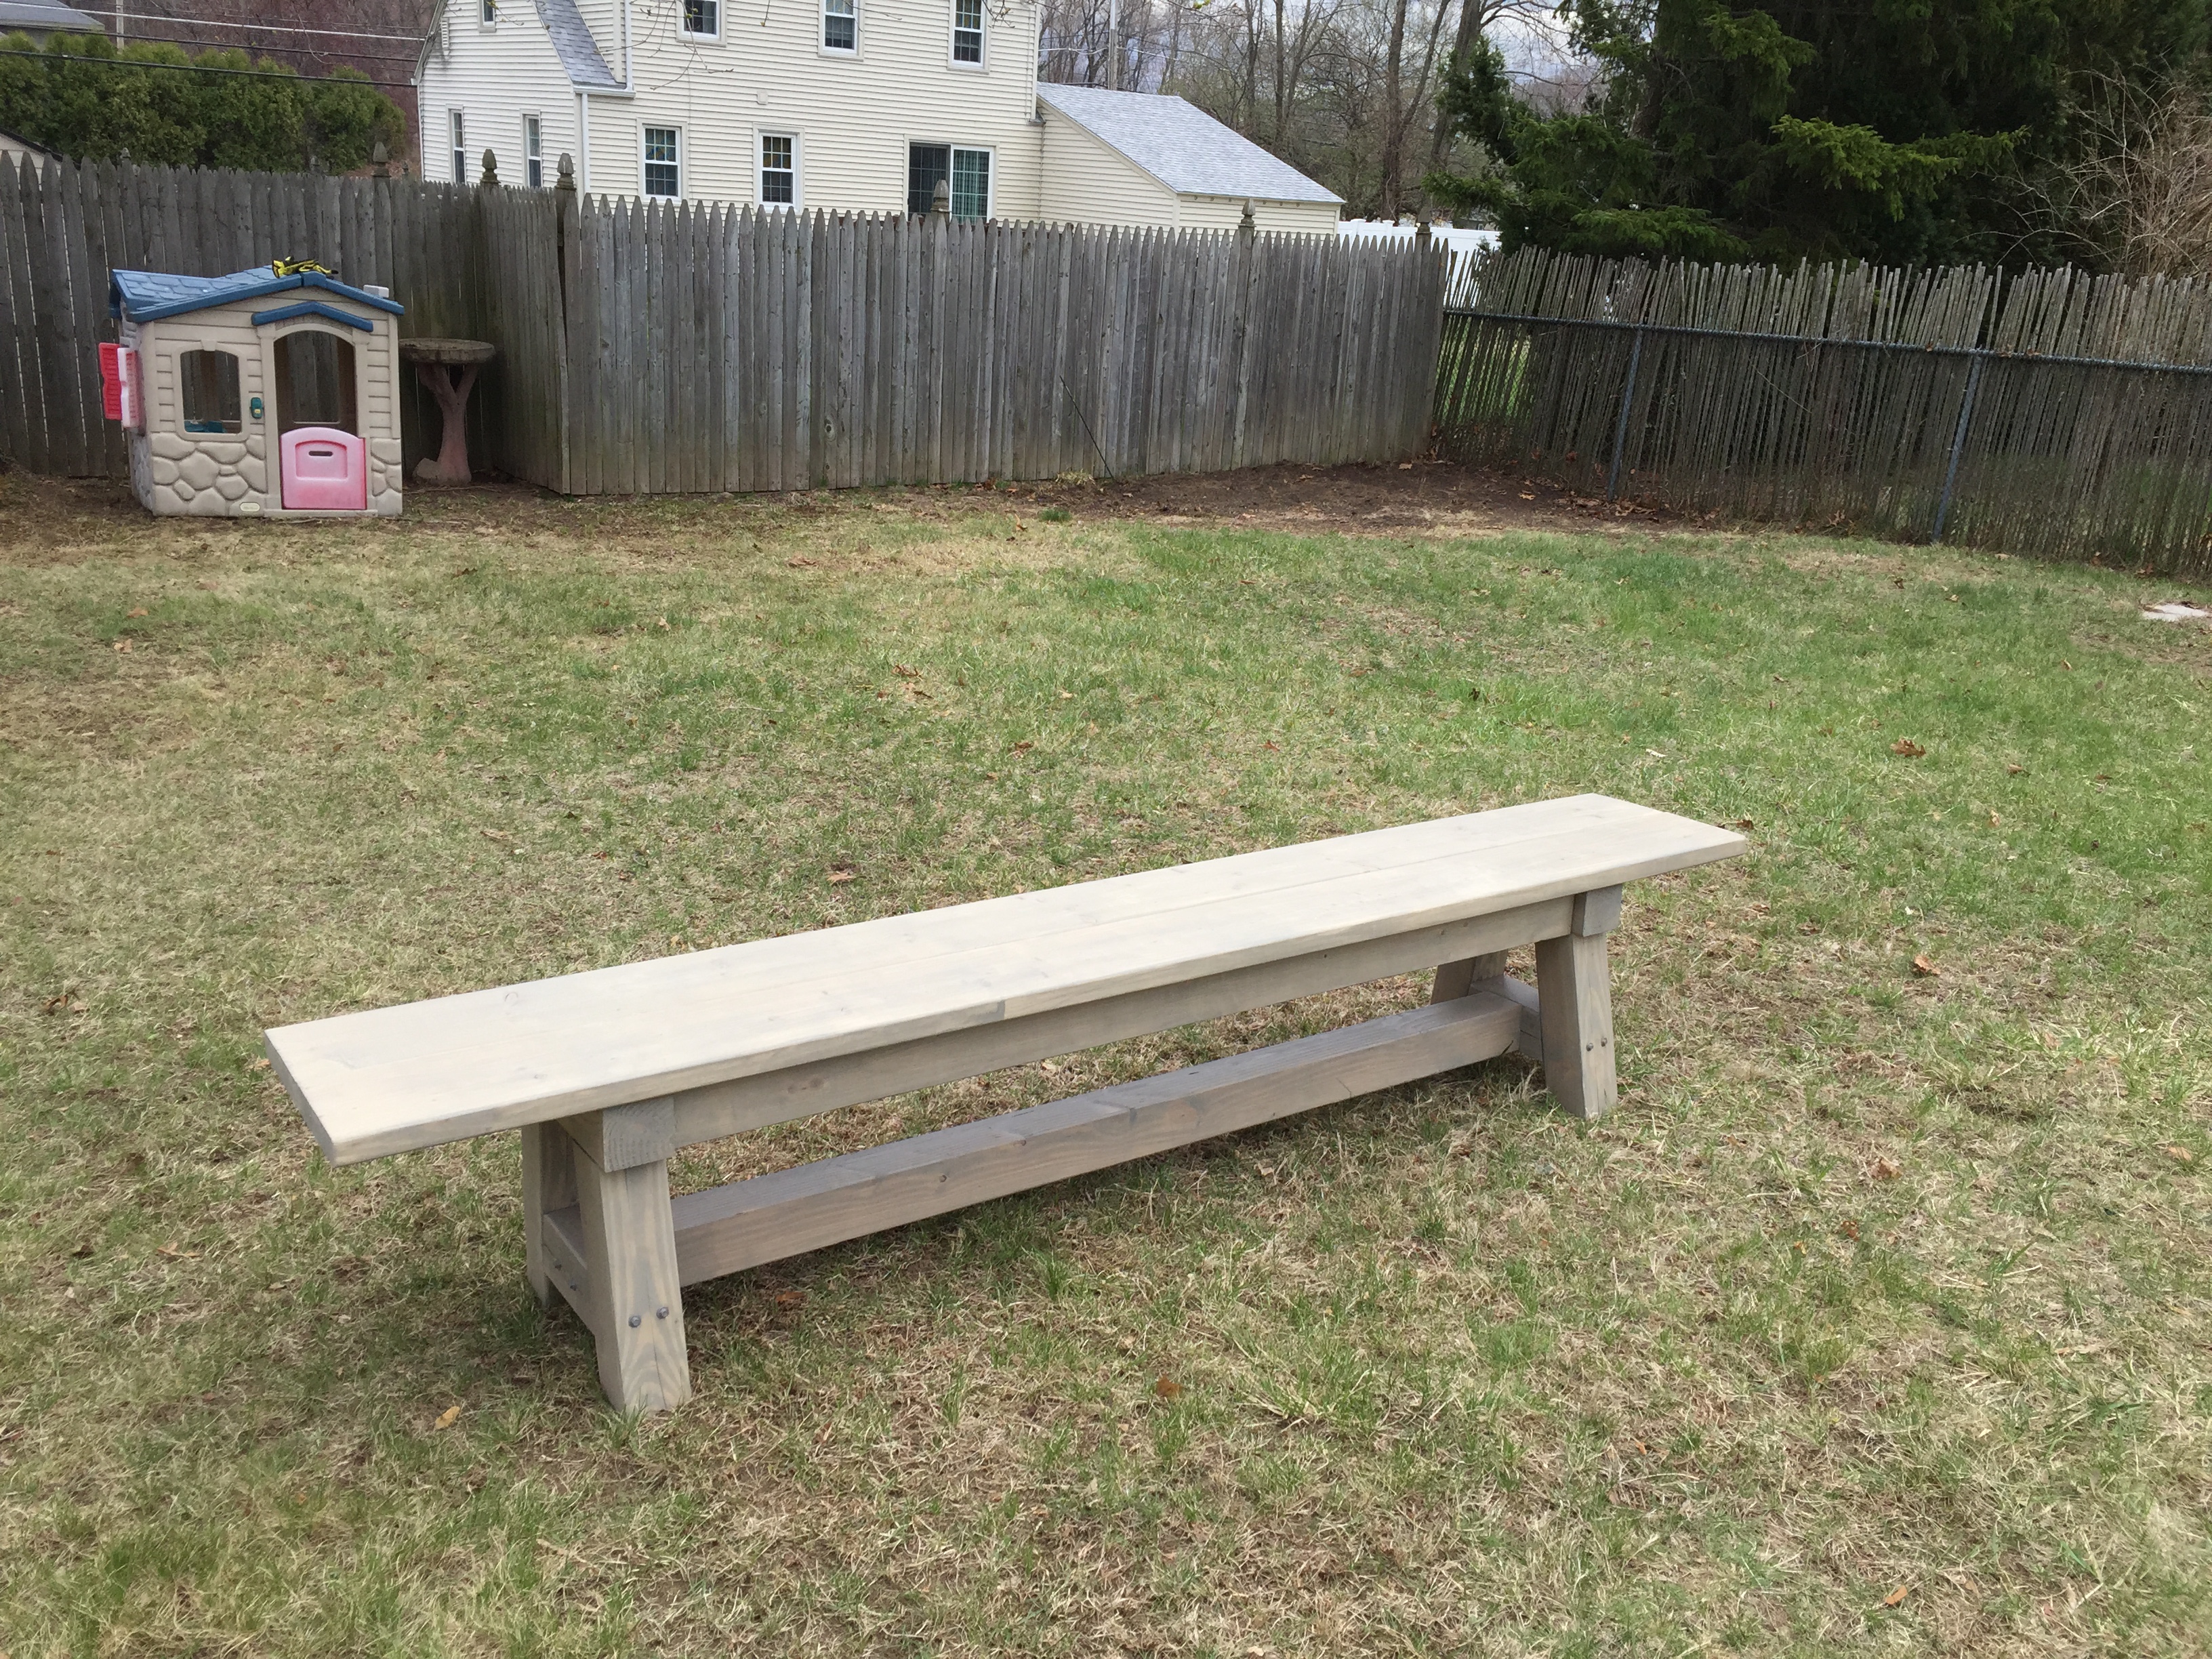
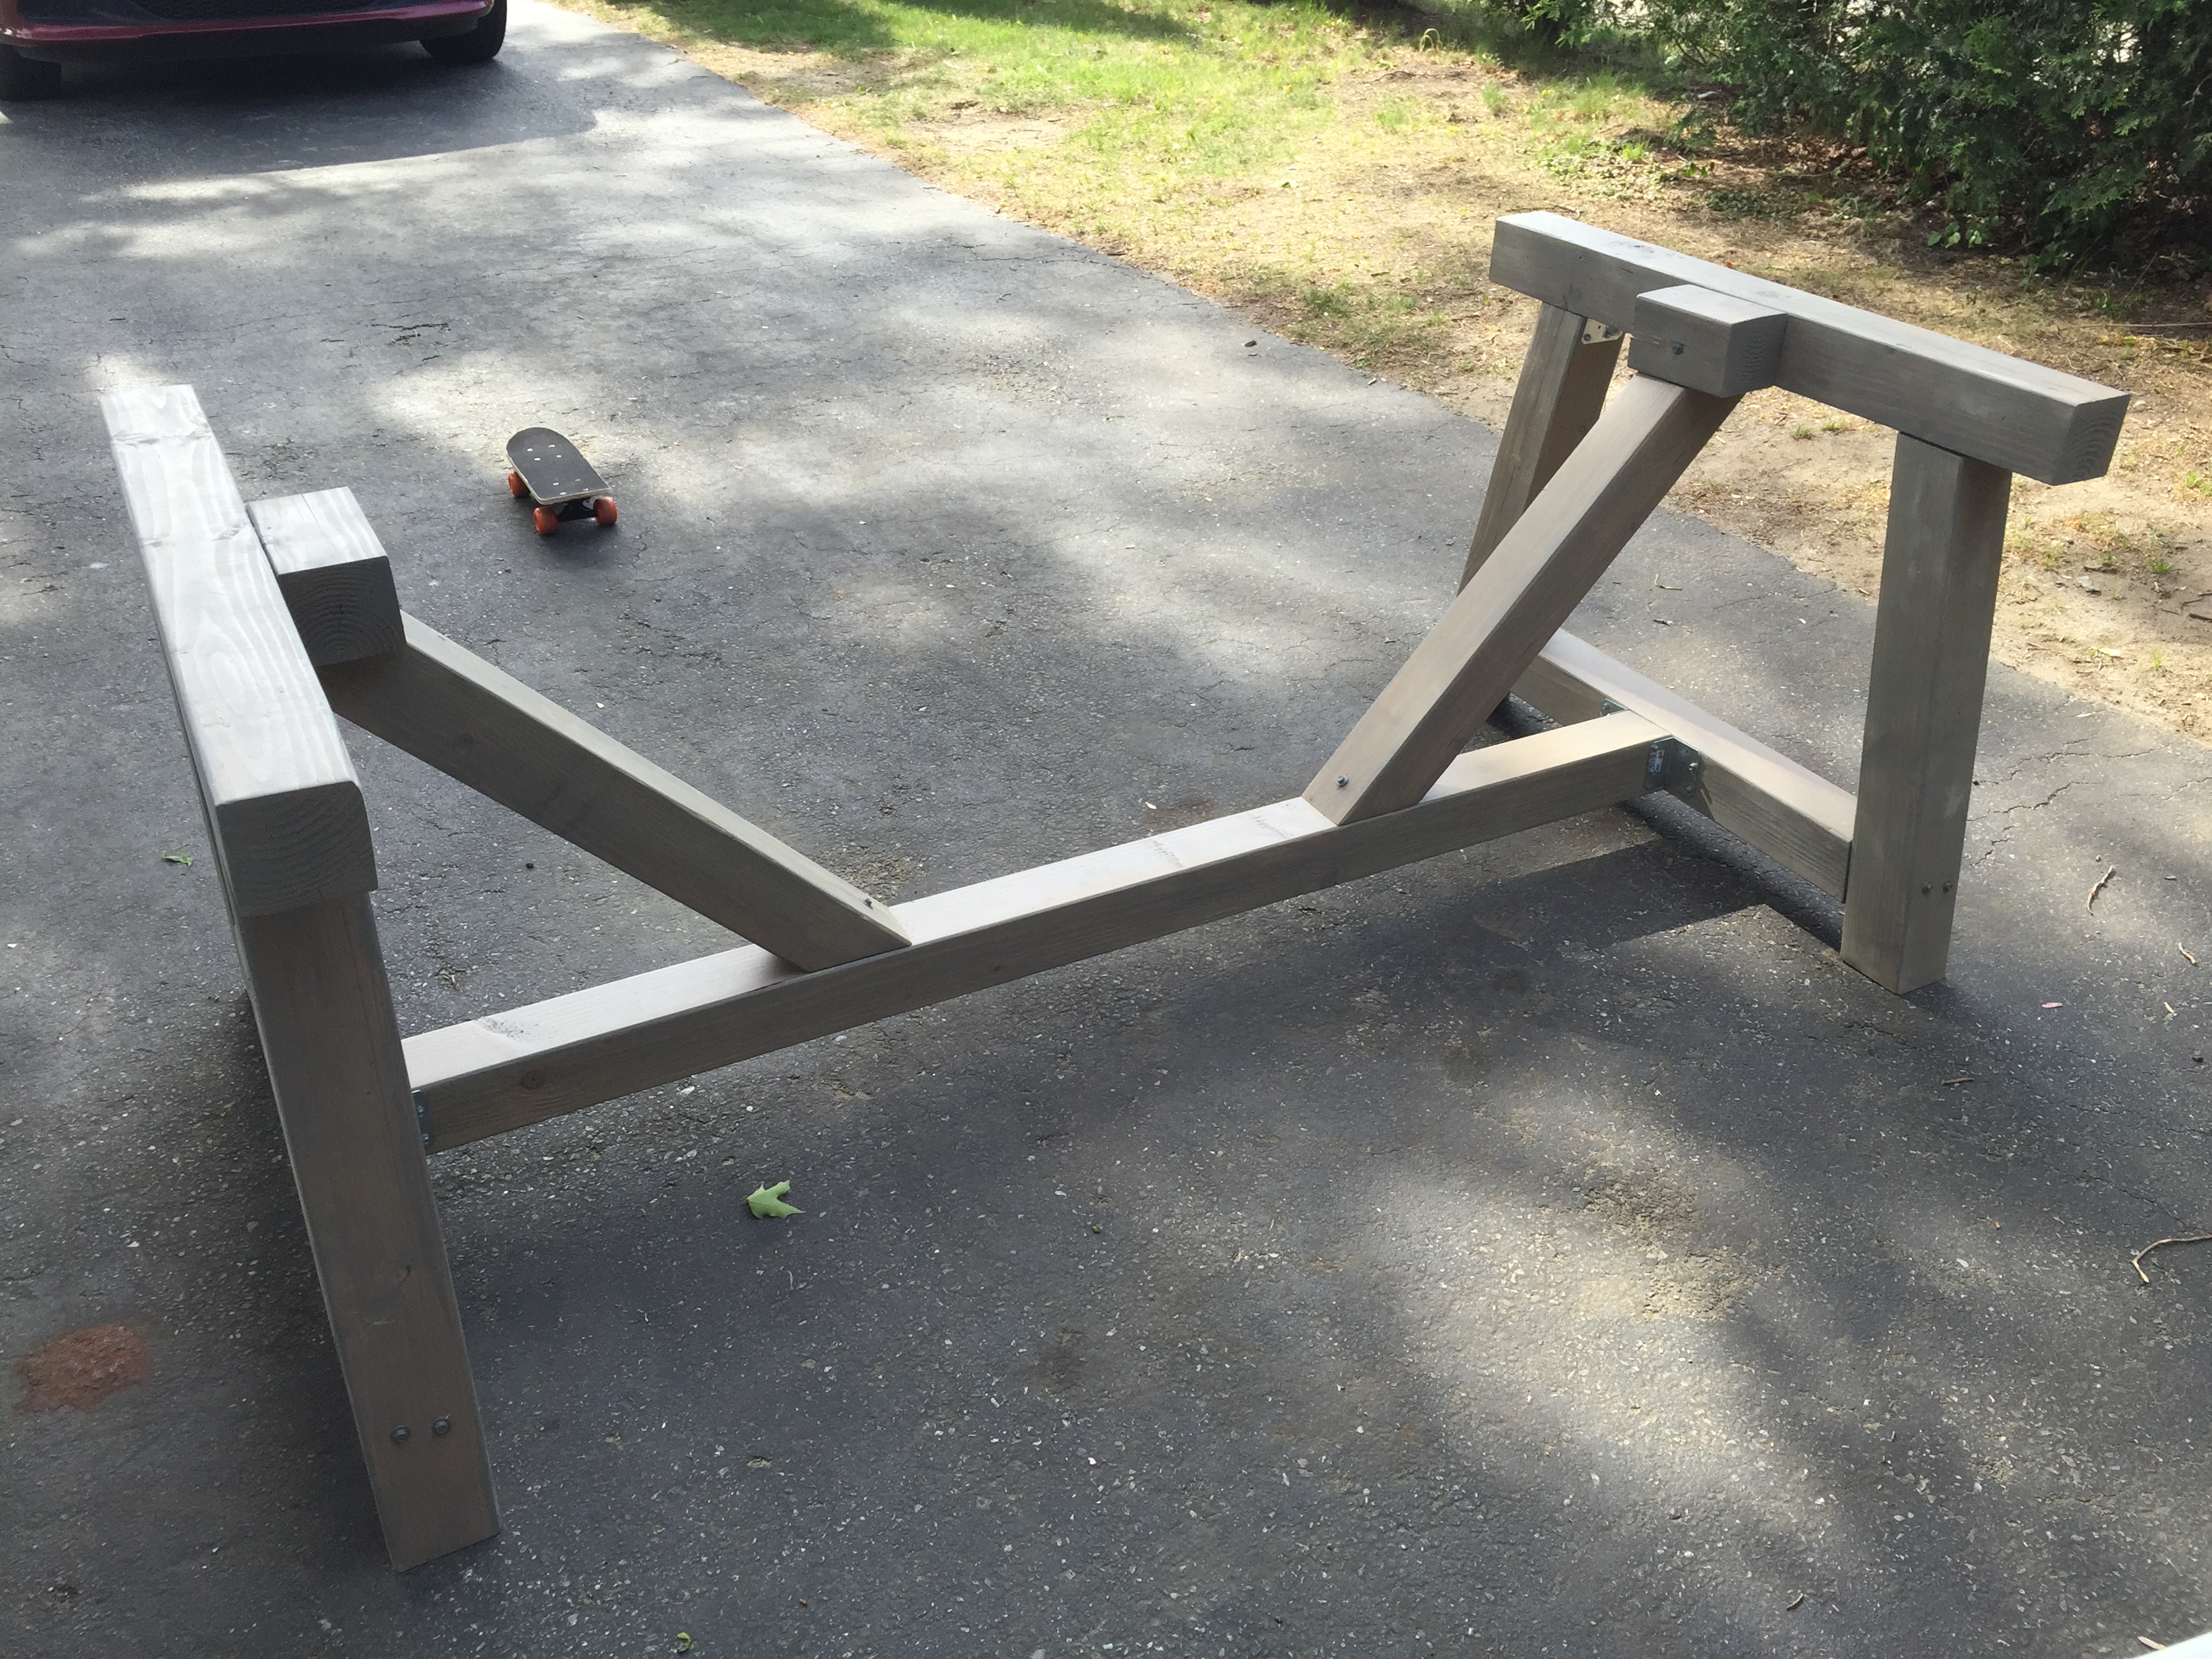
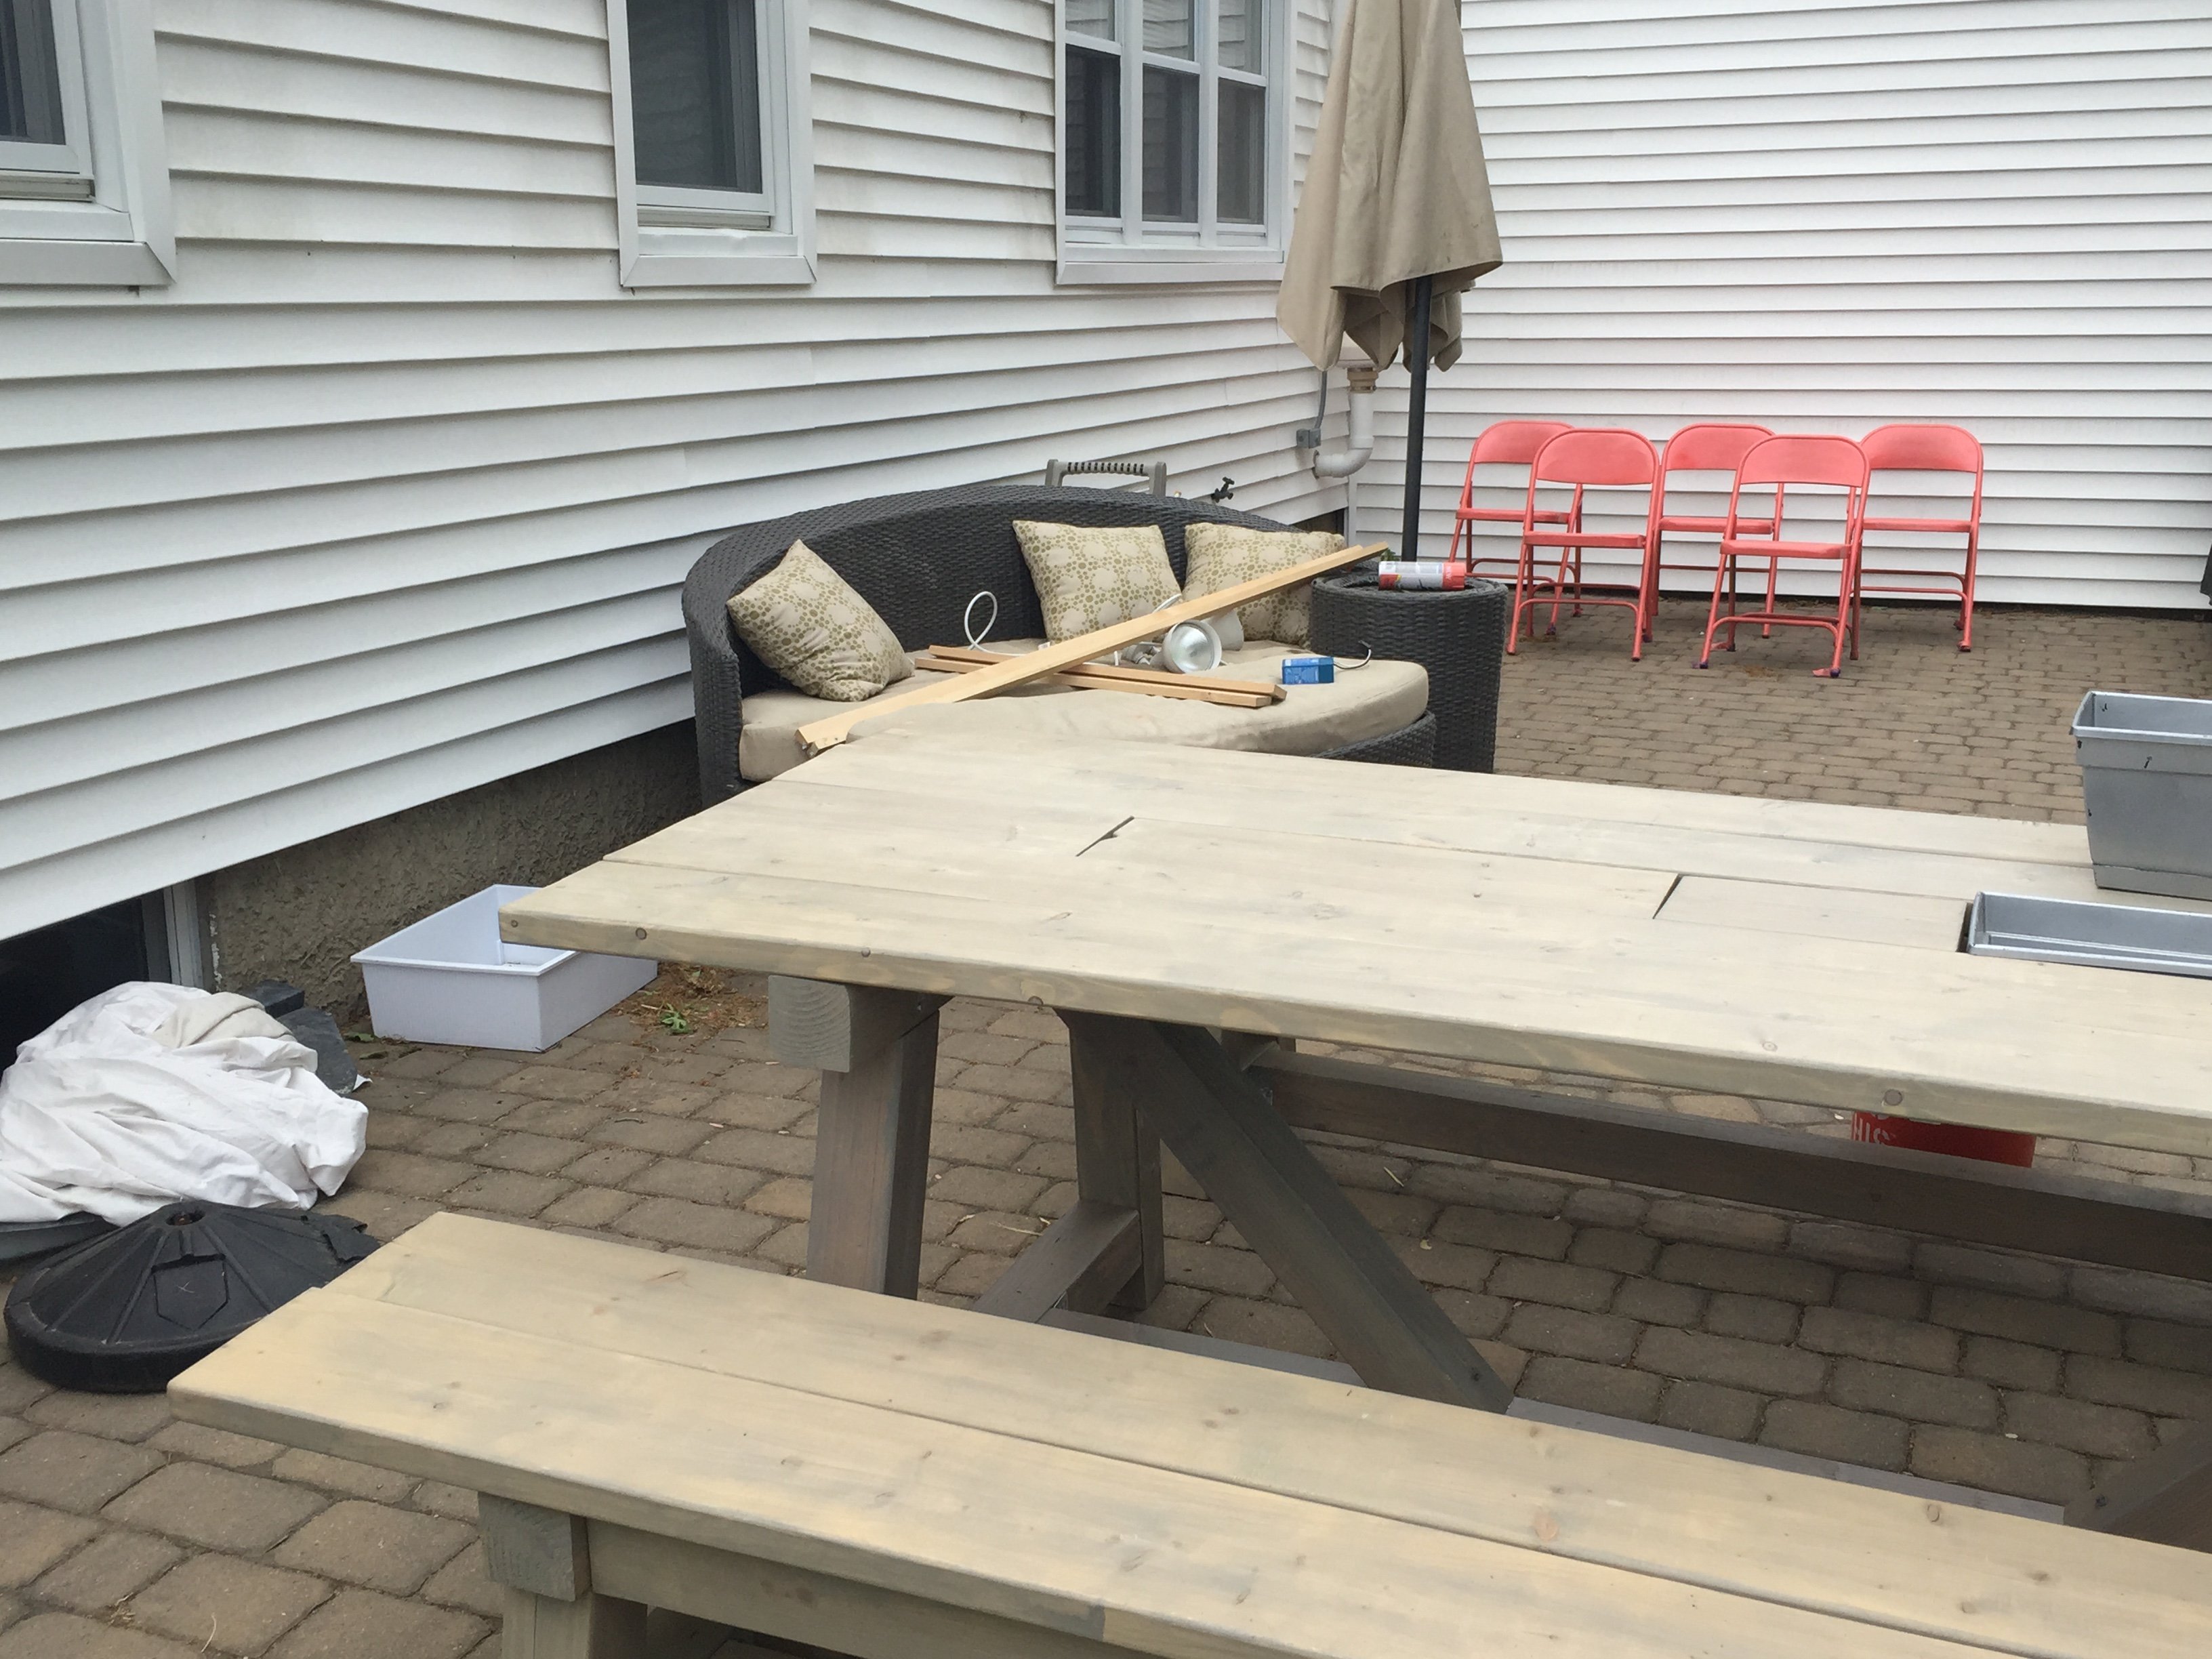
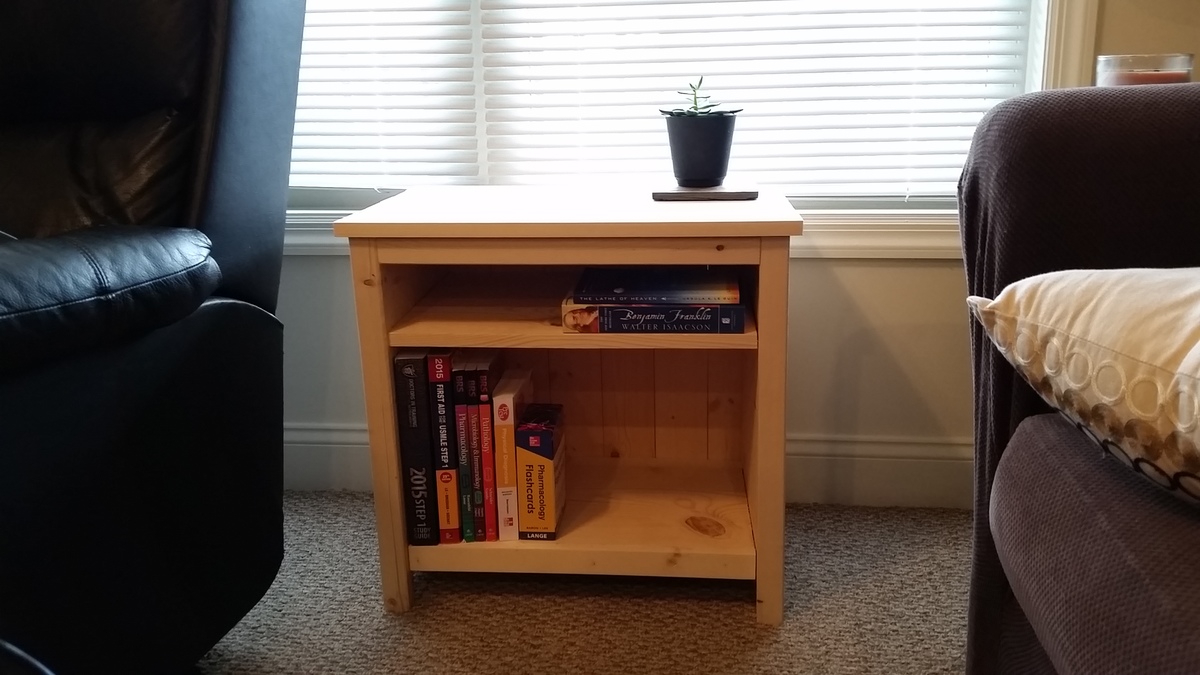
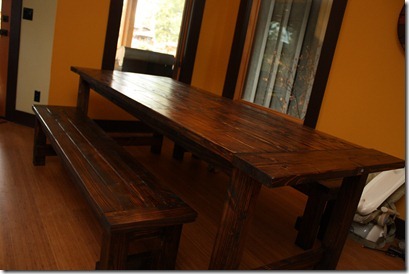
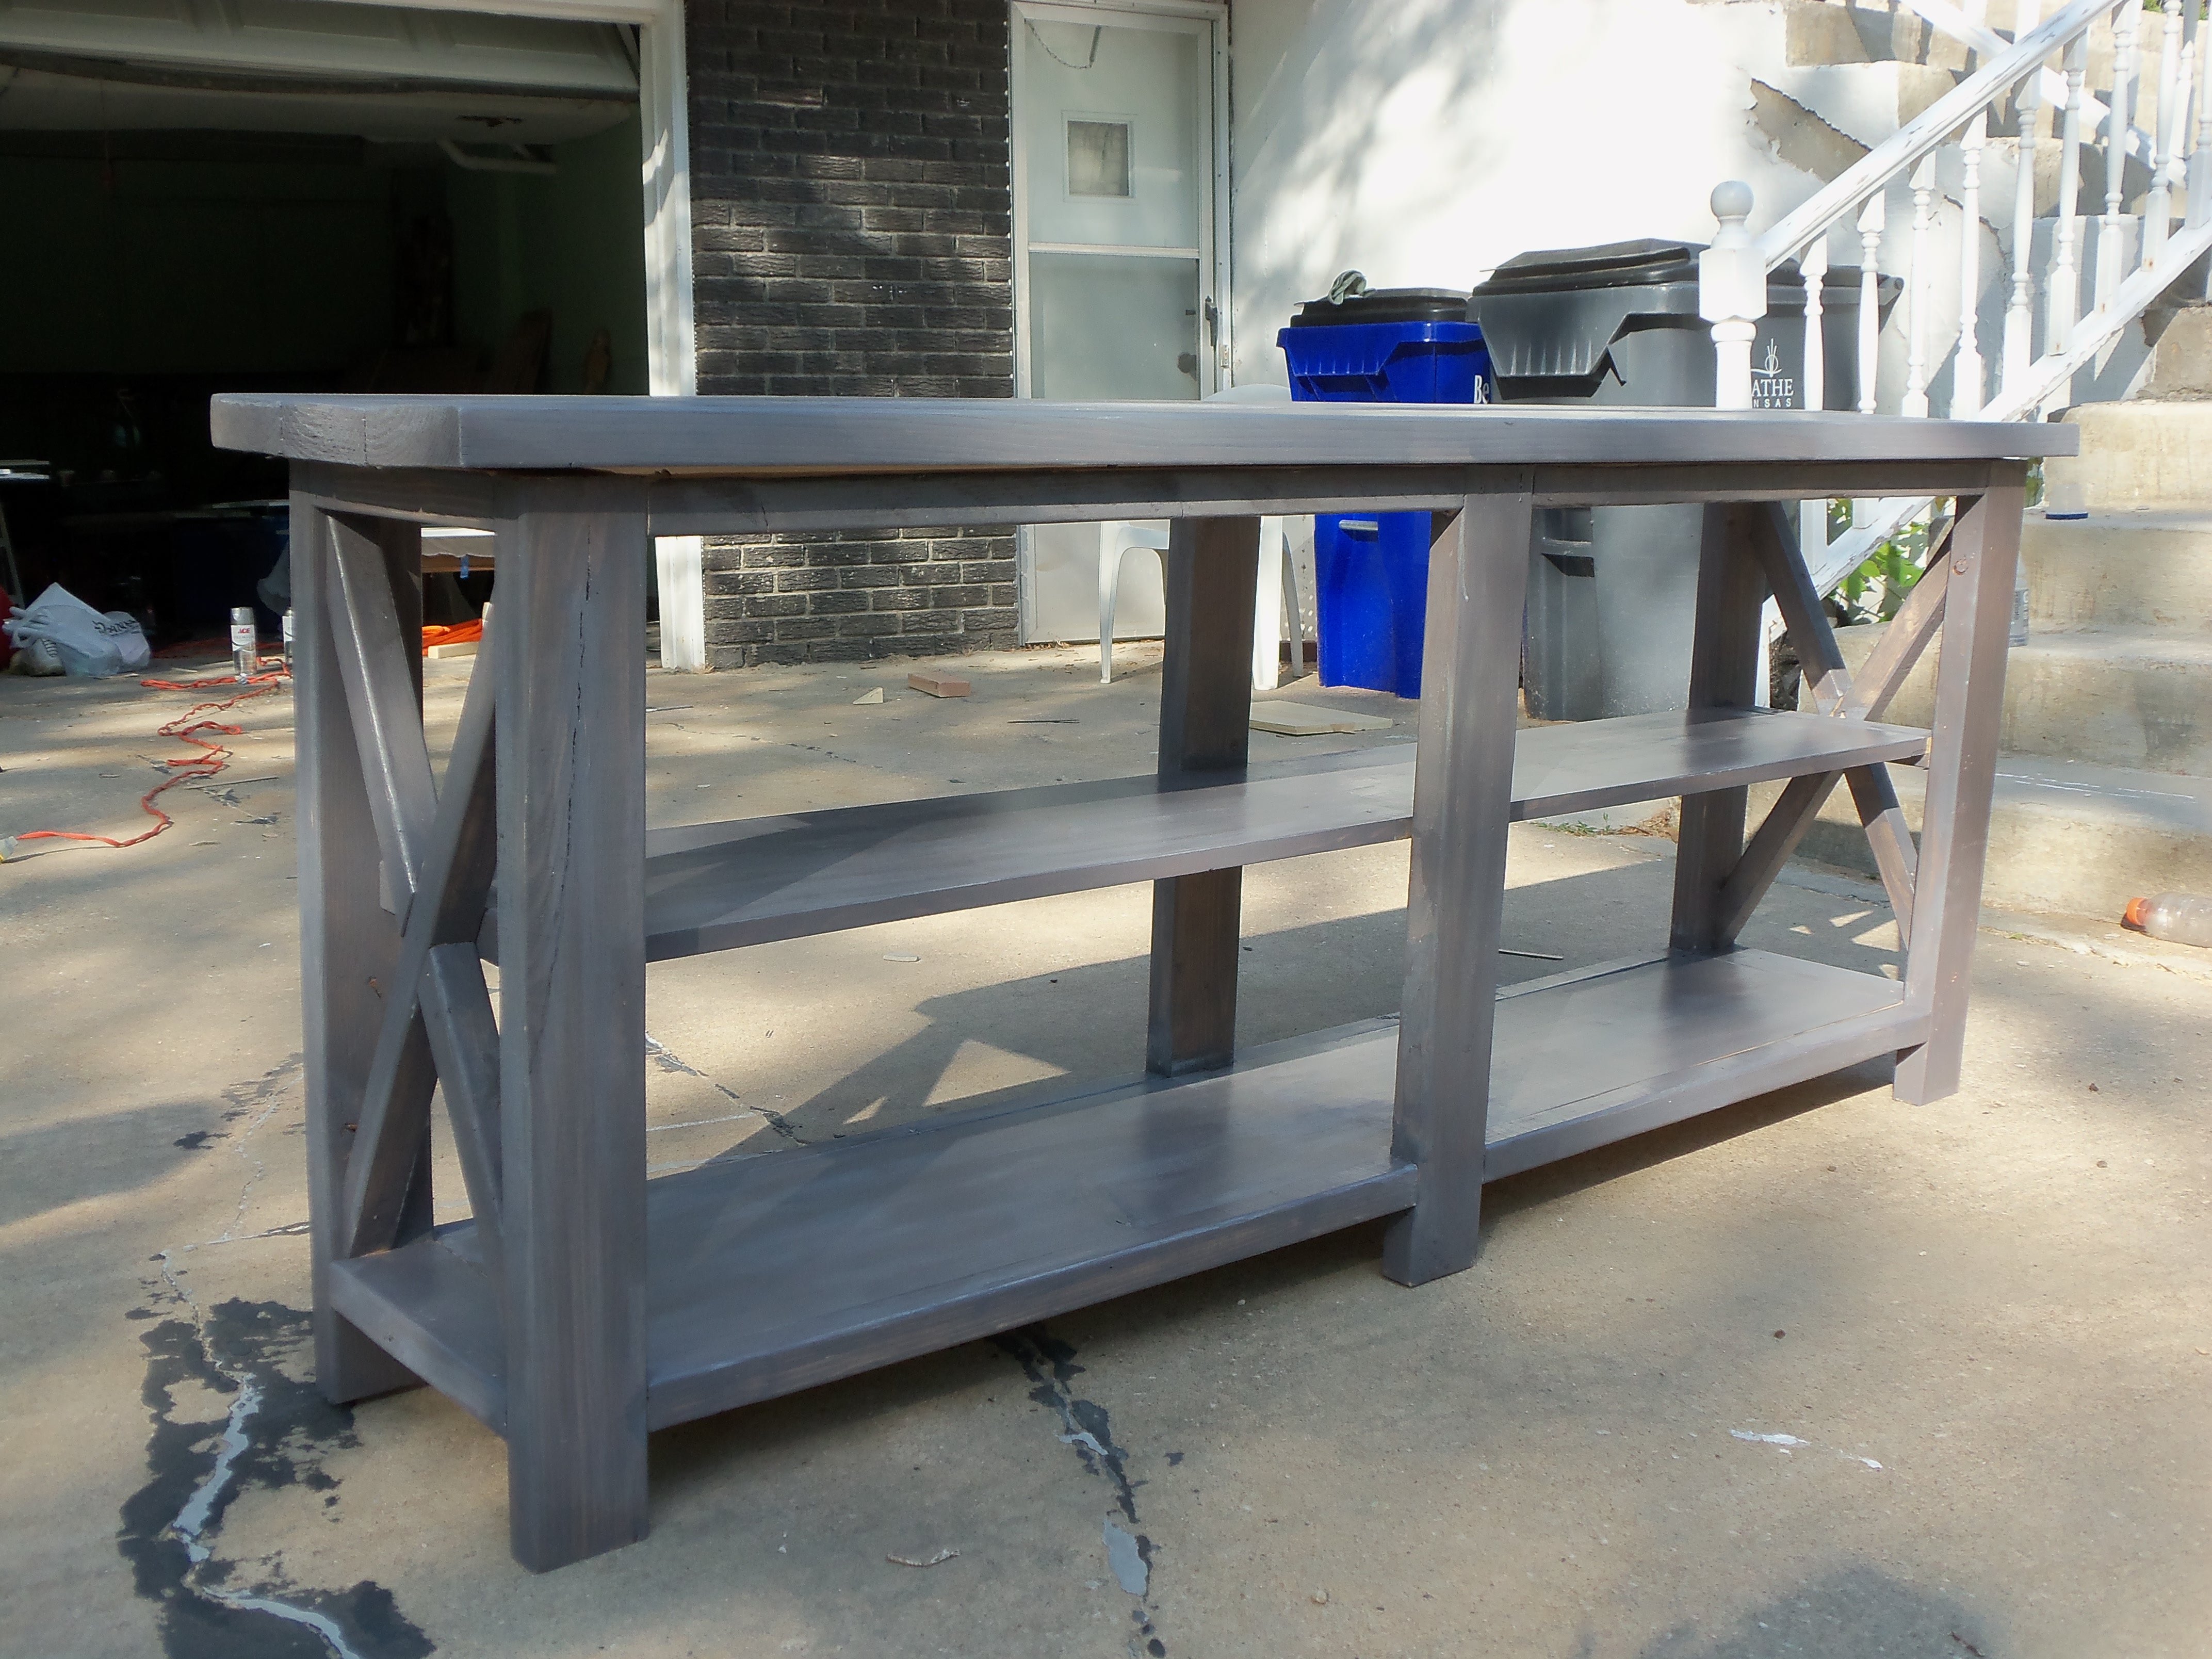
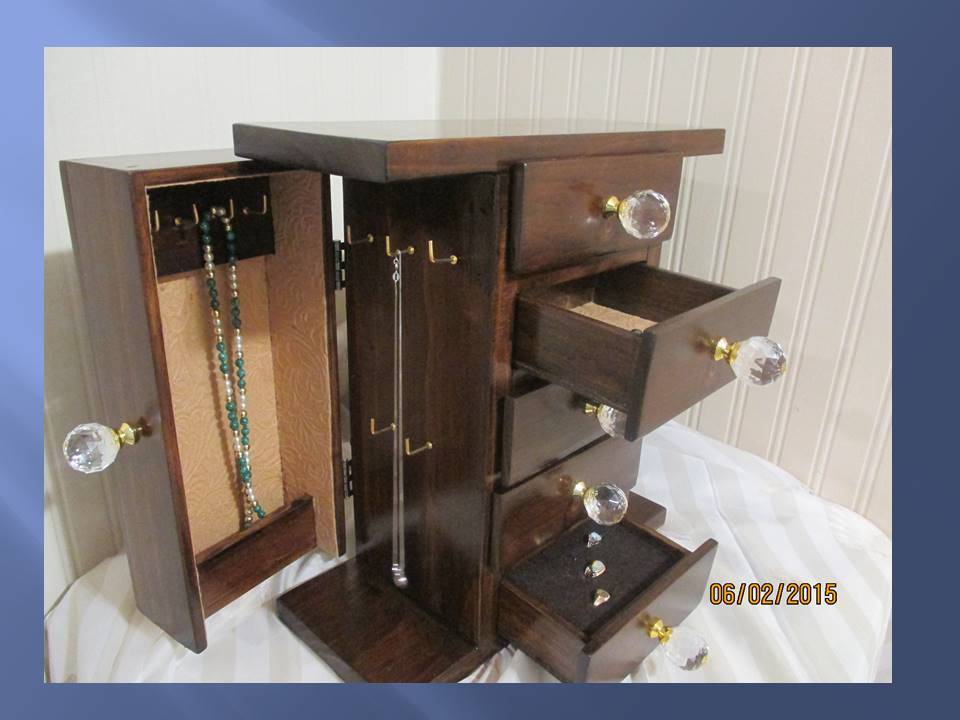
My wife loves the farmhouse style, so this was my first build based on the X console plans for sofa tables. Its very "rustic" to say the least, but is very functional and was a great project to get started.
Built from Plan(s)
Estimated Cost
$30
Estimated Time Investment
Afternoon Project (3-6 Hours)
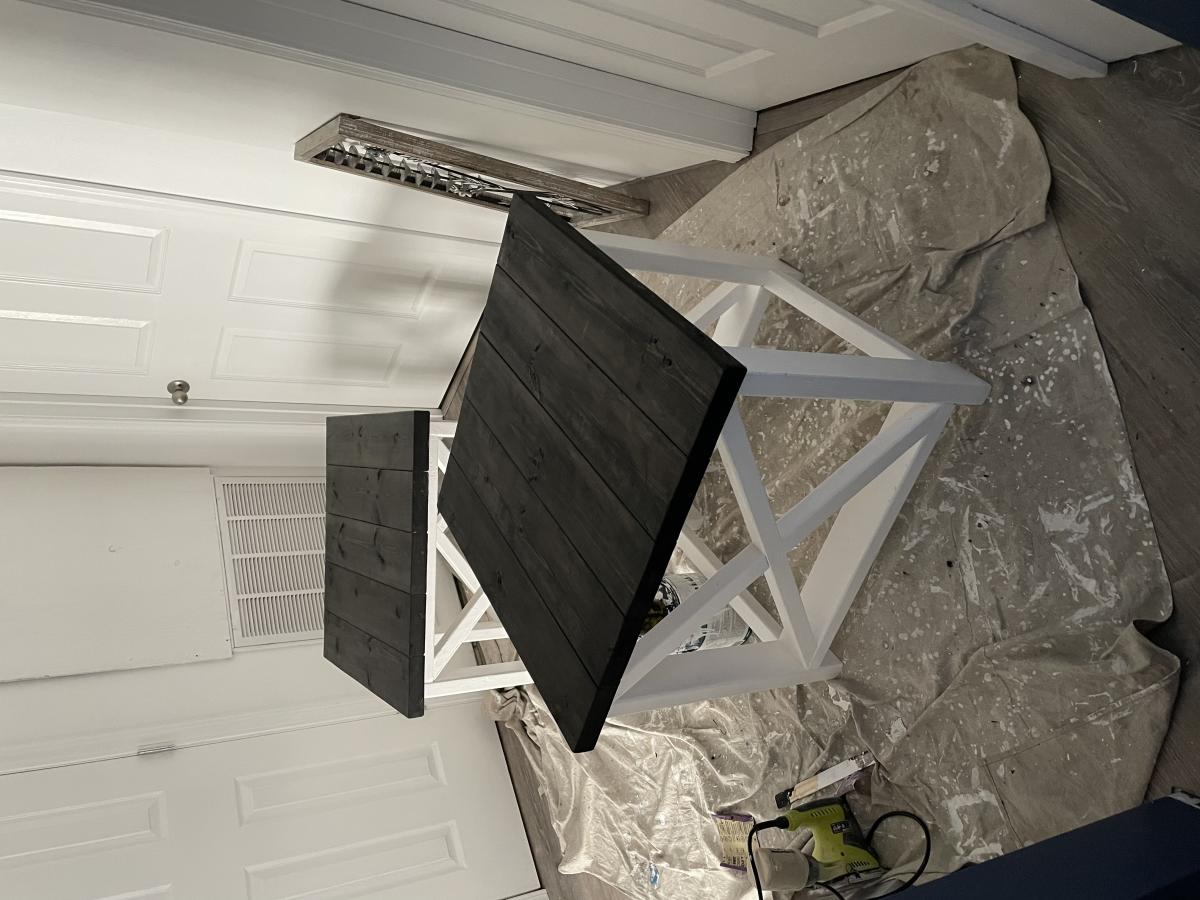
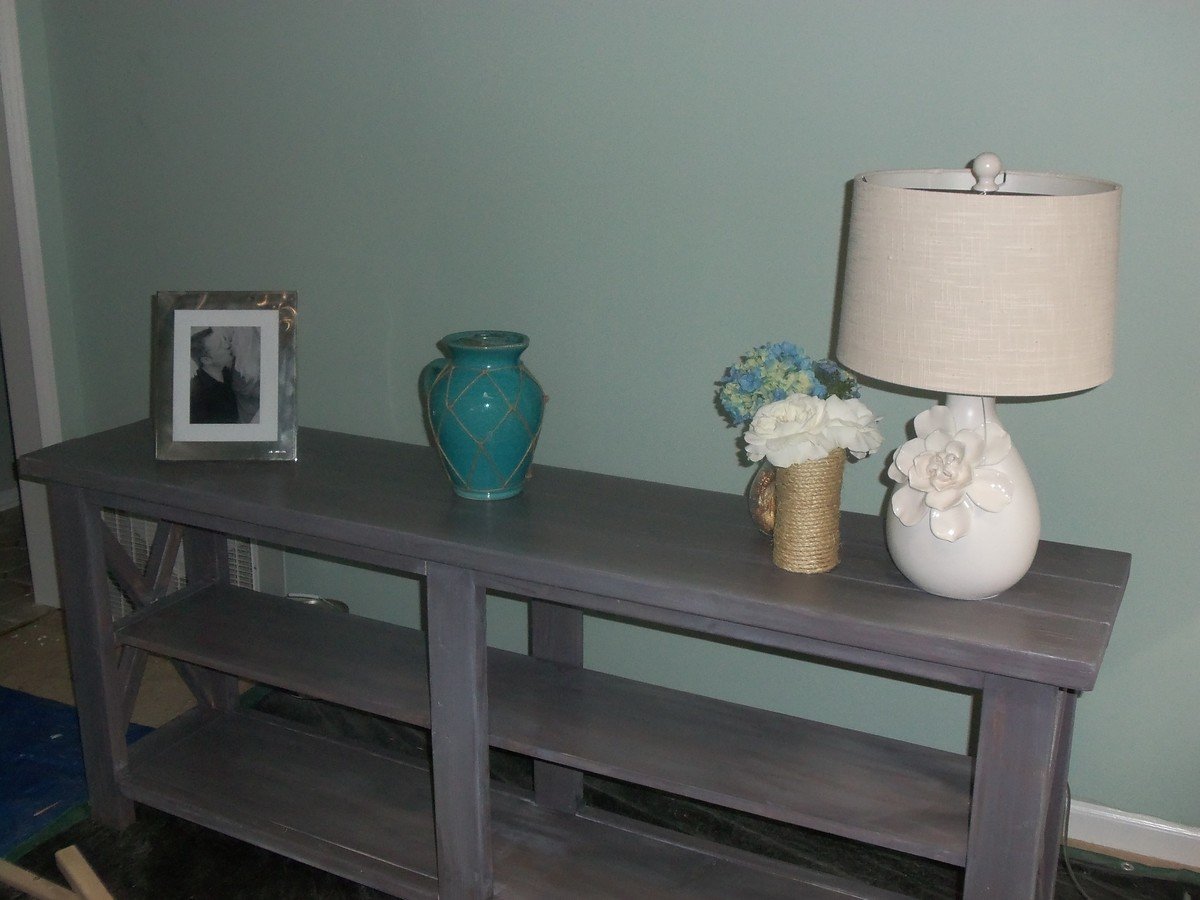
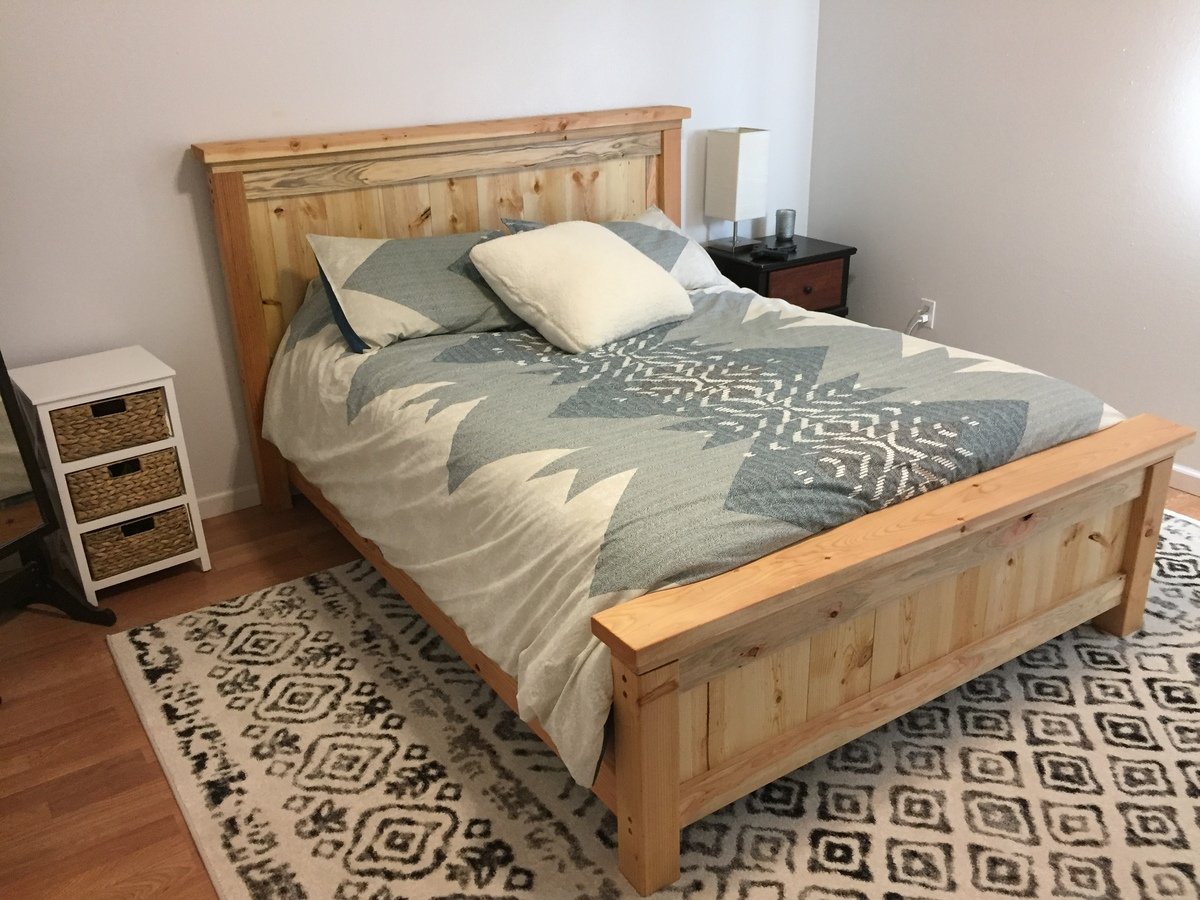
Finish Used
We used duck egg blue chalk paint and then waxed. It was our first time using chalk paint, and it served as almost the majority of the project cost. We sealed it with chalk paint wax, but in retrospect, I'd use simple furniture wax.
Recommended Skill Level
Starter Project