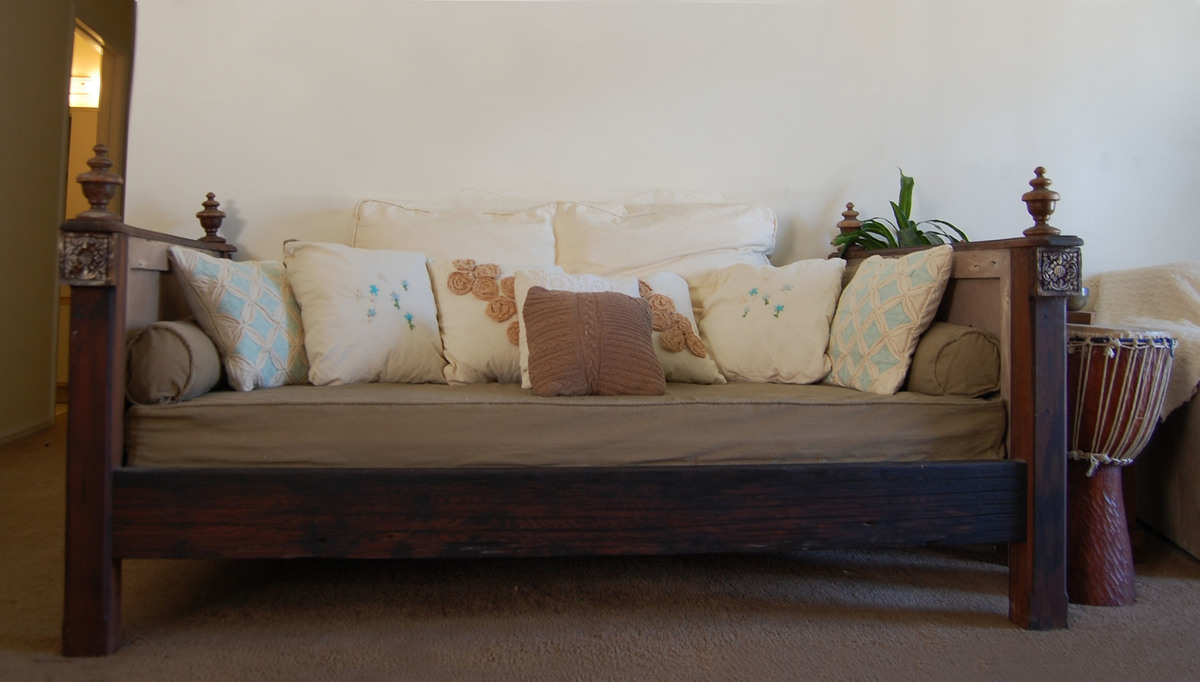
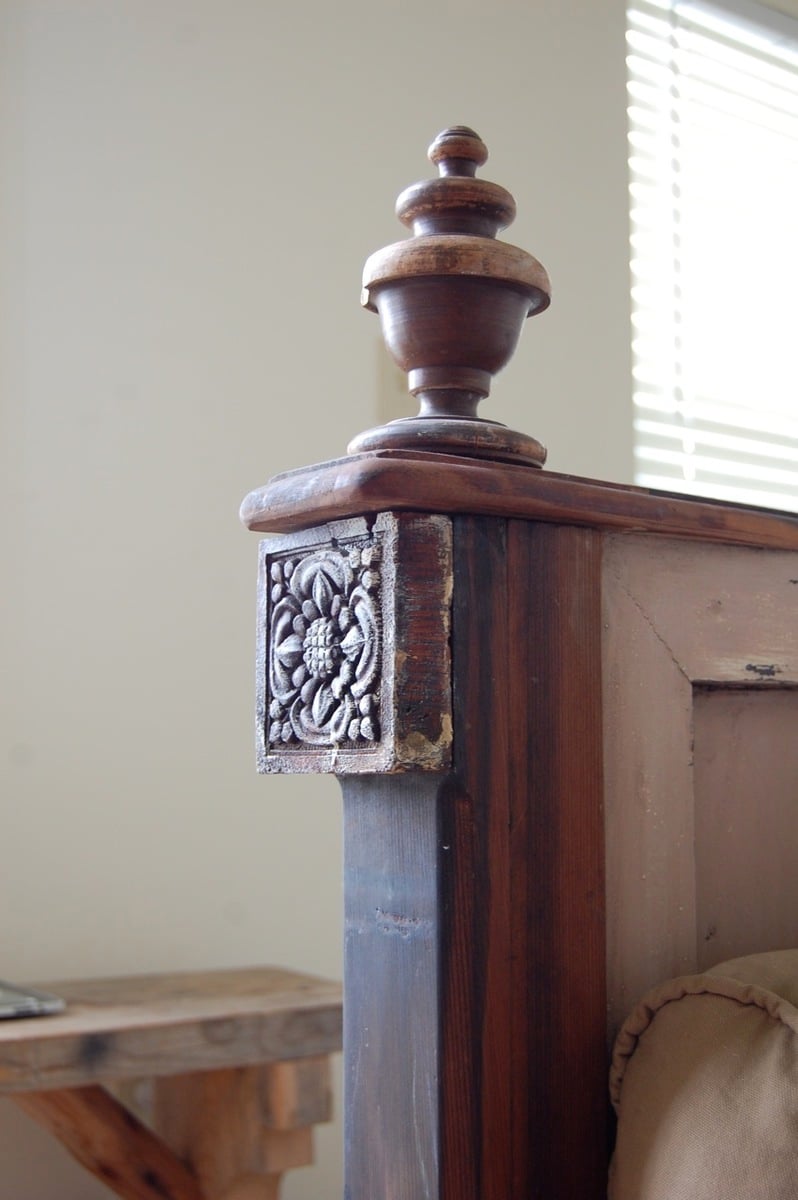
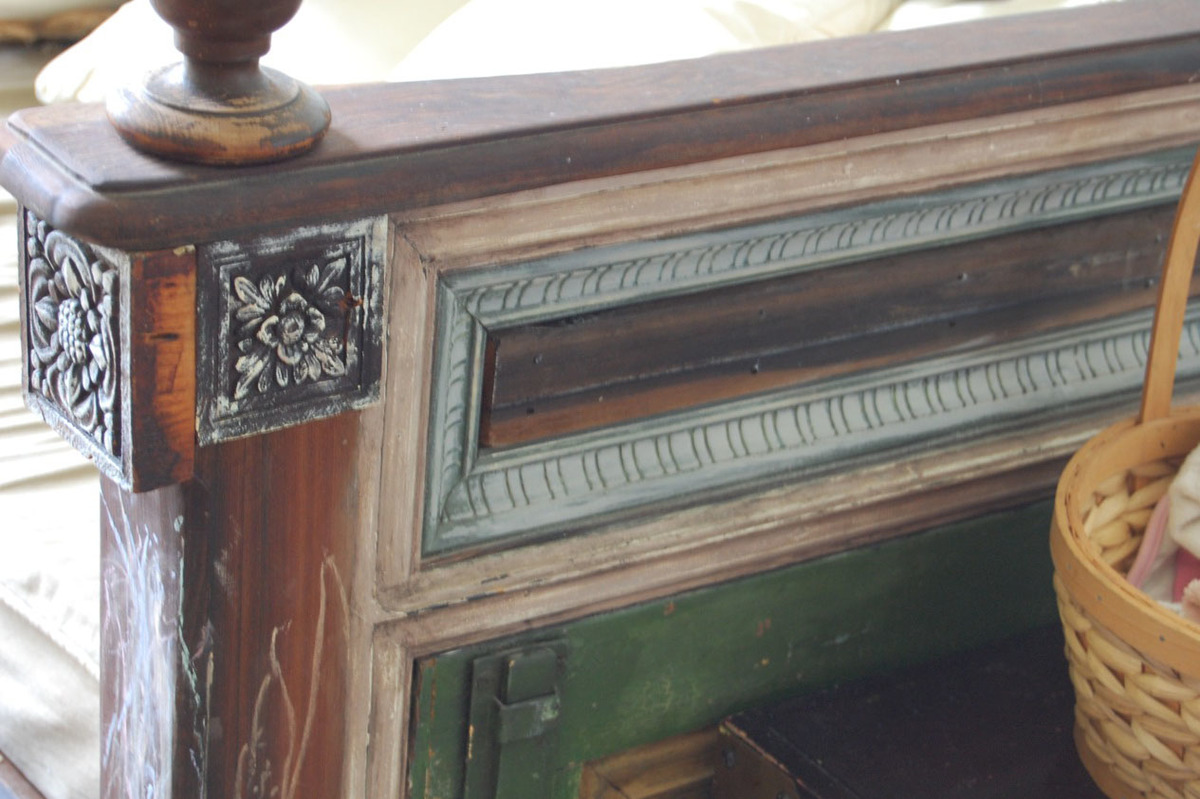
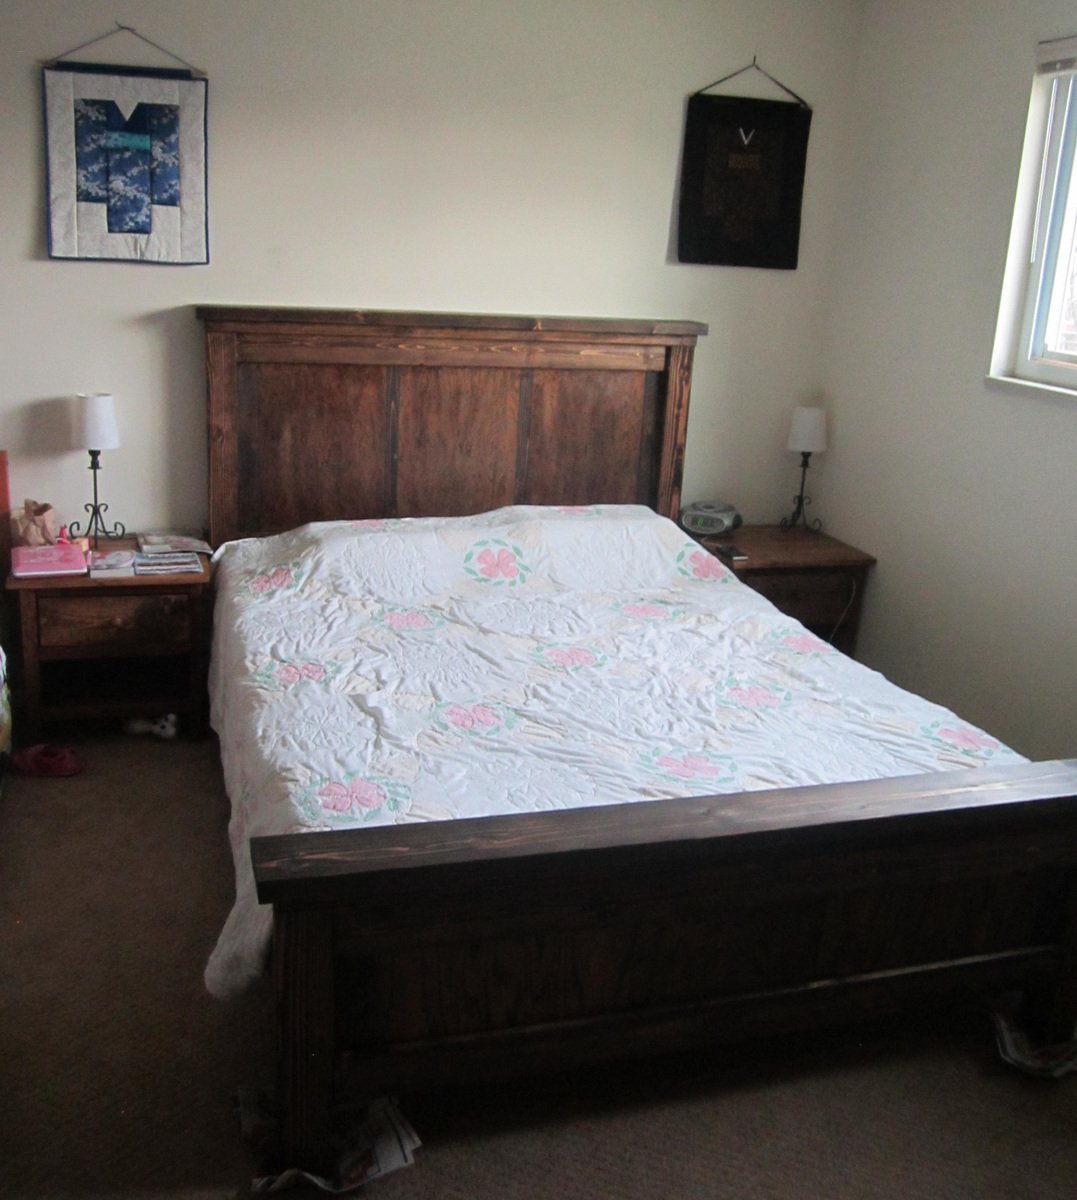
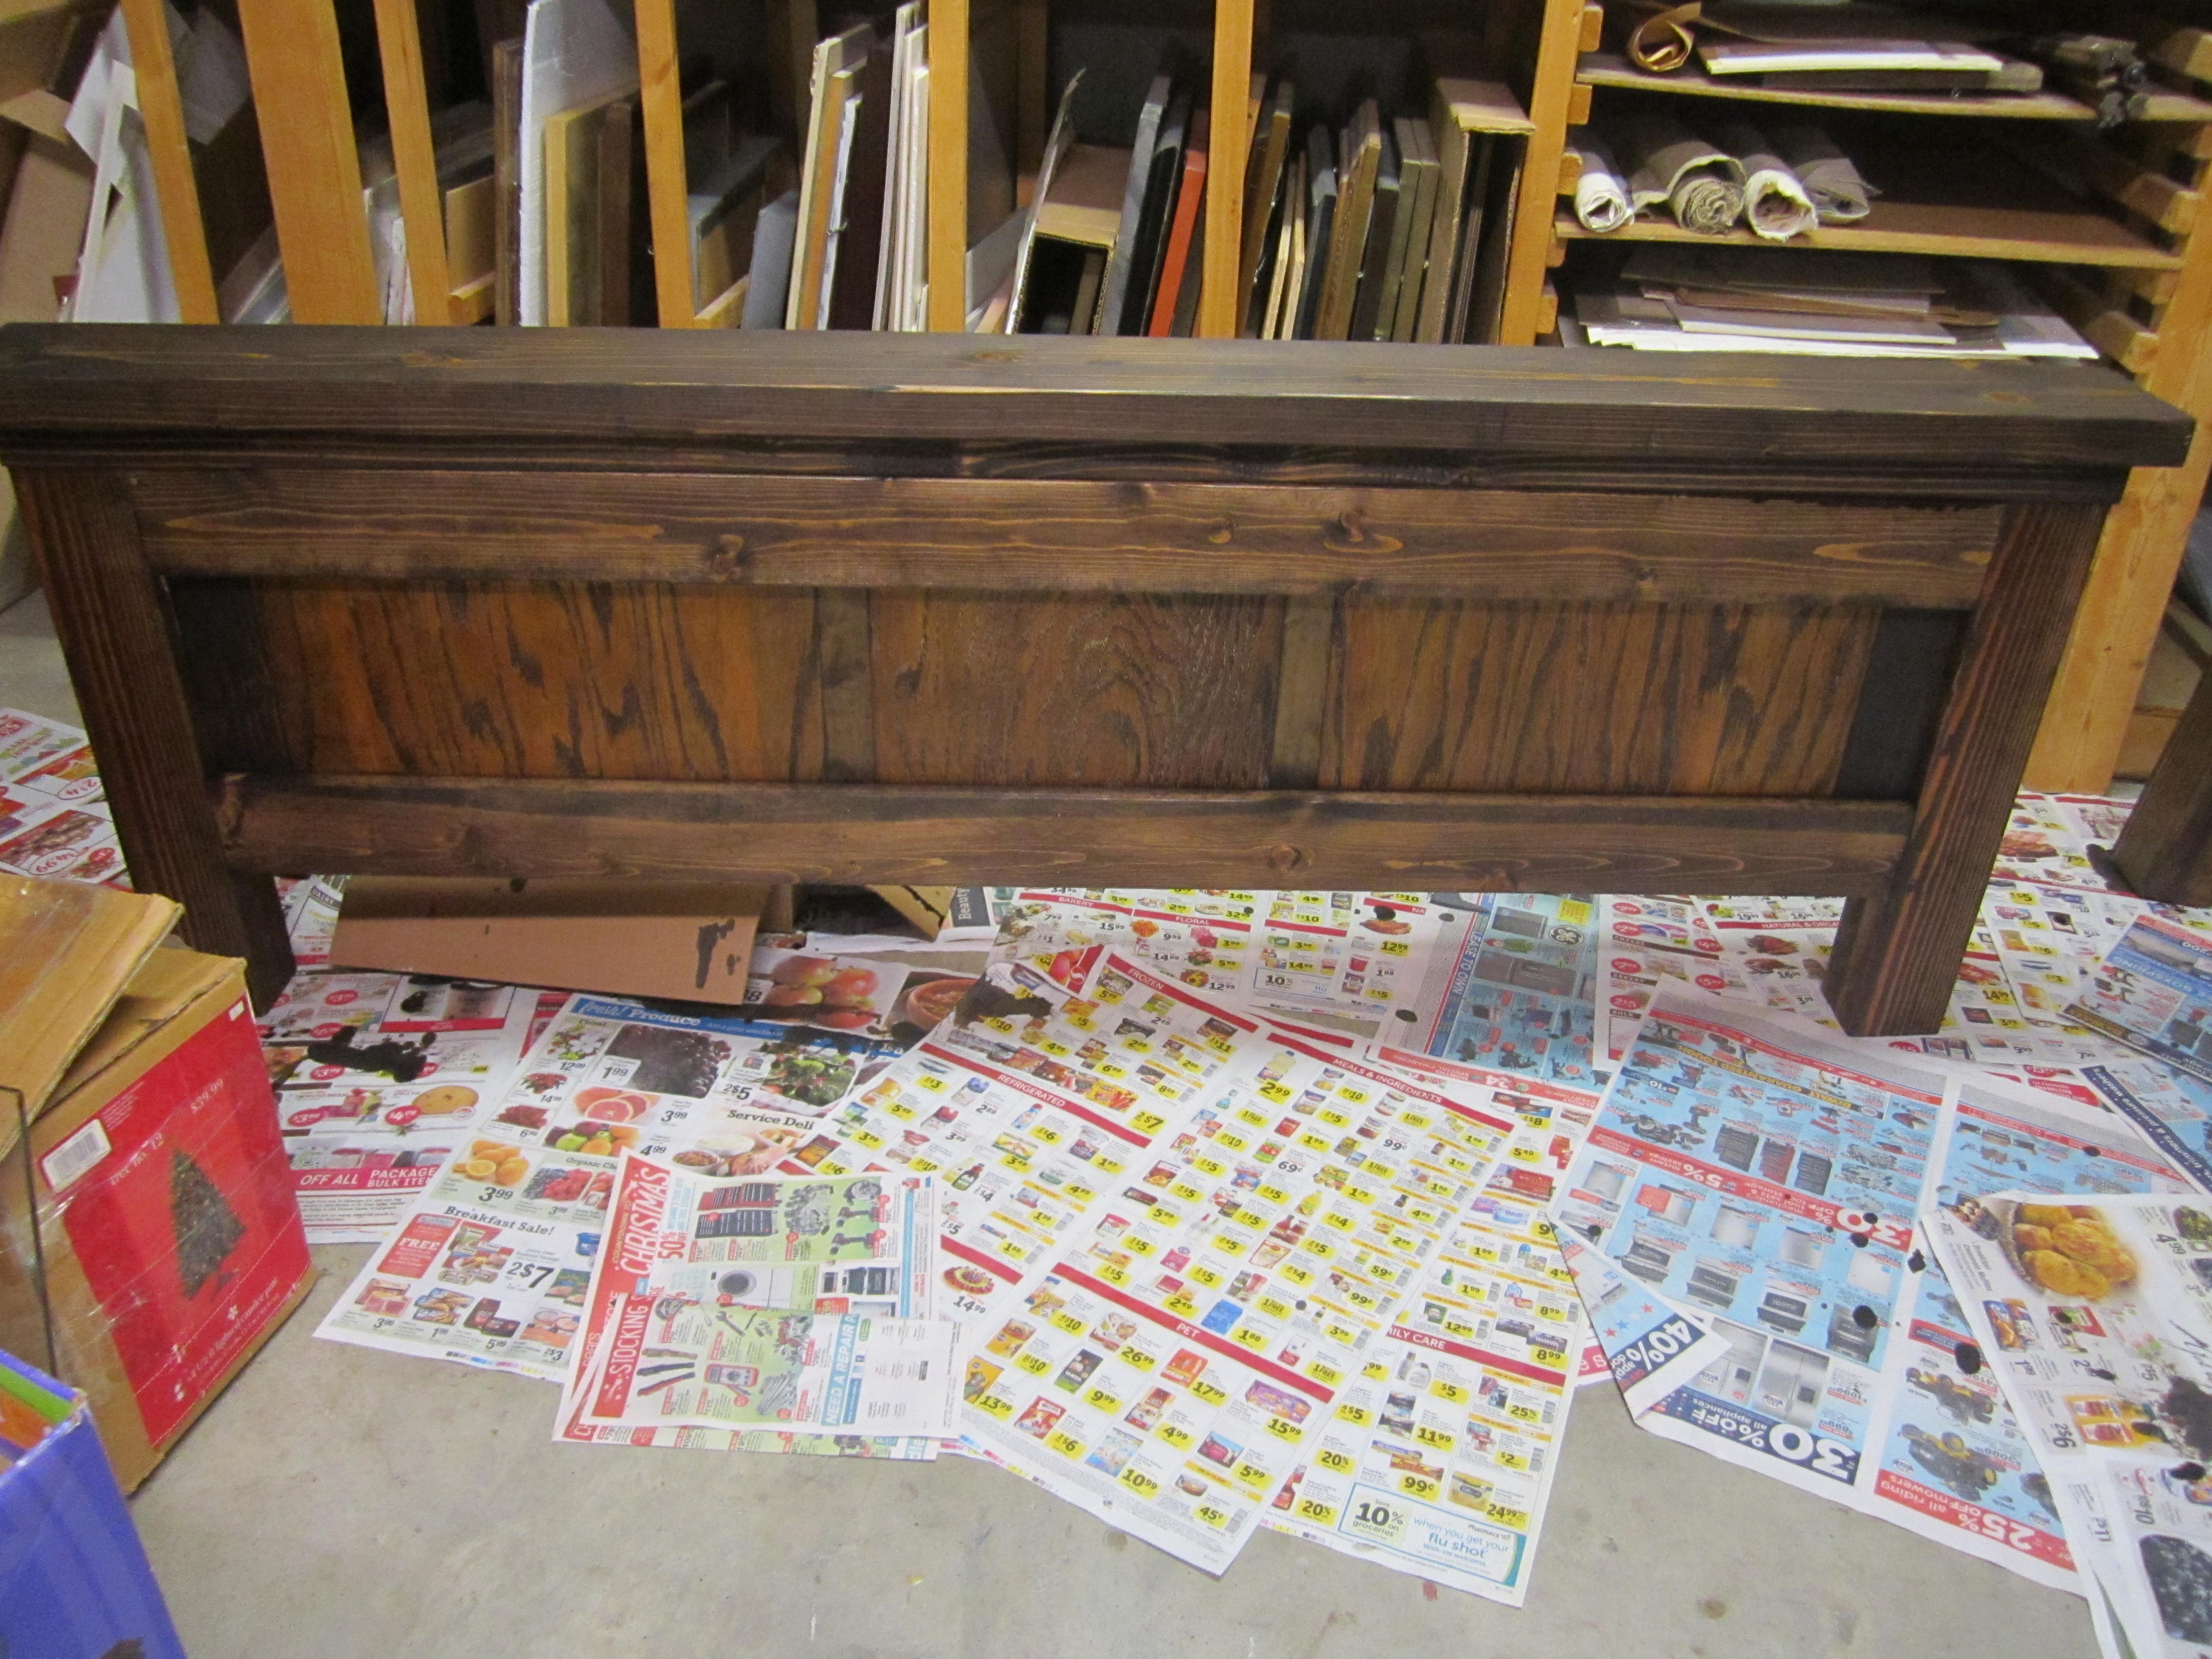
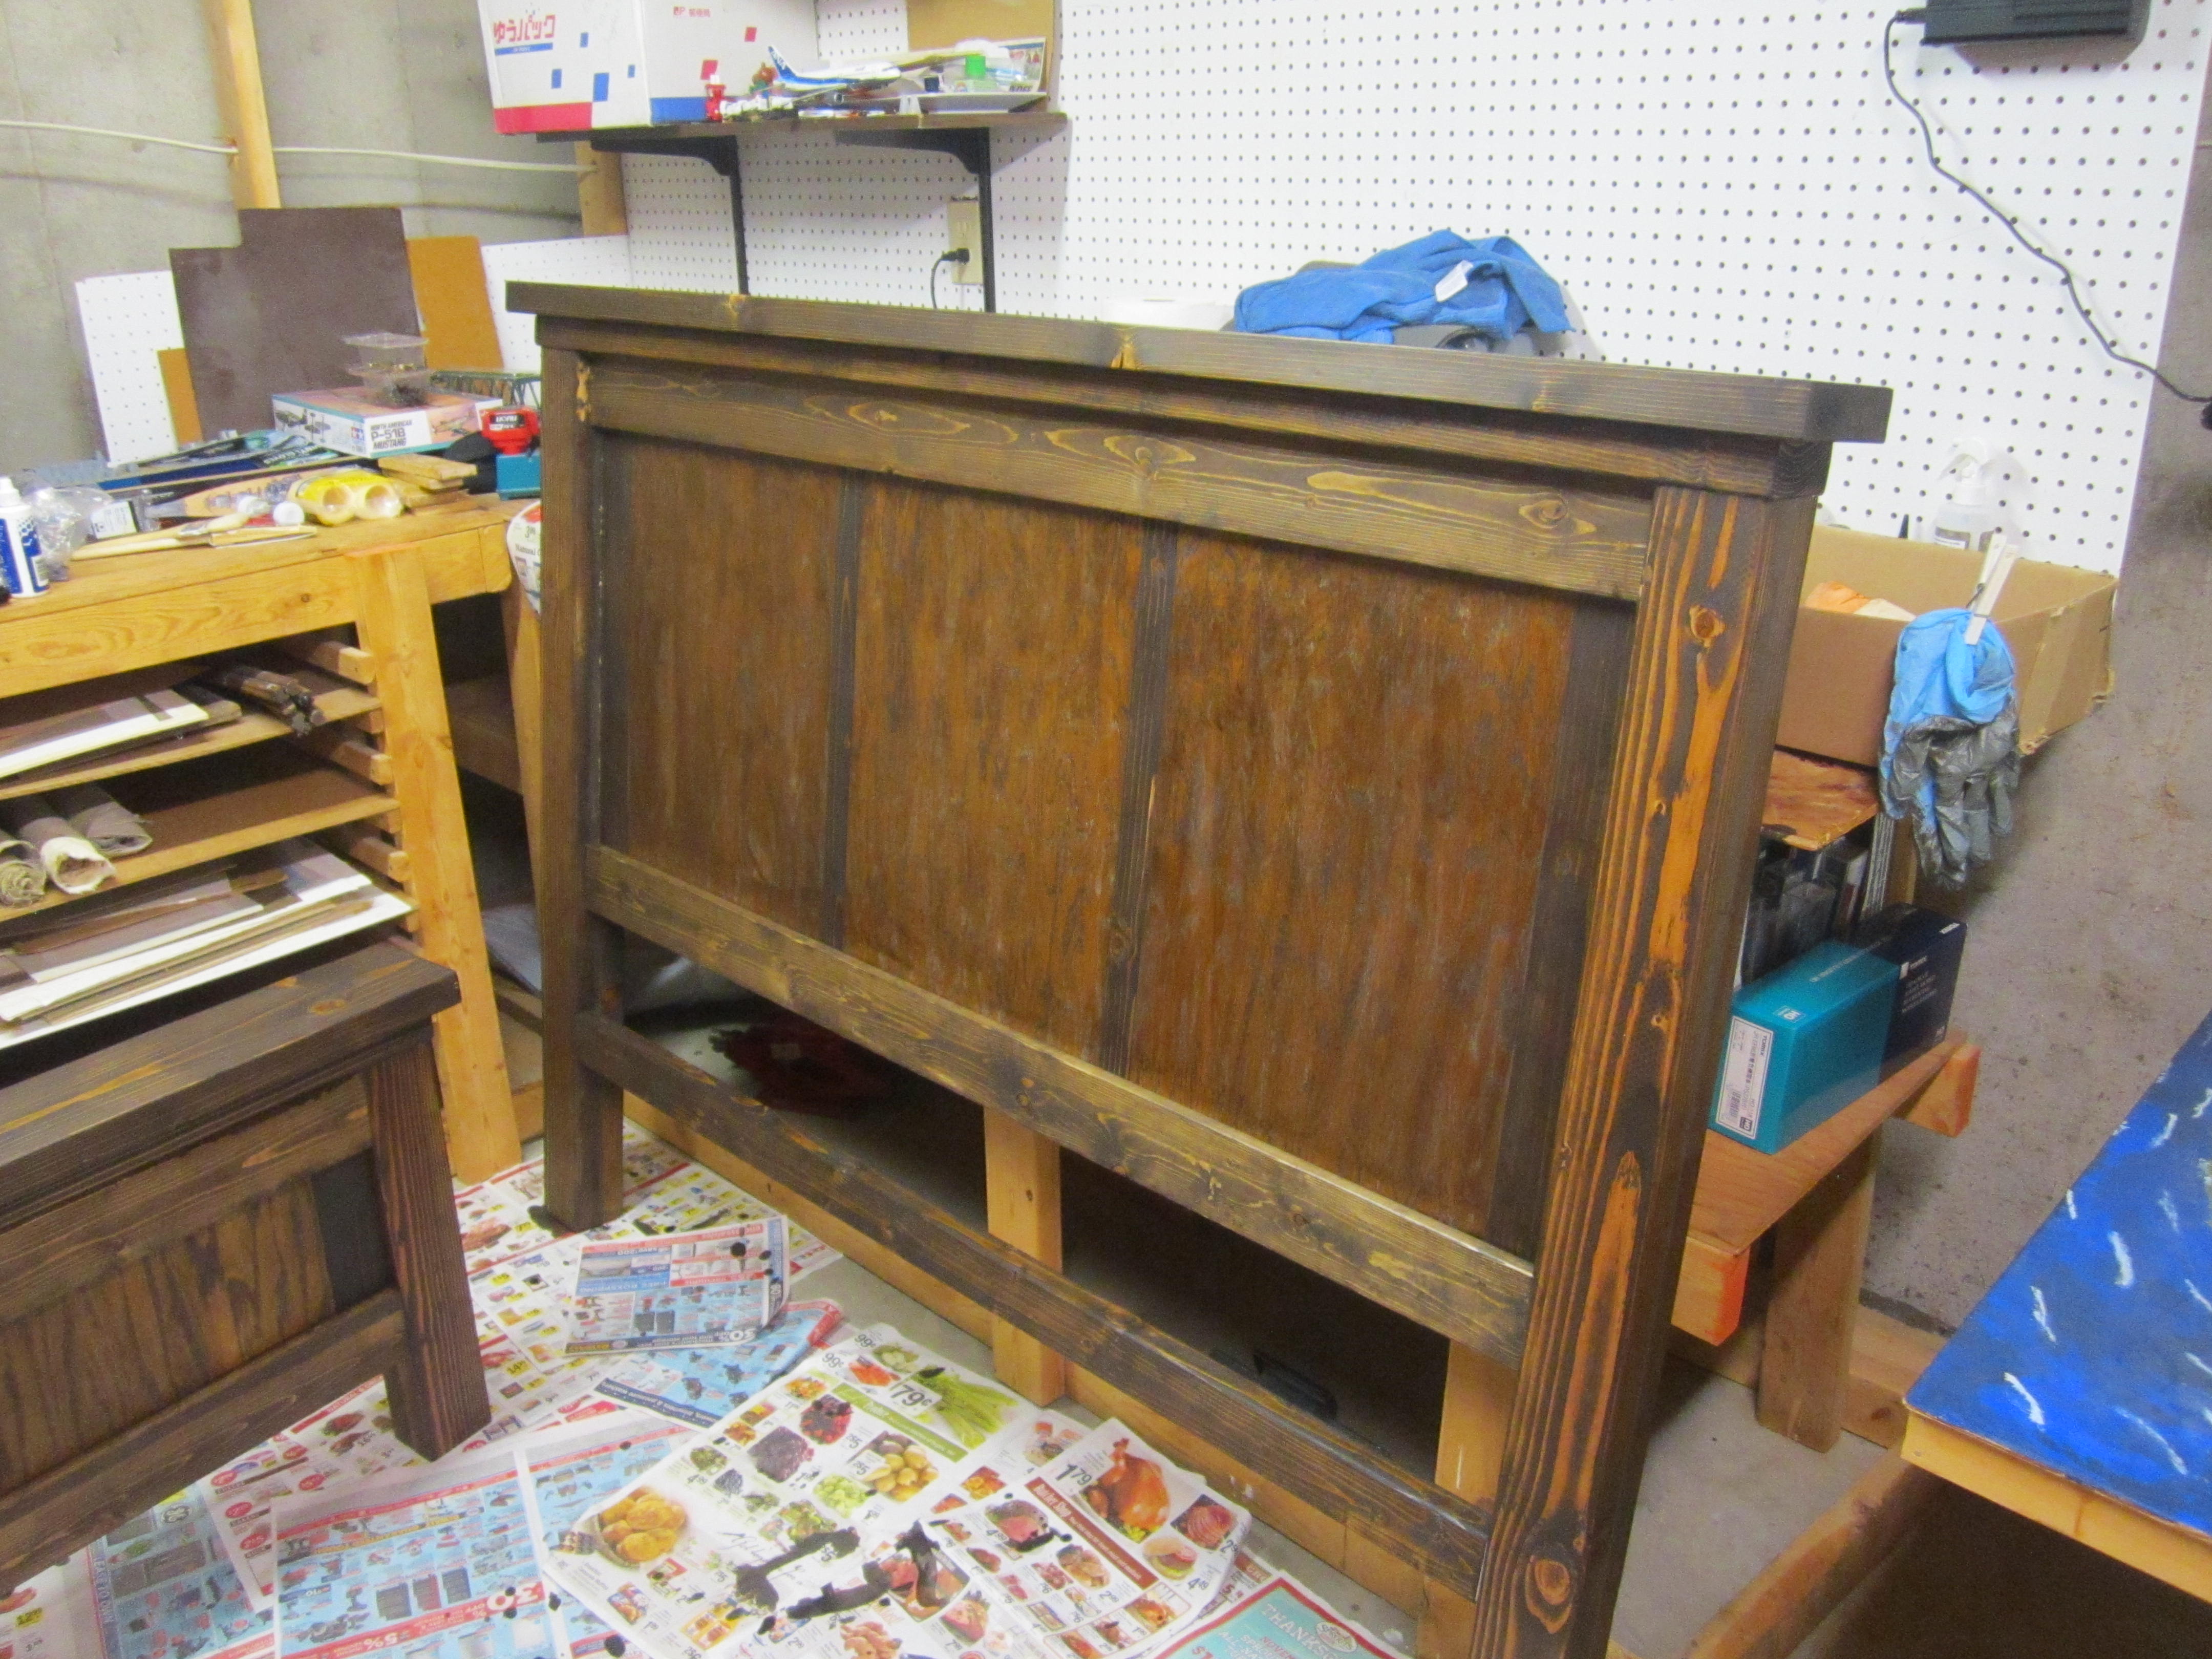
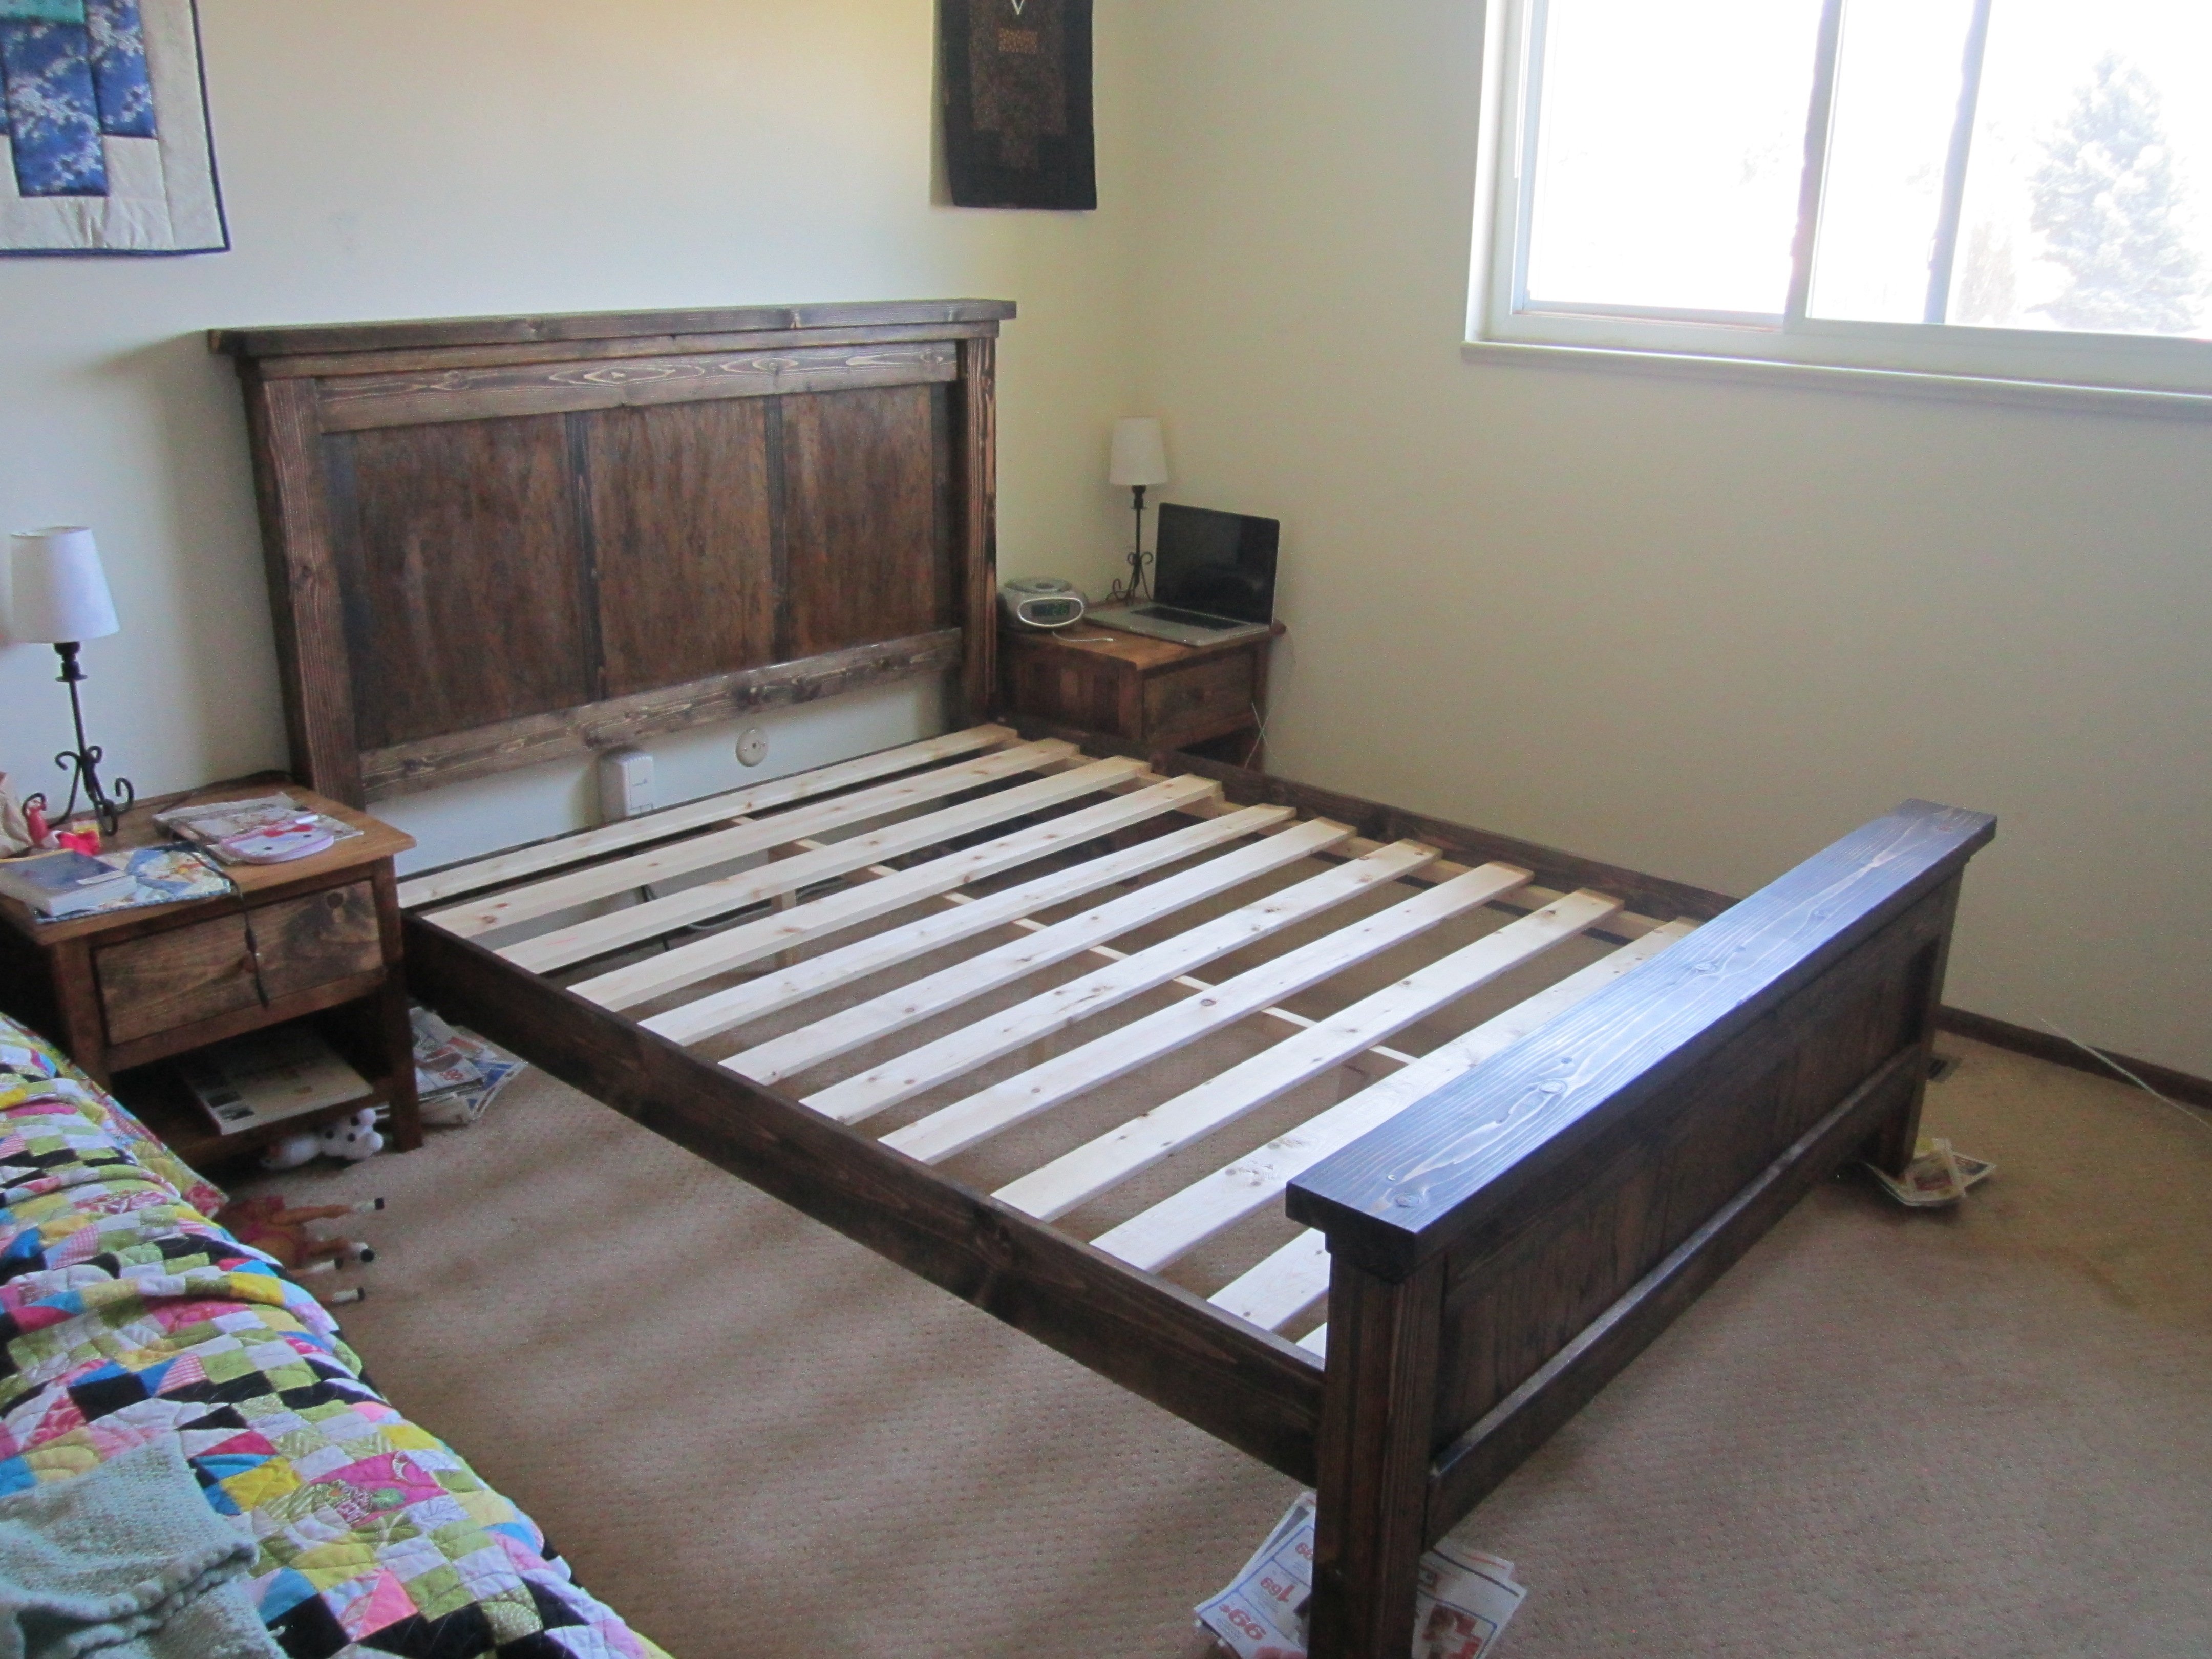
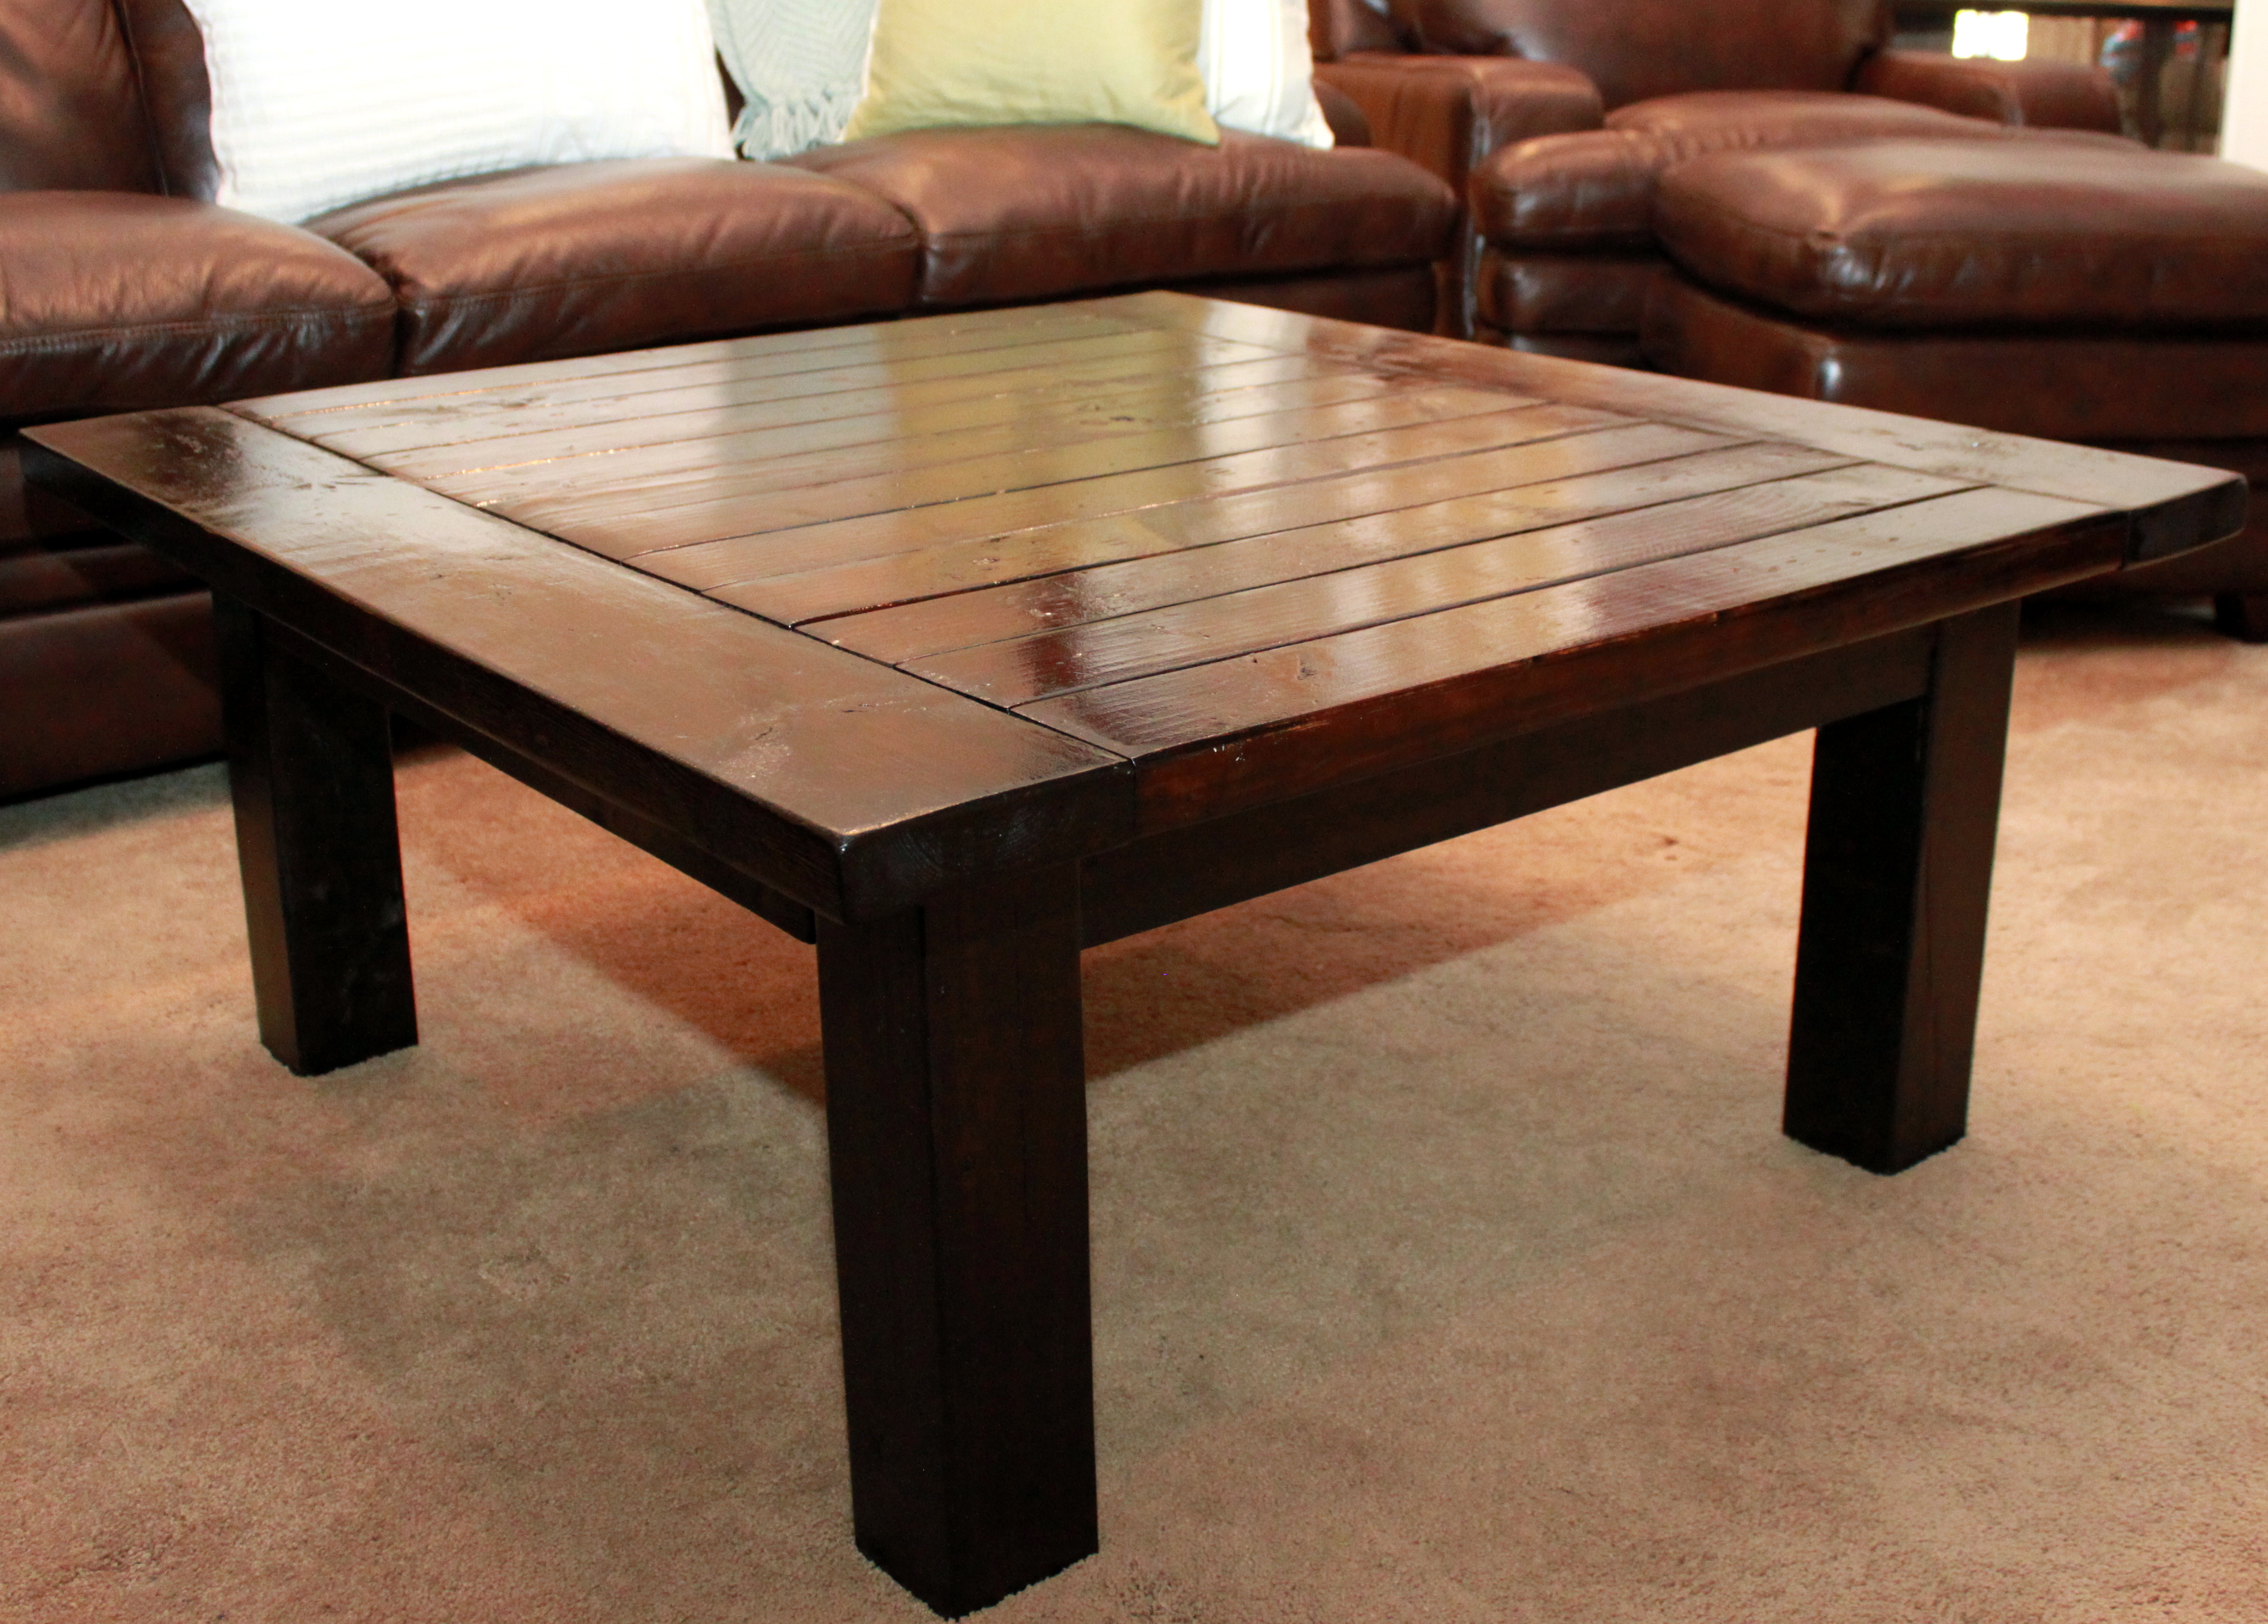
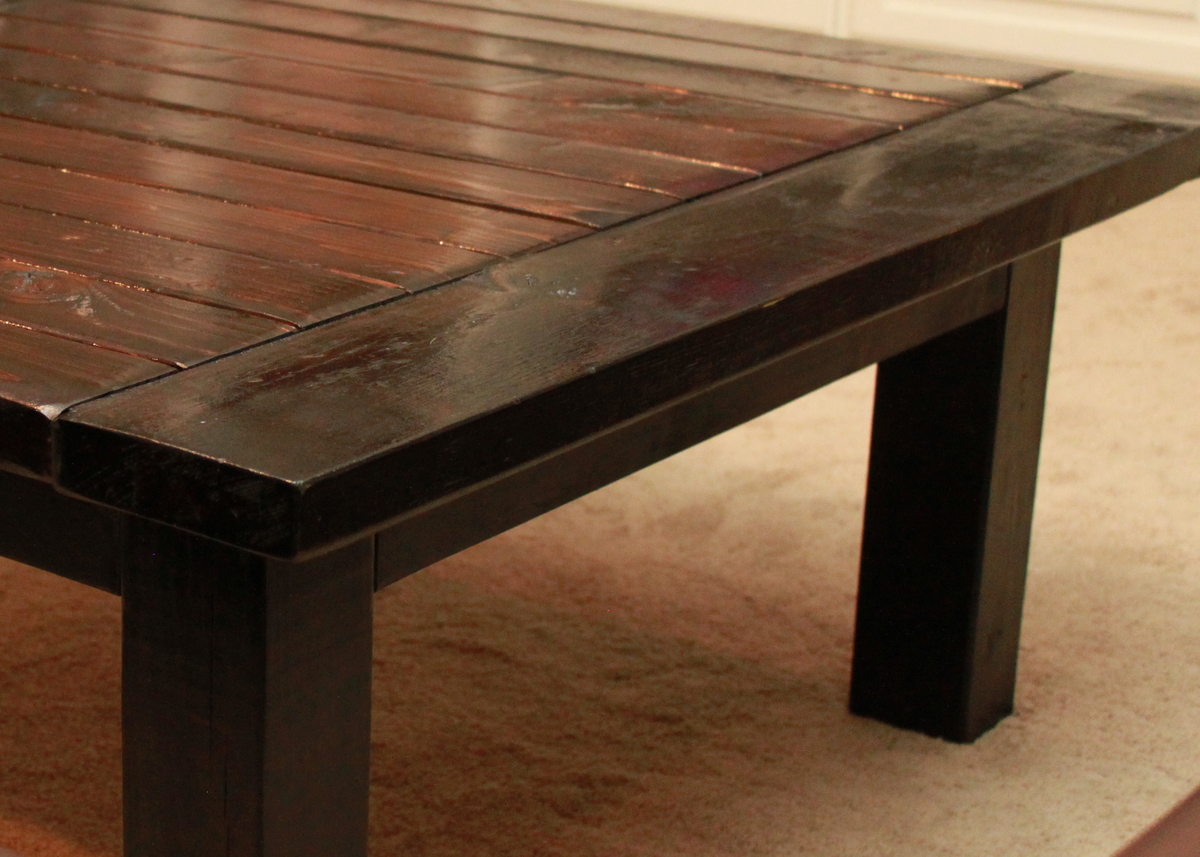
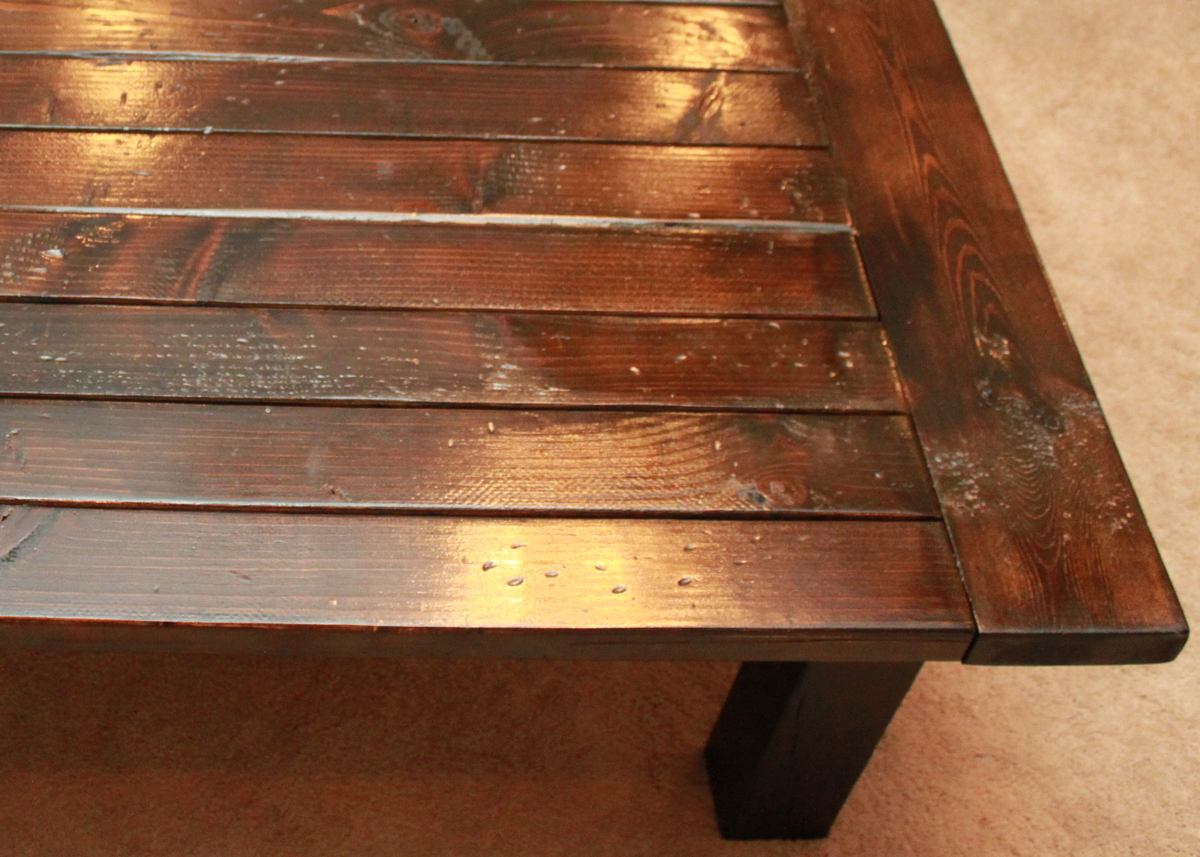
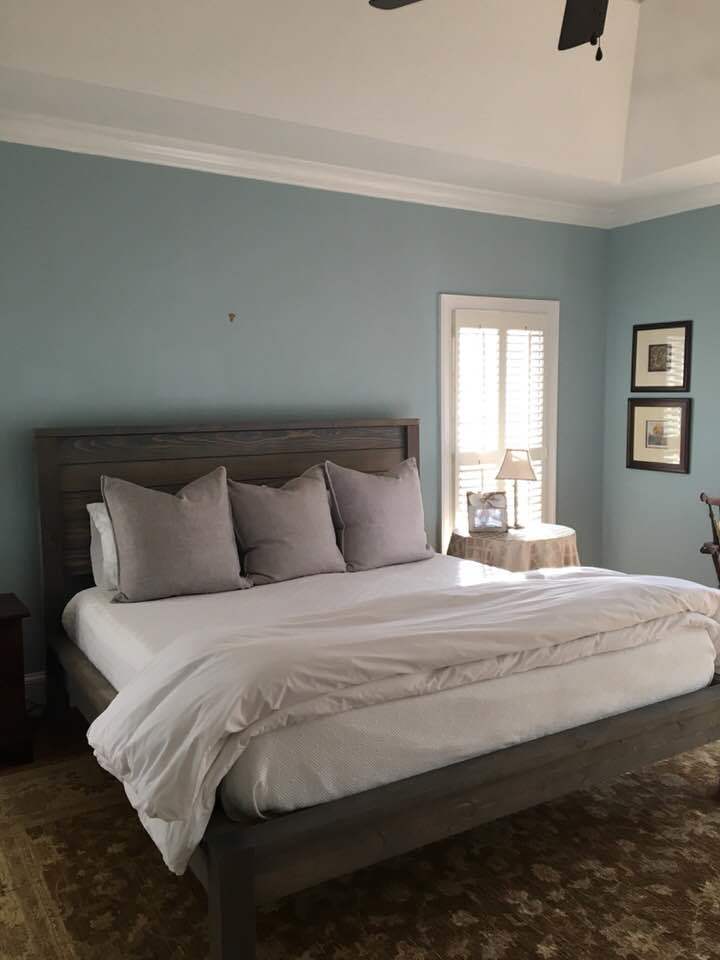
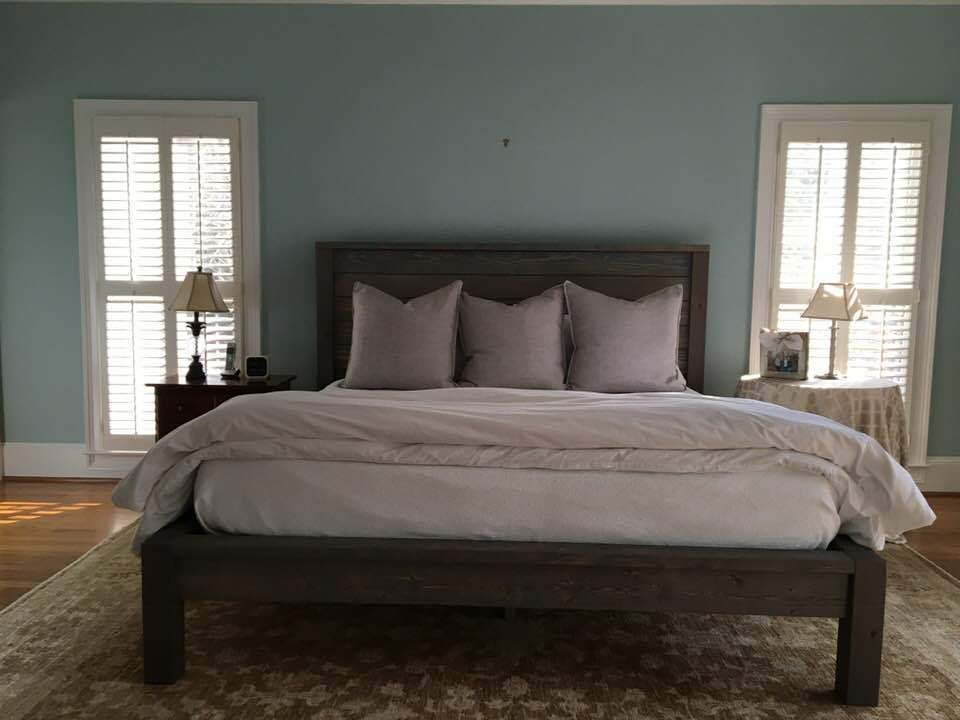
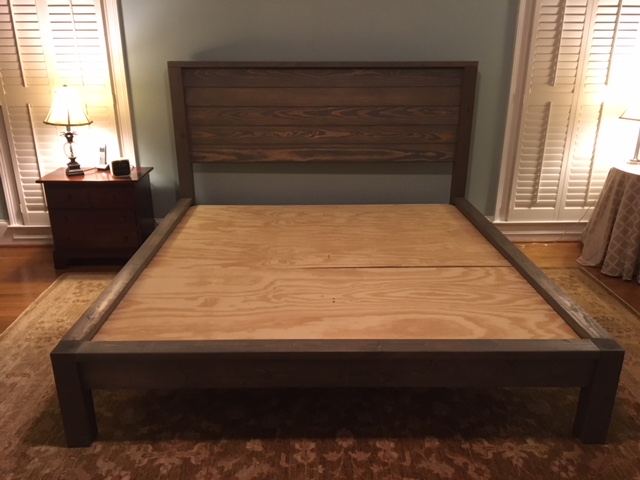
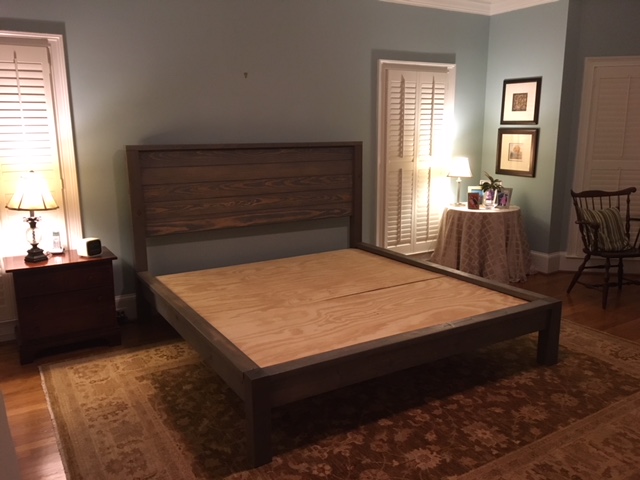
This bed is made using the Farmhouse Bed plan from page 136 in Ana's book. We just had our kitchen remodeled, so I took the cabinet doors and swapped those out for the 1x10's in both the headboard and foot-board. The cabinet doors took a while to strip the paint off and I used paint stripping sandpaper for that. Once the cabinet doors were stripped, I cut 1x2's for the two center dividers and 1x3's for the two outer dividers to get the desired width. I then stained the cabinet doors and dividers before attaching them to the 1x4 trim. I did not get 4x4's, so I cut 2x4's to length and glued and screwed them together.
Our mattress does not use a box spring, but slats, so I borrowed slat directions from Shanty 2 Chic's platform bed and our old IKEA bed frame. I used 2x2's for the supports and 1x4's for the slats. I used scrap 2x2's to support the center slat support and attached the side 2x2's to the bed rail (1x6 vs. 1x10 due to matress depth) with glue and screws.
Estimated Cost
Wood and screws were $130 total as I used low end wood and reclaimed cabinet doors. I also used stain from our local county recycle center.
Estimated Time Investment
Weekend Project (10-20 Hours)
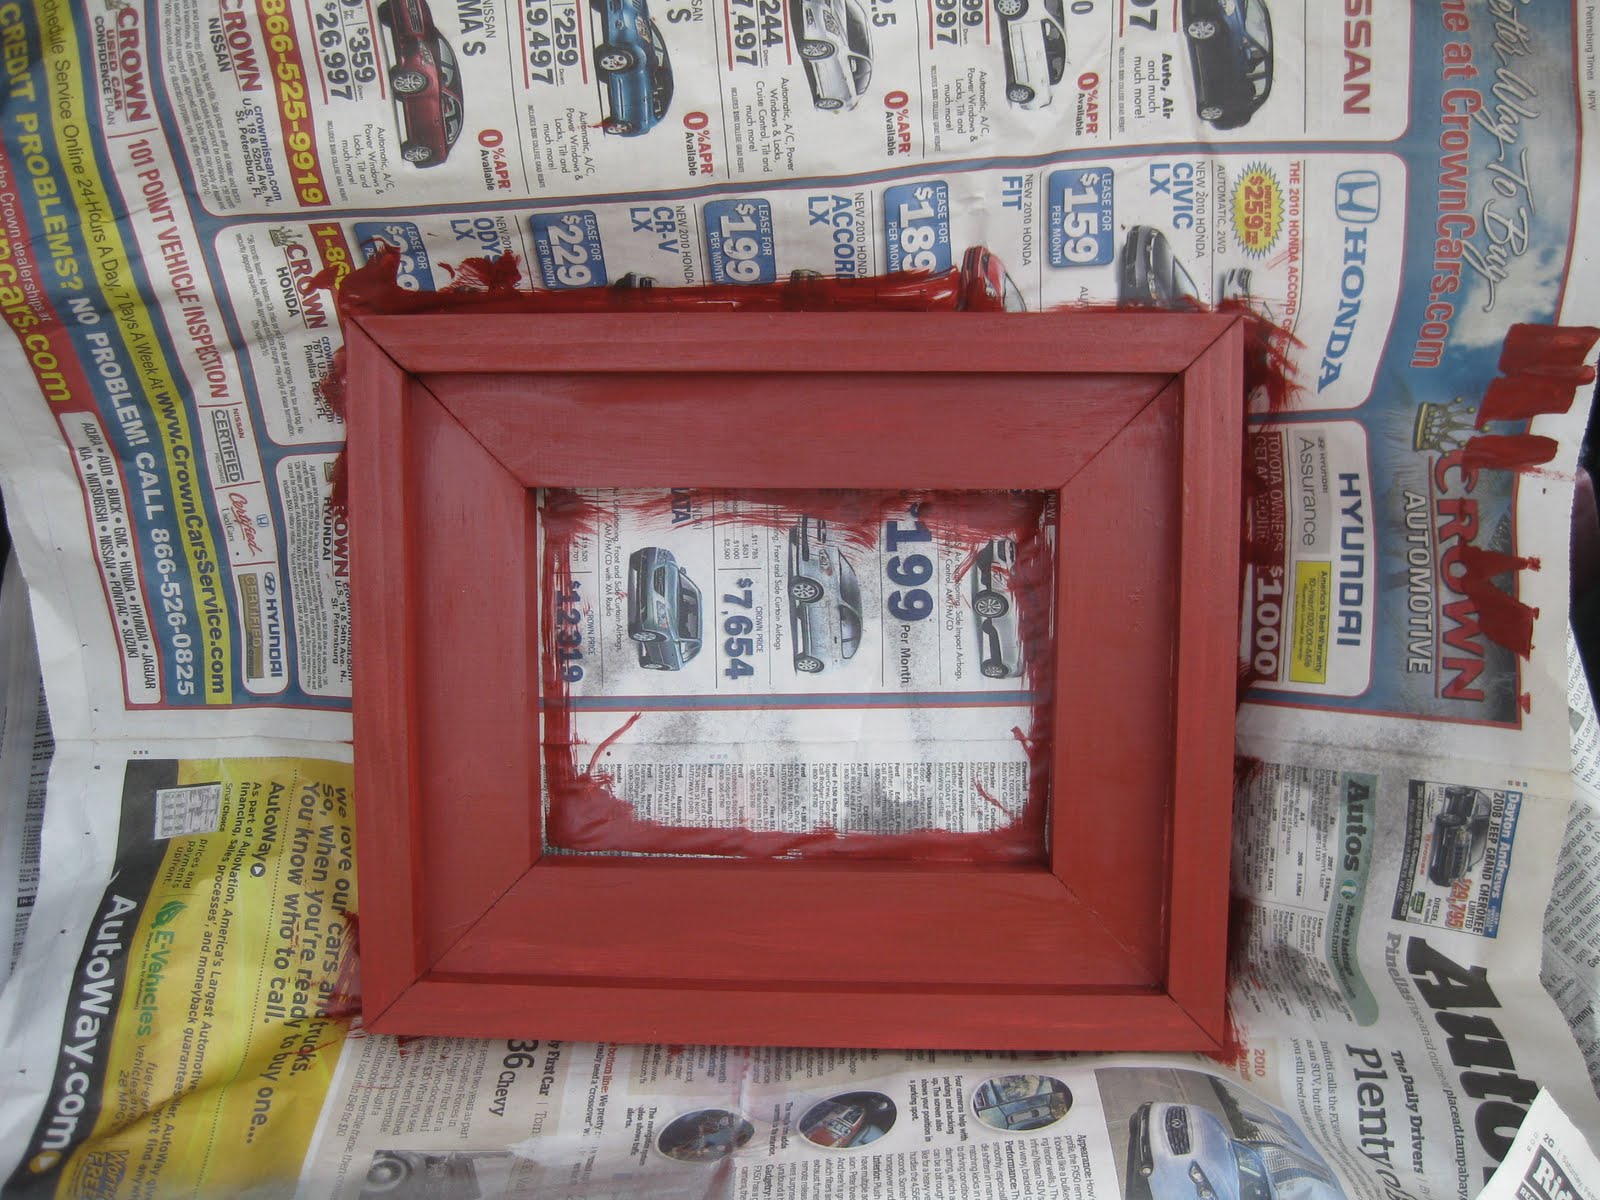
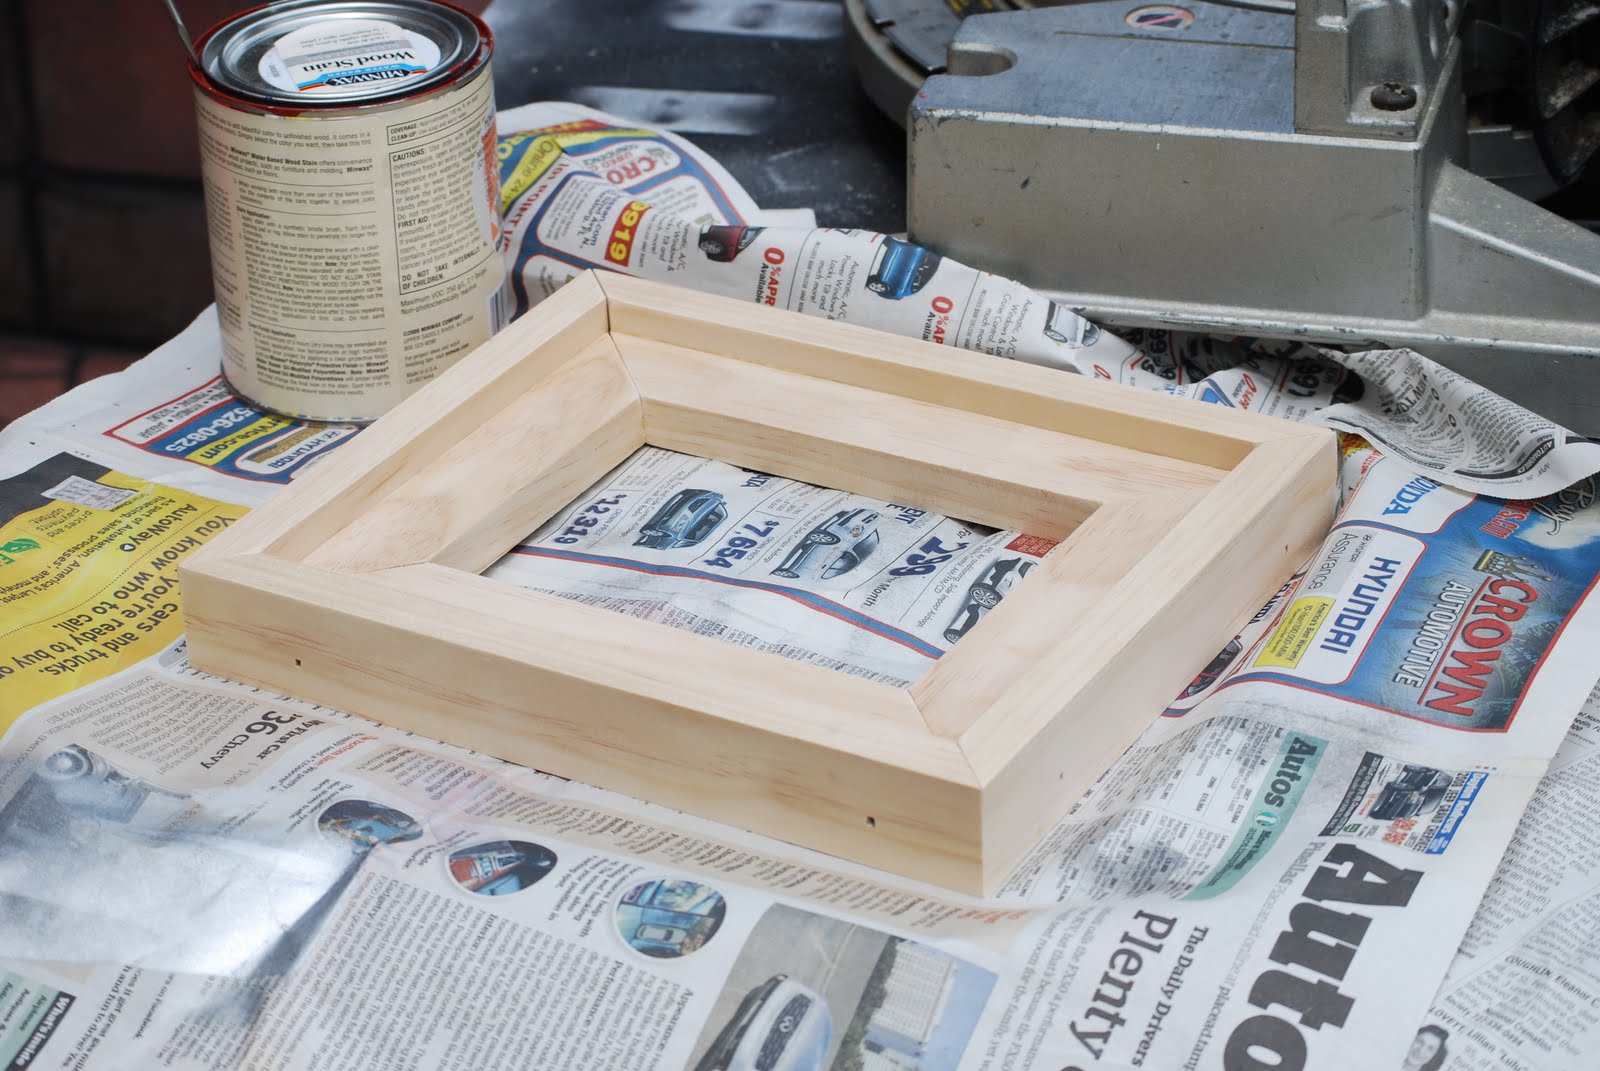
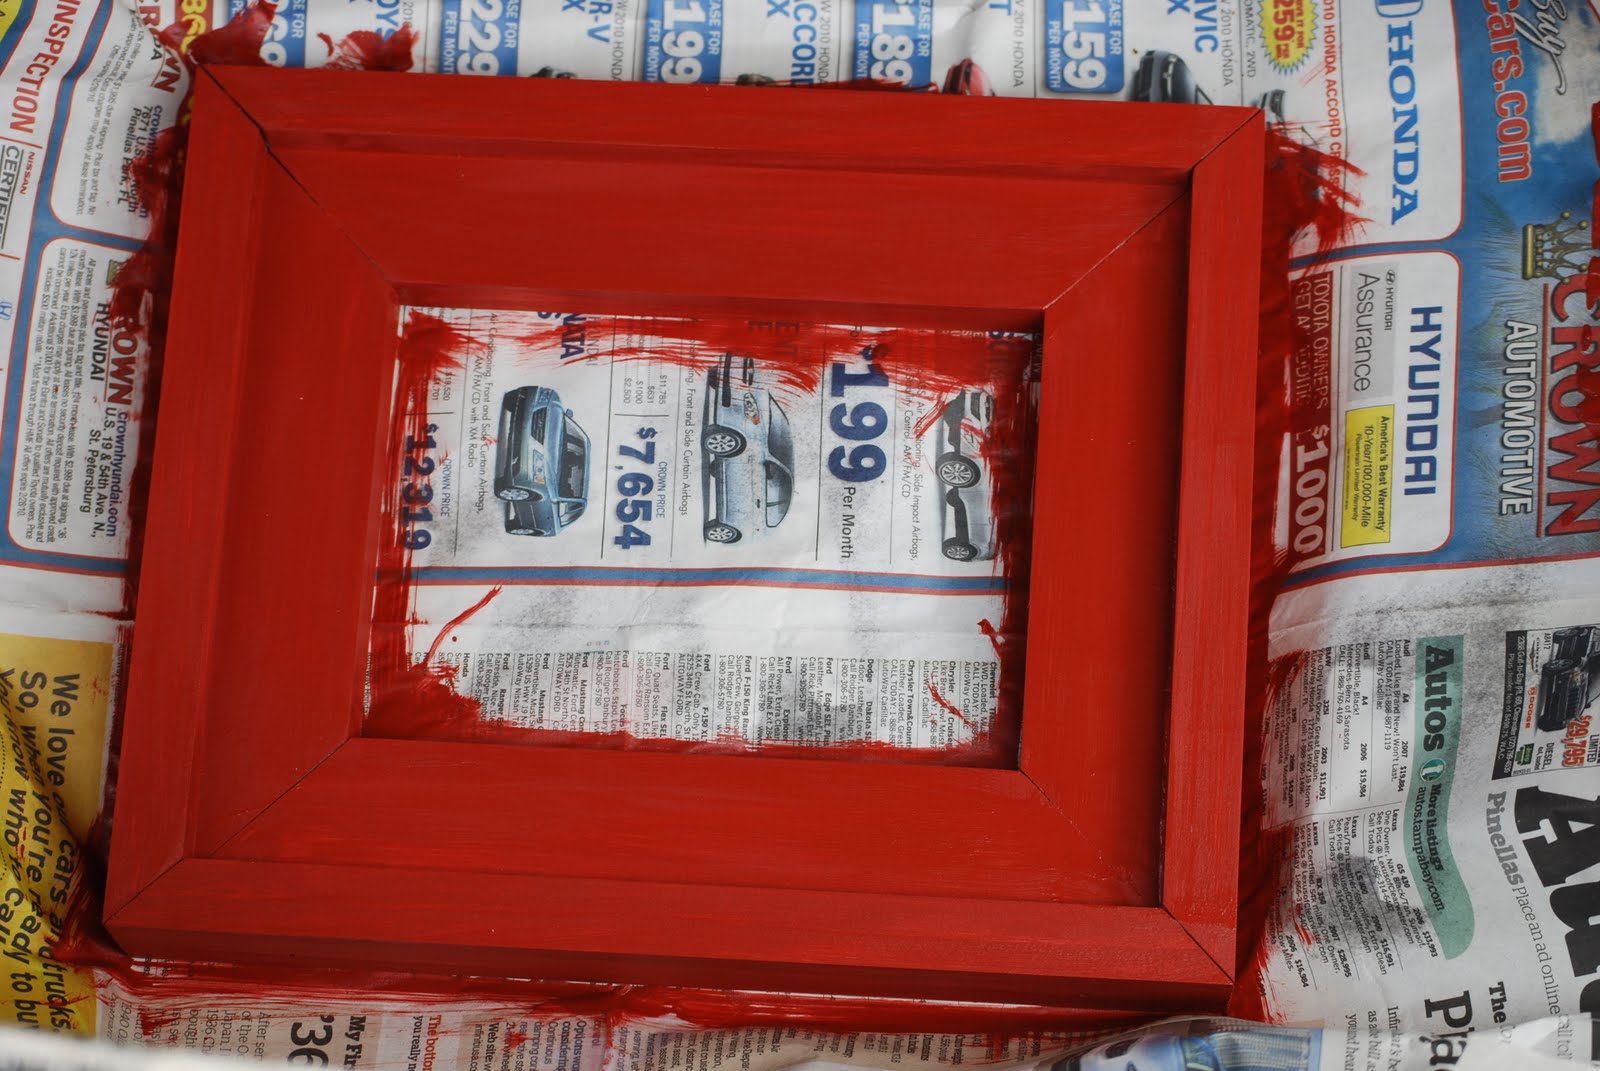
Finish Used
Minwax Jacobean in two coats with cabinet doors stained before assembly to prevent gaps in color. I used Minwax Wipe-on Poly, also two coats to finish off the project. I followed the directions on all the labels and applied the finishes with old socks thanks to donations from my kids.
Recommended Skill Level
Beginner