fancy x farmhouse table from sinker cypress
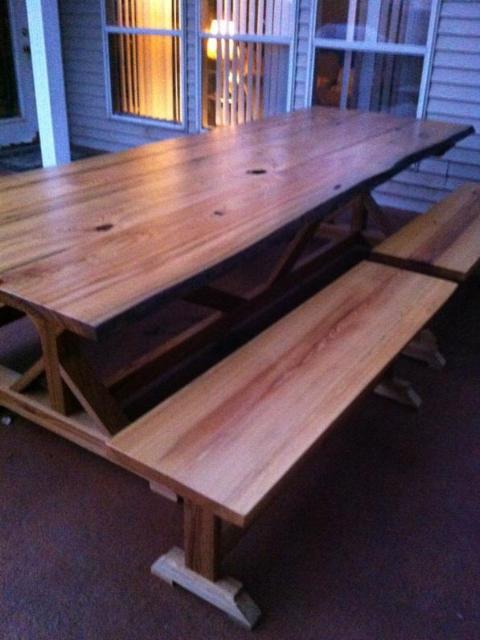
Built this table 11 feet long with live edge sinker cypress. Hand rubbed 12 coats of tung oil, then finished with Waterlox satin.
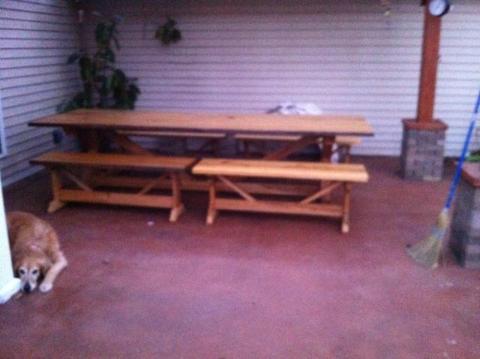
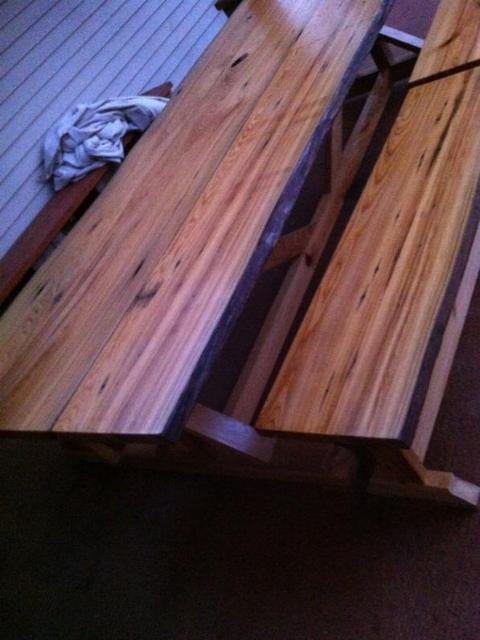

Built this table 11 feet long with live edge sinker cypress. Hand rubbed 12 coats of tung oil, then finished with Waterlox satin.


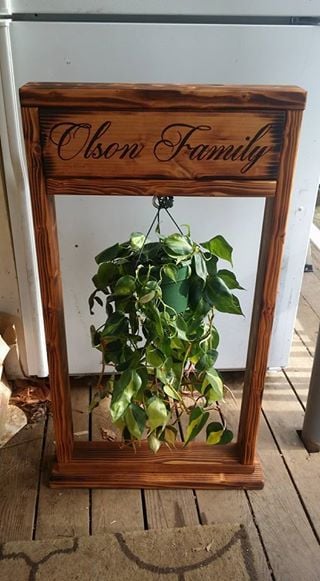
Found the old Home Depot plans, and decided to add my hand burned touch to it.
Have seen some that were using vinal or painted letters, but i like the burned effect, and its easier to seal right over the top with the outdoor stain/seal treatment..
Inspired by the RH Balustrade Salvaged Wood Coffee Table.
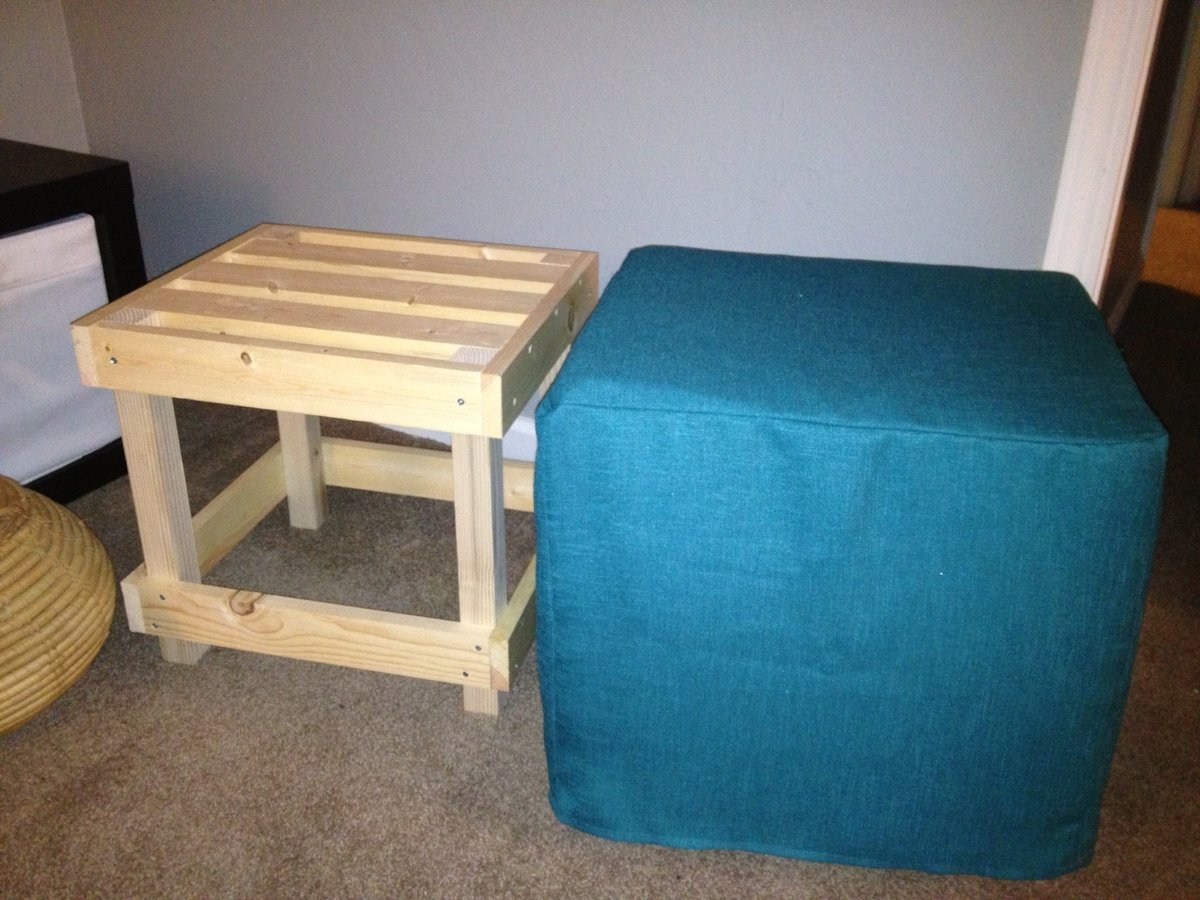
What a great easy project. The wood was really inexpensive. The only pricey part was the fabric.
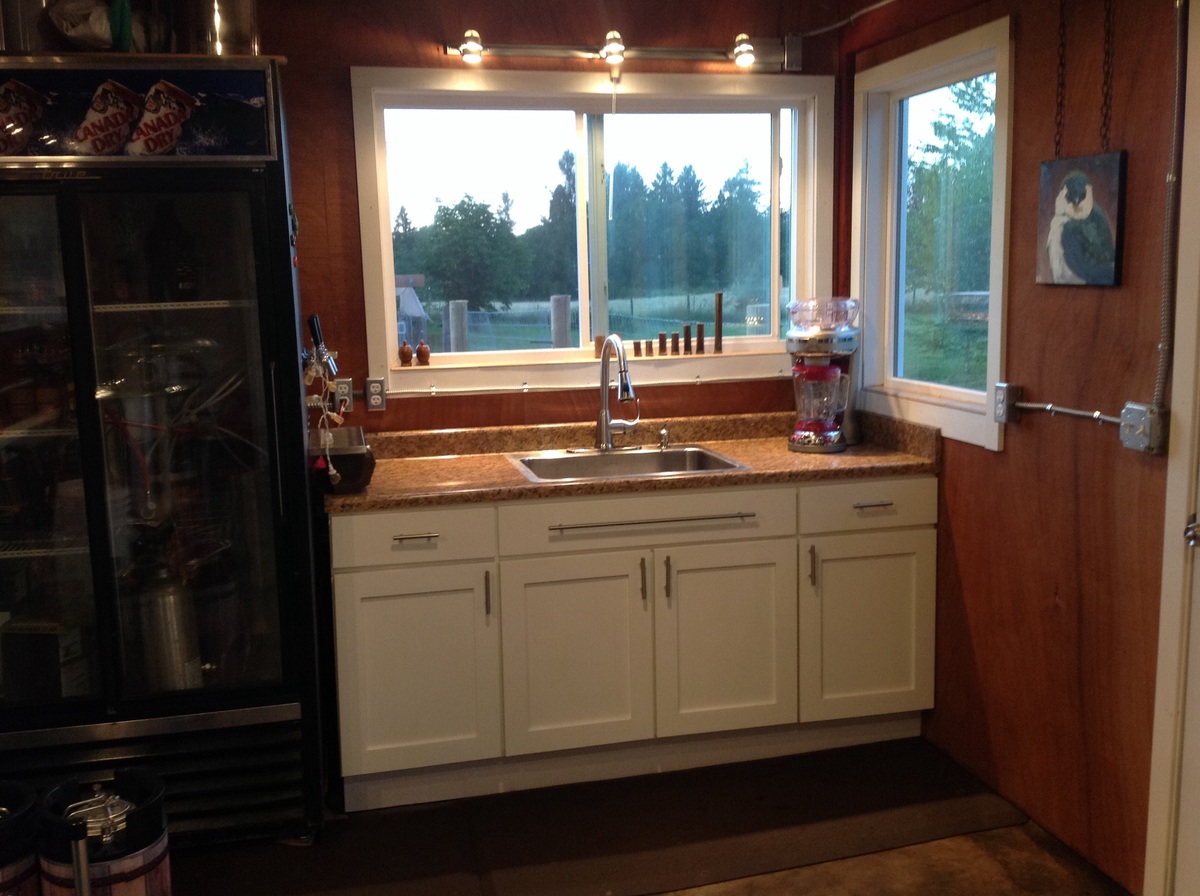
A 36" sink base is the center, flanked by two 18" cabinets made by modifying the 21" base cabinet plan.

Here are some of the more structual photos to help people along the way.
I did the head board and foot board using the directions. I used 2 4.5 inch screws on each 4x4 post to secure the 4x4s to the head board.
I used 2 4.5 inch screws to secure the head board to the frame.
I used some brackets I had lying around to secure the footboard to the frame.
I used 0.5 inch partical board to put on top of the frame I put the joists down 0.5 below the side rails so the partical board would sit down and inside.
I used 2x6 boards for the frame with deck brackets to secure it.
I used left over wood from the 4x4 to be cut 10inch each and 2x6 study 3 of those 4x4 to lift the frame up.
for the fourth raiser I used left over wood from the 2x10.
I primed the wood and painted white.
Hopefully these pictures help.
All said and done it was close to 500-600 to build. I did this in Canada where materials can be a little pricier.


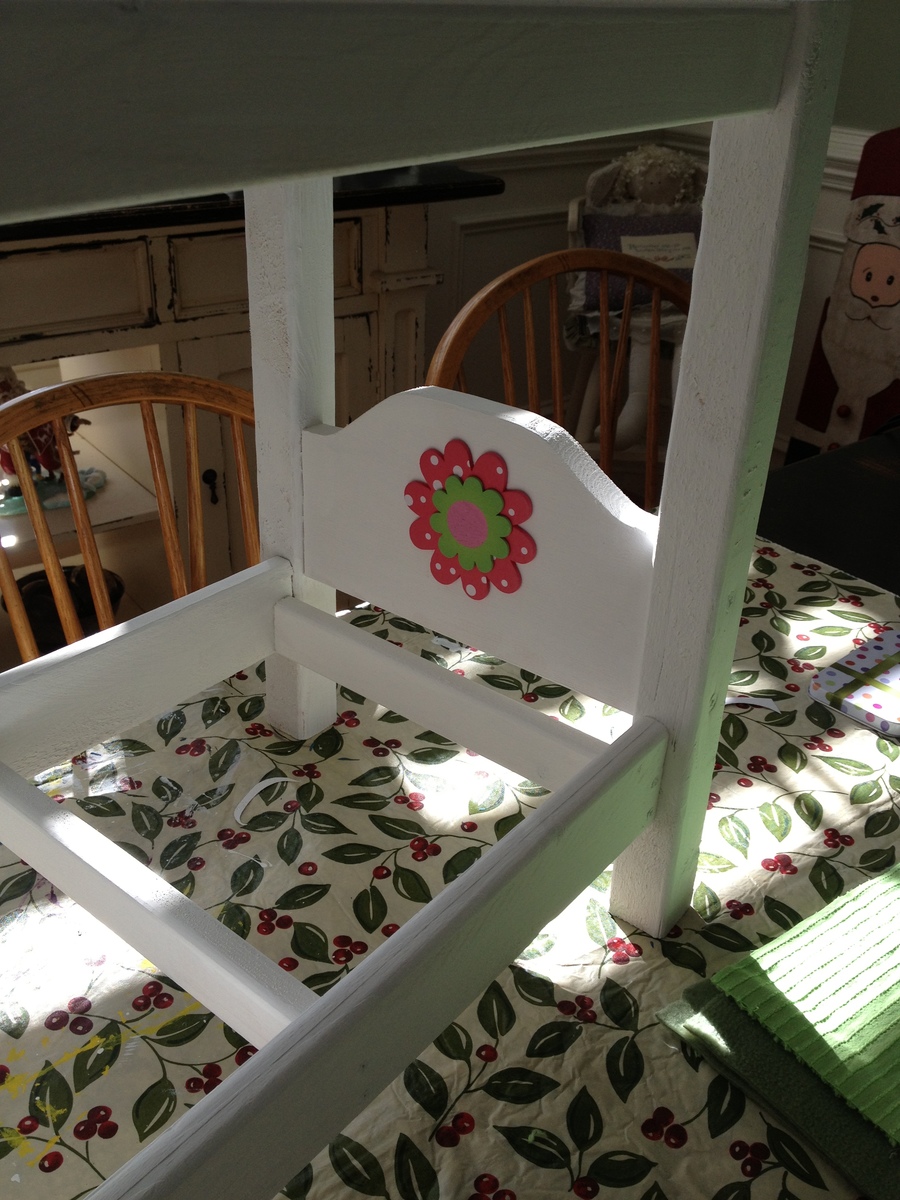
Santa was bringing my granddaughter an American Girl doll for Christmas and I knew she would need a bed. So I went to my favorite website in search of plans for a doll bed and found this one in Ana's catalog. I thoroughly enjoy creating projects like these and loved that I had enough scrap material around the house to sew some bedding for it as well. Thank you Ana for your inspiration and helping to make my granddaughter's American Girl comfortable!
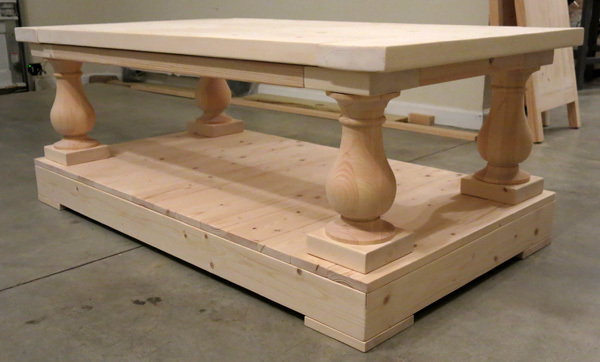
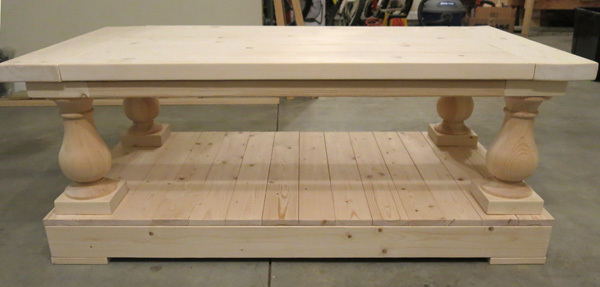
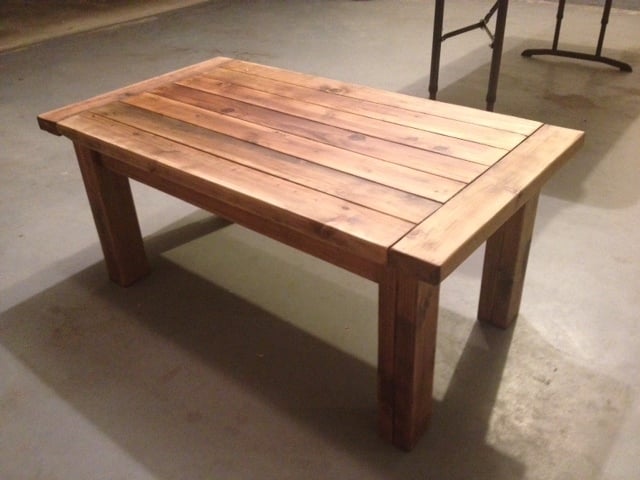
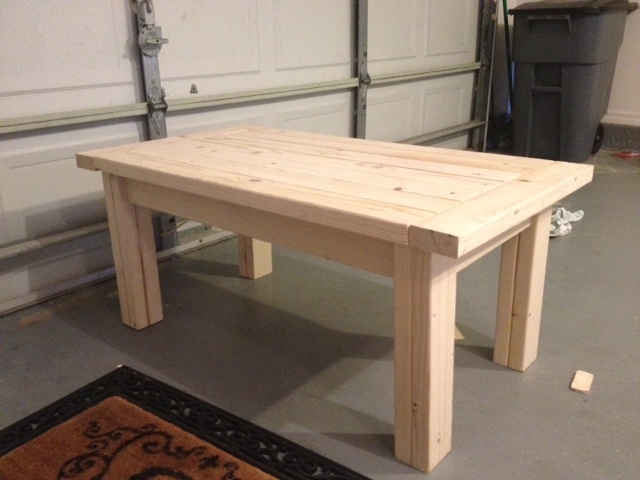
Restoration hardware style coffee table. We saw a coffee table we liked but didn't want to spend $2000 on. Designed my own and managed to build for $200. Main expense was the $130 for the legs from Osbornewood.com.

Tue, 11/04/2014 - 13:29
I love this, I have been wanting to make a really nice coffee table. I this this is gorgeous!
In reply to beautiful!! by rachelbebop
Tue, 11/04/2014 - 13:35
Thanks for the comment. It is actually pretty easy to make too which is the good part :-)
Fri, 05/13/2016 - 06:18
I went to Osbournewood.com for the legs. All I got was a listing of other companies selling them. The cheapest was $69. How did you get four for $130 or where did you go for that price?
Fri, 05/13/2016 - 06:18
I went to Osbournewood.com for the legs. All I got was a listing of other companies selling them. The cheapest was $69. How did you get four for $130 or where did you go for that price?
Fri, 05/13/2016 - 06:18
I went to Osbournewood.com for the legs. All I got was a listing of other companies selling them. The cheapest was $69. How did you get four for $130 or where did you go for that price?
Fri, 05/13/2016 - 06:18
I went to Osbournewood.com for the legs. All I got was a listing of other companies selling them. The cheapest was $69. How did you get four for $130 or where did you go for that price?
Fri, 05/13/2016 - 06:19
I went to Osbournewood.com for the legs. All I got was a listing of other companies selling them. The cheapest was $69. How did you get four for $130 or where did you go for that price?
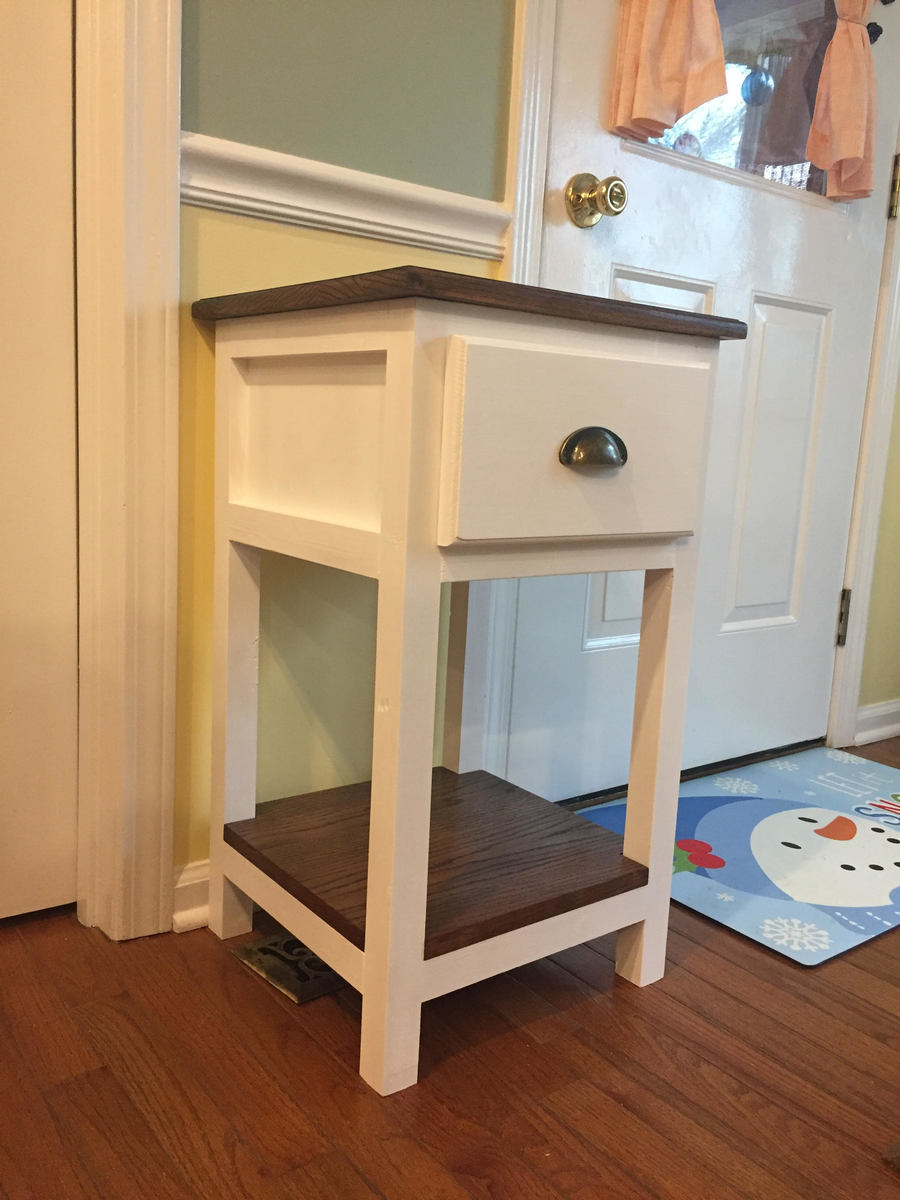
I love this table. I modified it to fit my needs.
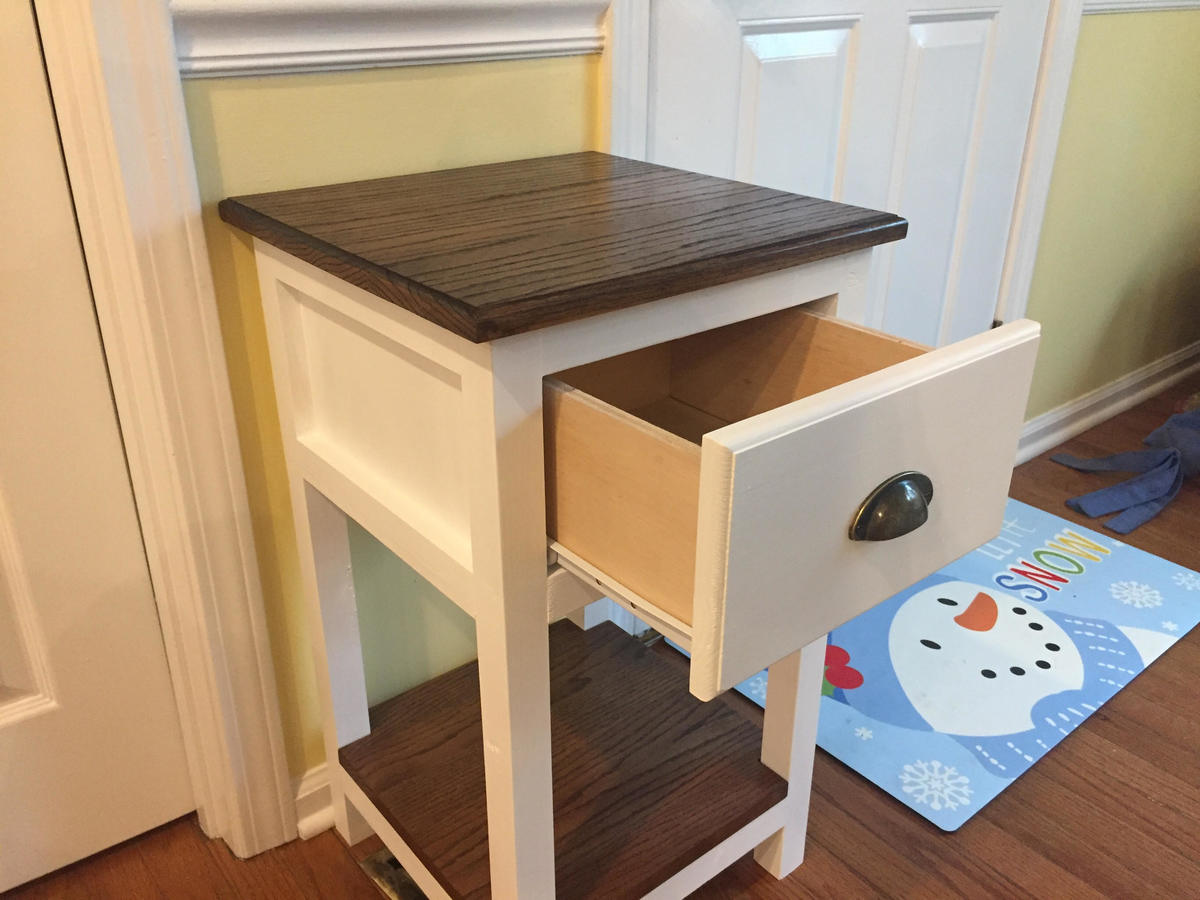
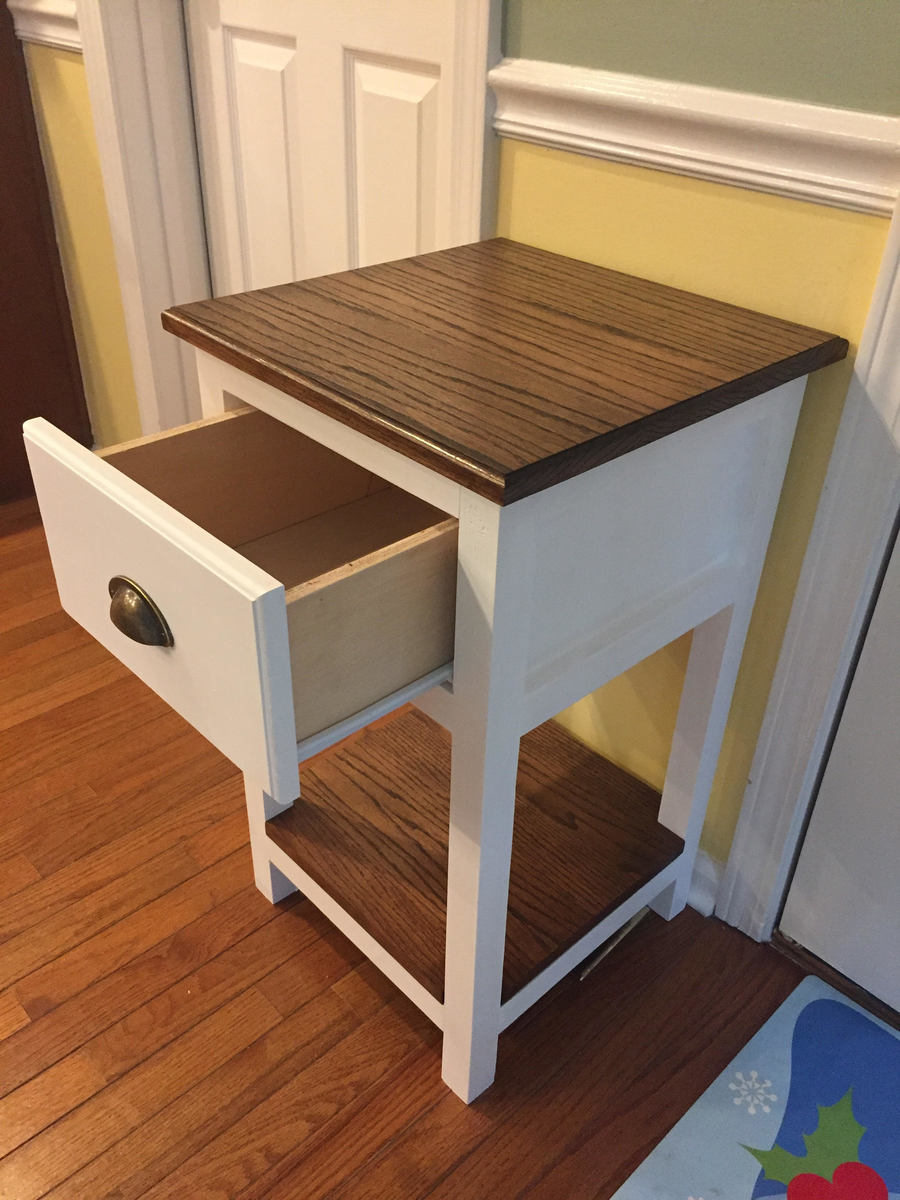
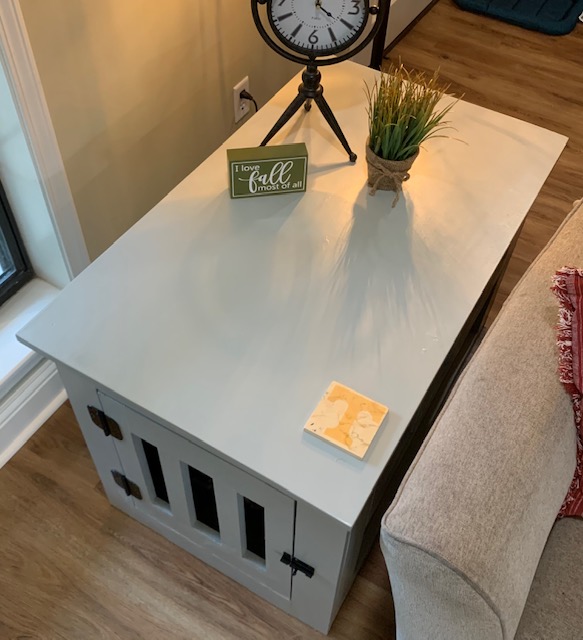
Large dog kennel/ end table. Love it!!
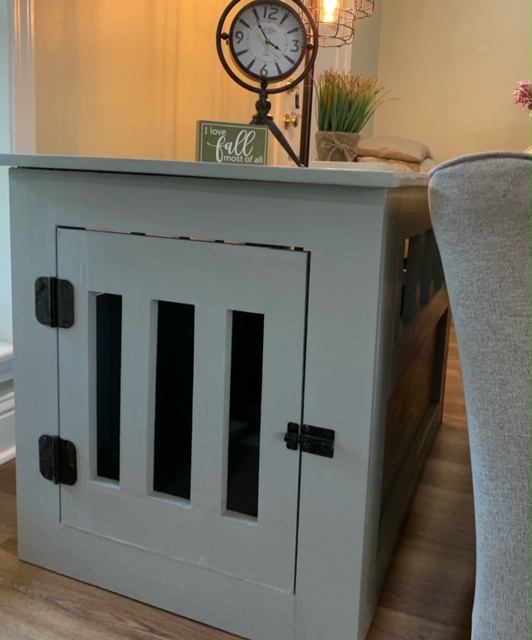
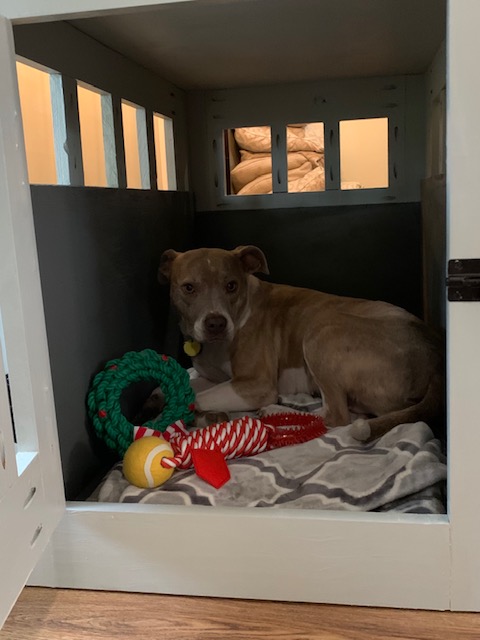
Tue, 11/10/2020 - 09:47
Great project! It looks like a success, thanks for sharing:)
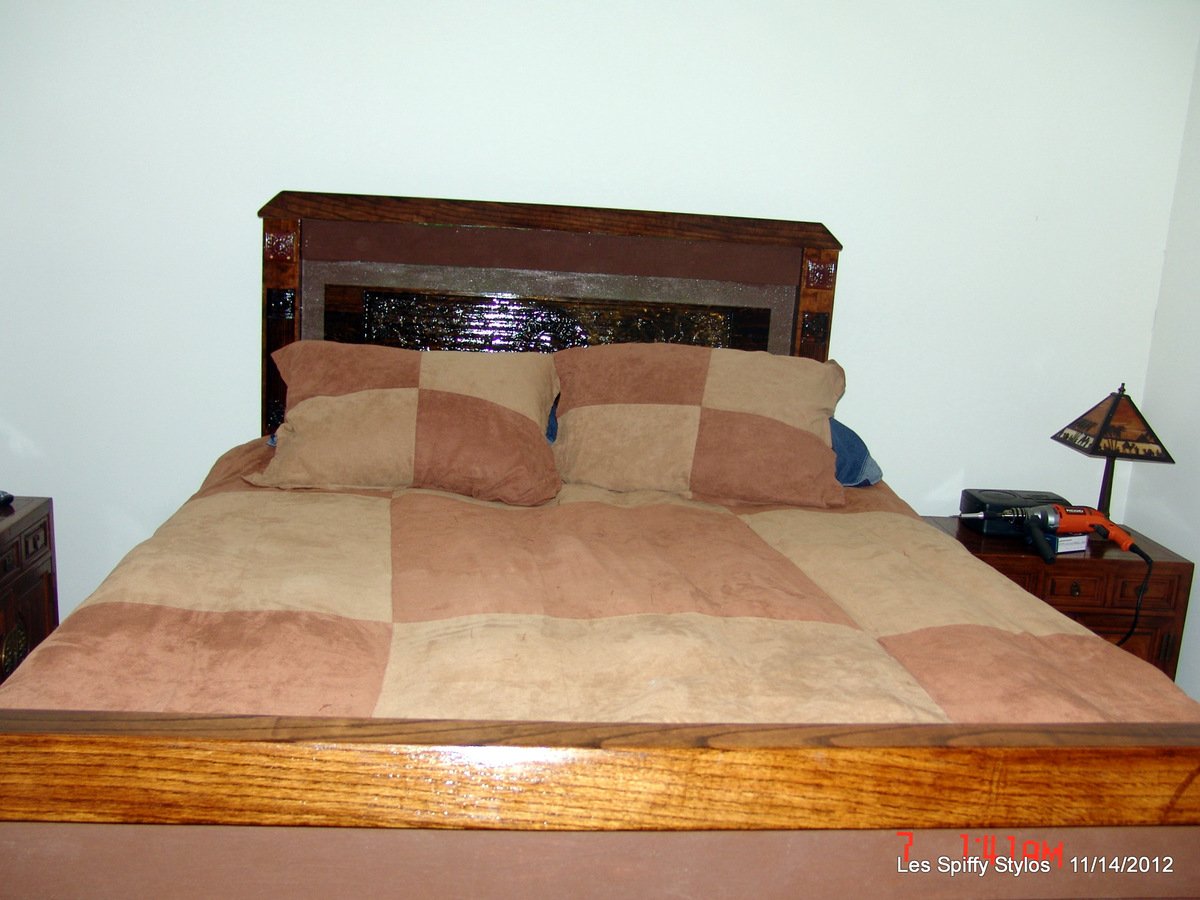
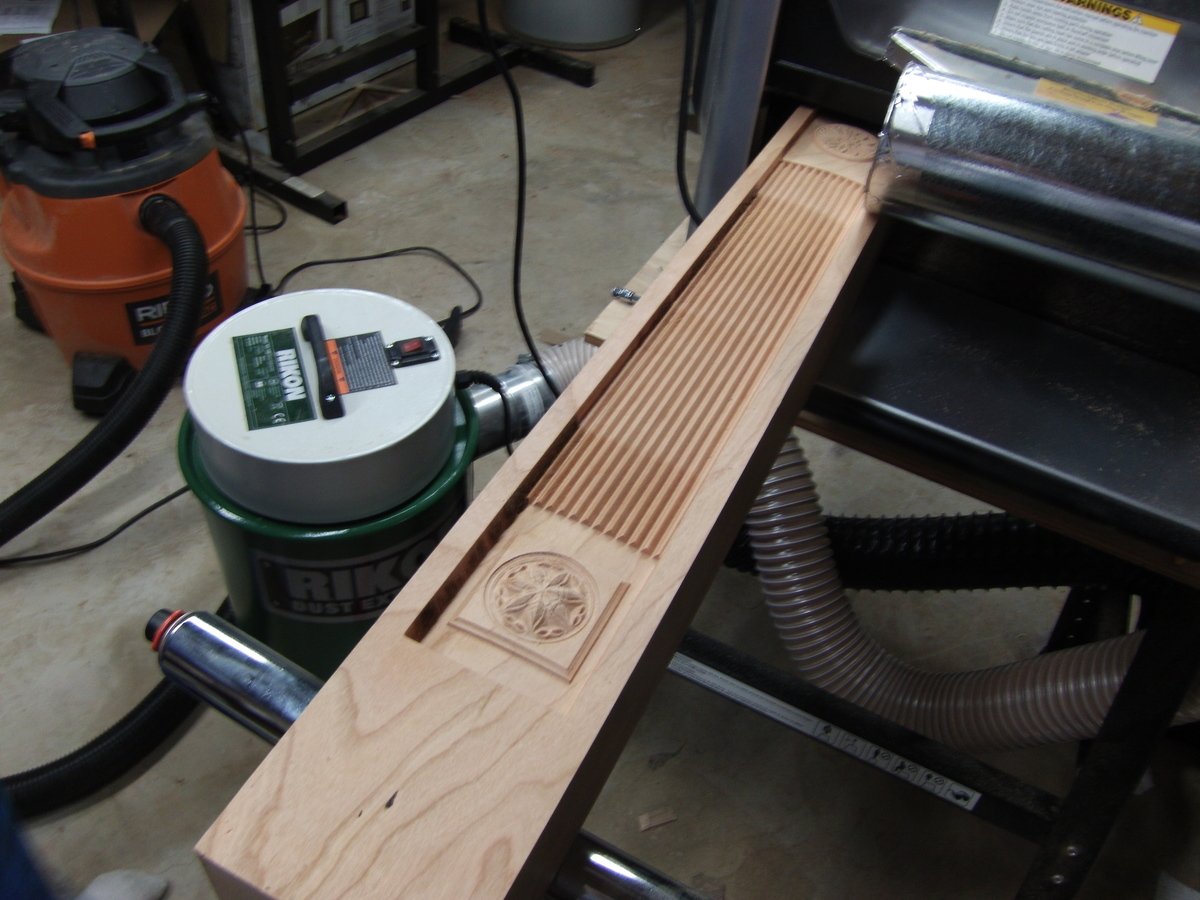
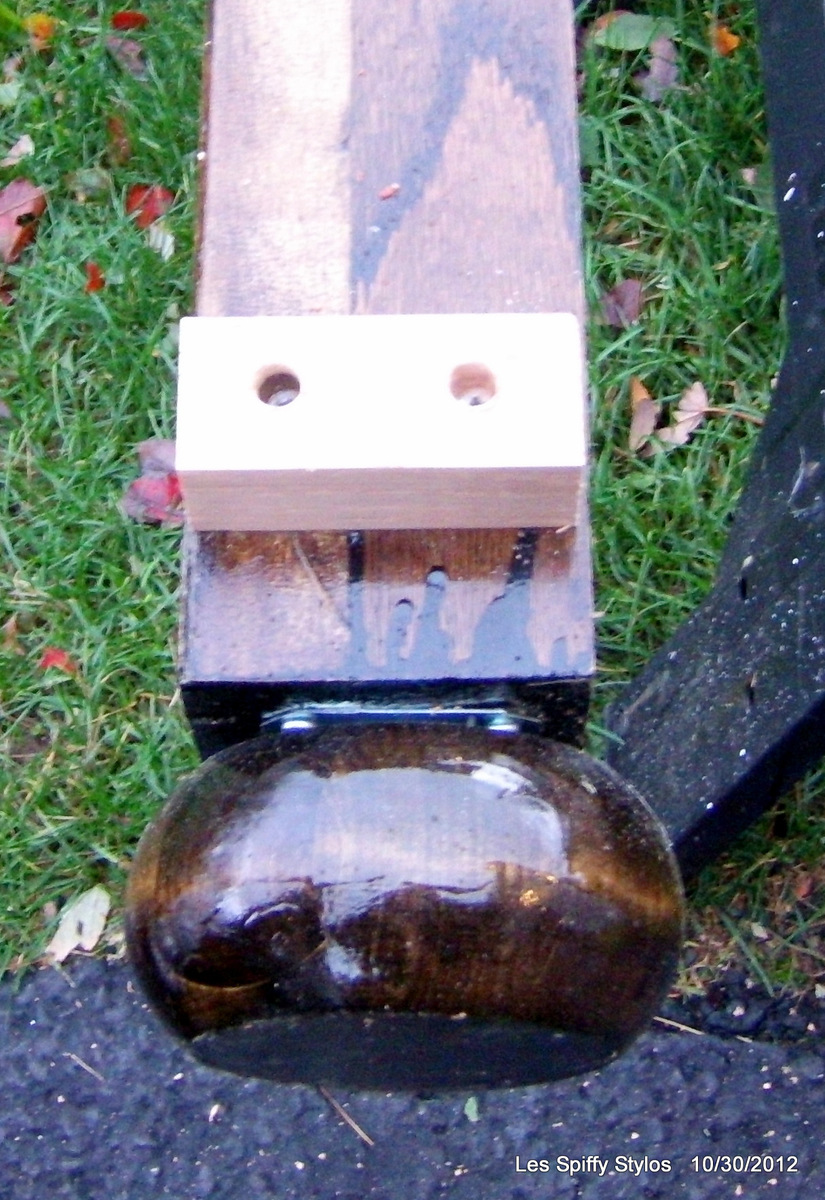
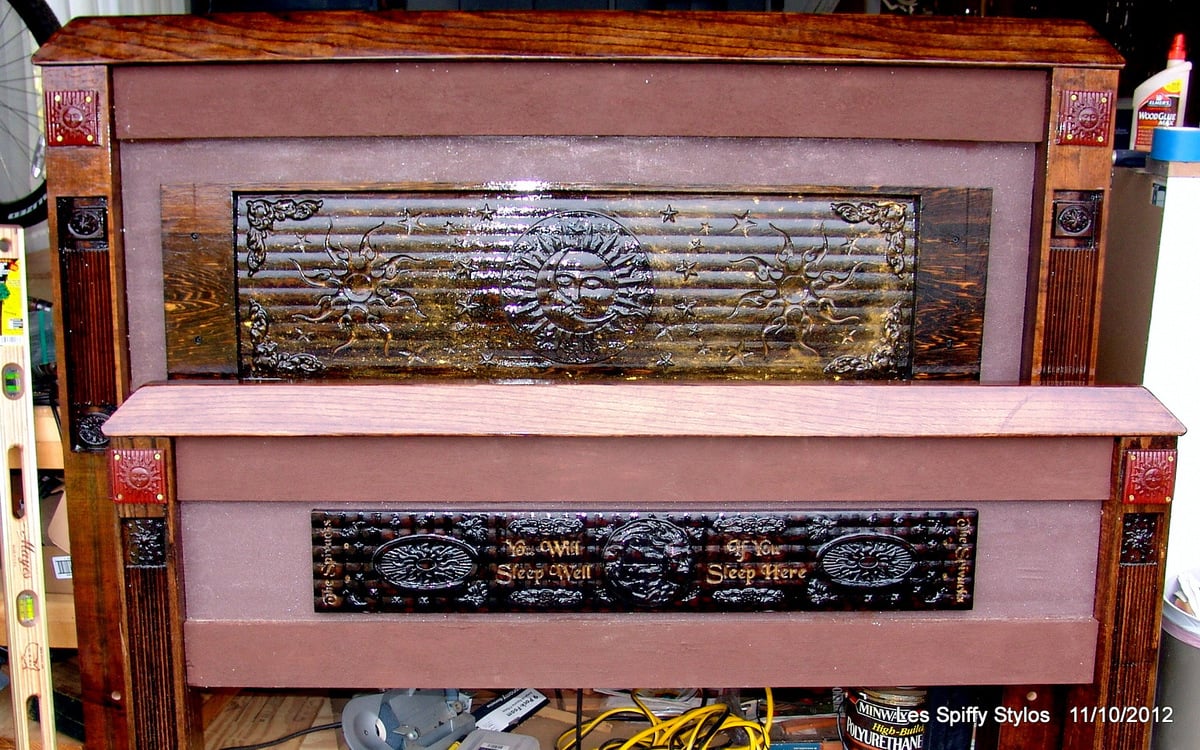
I built the Farmhouse bed with storage but departed from Ana's design a bit. I built the legs from 4" red oak, the boxes are painted plywood. The crowns on the head and footboard are also red oak. I have a Carvewright and used it to detail the bed pretty thoroughly...and topped it off with a temperpedic mattress. ROCK solid and looks great! Also, put LED lights behind the headboard insert that shines around its sides.
All in, great project, took me around 3 months to complete!

Thu, 01/10/2013 - 17:42
Hi, if you want to see the rest of the build, I have 140+ pics posted on Facebook:
http://www.facebook.com/media/set/?set=a.10150844261192960.416336.65162…
Fri, 01/11/2013 - 17:16
wow! I really liked your idea of adding lighting into the headboard.
Sat, 01/12/2013 - 06:51
Fires up with a remote, something like 35 colors, strobes, flashes. Likes OK by day but it looks amazing at night. Which, in all sincerity, is a fair description of my own looks. (smile)
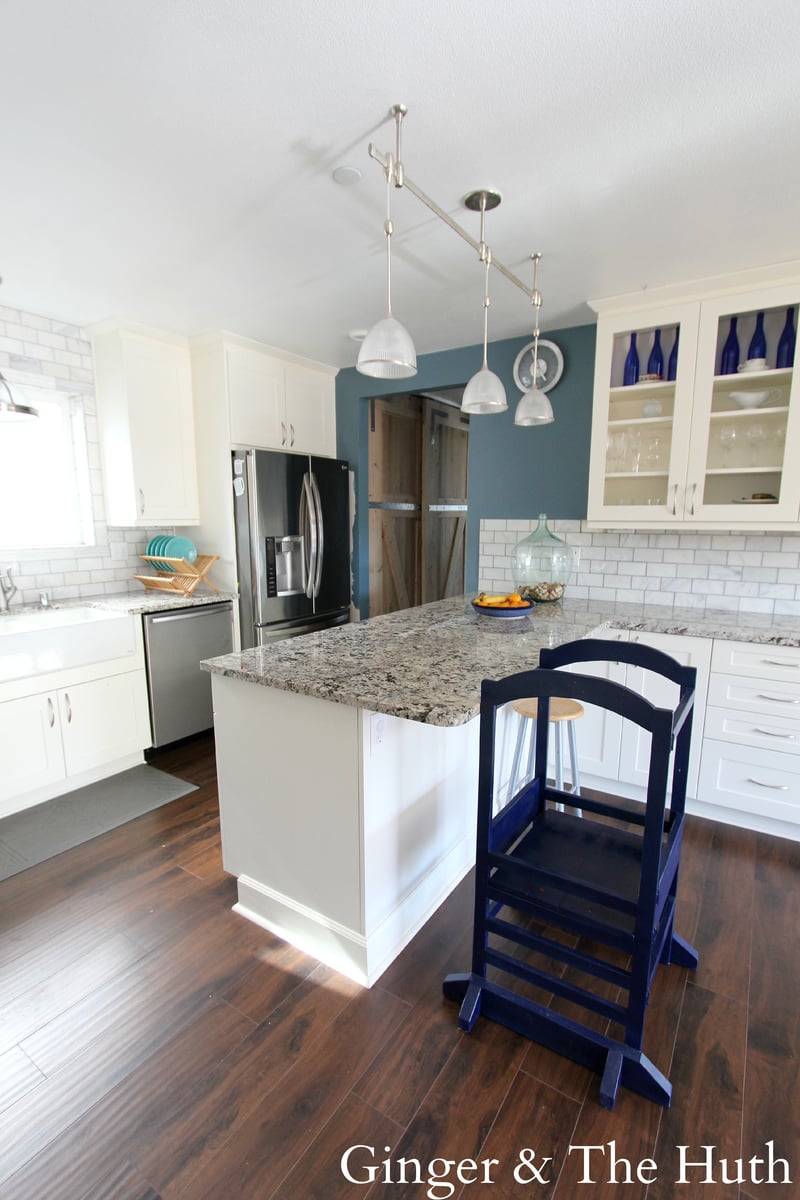
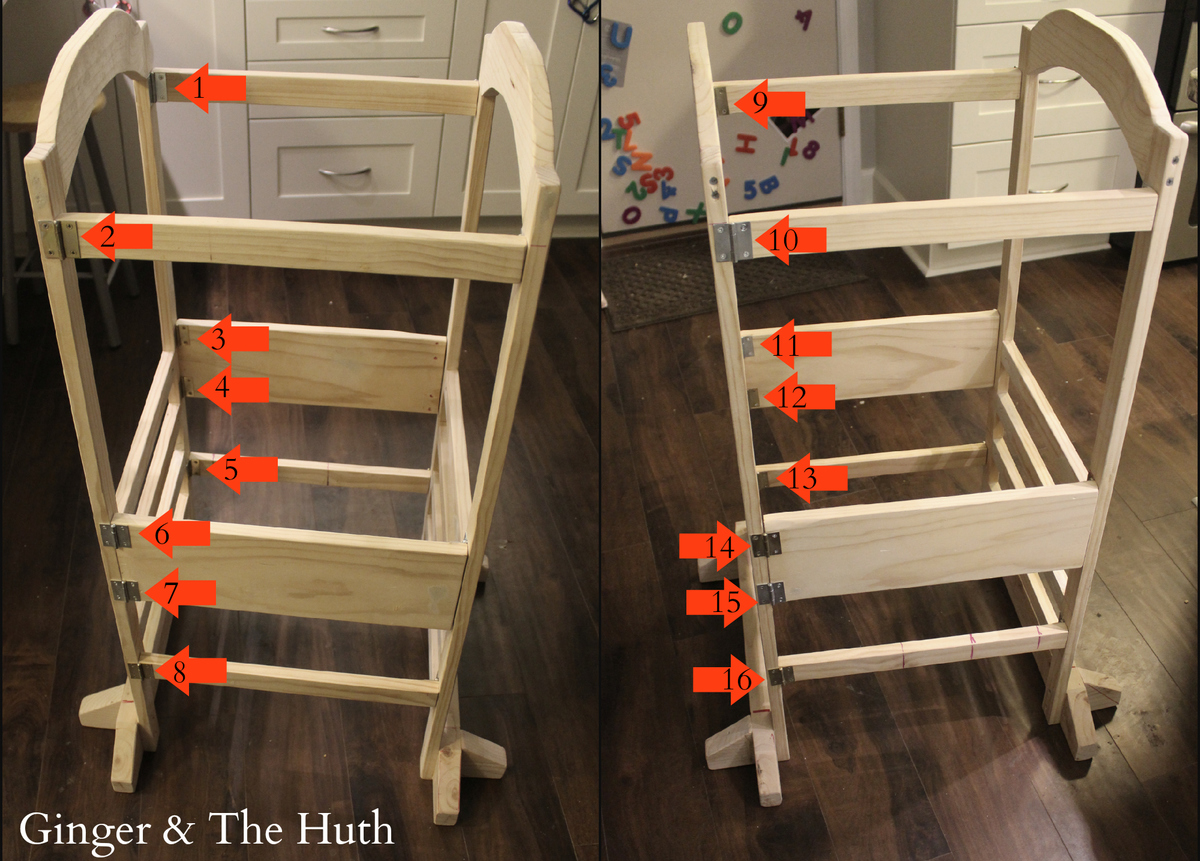
Ana's plan called for using 8 hinges (I'm not sure on the placement of those). I used a total of 16 to ensure sturdiness. I put two hinges on each corner of the 1x8 piece and a hinge anywhere the corners connected. I used Narrow Utility Hinges (1-1/2" Zinc plated). The pack of 2 cost $2.27 and comes with screws. My biggest regret is not painting the hinges before I put them on. I waited until after screwing them in and it was a pain and makes my paint job look sloppy.
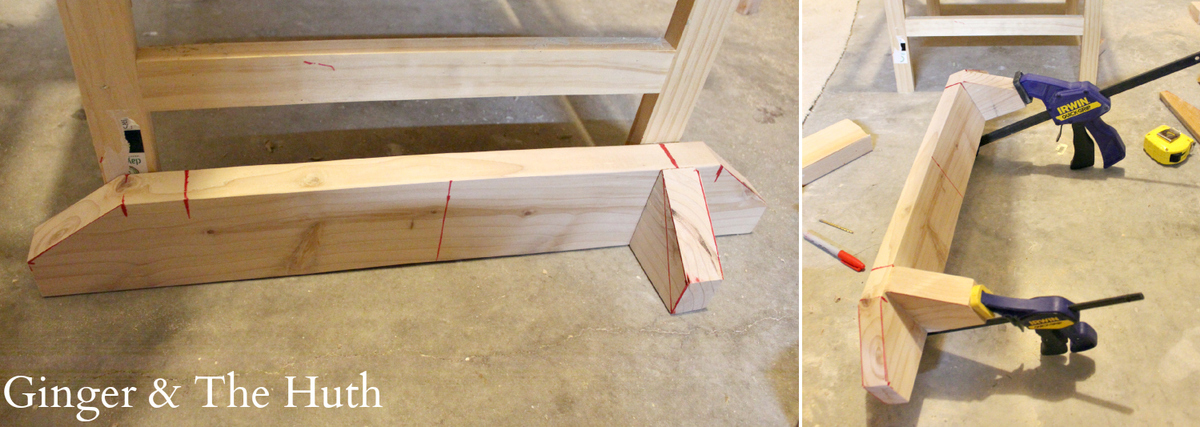
Although I priced this build out, I ended up using wood I already had in the garage. I didn't have enough 1x3 to make the anti-tipping feet so I used a 2x4. I also didn't make the rounded edges, just a few angled straight cuts.
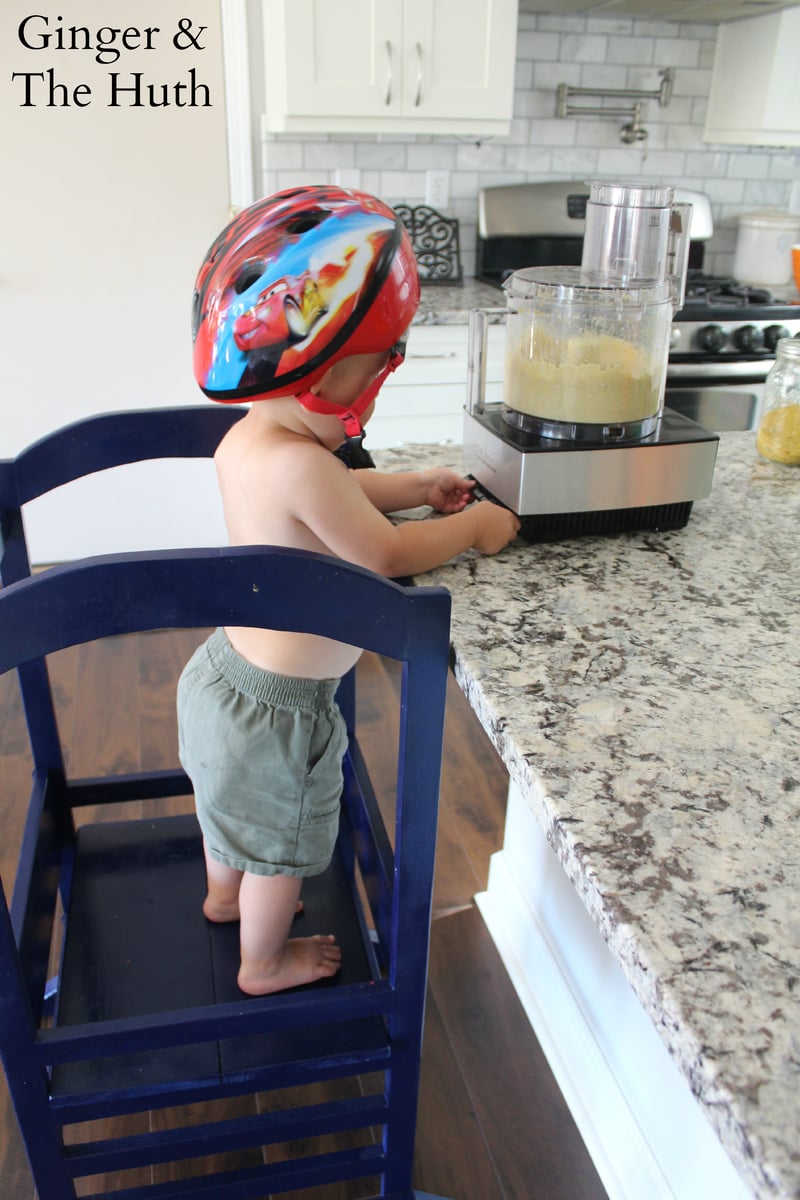
THESE ANTI-TIP FEET ARE A SAFETY MUST, DO NOT SKIP THEM!! I've seen a few commenters say they skipped the anti-tip feet, but for us they were a must. My kid would have easily knocked his tower many times if it weren't for these anti-tip feet!
Couldn't be happier with this build. Totally worth every penny. Hands down my favorite kitchen addition!
Wrote about this on the blog too: http://thehuth.blogspot.com/2014/11/ana-whites-little-helper-tower.html
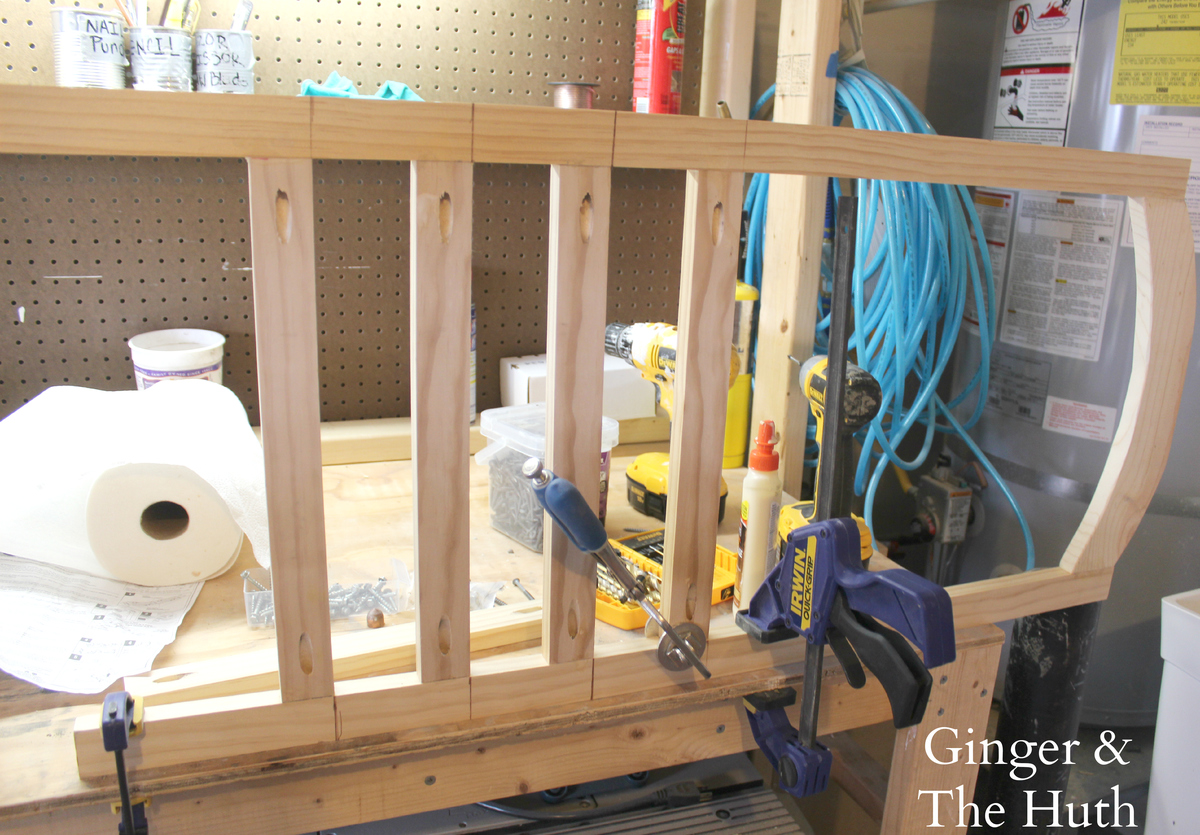
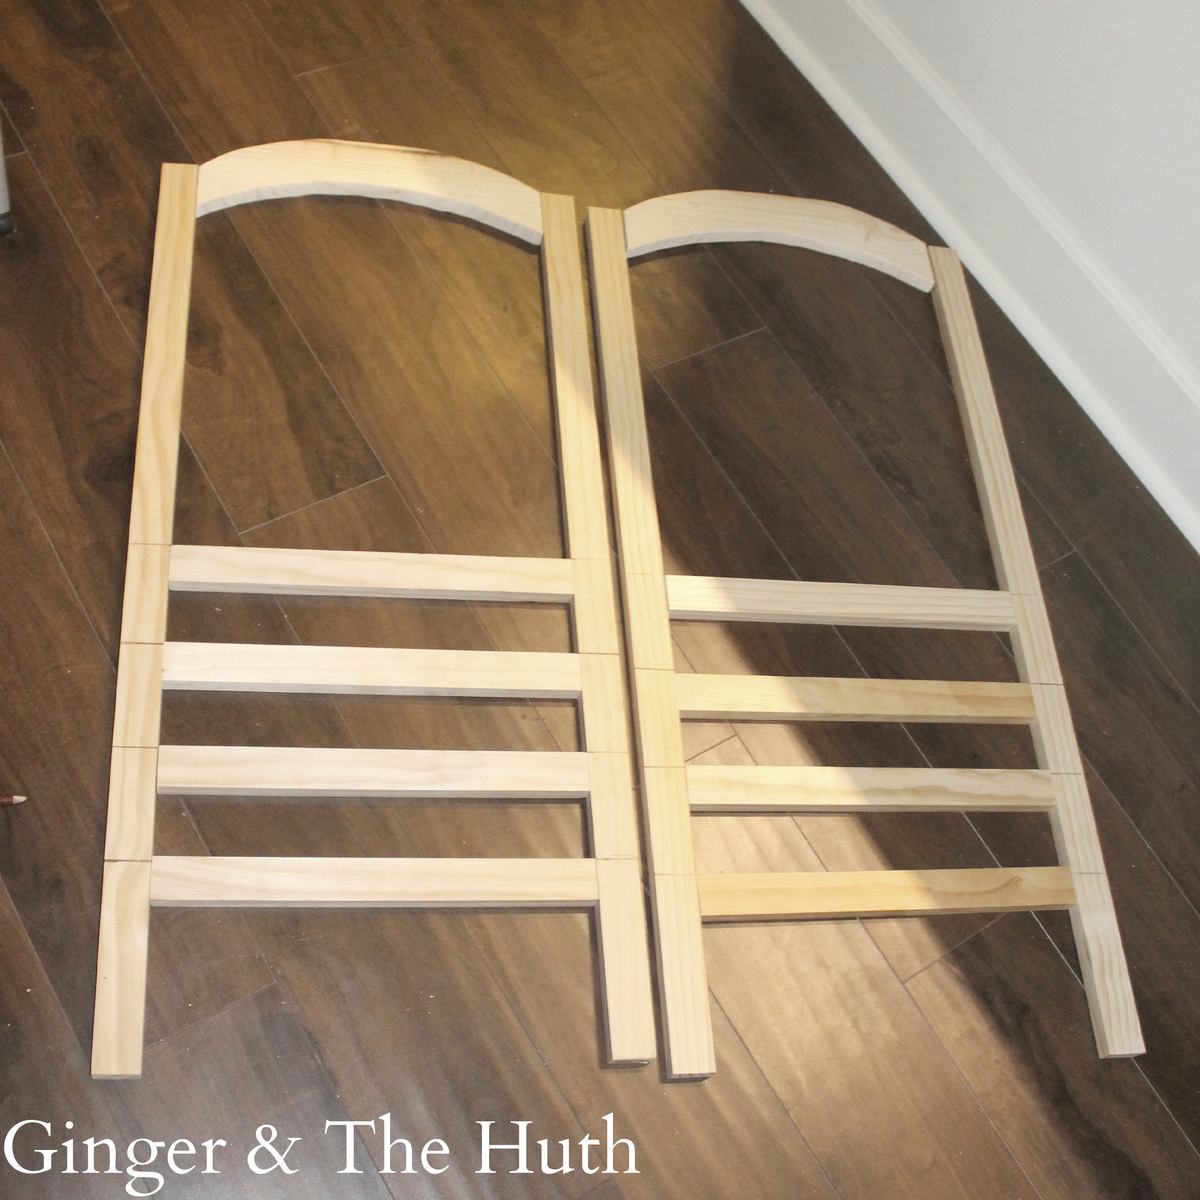

Not much to say here other than THANK YOU ANA! I built it right to the plan, used plain dimensional spruce for the drawer box, and reclaimed fir for everything else. Had fun using my thickness planer to save many hours on the belt sander.

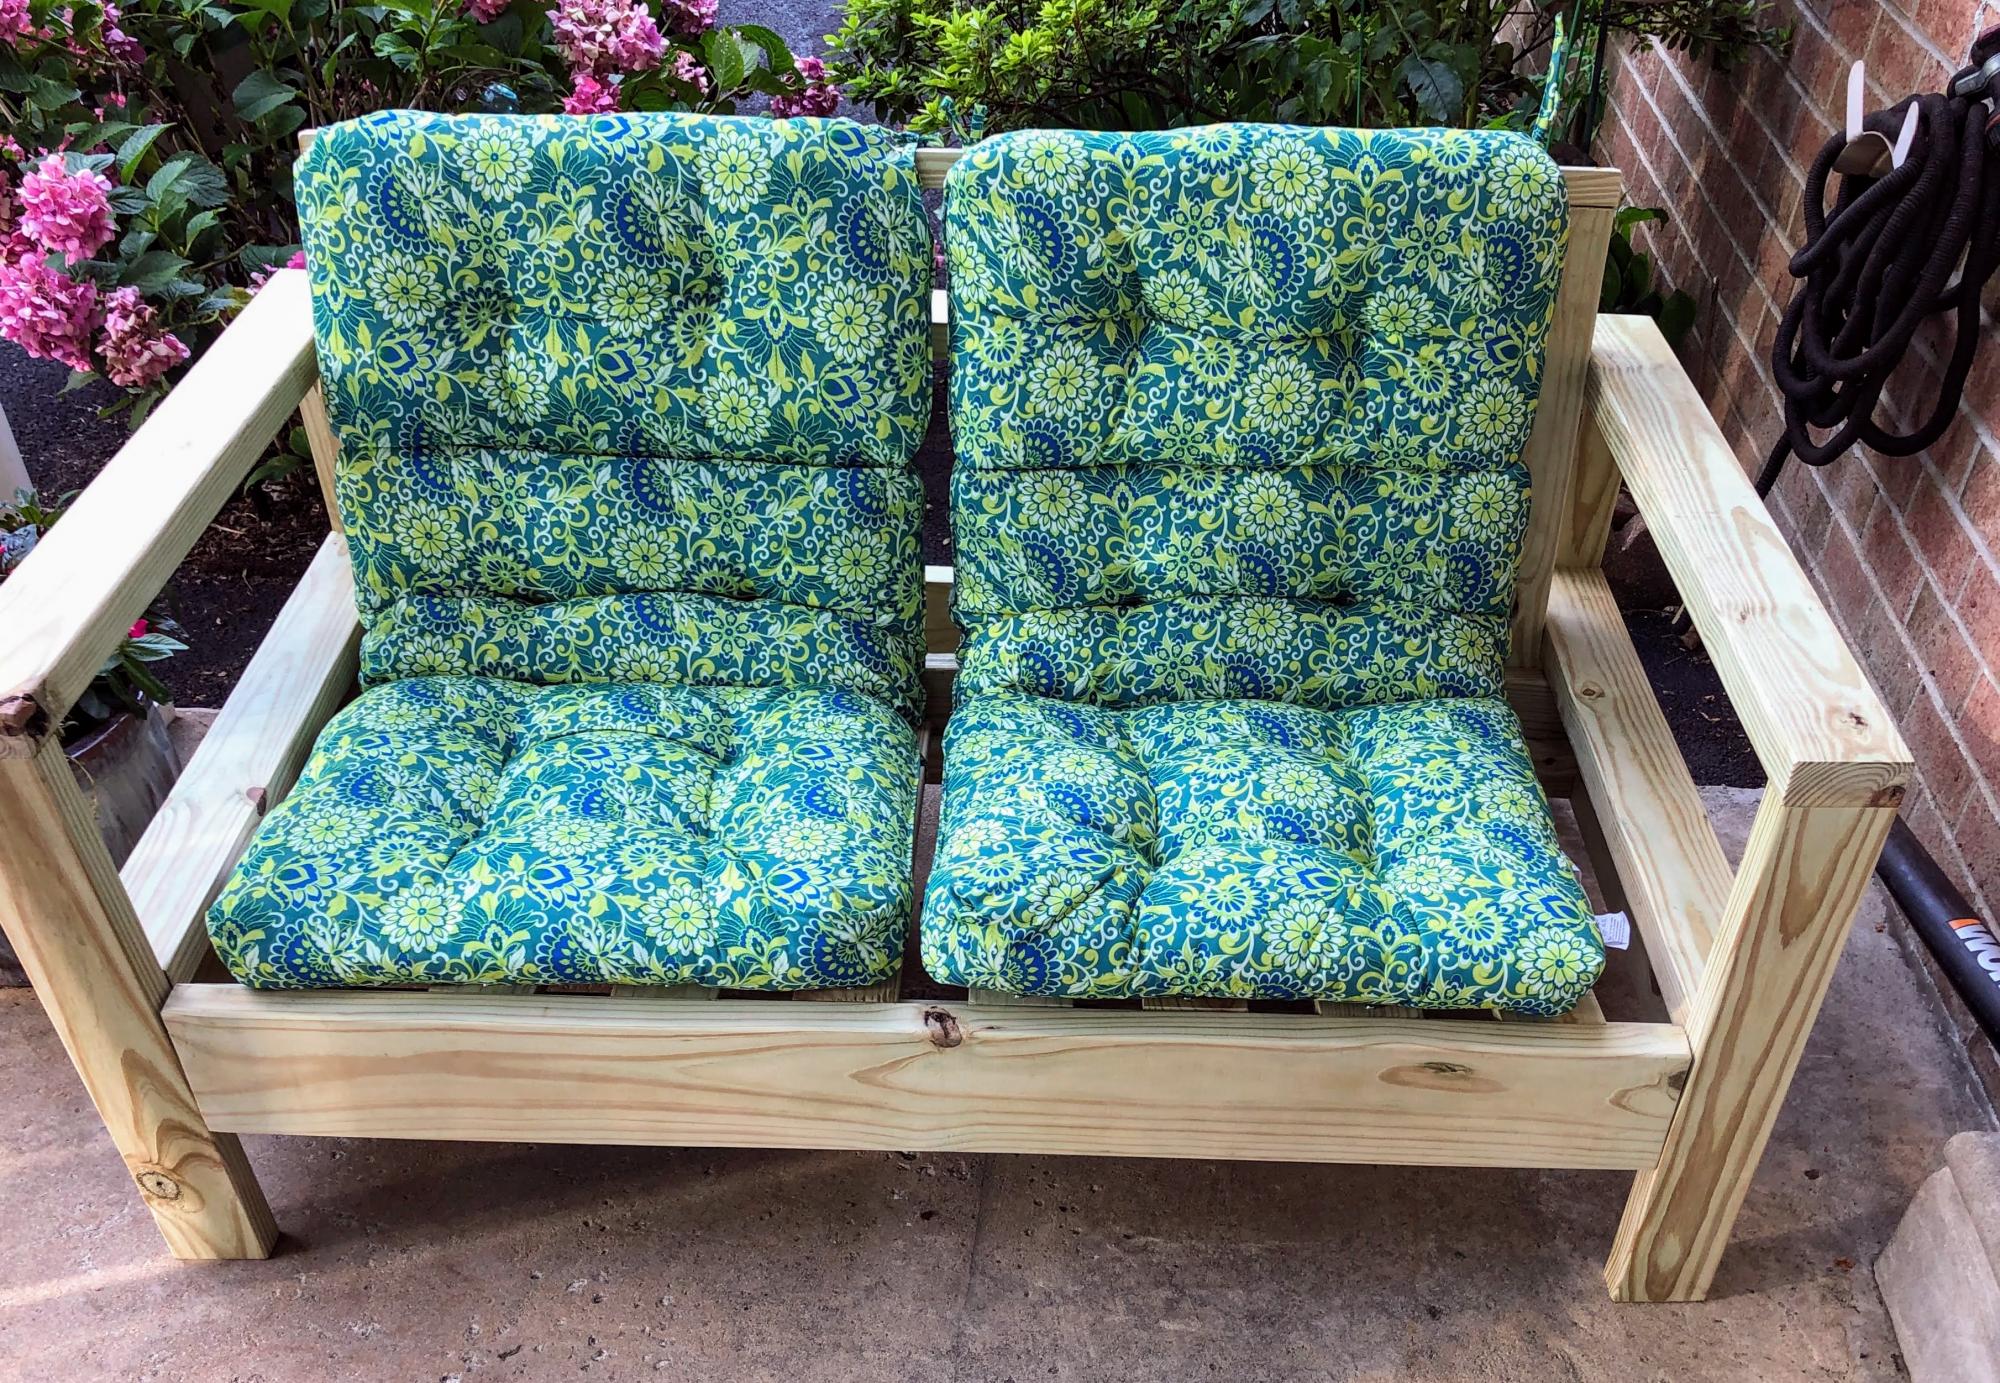
I made the "Outdoor Loveseat" from the "Modern Comfort Collection". The plans were very helpful! As a true novice, one issue I ran into was that the seat back bottom slats was about 3/8" longer than would fit. In any case, I was able to trim the boards down and the seat looks great. I ordered the cushions from Amazon.
The seat is now at my father's house where he can sit in the sun - when it's warm enough (in the spring/fall/winter) or cool enough in the summer. The build time was longer because I cut the wood and pre-assembled major pieces at home and then drove the pieces to my father who lives out of state.
Thank you for sharing the plans!

This was my first build...in fact, it was the first time I ever cut something with a saw. This was very easy and came out better then I ever imagined. I did some modifying because the original was way to big for the space I had planned for it. I also could not get ahold of a 4x4 that was not treated so I glued and screwed some 2x4's together to make my own. This was so much fun, I plan on making my sons toddler room and new living room furniture. I took pictures of most of the steps so if you want to see them, send me a message. Happy building!
In reply to Did you use a kreg jig by Nickibickie (not verified)
Sun, 01/13/2013 - 06:14
Yes, it was very easy. I just bought the cheapest one I could find and it worked perfect.
Sun, 01/13/2013 - 12:34
Thank you! Plans below:
http://ana-white.com/2012/10/plans/updated-tryde-coffee-table-pocket-ho…
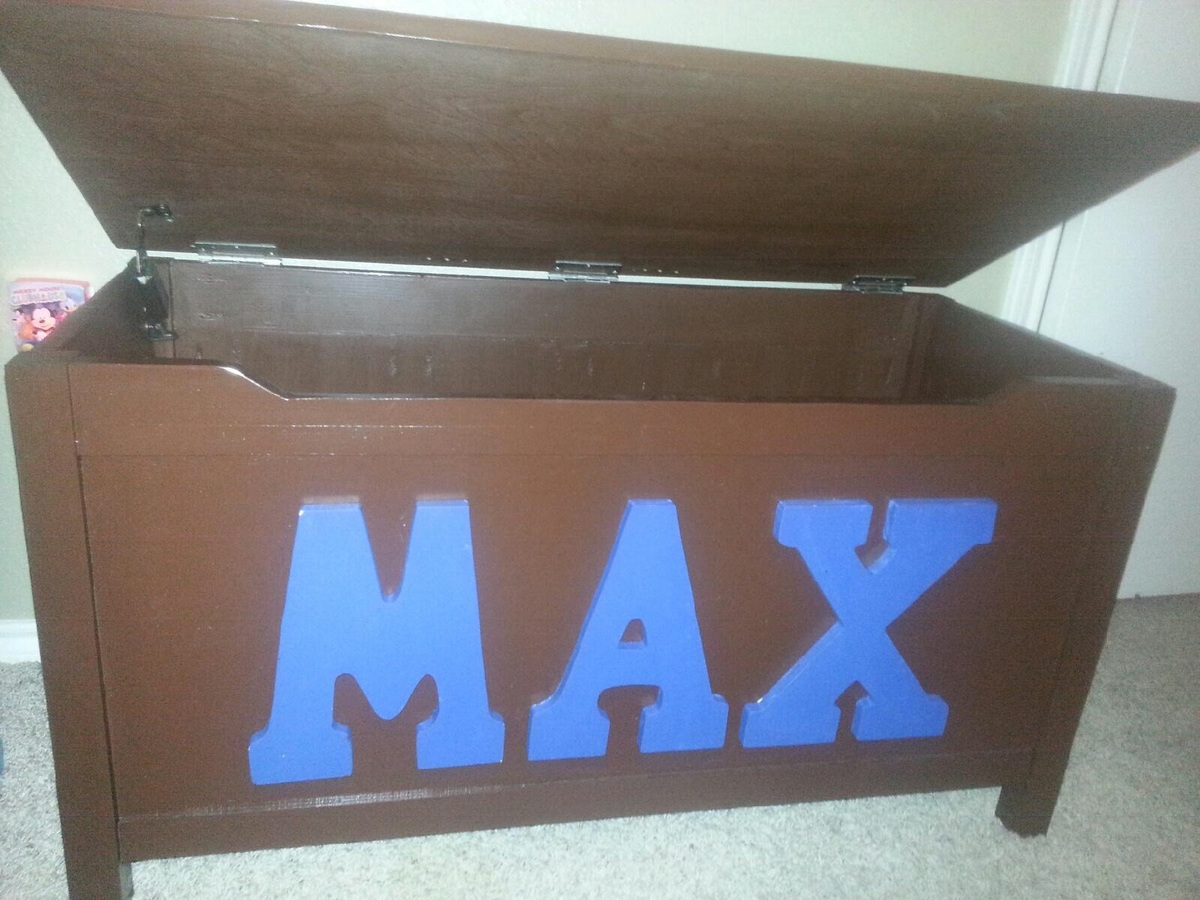
Wanted to give my great-nephew something handmade for his 2nd birthday and hopefully something he can enjoy for years to come. Spent the weekend with my hubby doing this and loved every minute and thrilled with the final outcome
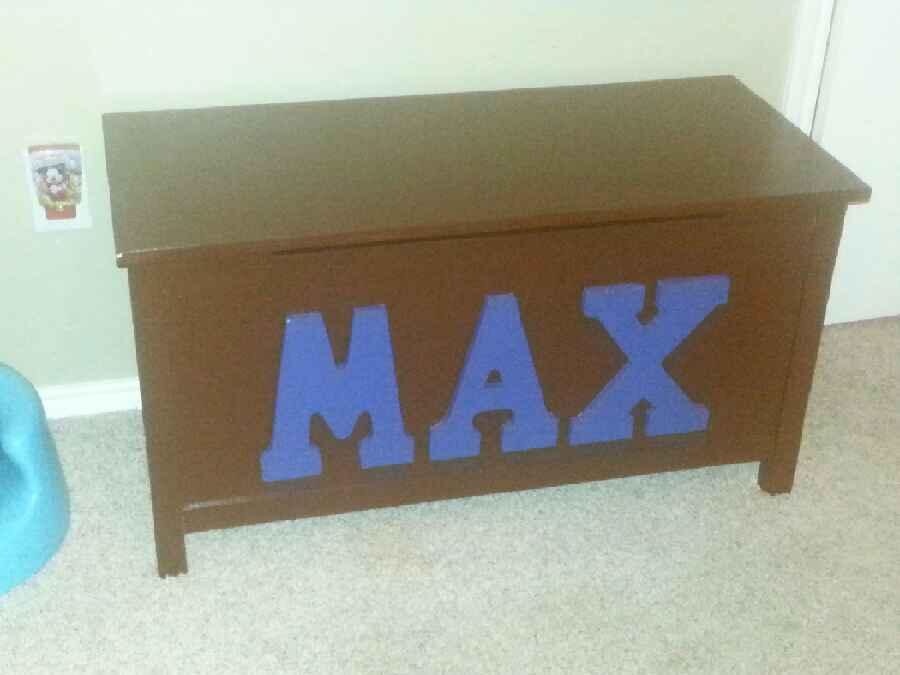
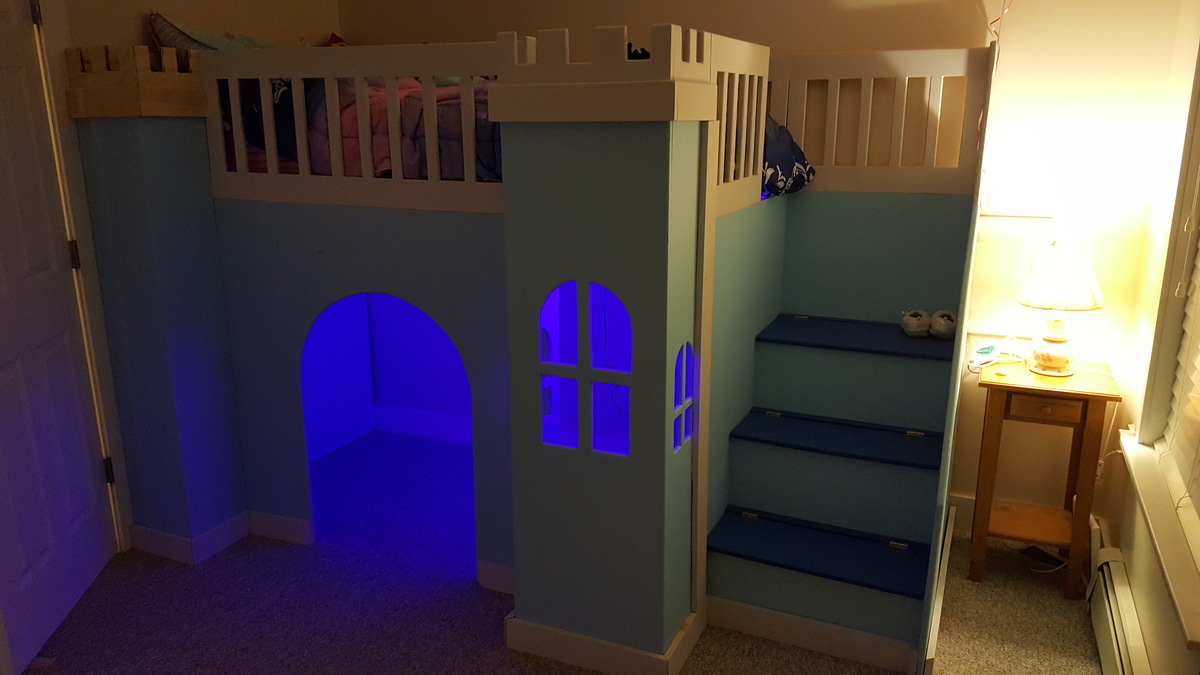
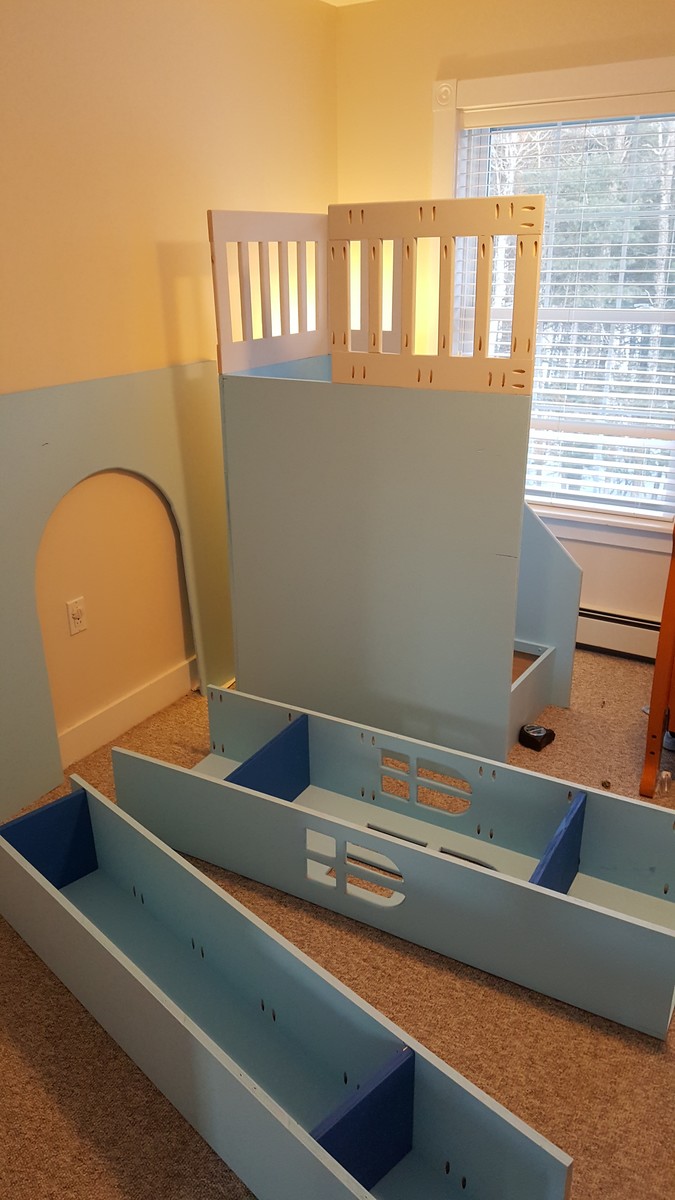
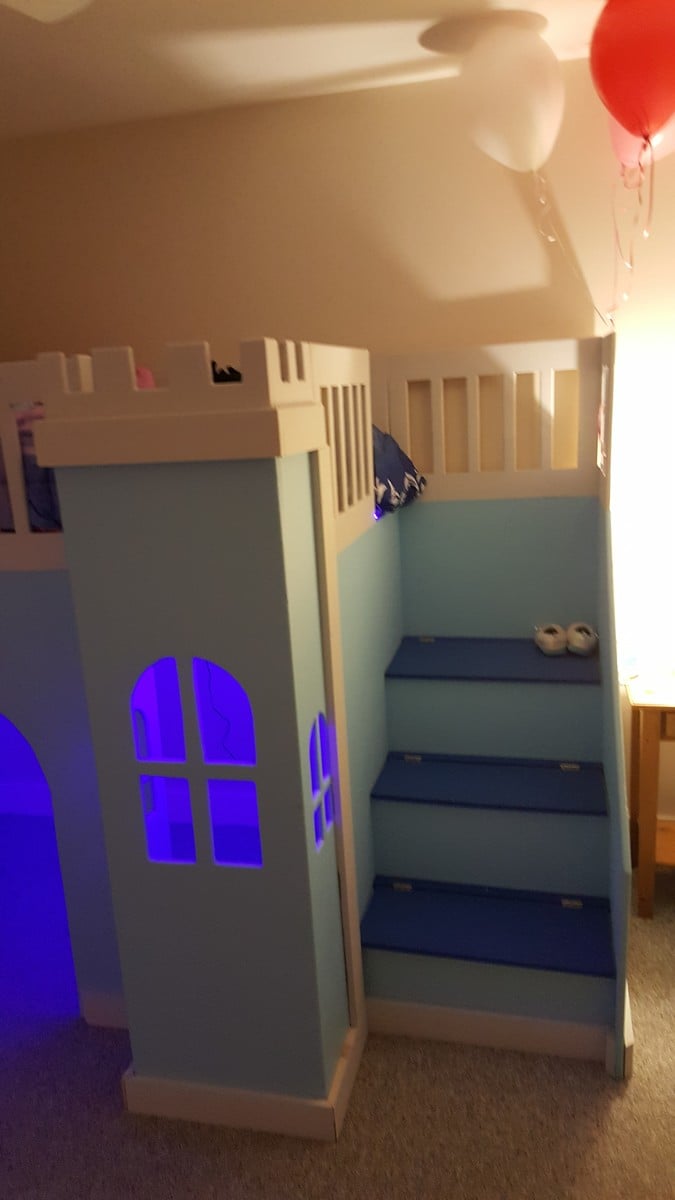
I present the "Castle Loft Bed" with minor modifications. Finished in a "Frozen" theme.
It was time to upgrade my youngest to a "big kid bed" and she was insistent on a frozen bed. After searching for various options we settled on the "Castle Loft Bed" from the Ana White catalog of plans.
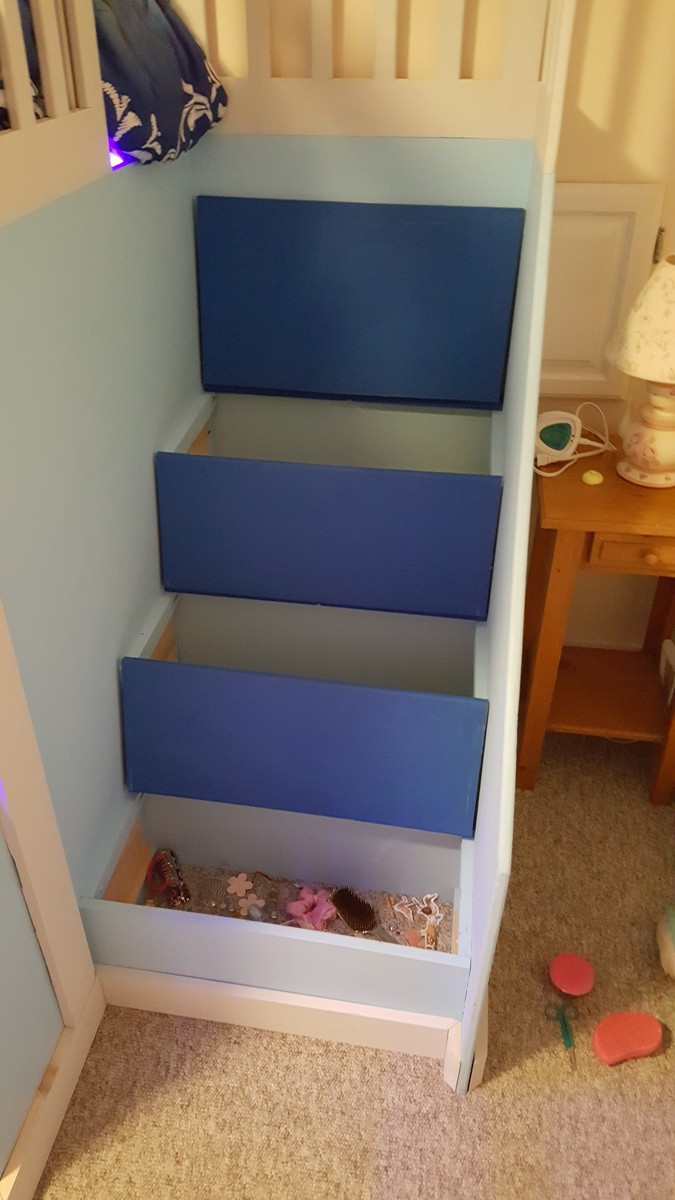
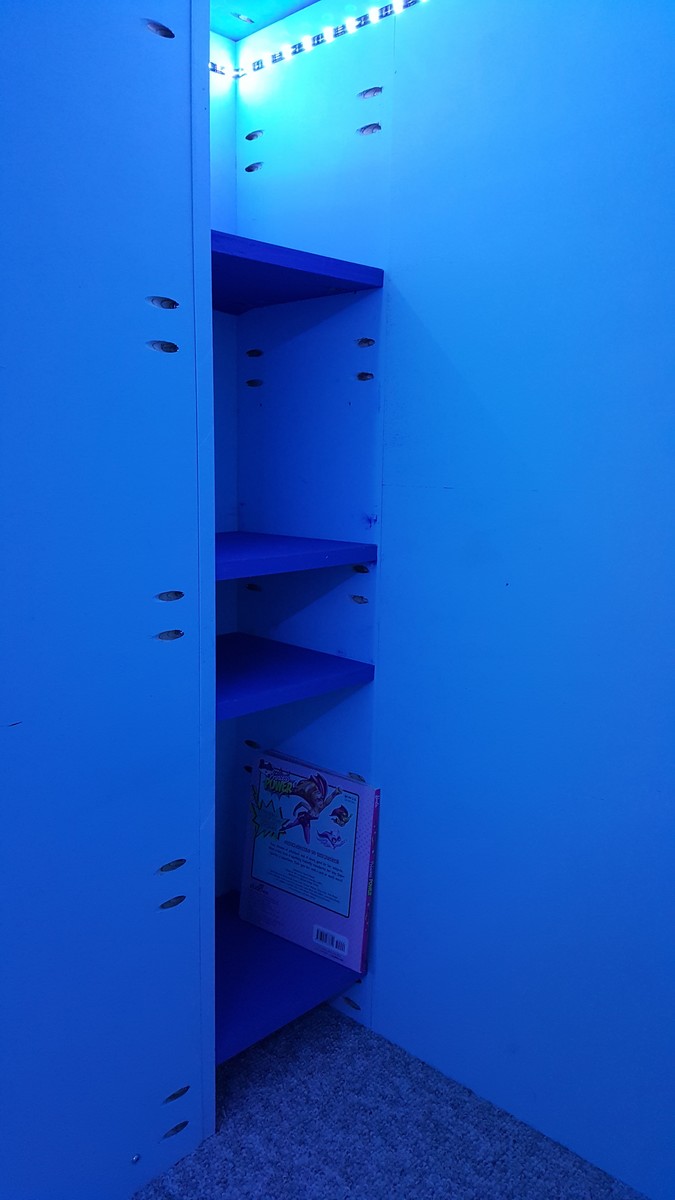
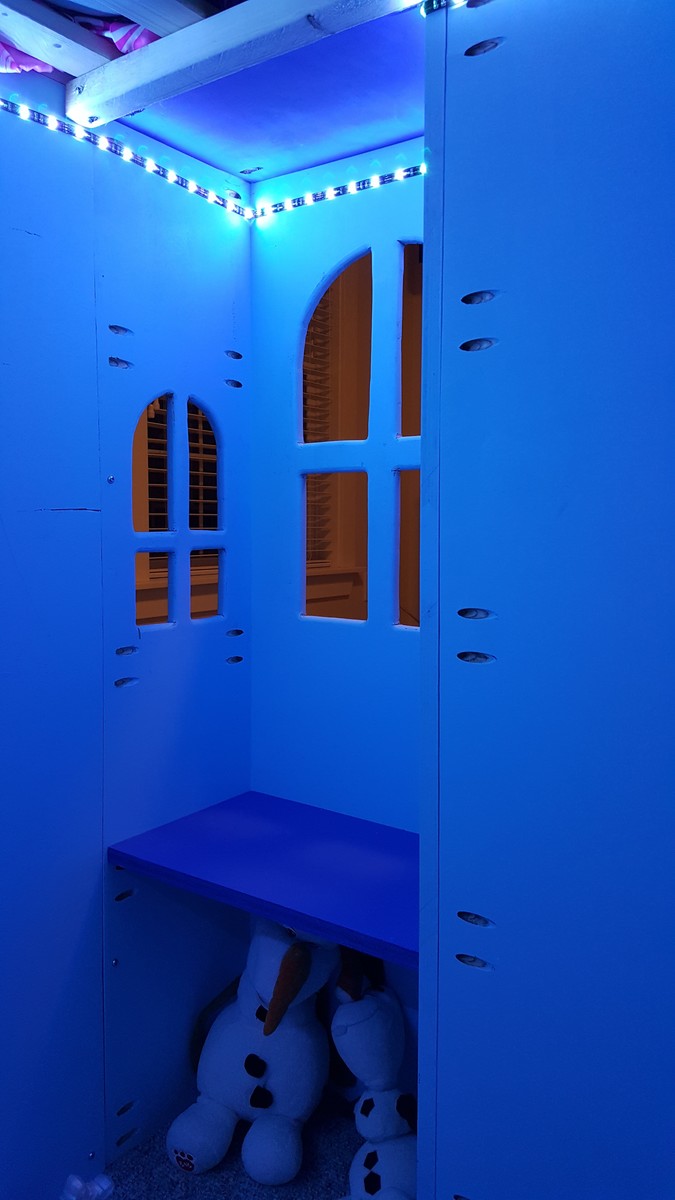
We left the slide off, due to available space. Also we changed the steps to be more of a usable toy box/storage and hamper area. I also modified the internal bookcase to have a small "secret" cubby for her "valuables". We also added color changing LEDs to fit the little princess's mood.
I hope you like my rendition and keeps in spirit the DIYers quality.

Rustic Hall Tree
I have been looking for a really nice Hall Tree with out having to spend an entire week just to build it and I found it here. I followed the plans with the exception of the width, which I had to narrow due to where it was to go. I also had to shorten due to wife's height (5 ft 1). Because I help with my friends projects I end up with left over odd and ends and can use them in my projects. The backing I used is T- 1-11, that I sanded down till smooth and then painted. The seat and shelf is a 1 x 12 x 6 bullnose that was left over from a prior project that I cut to 1 x 12 x 3, then ripped the other half to fill in the seat making it 18 inch wide and used the other half to make the top self. The trim was left over from a book shelf that I helped a friend build. I painted the tree but stained the seat, shelf, trim and X with red mahogany stain to match the floor and then sealed with 4 coats of semi-gloss polyurethane.
Thanks for the plans, next project will be a desk for up stairs.

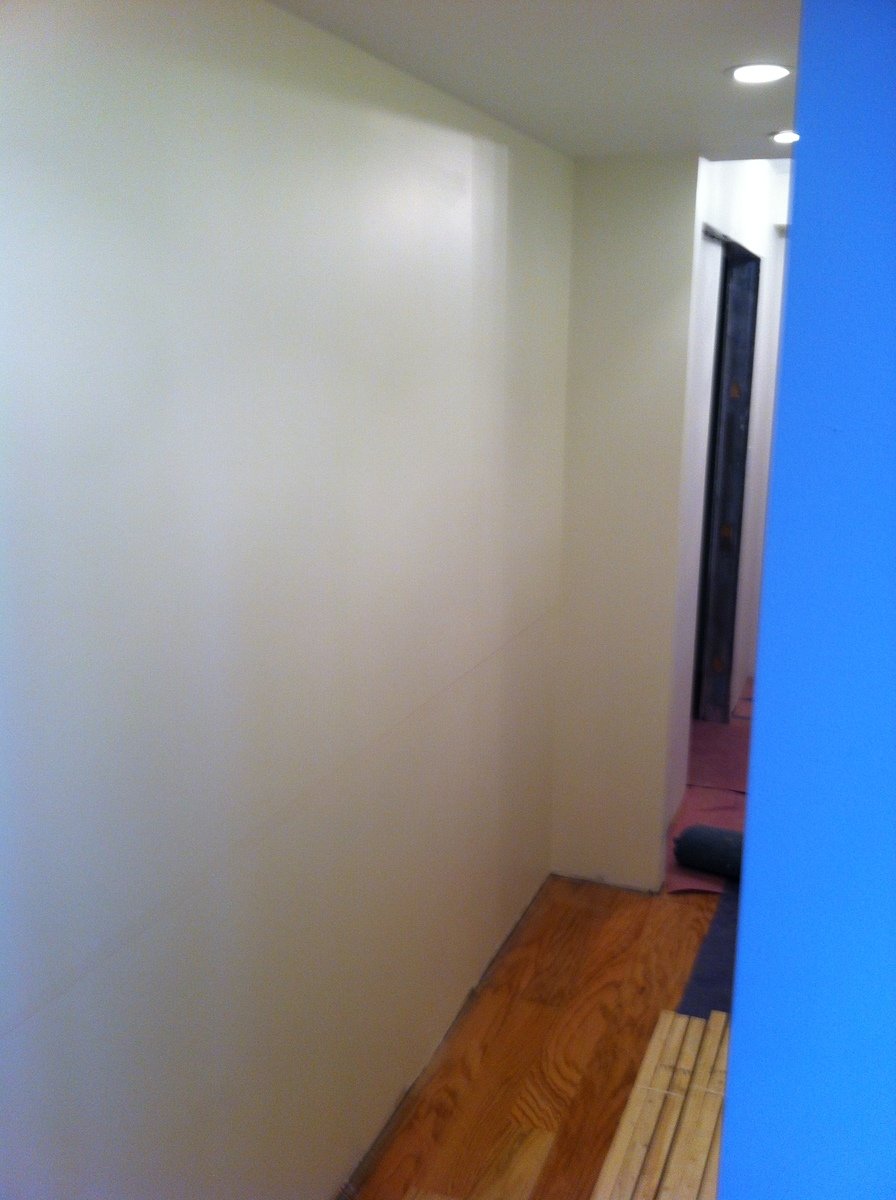
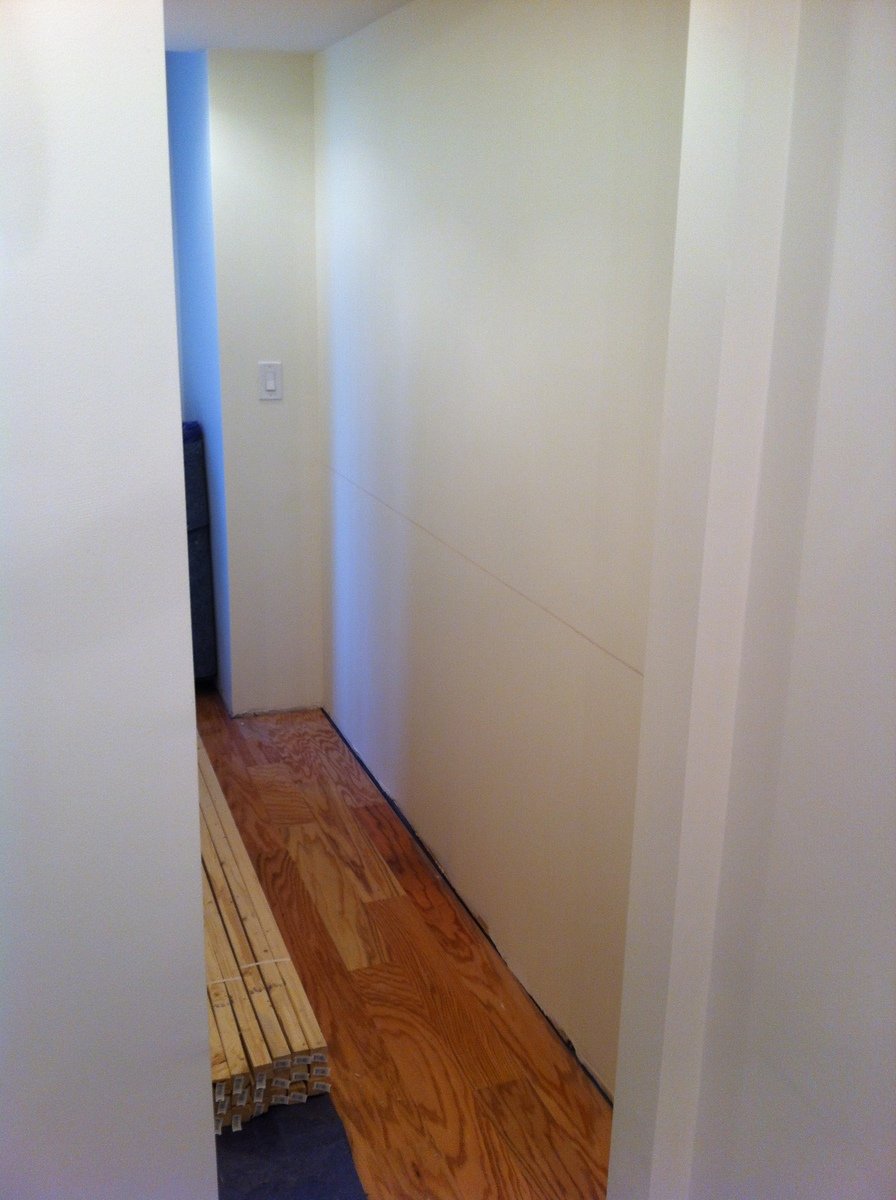
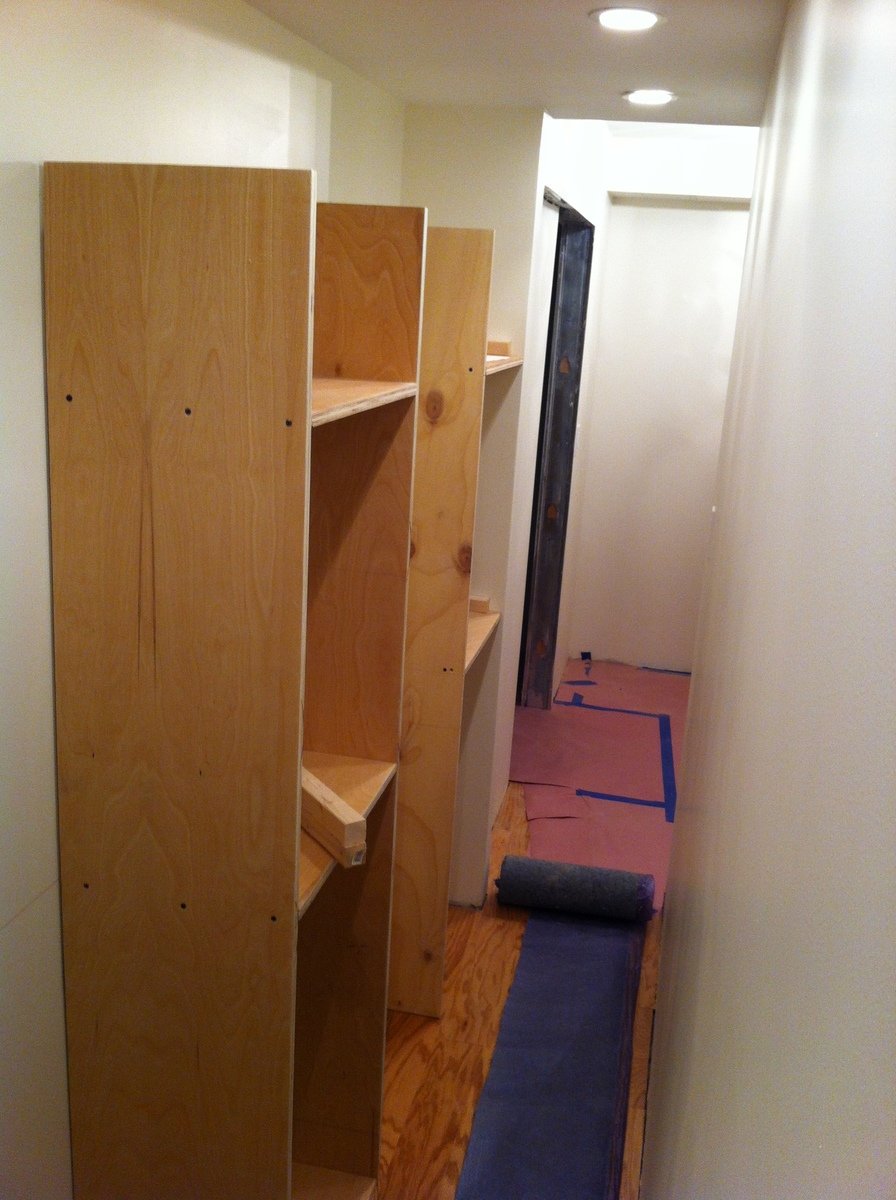
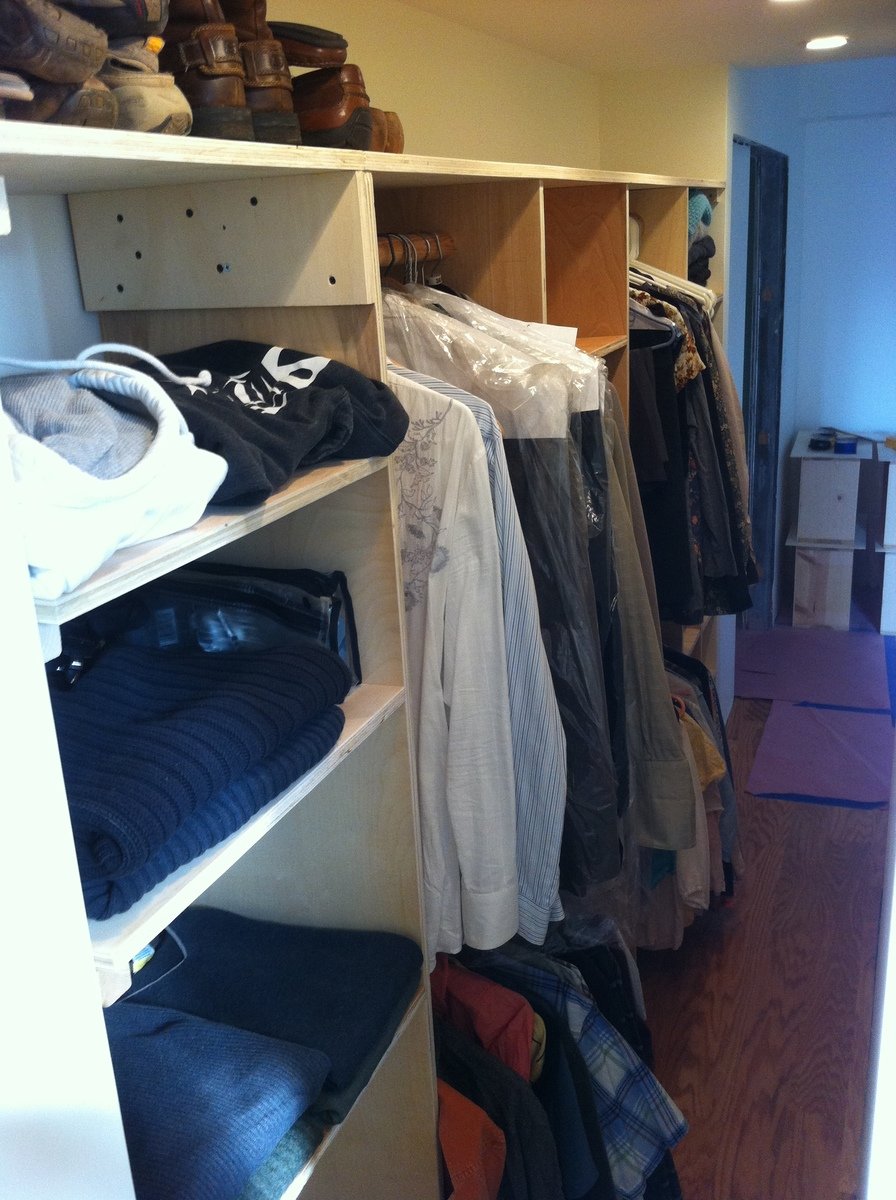
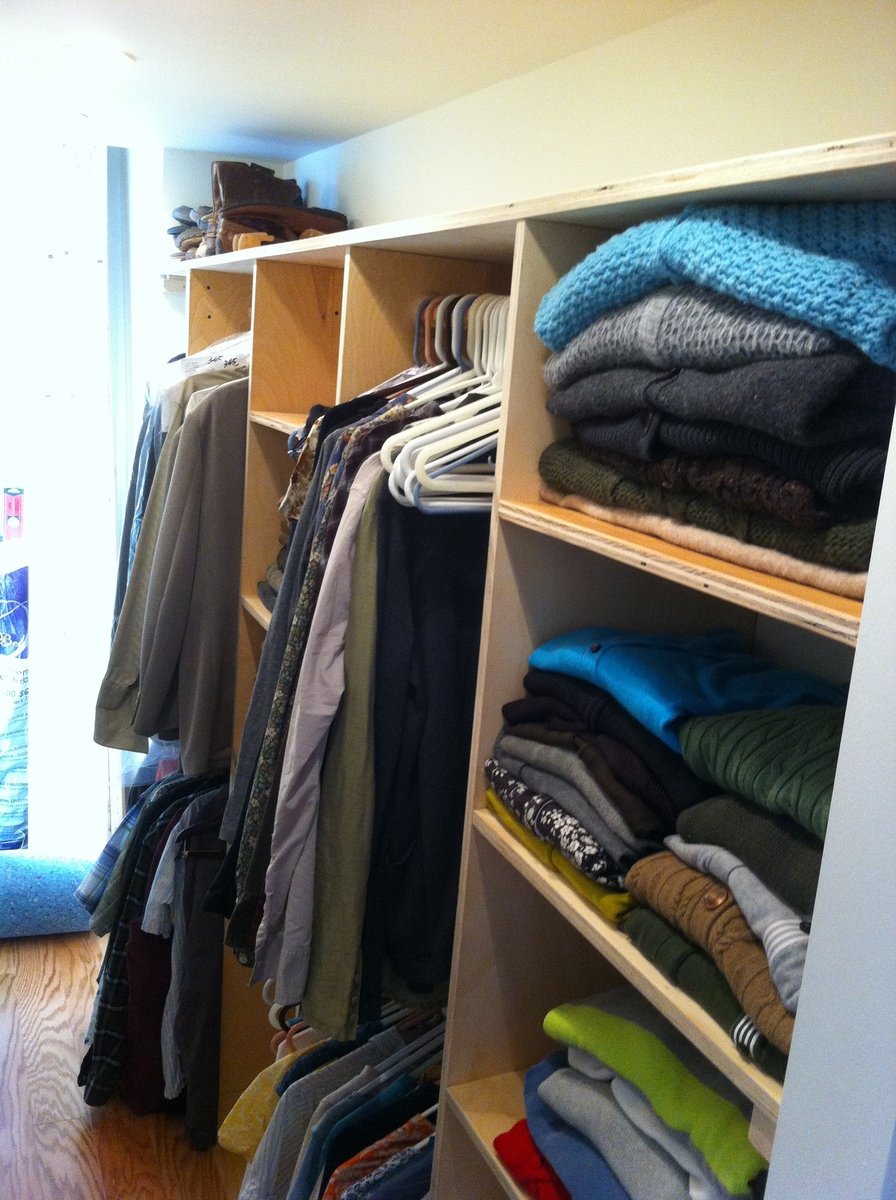
Followed plans with slight modifications:
1. Made shelves deeper but narrower
2. Used 3/4" Birch Plywood for all
3. Built no base just mounted to floor & wall
4. No drawers just shelving
Sat, 01/19/2013 - 04:43
It's nice to see the closet system with actual stuff in it, so you can see how much it really holds. Good job!
This was my very first project, and it was so easy thanks to Ana's plans. I bought a few tools that I didn't have already - Kreg jig and miter saw - and things went super fast from there. I found cushions at Ikea that fit perfectly, and were cheaper than making them myself. I just hope they last! I used cedar for the sectional and storage table, and stained them a dark brown. I used deck stain as suggested by a Home Depot employee, so that the stain and waterproofing was all in one step. I have received tons of compliments on this set, and people still can't believe we build this ourselves! Thanks, Ana!
...onto the next project...
Fri, 11/14/2014 - 13:46
Wow! That's amazing! And I absolutly love the decor! You have an awesome yard too!
Comments
JoanneS
Tue, 10/28/2014 - 17:43
Gorgeous table!
Wow this table is gorgeous! The finish is awesome!
ashmass
Wed, 10/29/2014 - 08:26
georgeous table
Thanks! Took me two months to get the finish right. I love the look of sinker cypress. I'm building an indoor dining table from sinker pecky cypress, should be pretty nice