Community Brag Posts

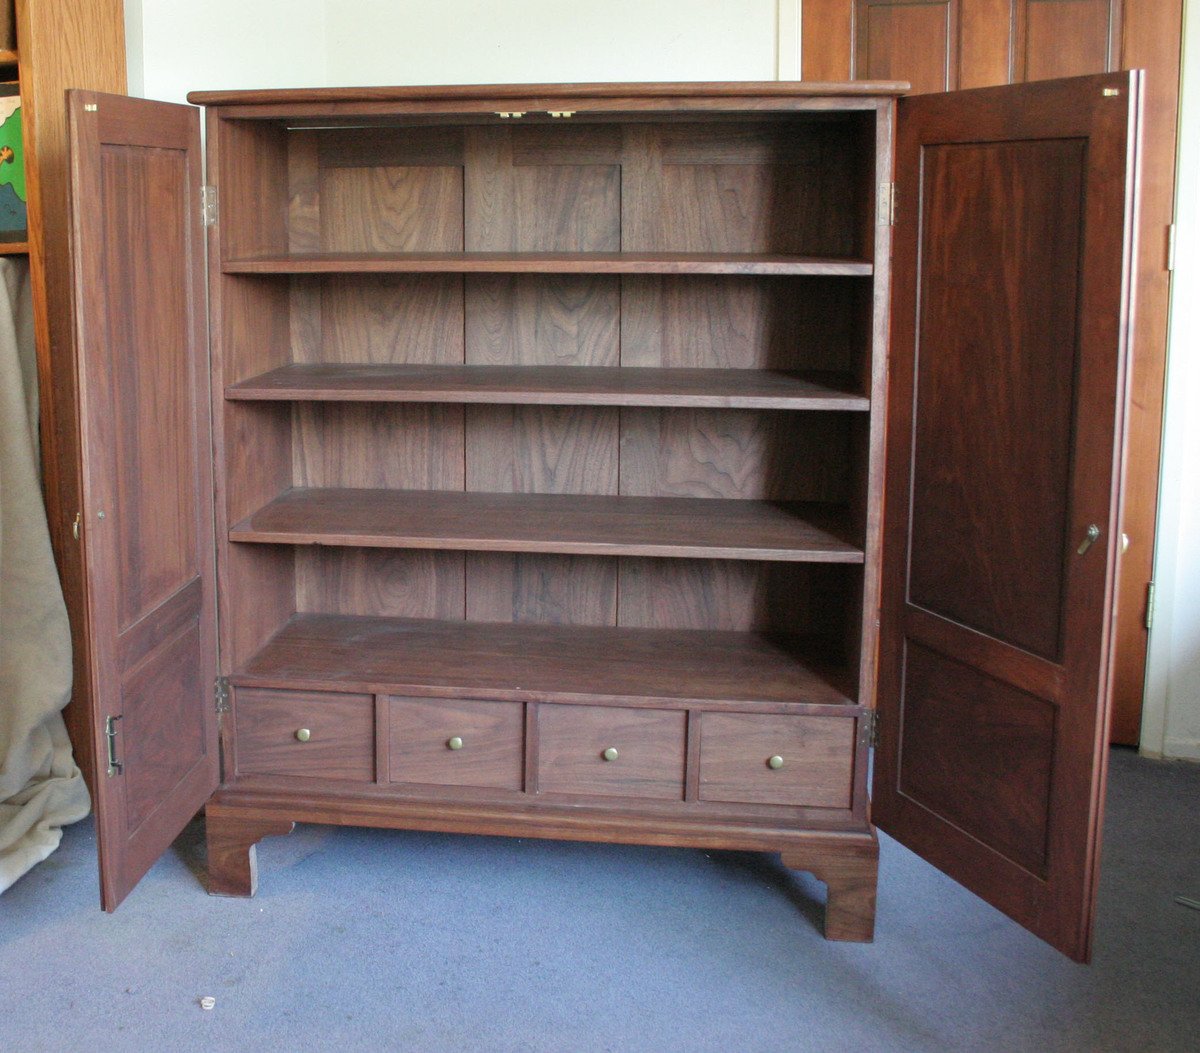
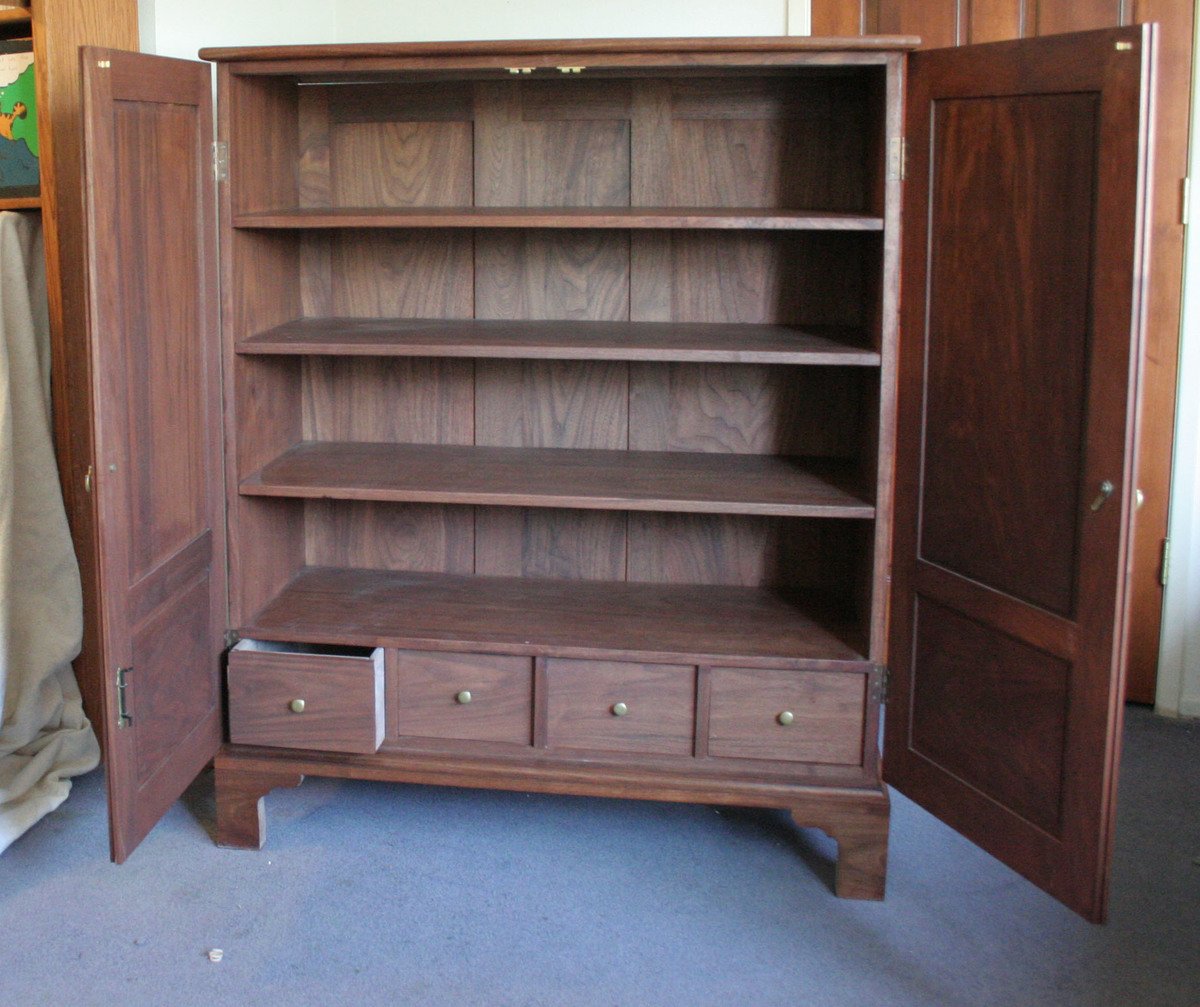
Walnut Clothespress

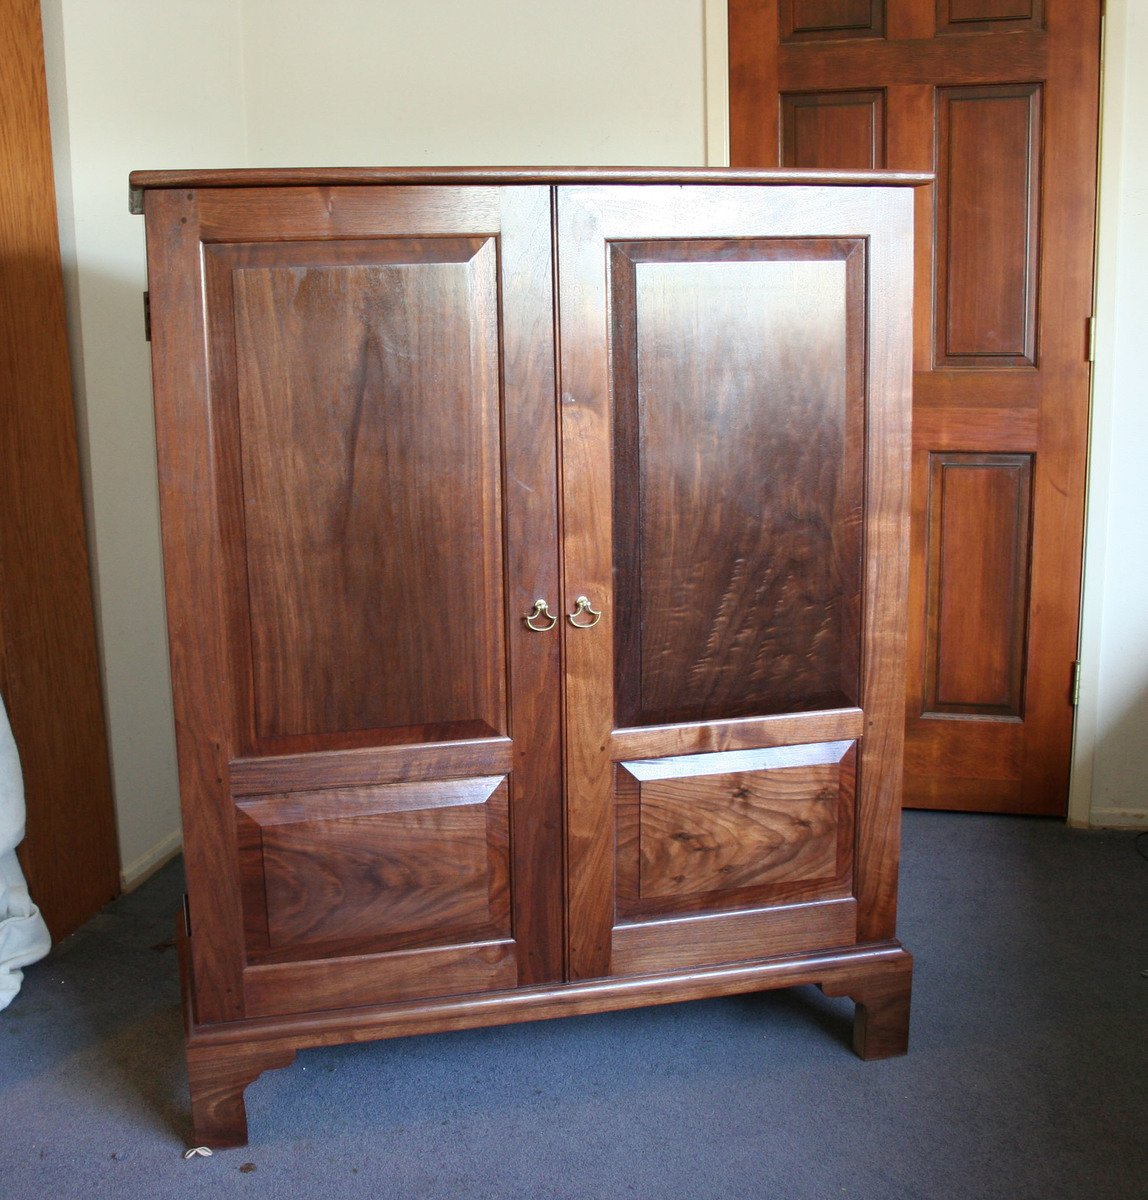
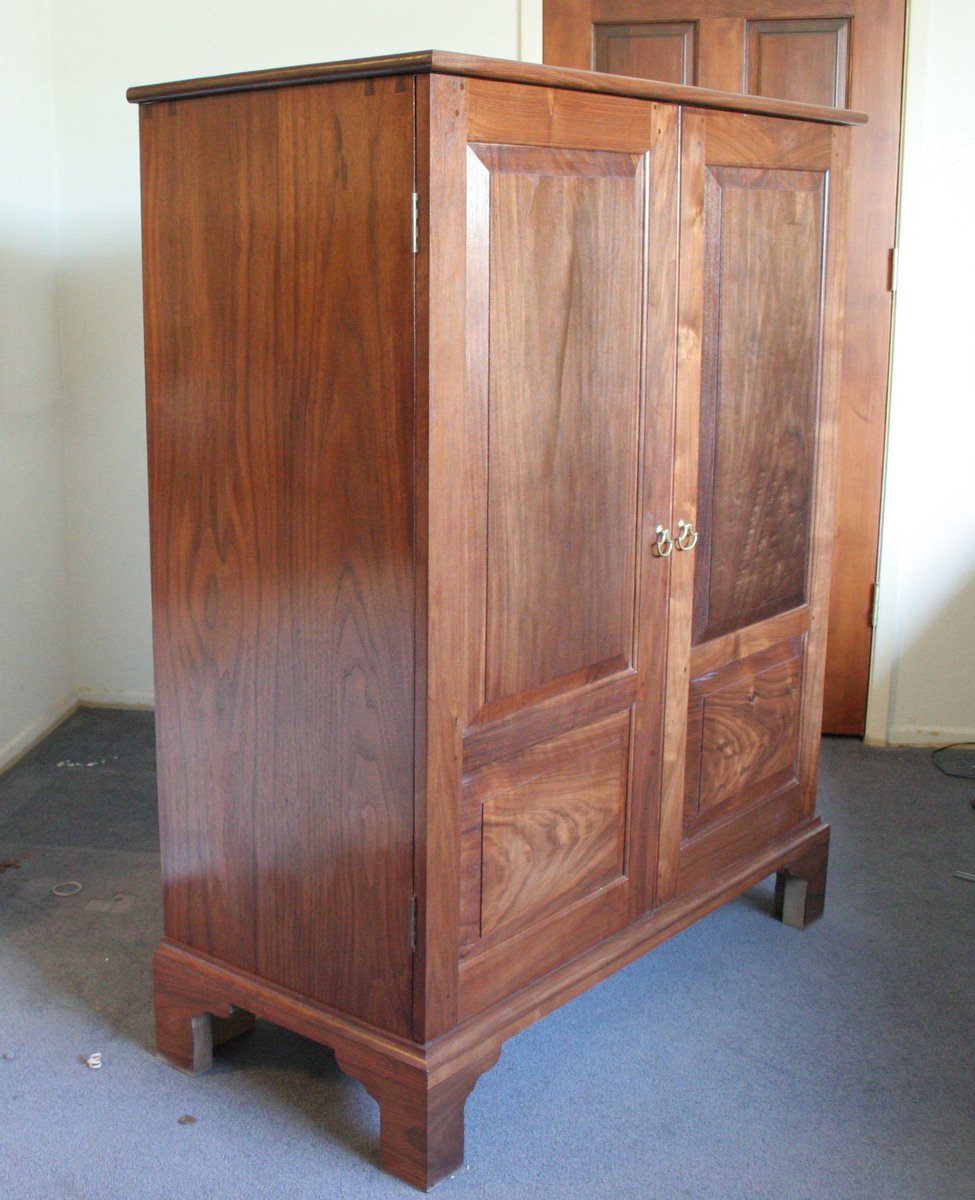
Here is a brand new piece I just made for holding my extra computer components. It is wholly made of American Black Walnut (juglans nigra). It took about four months to make. The original, from which this is copied, was made in Williamsburg, VA in 1765. When I first saw it, I fell in love at first site and had to make it. It was made with rough lumber, nothing pre-milled. I found 16 1/2" wide walnut which I used to make the single-panel doors. I think it looks great and is faithful to the original.

Estimated Cost
$1200.00
Estimated Time Investment
Week Long Project (20 Hours or More)
Finish Used
Minwax Antique Oil Finish, Shellac
Recommended Skill Level
Advanced

Comments

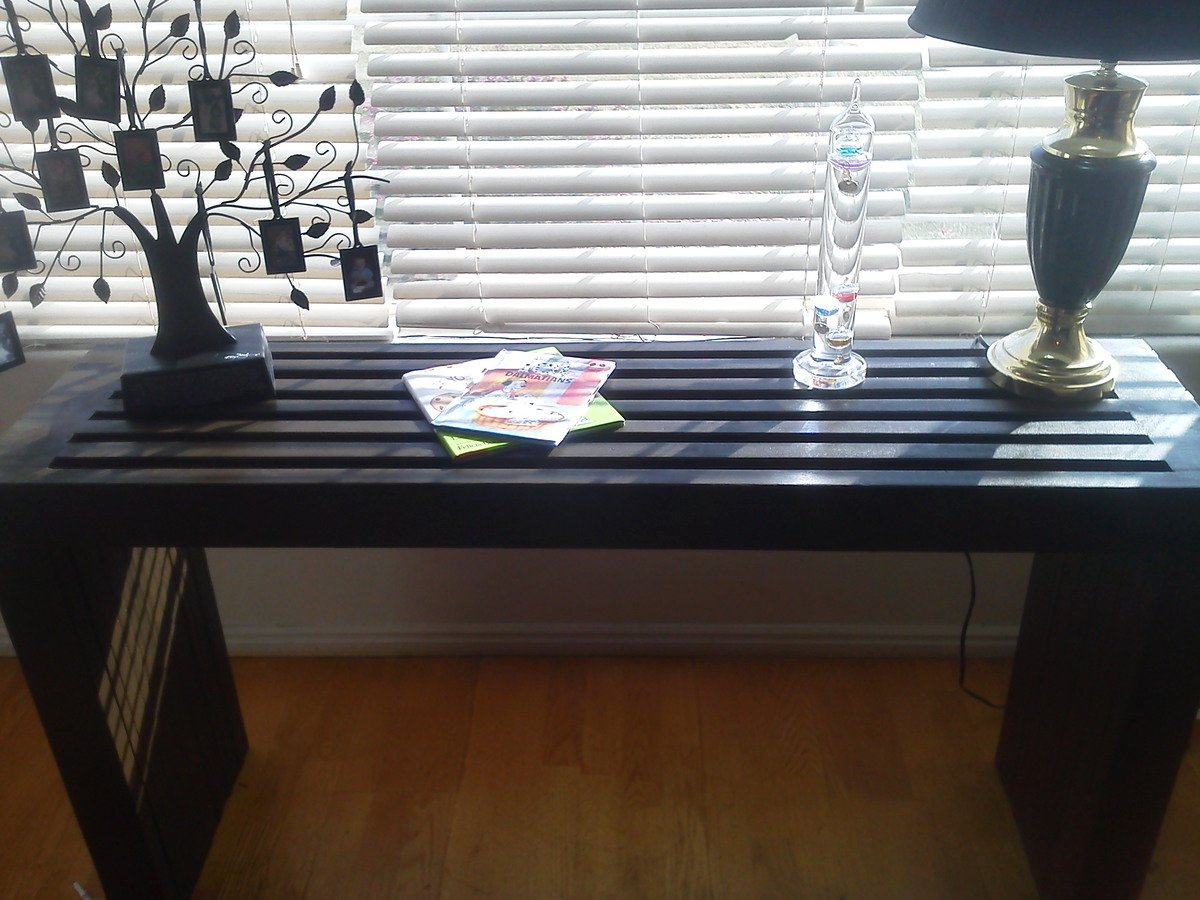
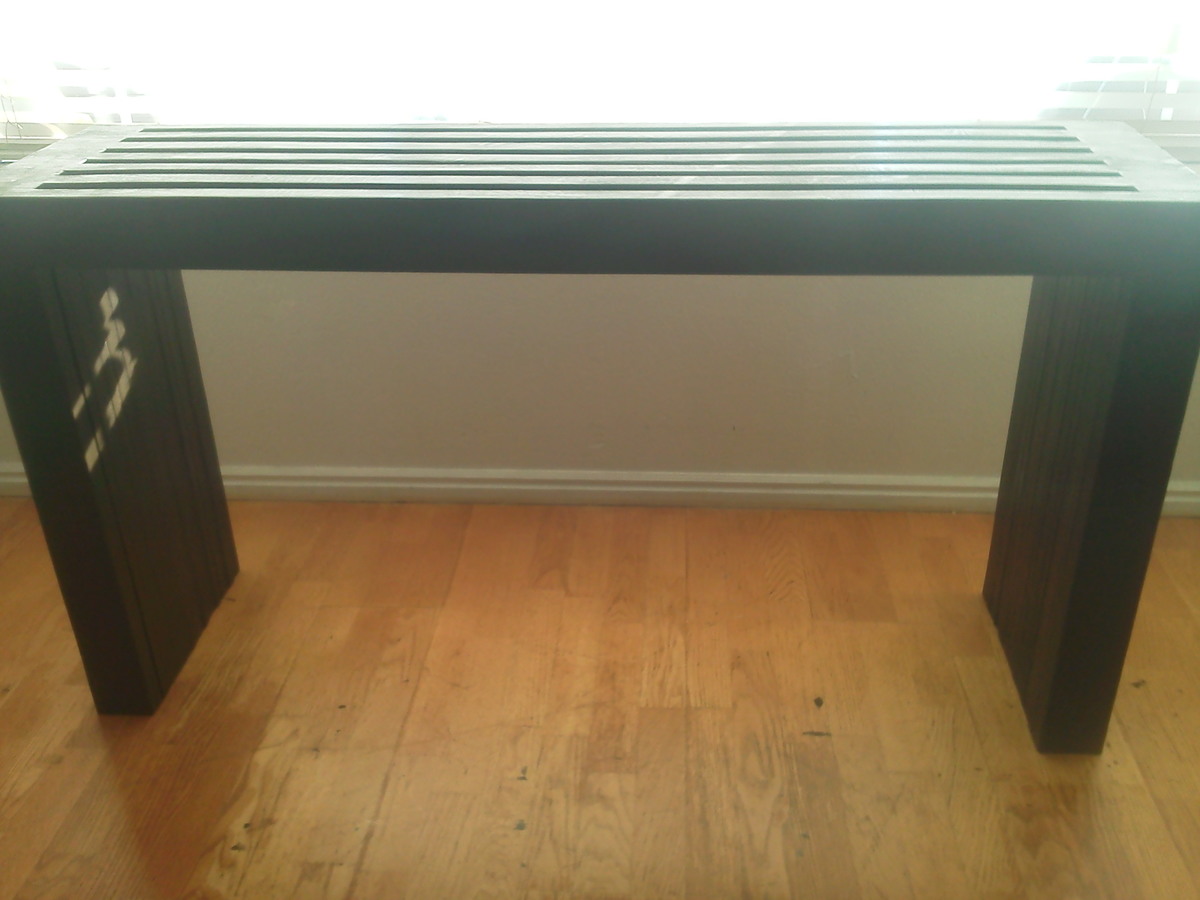
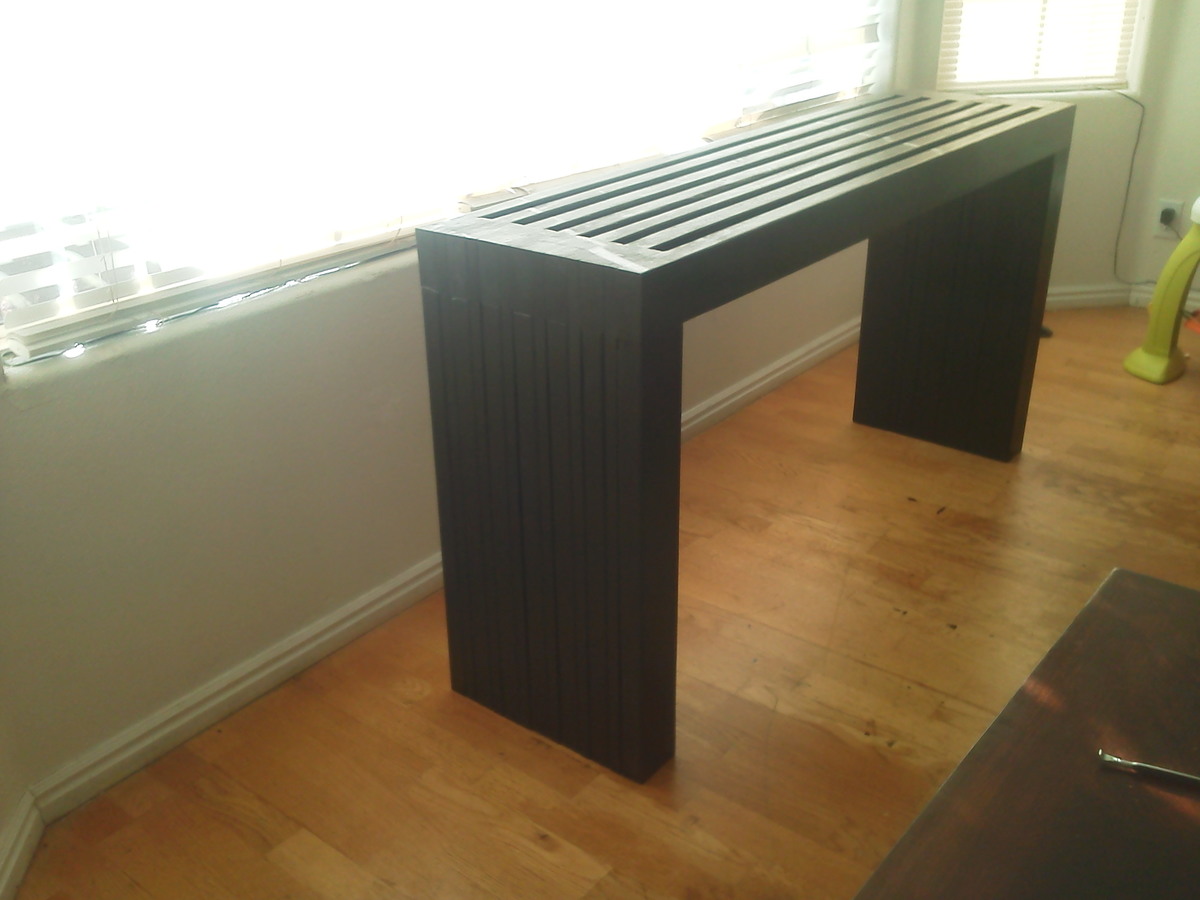
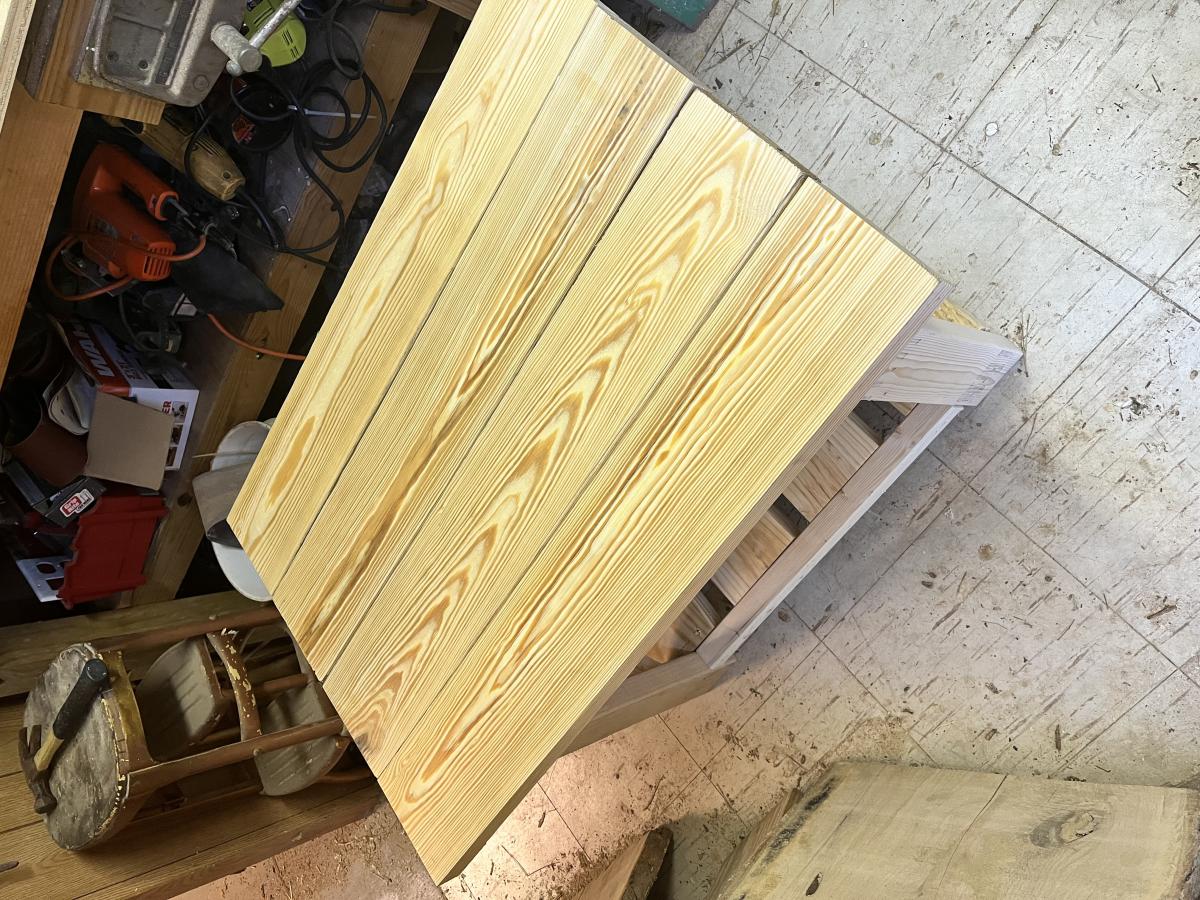
Modern Vertical Slat Top Console

This was built out of Douglas Fir (2x4's) and Pine (1x4's) and was painted in the color espresso (Behr). I used Minwax Helmsman Spar Urethane to seal it with a semi-gloss coating as well.

Estimated Cost
$40
Estimated Time Investment
Afternoon Project (3-6 Hours)
Finish Used
Sanded using a finishing sander with an 80 grit sandpaper, then completed the sanding using a 220 grit. Applied two coats of paint in the color espresso (Behr). Then applied a single coat of Minwax Indoor/Outdoor Helmsman Spar Urethane Semi Gloss.
Recommended Skill Level
Intermediate

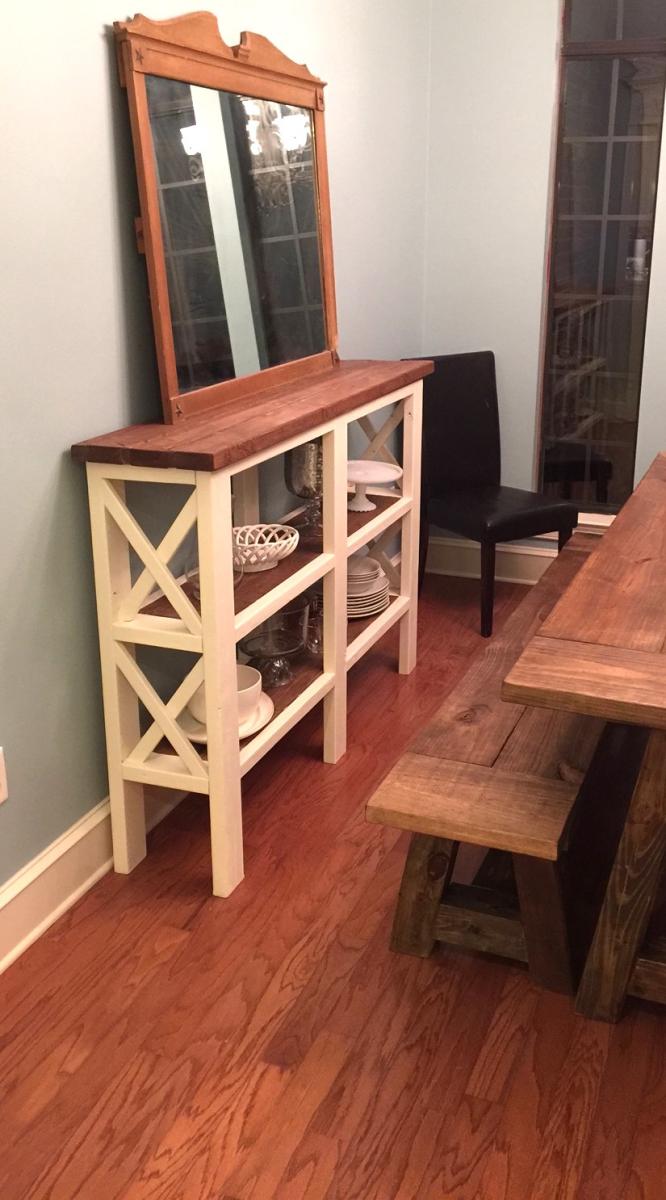
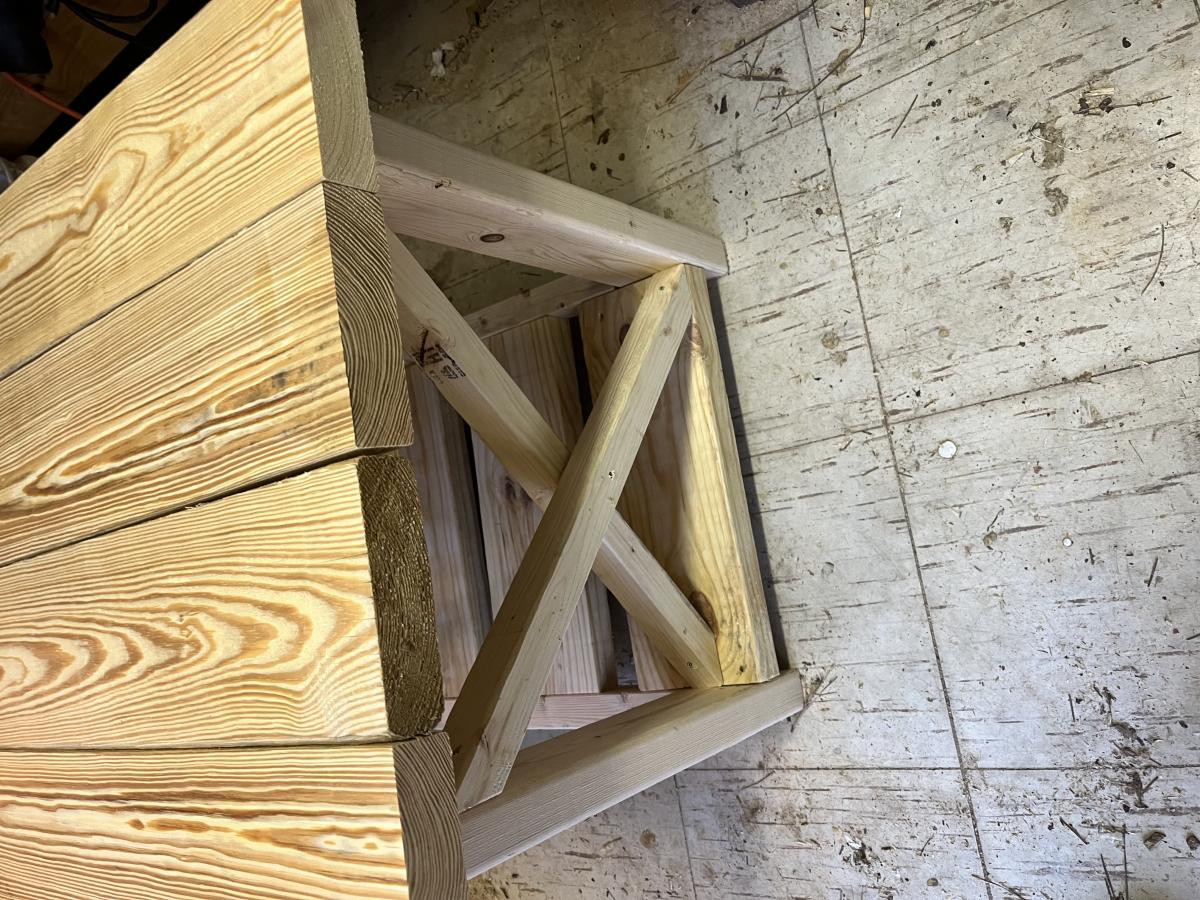
Rustic X Console

Needed to add a buffet console to the empty wall in our formal dining room.

Built from Plan(s)
Estimated Cost
$65
Estimated Time Investment
Afternoon Project (3-6 Hours)
Recommended Skill Level
Beginner

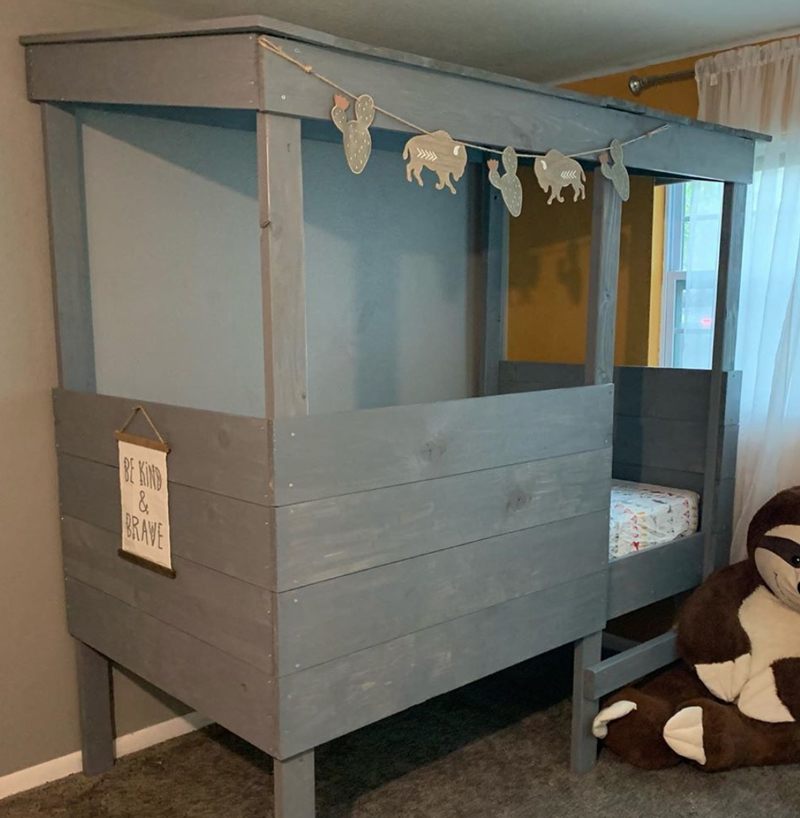
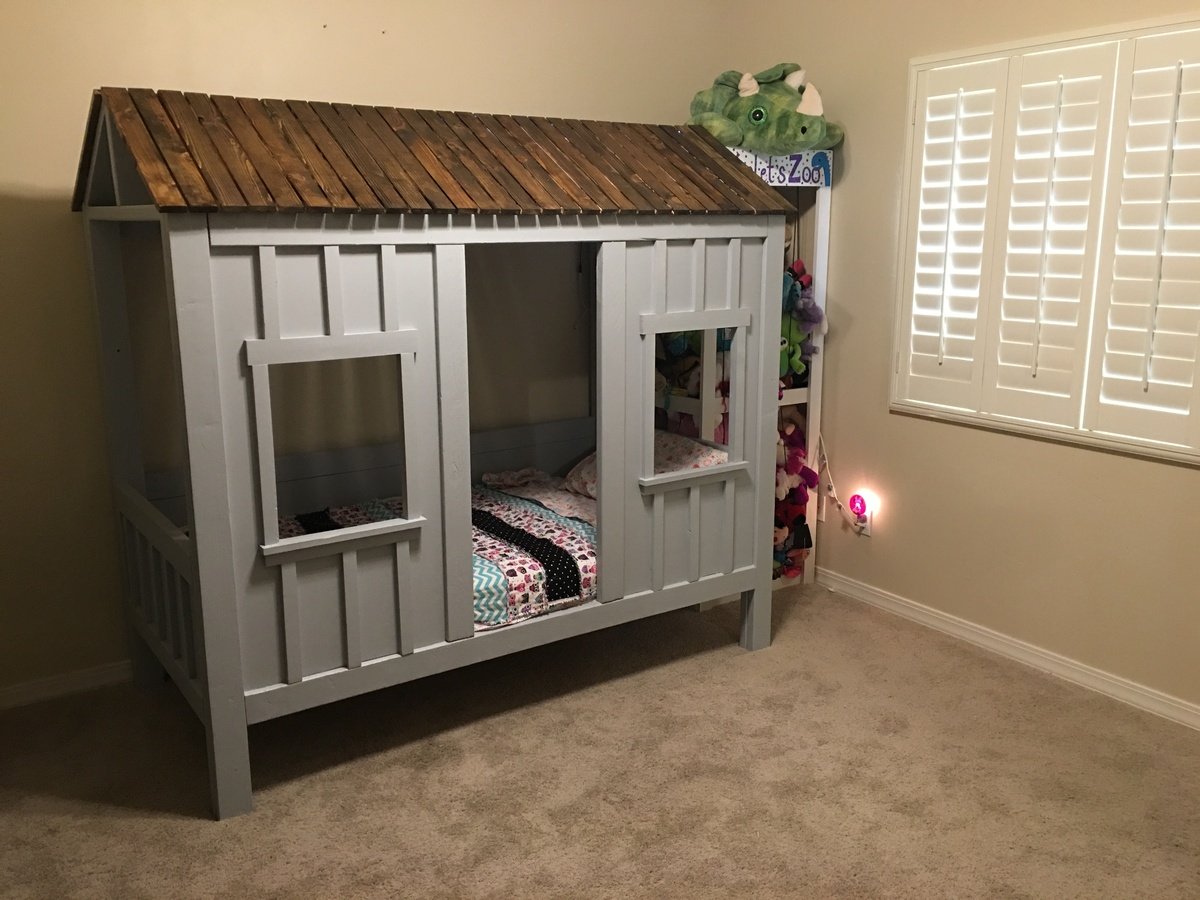
Treehouse Bed in the Wild

Submitted by Anonymous (not verified) on Sun, 08/04/2019 - 21:33

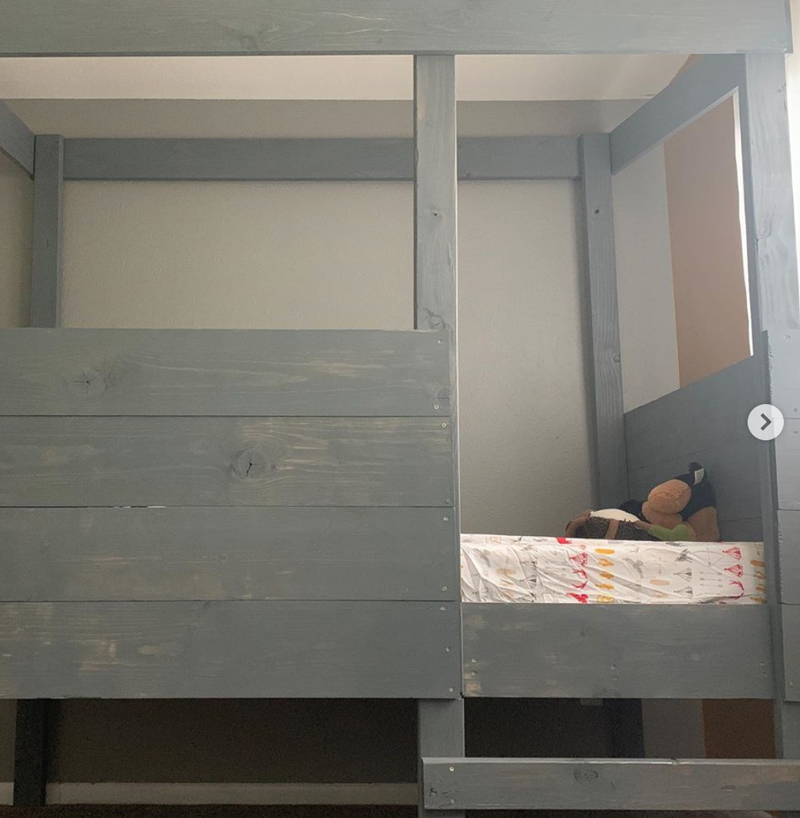
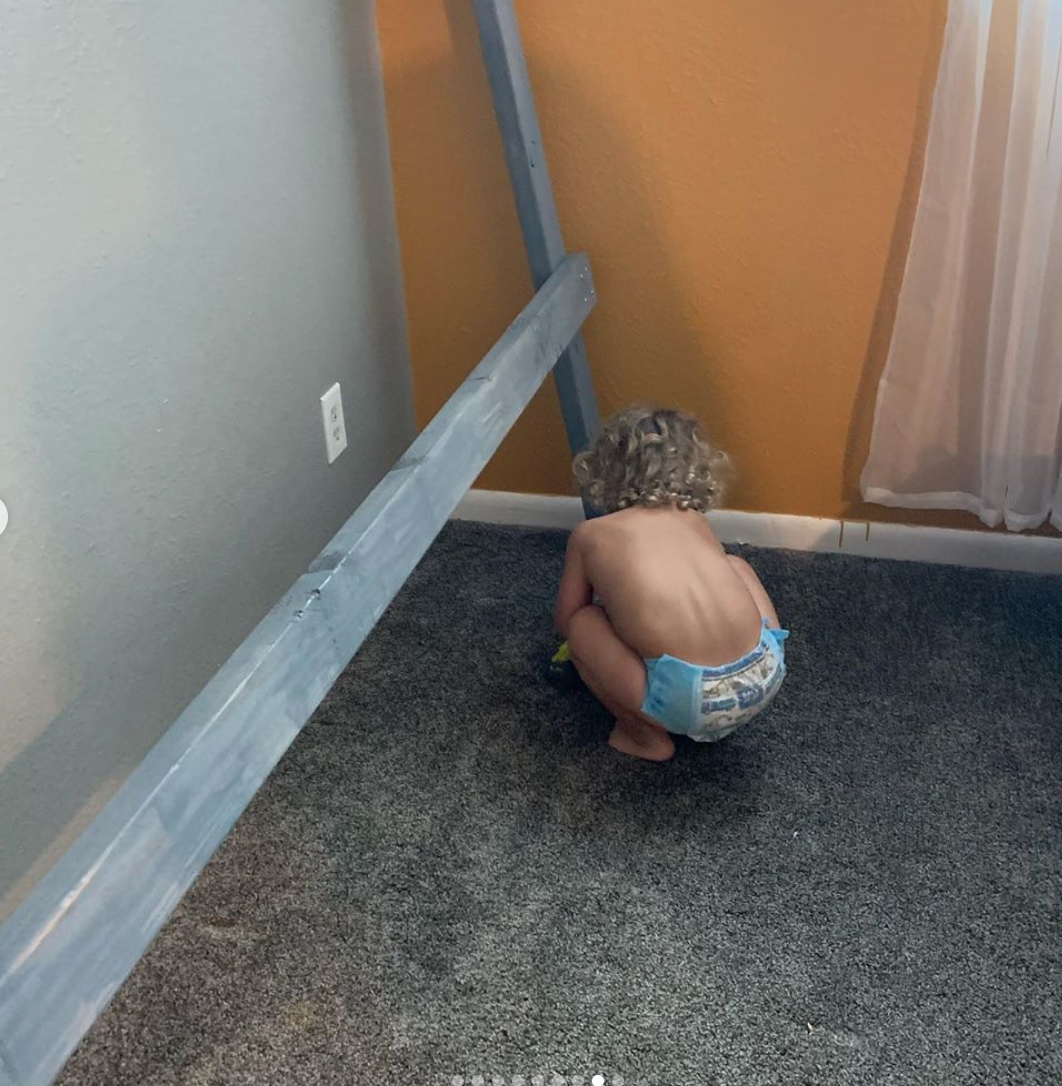
My boys LOVE this bed. I am making one for my other son who shares the room next so there will be two matching. They take up almost the whole room but they look so cute and double as play space in and under the bed so it works!

It took about 2 days to build and I had help from my husband and friend to make construction easier and cuts and staining more efficient.

One problem I had at the end was screwing in the roof boards. I hadn't thought about the fact that my ceilings are low on my old ranch house and could barely get the screwdriver in the space above the bed, so I had to tip the bed over to make it easier. Next time I may predrill the screws til just before breakthrough so I can fit the drill above.

Also those boards around the bed are probably the most expensive piece - if I didn't want the second bed to match exactly I would wonder if 1x6s wouldn't have been more economical.

I did sand and stain before assembly which made things much easier. I used my standard weathered grey stain.

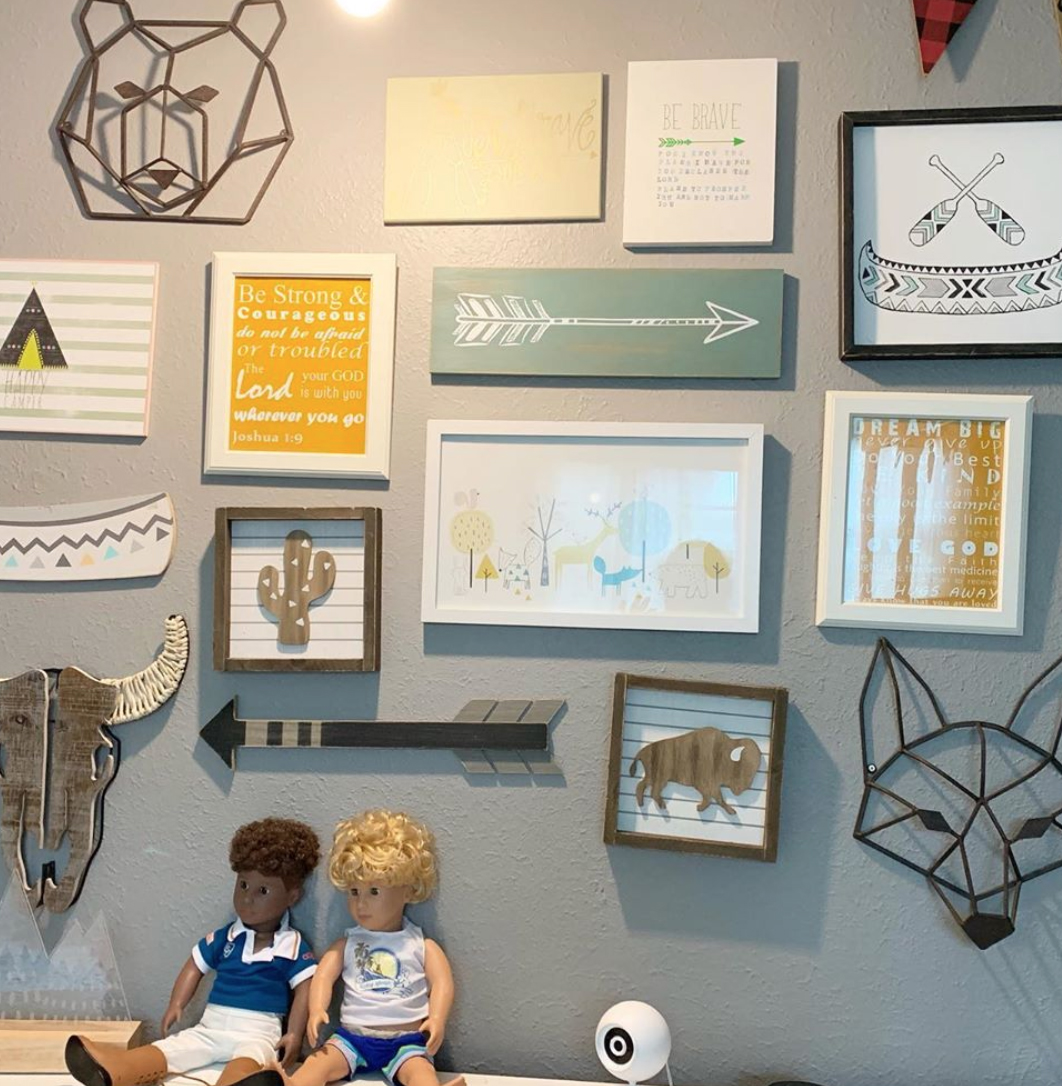
The sheets are Pillowfort : Rustler's Ranch twin set. The sign and banner hung on the bed I got from Hobby Lobby.
Built from Plan(s)

Comments

Ana White

Sun, 08/04/2019 - 21:54

Thank you for submitting!  This is awesome!

That is a smart suggestion to swap 1X6S for the siding that could save a lot of money.
very much appreciate all the photos and the details!

2x4 Sectional

Submitted by Anonymous (not verified) on Wed, 05/03/2023 - 12:04

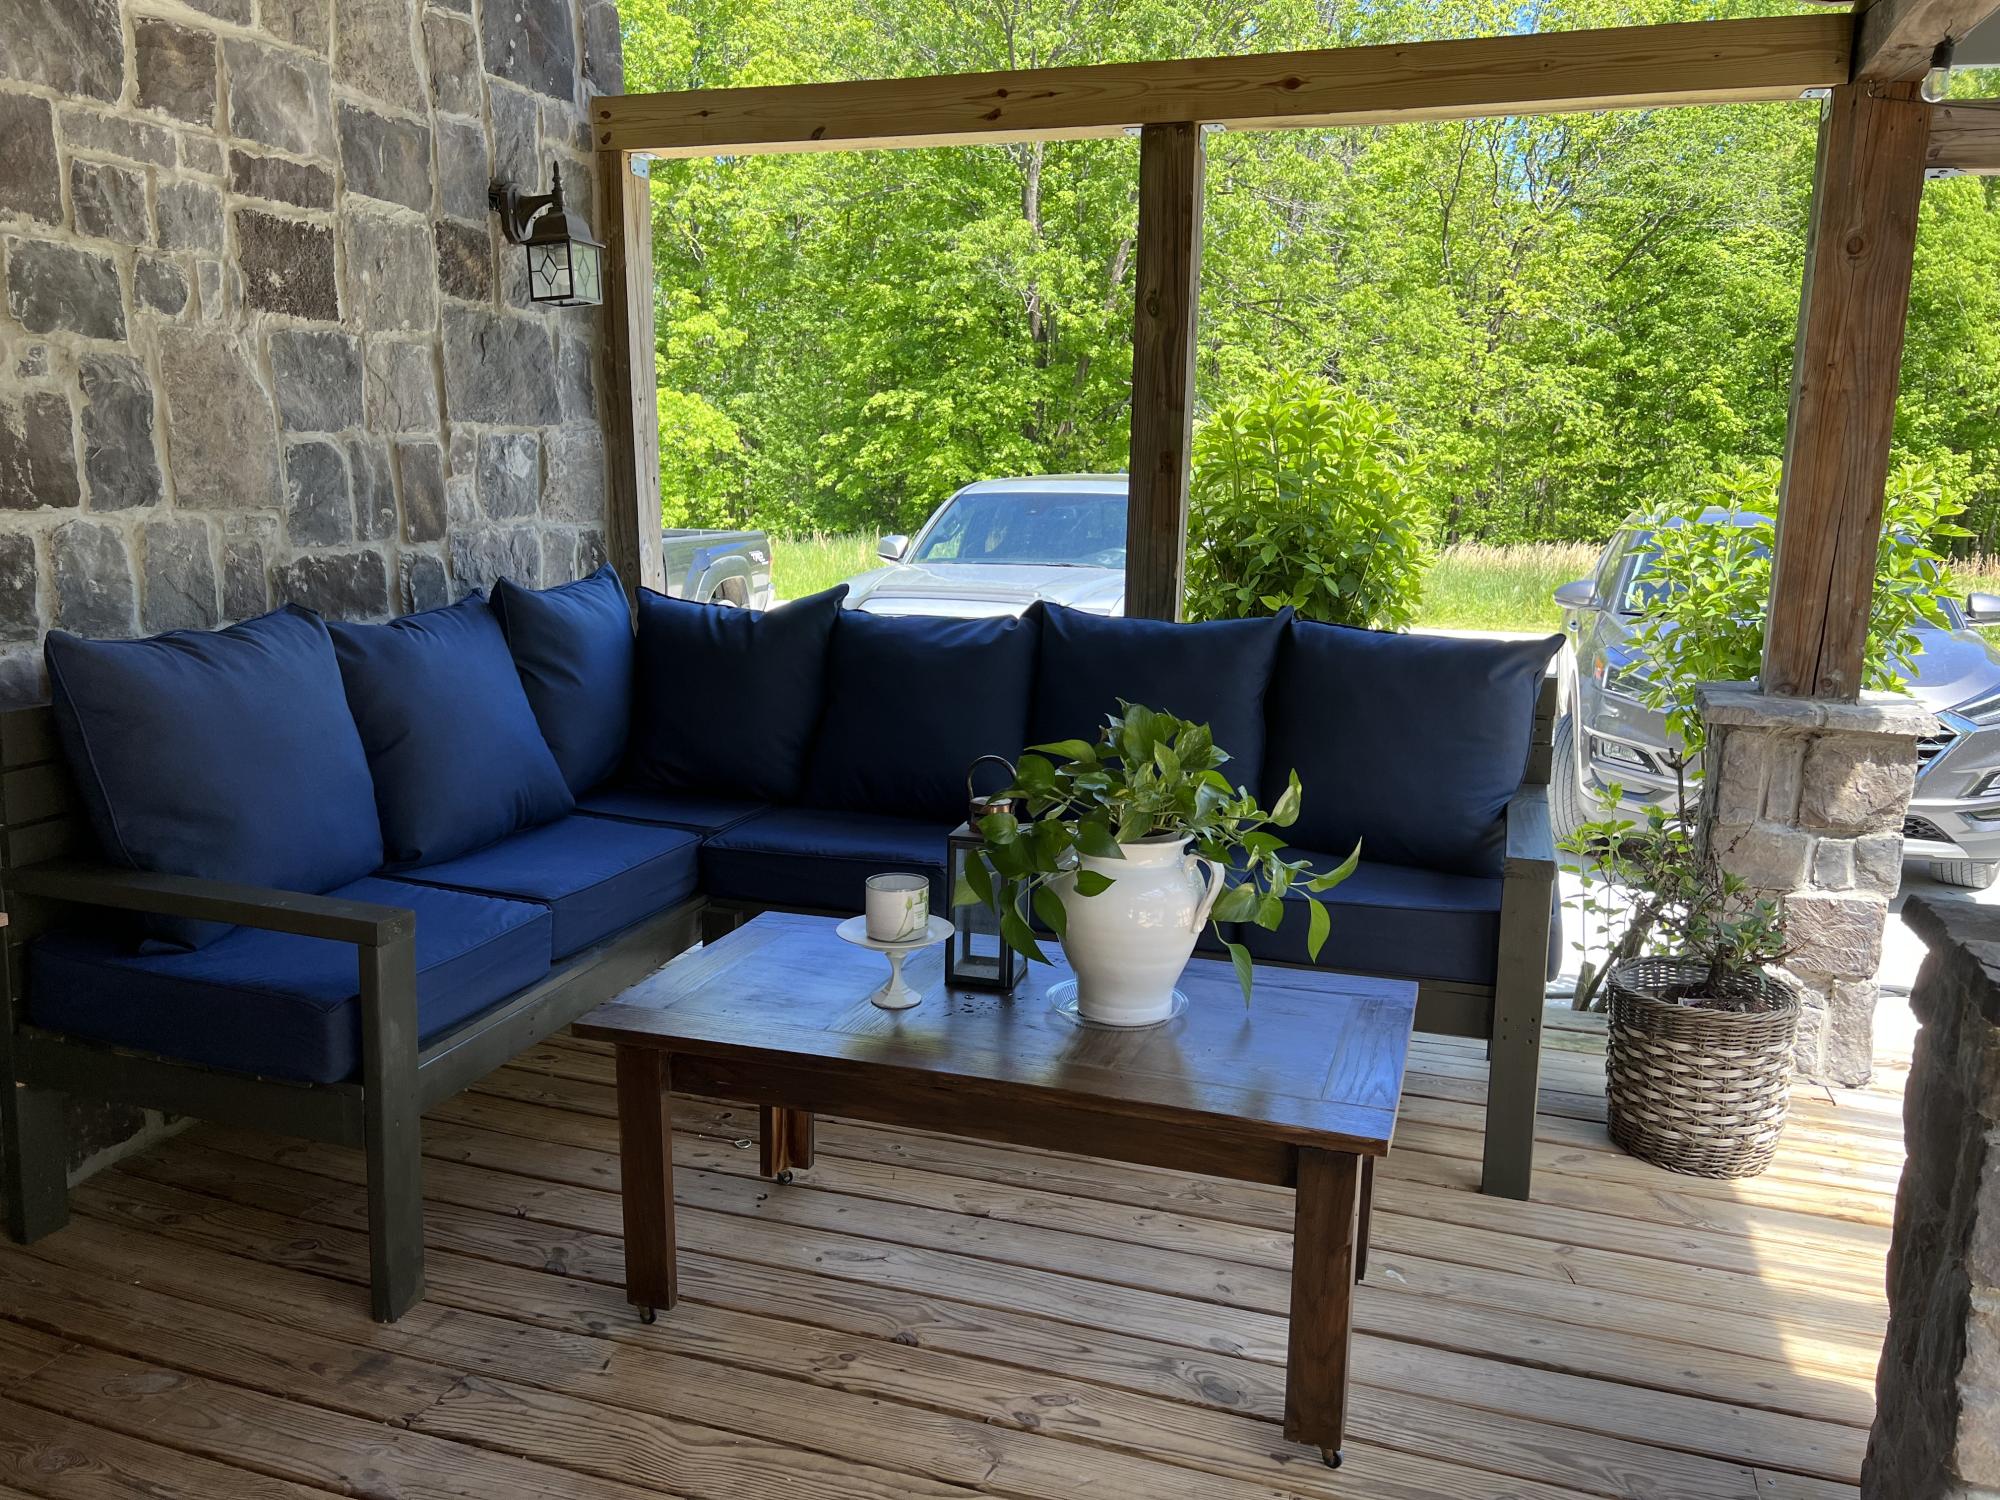
My husband whipped this up in one day using Ana’s plan. This is my new favorite spot to relax.
Comments

Kate's Play Kitchen

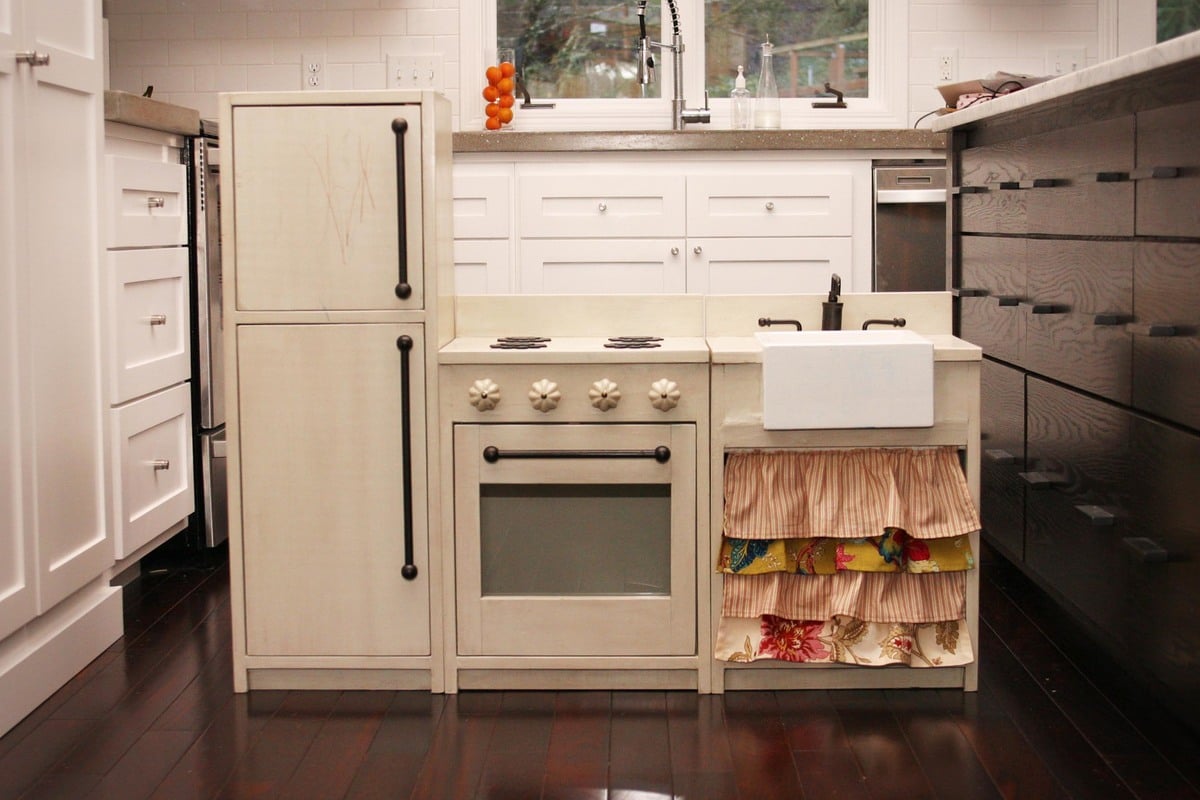
I made this play kitchen for my daughter's second bithday. It was my first project!

Estimated Cost
$120
Estimated Time Investment
Weekend Project (10-20 Hours)
Finish Used
Behr Ocean Pearl (that I already had) with antique glaze and furniture wax.
Recommended Skill Level
Beginner

Comments

spiceylg

Tue, 01/03/2012 - 11:32

You took this on as your first project? Wow, you did a wonderful job! Love the look and your daughter must be thrilled!

karab

Tue, 01/03/2012 - 15:26

Nice job! Your kitchen is equally as beautiful as your daughters! I can't wait to build one of these sets.

Guest (not verified)

Fri, 01/27/2012 - 07:10

Is the sink an actual sink? I was wondering what the basin is. Is it just wood?

Carrie Hart (not verified)

Thu, 10/04/2012 - 20:54

How do I actually get the plans? Where are they located?

lizdmayfield

Thu, 01/24/2013 - 10:37

Little wood flowers from the craft section at Walmart painted with chalkboard paint. Hope that helps!

rademmacliffe

Thu, 07/14/2016 - 15:41

Question what did you use for your handles? This is beautiful. I'm hoping to make once close to it for my son's 2nd Bday 

Ice Chest Cover. My first Ana White project. I modified it to fit my ice chest. I made 2. Thank you for offering free DIYs!

Submitted by wunkie on Tue, 11/19/2013 - 19:55

I needed something to hide the exterior of my 7 yr old, hard used ice chests. I saw this and modified it to fit my ice chests. Love them!

I'm a newbie to wood work and am so glad I found this site! I made these in July and am working at getting better at it.

Estimated Time Investment
Afternoon Project (3-6 Hours)
Finish Used
I used Oak stain that I had on hand. Worked great.
Recommended Skill Level
Starter Project

Daughter loves it!

Submitted by Anonymous (not verified) on Sat, 02/06/2016 - 09:47

Thank you so much for these plans! 2 weeks worth of nap time building and my daughter has an awesome new bed! 

Built from Plan(s)
Estimated Cost
$300
Estimated Time Investment
Week Long Project (20 Hours or More)
Recommended Skill Level
Intermediate

Comments

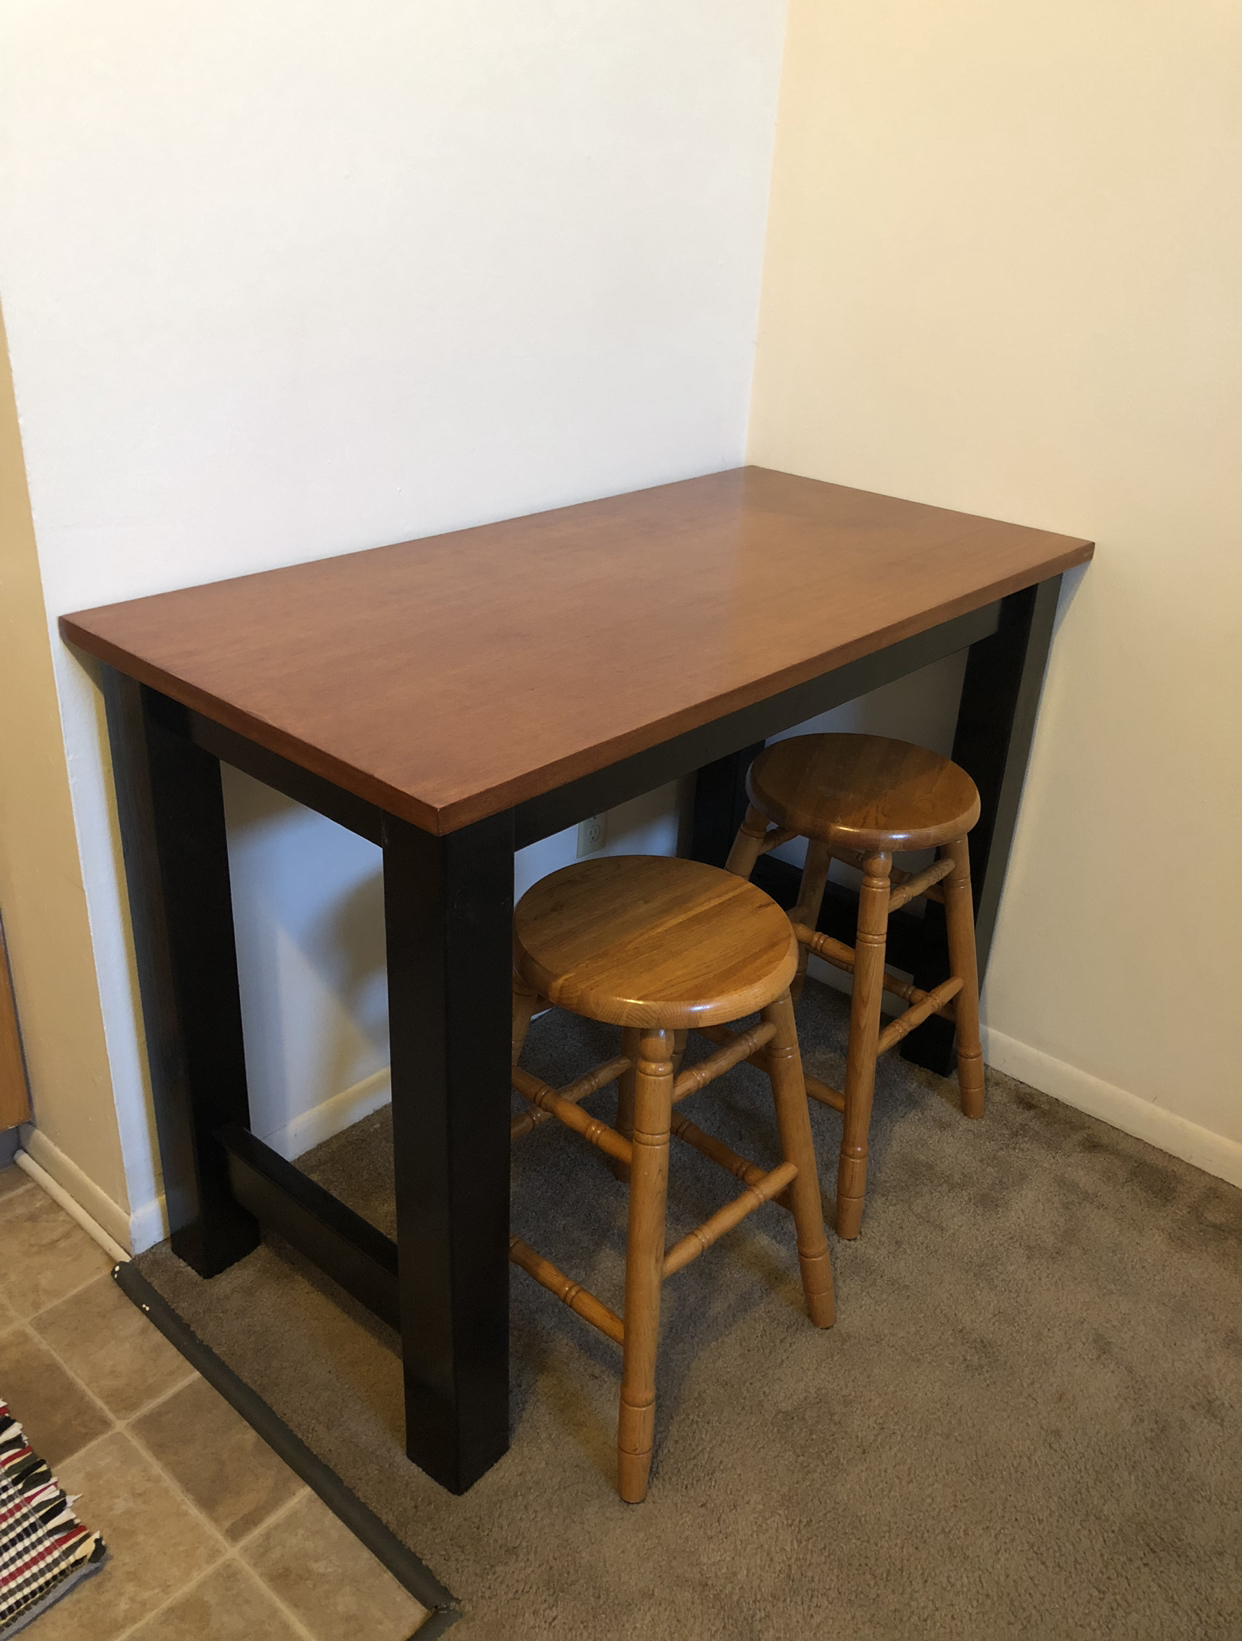
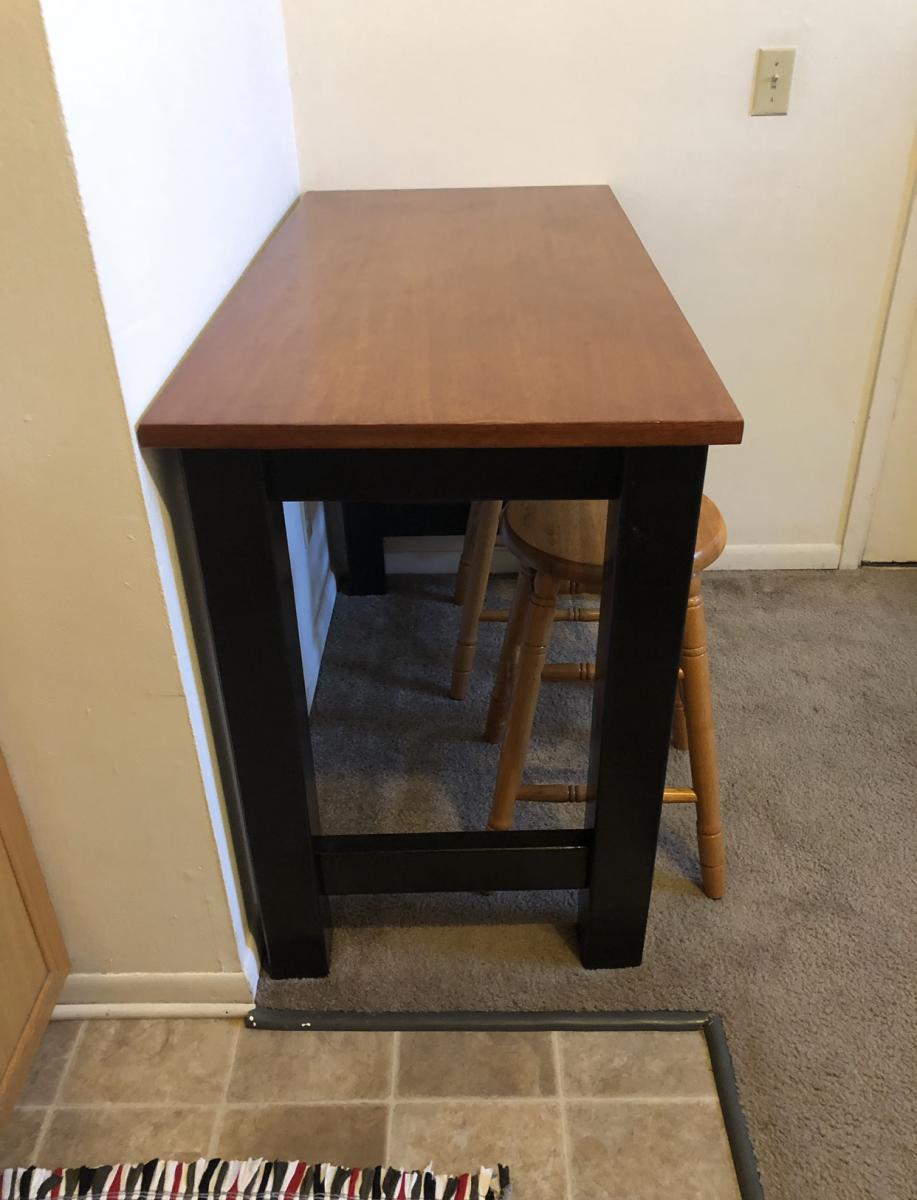
Breakfast bar with reclaimed top

Submitted by Anonymous (not verified) on Sat, 08/24/2019 - 19:36

Our son was moving into his first college apartment. The dining area is small and he thought a breakfast bar would be perfect in this spot. We built the base using Ana’s Counter Height Farmhouse Table for Four plans. We modified the plans to to fit the table top - which was originally the top of a desk. We purchased the desk at our local Habitat Restore. We planed to use the base of the desk for another project- so using the top for this breakfast bar was perfect! The breakfast bar was a perfect fit!

Estimated Cost
$35
Estimated Time Investment
Day Project (6-9 Hours)
Finish Used
Paint and poly on bass. Gunstock stain and poly on top.
Recommended Skill Level
Beginner

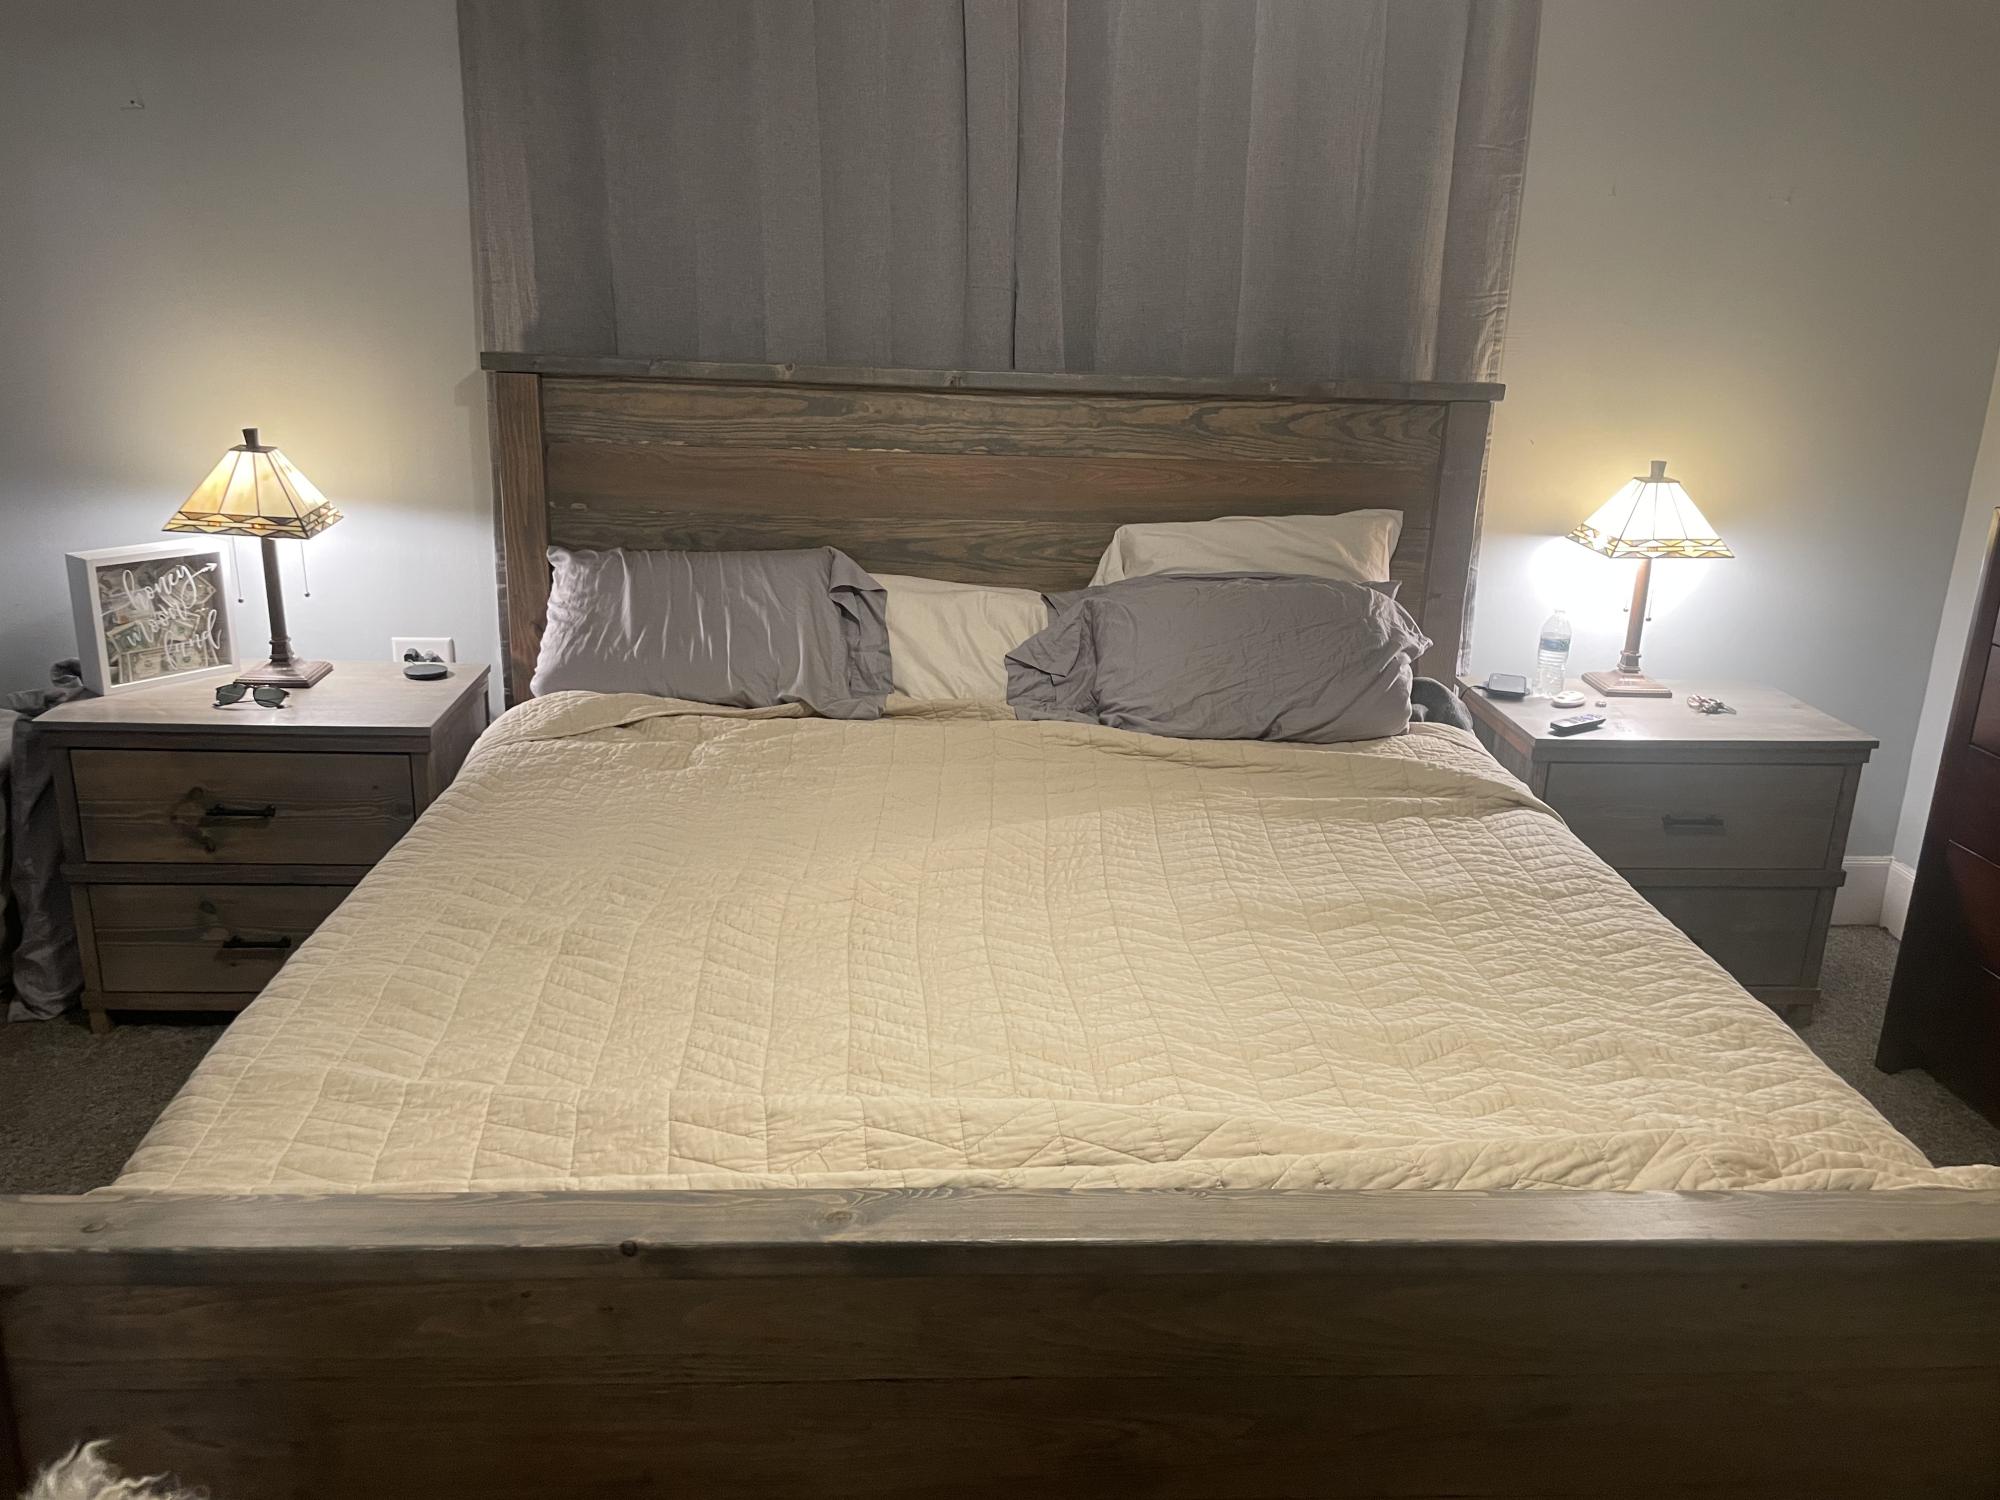
King Bed and Nightstands

Submitted by kwlogue on Sat, 05/06/2023 - 18:28

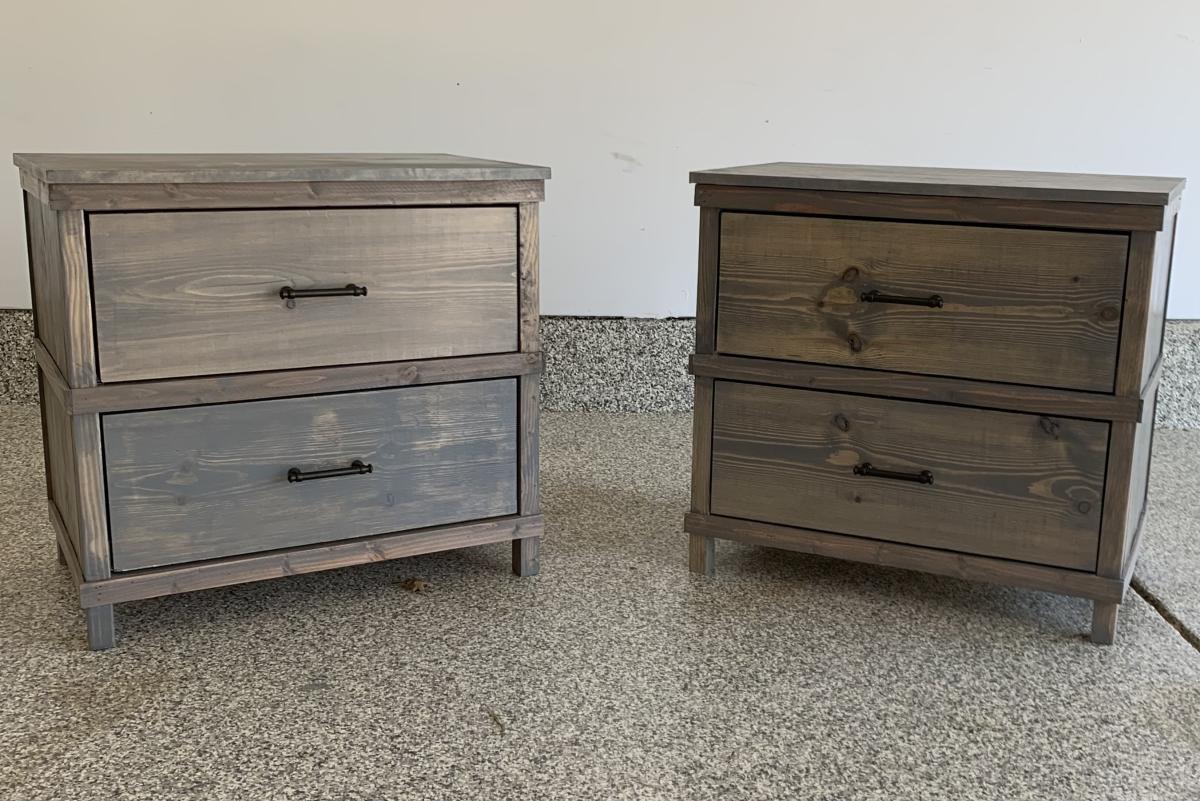
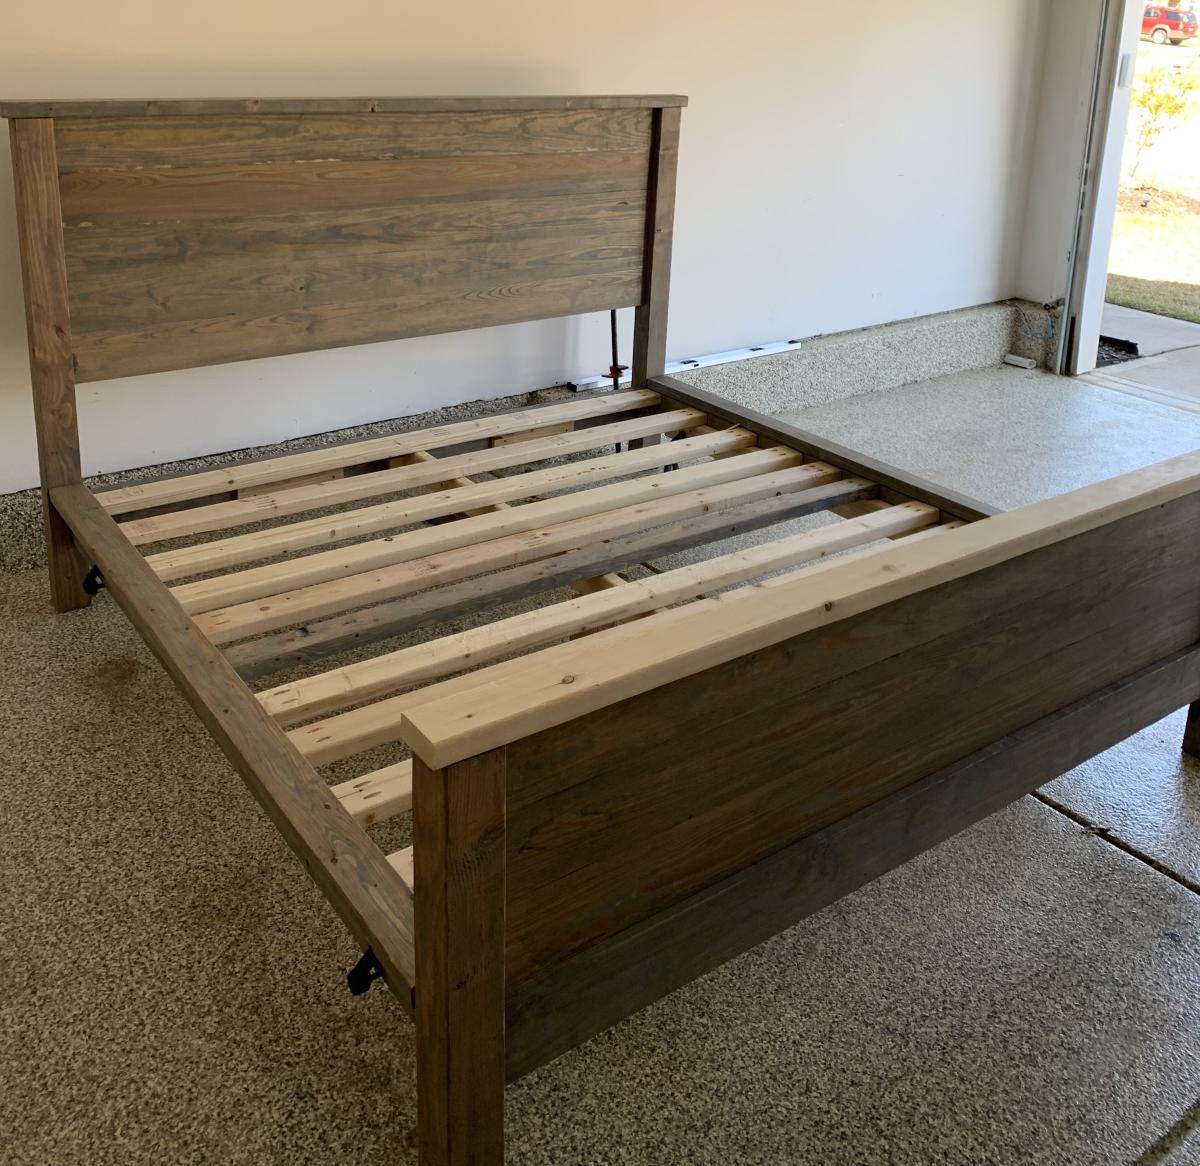
Fun and rewarding projects to finish. Took me way too long to finish, but 2 sever TBIs will do that to a person. Made a few modifications to the original King and nightstand plans but worked out fine. Thanks for these plans Ana!

Comments

Doll bunk beds

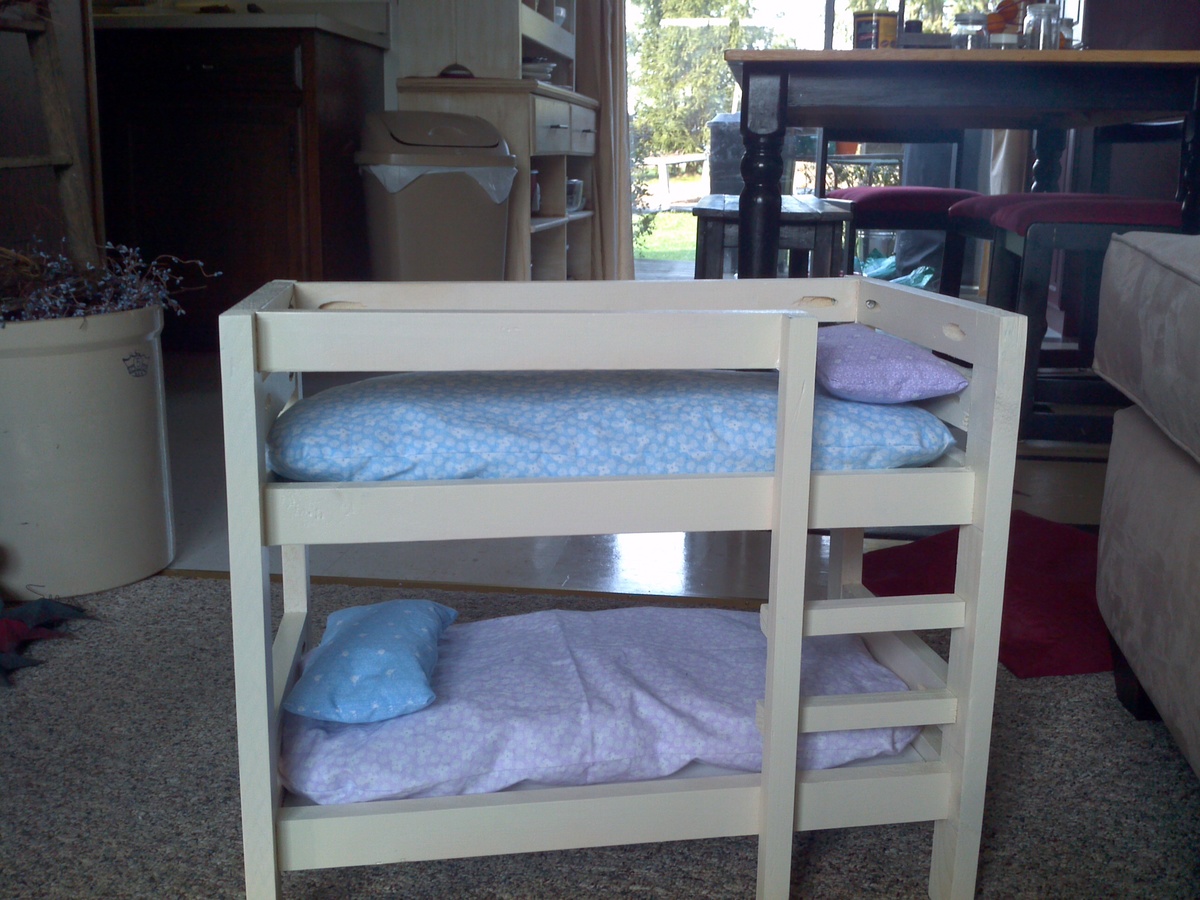
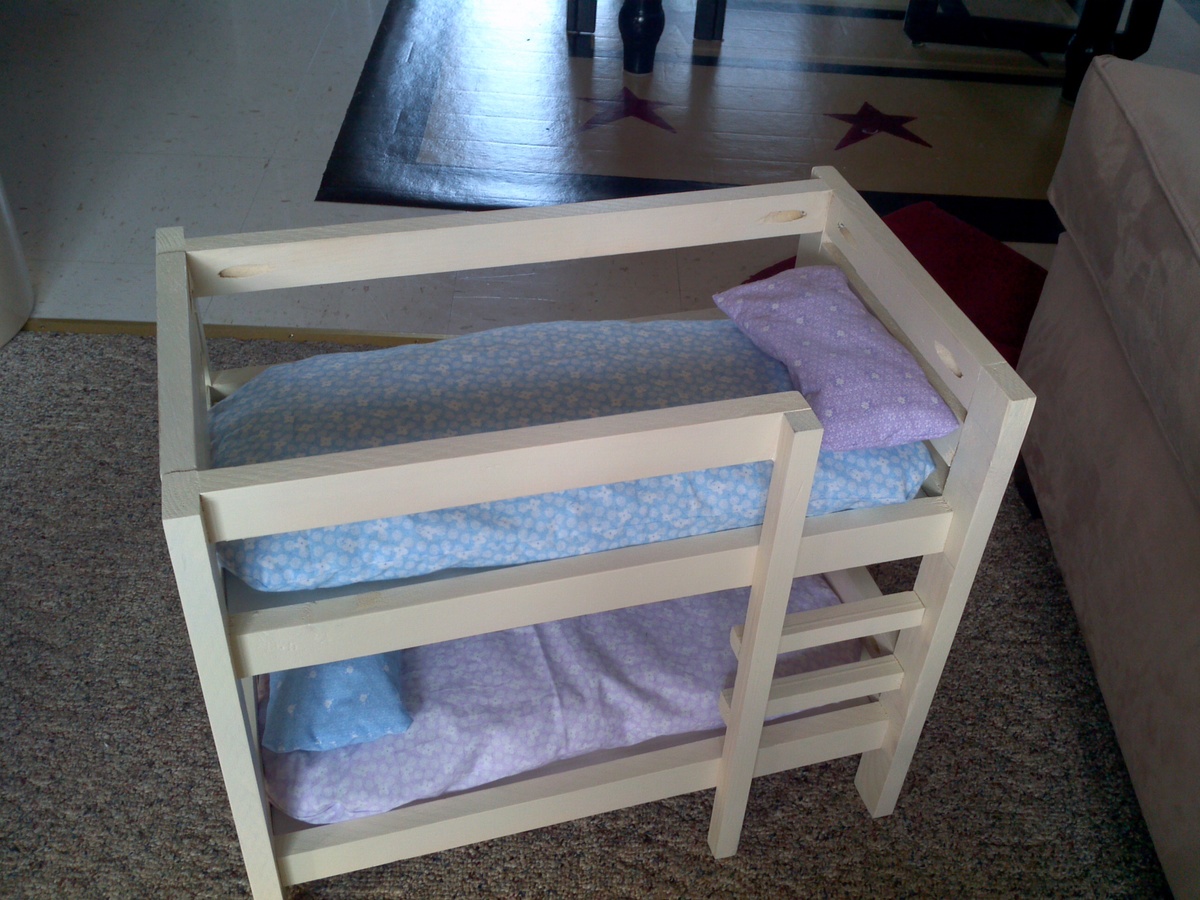
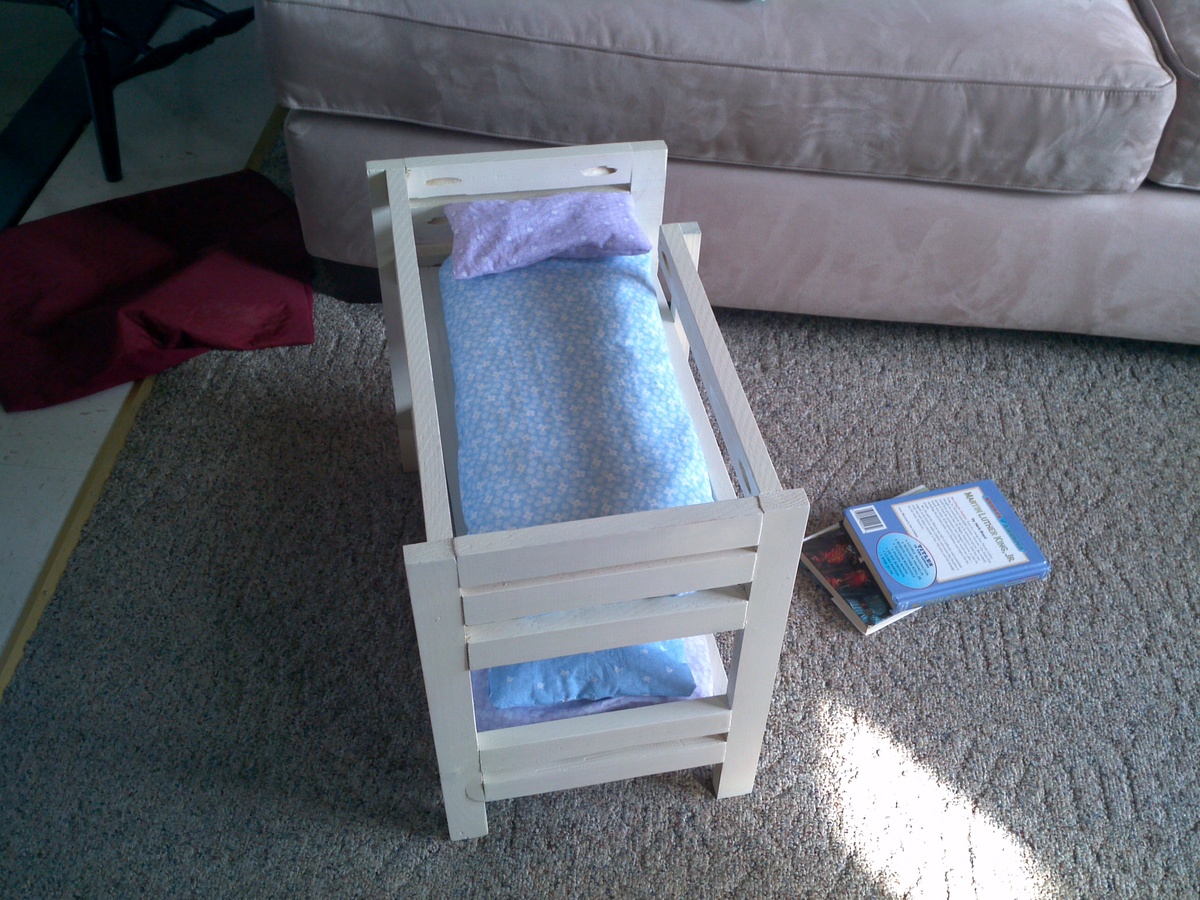
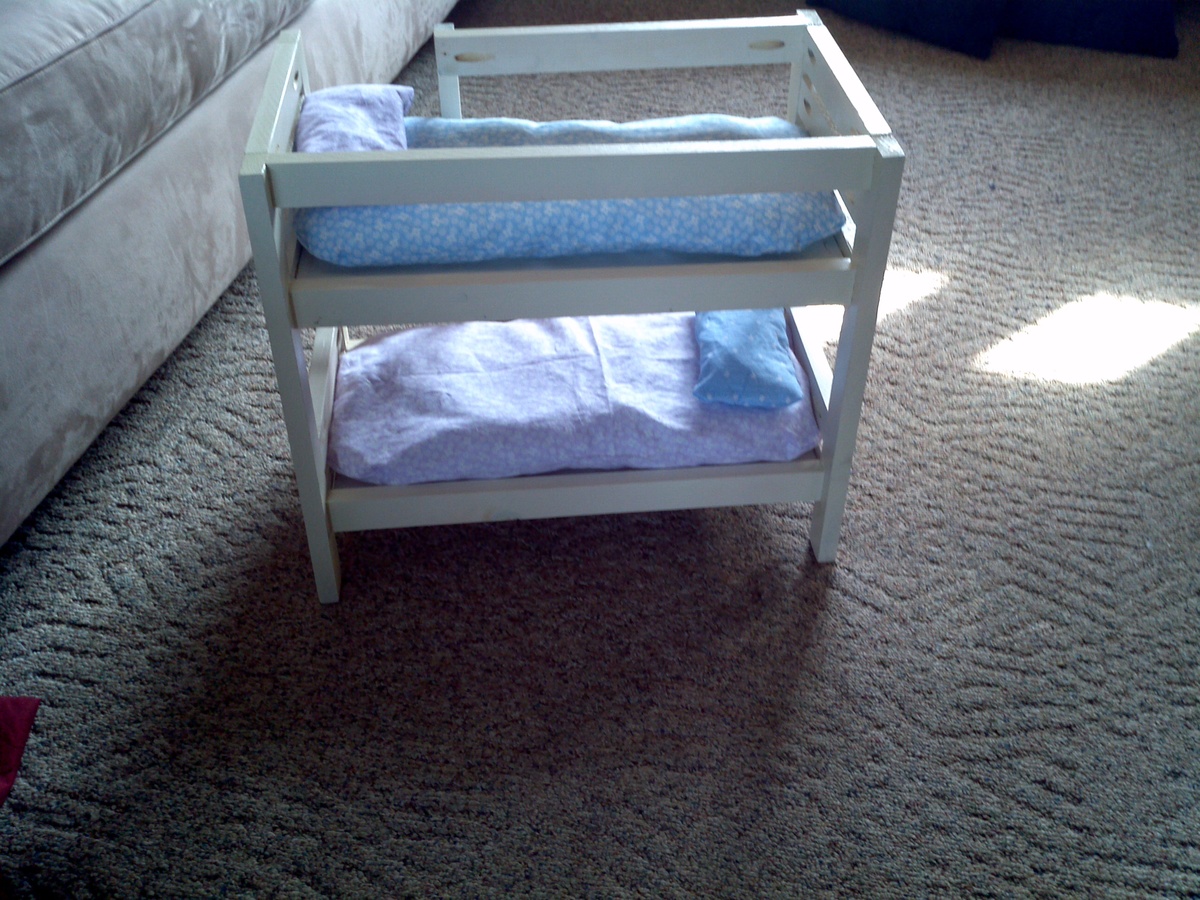
I saw this plan and wished I knew some little girls who needed this bunkbed! Two weeks later, my neighbors little girls came over with two of their Christmas gifts - American Girl dolls! I went out the next day to buy the supplies and now have it finished to give to them after school this afternoon!

Estimated Cost
$20
Estimated Time Investment
Afternoon Project (3-6 Hours)
Finish Used
Spray paint with white primer and then ivory gloss.
Recommended Skill Level
Starter Project

Comments

jennybriggs1970

Thu, 01/05/2012 - 16:27

These are soo cute! However I have looked high and low for the 1x1 square trim, all I have found are the 1x1 4 footers for around $4 each! Is this what everyone is using? I dont have a table saw! and our lowes nor Home Depot would wanna rip wood so small!

mikejillnelson

Thu, 01/05/2012 - 16:35

Yes - unfortuanely that's what I had to do. That's why the final cost came to $20. I tried to come up with another stair tread idea but ended up just buying the 1 x 1's. If you don't mind the look of round and square rungs, you could consider using a round dowel. They're much cheaper than square and can be found at Walmart for less than $1.

Tall Secretary

Submitted by emolson on Fri, 11/22/2013 - 10:25

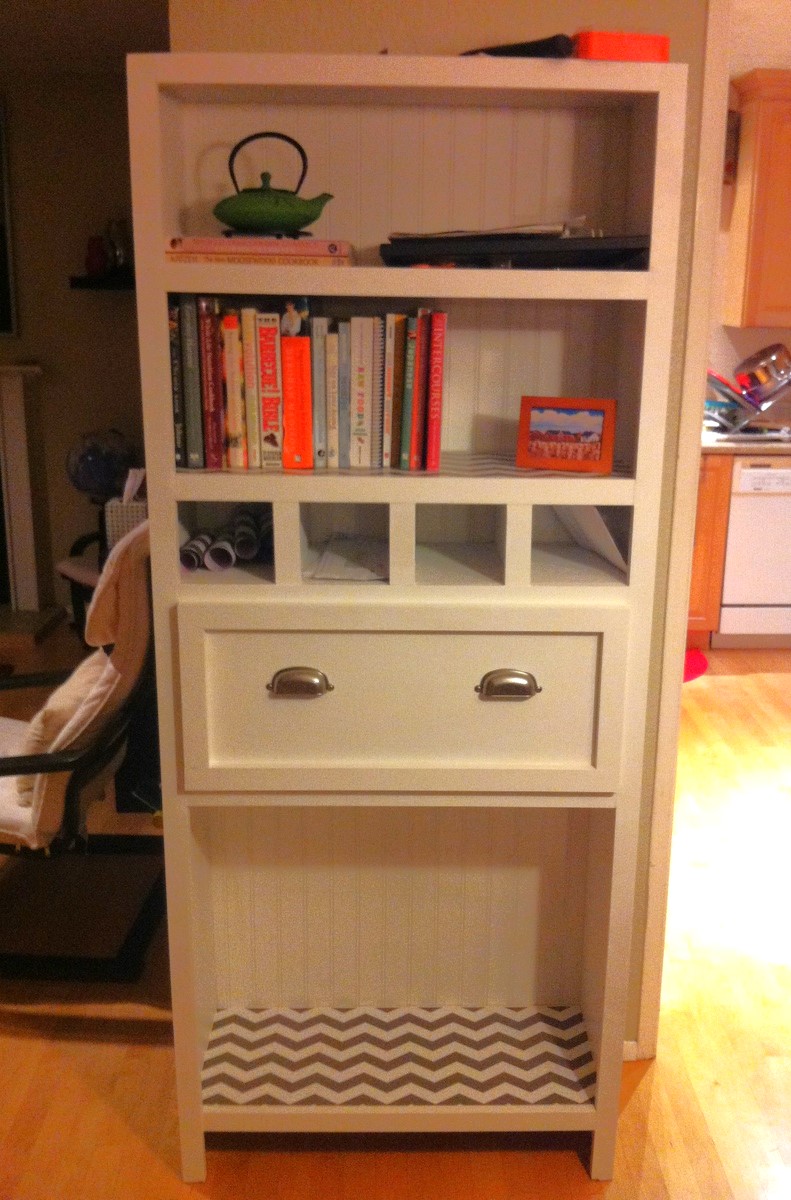
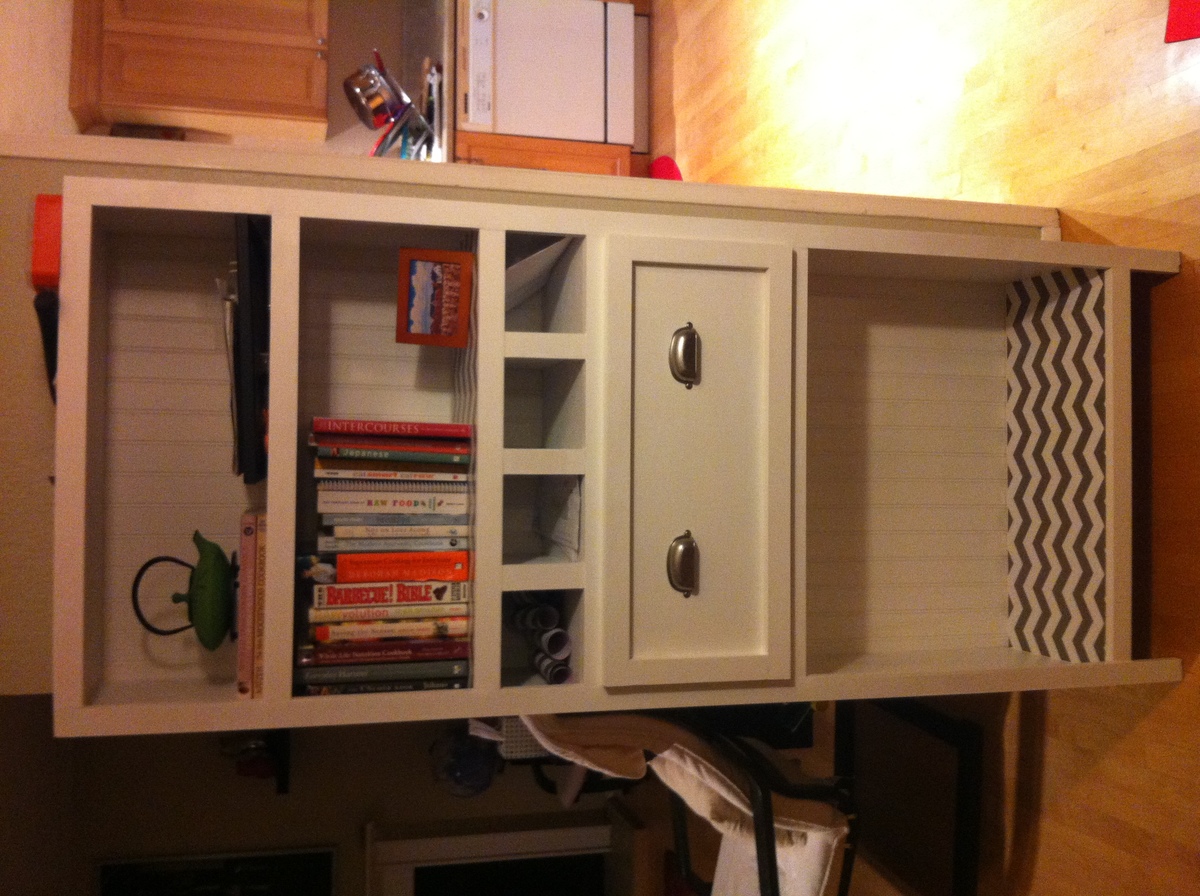
I had so much fun building this project. It came together really easily, and added the perfect touch to our dining room to make it feel nice and homey. I have since added the cabinet doors to the bottom shelf... more pictures to come.

Estimated Time Investment
Day Project (6-9 Hours)
Finish Used
1 coat Kilz oil based primer
1 coat Sherwin williams bright white satin latex paint (left over from house trim)
Would finish with a second coat of paint and some sort of stronger finish next time. I also added contact paper to the shelves to protect both the piece and my cookbooks from being marred.
Recommended Skill Level
Beginner

Comments

The Kids are off the floor

Submitted by derwood294 on Mon, 02/08/2016 - 09:11

We Recently moved into a new house and this project was a great break from the regular work on the house. The instructions were great and easy to follow. The 2 x 6s on the sides makes it hard to use carriage bolts though I settled for lag screws. Can't wait to do my next project.

Built from Plan(s)
Estimated Cost
around $120
Estimated Time Investment
Weekend Project (10-20 Hours)
Finish Used
Semi-gloss paint of Behr Paint and primer in one with the color Cupcake Pink. I stated with Killz Primer and 2 coats of the Beher.
Recommended Skill Level
Beginner

Woven Back Bench

Submitted by Anonymous (not verified) on Mon, 09/09/2019 - 09:01

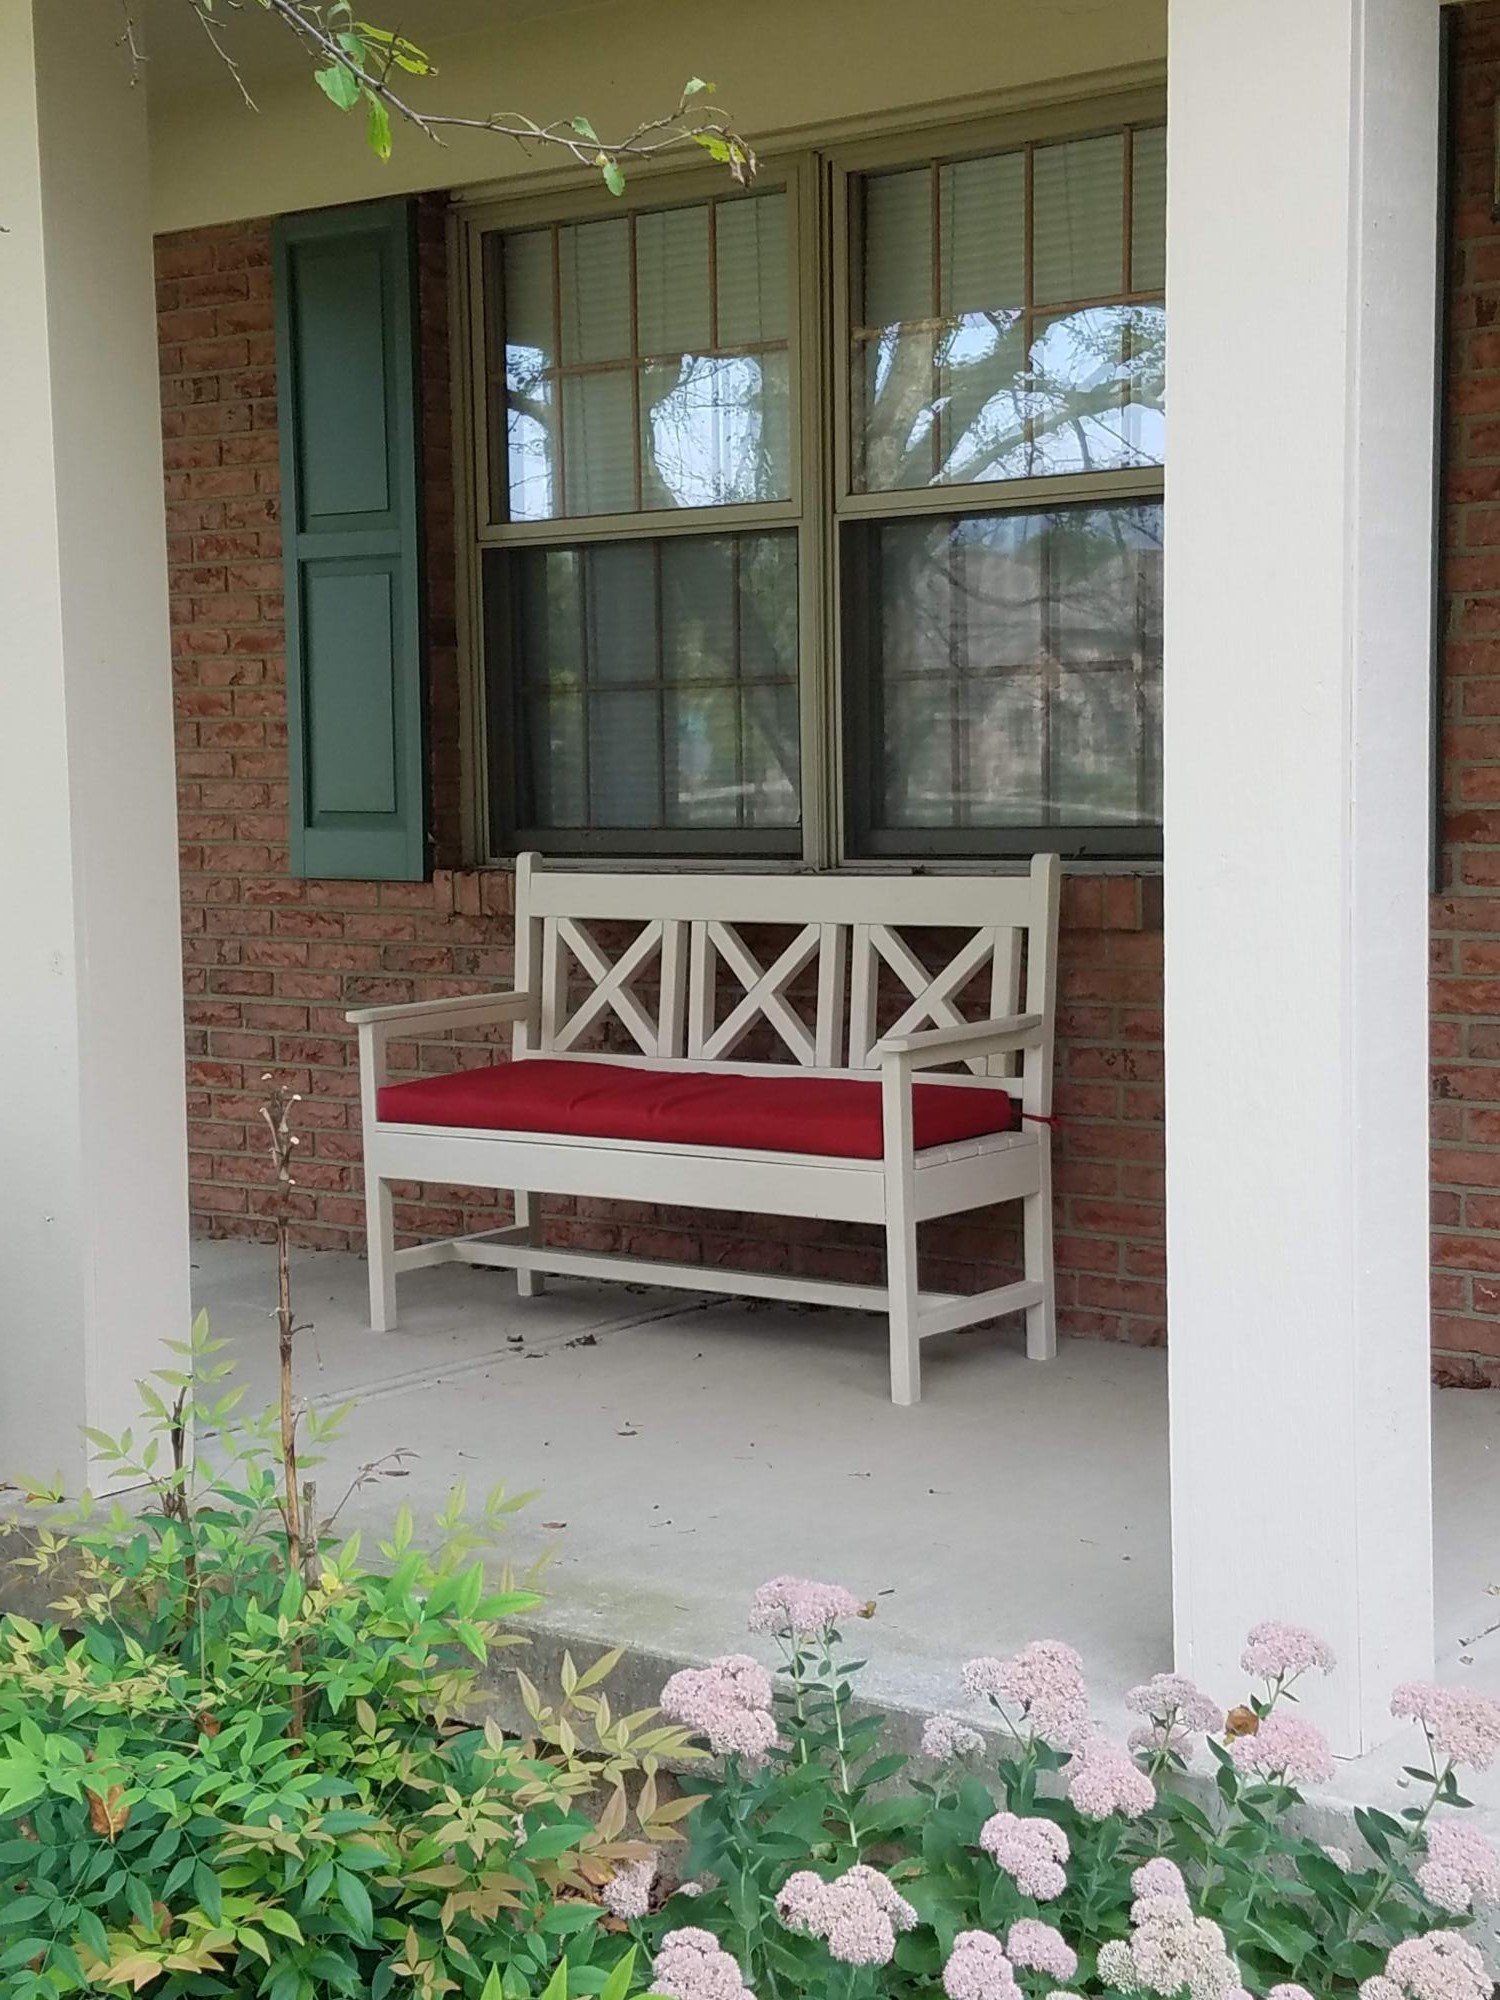
A version of the woven back bench, resize to fit a standard cushion, painted to match the house trim.

Built from Plan(s)
Recommended Skill Level
Beginner

Toy Storage

Submitted by hoffer5353 on Sat, 01/07/2012 - 19:30

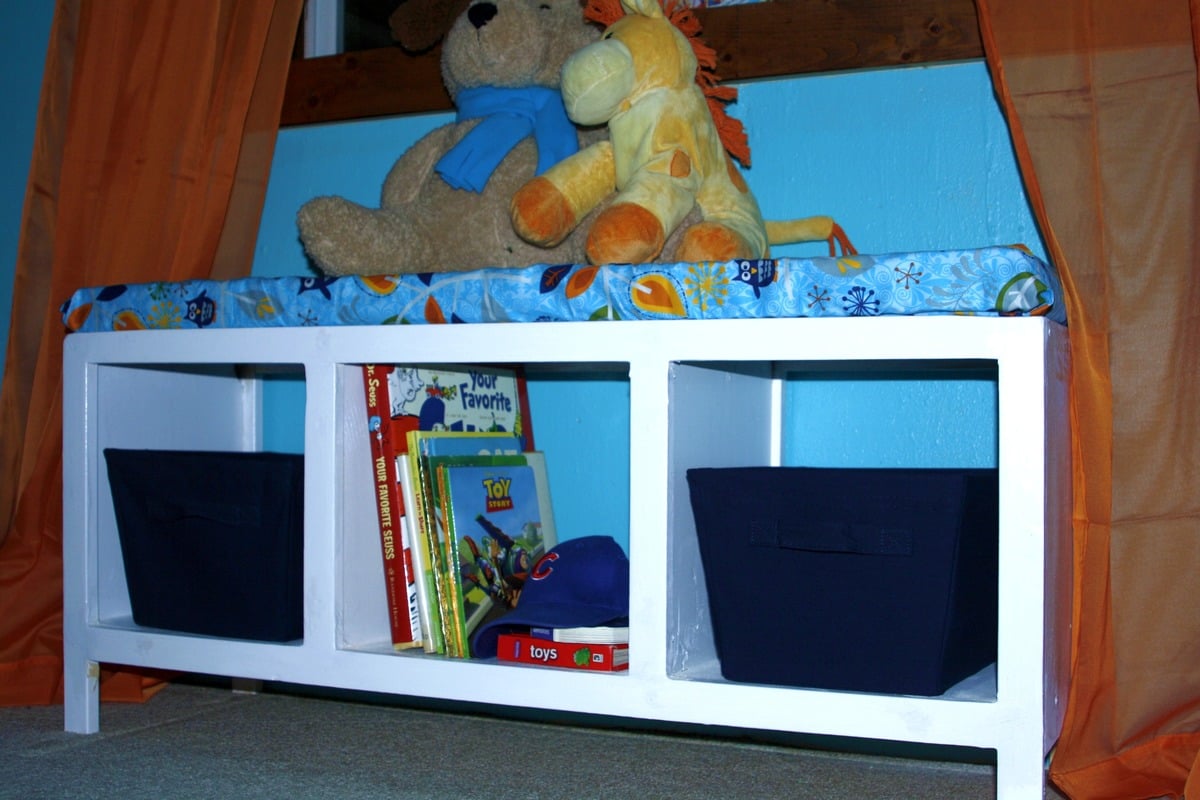
After our basement remodel I decided we needed some storage for our growing collection of of toys.
This project went together much more quickly than I expected. I am so happy with the results.

Built from Plan(s)
Estimated Time Investment
Day Project (6-9 Hours)
Finish Used
valspar, interior semi-gloss
Recommended Skill Level
Intermediate

Comments

Vmc107

Fri, 07/19/2013 - 07:05

hi! Ive been looking for something like this for toy storage in my living room. Were you able to post the plans to make something like this?

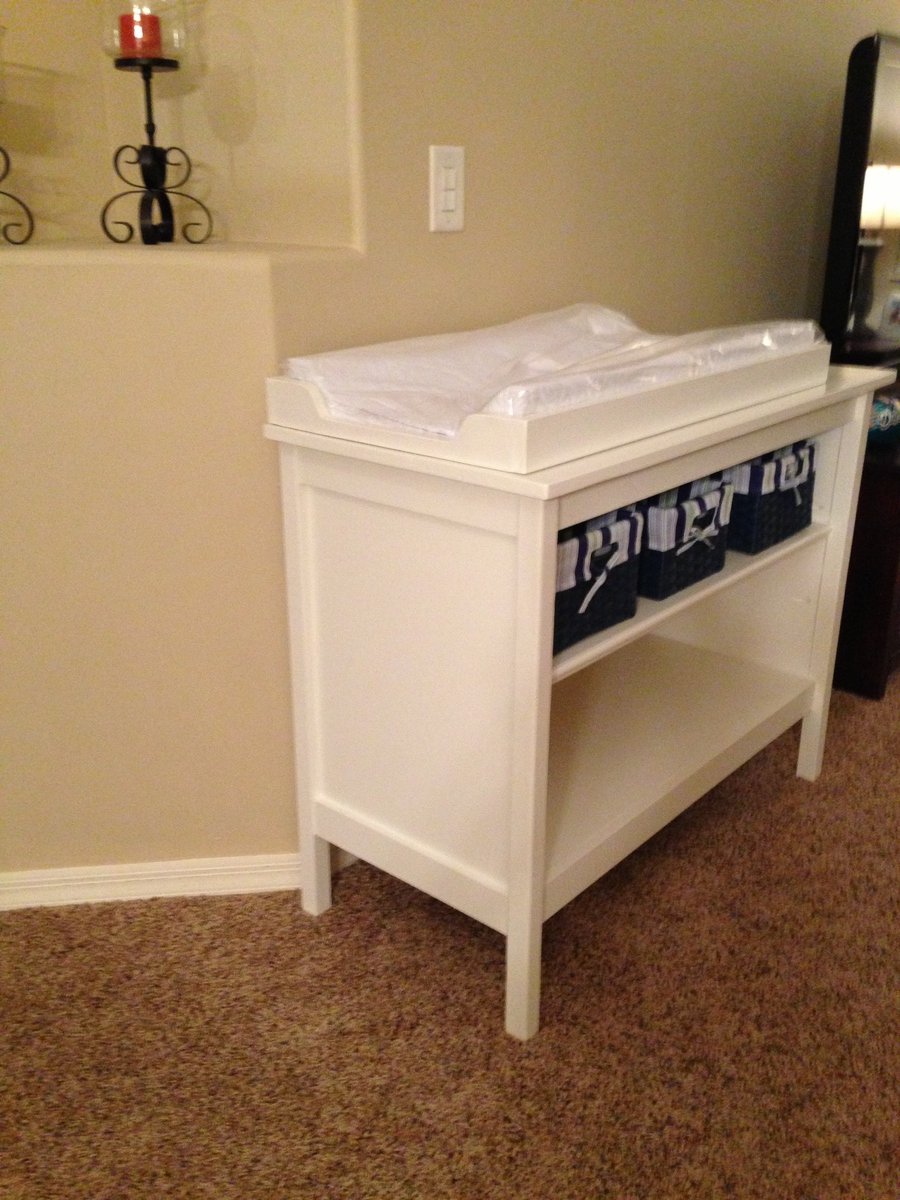
Basic changing table for a besty

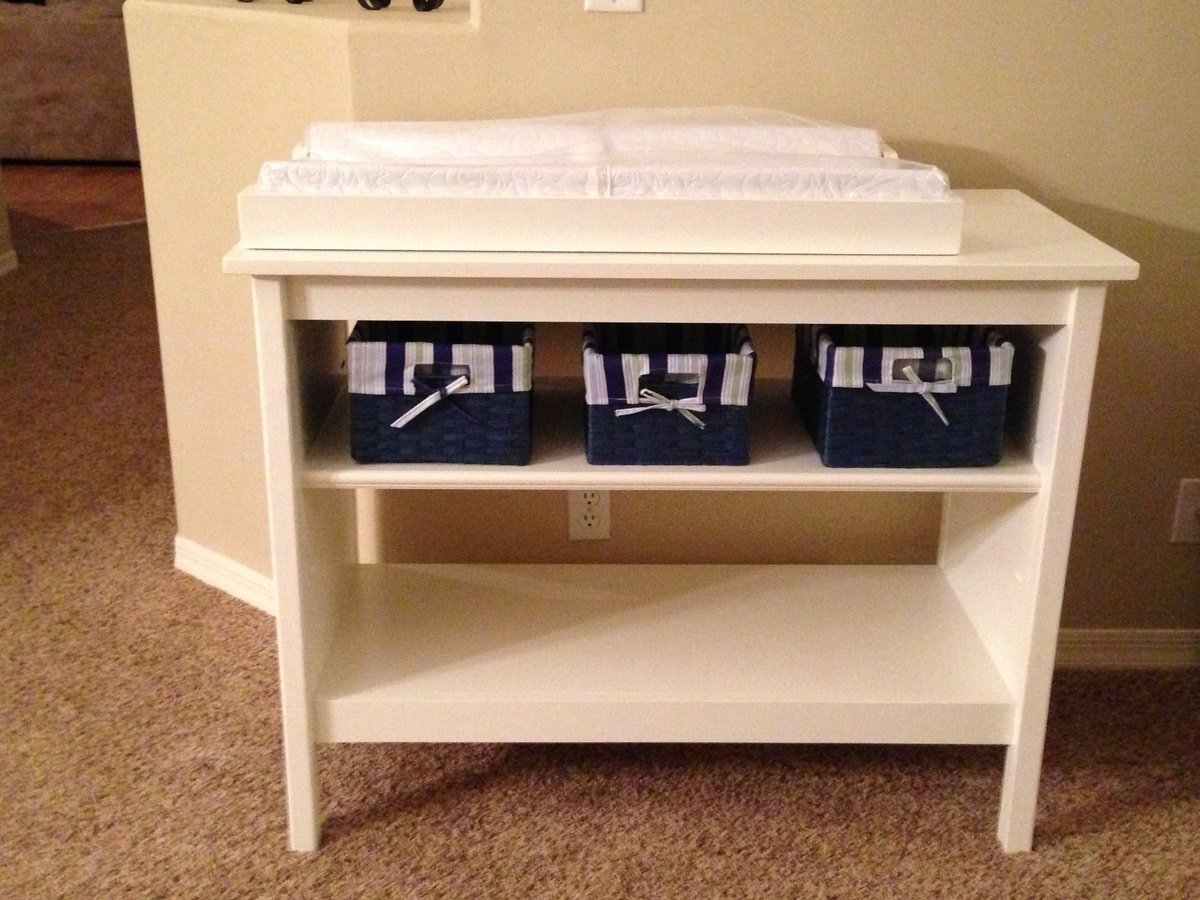
This was a quick and easy build. My friend needed a changing table and I had several scraps left from a toy box build. I will mention that using 2x2 firring strips is always my worst nightmare. They're rounded, never straight, and full of knots. They just don't give that professional feel. I had to use 1/2"x3" preferred pine on the ends in order for them to sit flush inside the 2x2's. Used the kreg pocket holes and assembly was easy. The changing pad frame on top attaches to the back with an L bracket so they can remove it and still use the table down the road. I hope they enjoy it for many years.

Estimated Cost
$80 using scraps, probably $175 without scraps
Estimated Time Investment
Weekend Project (10-20 Hours)
Finish Used
Glidden Duo interior semi-gloss in muslin white and Minwax satin polycrylic. Love this paint, more than Behr!
Recommended Skill Level
Intermediate

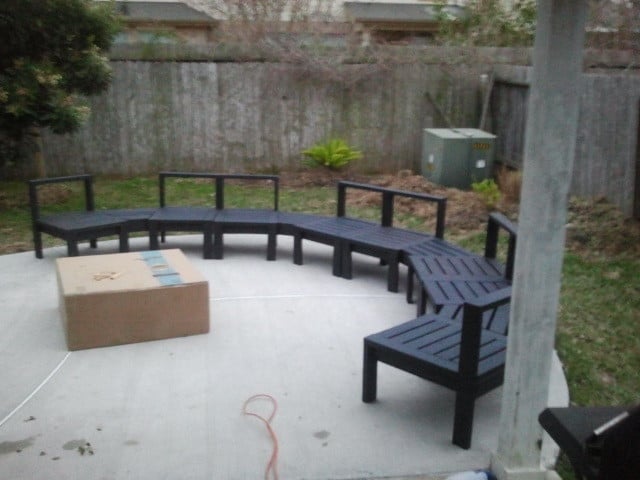
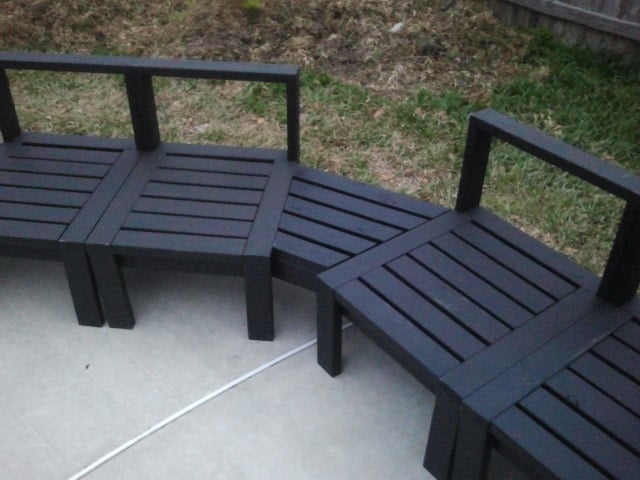
Circular sectional

Submitted by Anonymous (not verified) on Thu, 02/11/2016 - 17:34

This was a labor of love. I built it over a Christmas vacation. It took just under two weeks. The tables between the chairs were made to be removable, so each chair is an individual and we can take apart any of the chairs or tables on a whim. Very happy with this one. Thanks Ana!

Estimated Time Investment
Week Long Project (20 Hours or More)
Finish Used
Black stain
Recommended Skill Level
Beginner

Comments

Ana White Admin

Fri, 02/12/2016 - 12:37

This is an awesome build, love how you incorporated the tables! Thanks for sharing

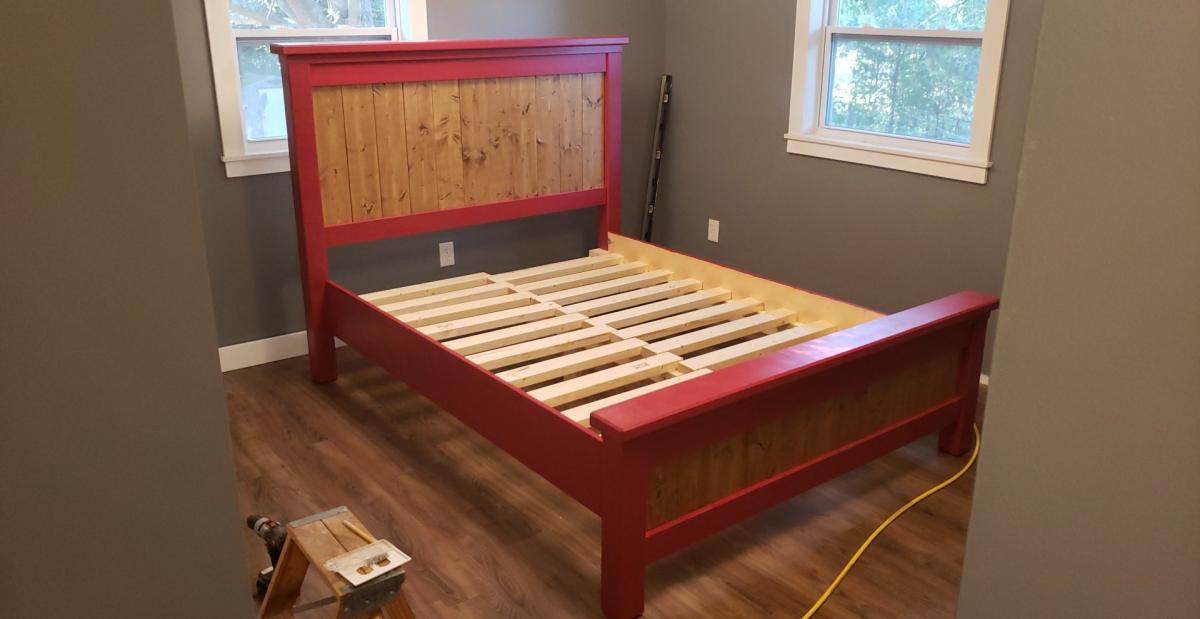
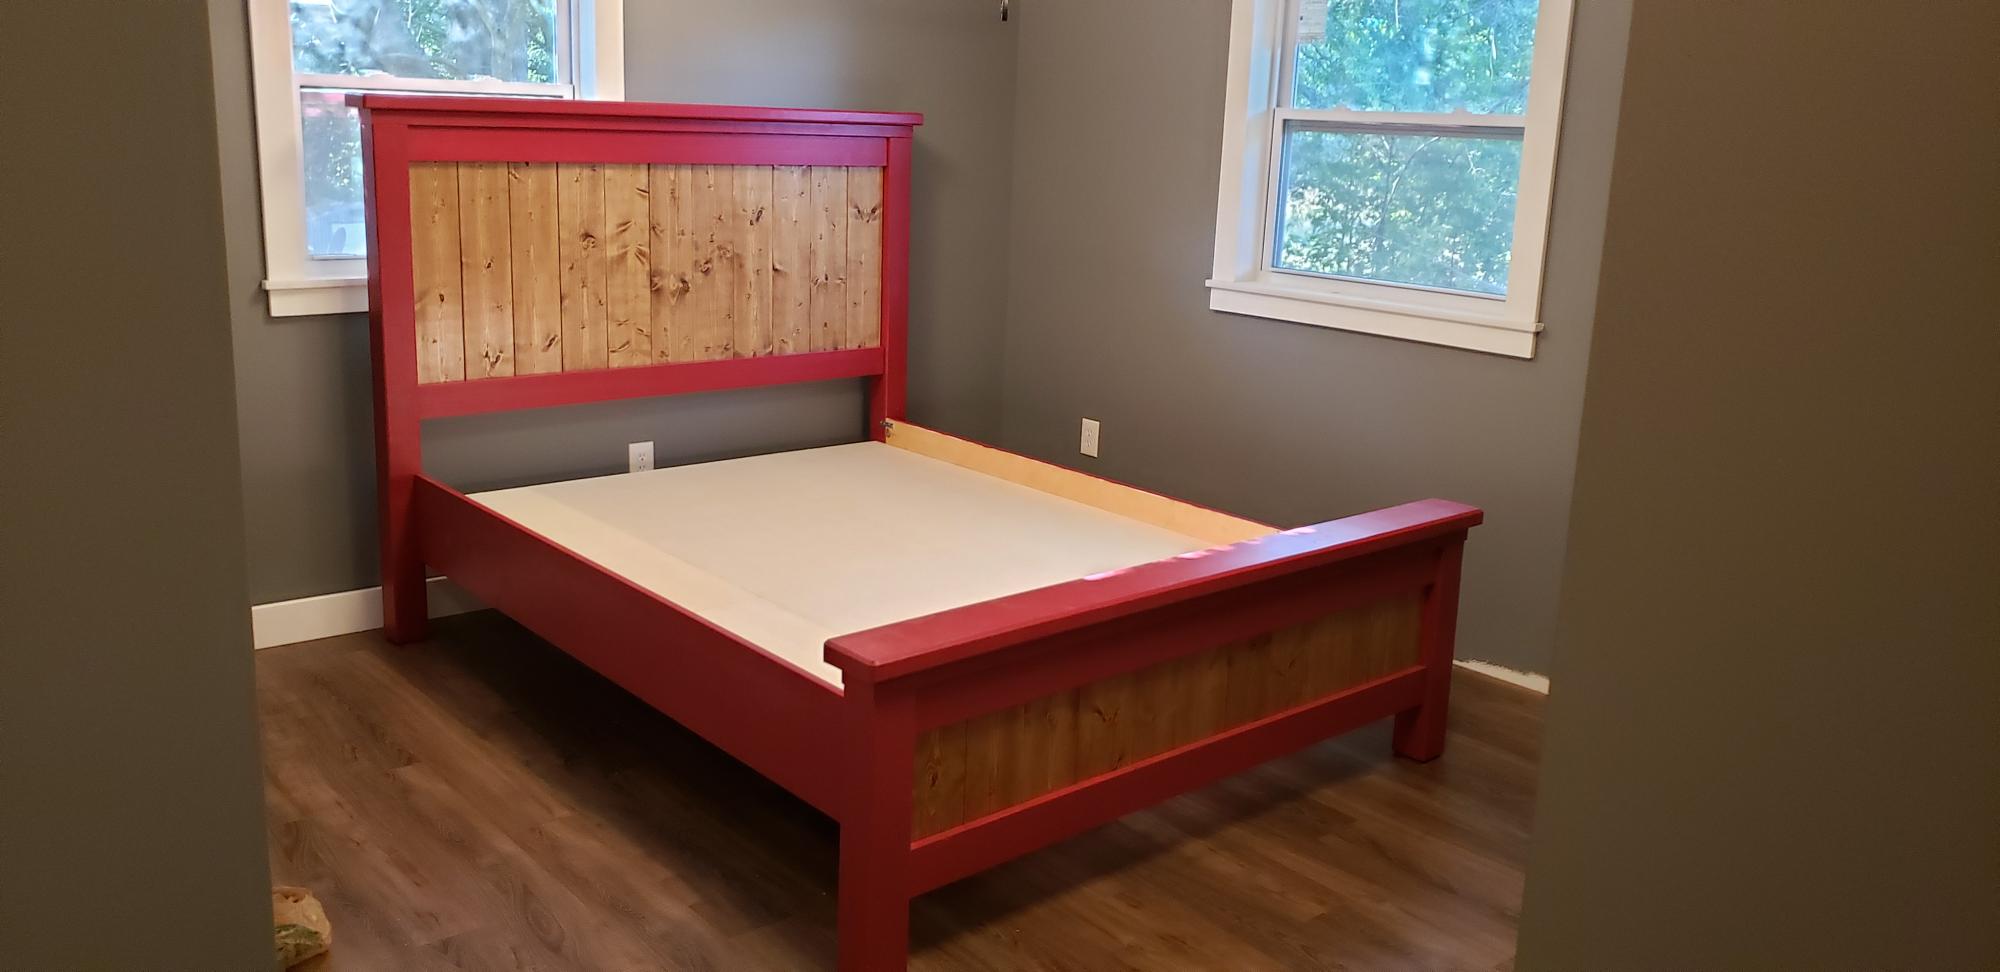
Queen Farmhouse Bed

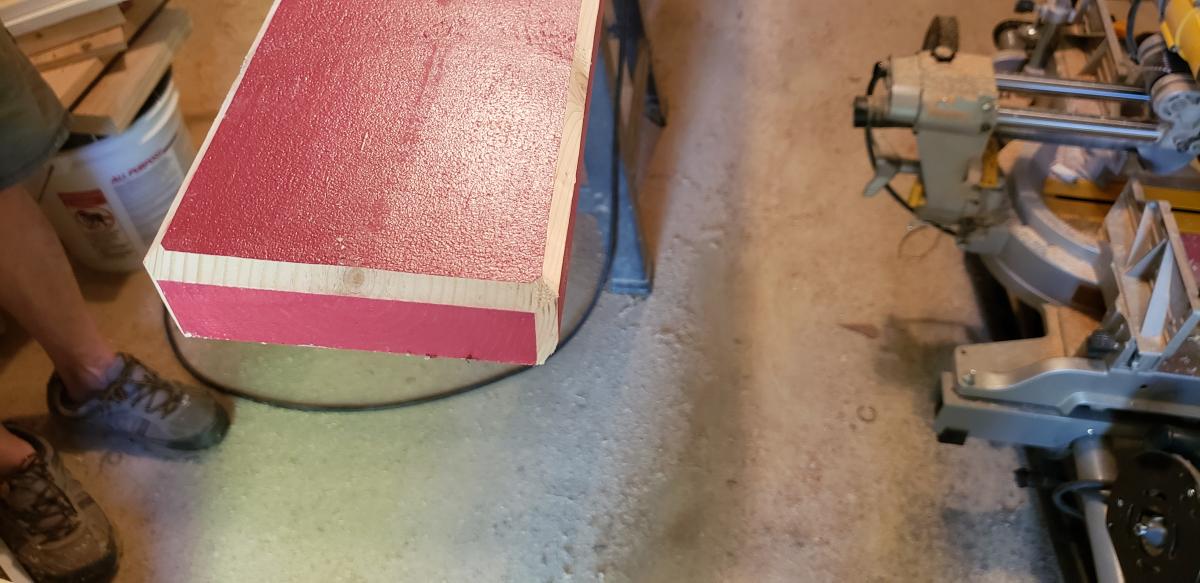
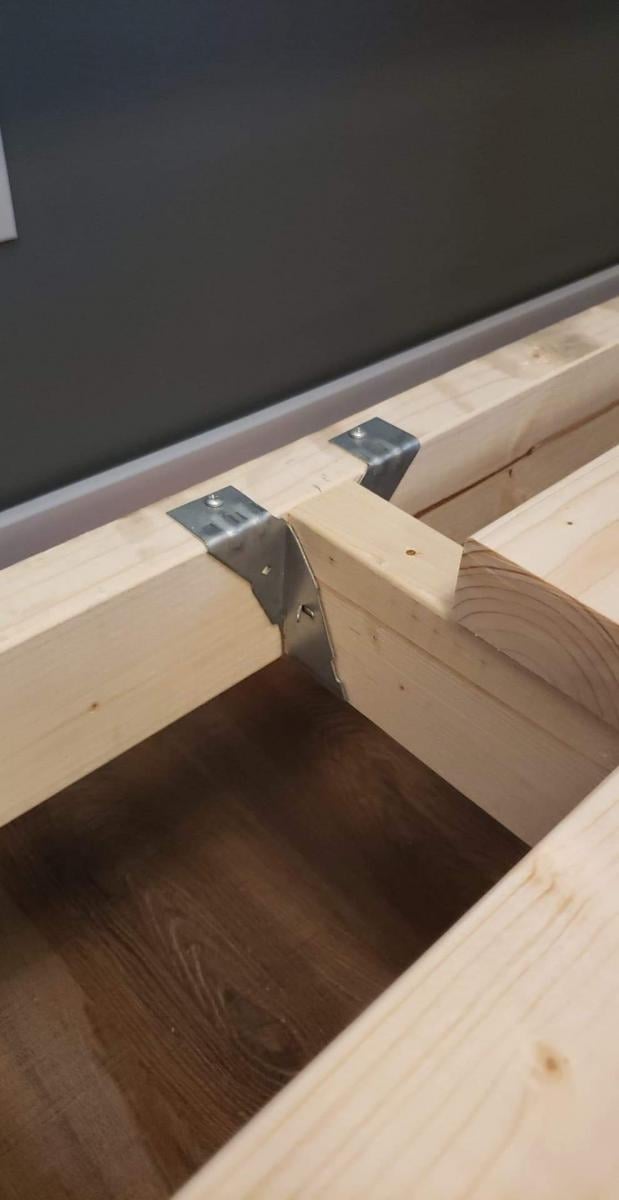
Built this bed for my wife and I in our starter home. It has been a pretty easy project with good instructions. Id change up my order of operations to prevent the wood from cupping as bad as it did in places as well as be more strict with my wood selection but im very happy with it over all. I braced it up a little more than instructions called for since this was my first bed build.

Built from Plan(s)
Estimated Cost
300 built and finished
Estimated Time Investment
Weekend Project (10-20 Hours)
Finish Used
Dark crimson M140-7 paint with special walnut stain. Multiple coats with sanding for surface prep.
Recommended Skill Level
Beginner

Front porch table

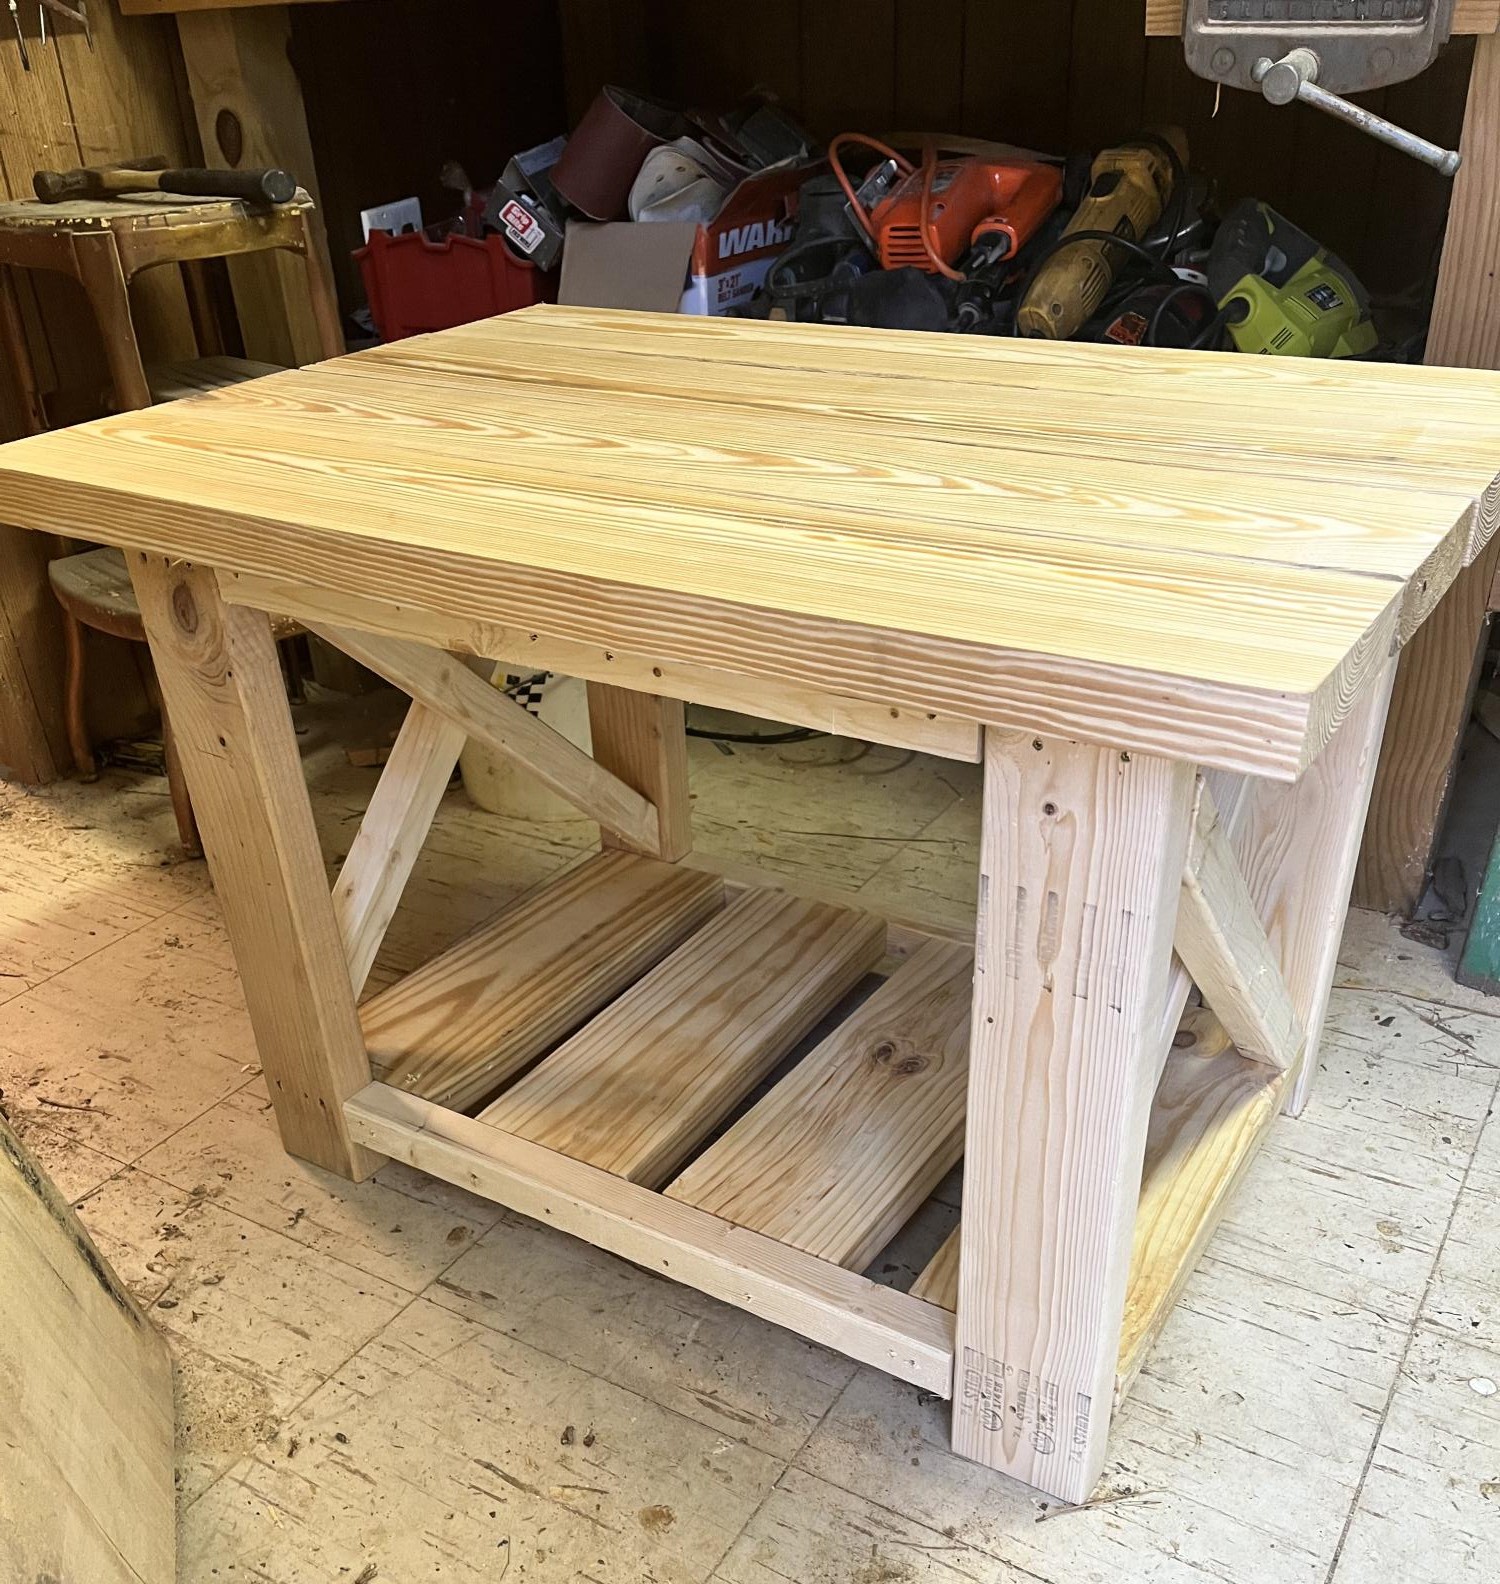
Submitted by Anonymous (not verified) on Mon, 05/22/2023 - 07:30

My father in law was a very good woodworker. He had a great shop with all the power tools anyone could want. He passed away 2 years ago and one day I went in his shop and remember thinking this woodworking could be sort of fun.
I searched the internet and came across the Ana White instructional site. Your site and instructional videos have helped me so much. The photos attached are my first attempt at furniture making. I used and modified one of your plans for this piece of furniture. It was SO helpful. Thank you for making these videos and plans available for those that are leaning this craft.

Built from Plan(s)

tryde modified coffee table

Submitted by CoreyS on Mon, 01/09/2012 - 18:16

I built this coffee table for my wife for christmas, it came out really nice. I didnt make it as wide to accomodate our living room space. the plans were really easy to follow and i had a lot of fun building this project. One thing i would recommend for this table is to get a plane of some kind to get all the planks flush with each other. For the legs i used cedar 4x4s because pine 4x4s are not available anywhere around me, that didnt matter too too much because i stained the table dark anyways. We are very happy with this table and thank you ana for such great plans to follow. now hopefully ana in her busy life will find time to post a farmhouse tallboy dresser from pottery barn to match our farmhouse bedside tables

Built from Plan(s)
Estimated Cost
$40 in lumber plus stain
Estimated Time Investment
Weekend Project (10-20 Hours)
Finish Used
chocolate coloured stain by varathane then used two coats of semigloss poly
Recommended Skill Level
Beginner