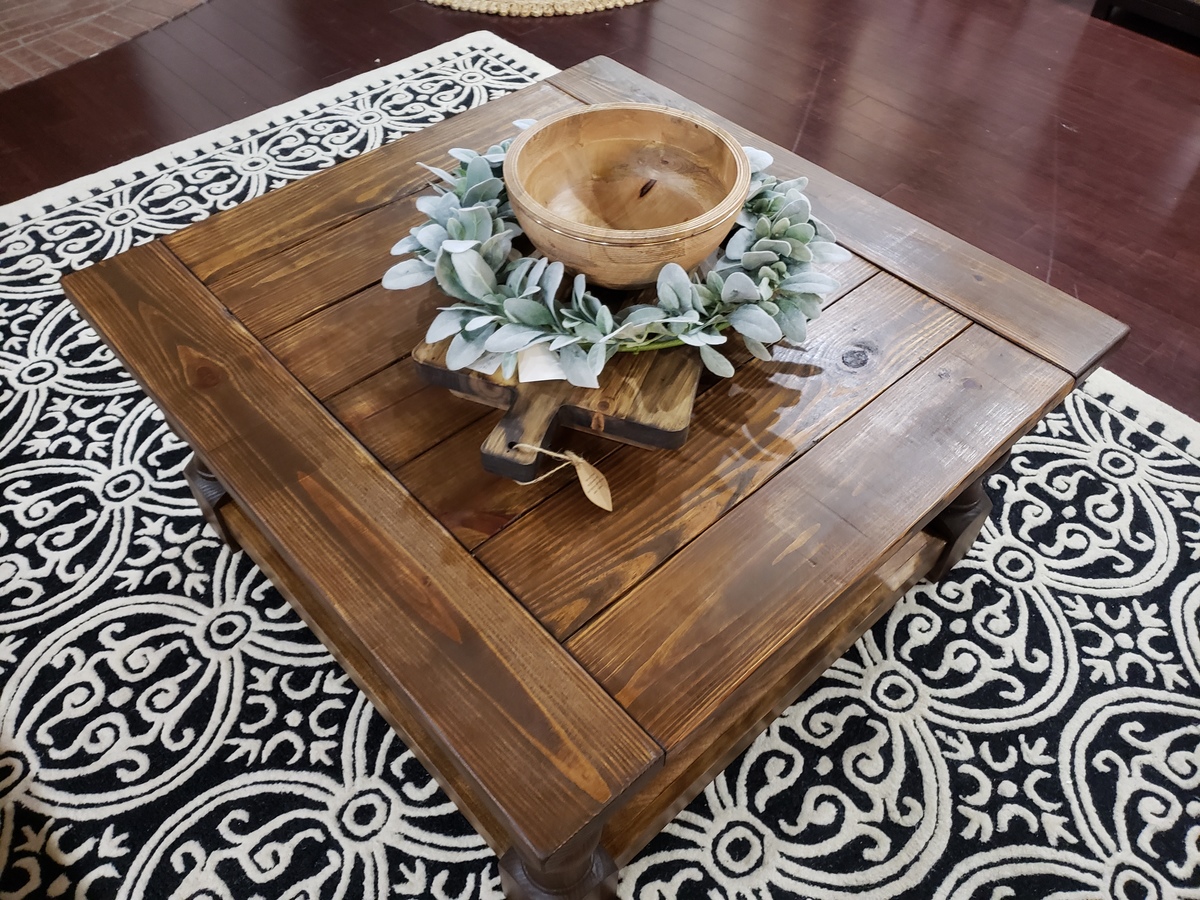
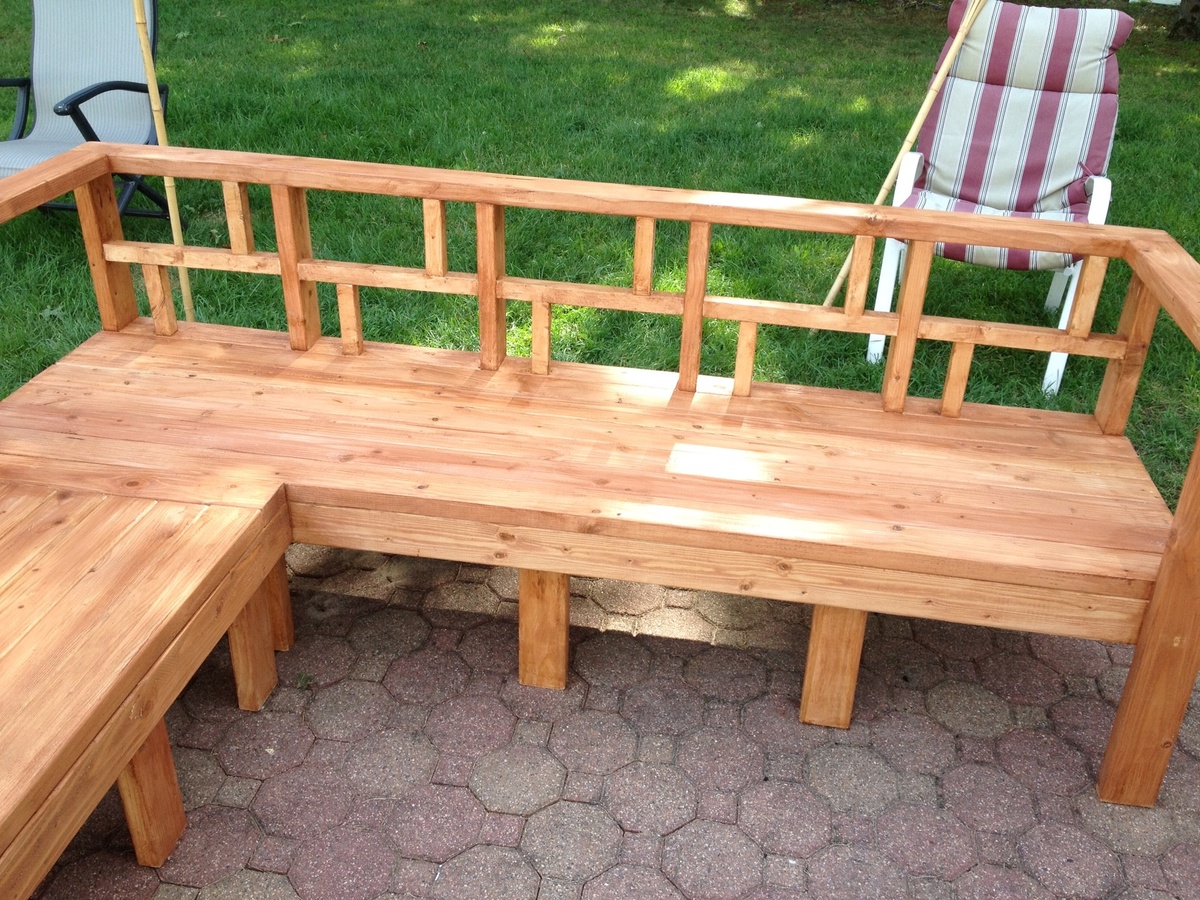
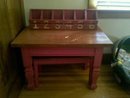
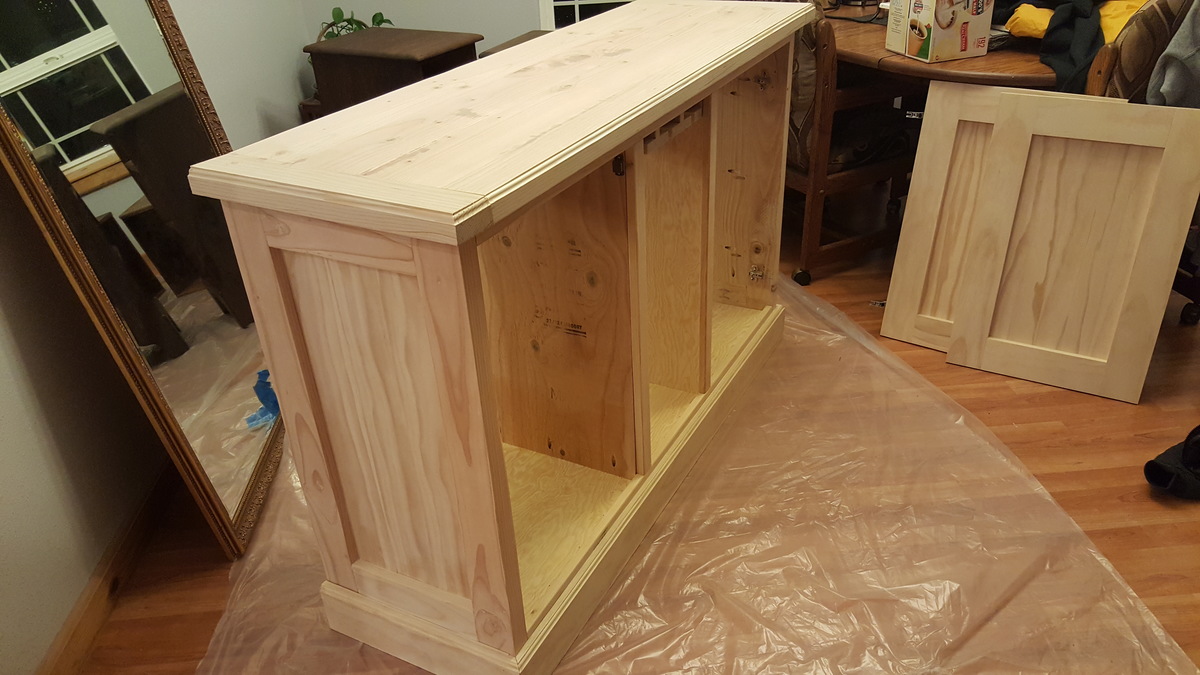
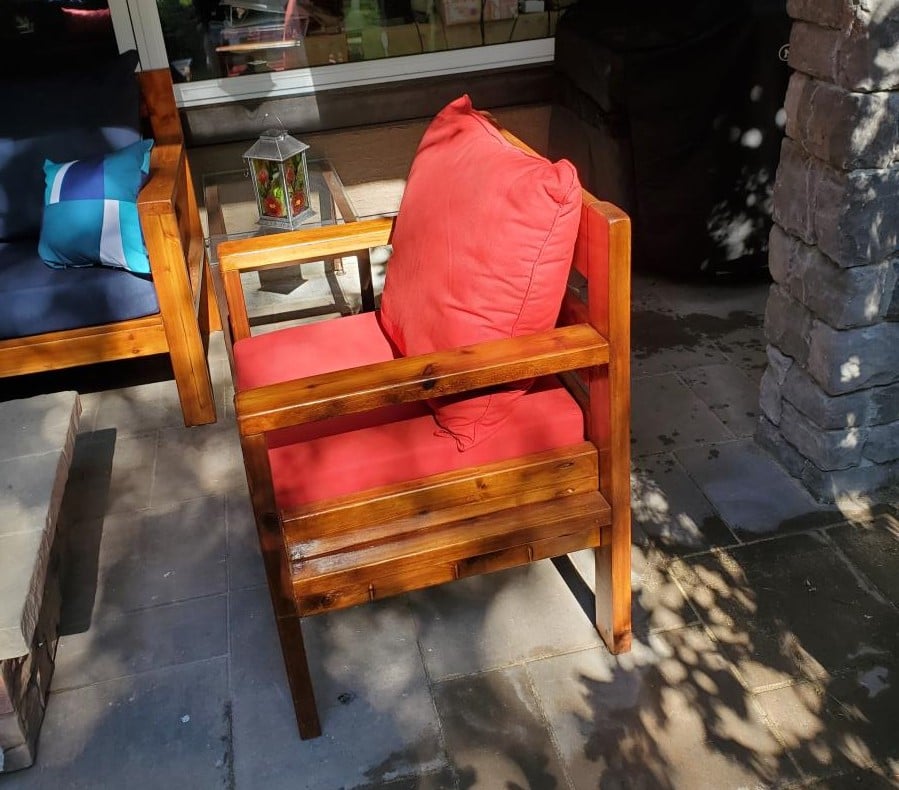
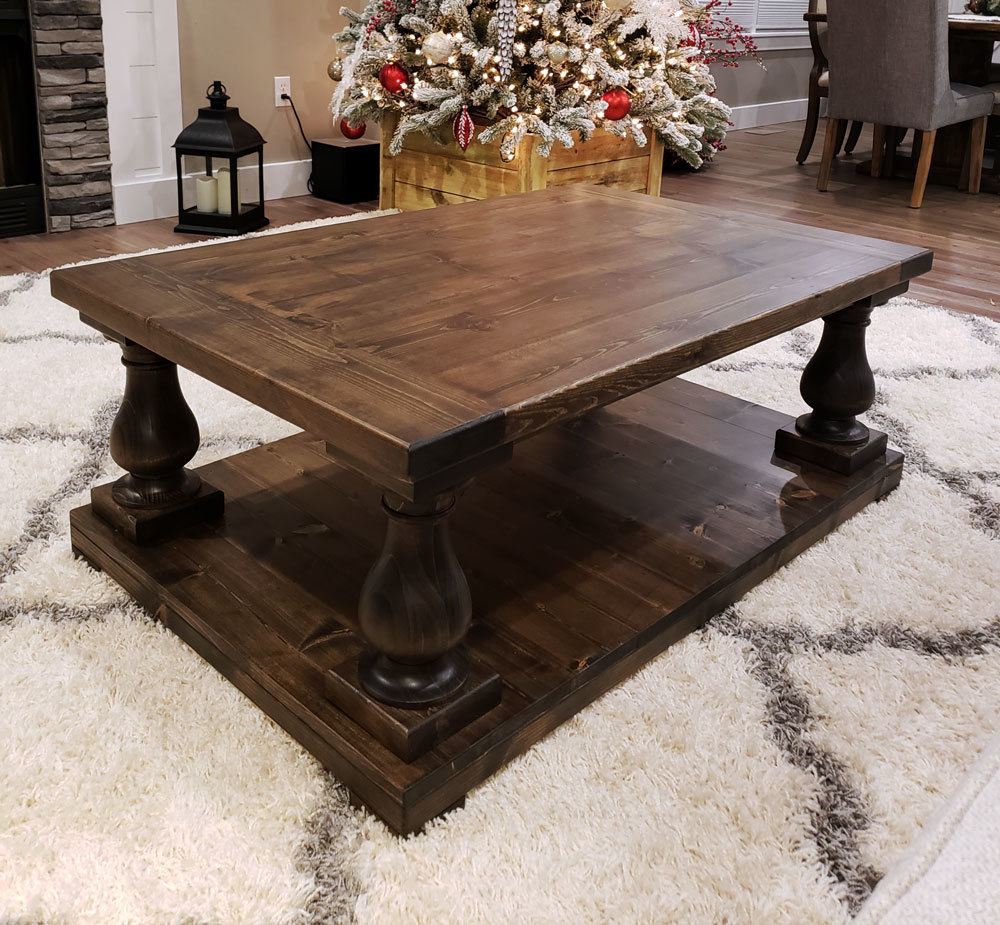
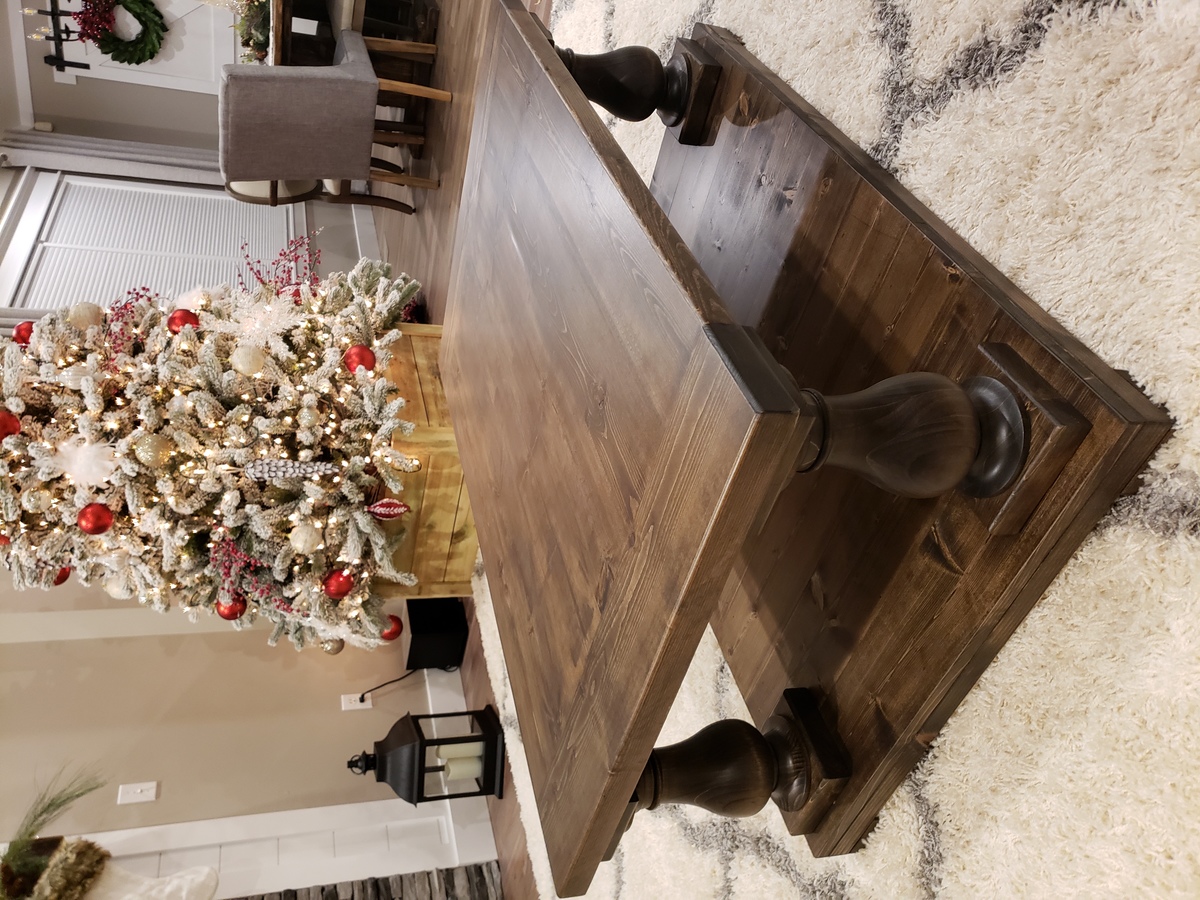
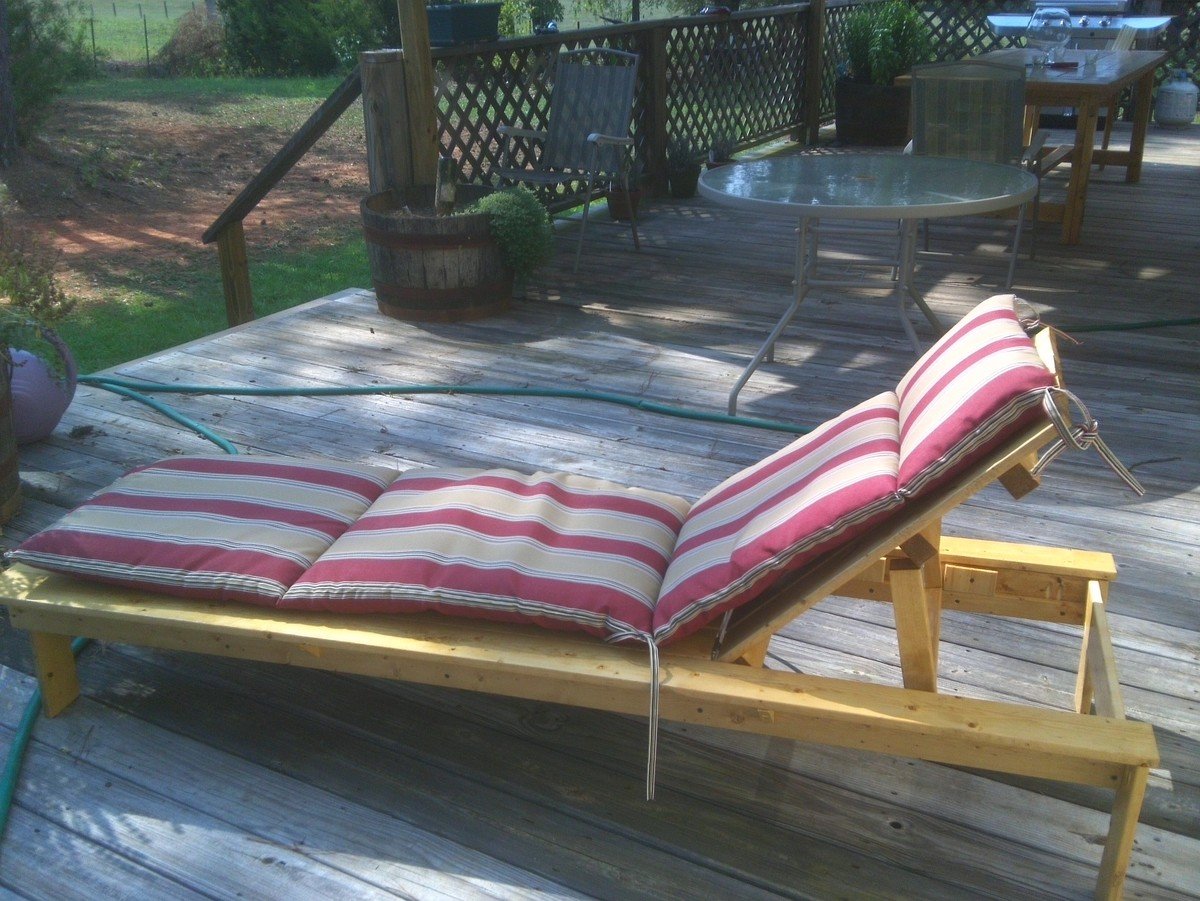
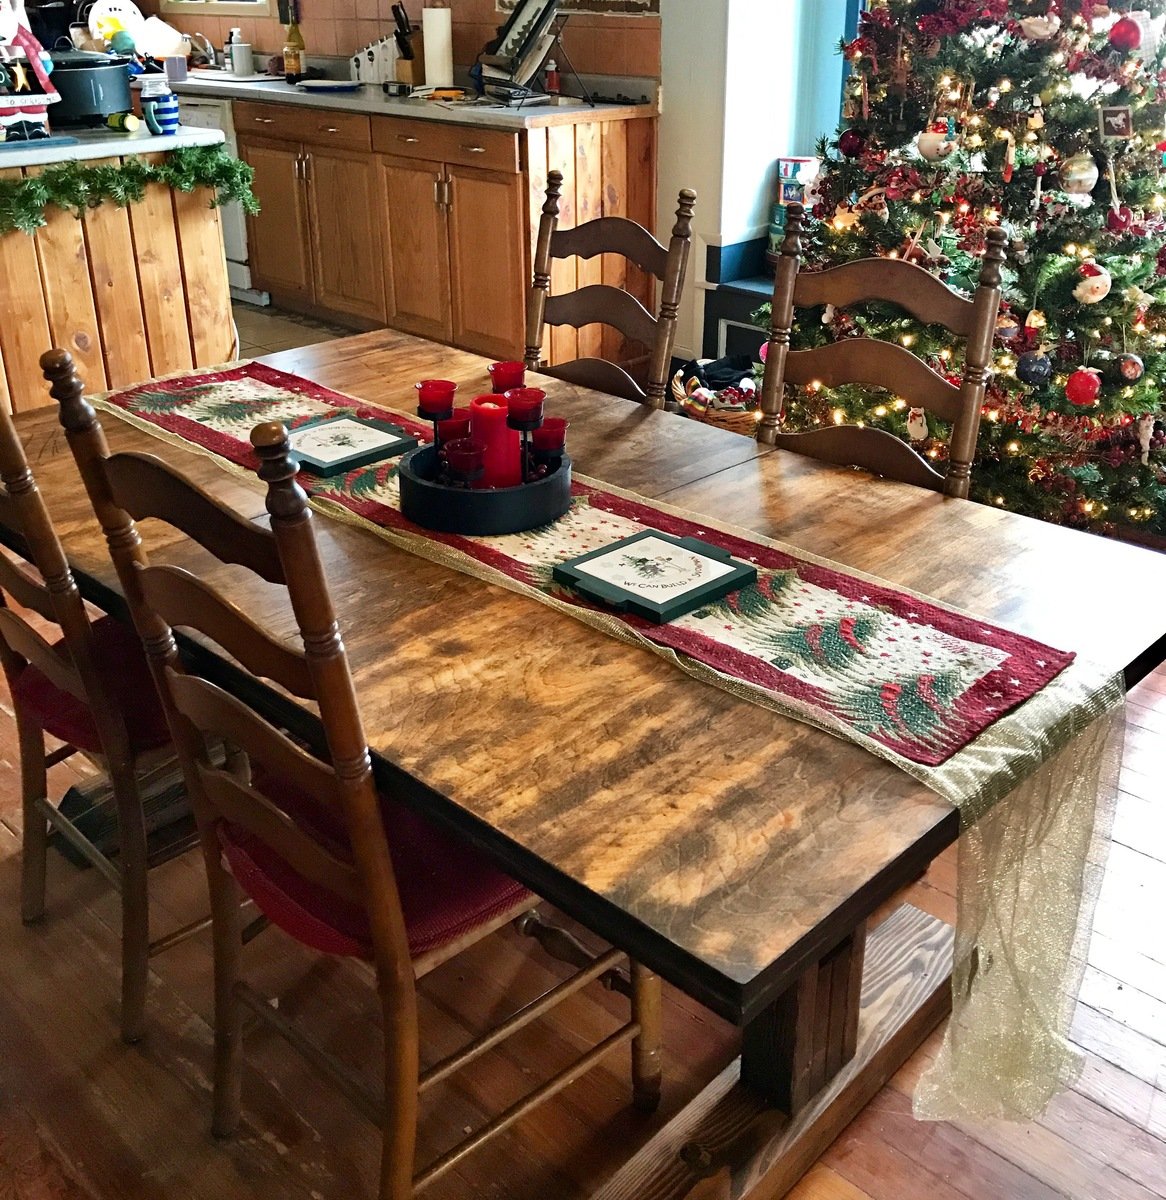
Turned Leg Coffee Table
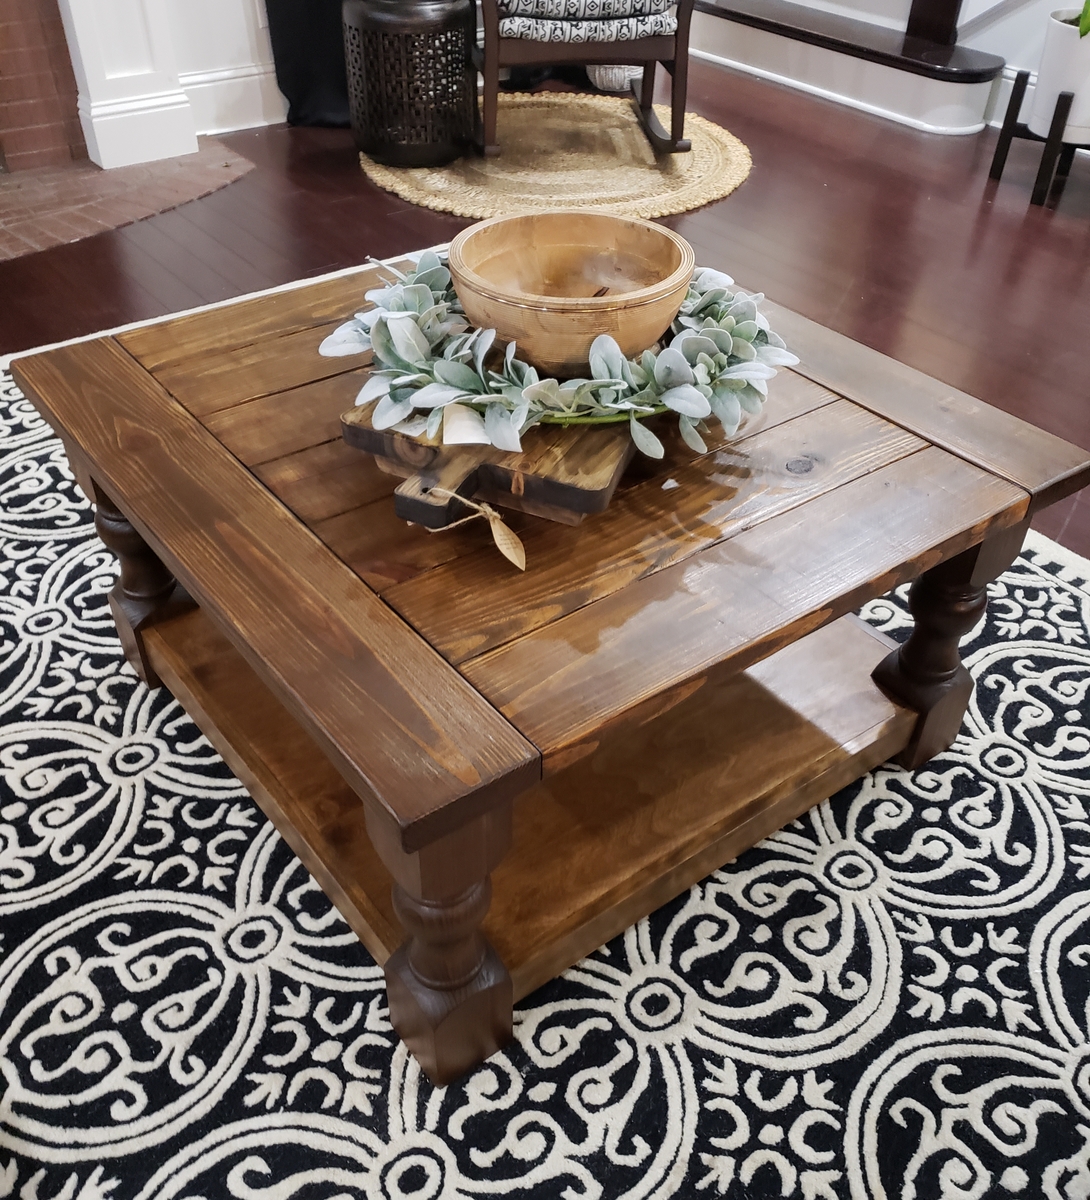
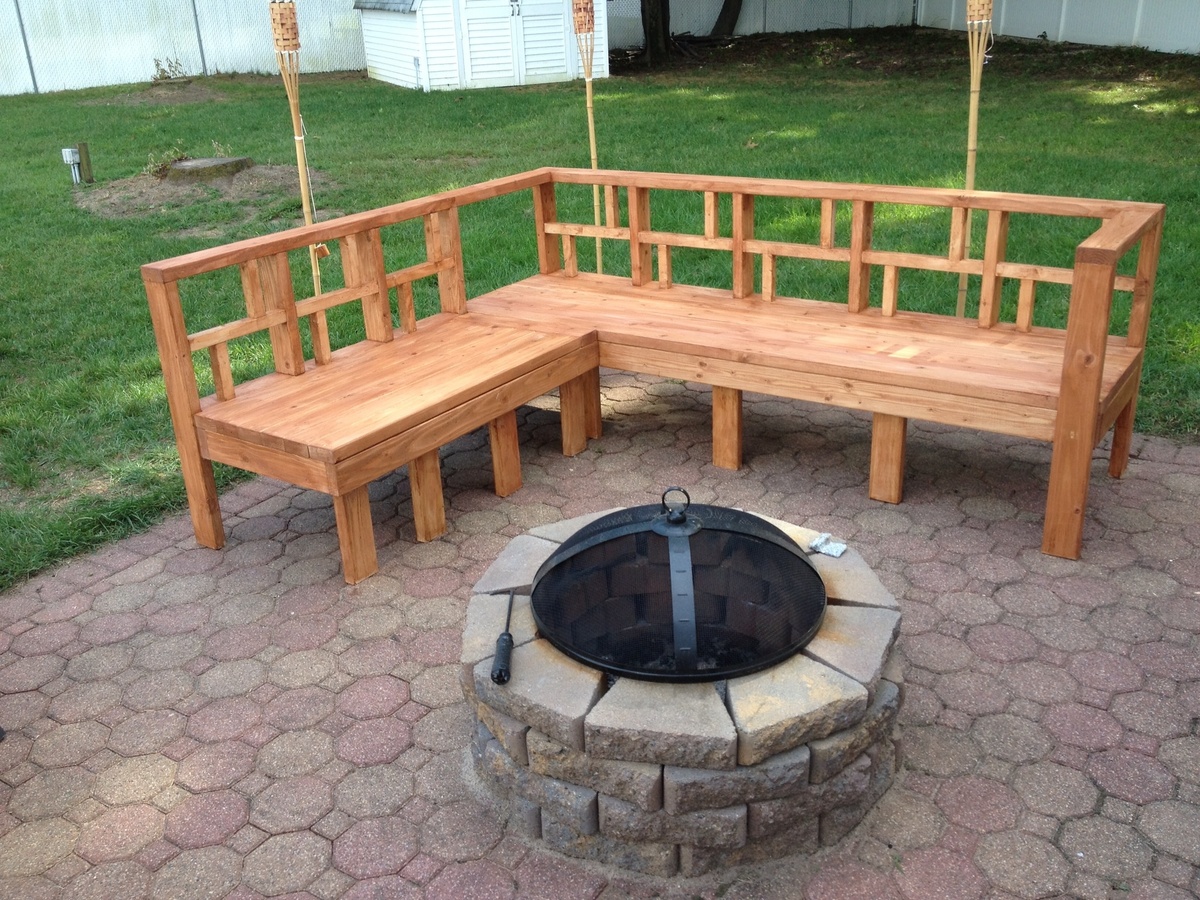
Turned leg coffee table from pine. I also built matching end tables (shown in another post). :)
Built from Plan(s)
Estimated Cost
200
Estimated Time Investment
Day Project (6-9 Hours)
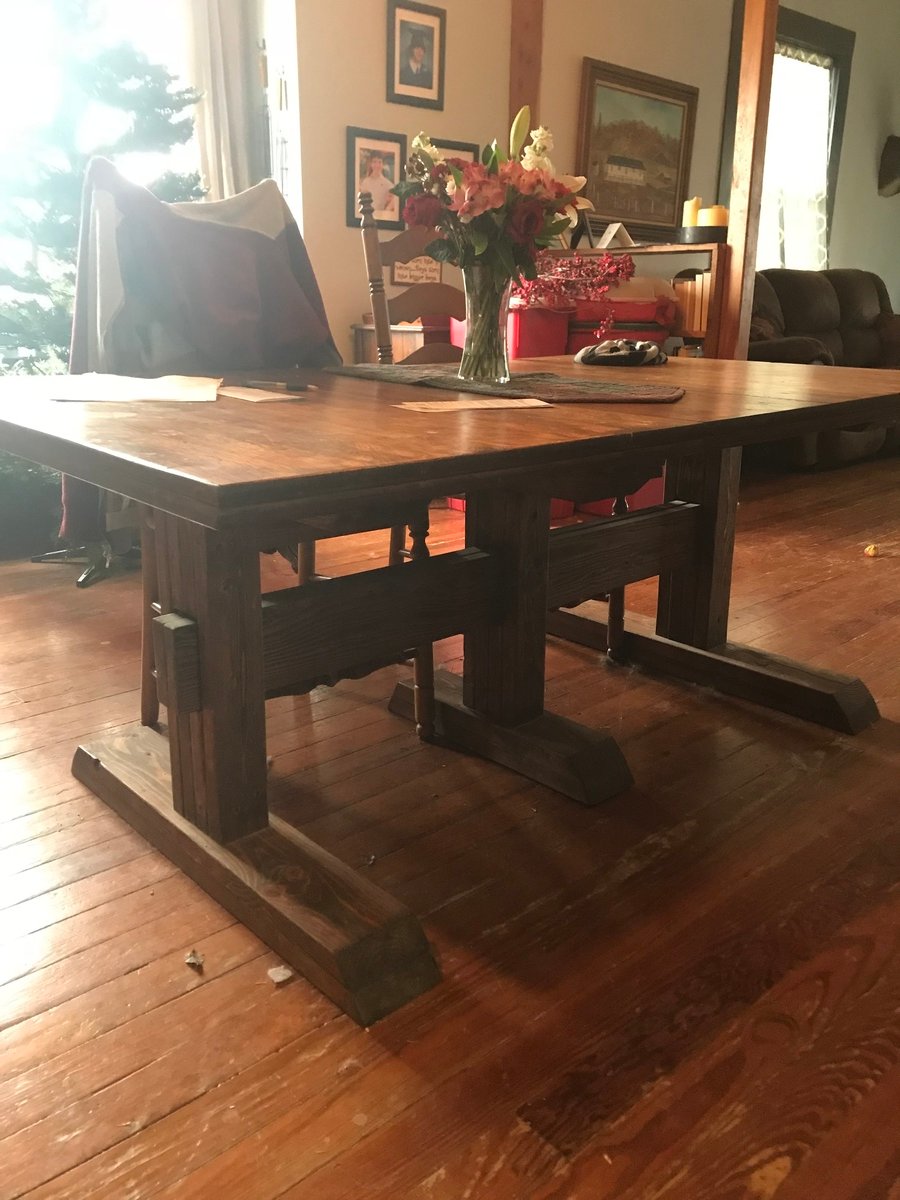
Finish Used
I coat rustoleum dark walnut. Sand lightly. 1 coat old English varathane.
Recommended Skill Level
Intermediate


Comments
Ana White
Wed, 12/26/2018 - 13:47
This is gorgeous!!! LOVE!
This is gorgeous!!! LOVE! Thanks so much for bragging.
kwildman
Sat, 12/29/2018 - 05:56
Thank you! I had stained it
Thank you! I had stained it with varathane dark walnut and I wasn't happy with the color. I sanded lightly and went back over with the golden oak that I had from another project. I love how it warmed up.
Brian Famous
Thu, 12/27/2018 - 09:04
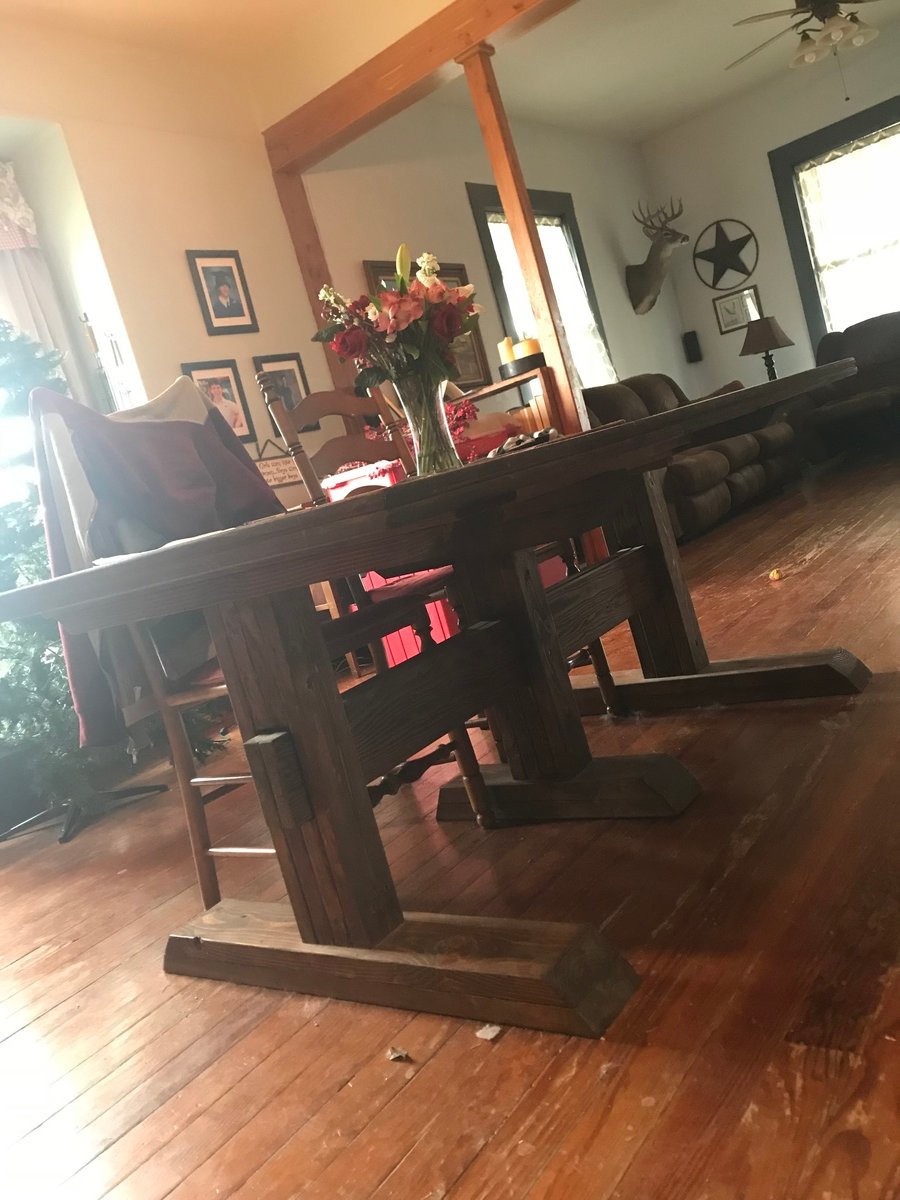
Turned legs
Did you turn the legs yourself, or order them from somewhere? They look great, as does the entire piece.
kwildman
Sat, 12/29/2018 - 05:54
Thank you so much! I ordered
Thank you so much! I ordered the legs from Osborne Wood products. They are the Shanty legs.
In reply to Thank you so much! I ordered by kwildman
Brian Famous
Sat, 12/29/2018 - 06:10
Thanks.
I'm actually familiar with Osborne, I basically drove past them going from ATL to CLT this week... They do have some nice legs at a good price.
kwildman
Wed, 01/02/2019 - 10:13
Yes if you click on the plan,
Yes if you click on the plan, there is a link to the exact legs from Osborne.
ciara5545
Thu, 01/03/2019 - 22:25
This is amazing!
Really spectacular piece. Looks like it cost 10x as much.
kwildman
Mon, 01/07/2019 - 09:15
Thank you! That is so sweet.
Thank you! That is so sweet. I am very happy with it. :)