Daughter loves it!
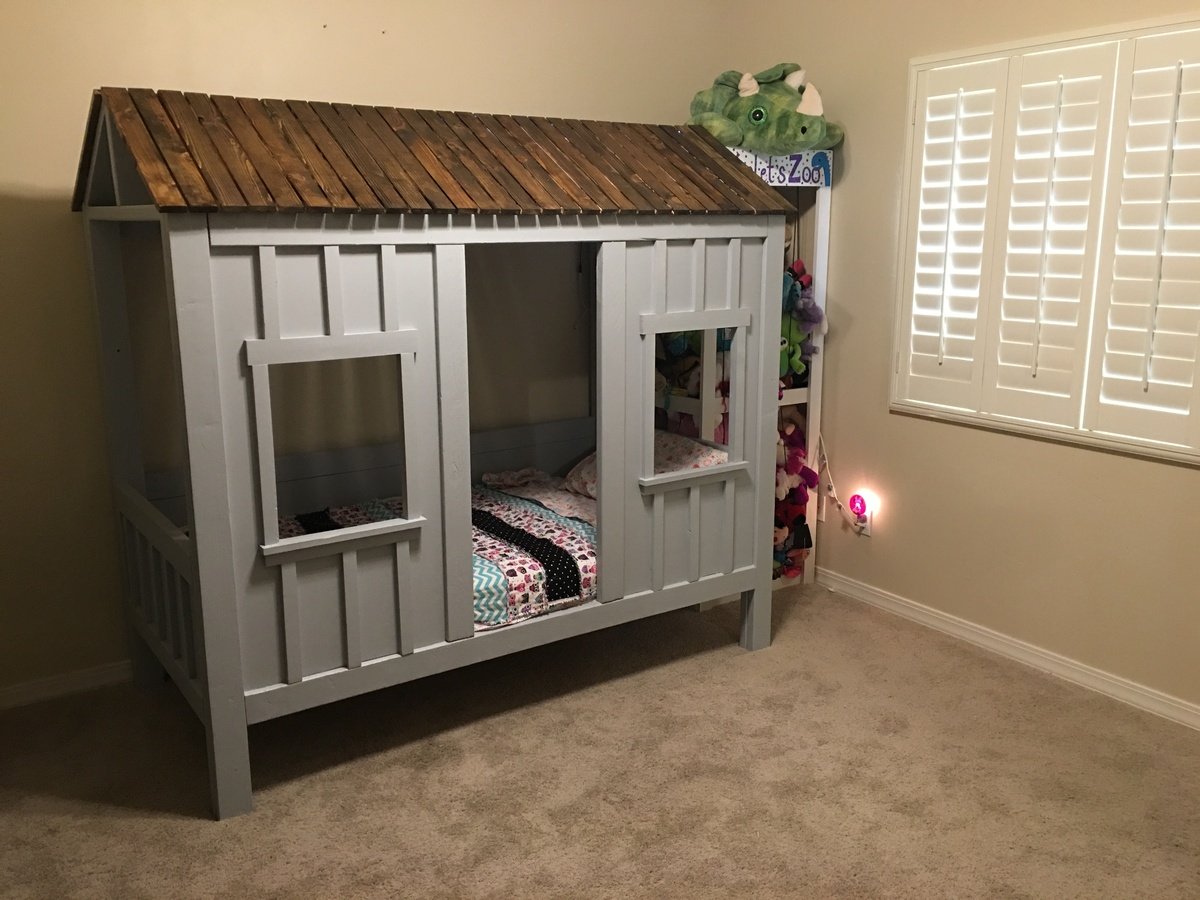
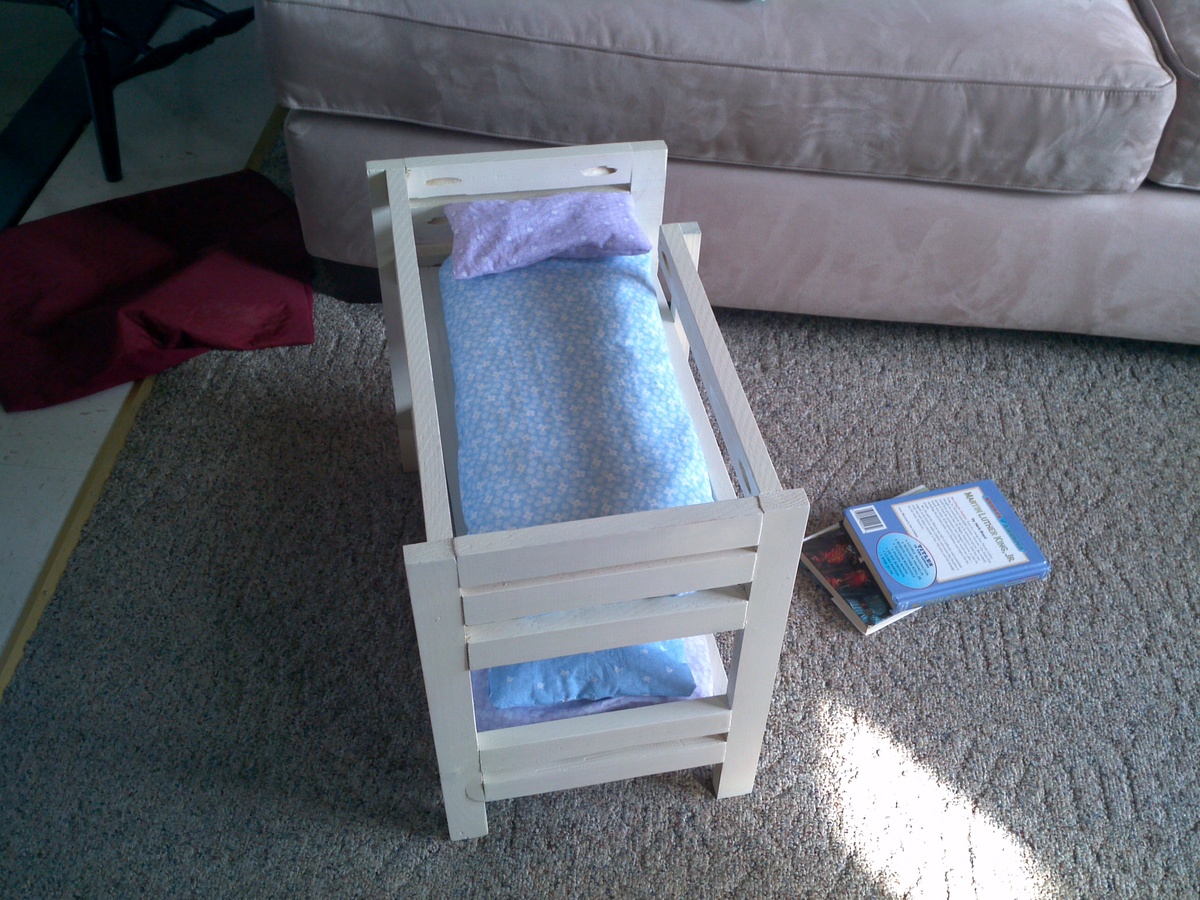
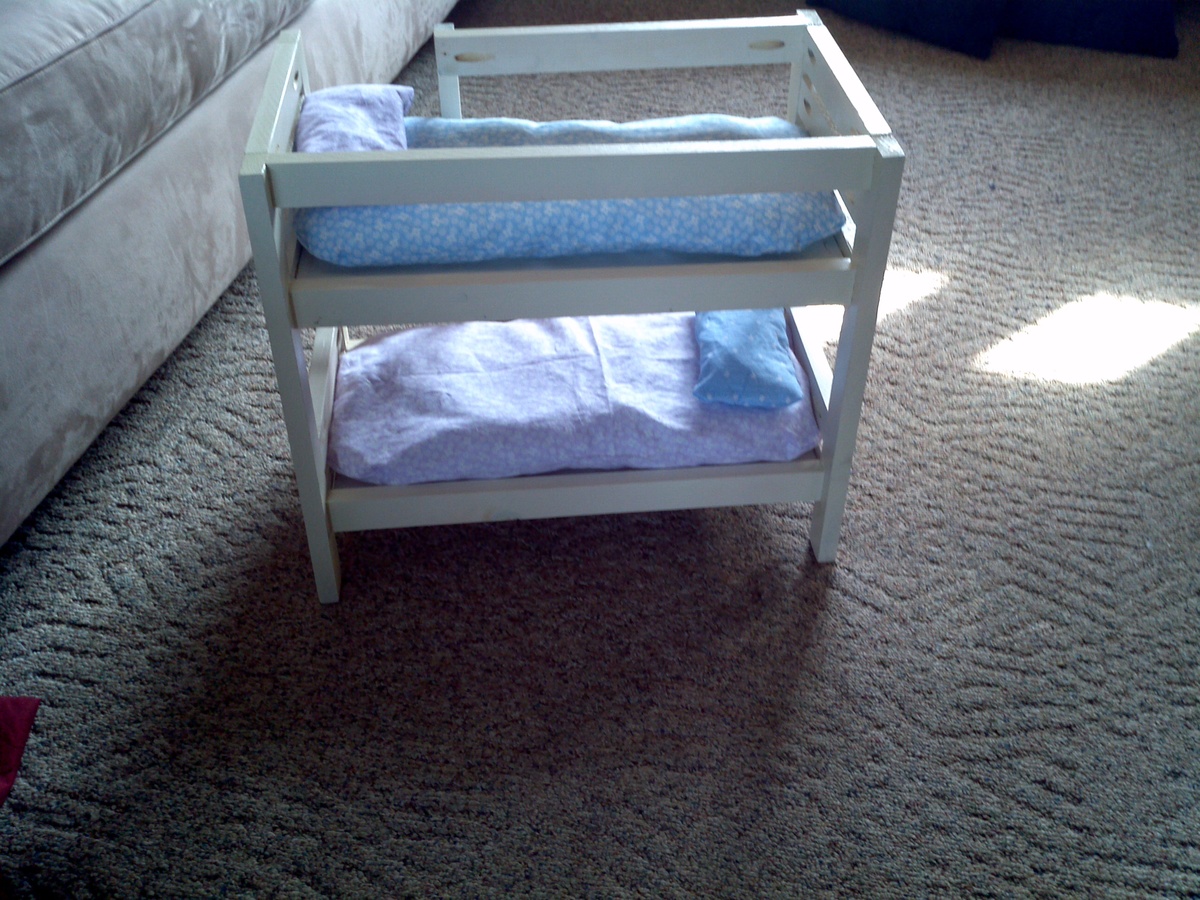
Thank you so much for these plans! 2 weeks worth of nap time building and my daughter has an awesome new bed!

Thank you so much for these plans! 2 weeks worth of nap time building and my daughter has an awesome new bed!
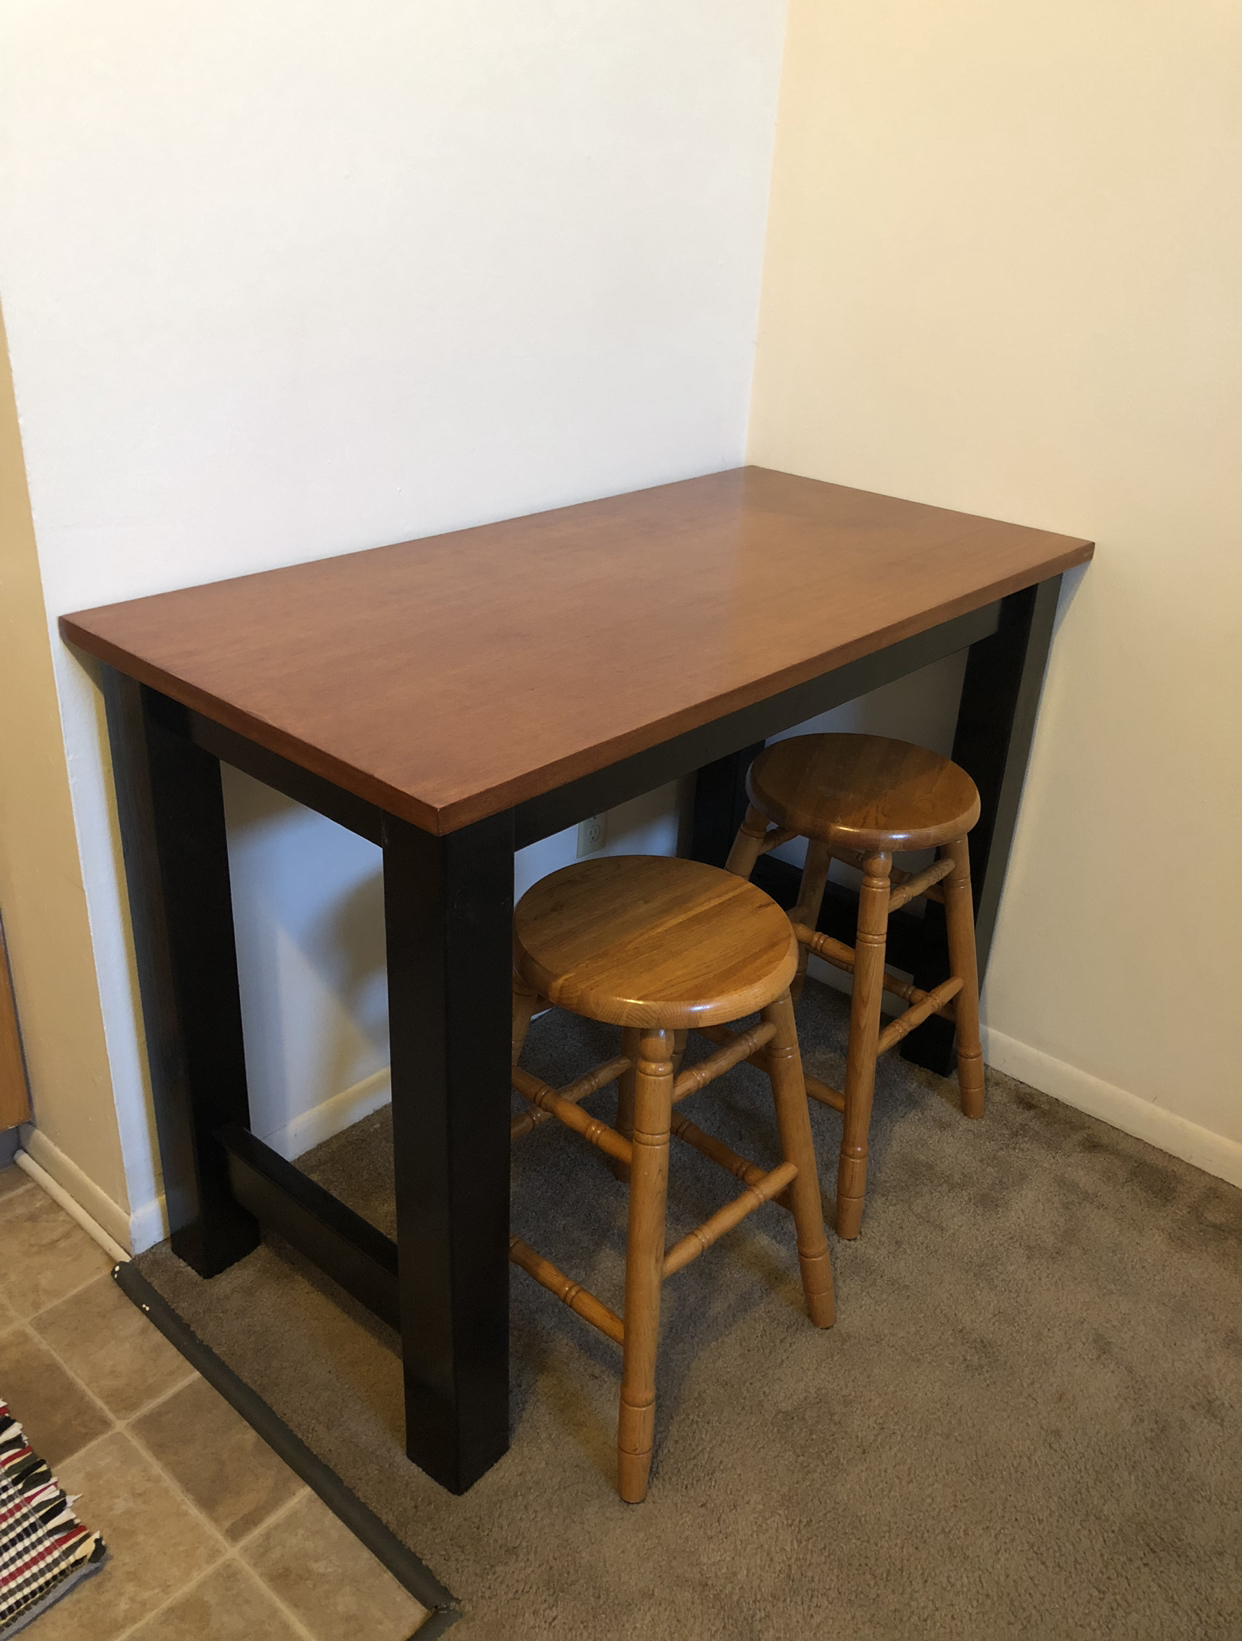
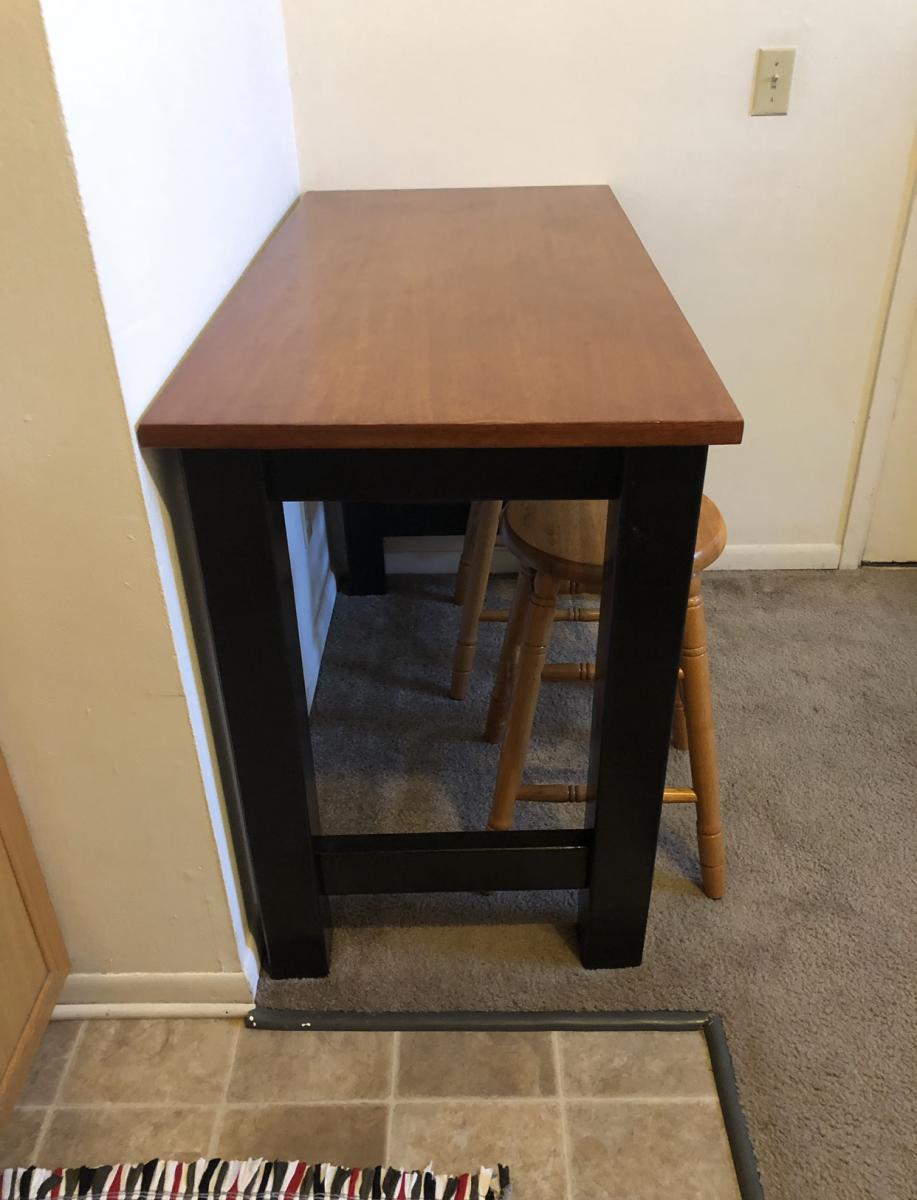
Our son was moving into his first college apartment. The dining area is small and he thought a breakfast bar would be perfect in this spot. We built the base using Ana’s Counter Height Farmhouse Table for Four plans. We modified the plans to to fit the table top - which was originally the top of a desk. We purchased the desk at our local Habitat Restore. We planed to use the base of the desk for another project- so using the top for this breakfast bar was perfect! The breakfast bar was a perfect fit!
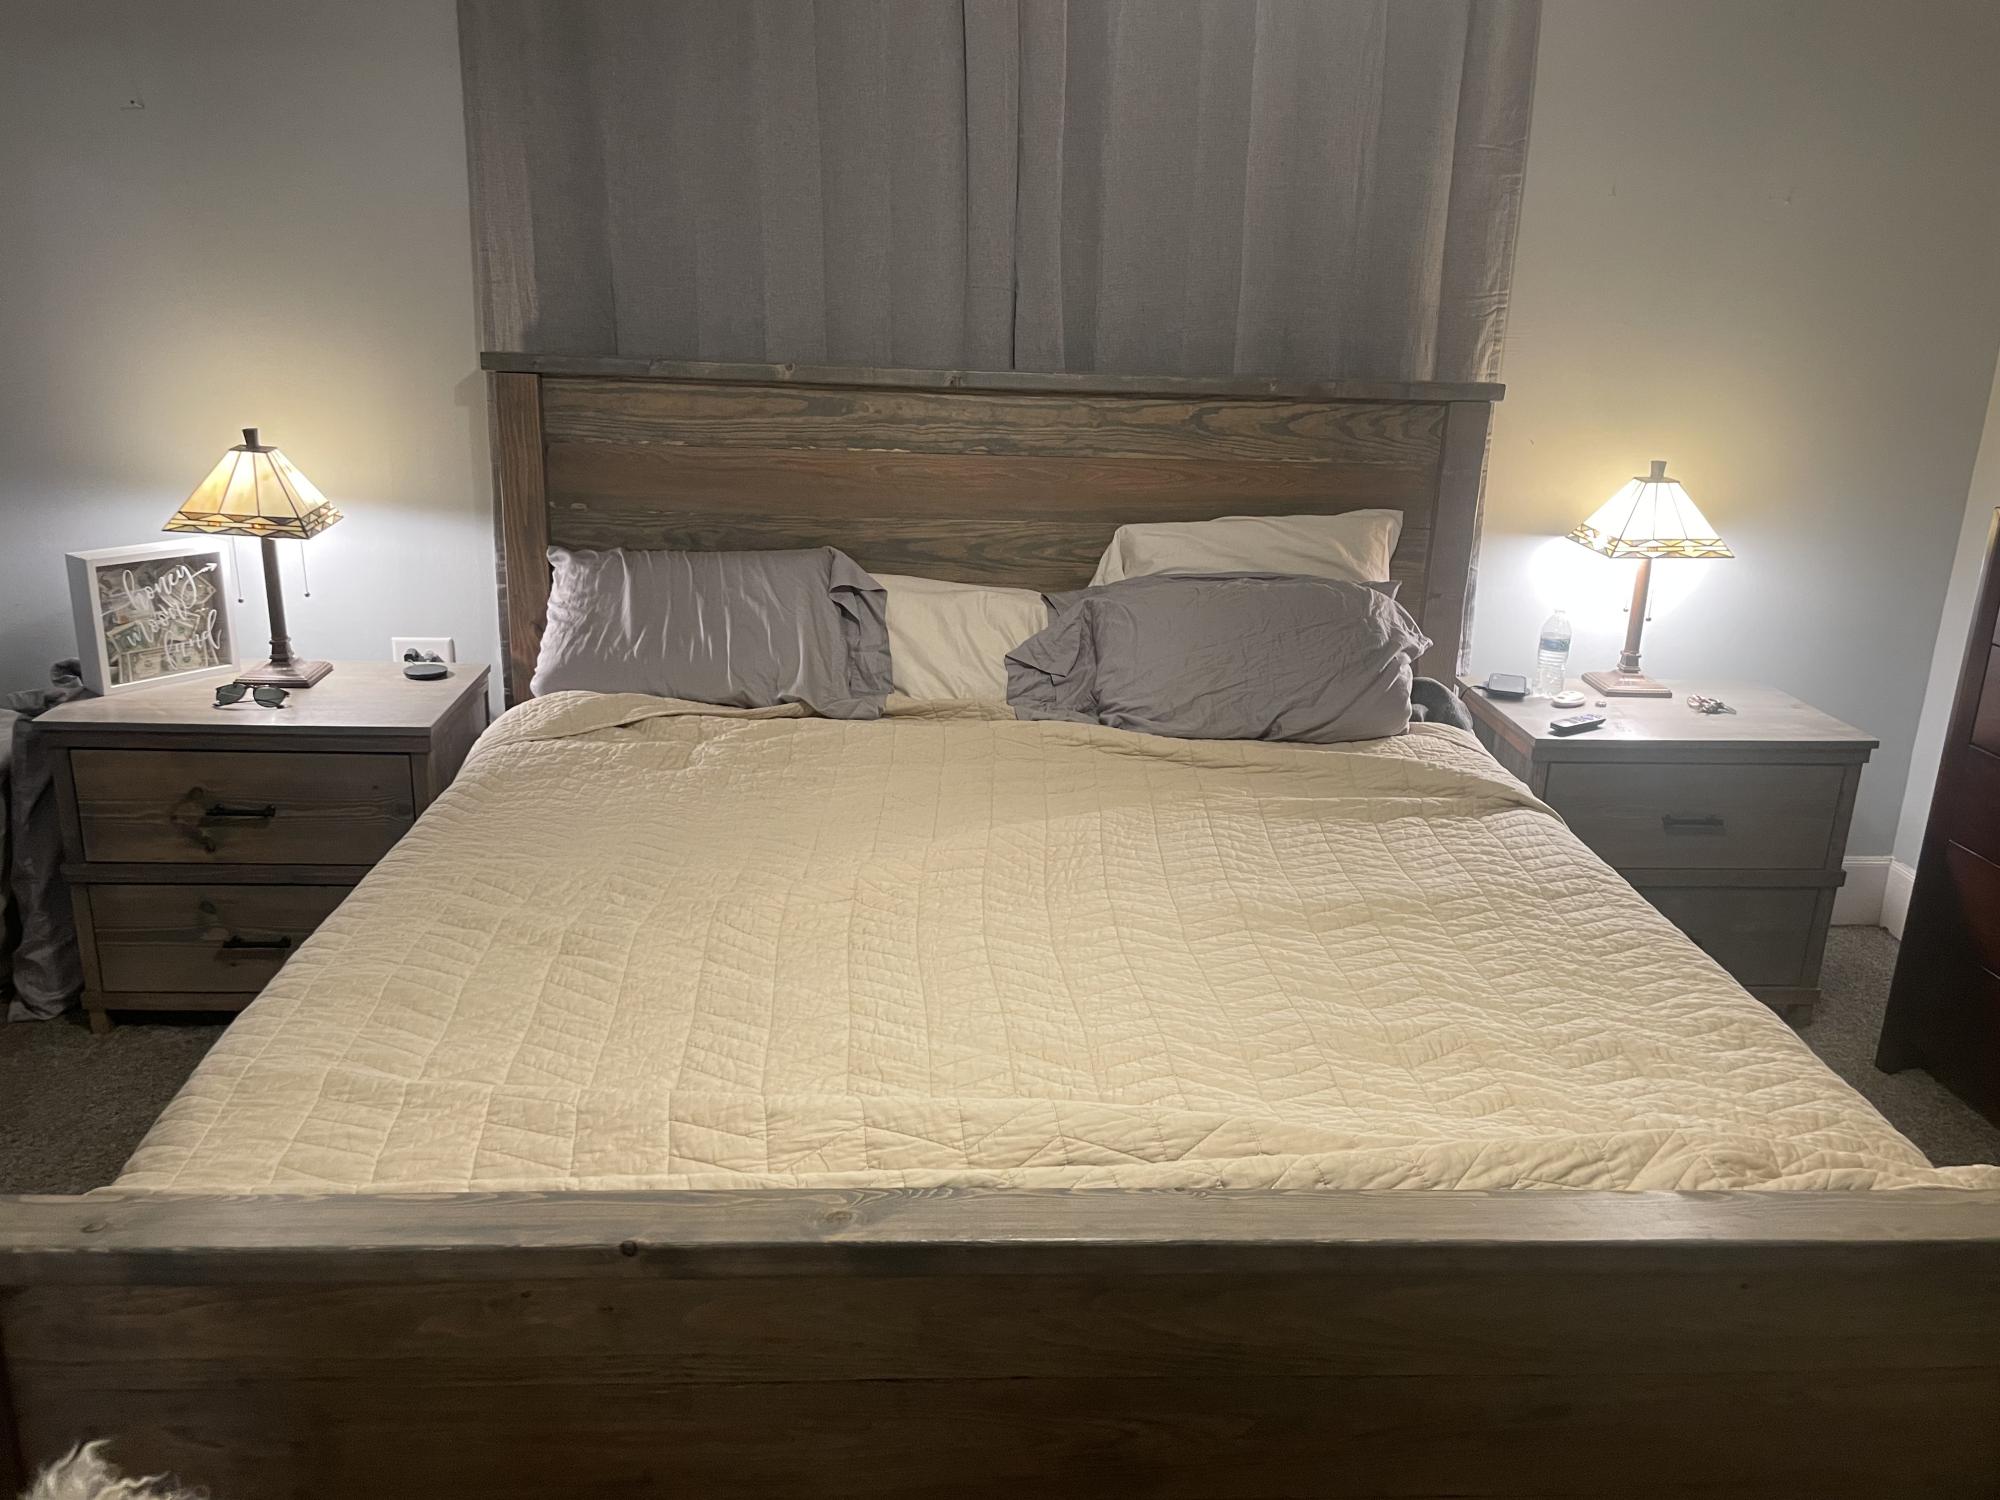
Fun and rewarding projects to finish. Took me way too long to finish, but 2 sever TBIs will do that to a person. Made a few modifications to the original King and nightstand plans but worked out fine. Thanks for these plans Ana!
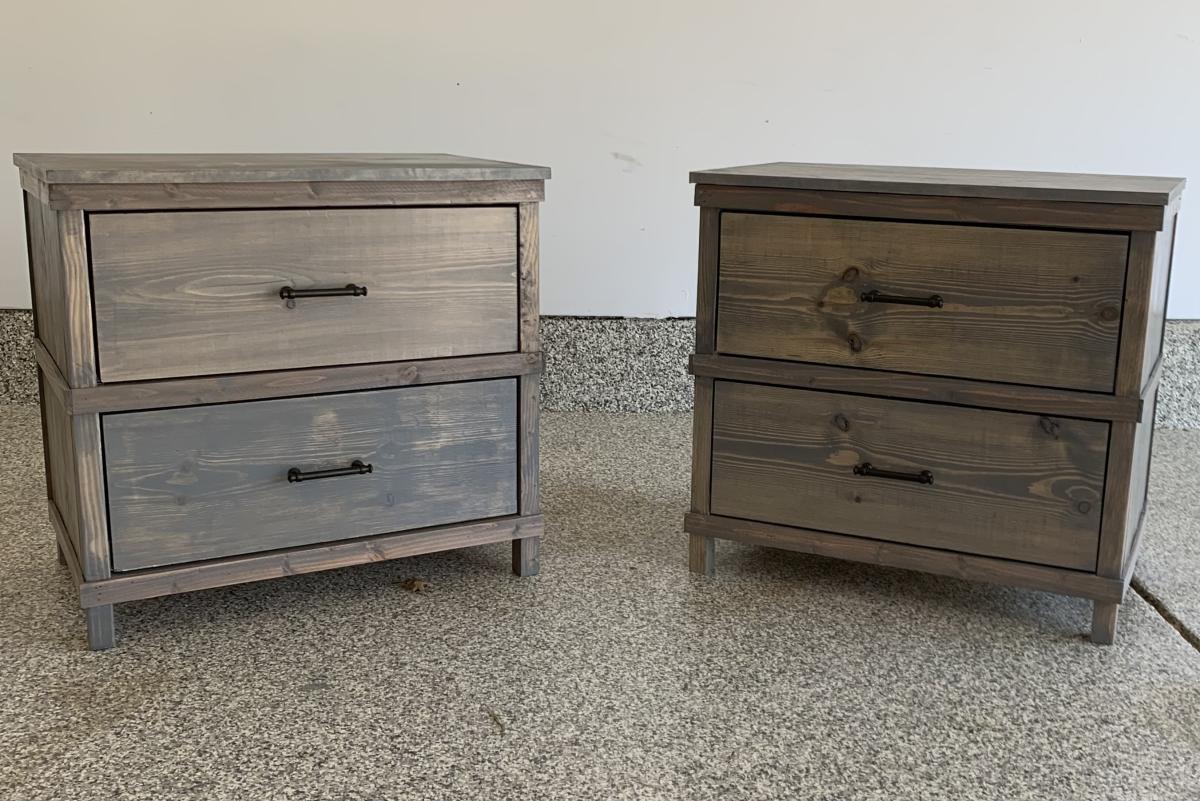
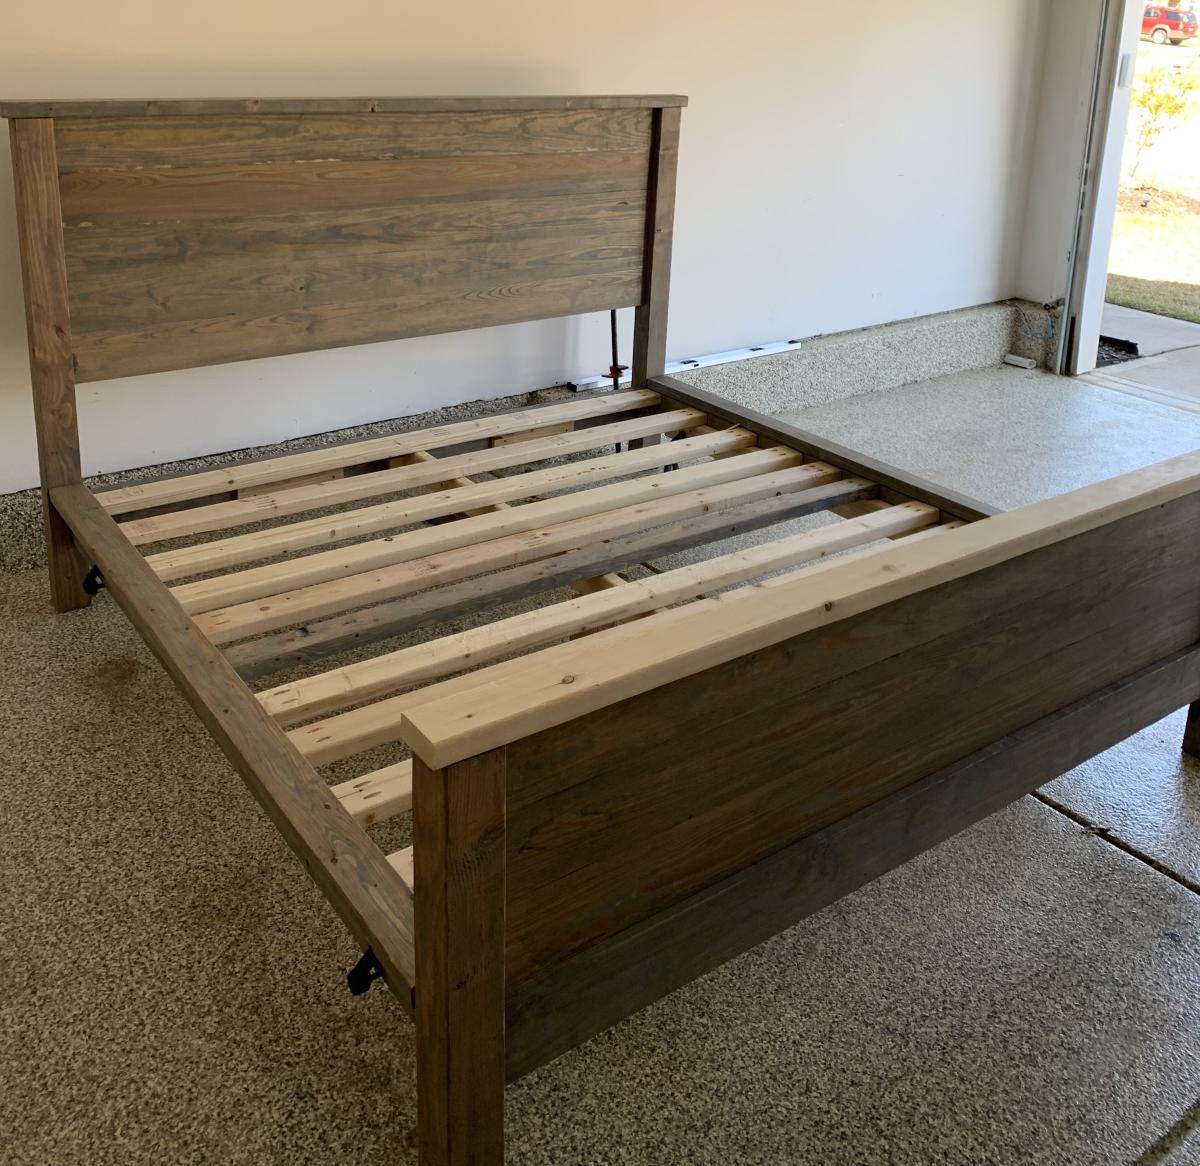
Sat, 05/06/2023 - 21:13
WOW, this is so beautiful, love your finish choice! Thank you for sharing.
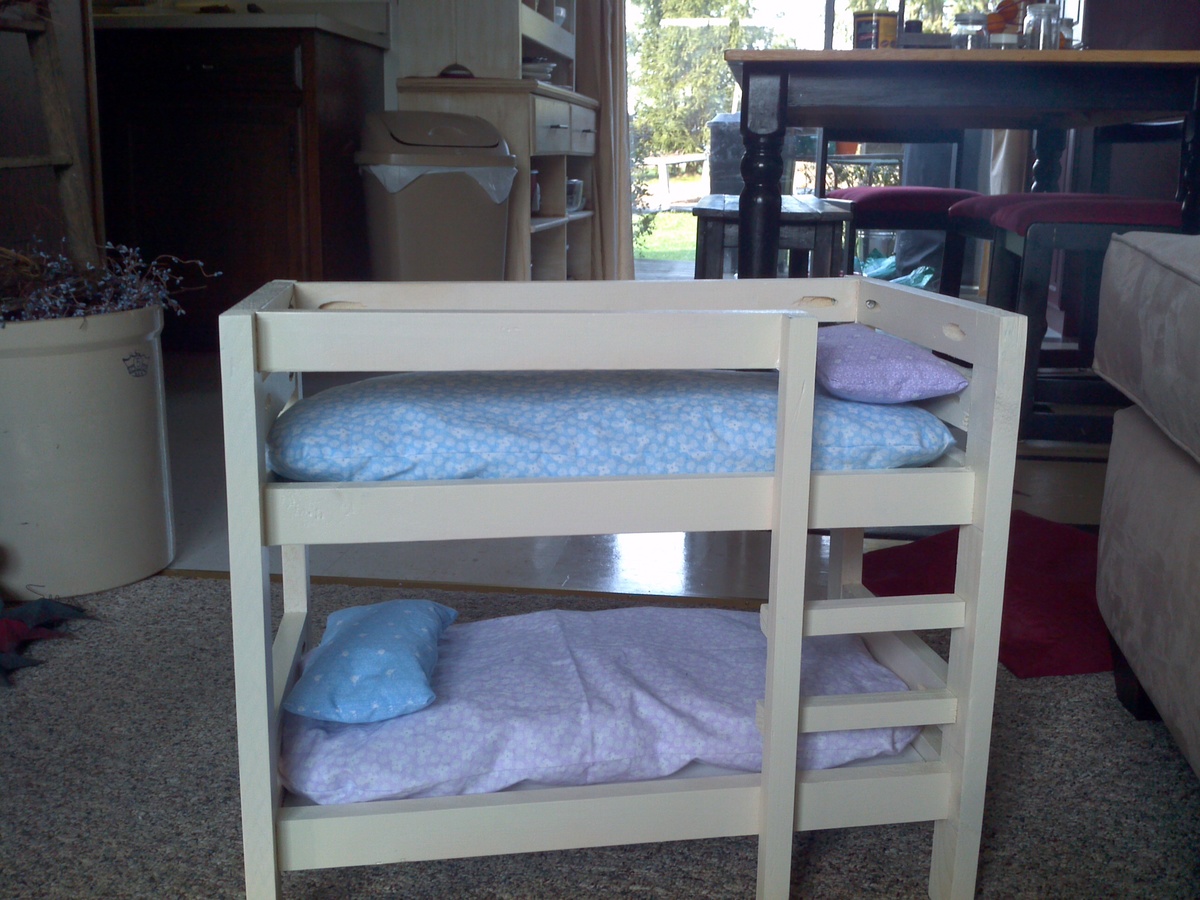
I saw this plan and wished I knew some little girls who needed this bunkbed! Two weeks later, my neighbors little girls came over with two of their Christmas gifts - American Girl dolls! I went out the next day to buy the supplies and now have it finished to give to them after school this afternoon!
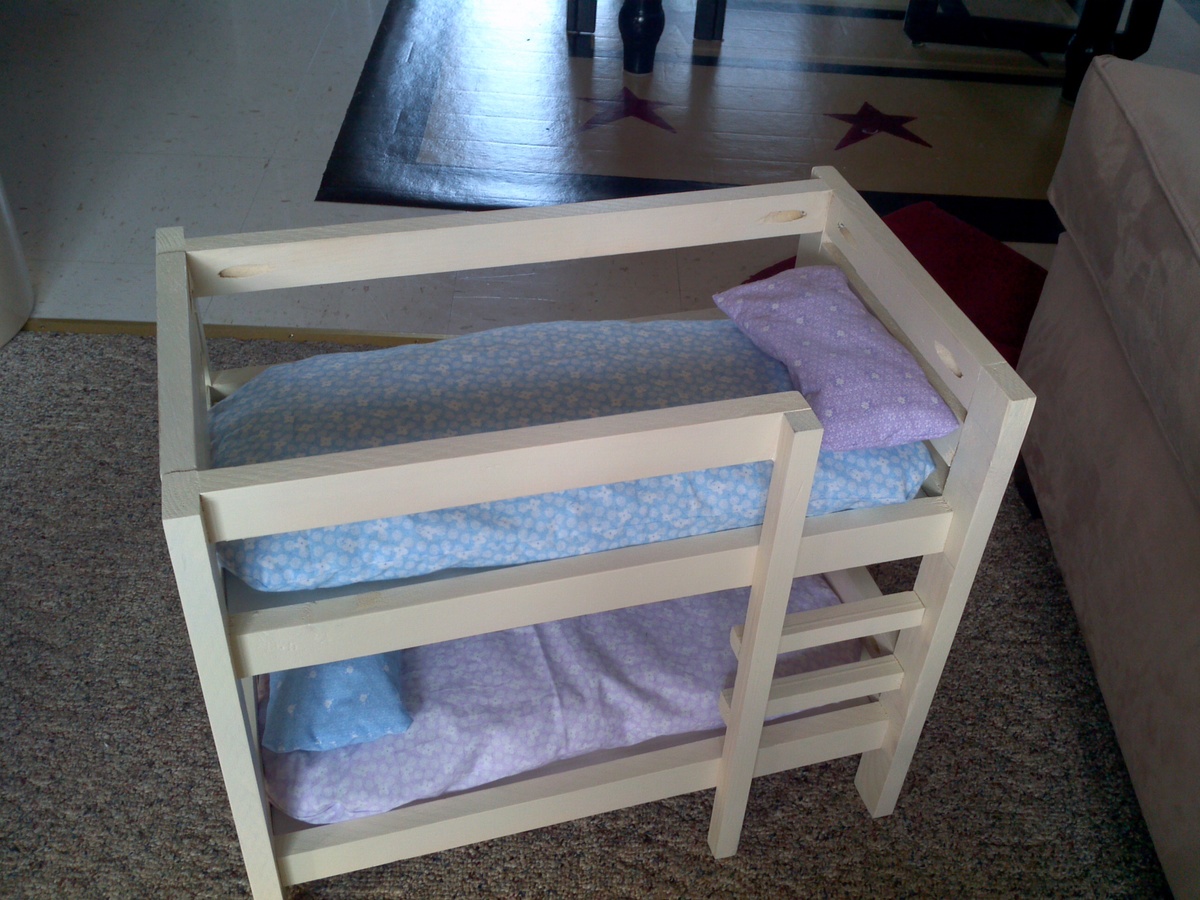
Thu, 01/05/2012 - 16:27
These are soo cute! However I have looked high and low for the 1x1 square trim, all I have found are the 1x1 4 footers for around $4 each! Is this what everyone is using? I dont have a table saw! and our lowes nor Home Depot would wanna rip wood so small!
Thu, 01/05/2012 - 16:35
Yes - unfortuanely that's what I had to do. That's why the final cost came to $20. I tried to come up with another stair tread idea but ended up just buying the 1 x 1's. If you don't mind the look of round and square rungs, you could consider using a round dowel. They're much cheaper than square and can be found at Walmart for less than $1.
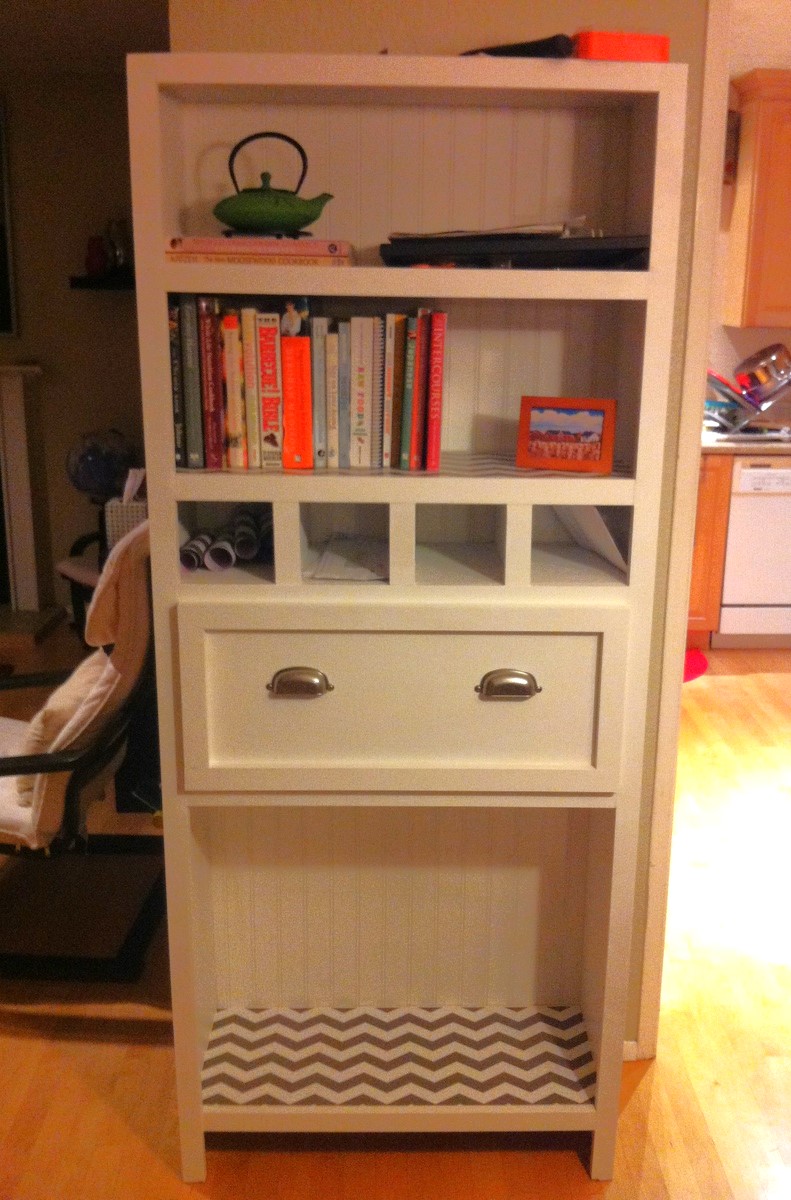
I had so much fun building this project. It came together really easily, and added the perfect touch to our dining room to make it feel nice and homey. I have since added the cabinet doors to the bottom shelf... more pictures to come.
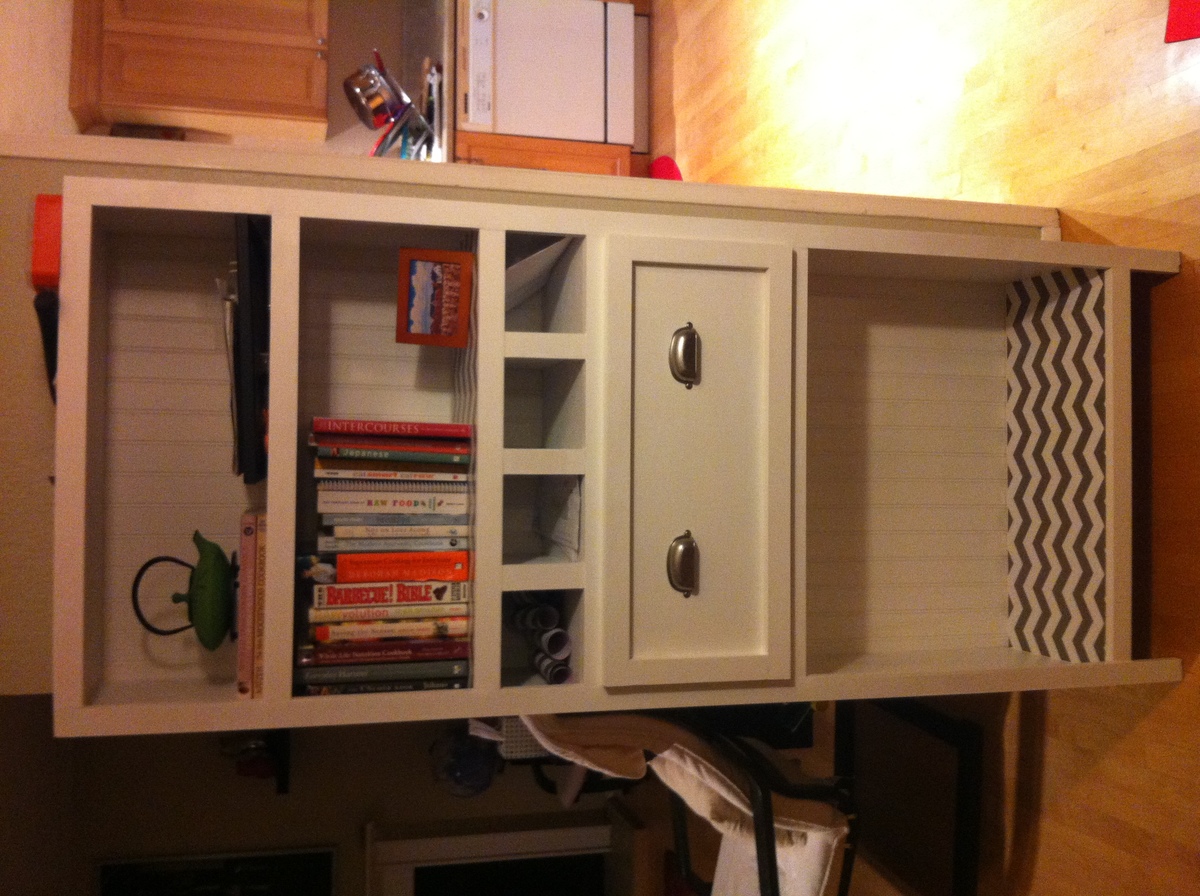

We Recently moved into a new house and this project was a great break from the regular work on the house. The instructions were great and easy to follow. The 2 x 6s on the sides makes it hard to use carriage bolts though I settled for lag screws. Can't wait to do my next project.
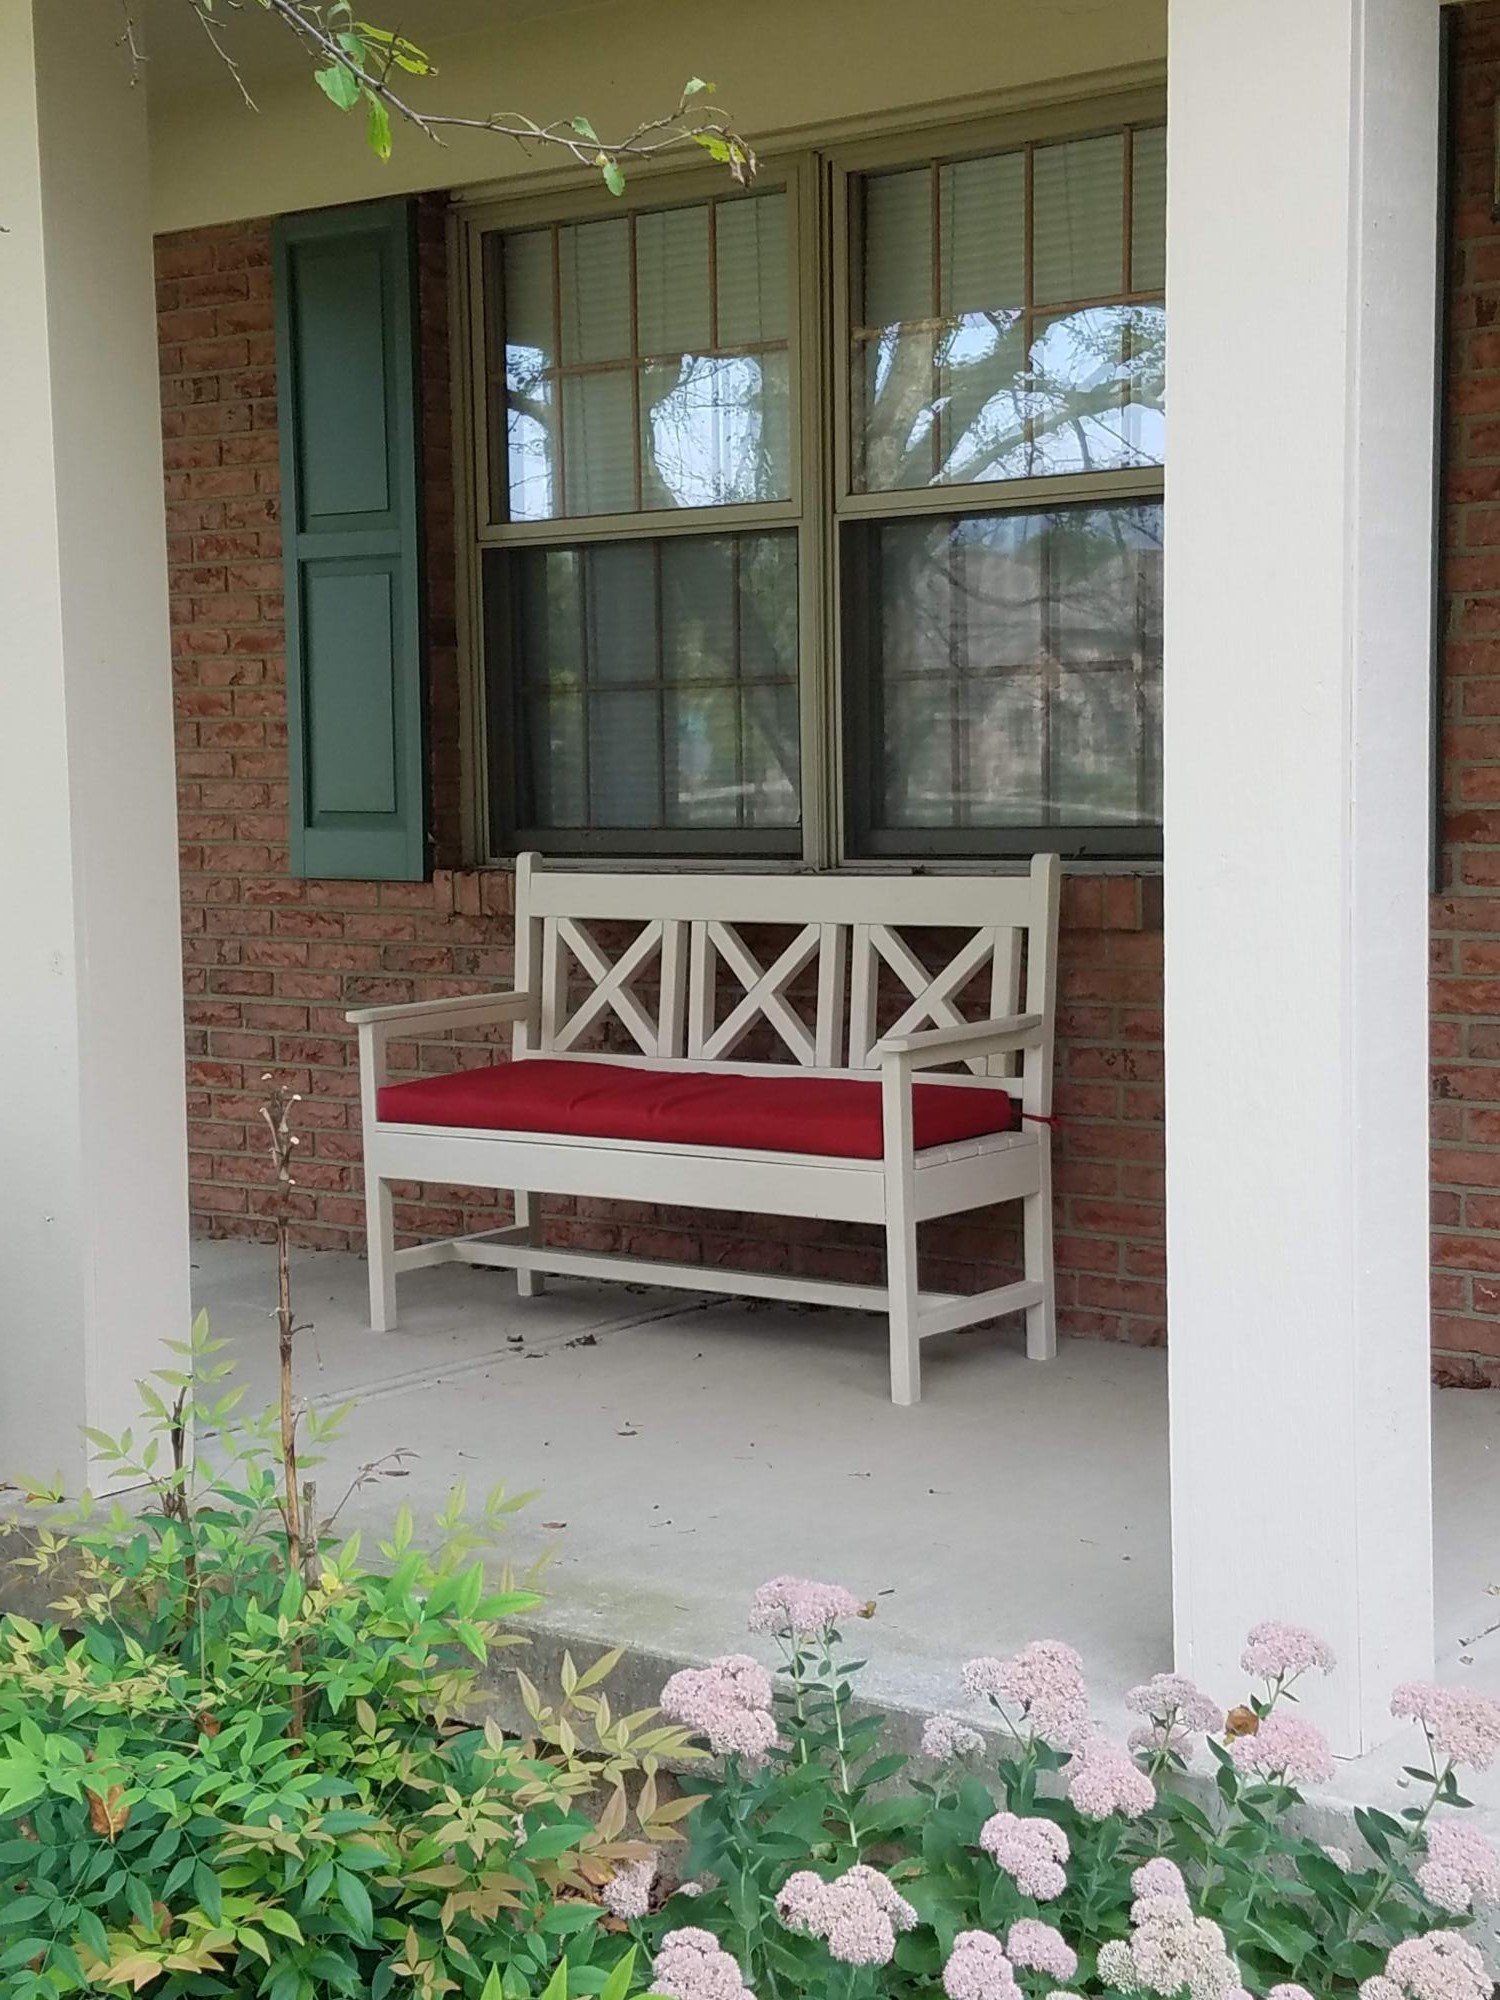
A version of the woven back bench, resize to fit a standard cushion, painted to match the house trim.
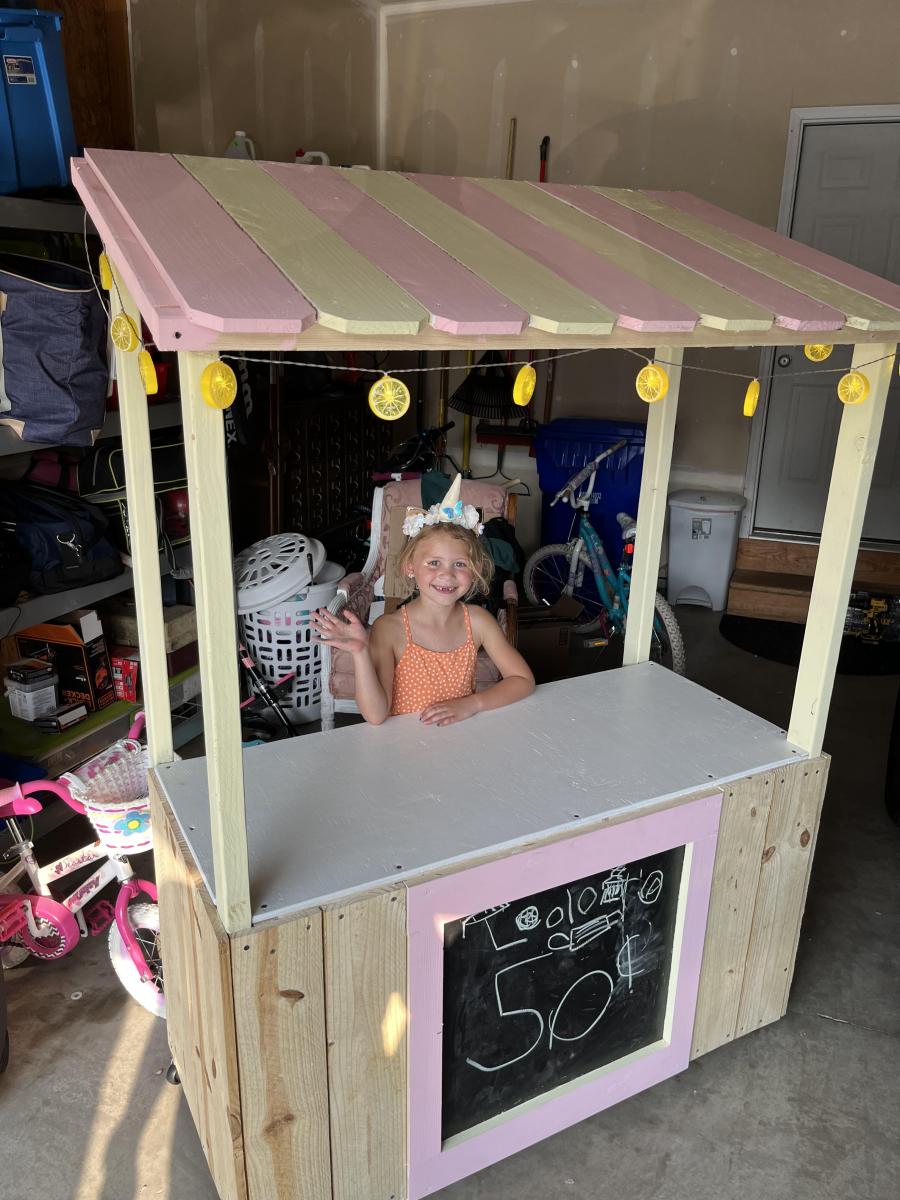
DIY lemonade stand with awning
After our basement remodel I decided we needed some storage for our growing collection of of toys.
This project went together much more quickly than I expected. I am so happy with the results.
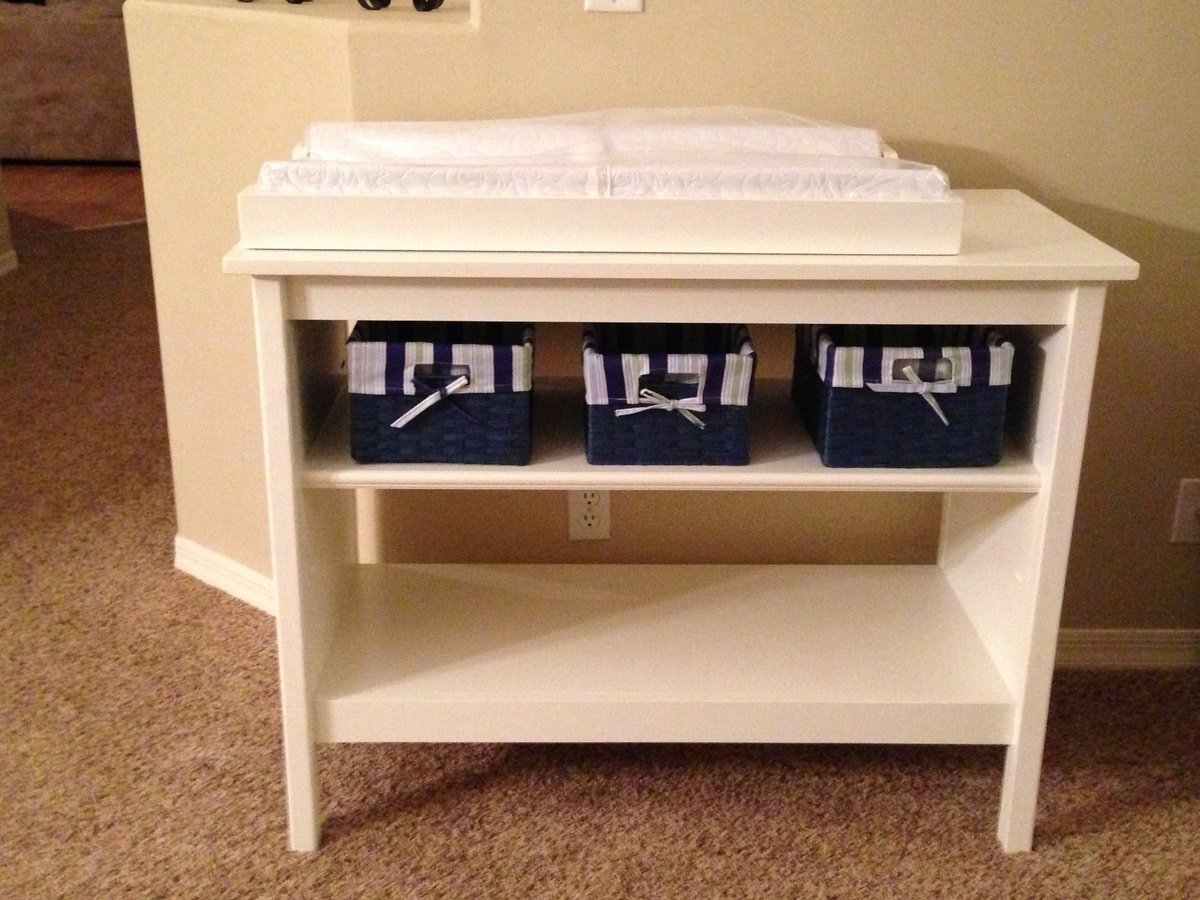
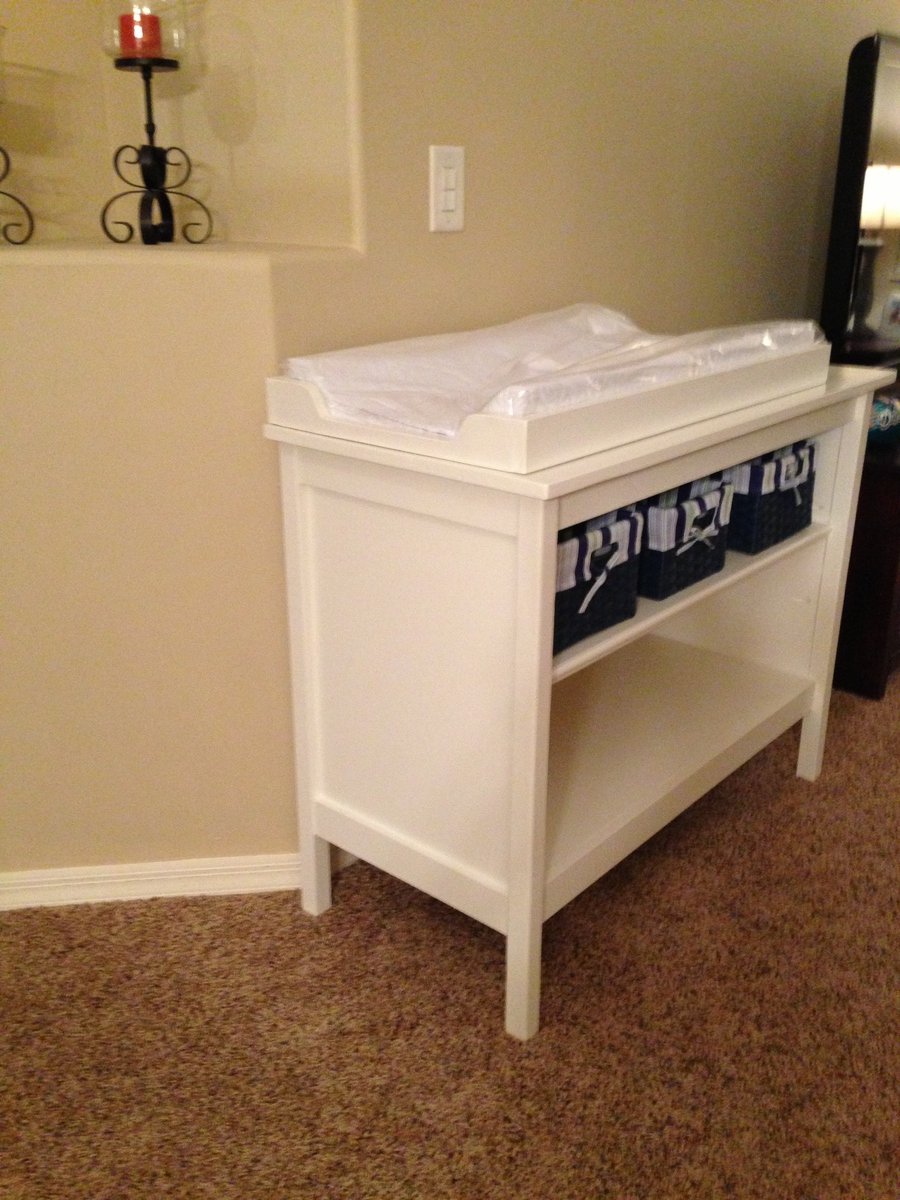
This was a quick and easy build. My friend needed a changing table and I had several scraps left from a toy box build. I will mention that using 2x2 firring strips is always my worst nightmare. They're rounded, never straight, and full of knots. They just don't give that professional feel. I had to use 1/2"x3" preferred pine on the ends in order for them to sit flush inside the 2x2's. Used the kreg pocket holes and assembly was easy. The changing pad frame on top attaches to the back with an L bracket so they can remove it and still use the table down the road. I hope they enjoy it for many years.
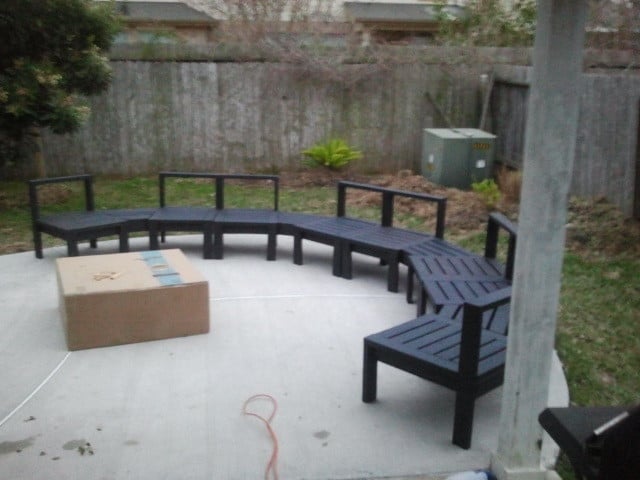
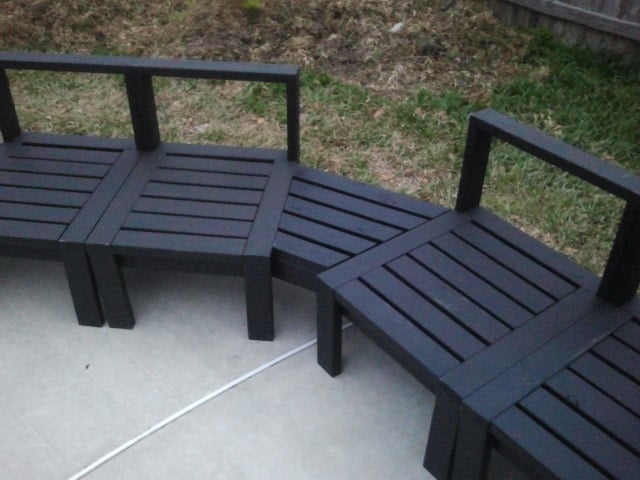
This was a labor of love. I built it over a Christmas vacation. It took just under two weeks. The tables between the chairs were made to be removable, so each chair is an individual and we can take apart any of the chairs or tables on a whim. Very happy with this one. Thanks Ana!
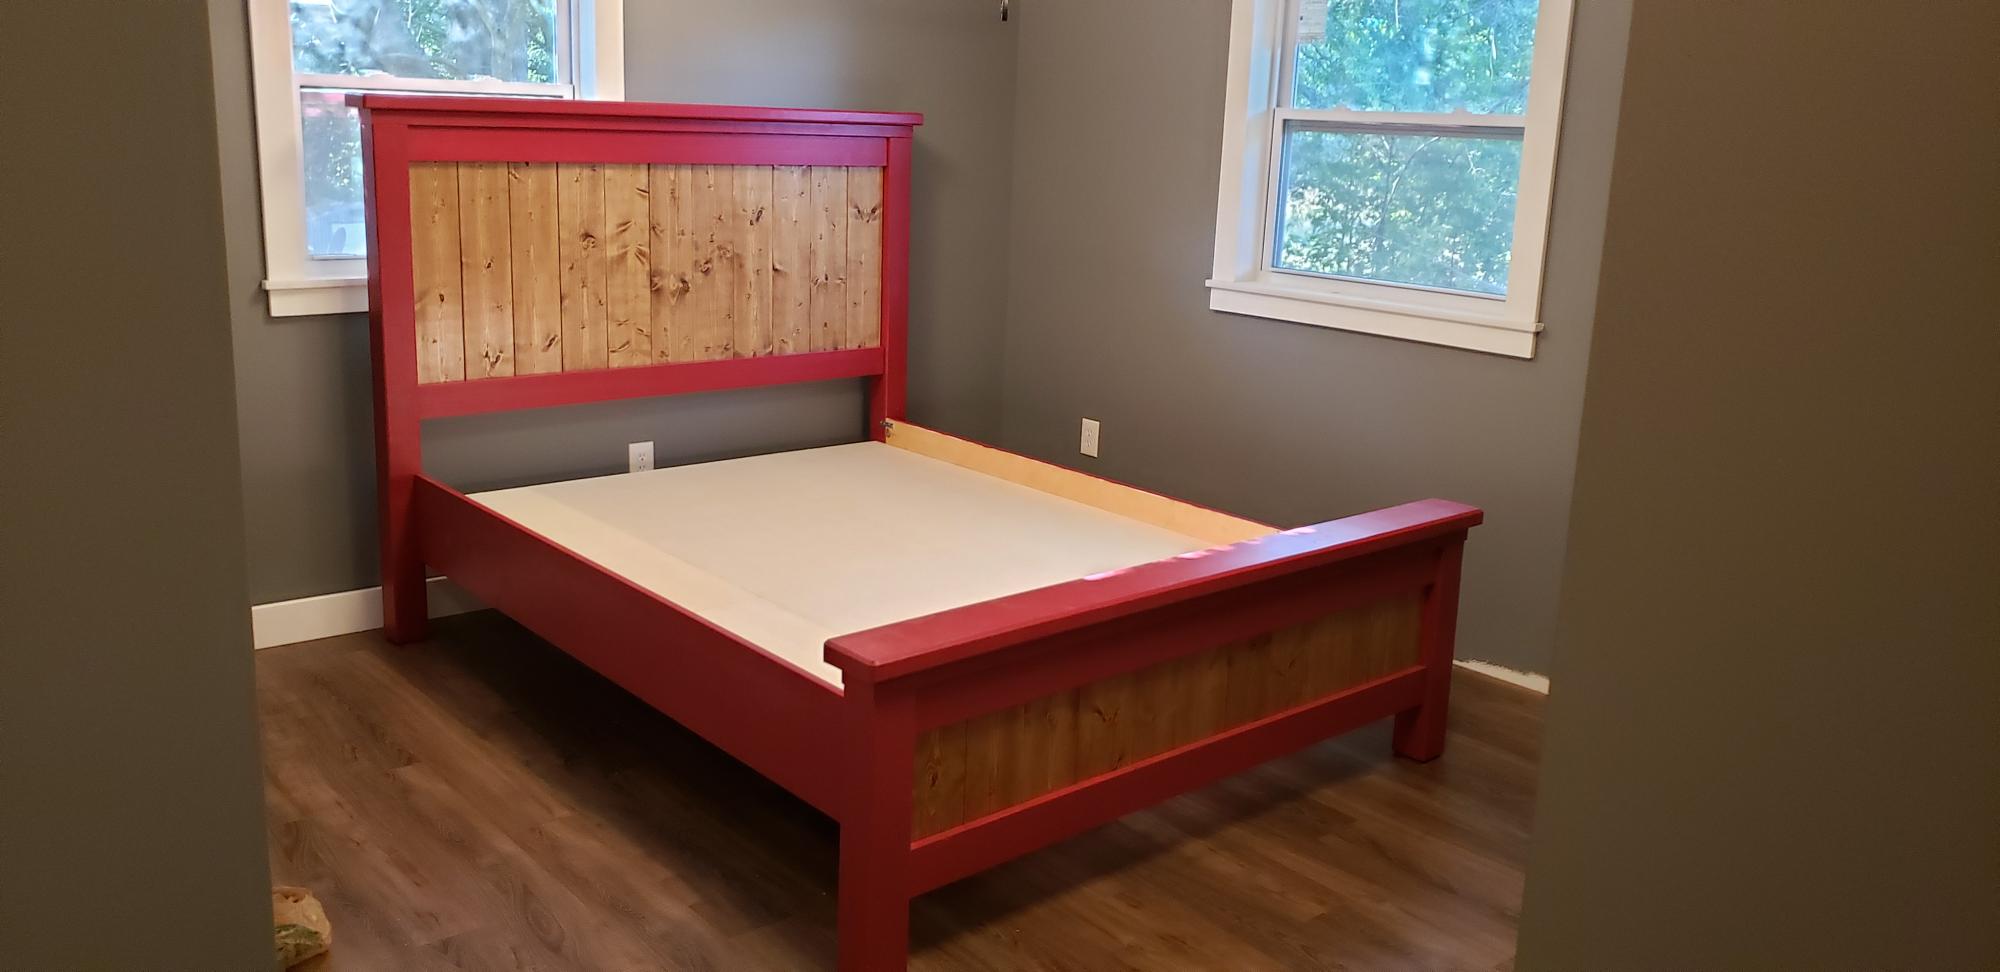
Built this bed for my wife and I in our starter home. It has been a pretty easy project with good instructions. Id change up my order of operations to prevent the wood from cupping as bad as it did in places as well as be more strict with my wood selection but im very happy with it over all. I braced it up a little more than instructions called for since this was my first bed build.
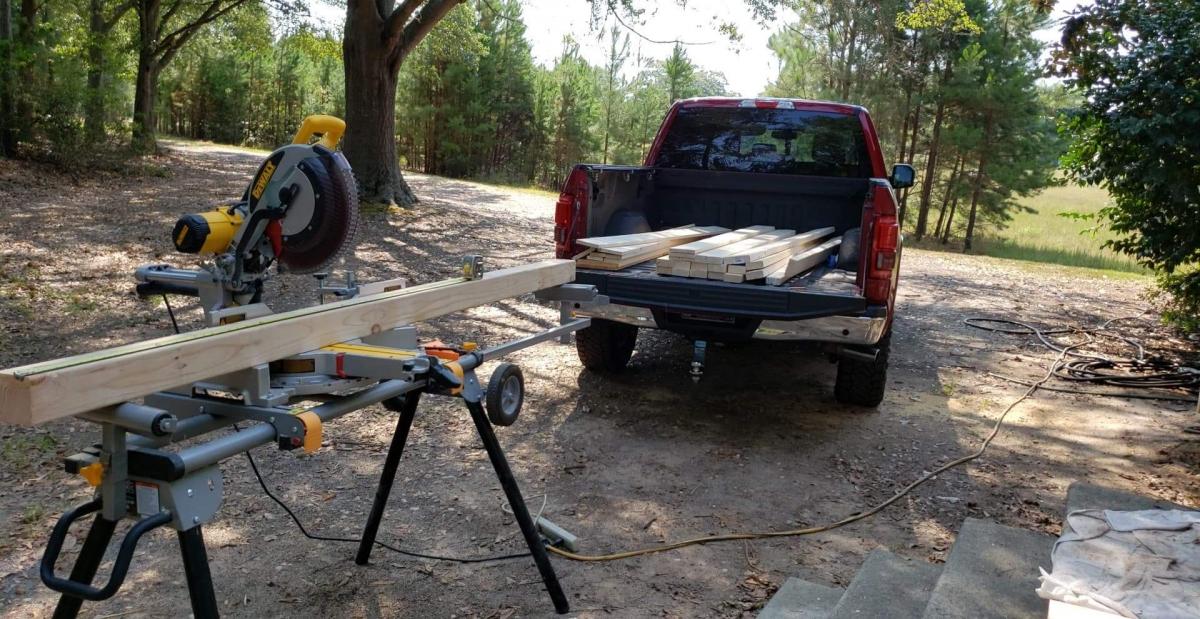
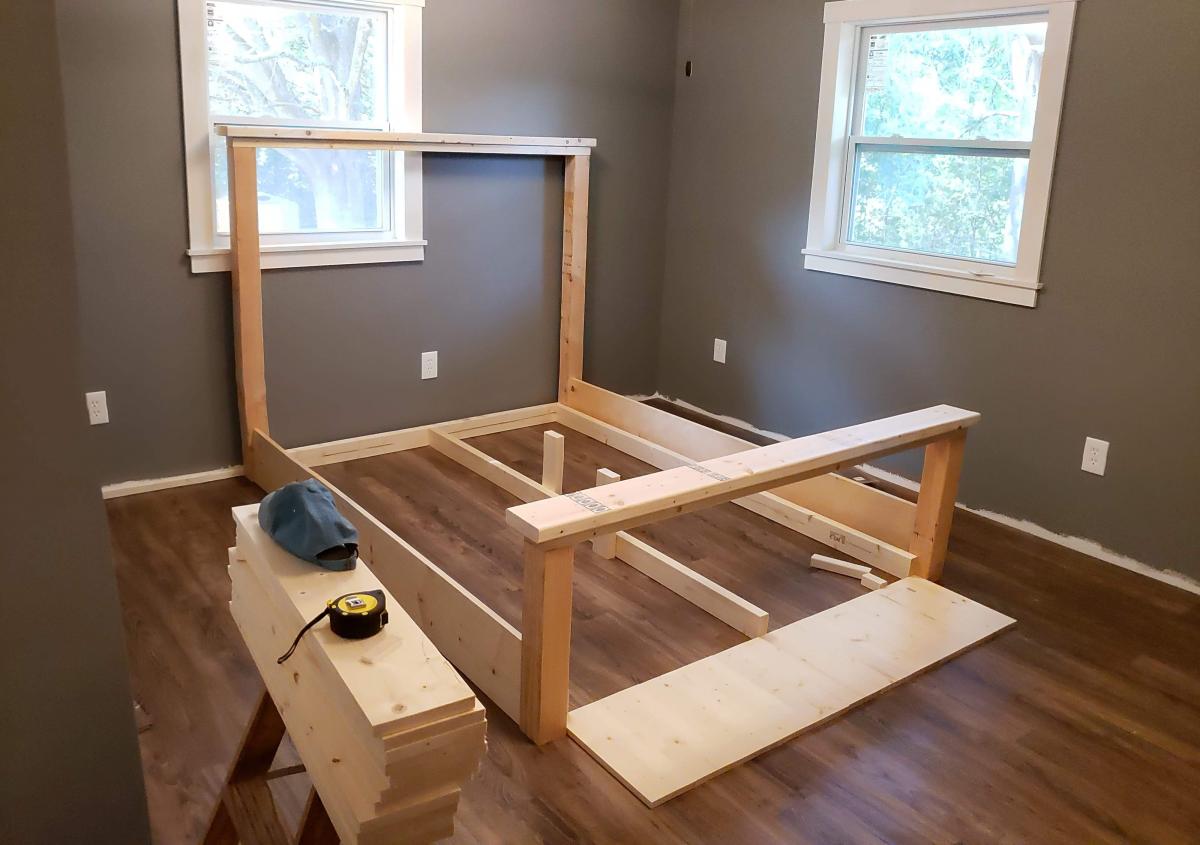
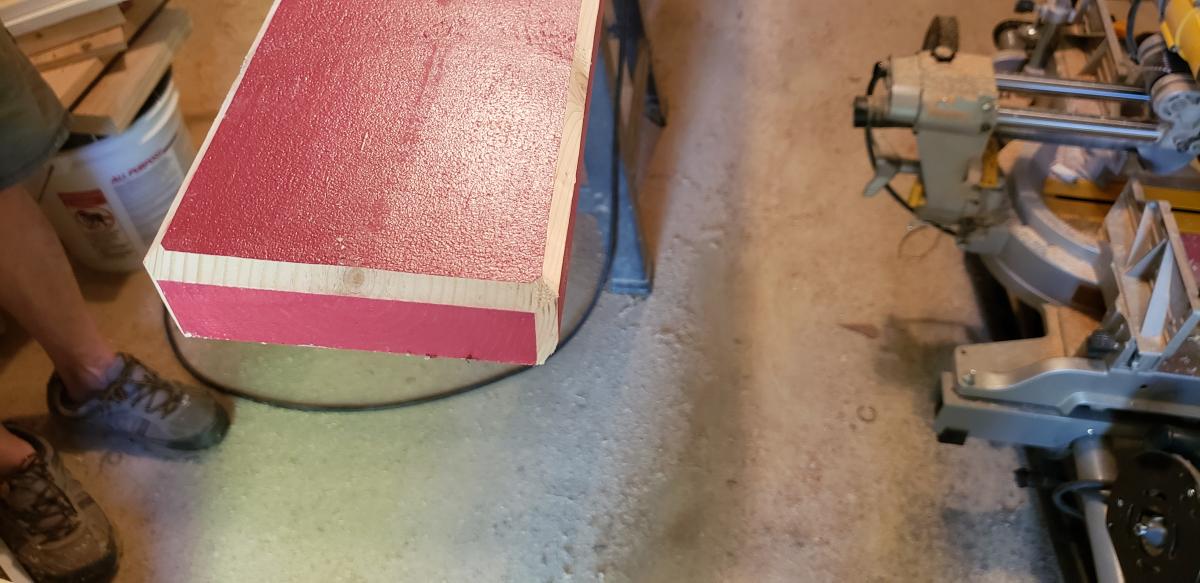
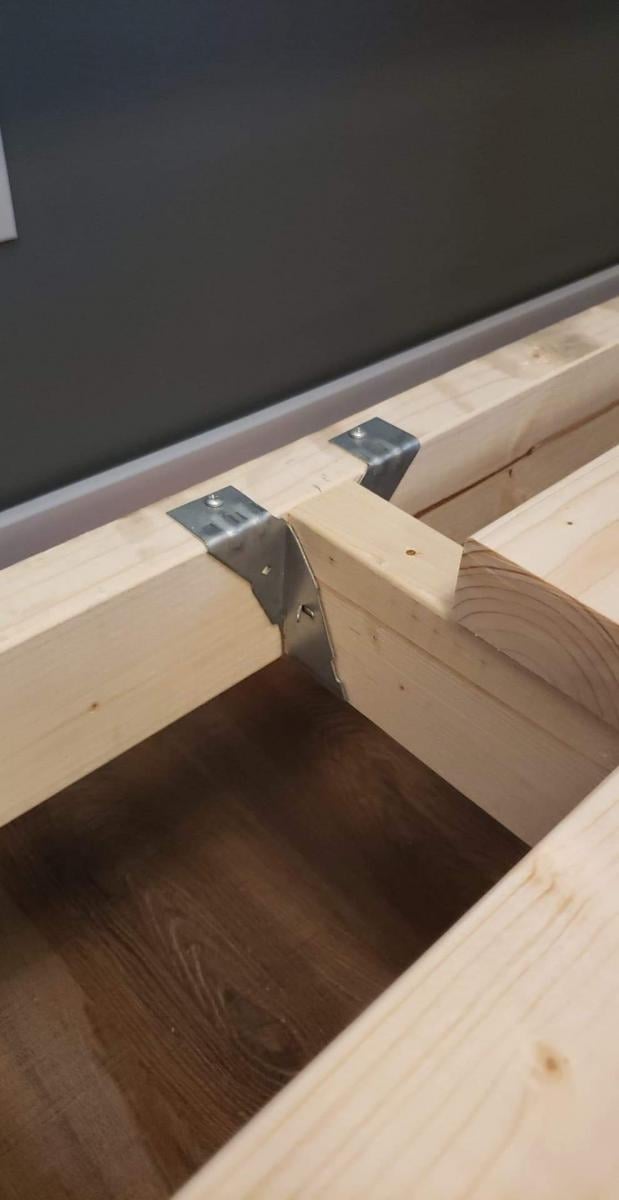
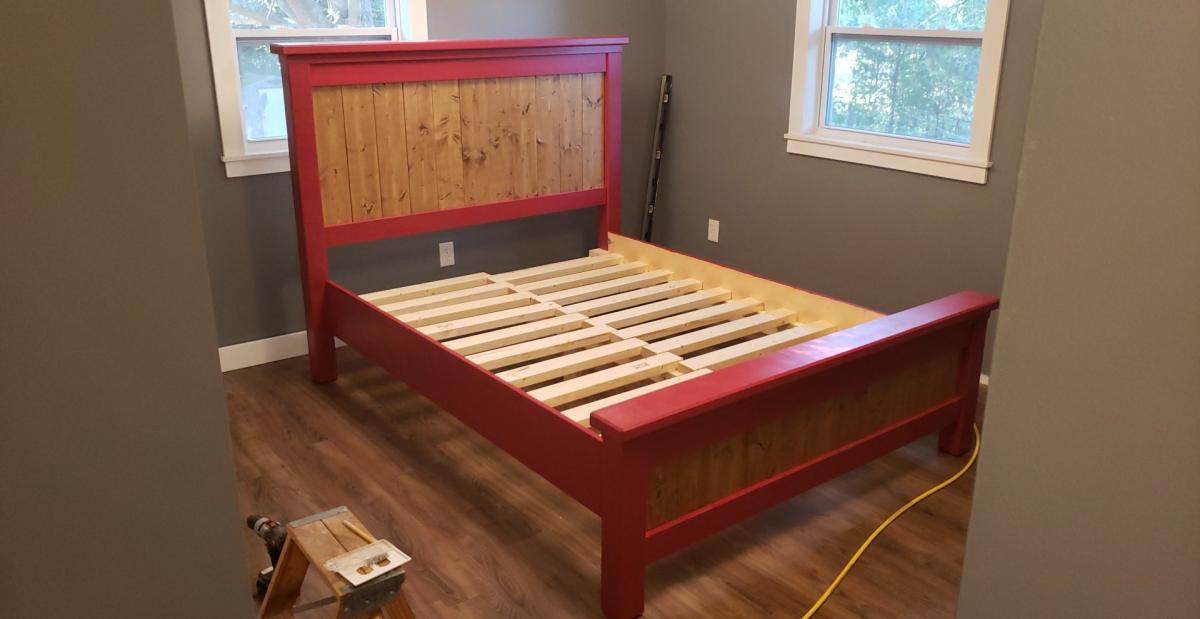
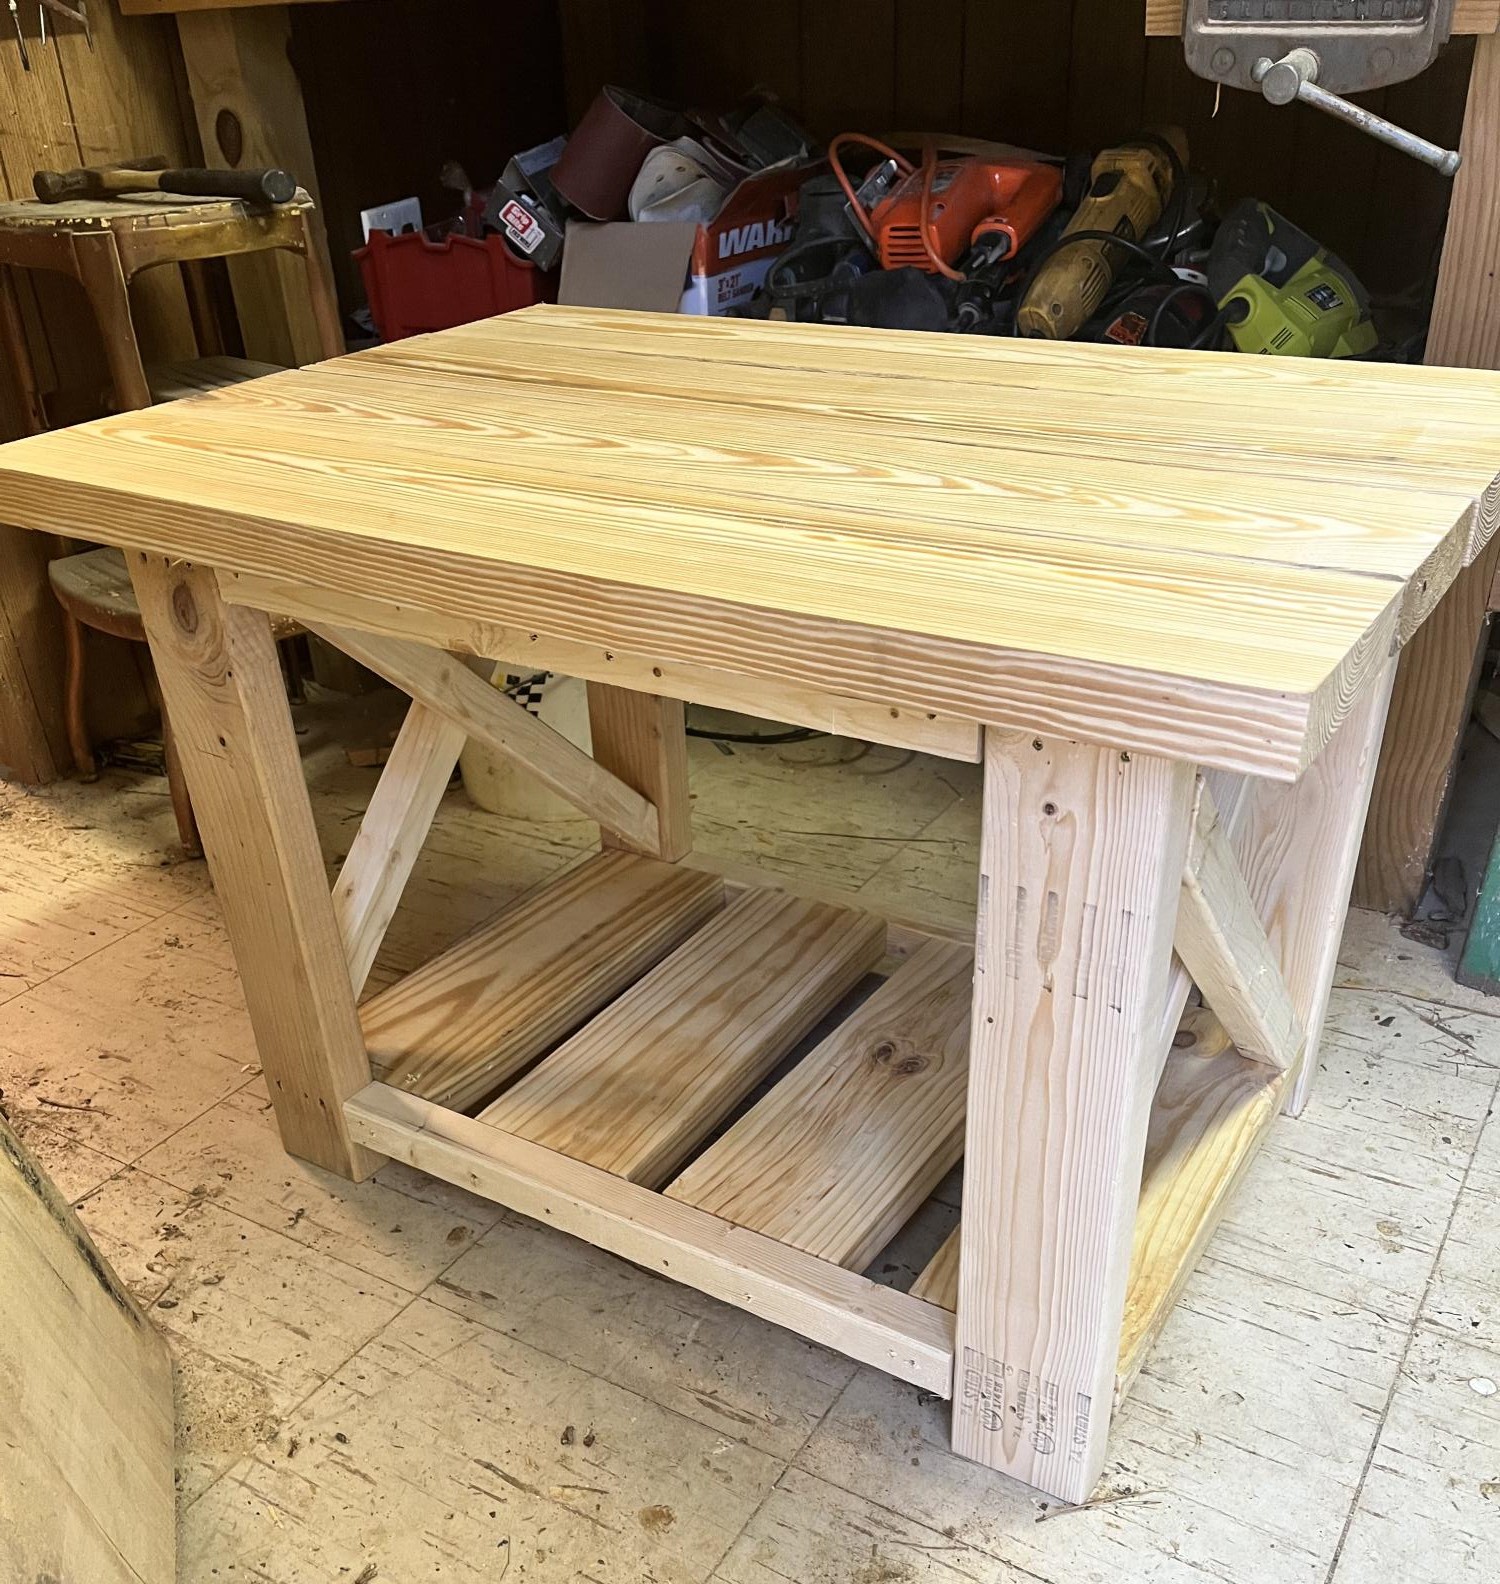
My father in law was a very good woodworker. He had a great shop with all the power tools anyone could want. He passed away 2 years ago and one day I went in his shop and remember thinking this woodworking could be sort of fun.
I searched the internet and came across the Ana White instructional site. Your site and instructional videos have helped me so much. The photos attached are my first attempt at furniture making. I used and modified one of your plans for this piece of furniture. It was SO helpful. Thank you for making these videos and plans available for those that are leaning this craft.
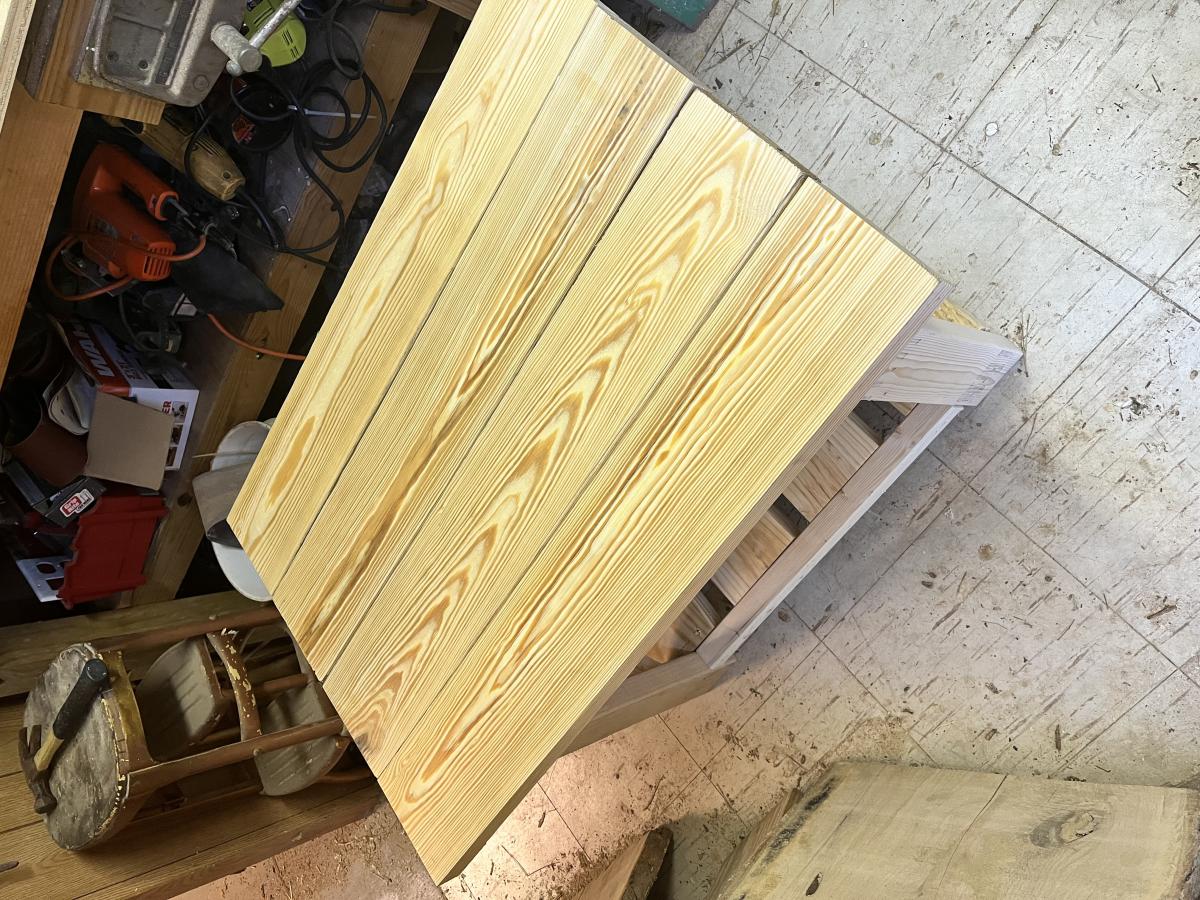
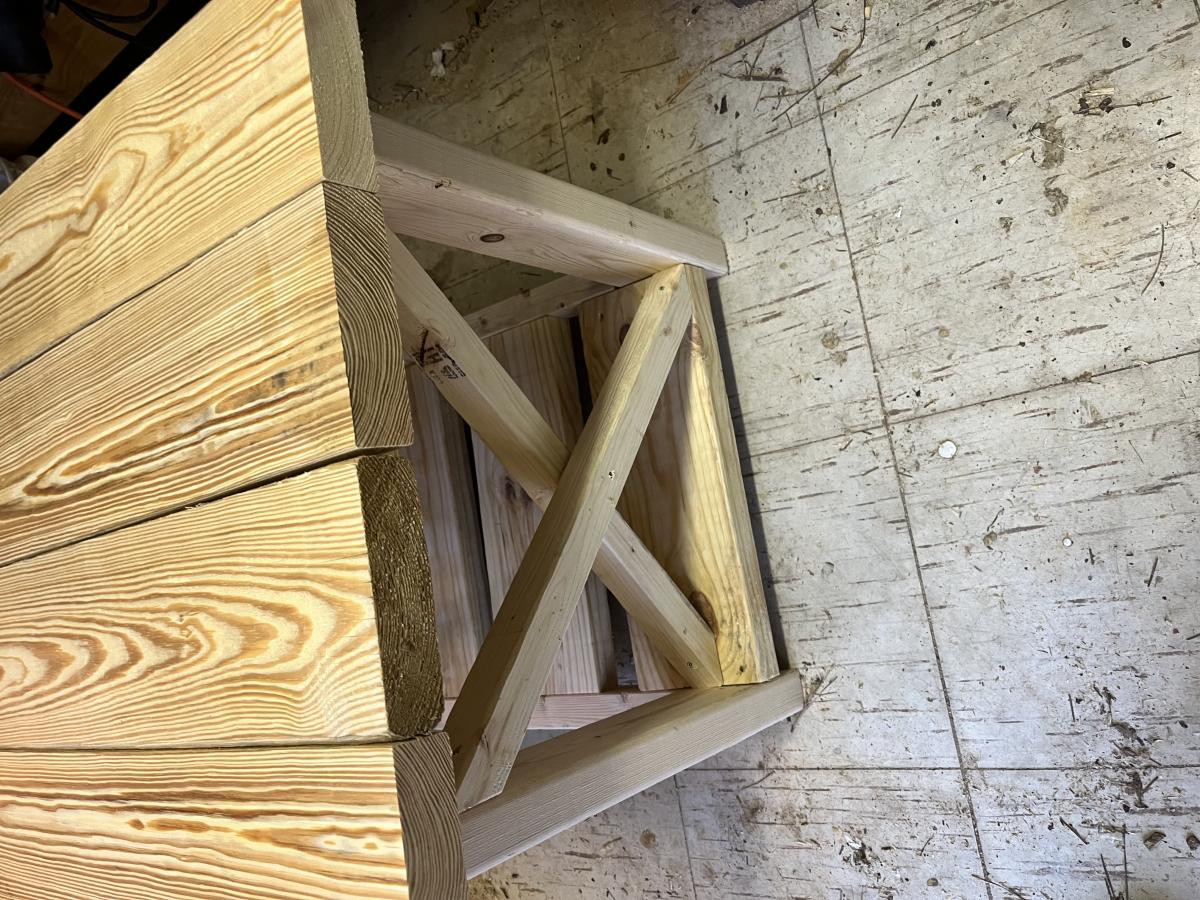
I built this coffee table for my wife for christmas, it came out really nice. I didnt make it as wide to accomodate our living room space. the plans were really easy to follow and i had a lot of fun building this project. One thing i would recommend for this table is to get a plane of some kind to get all the planks flush with each other. For the legs i used cedar 4x4s because pine 4x4s are not available anywhere around me, that didnt matter too too much because i stained the table dark anyways. We are very happy with this table and thank you ana for such great plans to follow. now hopefully ana in her busy life will find time to post a farmhouse tallboy dresser from pottery barn to match our farmhouse bedside tables
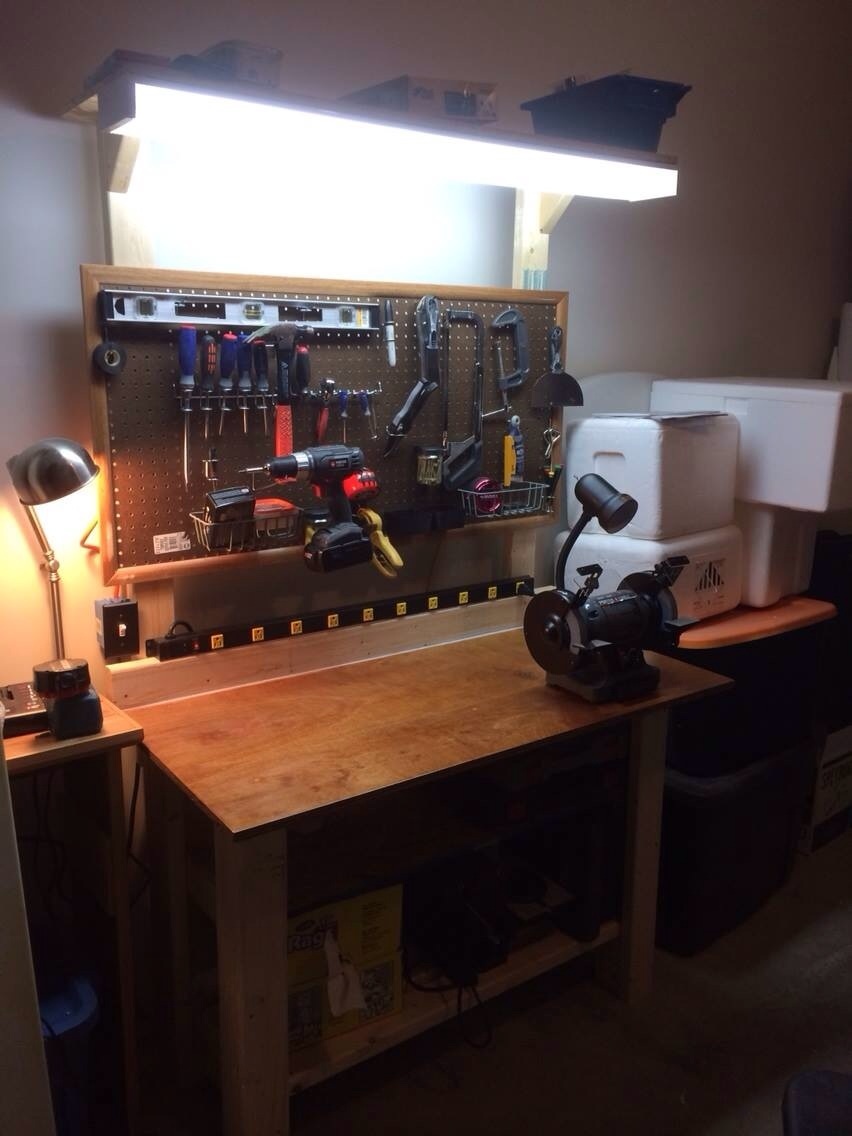
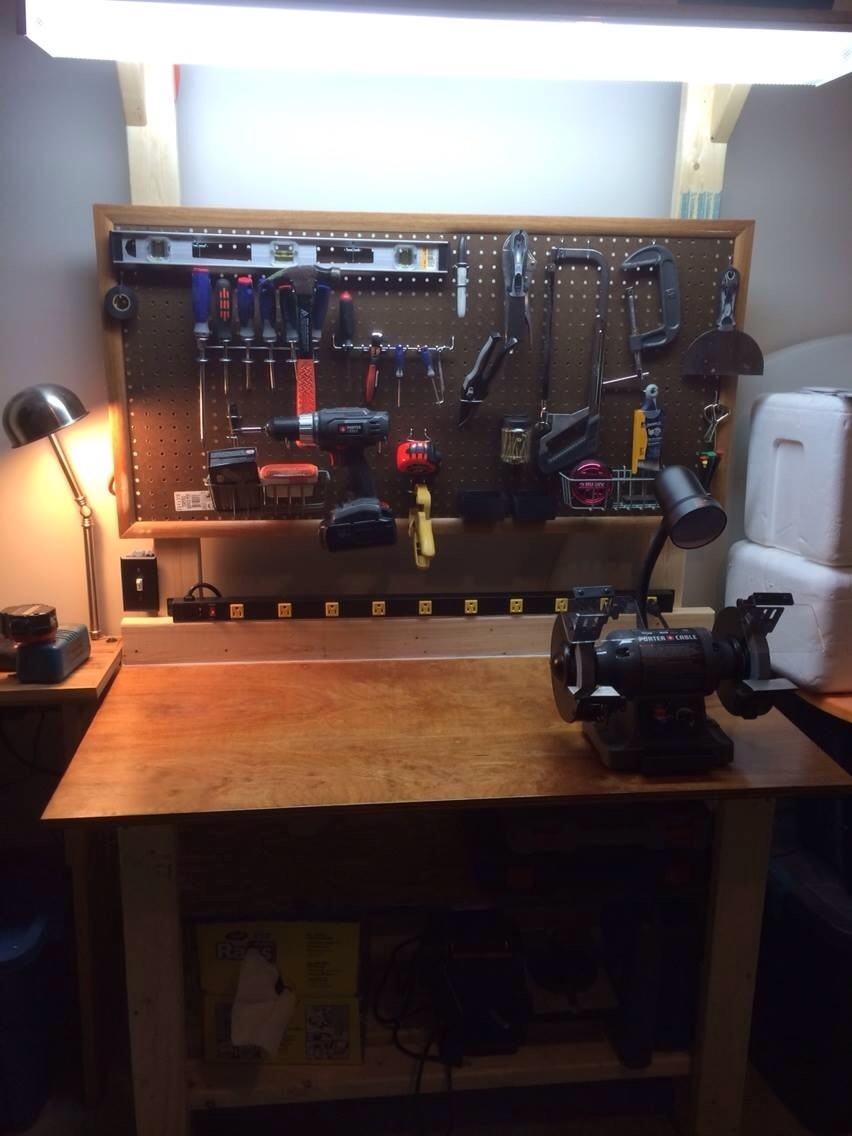
Added a peg board and a couple of extra shelves... Great design.
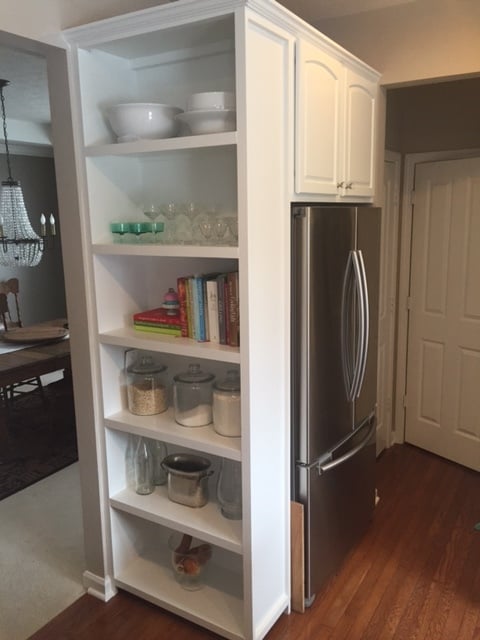
I used this plan to build this cabinet space around the fridge. Before this was built, we just had a small dinky counter space and the overhead cabinet. I had to make a few minor adjustments in order for it to fit in the space.
Fri, 08/05/2022 - 08:38
This is awesome. I love the utilization of space. Is this a shelf that you built ? How deep are the shelves?
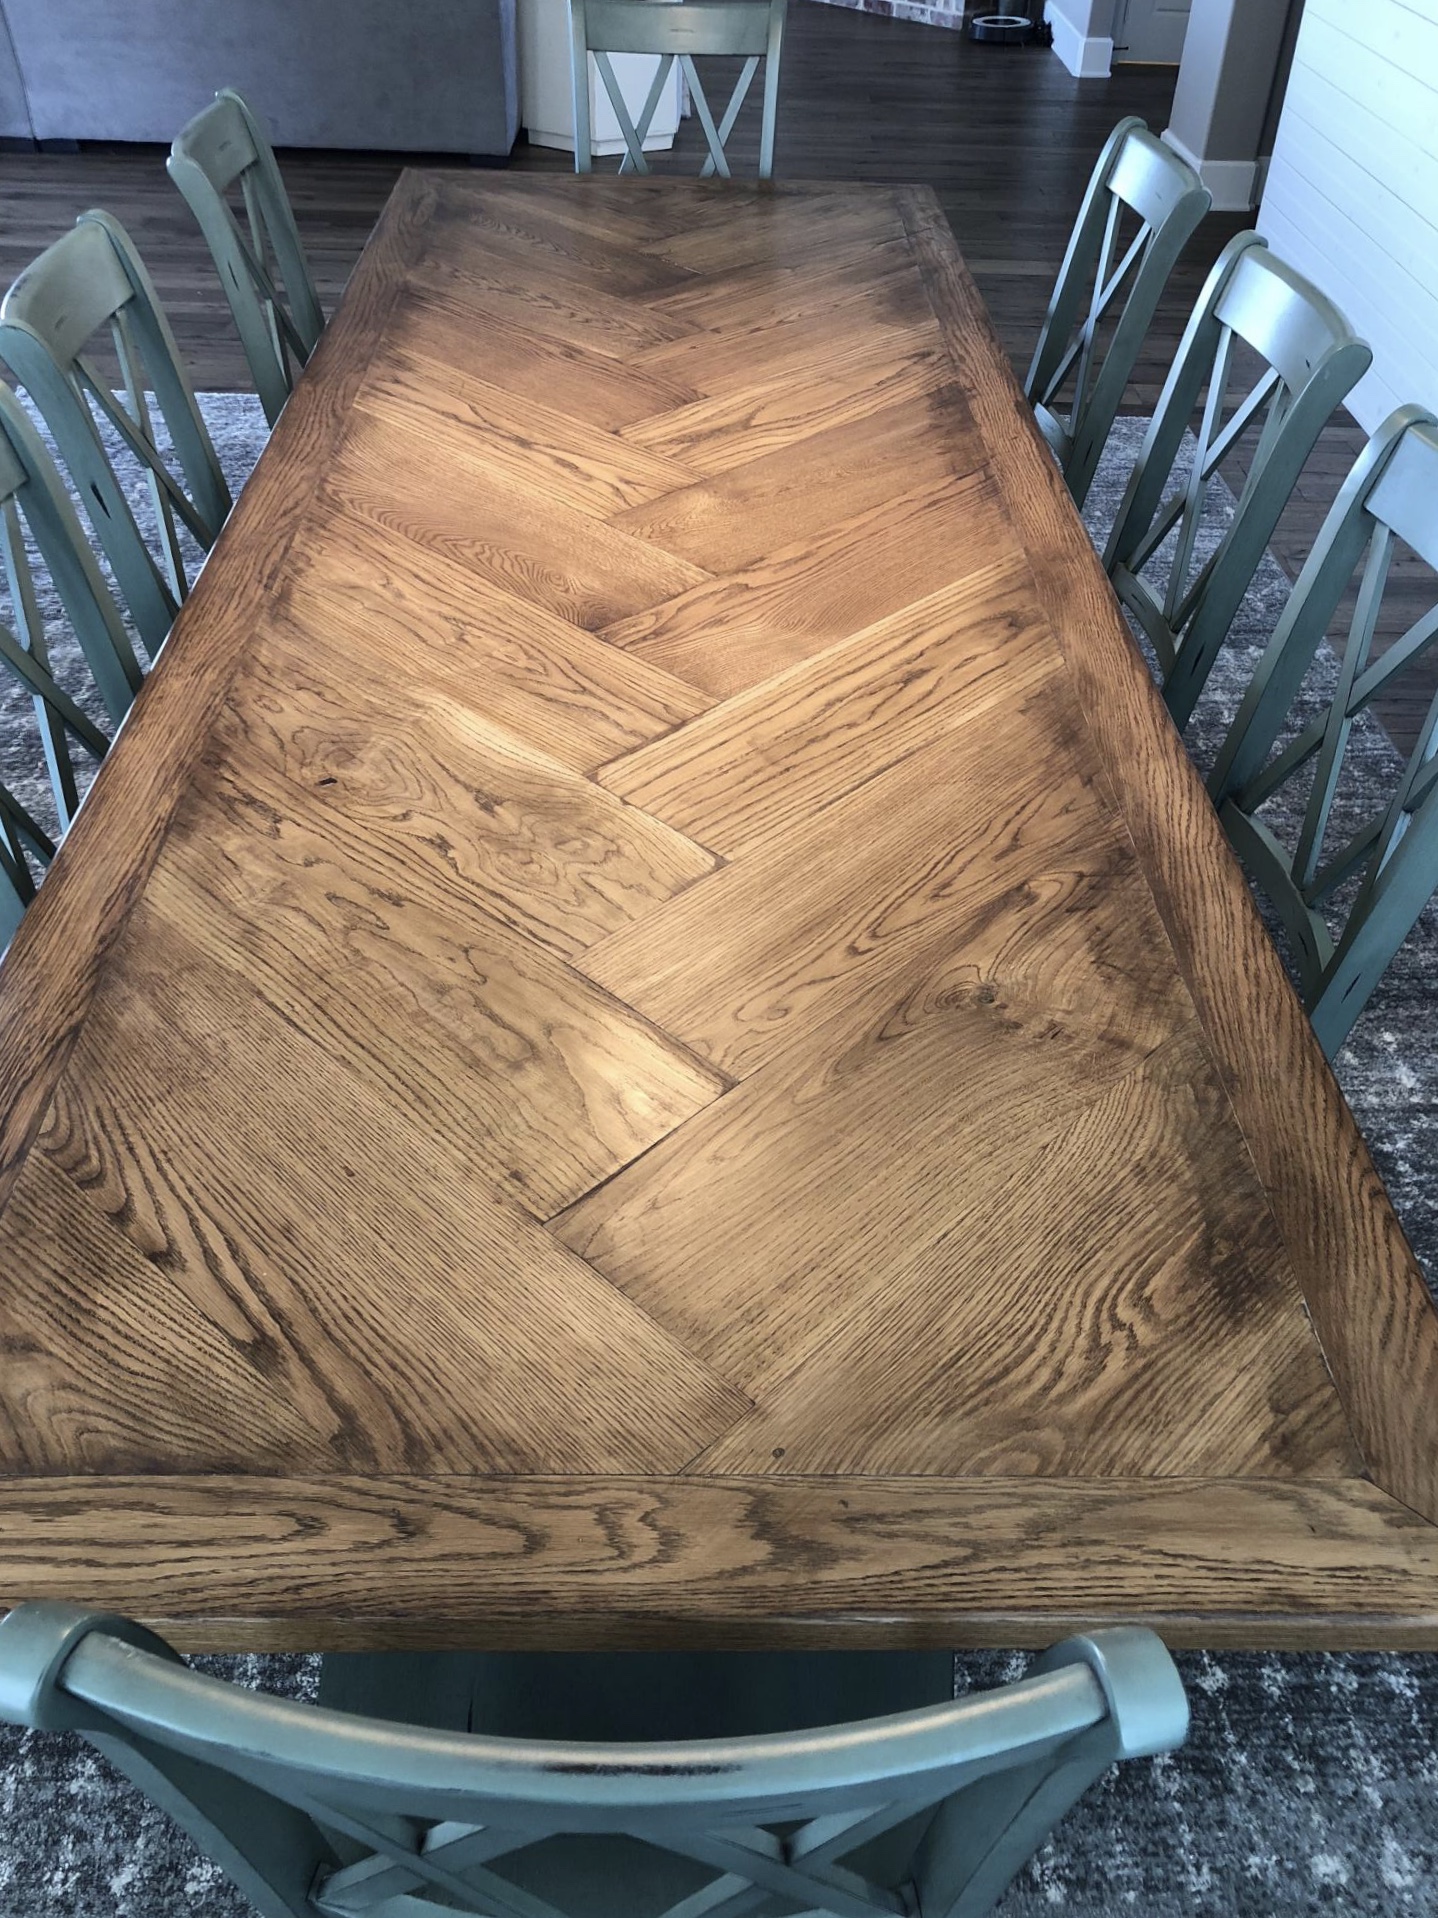
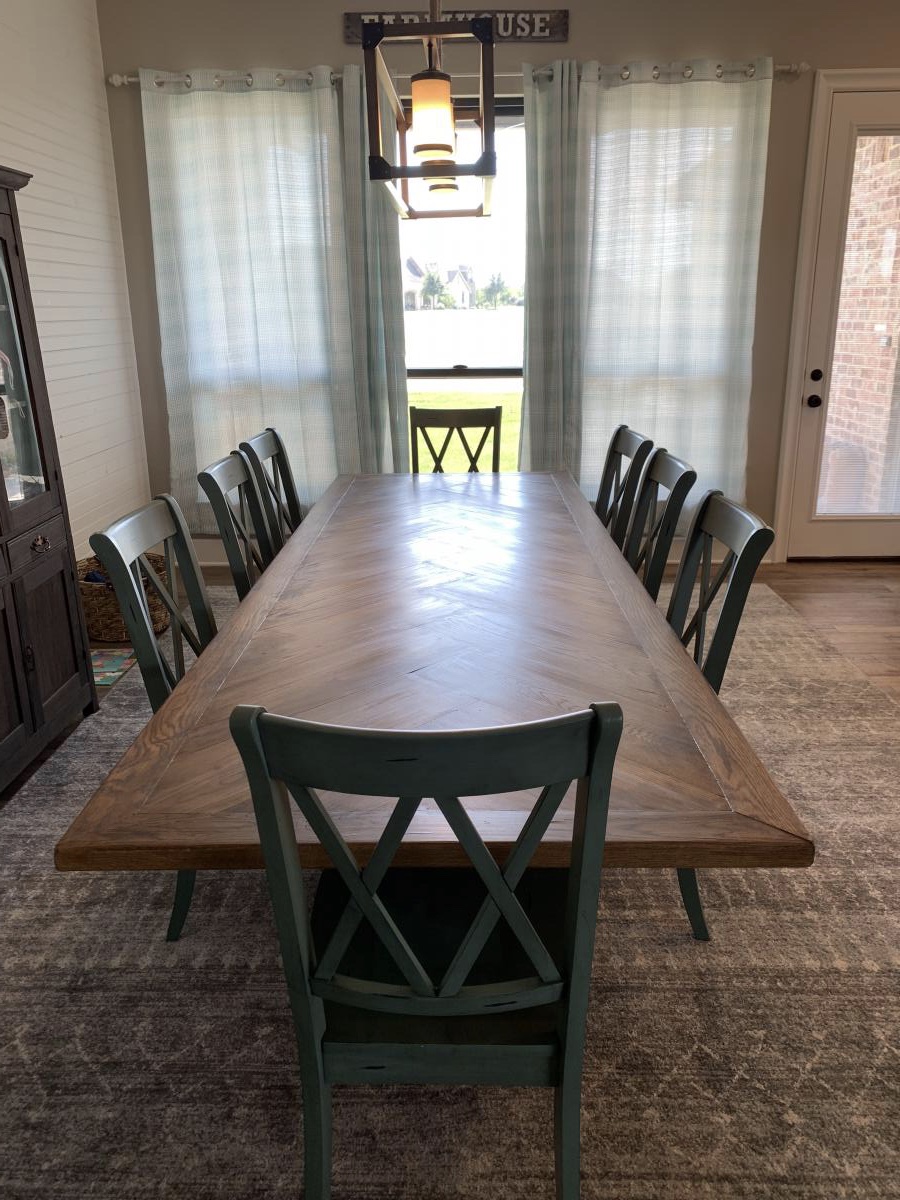
Husband and I always wanted a 12 foot table when we moved into our new home. Together, with my father-in-law, we came up with the plan, went to a lumber yard, and put together our beautiful table for all our kiddos and extended family to eat around for years and years
Wed, 10/02/2019 - 09:47
This table top is beautiful! Thanks so much for sharing photos!
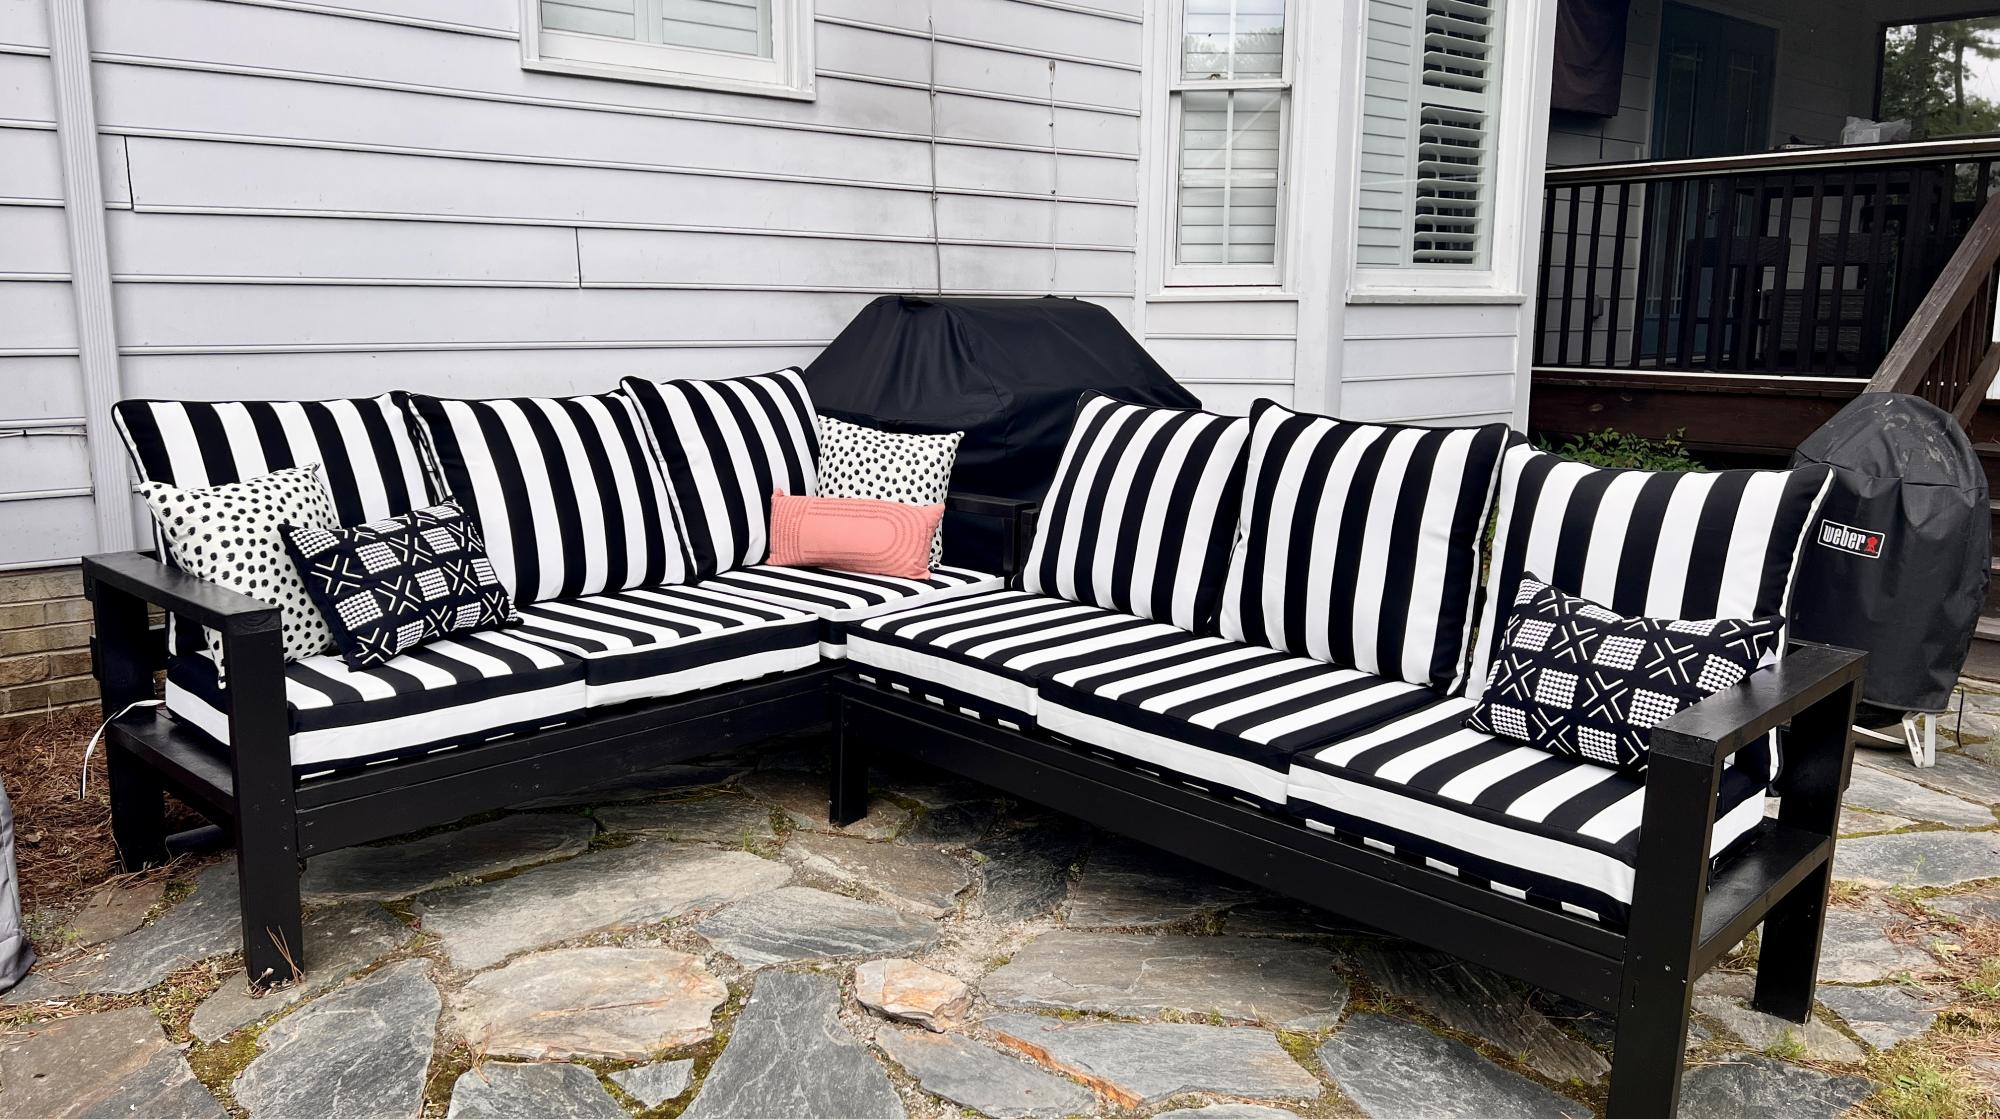
Sectional painted with Glidden semigloss exterior paint in Phantom Mist. Cushions from Overstock and pillows from Homegoods.
Sat, 05/27/2023 - 19:31
Fabulous work, love all the color choices! Thank you for sharing.
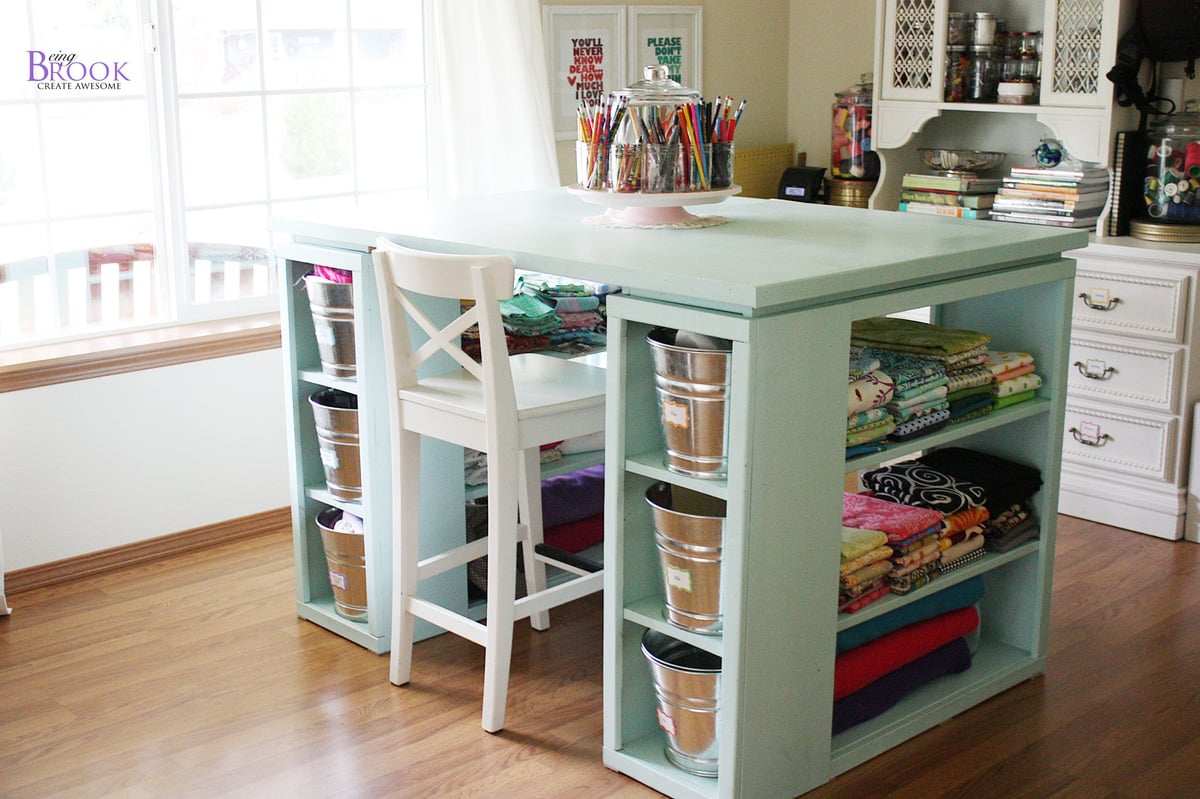
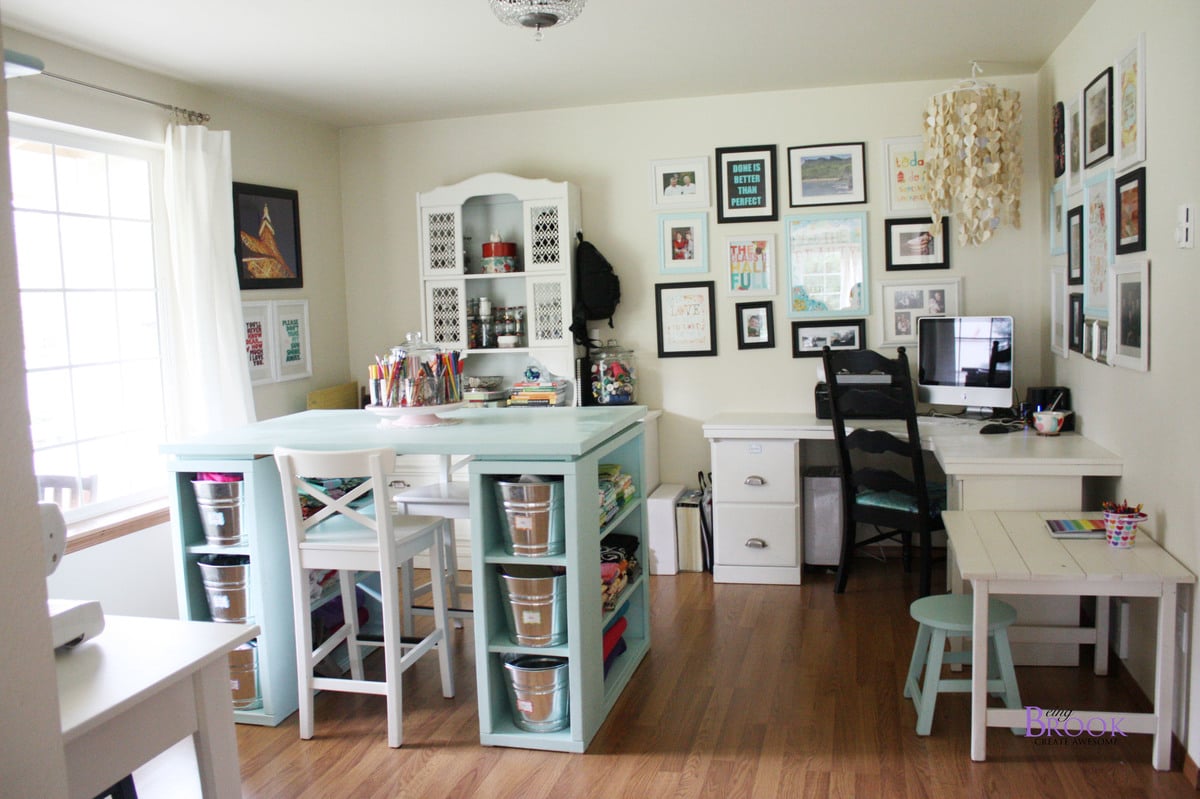
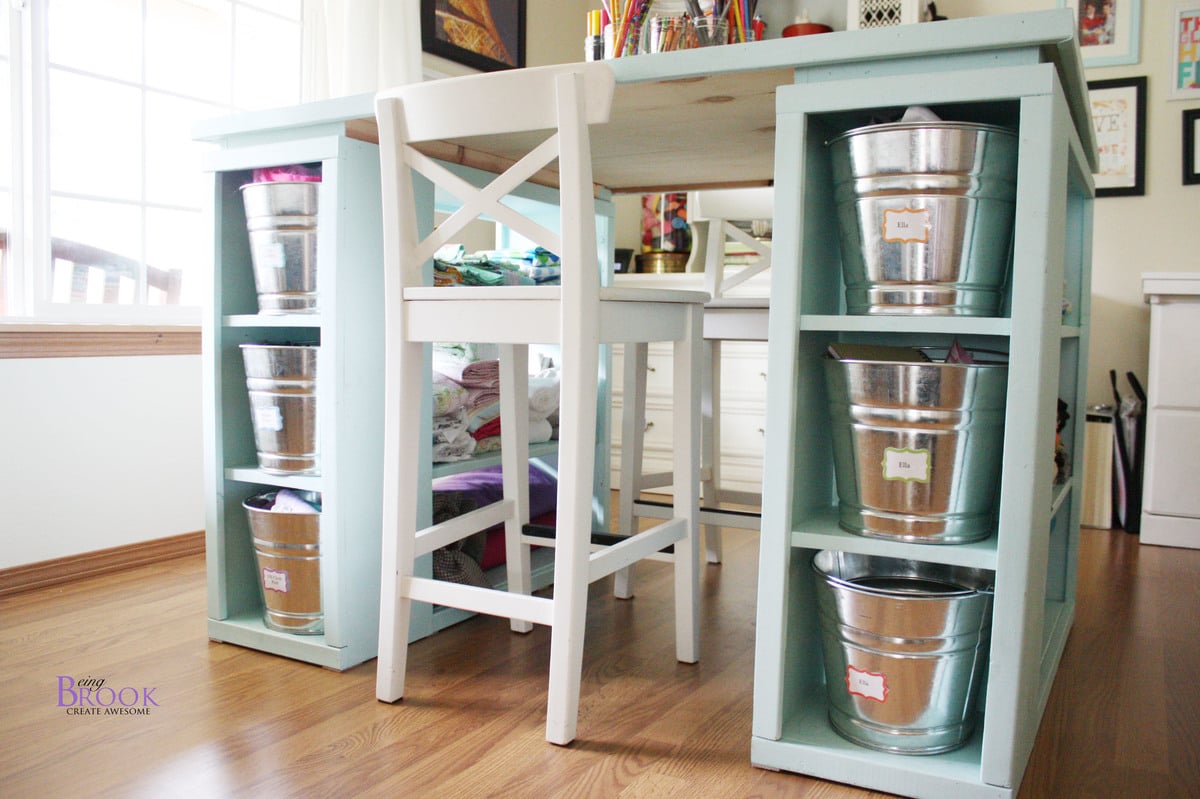
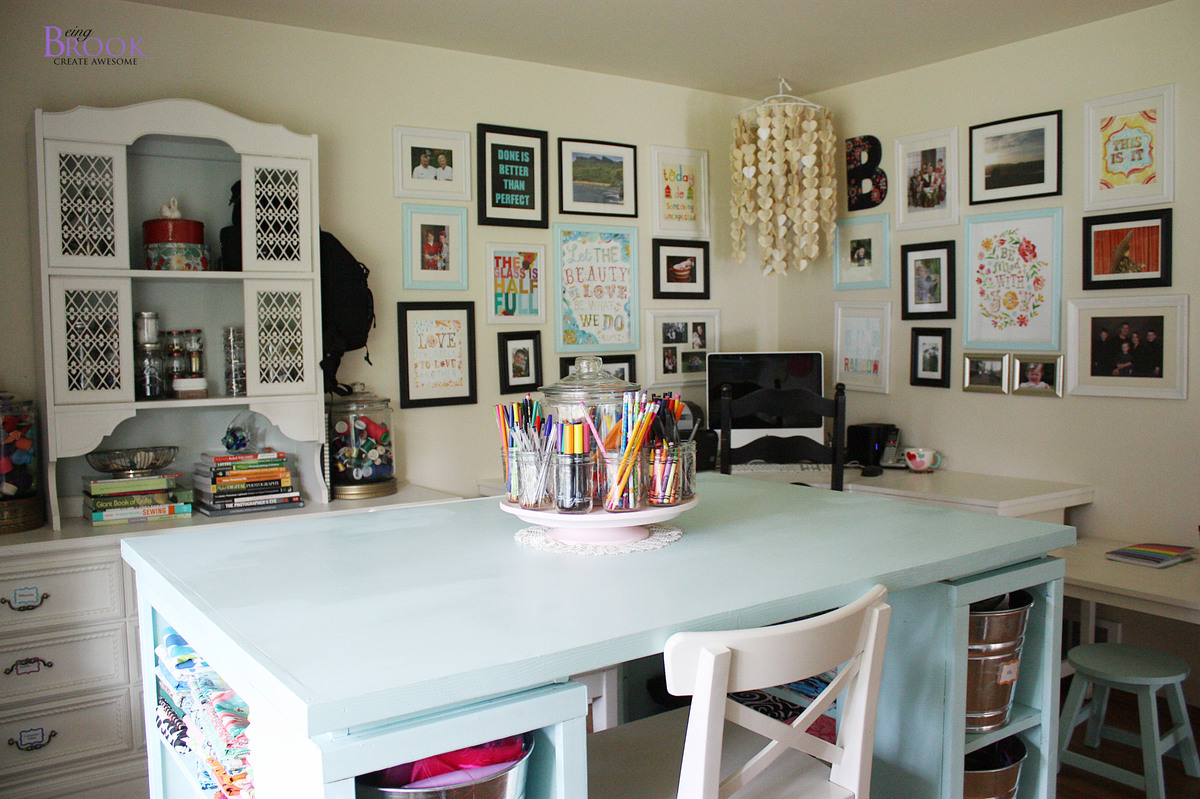
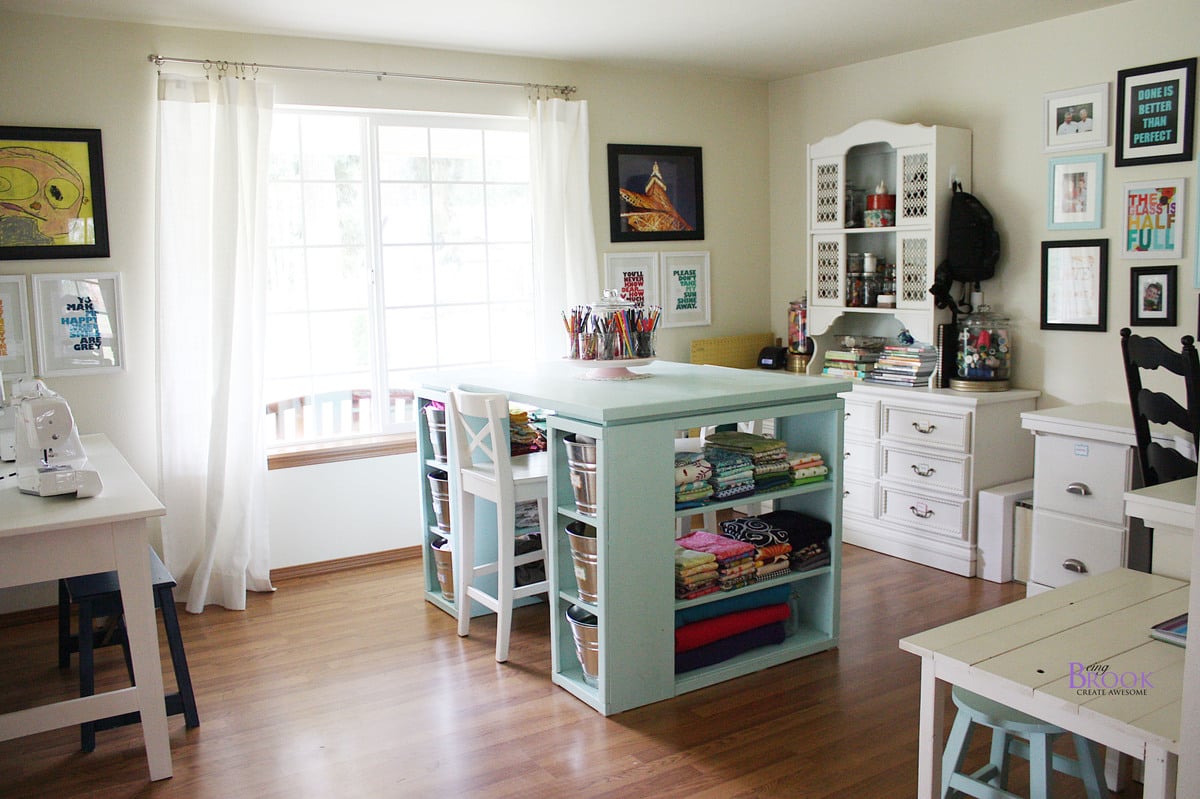
Love the Modern Craft Table! It has lots of storage space and tons of workspace on top. We used pine for the shelves and plywood for the top and edged the top with pine.
There is a spot for two counter stools at the opposite ends of the table which is perfect to give kids their own spot to craft/color.
Sun, 01/15/2012 - 20:10
I love this table but I wonder how do you use it to sew with? or do you sew on this table?
Sun, 01/15/2012 - 21:57
Brook, wow!!! This table is simply amazing! Thank you for sharing such beautiful photos too!
Mon, 01/16/2012 - 10:03
the whole room is beautifull. how many of the other pieces of furniture were built using Anna's plans?
Mon, 01/16/2012 - 10:03
the whole room is beautifull. how many of the other pieces of furniture were built using Anna's plans?
In reply to looks great by Guest (not verified)
Mon, 01/16/2012 - 20:49
Everything but the dresser/hutch and barstools we built using Ana-White plans!
Mon, 01/16/2012 - 12:06
This table is fabulous and I'm really in love with the color! Thank you for sharing. So many new ideas for my room now!
Mon, 01/16/2012 - 12:06
This table is fabulous and I'm really in love with the color! Thank you for sharing. So many new ideas for my room now!
Mon, 01/16/2012 - 17:32
You won't believe this...but today I was shopping for the wood to make the Modular Craft Table, but I did not buy the wood because I was trying to tweek the plans to change the "cubbies" and size. So, I came back to this sight and here is this craft table that would be much better. I want to make it table height rather than counter height so I can sit down and sew at it. I also want to be able to drop the back 12 inches of the table if I do not need it and so it will fit better in my room, wheels on the bottom to pull it out easily so I can extend the 12 inch table when needed. I love what you have done!
Tue, 01/17/2012 - 11:36
You did a fantastic job on this project! Love the way it looks and the color!
Great job!
Sat, 01/21/2012 - 07:00
I love this table, but I can't seem to find the directions to make it. Can you point me in the right direction to find it?
Wed, 01/25/2012 - 17:24
Is there a reason you can't sew on this (from what I gathered from a previous comment)? I want to build something for my wife's craft room and love this, but she will need to sew as well. Help?
Wed, 01/25/2012 - 17:32
Joe,
It would be hard to sew at this table because the table is counter height. You wouldn't be able to reach the foot peddle to run your sewing machine. You could alter the plans to fit a spot that could hold the peddle foot. I sew on a different table in my craft room and use this for cutting fabric and general crafts.
Brook
Wed, 01/25/2012 - 19:26
at one time I had my sewing machine in a spot that was counter height. I used a wood box to put the foot peddle on. One of anna's steep stool plans or the bathroom platform for kids plan might be good to build with this. It was also nice when I was sewing small pieces that needed lots of ironing to stand and sew at the counter.
Wed, 02/01/2012 - 14:25
I have a modern sewing machine (within last 5 years) and I routinely sew at counter height with no problem. I prefer it because it really helps my back. I cannot wait to make this!
Fri, 02/24/2012 - 22:36
Joe,
I think it would work to mount the foot pedal on the inside of the shelf area. She would use her lower outer thigh to depress the pedal while seated.
Tue, 05/08/2012 - 07:47
I love this table! I'm with Brook and don't sew on mine. Height issue is easily worked around - main issue is usually back support. Sewing at a huge workstation tends to leave you feeling unsupported and sitting on a stool (I have a nice wide comfy one from Target) leaves your back unsupported so you usually slouch (bad! bad!). I sew at my smaller desk in a good supporting chair and use my table for everything else. I use this table for a true work area including cutting. I have an Accuquilt Studio and that sucker is HUGE and heavy!
Mon, 11/12/2012 - 11:22
I just talked my fiance' into building this for me to use as a desk. I need a desk for my work from home position where I can store everything as well as have a large area to spread things out. I loved this the moment I saw it and talked him into building it for me. Can't wait to post the pictures when it is finished.
Thu, 02/28/2013 - 16:15
My husband made this FABULOUS Craft Table for me last weekend, it turned out PERFECT! Thank you so much for posting this with such detailed directions....
What do you have in your galvanized pails? What do the labels say?
Thank you!
I was seeing this coffee table everywhere so I knew we had to make it. It's the easiest build ever. I think the only tricky part is the painting near the edge. We like a more sanded/finished top. We tried spray painting the base and then attaching the top, but then we sanded the top and the spray paint on the base near the top came off, so I had to cut in and I'm not good at that.
So we're still working on a way to do this properly. We tried making the top on the ground and then sanding & attaching it. But the top needs to be completely exact/square in order to do this. We live in a old farmhouse, so we prefer to attach it as we go - then sand. We also plane the top for a more exact and modern look.
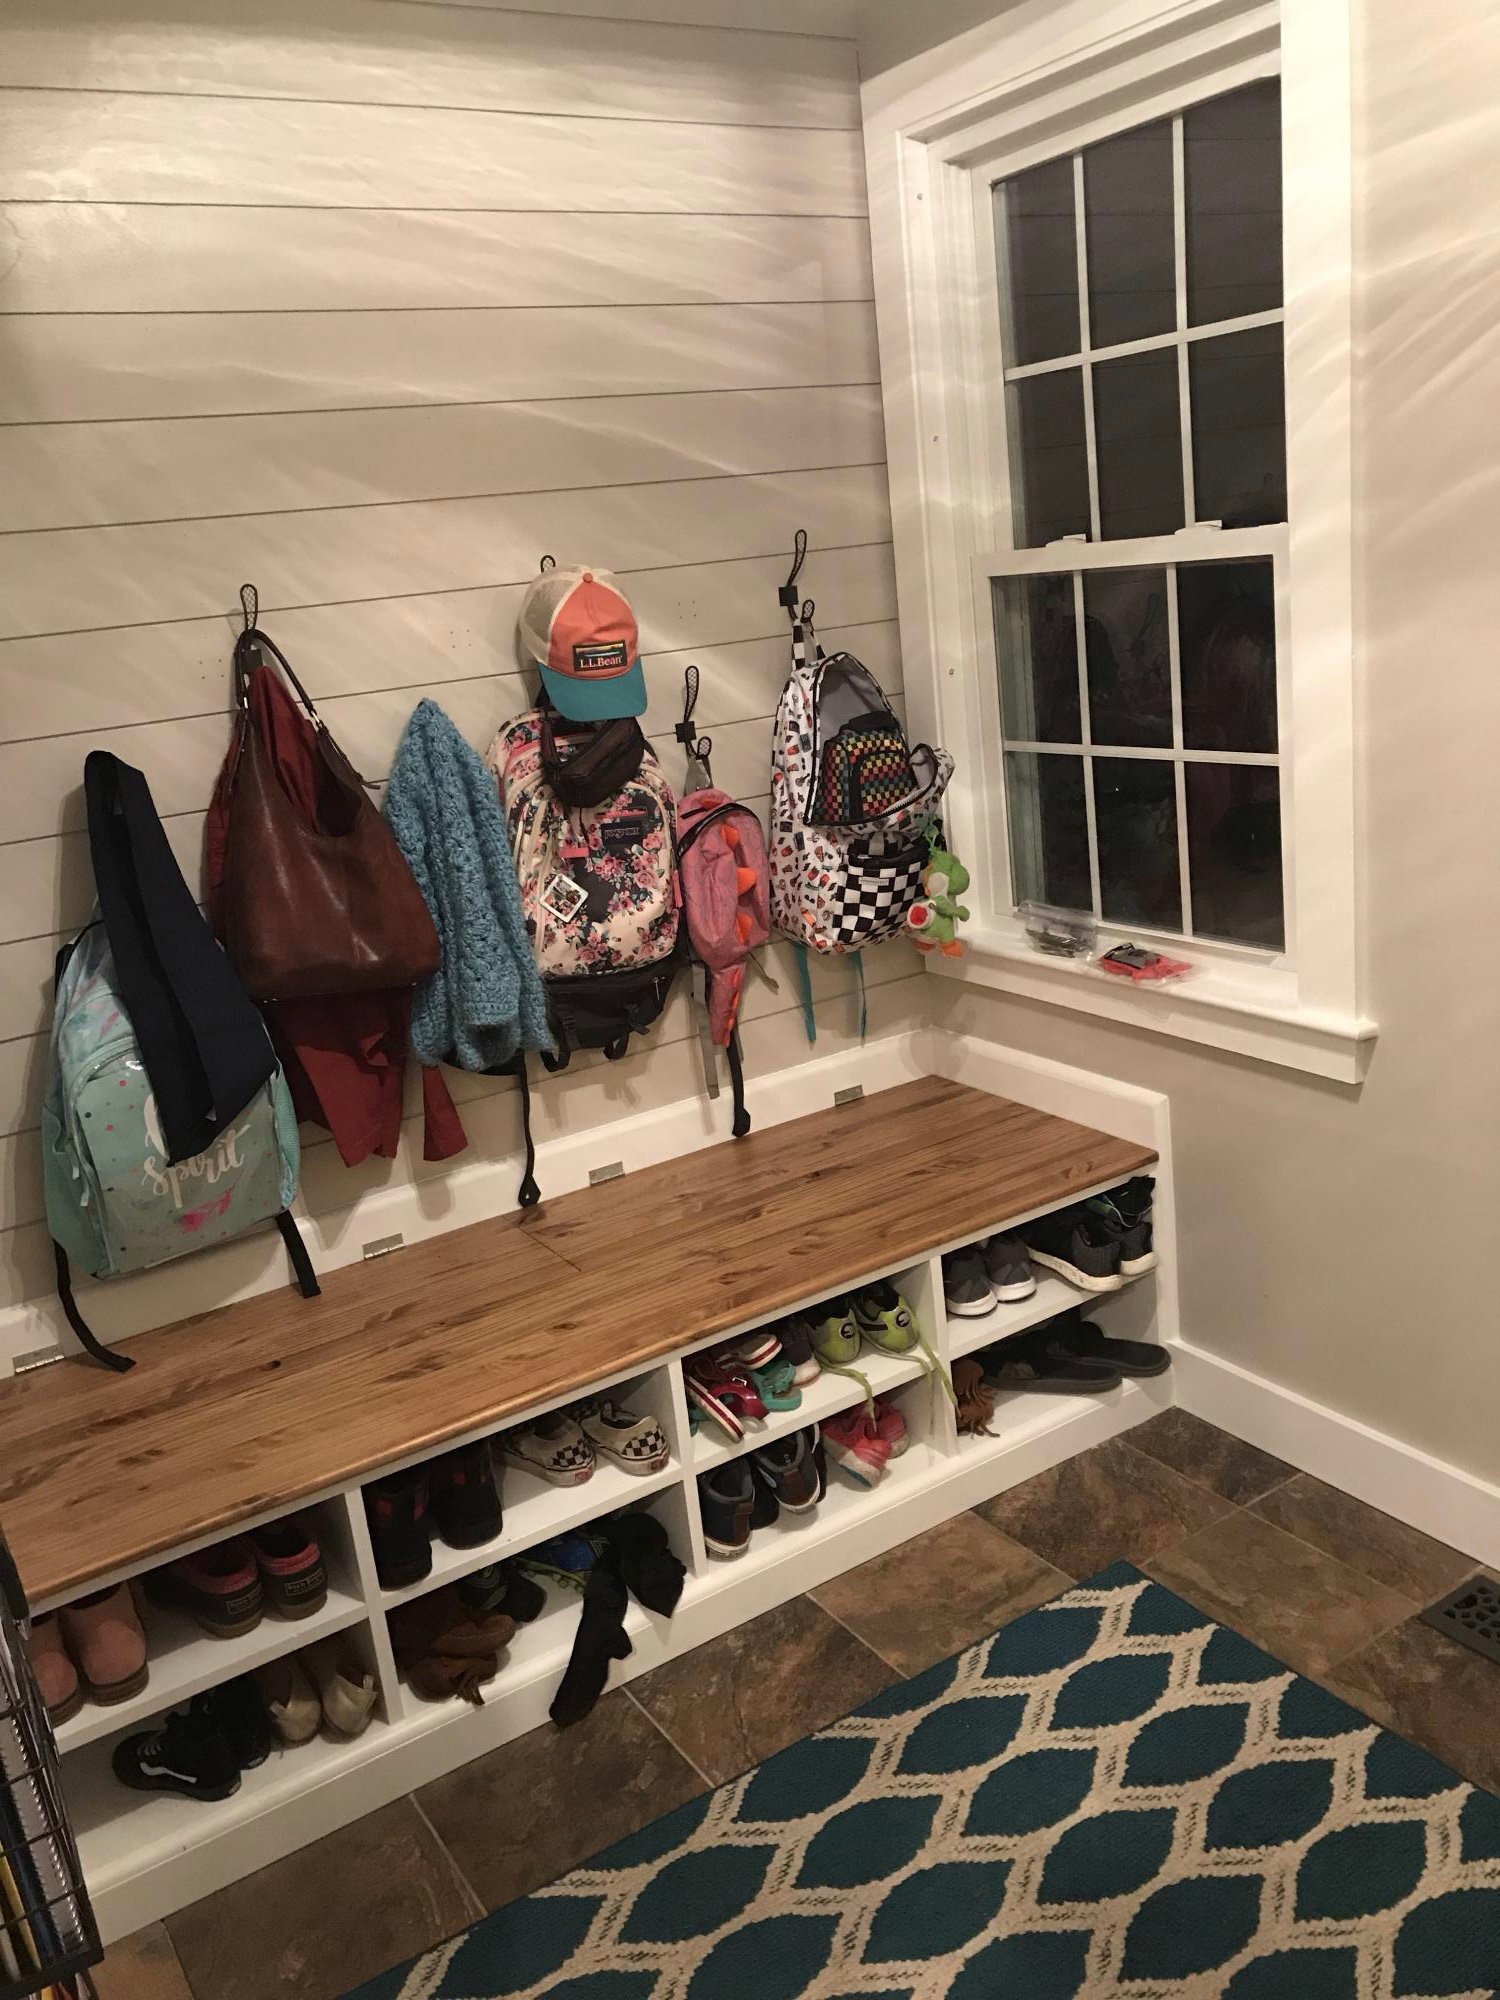
The plans for this bench fit out mudroom perfectly! All ready for winter now with the boot storage in back ☺️
Wed, 10/02/2019 - 09:29
We love this shoe bench!!! So much storage, great job!
Comments
Ana White Admin
Sat, 02/06/2016 - 12:30
You did it!
WOw, that looks amazing! I see that great toy storage too, thanks for sharing!