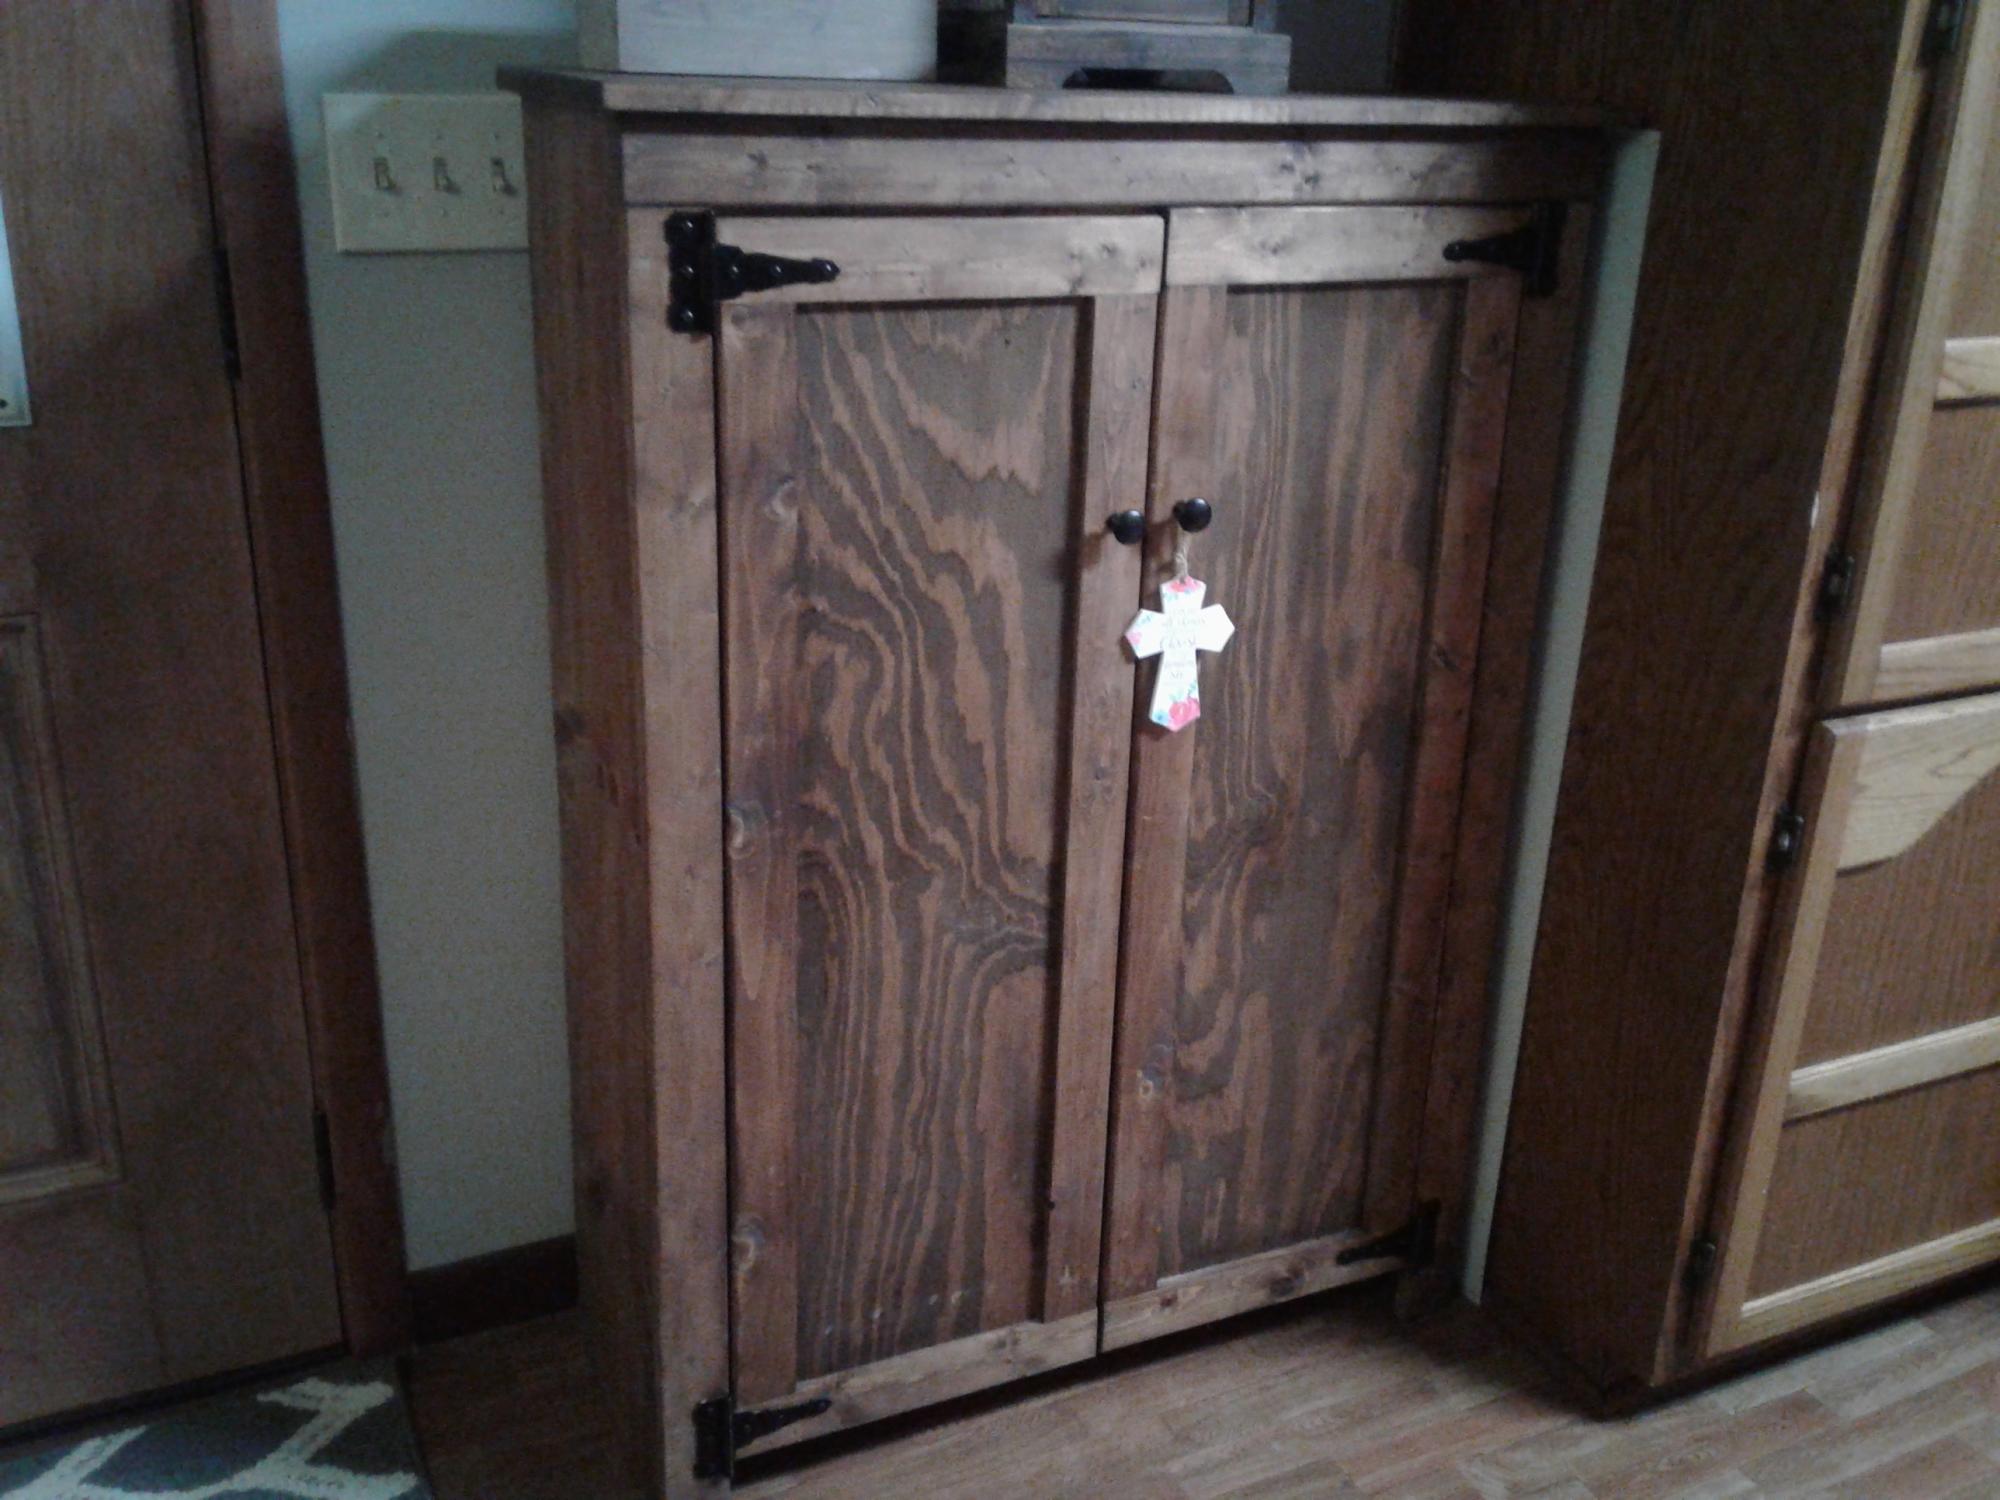
Jelly cupboard
Made from Ana White `s plan. Thanks for the help.
Built from Plan(s)
Made from Ana White `s plan. Thanks for the help.

We bought a vacation home that has such a small kitchen. I knew we needed more storage. So I checked out Ana's plans and made this bad boy based on the Simplest Armoire plans.
The home is in the mountain/lakes area of northern New Hampshire, so I wanted to bring the outside colors in. I used Valspar Cabin Red paint and the Valspar Antiquing glaze over the top after distressing it a bit.


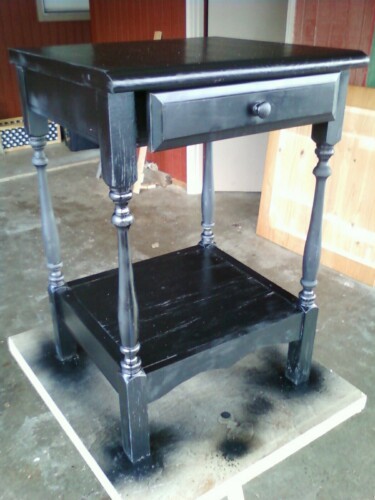
My husband and my boys built it, painted it, and stained it in a weekend. Great father and sons project. I used the same black paint and stain that Shanty-2-chic used. I LOVE it.. now on to the benches.
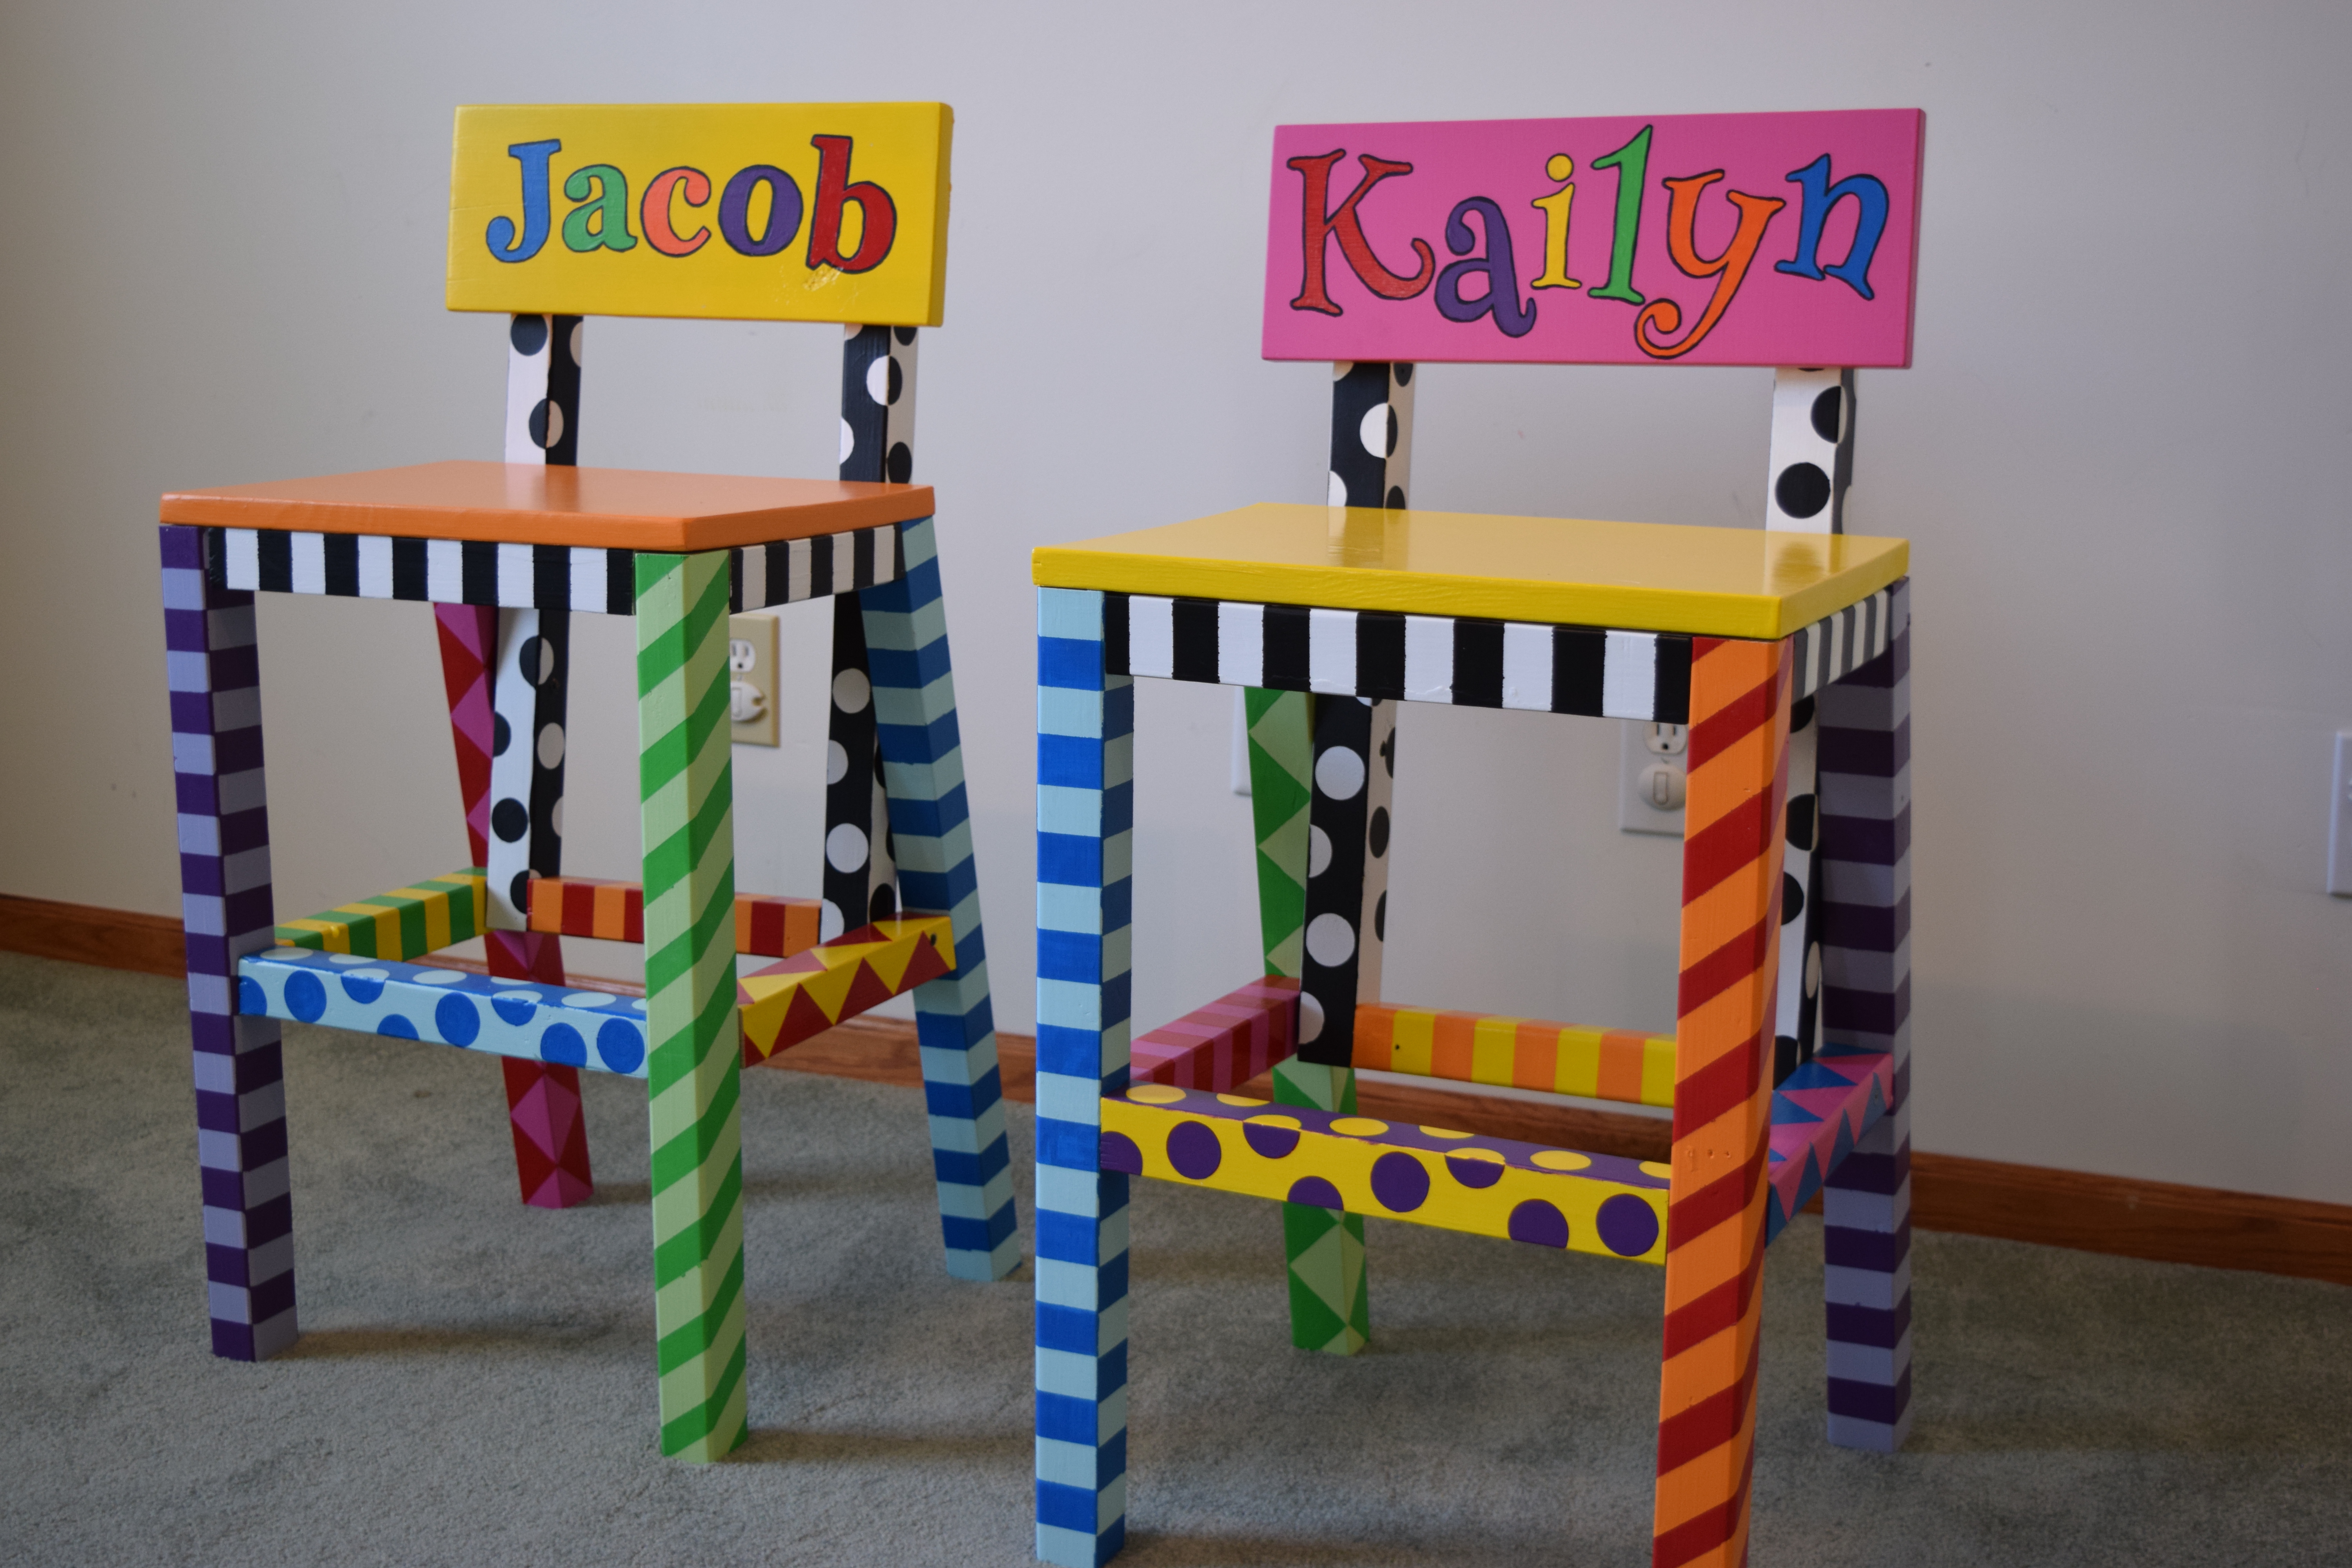
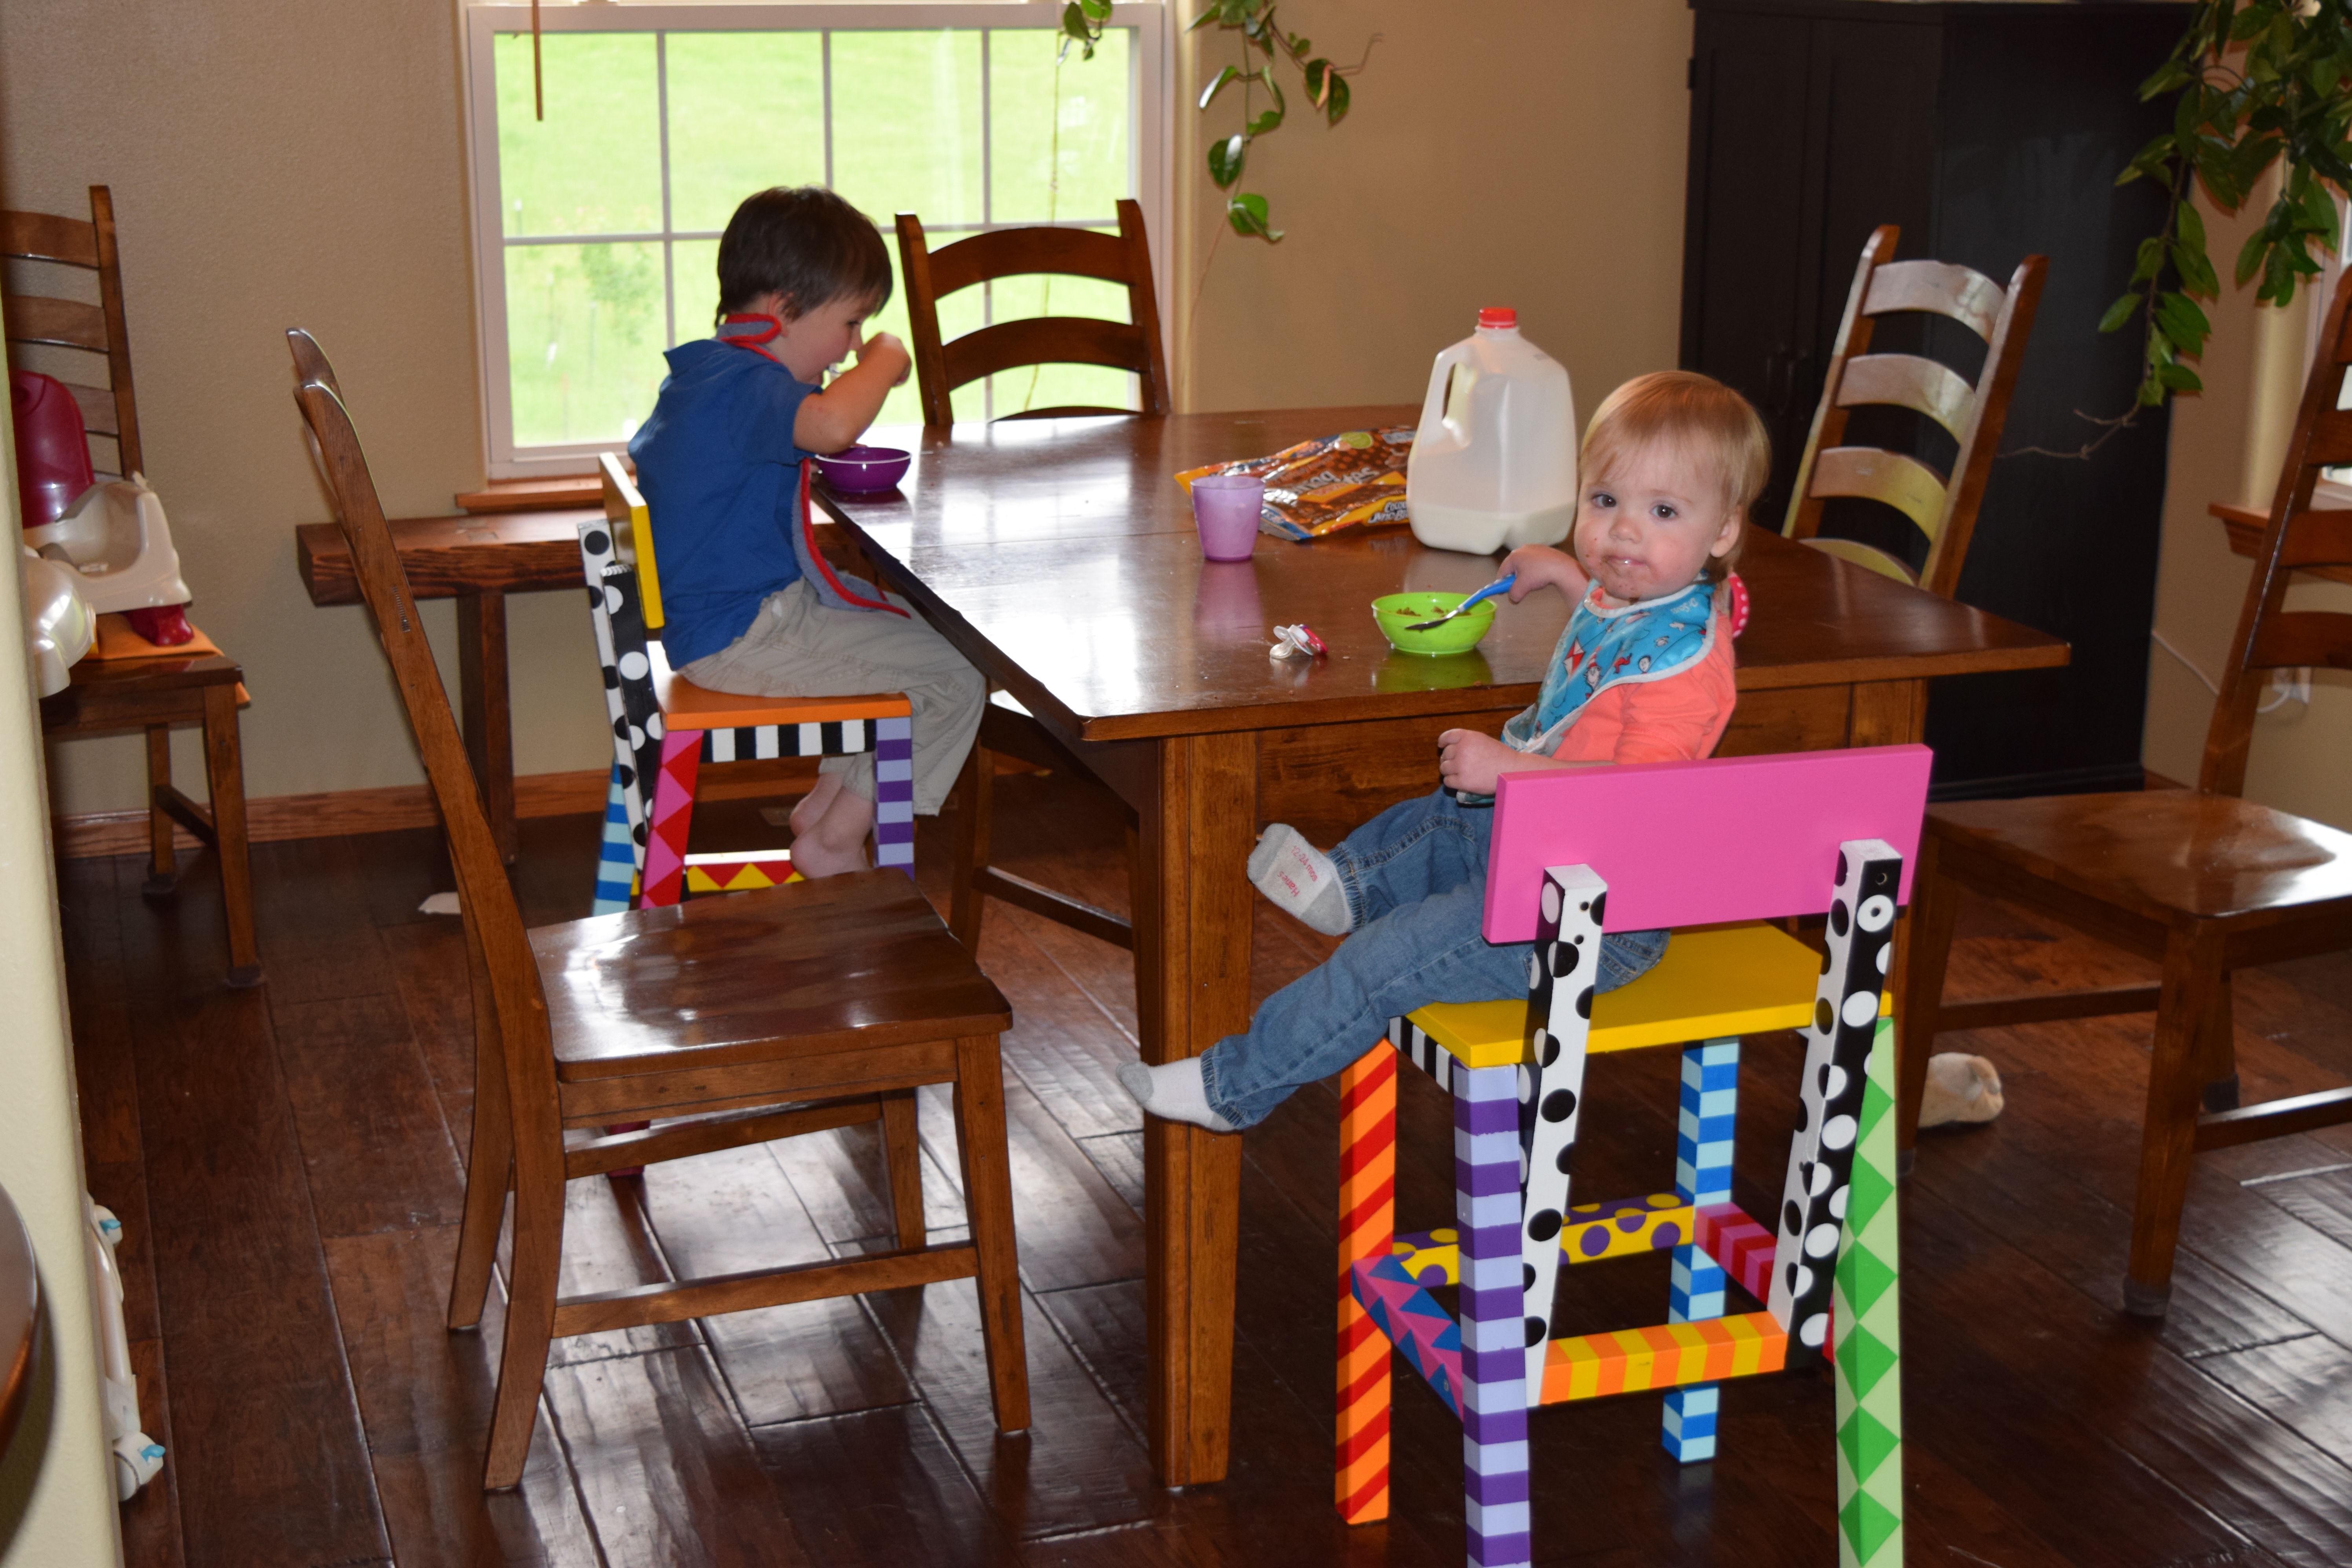
These chairs are easy to build and the kids love them. I wanted them to be colorful, fun, and personal. My son has been using his chair before it was finished for two years now. It was supposed to be used temporarily for a dinner party one night and we didn't want to part with it long enough to finish it. I built a second chair for my one and a half year old and decided to finish both chairs at the same time. With a little bit of planning and some painters tape this is how they turned out.
Sat, 06/27/2015 - 22:14
Love the finish here, so cute! For the circles, did you use those circle stickers? I may need to do something like this for a very special little girl :)
In reply to love the paint! by ladybug'13
Sun, 08/02/2015 - 18:40
I used a stencil to draw the circles then just painted them in.
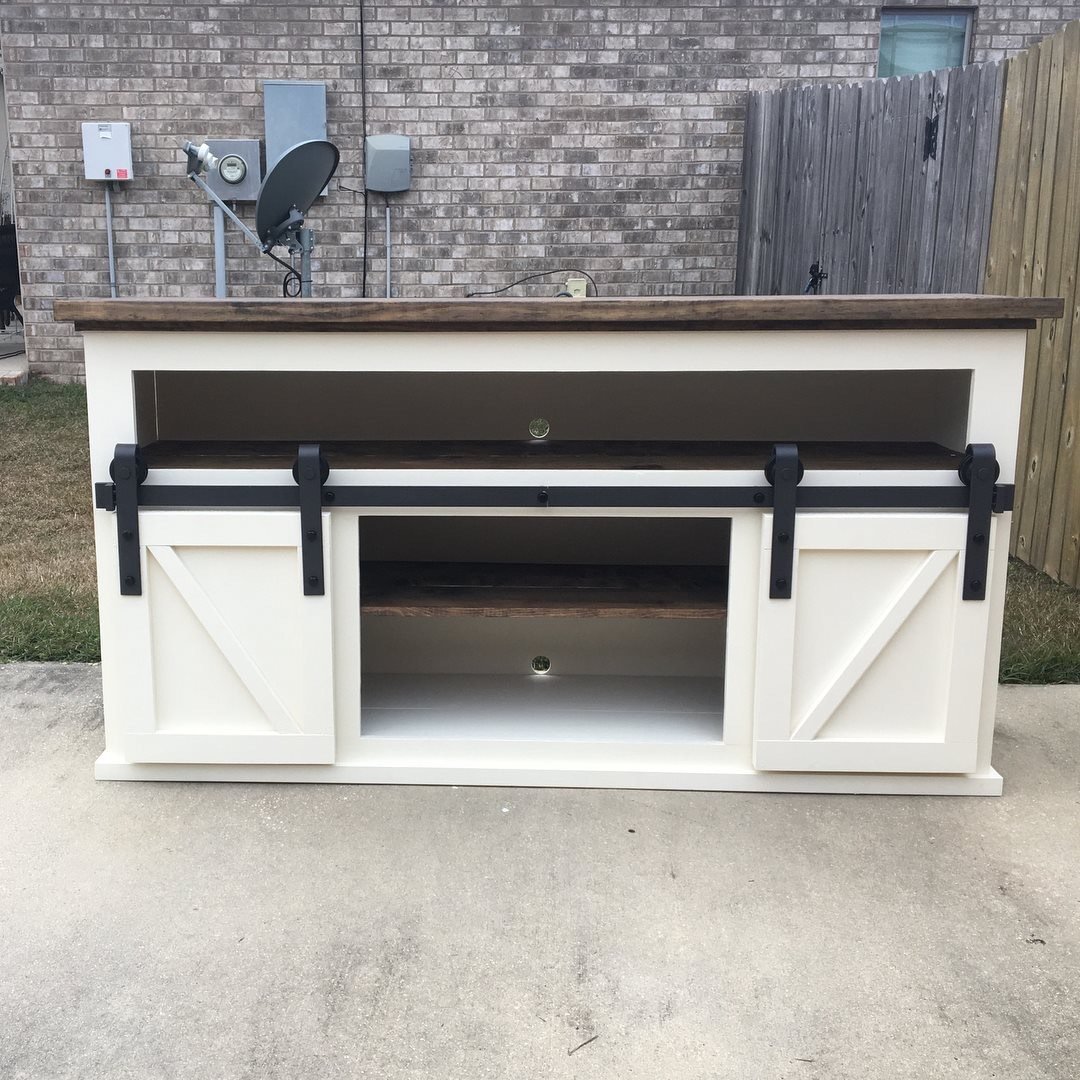
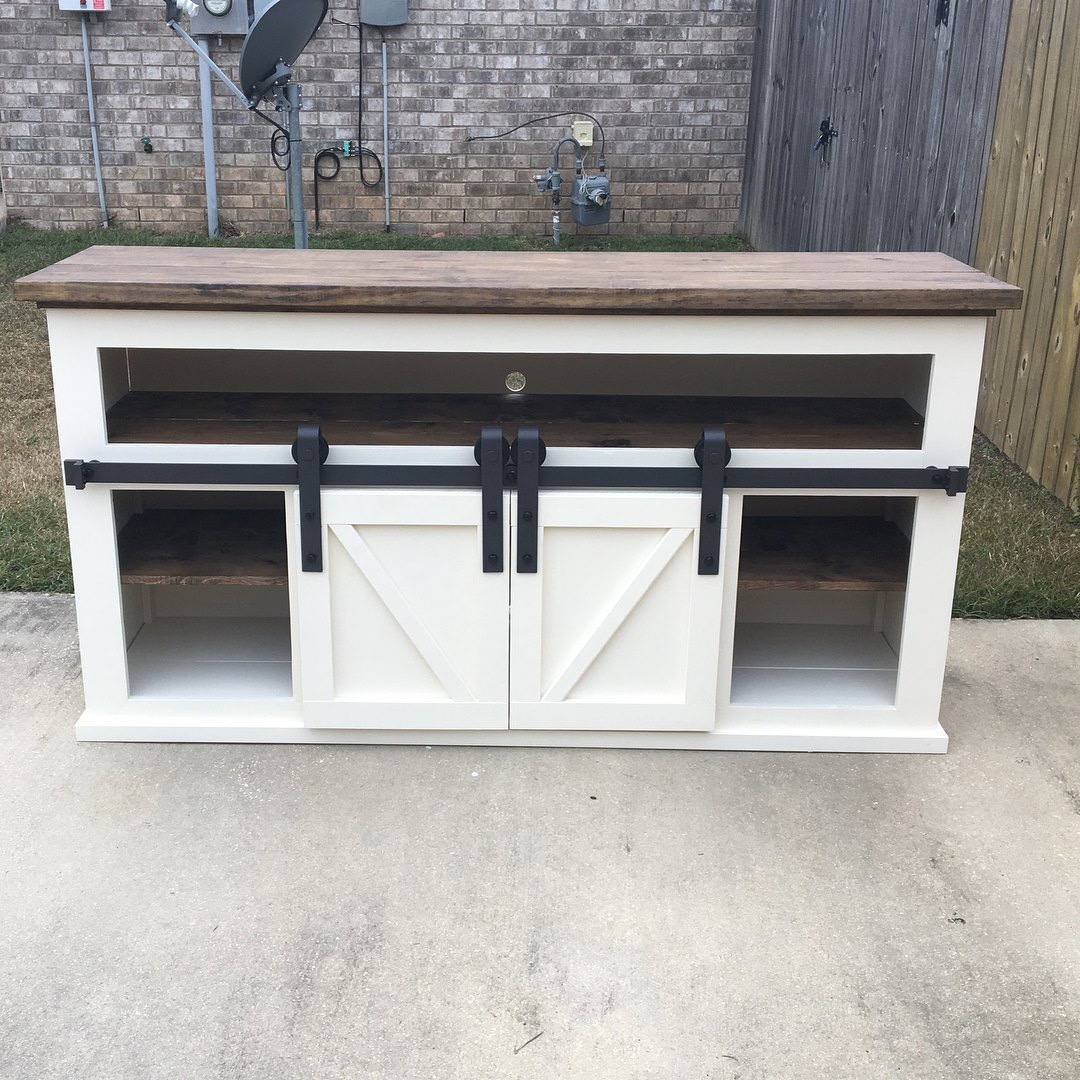
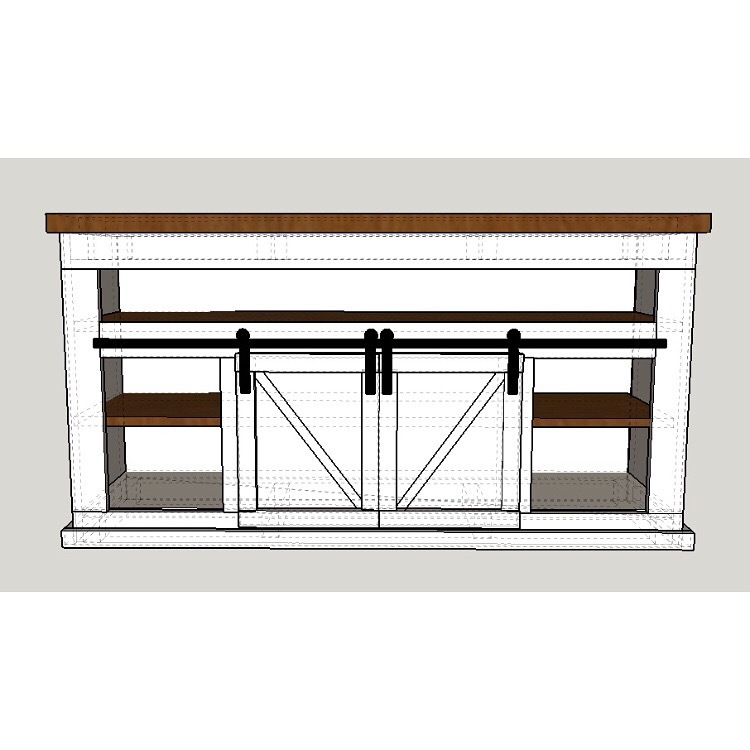
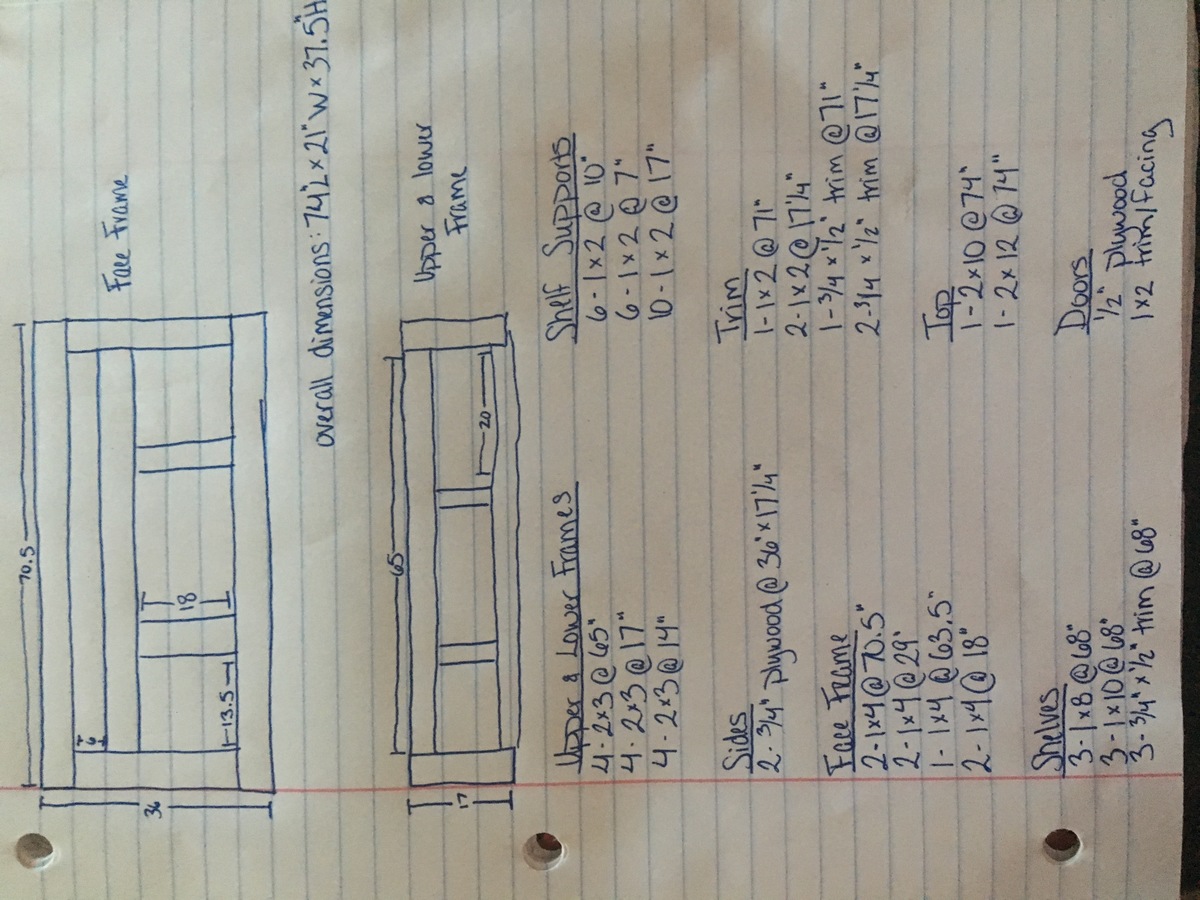
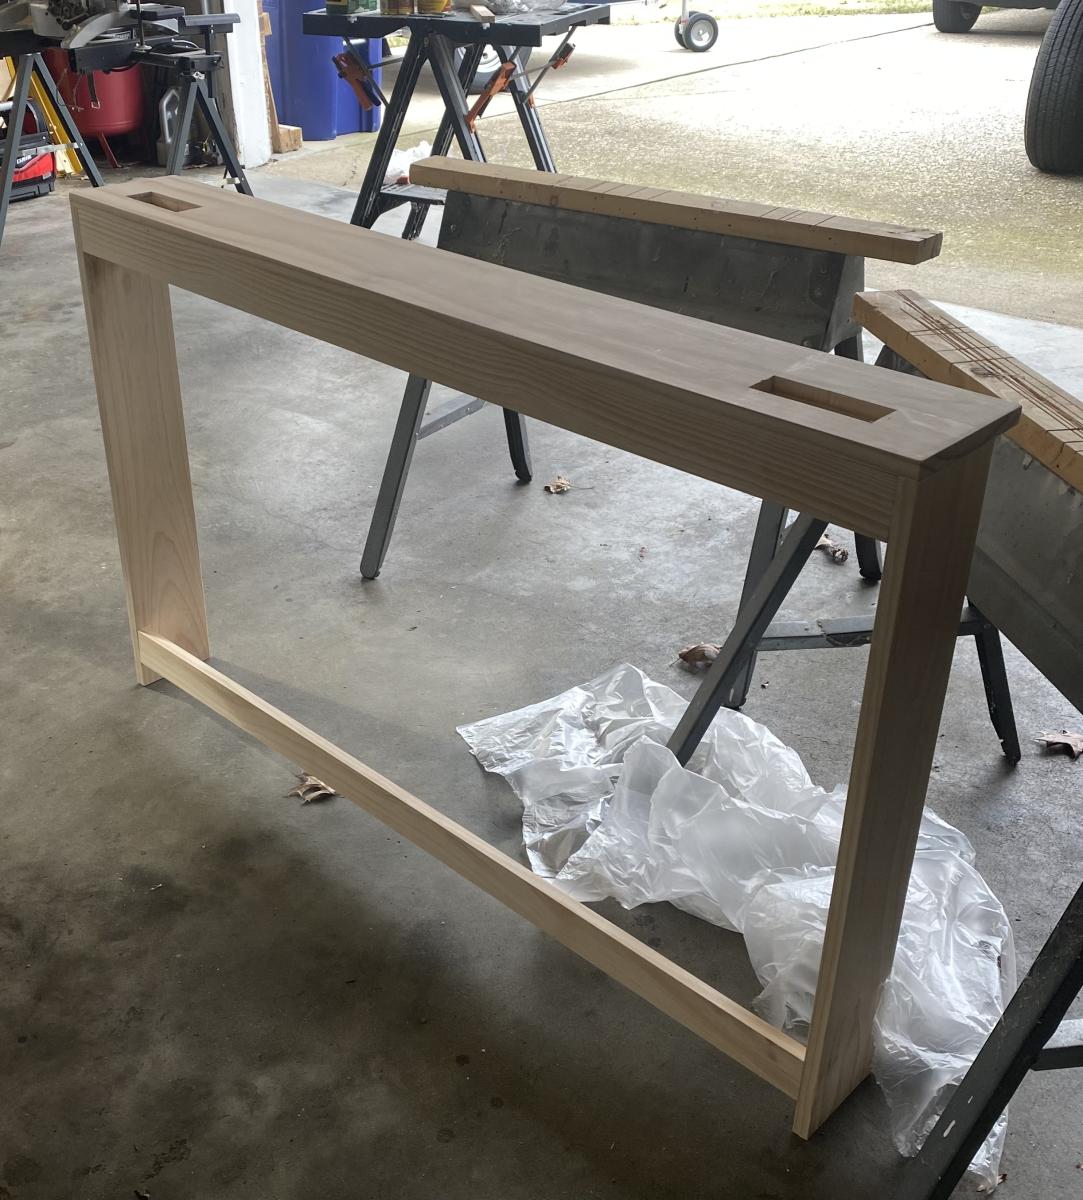
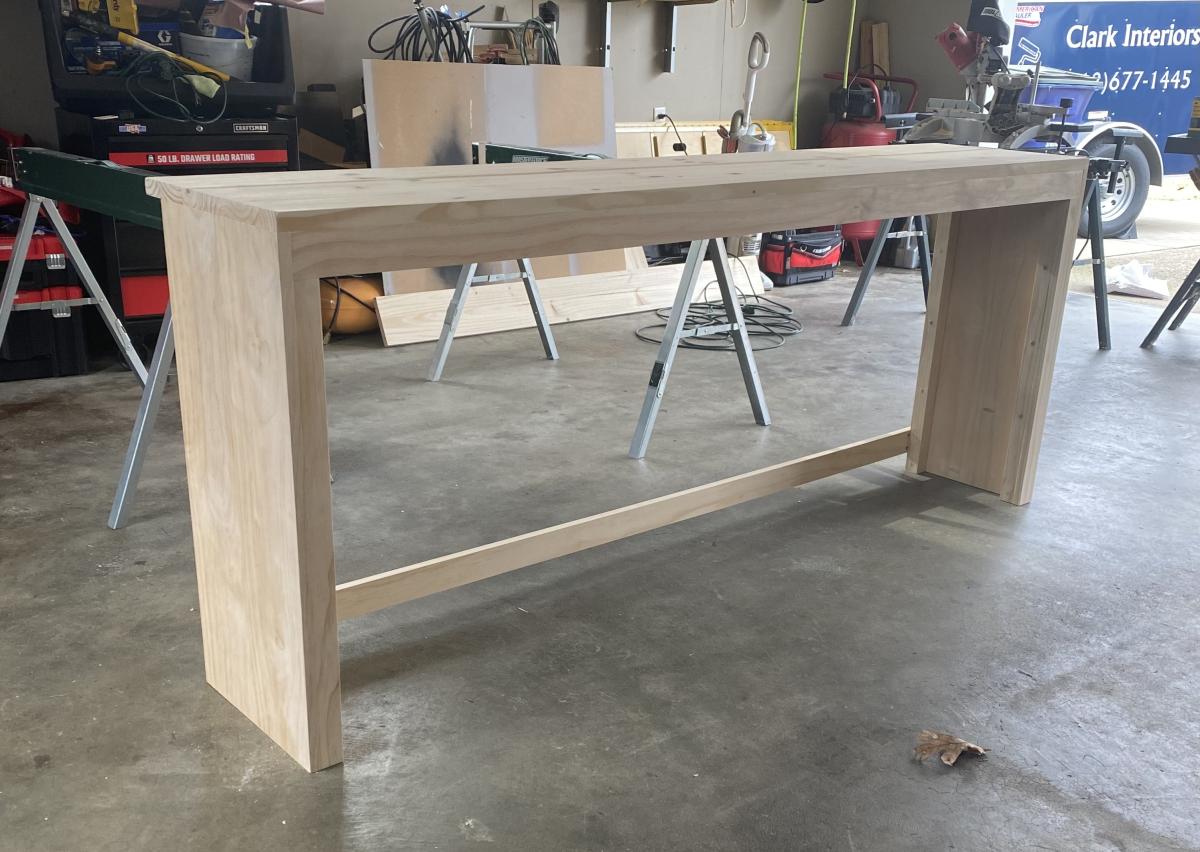
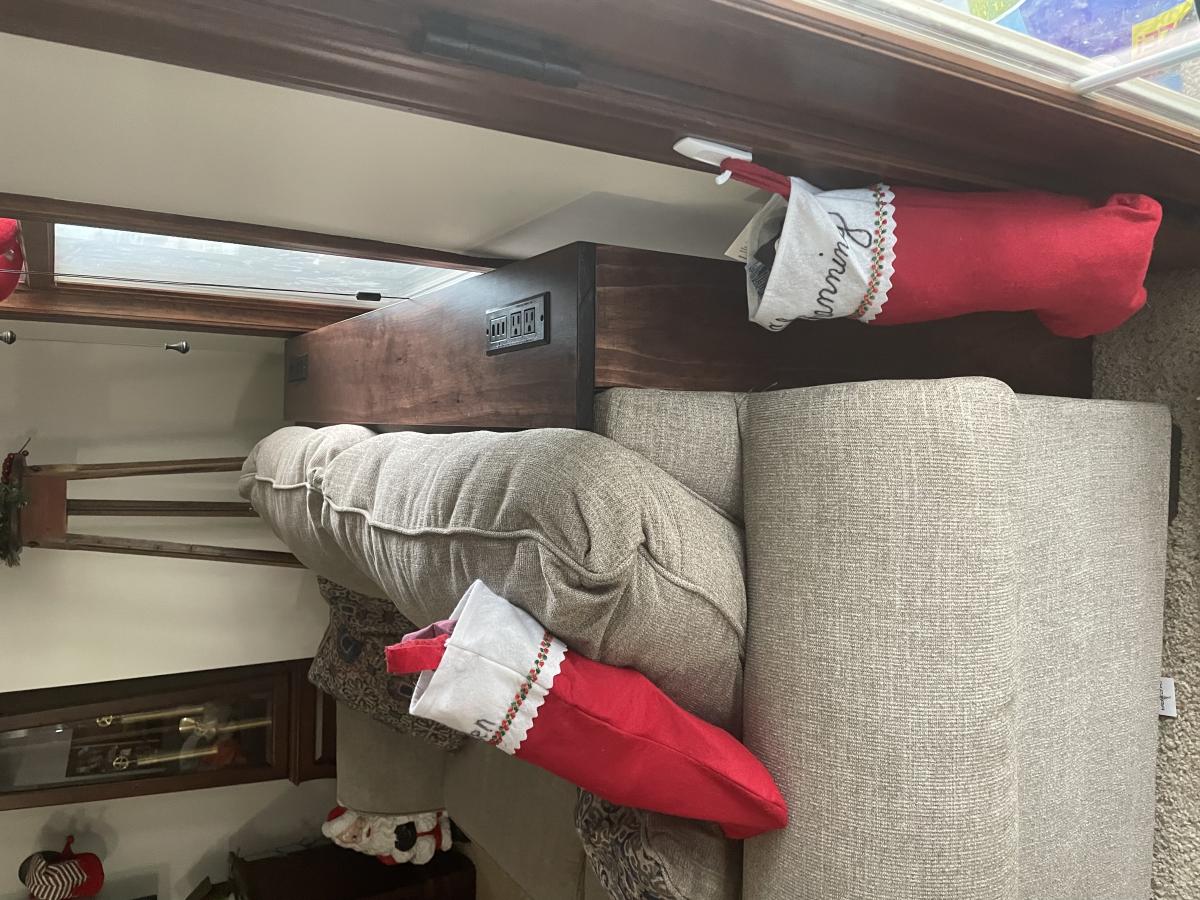
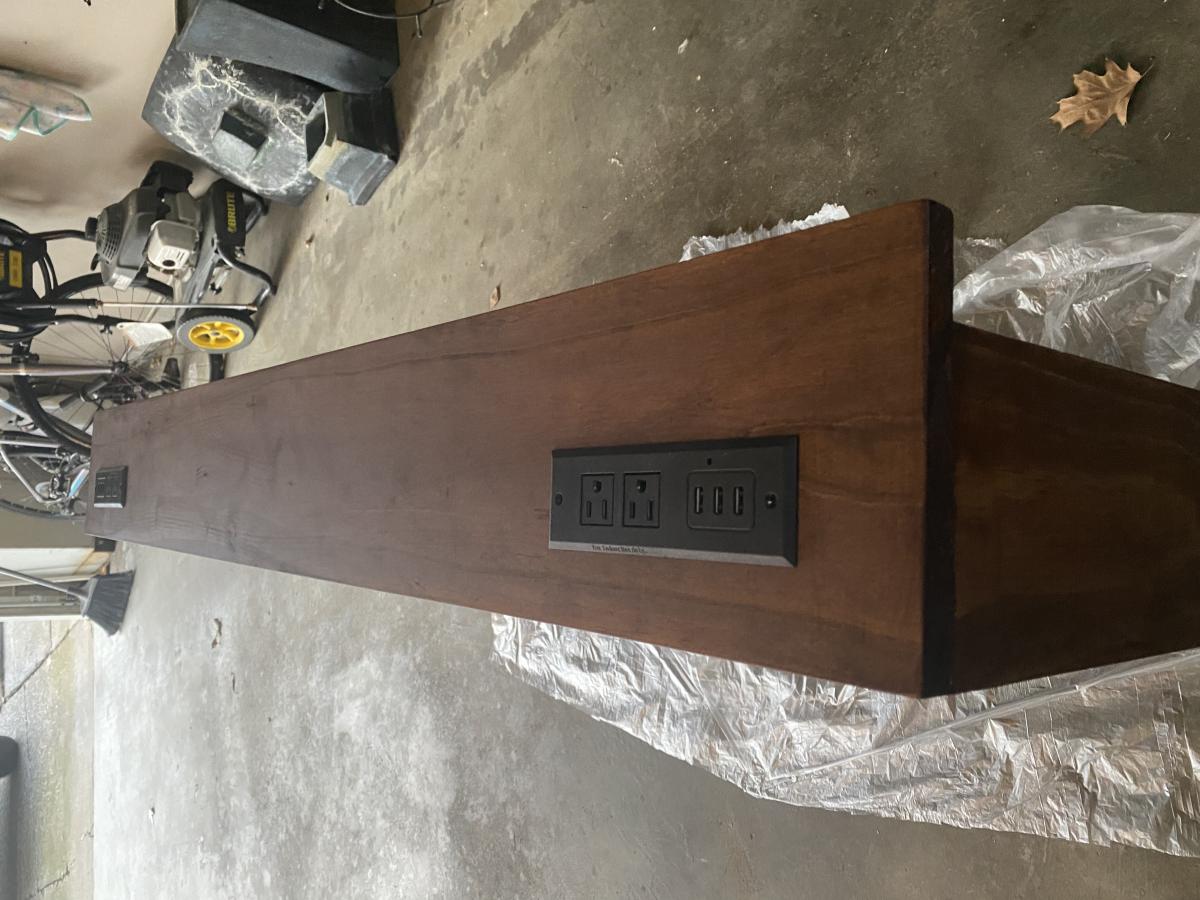
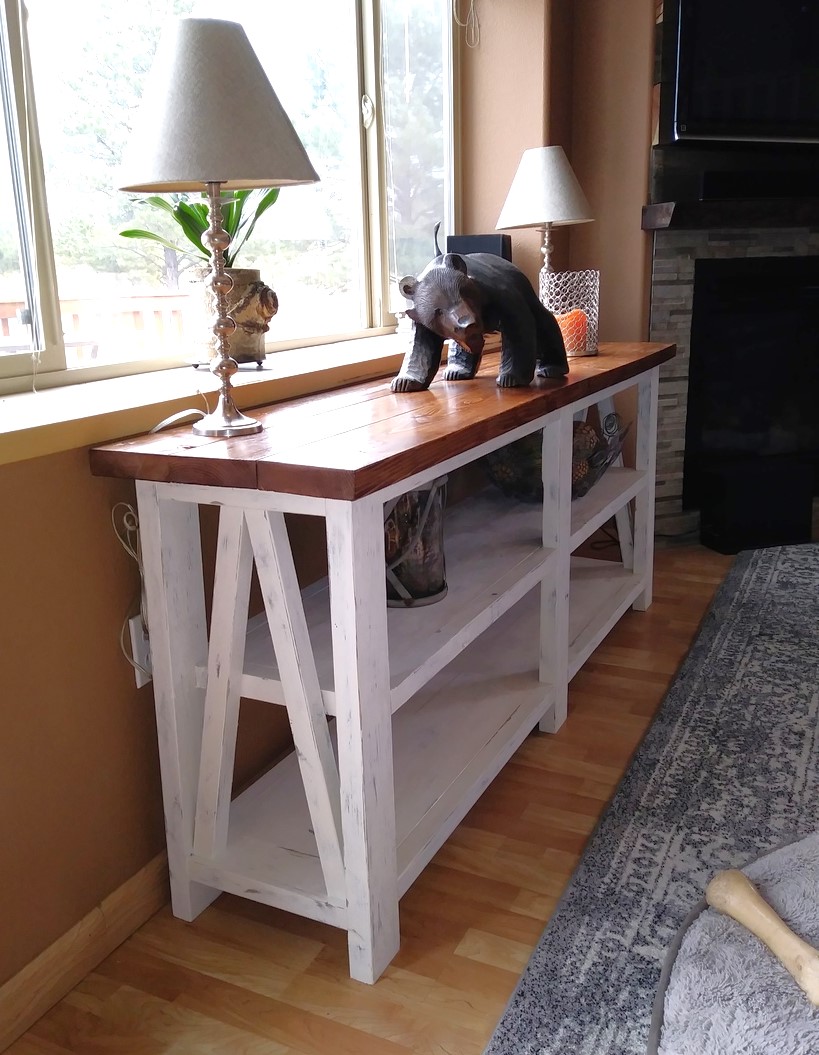
I modified these plans to be a bit smaller and also added an upper shelf area. Overall dimensions for my finished product are 74” long by 21” wide by 37.5” tall. I stained the top, upper trim pieces, and shelves dark walnut. The rest of the project is painted in “Summer White” by Sherwin Williams. To complete this project you will need barn door hardware *plus* an extra door set. I did my best to provide sketches and dimensions, but all wood was cut to size by measuring its space first, so “cut list” may not be exact. In this project it is key to measure as you go and maintain a level workspace so that the furniture remains level. I also added 3/4” by 1/2” trim pieces to the shelves because I did not like the gap in the shelving pieces. I also drilled 1.5” holes in the back in order to accommodate electrical cords.
Upper and lower frames:
4 - 2x3 @ 65”
4 - 2x3 @ 17”
4 - 2x3 @ 14”
Sides:
2 - 3/4” plywood @ 36”x17 1/4”
Face Frame:
2 - 1x4 @ 70.5”
2 - 1x4 @ 29”
1 - 1x4 @ 63.5”
2 - 1x4 @ 18”
Shelves:
3 - 1x8 @68”
3 - 1x10 @ 68”
3 - 3/4”x1/2” trim @ 68”
Shelf Supports:
6 - 1x2 @ 10”
6 - 1x2 @ 7”
10 - 1x2 @ 17”
Trim:
1 - 1x2 @ 71.5”
2 - 1x2 @ 17 1/4”
1 - 3/4”x1/2” trim @ 71.5”
2 - 3/4”x1/2” trim @ 17 1/4”
Top:
1 - 2x10 @ 74”
1 - 2x12 @ 74”
Doors:
1/2” plywood approx 16”x20”
1x2 creates border and diagonal piece
Back:
1/4” plywood approx 36”x69”
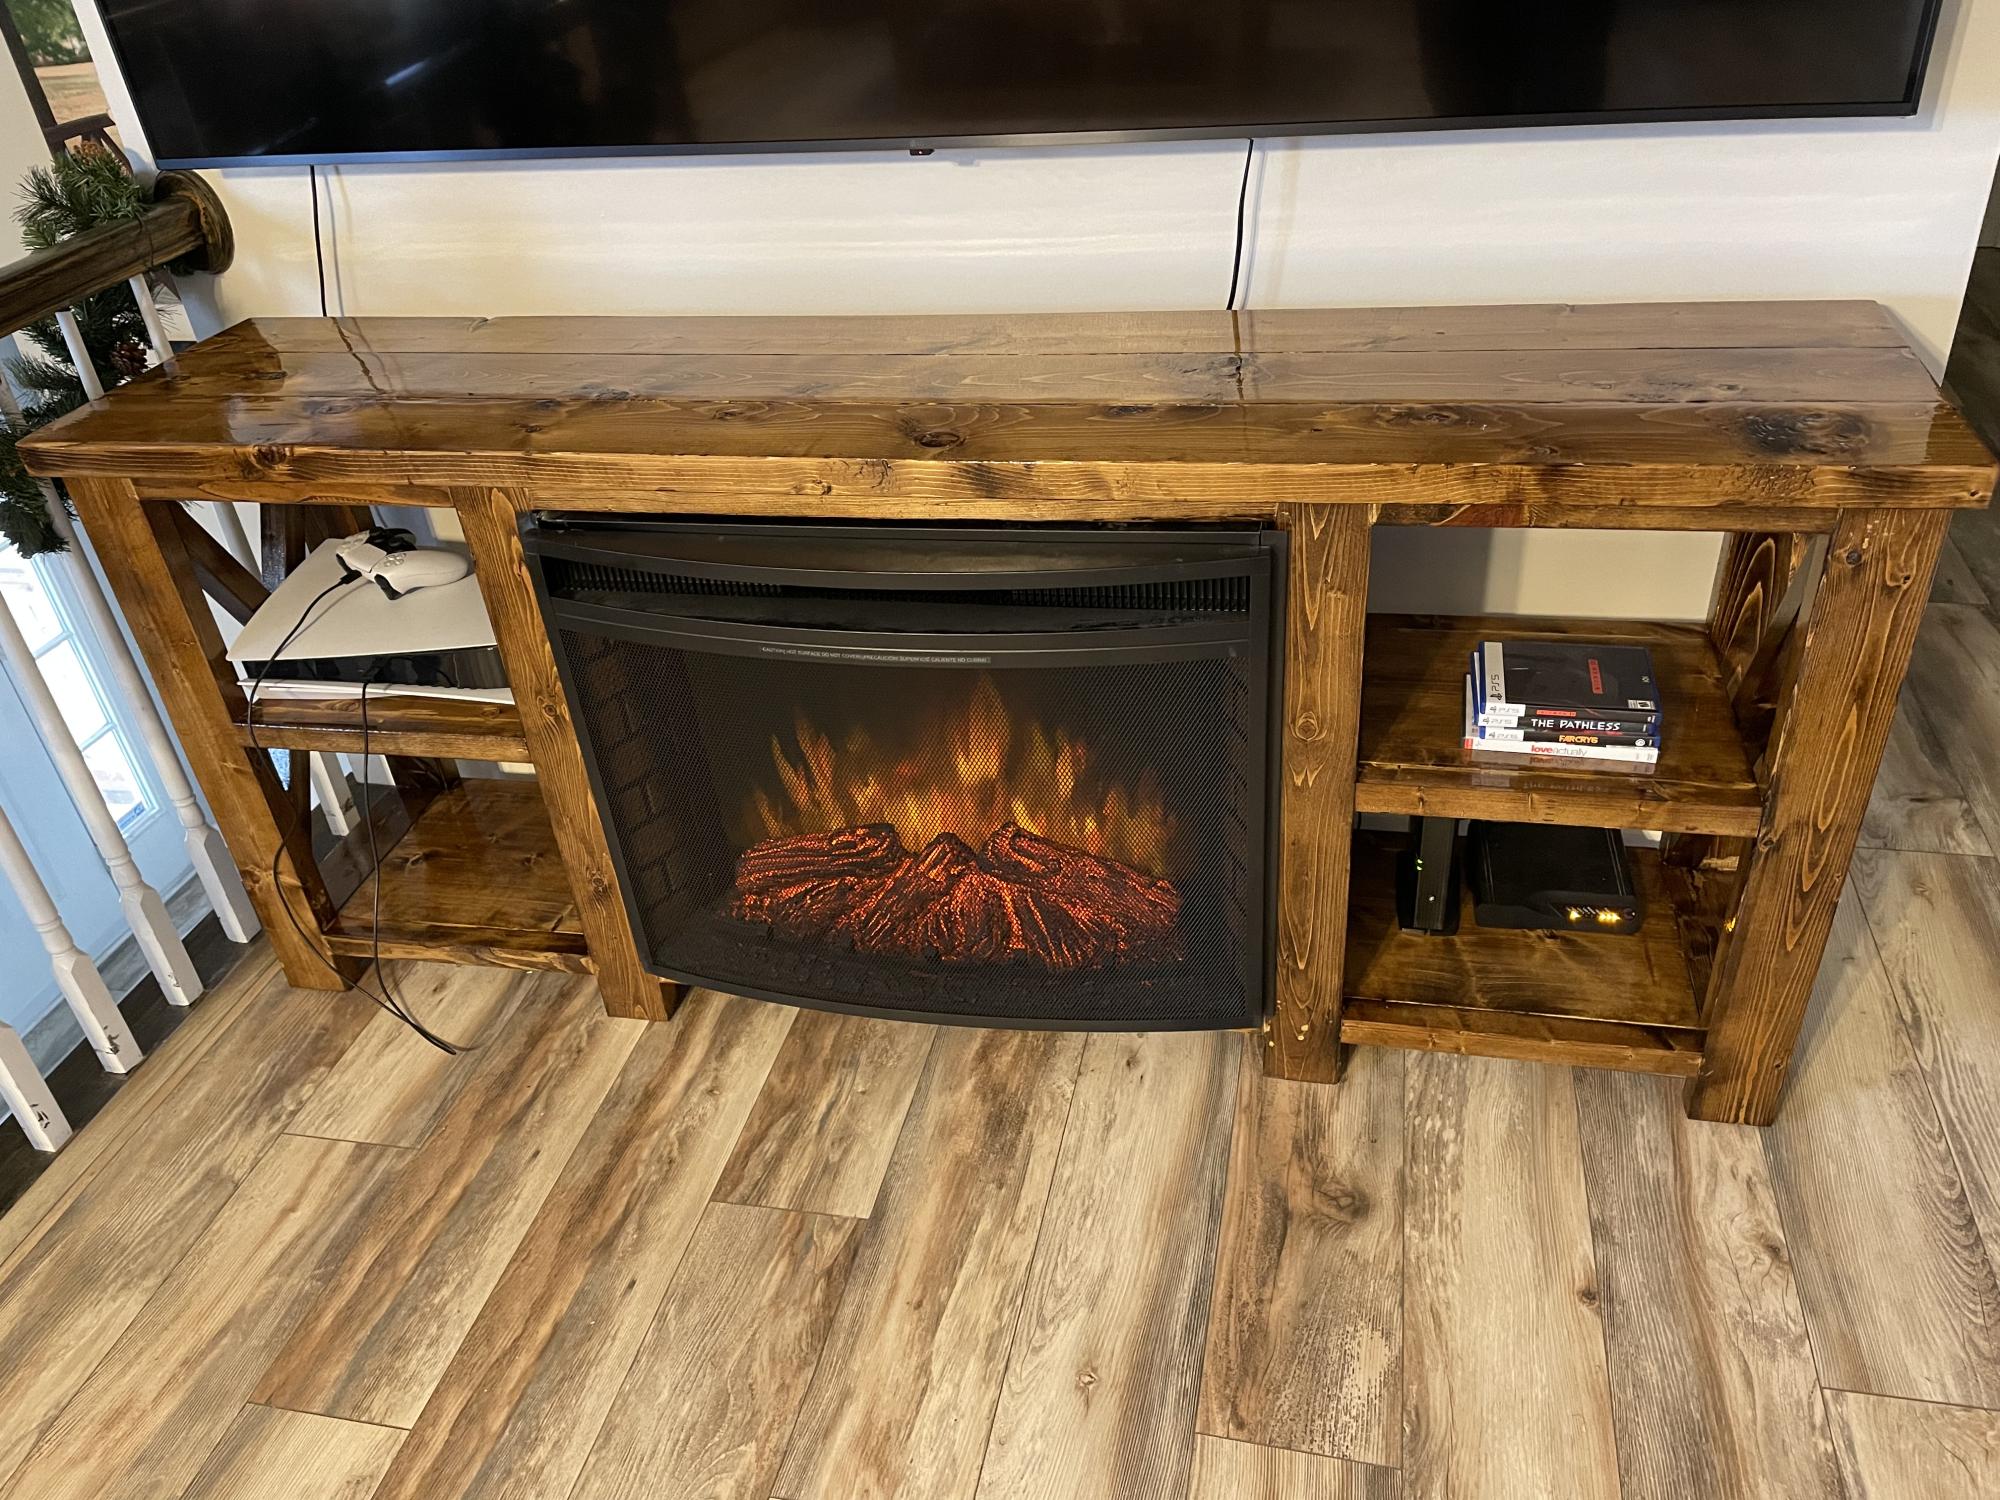
Needed a new console that would match other living room furniture. We had inherited the electric fireplace and previously didn’t know what to do with it. I adjusted the plans slightly to fit it in and am happy with the results
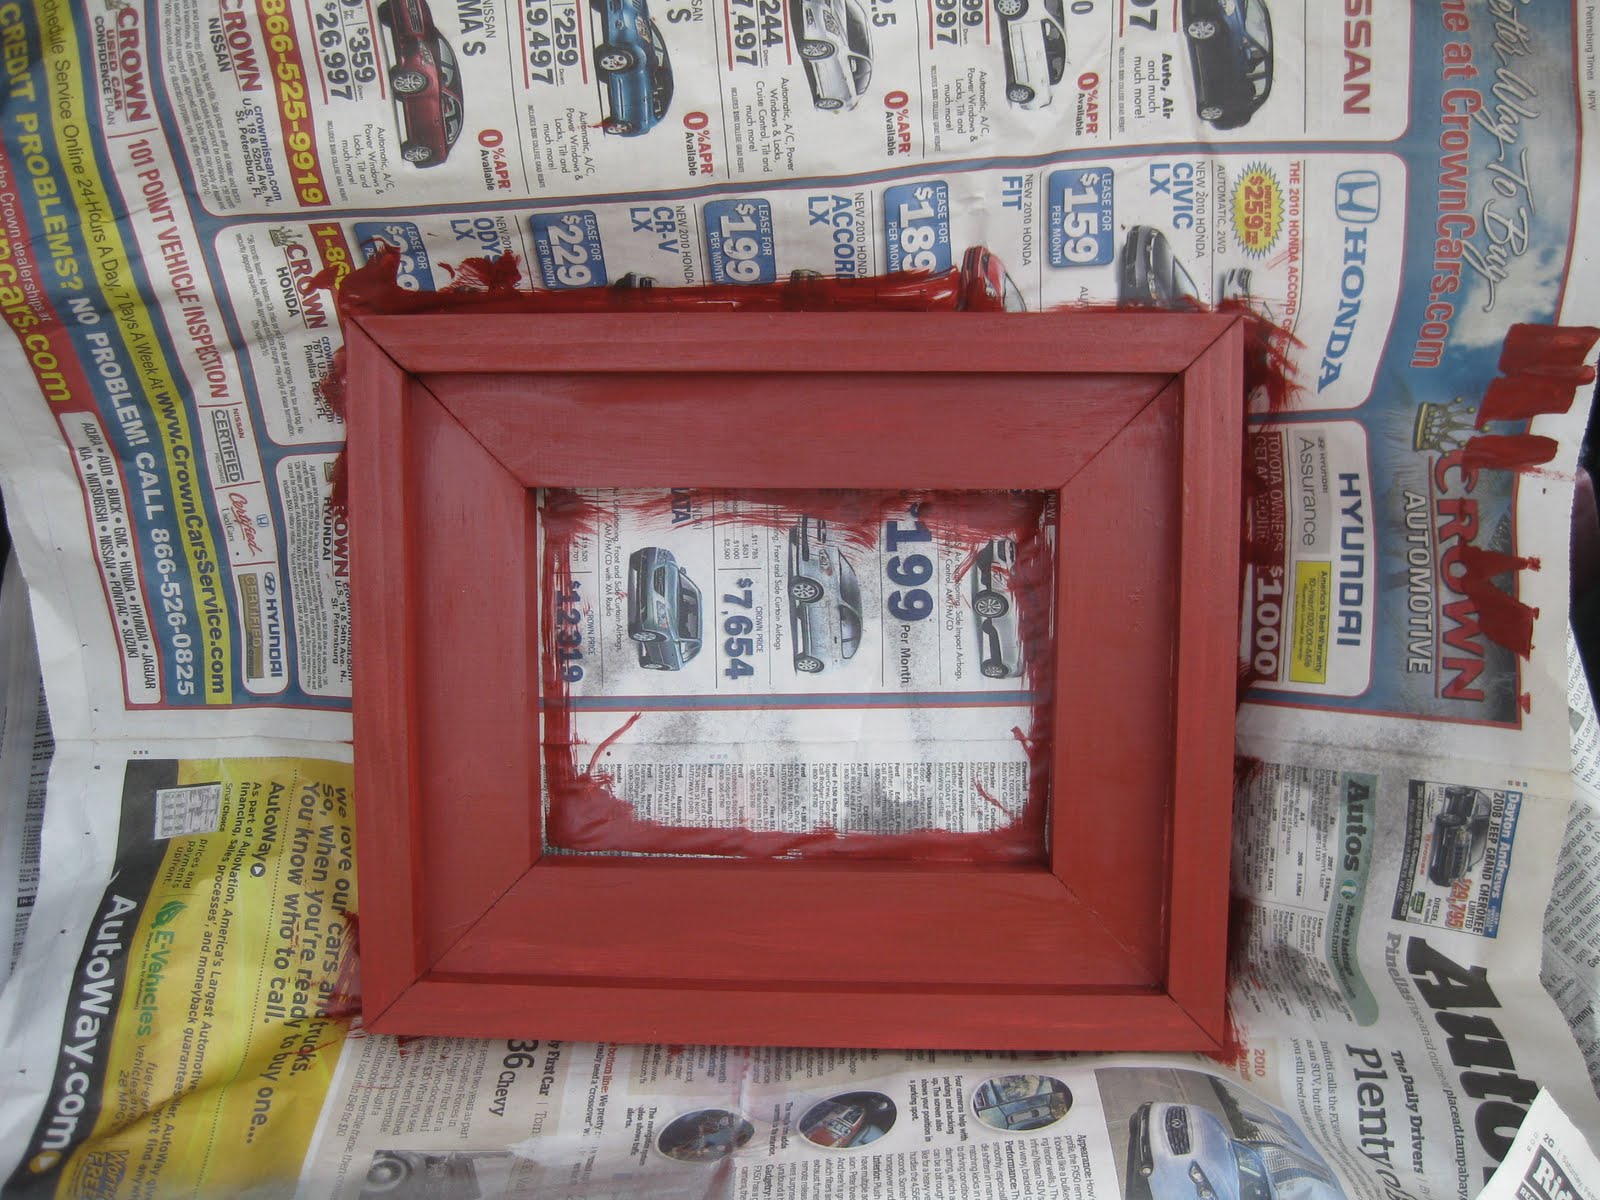
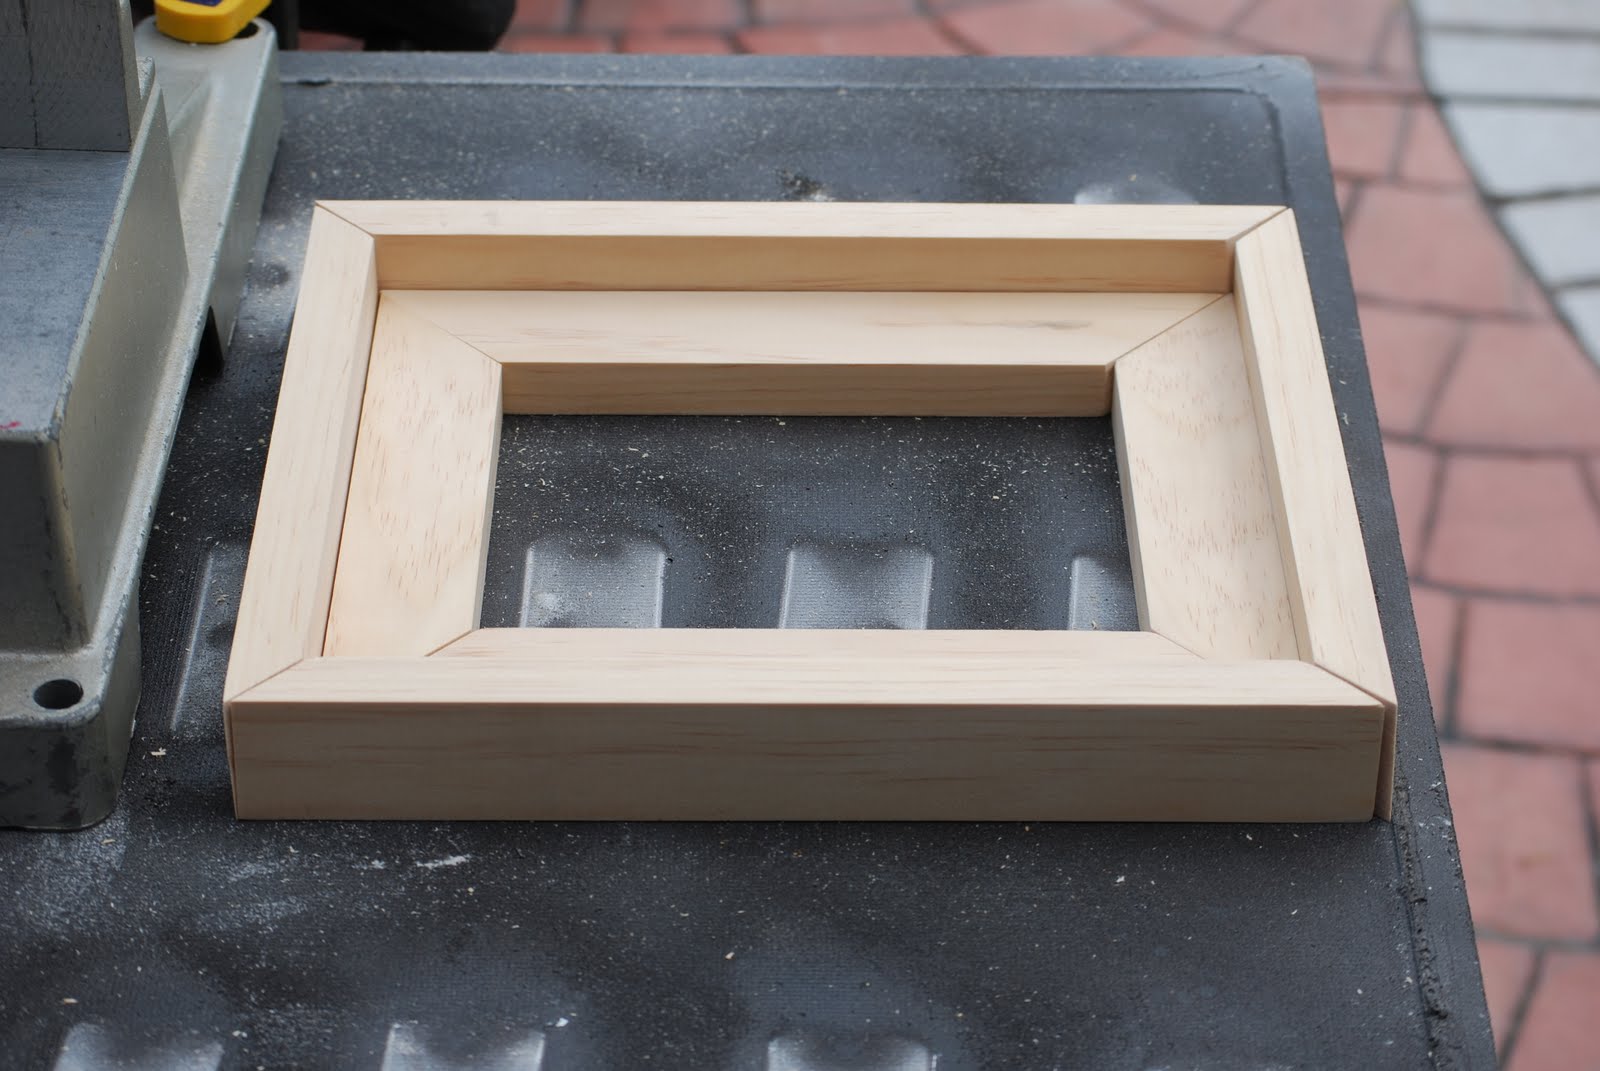
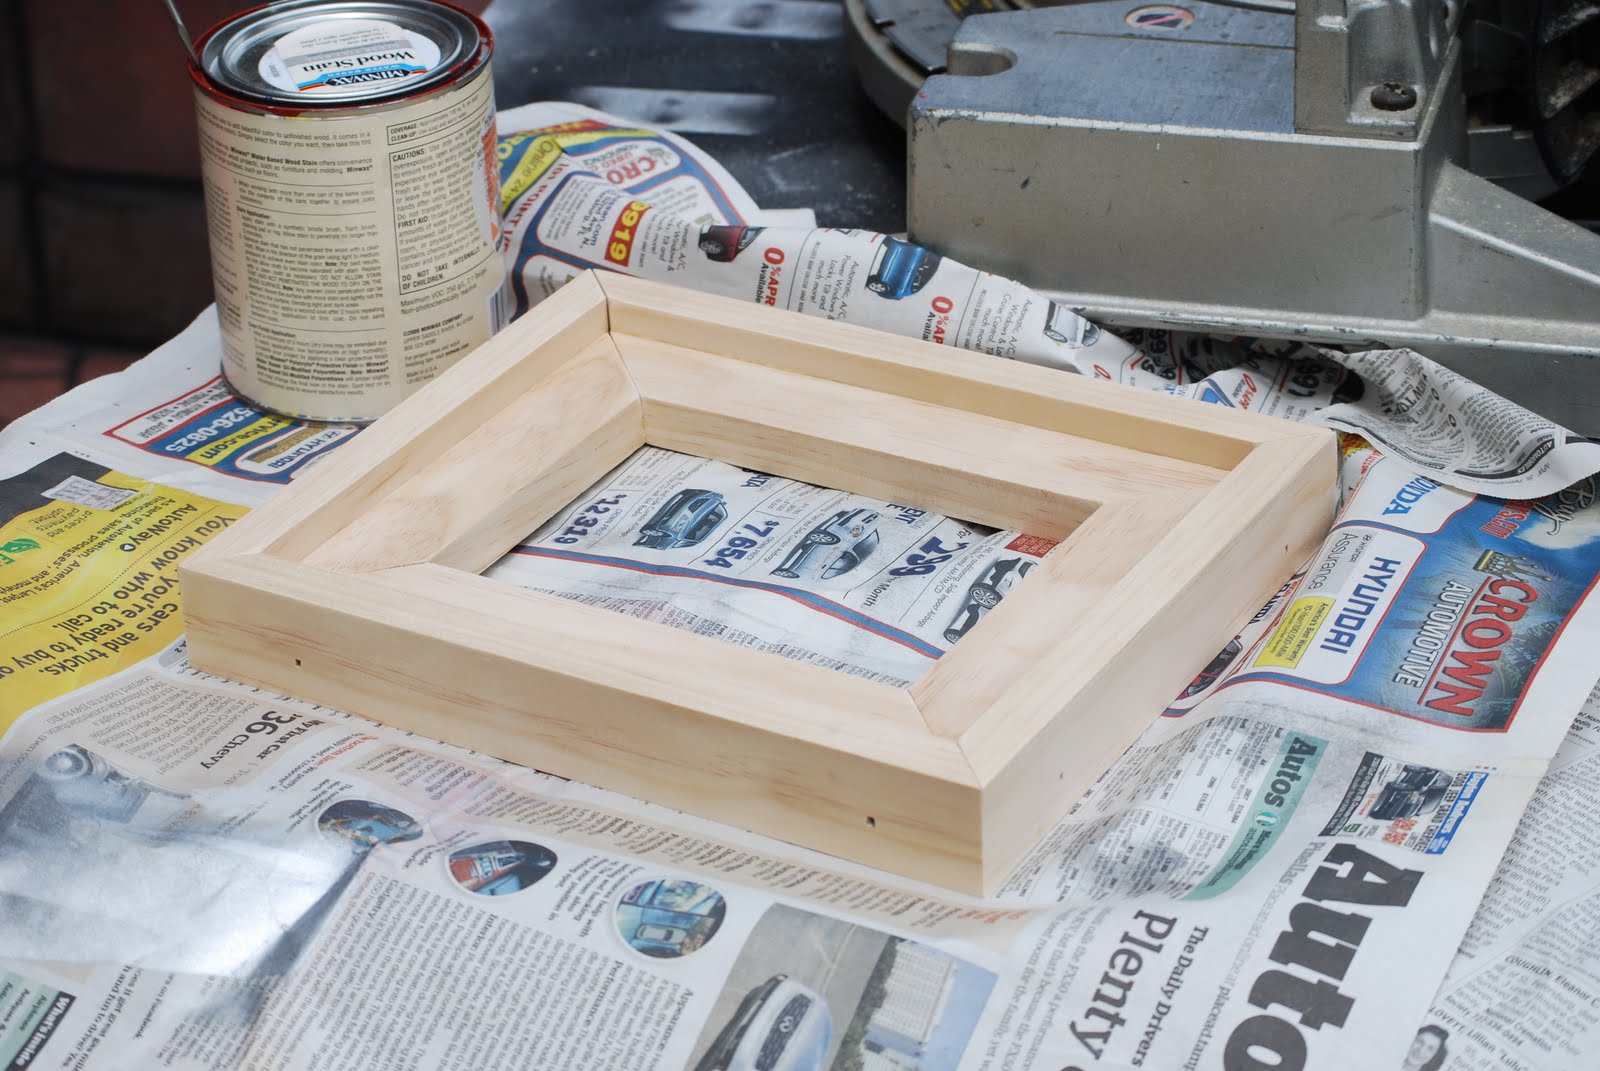
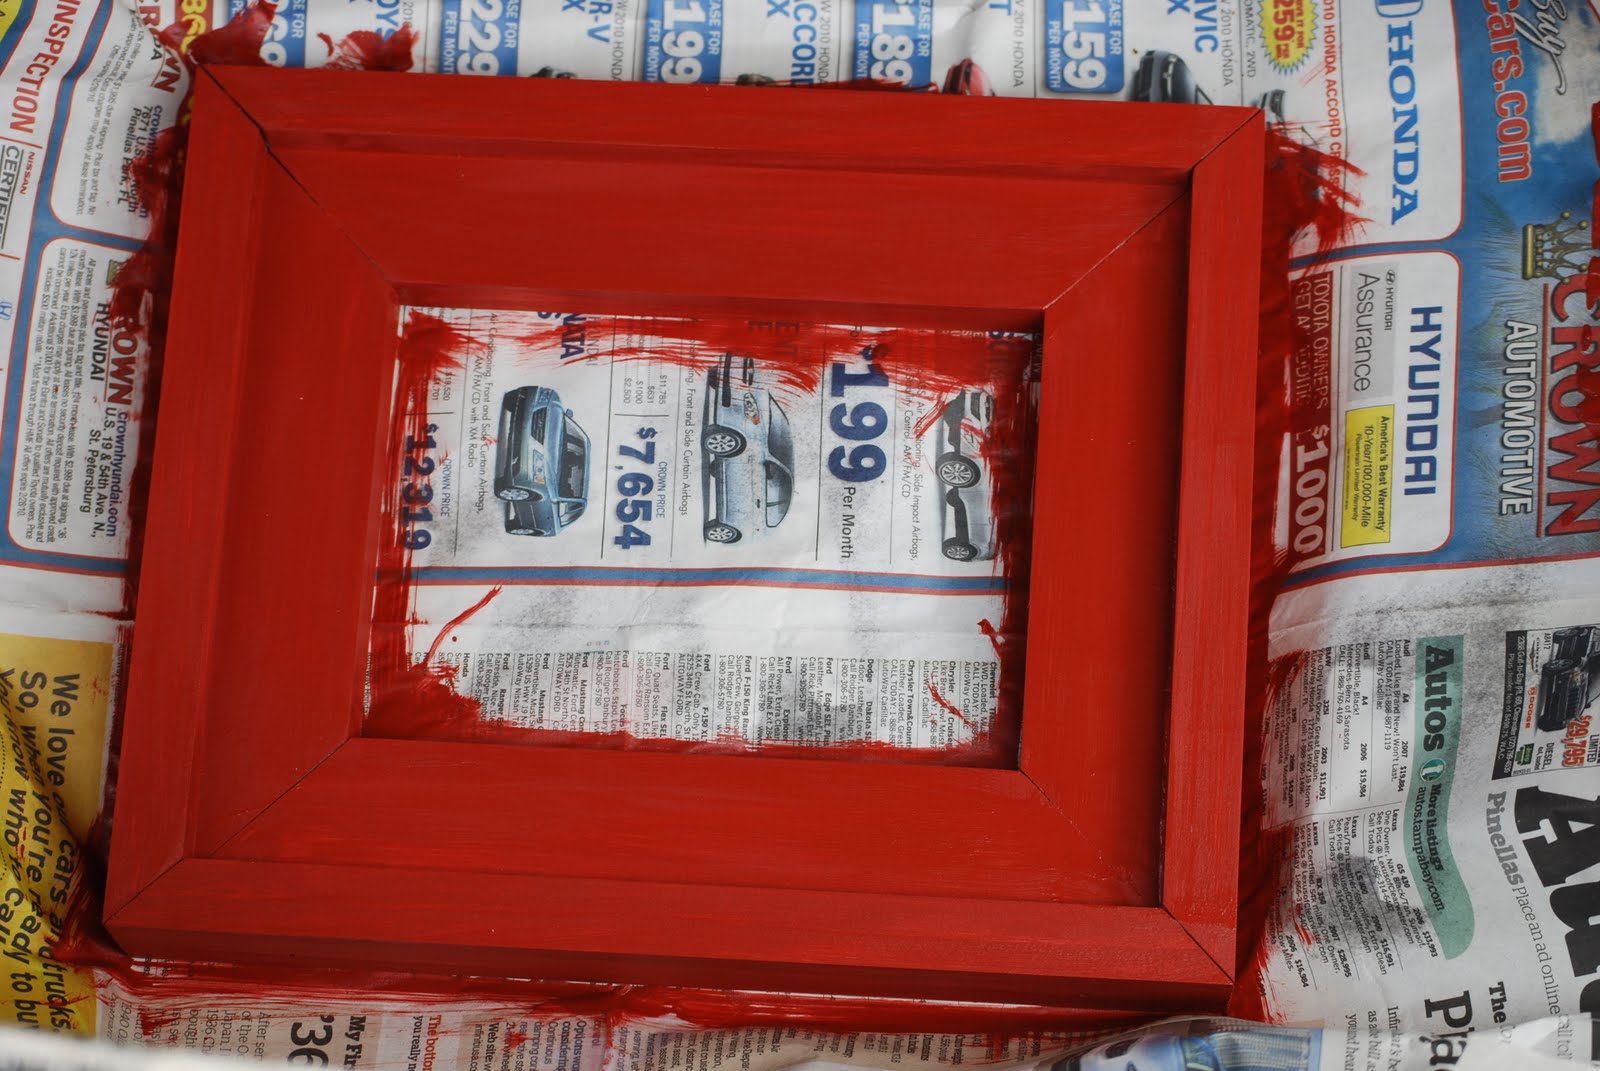
This was my first try at making a picture frame. I've used this same principle to make single framed picture frames numerous times since then. Thanks Ana! Such an easy build!

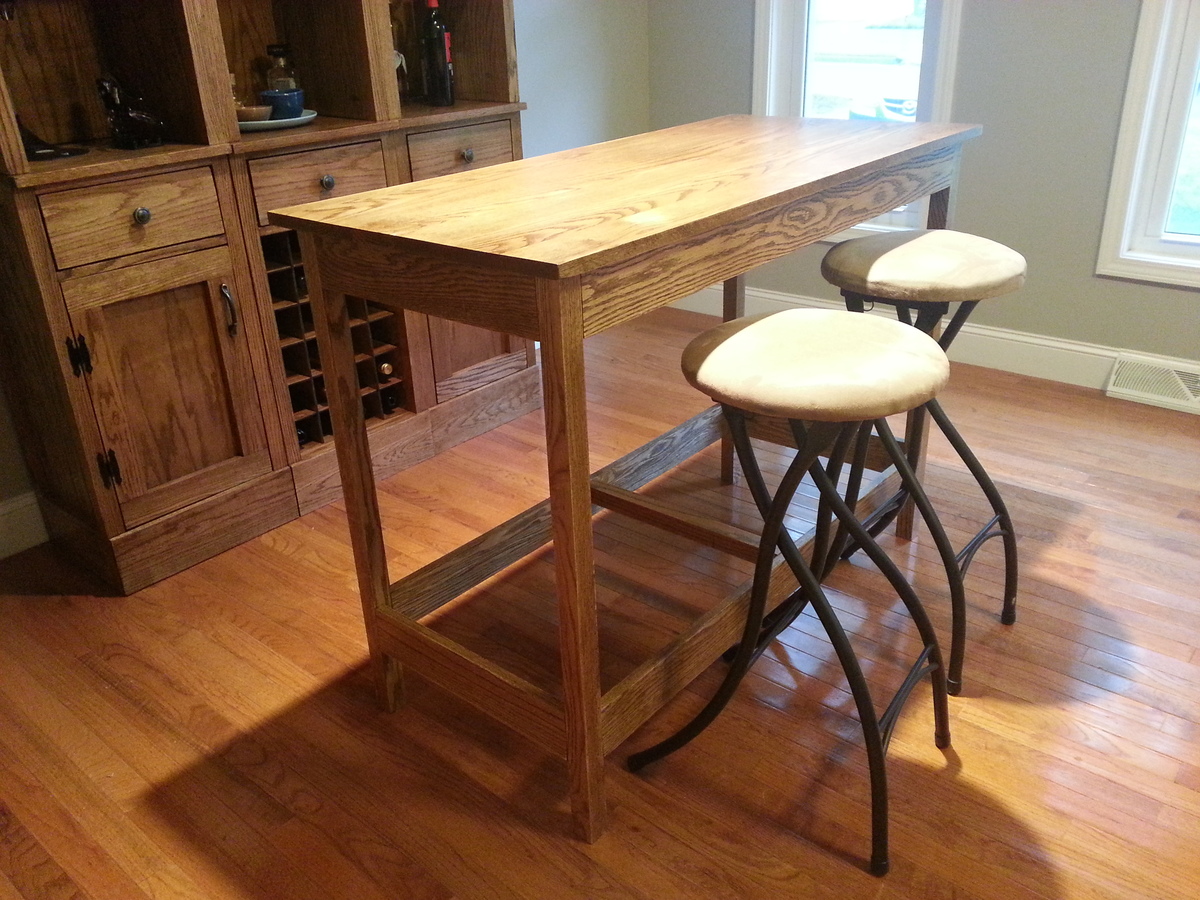
Second Project! Although the storage capacity of the Modular Bar is awesome, we needed a good workspace for pouring the drinks :)
I modified the "Simple Kitchen Island" plan a little:
1) Instead of using a 2'x4' project panel for the tabletop, I used the jig to put together two 1x12s, this made it a little bit narrower, but since I was staining I prefered the look of the edges of solid oak.
2) I didn't need the storage of the bottom shelf (and the dogs would get in anything I put there), however I knew people may put their feet on the bottom rails so I beefed them up to 1x4s instead of 1x2s and added a middle beam to stabilize them some.
3) I increased the total height some so we can pull the island up to our current 36" high dining room table to accomodated two extra people.
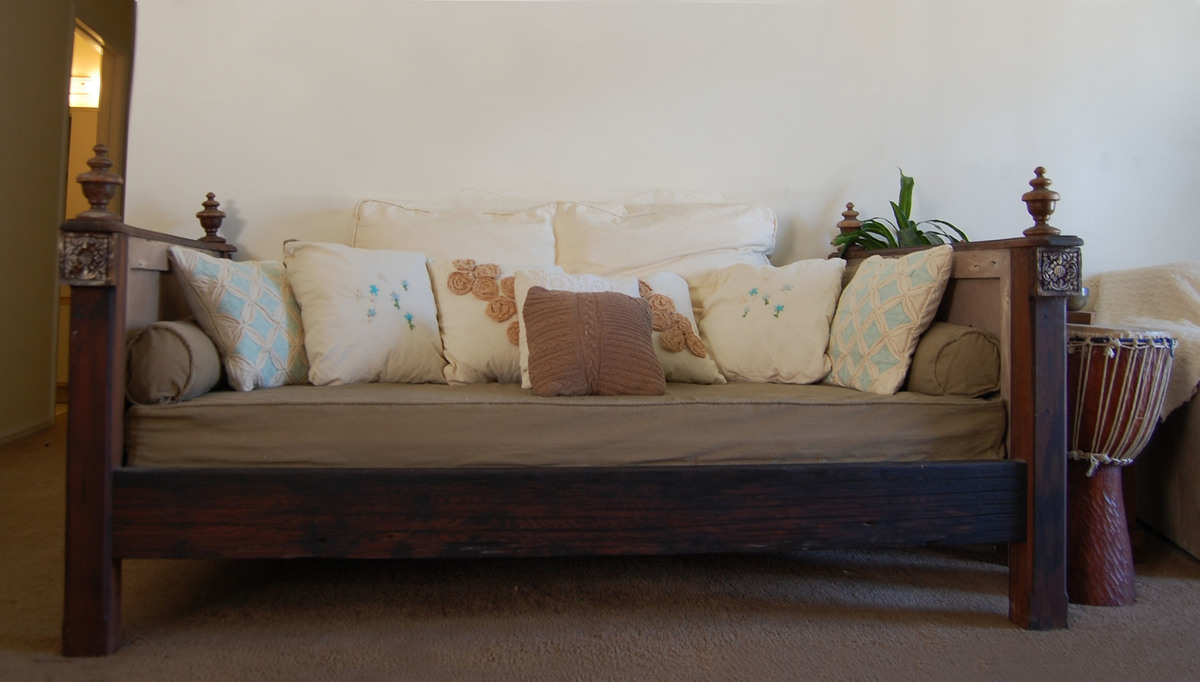
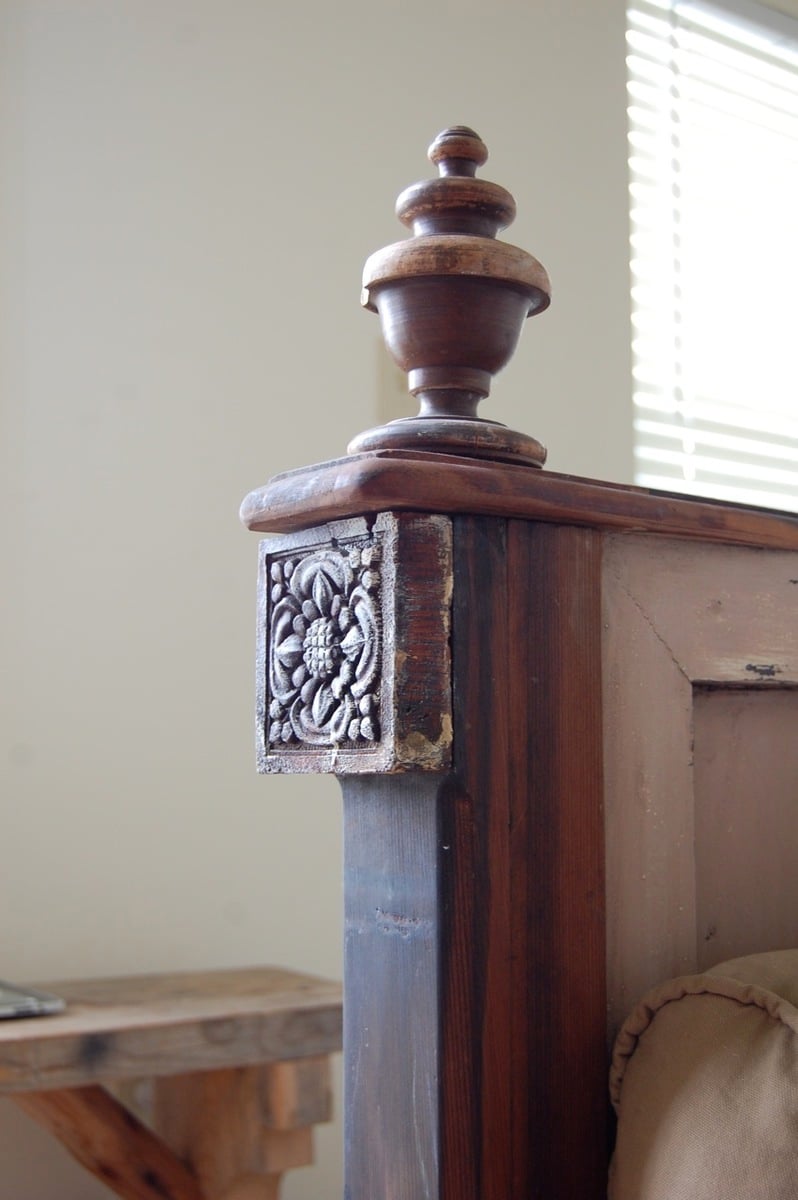
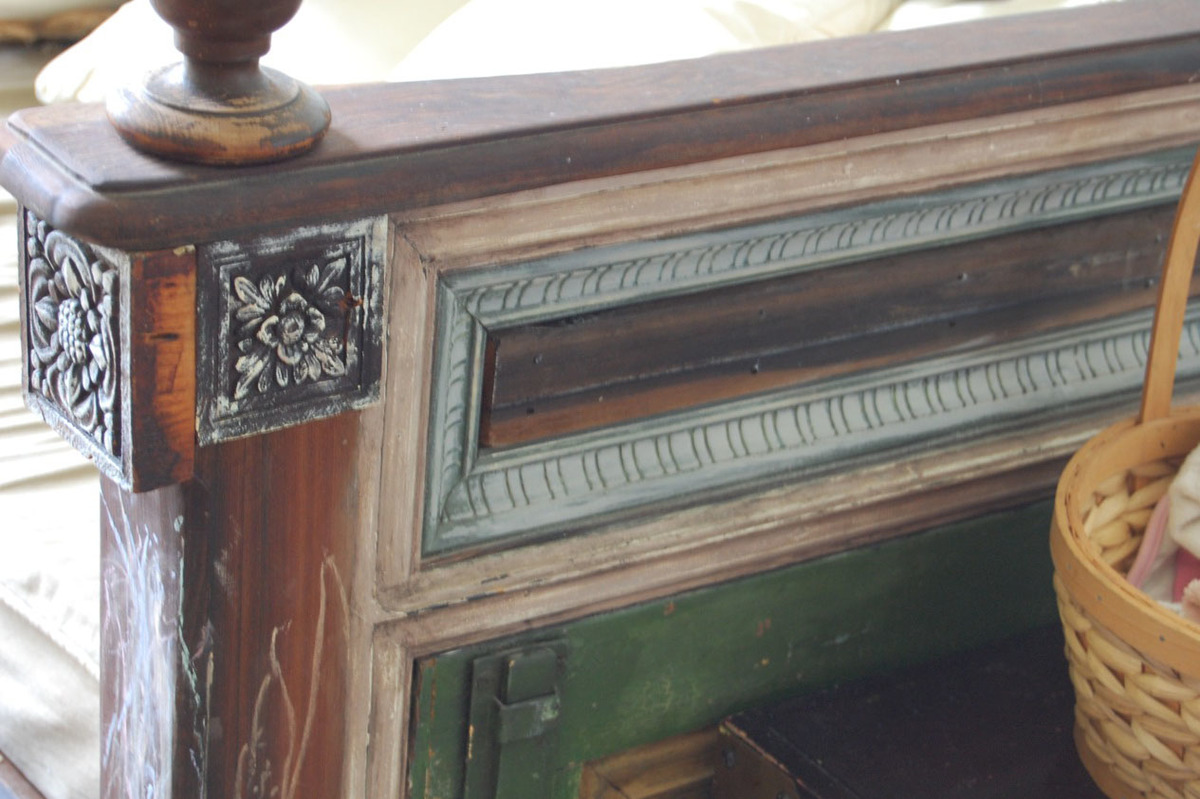
I originally planned to make the Lydia daybed as is, but we decided to make it with reclaimed materials after being inspired by redwood we found that had been salvaged from old pickle barrels. We ended up with chunkier posts for the legs (3 1/4" by 3"), and used a thick solid piece of wood for the front (2"x 7 1/2") , which did change the dimensions of our project a bit. We attached an old shutter to the plywood for the sides, and found salvaged bed post tops for the tops. We left off the scalloped edges because they seemed too delicate for the look we had going. Also, my husband had fun with his new router on the edges. We decided to use 1x8's for the slats under the bed b/c we thought it would give more support to the latex foam we had used instead of a traditional mattress. Because we move a lot, we wanted to be able to take the daybed apart if necessary. We attached the sides to the daybed with bed rail brackets. I posted more about the daybed on my blog. Sewing the cushions/pillows took much longer than making the actual daybed!
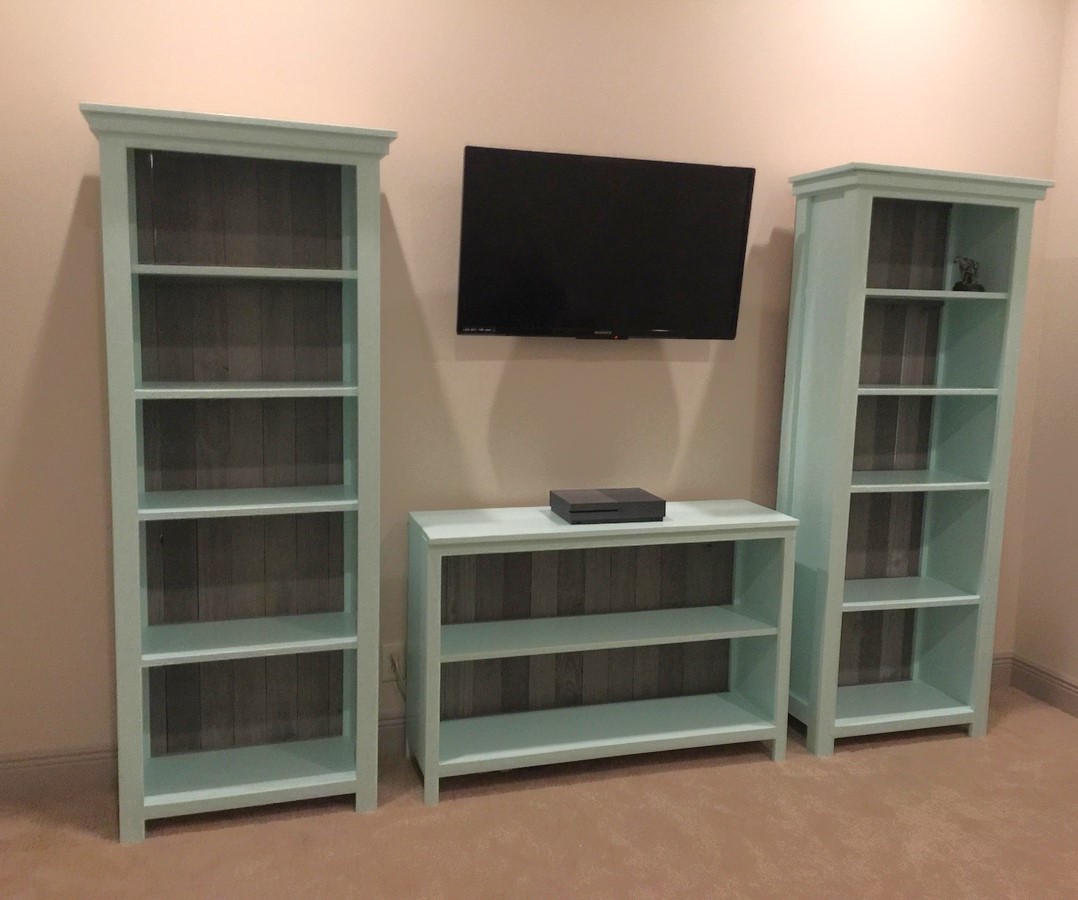
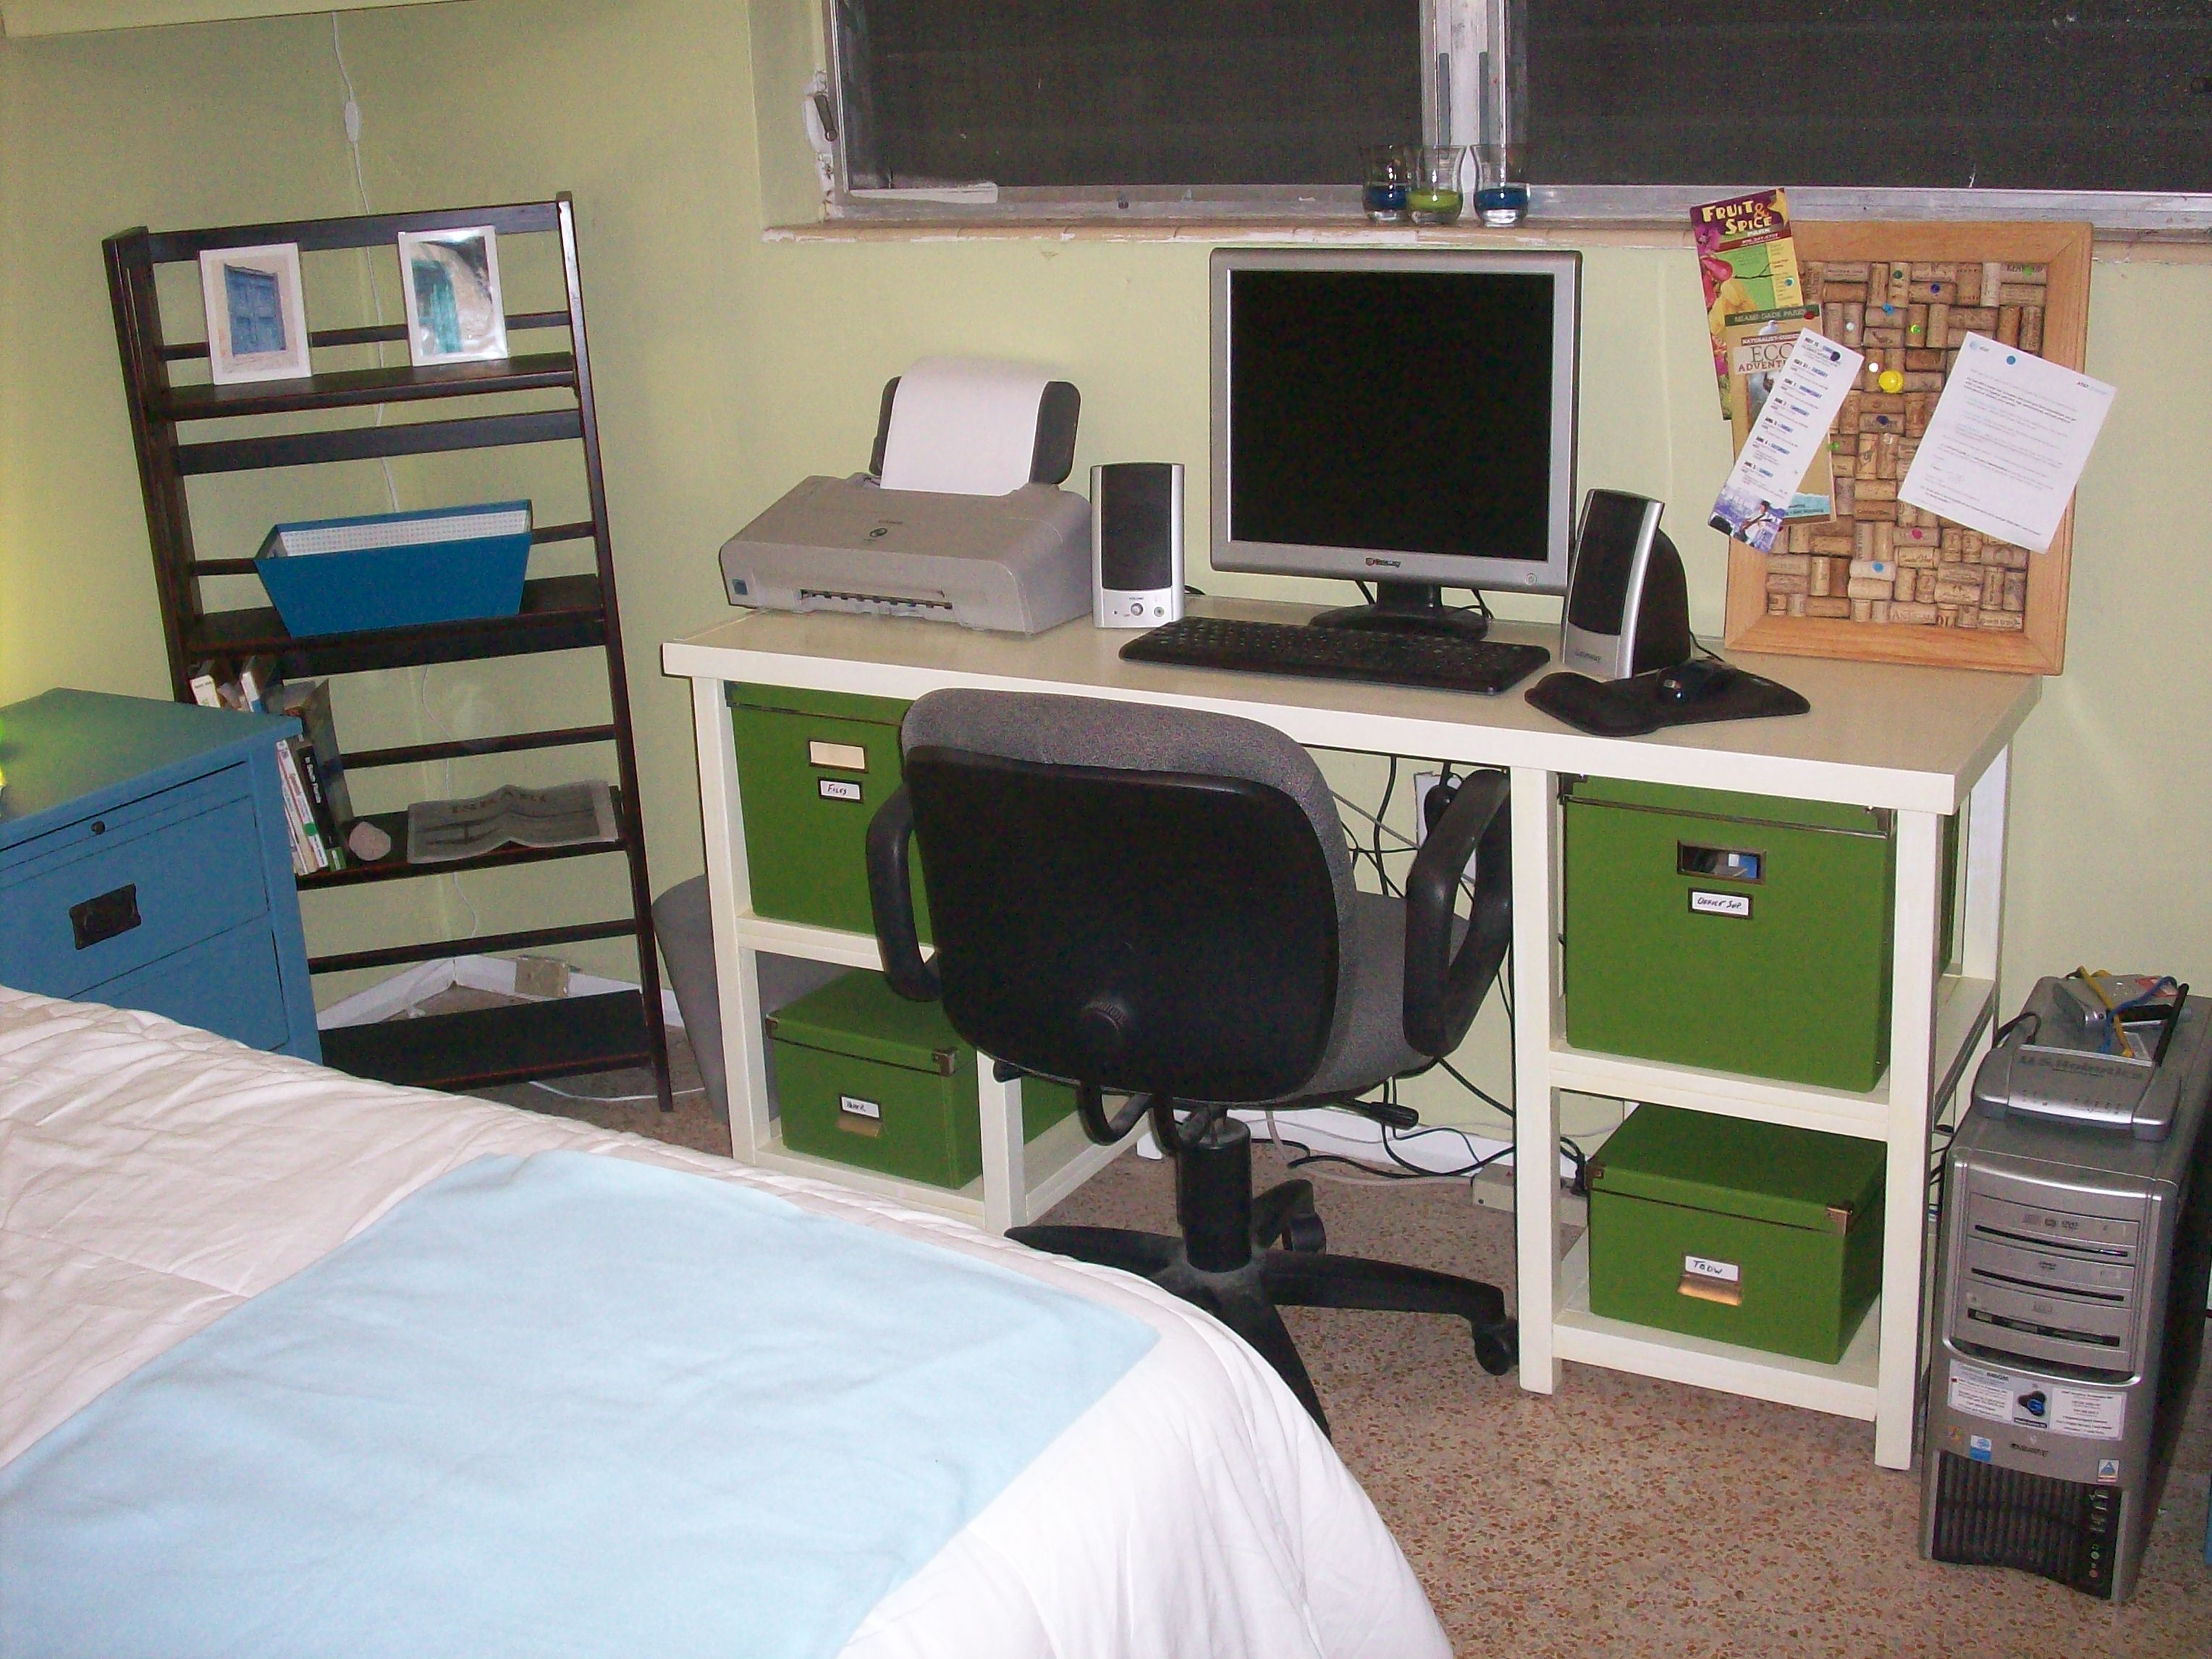
Our playroom needed serious help so as my first Ana White project I decided to tackle these shelving units.
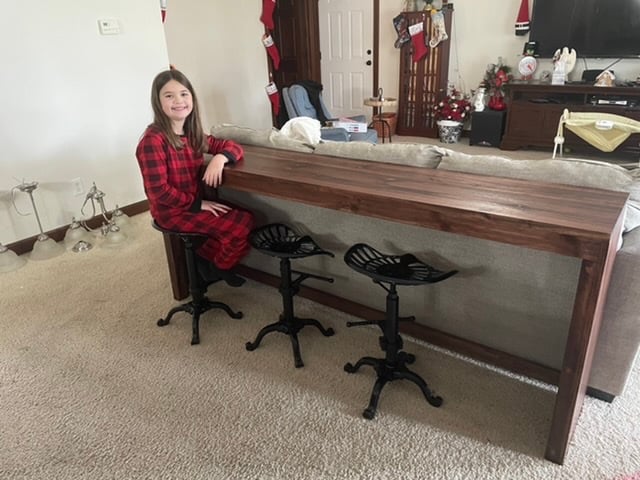
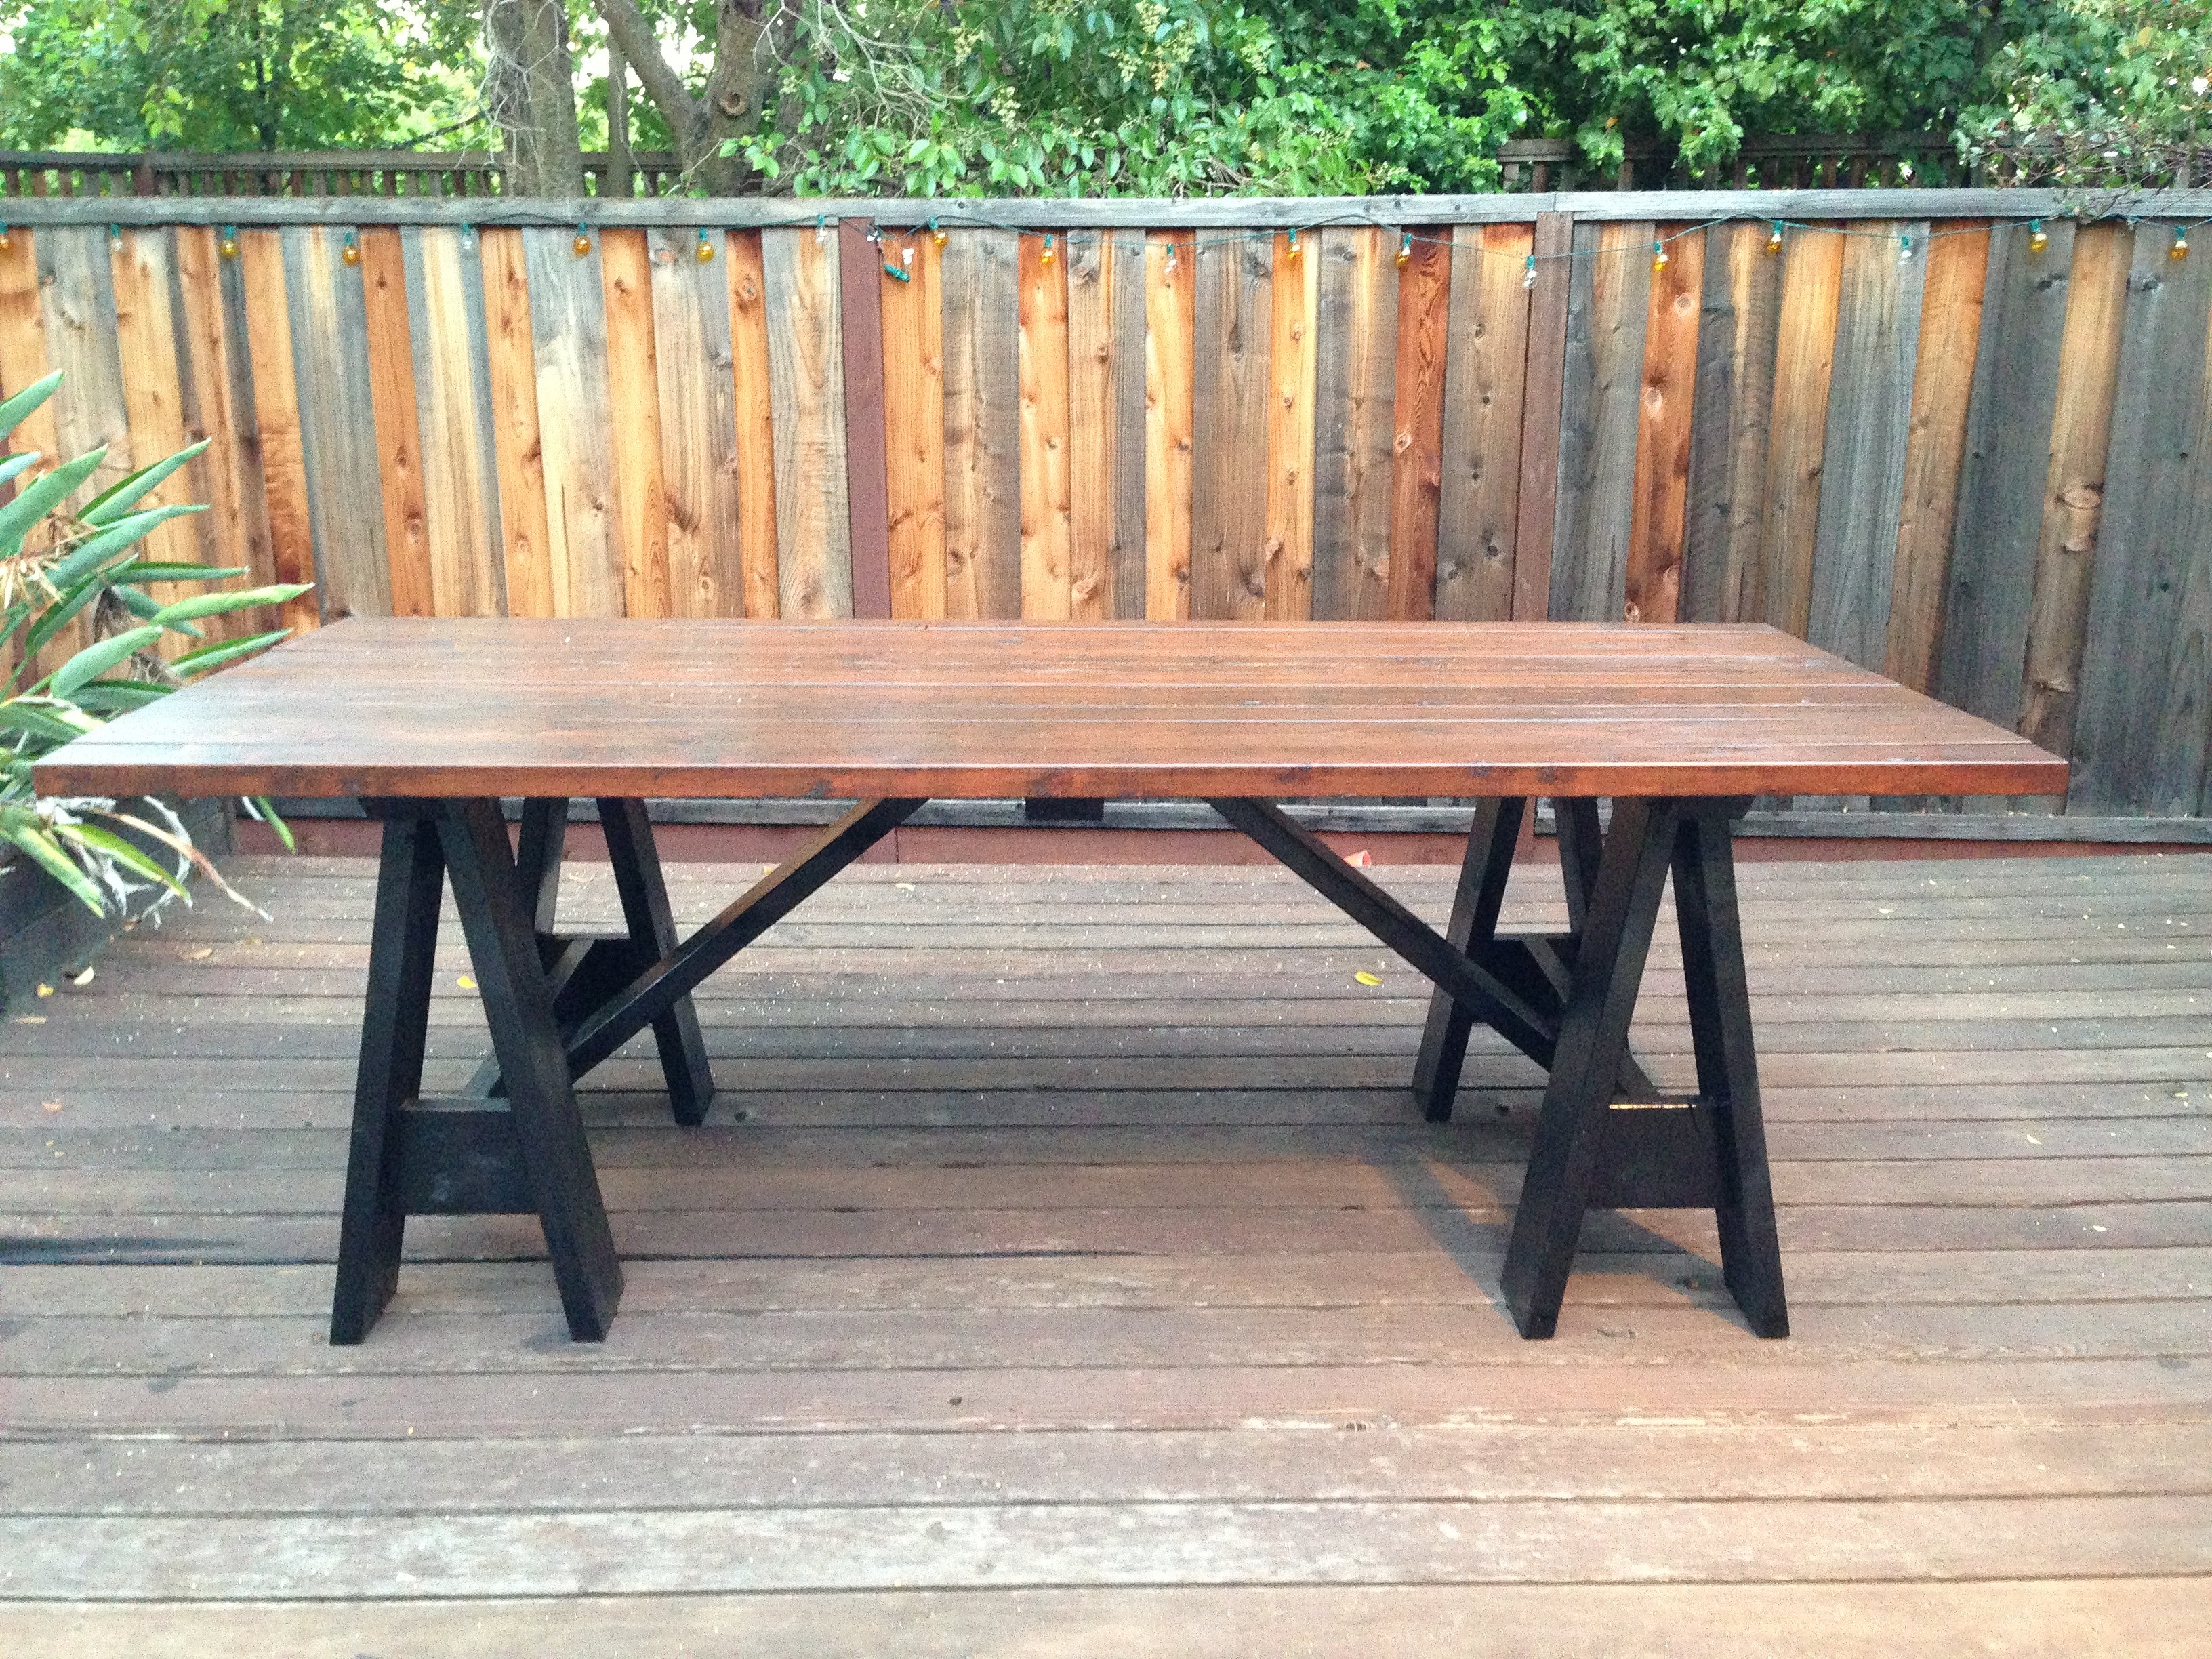
I built these sofa tables for my wife’s client. She has a interior paint business. Her client was talking about wanting she sofa tables, so she volunteered me to build the tables. I didn’t have a design for the tables, so I looked at several different designs and talked to the client on what she was looking for. So I just did some rough sketches and got some ideas from my wife. I used mostly 1 bys for the build, just depends on the size on what width and length of board you are going to need. The top of the large table is a 5/4 preglued board that Menards has in store, again depending on width and length on the size of board you use. I used the 5/4 board for better stability and strength. I used a red oak stain then applied several coats of poly to finish. On the top I used a 200 sandpaper after a couple of coats of poly to get the top smoother for more coats of poly. Over all the build was pretty easy if you have good woodworking knowledge. Used pocket holes (Kreg) to attach sides and frame to top. On the large top side I used two 1x8’s to get the width i needed. Joined them with pocket holes (Kreg). If you can dream it, you can build it.

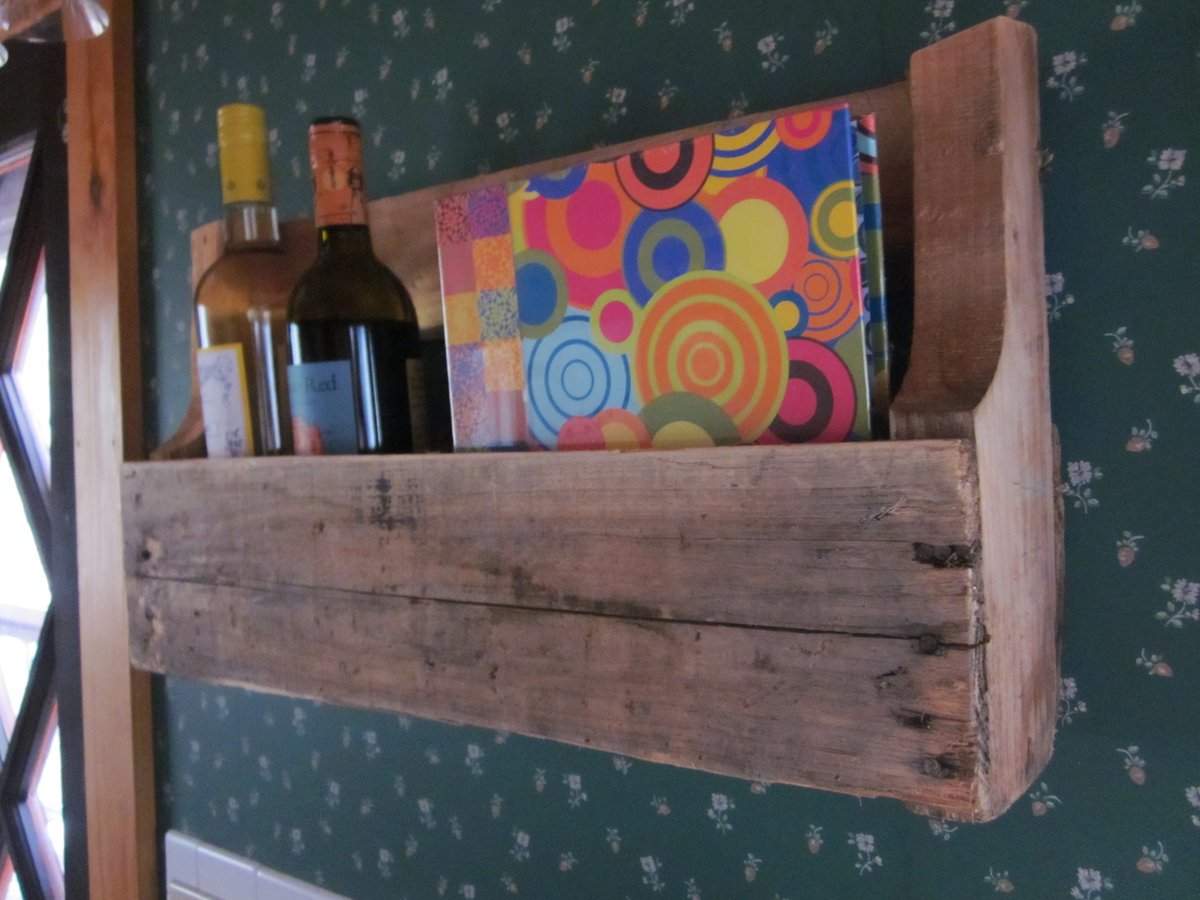
This was the easiest project EVER! And I love the look! The wall space I have for it wasn't long enough to accommodate the width of the whole pallet, so I cut it right after the center brace. Used another piece of the pallet for the bottom. Did a little sanding around the edges so it wasn't rough. That's it! Just wanted a shelf for a few bottles of wine and a cookbook. Voila!

This is my first hand made project using reclaimed wood. I always liked the look of the wood and black gas pipe together.
Hope you enjoy it


Tue, 07/09/2013 - 10:47
I love how you mixed reclaimed wood and black pipes, something I haven't even considered when building furniture yet. :)
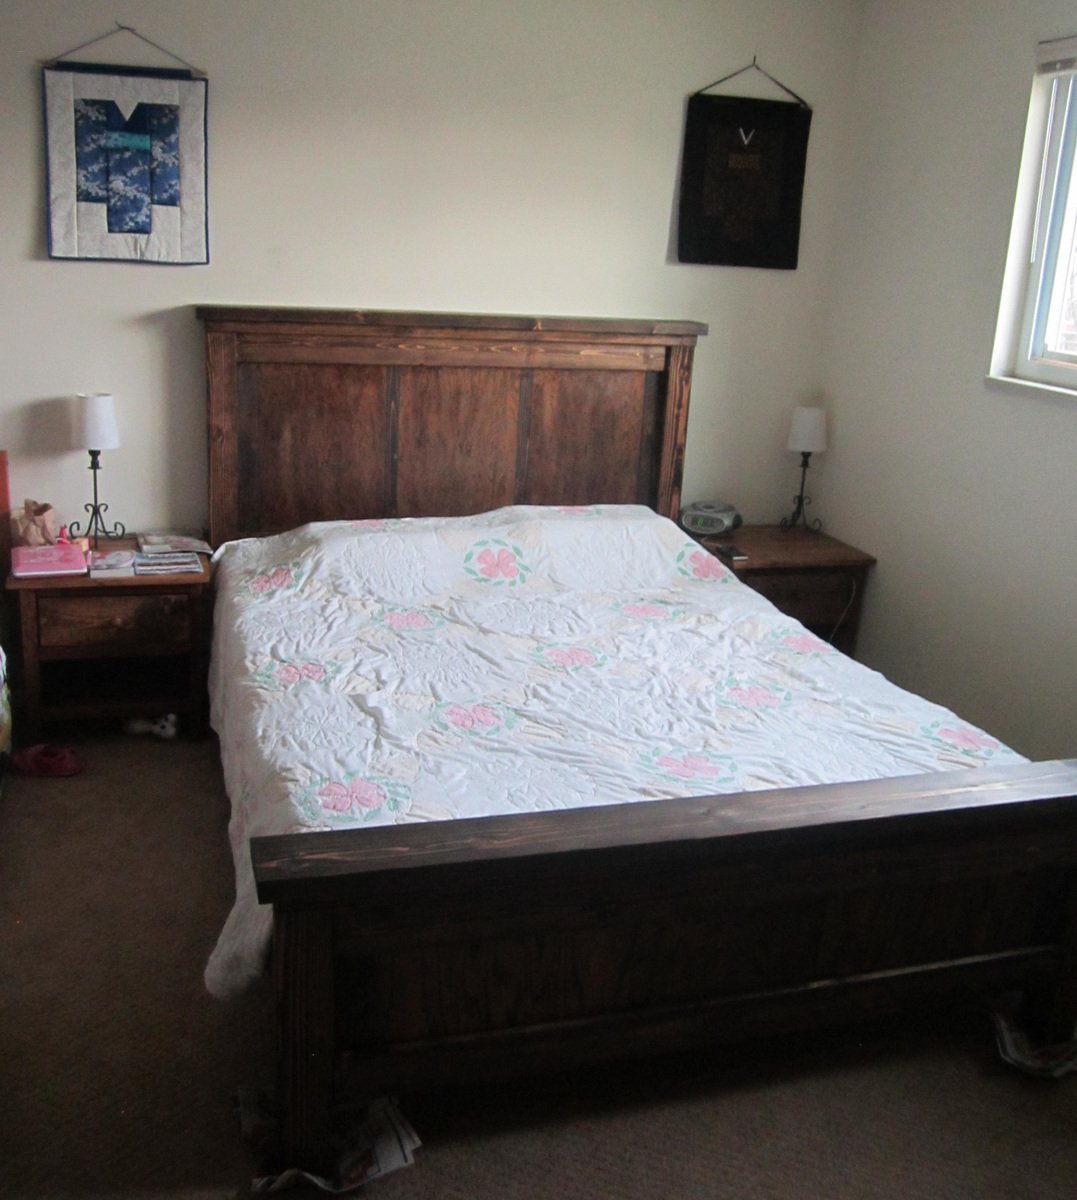
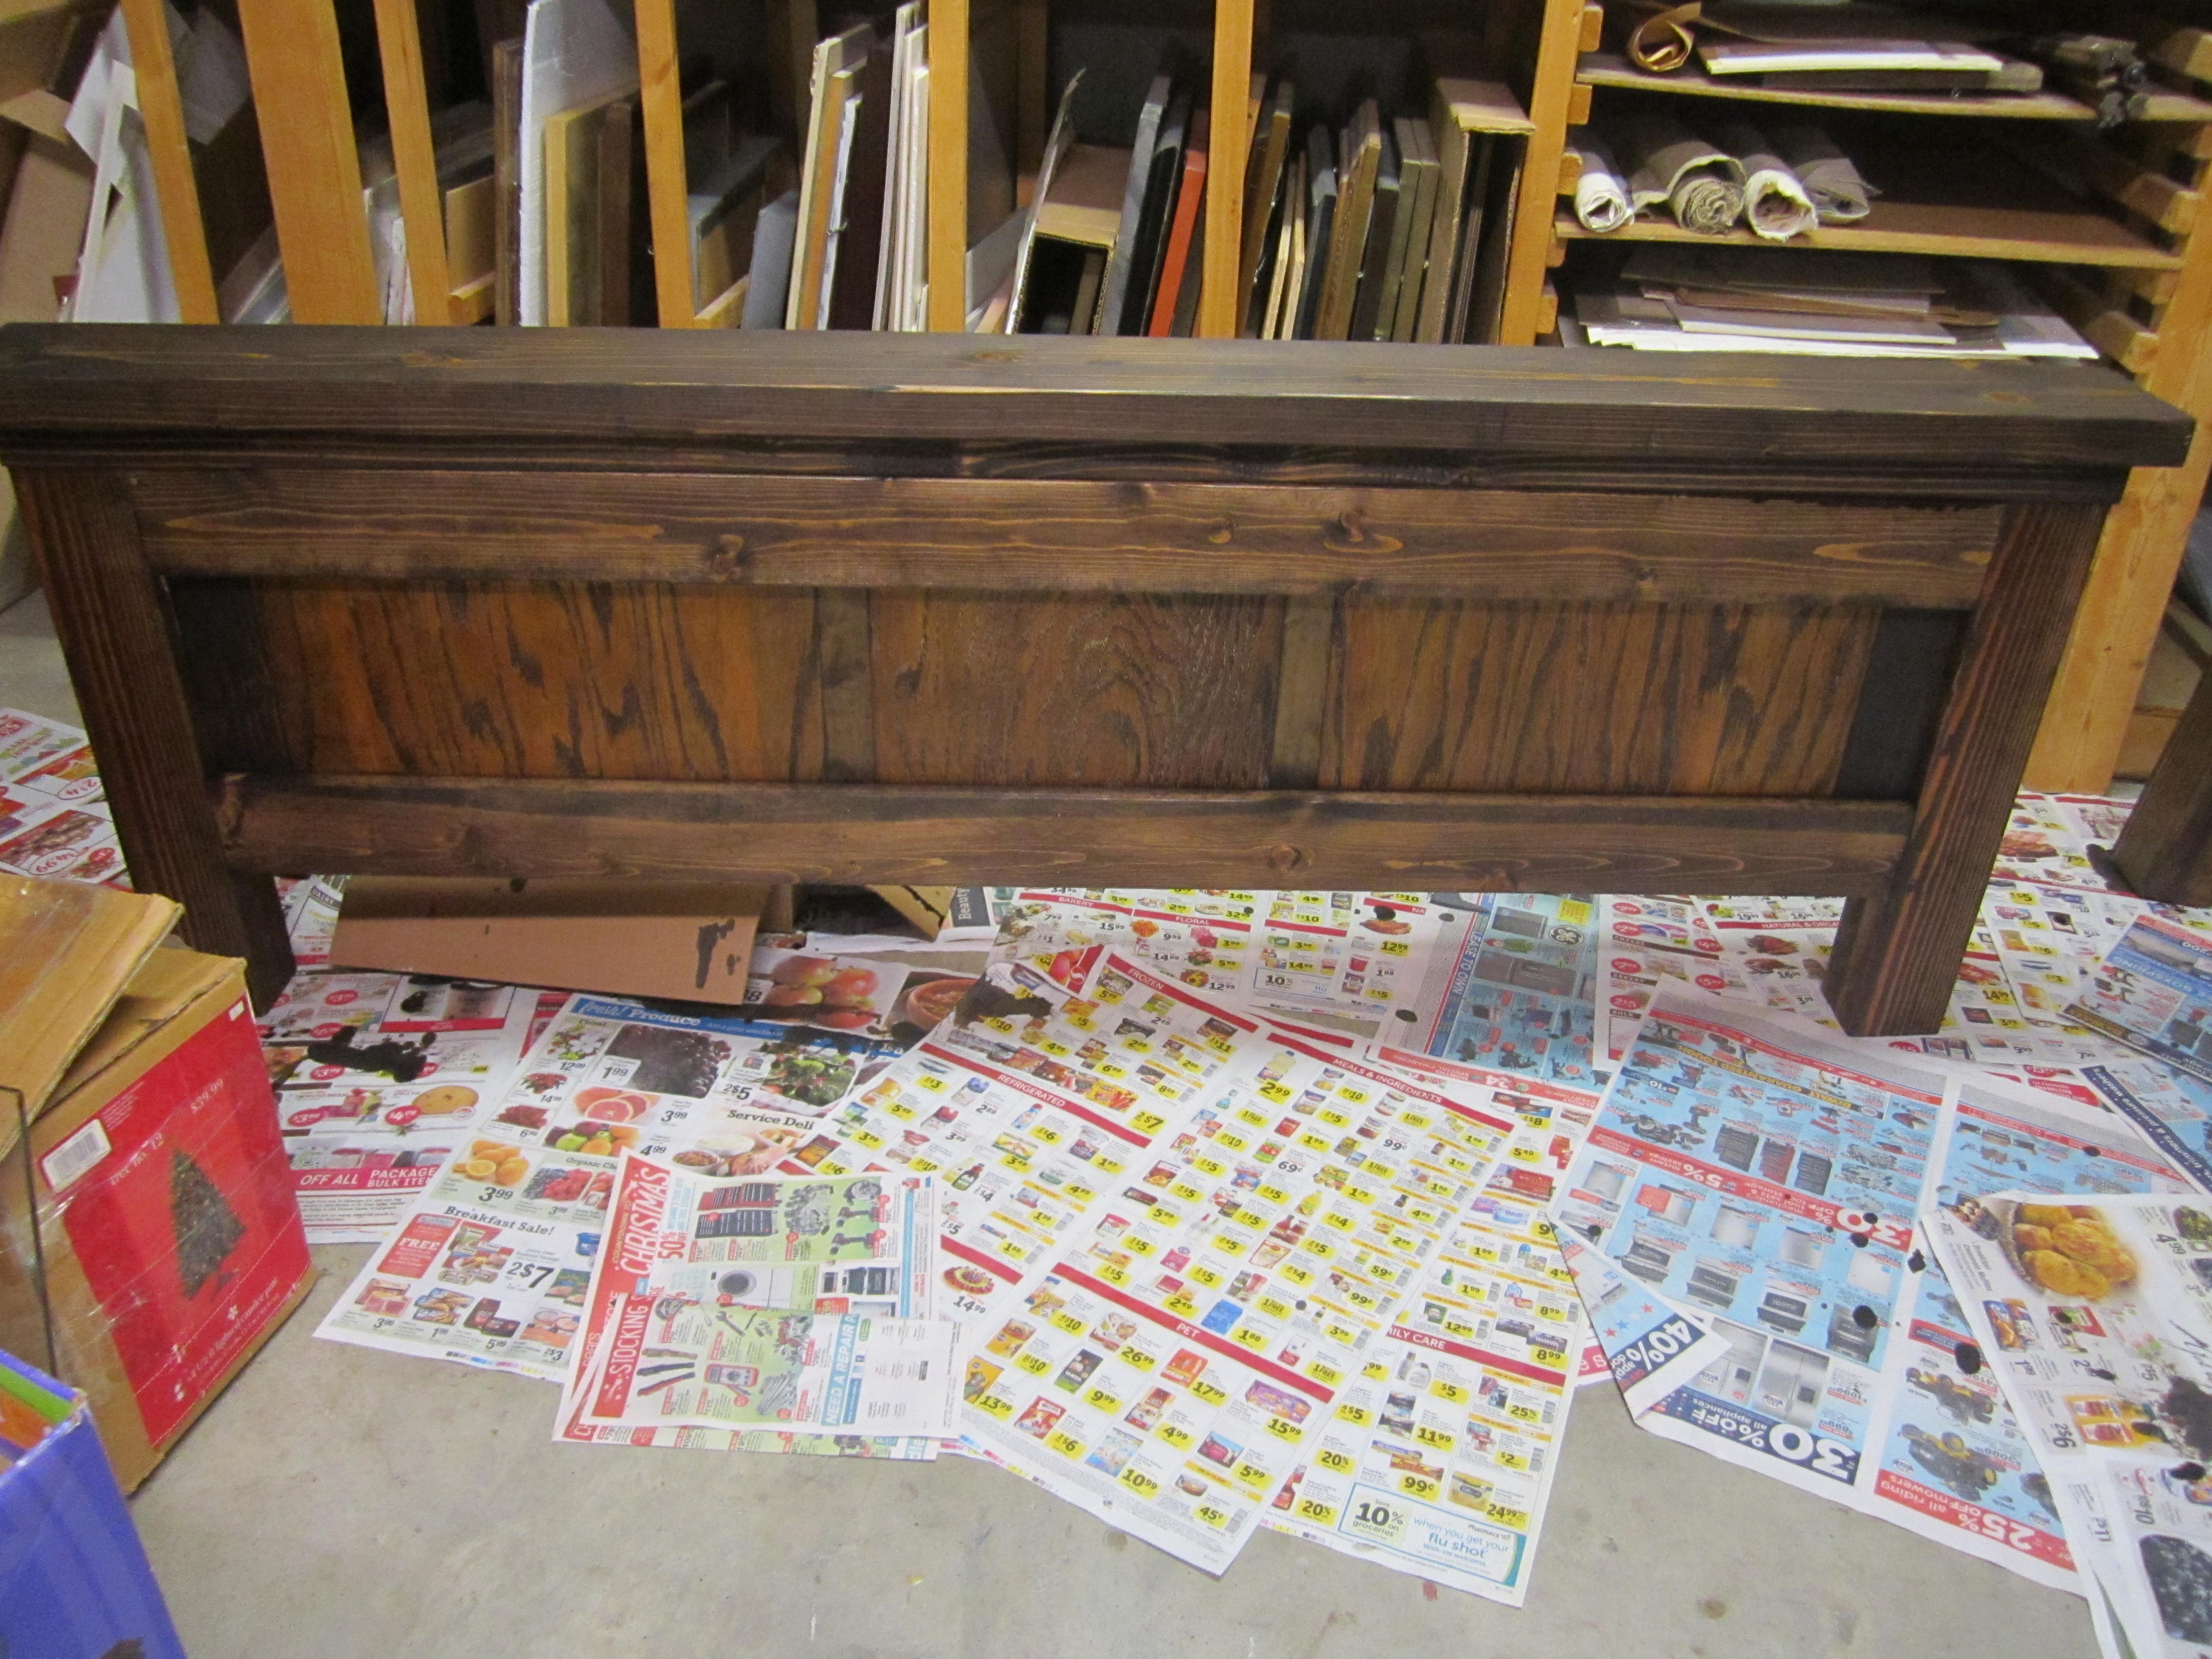
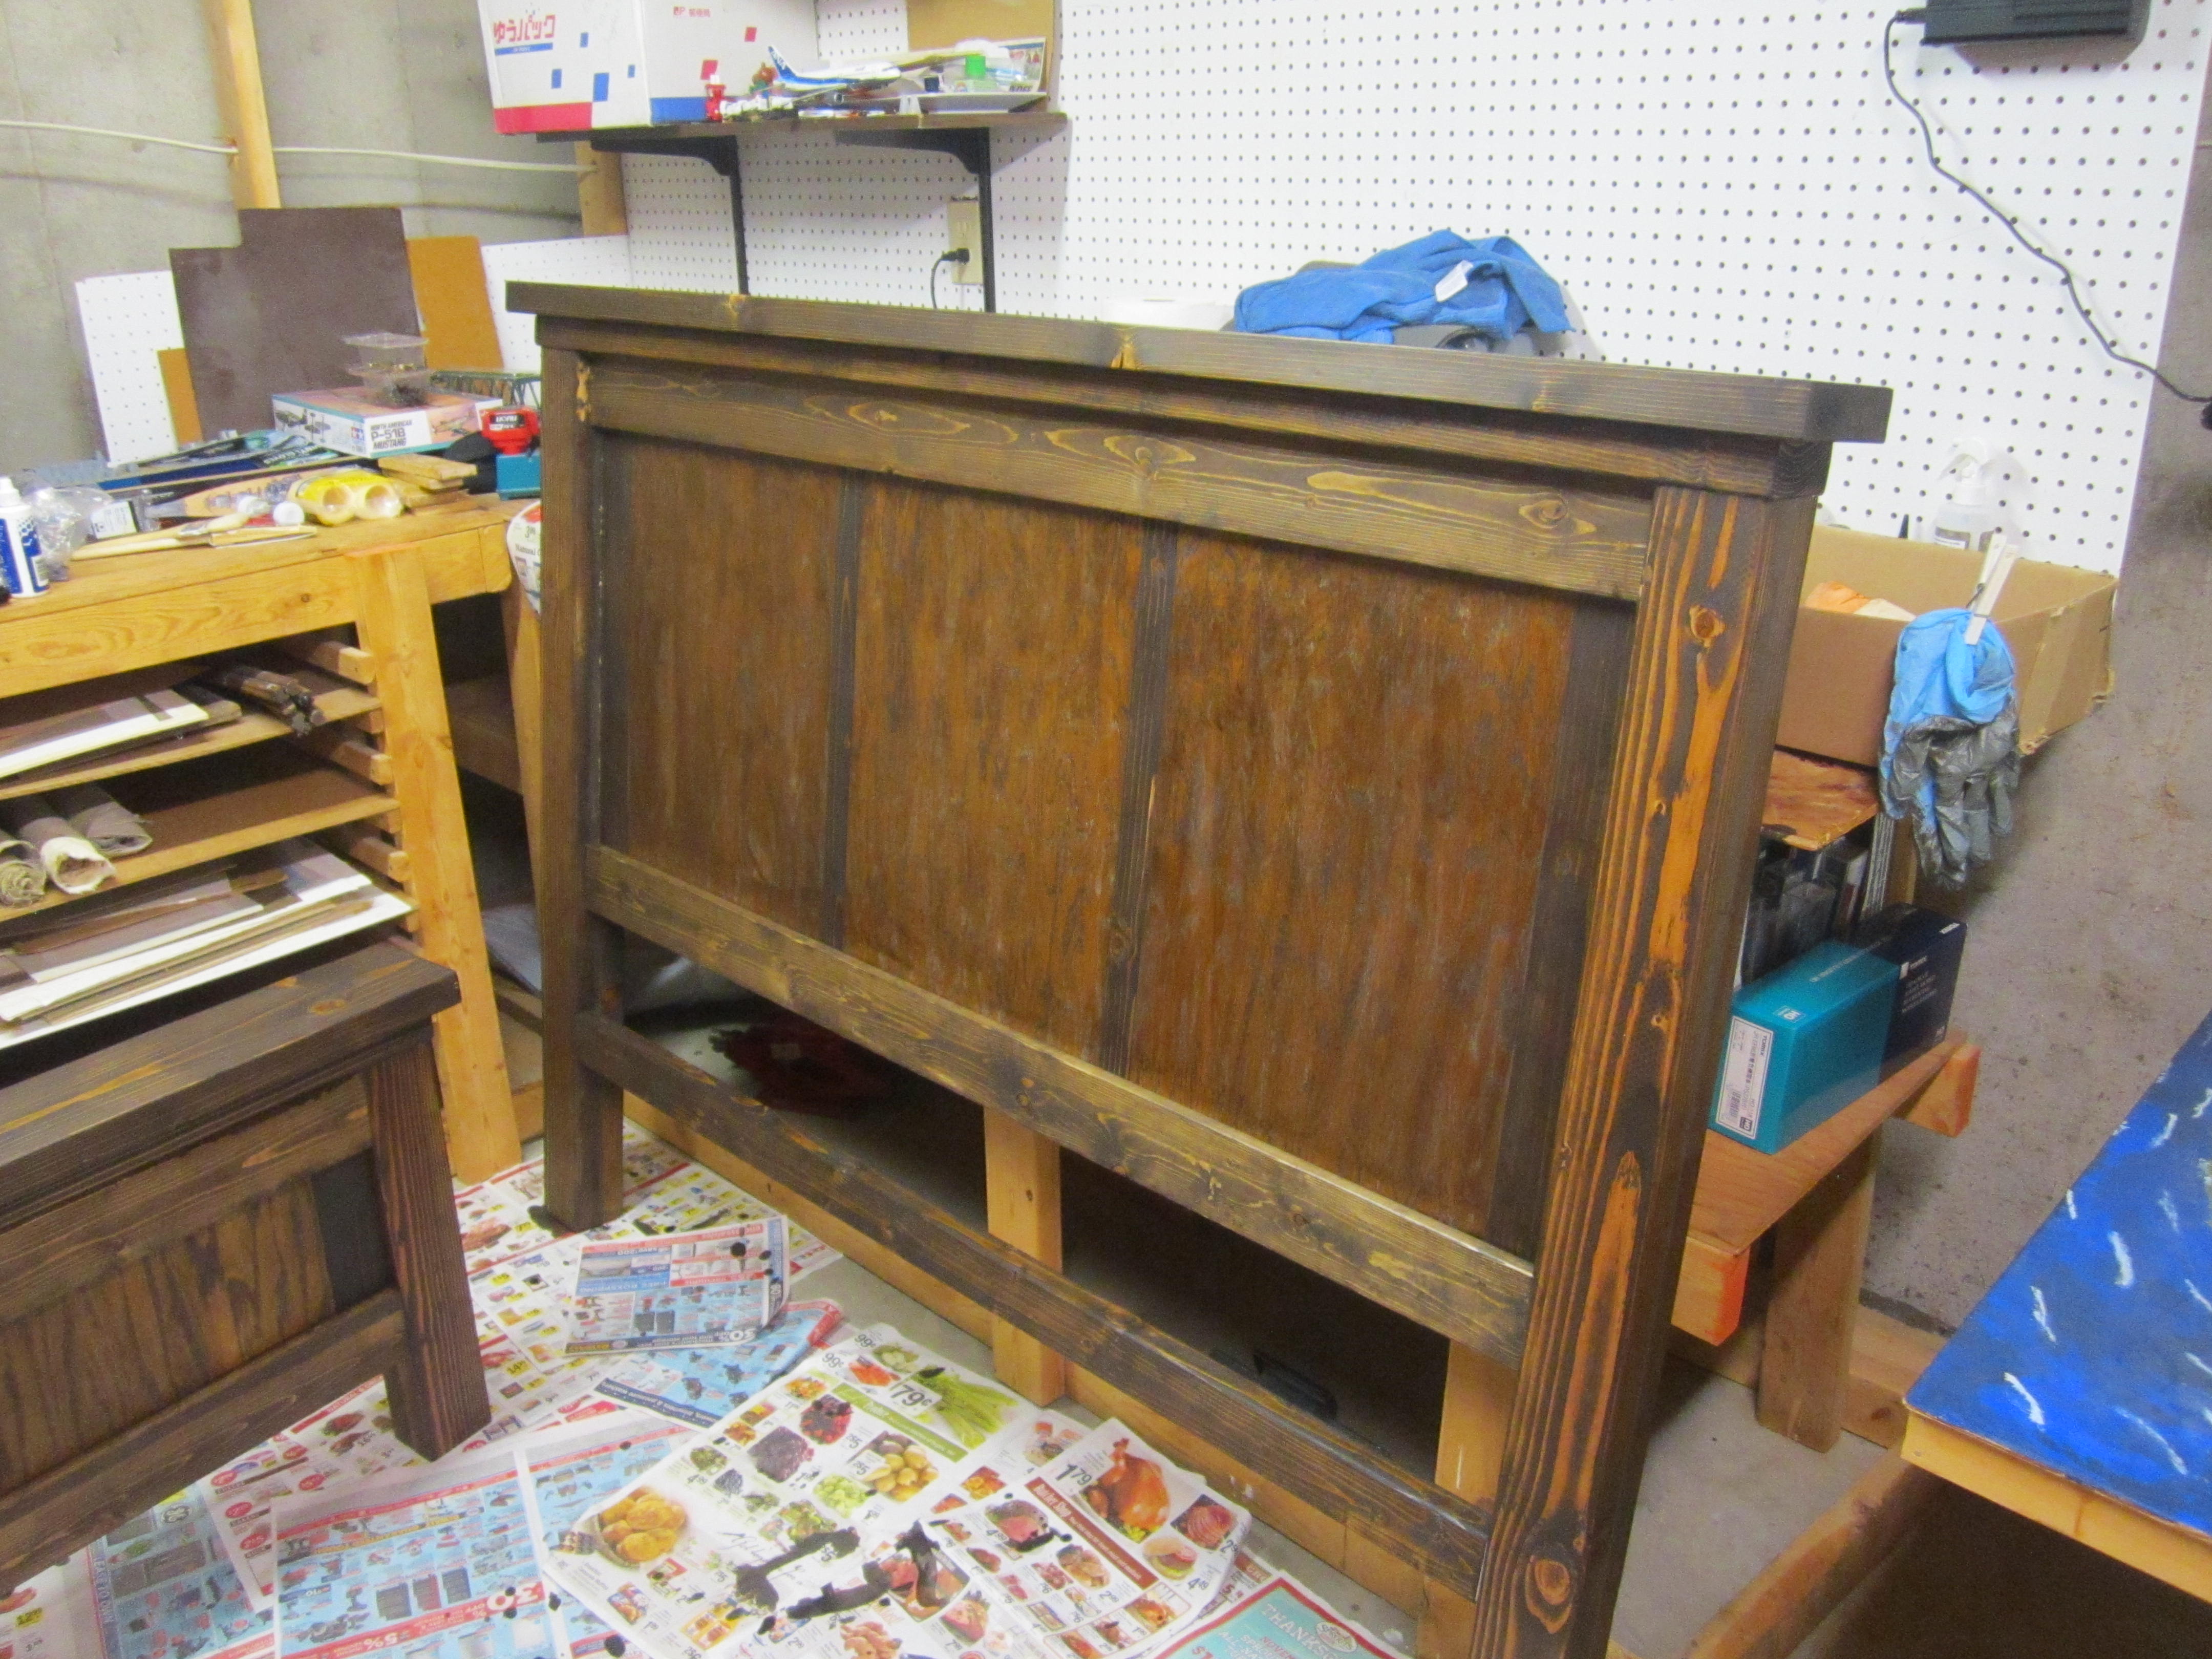
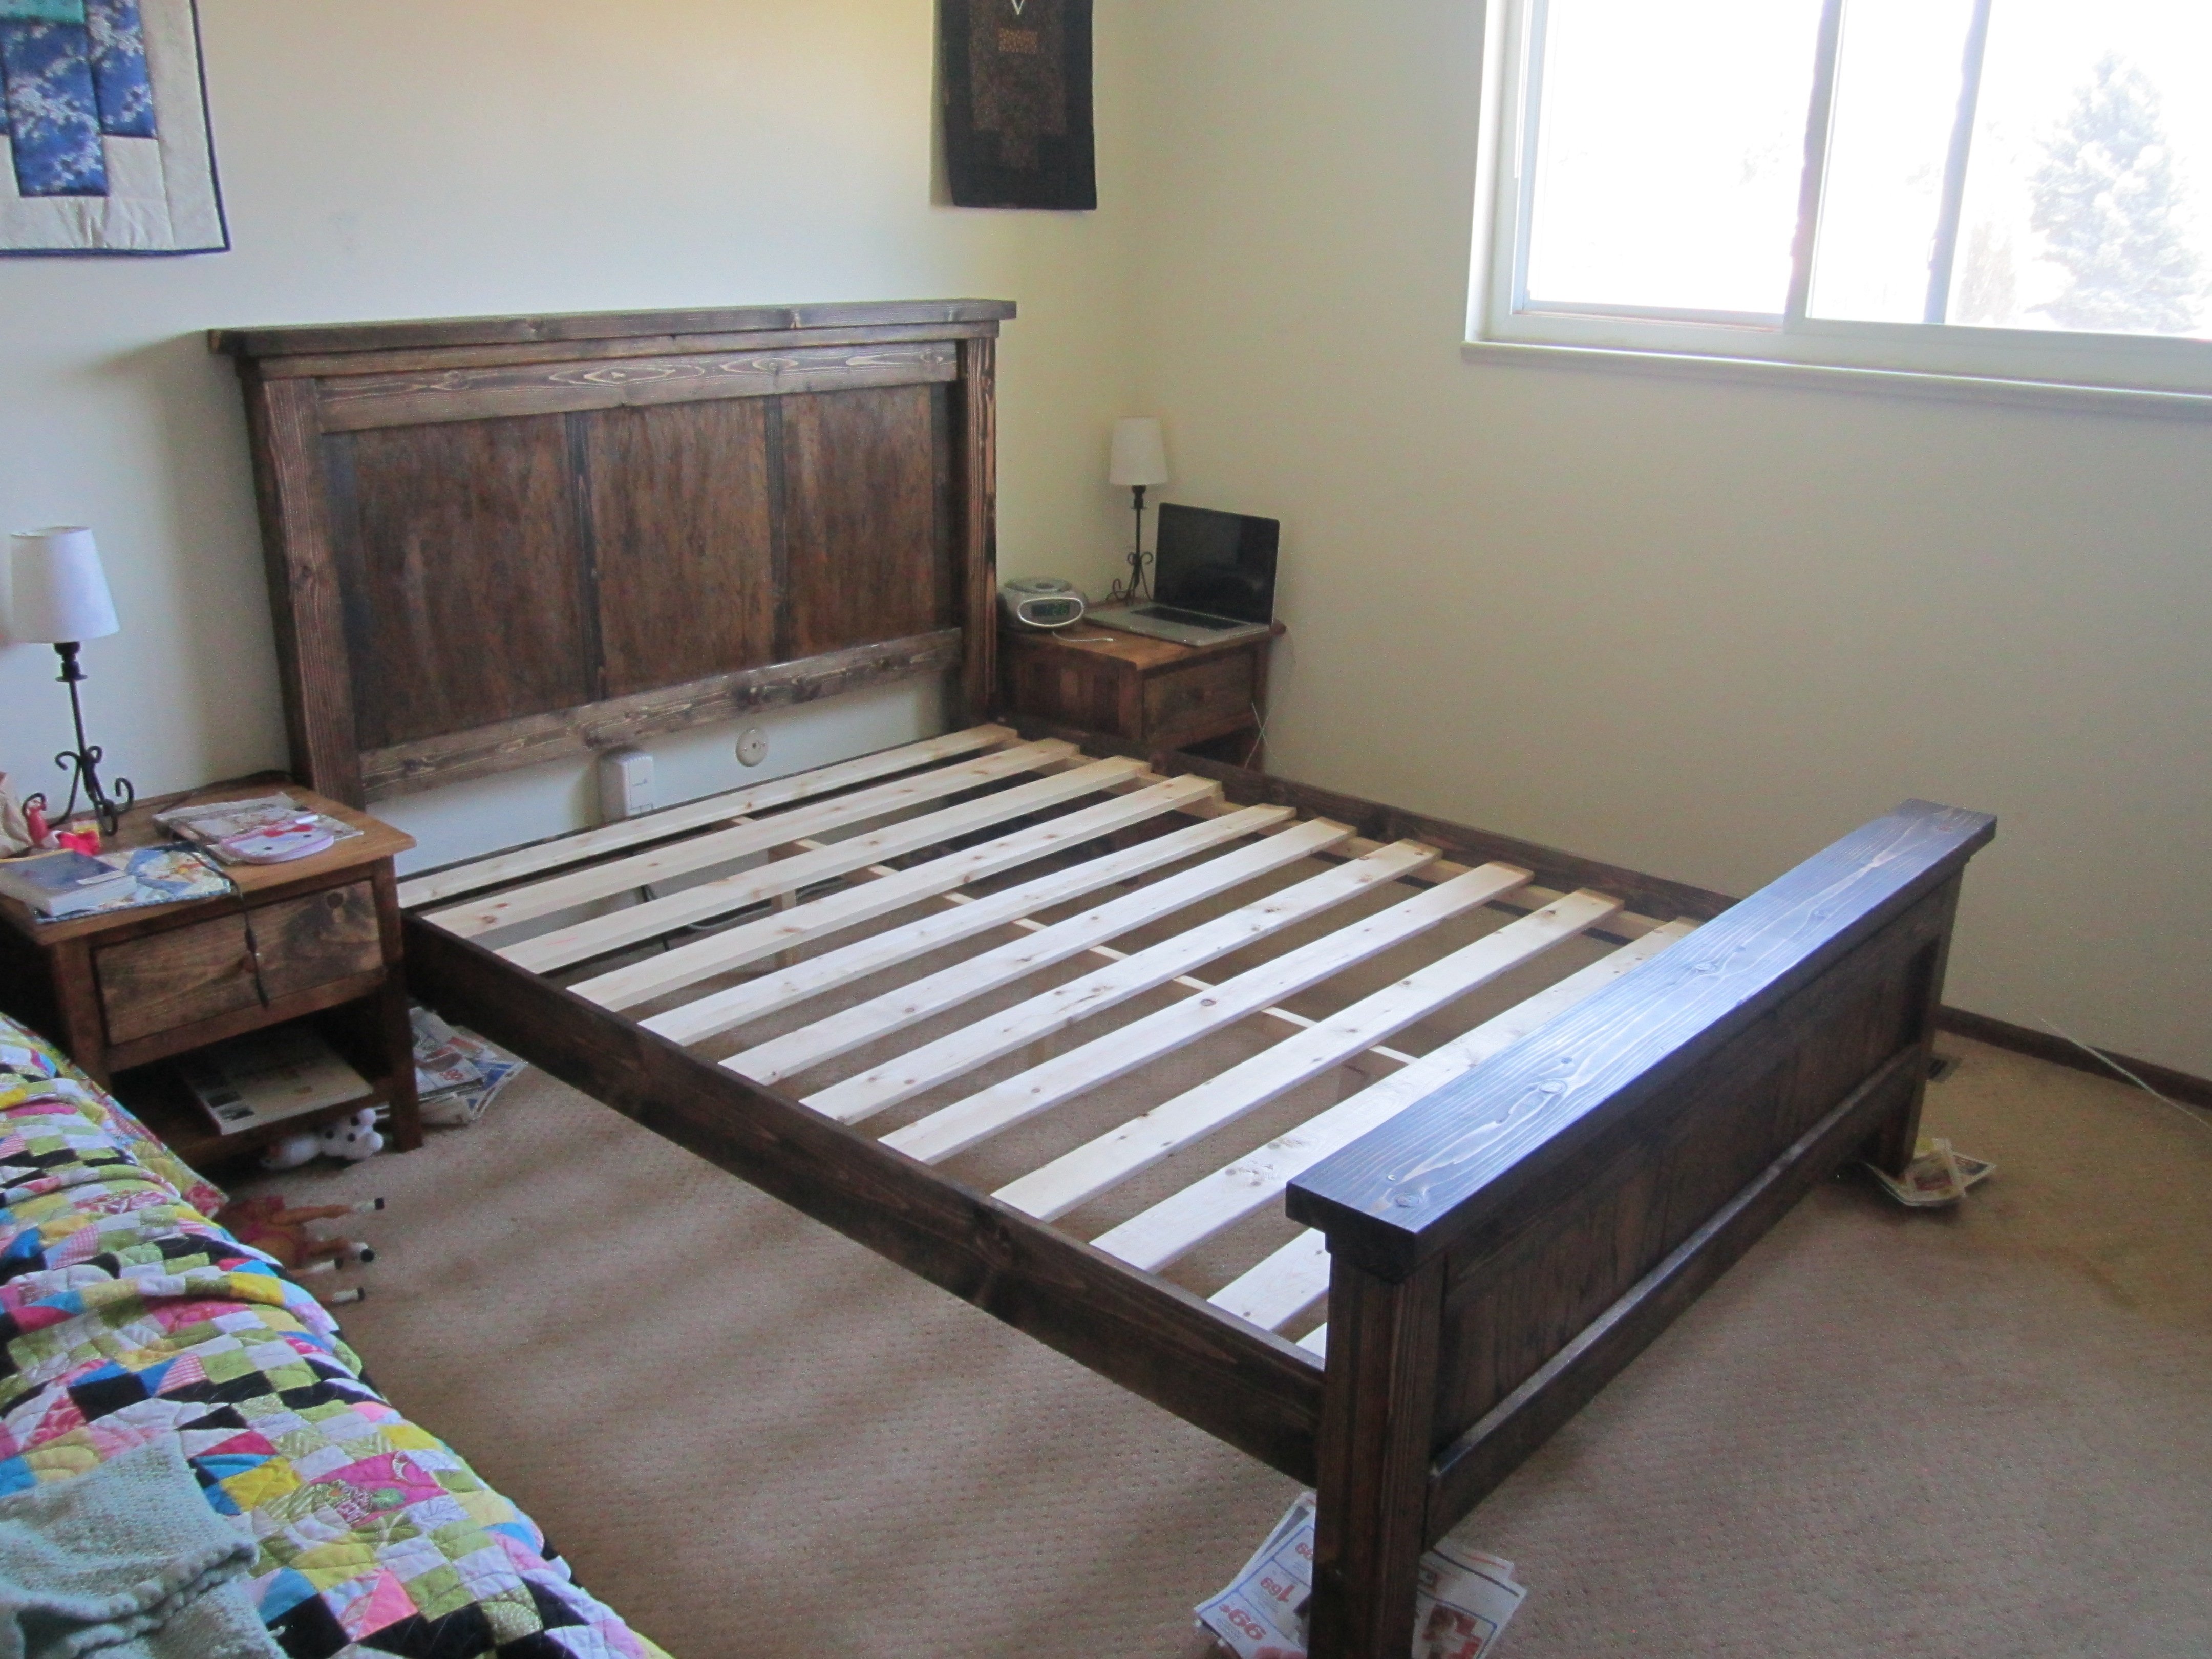
This bed is made using the Farmhouse Bed plan from page 136 in Ana's book. We just had our kitchen remodeled, so I took the cabinet doors and swapped those out for the 1x10's in both the headboard and foot-board. The cabinet doors took a while to strip the paint off and I used paint stripping sandpaper for that. Once the cabinet doors were stripped, I cut 1x2's for the two center dividers and 1x3's for the two outer dividers to get the desired width. I then stained the cabinet doors and dividers before attaching them to the 1x4 trim. I did not get 4x4's, so I cut 2x4's to length and glued and screwed them together.
Our mattress does not use a box spring, but slats, so I borrowed slat directions from Shanty 2 Chic's platform bed and our old IKEA bed frame. I used 2x2's for the supports and 1x4's for the slats. I used scrap 2x2's to support the center slat support and attached the side 2x2's to the bed rail (1x6 vs. 1x10 due to matress depth) with glue and screws.
Made a few design changes as I went along, but overall the plans were great. And with my wife's finishing we have an antiquey farmhouse table.
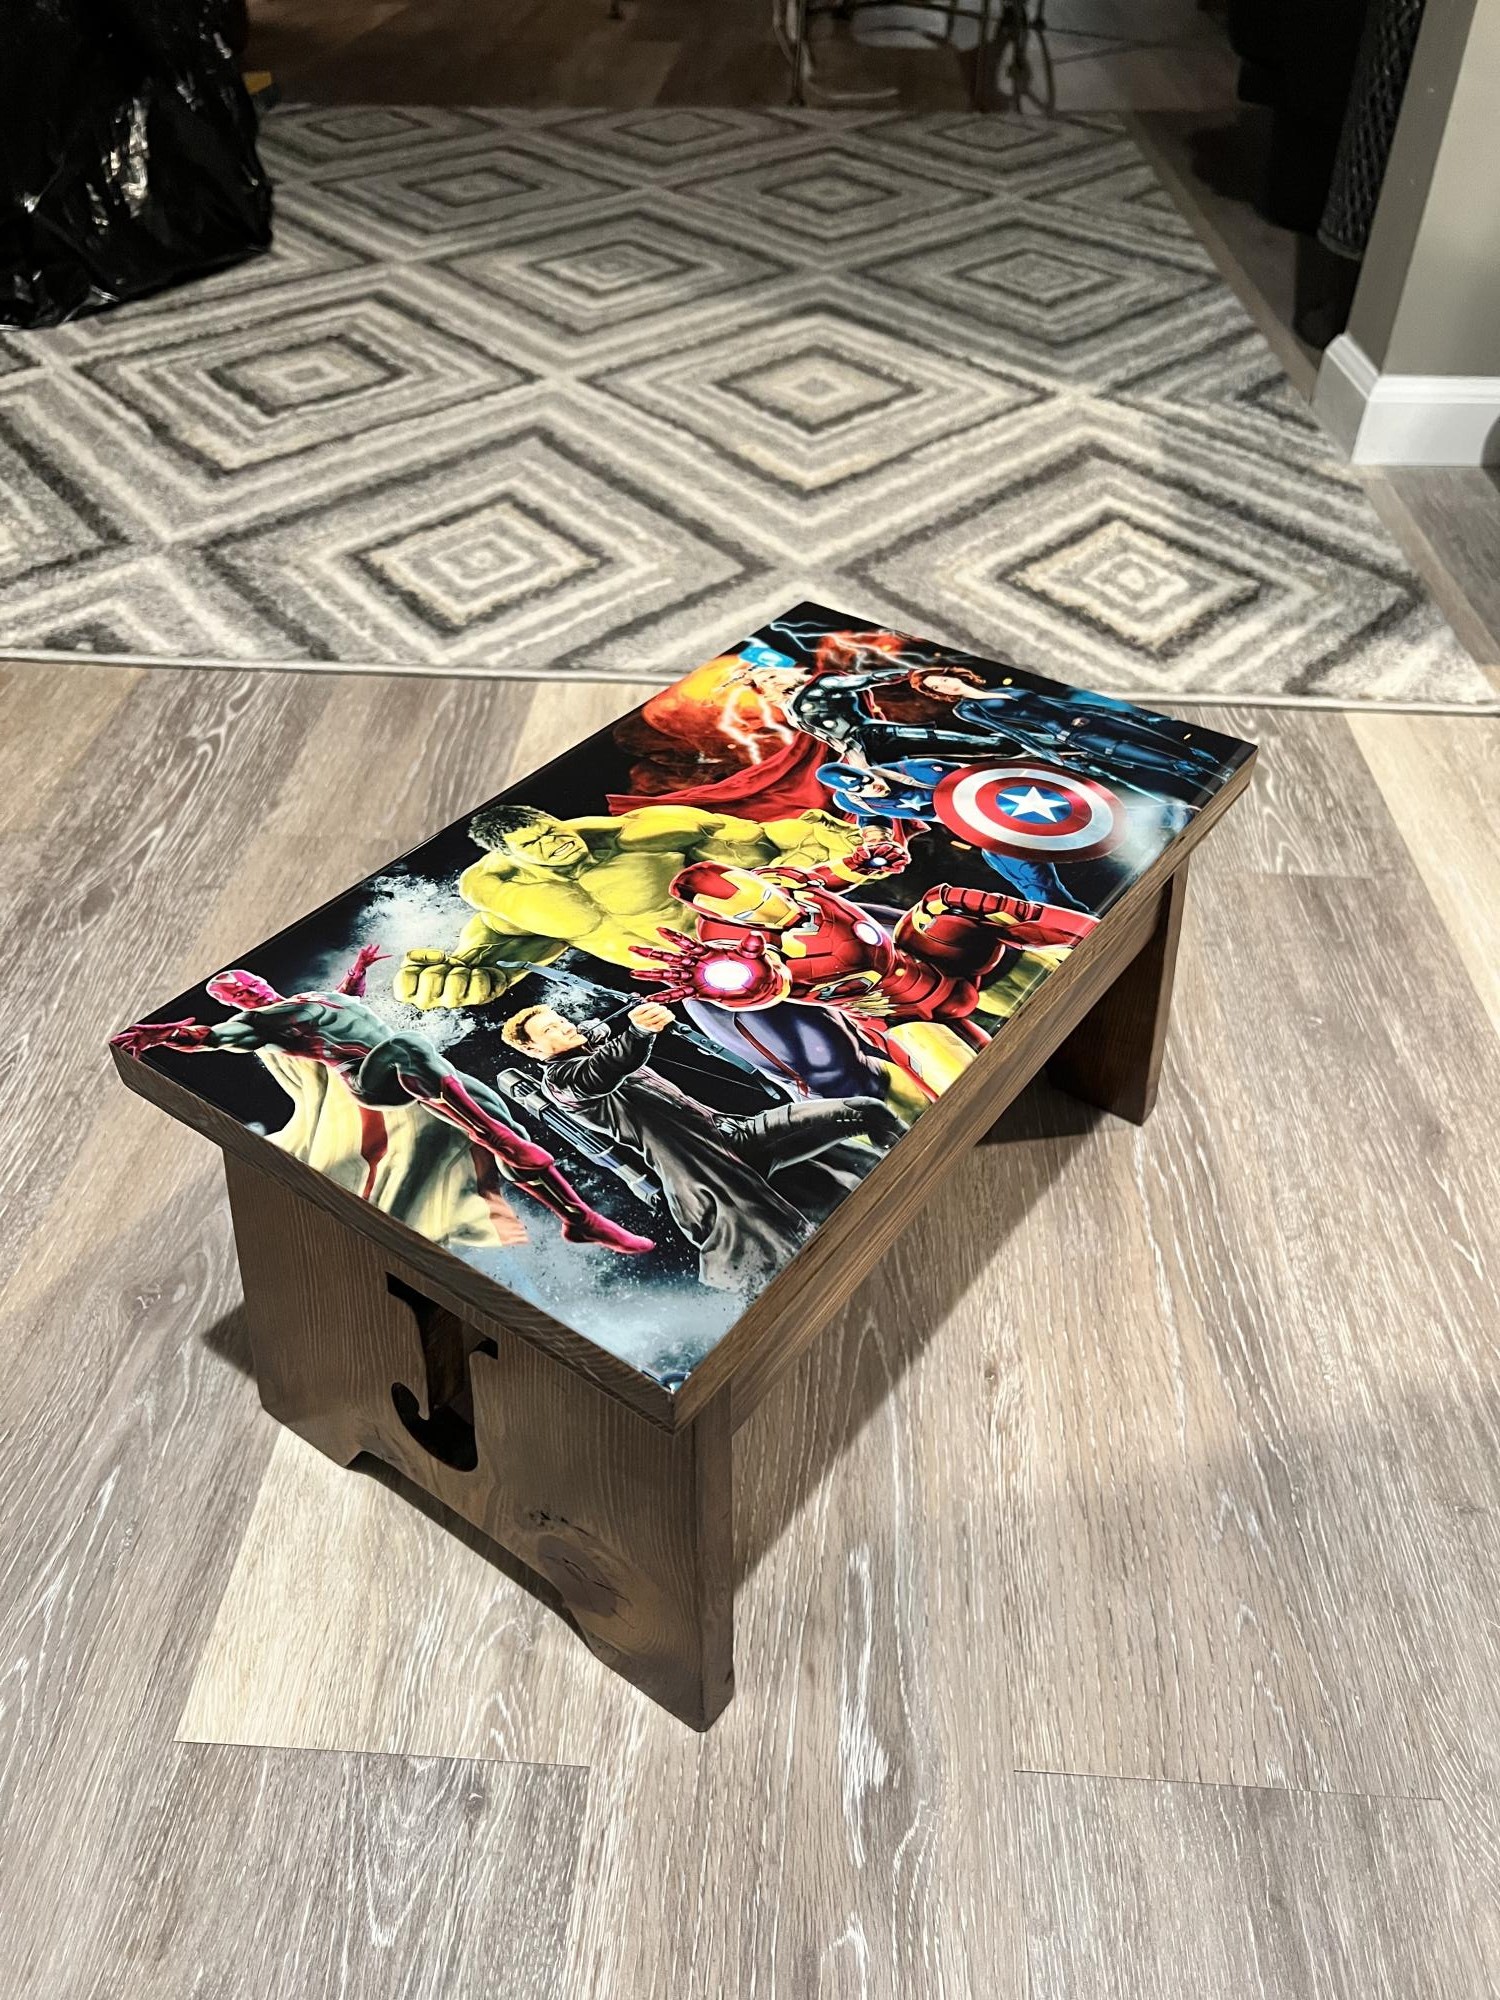
I used the plans for the simple stool, and put my own twist on it by adding my sons initial “J” on the sides and adding an avengers themed top with an epoxy coating for protection. This was my first project and the plans and cut list made it super easy!
I made a few modifications to the plans, but the overall simplistic design was what I was after. Thanks Ana!
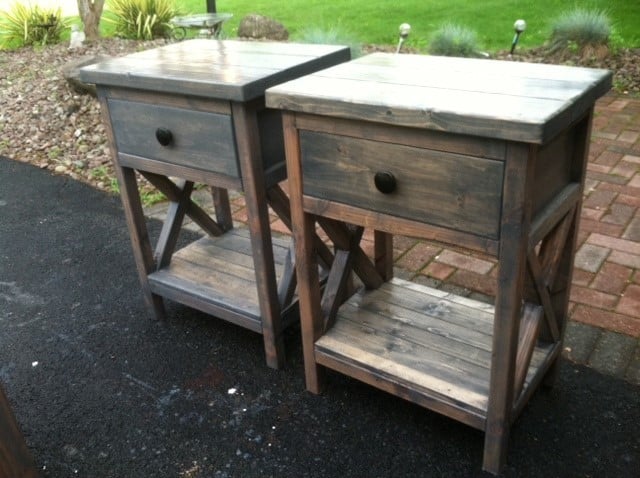
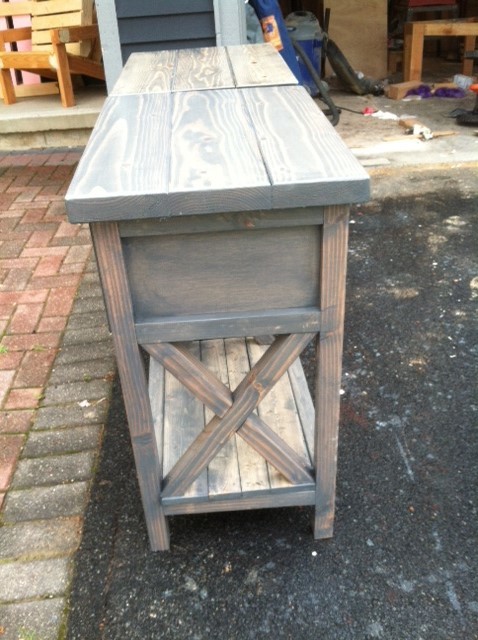
Used the simple nightstand from this site, and modified to add in the "X" on the sides. Finished in a Classic gray minwax to give reclaimed wood look.


Thu, 07/11/2013 - 19:32
Can you please post how you did this. I'm going to make my first project this weekend and I would like it to be this. I know it's based off the simple nightstand but can you give the details on the alters especially how to make the x? Thank you
Sat, 02/04/2017 - 13:39
Did she ever post her plans? If so, I can't find them! I prefer this design to Ana White's original, but I don't trust myself enough to try and wing it and make it look like hers. Did you end up making something similar?
Sun, 07/24/2016 - 12:38
I am very interested in building these nightstandss, could you post the plans, or where would I be able to locate the plans? Thank you!
Tue, 08/23/2016 - 05:30
Your nightstands are beautiful and I am working on creating my own! Did you keep with the original plans and use the 1x2 and 1x3's for the legs? Yours look thinner. Did you use 1x2's for the X sides?

In reply to Question about design by Oohlaladesigns
Tue, 08/23/2016 - 14:11
I didn't build this, but I feel pretty confident in telling you that the legs/x's are 2x2s.
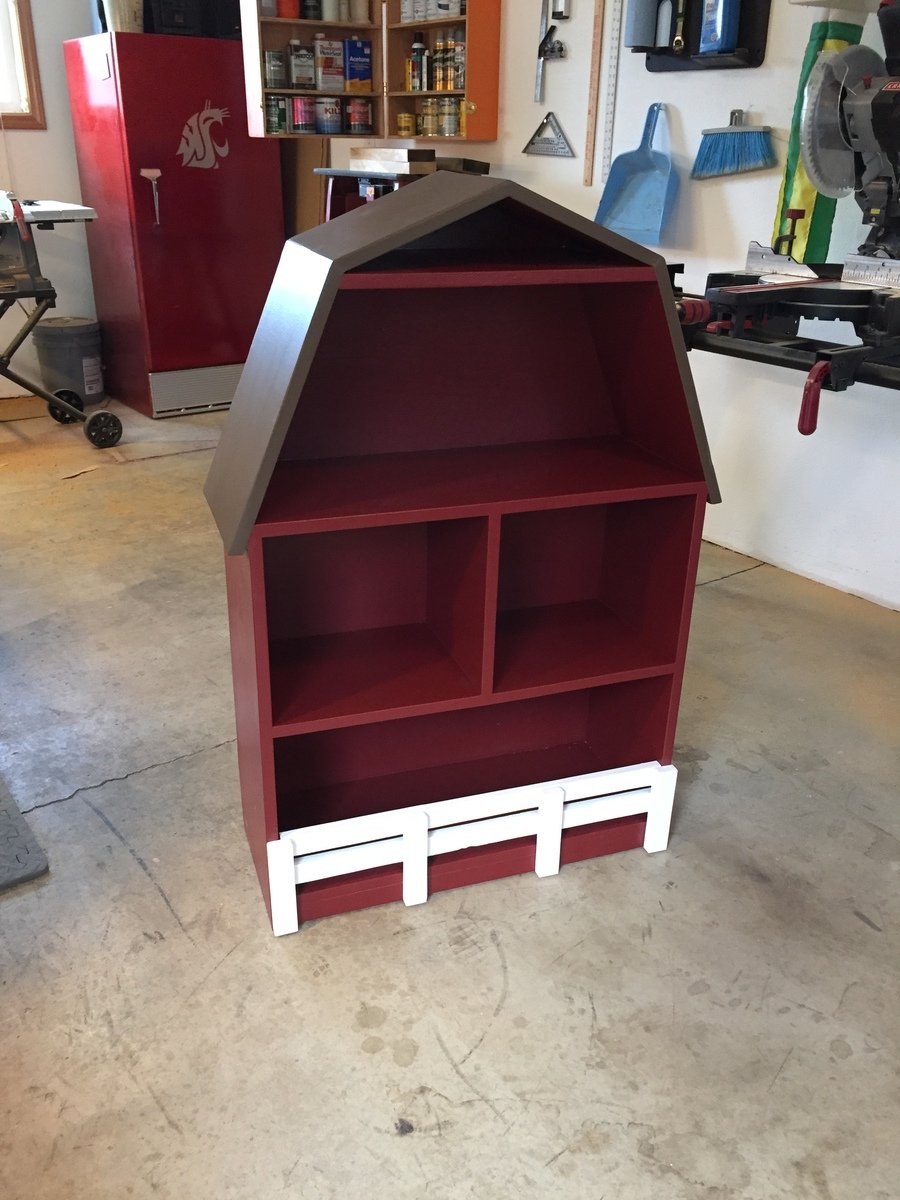
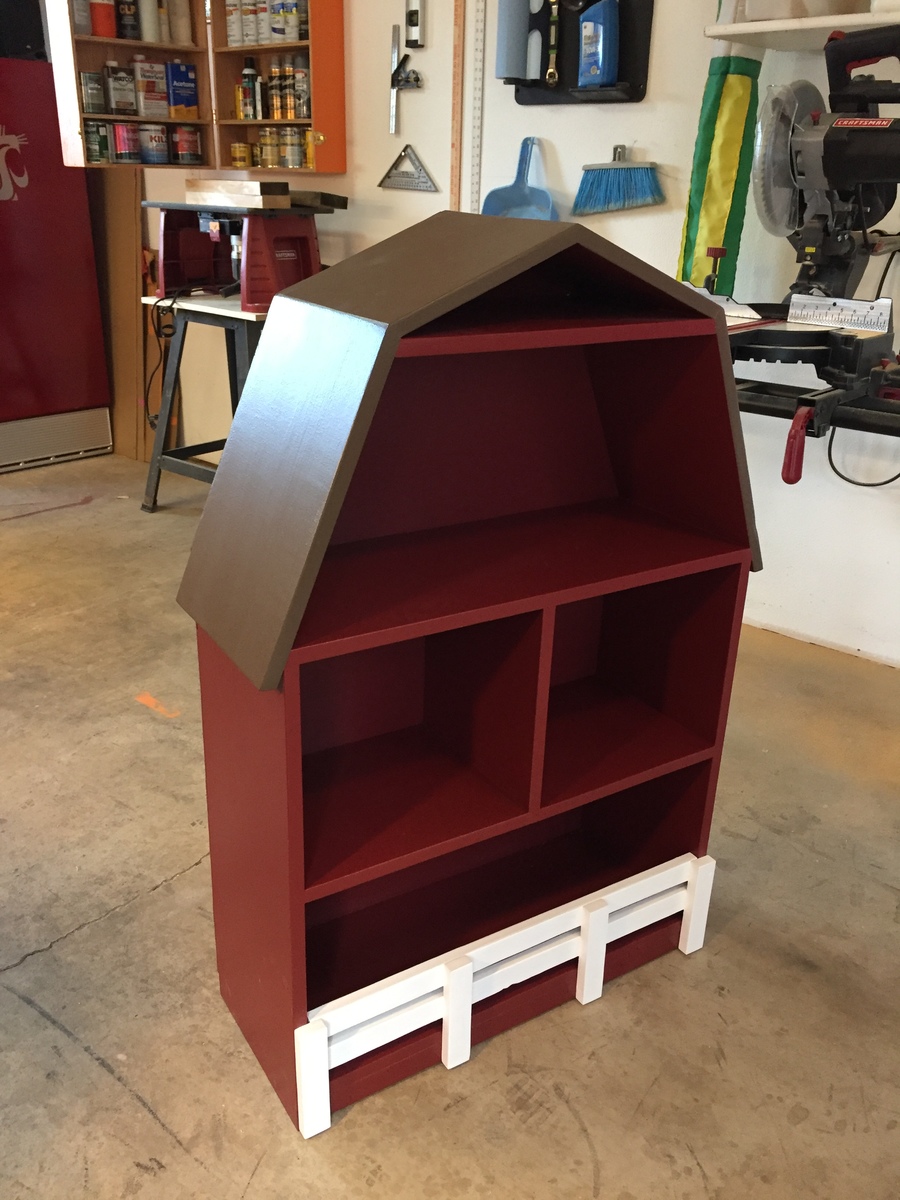
Our daughter loves to use it as a place to store animals as well as books.
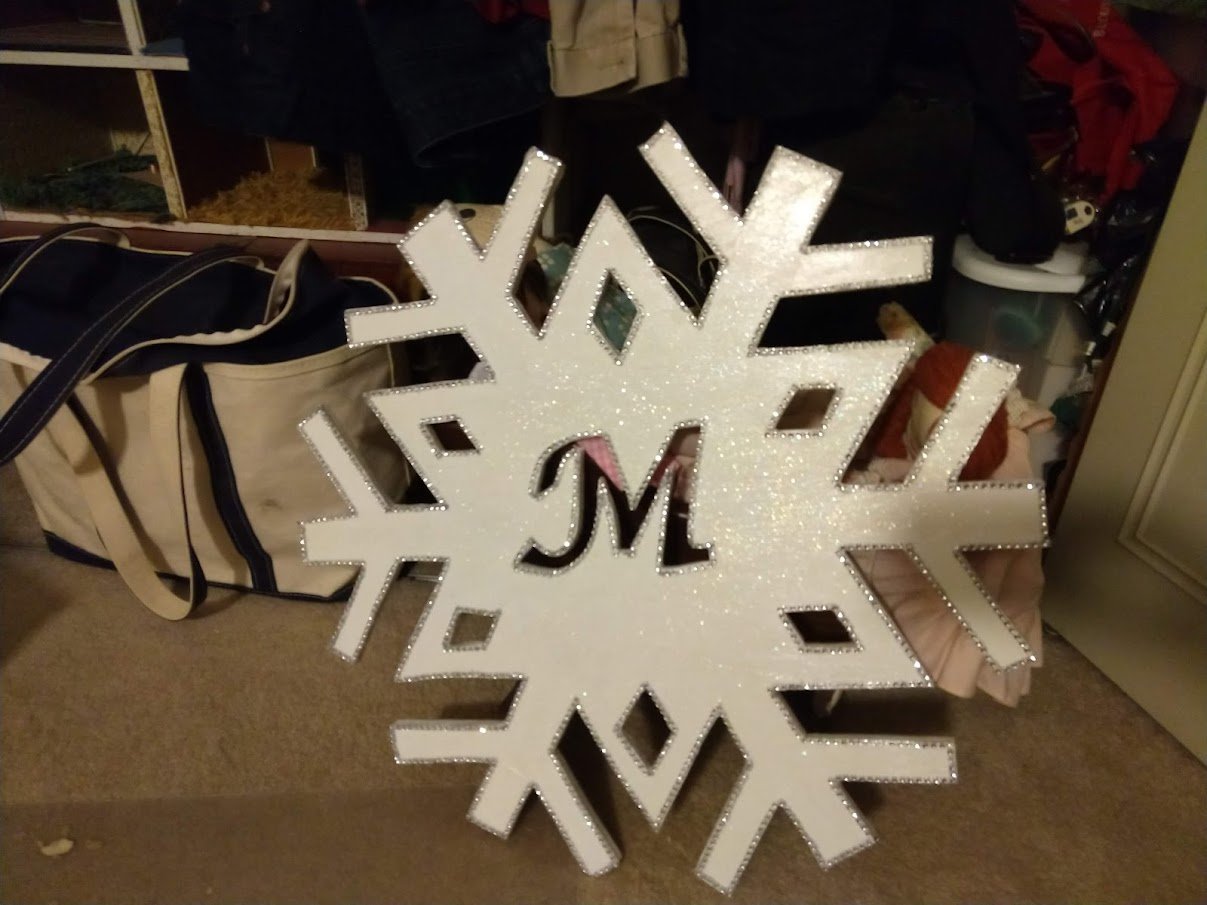
I decided to make several of these for family this past Christmas. I made mine from oak which was harder to work with, but more resistant to scratches and nicks. I primed and painted them white with some leftover wall paint. Then I added some craft paint that had glitter in it. While it was still wet, I dusted it with more glitter: white and iridescent. Then I sealed it to keep the glitter from going everywhere!!! Then I hot glued all the sides with a rhinestone like ribbon I found at the Dollar store. I was very please with the result. I also found pearl like stickers that I hot glued on the other snowflakes when my rhinestone ribbon ran out. I added felt stickers (those that are used on the bottoms of chair legs) on the back to prevent the wood from banging on the door every time it opens and closes.
Love this project! I thought it was pretty easy and it was a good practice with the jigsaw, drill and sander which are relatively new skills for me.
Tue, 01/18/2022 - 16:33
That looks awesome, way to go and such a great way to sharpen those skills!

I loved making this! The depth and width of the treads are great. It is sturdy, safe and roomy. My little guy loves it!
Comments
Ana White Admin
Mon, 12/27/2021 - 22:20
Very Pretty!
Looks great, thank you for sharing!