Scrappy armoire
Made this out of a ton of scrap wood I had laying around. On the downside it made the project more difficult, but on the upside all I had to buy was hinges and handles...
I saw Ana's tilt trashcan plan and I knew that I had to tackle this bad boy. I didn't want anything stationary because my 1910 kitchen is big but also pushed against the walls. My stove is 7 steps from a counter top so prep is kind of a pain.
I modified Ana's original plan to be taller and even (well, close) with the stove's height for extra counter space. I also wanted a slide out cutting board with a hole so that while I'm chopping my ingredients, I can scoop it into the hole that drops directly into the trash.
I'm a very ambitious girl who doesn't like to be told that I can't do something. This is also my second built....my first is a huge craft supply cabinet made from old barn wood that is lovingly referred to as 'The Outhouse'. My tools are limited to a 7in circular saw, drill, and Kreg Gig. I knew this would be tough but after a few head scratches, I have a pretty cool island.
If you have questions about what I asked, please ask. There are all types of wicked little tricks/fixes in this beast.
Sun, 09/21/2014 - 08:11
we are about to start building and island based off this plan as well and i love the holy cutting board idea. do you have pictures of that or advice on how to accomplish it? we plan to make it twice the width with two trash cans. ( we have 5 kids= lots of trash!)
Balustrade Coffee Table made of cedar and pine wood. Approximately 49.5 length. Stained in special walnut and white painted chalk paint base. Used dark wax to distress base and legs.
Unfinished pine bathroom tower shelves. I assembled all pieces with kreg jig and pocket hole screws. It was a quick and easy project.
I needed a new laundry system, and thank goodness I found Ana White's projects on Pinterest! I incorporated the laundry sorter and added casters to the bottom as well as a paper towel roll on the side since it is next to the sink. I also used a modified version of the washer/dryer platform into my space. It does not have the bottom platform and the 4x4's are inside the 2x4's and attached to the platform as well as the 2x4's. Sterilite makes organizer drawers that fit exactly in the opening of under the platform. And, voila! New colors, new organization, new light bulbs :0), new laundry room!
Sun, 02/24/2013 - 12:48
Great job! Looks much better and I bet it's a lot easier to get laundry done now.
Wed, 02/27/2013 - 19:18
That looks like it was a lot of work, but totally worth it!
We modified the original plnas to convert one set of front shelves into thread storage. We used 1/4" wooden dowel cut to fit 2 spools of thread on each.
Made this for my 14 month old, this was my first ever attempt at making/building anything! Hand painted and assembled with inspiration from the Tennessee Titans. My son loves standing in it by the window watching the trucks go by our house so I added his own jungle gym steering wheel and bike horn.
For my first solo project this table had enough challenges to keep it interesting but not overwhelming. I love how it looks in my home.
Here it is. Our first building project (not attached to a wall) that we used plans for:) I am so happy with the way it turned out. We had been looking for a bench for months. I was thinking that I would find something I like, refinish it and then upholster the top. But then I came across this post from a wonderful blog (that I will be using TONS more ideas from) and knew that this was going to be our bench:) I am happy to say that I think I have finally found a hobby that we can ALL get use to:) The kids have fun, we have fun...and we actually walk away with a finished piece! Love that!
Thank you so much Ana for this plan. Our 2 year old is too big for a high chair and will not use a booster seat. He wants to be like his older sibilings and use a real chair. This was perfect because it is a real chair (no booster seat) and then we put a Mickey Mouse on the back and he absolutely loves using it now.
Sat, 01/03/2015 - 16:46
This chair is just darling with that Mickey Mouse on it! You did a great job!
What a fantastic plan. I made one for my granddaughter. It has two advantages over the doll house I made years ago. (1) It can be unstacked and shipped. This one will be shipped. (2) It allows the child to restack and rearrange rooms. My grandaughter loves to rearrange things. It is an "engineering inclination" according to her mother. Well, she can rearrange these rooms as many times as she likes.
I made only one change to the published plan. I expanded the rooms to 8" wide, 8" high and 16" long in order to accommodate a piece of furniture my son-in-law had already made. Maintaining the 2-to-1 ratio keeps everything fitting together well.
Thank you again.
Step stool to match our living room set. Thanks Ana white for the plans!
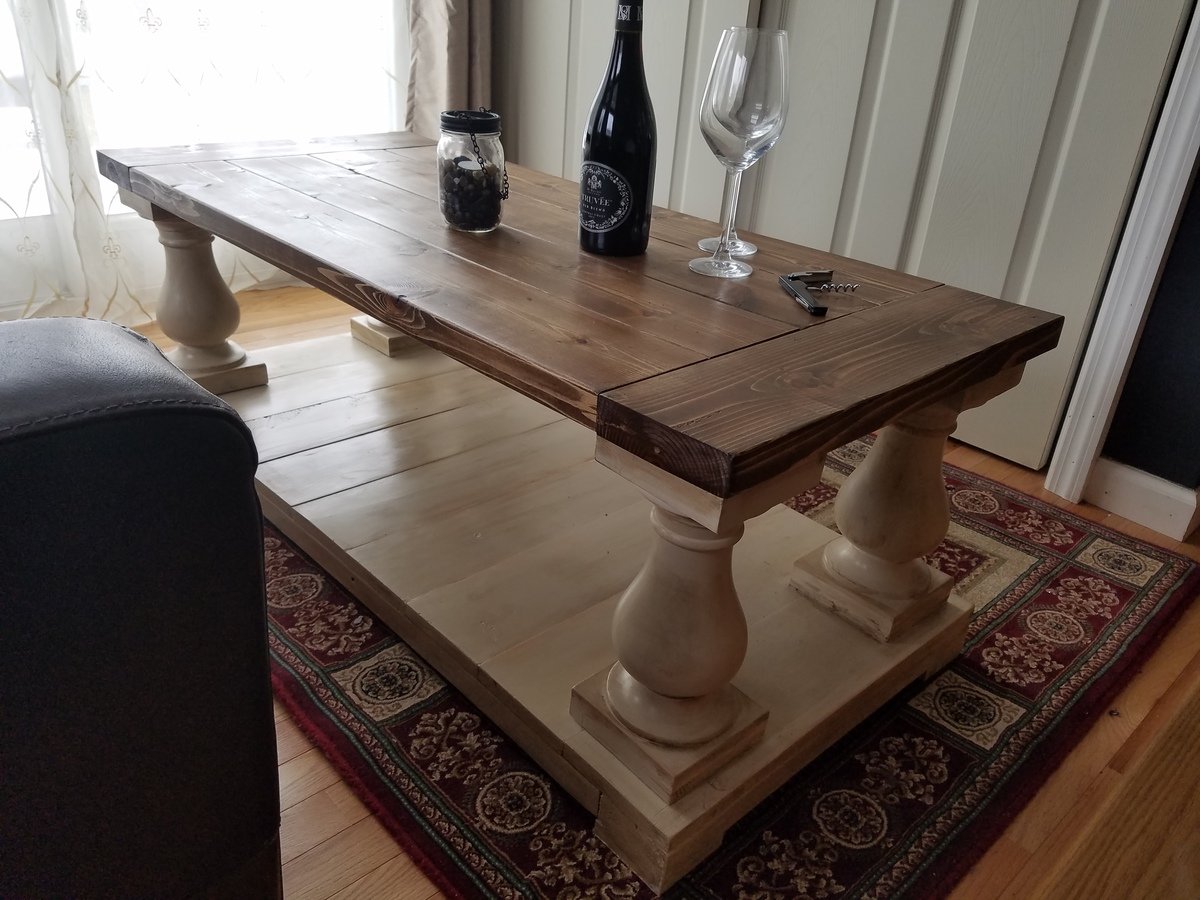
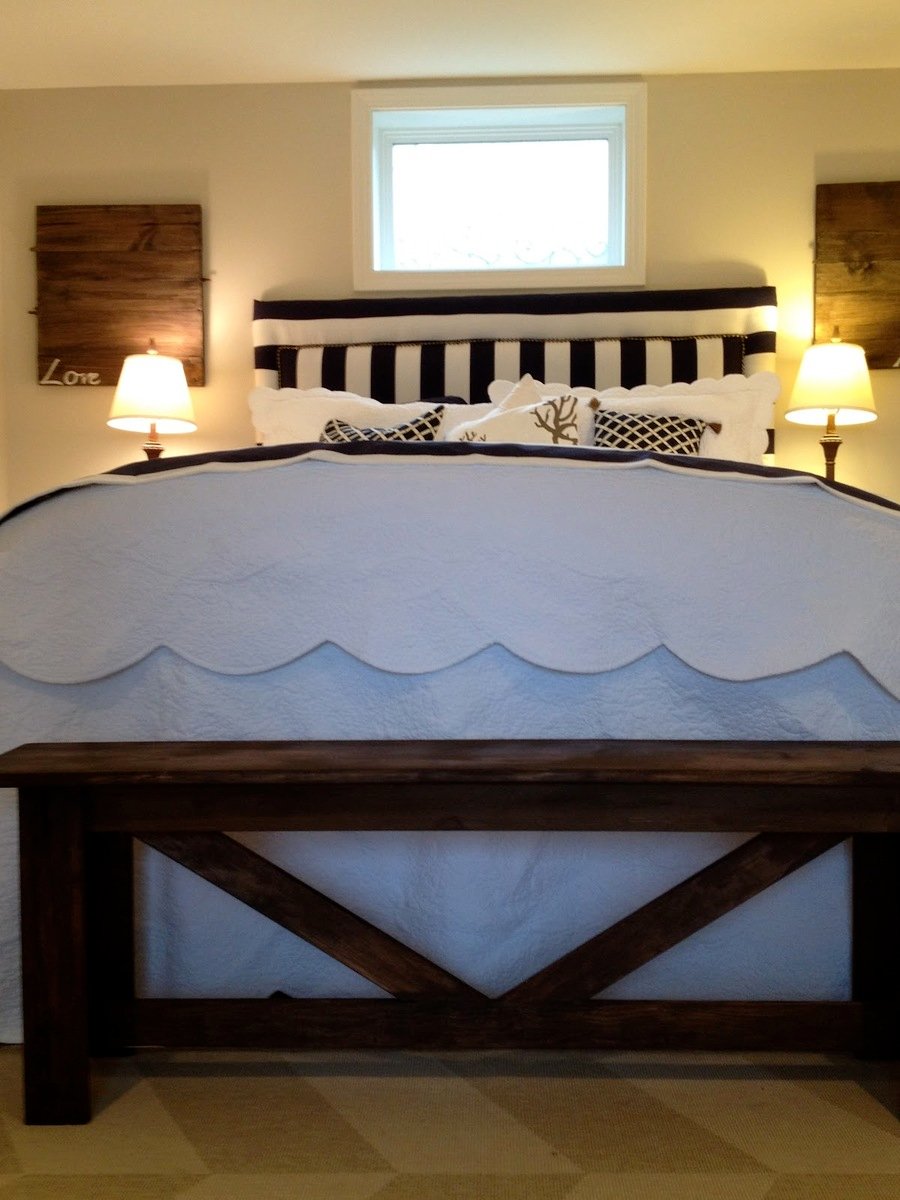
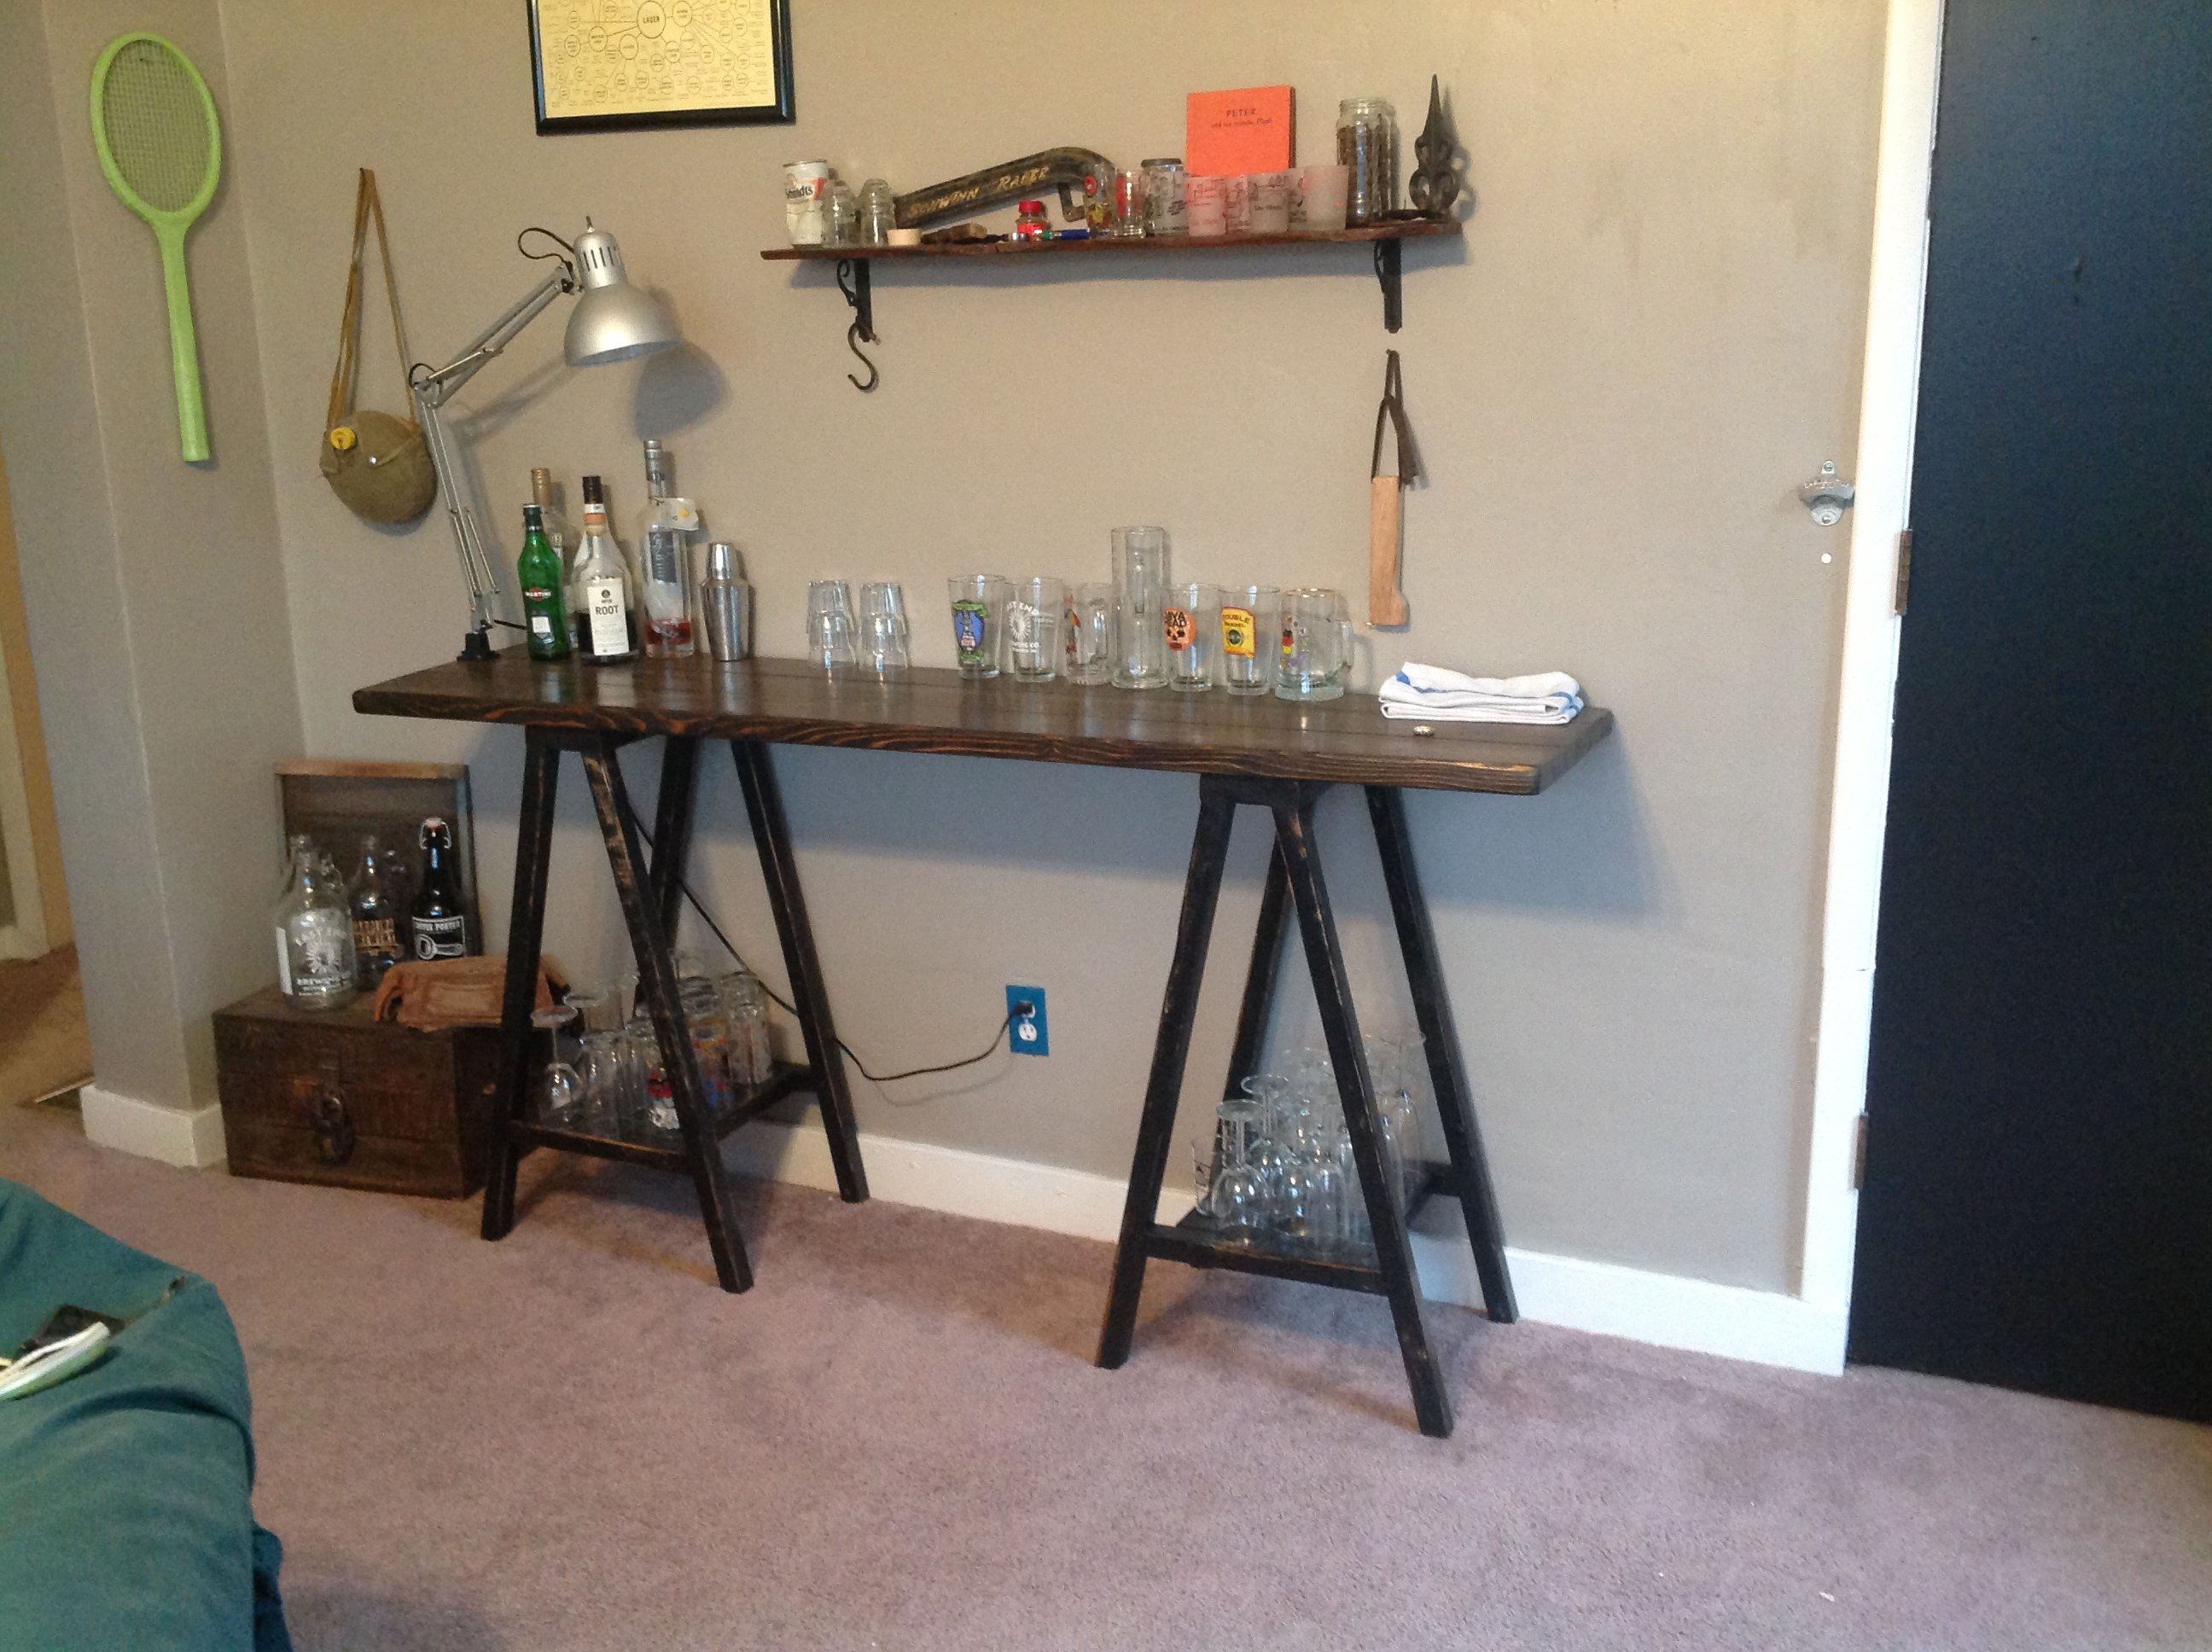
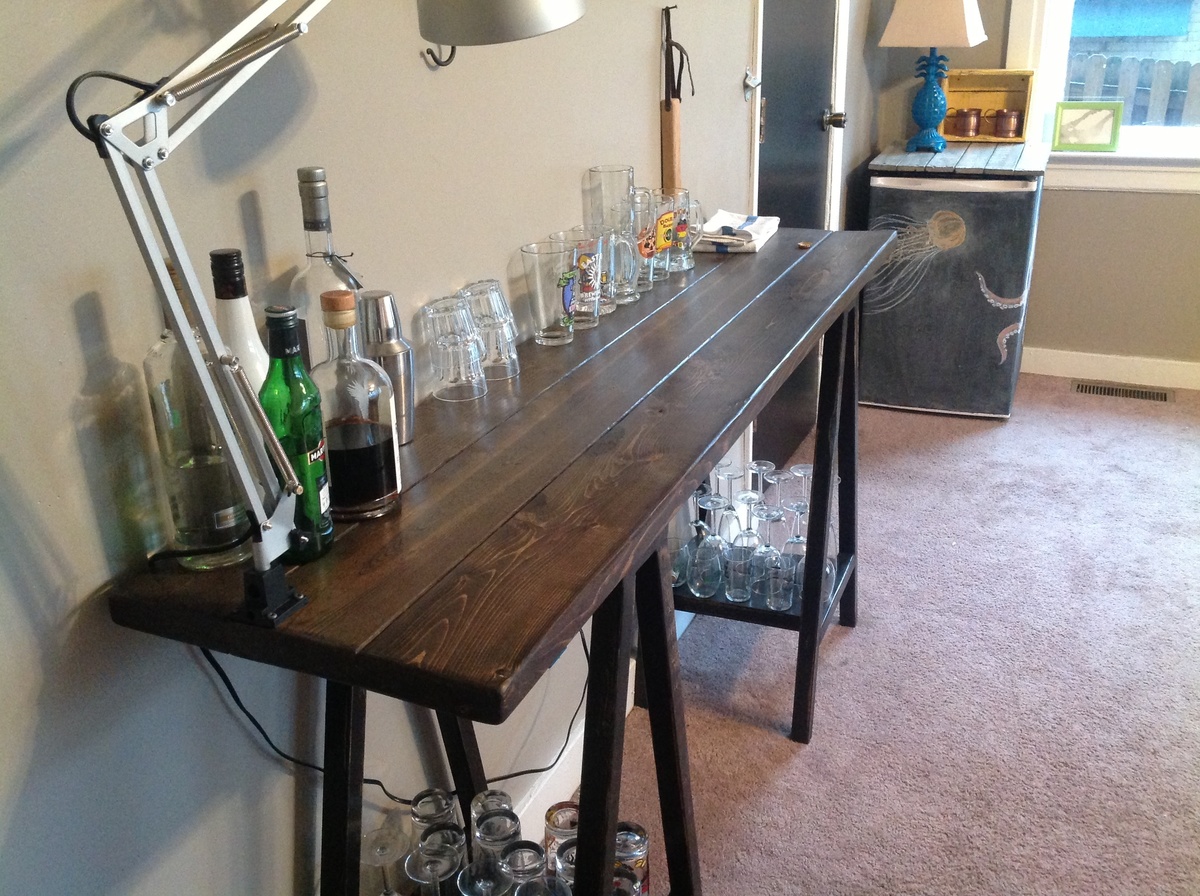
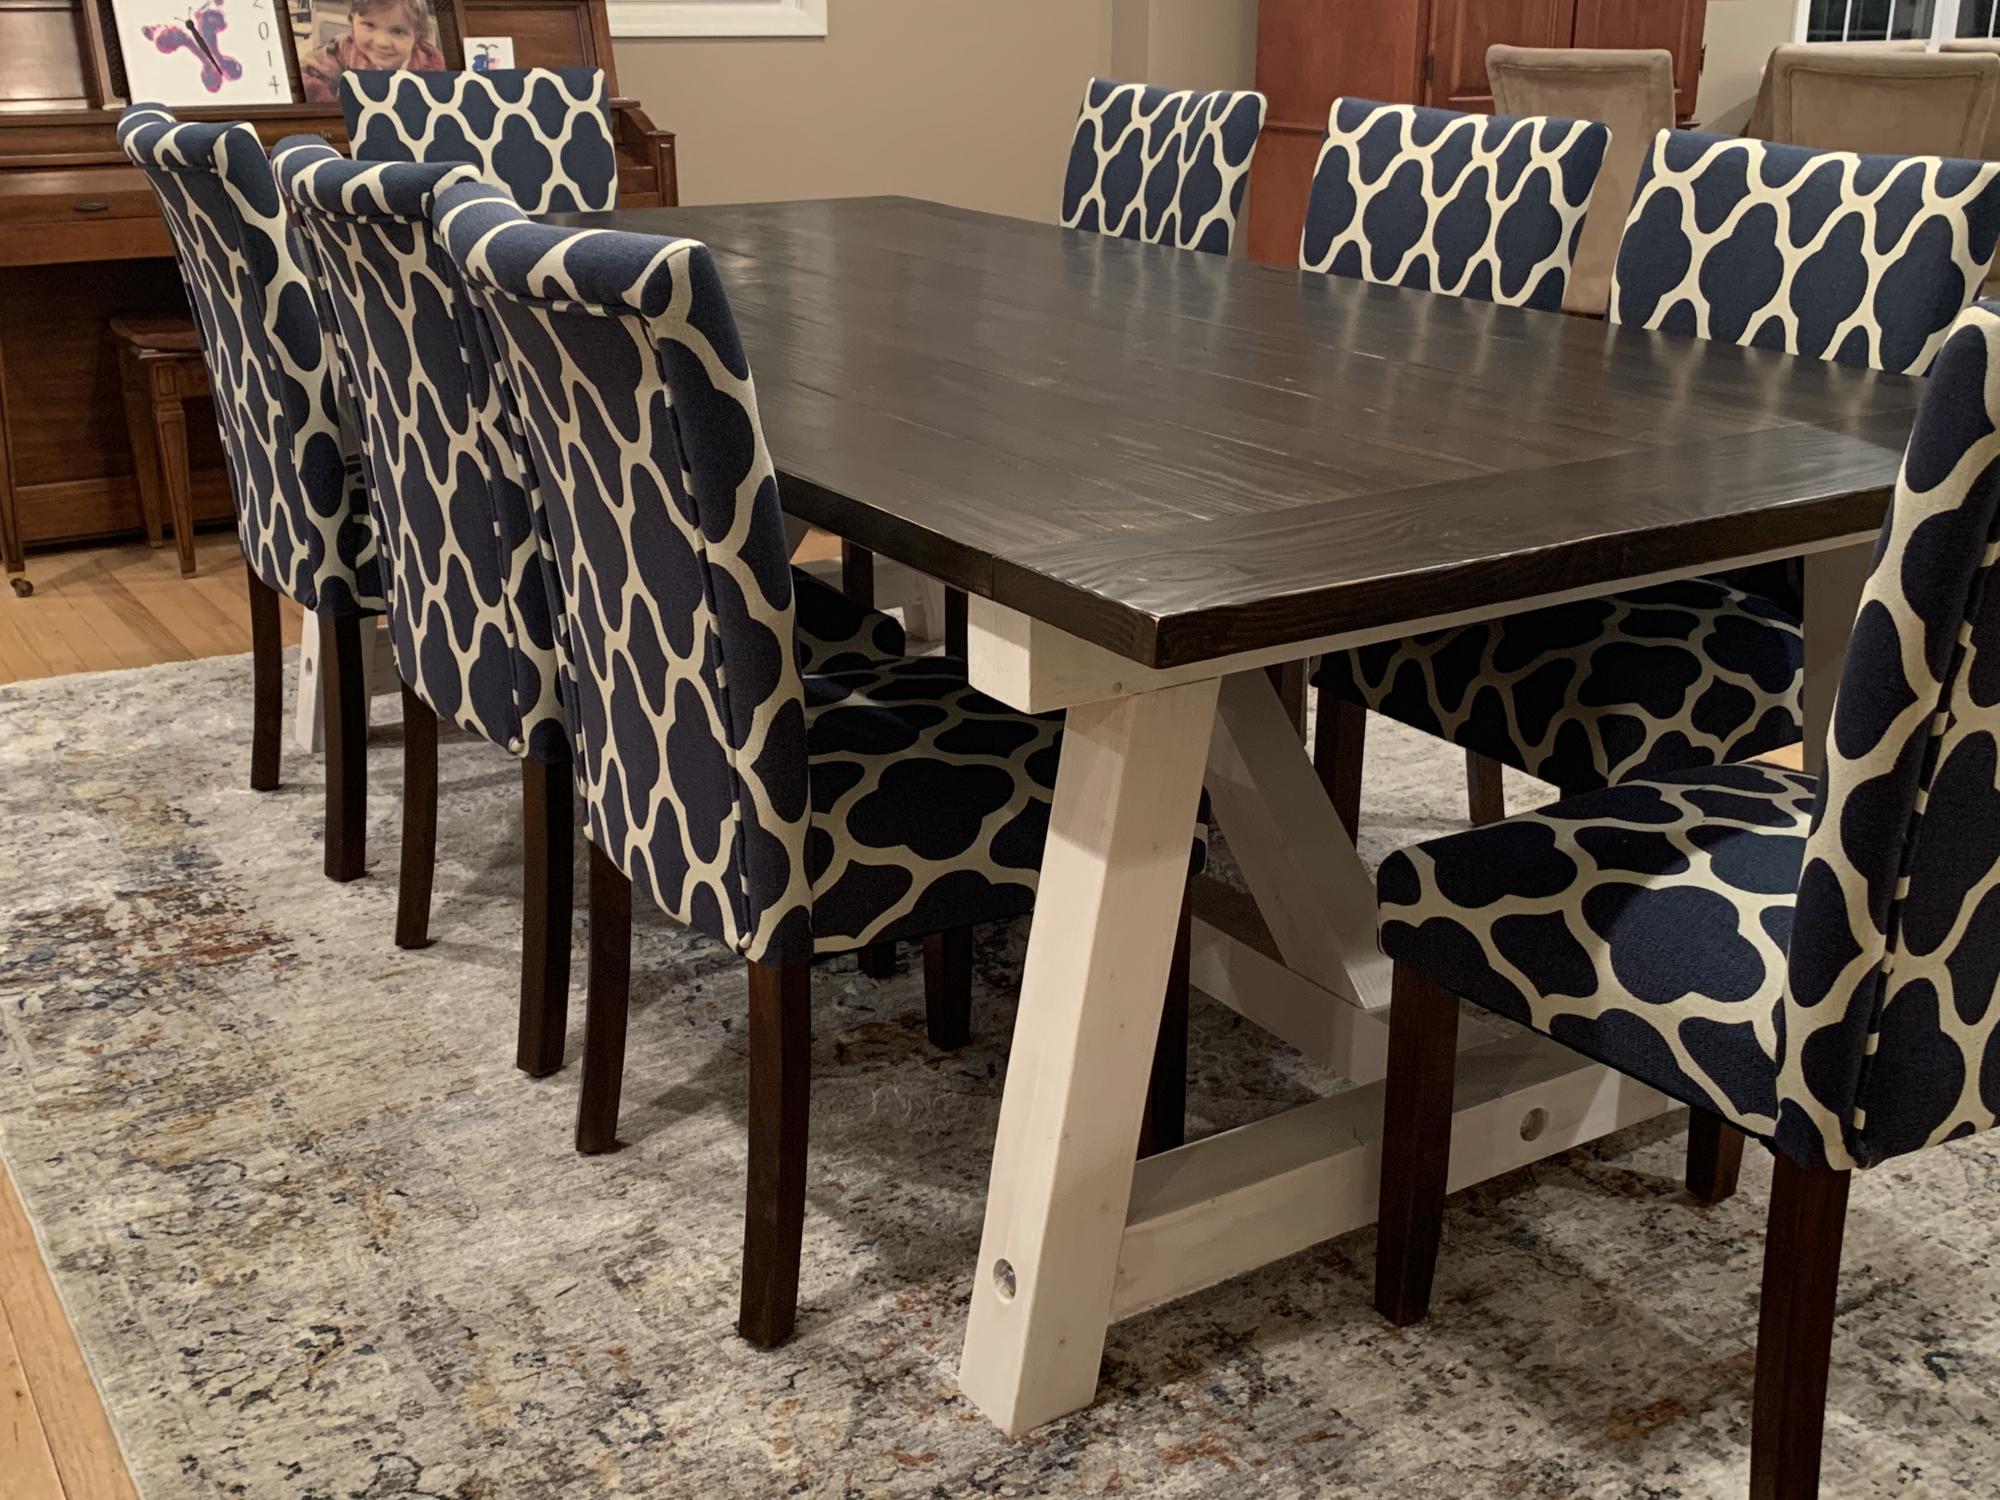
Like many others have mentioned, I wanted a 36" high table so I could use it as a bar. Ana mentioned that it would be too wide at 15 degrees so perhaps 10, after busting out some trigonometry I found that 10 degrees would give you about a 16" base and 15 would give you a 24" base. So, 12.5 degrees it came to be if you want a 20" base.
Many have said it takes 4 2x2's, that definitely holds true with this modification.
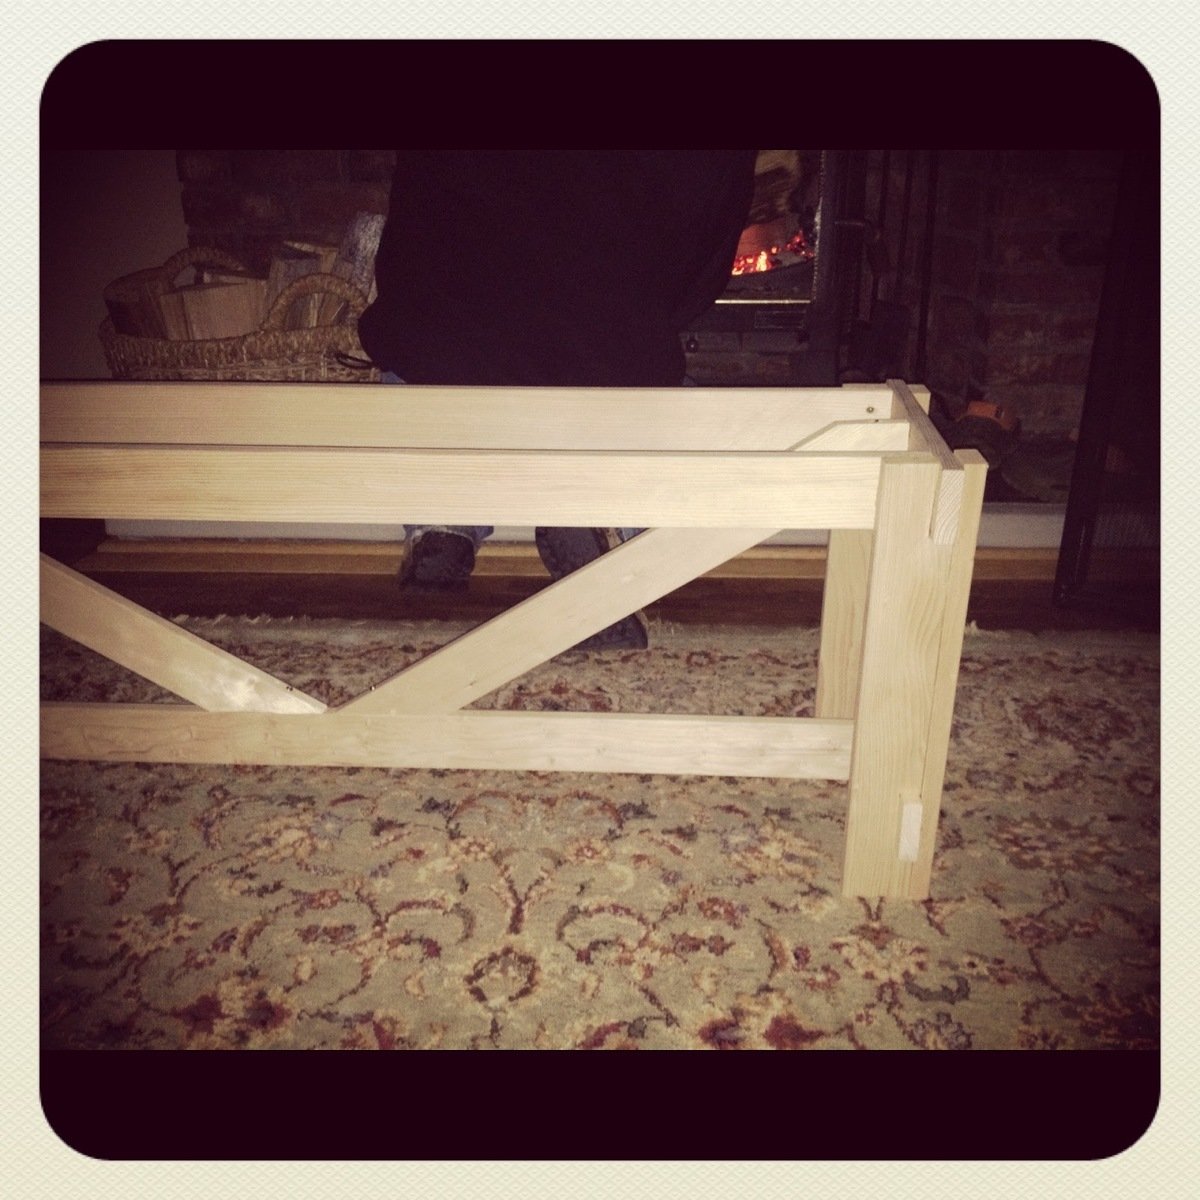
Here are my measurements, otherwise the cuts and assembly are the same as the original:
All angles are now 12.5 degrees rather than 15.
The legs are 33 3/4" from end to end
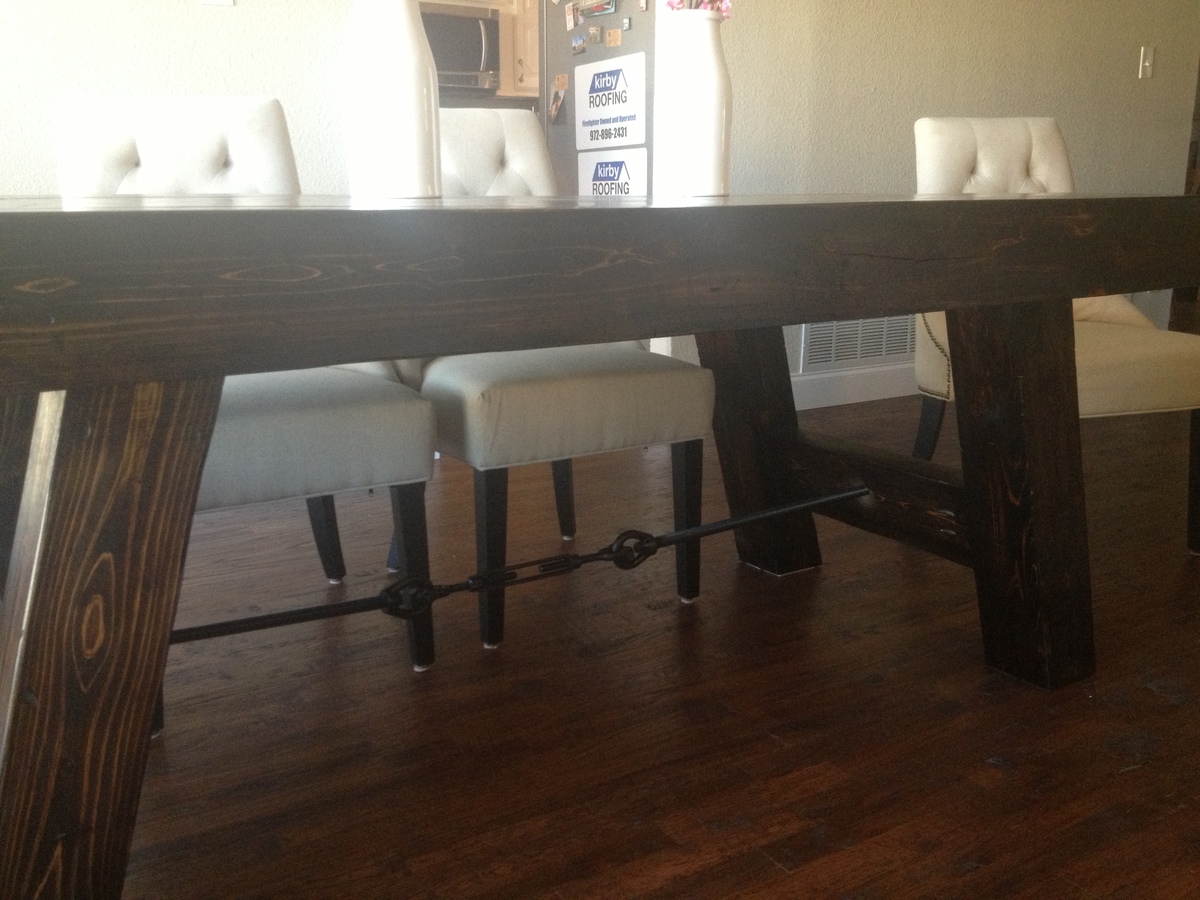
The outside edges of the legs should come to 20 1/4" wide for the base.
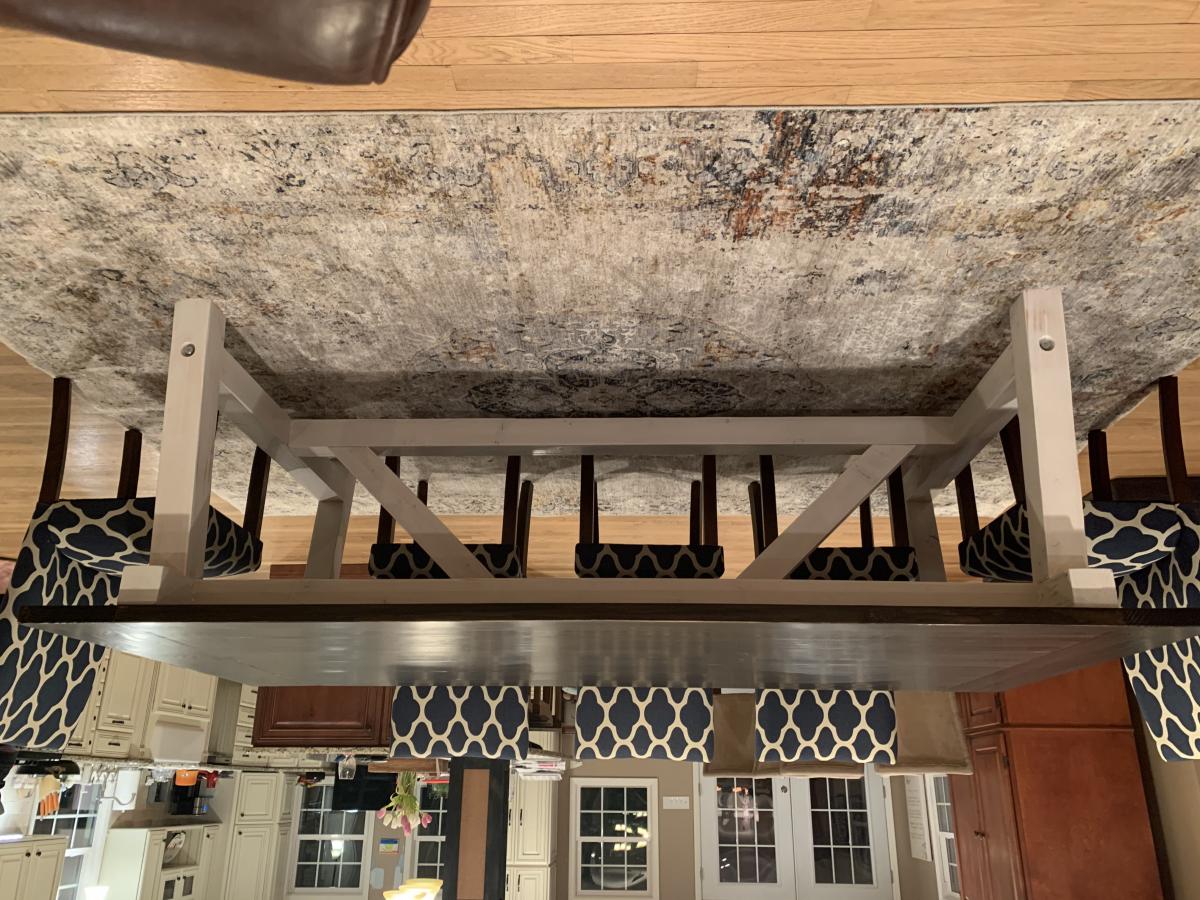
The stretcher will stay the same 13 3/4" on the bottom length, just cut at 12.5 degrees.
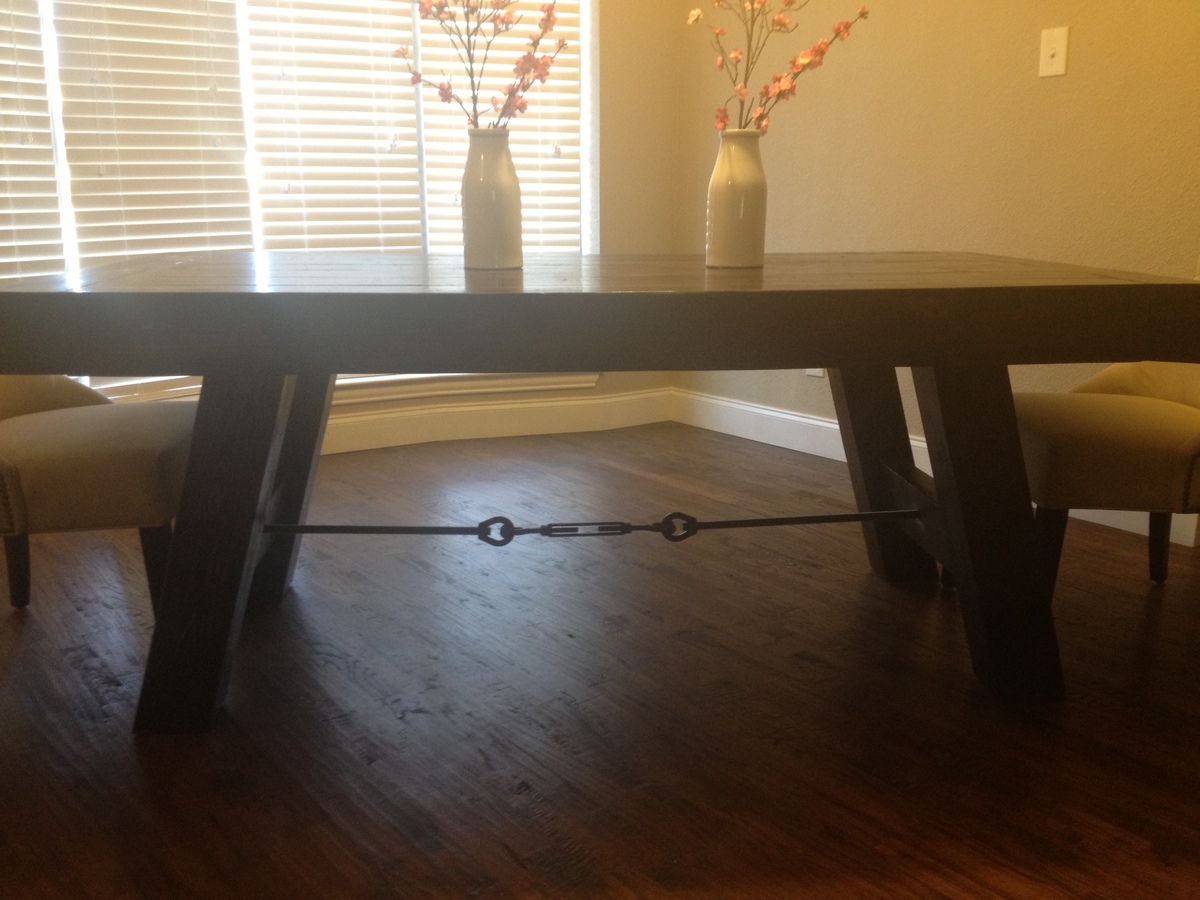
The stretcher is now 7 3/8" up from the ground, I found it was easiest to measure 7 1/2" up along the inside of the legs and line the bottom of the stretcher up at this mark.
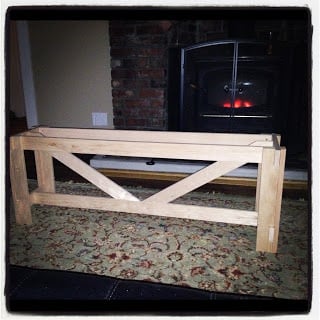
And that's it!
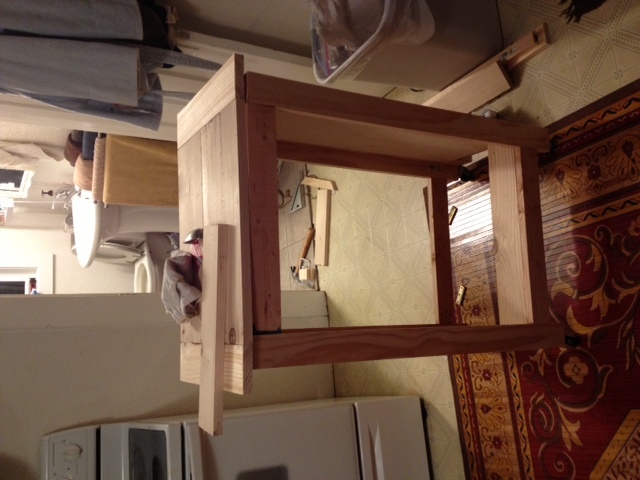
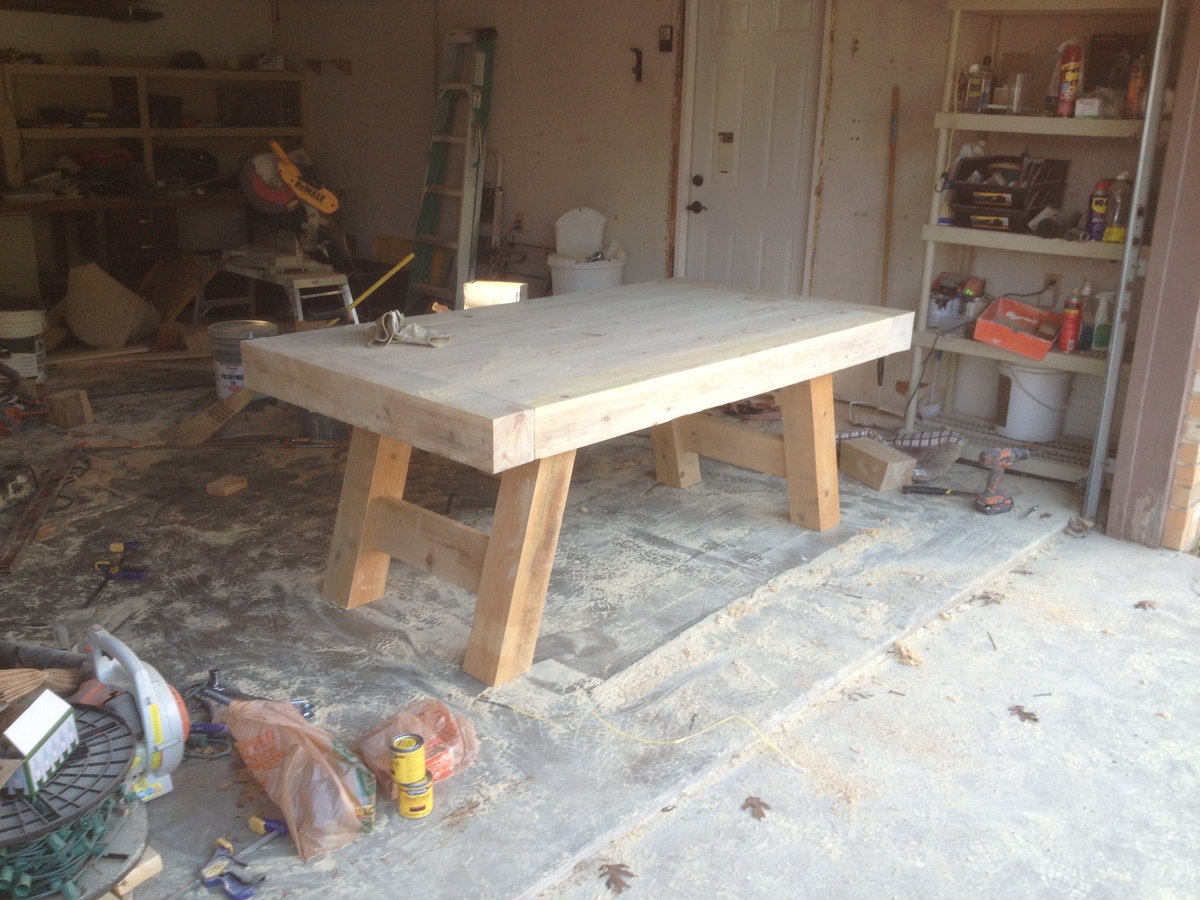
A tip I used was clamping 4 2x2's together to get all the legs even, this only works if you have a sliding compound miter saw. I also recommend doing the straight cuts first and then leave the saw set at 12 1/2 degrees until you finish the project, this will keep cuts consistent.
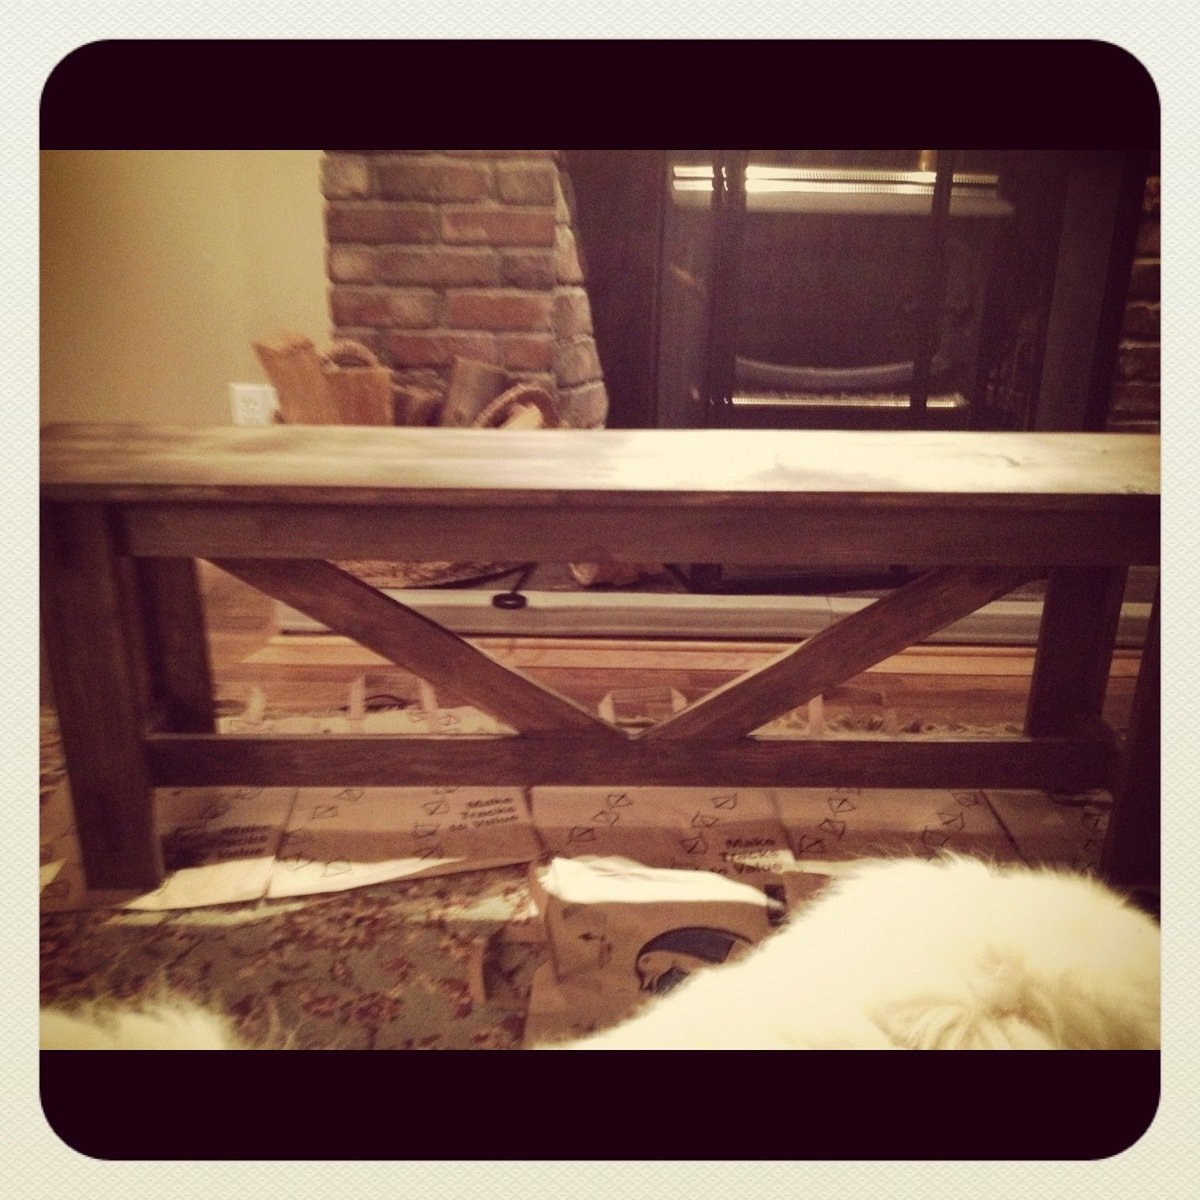
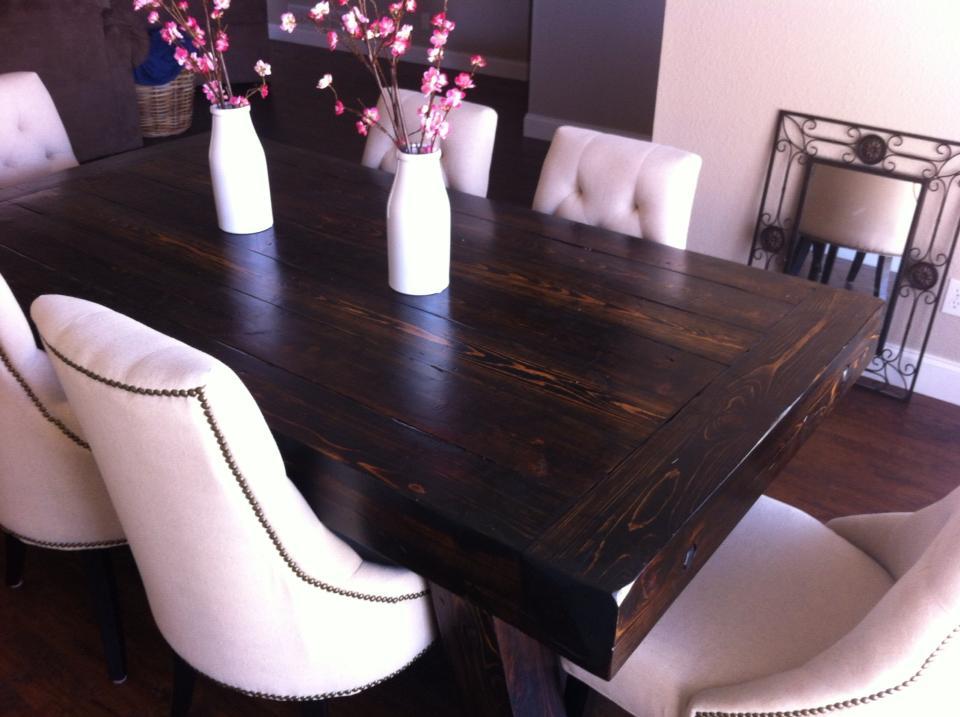
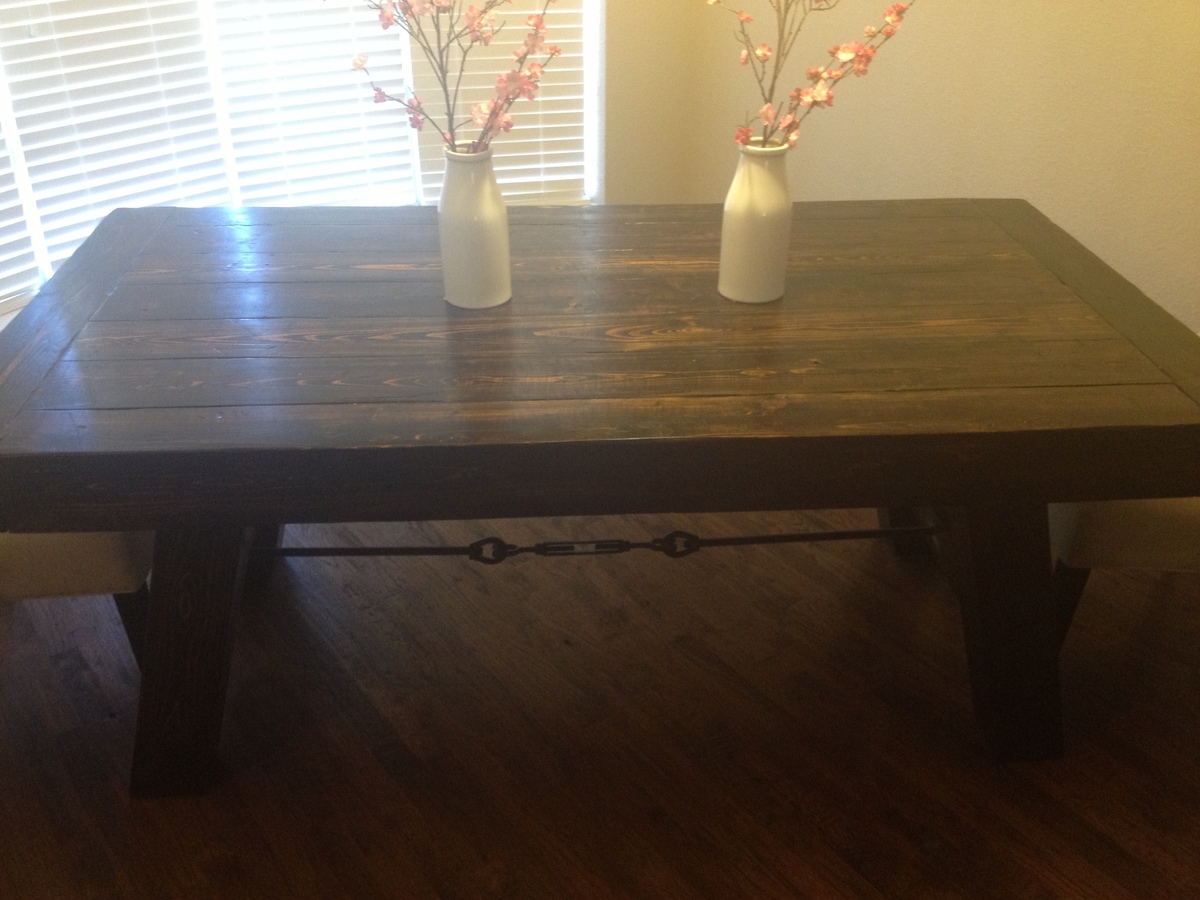
Other modifications I made were to shorten the depth to 16 1/2" and use 2x6's for the top, I needed a narrow table in the room. I also made the depth of the sawhorses only 15 inches so the top would have a 3/4" overhang in front and back, I think this cleaned up the look some.
Step dresser inspired by a similar design from a boutique furniture store. We actually made three dressers using various dimensions from large, median and even small versions.
My wife loved the Benchwright table at pottery barn, and I did not love the price. Got a lot of ideas from this site and tried to make it my own. The outside and legs are made from 5"x5" Cypress, purchased from a local saw mill. I used a kreg jig on the entire thing along with lag bolts and glue. It is very heavy and I can jump up and down on it. Bought the hardware from Fastenal. Fun project, took about 16 hours total.
Sat, 03/02/2013 - 18:30
It's absolutely gorgeous. This is stunning. I'm incredibly jealous of this.
Sat, 03/02/2013 - 20:21
This is by far my favorite table I've seen on here. Wow...its all I can say. I wish it was not in the $400 range.
BTW, that is some serious saw dust. haha
In reply to Holy Amazing! by jbayer80
Sun, 03/03/2013 - 05:50
Thank you,
I helped a buddy make on shortly after I made mine. He used 4x4 pine, it looks a little smaller and the pine did not stain as dark, but it is still a very nice looking table. He made it for under $150, so that might be a good option.
Sun, 03/03/2013 - 07:37
That is a great option. Hopefully when its time for a table like this I can afford the 5X5's.
What a statement that table has!
Tue, 07/30/2013 - 18:43
You posted you used 5x5's for the outside and legs. What did you use for the rest of the top?
This is build 2 and I was really happy with how well it came together. I used Douglas Fir again as it takes the vinegar and steel wool mixture really well. This piece was hand waxed for a different look than my corner table. I love the tight grain in the top and how the variations in the grain caused some of the wood to appear almost white while the rest of the top is very grey.
In reply to Bravo! by TwoCuteKids
Thu, 01/08/2015 - 08:42
Thanks for the very kind words. I was picky when I selected the boards for the top. I loved how tight the graining was. It was interesting to see how the one board went almost white. I used minwax's paste finishing wax on this particular project. I rubbed it on by hand and then used a orbital buffer to bring out the shine.
Thu, 01/08/2015 - 06:48
Clark's Hardwood Lumber Company in the Heights. It's awesome place with every wood imaginable. 700 East 5th 1/2 Street, Houston, TX 77007
Thu, 12/03/2015 - 17:06
Thank you so much for the comment you added about scribing the angles for the X's. After a lot of frustration; purchasing a carpenter's square, a sliding t-bevel, and a protractor; and ending up with cuts I just wasn't satisfied with ... I'm so glad I took the time to page through all the comments and found yours. I wouldn't have been able to finish without it. :) THANK YOU!!!
Fri, 12/04/2015 - 16:01
I've looked through pages of comments from the original plan and still haven't found the comment you are referring to. Do you recall what page it was on? I have two x's that I am ok with but next project I'd prefer a better cut.
I made this from Anna White's plans. Thanks for your idea and the plans. It is made from Mahogany, Pine, and I used 1/4 aspen plywood for the back. I made the face frame (rails and stiles) with the Mahogany, and did mortise and tennon joinery and then attached to the shelving. I made the raised panel doors out of Mahogany also and made the crown moulding as the trim piece out of the same species. The shelving and back board is from pine and capped with mahogany trim on the shelf edge. The door knobs are not yet on in the picture, but I used solid wood round knobs and stained the same colour and located the knobs up near the top of the door stiles.
Stained in Dark Walnut Minwax Water based and finished in Varathane Semi Gloss water based.
Modified plan dimensions to accommodate 8' long by 4' wide top. Also, added 4" lag screws (just for appearance) to secure beams at base of the legs and center support
My 7 year old daughter LOVES her new loft bed!!! It was a fun build. Plans were very accurate and simple to follow. Took a weekend to build and about 5 nights to paint.
Next I plan on building a desk and some shelves under the bed. More pics to come!
Fri, 03/08/2013 - 19:35
Thanks so much for this post! I hope your daughter loves this bed as much as I do! Love the wall color, by the way!
I've been seeing a lot of window panes turned photo frame and really liked the look. We didn't have any extra panes around but I did have a bunch of scrap pieces of 3/4 inch plywood so I decided to make my own!
Sun, 01/11/2015 - 01:50
This is great! I love the vintage look and the black and whites!