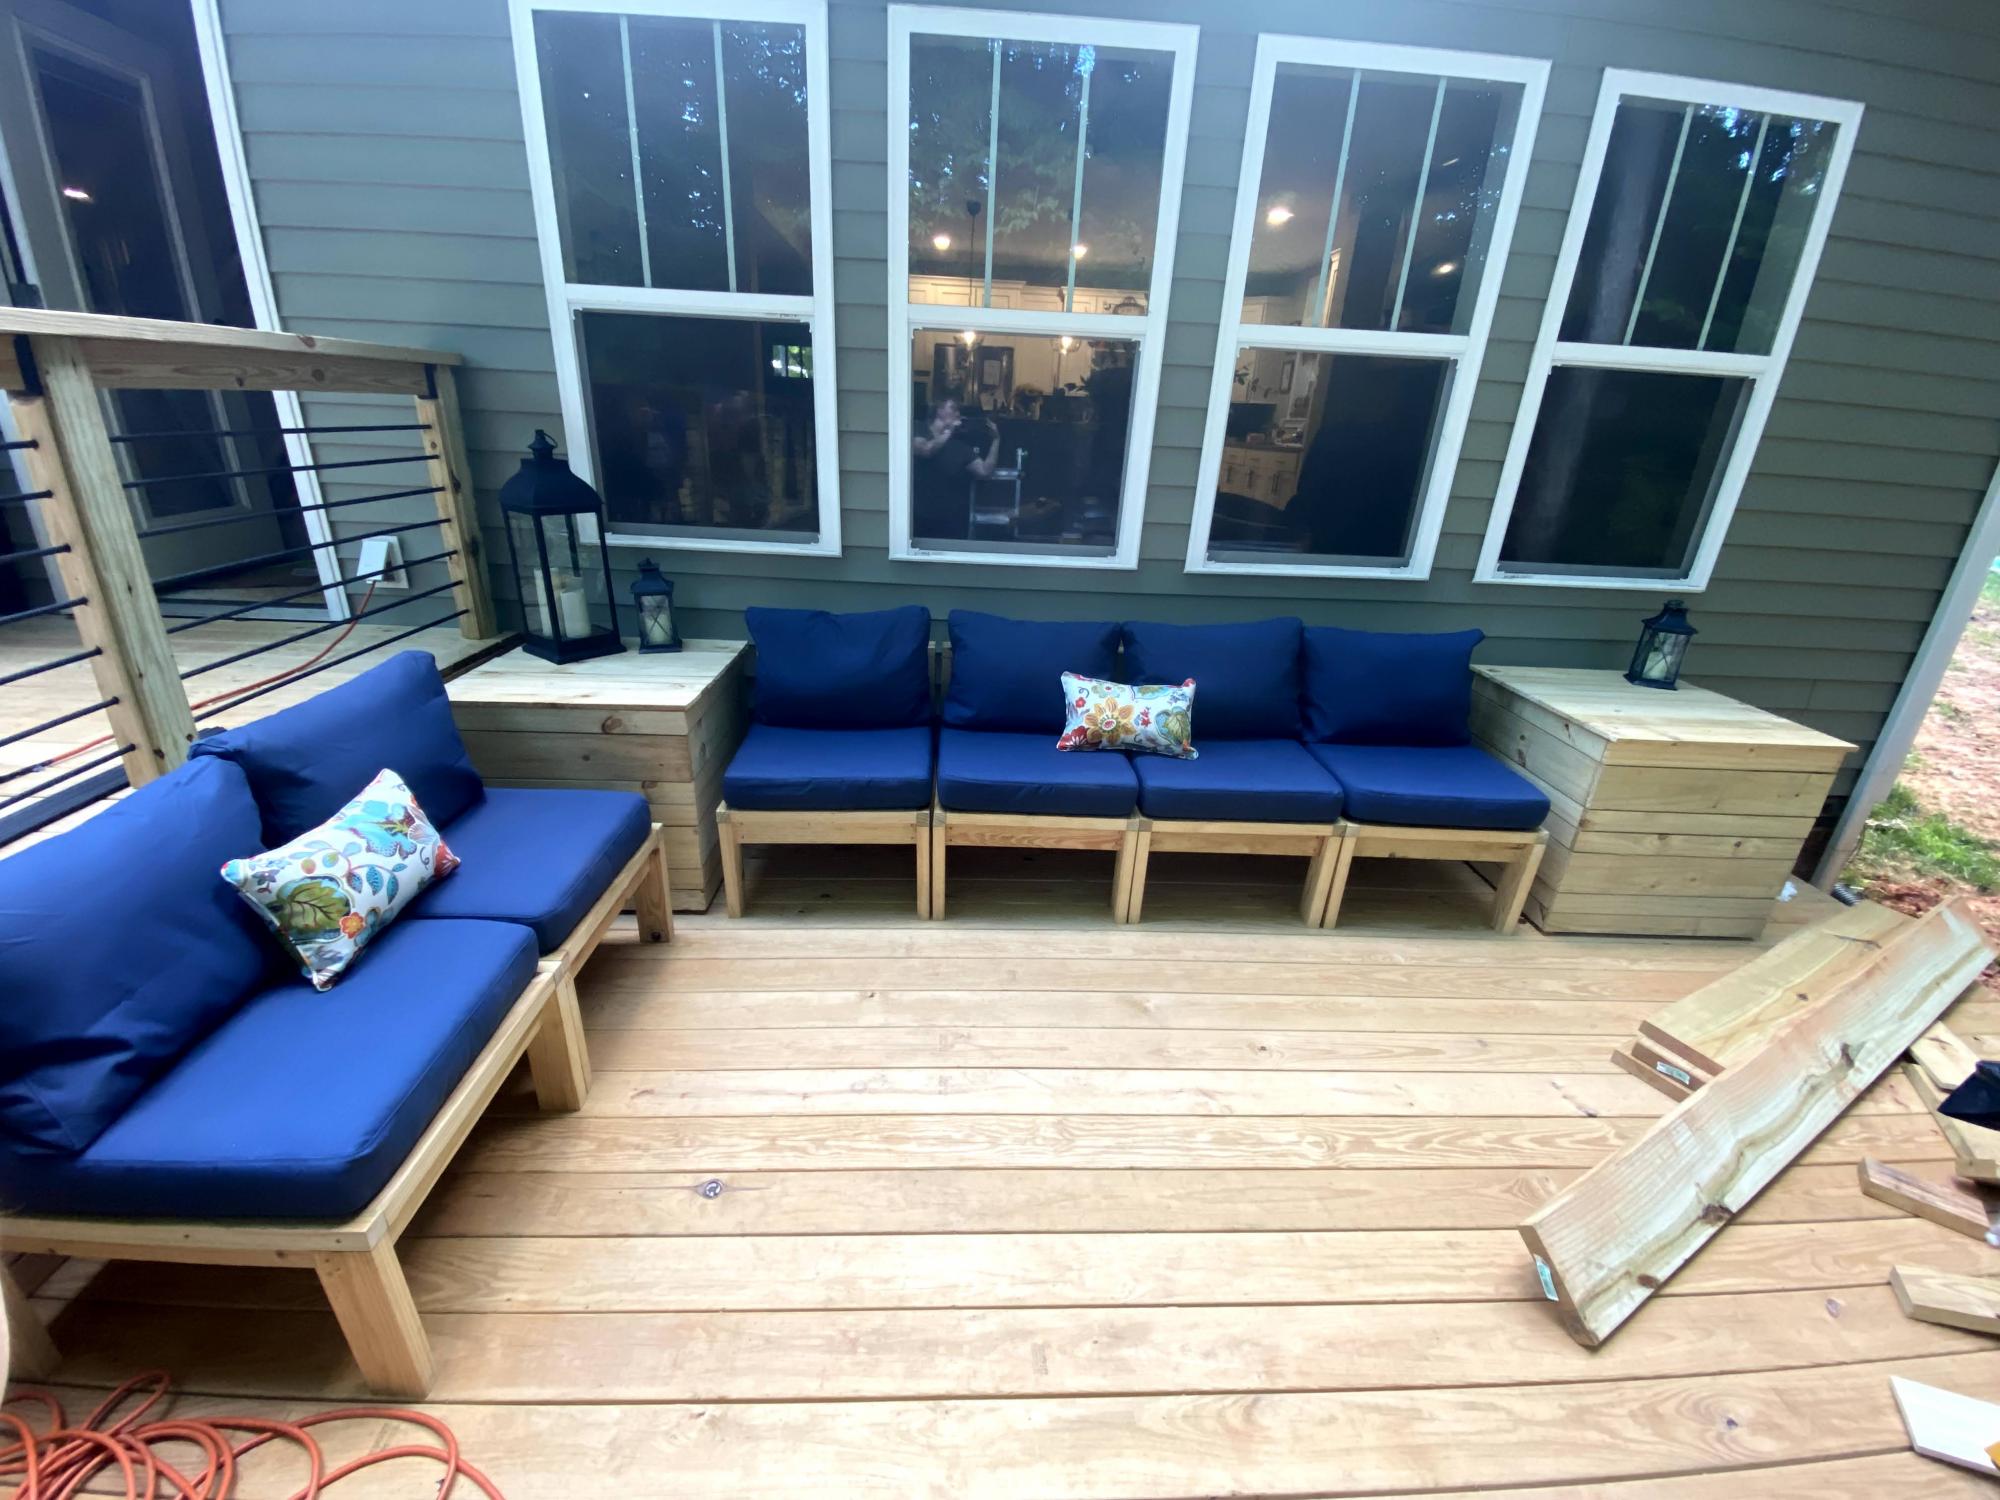
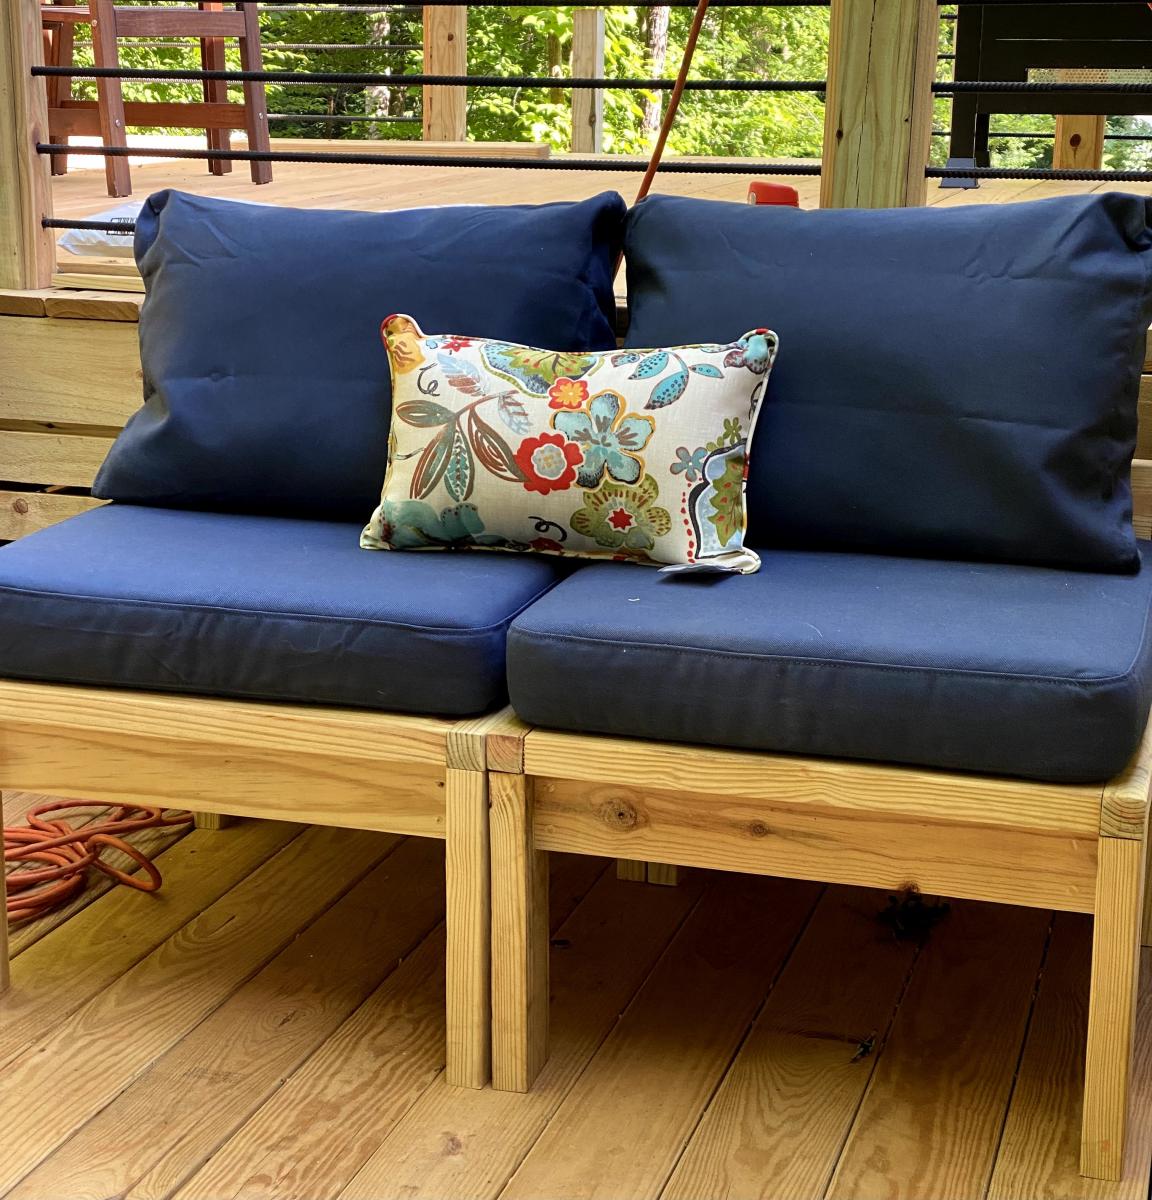
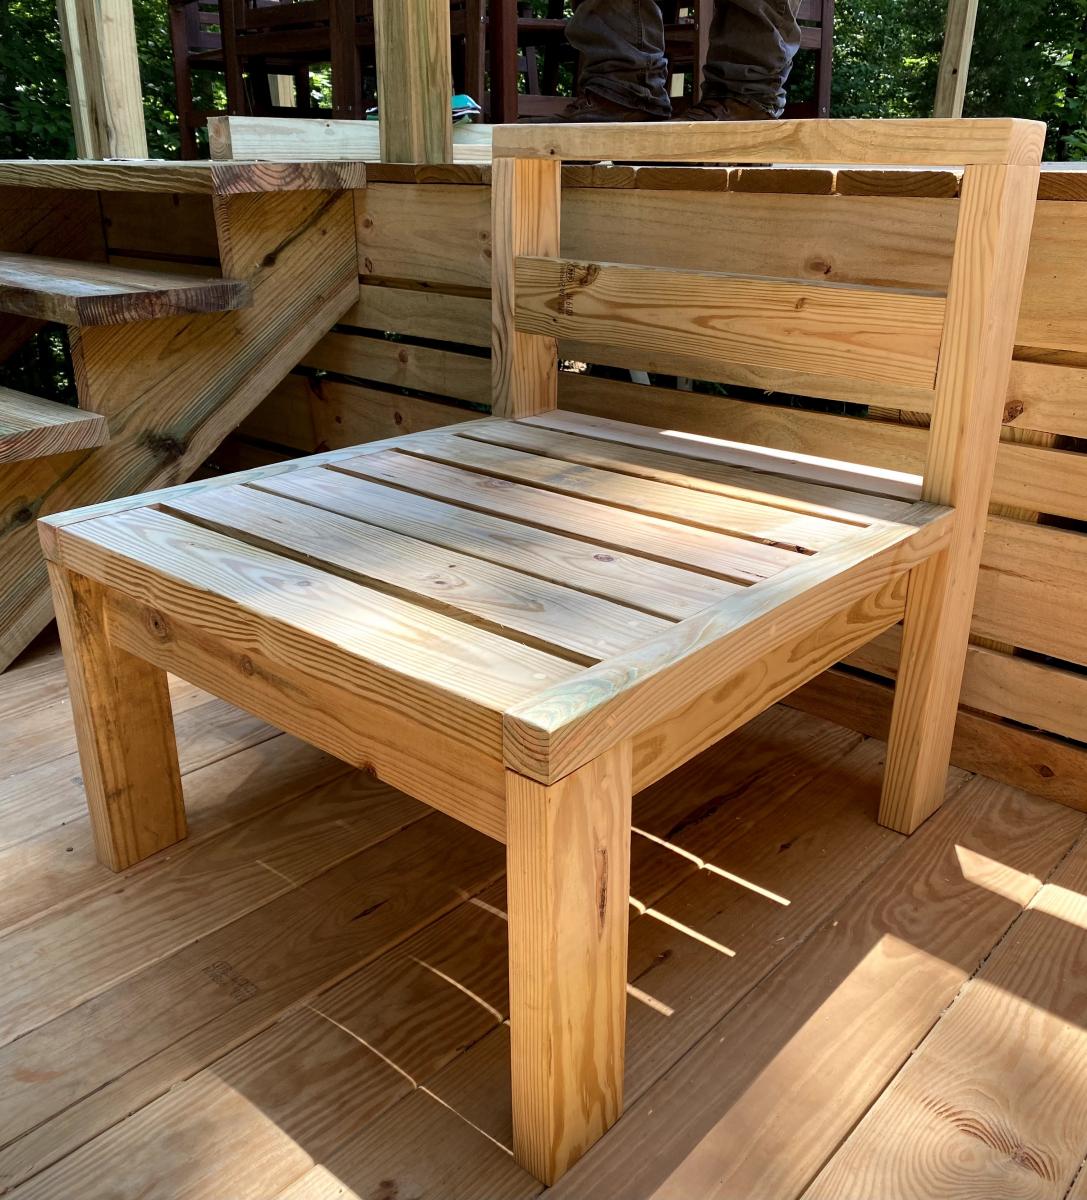
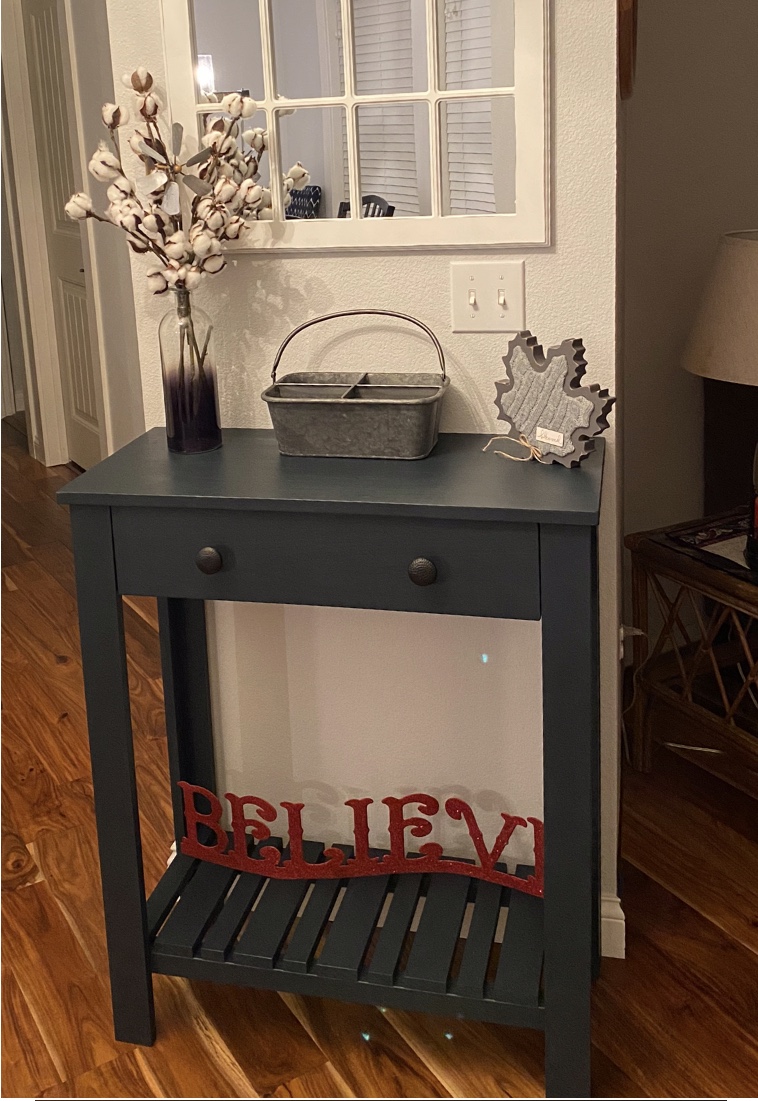
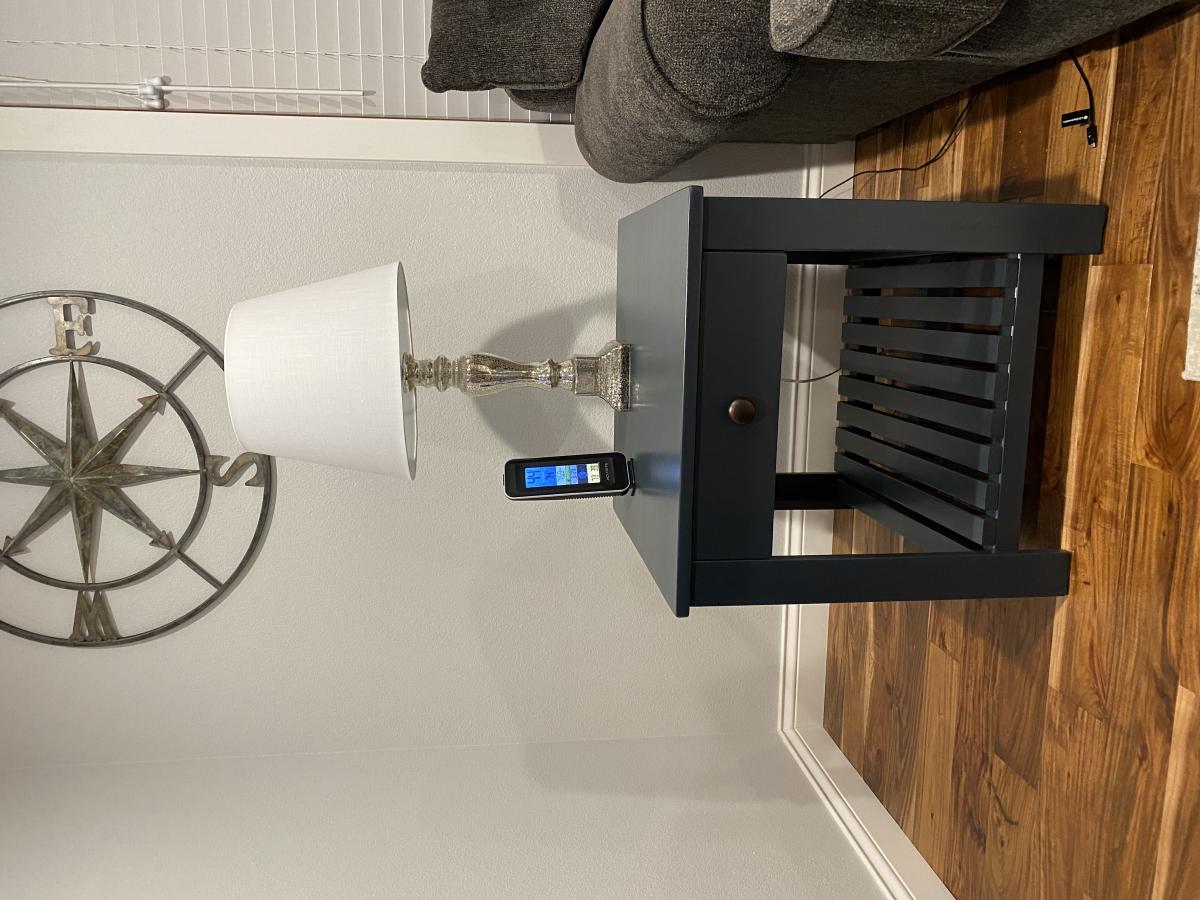
Veggie Bin
![](/sites/default/files/Test_edited-1.jpg)
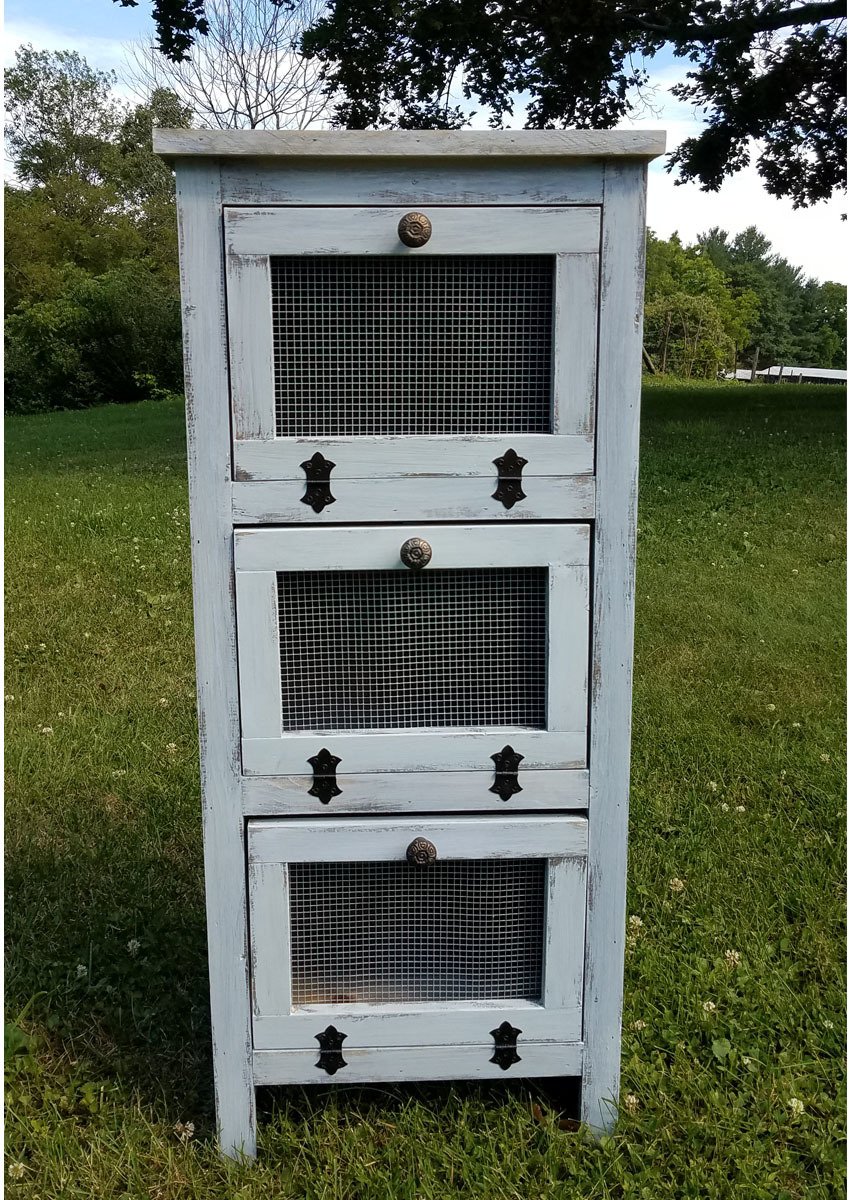
I followed the plans as written and my veggie bin came out looking awesome.
I love the versatility of this furniture. I wanted the ability to move it around in different seating sets. It was my first project with no help from my husband. So very easy to do and follow. I made a few tweaks and made wood plugs for all the screw holes. I plan to stain it later. I used ikea cushions.
Tue, 10/05/2021 - 10:47
YES, love the different options to use and move around as needed! Way to go, thanks for sharing!
When Ana posted plans for this I immediately fell in love with it. I had a friend visiting, and I thought this would be a great project for us to do together.
A lot of time spent on this project was taking apart pallets, not an easy job. My poor friend did that part, she is great! I think the old pallets really made this look as good as it does, they were already so rustic.
The pallets were free and collecting free pallets was an adventure of it's own. I found a large piece of particle board in the depot's scrap bin for 51 cents! Can't beat that.
I made this for my wife. I used 2x3 glue and screw together for the table top. I have a conception that a heavy table top create a sturdy table. I used redwood 2x3 with lag screw. The sitting bench is completely made out of 2x3.
Thanks for the plans Ana. I substituted 5/4 x 6 for the 2x6 and it is plenty strong and sturdy. Also added an angled back to support 24x24" cushion. Very pleased with the finished chairs.
BTW: I have now used 4 of your plans. The X harvest table, an outside dining table and patio loungers (4 of them) and the box chairs. Cheers!
I made this less wide then the plans to fit in my small bathroom. Thank you for these wonderful
Plans!
Tue, 10/05/2021 - 09:49
Wonderful mods, fits like a glove and adds so much storage! Thanks for sharing:)
The storage bench/ coffee table, customized for a small room to hold my son's lap top, and game controllers.
I cut it down from 48" to 36" and it worked great!
I built these bunk beds for my almost-10 year old twins this spring! These were modified from the Side Street Bunk Bed plans to accommodate the longer Twin XL mattresses. I took inspiration from the Maine Cottage bunk bed collection for the end panels of the beds, and added furniture feet as finials on each post. It was a fun build, but pretty time intensive as I built both sets at the same time. This was my first major build.
This is a sample of what I have done using Ana's plans. Thanks Ana!!! I will be posting my entire kitchen Reno in the near future.
I built this amazing green house following your plans! My wife and I moved our family from the city to an amazing 5 acre homestead out in the country here in Wisconsin. We are super happy that we will be able to keep our new garden going longer! Thanks so much for the plans!
Fri, 06/21/2019 - 05:05
Cute, nice job. I'm going to build one in Tennessee.
I used one by material because I wanted a piece that was less bulky. I also made side tables from the same plan.8 love these, they are exactly what I have been looking for!
Mon, 10/04/2021 - 16:55
Excellent builds, love the color choice! Thank you for sharing ~
This was my first build and I loved making it! I wasn't able to make the 60 degree cuts needed for the x's but I hope to be able to add them in the future!
Build an outdoor sectional easily with these free plans.
I built this bench the day before Thanksgiving. I used scrap 2x6's left over from building our son's bunk bed. I shortened the plan to 43 1/2" total length to fit my space and accommodate the boards I had. The top of the bench is 4- 2x6 boards instead of a 1x12 board. The legs are 2x4's instead of 2x6's. I wood puttied all screw holes, sanded, painted 2 coats of Behr's decorator white, and applied 3 coats of Polycrylic.
After using it over the last few months I have noticed some of the pine knots have bled a little yellow into my finish. If I were to do it again, I would prime all knots with Zinsser cover all primer.
We really enjoy this bench and are happy with how it turned out. Although unfinished at the time, our Thanksgiving guests were impressed that I could whip out a bench by myself. Thanks Ana!
This week I built a french cleat sanding station to house my orbital sander and sand paper!
Blog: http://www.lanebroswoodshop.com/2015/04/french-cleat-sanding-station.ht…
Plans: https://drive.google.com/file/d/0B_RQfvQzkmz3OENtUWdmMENCYlk/view?usp=s…
I really liked the basic table design. But since it was going in my wife's medical office I decided to make the top out of Maple and Walnut. It turned out to be a very big job. I had to Straighten the edges of the boards so that they would fit together without a space between the boards and then put them through a planer. I then glued the edges and used Kreg screws to put it all together. Surprisingly it all fits and the base sits flat and level. I spent a great deal of time measureing all of the 2 X 4s in an effort to make sure that the base was level and the angles all work.
I love the way this bench turned out! And your plans were so simple to follow (as always). Thanks do much for sharing all your plans!!
Not too much to say here! We badly needed sturdy sawhorses for our garage. I've used them on almost every Ana White project I've made and they are fabulous! They are covered in drips, spots, nicks and stains from all of my projects, but that's what I love most. Each splotch reminds me of that particular project. Sounds silly, but it gives them character! :)
A collection of different sized perfect end tables for my mother.
I love these shelves. So simple to build and still make a big impact. I built mine just a little different from the plan. I used 1x3 furring strips for the bottom and back pieces instead of 1x4's and then ripped a 1" strip from another 1x3 for each shelf to create the front trim piece instead of a 1x2. The shorter front trim piece gives me just enough ledge to keep the frames from slipping off the ledge, but provides maxium display area for the art work.
For three shelves just like these you need:
They were assembled using 2" fiinishing nails and lots of wood glue.
Was really excited to build this when I moved in to my new home. It's such a functional piece! I used different types of wood to cover it instead of staining it different shades. That was a fun puzzle to figure out. Really love it and thanks for the free plans!