Community Brag Posts

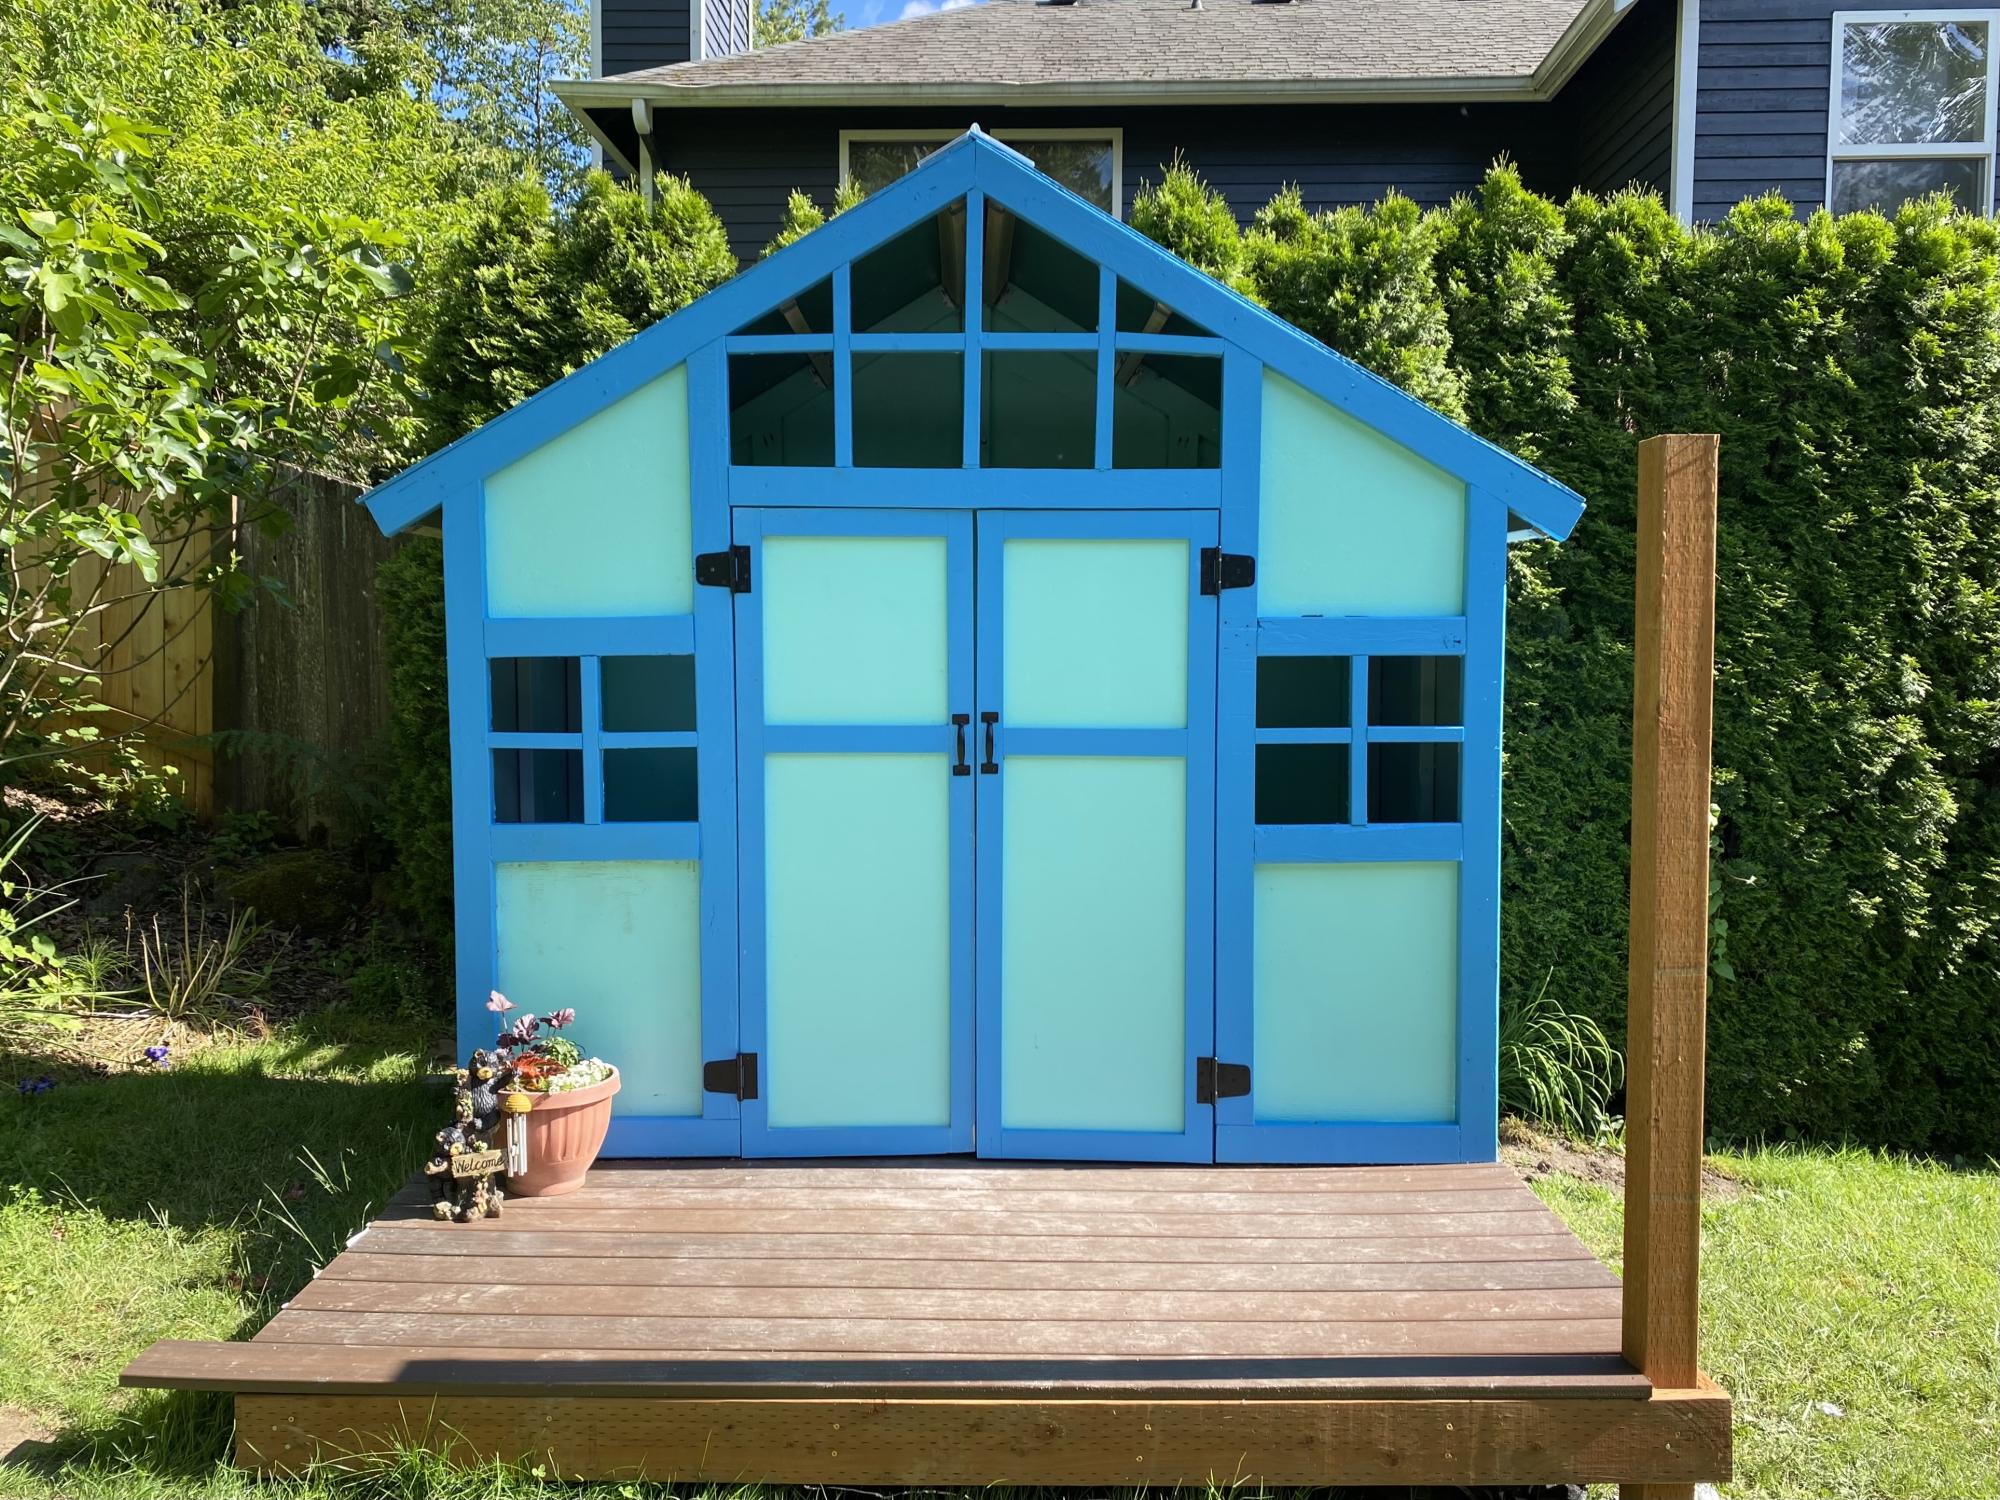
Craftsman playhouse - in shades of blue

Submitted by richsea on Sat, 06/11/2022 - 21:58

I’ve been working on building up to this playhouse for a while. Just got the doors on and am pretty pleased with what’s my first project of any size. Built on top of a modified version of the playhouse deck with a to be added (hopefully) swing in front. Color selection by the end customer (who’s 8). Modified to add 12 inches for a 5’ doorway. Thankfully I caught that at the last minute for the kiddo. Still a menace if I forget to duck. But super roomy once inside.

Comments

Seasonal And Holiday

Bathroom shelf

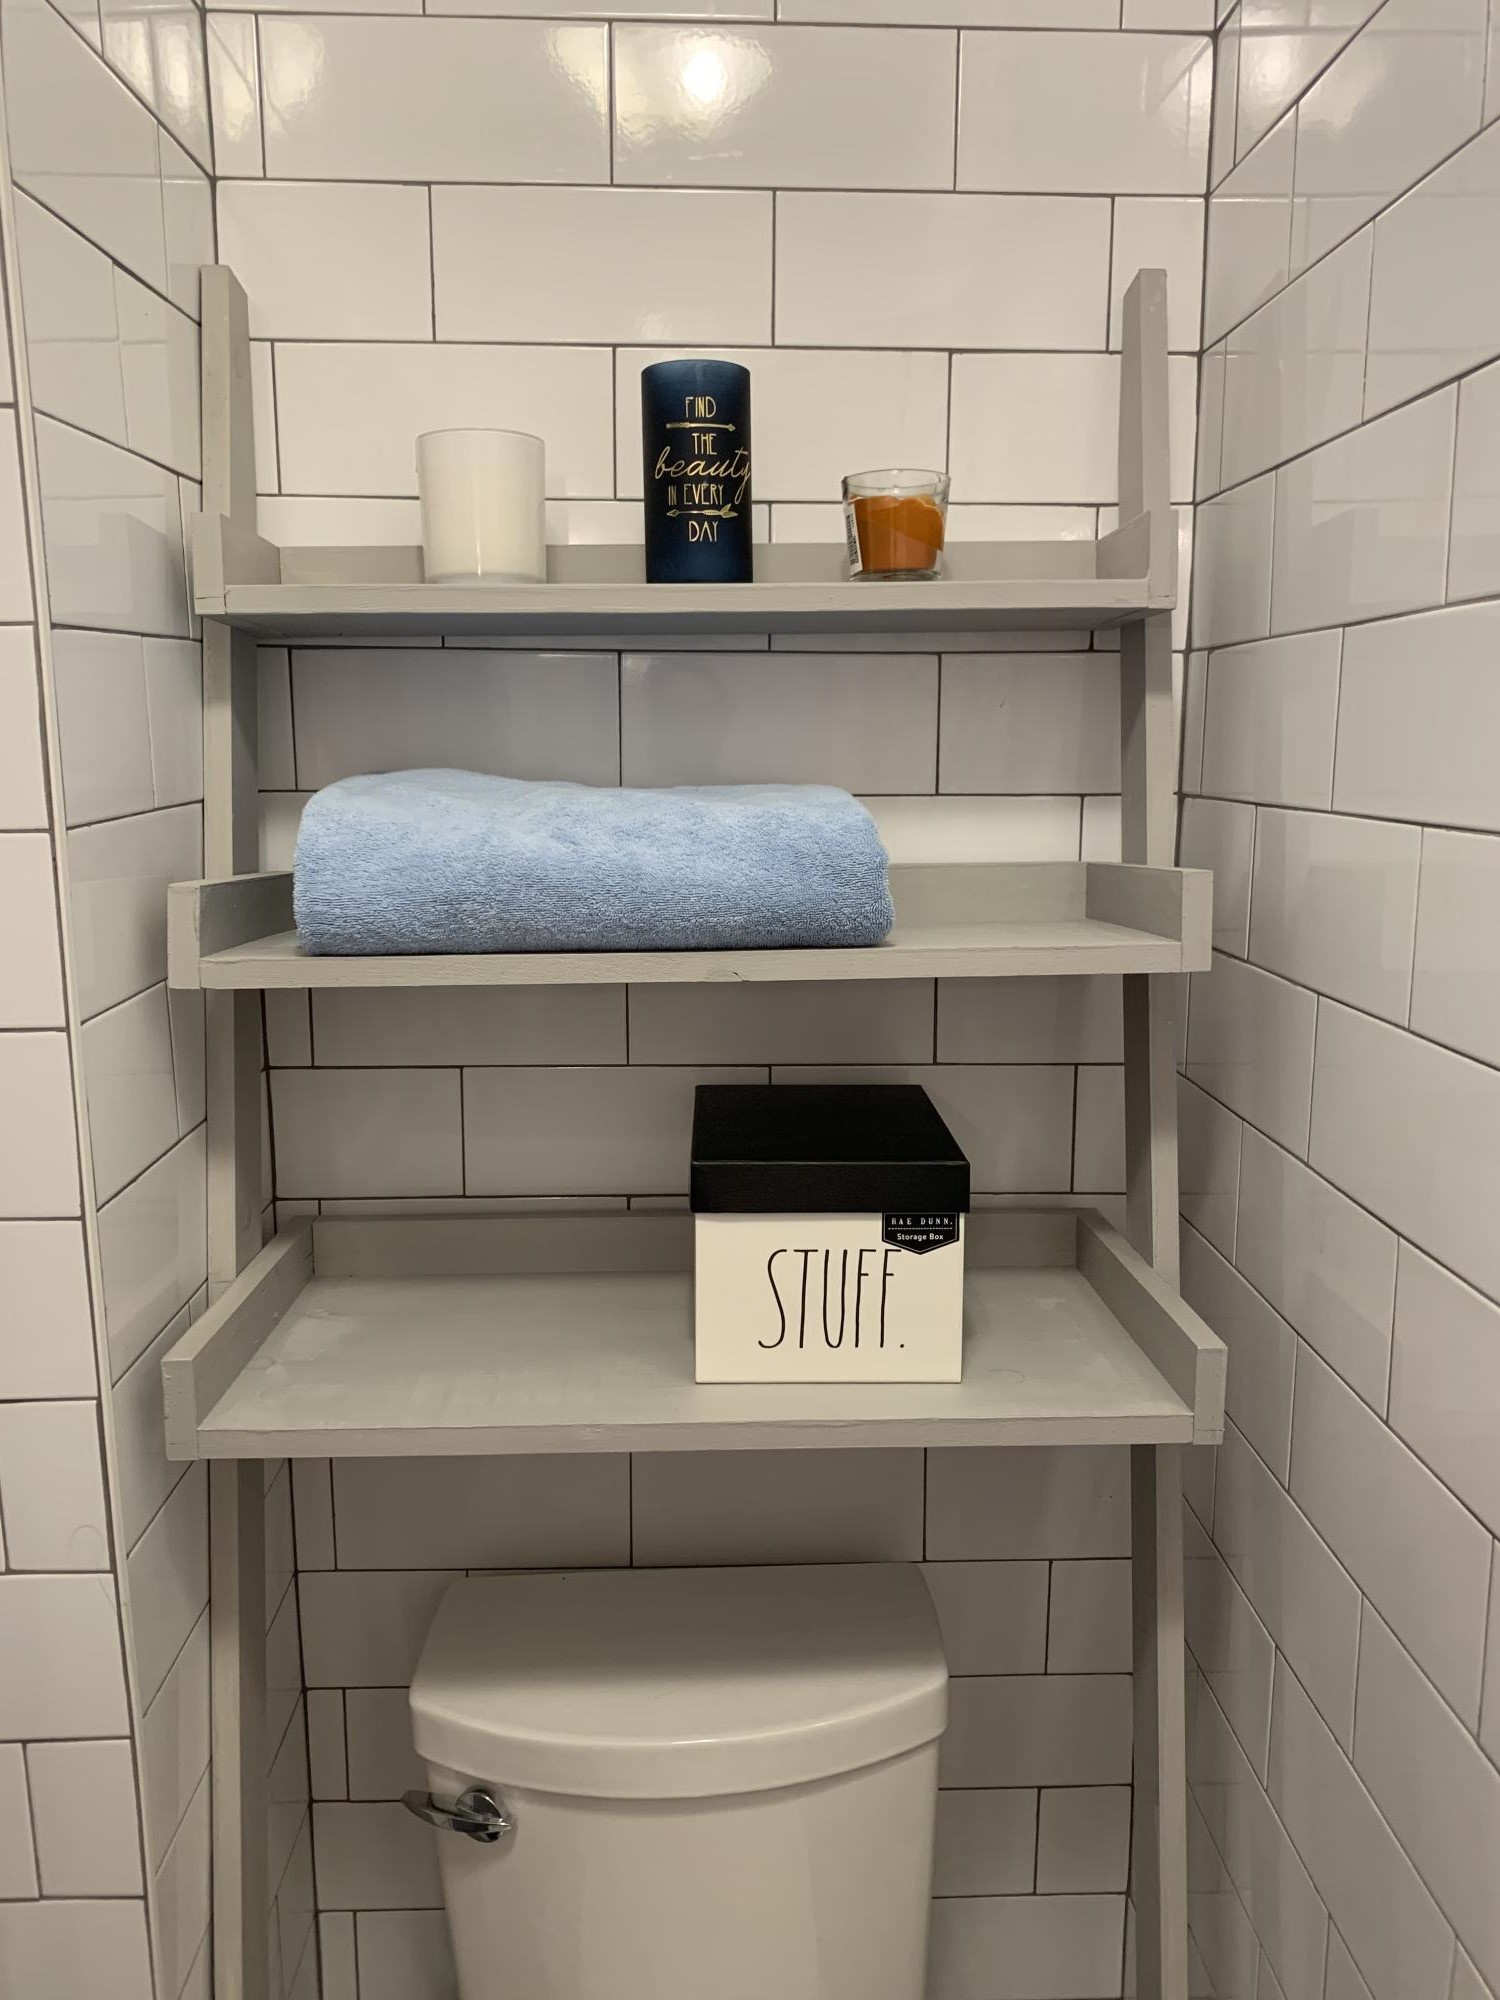
I needed a little shelf on our bathroom wall and I had lots of scraps hanging around. I made this loosely based on one of Ana's plans. I built it around the size of the baskets I purchased at Homegoods and the size of the four towels.

Built from Plan(s)
Estimated Cost
$10
Estimated Time Investment
An Hour or Two (0-2 Hours)
Finish Used
There is some blues in the tile work, so I decided to paint it blue (left over paint). I then distressed the edges with sandpaper and finally used Valspar antiquing glaze over the top. My new favorite top coat is wax, so I finished it off with one rubbing.
Recommended Skill Level
Beginner

Comments

Loft Bed for Renee's Room

This is the 2nd of two loft beds I have built using Ana's plans - they came out great and my girls love them! I did make some modifications to each, as the girls have different needs. It was a great project and I would like to thank Ana for the concise plans, cut lists, ideas, etc. You made it so easy!

If you are interested in seeing more about this project feel free to visit my blog at www.mothersmusings.net. See you there!

Estimated Cost
$150.00
Estimated Time Investment
Week Long Project (20 Hours or More)
Finish Used
I must say, if I had it to do again I might have upgraded on the wood, but I got the cheapest pine I could find. This led to using A LOT of wood filler and sand paper - and probably took me about twice the time it would have taken had I used prime wood. I used an oil based primer to make sure the knots stayed covered, and 2 coats of Behr high gloss white paint for the finish. Extra work...yes - but ultimately I think I cut my cost in half.
Recommended Skill Level
Beginner

Charlie's Big Kid Bed

We needed to transition our son out of his crib-turned-toddler-bed to free up the crib for the next spawn, arriving in November. We wanted something we could sit or lie on with him for the reading of bedtime stories, which ruled out most toddler beds and the inexpensive twin size beds. The choice was clear between spending $1000 on some out-of-the-box bed from a furniture store, using a mattress-and-springs-on-metal-frame from the mattress store (which lacks any sort of organized storage potential) or building our own awesome storage-friendly bed that will hopefully last until the kiddo graduates high school and gets his own place.  I love this plan because of the ample storage it provides between the under-the-bed cubbies, the cubbies on the "walled-in" side of the bed that can be used for off-season clothes and less-frequently-used items, even the space between the cubbies only accessible by sliding the mattress off and popping out the slats.  Also, my child is doomed to need glasses at some point in his life, so the headboard with space to stow the glasses, an alarm clock, a glass of water, a couple books ... this plan was perfect for what we needed and what we wanted. And custom-made by dad? Painted Elmo-red (the current obsession) by 7-months-pregnant mom? What could be better?  We are thrilled by the bed and are already planning the expansion we'll do (create a bunk? Just build a matching bed?) in a few years when the new little brother has outgrown the crib.  

We opted to skip pretty much all the hardware on this bed and, with the help of a few nails inserted via nail gun, put the bed together with copious amounts of wood glue and clamps. This bed is NEVER wiggling apart, no matter how much the kid jumps on it.  The exception is the binding of the headboard and footboard to the base itself -- this is done with cleverly placed screws so that the bed can be disassembled if it ever needs to be moved.  The project would've been a weekend project from shopping through painting except that we had to wait hours for glue to dry in between steps. As a result, it monopolized our garage for about a week.  

Estimated Cost
We had to buy quite a few tools, so our Home Depot trip for this project was pretty pricy! I believe we spent about $200 on lumber. We bought two quarts of BIN shellac primer but used brushes/rollers we had on hand and a half gallon of Elmo-red paint left from another project.
Estimated Time Investment
Week Long Project (20 Hours or More)
Finish Used
Shellac primer + satin-finish interior paint
Recommended Skill Level
Beginner

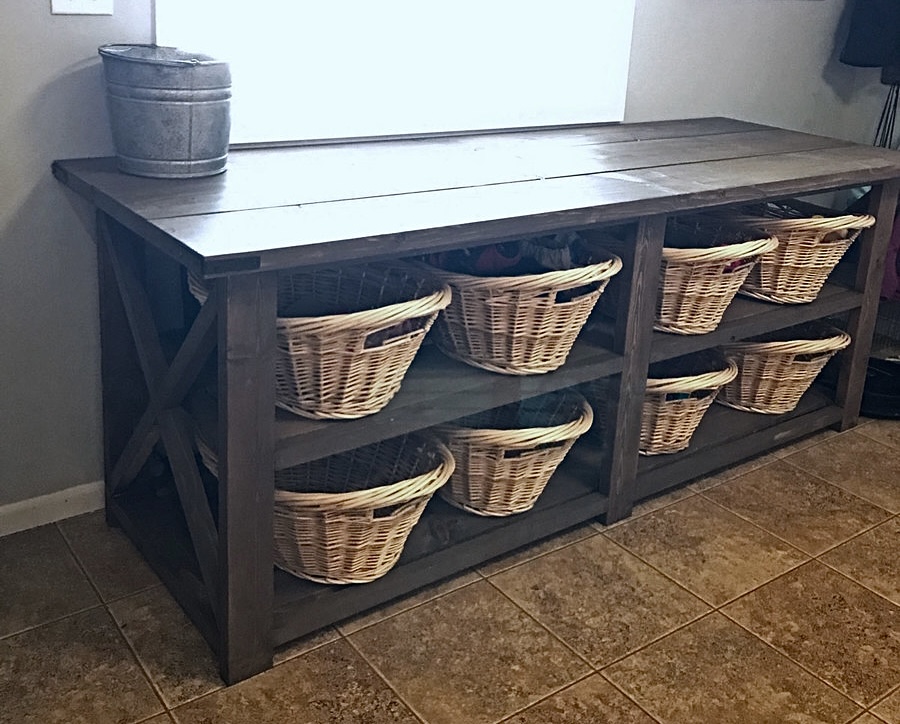
Rustc X Laundry table

Submitted by Anonymous (not verified) on Sun, 10/14/2018 - 13:16

Customized this table to fit perfectly in my laundry room. It turned out exactly how I had hoped!

Built from Plan(s)
Estimated Cost
$150 for lumber and stain, $80 for 8 baskets
Estimated Time Investment
Weekend Project (10-20 Hours)
Finish Used
Stain color Briarwood
Recommended Skill Level
Beginner

Comments

Ana White

Sun, 10/14/2018 - 13:31

Wow, this is absolutely amazing!  What a perfect and lovely spot to fold and sort laundry!  Thank you so much for bragging.  

Bathroom Storage

Submitted by JMG on Fri, 06/24/2022 - 20:52

My daughter has a VERY SMALL bathroom and this was the perfect build to create storage! Thanks, Ana!

Comments

Farmhouse inspired table

Submitted by adidas30 on Mon, 07/25/2011 - 09:12

My first furniture project was Ana's Tryde Coffee Table. All along though, the goal was to learn enough to be able to make a dining room table. I love the coffee table, and I love Ana's Farmhouse table plans, but I was worried about getting food and stuff stuck in between the table top boards.

So I decided to embark on the adventure of learning how to make a solid table top that I could rest on top of Ana's base design. The result is below, and although it took about 6 months of learning, practicing, and prototyping, I am finally done!

Because I made a solid top, I was able to skip the support beams on the base, which hopefully reduced the weight a little bit.

I don't have a blog, but I added some additional comments in my Picasa Album.

Estimated Cost
$600 total -- The 2 inch thick ash was expensive -- and still half the price oak!
Estimated Time Investment
Week Long Project (20 Hours or More)
Finish Used
For the stain, I used General Finishes Medium Brown. It is similar to Minwax Special Walnut, which I used on my pine coffee table, but it looked a lot better than the Minwax on the Ash. For the finish, I used Minwax Polyurathane, thinned 50% with mineral spirits (Paint thinner), and wiped it on with old t-shirts. No brushing required (which means no brush strokes), but as it is thinner you need more coats. I have about 3 coats on the bottom of the table, 4 coats on the legs and base, and about 7 coats on the table top. After much research online, it seems that the general wisdom is that if you want a satin finish, you should use the gloss for all coats except for the last 1 or 2 coats, and that is what I did. 2 satin coats on top, and 1 satin coat on the base. The reason is that the satin has "flatteners" in it, and that if you do all coats with satin, it could get a little cloudy. Hope that quick summary helps.

I bought Minwax paste finishing wax, that I plan to run on the top within the next week. I was told that helps protect the polyurathane, and gives it a nice rubbed look. I tried it on a test piece and although it looks good, I didn't think it made a huge difference in looks.
Recommended Skill Level
Intermediate

Comments

Crystal_thenewgirl (not verified)

Thu, 12/22/2011 - 11:52

You said you prototyped and practiced, but what did you actually do to make it a solid top????

claydowling

Thu, 12/22/2011 - 13:53

He did was is known as a panel glue-up. They aren't terribly difficult once you've done one. The first one is exciting though. My technique is a bit simpler than what he used, but everyone needs to adapt a method suited to their available tools and knowledge.

If you want to try something like this, check local sawmills and timber suppliers first. adidas30, around here (Ann Arbor, MI), I can lay hands on a single slab of oak or walnut big enough for that table for half to a third that price. The bigger challenge is finding a friend with a big enough truck who is also strong enough to help me shift that beast. Still, what you paid is way less than what you'd pay to buy a table like that.

adidas30

Wed, 01/04/2012 - 10:46

Crystal: Take a look at the blog link in my post. It links to a picasa photo album that shows a few of the steps along the way. Clay is exactly right. Now that I have done one, the next will not be so bad. It took a long time to learn how to do it right the first time, but it was really fun and extremely satisfying.

Clay -- I'm jealous. I felt silly spending so much on the Ash, but it was half the price of the oak. I think the ash was around 4 dollars per board foot, and the white oak was 7.80 per board foot. Good lumber yards are hard to find in DC. I had to venture over to MD.

Farmhouse Table

Submitted by DSalvagni on Fri, 08/23/2013 - 09:34

This is my version of the Farmhouse table. I got all my wood at lowes. I notched the legs to recive the stretchers. One thing that I did not take into account is that the posts have rounded edges from the mill so that when I put the stretchers in the legs there were gaps.

Estimated Time Investment
Week Long Project (20 Hours or More)
Finish Used
Sherwin-Willams Antique White
Minwax Early American Stain
Recommended Skill Level
Beginner

Comments

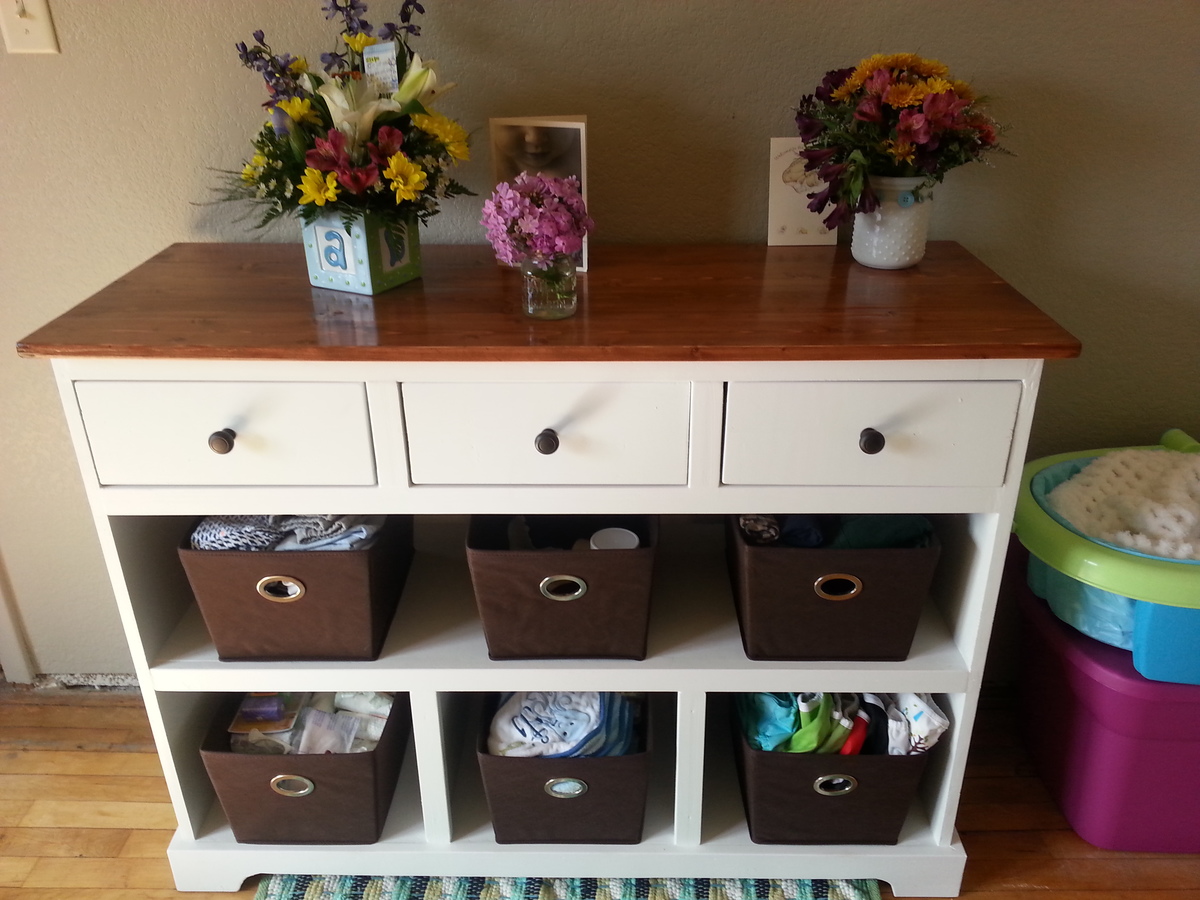
Baby storage dresser

Submitted by amartin024 on Sun, 10/04/2015 - 10:42

I decided to go with a different top for my project, in order for it to fit our home better. The top is just stock pine 1x4's from the local lumberyard. I ripped the edges off on the table saw for a tighter joint, and used the Kreg Jig and wood glue to join them together.

Finish Used
Cabot Dark Mahogany stain, and Cabot polyurethane.
Recommended Skill Level
Intermediate

Built for a friend for her grandkids

Submitted by Anonymous (not verified) on Sun, 10/21/2018 - 08:02

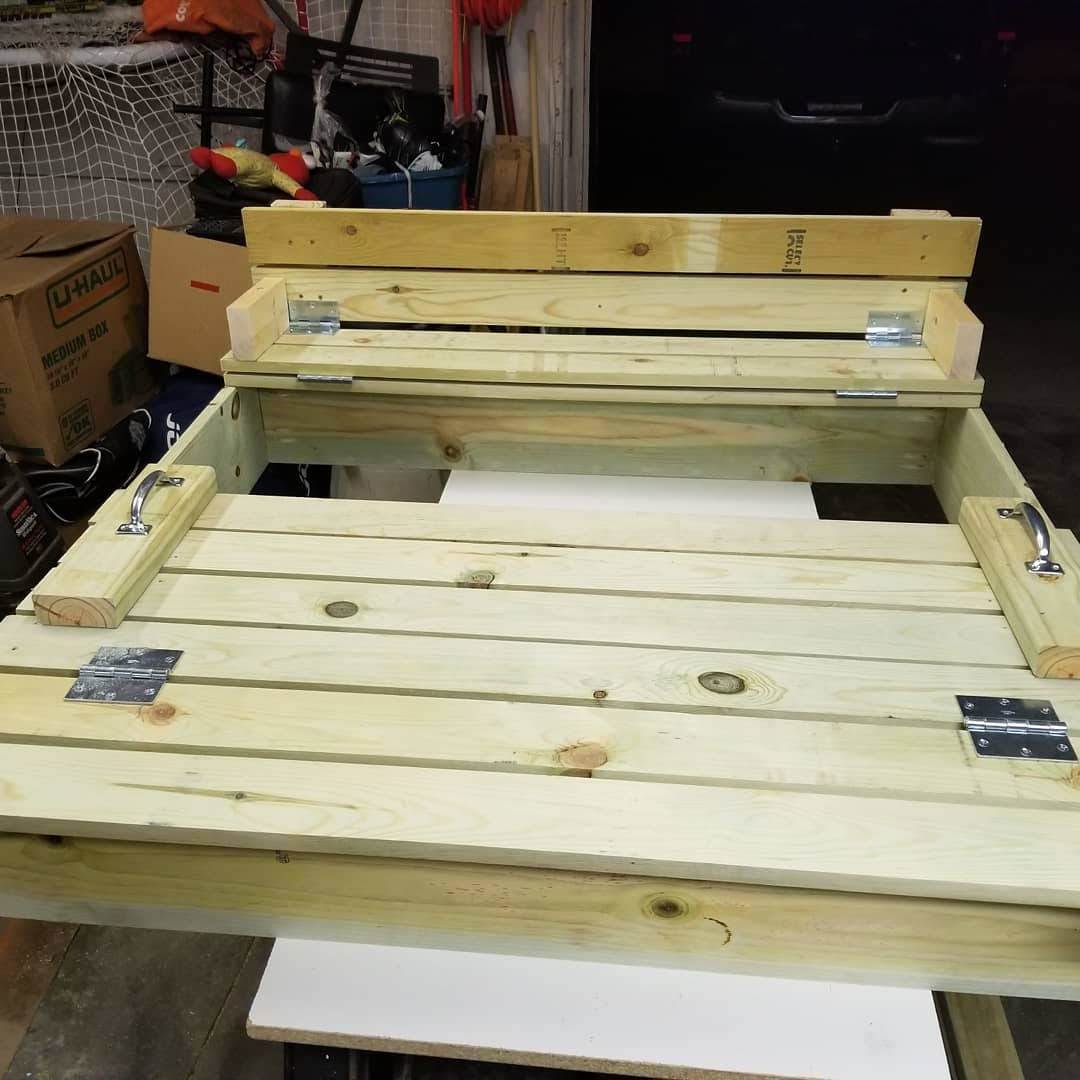
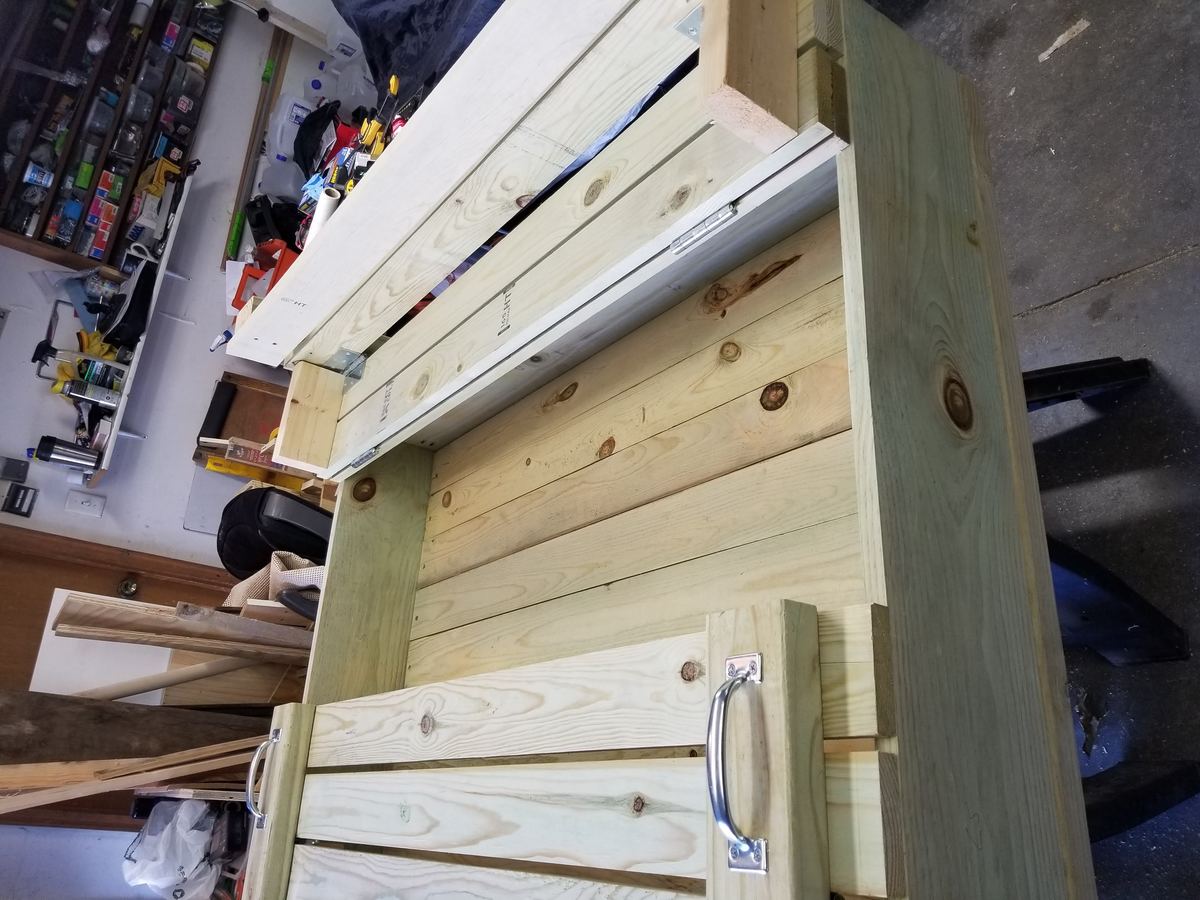
So took the plans and added a 1x4 floor on bottom and 2x4 runners on bottom for support and to keep off ground. The used landscaping fabric to help hold sand in.

Thanks for the plans was quick and simple and had done in about 4 hrs start to finish.


Built from Plan(s)
Estimated Time Investment
Afternoon Project (3-6 Hours)
Finish Used
not finished yet but will have outdoor stain applied in summer.
Recommended Skill Level
Beginner

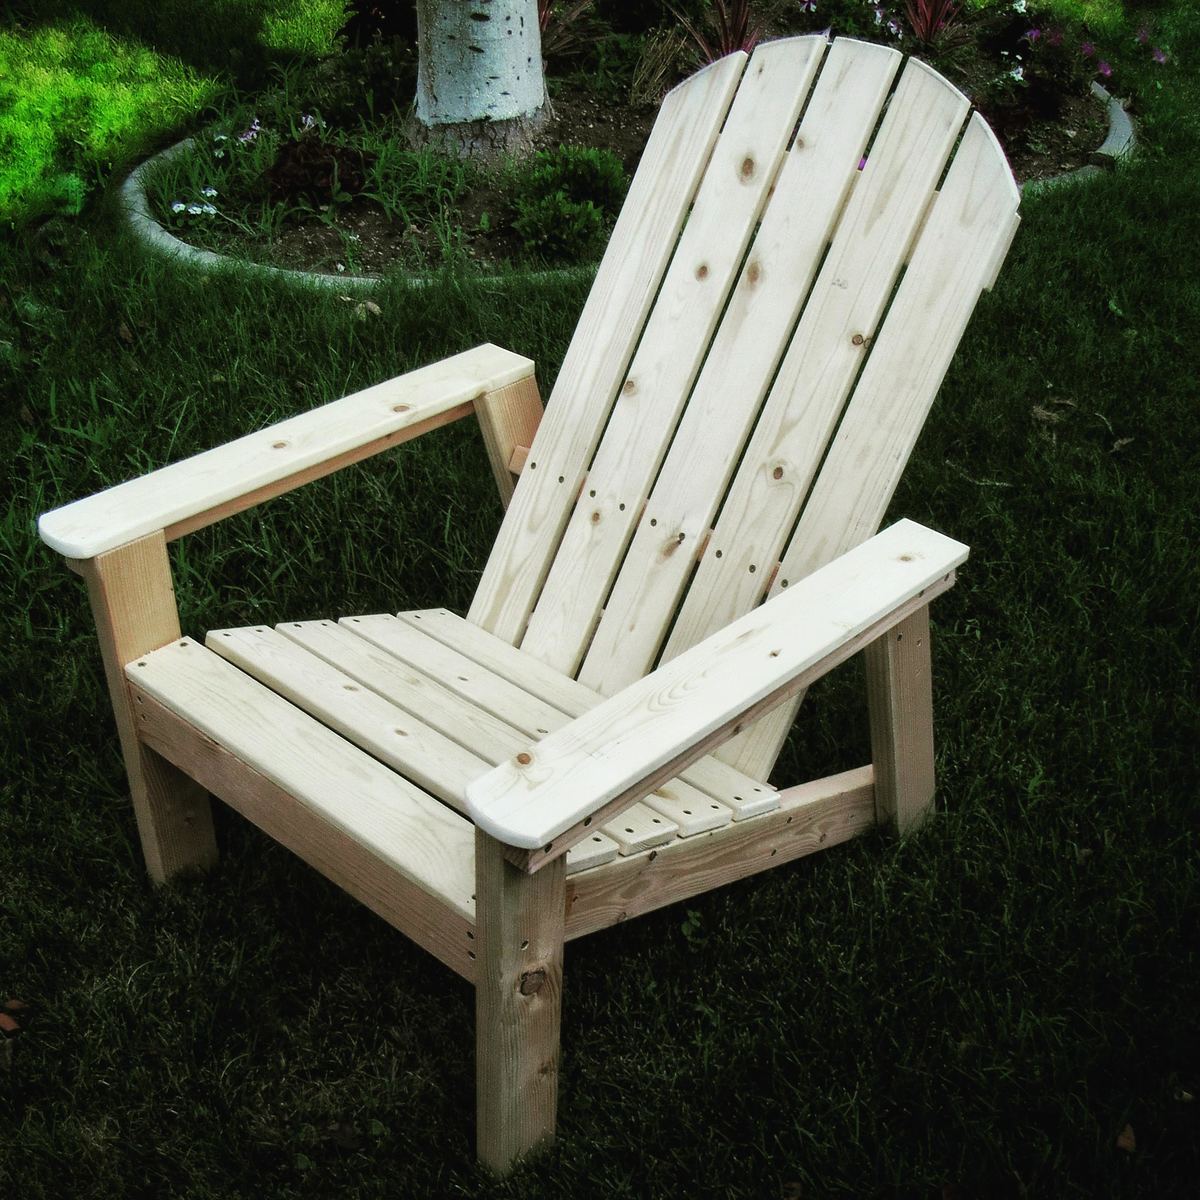
Lawn chairs for my daughter

I built these lawn chairs for my daughter from your plans. Thanks

Built from Plan(s)

Comments

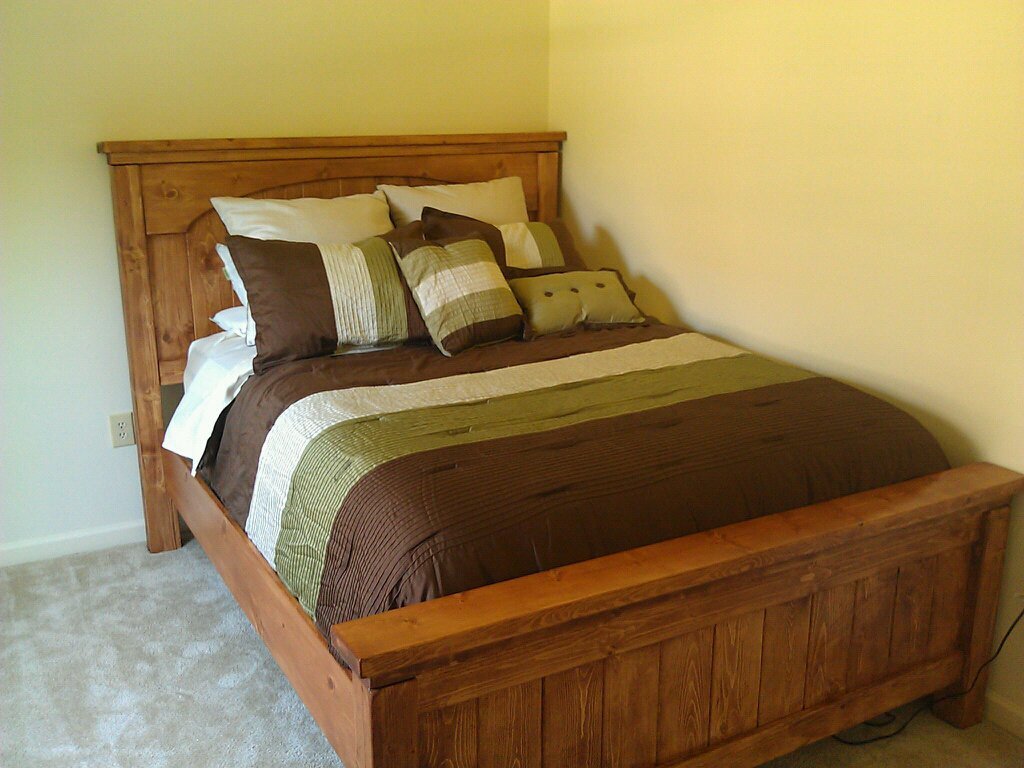
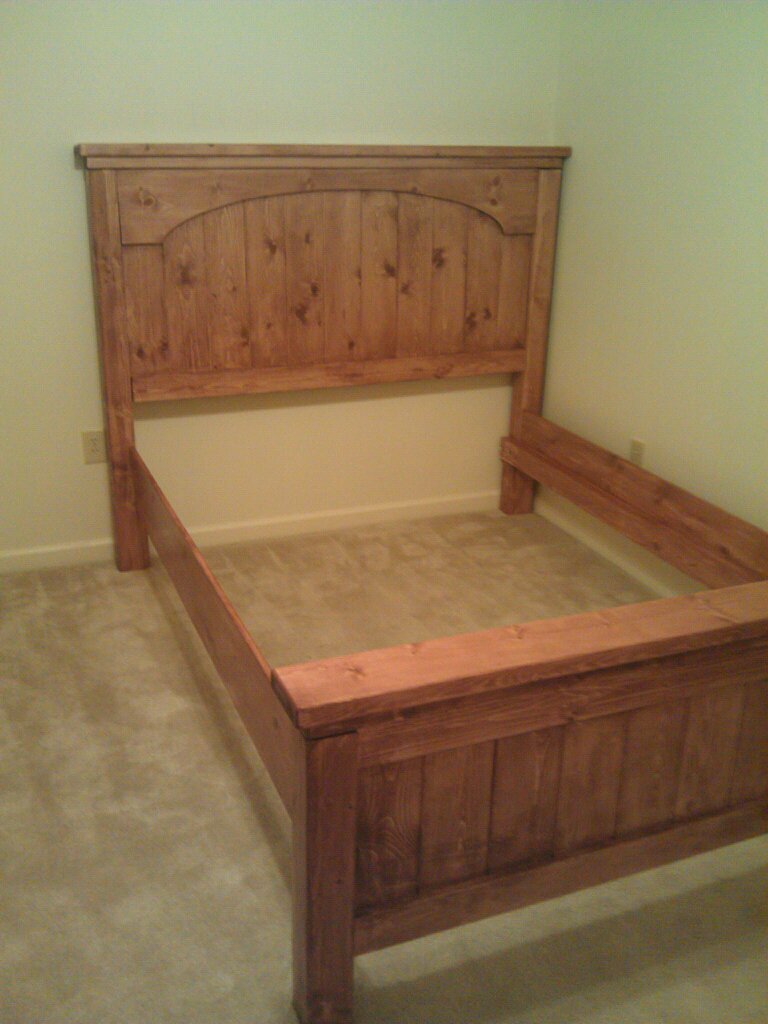
Queen Farmhouse Bed with Arch

Submitted by perchik on Fri, 07/29/2011 - 11:34

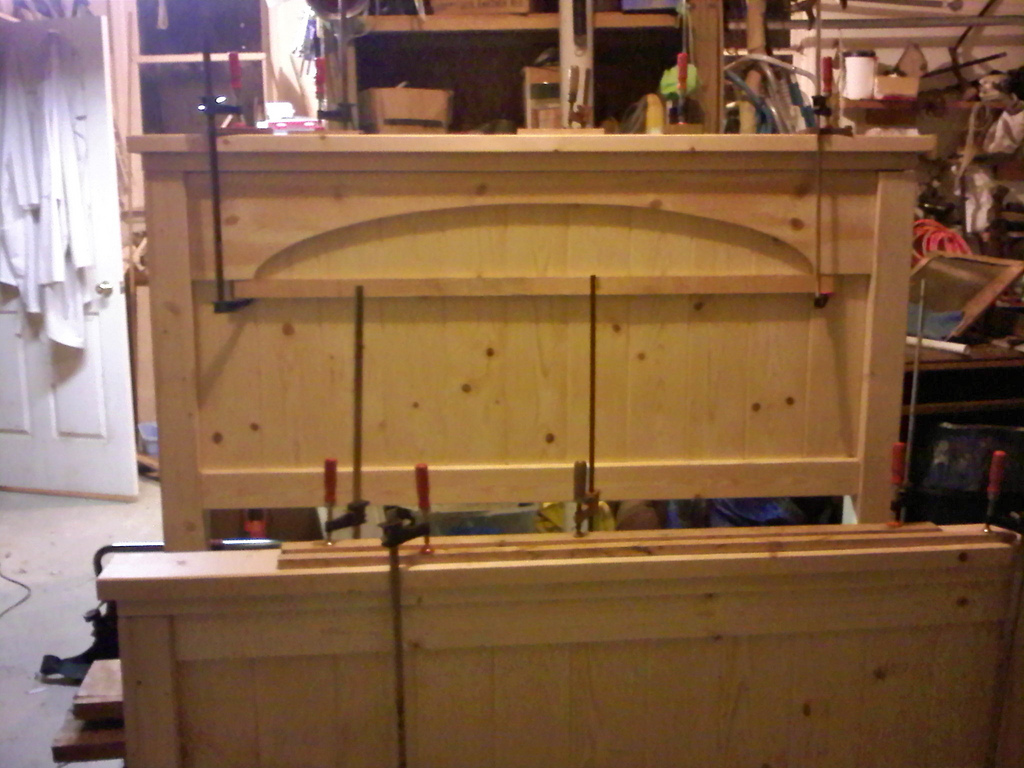
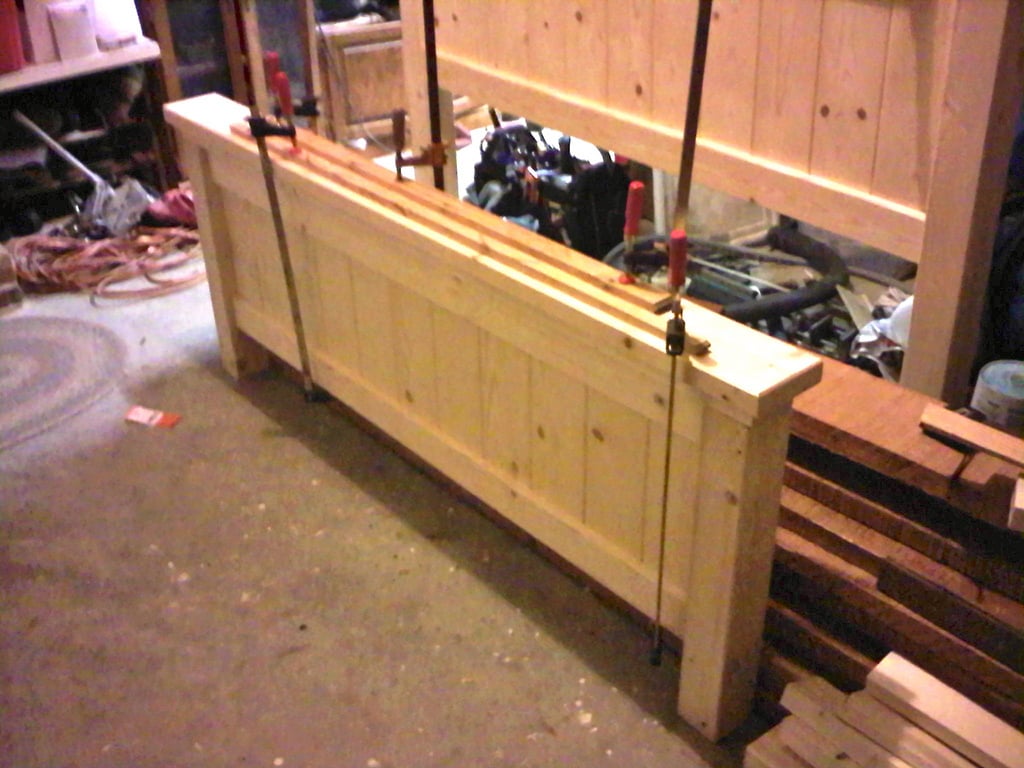
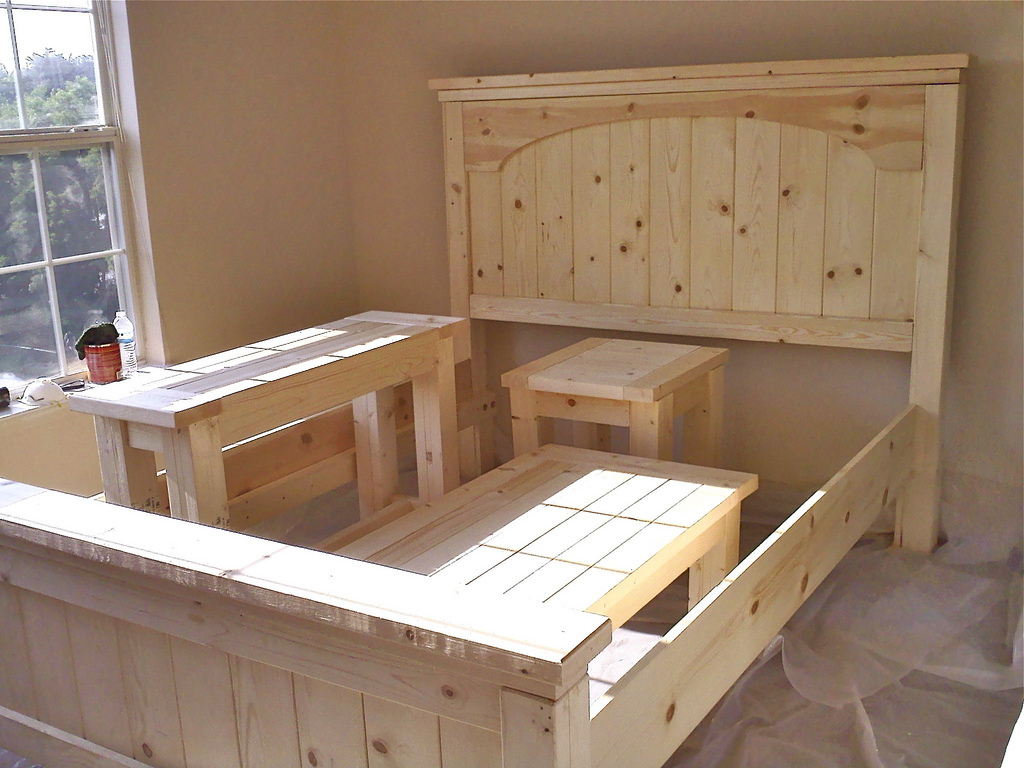
I build the Farmhouse Bed with Arch in queen Size. I built this over the course of a couple days and then finished it slowly over a month. I did modify the bed to have a 6 inch taller footboard. Also, the mattress I have has a low profile box spring that's only 4 inches tall. The mattress itself is about 10 inches tall.

Additionally I changed the plans a little bit to make it modular. The legs of the headboard are mounted on with bolts and the side rails are also bolted on. This allows me to take it apart and move it fairly easily. The other modification I made was because I couldn't find untreated 4x4s. I ended up using two 2x4s with a 1x4 in the middle. Cut everything separately and then glued/nail-gunned the leg together.

Also in the extra pictures you can see the set of Tryde tables I made at the same time. That post will come once I get a finish on them.

Built from Plan(s)
Estimated Cost
120$
Estimated Time Investment
Weekend Project (10-20 Hours)
Finish Used
I sanded it with 80grit, 120grit and then 220grit sandpaper. Then I applied MiniWax PreStain Conditioner before staining. I used one coat of Cabot Oil Based "Autumn Harvest" stain [this was one of the colors they have to mix at the store for you.] After that I applied two coats of High-gloss Polyeurathane.
Recommended Skill Level
Beginner

Comments

benfoldsfivealive

Fri, 07/29/2011 - 14:14

Are you kidding? That's a lot of stuff you just built, and it ALL looks amazing!! I am really loving the autumn harvest stain. :)

Patrick (not verified)

Fri, 07/29/2011 - 20:05

Thanks! Everything was built in a week but I did have the advantage of a nailgun and lots of time.

chris.allen5 (not verified)

Thu, 11/10/2011 - 19:56

how did you mount the side rails to the foot board?

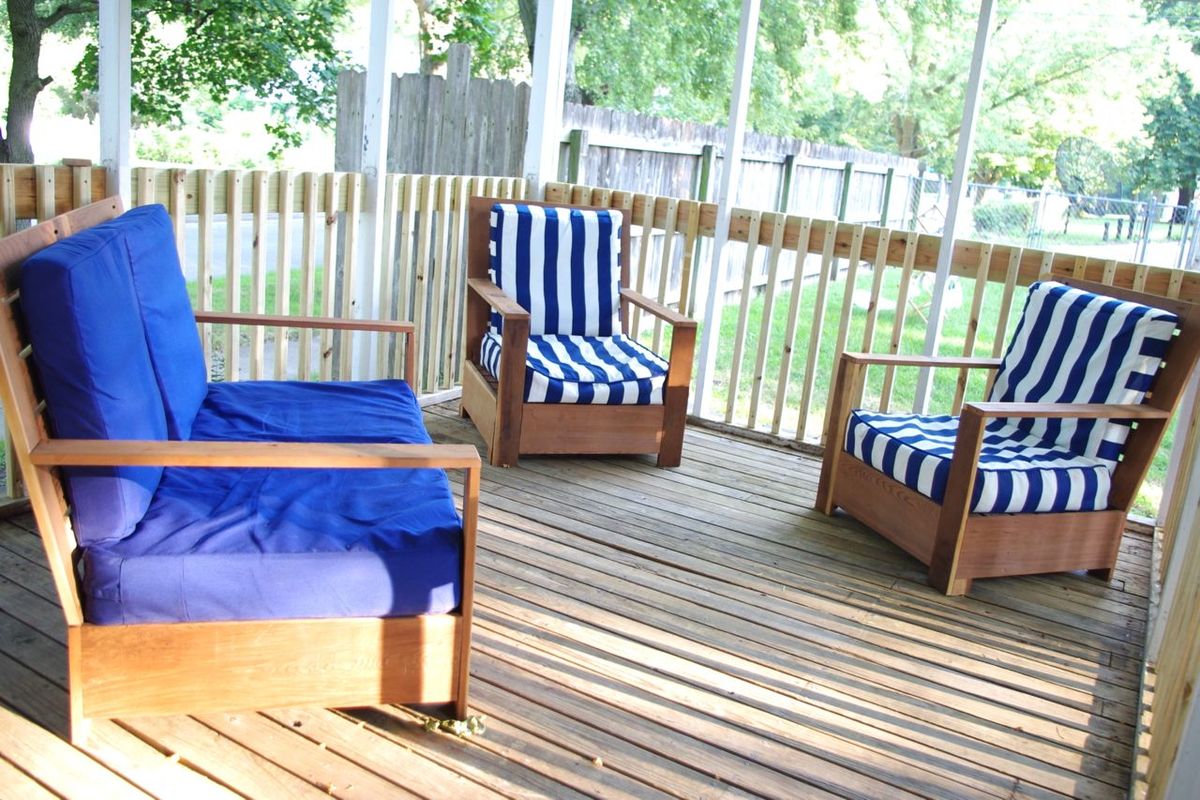
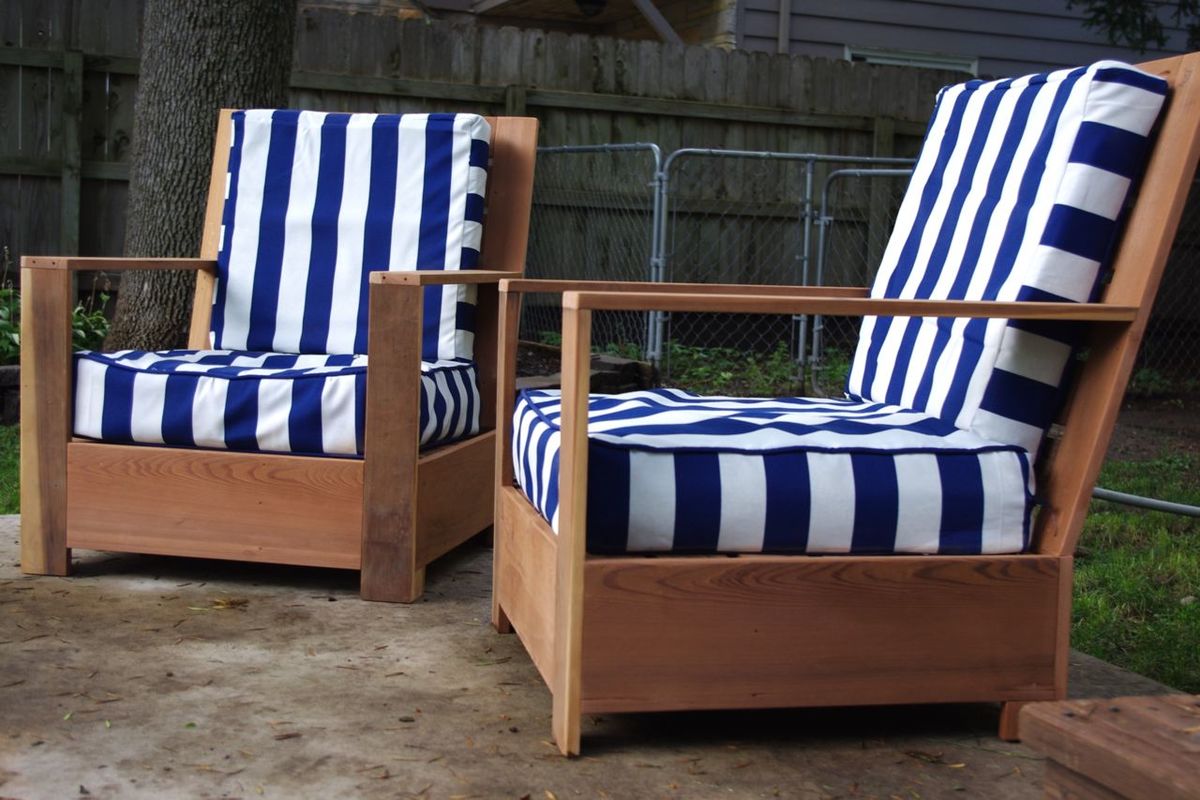
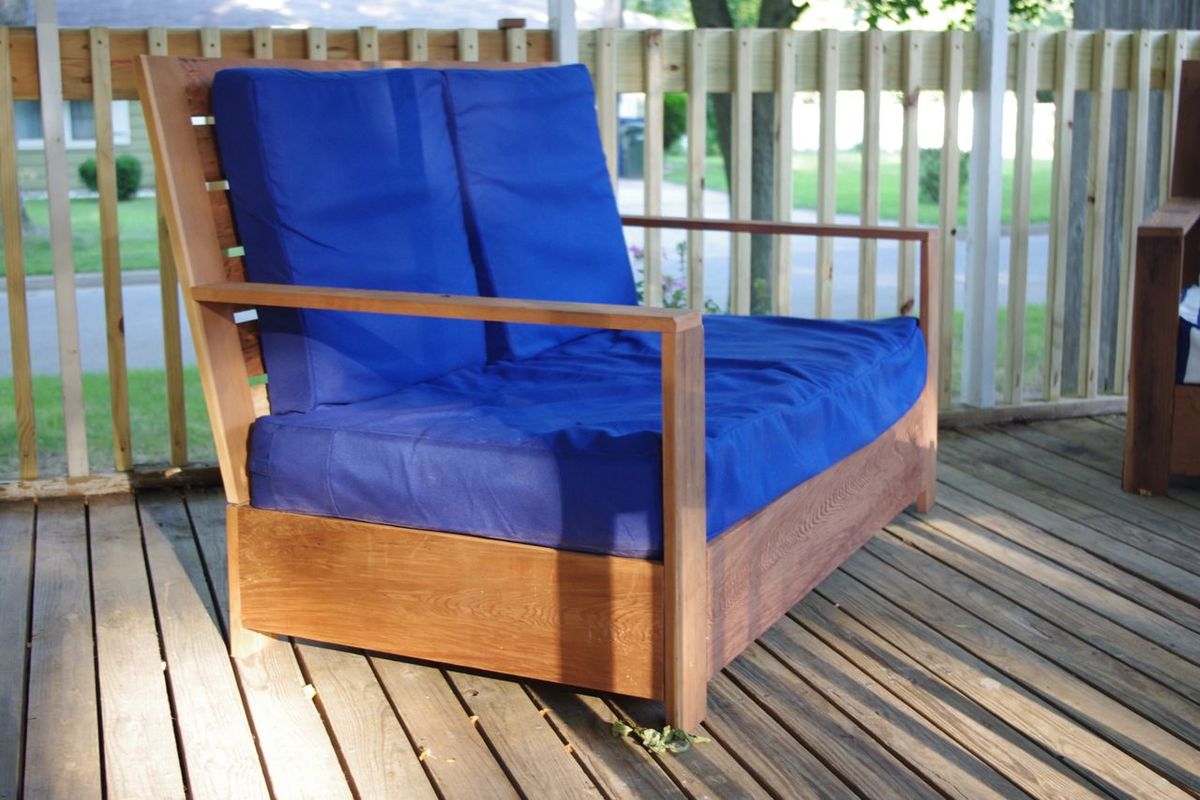
Bristol Lounge Chairs and Love Seat

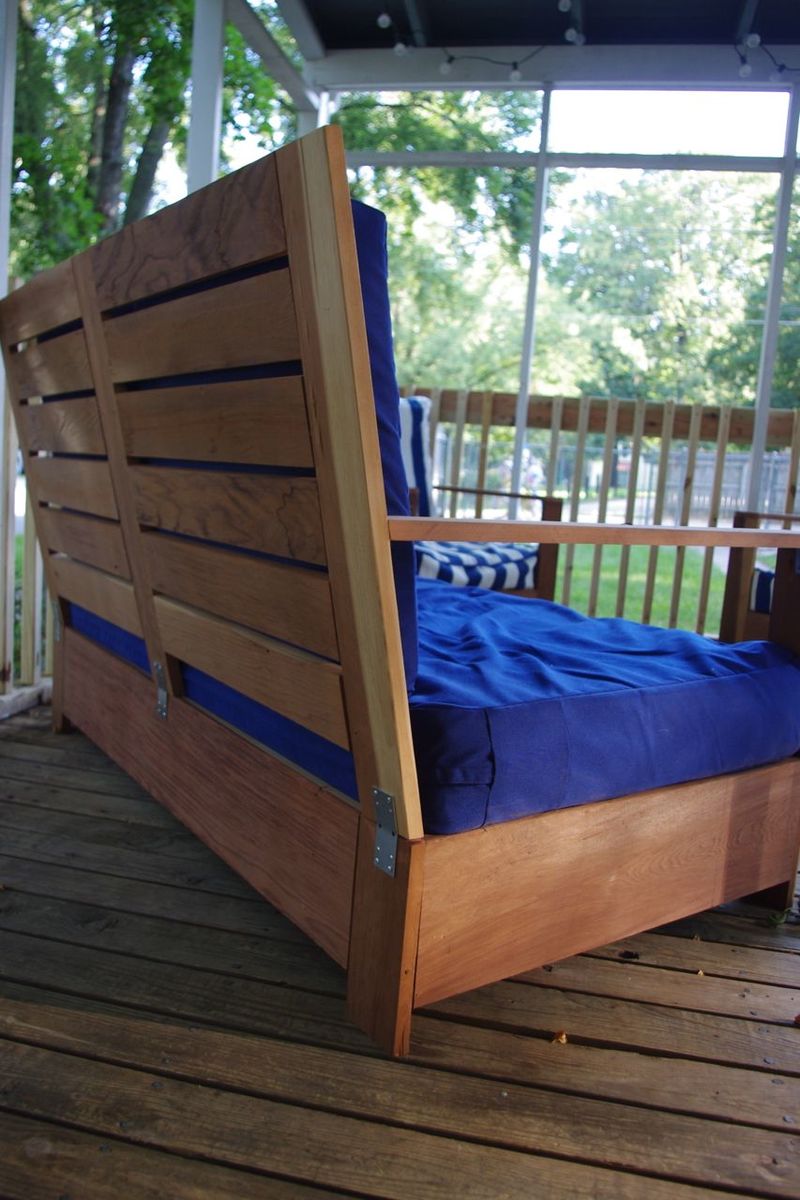
I loved this lounge chair when I saw it posted. After contemplating them for awhile they became my first building project.

Unfortunately, the cushions from the original design were to expensive for my budget. I resized the lounge chairs to fit cushions I found at my local big box store.

A couple of weeks later I made the loveseat using these plans: http://www.oldpaintdesign.com/2012/03/05/bristol-outdoor-loveseat/. The also resized the loveseat and made it to fit the same back cushions as the chairs and a crib mattress for the seat. I also added three more cleats to add sturdiness to the seat.

I was able to use cedar that I reclaimed from an old sauna in our basement. So, the wood was free to me!

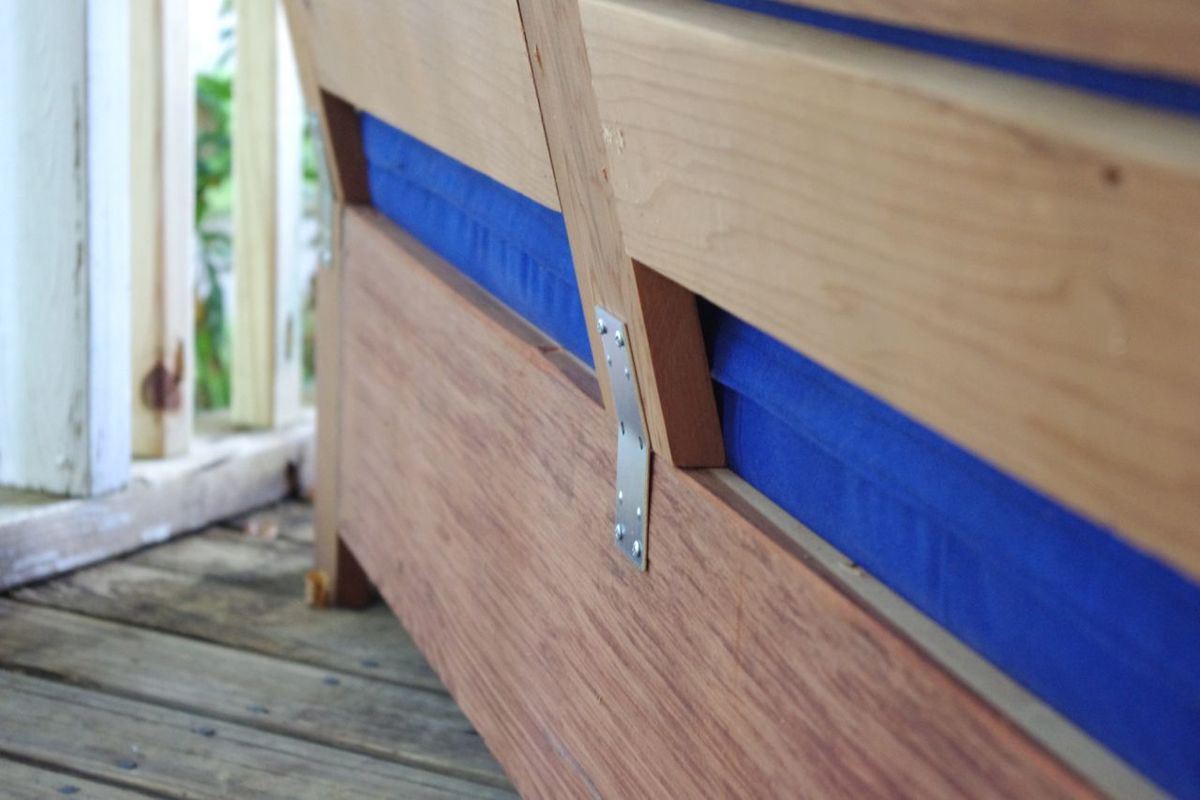
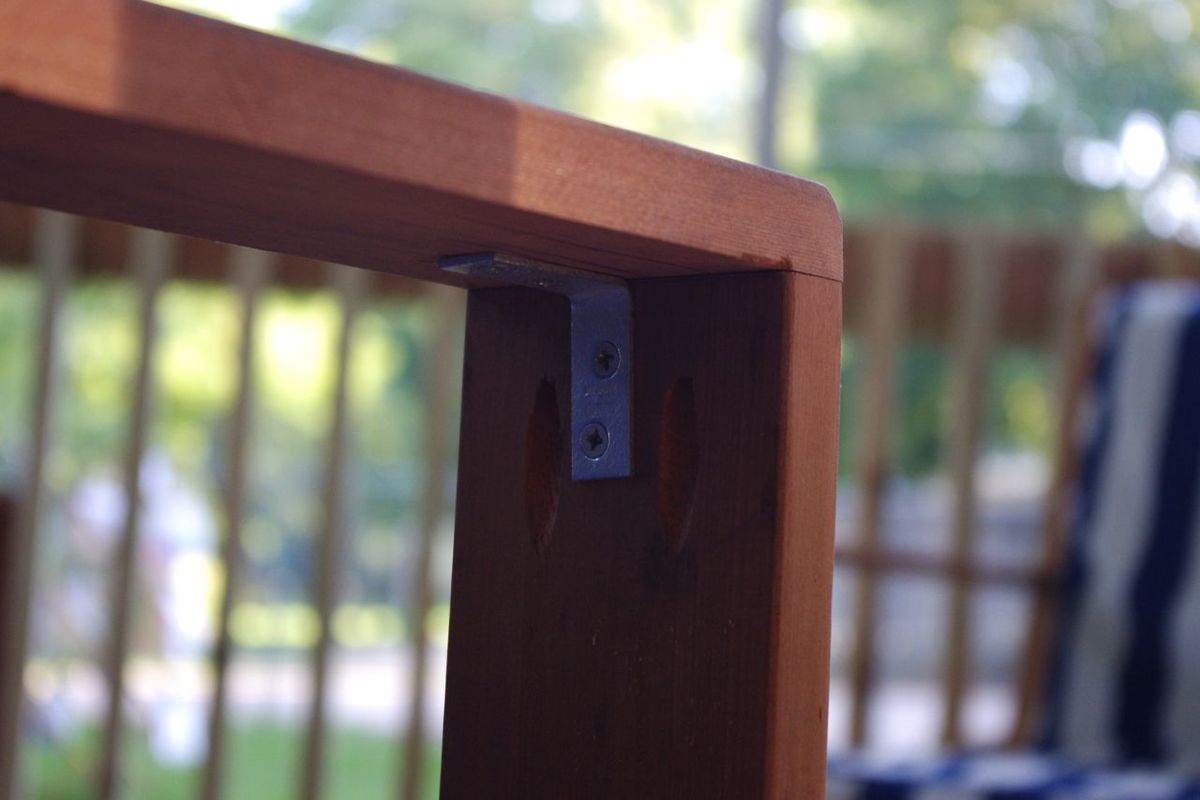
After using the chairs and loveseat a couple of times two of the arms popped off the front. As a result, I added some extra sturdiness to both the arms and to the angled back.

To the arms I added "L" brackets. For each back I added "mending braces".

I'll be adding more information about the modified dimensions and cut list I used on my blog: http://amilliontinylittlethings.blogspot.com/2013/08/bristol-lounge-cha….

I'm very happy with the furniture! Thank you Ana White and guest poster, Shane, for inspiring me into this new hobby!
Built from Plan(s)
Estimated Cost
$200
Estimated Time Investment
Week Long Project (20 Hours or More)
Finish Used
I haven't finished the chairs yet. Will likely just use a waterproofing sealer.
Recommended Skill Level
Beginner

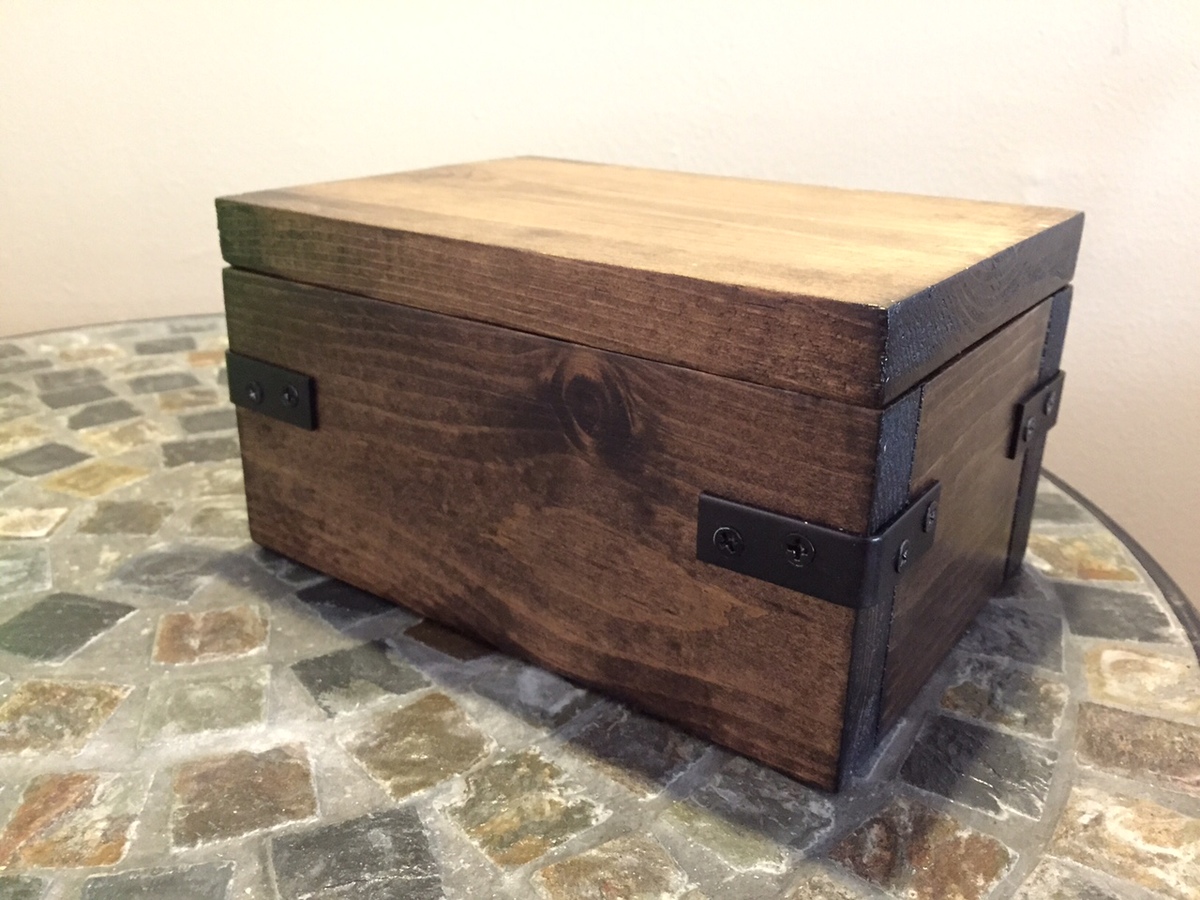
Memento box

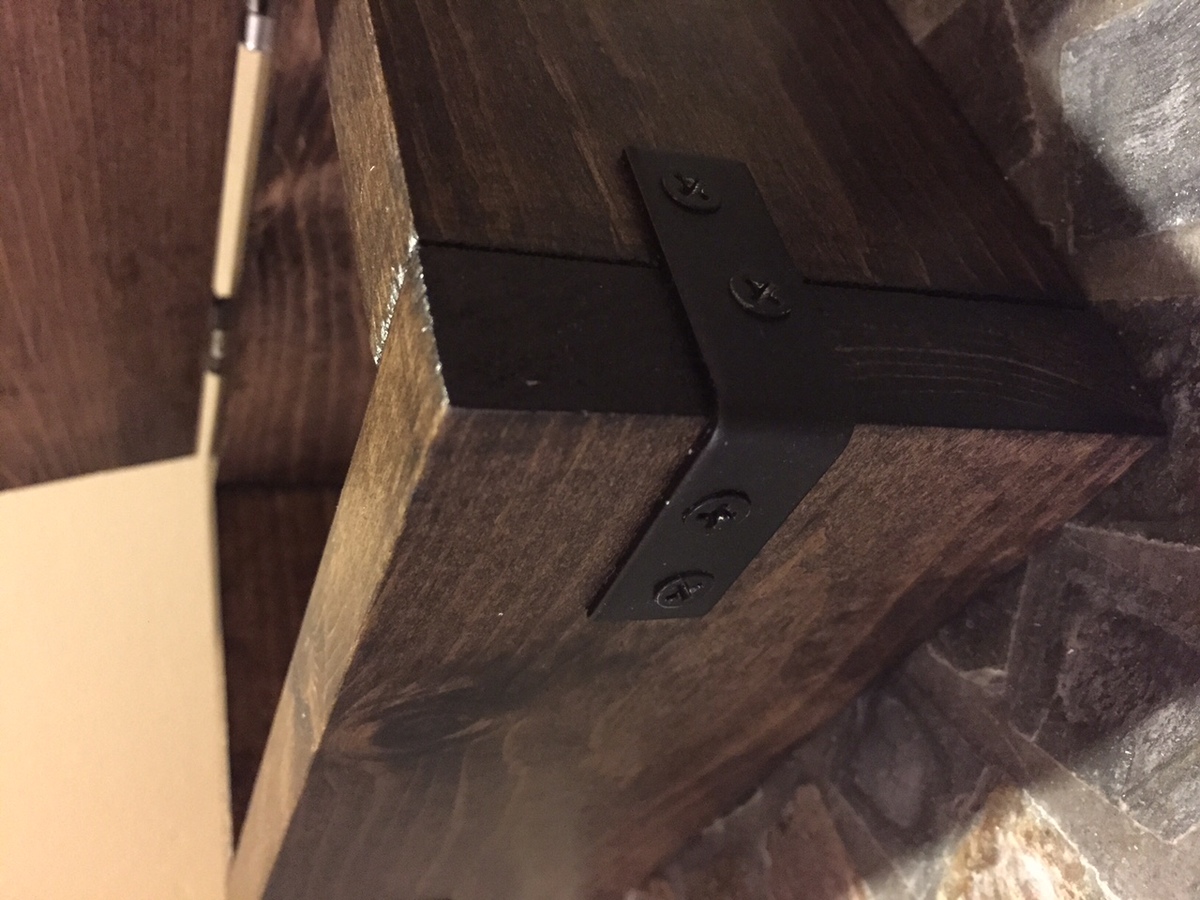
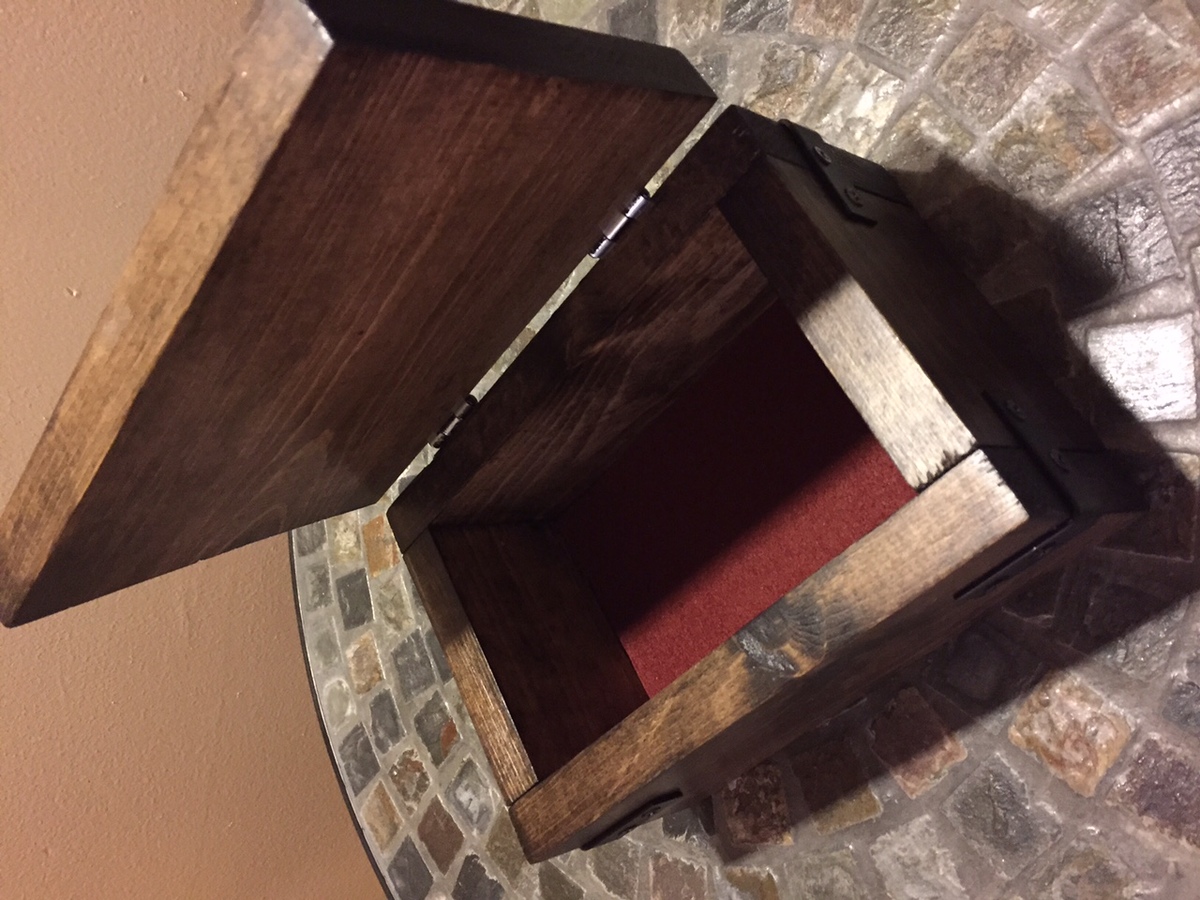
I wanted to make a small memento box as an anniversary gift, and I used Ana's pirate treasure trunk as inspiration. My cuts are a bit different due to the scraps I had in my "shop", but I still used 1x4 and 1x6s. I loved the idea of the side brackets. They look good and add to the structural integrity of the box. Win-win. I also added a bit of dark red felt to the bottom of the box, which I think gives it a little bit of a fancier look.

Built from Plan(s)
Estimated Cost
$5 for stain
$4 for brackets and hinges
I already had the wood
Estimated Time Investment
Afternoon Project (3-6 Hours)
Finish Used
Minwax in Jacobean (2 coats)
Recommended Skill Level
Starter Project

Laundry Room Cabinets

Submitted by svtigrz on Sun, 10/28/2018 - 05:34

My wife and I decided to remodel our laundry room. I built these cabinetsand doors to store soap and cleaners. They are 39Hx30Wx12D. I used the Kreg Pocket Hole Jig and the Kreg Khi-Hinge Concealed Hinge Jig. I have to say, Kreg jigs are AWESOME!!.

Estimated Cost
$80 each including doors and hardware
Estimated Time Investment
Weekend Project (10-20 Hours)
Finish Used
paint
Recommended Skill Level
Intermediate

Comments

kbembe

Mon, 05/29/2023 - 14:50

Hi,
I am a big follower of your projects. Do you have laundry cabinets plans? haven't seen one as yet.
My laundry room is 71 1/2 inches Wide. Any suggestions that you might have?
Thanking you in advance I remain,
Benito Torres
863.521.2191

Garden outhouse with composting toilet

Submitted by Anonymous (not verified) on Sat, 07/16/2022 - 17:48

The cool thing about Ana White plans is they are straightforward to modify to use materials you have on hand. Everything but the frame is either leftovers or from the barn.

Built from Plan(s)

Comments

Fancy Step Stool for Kids

Submitted by cdswhite on Mon, 08/01/2011 - 19:25

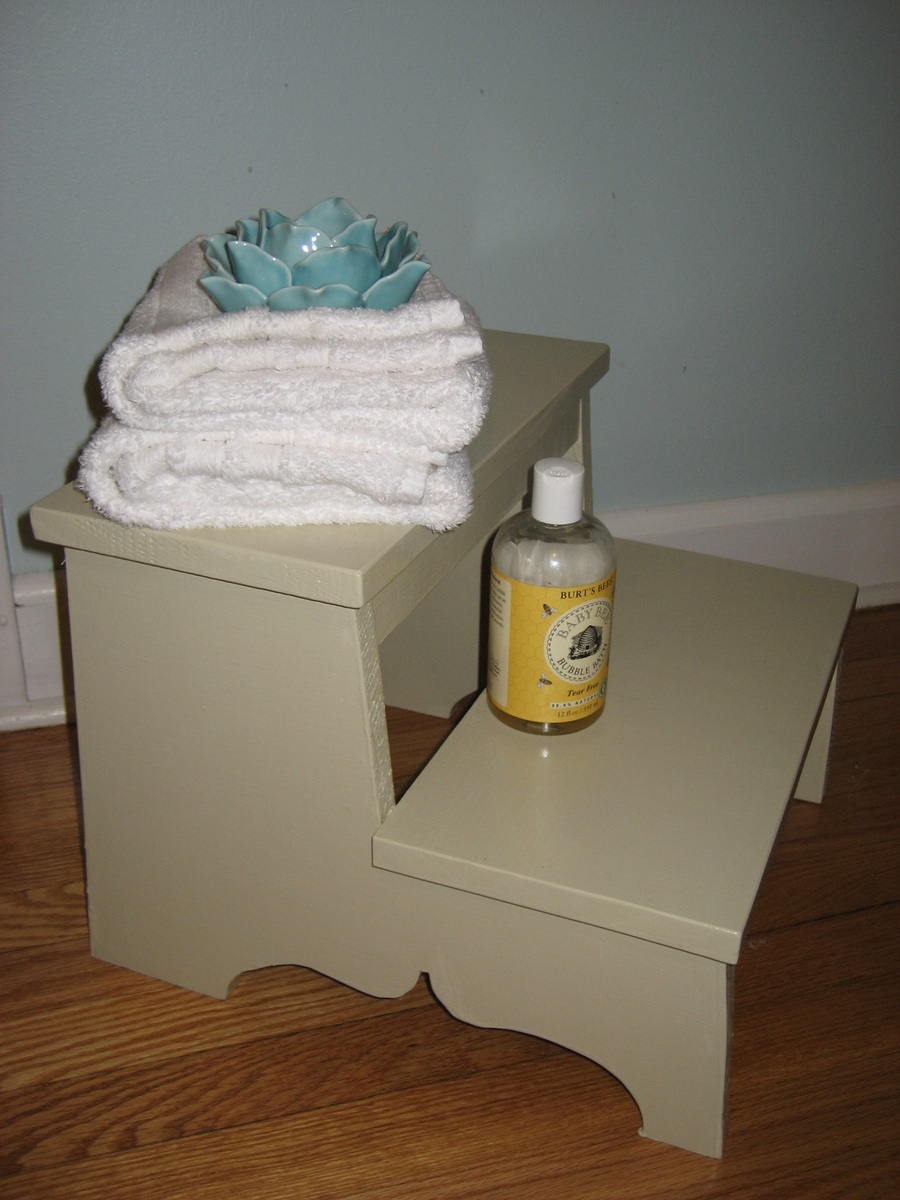
This was a fun project for us and our daughter loves to use it to wash her hands and brush her teeth. We used some wood scraps we had leftover so it didn't cost as much! I was inspired by another brag poster to change the detail on the bottom and printed my pattern from the computer. We did find that we really needed better saw blades than what came with our jigsaw - the second side's curves came out so much smoother.

Estimated Cost
$10 (total guess, I don't remember)
Estimated Time Investment
Afternoon Project (3-6 Hours)
Finish Used
We used some leftover paint and one coat of water-based poly.
Recommended Skill Level
Beginner

Love love love my new bedroom!!!!

Submitted by DogDoc25 on Tue, 08/27/2013 - 18:49

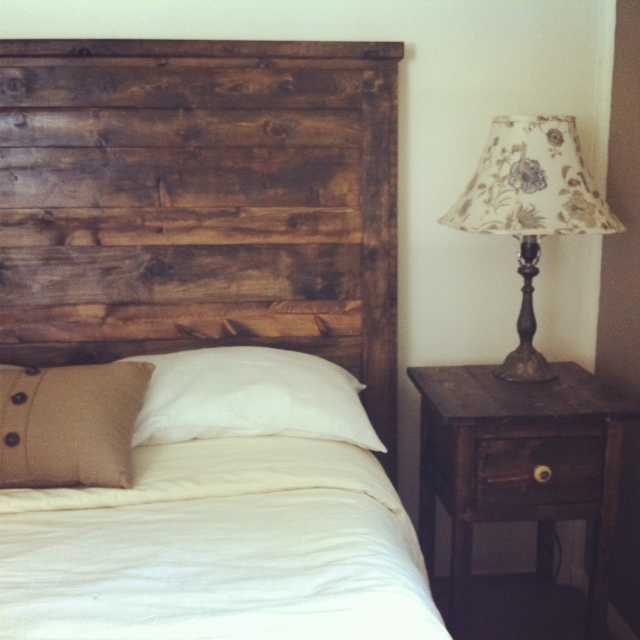
I've posted pictures of these separately, but I'm so excited about how these things came together in my room! This is the reclaimed wood headboard (queen) and the mini farmhouse bedside tables (only 1 pictured but the other is identical). Thanks so much Ana (and friends) for these awesome plans which have given me a fun thing to do in my free time and also inexpensively furnish my house!

Finish Used
Minwax Jacobean (looks slightly lighter in the picture than it is in real life)
Recommended Skill Level
Beginner

My balcony oasis!

Submitted by Amy87 on Mon, 10/12/2015 - 22:56

I needed to transform my balcony in Australia into an outdoor oasis! I used Ana's plans for the outdoor sofa and modified them to make it a sectional. I converted into metric measurements and modified these to fit some pre-purchased cushions. The coffee table is made from a pallet and cinder blocks. The coffee table can be transformed into a dining table (with bench style lounge dining seats) by adding another 2 cinder blocks under the table. The table also perfectly fits into the space in front of the sofa and is the exact right size to add two extra seat cushions on top to form a full double bed. We sometimes put the tv outside on warm nights, transform the sofa into the bed and create an outdoor cinema...

Thanks Ana!


Estimated Time Investment
Day Project (6-9 Hours)
Recommended Skill Level
Beginner

Comments

Amy87

Tue, 10/13/2015 - 22:10

Hi, 

They are from Ikea's Hallo range.  The seat cushions are great and I added some additional foam to the insert of the back cushions as I initially could feel the wooden support bar when I leant back. 

I don't know how many stores Ikea have in the states but I just looked on their site and it is $25 for the seat pad and $15 for the back cushions. They come in a range of colours. Hope this helps!


Amy87

Tue, 10/13/2015 - 22:16

Also, they have a range called Kungso that is slightly more expensive but is thicker and maybe you wouldn't have to put foam in the back cushion. The only problem for me was that they only came in black or white and that wasn't suitable for my needs. 

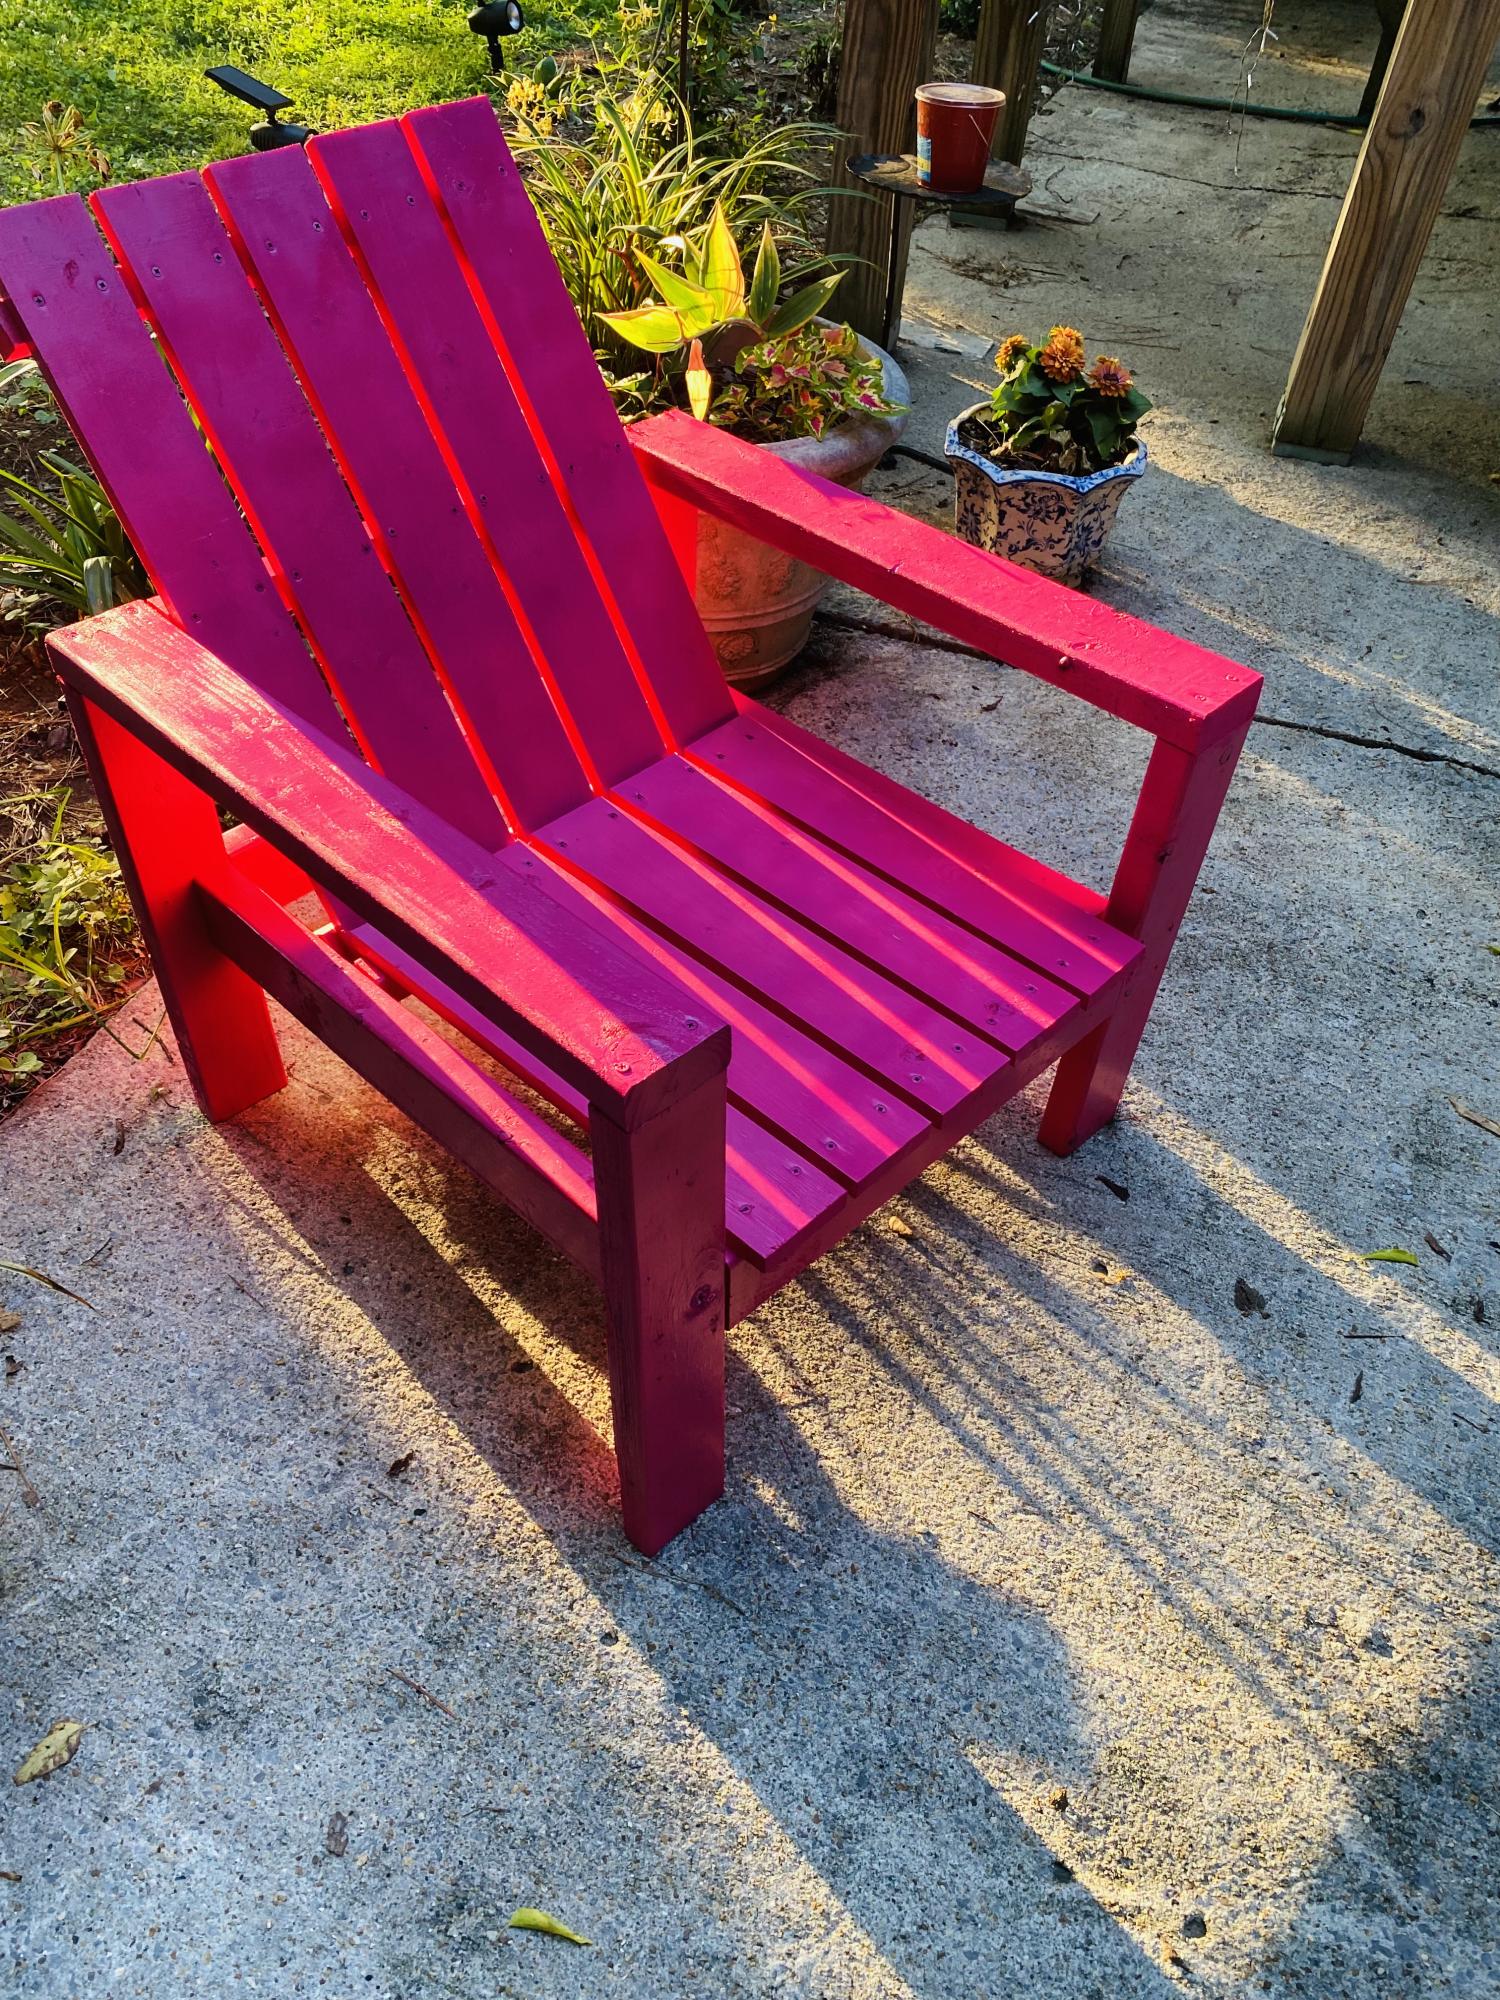
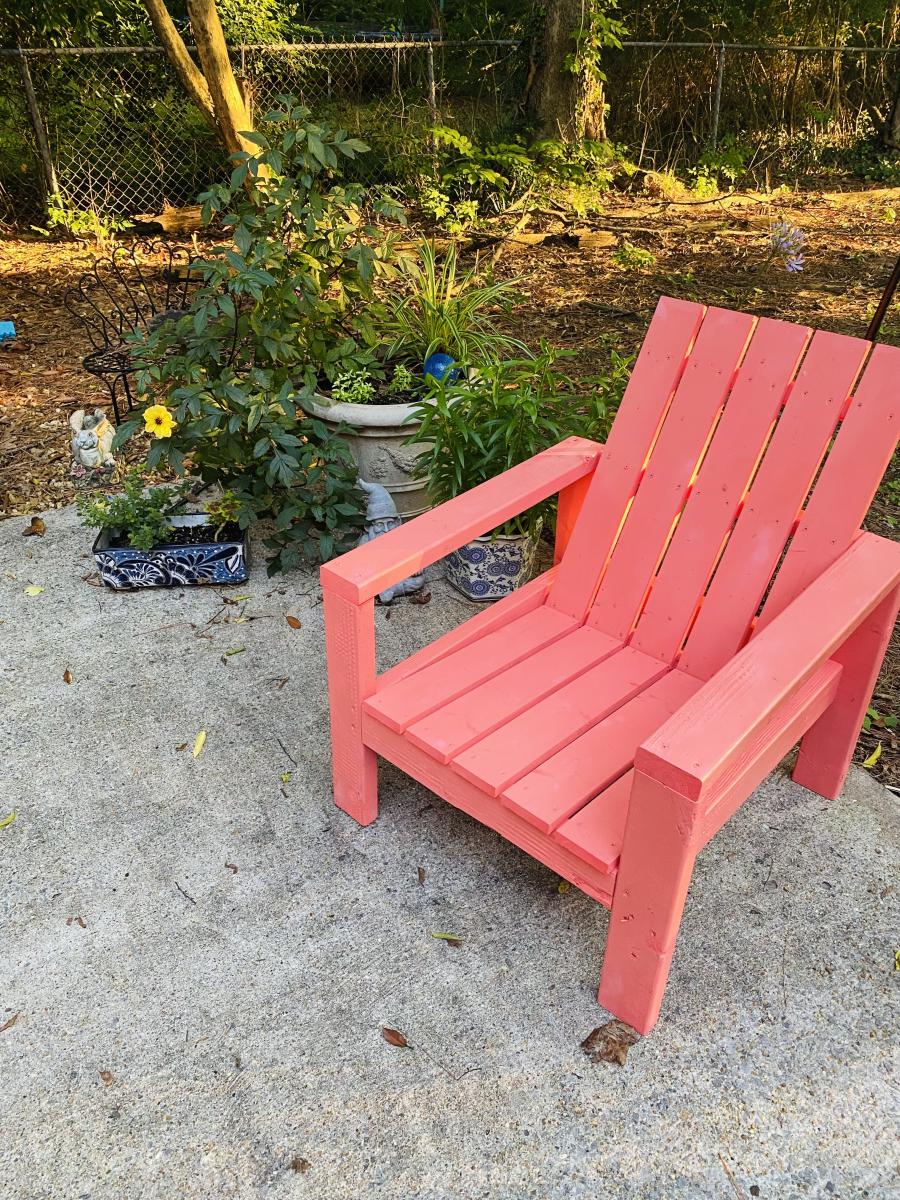
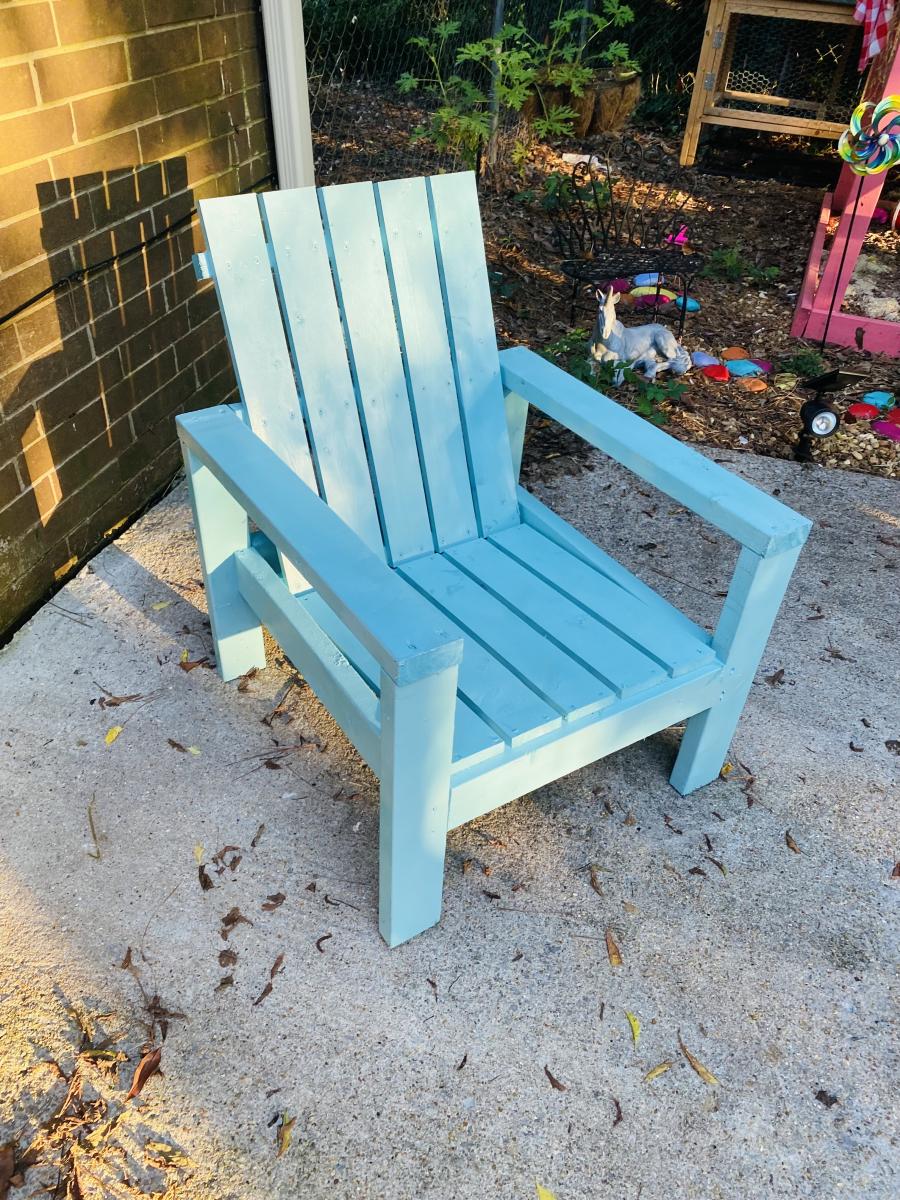
2x4 Adirondack Chair

Submitted by bcarter_1 on Tue, 10/30/2018 - 05:05

Love this chair

Estimated Time Investment
Weekend Project (10-20 Hours)
Recommended Skill Level
Beginner

Comments

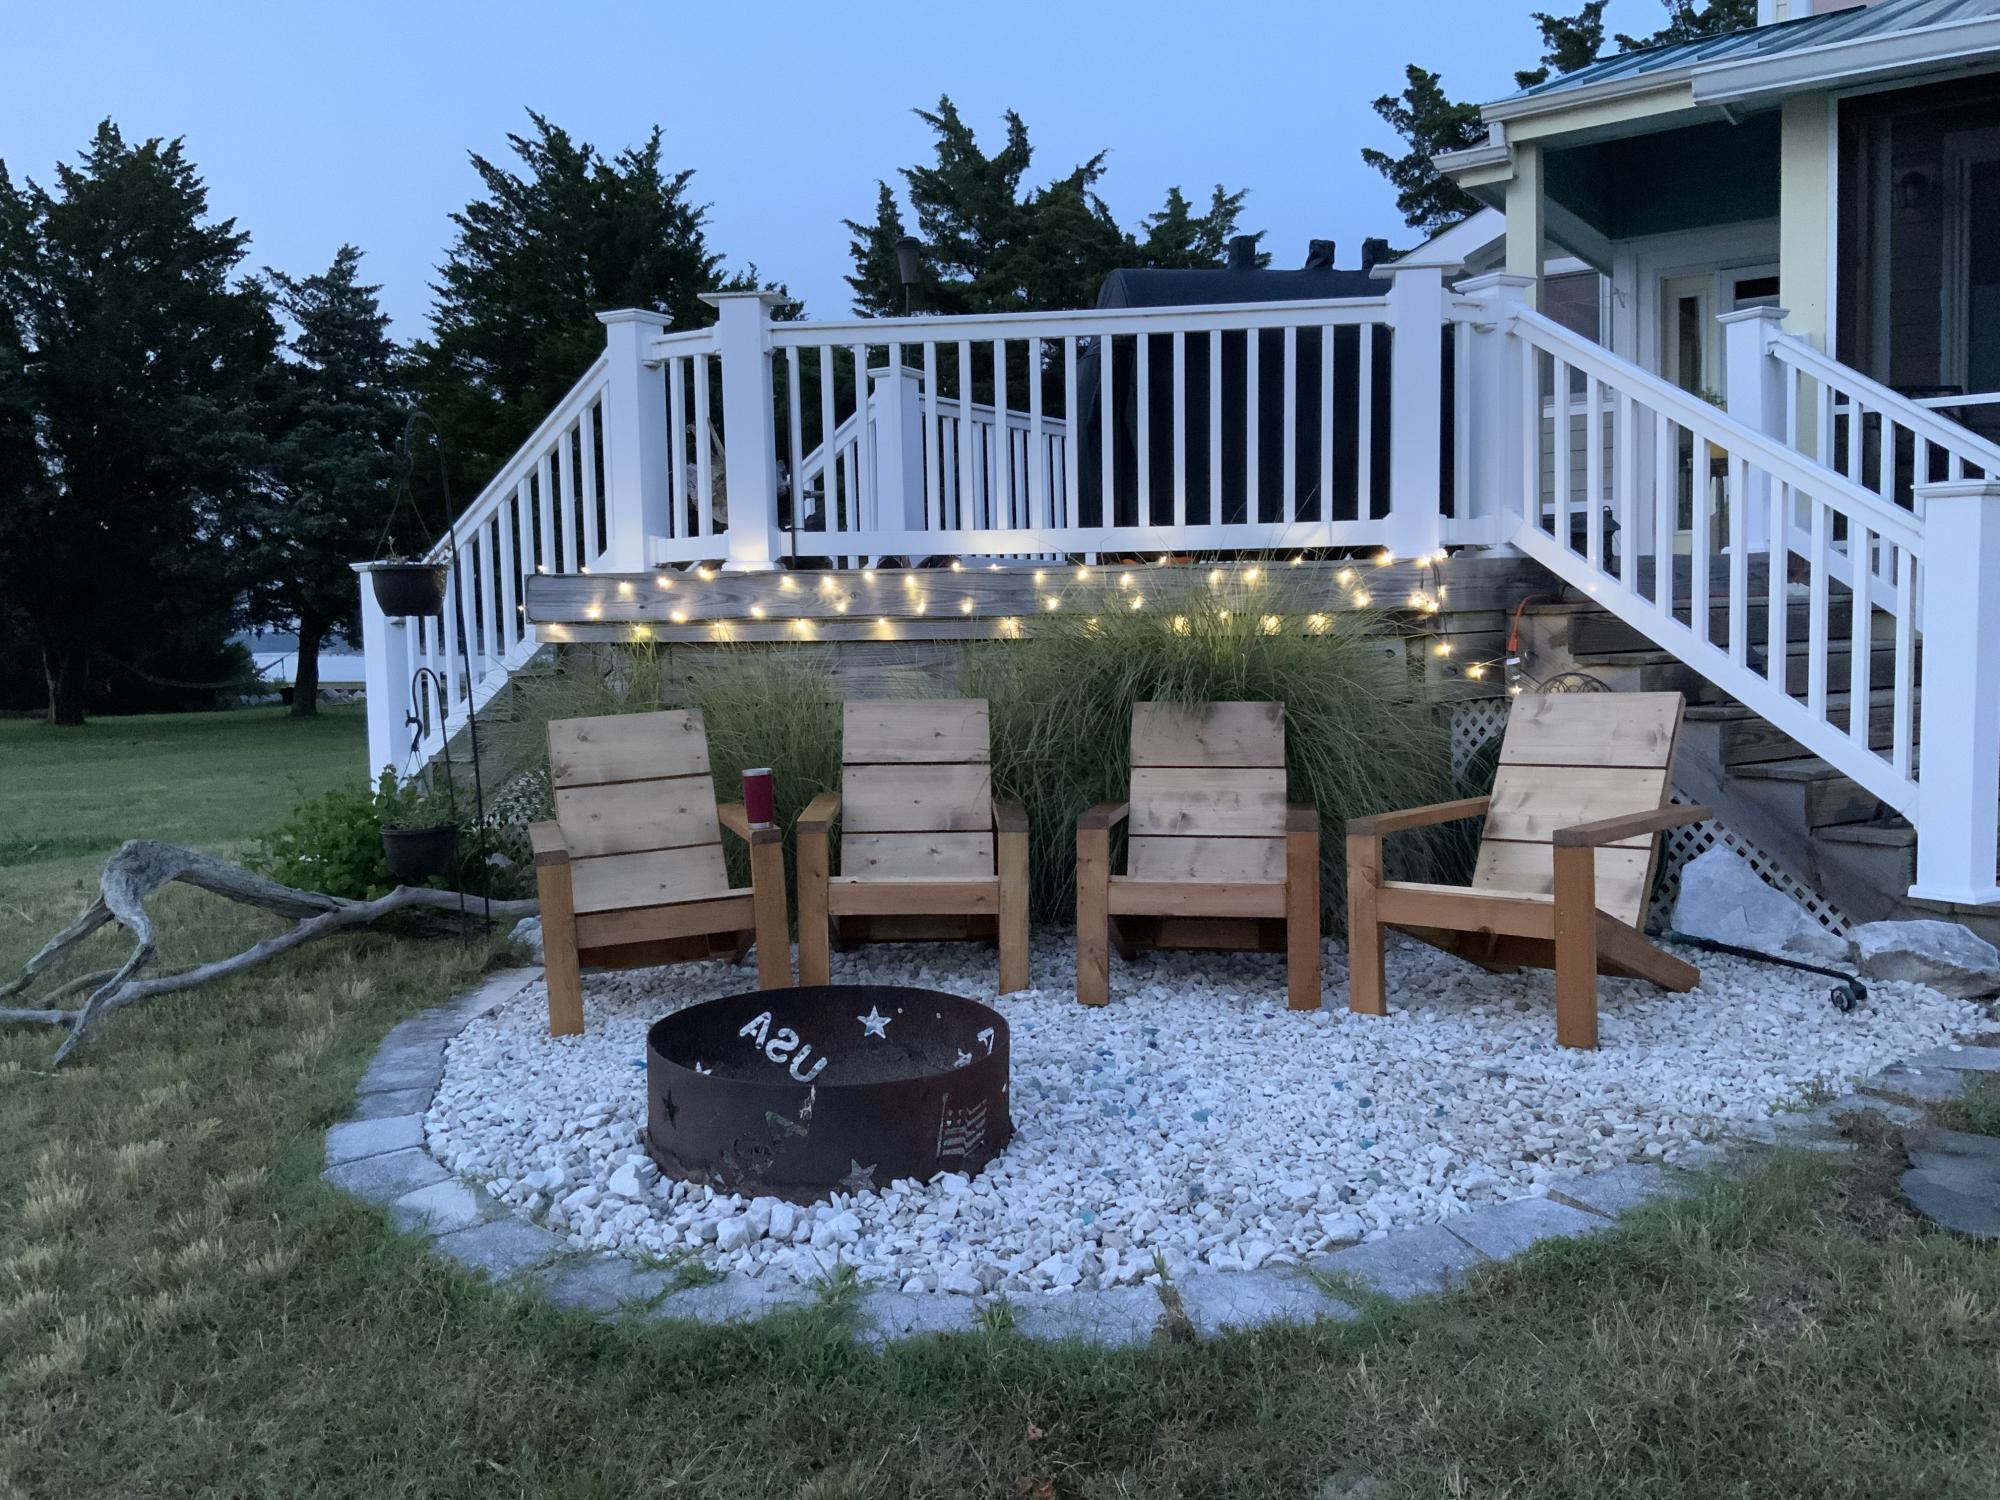
Lovin the seating!

Submitted by Anonymous (not verified) on Fri, 07/29/2022 - 10:56

Had no problem following the easy directions. I am eager to build more projects in the future. Thanks for being here Ana. We really love looking out over the bay in our chairs.

Comments