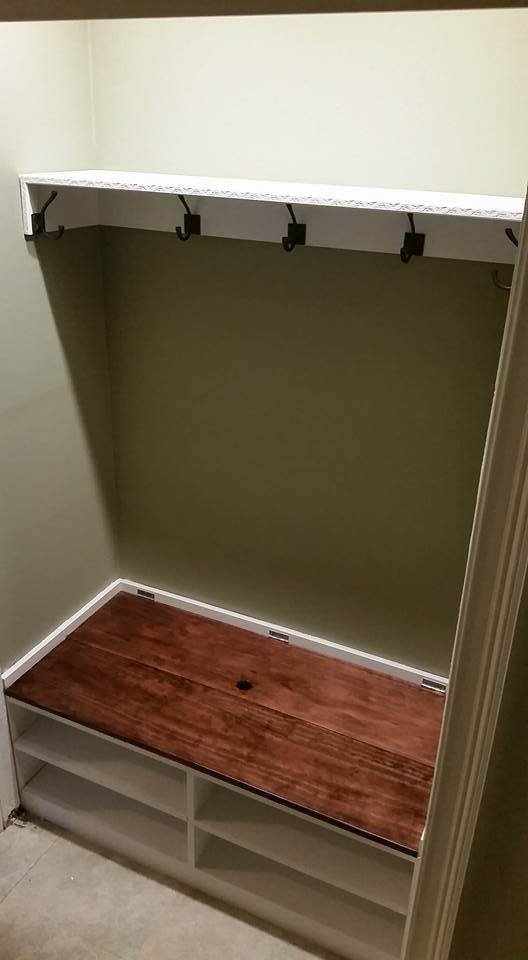
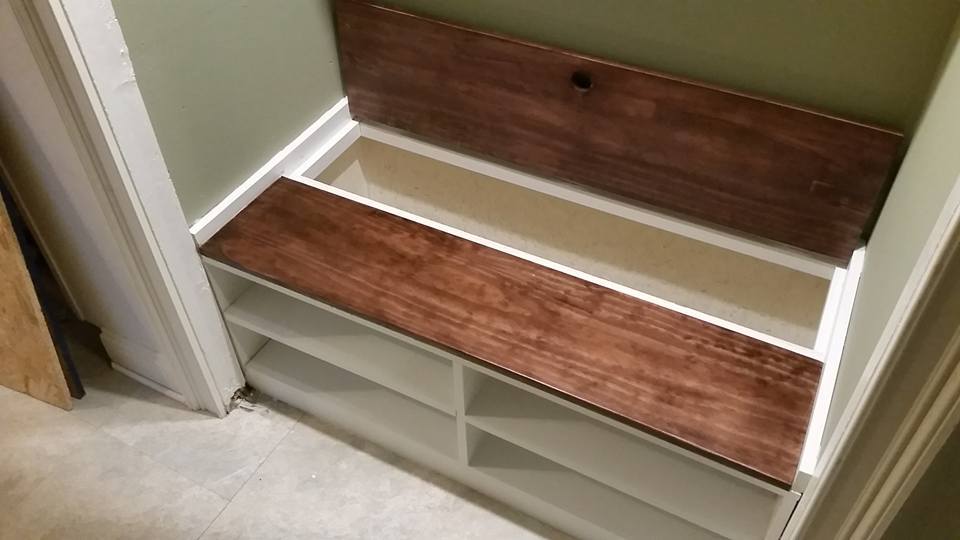
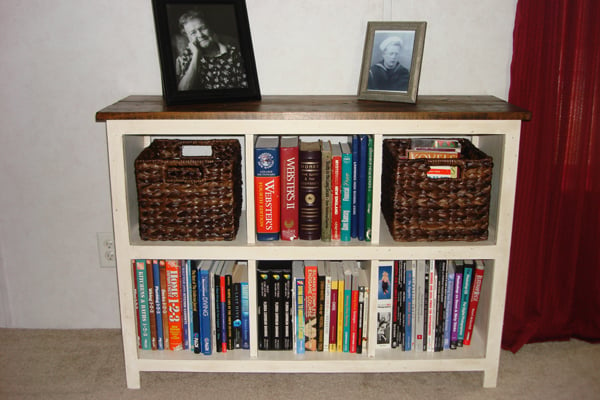
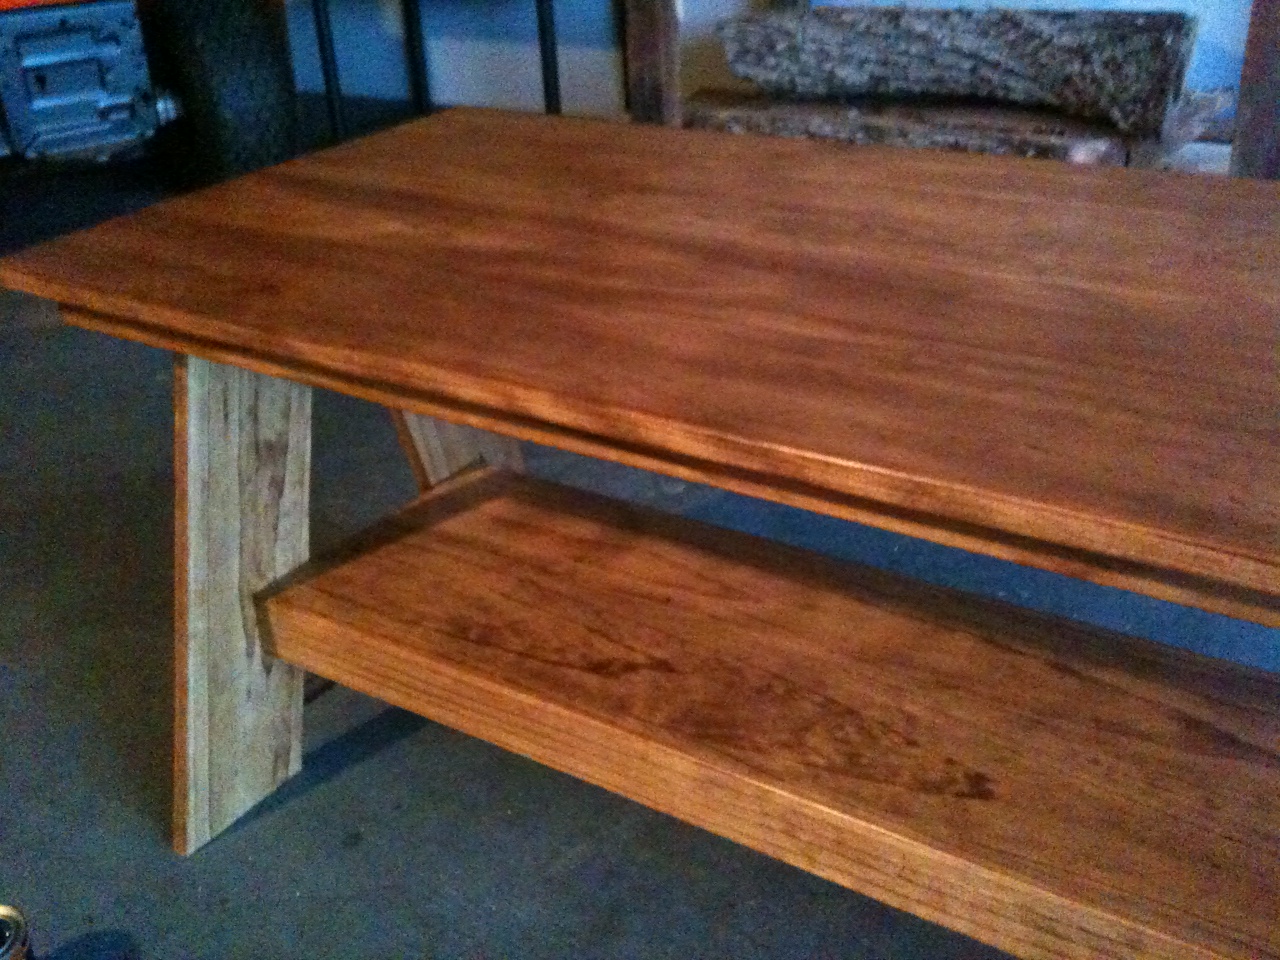
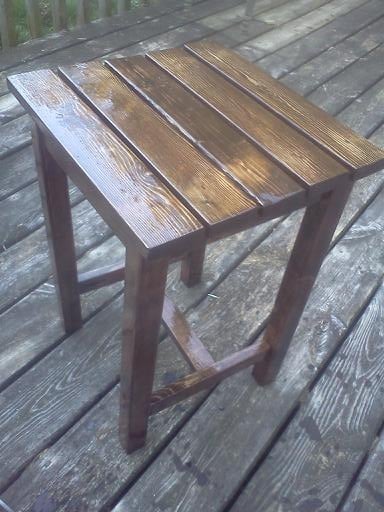
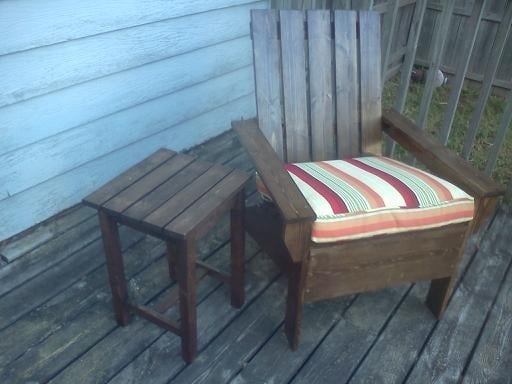
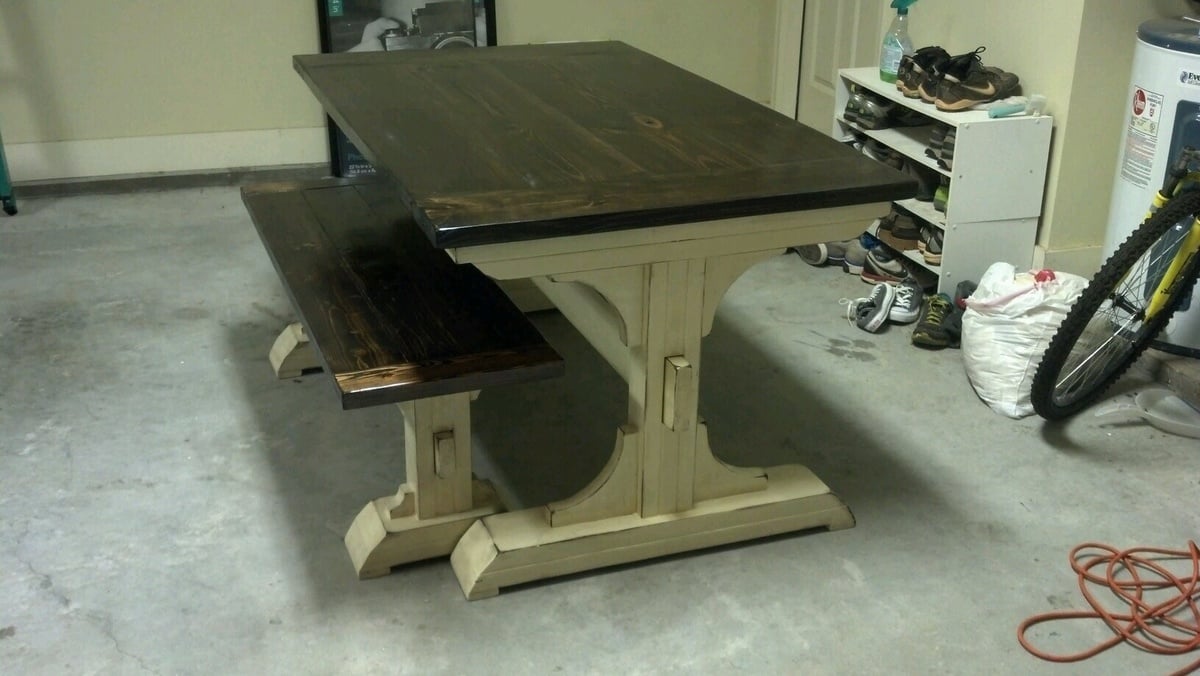
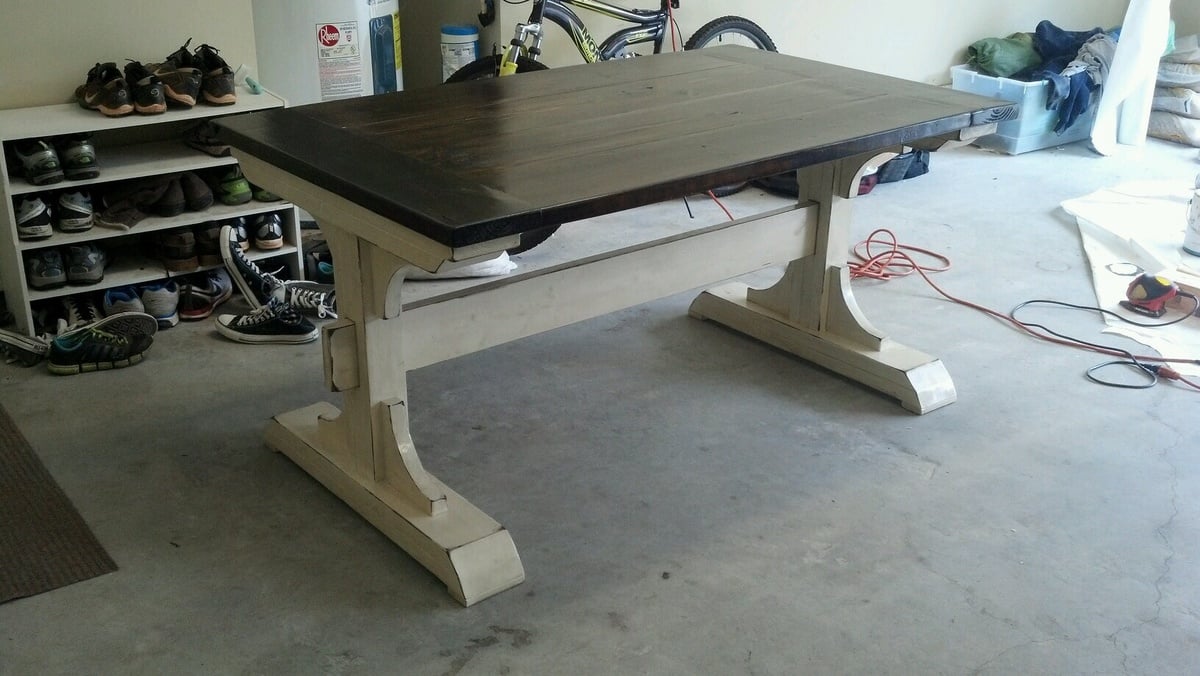
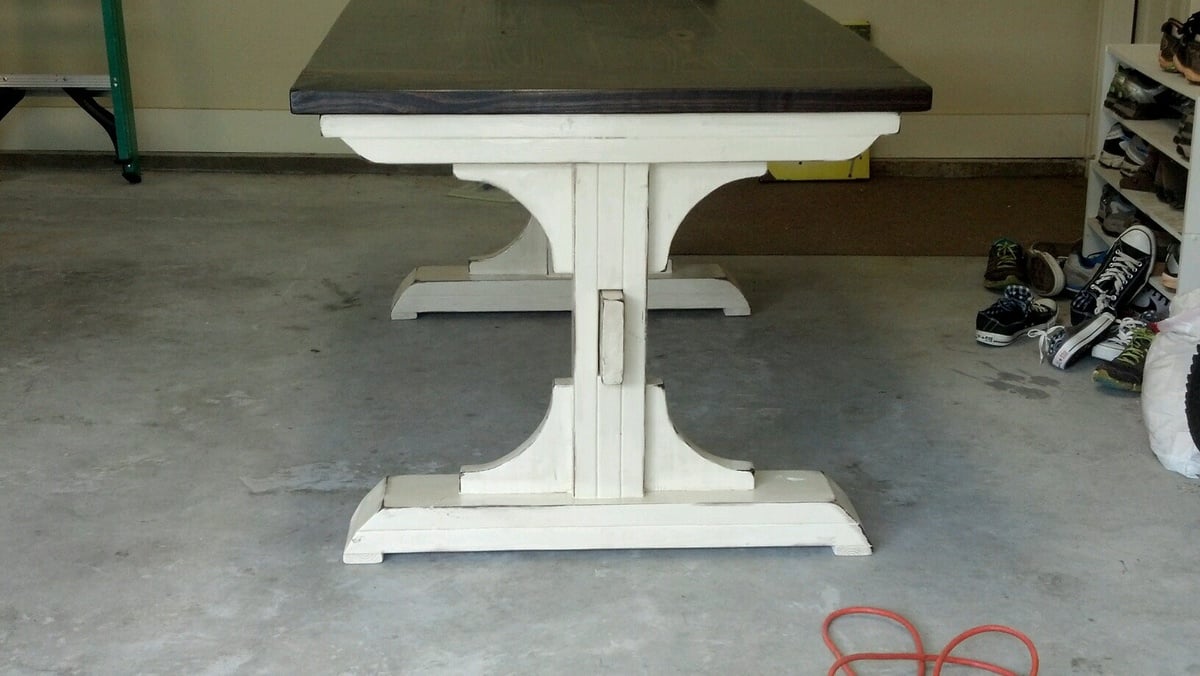
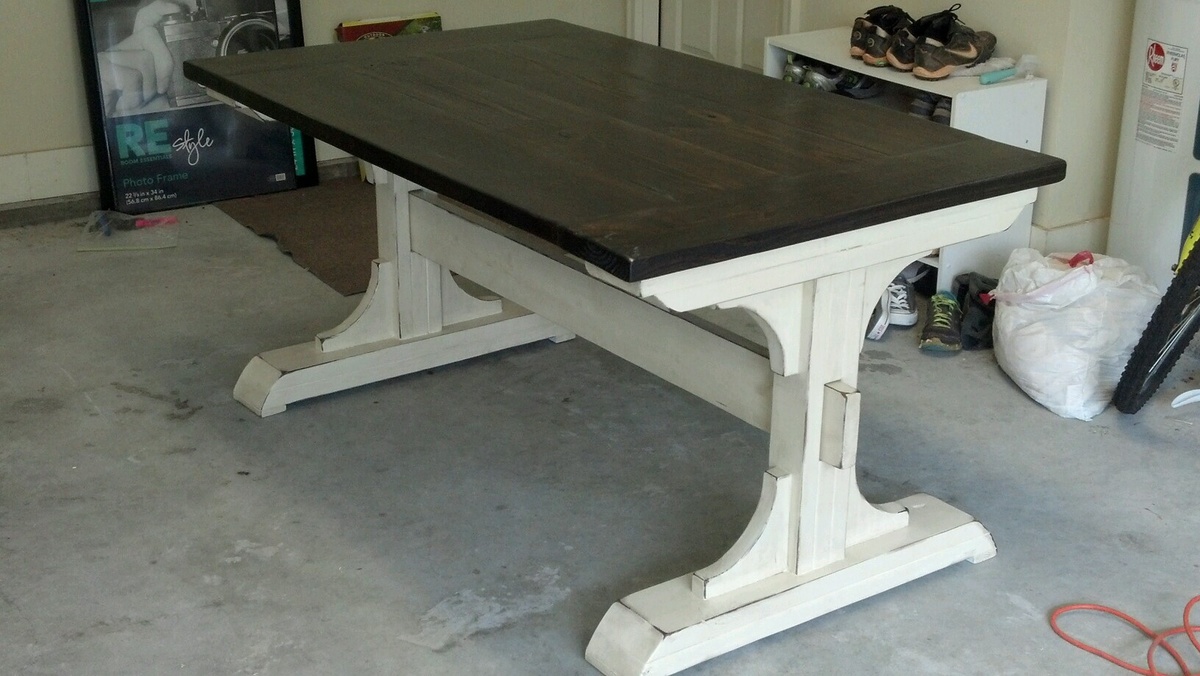
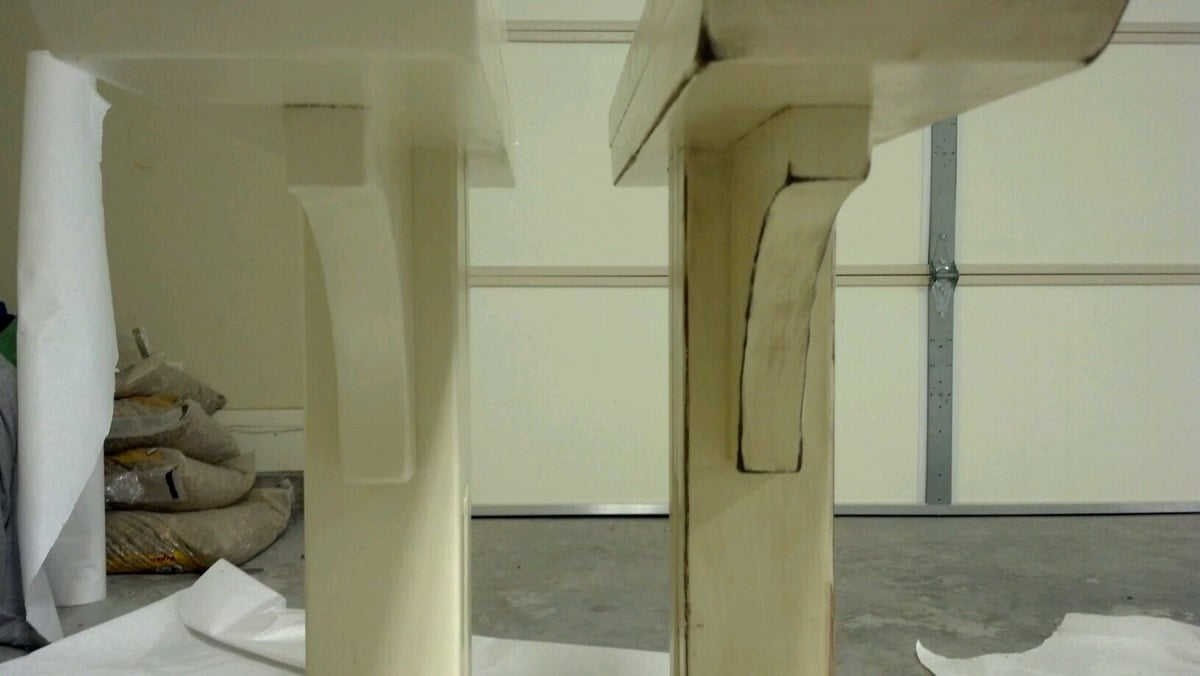
Modified shoe bench
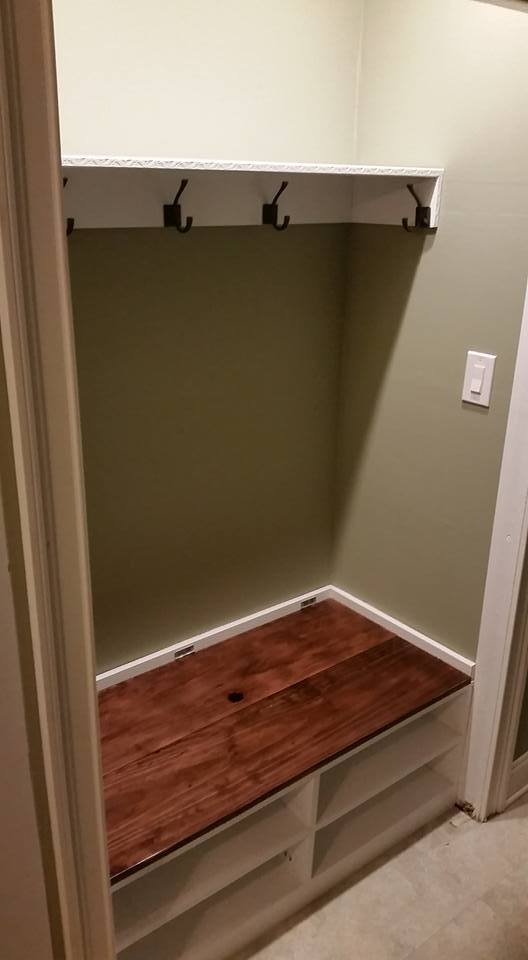
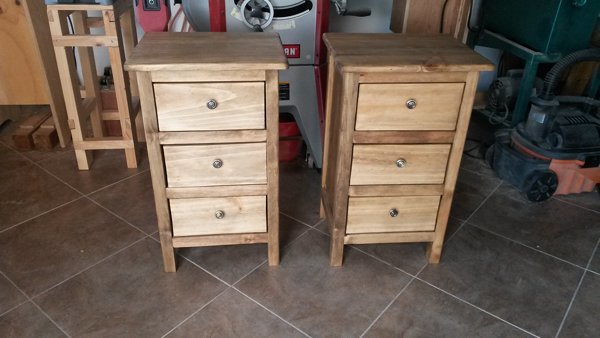
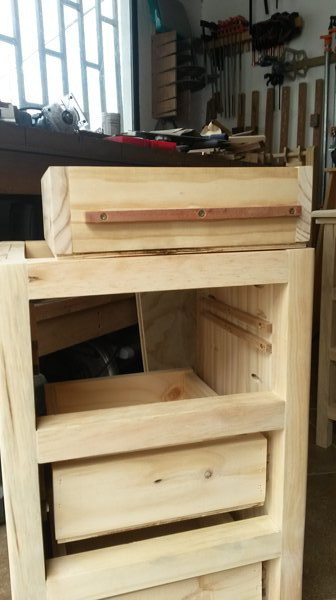
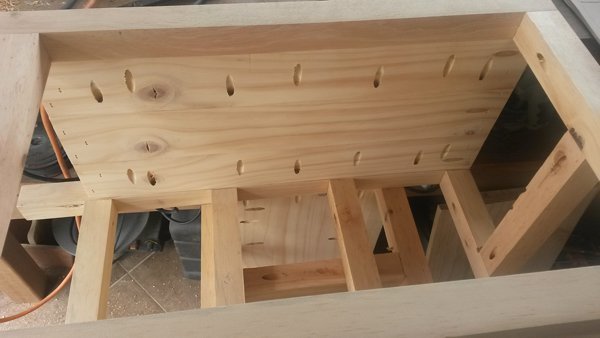
In our new home there was a 46" wide coat closet at the entrance. My wife wanted a place to sit down, take off shoes and put our coats and backpacks when we were home. I found Ana White's plans for this shoe bench and modified it to fit our space. The project took 3 days to complete due to the painting, staining and polyurethane, construction of the bench itself was quick. Previously I added a light switch and two 3" LED recessed lights in the ceiling. The project came out wonderful and I am very pleased. Thank you for the inspiration!
-Mike
Built from Plan(s)
Estimated Time Investment
Weekend Project (10-20 Hours)
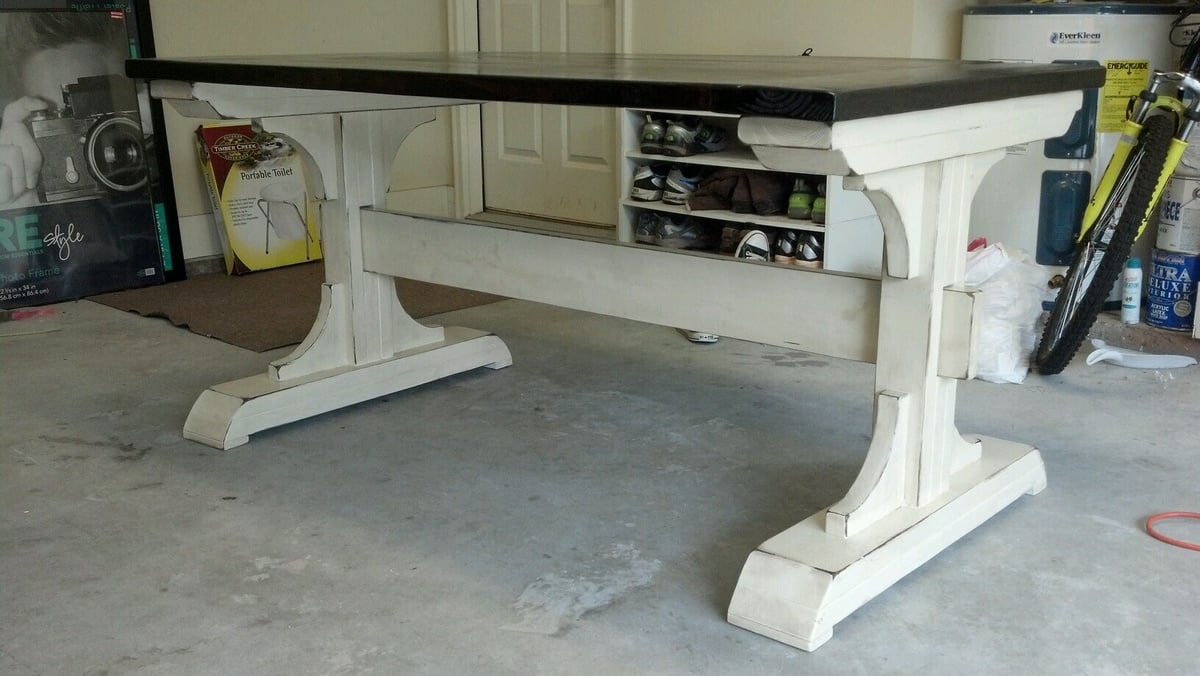
Finish Used
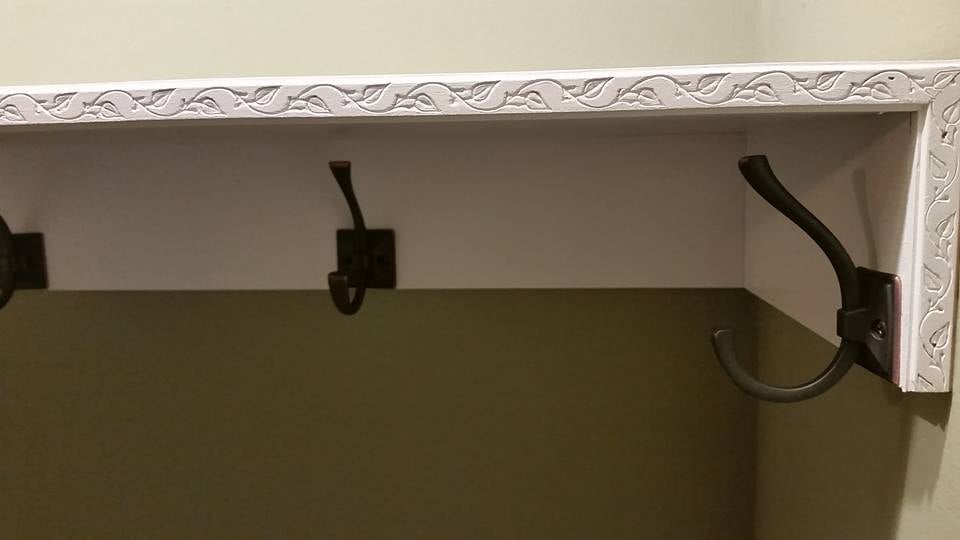
White semigloss paint (2 coats), Minwax Red Mahogany 225, Varathane Polyurethane semi-gloss (3 coats)
Recommended Skill Level
Beginner


Comments
Ana White Admin
Mon, 11/16/2015 - 12:01
Nicely done!
Looks great, perfect fit!