Tryde Coffee Table - Large
![](/sites/default/files/house2.jpg)
So much fun to make & great for entertaining.
![](/sites/default/files/house..jpg)
So much fun to make & great for entertaining.
Love this project! I used cedar boards with red mahogany stain. I did adjust the gaps to a 1/4 inch.
We built this from a 4 x 4 left over from another project and 2 - 4 x 4s 36" long from a pallet I rescued from work. The middle post is 78" long with 3 feet buried in the ground. The "Fancy Iron Hose Holder" was purchased from Amazon for about $20. The post cap was a used one rescued from my husband's woodshop. We layed out the 4x4s on the garage floor and screwed them together, added the hose holder and end cap, and spray painted the project black. I am going to remove the hose holder and paint it a different color so it will stand out better.
I modified the Small Old English Style Farmhouse Dining Table plan to build a writing desk. I used five 1x6 boards for the top for a width of 27.5 inches. I made my desk 56 inches in length. I put the drawer on the long side like a pencil drawer. I did use the legs that Ana recommended in the plan. I love how it turned out. I used dark walnut danish oil and dark wax for the finish.
Sat, 08/31/2019 - 05:18
Beautiful! What are the brands of oil and wax that you used?
Fri, 10/04/2019 - 21:46
Thank you! I used Watco Danish oil and I used Minwax dark wax. I've tried alot of different wax brands and I always come back to Minwax. It dries the hardest in my opinion.
Using the guidelines for the “BEST DIY Garage Shelves (Attached to Walls), I added this to our unfinished basement area for additional storage. I plan to replicate it in our actual garage as well and build the freestanding shelves also!
As a bonus, I used this plan as inspiration and built directly beside it, which is an unused space under stairs, a wine/liquor storage shelving replacing the plywood with cut 2x4s for added weight capacity/stability.
Couldn’t have been easier!
Wed, 10/19/2022 - 09:14
Thank you!! I am so thankful for Ana White and team! These projects are helping me build a lot of confidence to continue endeavoring more challenging projects each step of the way :-)
This was my first ever build and I did it on my own, so I'm super proud, but there are admittedly some things I'd like to learn from. The top trim piece is missing because the board was too crooked to attach and I was too impatient to wait to go to the hardware store again! It also stands crookedly. Not really sure why, but if you have any idea, I'd love to hear because I had a great time building it and look forward to my next build, but want to learn from that mistake first! Thanks Ana, I really didn't even know how to use a drill before hand, what an inspiration you are!
Camp Loft Bed modified to fit two twin loft beds in the bedroom with a shared platform step.
Age of boys in bed: 6 and 4
The boys have yet to agree on a stain color...awaiting their decision.
A little taller, and a different finish, but built from scratch inspired by your design. Thanks so much.
Thanks for the plans!
Wed, 10/19/2022 - 08:32
Looks great and perfect space saver and organizer!
I love this bookshelf! It was quick and easy to build, the finishing took the longest. I decided to add a contrasting top with pine boards stained with dark walnut. I love how it came out! Now, on to my next Ana White project...
modified the plans by making the top from 4 1x6s and adapted the legs to use 1x6s instead of the 2x4s. The wood I used was higher grade pine than what is called for, but because of the reduced size (2' x 4') I came in at the same price.
This little girls room needed a little happy birthday! I planked the wall with birch veneer, made simple box frames for the beds and desk, and attached them to walls with heavy duty cable. Then my friend added her designer touch, and made it cozy and girl CHIC!
Fairly easy and fun build! We followed the plans almost entirely and spent a few hours each day throughout a week working on it, painting it was definitely the most time consuming part. It came together very easily in the bedroom and was done just in time to surprise our 3 year old for Christmas, he loves it! And I love that we can fit another twin bed underneath to turn it from a loft to bunk beds in the future.
This is my first Anna White project that I built almost 10 years ago when I was a new grandma. Much to my surprise, it has endured and is still a fun place for 4 grandkids. I revised the Clubhouse bed plans by raising the loft and building it into a bunk bed (I have 10 foot ceilings making this possible), with one end covered by a 4x8' 3/4" plywood climbing wall (with toddler climbing set hardware) painted in seascape that allows them to climb up and over rather than using the removable ladder. I also added a tri-fold latching "baby gate" to the loft for safety if I was called out of the room while the littlest ones were up in the clubhouse. I also added a bucket on a pulley system to let the kids "deliver" items to the clubhouse window from the ground and a "flood level" measuring stick to let them measure their growth progress. To cover the backside of the plywood climbing wall and the hold screws and make sure all was nice and smooth, I added a 1/4 MDF sheet on the inside and painted with a porthole to simulate a submarine when the curtain is closed.
Wed, 11/09/2022 - 10:11
You have to be the sweetest grandma around, this is so awesome! Love all the added details and growth chart, thank you for sharing.
This was my first project to tackle alone. It twisted a little on me not having another set of hands to hold things square, but it stands straight and doesn't wobble! Good enough for me. Plus it is an outdoor piece of furniture. The plans were easy to follow and I added 3" to the height of the legs so it was the same height as my arm rests on my chair.
Thank you Ana for yout amazing plans for the triple pedestal table and bench! I modified it to work for the dimensions that I needed which brought it down to a double pedestal table and bench. It ended up as a 3'x5' table. I attempted the antique coffee stain technique but it wasn't taking so I just used the stain that I used on the table top instead of the coffee. I LOVE how it turned out!
Leah
Having recently completed the Californian King size Bed, I needed matching bedside tables, these were an obvious choice, but due to the size of our bedroom, I had to downsize on the plan. Although I kept to the spirit of the plan, I made a few changes, other than just size. I made up the table tops and side panels, prior to assembly, much as I did with the bed, I pocket holed and glued the planks together to ensure they stay that way. I also decided to use hardwood runners, and not buy metal slides, because I had plenty of mahogany scrap, and the drawers are small, so it was easy to do. The drawer knobs were obviously bought, but to ensure they never come off, which is usually my problem with store bought knobs, I fixed them to the drawer face, using epoxy to glue the knob to the bolt, before attaching to the drawer carcase. I built these from pine and used a matt oak varnish to match the bed. The full build and more photos are on my Blog
First coffee table build. Plans were perfect! Built for $50, sold for $255
We had some bulky items that needed to be stored. So I came up with dimensions for a low platform bed so the bows could slide under. I decided to build a faux drawer to conceal the bulky items and added shoe storage into the faux trundle drawer. Of course I used one of Ana's plans for the basic idea and modified from there!
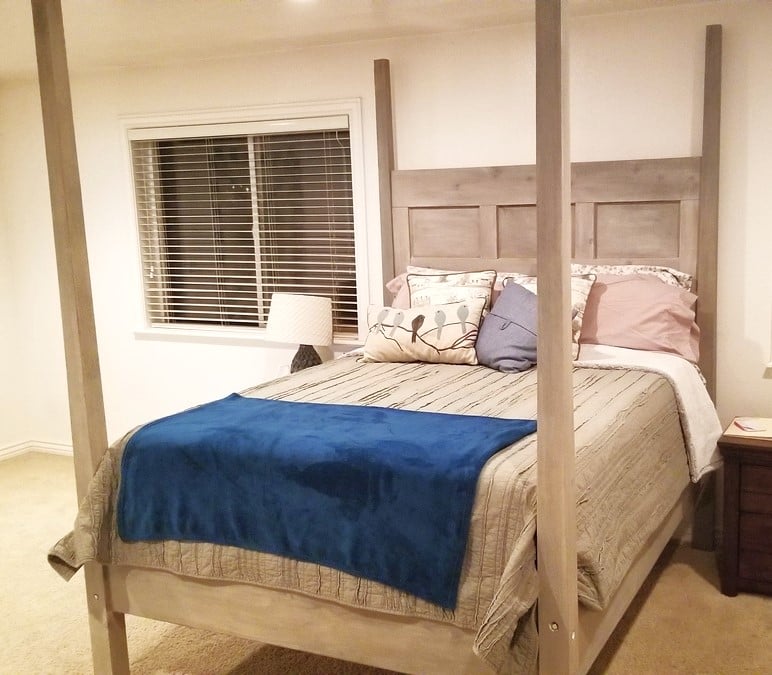
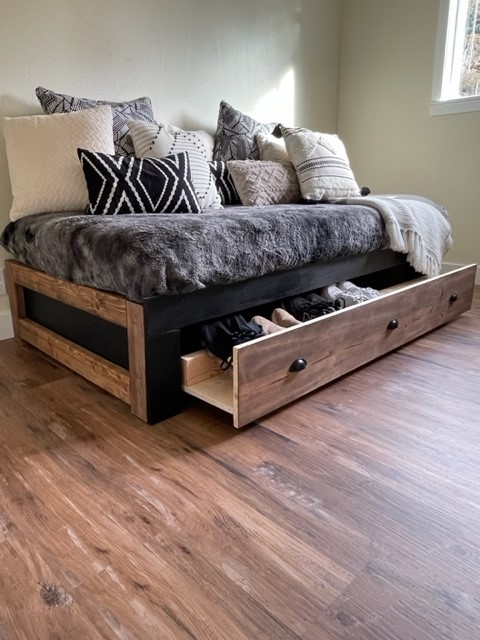
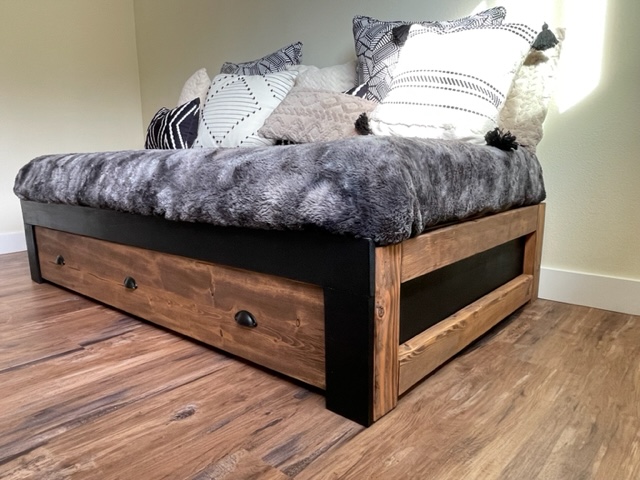
This was our first time building furniture. We built our new bed over the course of four days. We don't own any power saws so opted to give the cut list to our local hardware store who only charged us about $50 for all the cuts.
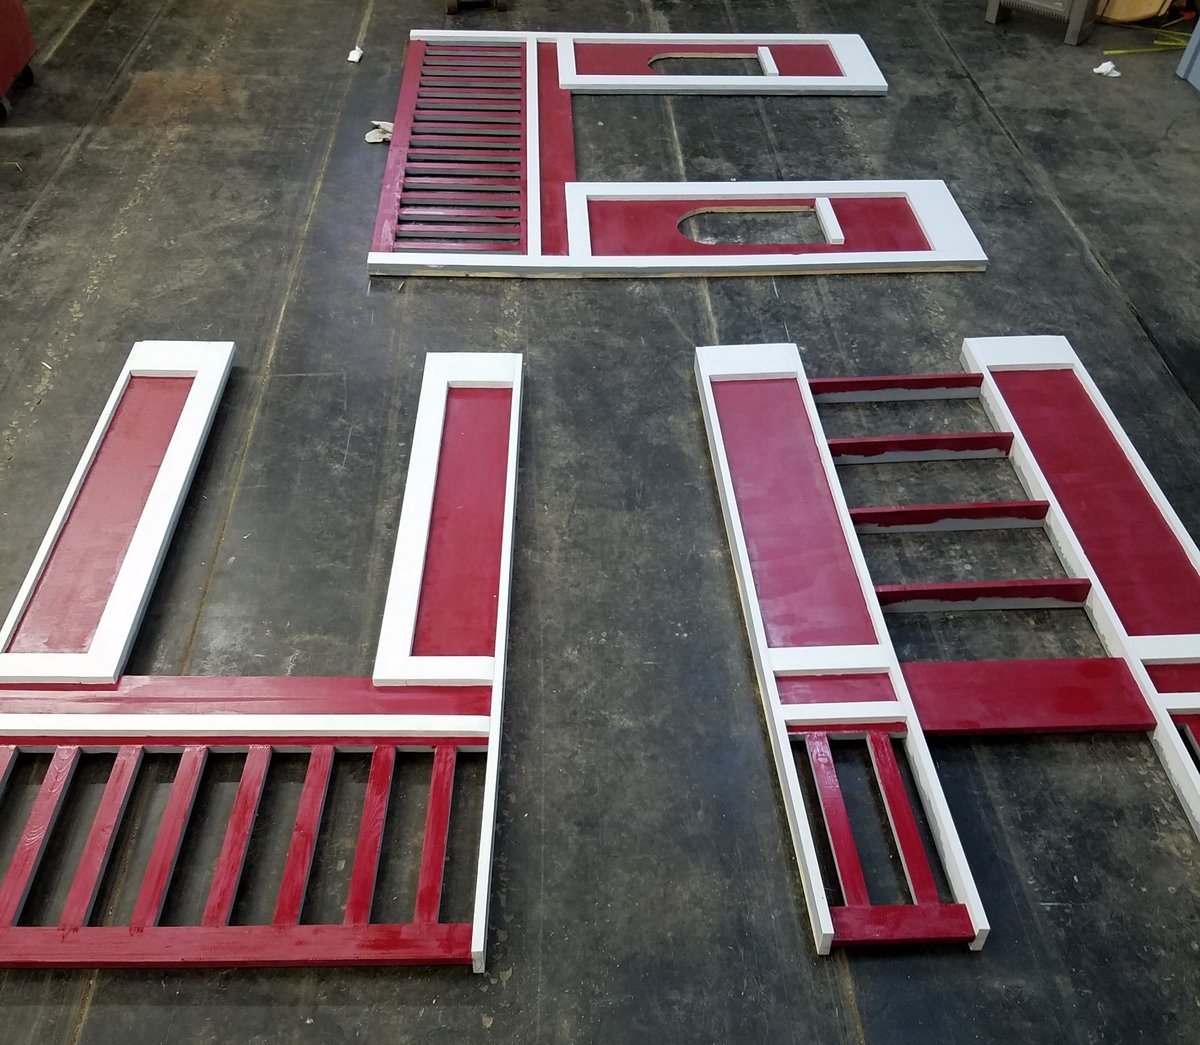
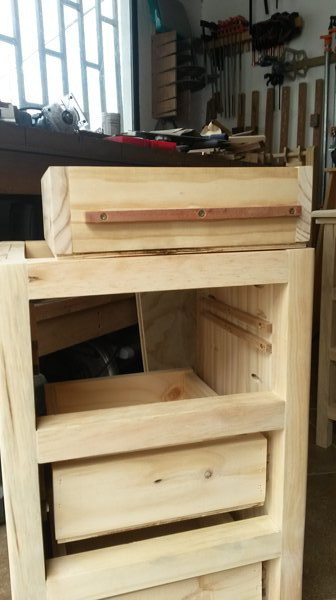
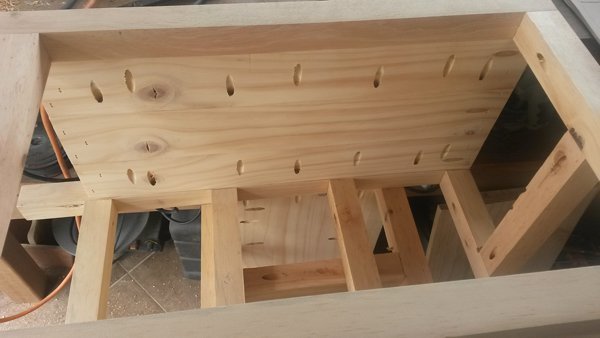
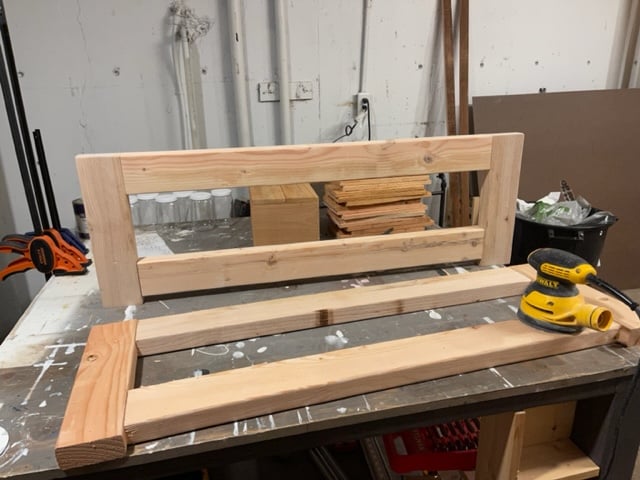
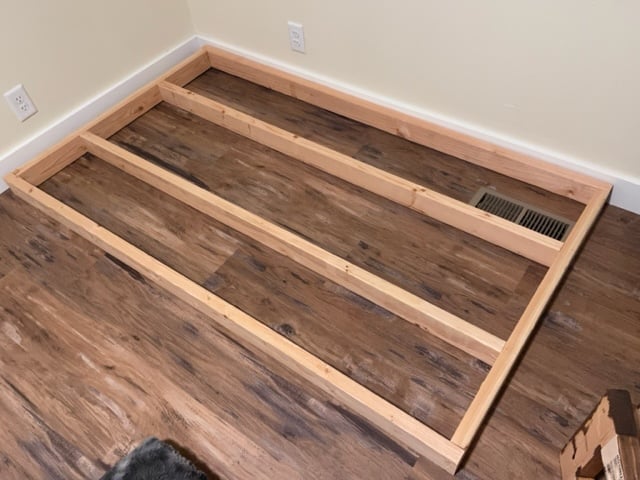
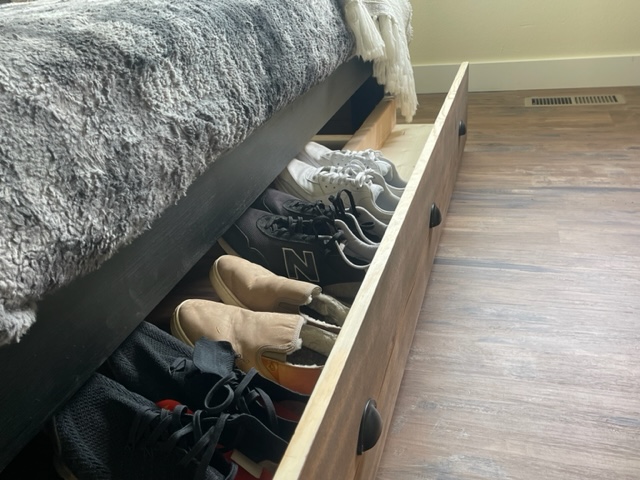
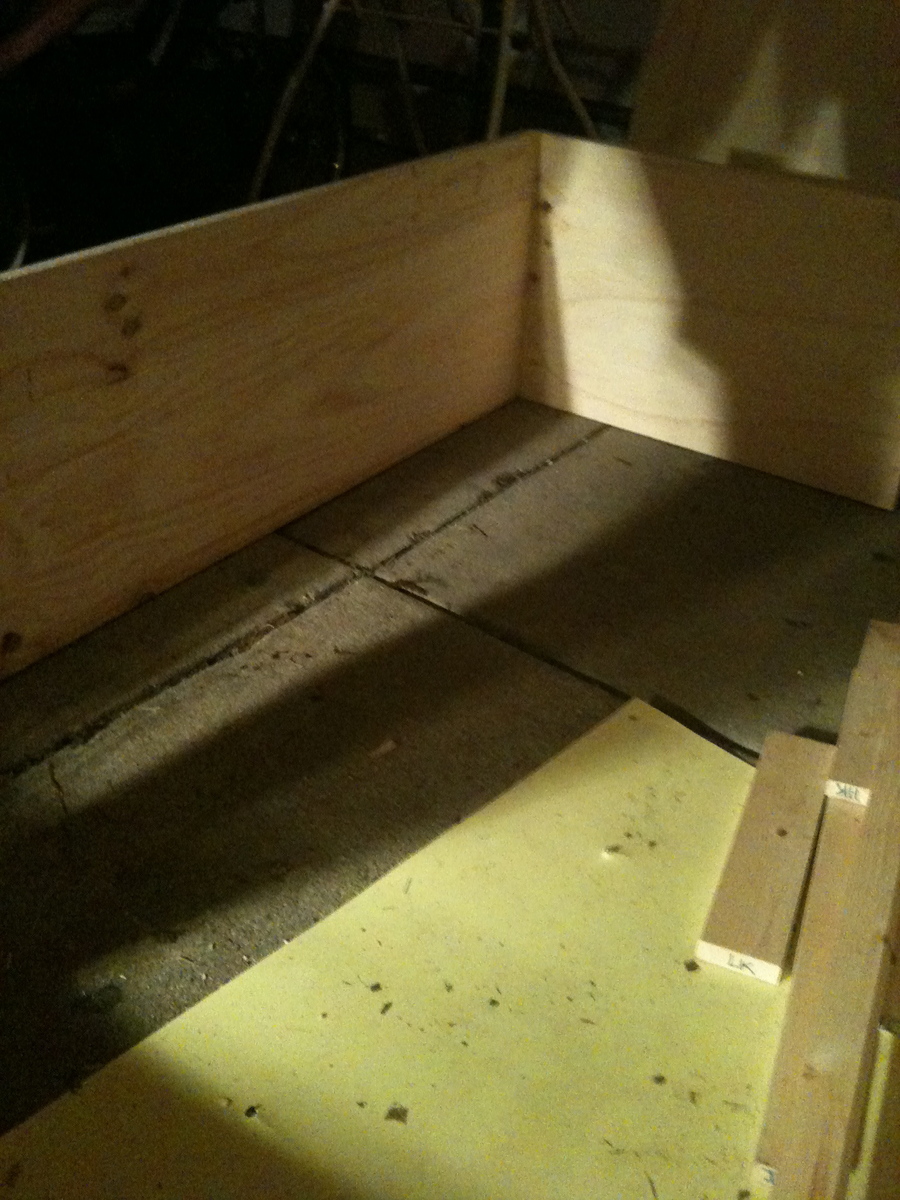
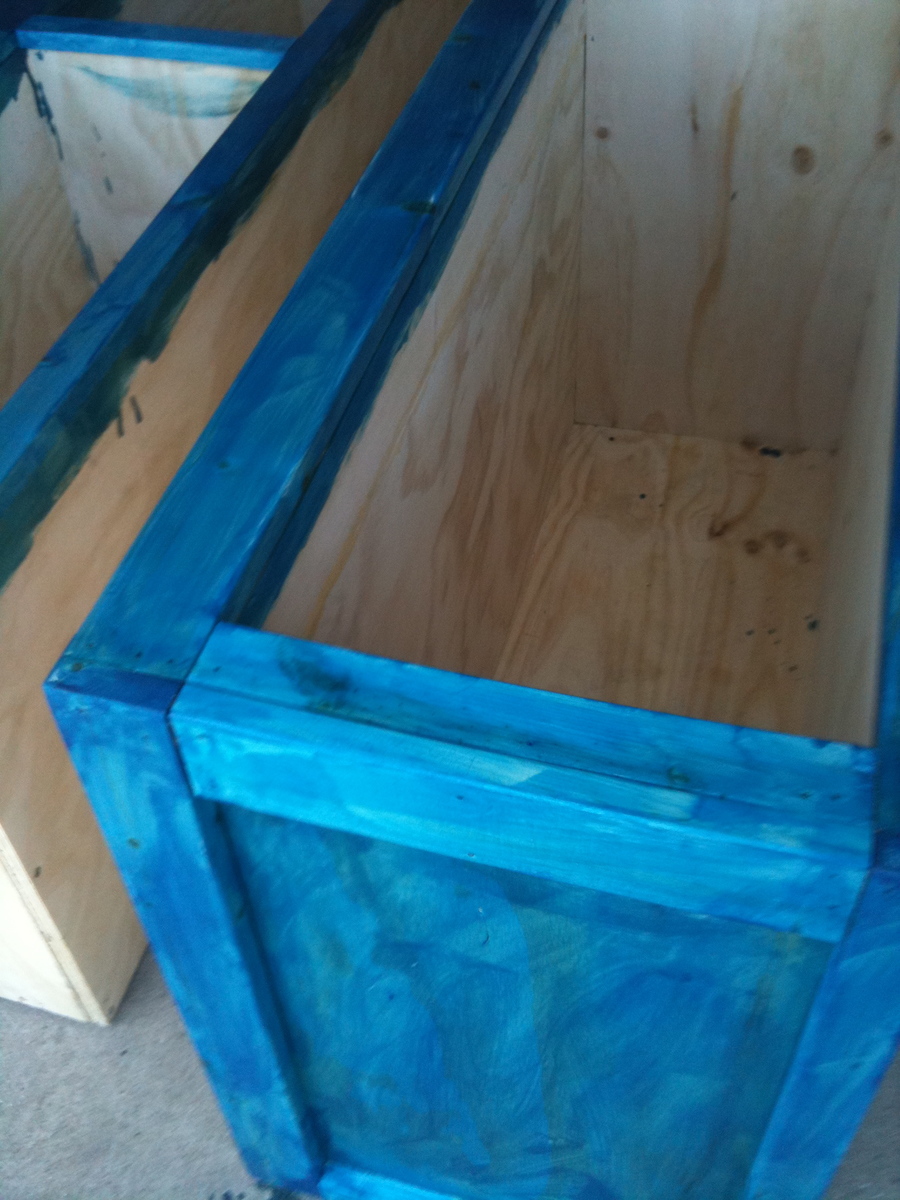
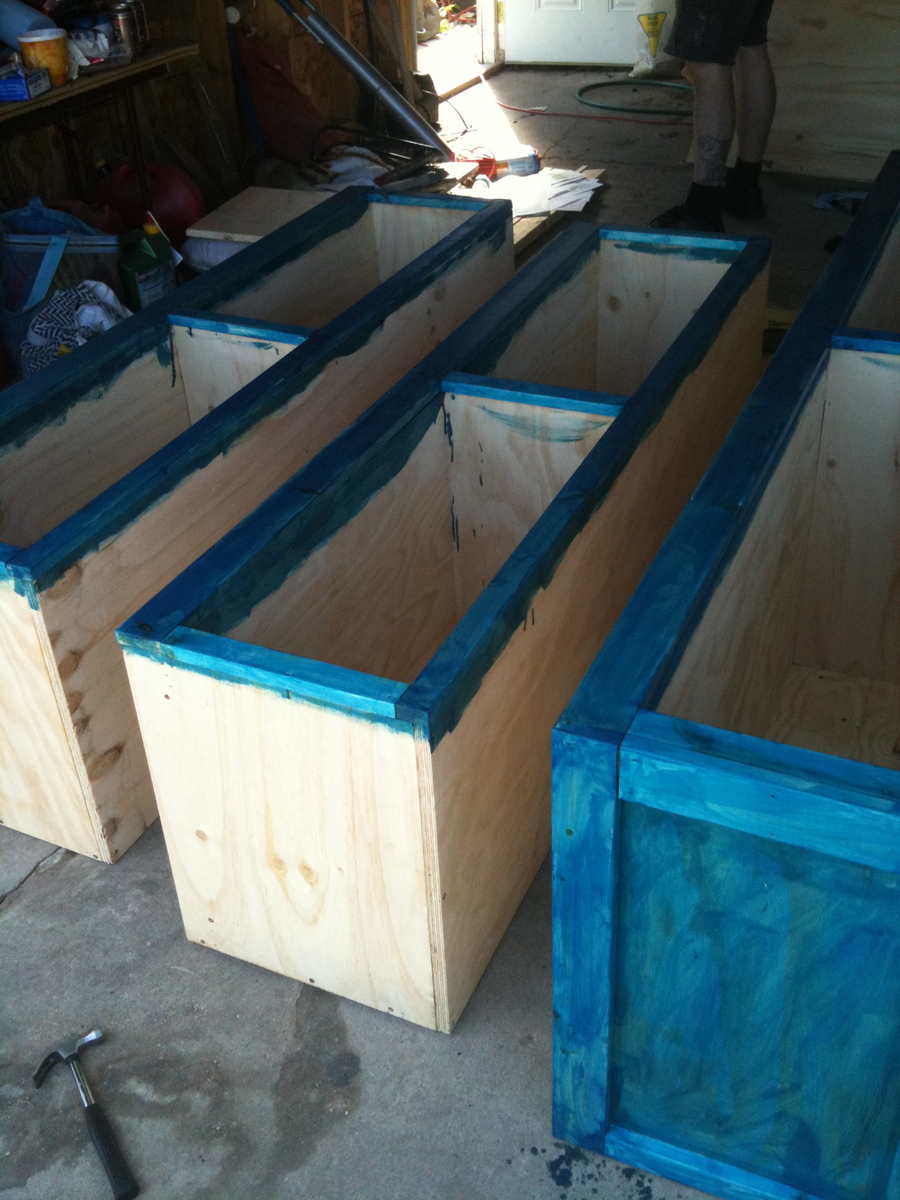
Day one consisted of picking up all the lumber, sorting into the three sections and labeling all the pieces. Day two was the longest day, lots of drilling and measuring and screwing and gluing and even the first two coats of shellac. On the third day we built the drawers, and finished coating everything with shellac. The last day was the installation of the drawer hardware, including the slides.
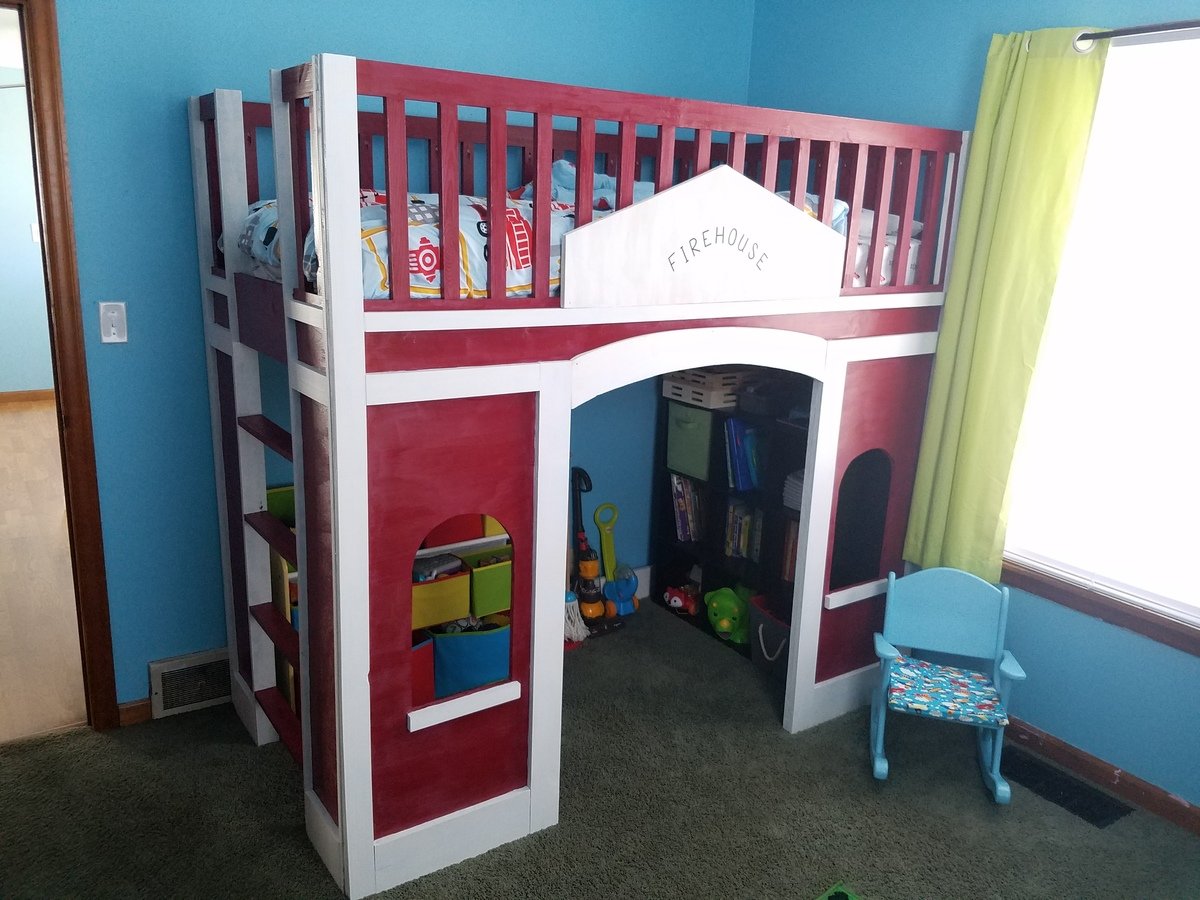
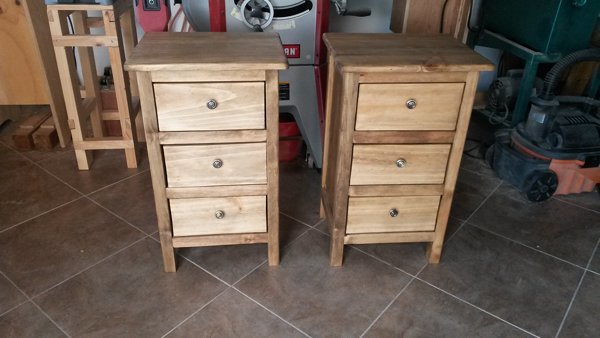
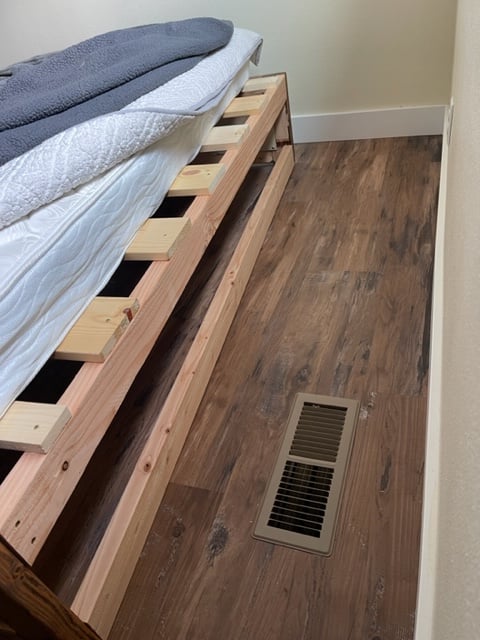
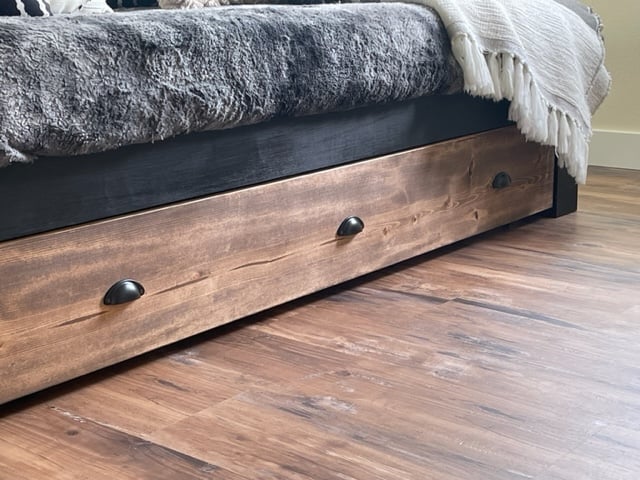
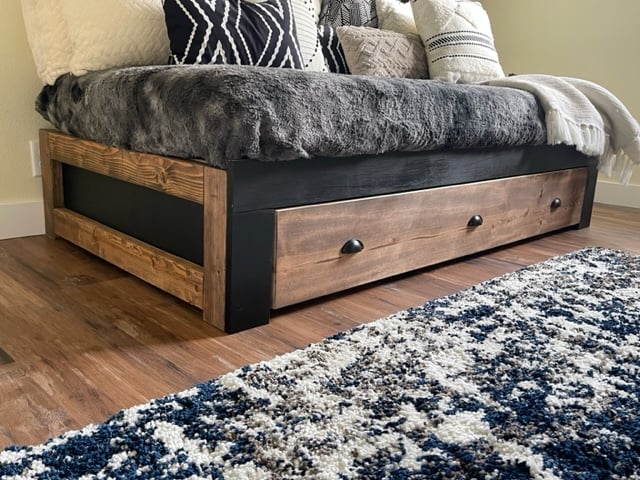
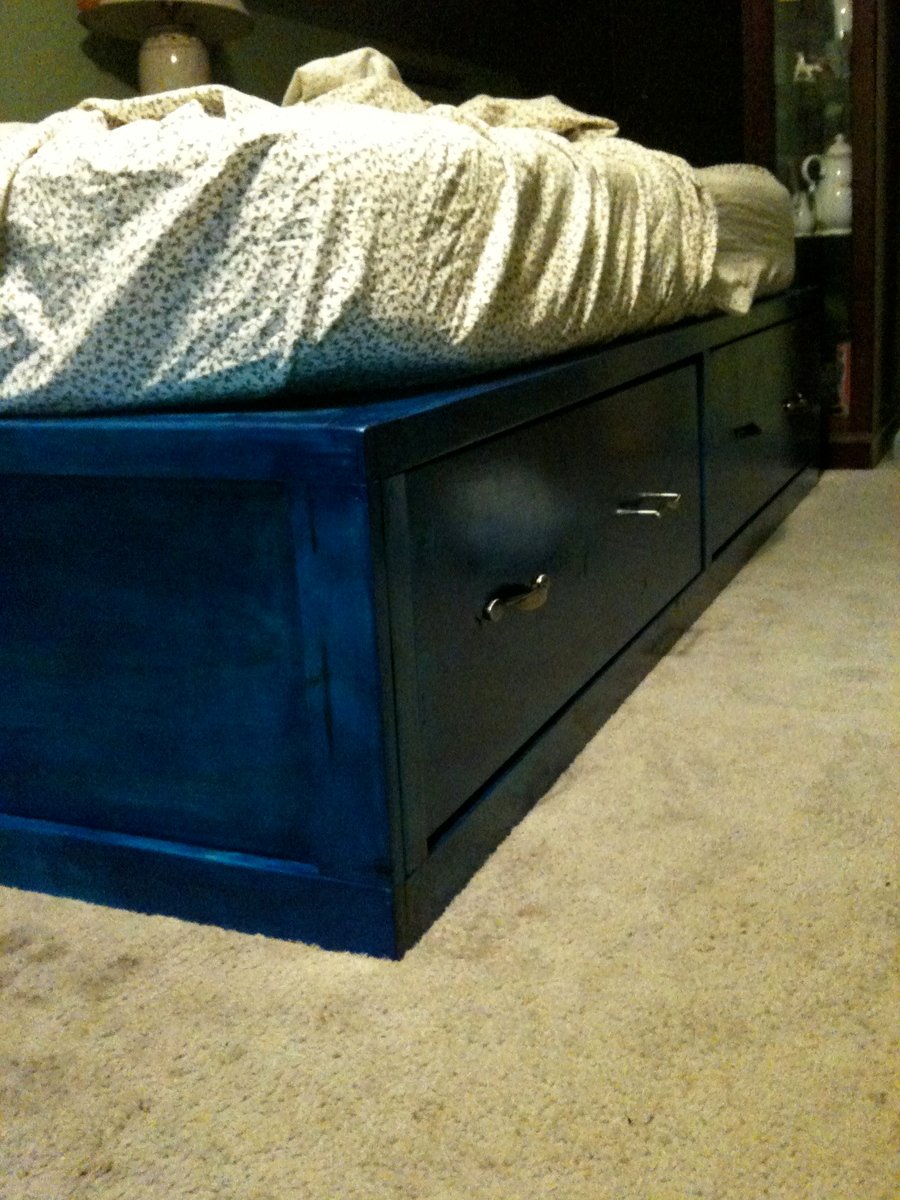
We're quite happy with the quality of our work, and appreciate the directions and plans. Though we aren't fine furniture makers, and probably none of our corners are 100% square, we finished in the time we thought, pretty close to budget, and with the satisfaction of doing it ourselves.