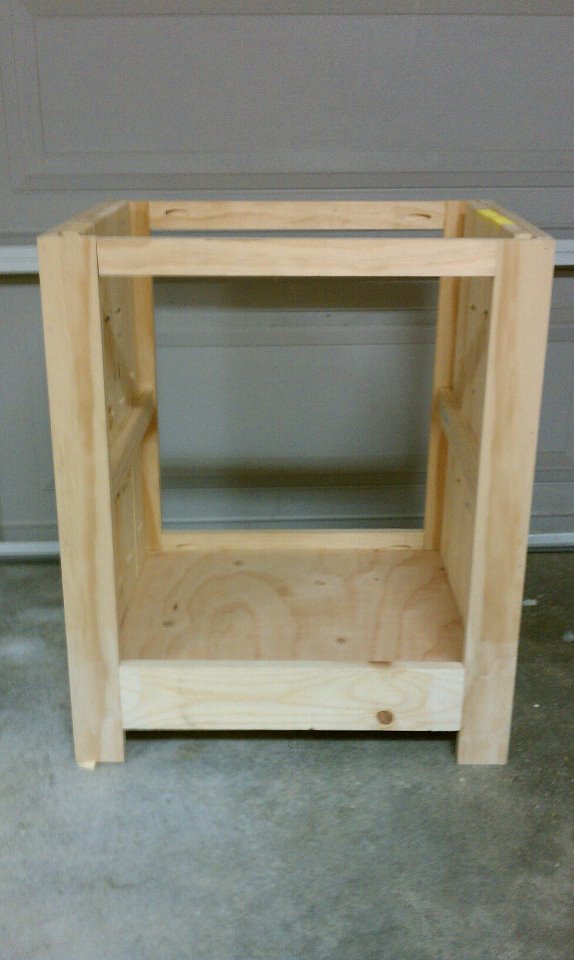
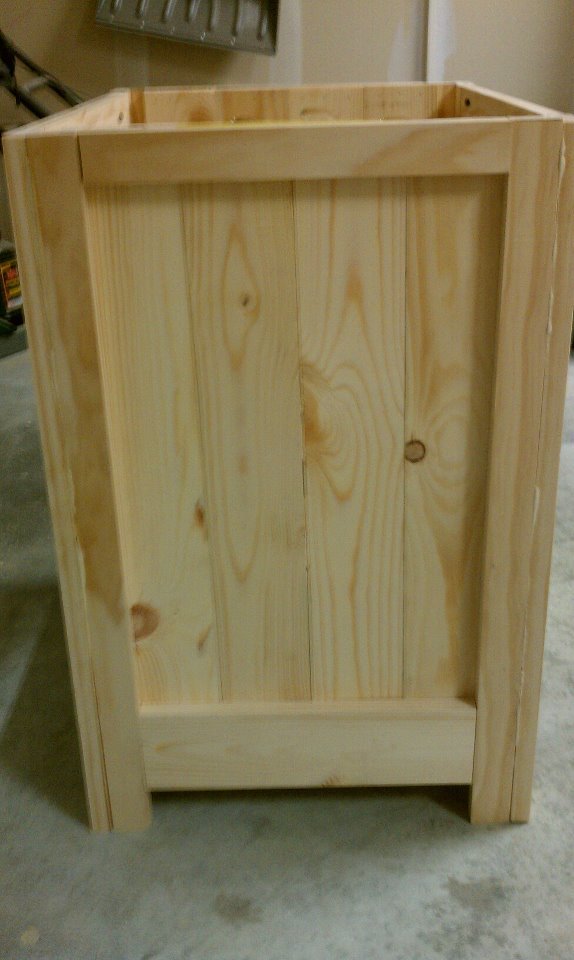
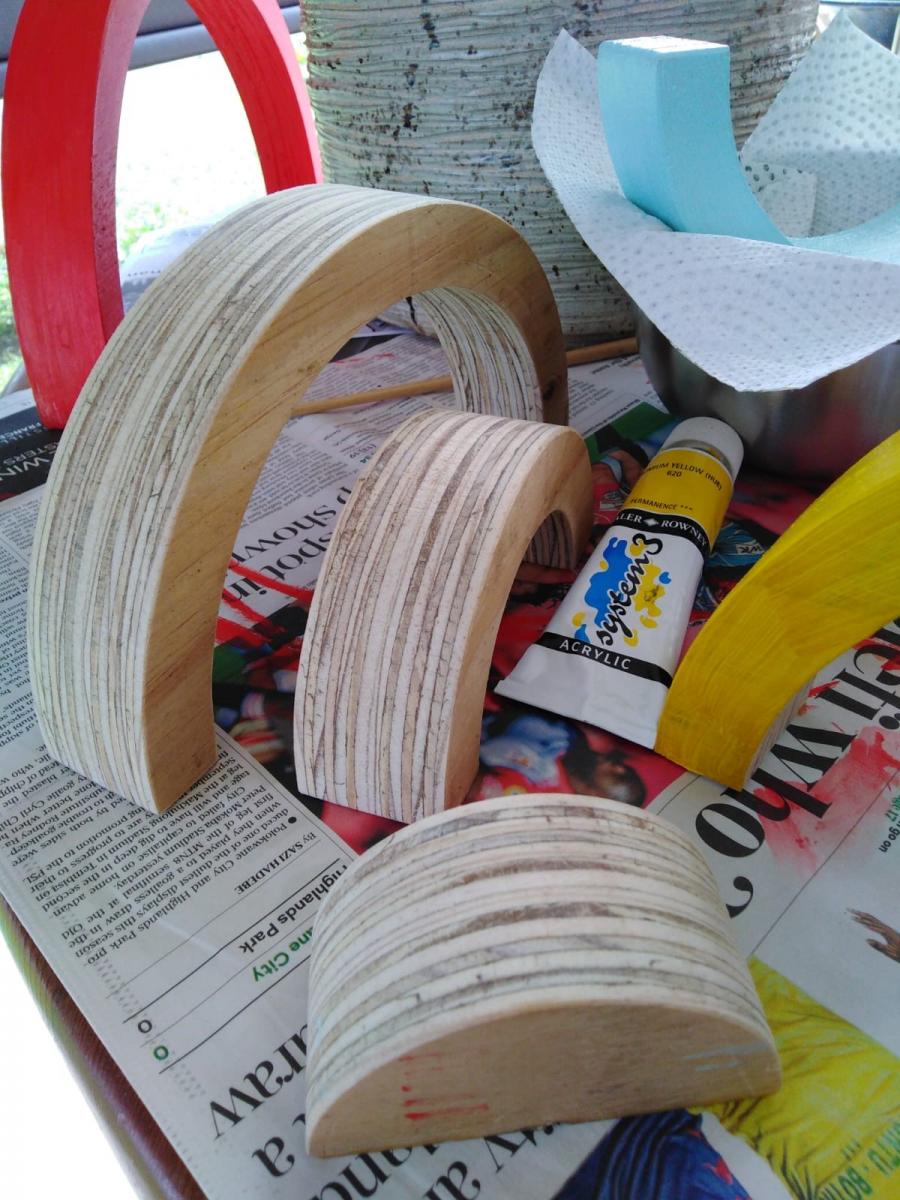
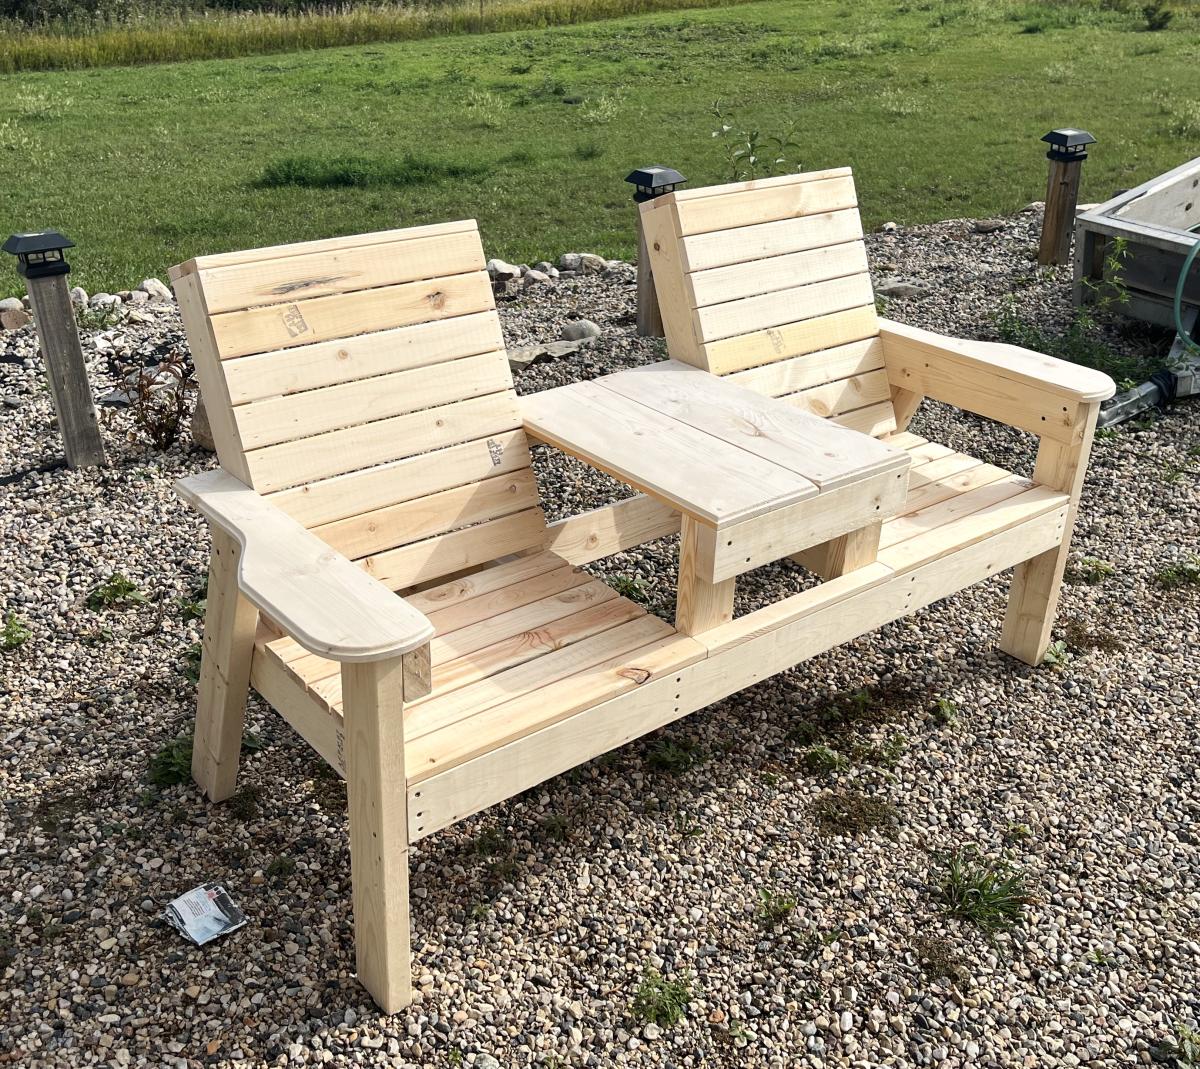
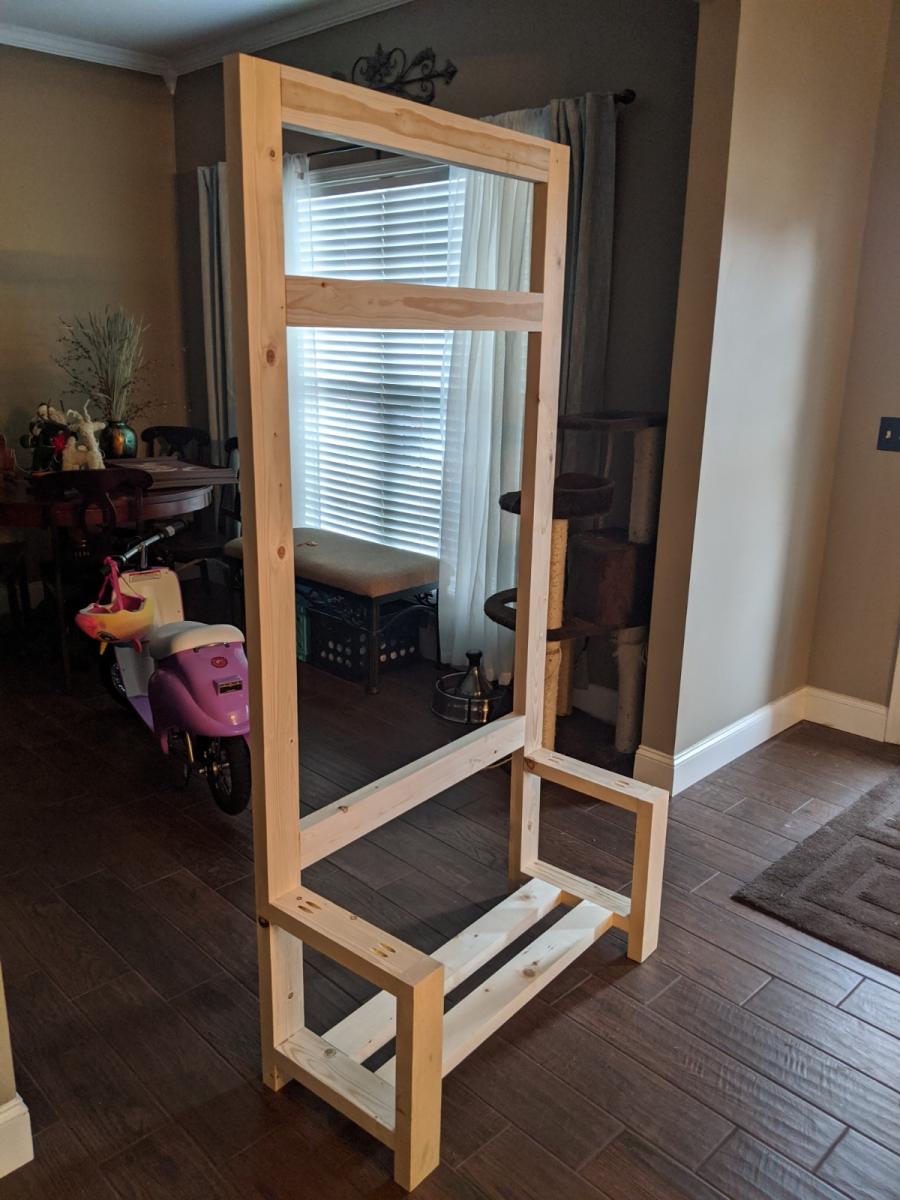
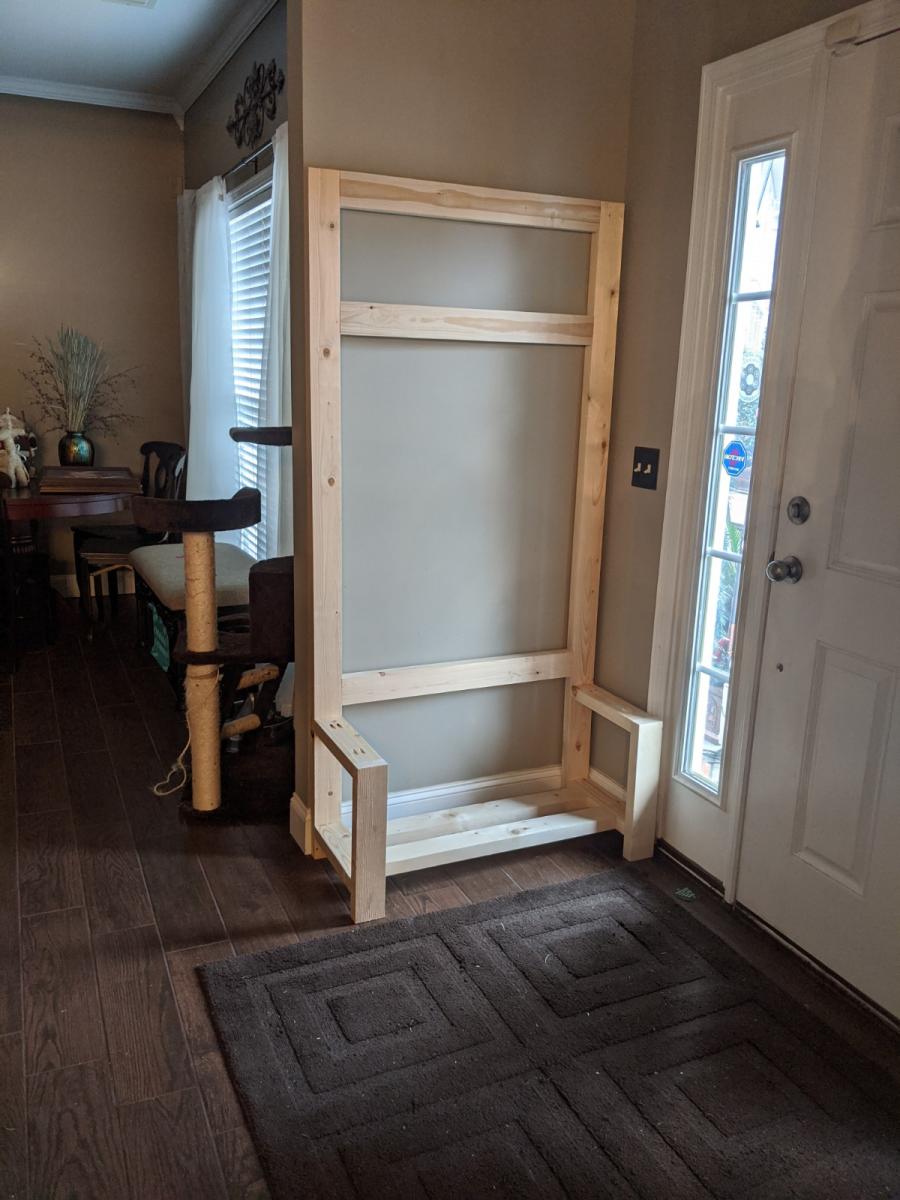
I learned from other project fails to sand down the boards as I go. So my hubby cut the lumber and handed each board to me and I sanded down the boards with 120 grit sand paper followed by a finishing sanding block. Luckily the lumber that we purchased was not super rough so I hand sanded everything down. Once each board was mostly sanded down we put it all together.
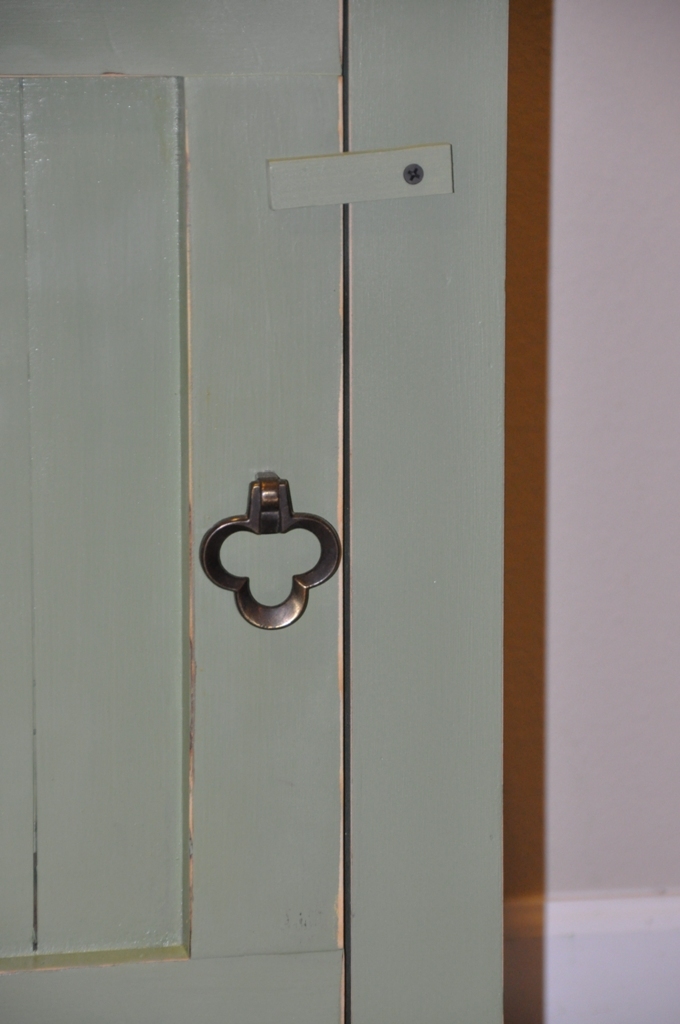
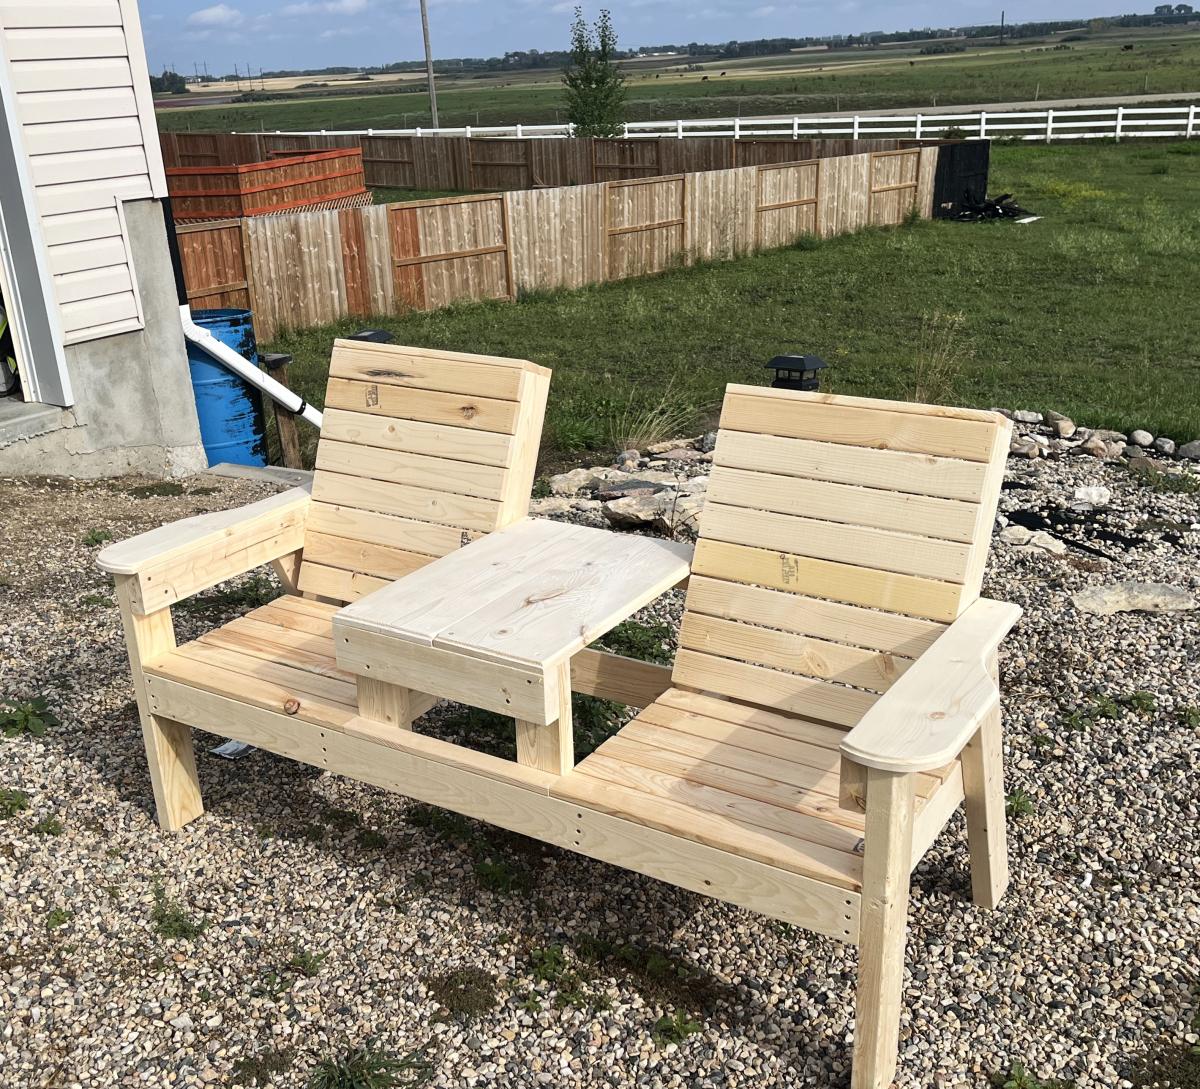
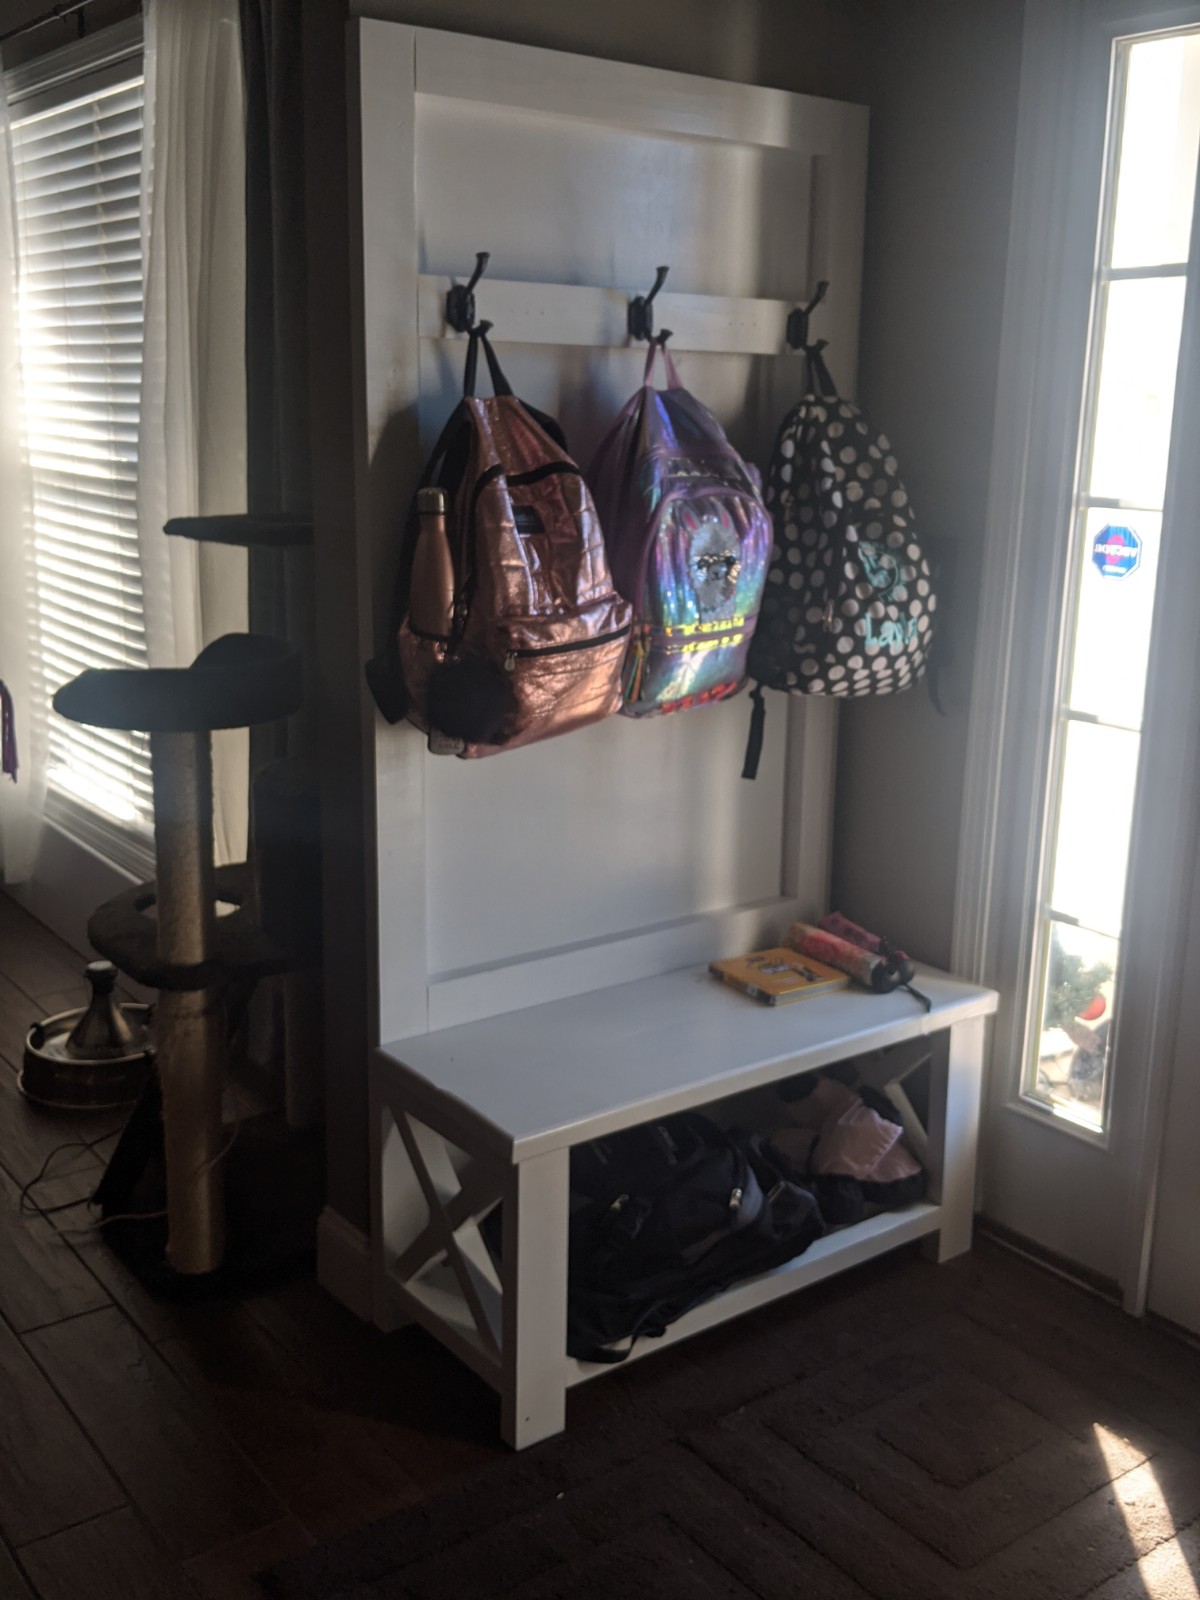
Since my hubby countersunk the screws I applied standard wood filler and sanded it once it was dry (about 2 hrs later). I then applied wood conditioner and about 30 minutes later, followed by 1 coat of stain and 1 coat of polyurethane finish. Once the polyurethane was dry I sanded it down one more time with the fine sanding block so it was perfectly smooth.
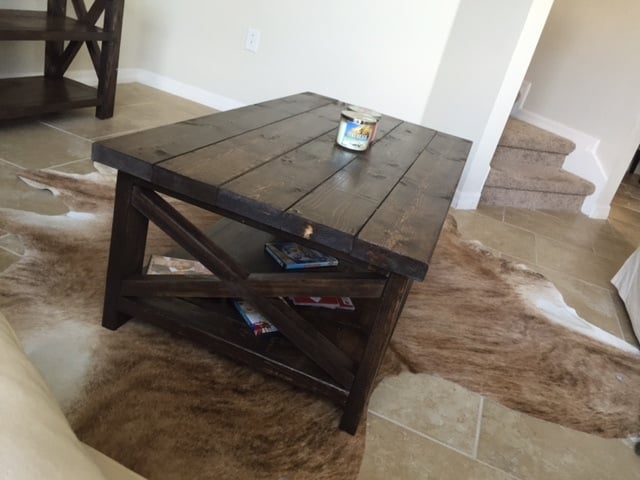
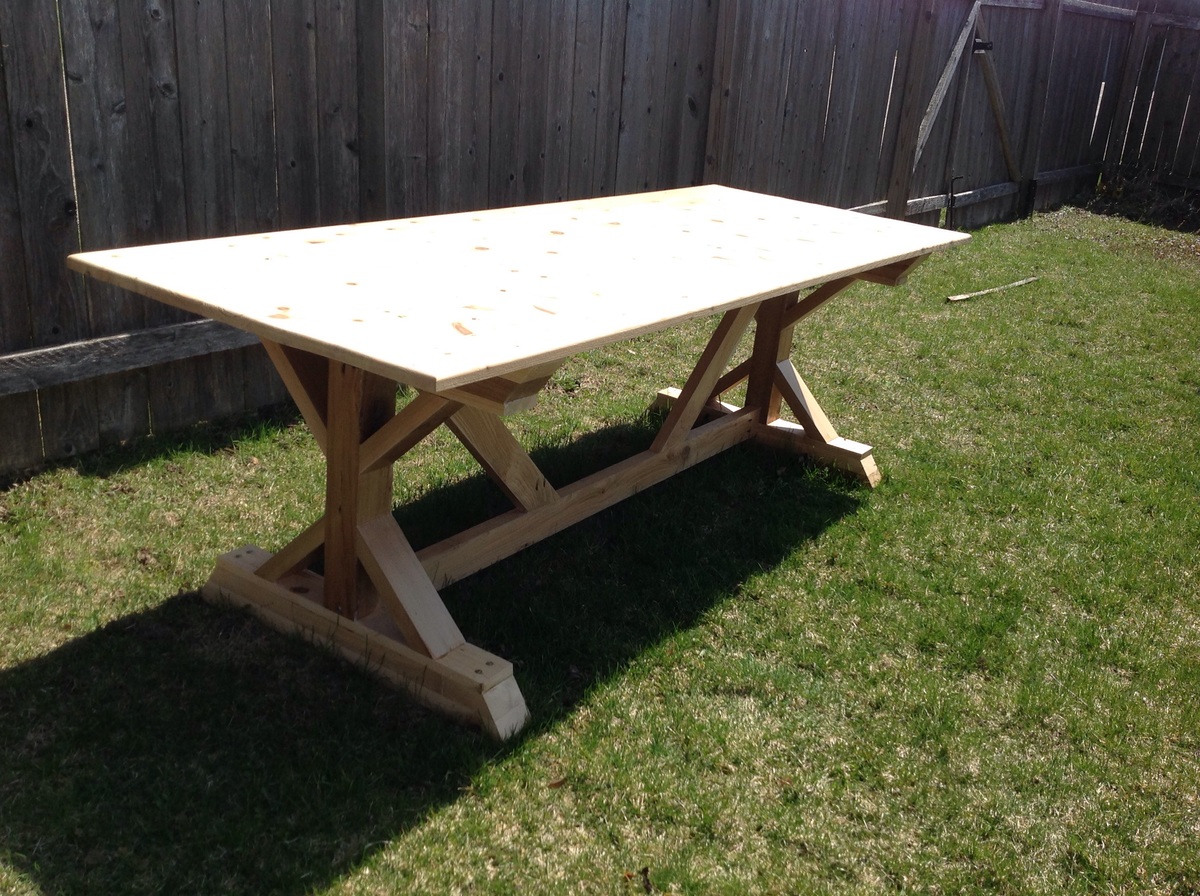
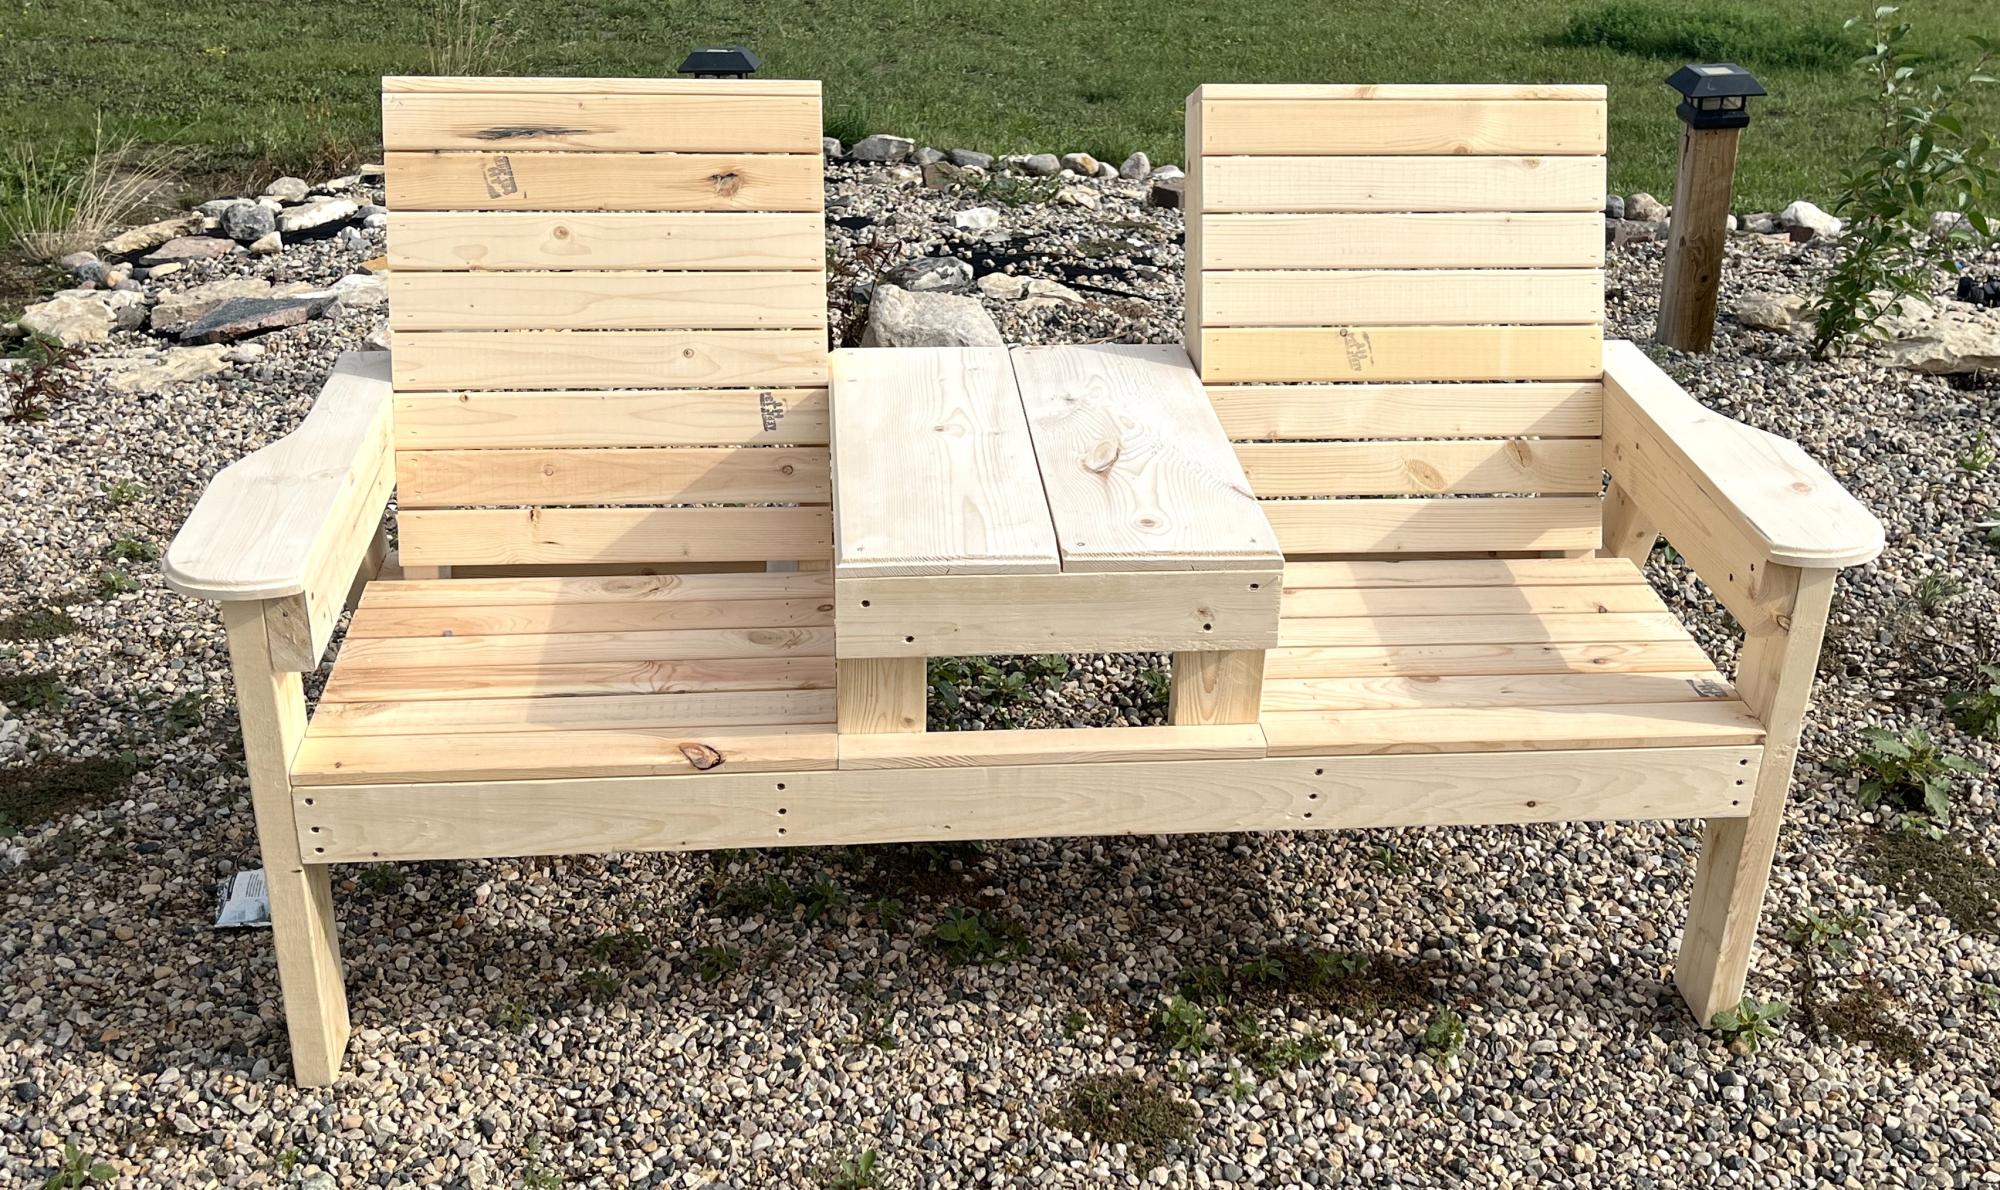
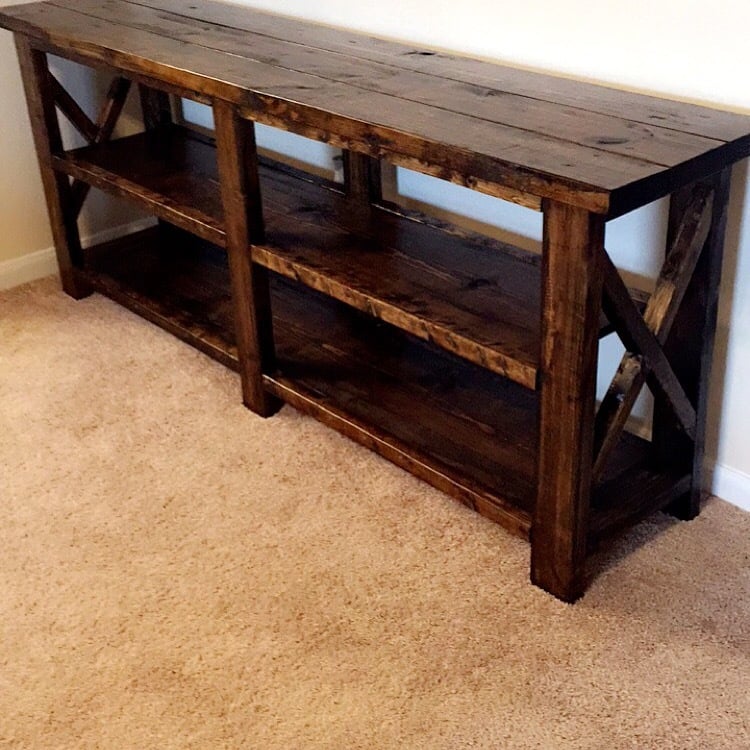
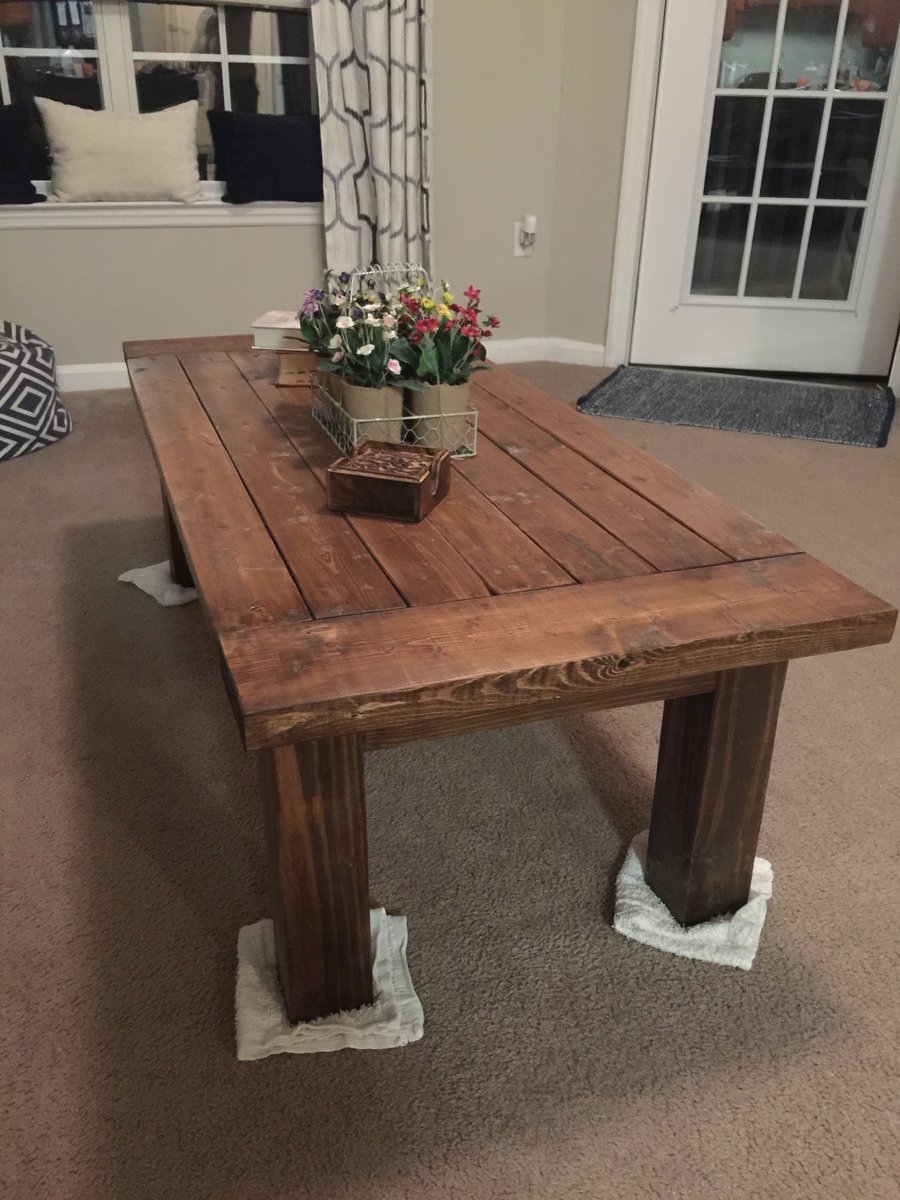
I must confess: this was the second time I built a coffee table from this plan. The first time I built it I did a HORRIBLE job with the sanding & staining. When my husband and I first built from this plan it took us about 8 hours to build it. The second time it took us 3 hours.
Estimated Cost
The lumber was about $35 and I splurged on some much needed staining items (cloths, masks, more brushes, etc.). I spent a total of about $75 on everything.
Estimated Time Investment
Afternoon Project (3-6 Hours)
Finish Used
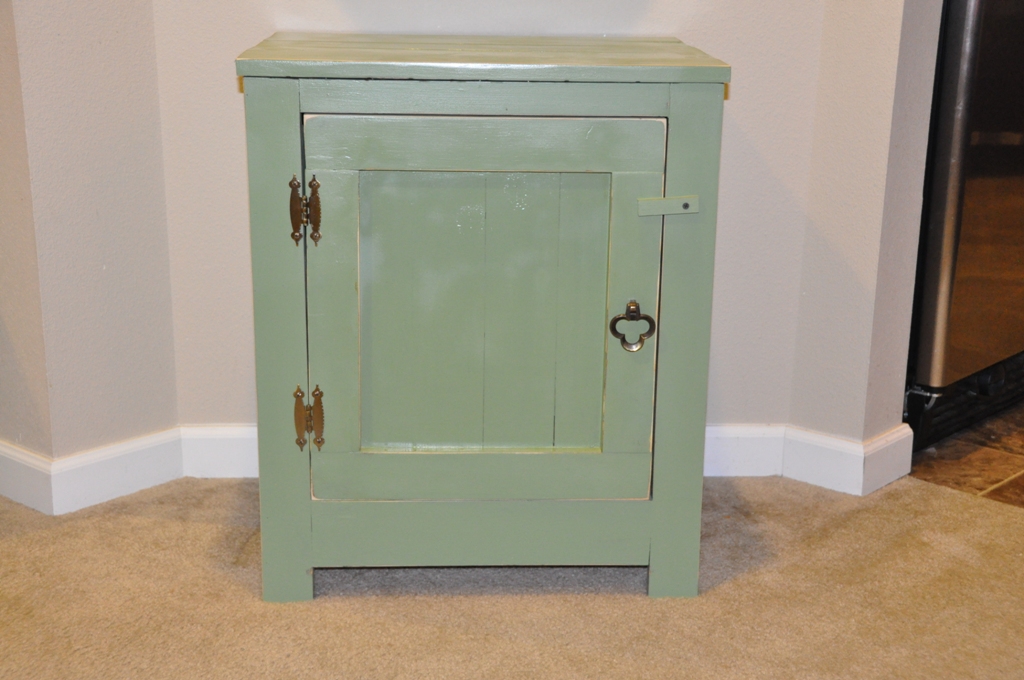
Wood conditioner, Varathane dark walnut wood stain (1 coat, applied a heavy coat with brush and wiped excess stain with a rag about 3-5 minutes after initial application), and finished with Minwax fast-drying polyurethane clear satin (1 coat).
Recommended Skill Level
Beginner


Comments
Heather Goodin (not verified)
Sat, 09/22/2012 - 14:56
Plans
Do you have the cut list and plans for the kentwood nightstand??