Community Brag Posts

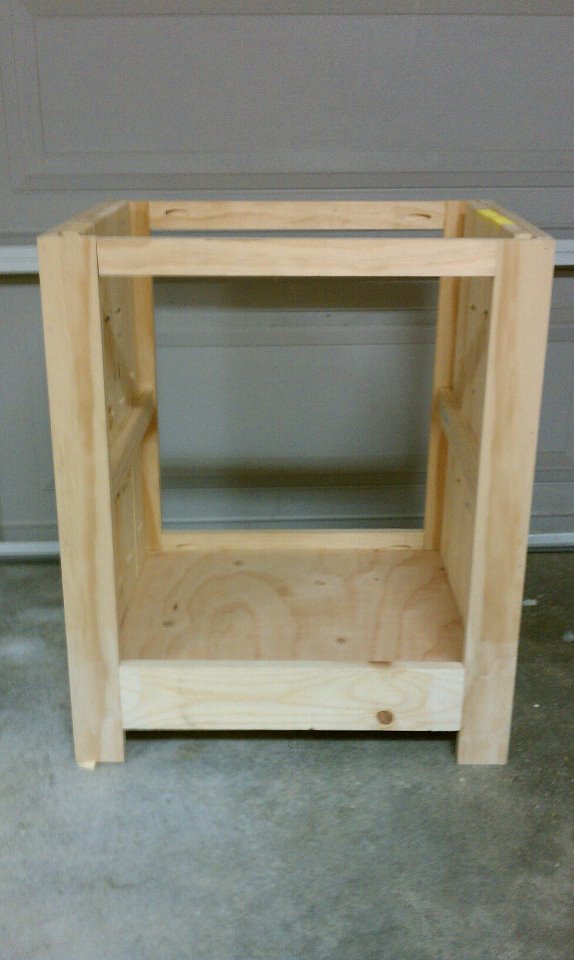
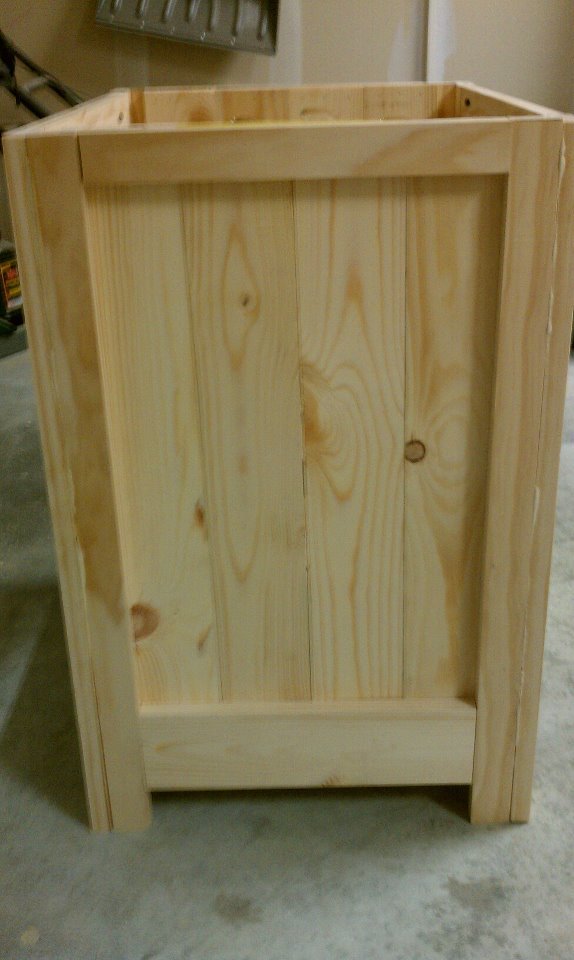
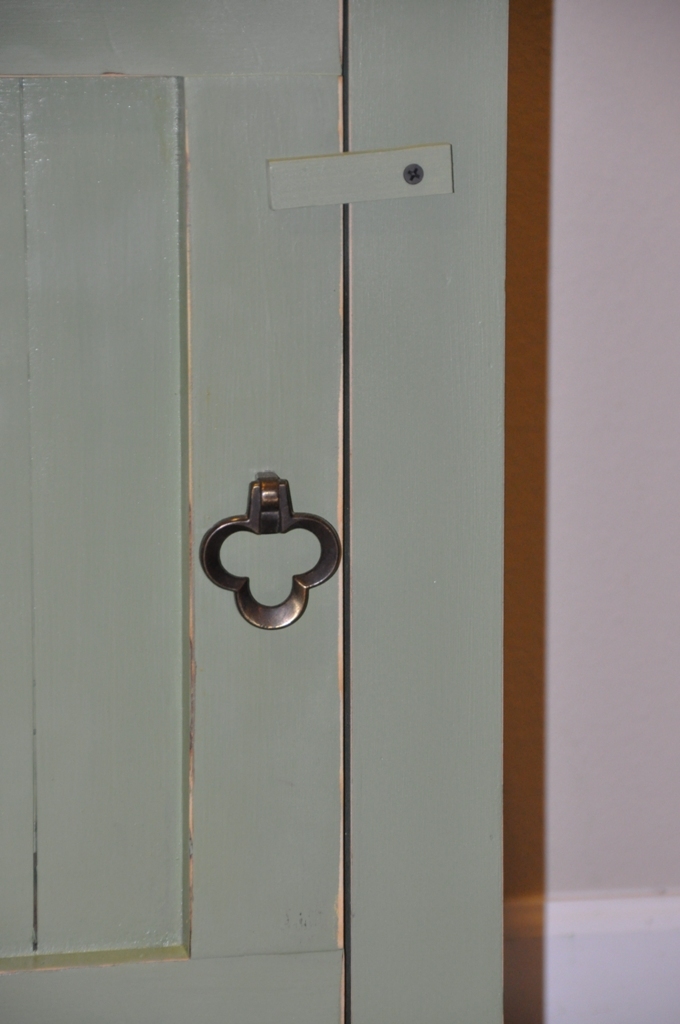
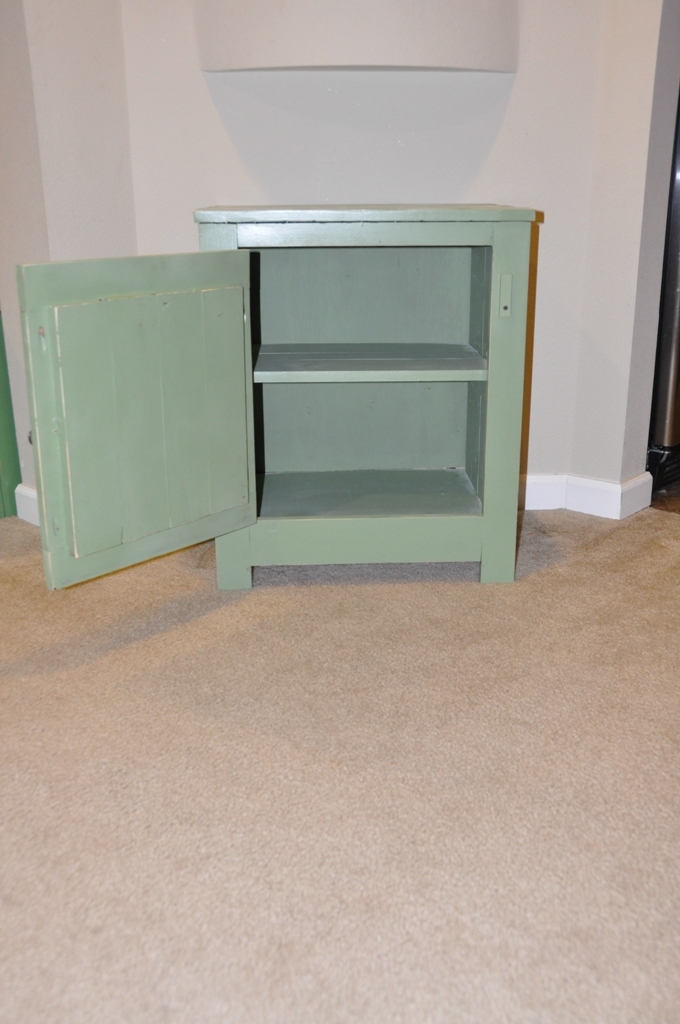
Kentwood Nightstand
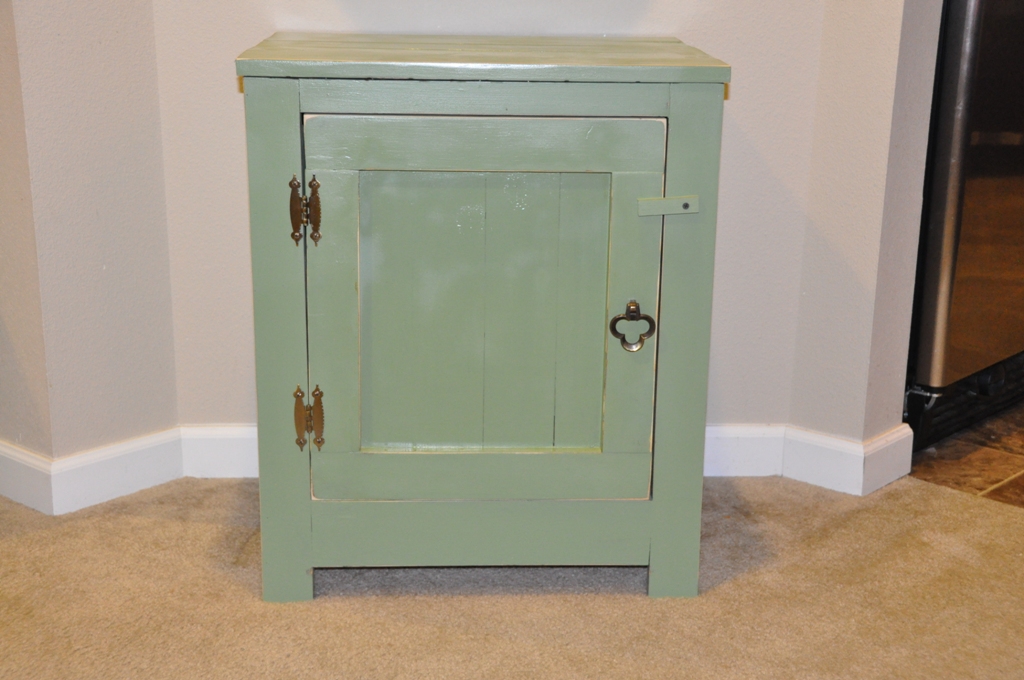
I decided to take the Kentwood nightstand and add my own spring time twist to it. I got bored and built this out of spare wood in the garage and free paint from Ace. I think it turned out pretty well.
Built from Plan(s)
Estimated Cost
$15-$25 if you need to buy wood
Estimated Time Investment
Day Project (6-9 Hours)
Finish Used
Ace Hardware free paint with poly seal
Recommended Skill Level
Beginner
Comments
Dream Dollhouse
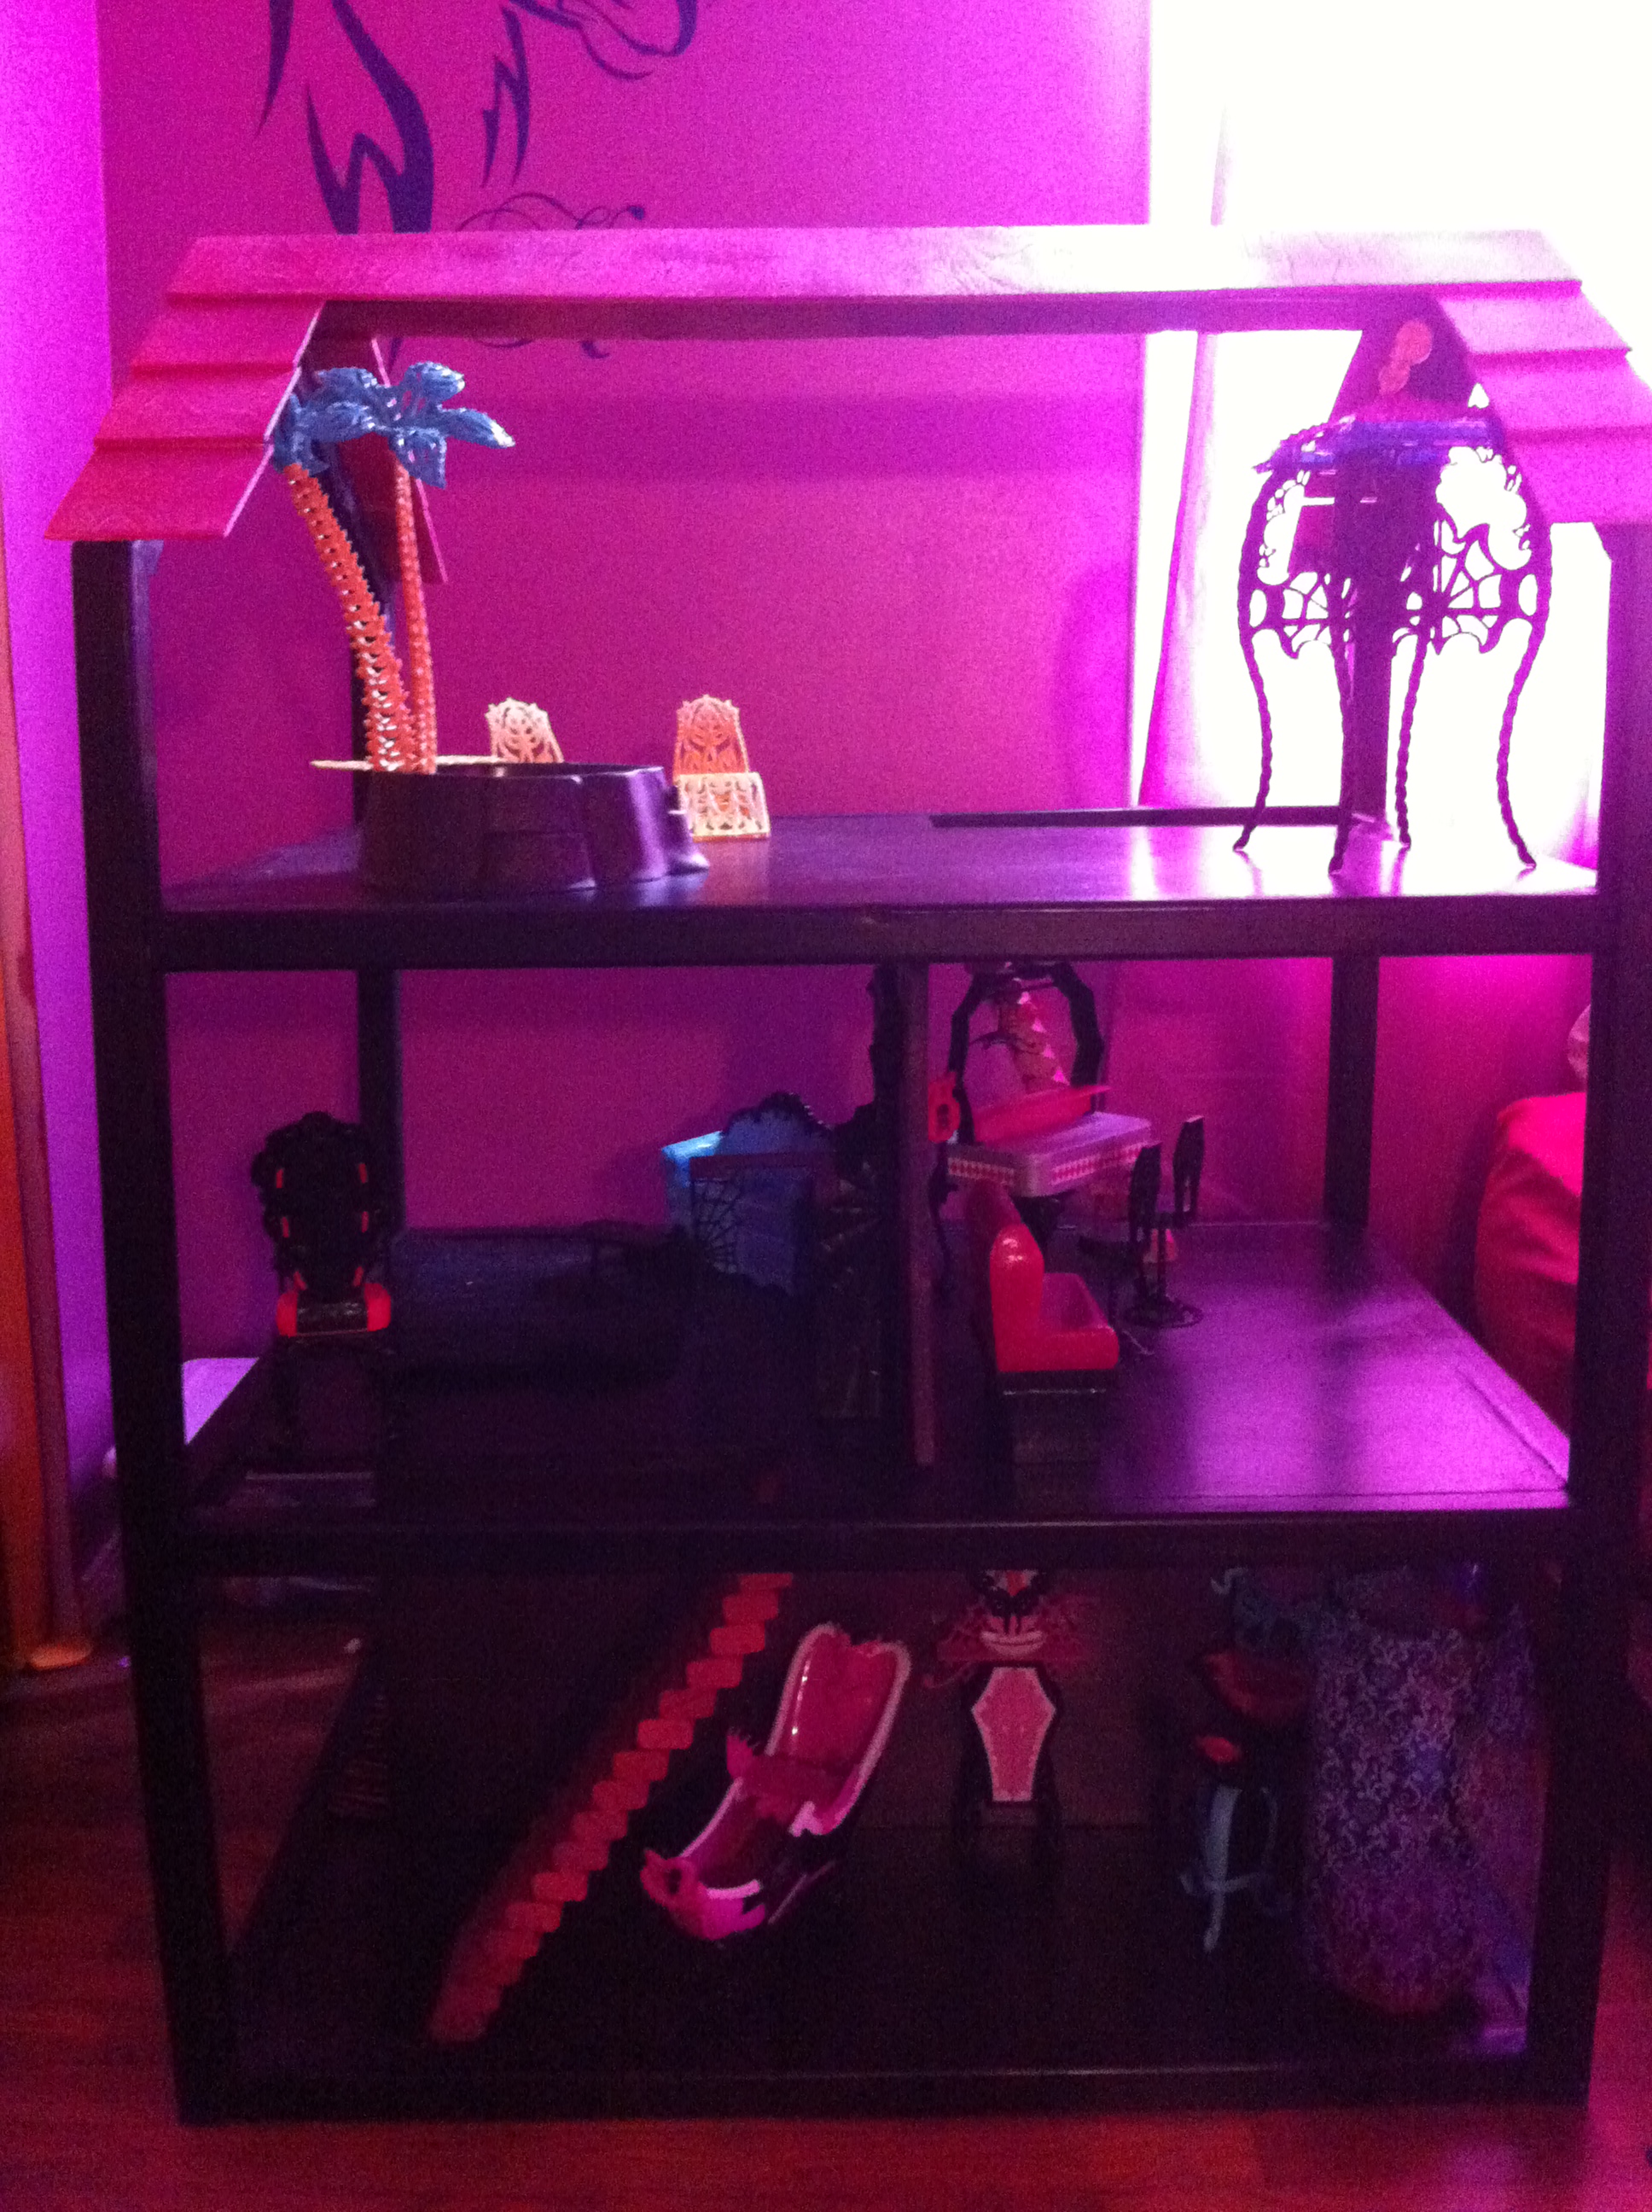
My girls love Monster High so we did black , Magenta to go with all their Monster High dolls and sets.
Built from Plan(s)
Estimated Cost
$100
Estimated Time Investment
Weekend Project (10-20 Hours)
Finish Used
Black semi gloss paint, and Sparkle Magenta Spray paint
Recommended Skill Level
Beginner
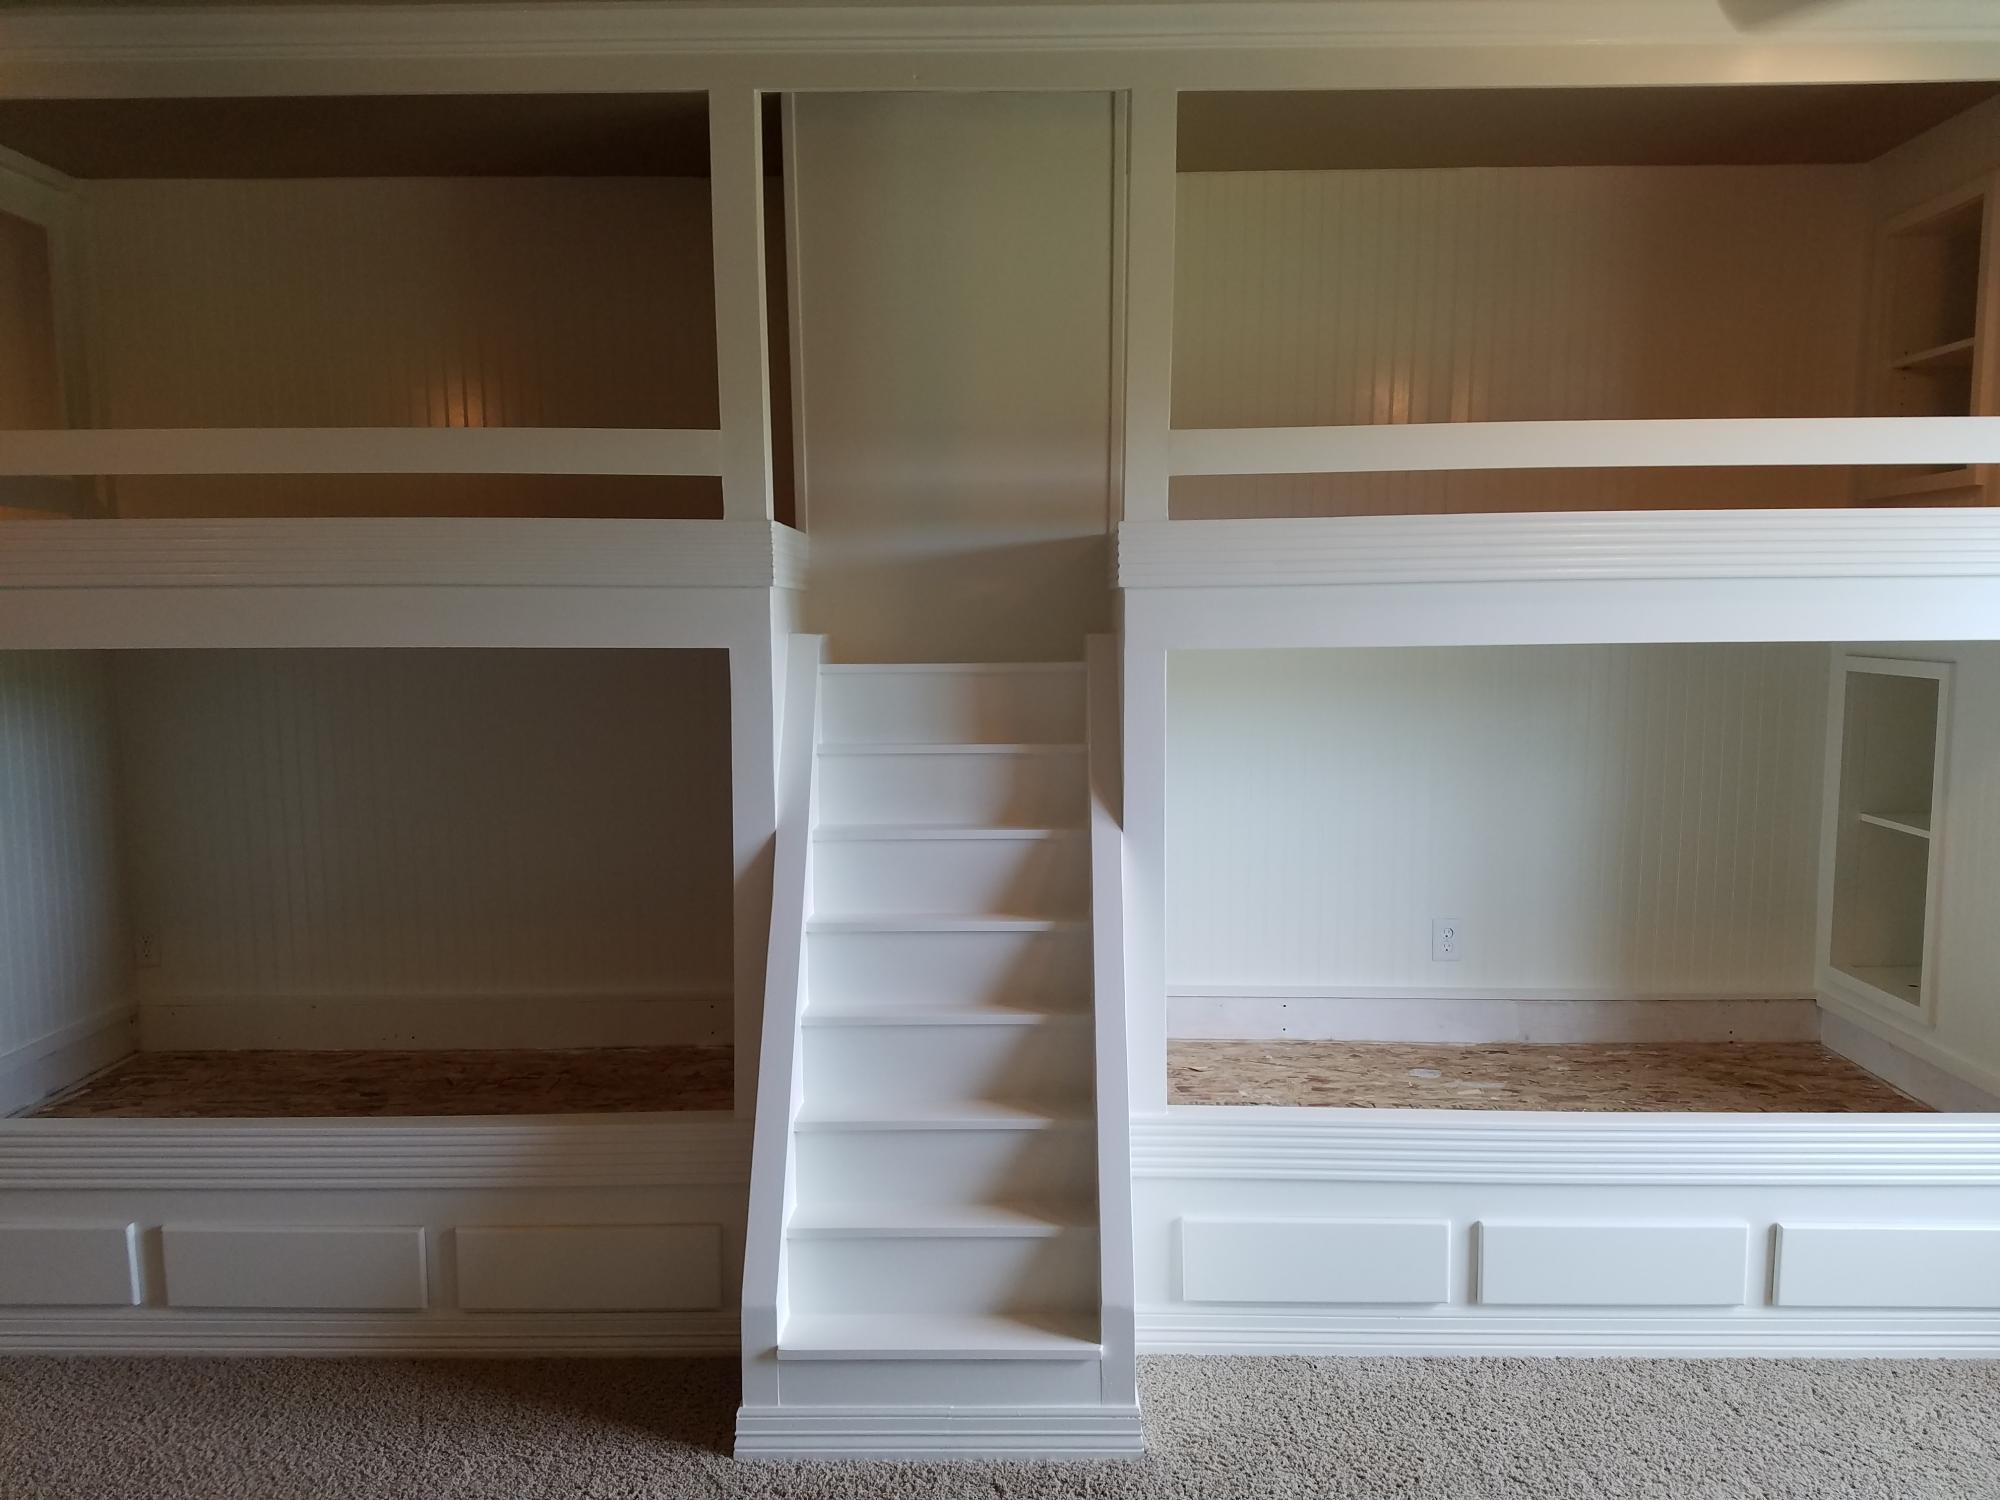
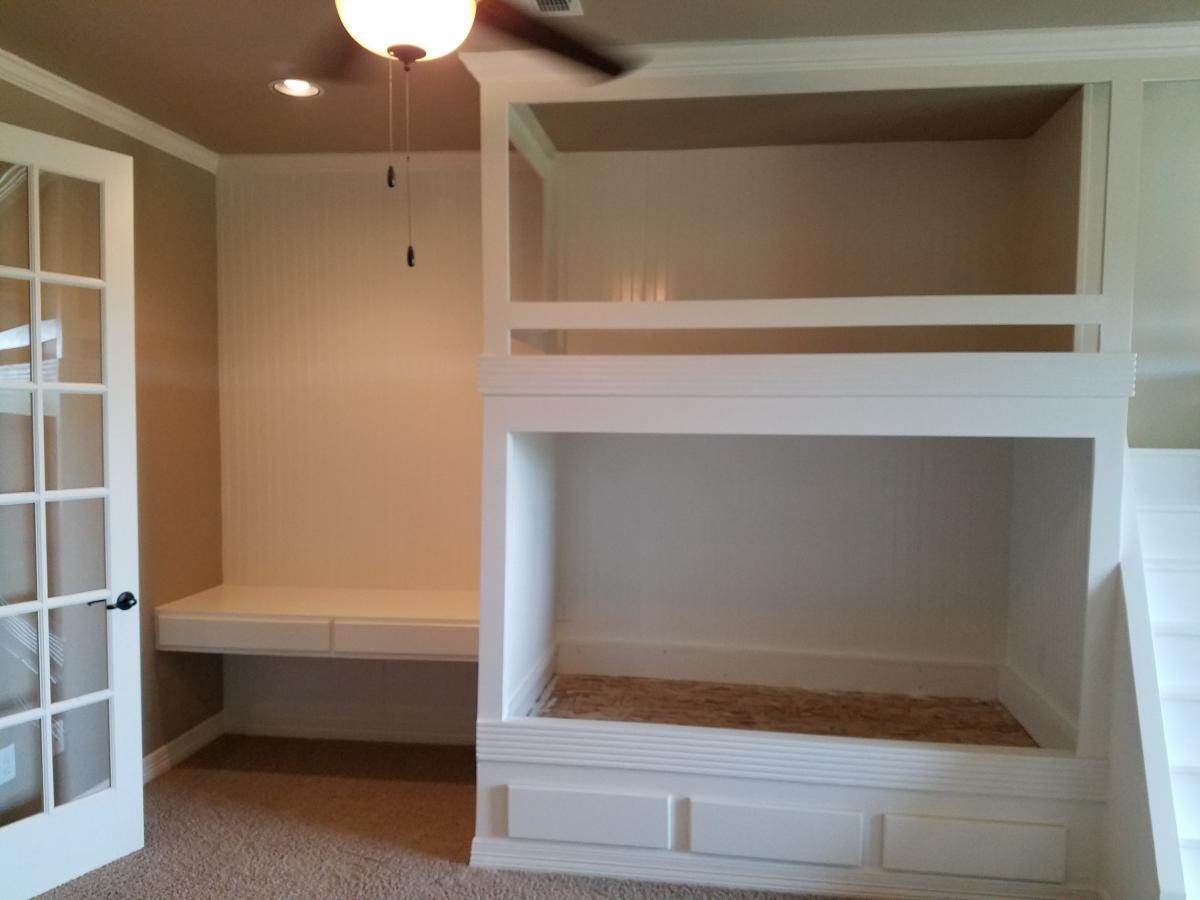
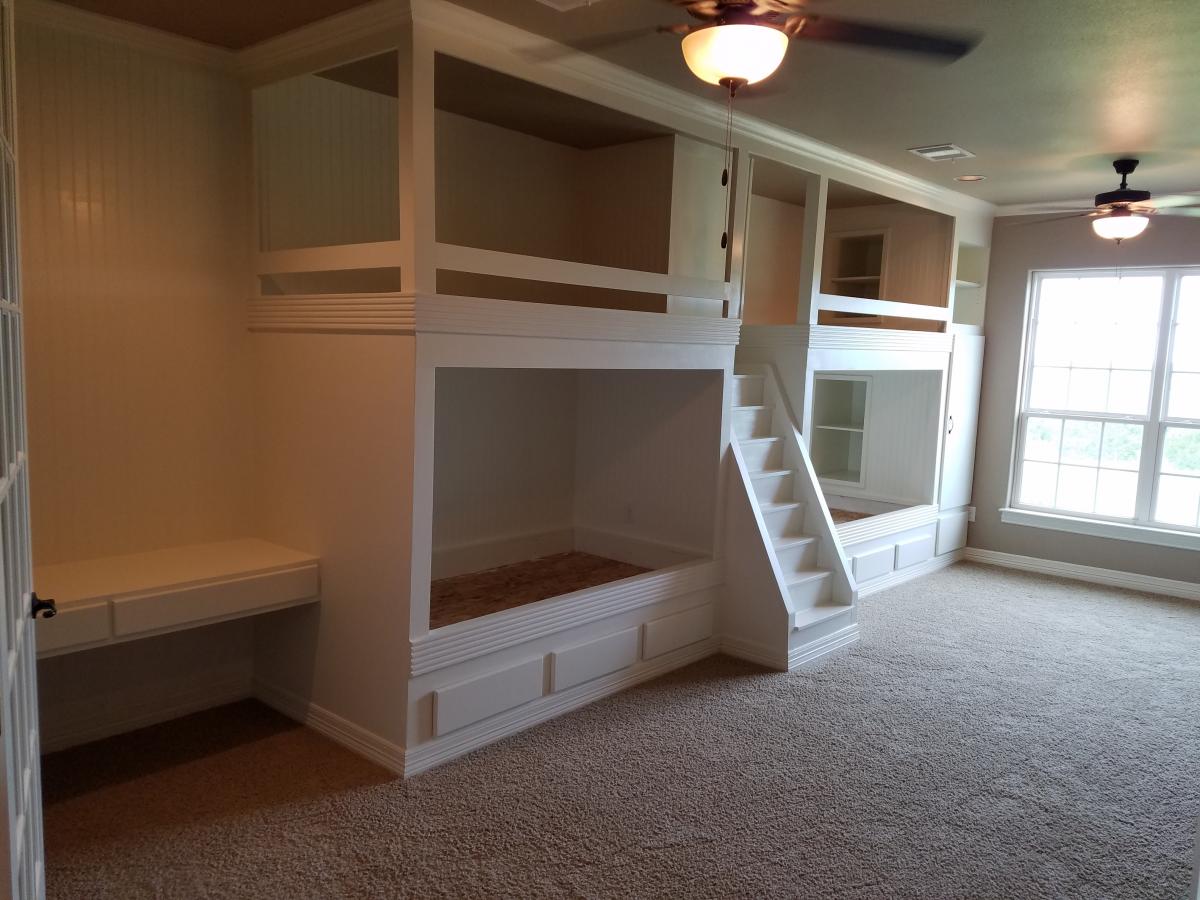
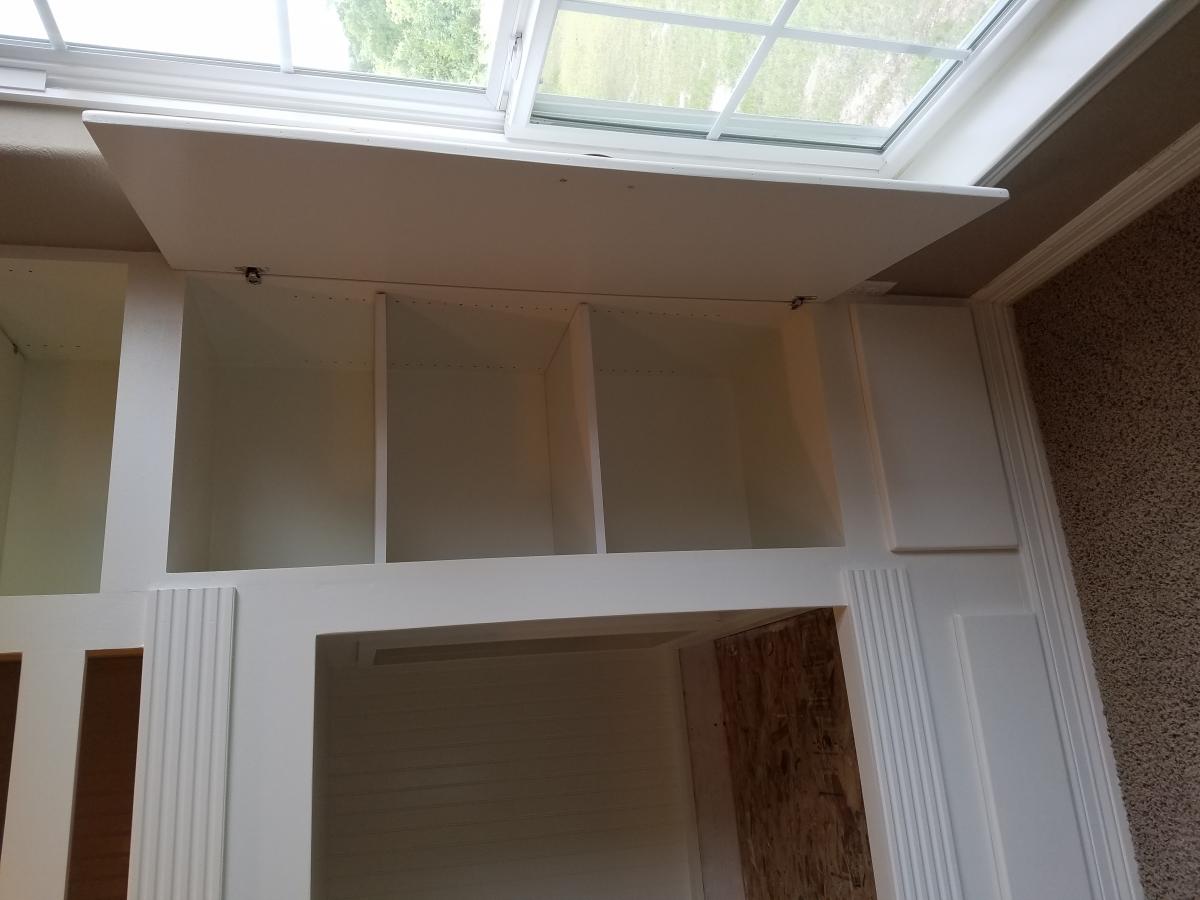
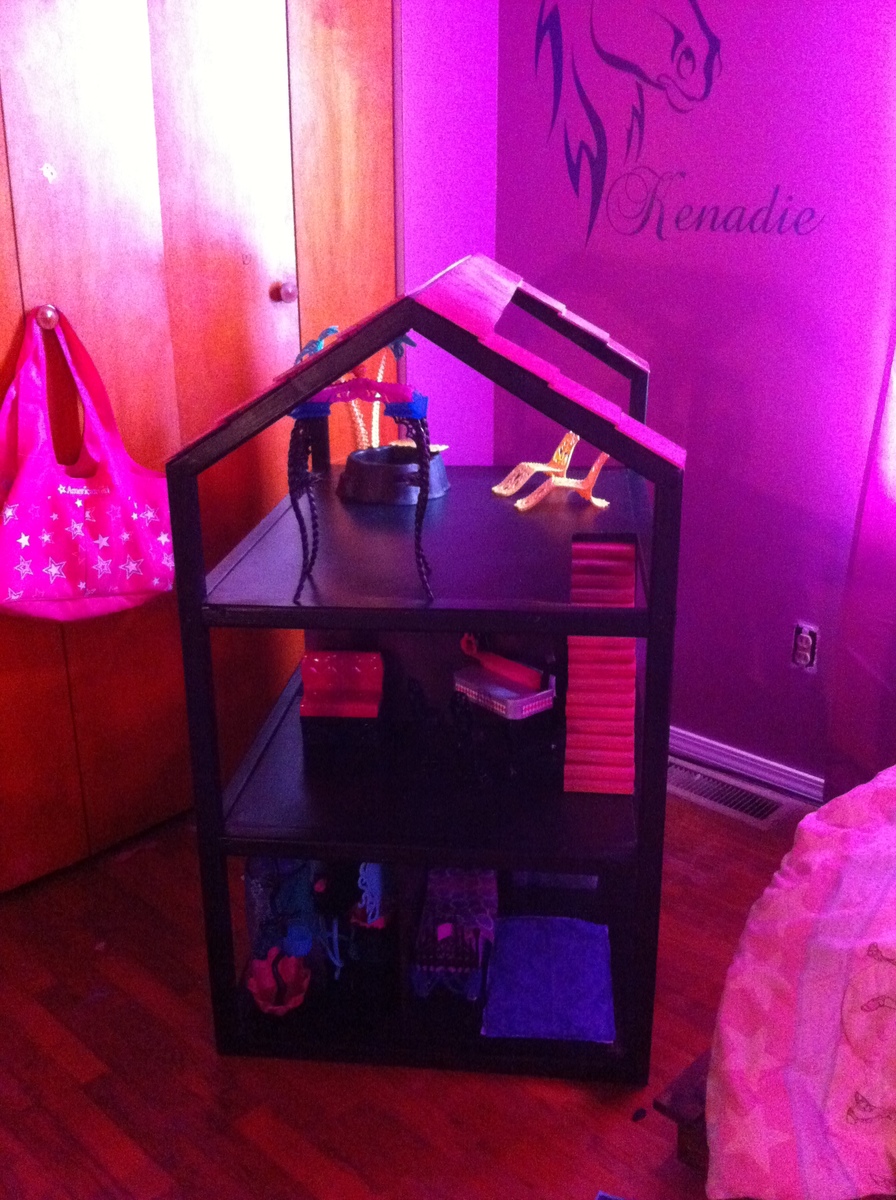
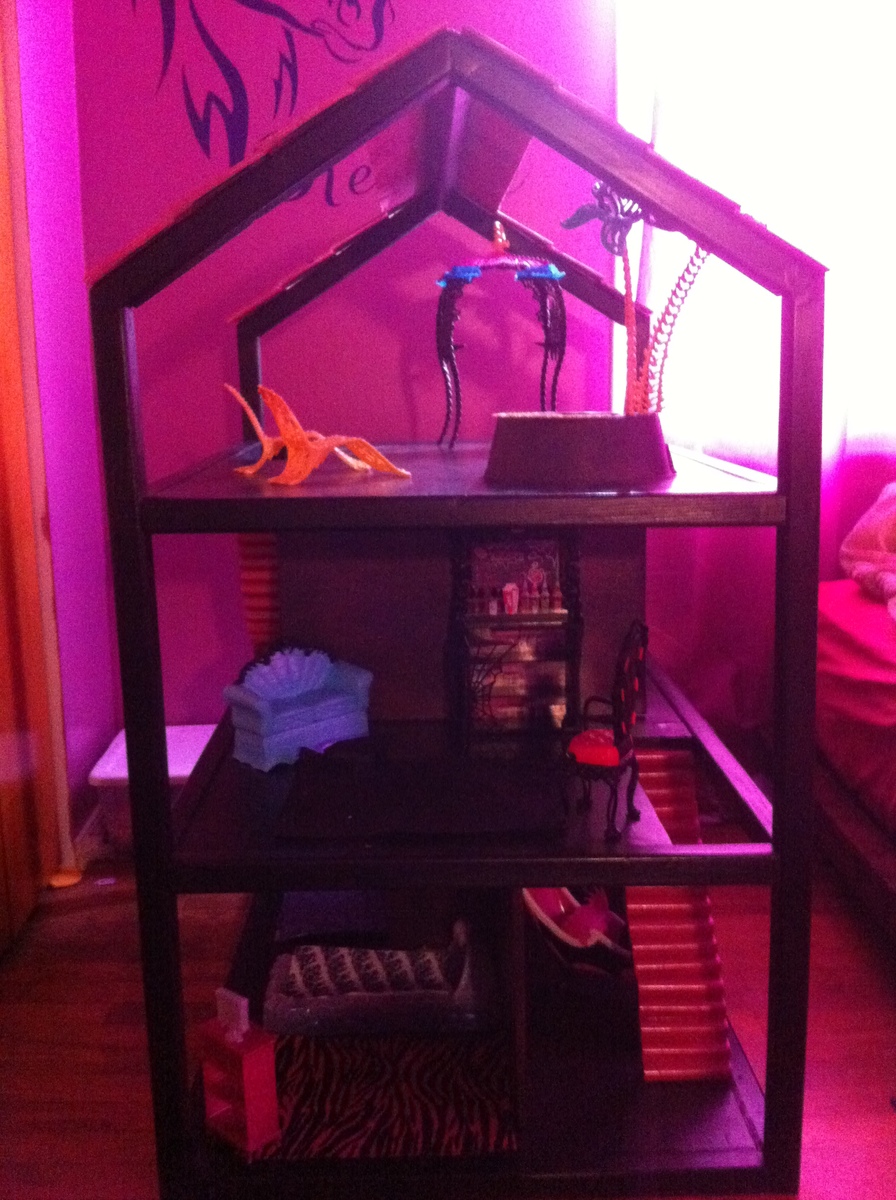
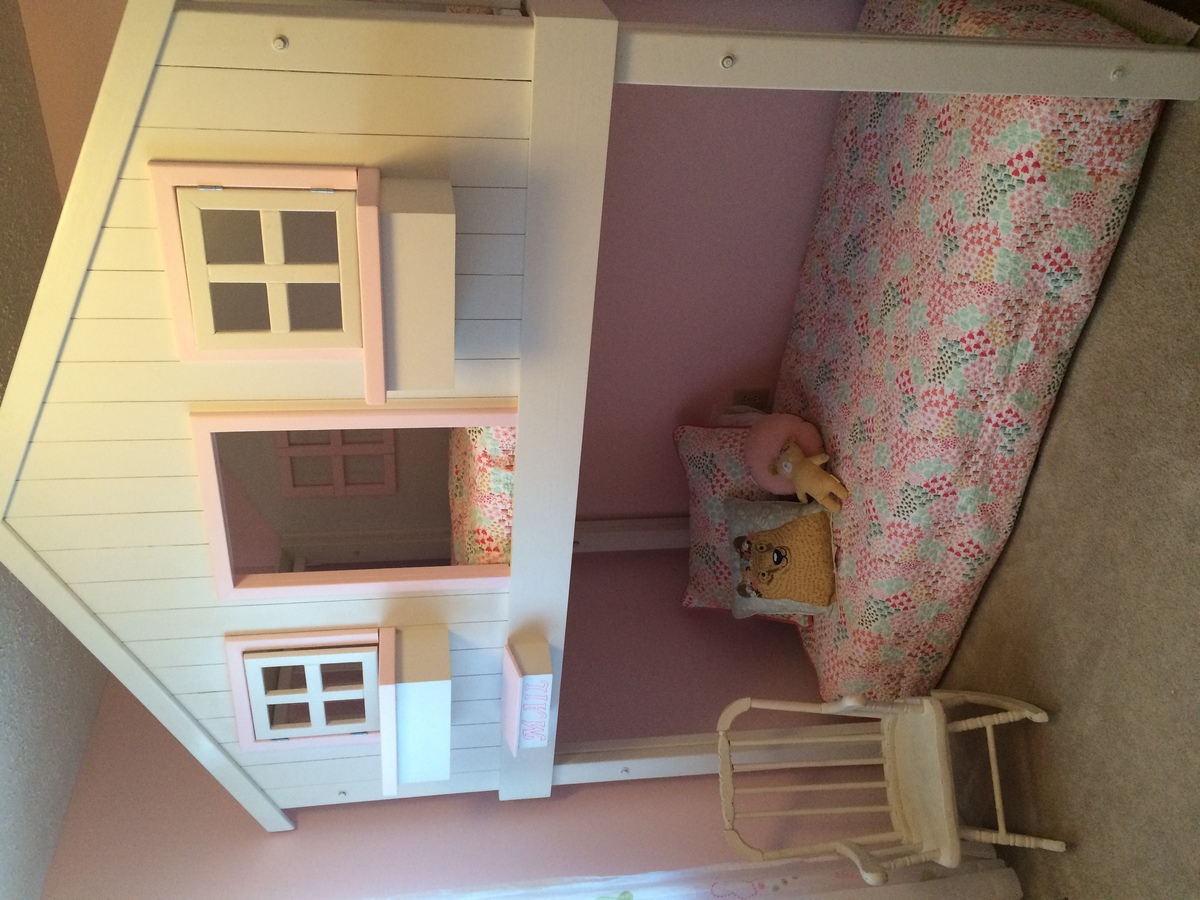
A little upgraded version!
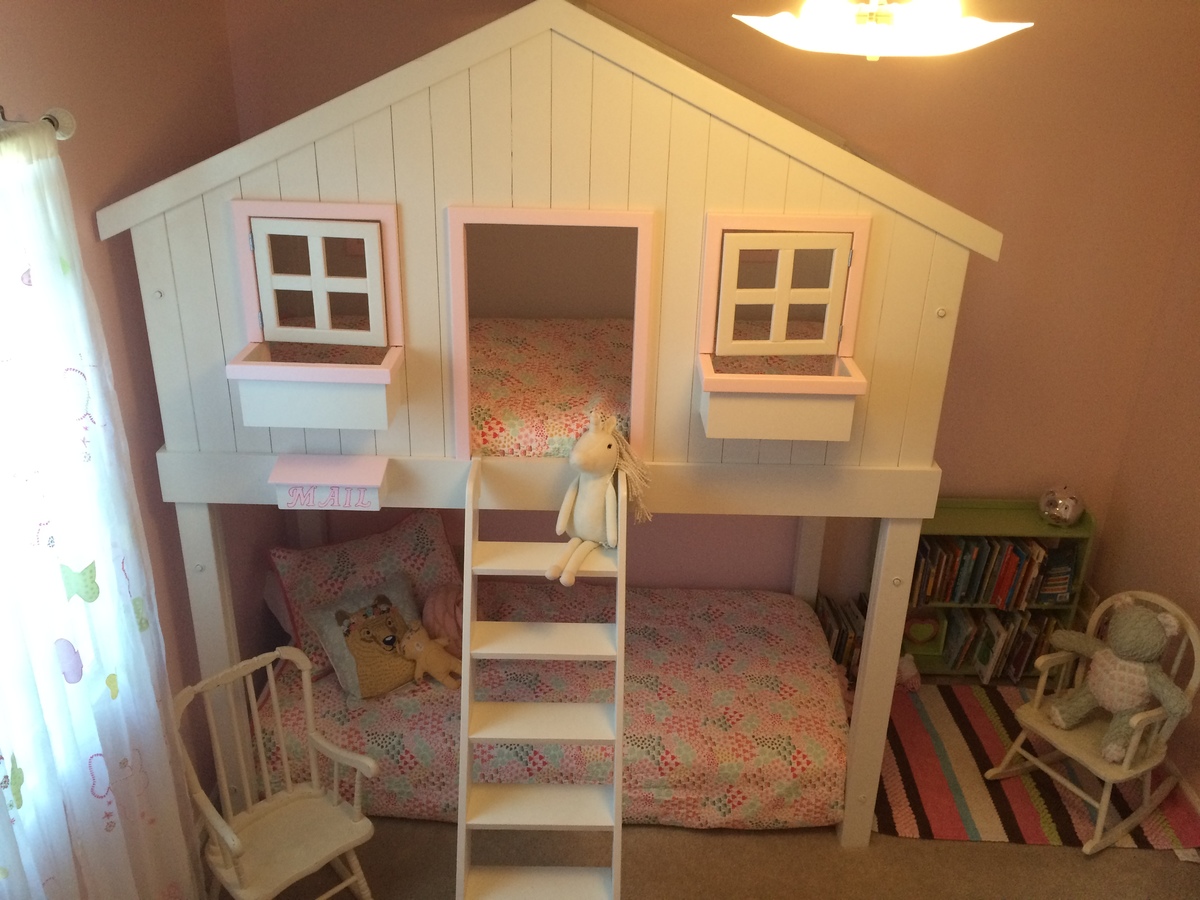
A little upgraded version. Made it a little taller so little sister could sleep below!
Built from Plan(s)
Estimated Time Investment
Week Long Project (20 Hours or More)
Recommended Skill Level
Advanced
Book Nook Tent
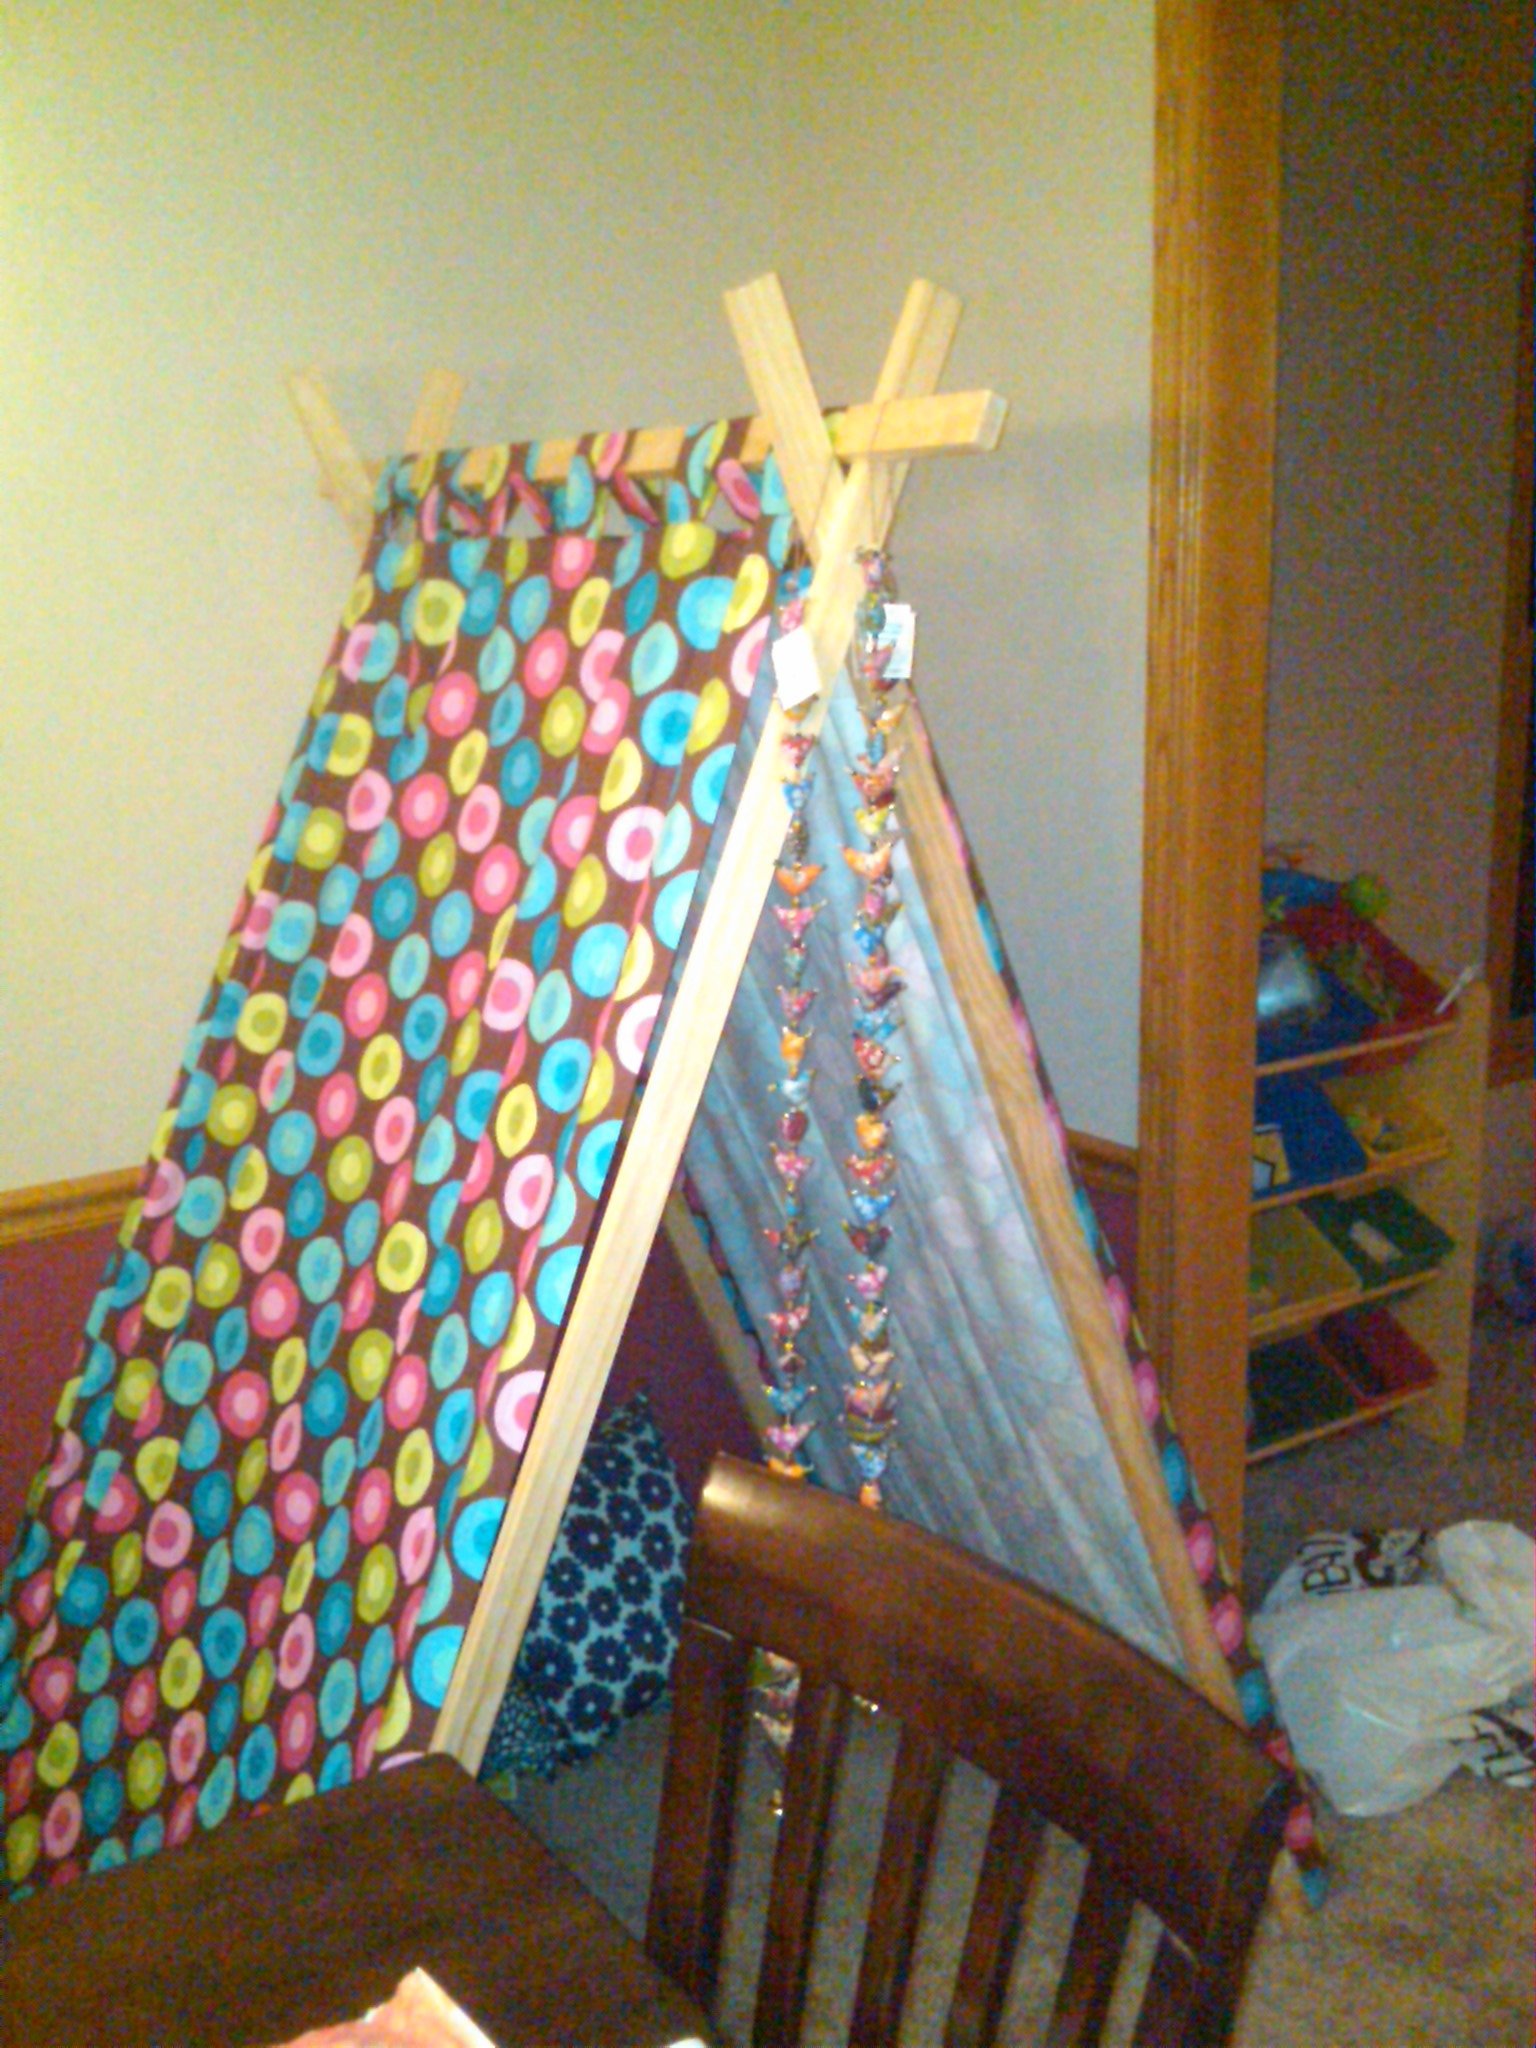
Only one cut and easy-to-follow instructions make for a kid-sized reading nook that you can build today!
This is a simple project that comes together in an hour or less. You need recycled material for the panels and approximately $20 worth of supplies, assuming you own a drill, staple gun and wrench.
Built from Plan(s)
Estimated Cost
$20
Estimated Time Investment
An Hour or Two (0-2 Hours)
Finish Used
No finish.
Recommended Skill Level
Starter Project
trundle for bed or storage

This was my first DIY furniture project and I am so thrilled with the outcome that I am already trying to figure out what to make next! I made all my measurements and then had all of the wood cut to size at Home Depot. The assembly went much more quickly and smoothly than I had anticipated.This is a very sturdy piece of furniture. My 6 & 8 year-old girls were so excited to have the trundle put together. They have been taking turns sleeping on it and are even pulling it out to have a comfy spot to read or crochet. Thank you Ana, I am SO HAPPY to have found your site!
Built from Plan(s)
Estimated Cost
$120
Estimated Time Investment
Day Project (6-9 Hours)
Recommended Skill Level
Beginner
Comments
Rustic X Coffee Table
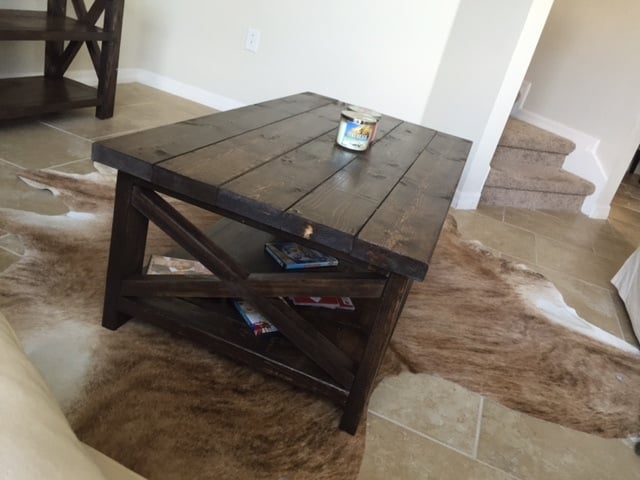
My take on the Rustic X Coffee Table
Built from Plan(s)
Estimated Time Investment
Weekend Project (10-20 Hours)
Finish Used
Kona
Recommended Skill Level
Intermediate
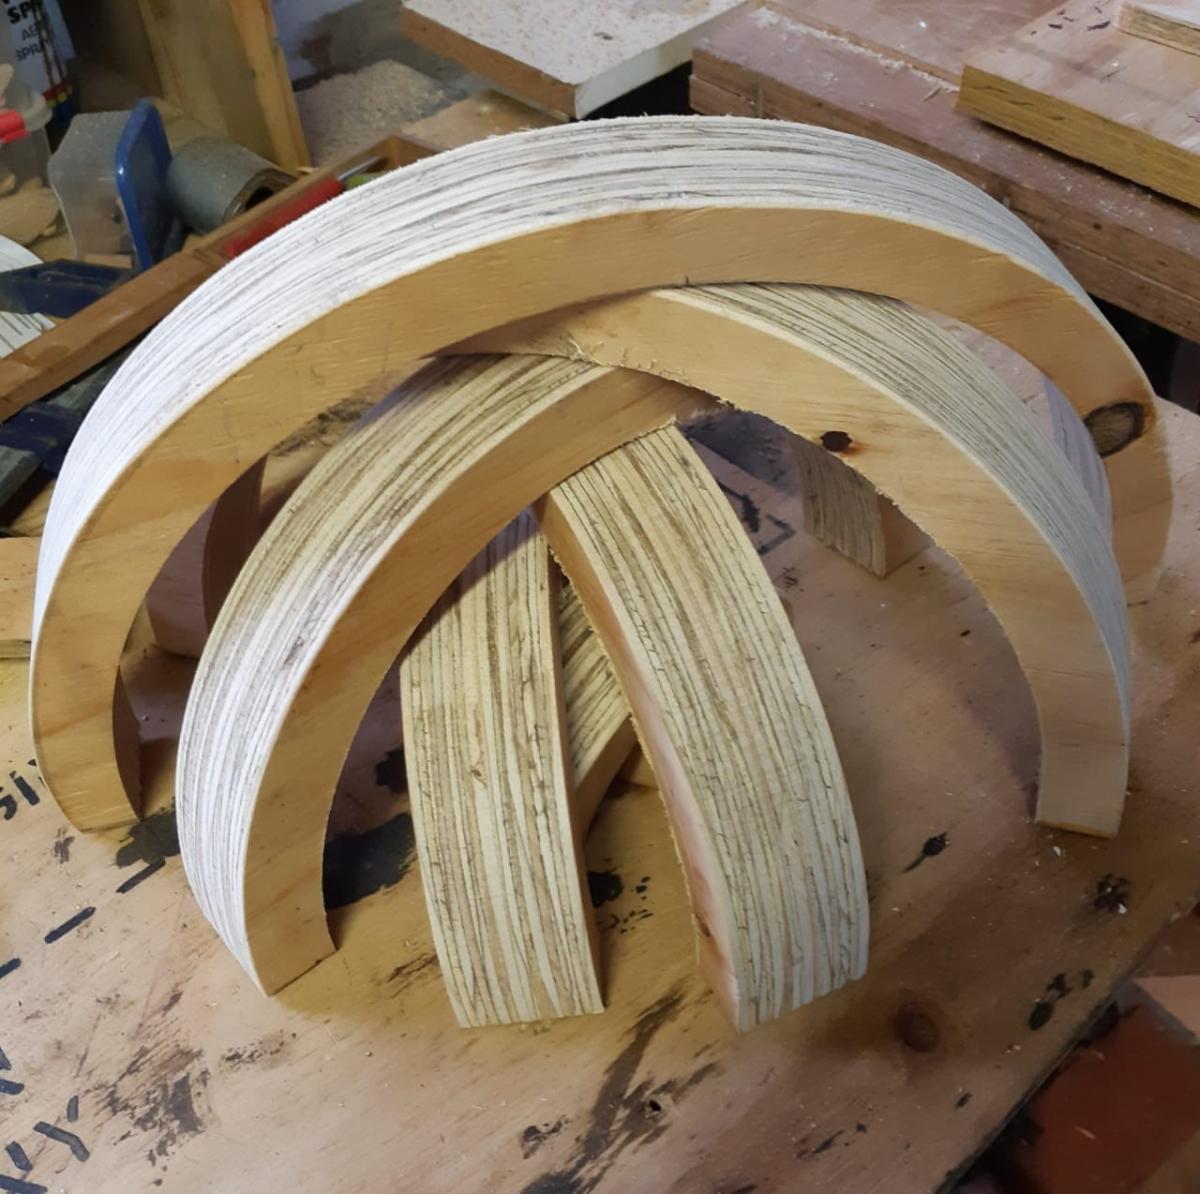
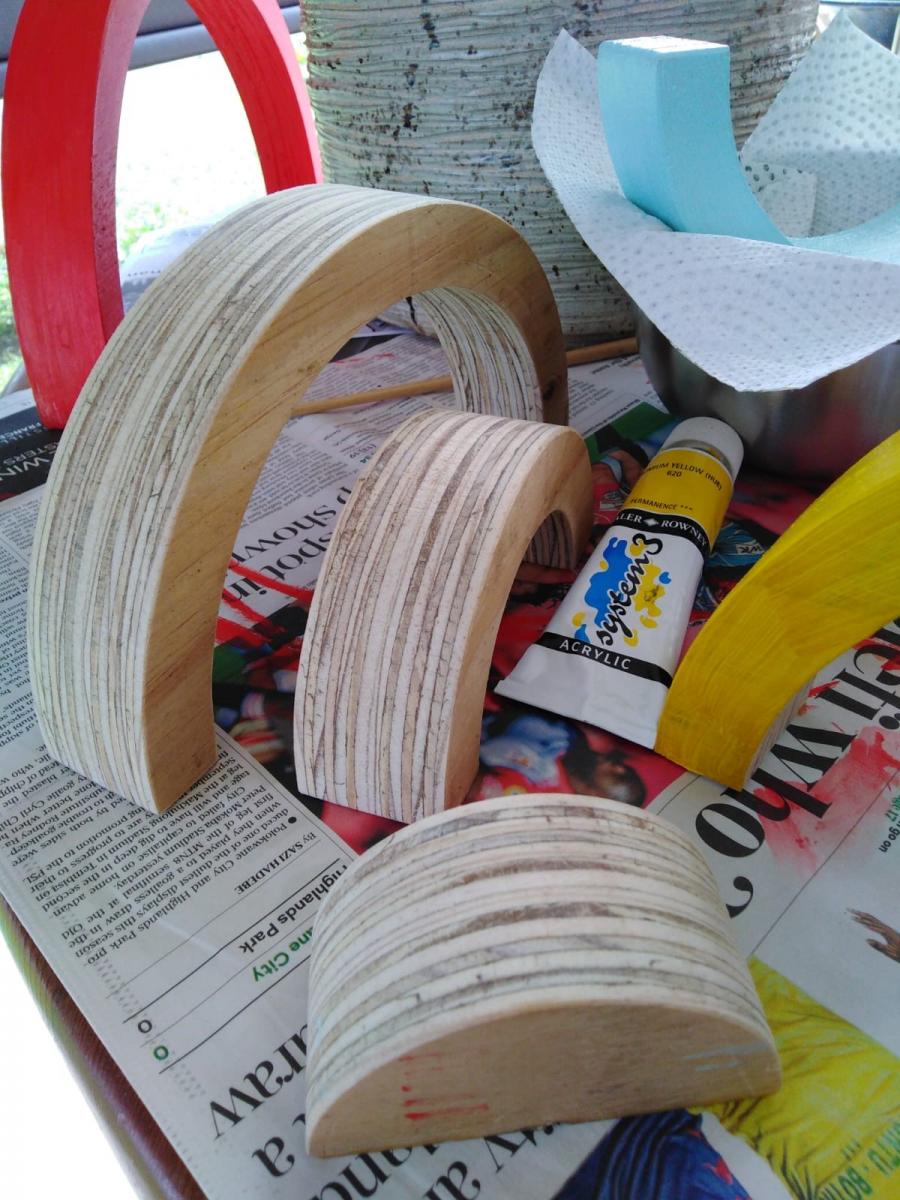
Wooden Rainbow Toy
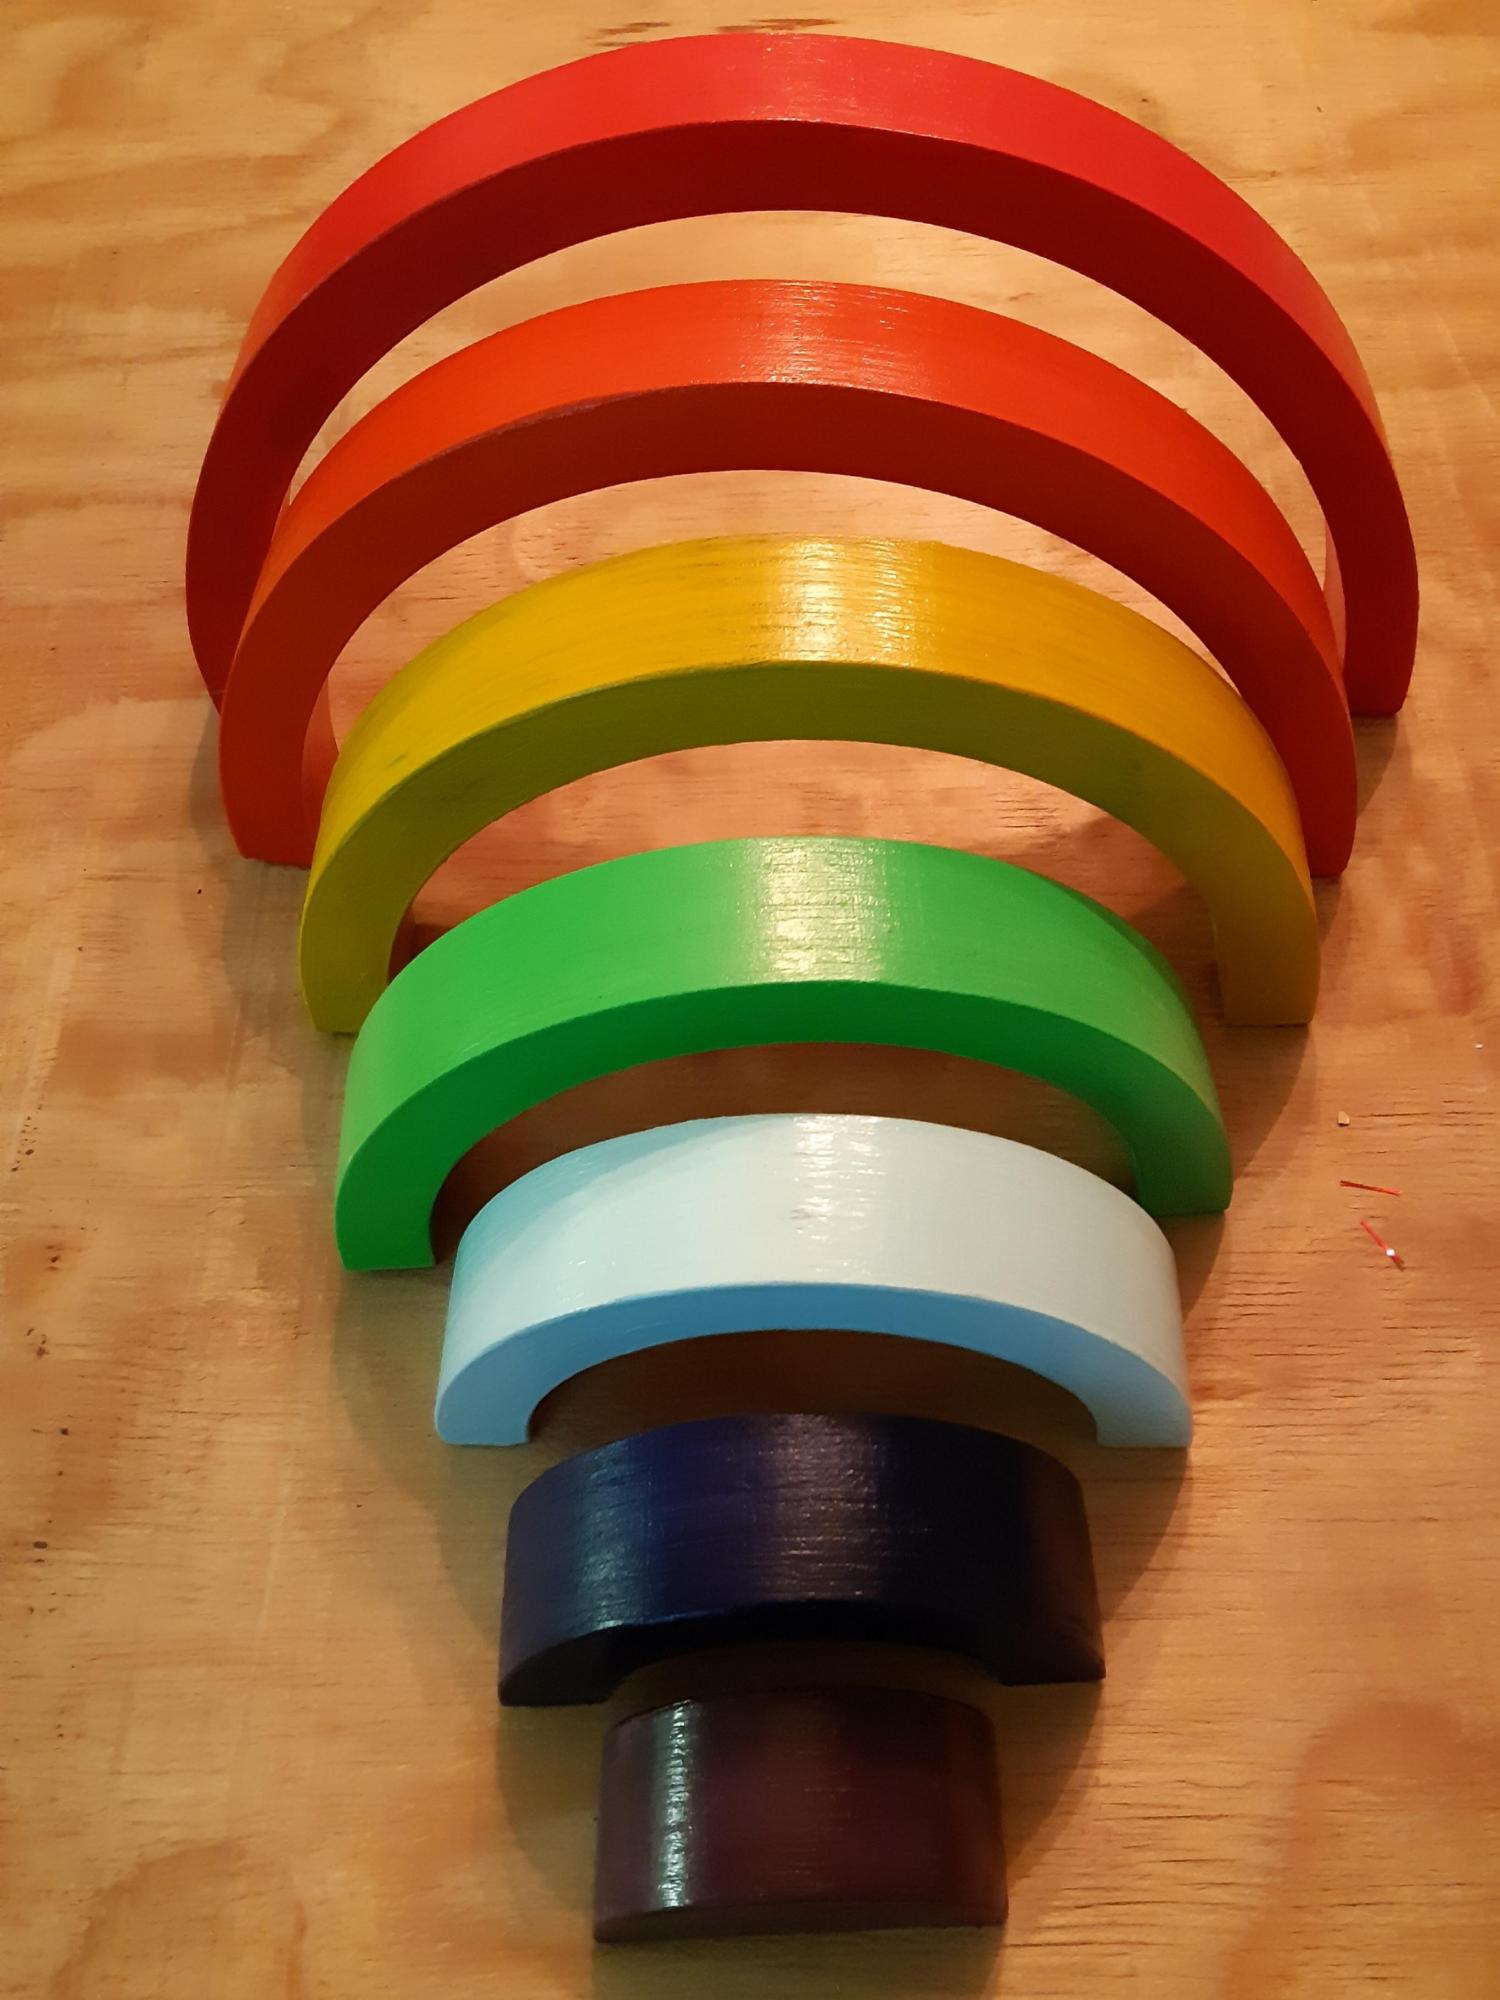
This is a copy of a creative toy for toddlers seen on Amazon. I glued two pieces of 21mm plywood (400mm X 200mm) together and then using a jig on the band saw, cut out the rainbow shapes 25mm wide. I made up a drum sahnder using circles cut out from the same double layer of plyywood using a hole saw, with a bolt through the middle, to sand the the inner edges. My wife painted the rainbow colours using acrylic paints as this is what we had to hand (I would suggest rather using using a water-based enamel).
Estimated Cost
R100
Estimated Time Investment
Week Long Project (20 Hours or More)
Finish Used
Acrylic paint coated with a floor sealer
Recommended Skill Level
Intermediate
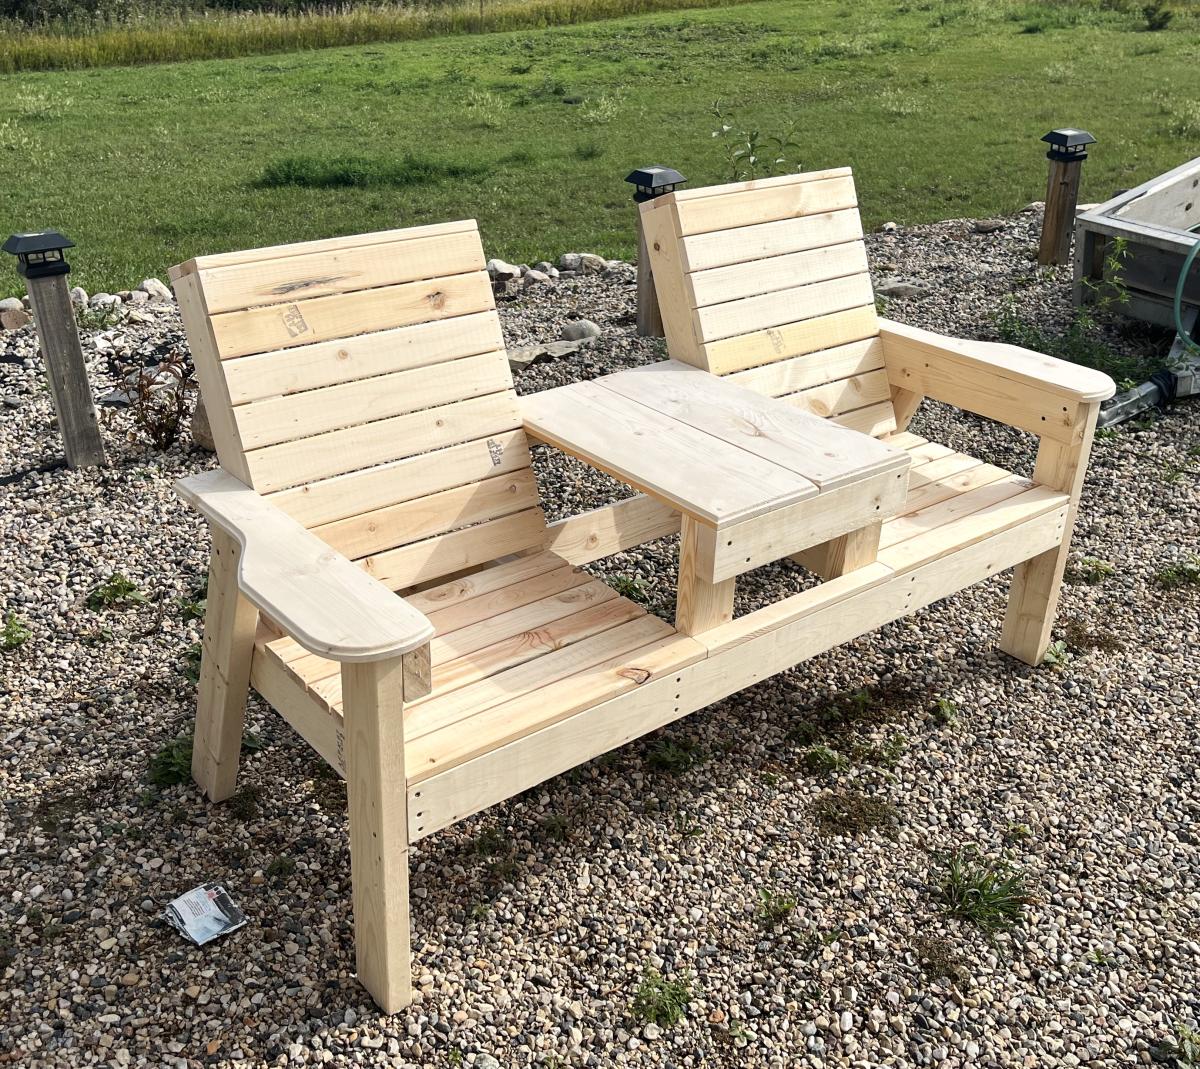
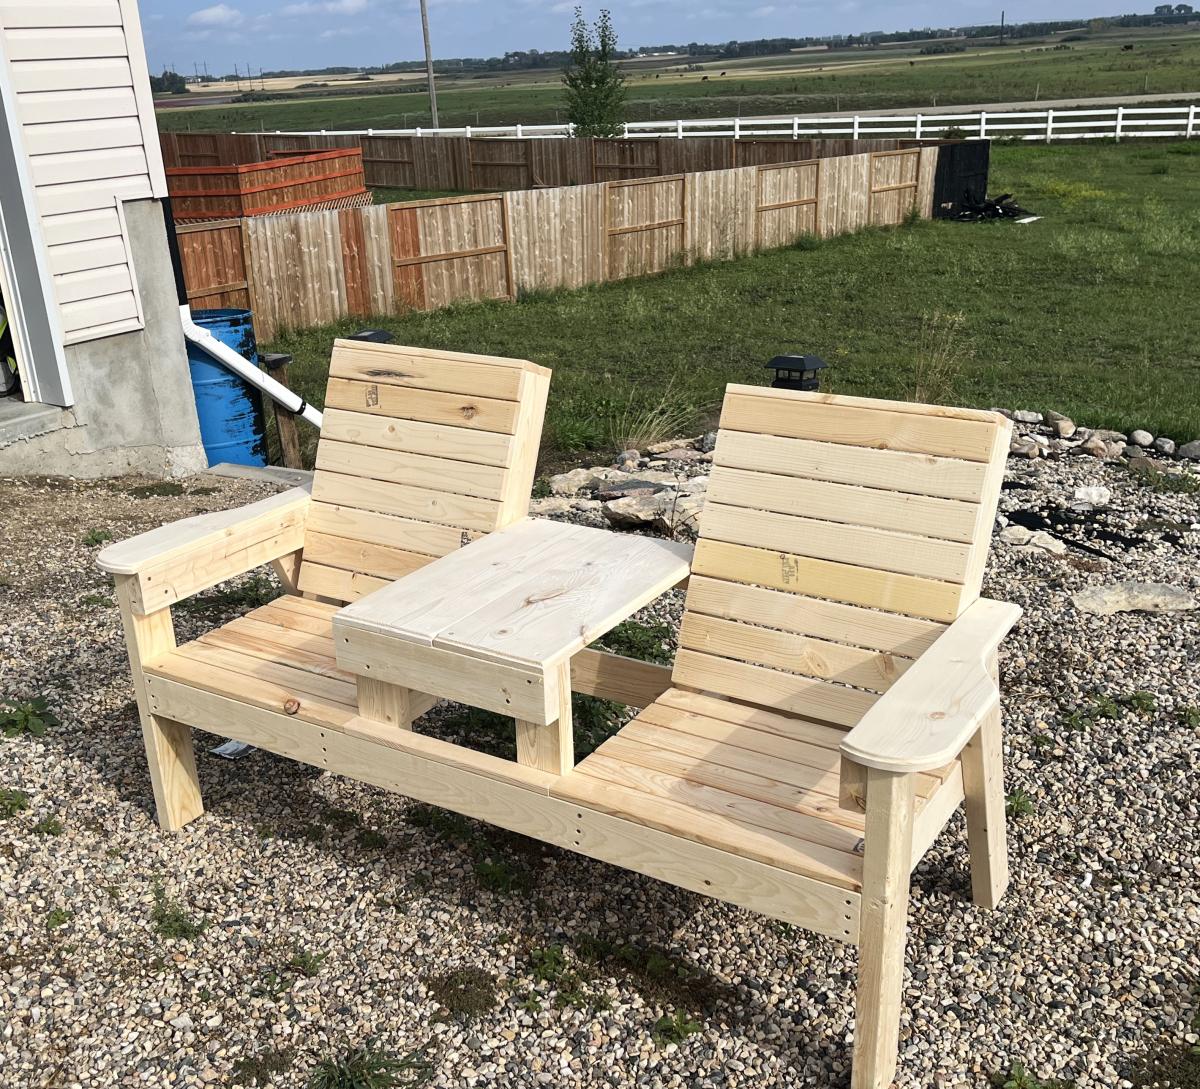
Bar Height Outdoor Table
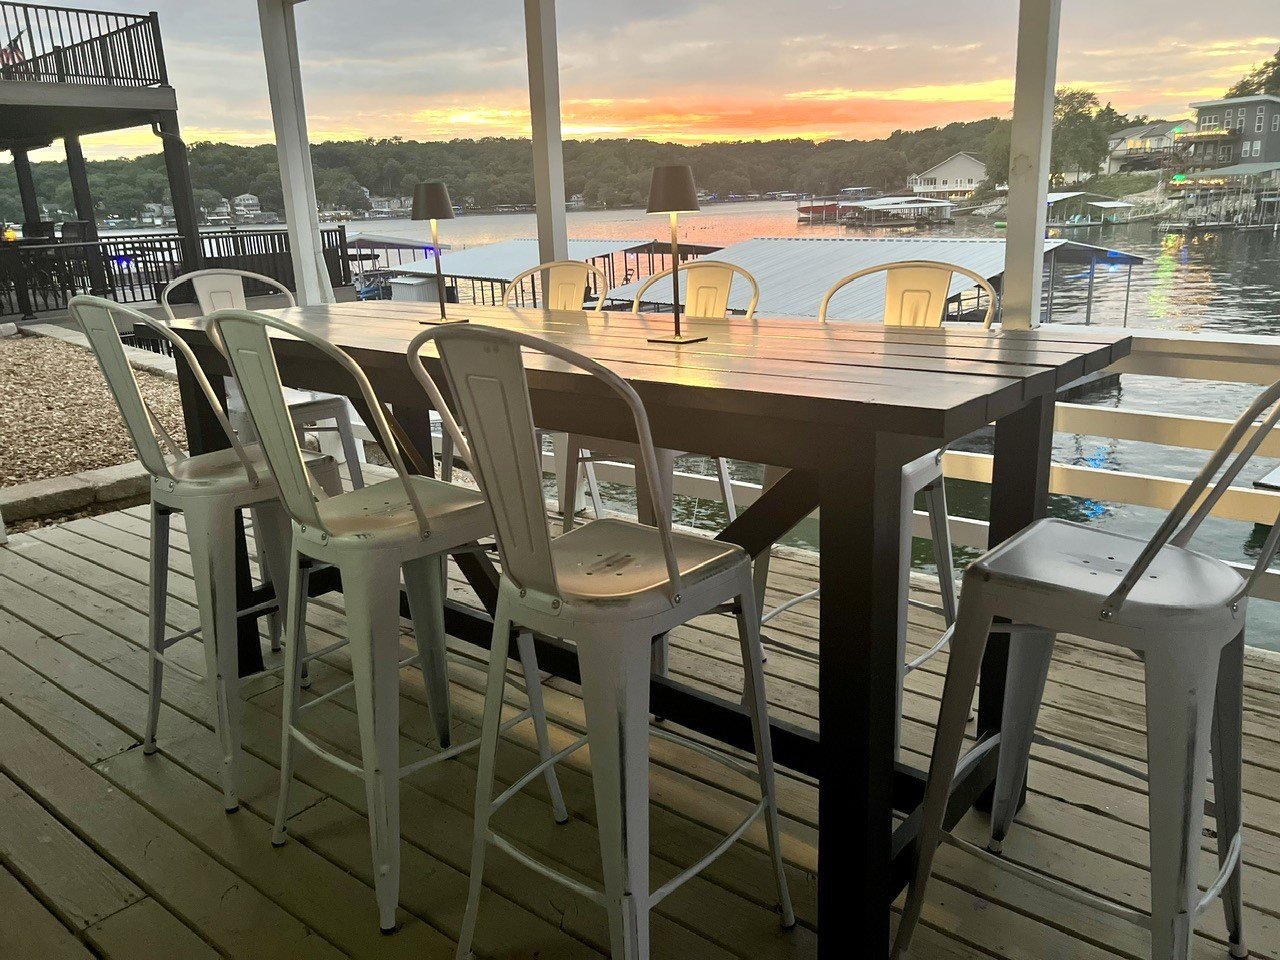
We had this unused lower deck and this bar height table was the perfect addition. We have place now to hang when too hot or it’s raining. My husband and I built it in one weekend and your plans where great.
Julie Moran


Built from Plan(s)
Comments
Sun, 08/27/2023 - 12:48
Stunning table and view!
Love this view and what a gorgeous table to go with it! Thanks for sharing.
First Project!
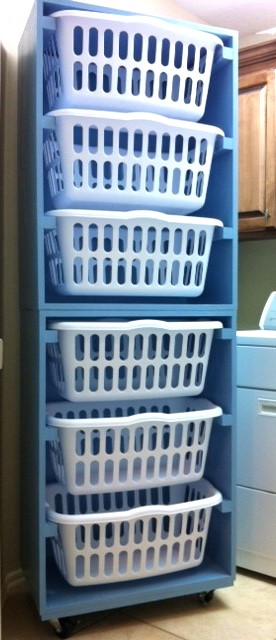
I saw this and thought - FINALLY...the answer to my laundry chaos! My husband built it for me this weekend with a couple of minor modifications. He put casters on the bottom, so I can move it to clean and sweep. He also added clear plastic drywall corner protectors over the 2x2's so that they paint is protected when the baskets slide in and out! Pretty clever! Oh, and I thought I was being super creative when I picked the color - and then saw that it is the EXACT color that you painted it! So much for that creative spark - but, I'll work on it! Thanks for the plans!
Built from Plan(s)
Estimated Cost
$100
Estimated Time Investment
Afternoon Project (3-6 Hours)
Finish Used
Primed and painted with high gloss finish.
Recommended Skill Level
Beginner
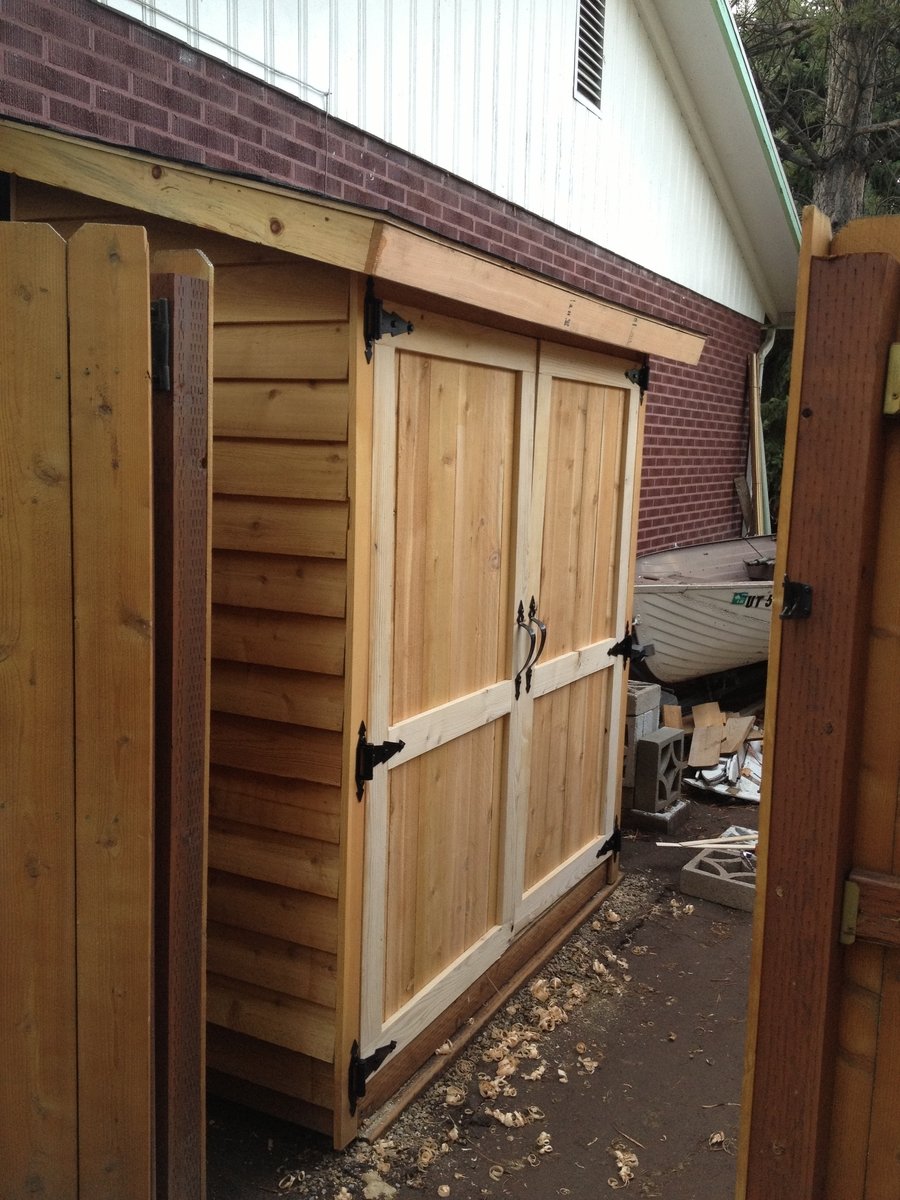
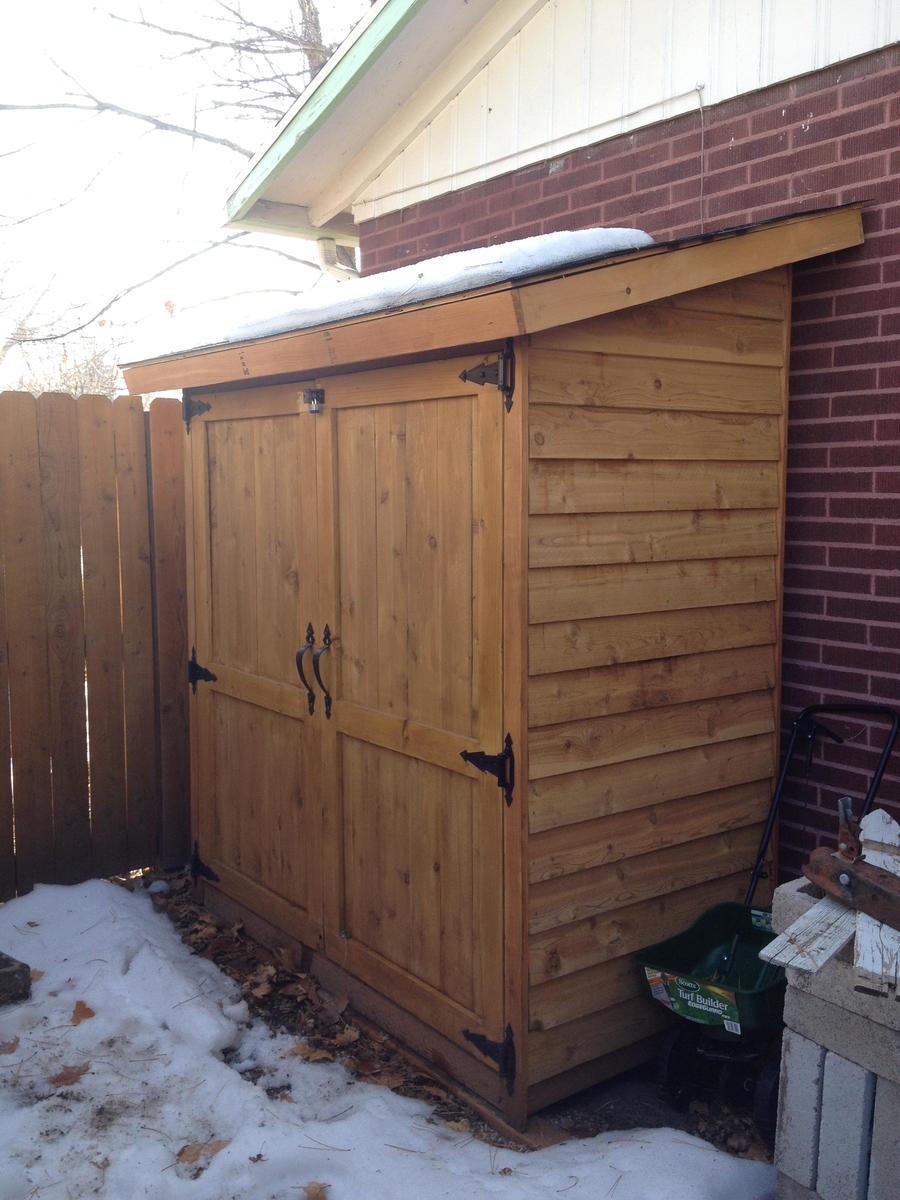
Extra Room for Little House
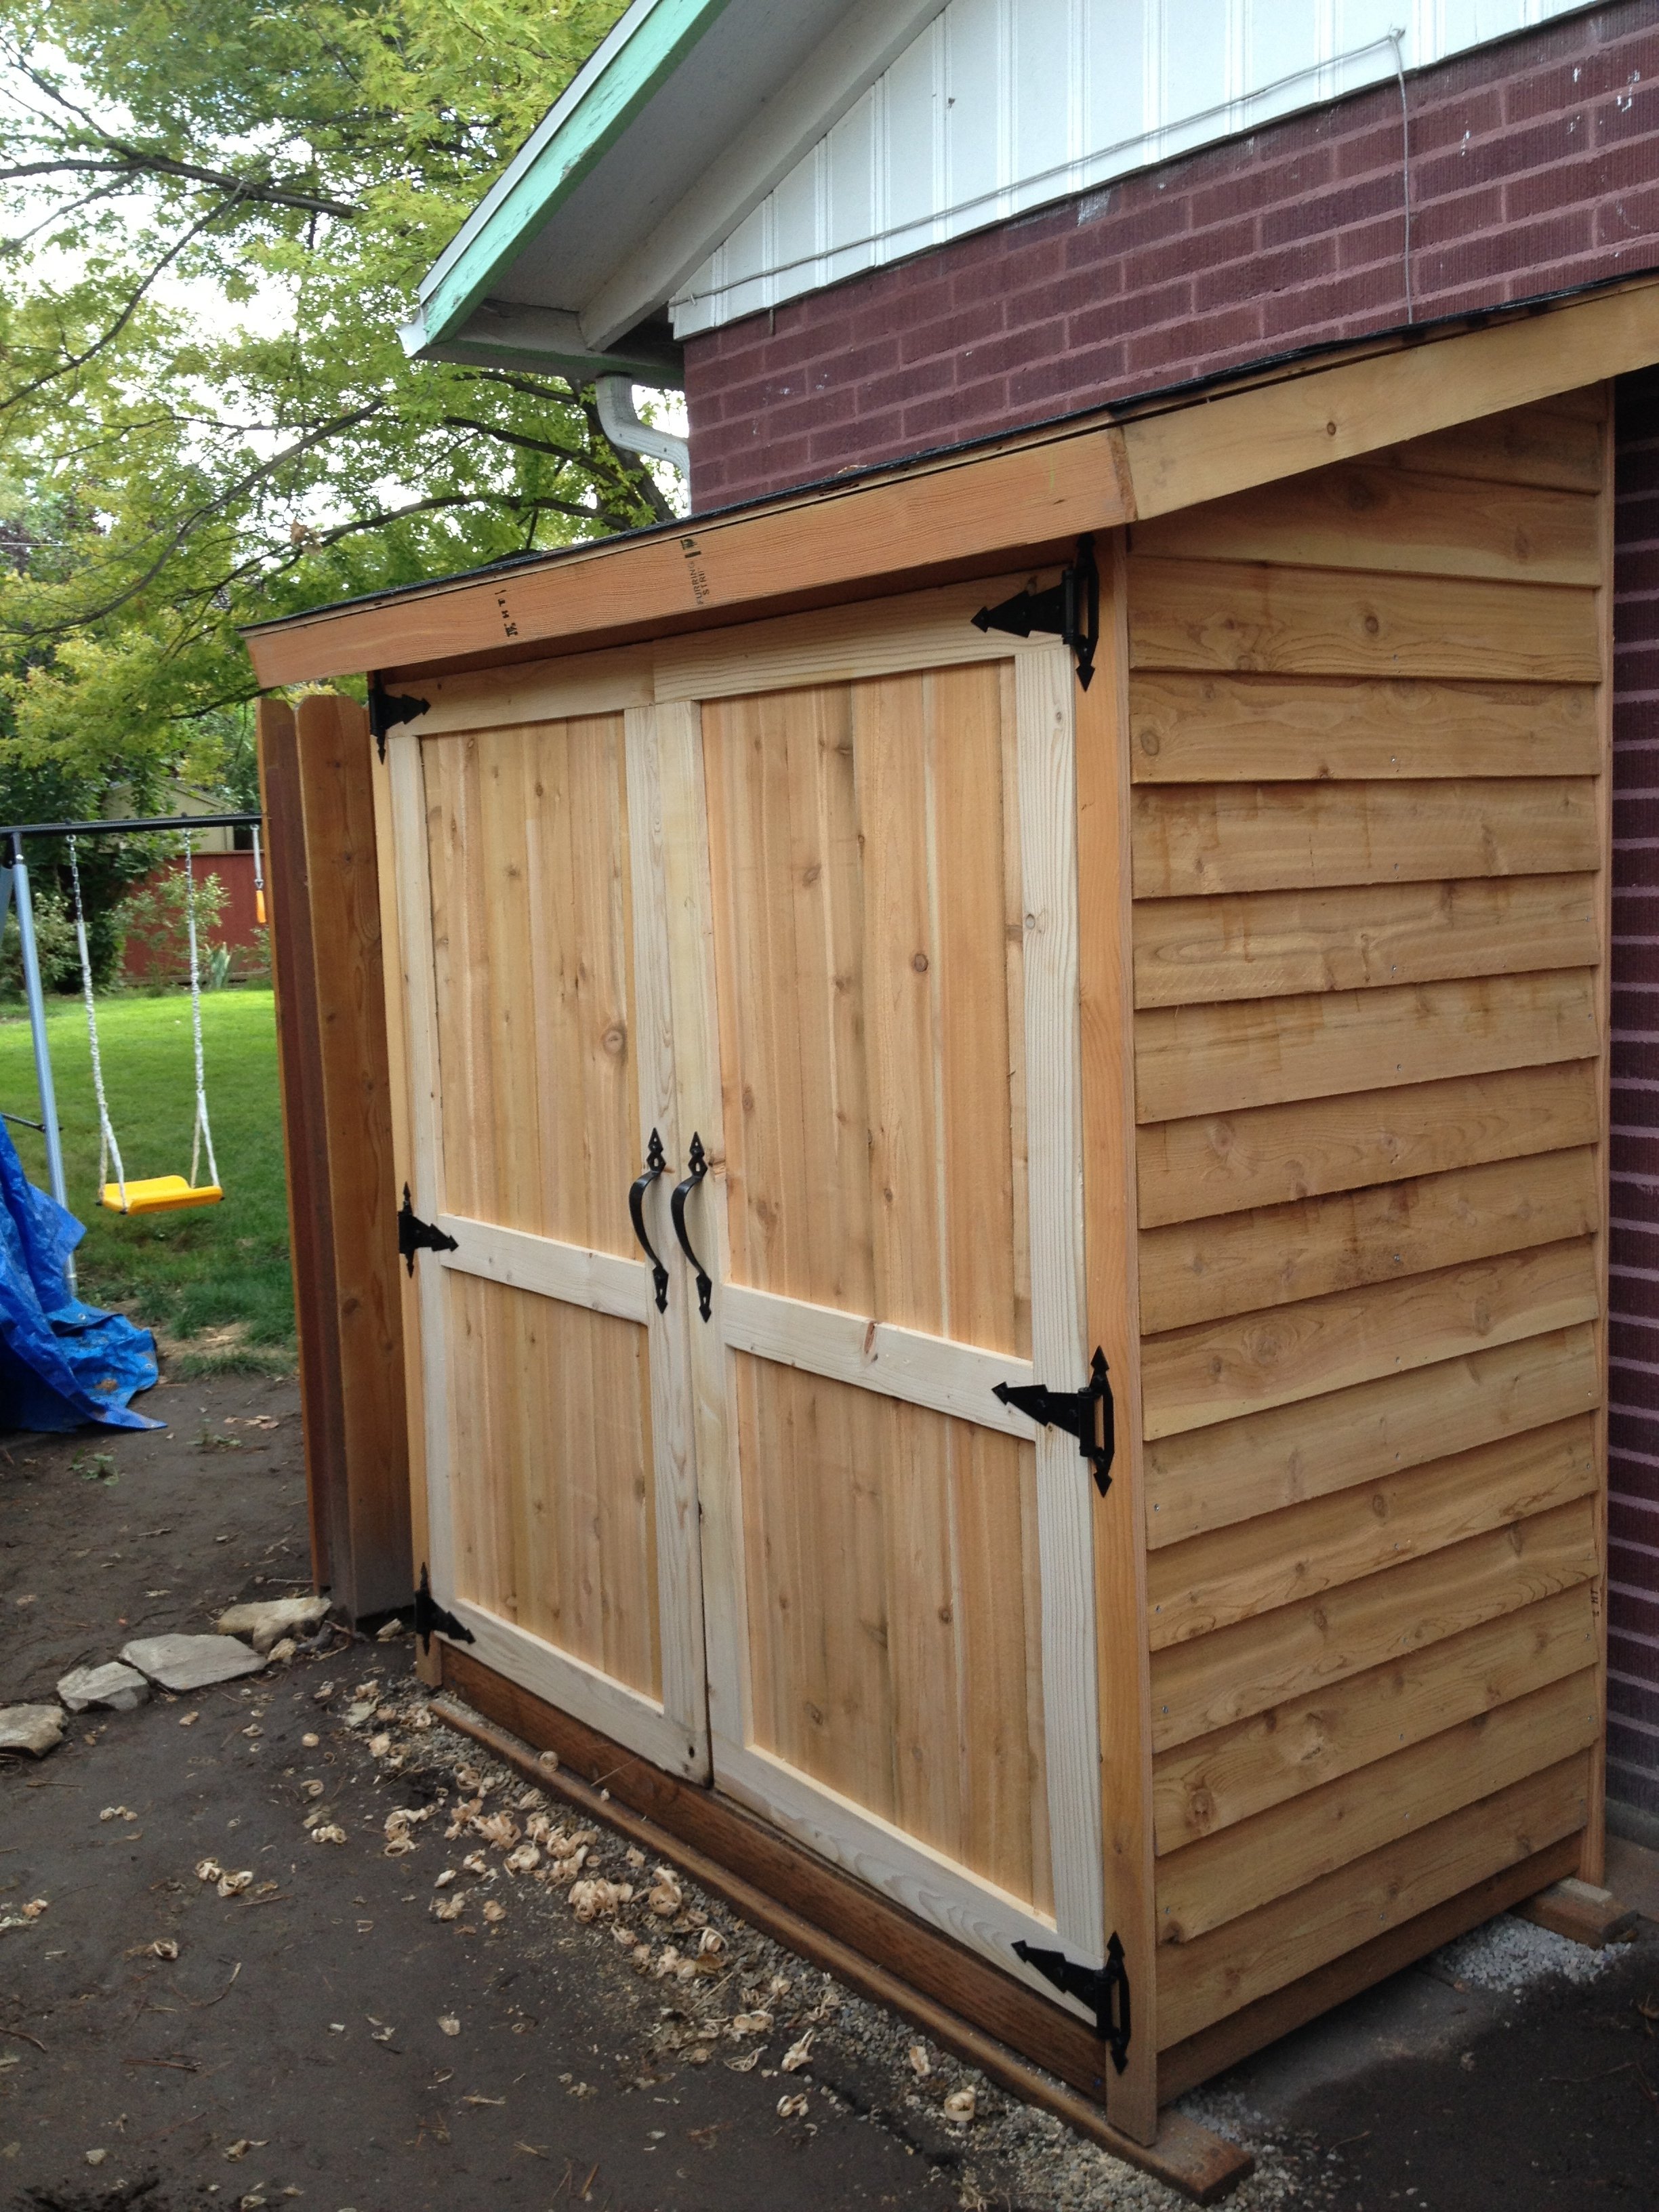
I have a tiny house and for additional storage I've been drooling over building this for a good long time. I finally got some extra money that I could dedicate to it. Having to have a major surgery at the end of last summer I knew I couldn't do a garden because of how every day I didn't know how I would feel. I did know that I could work a little at a time when I felt I could and get as much done as possible on a shed. By the end of the summer I had an awesome shed thanks to Ana and her plans. I had to do my own research for the base and how to sit it on the ground. I chose to dig 2 trenches in the dirt, put small gravel in and put 2 pressure treated sleepers to rest my bottom deck on. I also primed the plywood floor to try and help with less moisture through the different cycles of the year. Checked on it last week to put the Christmas decorations away and dry as a bone inside and all looking as good as I had hoped on the outside.
Built from Plan(s)
Estimated Cost
$450-$500
Estimated Time Investment
Week Long Project (20 Hours or More)
Finish Used
Be sure to glue as you are attaching the cedar pickets or whatever material you use to the frame. I chose not to at first and my nail gun staples ended popping out. I went back and glued after the fact. Not a great use of time, but live and learn. I also used on the fir stripping, front and side pickets some 'natural' color BEHR wood treatment. It doesn't have to be removed or treated in order to apply another coat in the future. Gives the wood some good moisture and a tiny bit of color to help it not turn gray.
Recommended Skill Level
Intermediate
Comments
Thu, 01/23/2014 - 15:36
Very nice! I like what you
Very nice! I like what you did for your foundation.
Thu, 01/23/2014 - 18:18
Thanks moosmani, it seemed
Thanks moosmani, it seemed the most simple for least amount of money and time.
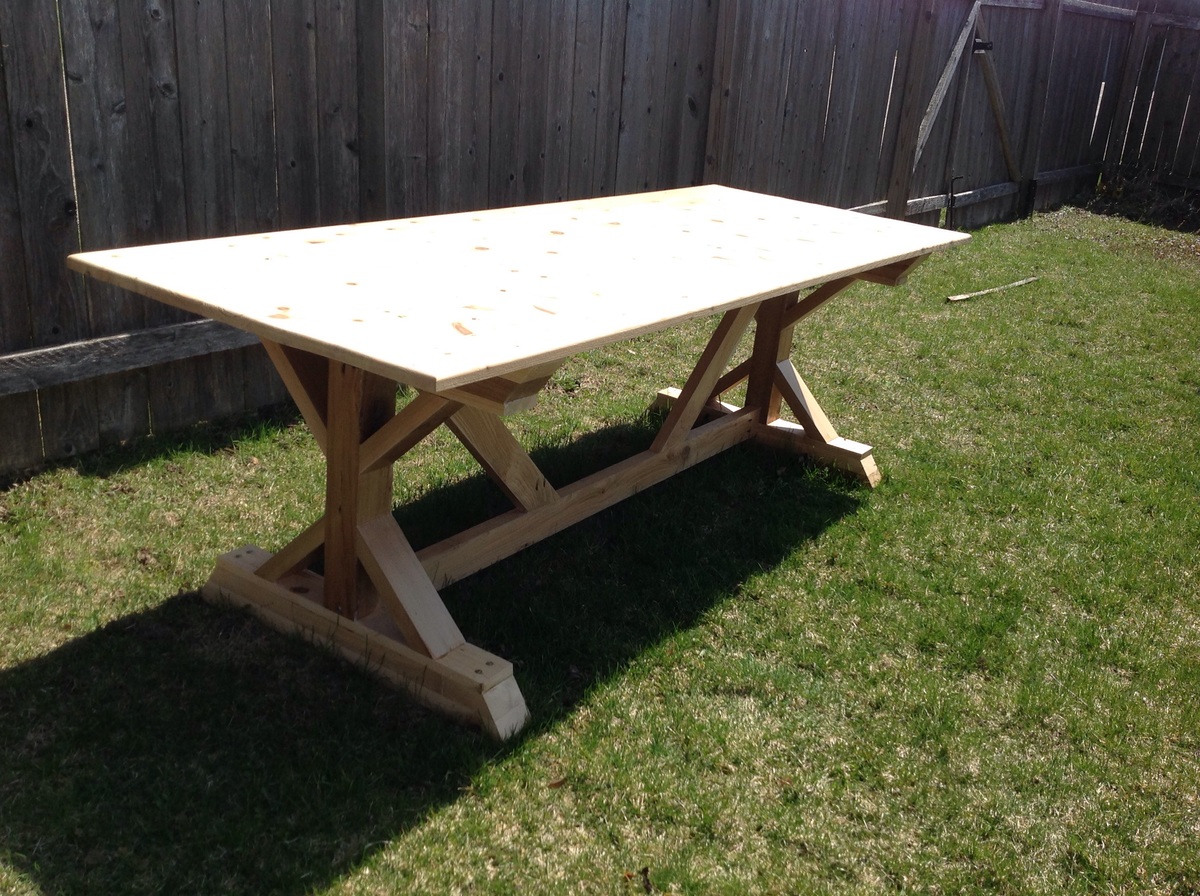
Farmhouse Table

Fancy table for outside barbecues. I built this table out of 100% Cedar. In order to maintain the lighter cedar color, I just several coats polyurethane for outdoor protection.
Built from Plan(s)
Estimated Cost
~ $250
Estimated Time Investment
Weekend Project (10-20 Hours)
Finish Used
Clear outdoor polyurethane.
Recommended Skill Level
Intermediate
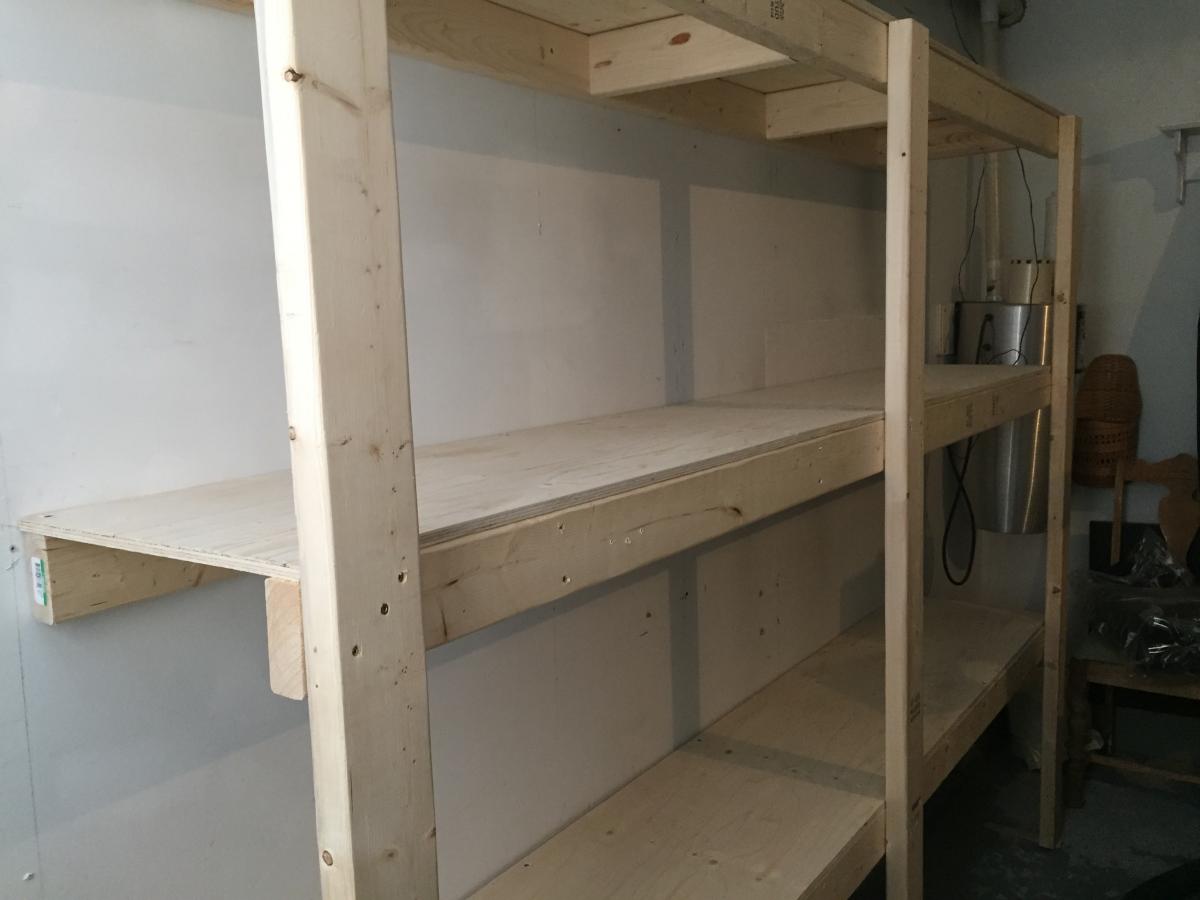
Garage shelving
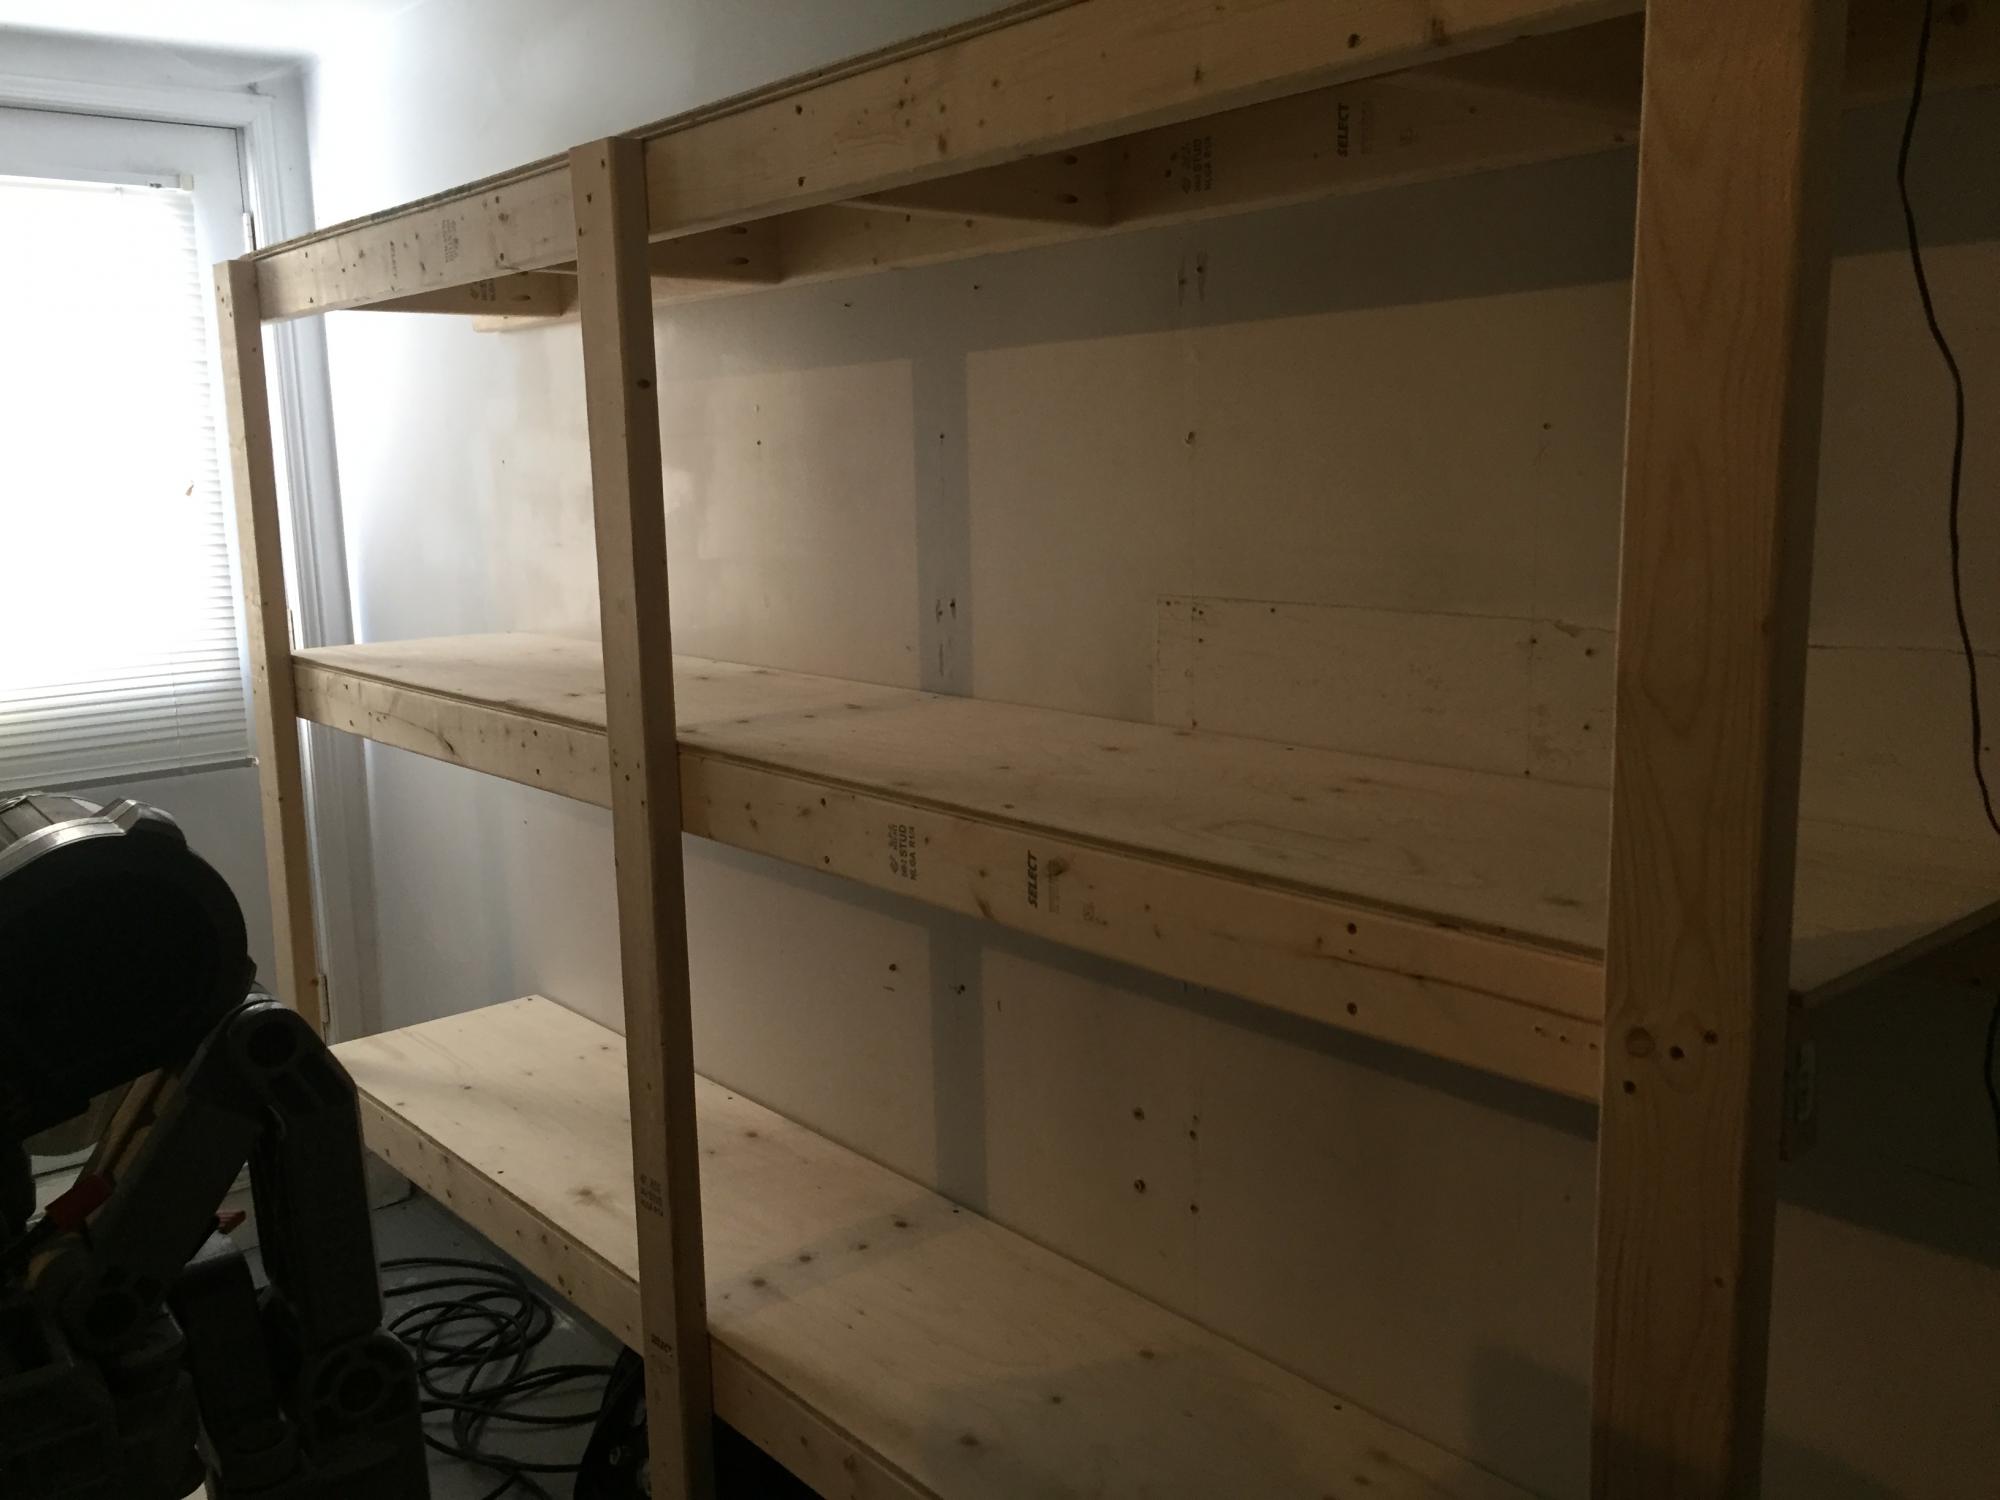
These shelving were great for our garage storage.
Built from Plan(s)
Finish Used
None
Recommended Skill Level
Beginner
Entry Table/Side Table combo

I had so much fun on the first entry table I built, I decided to build another one and add a side table to it. I had enough extra wood around the garage to make my weekend filled with fun and building.


Built from Plan(s)
Estimated Cost
20.00
Estimated Time Investment
Weekend Project (10-20 Hours)
Finish Used
Swan White paint, distressed
Recommended Skill Level
Beginner

Rustic X console
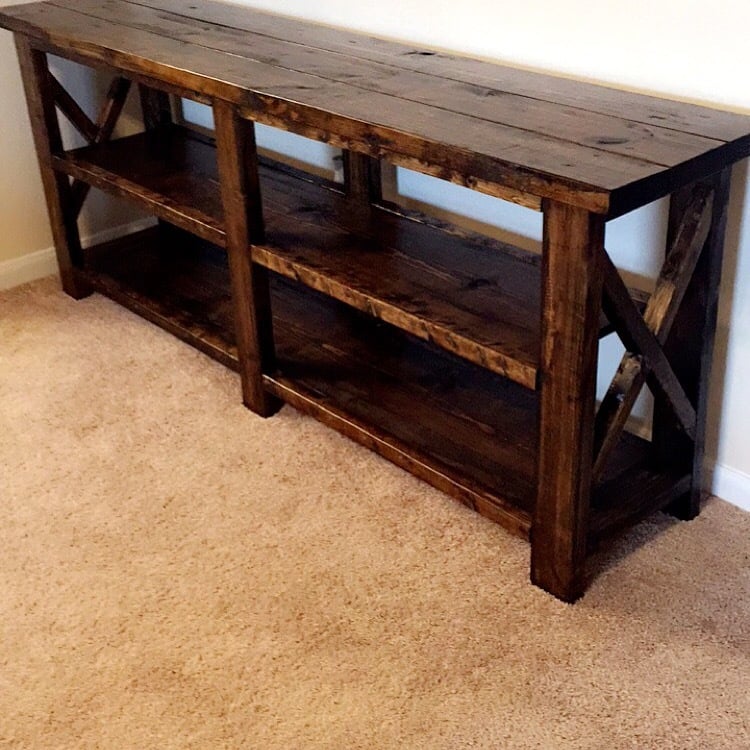
Our very first DIY furniture piece my husband & I made. We absolutely love it & will definitely be doing more DIY projects together.

Built from Plan(s)
Estimated Cost
$100
Estimated Time Investment
Weekend Project (10-20 Hours)
Recommended Skill Level
Beginner
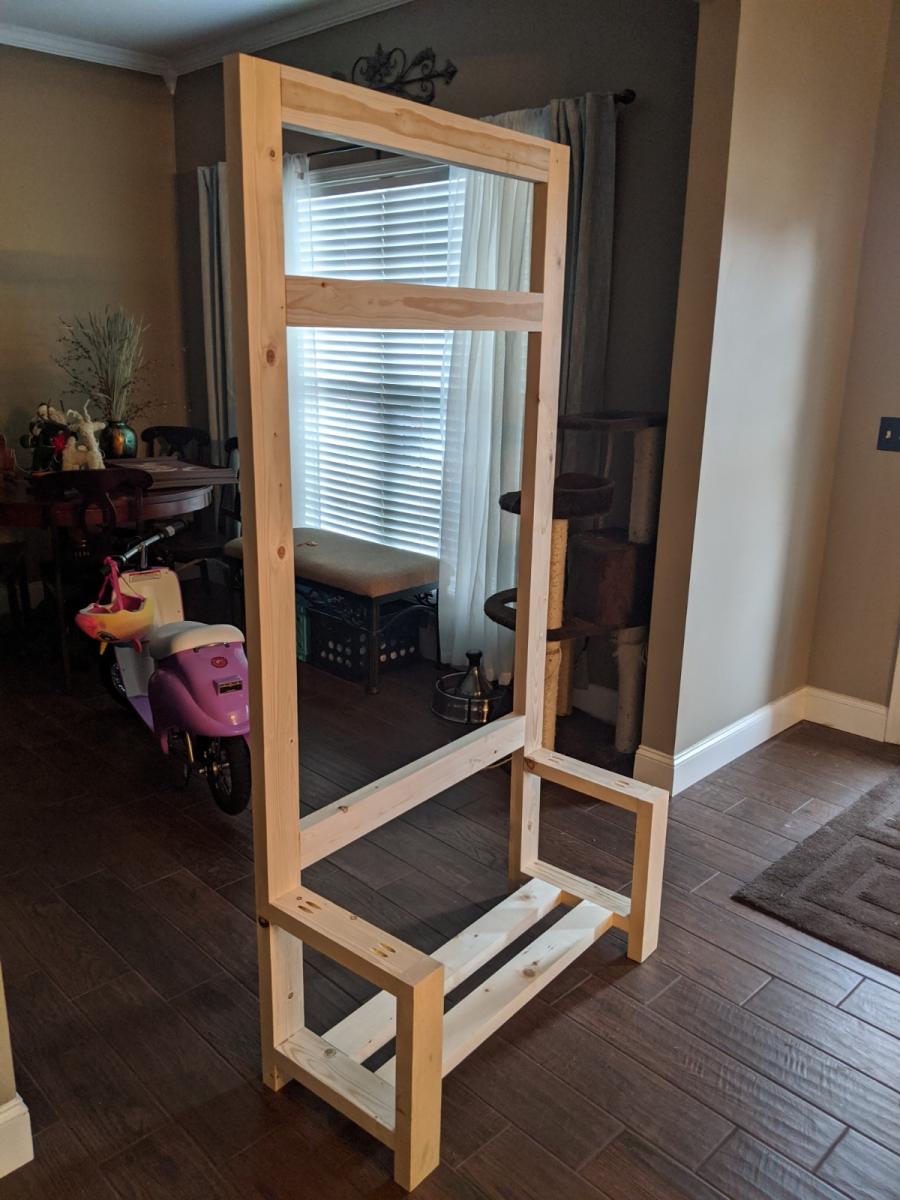
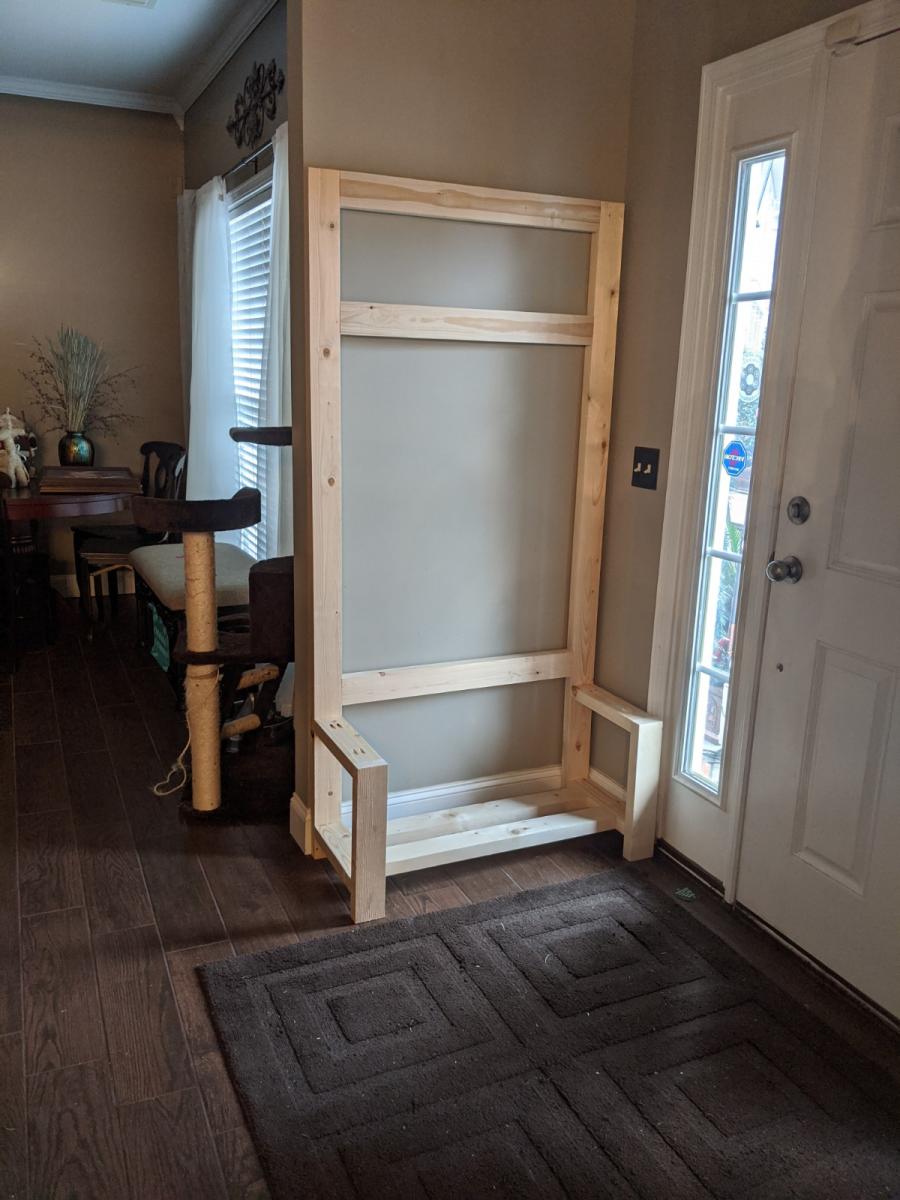
Rustic X Hall Bench
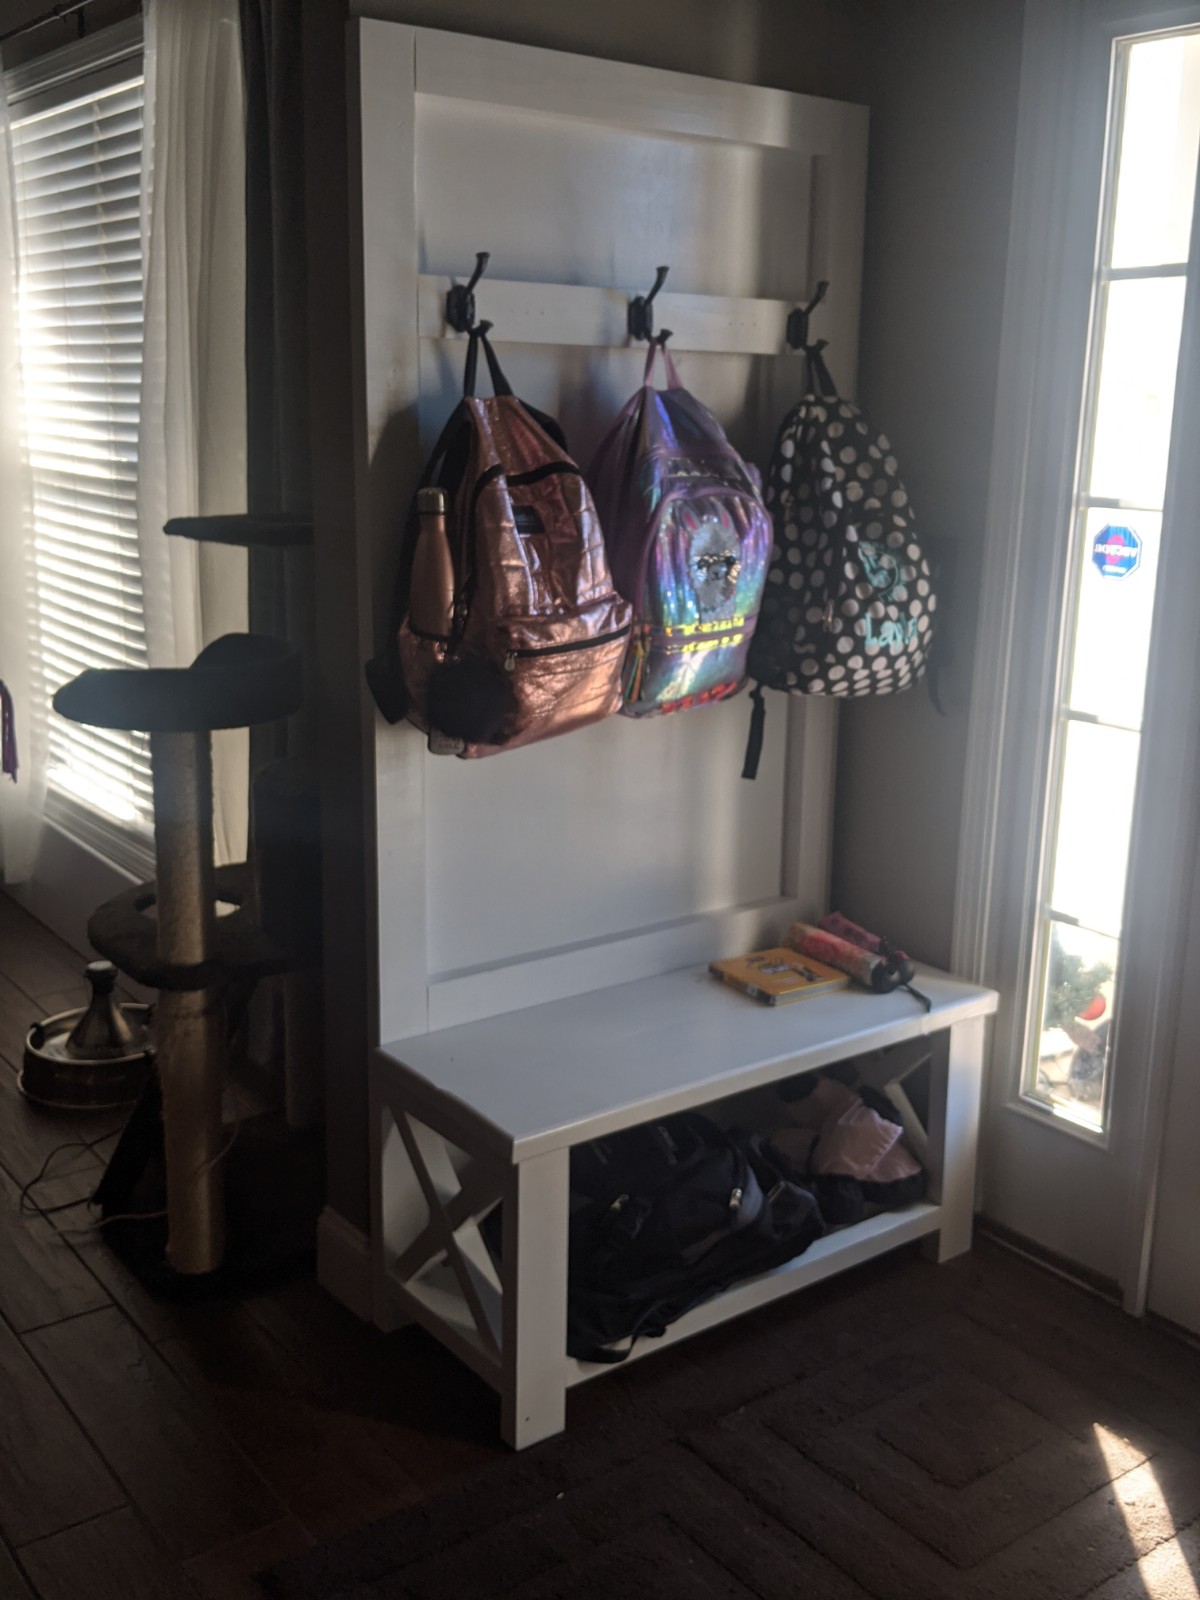
My wife got some gift cards for Christmas. Instead of going and buying stuff for herself, she handed them to me and said that she wanted a Hall Bench/Mudroom bench and she wanted me to build it. We've got several of the Rustic X furniture pieces in our home already and she wanted it to match, so this was the natural fit. This was a great project and addition to some of our home decor. I had to shrink it down to fit our space, but that was easy.

Built from Plan(s)
Estimated Cost
<$100
Estimated Time Investment
Day Project (6-9 Hours)
Finish Used
Sherwin Williams primer and paint
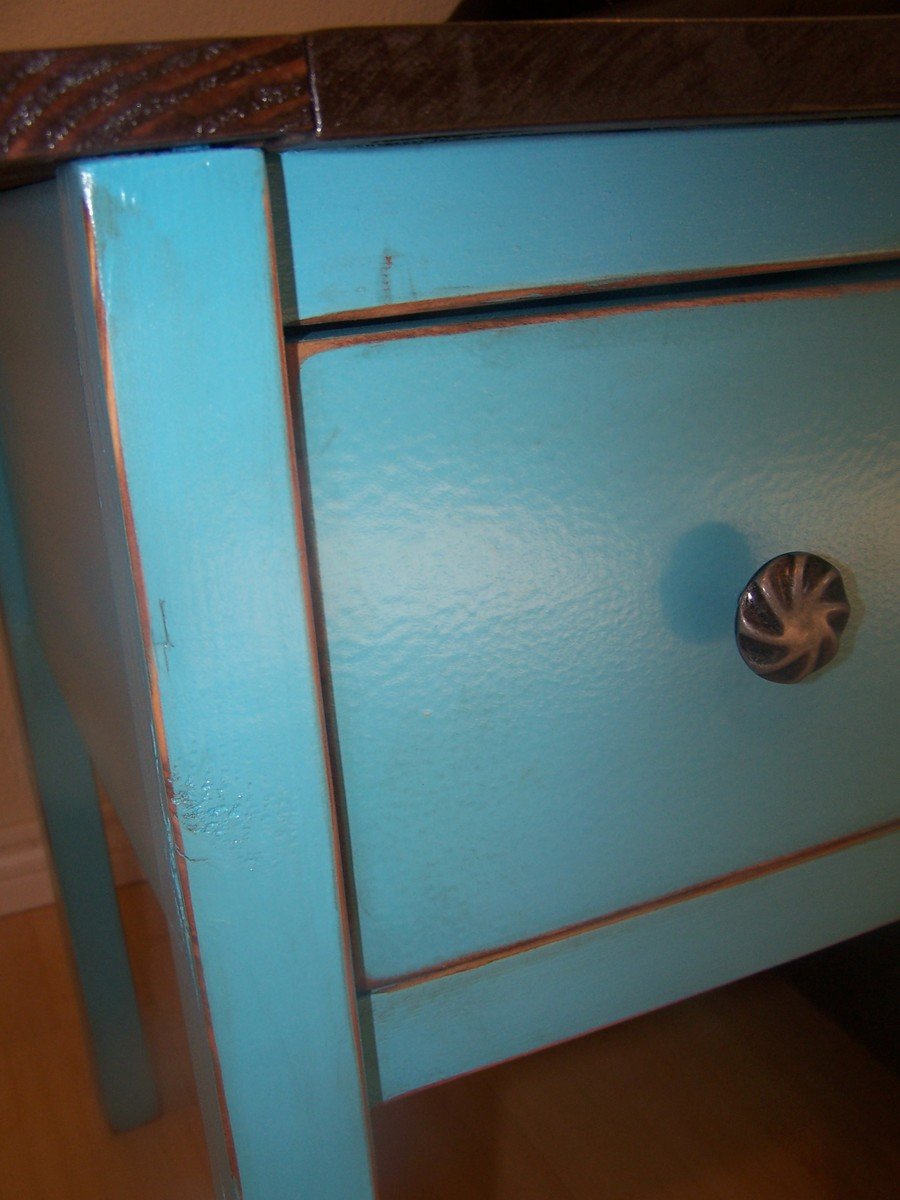
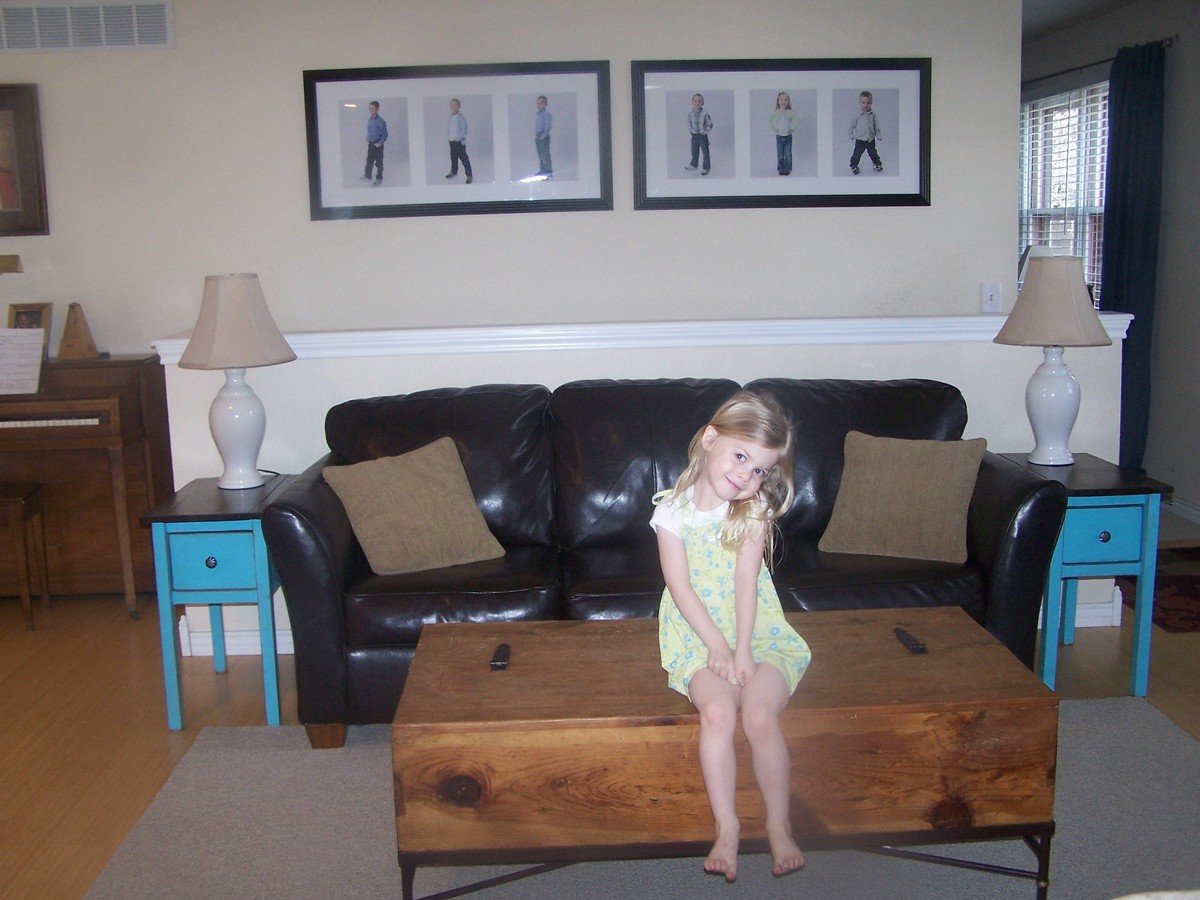
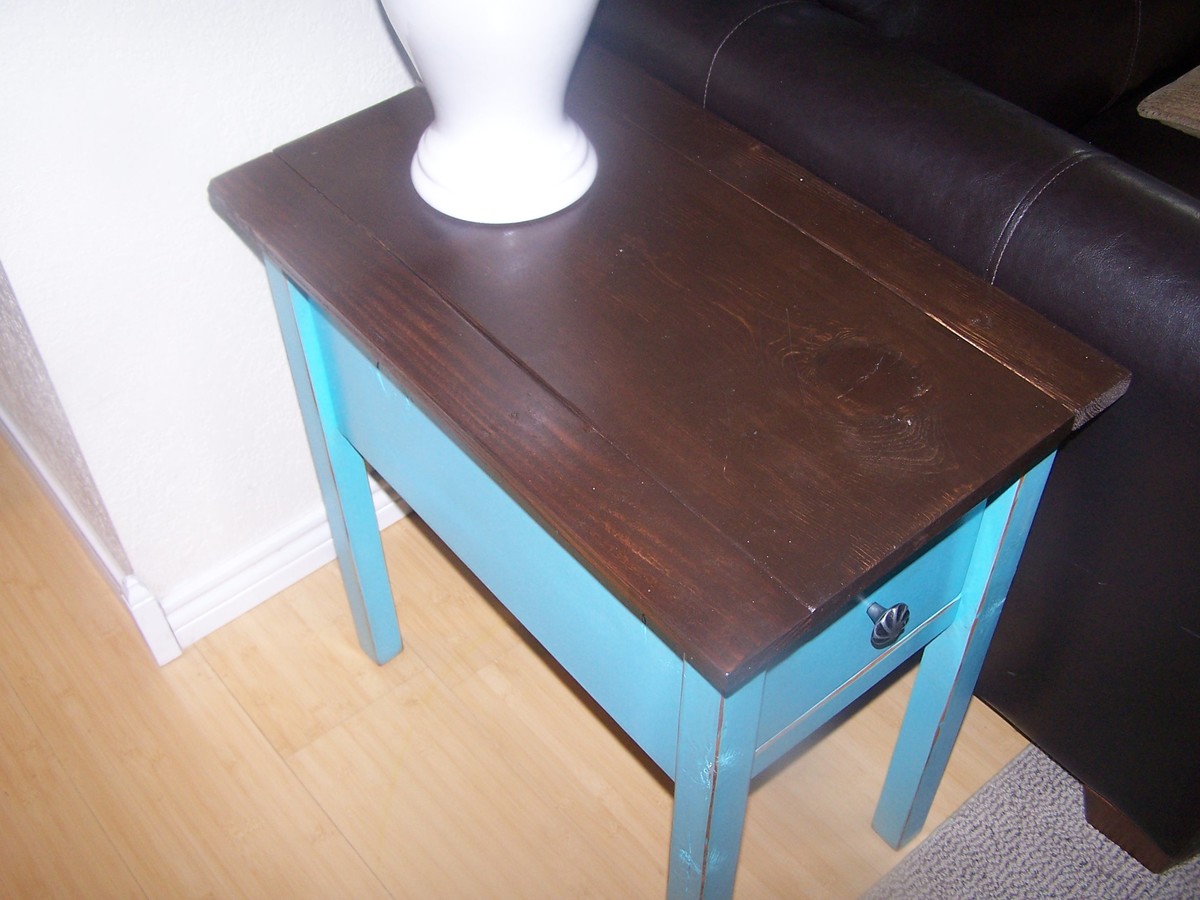
Narrow cottage end tables
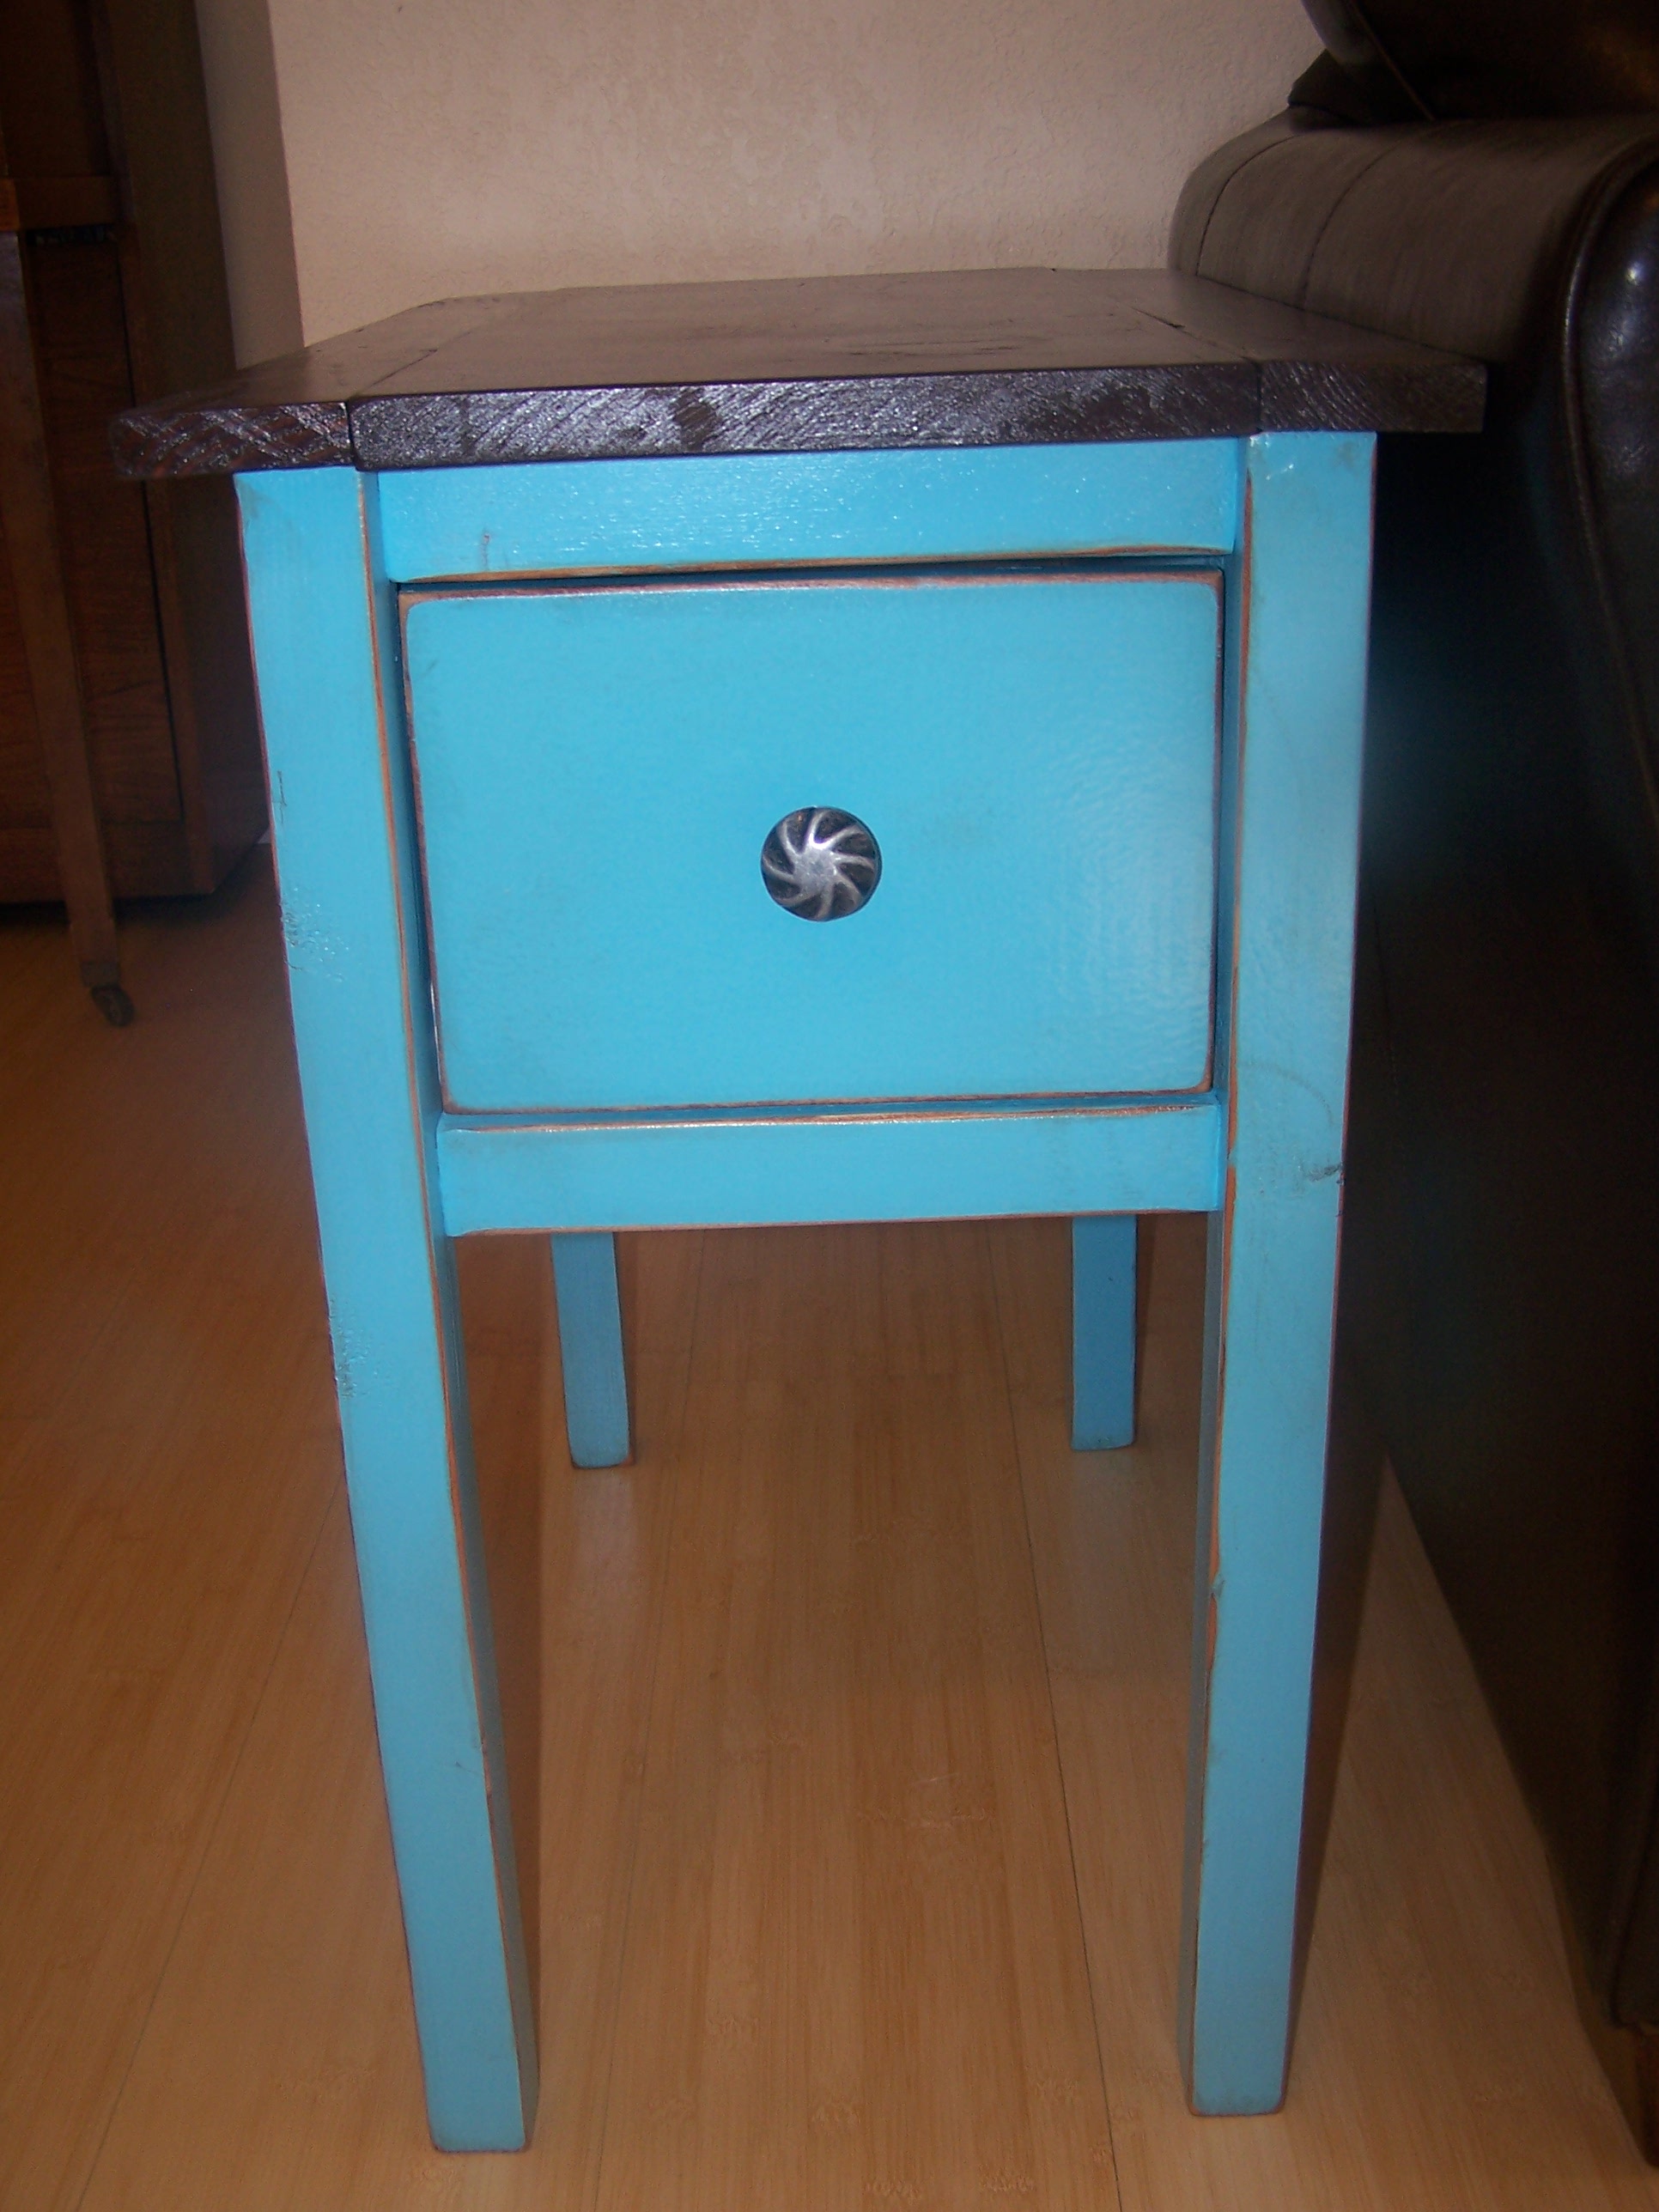
These plans were the perfect little end tables for my "sitting area" in my kitchen. I went out and found scraps from my pile in the shed and only had to buy one 1x3! With my kids I rarely have time to do a project in one day. I measure one day, cut and sand another, and then build another. These babies sat unfinished by my couch for a couple of months, and I FINALLY finished them! Yea! I love them! It is my first attempt at painting furniture and distressing, it's not perfect, but I am happy to have a little more confidence! I love the tables! Thanks Ana!
Built from Plan(s)
Estimated Cost
Used boards on hand- so approx 15.00 for paint and a 1x3
Estimated Time Investment
Day Project (6-9 Hours)
Finish Used
I got a turquoise paint from walmart and lost the color sample (sorry)! I stained the top with Rustoleum's Dark Walnut Ultimate wood stain (dries so fast) and you only need one coat. I then distressed the edges and put stain on and wiped off right away. I finished with a coat of water based poly. I used my new command max home right hvlp sprayer! LOVE it! $75 dollars worth every penny!
Recommended Skill Level
Beginner
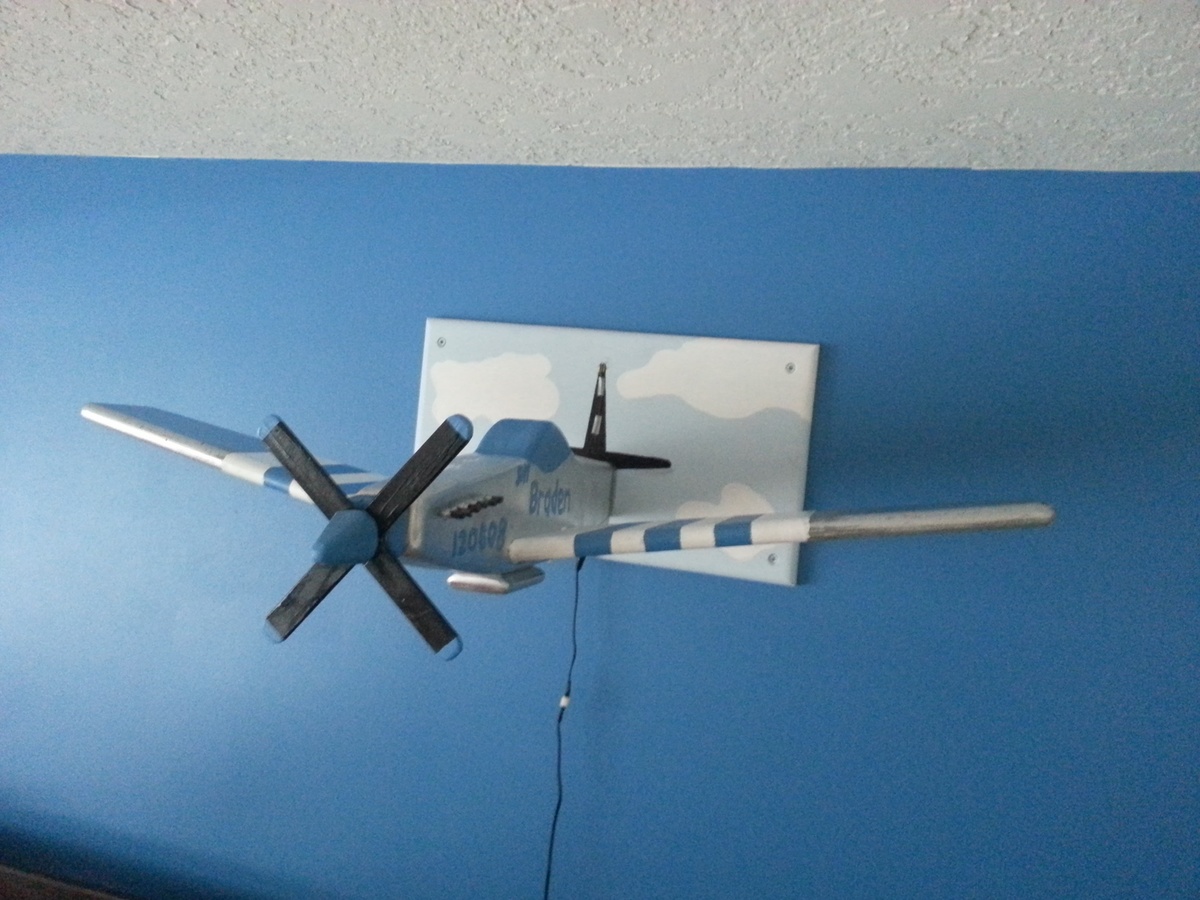
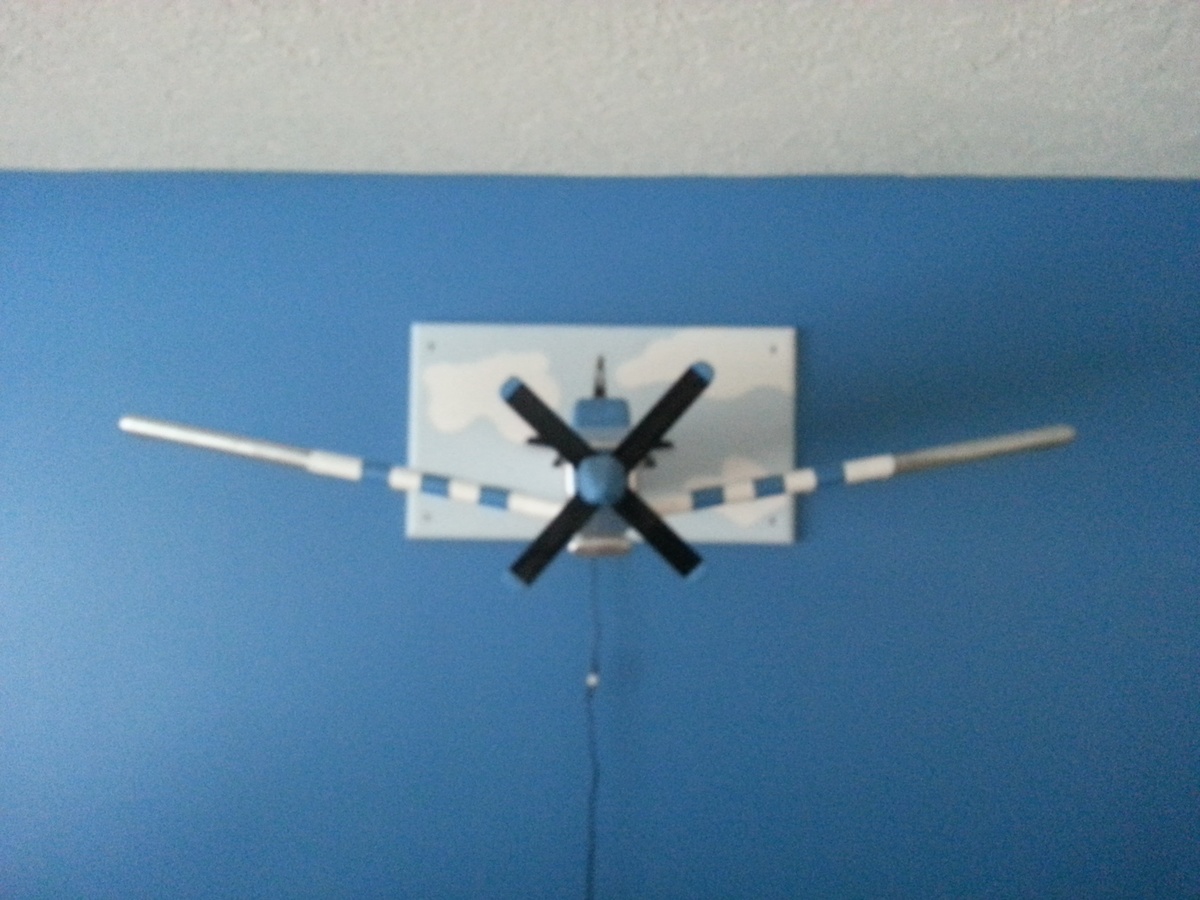
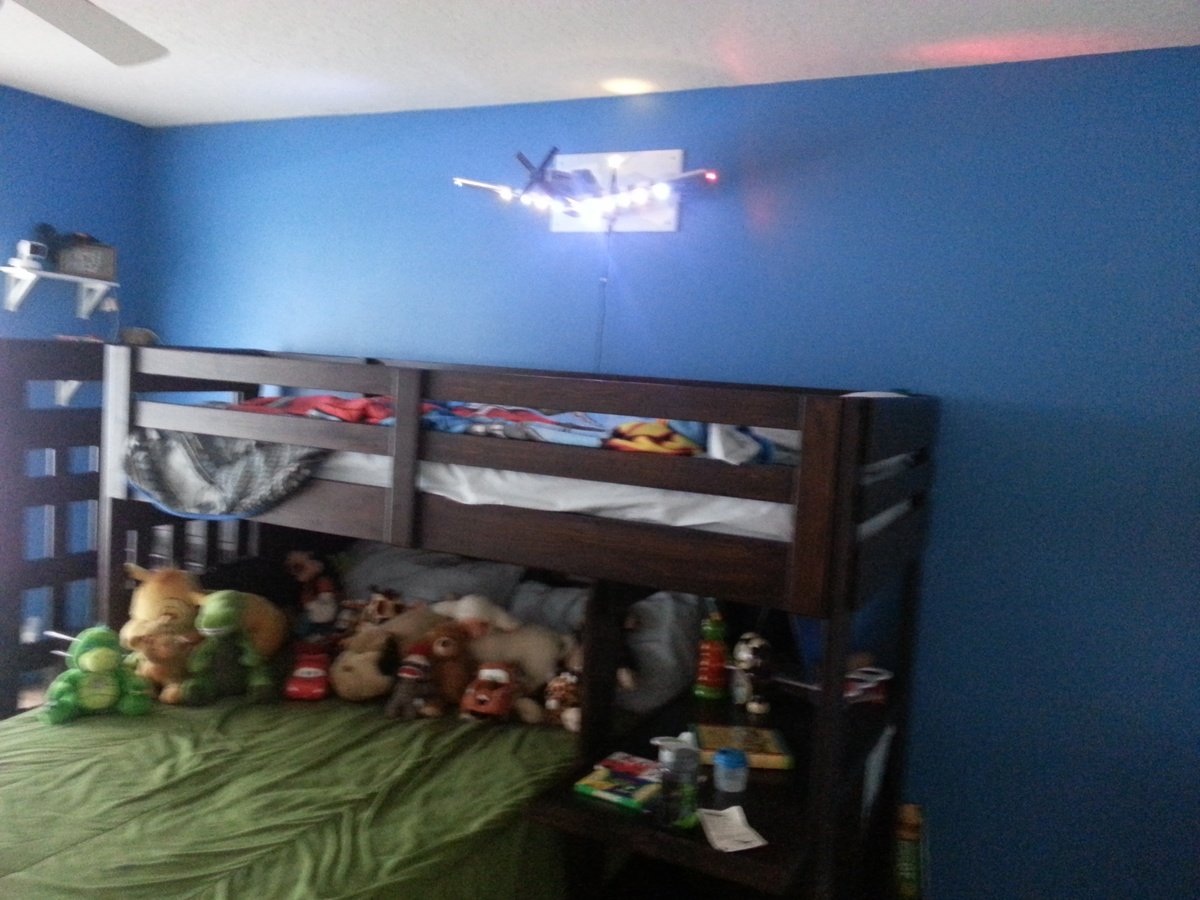
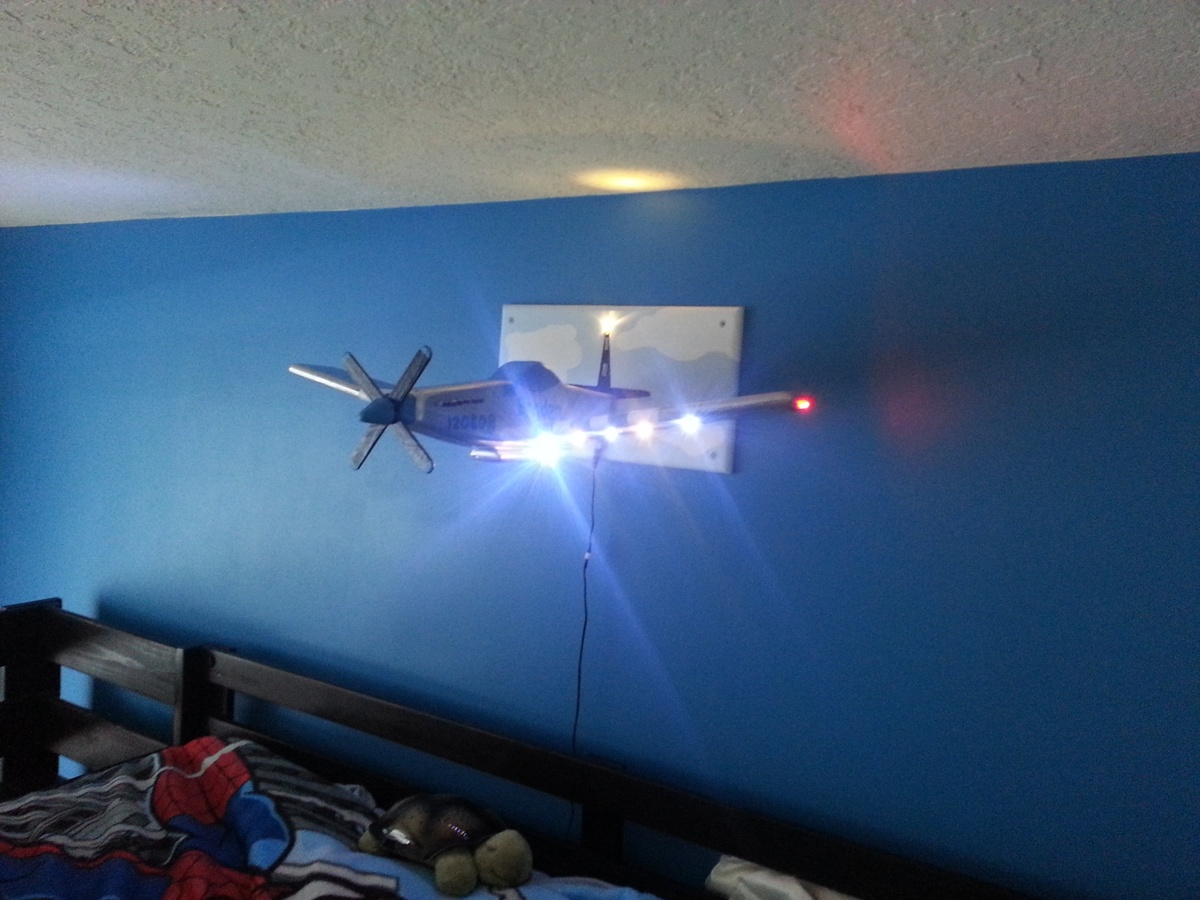
Airplane Reading Light and Shelf
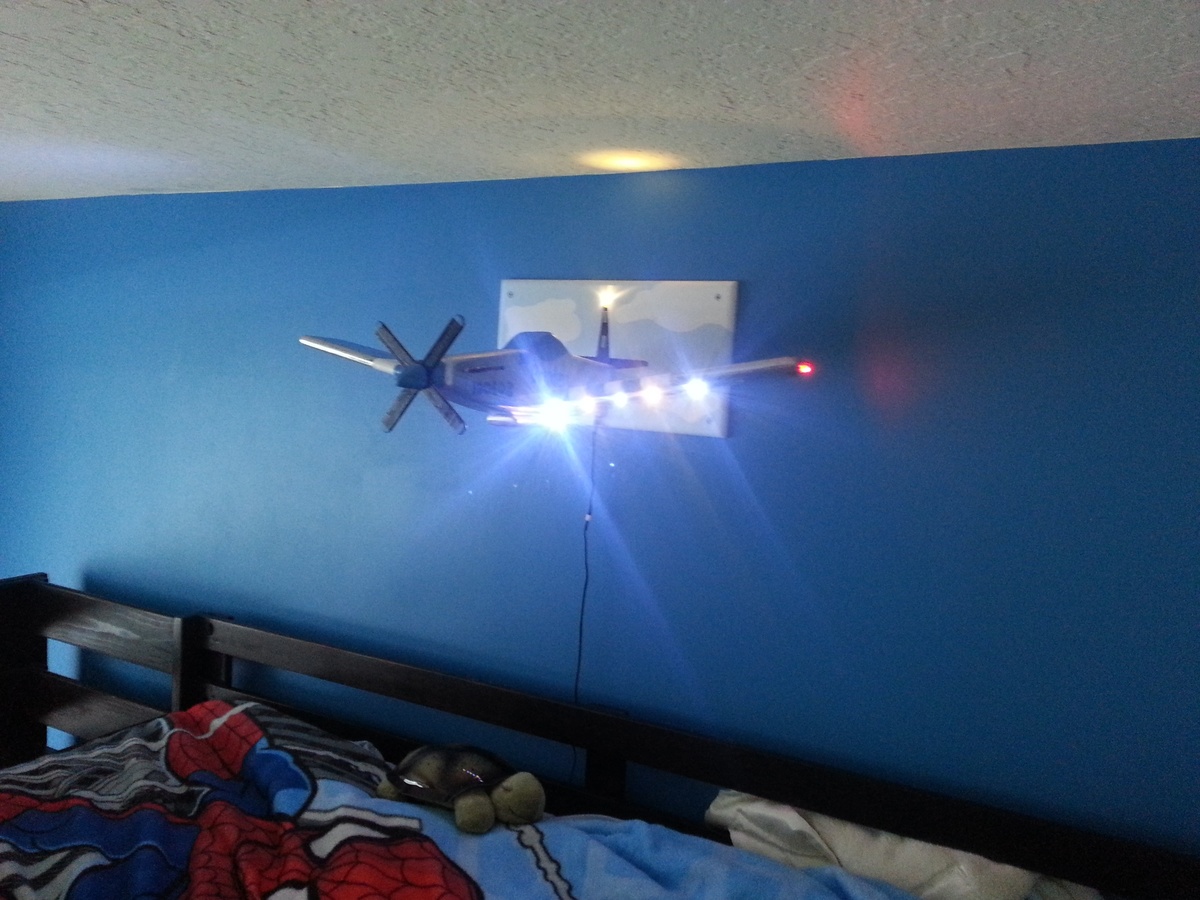
I was inspired to build an airplane shelf for my son based on the plane old shelf design, and I've always liked WW2 era p-51 Mustangs. So I thought I'd give it a shot. I built this design out of mostly 3/4 plywood scrap. I glued 3 pieces together for the fuselage and routed out the wings for a rounded look. I then thought it would be cool to add some LED lights. That got me thinking, if I added enough lights underneath the wings he could use it to read books at night. There are 12 lights underneath and it seems to be very bright. The prop spins thanks to a few washers and a long screw. Most of my cost was tied up in LED lights since I used spare parts and scrap wood. It took me at least 10 hours to build as I had never tried to build something like this and experimented along the way.
Built from Plan(s)
Estimated Cost
$30
Estimated Time Investment
Weekend Project (10-20 Hours)
Finish Used
Paint (separated on and brushed depending on what I had on hand)
Recommended Skill Level
Intermediate
Comments
nscott22
Mon, 03/13/2023 - 18:24
Great Job
Great Job