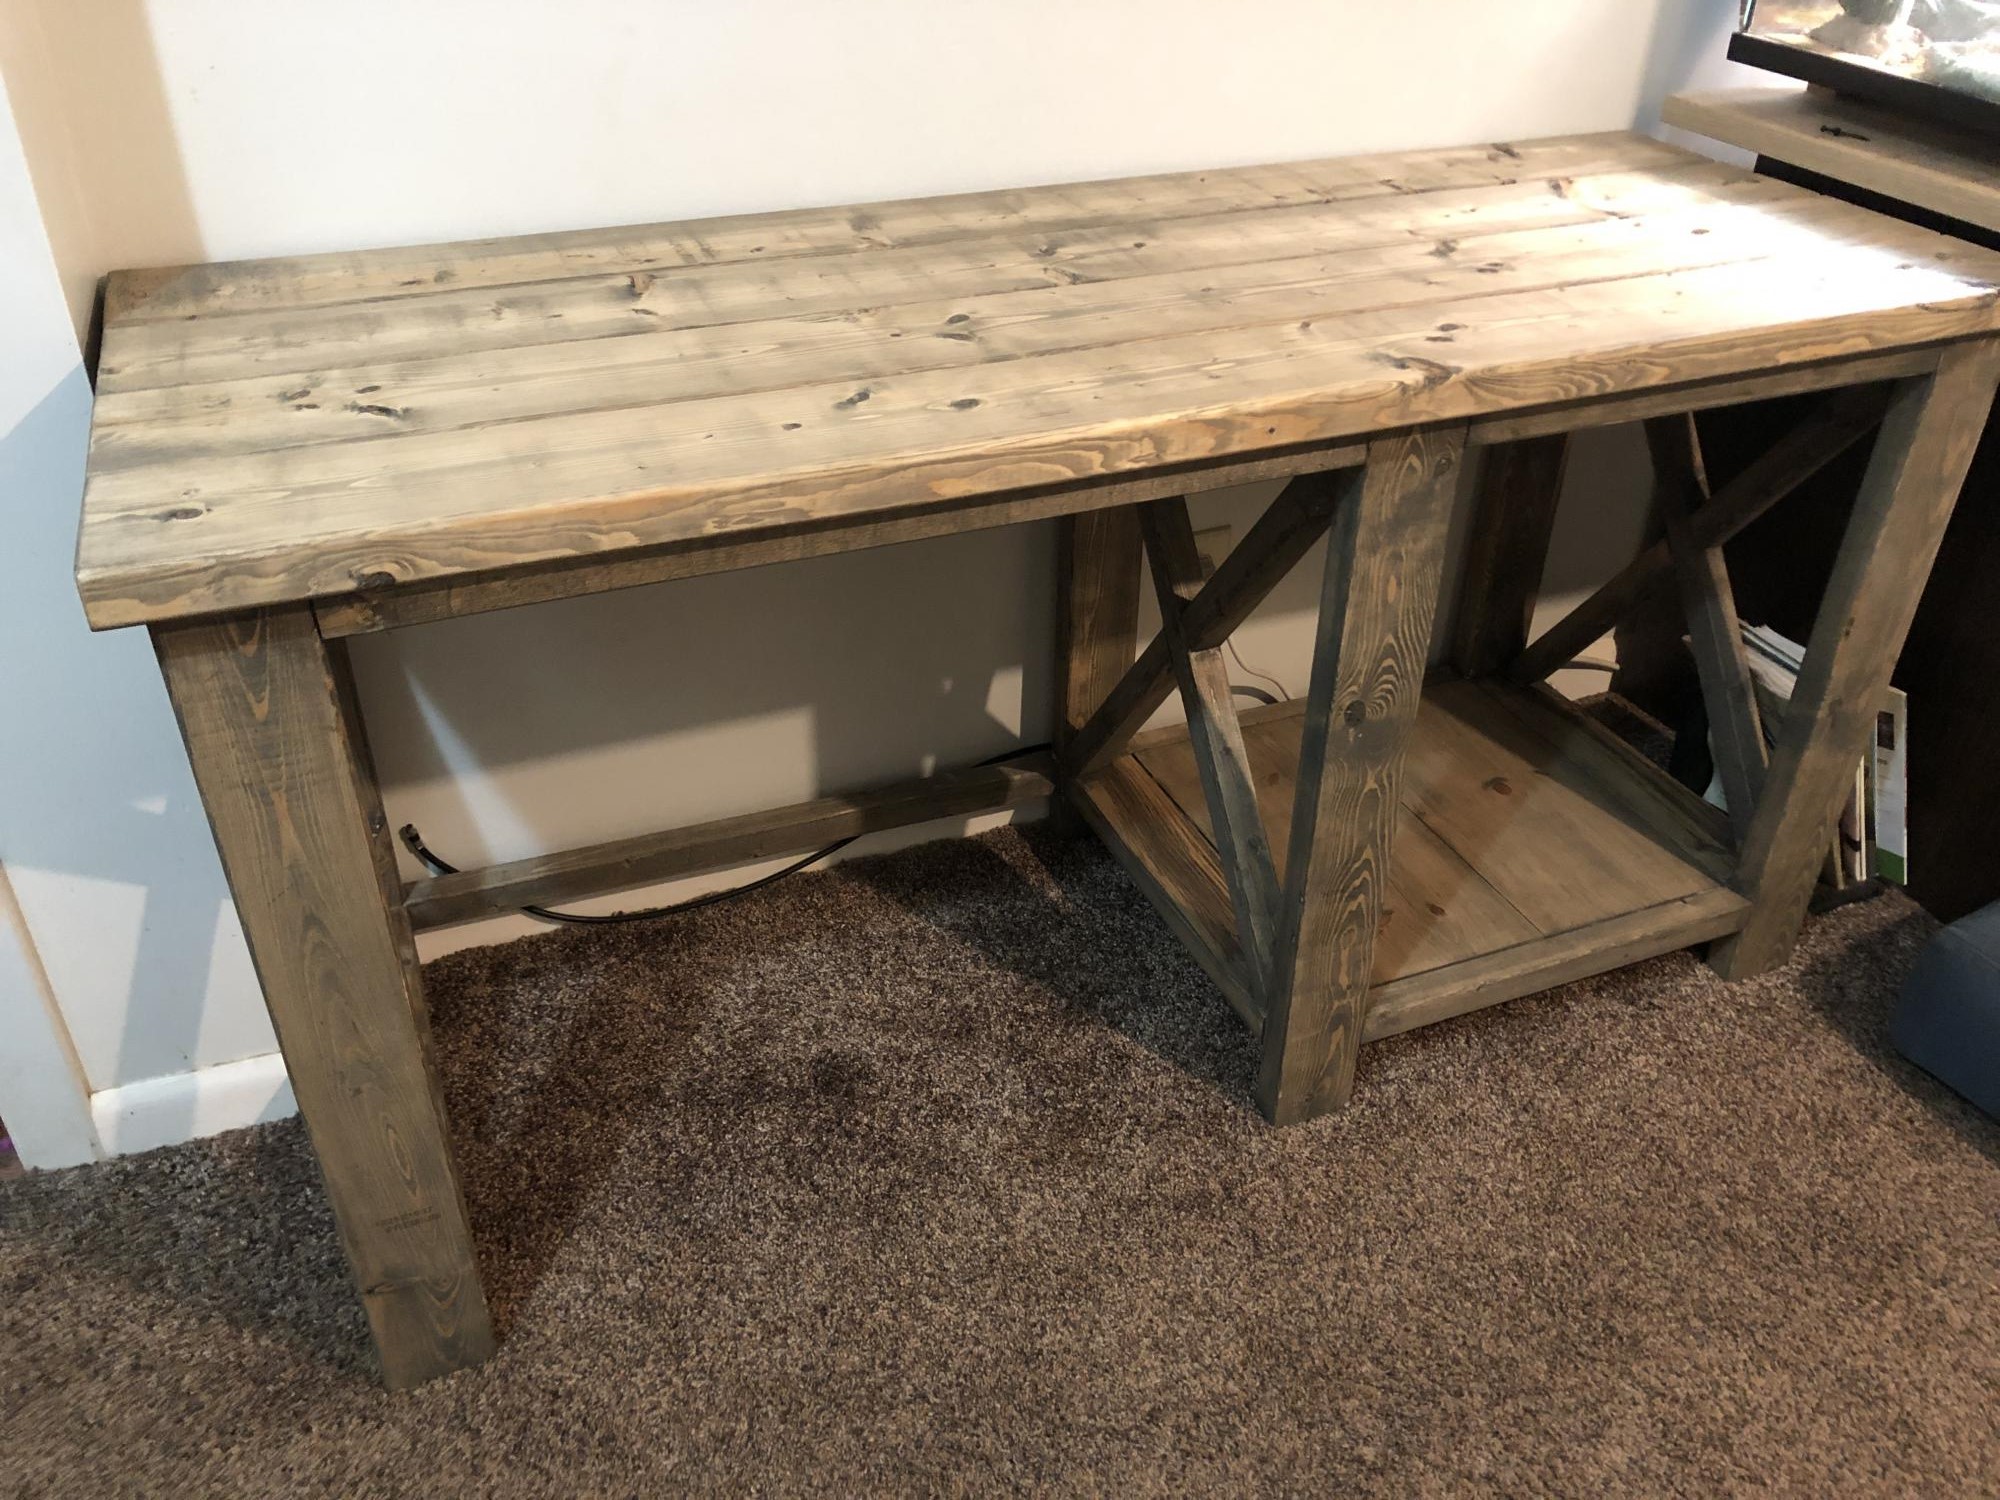
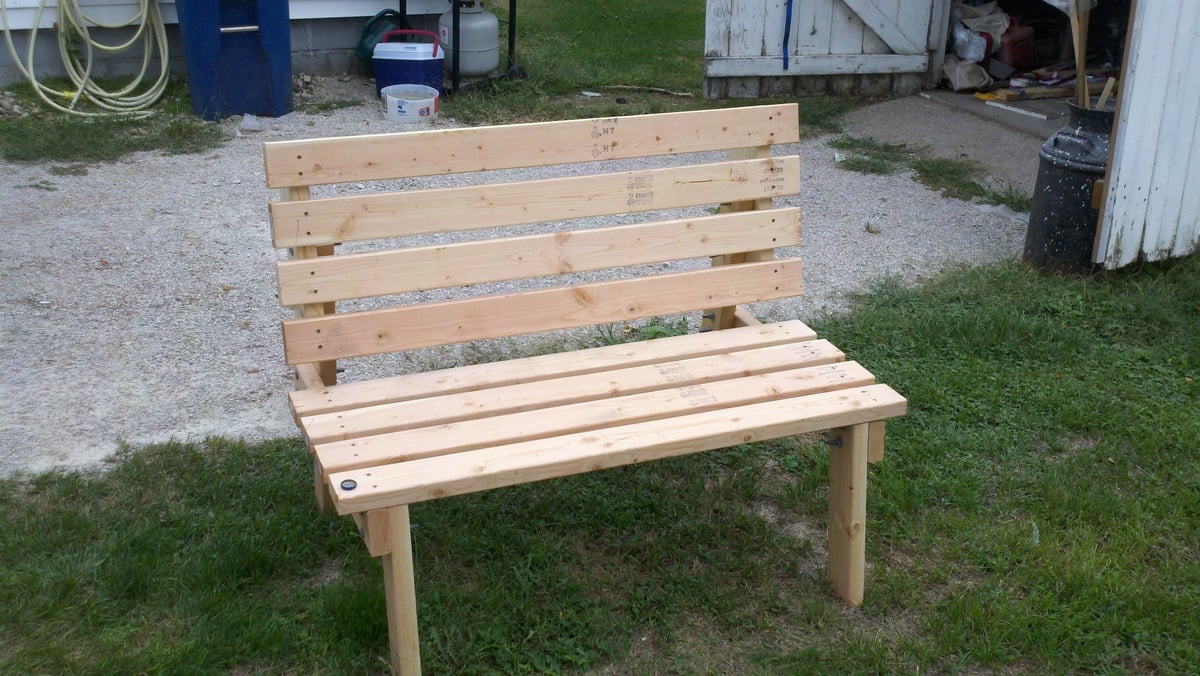
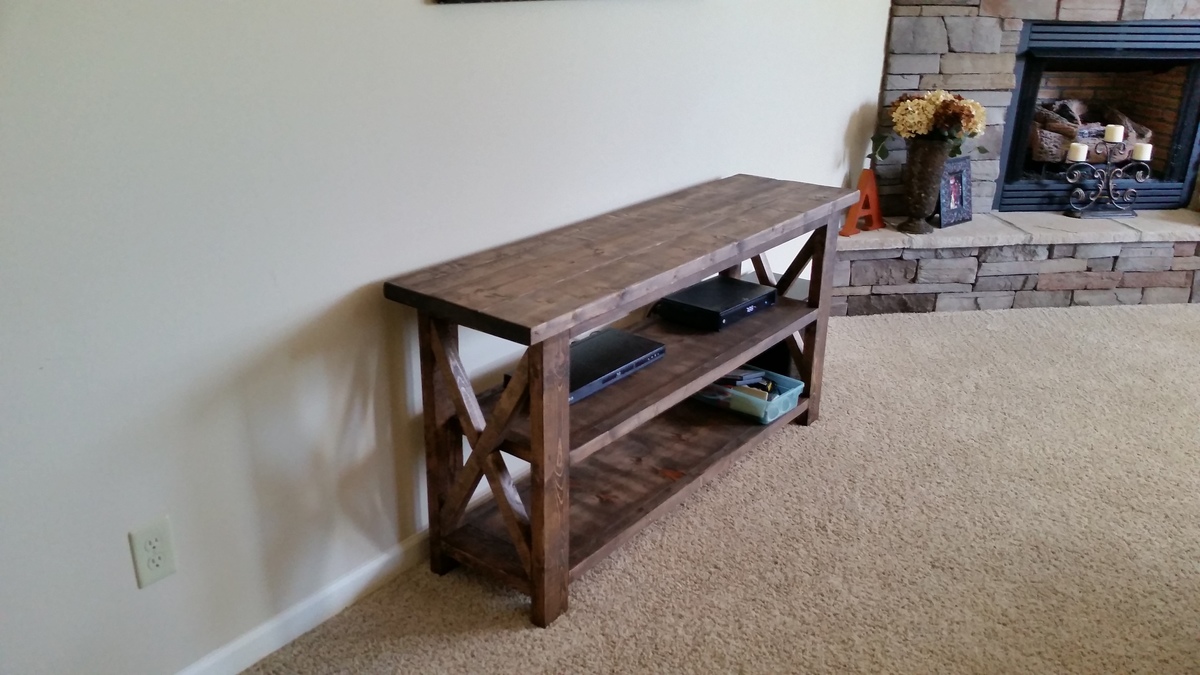
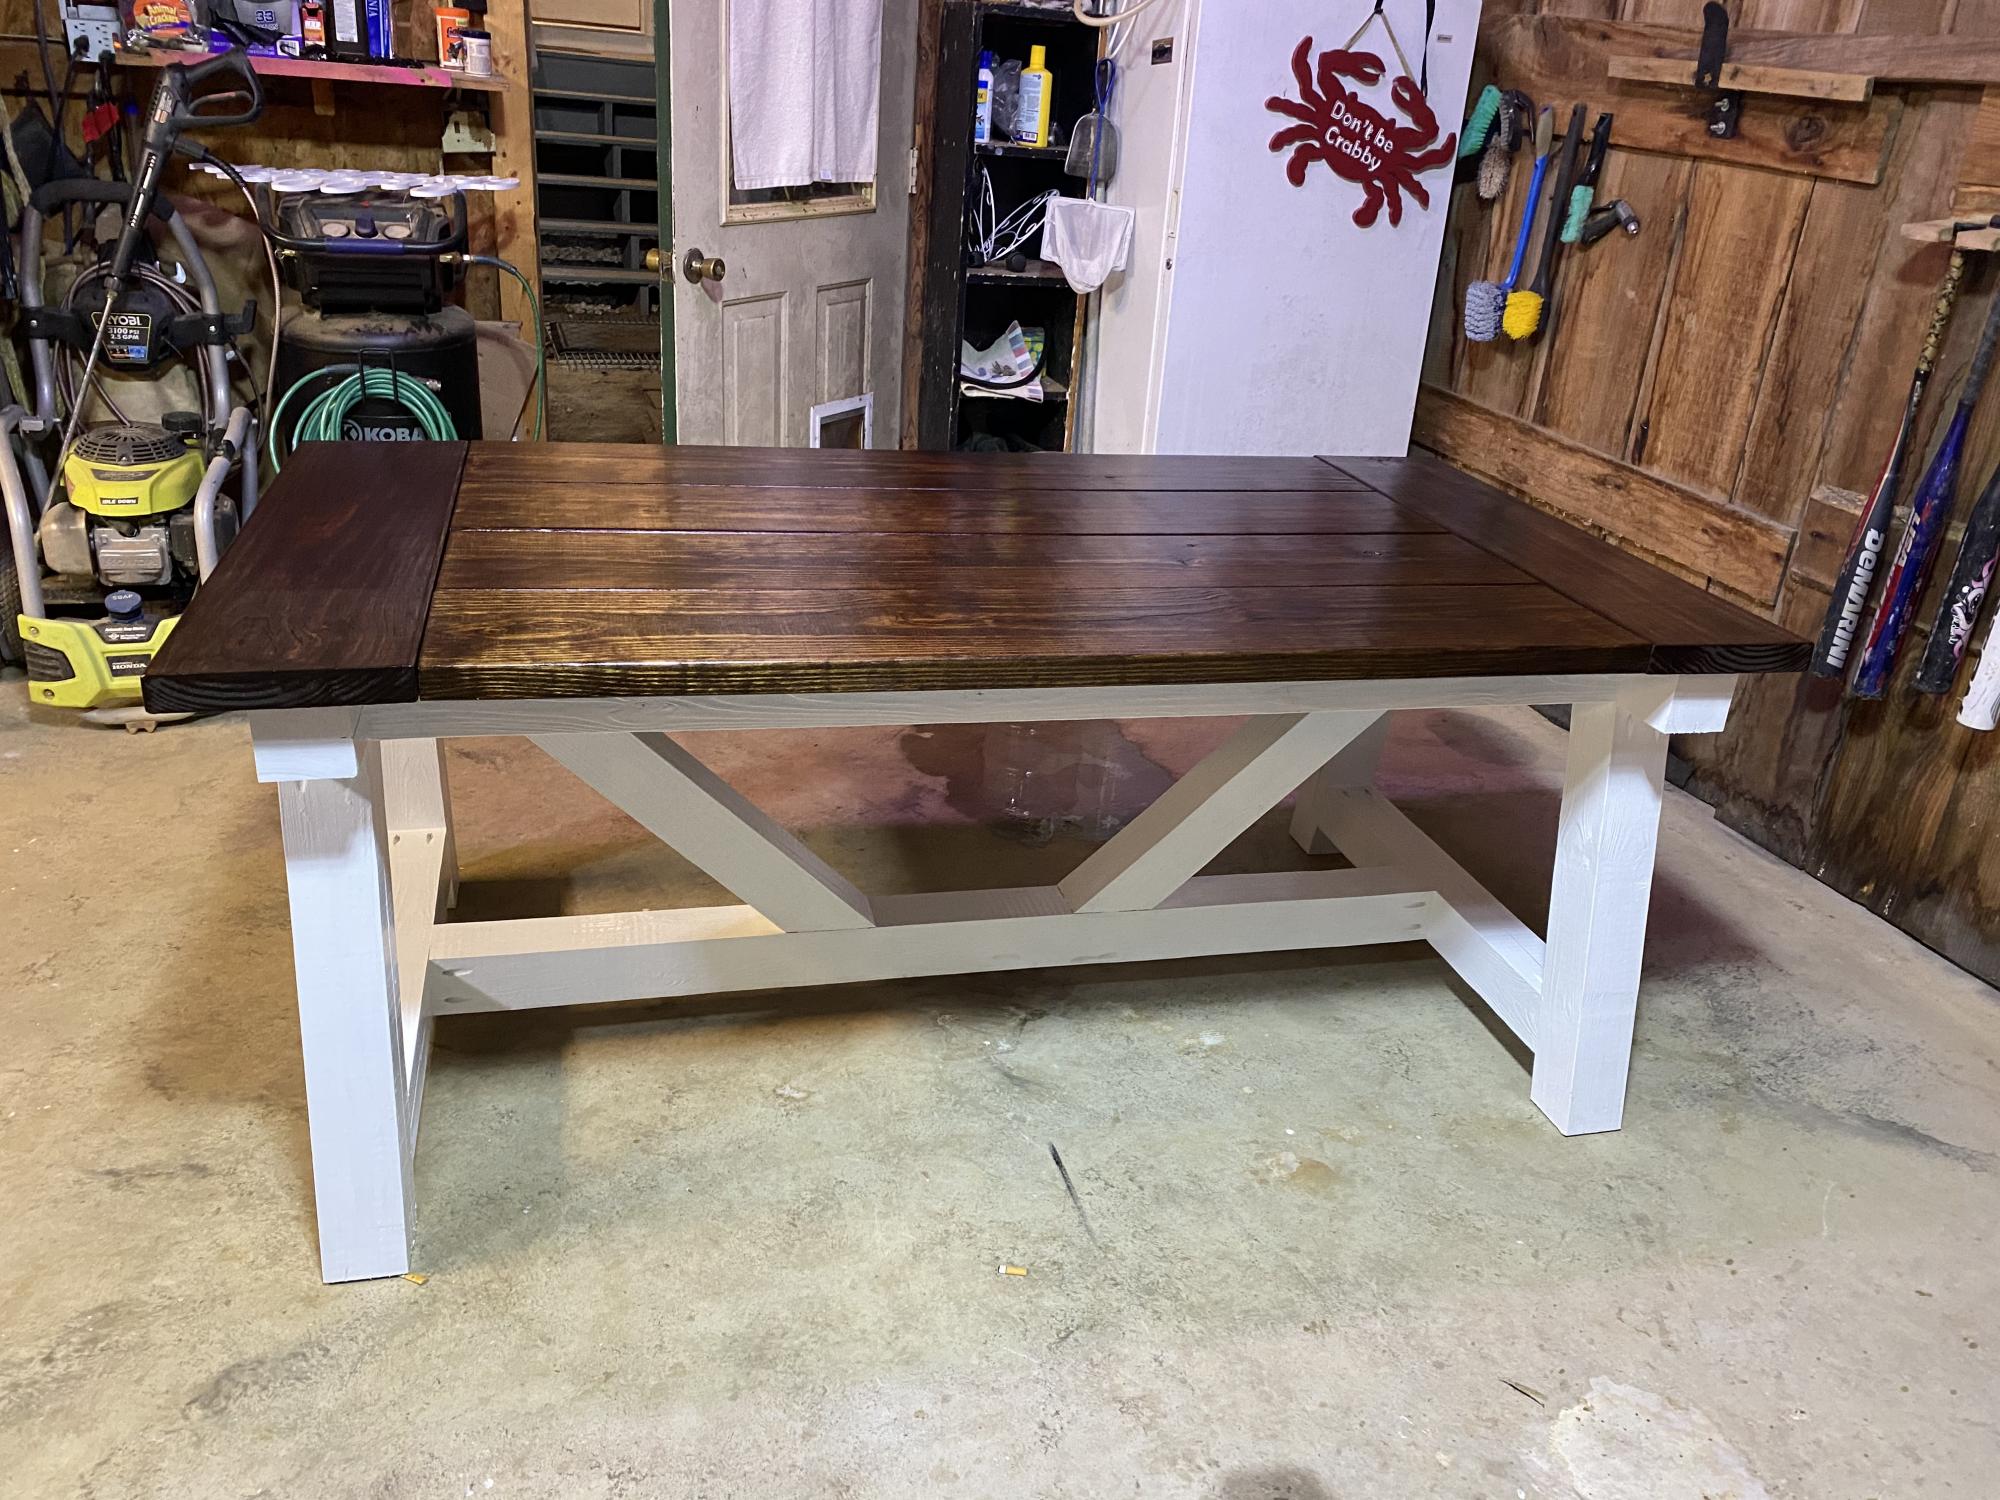
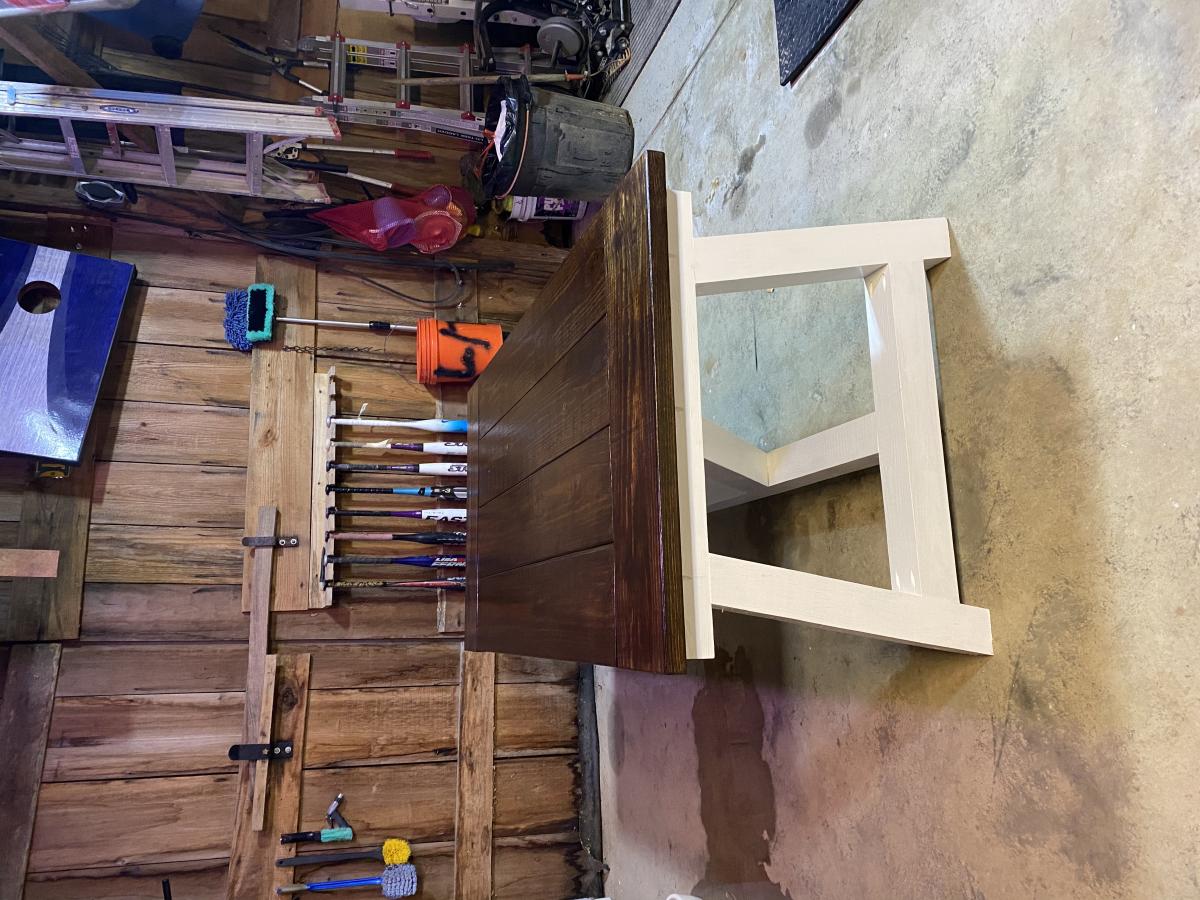
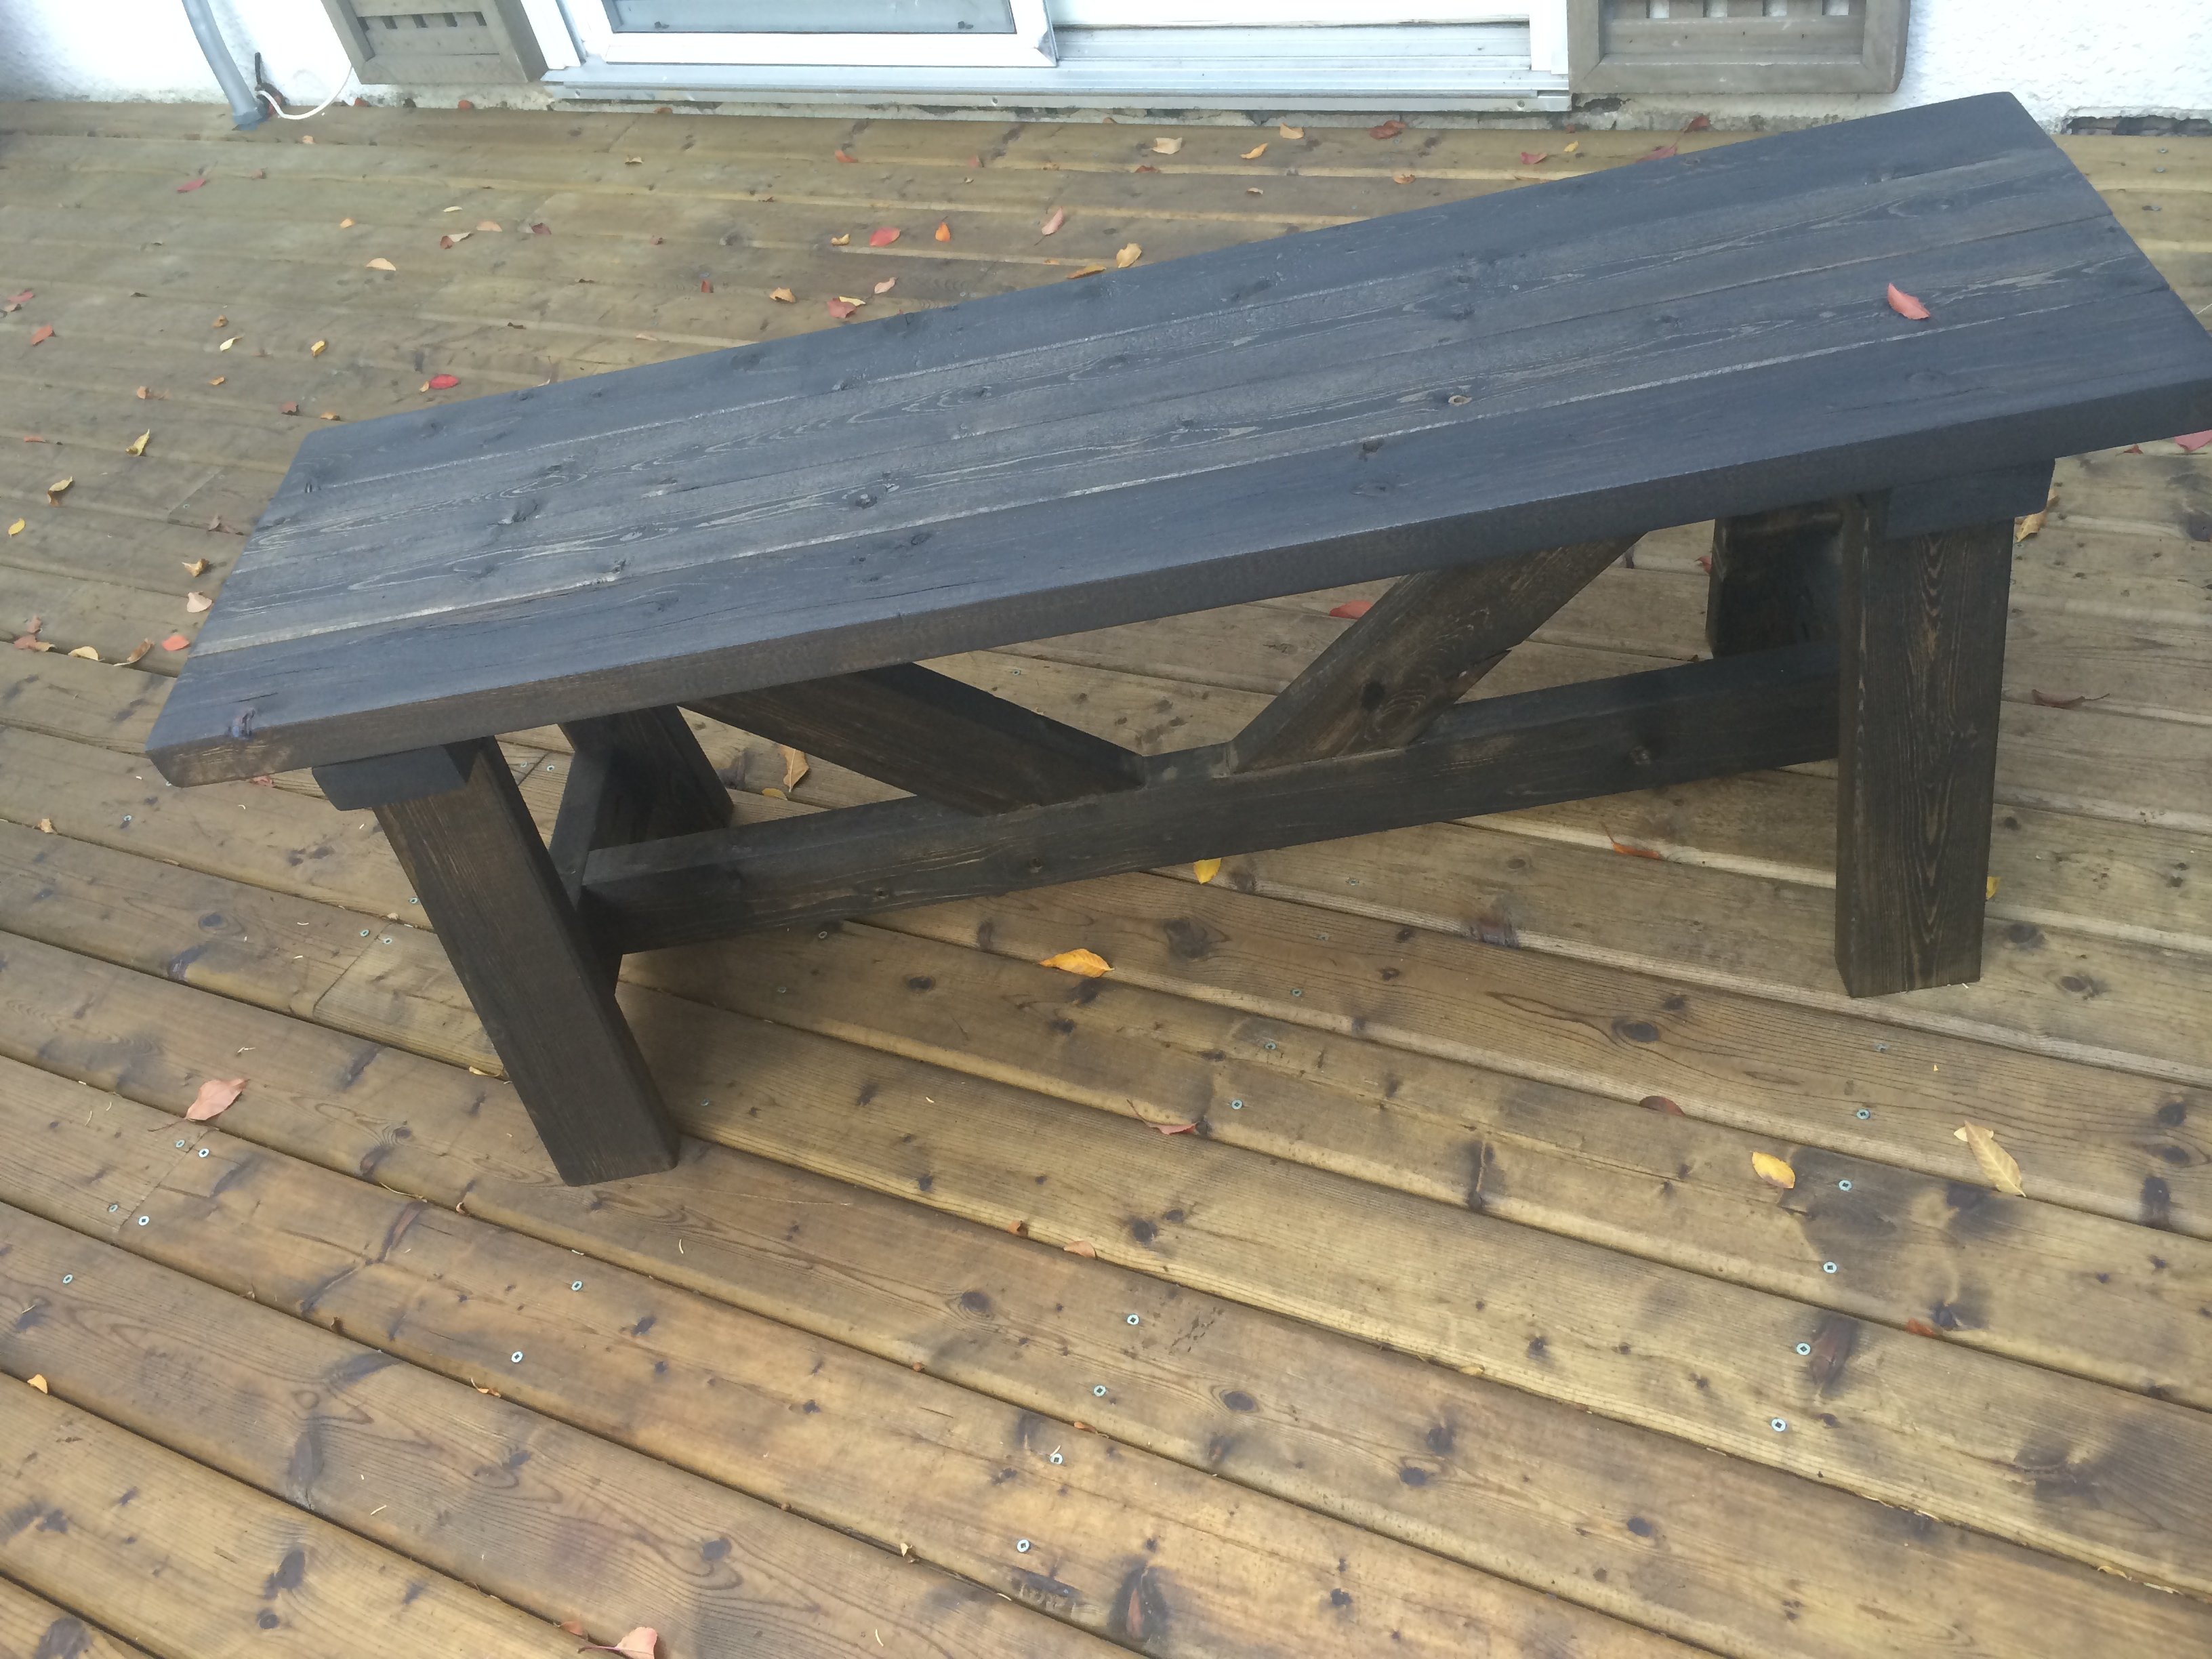
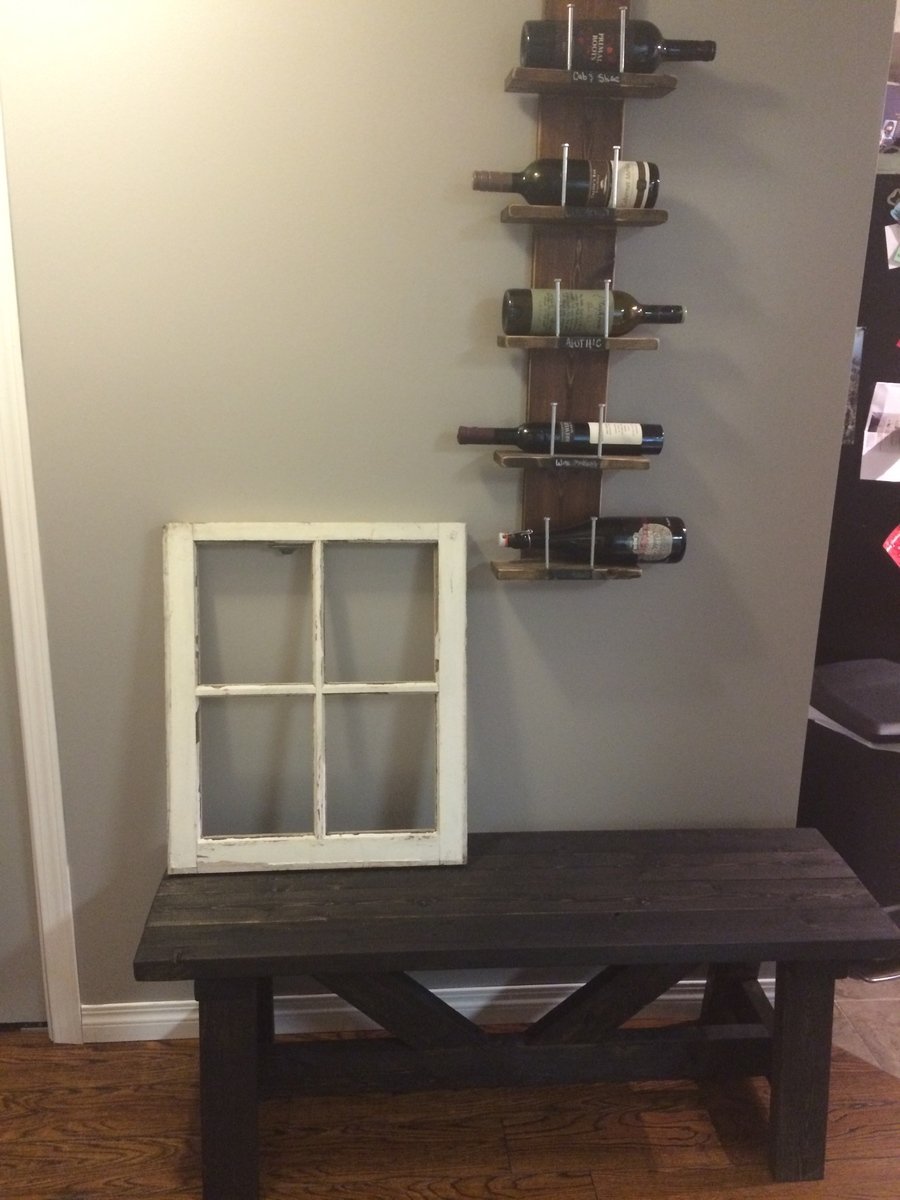
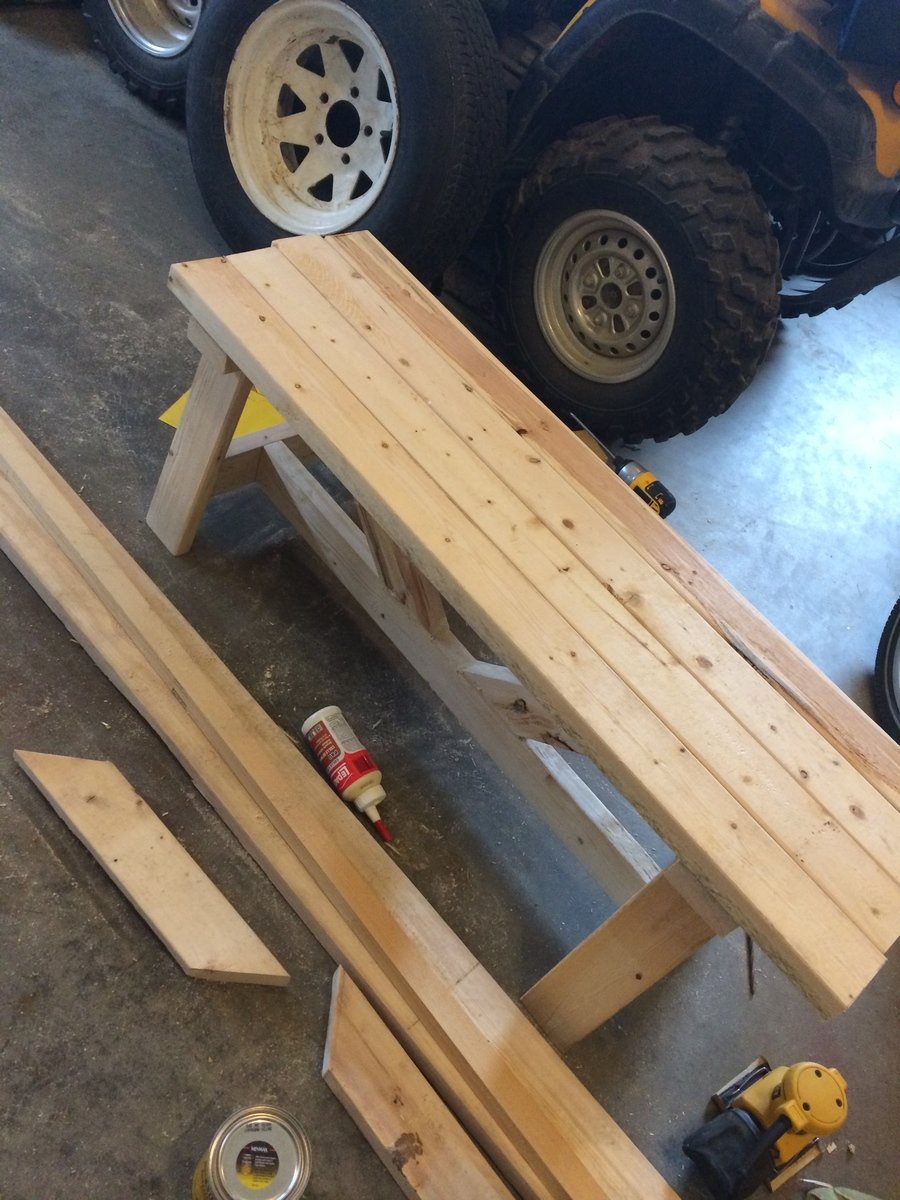
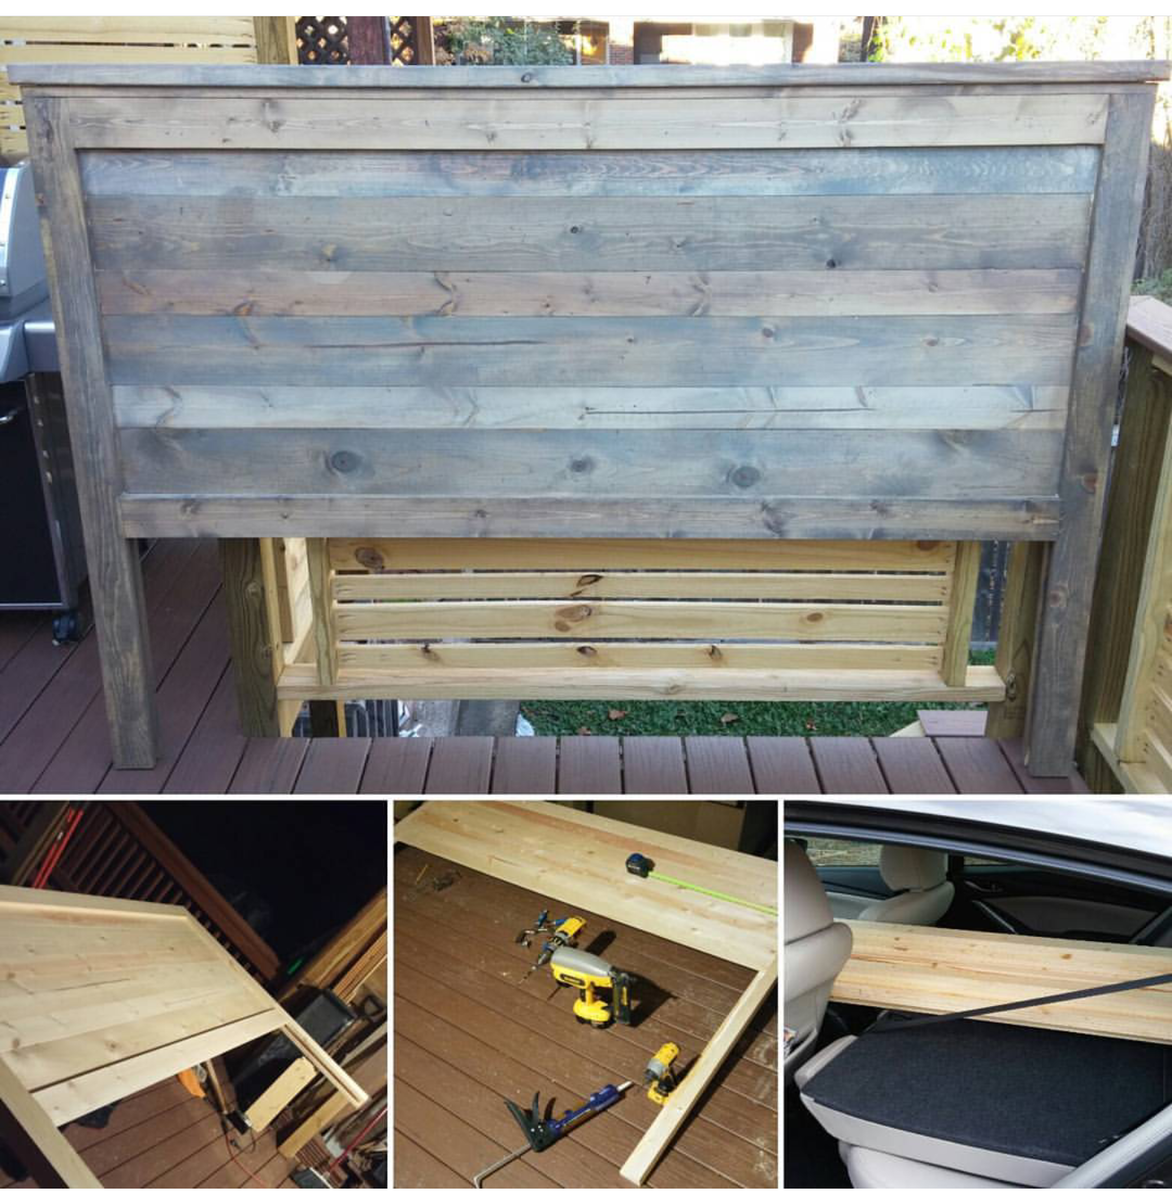
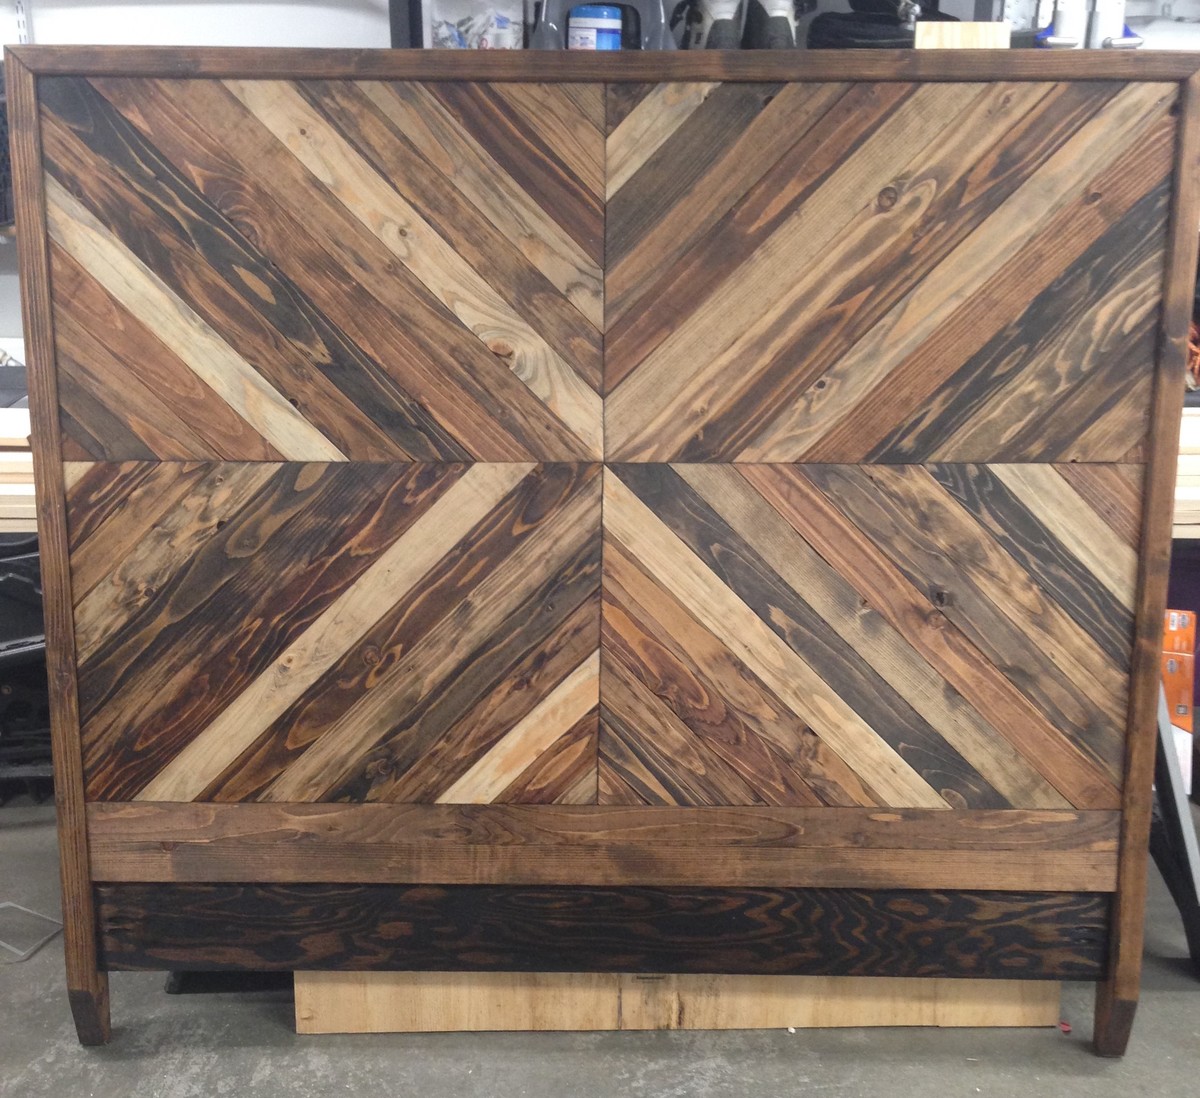
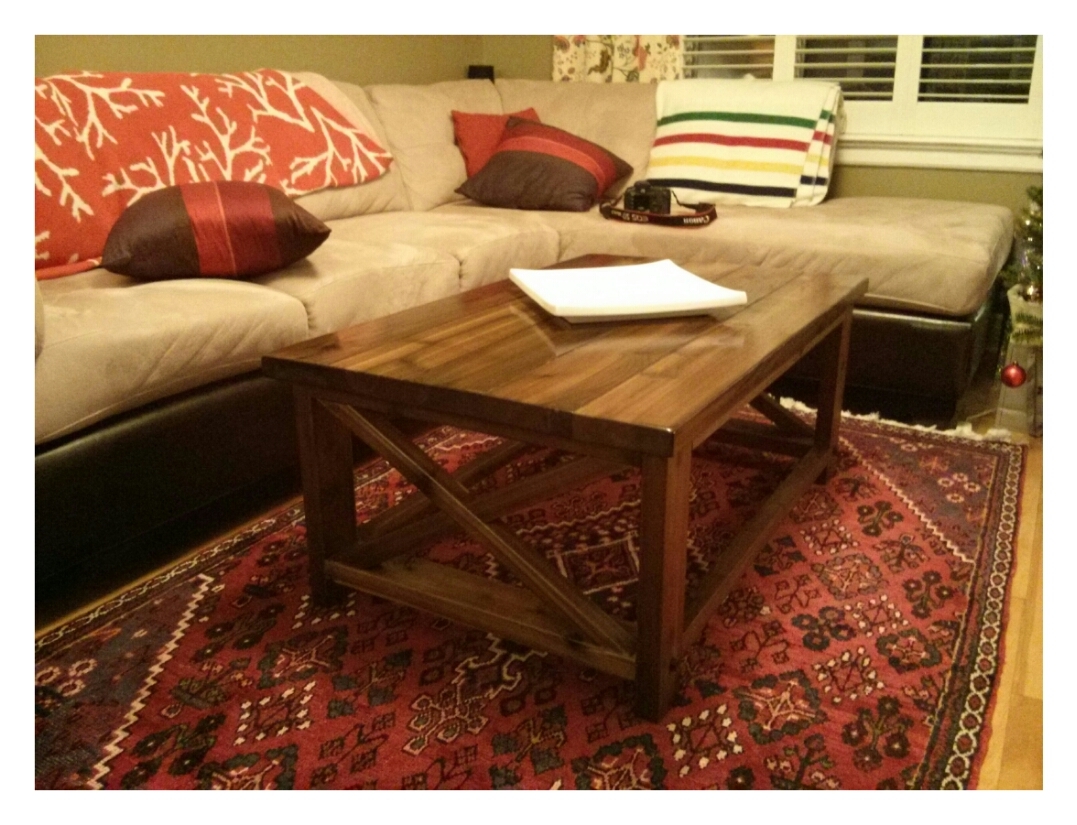
Truss coffee table
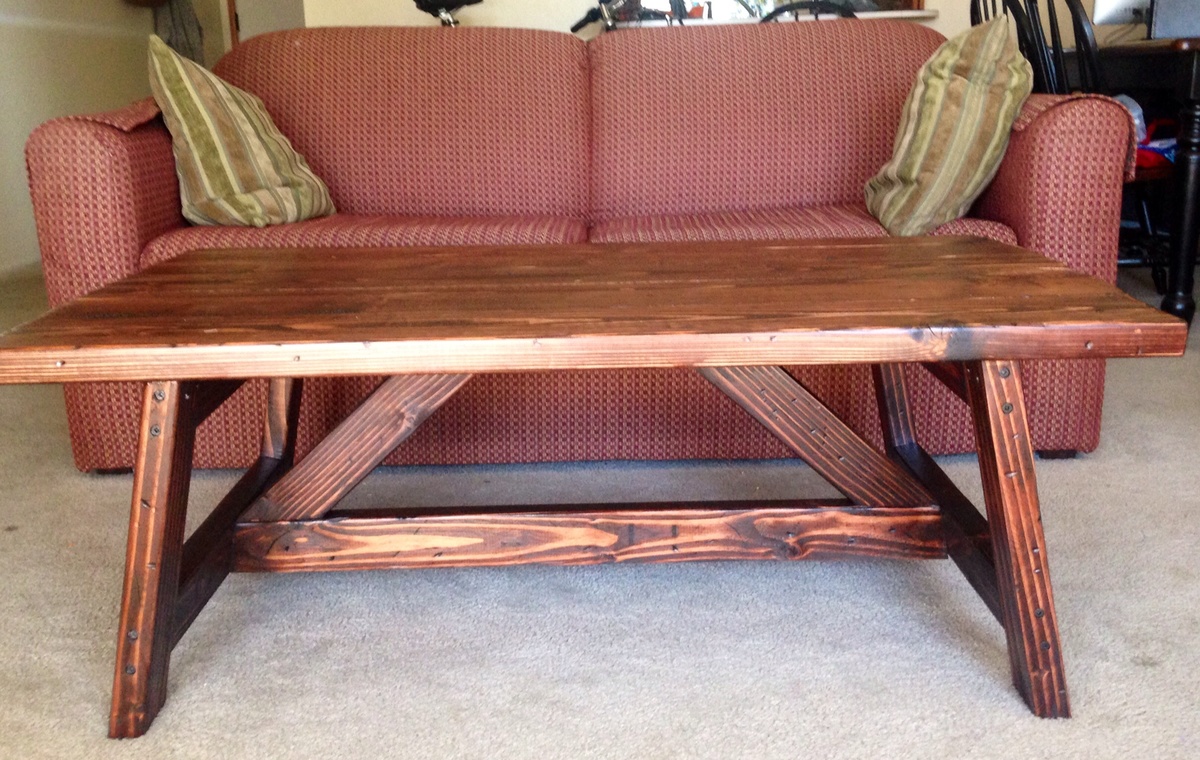
The first larger project I've done on my own. I distressed it some before staining it but no other changes were made to the plan.
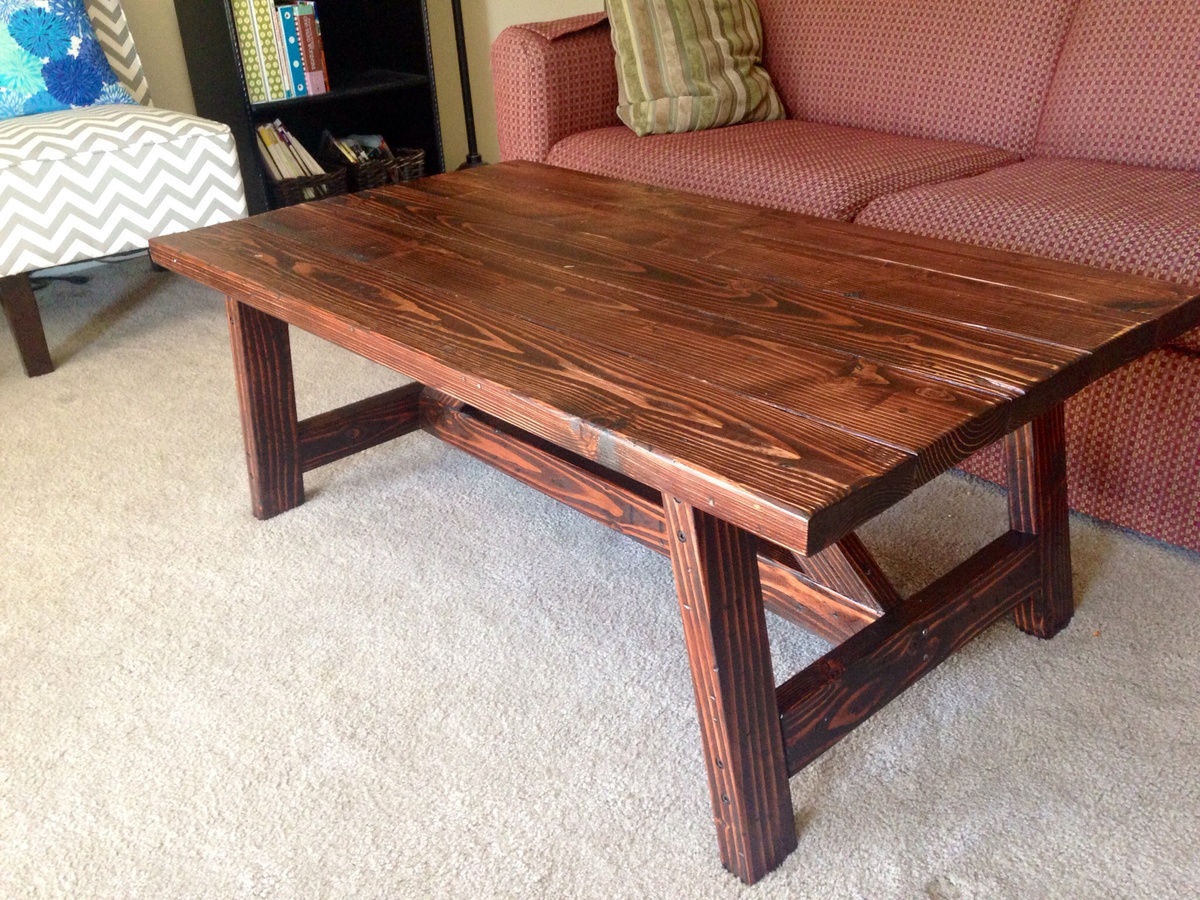
Built from Plan(s)
Estimated Cost
$23 for wood
Estimated Time Investment
Day Project (6-9 Hours)
Finish Used
Minwax Red Mahogany
Recommended Skill Level
Beginner