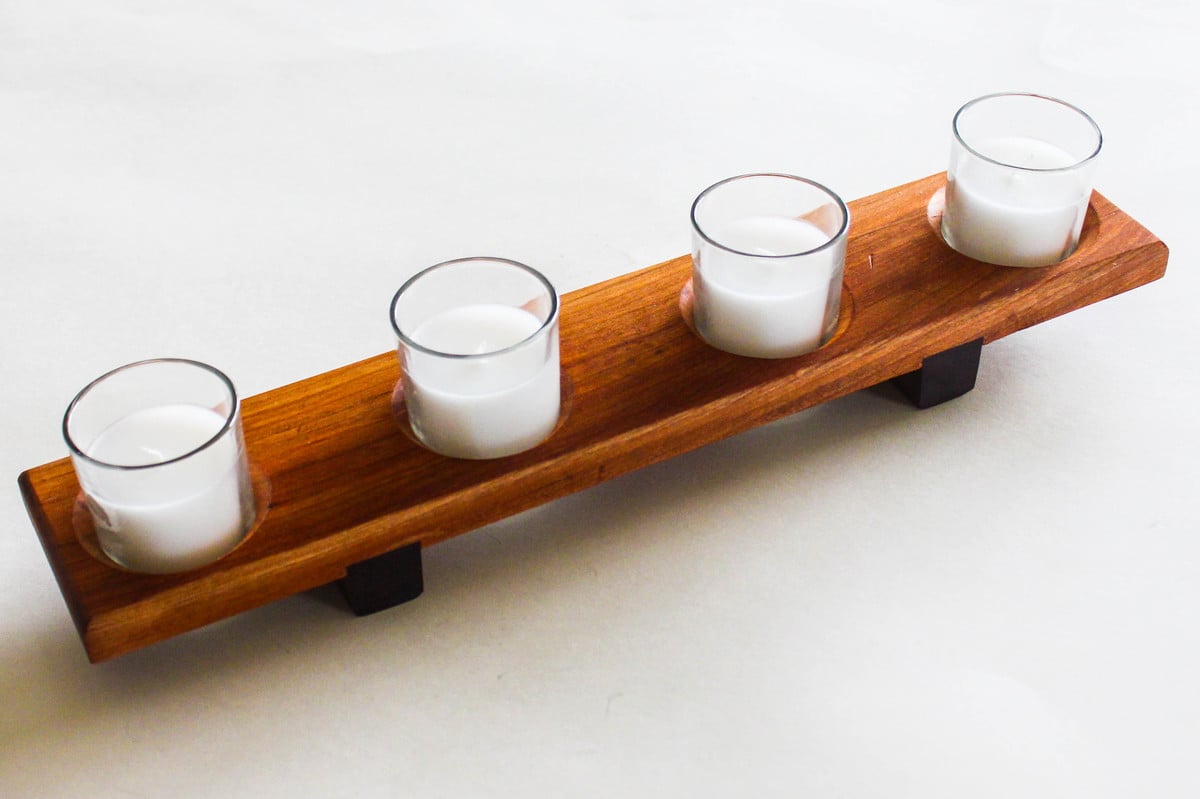
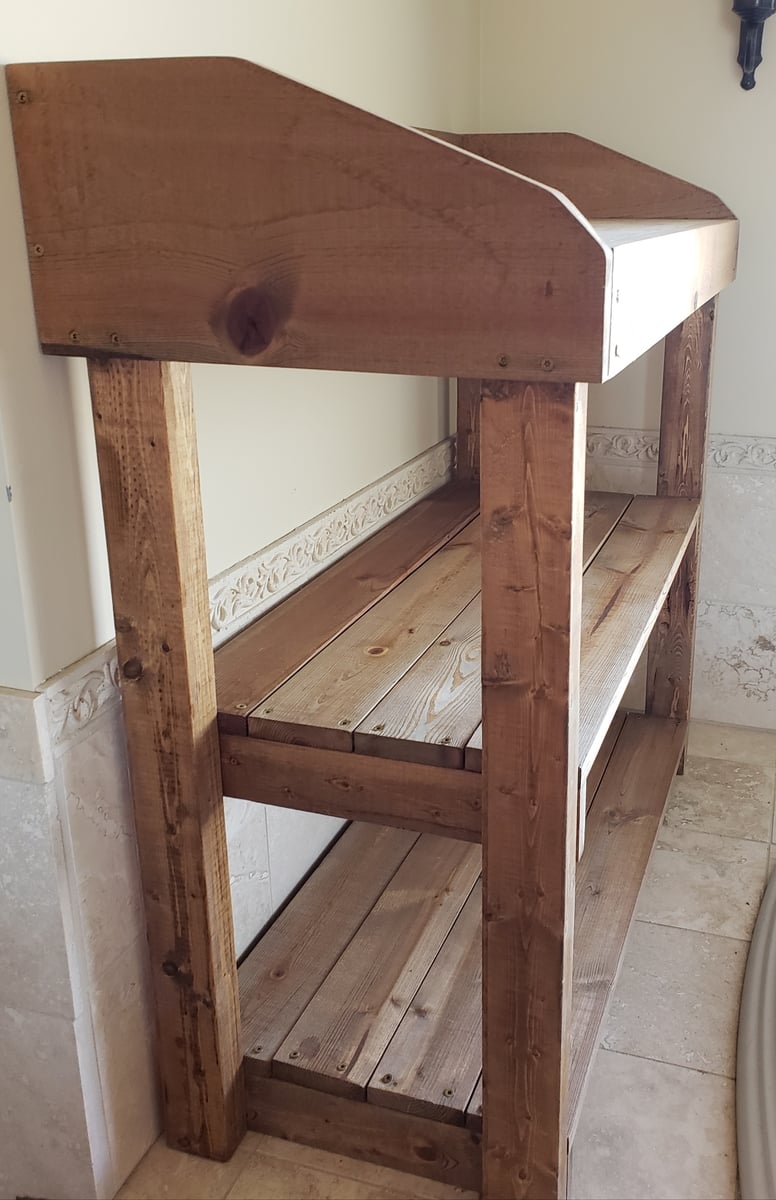
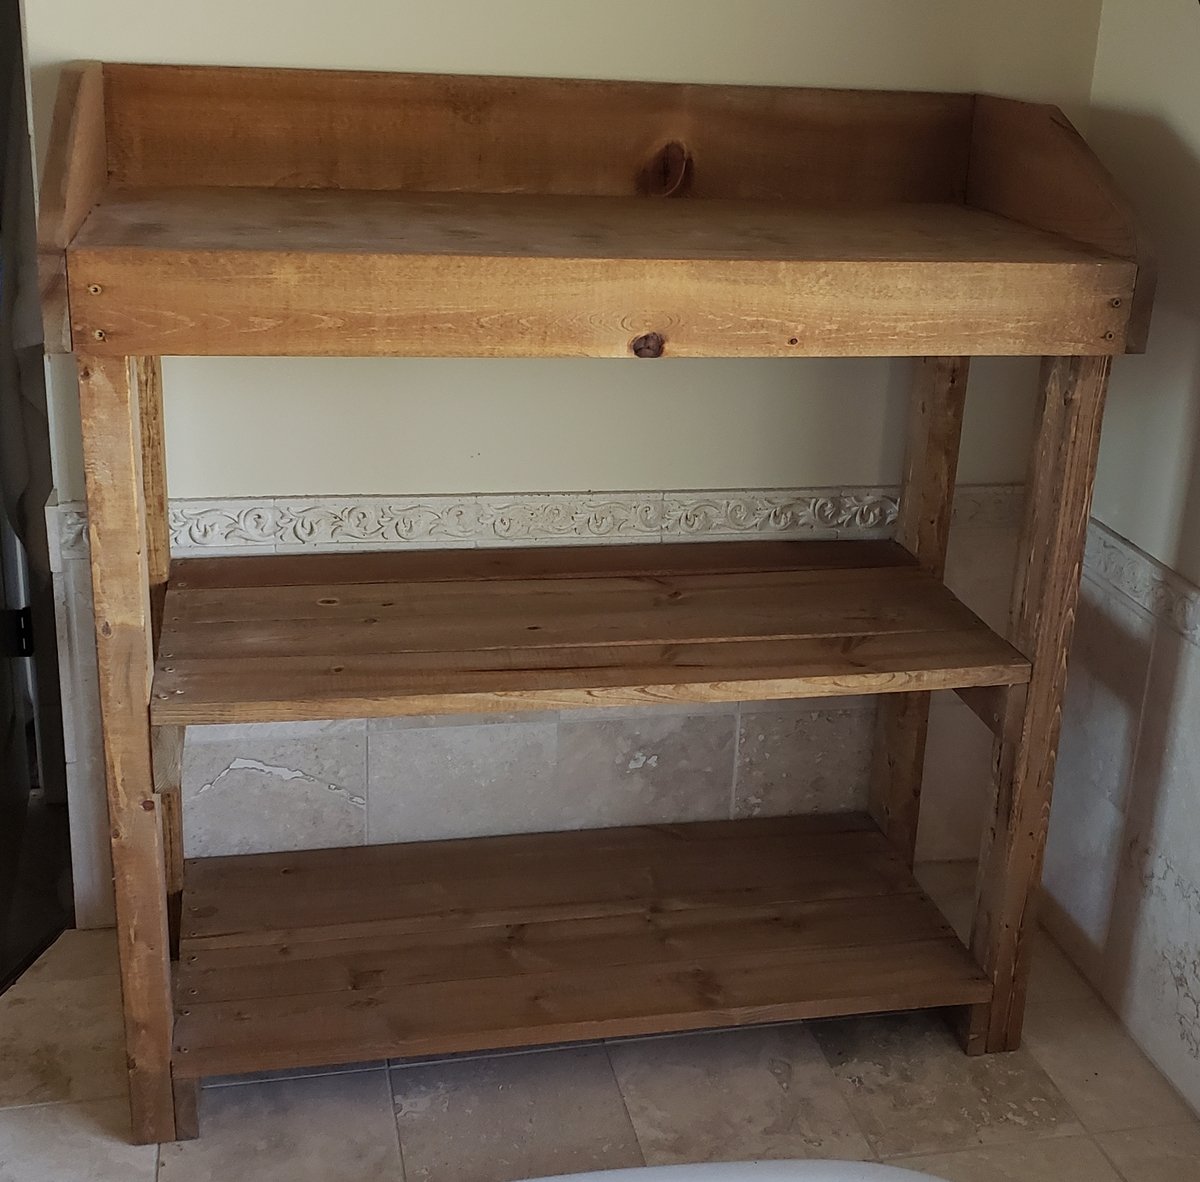
Candle Holder
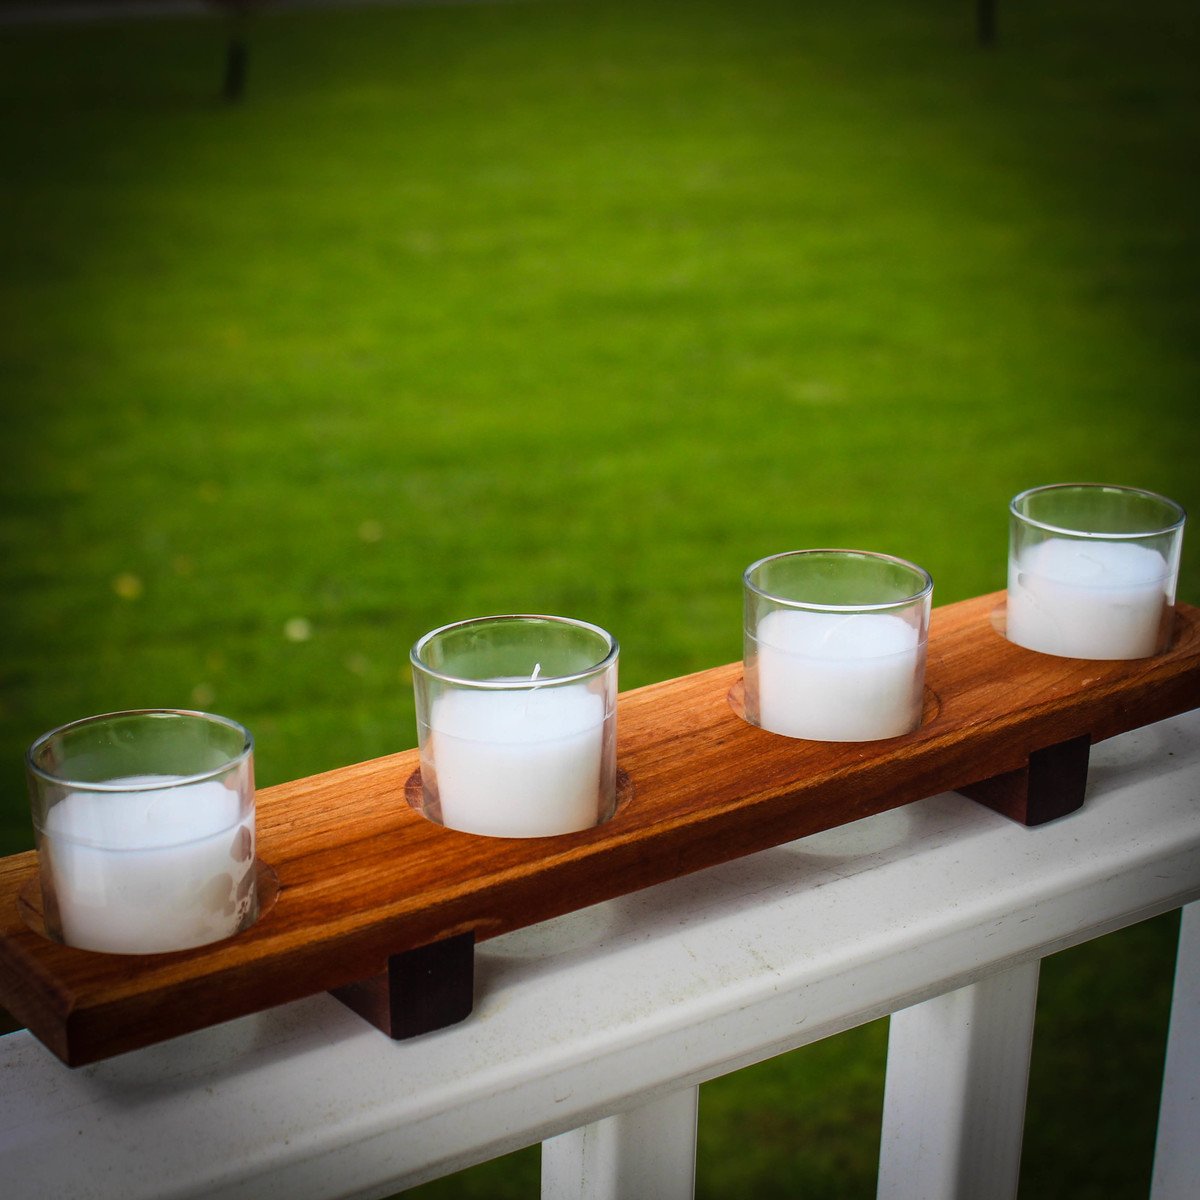
This was a super quick and fun project that I made from scrap materials. I designed it to fit tapered glass candles that are readily available from online or your local big box store.
Estimated Time Investment
An Hour or Two (0-2 Hours)
Finish Used
Oil
Recommended Skill Level
Starter Project


Comments
Ana White
Mon, 11/05/2018 - 11:28
What a simple and beautiful
What a simple and beautiful project!
In reply to What a simple and beautiful by Ana White
mtairymd
Sun, 12/30/2018 - 07:32
Thank you!
Thank you!