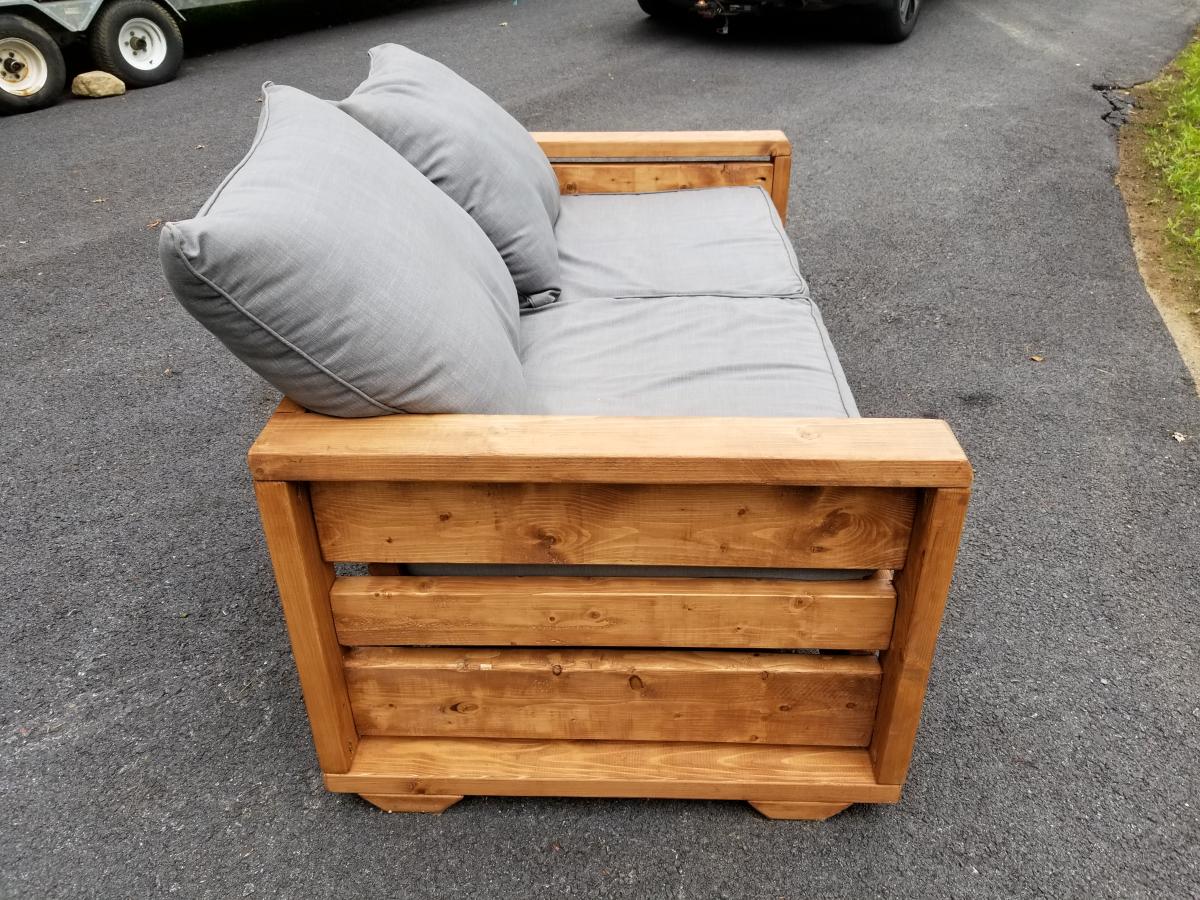
2x4 outdoor couch
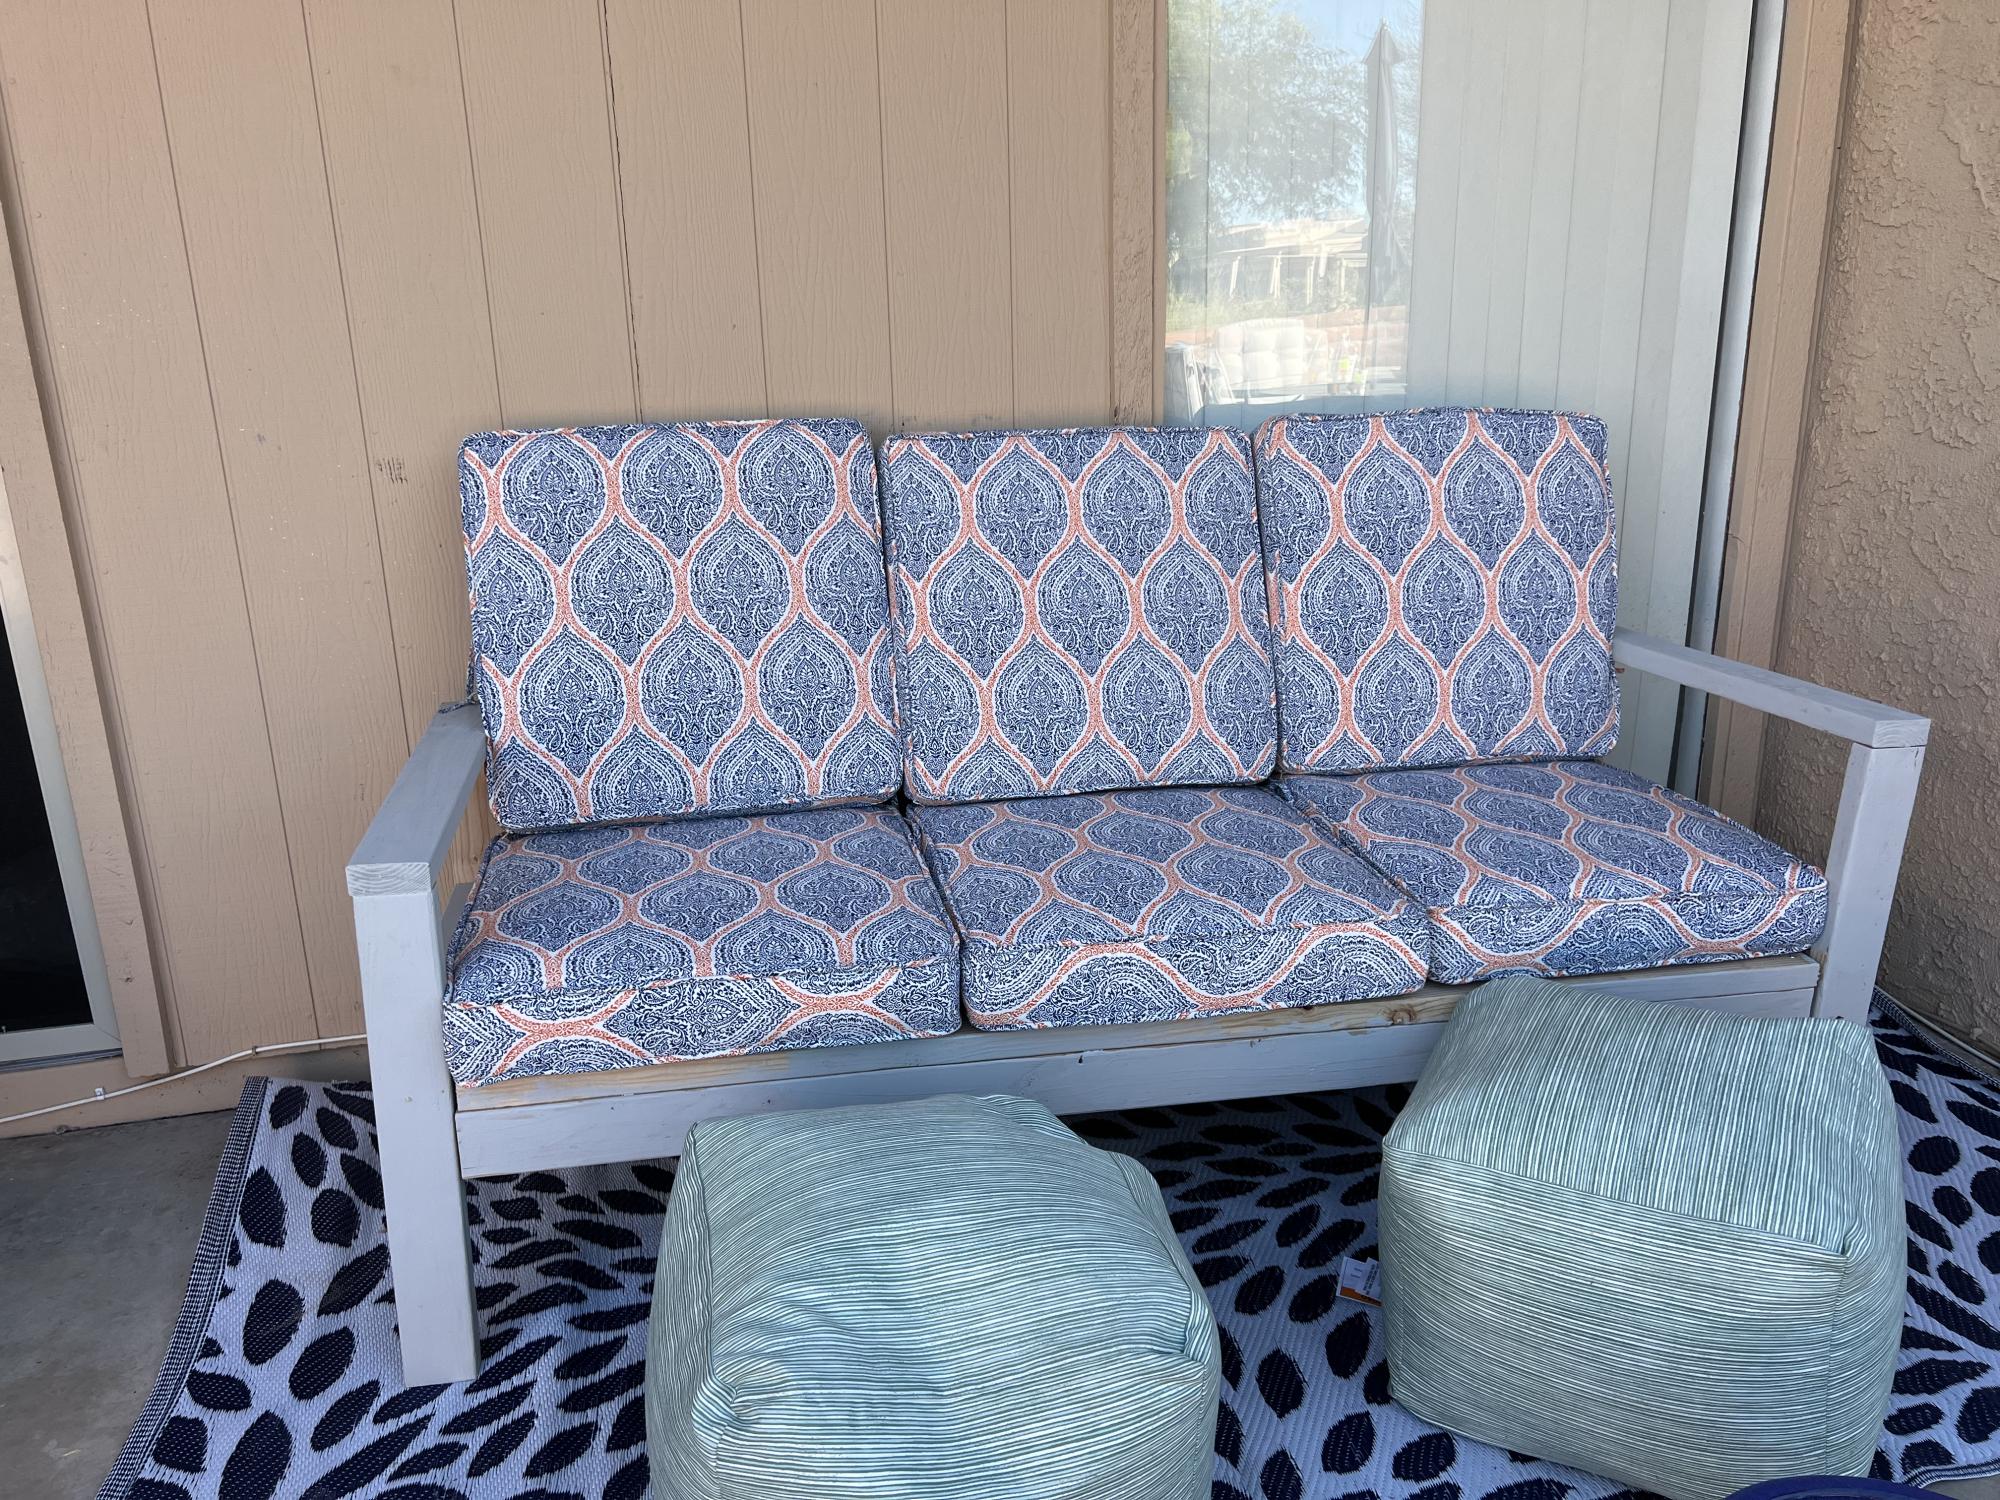
Love my outdoor couch. Easy to build and follow plans. Thanks Ana!
Built from Plan(s)
Love my outdoor couch. Easy to build and follow plans. Thanks Ana!
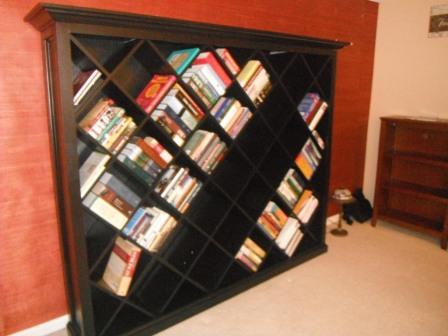
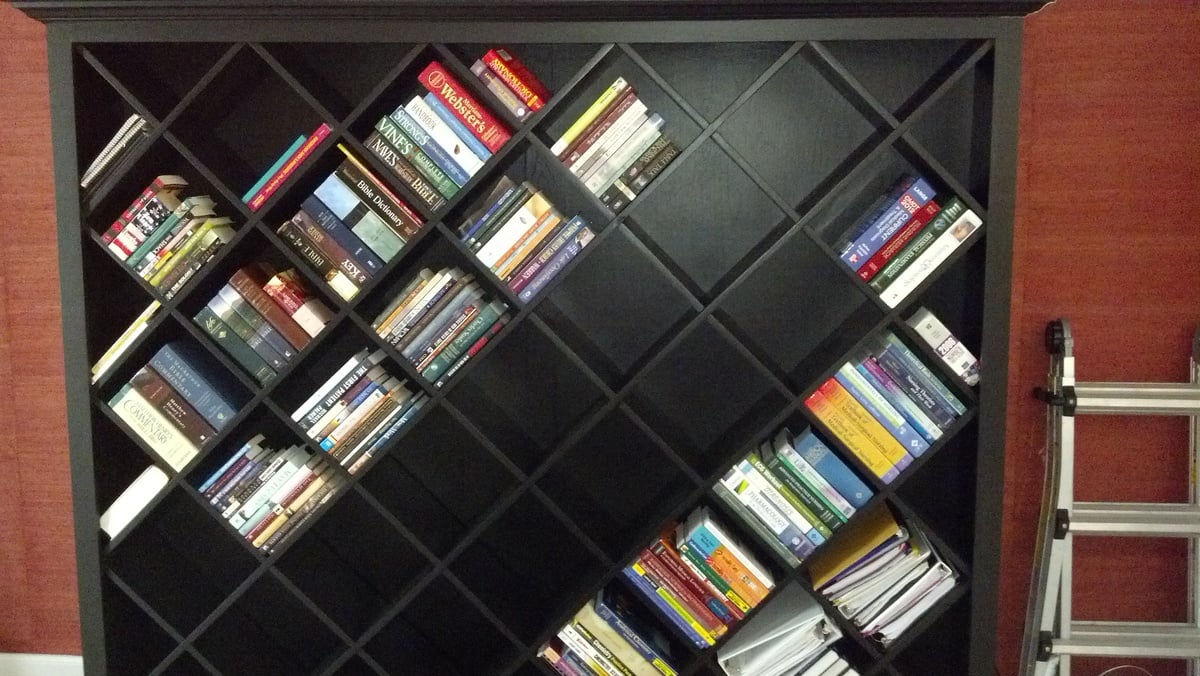
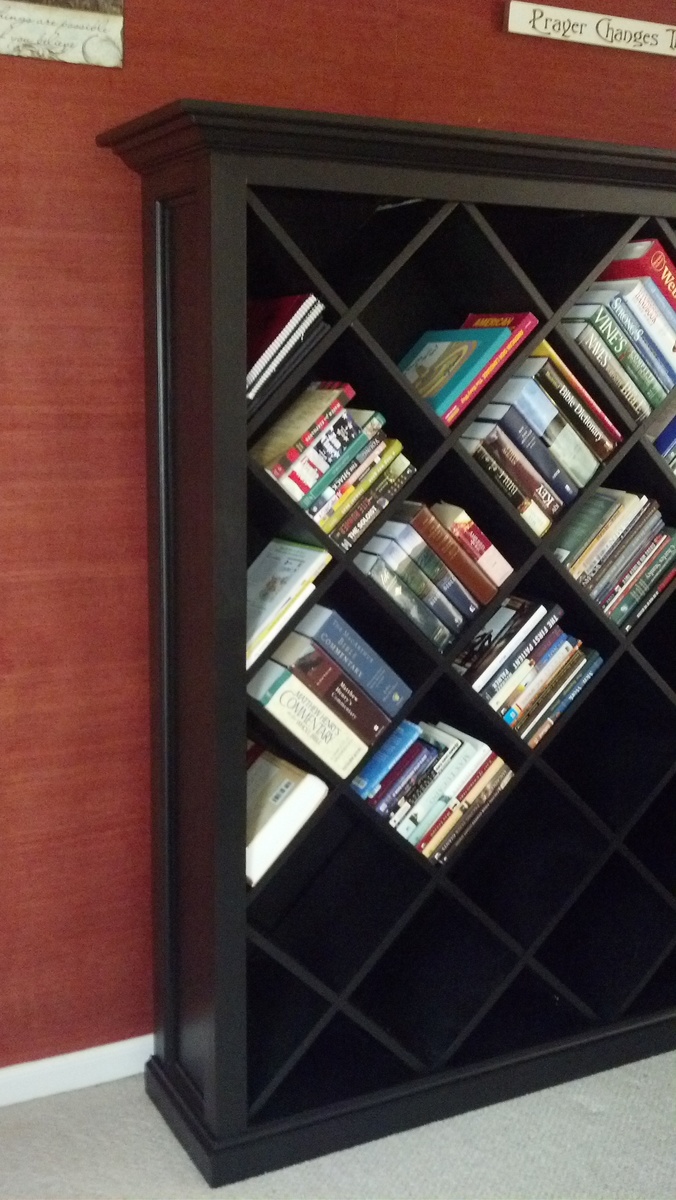
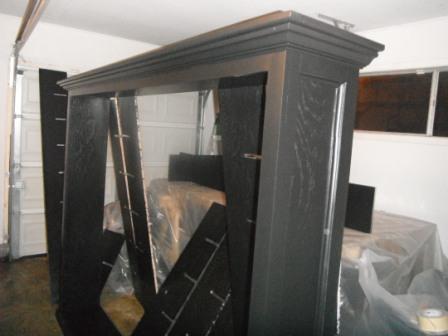
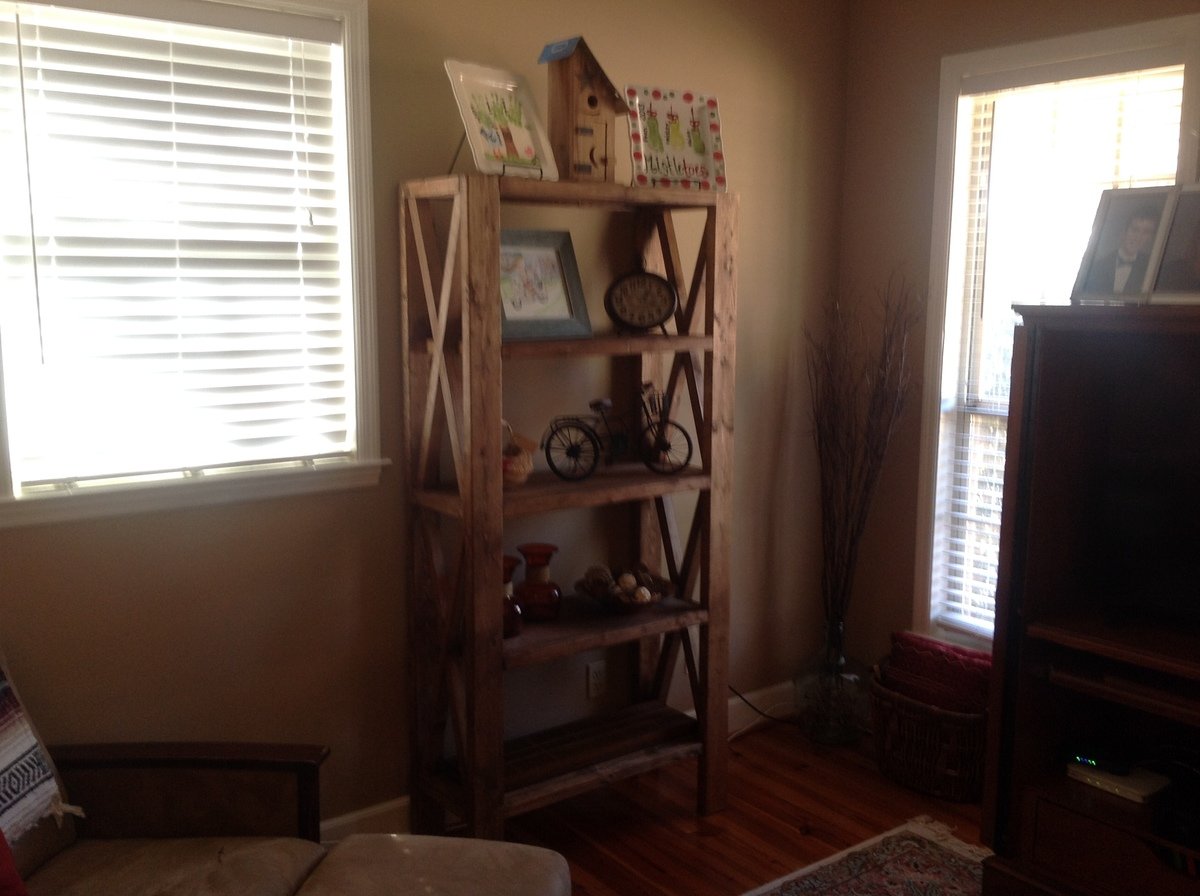
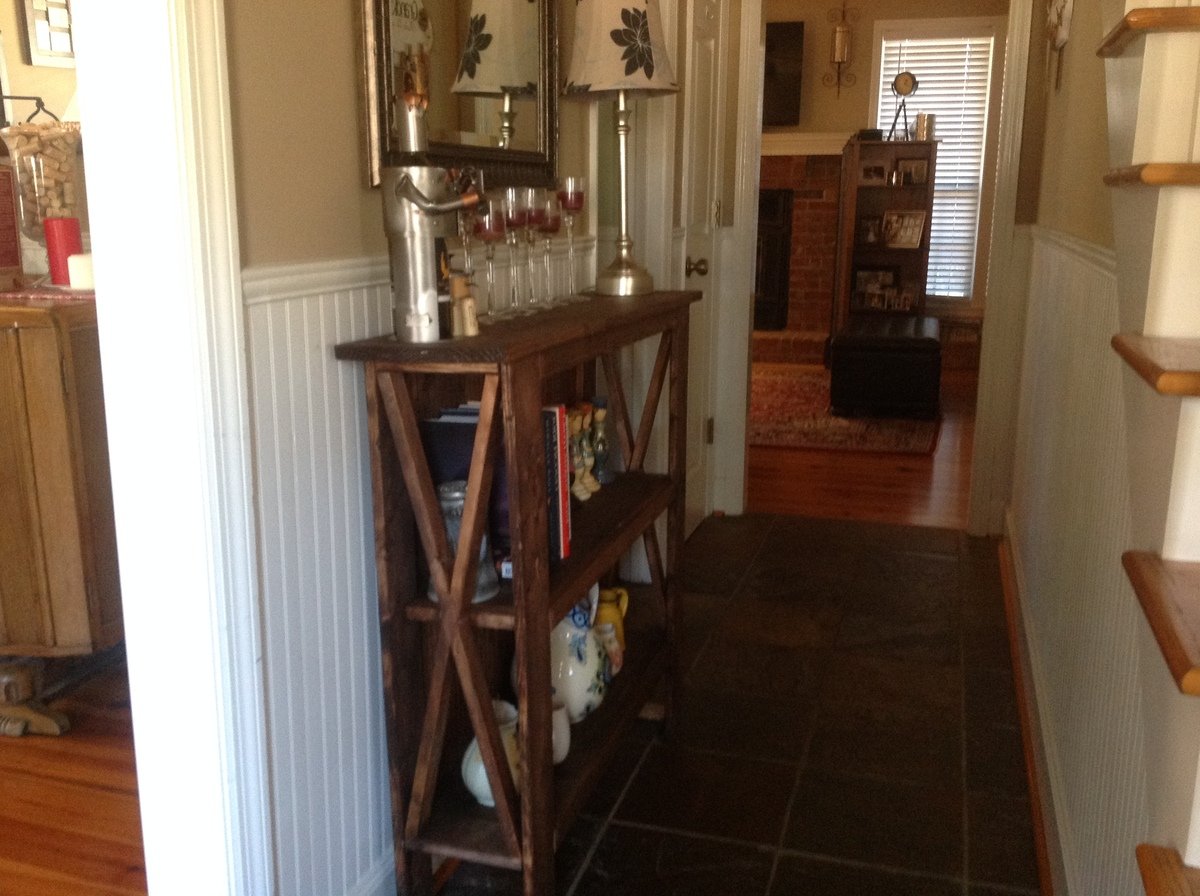
My wife was watching TV and she saw a Bookshelf on a Home Depot commercial with diagonal shelving. She kept telling me how much she wanted a bookshelf like that. So, for my first wood project ever, I decided to try and tackle it for her. It is slightly over 7 feet wide and a little over 6 feet tall. I am currently trying to learn sketchup8 to create plans for this project.
Unfortunately I didn't use a certain plan from Ana's site for this project, but you can find any bookcase plan and place the diagonal shelves in place of the horizontal ones.
Tue, 01/31/2012 - 21:02
So you totally just solved my no fireplace dilemma! I think I'm going to take your design here and leave an open space for some electric logs. Thank you so much for sharing, it is really stunning!
In reply to Very cool by nicwolford
Wed, 02/01/2012 - 06:10
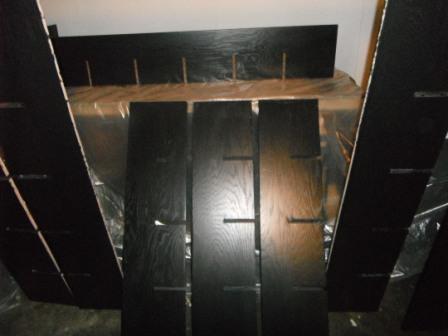
Those were challenging because, as I stated before I am not even a beginner. I was going to try and use my little trim router to cut them but I learned quickly routers cause much saw dust. I don't have a router table and my router is small. I decided to use my miter saw. I measured out where the slots should go and Cut the outside boarders of the slots with my miter saw. I don't have a jig saw either so I chiseled the the remaining piece to form the slot. I then used my small trim router to smooth out the slots. After I got in a groove it went pretty fast. It was a lot of Slots. Like I said before, I am very new and I know there are easier ways to do this lol. Just a hint..If you ever use interlocking slots and plan on painting the project, I wouldn't make the slots exact to the bare wood. The primer and paint add to the thickness of the wood so it is important to take this into consideration before cutting the slots. Again, very new to this.
Wed, 02/01/2012 - 06:28
I don't think that you can say that your "new to this" any more. You cut your teeth on quite an ambitious project. You did a fantastic job! And just wait till you learn sketchup, the FUN you will have! Keep up the great work and keep posting! Can't wait to see your next project!
Wed, 02/01/2012 - 12:32
I've never seen a diagonal bookcase before, but I like this one. You'll never have to worry about straightening books that have fallen on their sides either.

Sat, 02/04/2012 - 15:22
This book case looks truly expensive! My excuse is always a lack of tools, but look what you did with what you had! Everything is square and precisely done.
In reply to So impressed! by Debi G
Sat, 02/04/2012 - 19:26
Thank you for your kind words. I appreciate all the input I have been getting. I look forward to posting more projects and getting more ideas.
Tue, 02/07/2012 - 12:16
I really hope you post your plans! You did a nice job. I'd like to use a very scaled down version of this to make a wine rack in an open cupboard we have over our sink. Might have to pick your brain later. ;)
Tue, 02/07/2012 - 20:25
I saw the same commercial your wife saw, and kept trying to describe the bookshelf to my husband. Now I can show him. Thanks for posting,and I hope you figure out Sketch Up so we can see your plans!
In reply to Great Job!! by mrs2tone
Wed, 02/22/2012 - 20:33
I have started to figure it out a little bit. I thank you for the comments and am close to finishing the plans. Again thank you for your comments
Thu, 05/10/2012 - 17:29
Wow! That is wonderful...I have a similar one that I LOVE and wanted for years. It was in the Pottery Barn Catalog and OUTRAGEOUSLY priced...I don't remember exactly the $$. When "Hold Everything", a subsidiary of PB, went out of business, I got the second to last one they had in stock for $200. AND...When I saw the HD commercial I realized I might be able to make a more custom version someday. Your story inspired me to plan something, and also to perhaps even open up and learn SketchUp which I downloaded months ago...Look forward to more projects!
Mon, 10/15/2012 - 20:33
Well it's crooked. LOL Jk I think it is insanely awesome! I hope my first project is even half as good!
Mon, 07/15/2013 - 10:09
Great beautiful first build! Thank you for this great idea that triggered an idea for myself. Going take this format, and adjust the dimensions to fit as a wine shelf.
After contacting two cabinetry carpenters to do this project for me, I came upon Ana's plan for the Momplex. I made some adjustments for my home abd surprised myself.
My motto "what's the worse that can happen? I have to call someone! "
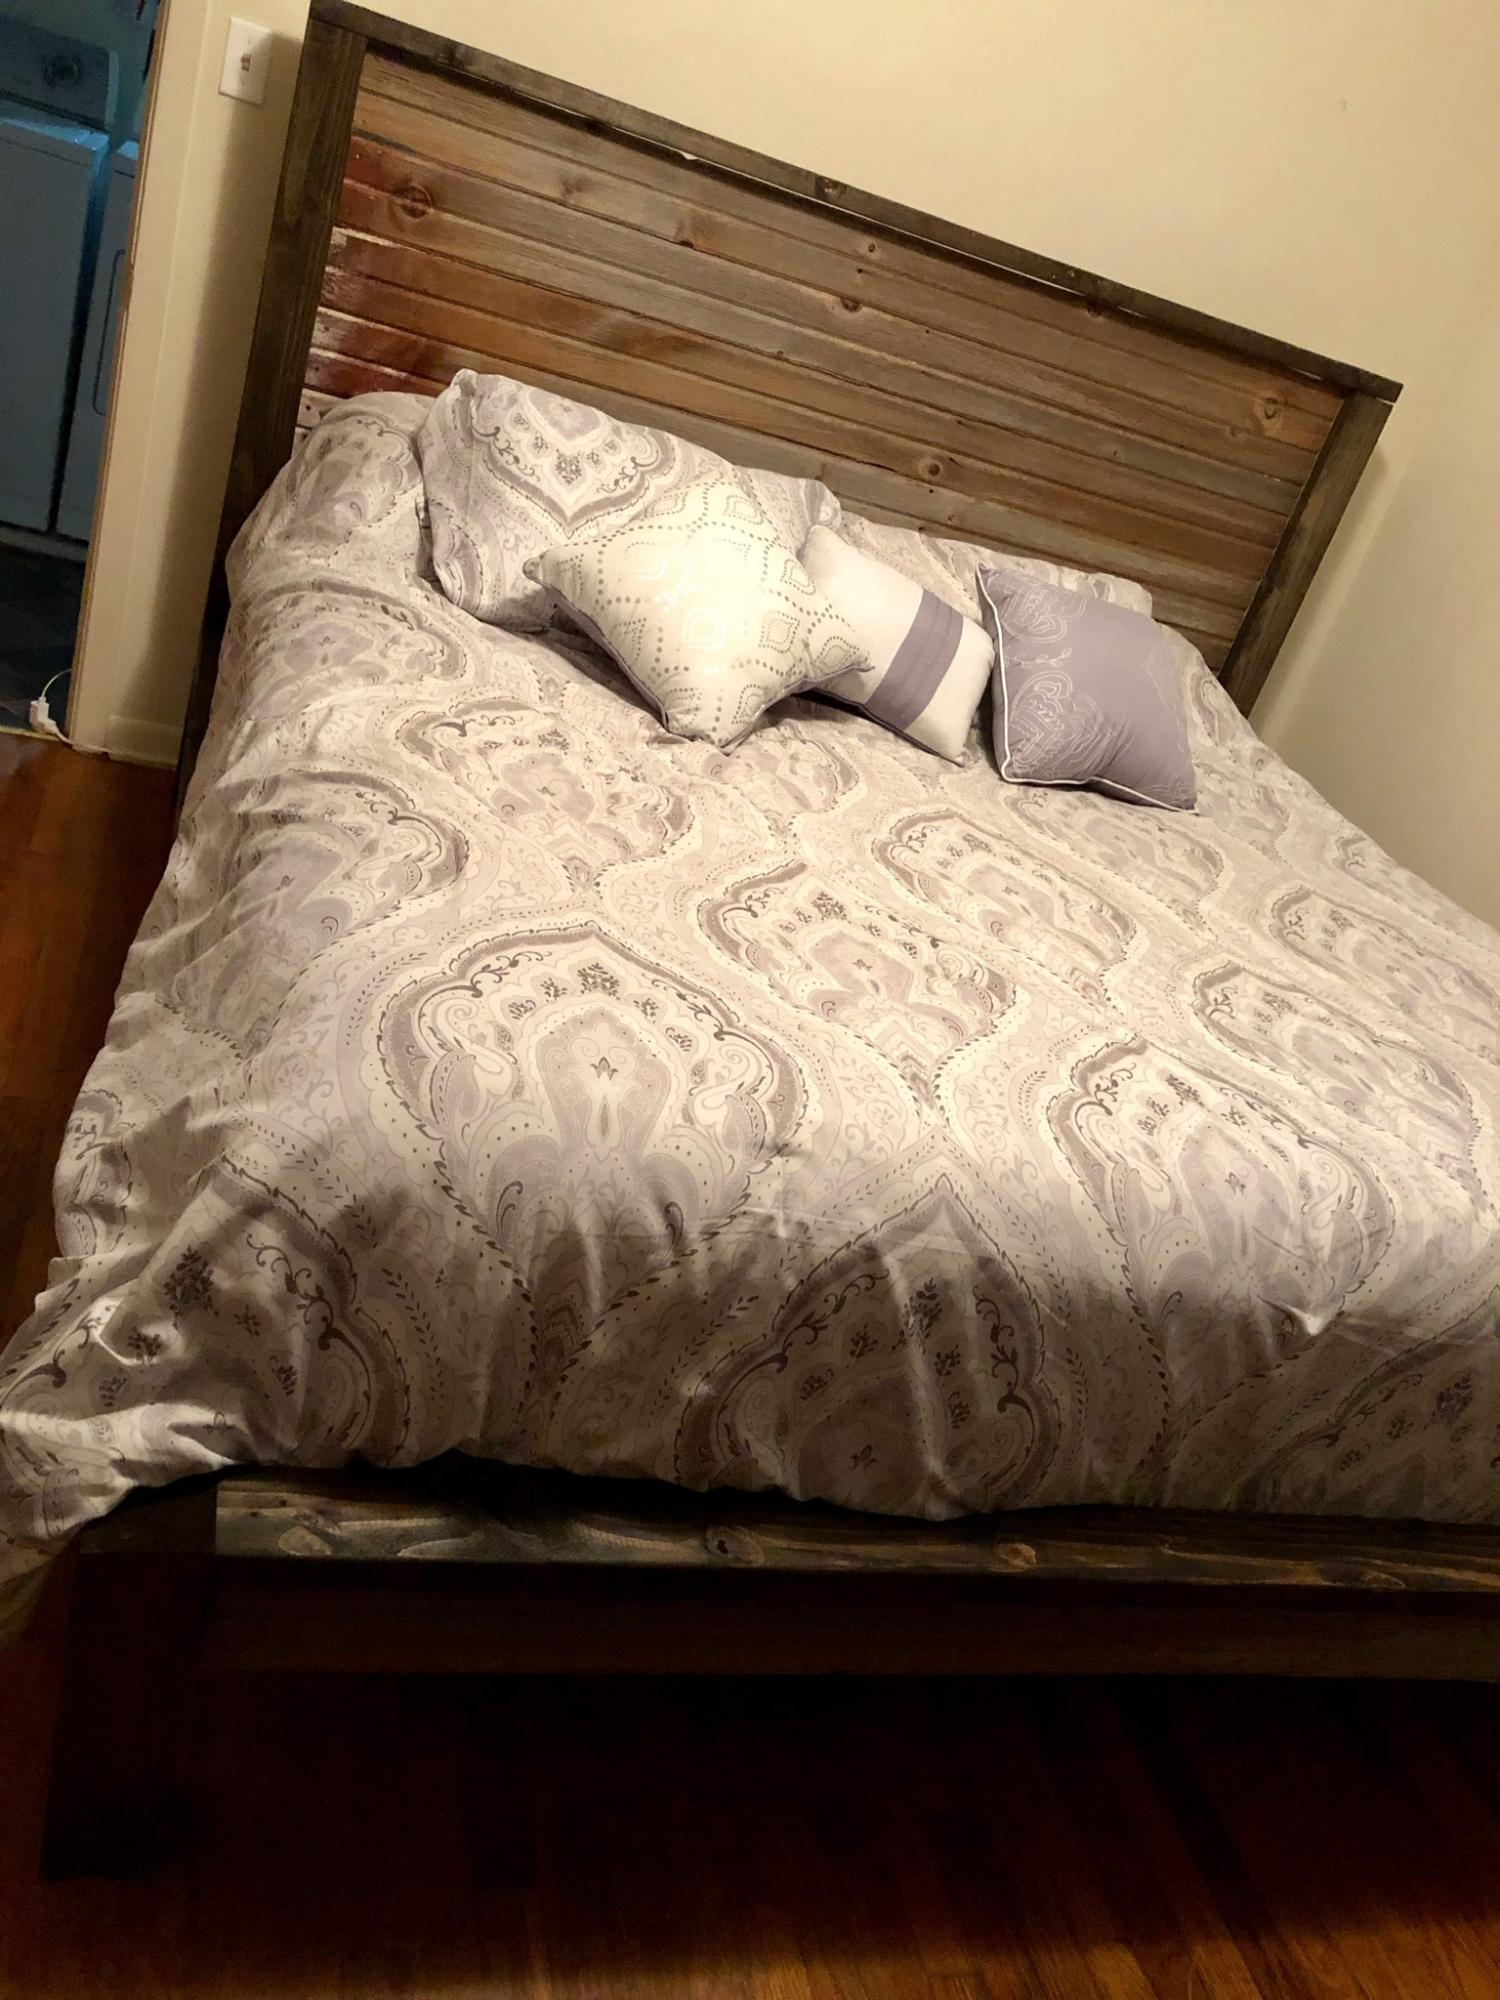
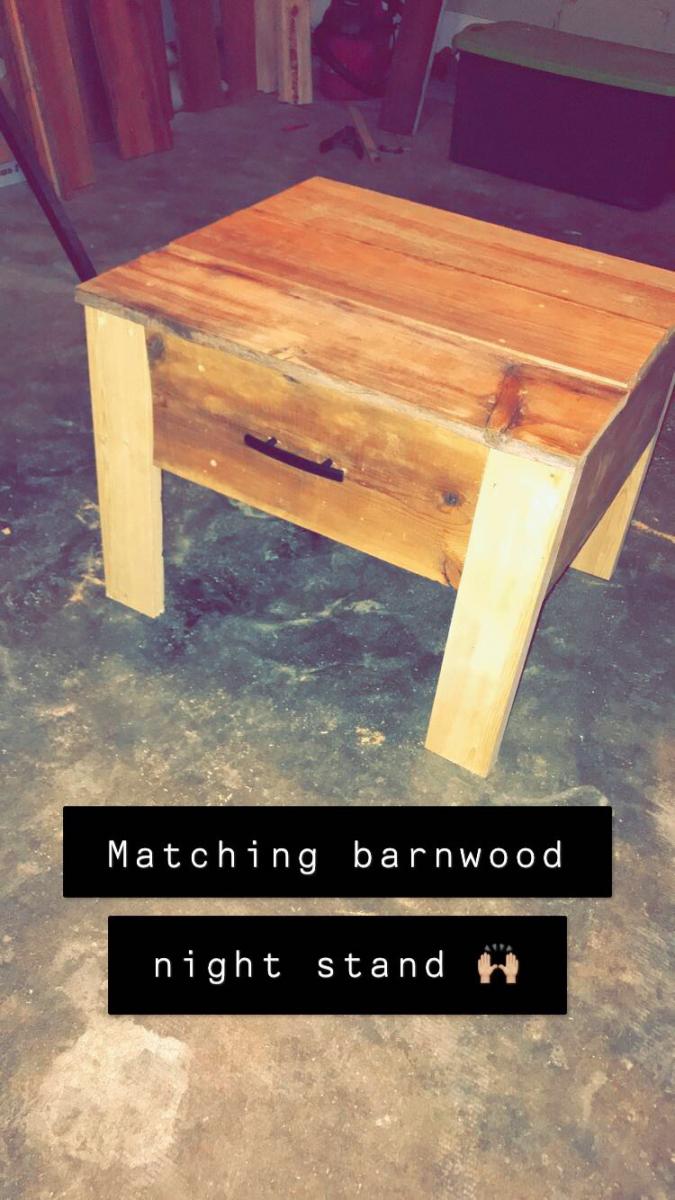
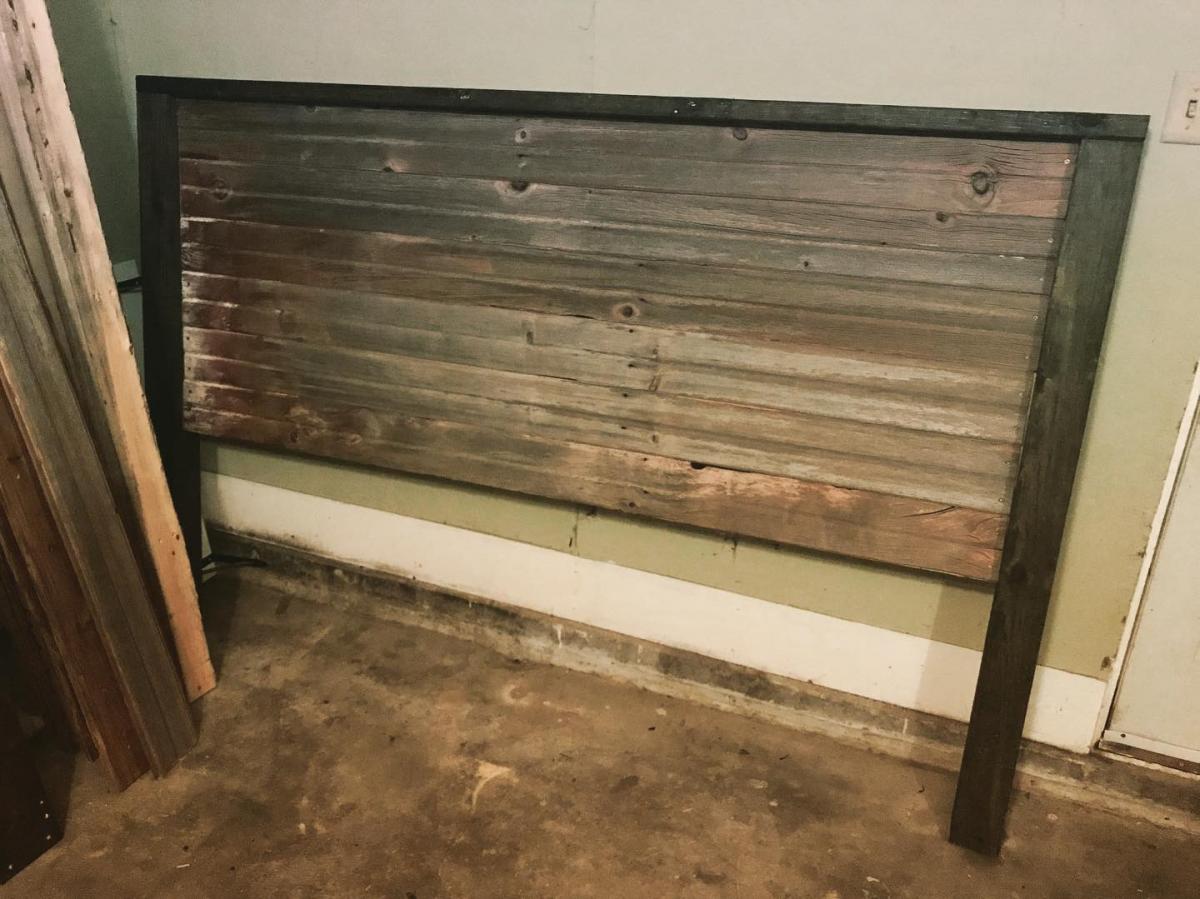
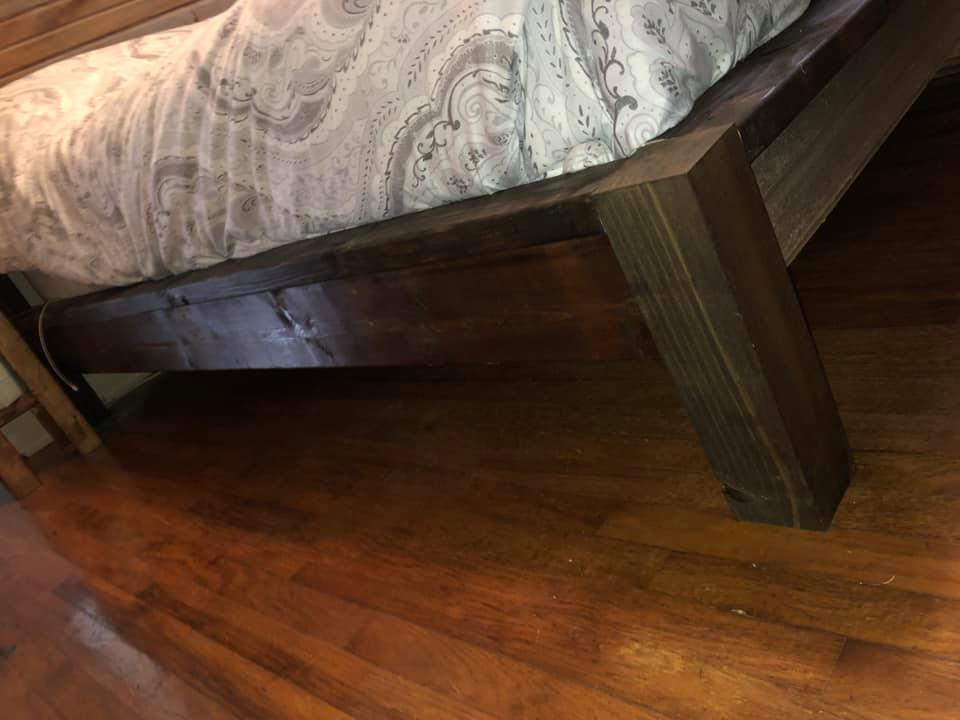
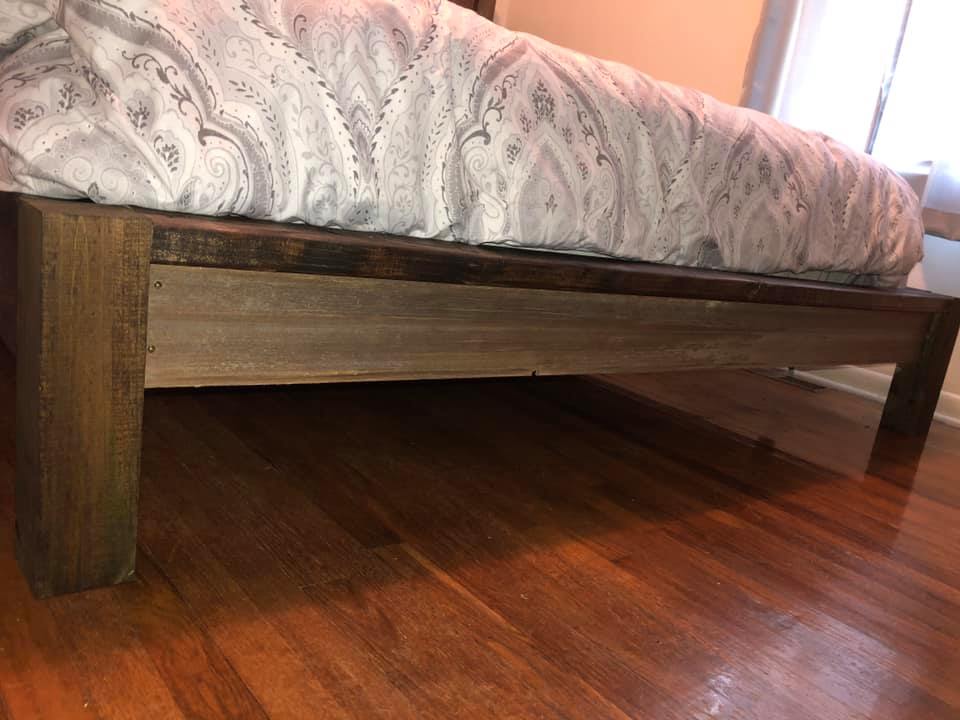
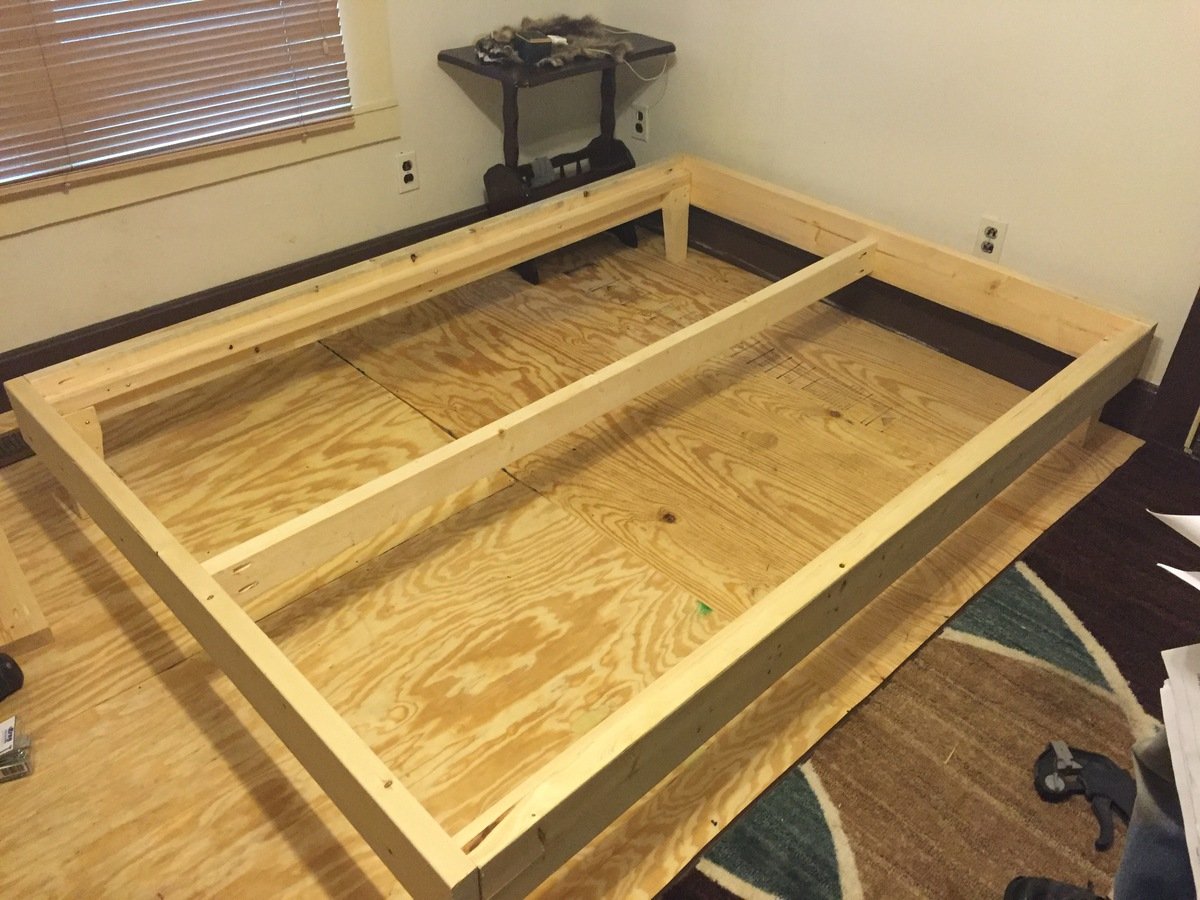
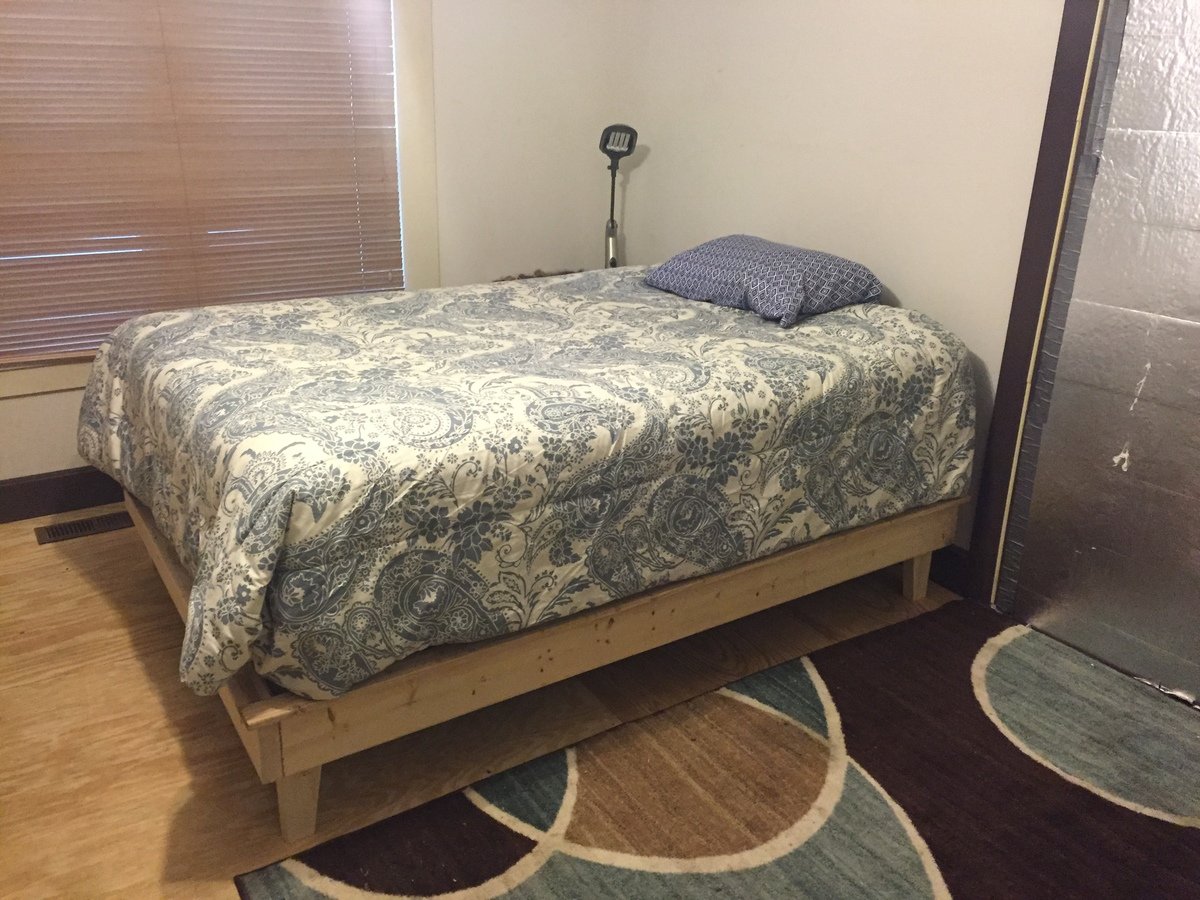
We built a bed frame off a different DIY website and never fell in love with it. We decided on Ana’s Modern Farmhouse and matching end table plans and decided to throw a local barn wood twist on it. We loved the look so much we didn’t sand or stain it, just gave it a good power wash. We really like the functionality of being able to take a few screws out to move and the fact that we could reuse our old barn wood headboard and make an end table out of it. Thanks for all your free plans!
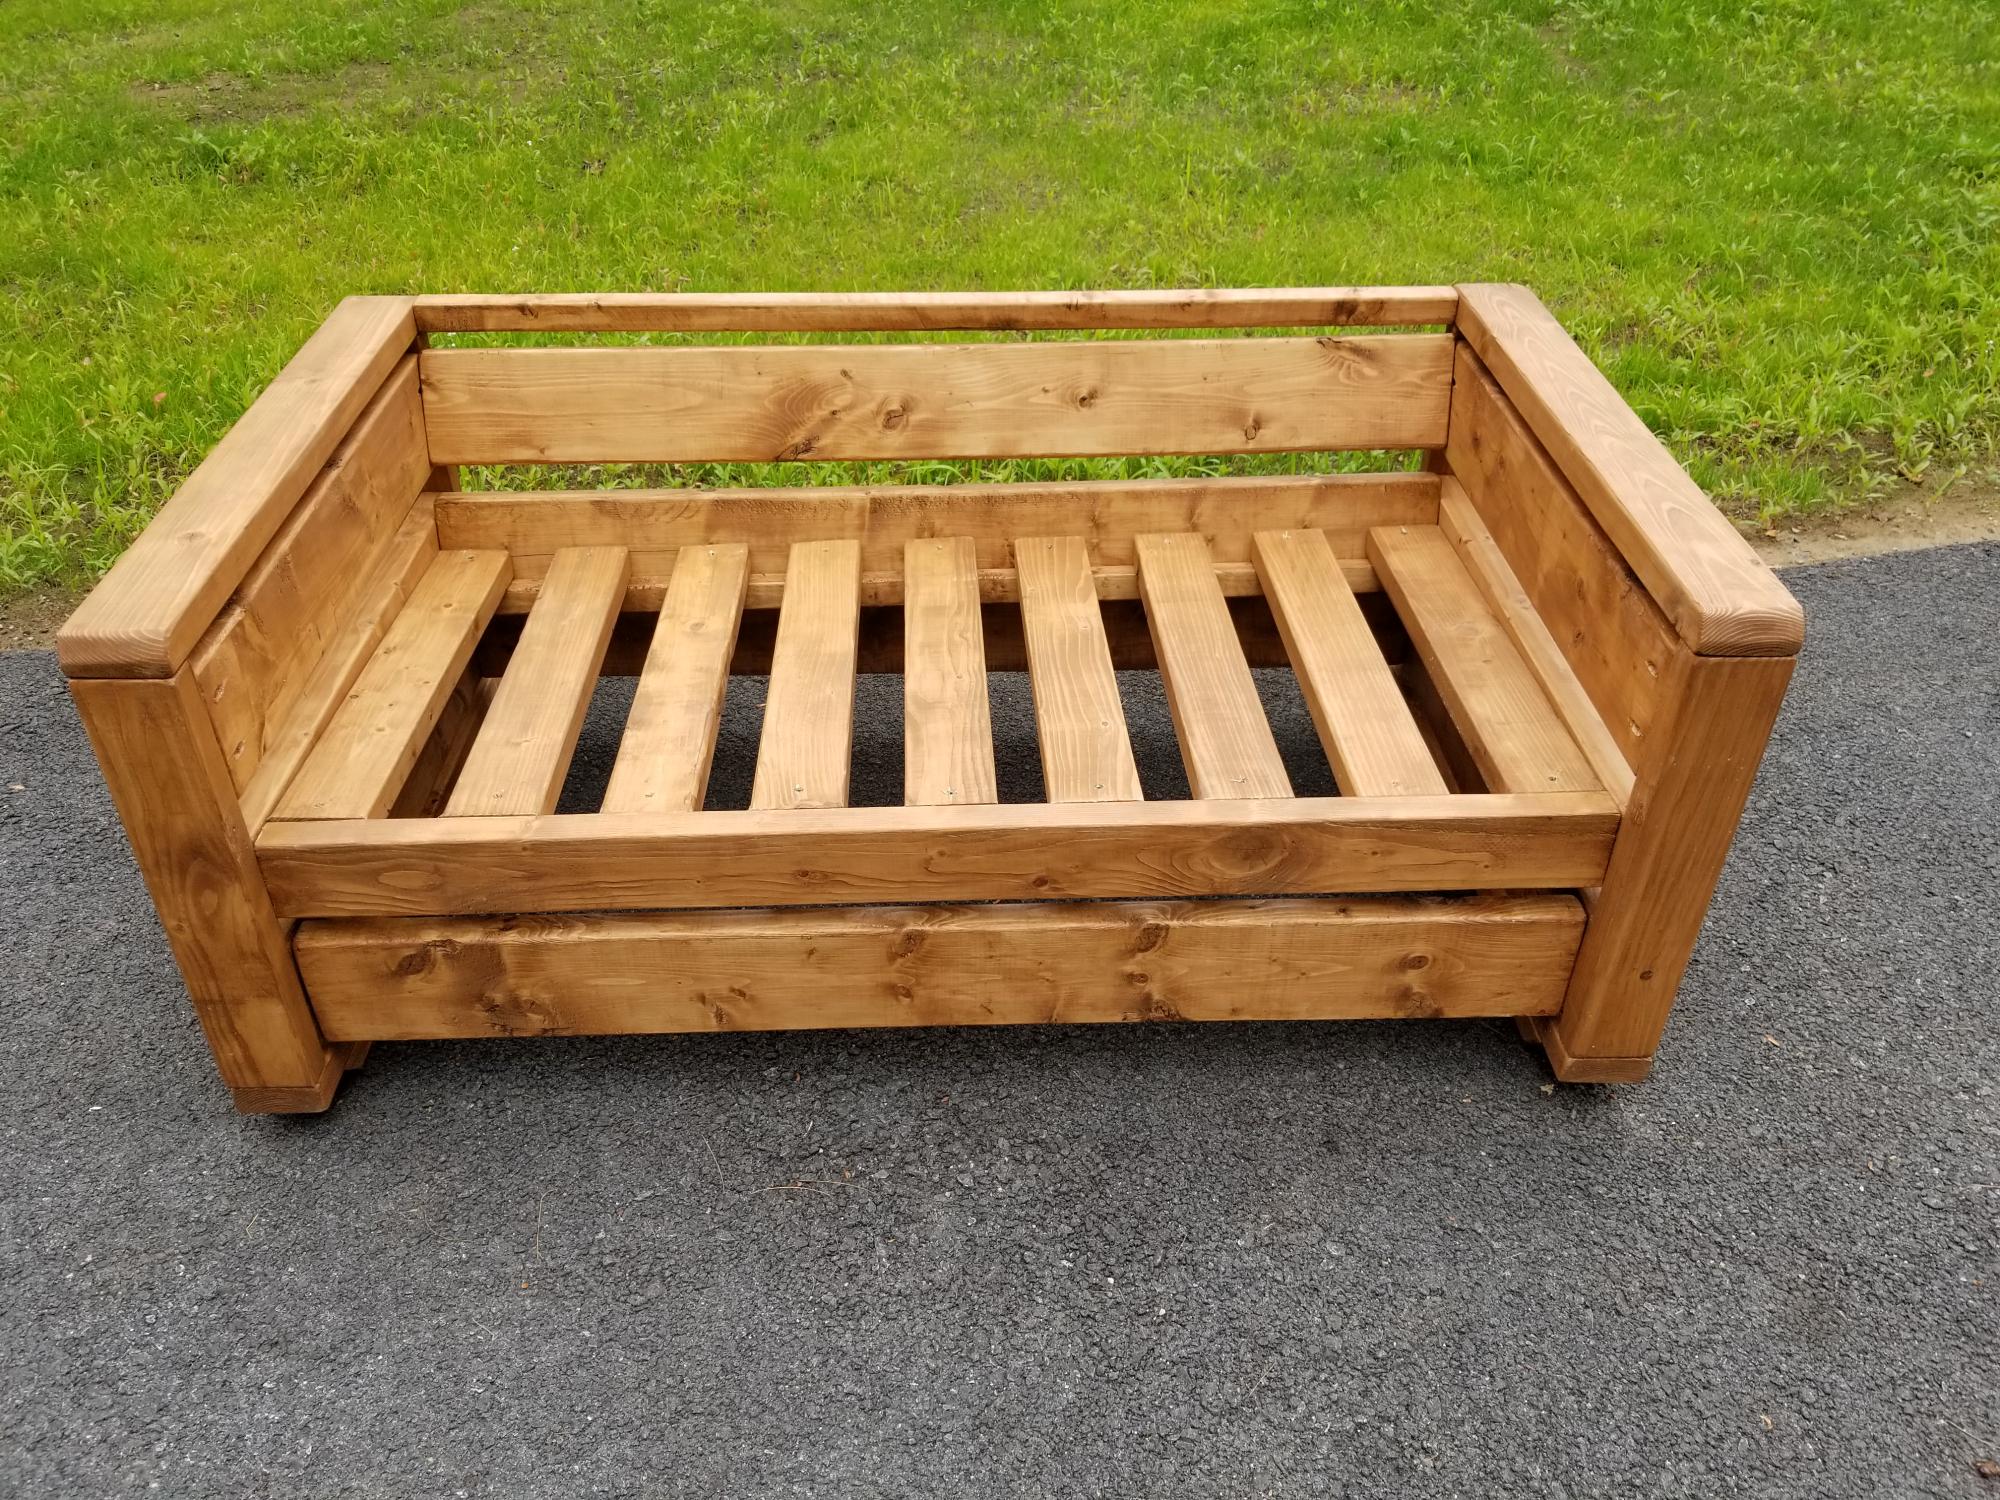
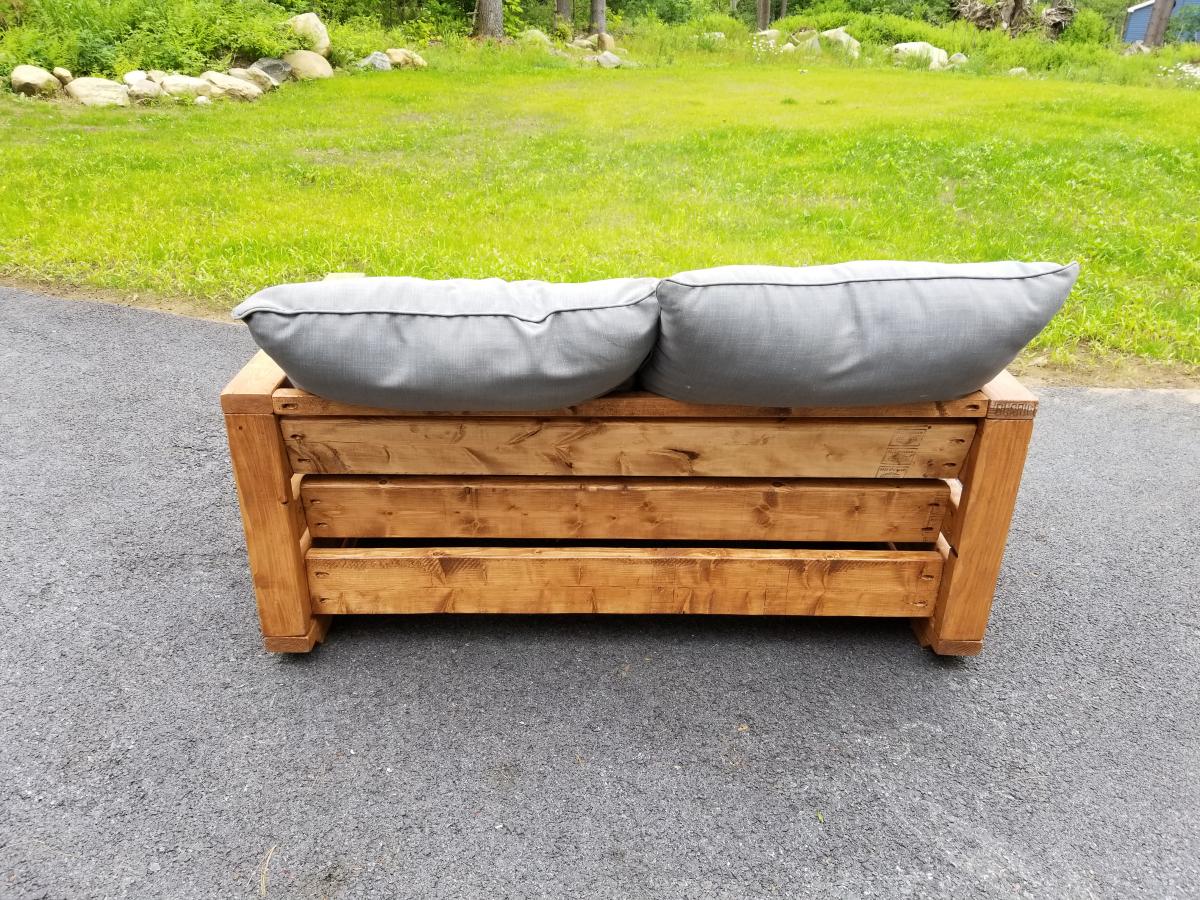
For this loveseat, I added a slight reclining angle to the back. I've also made this design with a reclining angle to both the back and seat slats.
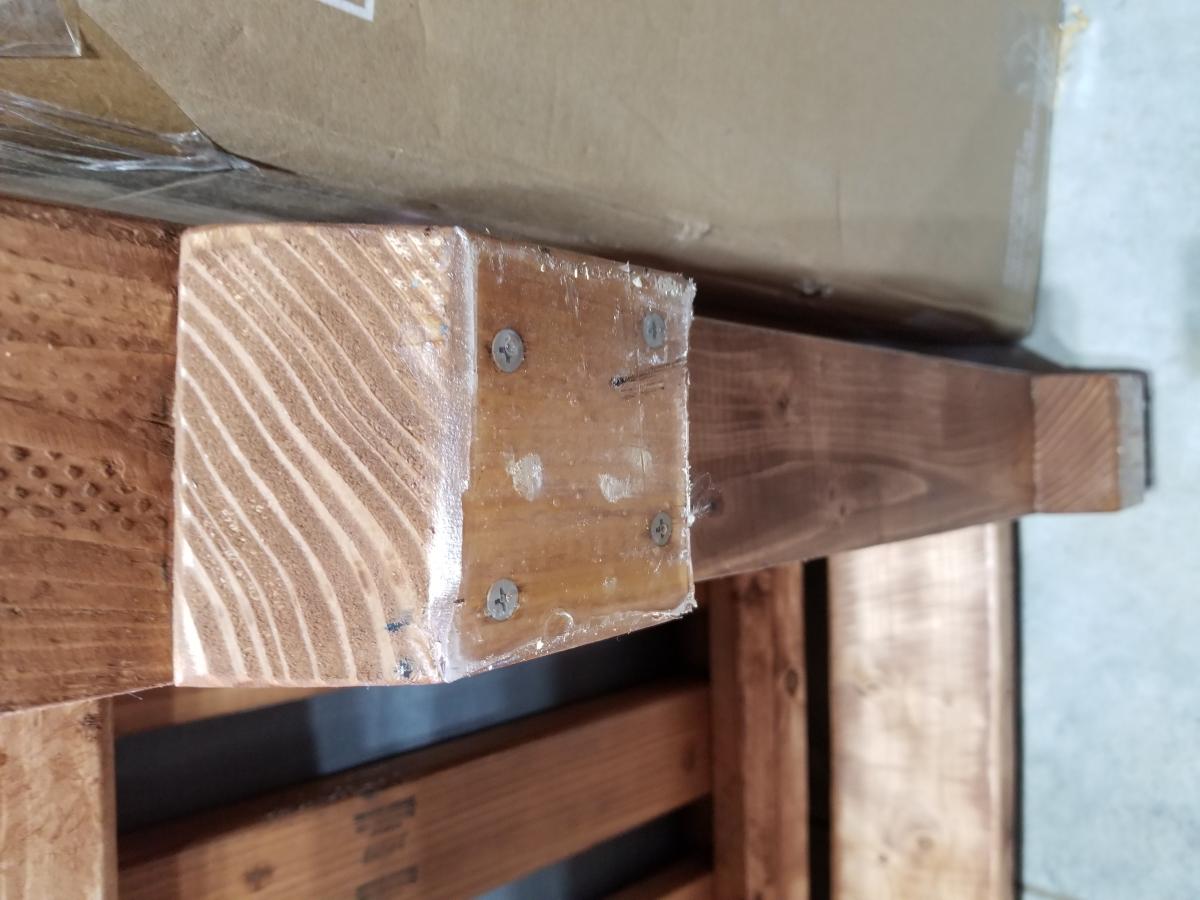
The main alteration I've made to the plans is on the bottom. I added a bottom slat and beveled feet by subtracting 3" from the leg length. After attaching the feet to the bottom slat, I taped around the bottom of the foot. I then added a small layer of acrylic resin. This helps prevent splinters when moving the loveseat and helps to keep moisture out.
Sat, 06/17/2023 - 10:38
Love how you modified it, looks amazing! Thanks for sharing.

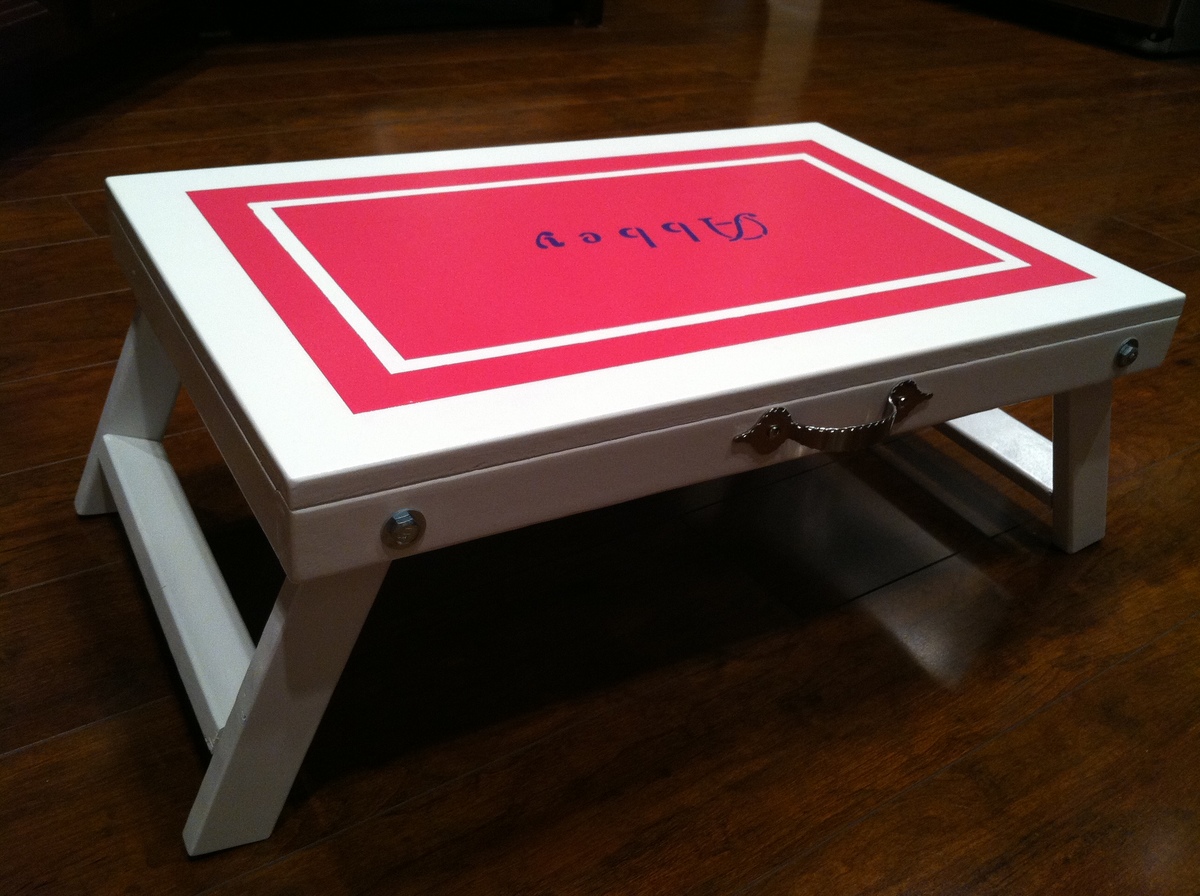
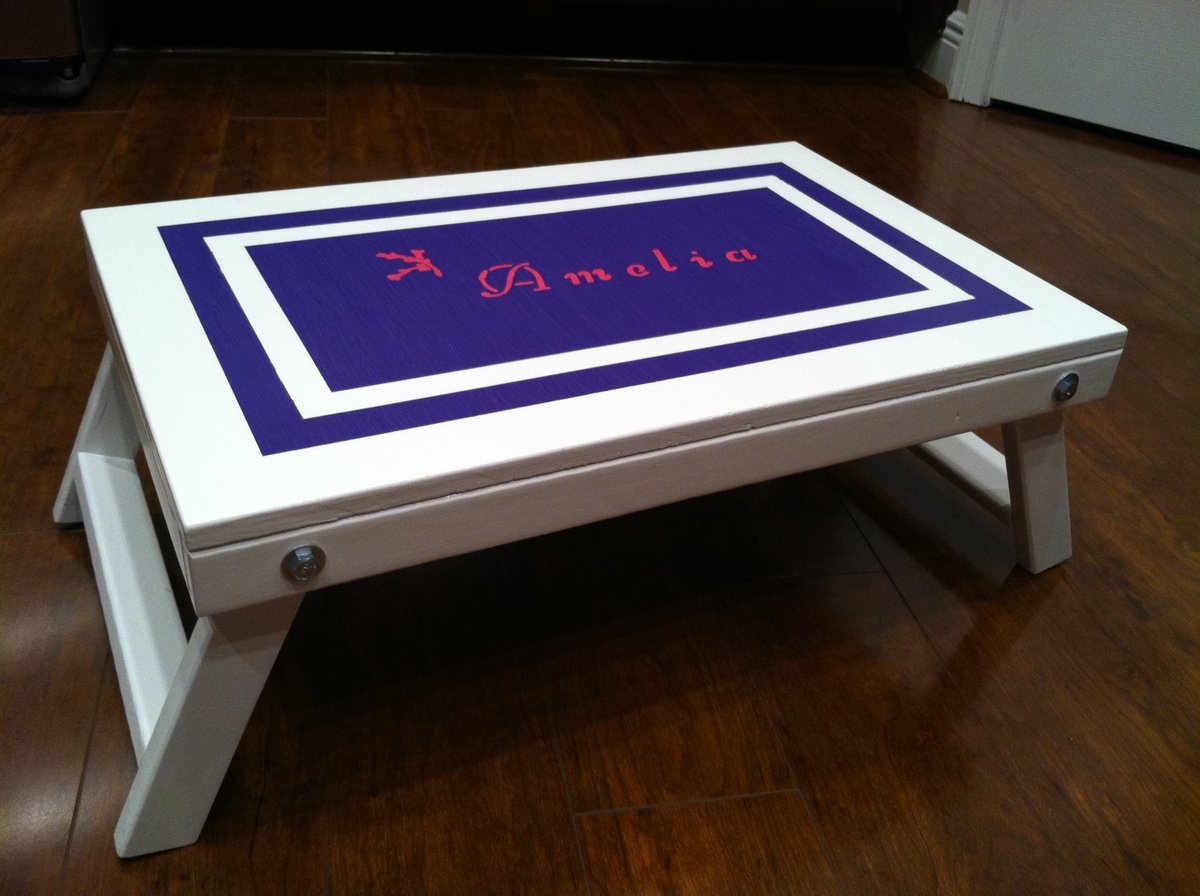
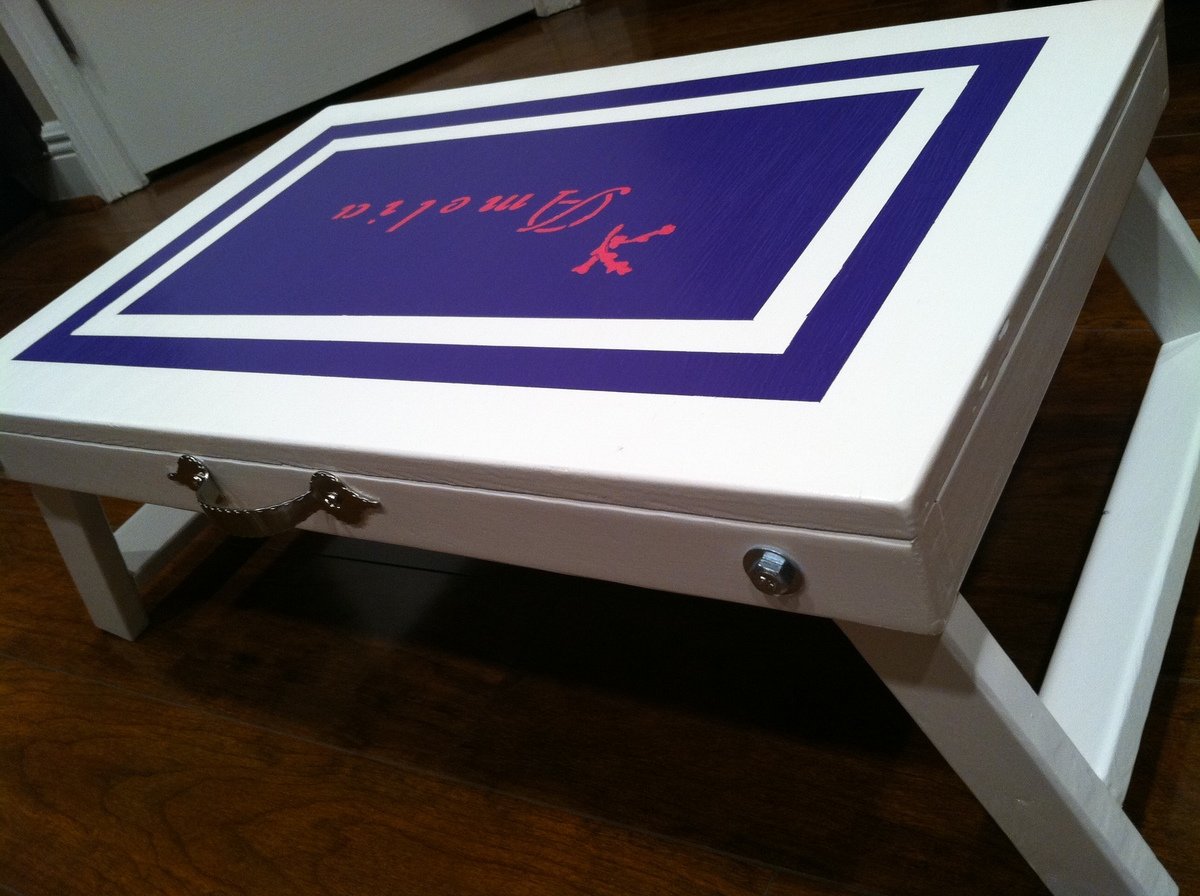
I built this step stool for a friend. I may build one or two more for my kids if I ever get around to it. It was a fun build and a learning experience! It was my first time attaching hinges. I also used a chest-lid hinge support to avoid the lid slamming on little fingers.

This project took 2 days (weekend) plus a few days of drying time. Looking back, I would have measured the thickness of the box spring and mattress and made adjustments to the footboard height so that it would sit flush with the mattress.
The provided plans had to be altered as my local Canadian home building stores do not provide wood with the exact finished dimensions. Also, it is difficult to find 4x4 posts which are not either cedar or pressure treated. I was lucky to find them in Spruce!
Definitely fun to make and getting lots of compliments!


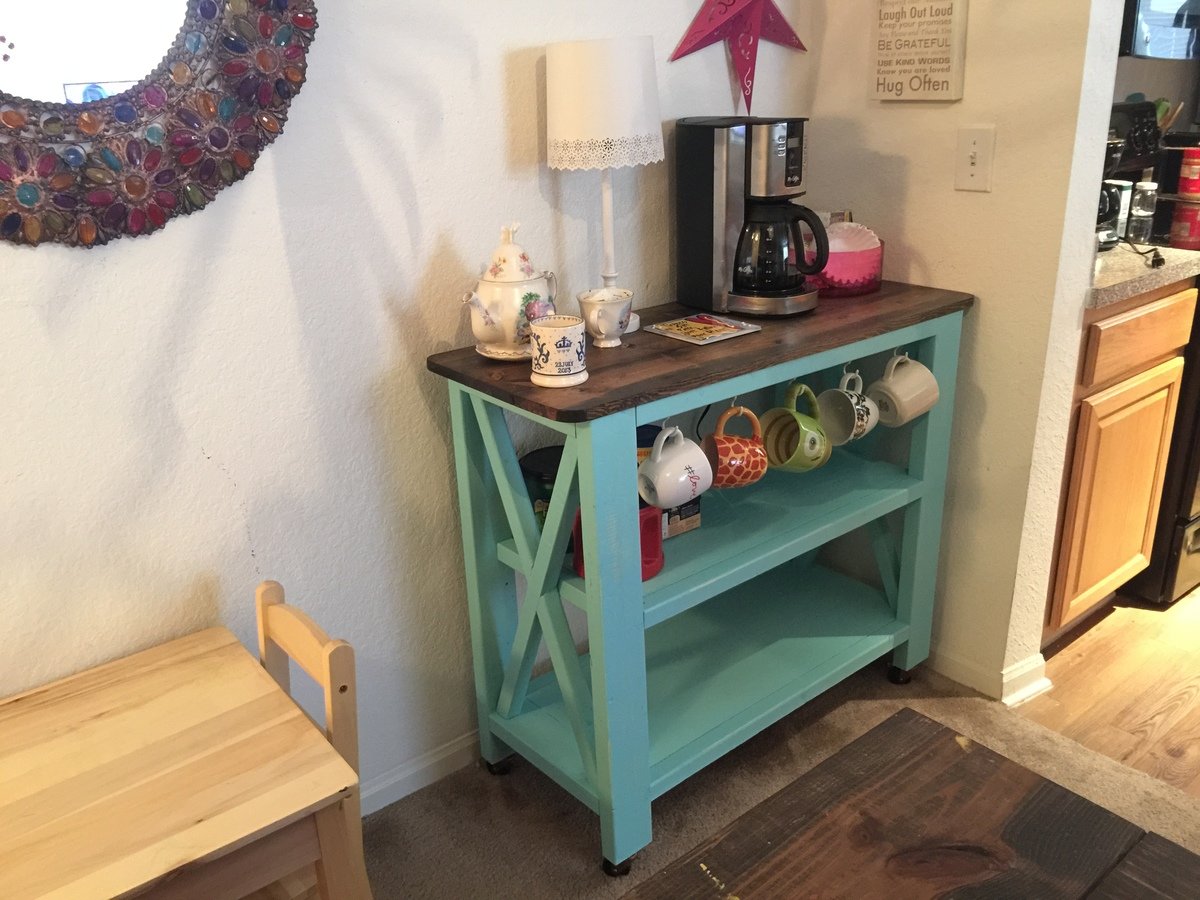
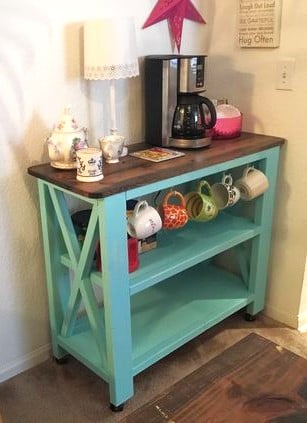
Very versatile and easy to build design. With some tweaking I was able to build a bookshelf, hall table and coffee station fro the same basic plan. End tables are next!
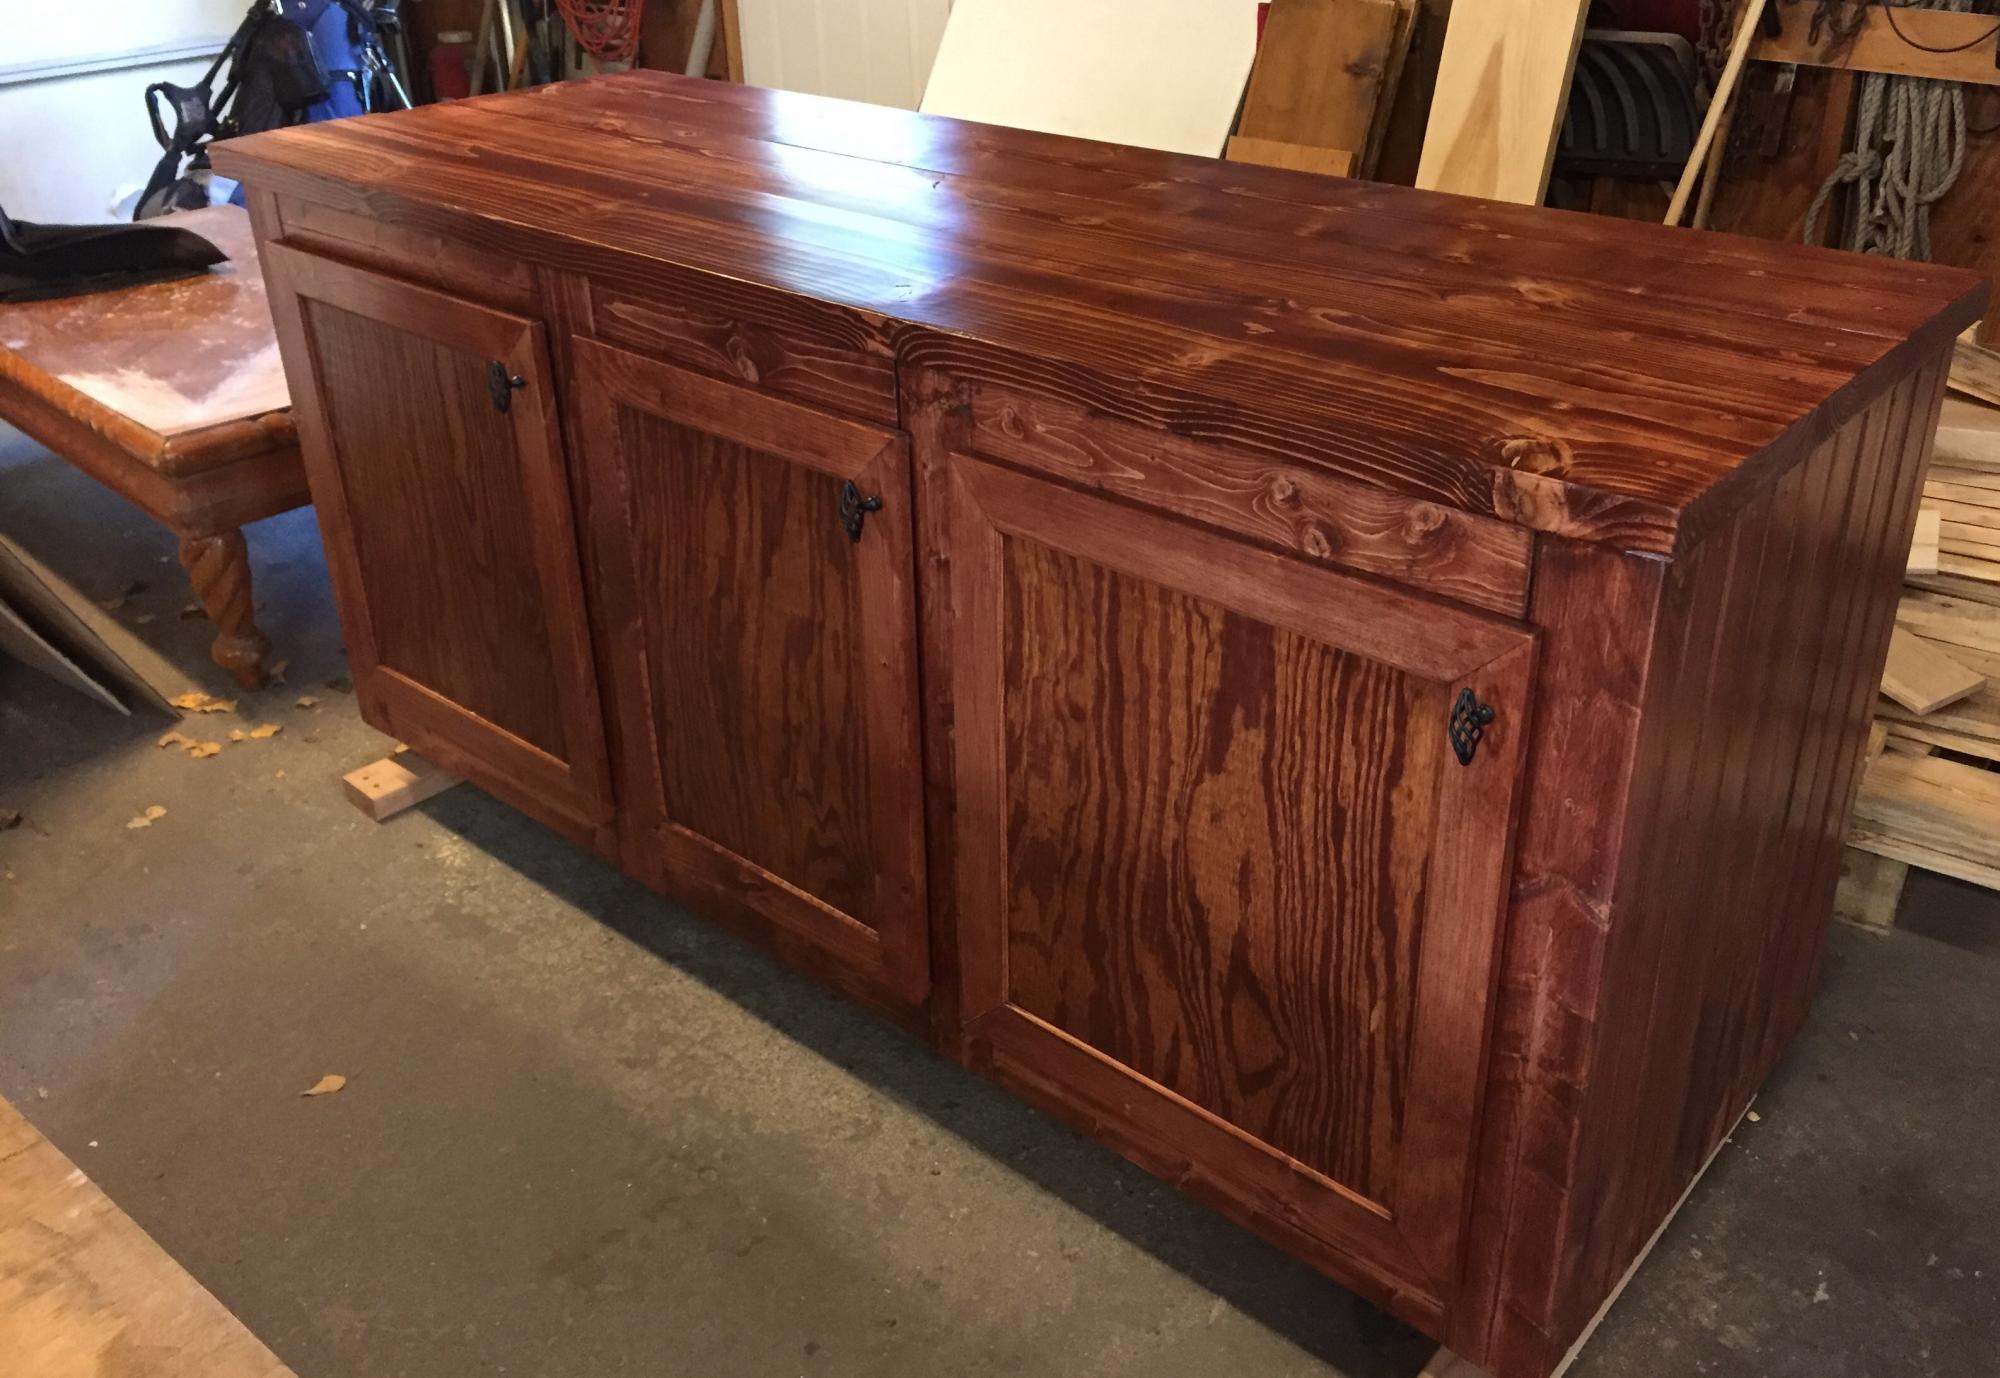
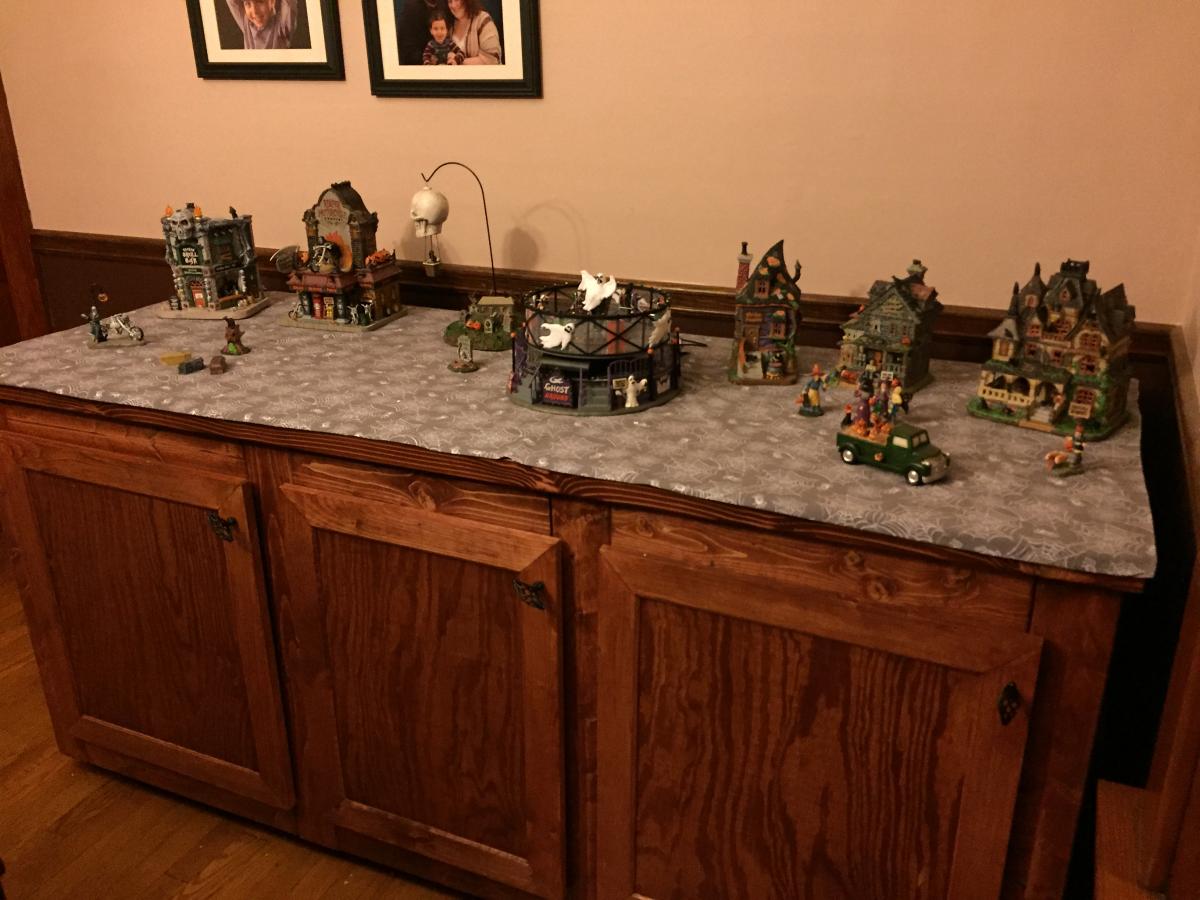
My daughter wanted a console for her holiday Halloween village and Christmas village. I had to measure and modify the original plans as they were longer and shallower than what I needed. I also used tongue and groove boards for the sides. She also wanted mitered doors on the front because the barn door stood out too much. Phew! I wish I had a CAD program.

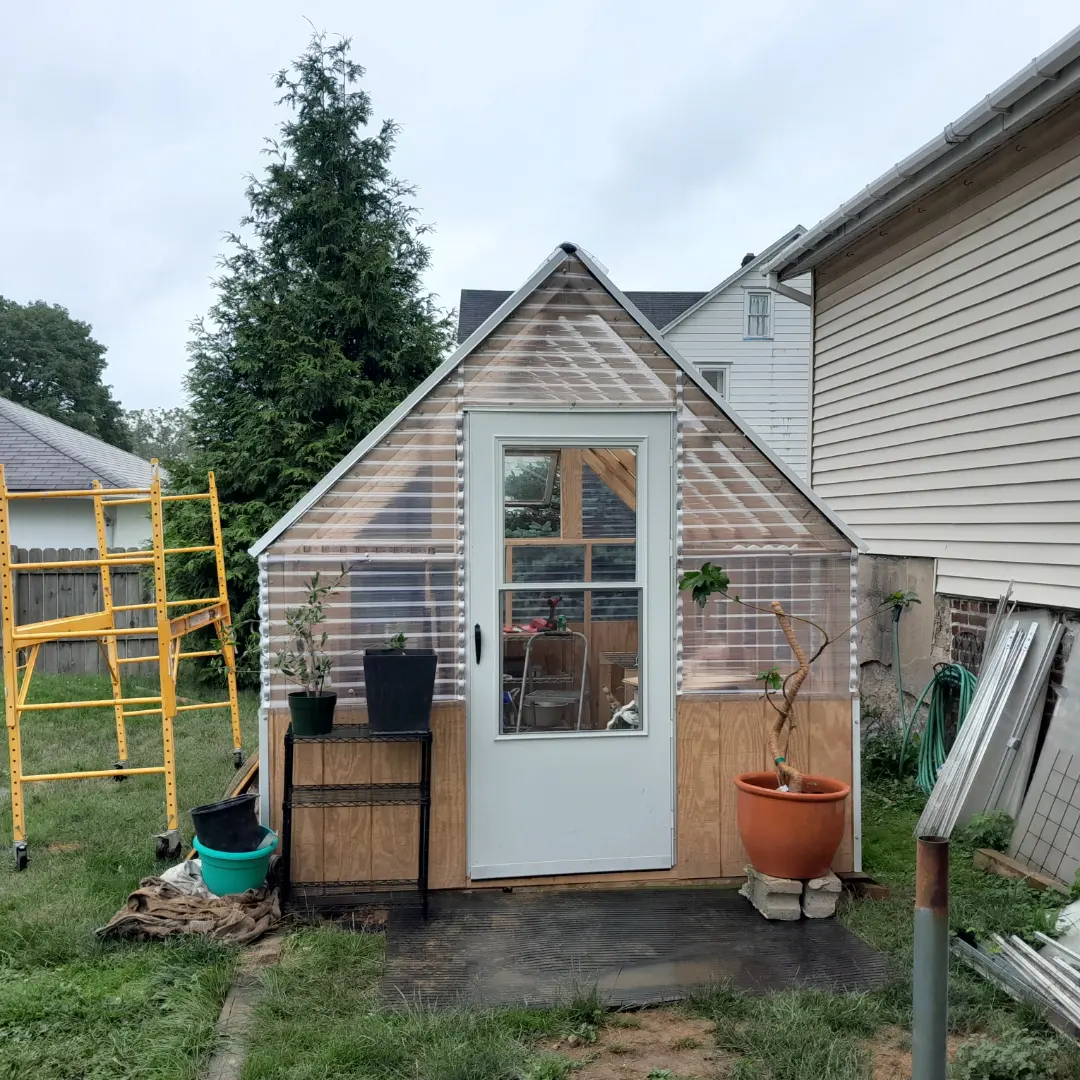
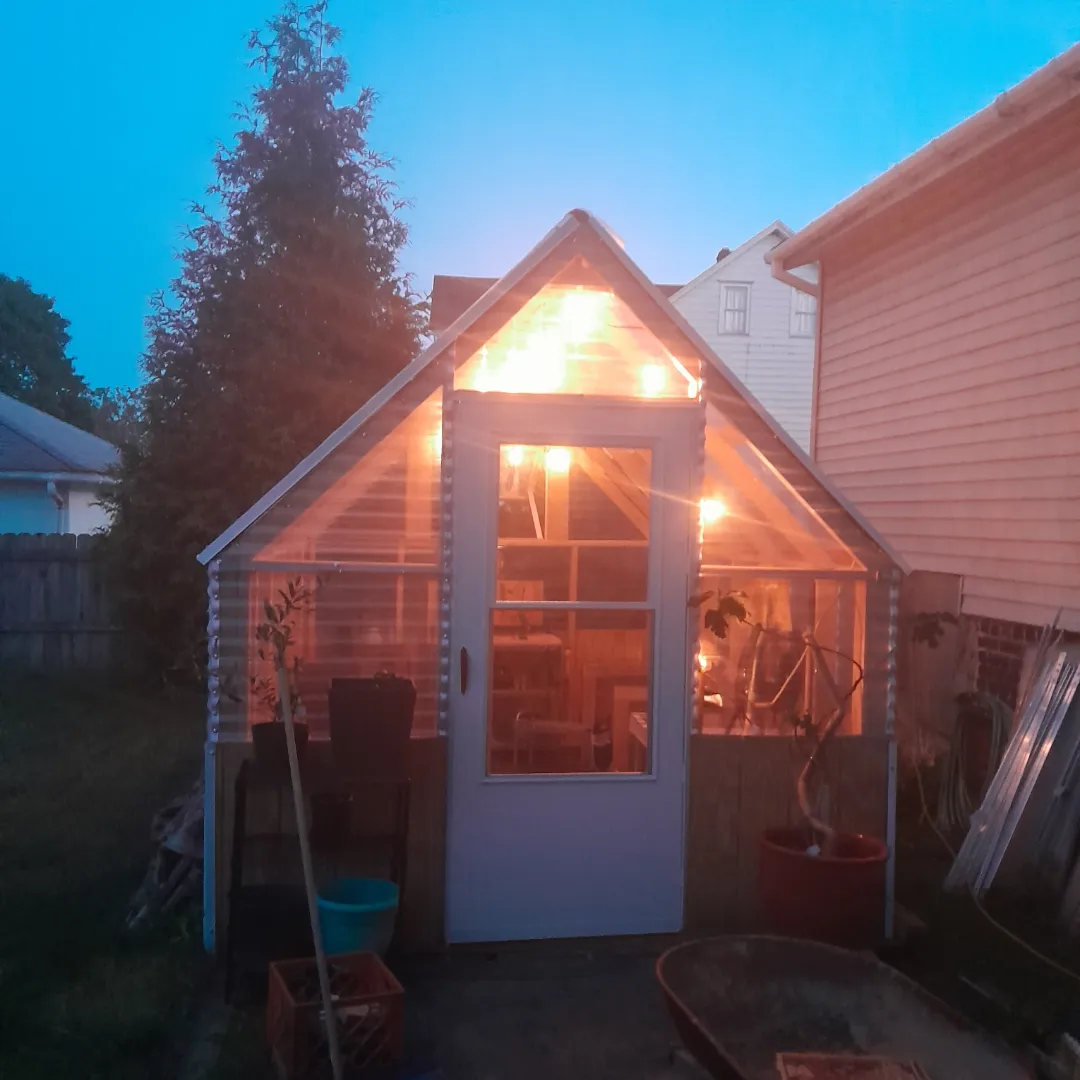
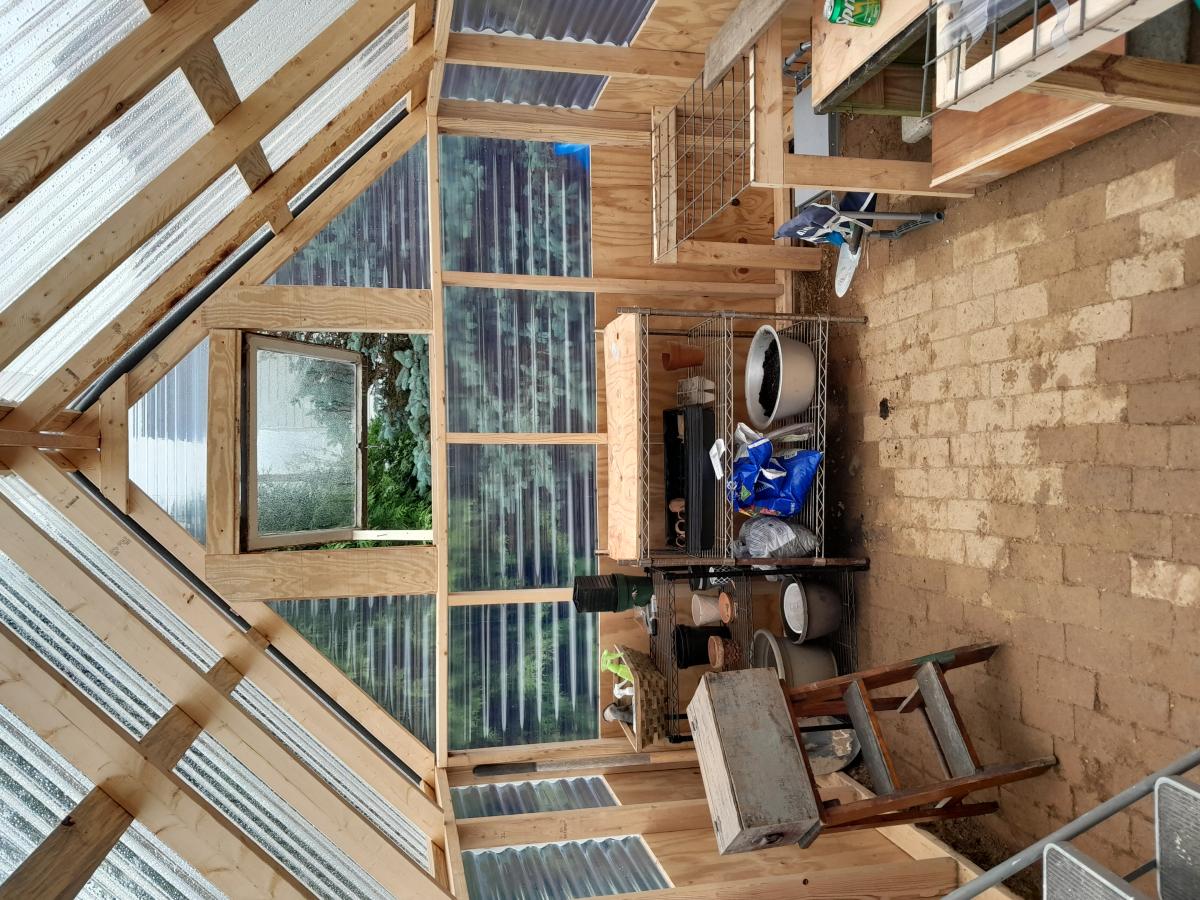
Greenhouse for extended growing.
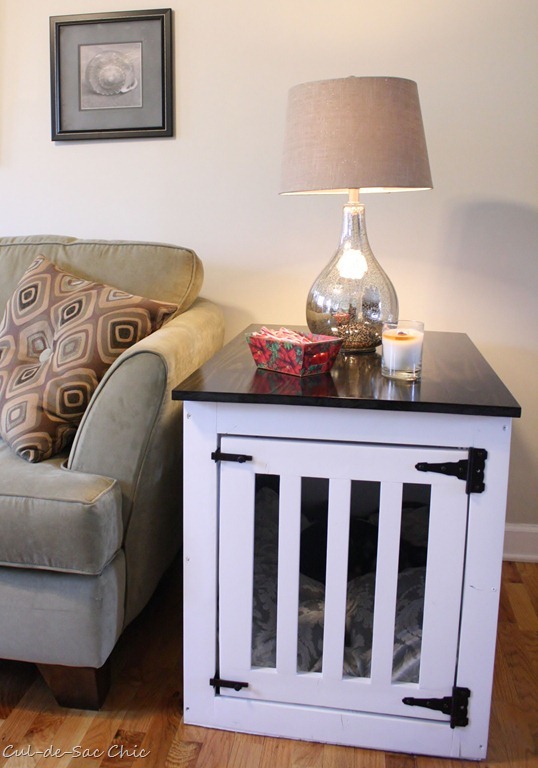
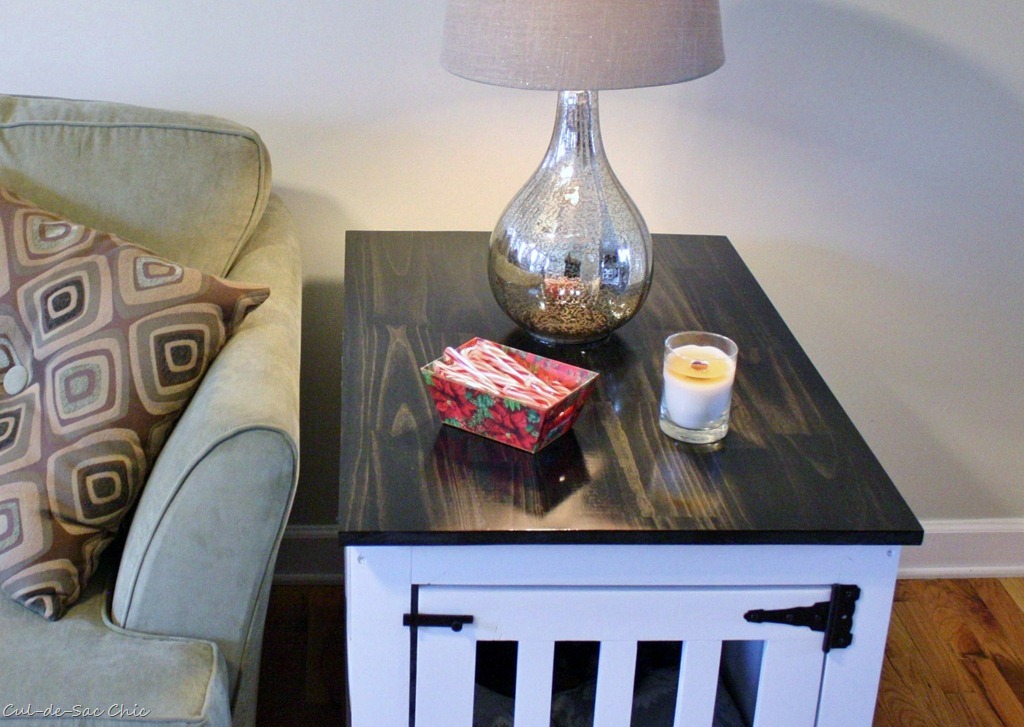
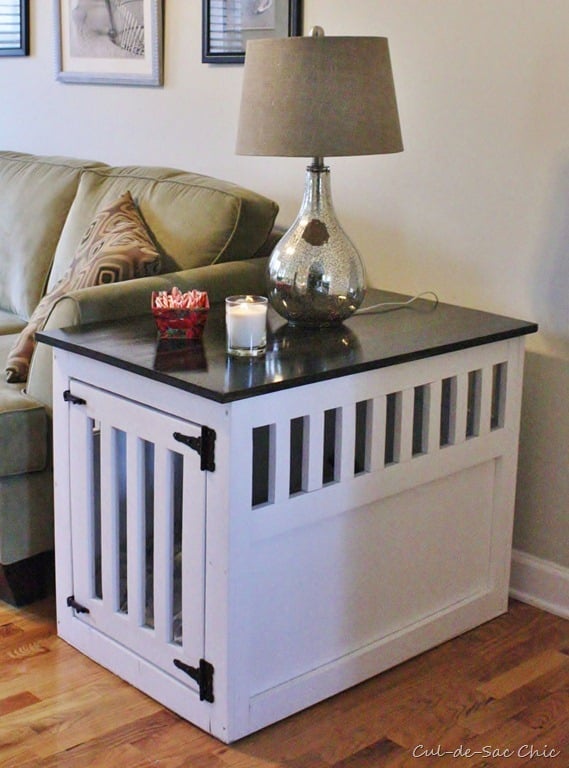
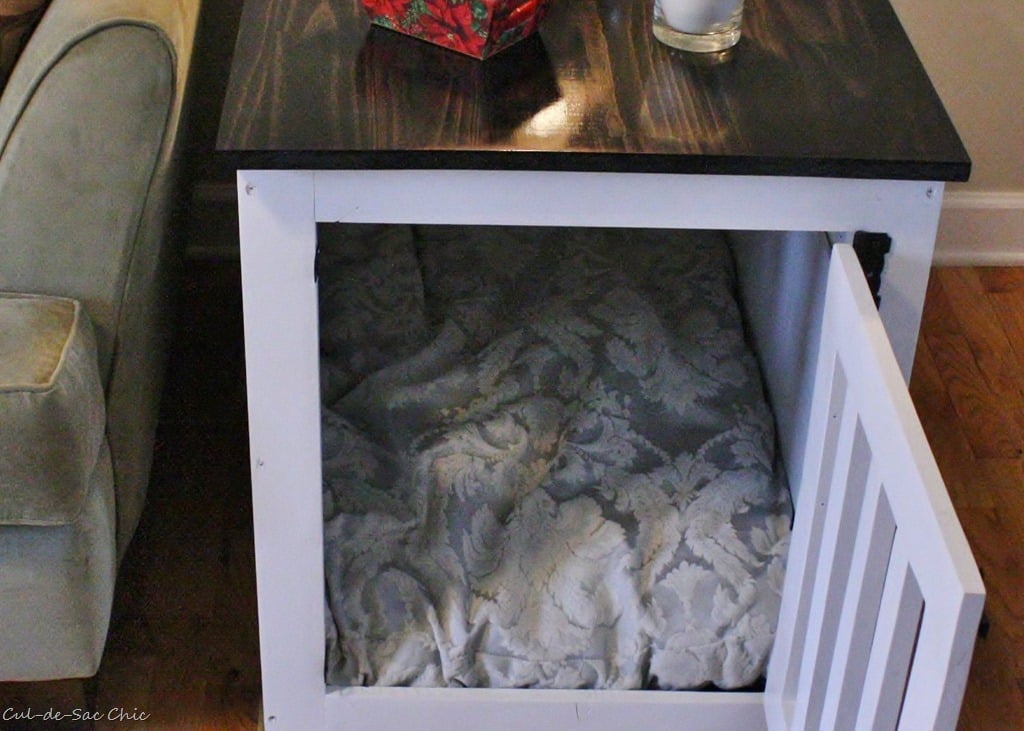
I love this project. My dogs Goldie and Chloe love their new house. They are sisters who just have to sleep with each other. They had their own metal crates but when Chloe was a puppy she would always go in with Goldie and they would snuggle. It was a tight fit for them as Chloe got older but they still had to snuggle. Now they are in heaven with their new bedding and house.

Thu, 02/09/2012 - 09:42
This is beautiful! Trying to convince my husband that we should do this so I can get that grey plastic dog crate out of our living room. Maybe this will show him how much better it would be to build one.

In reply to Plans by Guest (not verified)
Wed, 02/22/2012 - 16:34
Click above where it says "From plans" - that is a link.
Thu, 07/03/2014 - 12:43
Your post inspired me to pursue this project with some left over walnut and it turned out great! I think my post is on page 10 if you're curious. Thanks.
Thu, 07/31/2014 - 03:41
I'm going to try to make mine larger as my fur baby is Grt Dane/Lab mix & needs a bit more room. My idea is to put it at end of my king size bed like you would a cedar chest/hope chest. Wish me luck!
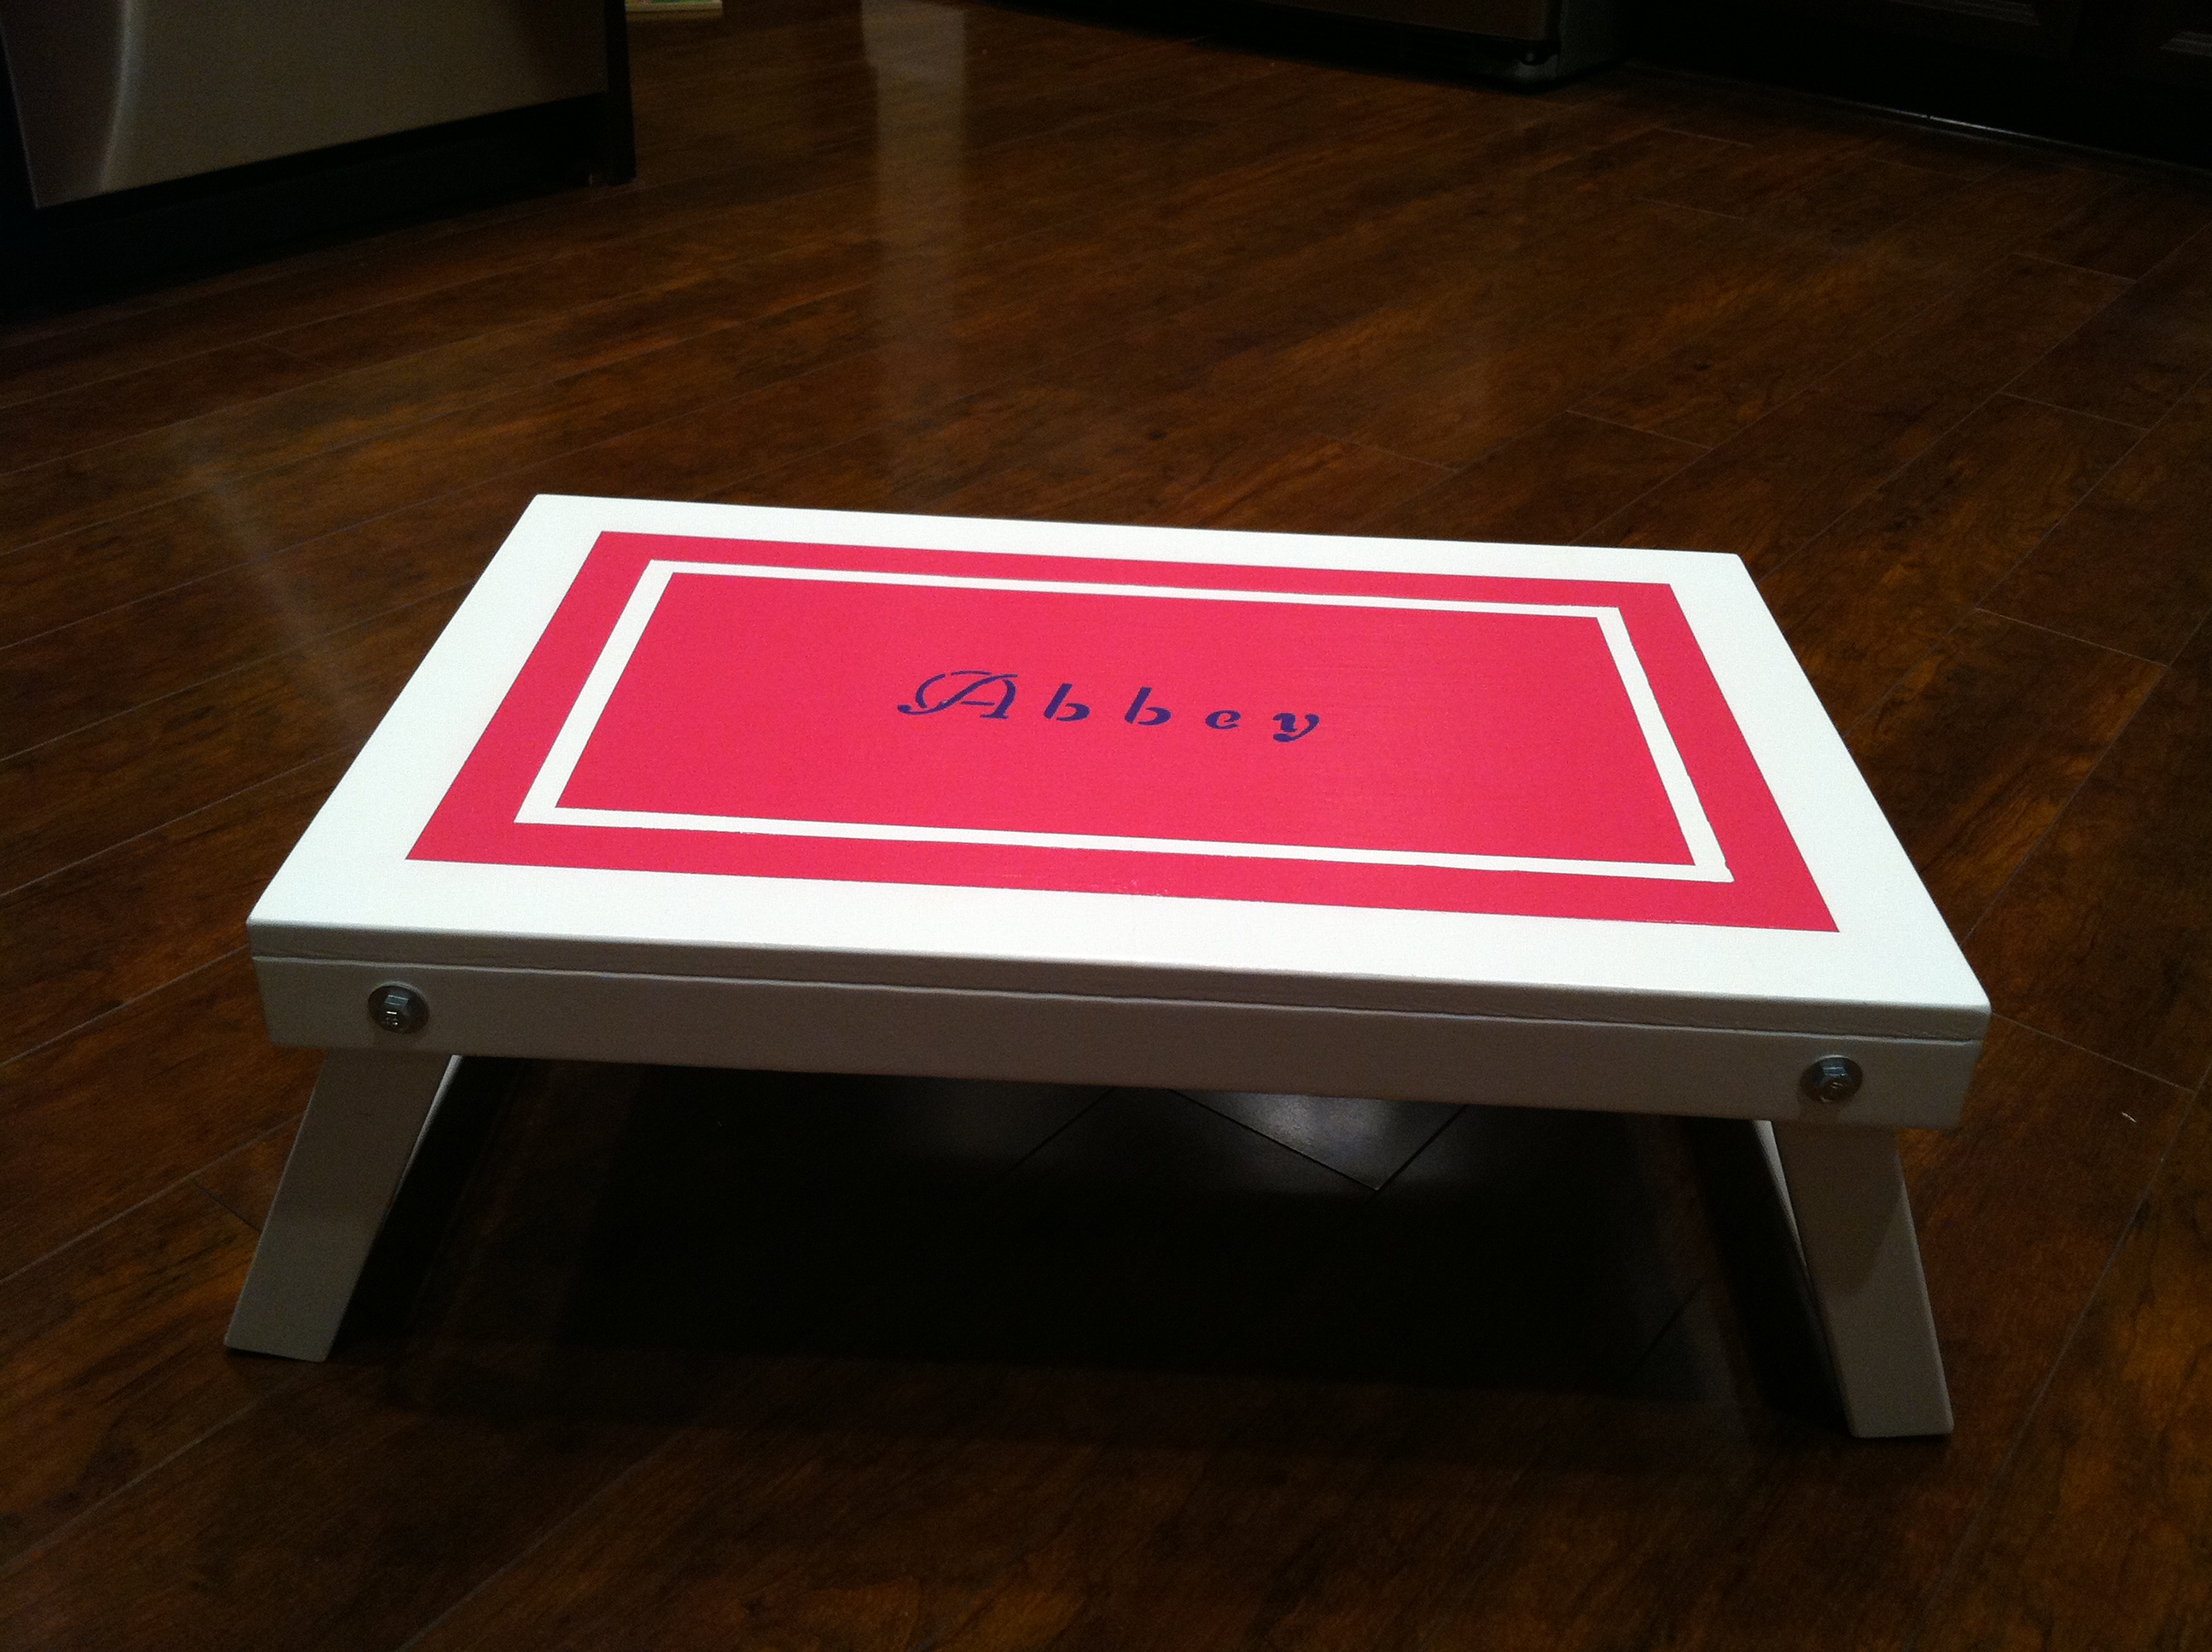
My husband and I made 3 of these folding lap desks for Christmas presents - one for our son and one for each of our nieces. My husband is a bit of a perfectionist, so it took slightly longer than I would have liked to sand, build, drill the pocket holes, and put them together (oh yeah, and sand sand sand again!). Oh and then there was the priming and painting. But then I took just as much time with the decorative paint and then the clear coat! If we had been working on it every evening, we could've completed the 3 desks in under a week but it actually stretched out for a month. I've never painted anything in my adult life (probably haven't picked up a brush since I was in elementary school), and even then I was only doing it because they forced us to! So if I can do this, anyone can! :-)
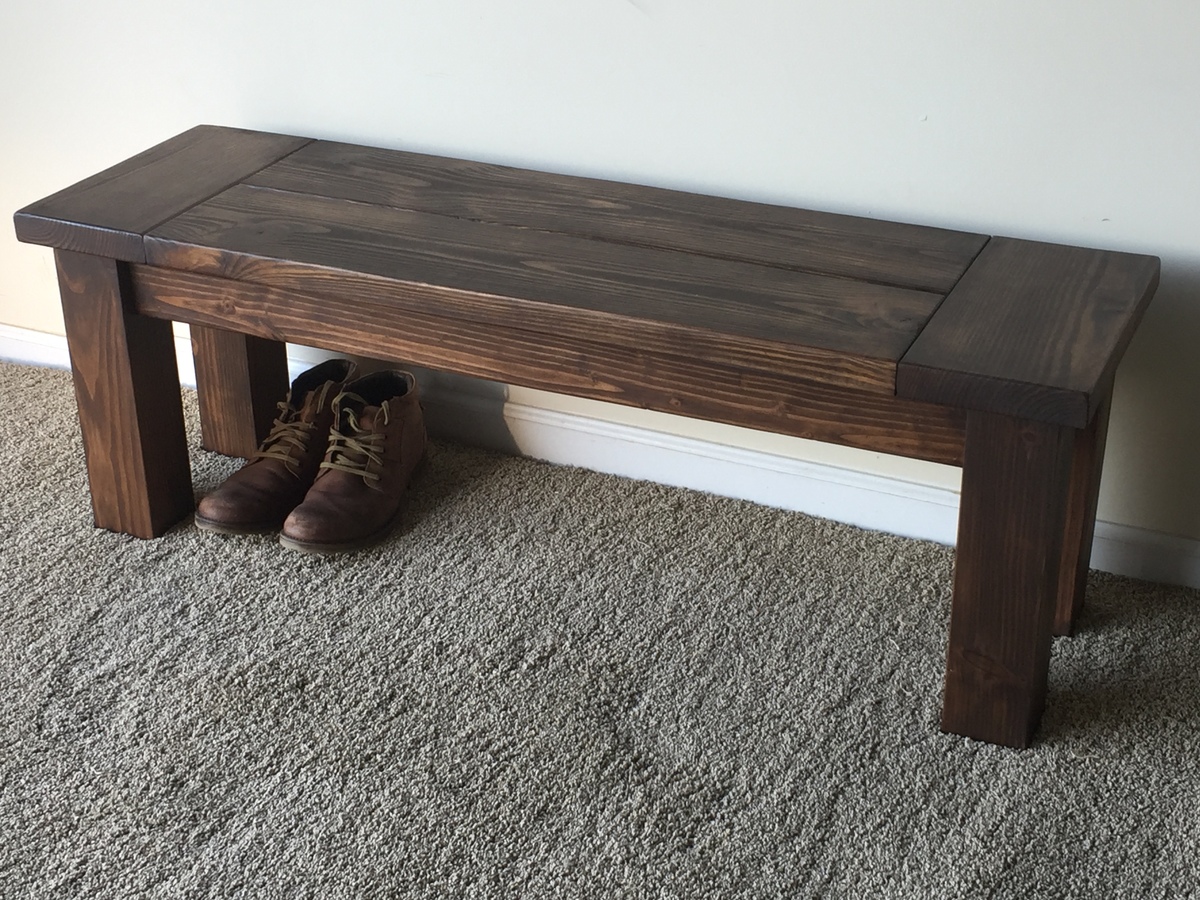
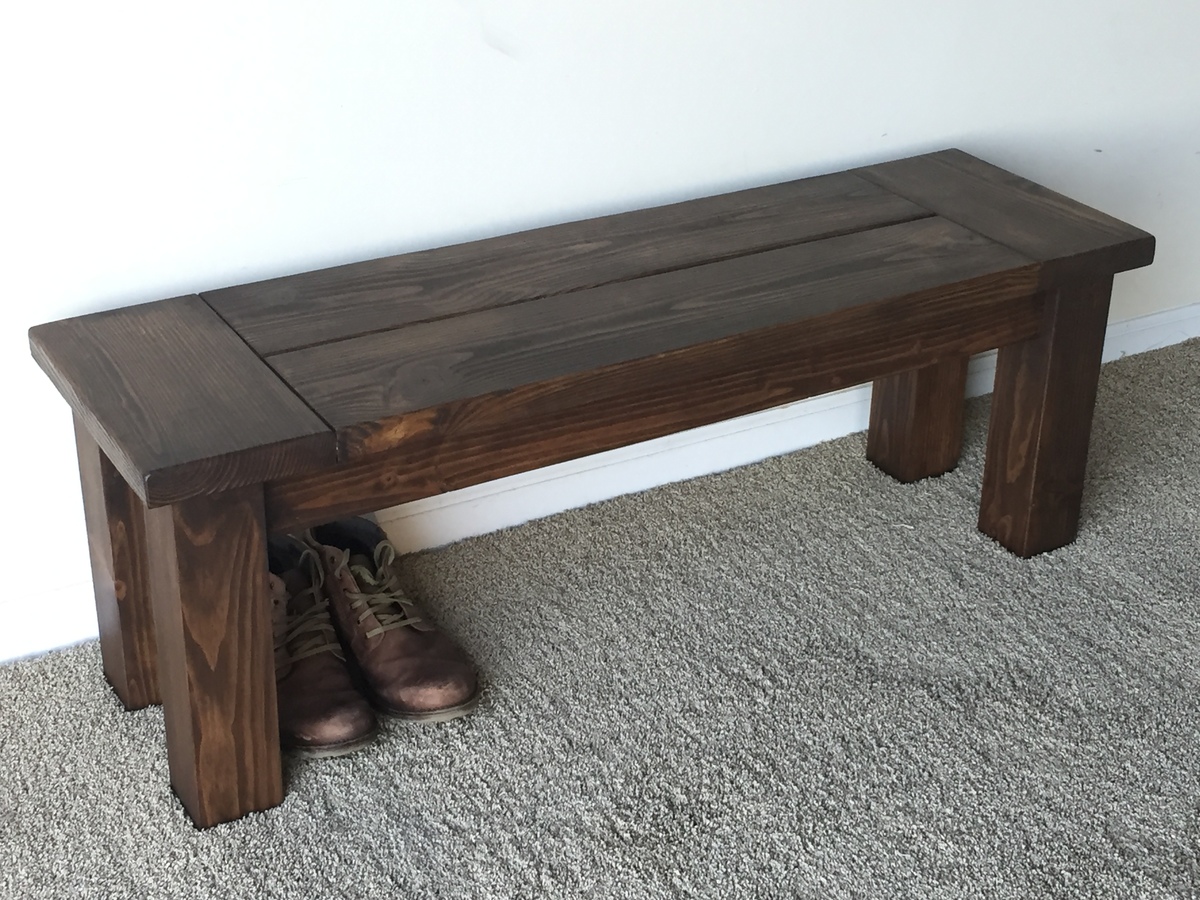
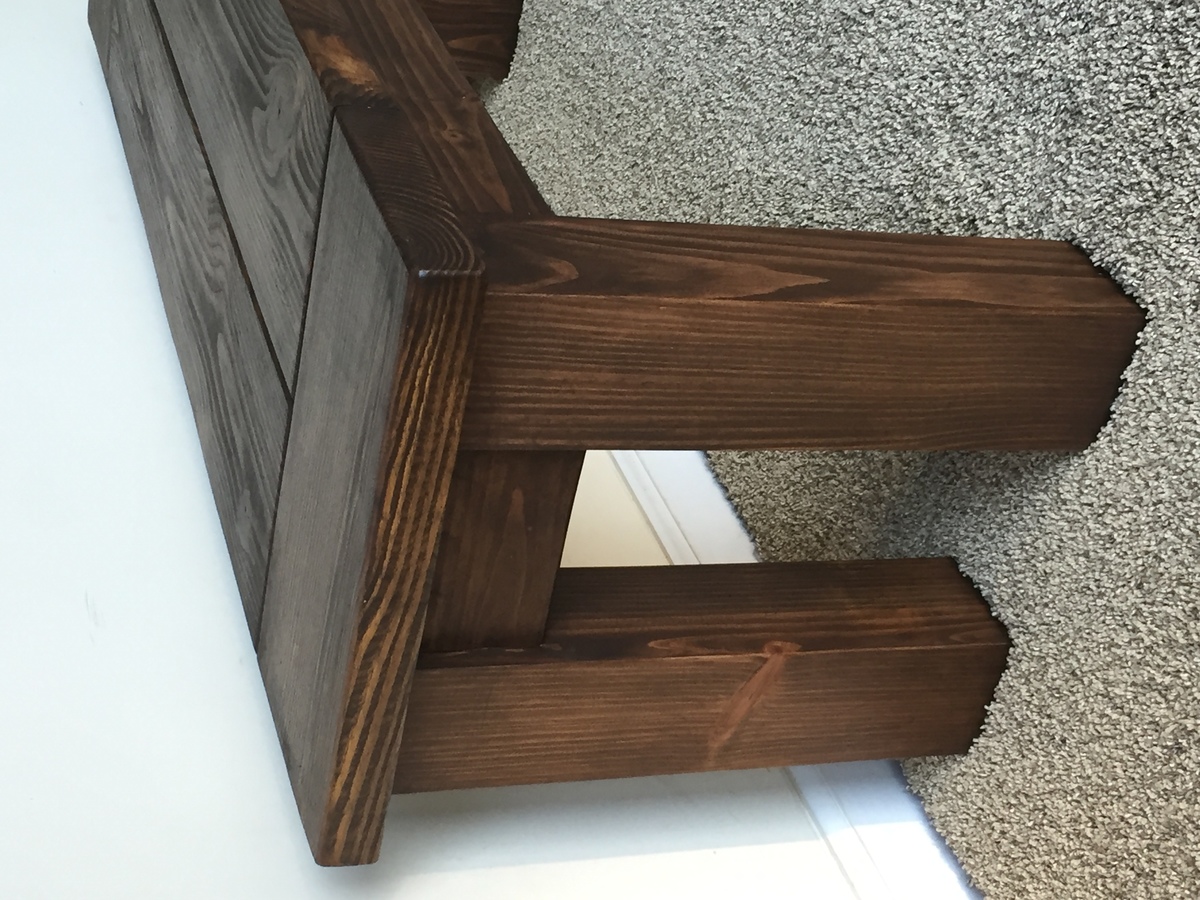
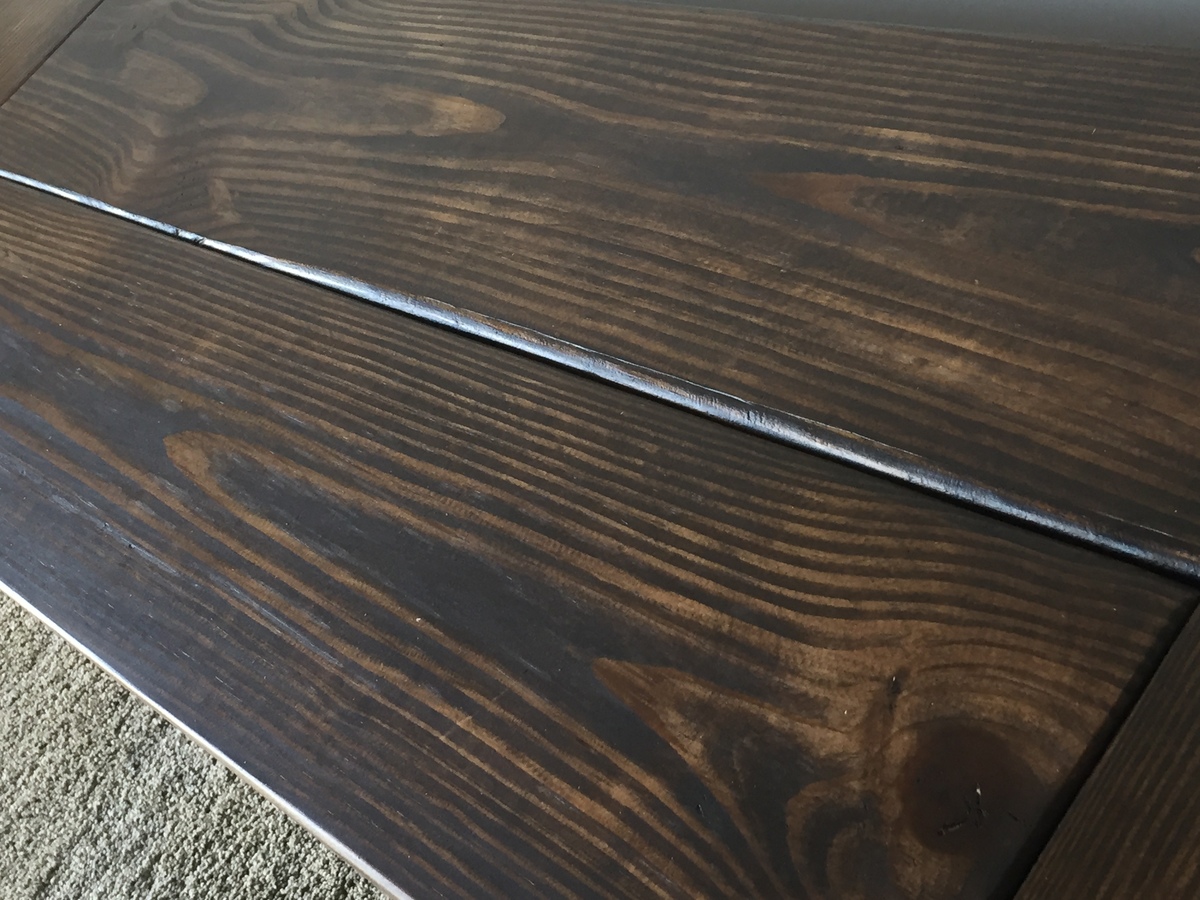
Entry way bench made from some 3.5 by 3.5 inch posts, 2 by 8 for the top and 2 by 4 for the rails and under seat supports. Finished in Varathane Kona.
4 feet long, 17 inches to top of seat and 14.5 inches wide.
Tue, 04/05/2022 - 18:37
Where may I find the tutorial for this bench? It is beautiful and just what I am looking for. Thank you!
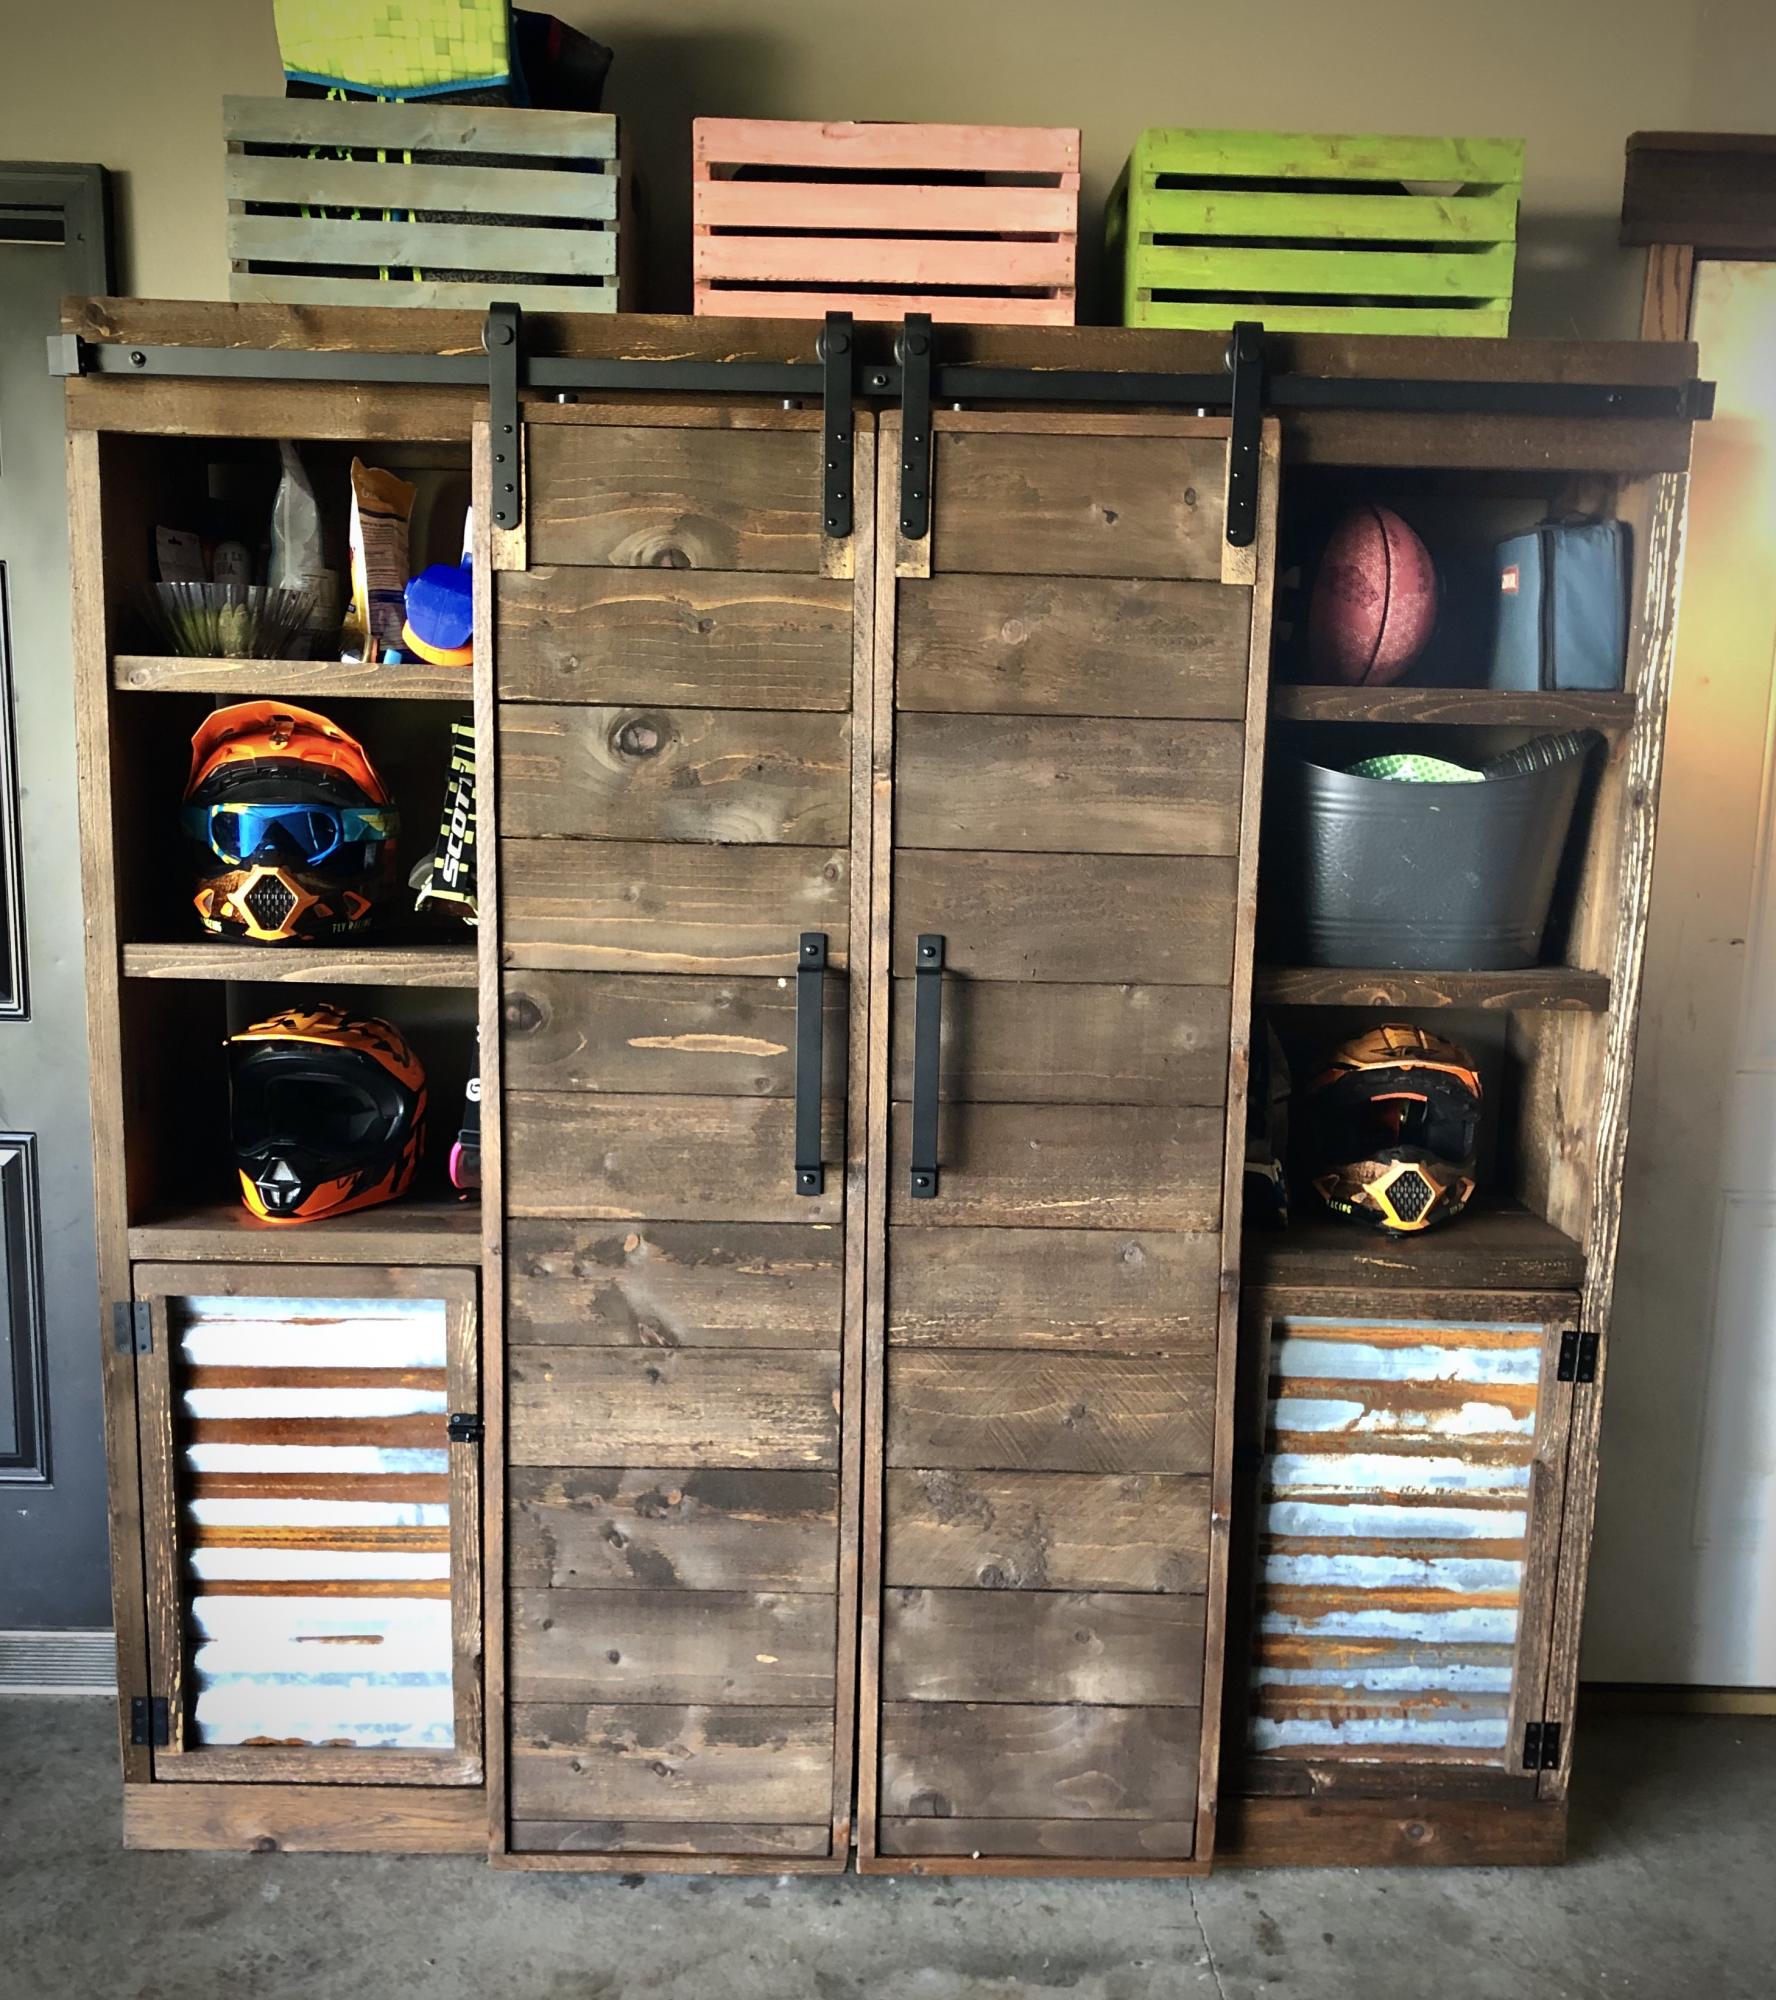
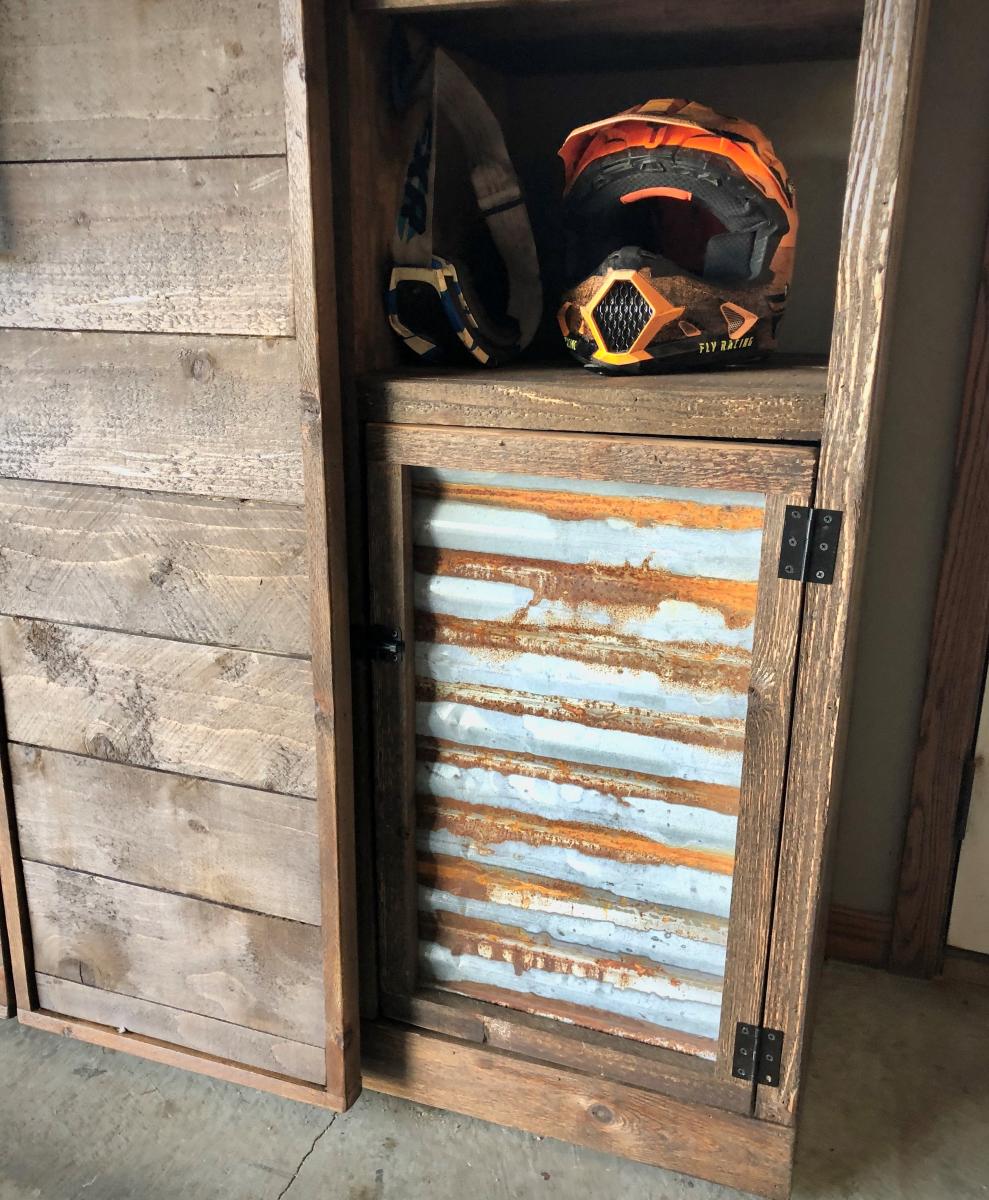
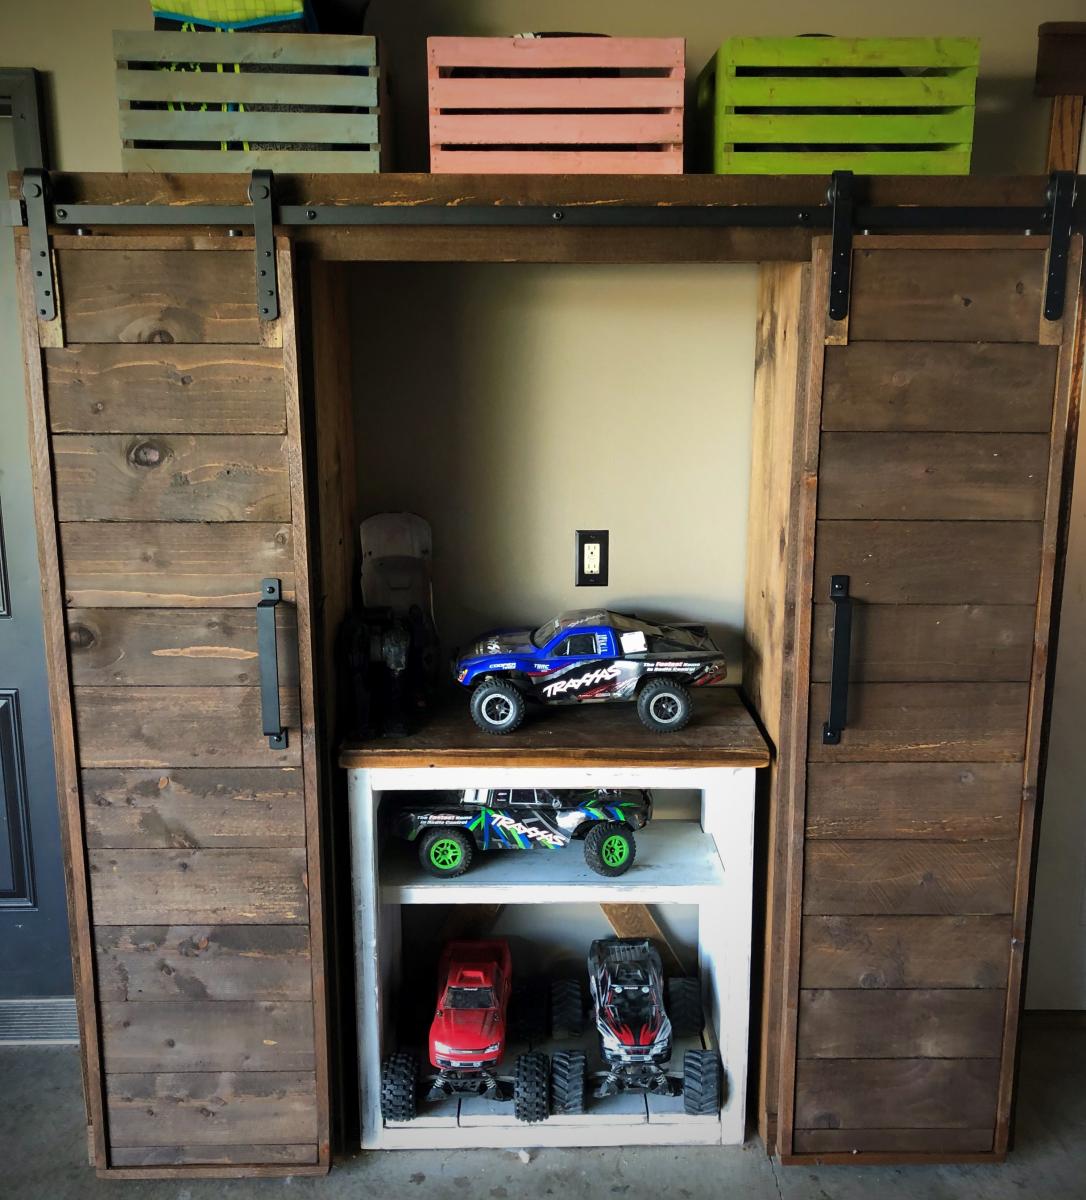
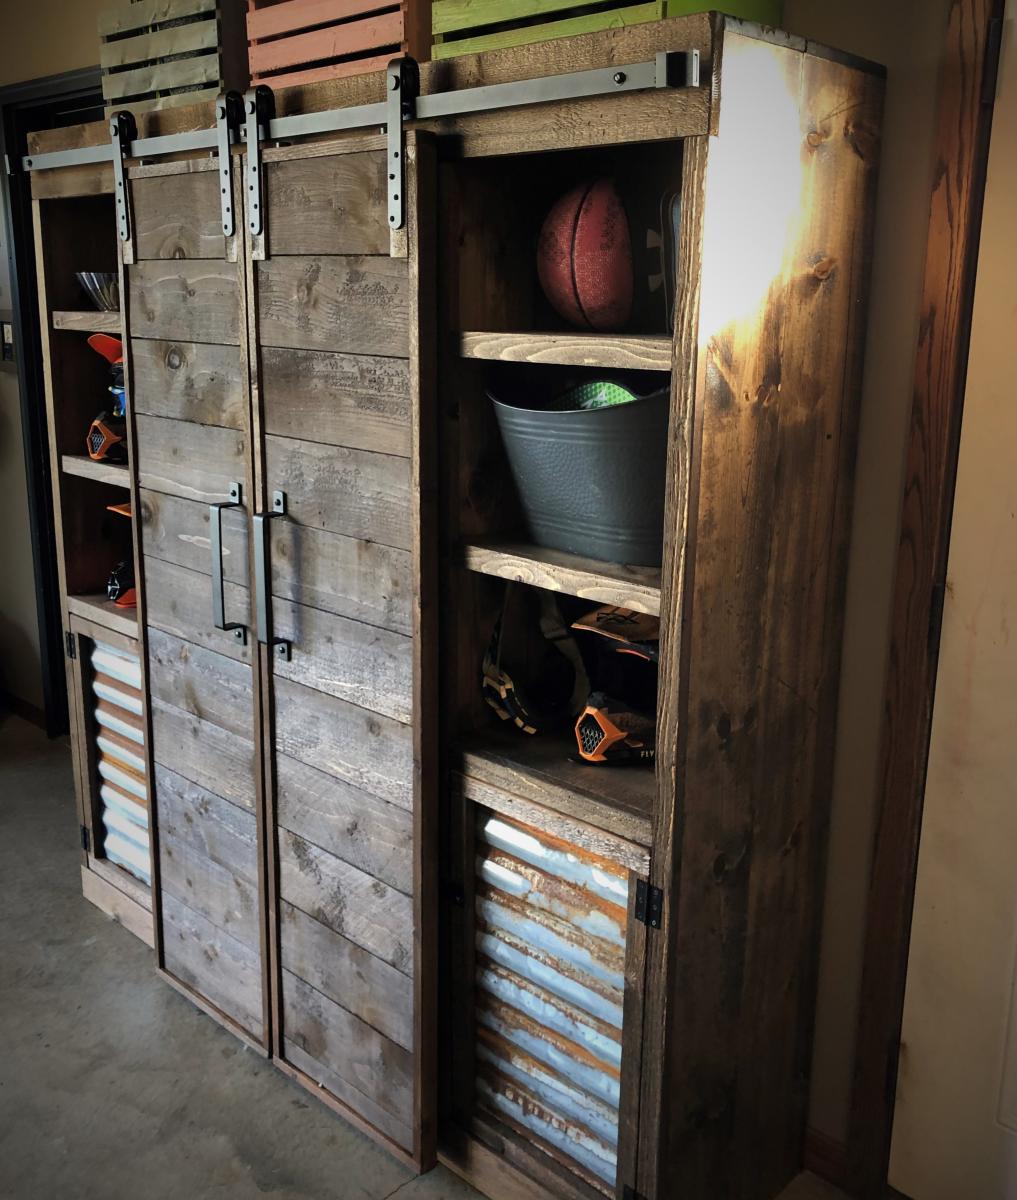
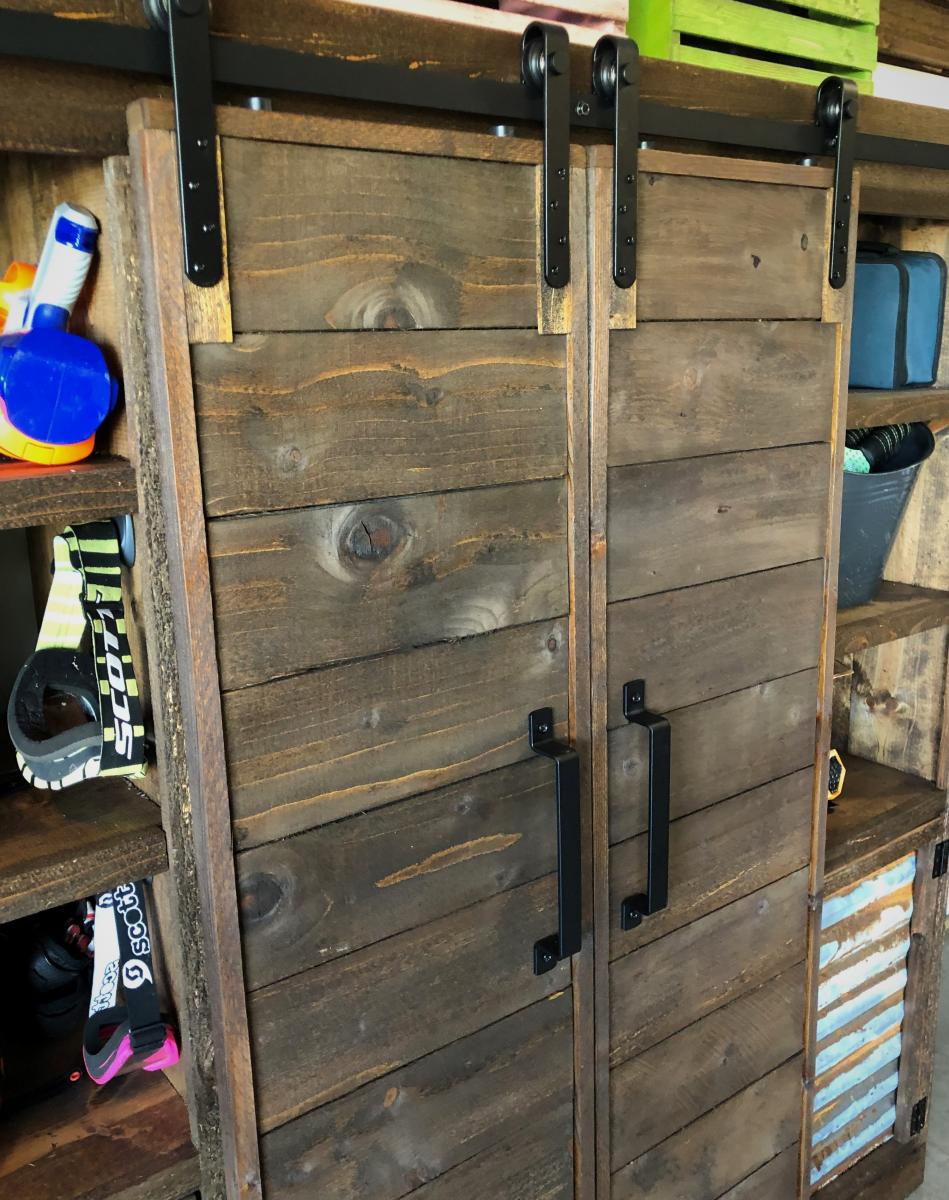
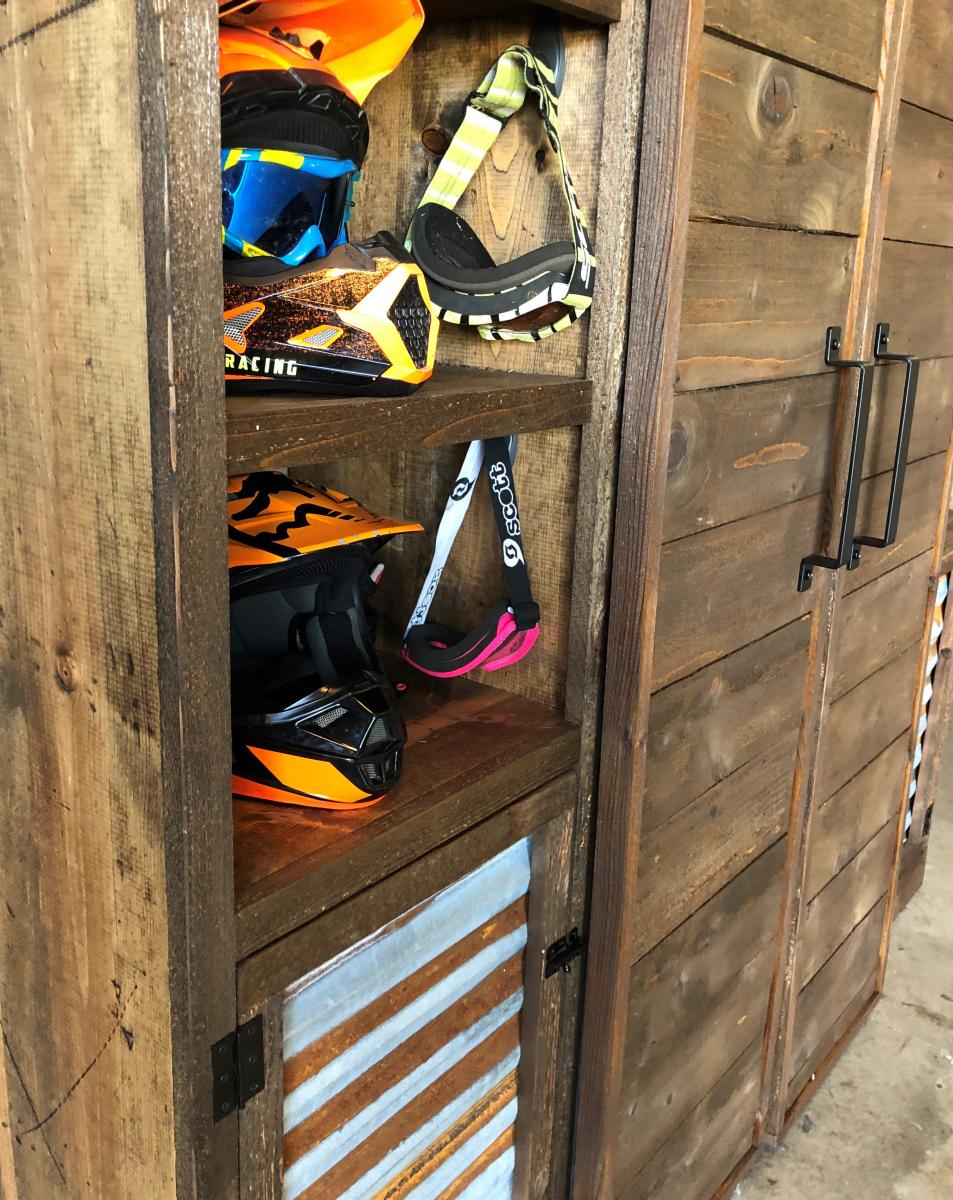
I adapted this build from the Barn Door Entertainment Center plan. Like most families, our storage space needed some major help! We had minimal space to work with and all sorts of awkward things to store (rollerblades, helmets, etc). I measured how deep I needed the shelves to be to fit our helmets and pretty much built around that!
The open shelves are great as they allow easy storage spots for the kids to reach - the doors are great because they allow me to hide the stuff that just never seems to get organized! And the best part? The sliding barn doors! I park next to this thing so not having a swing out door was a major win for me!
I left the center of this piece open so I could fit a stand I already had in our garage, which allowed for a “charging station” for the cars! Our garage is rustic theme so on this piece I went with standard common board for the walls and shelves and built the trim and doors from cedar. The entire piece is stained with Minwax Provincial.
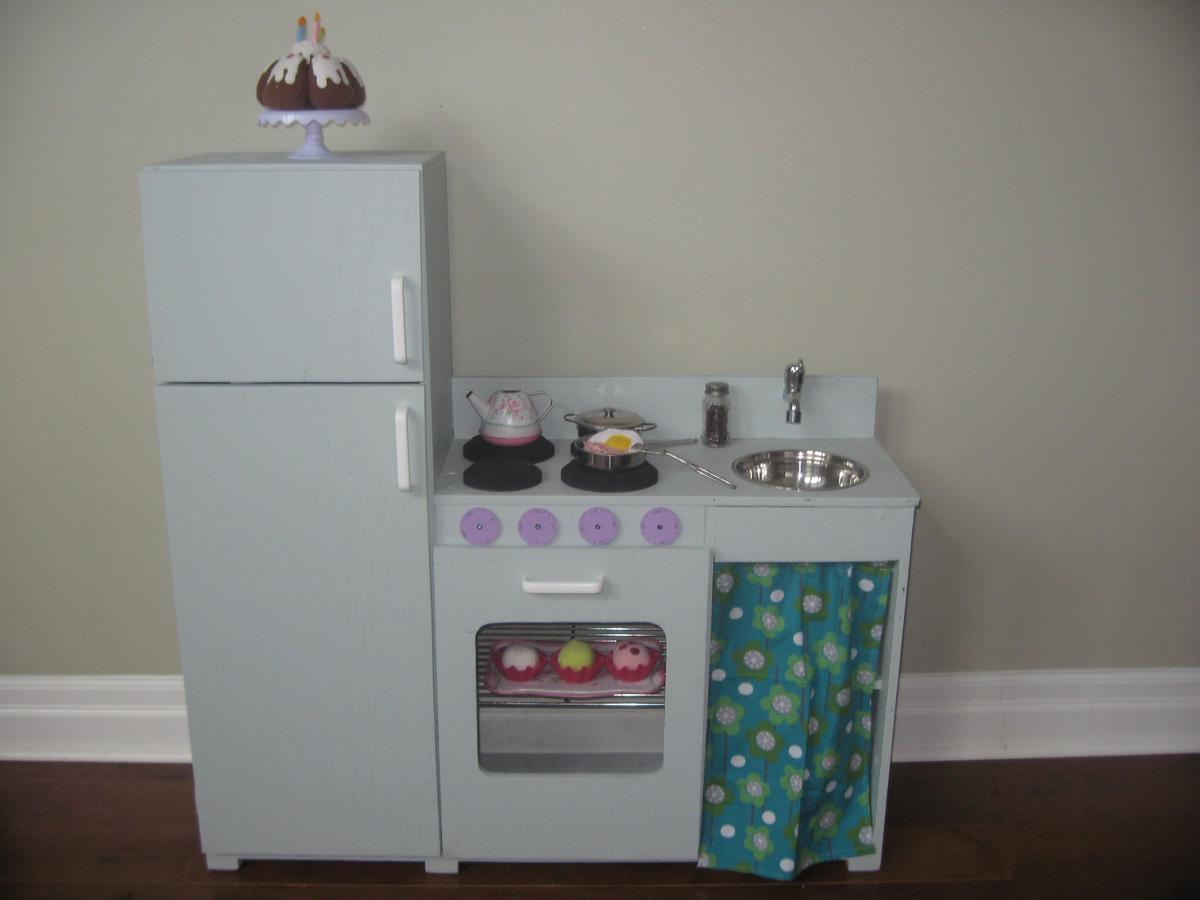
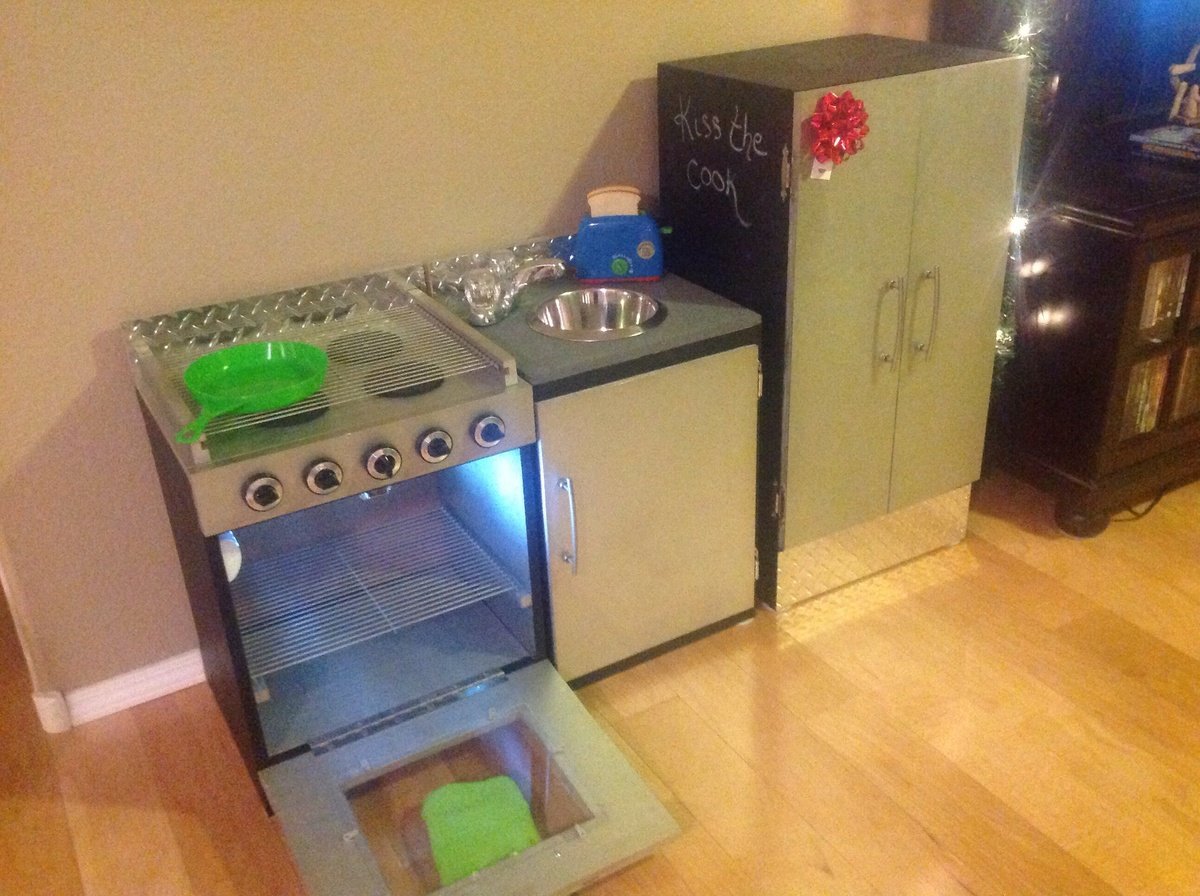
I actually used Ana's "Grace's kitchen" plans and modified them to make a single unit kitchen that was smaller to fit my space, after I was done this new project plan was posted! My kids love this kitchen and I love it's smaller size. I used all plywood scraps to make it, so the cost was minimal.
Thu, 05/24/2012 - 09:30
hi i like the diy fridge. i've been wanting to get one for my son soo bad

First project for me. Easy to do even with limited tools. Now I realize I need more tools to do bigger and better. It was a nice stress relief to go to garage and build something. My wife wanted something so it made sense to do this.
Built this
Thu, 03/03/2016 - 12:18
it's a platform bed, I accidentally typed poster bed
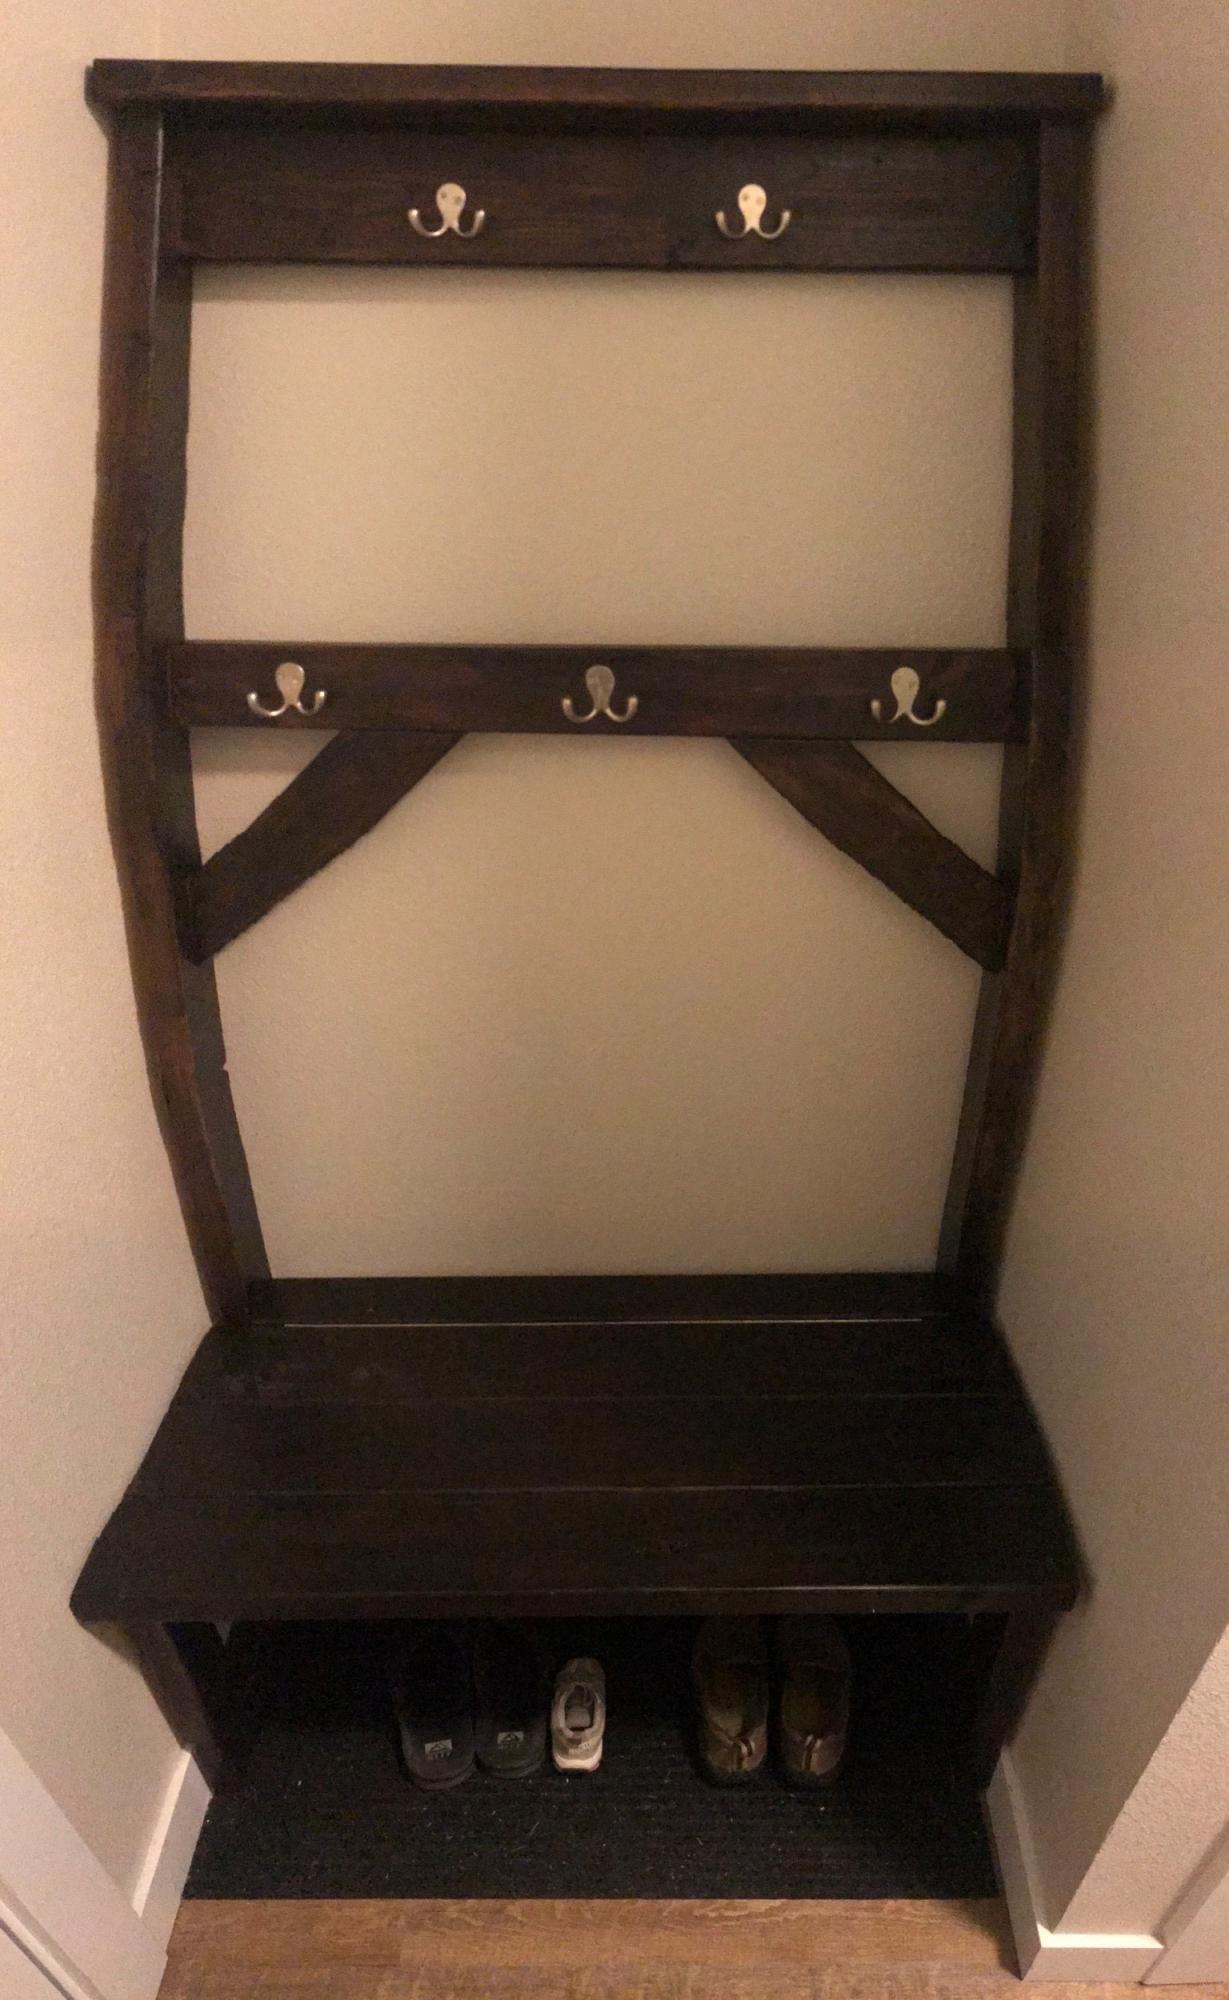
Modified version of the $40 Hall Tree
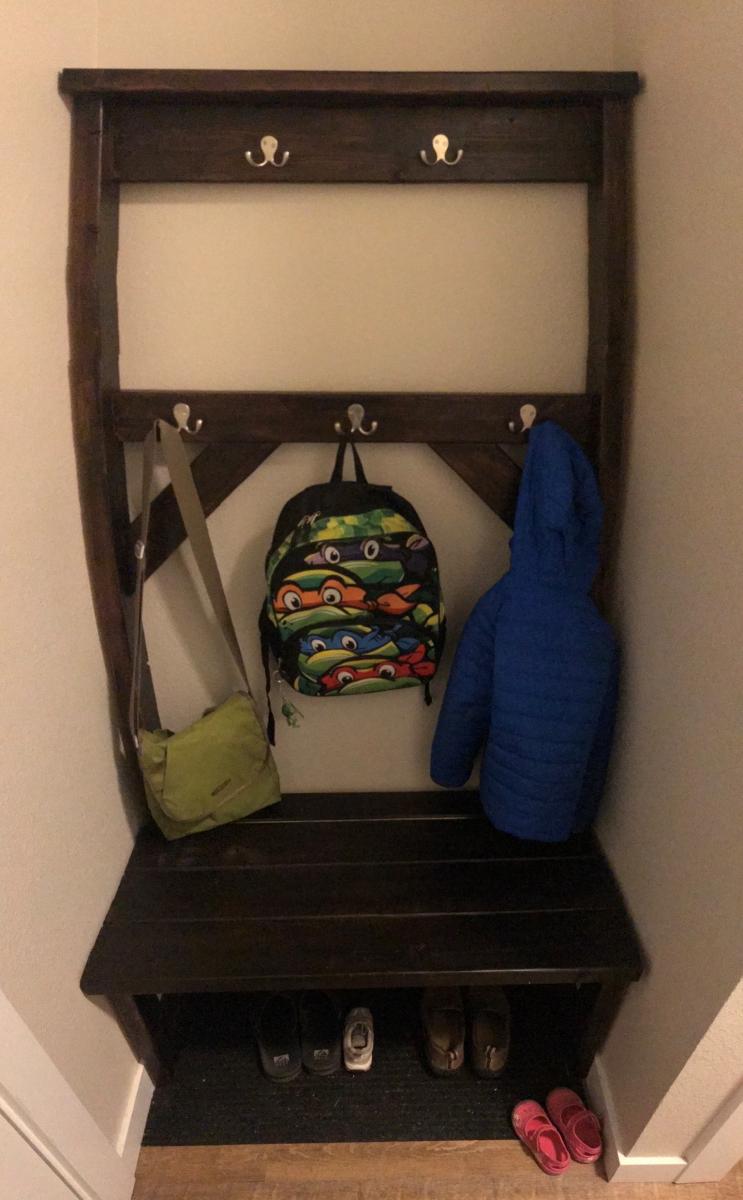
Had to reduce the width to 36" to fit into this specific nook that is just inside the door from our garage. We've used it as a kick off place for our shoes. Having nothing else there was a waste of wall space that could be additionally utilized. We have a closet just up the hallway for most of our coats, but with winter coming and struggling with our oldest finding his coat and backpack every morning to leave for school, we wanted to designate a spot for him to use.
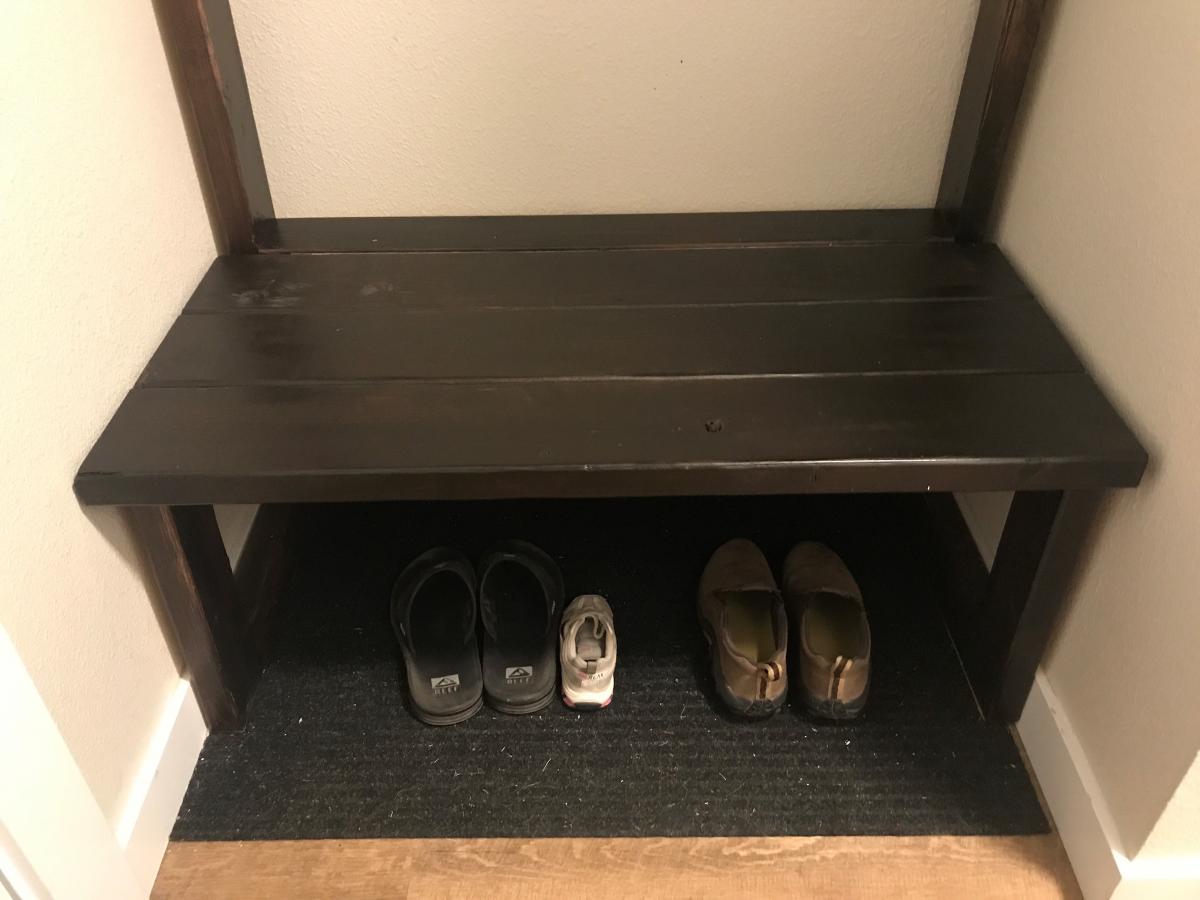
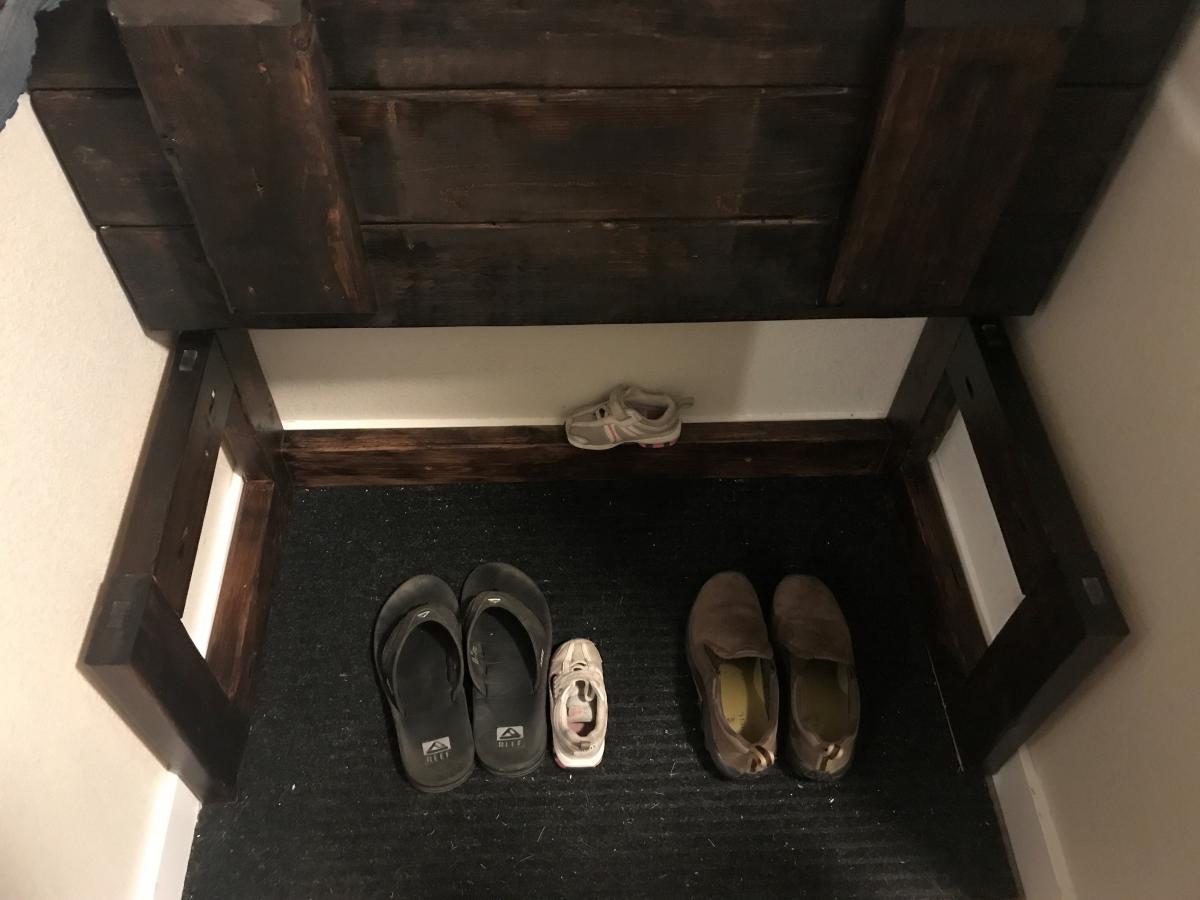
With that said, the space still had to be functional for all of us, and having to crawl under and find the lil girl's 'lost' tiny shoe/s way in the back under the bench was going to be a no-go for my knees. To remedy that, I decided to modify the bench to lift up to find those lost items (see pics). This required removing the front cross beam and creating squared off supports on each side instead of just 'legs'.
Before hooks, stain, and the 30" piano hinge, this project came in just under $25.
Total completed project was closer to $65 for all materials.
{Apologies if the full length shots look a little wonky/bowed. Getting a full shot was tough with my back against the wall, literally. :) Had to use the pano mode.}

Ana, you're the BEST!! Thank you so much for sharing these plans. This was a very simple build ... my problem was trying to decide how to paint and decorate it. There's a lady in our little town that cut out the letters for me. I think it turned out so cute. I'm working on a Christmas collection for our church auction next April and thought it would be fun to have Christmas in April :-). Thanks again Ana!!!
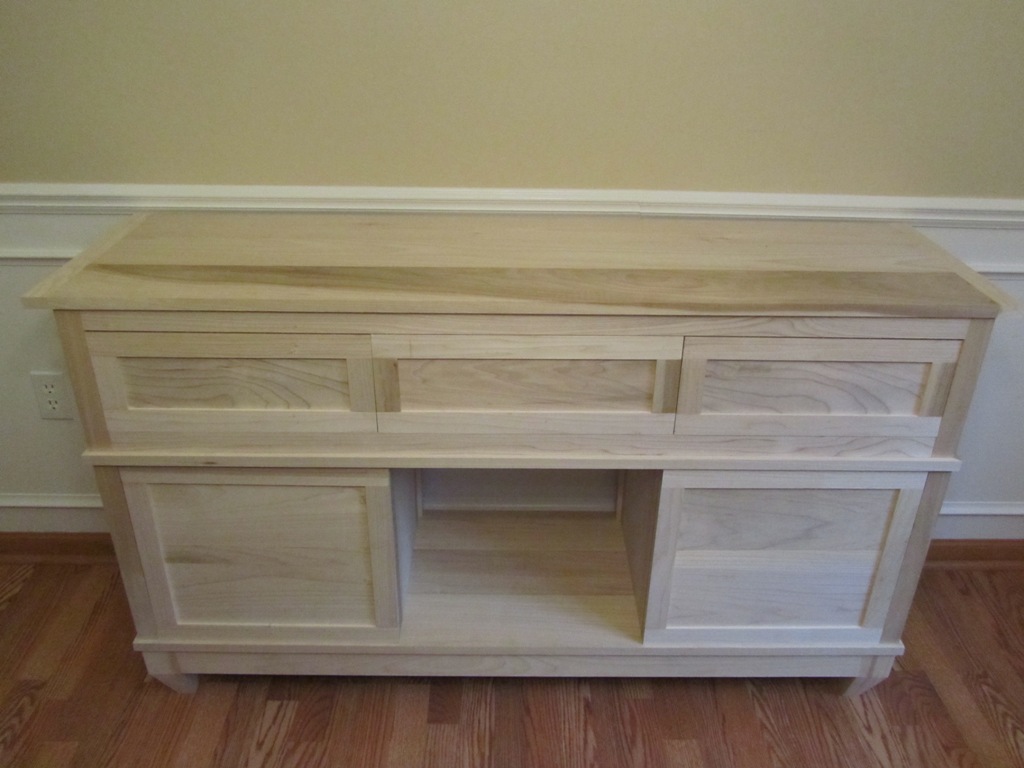
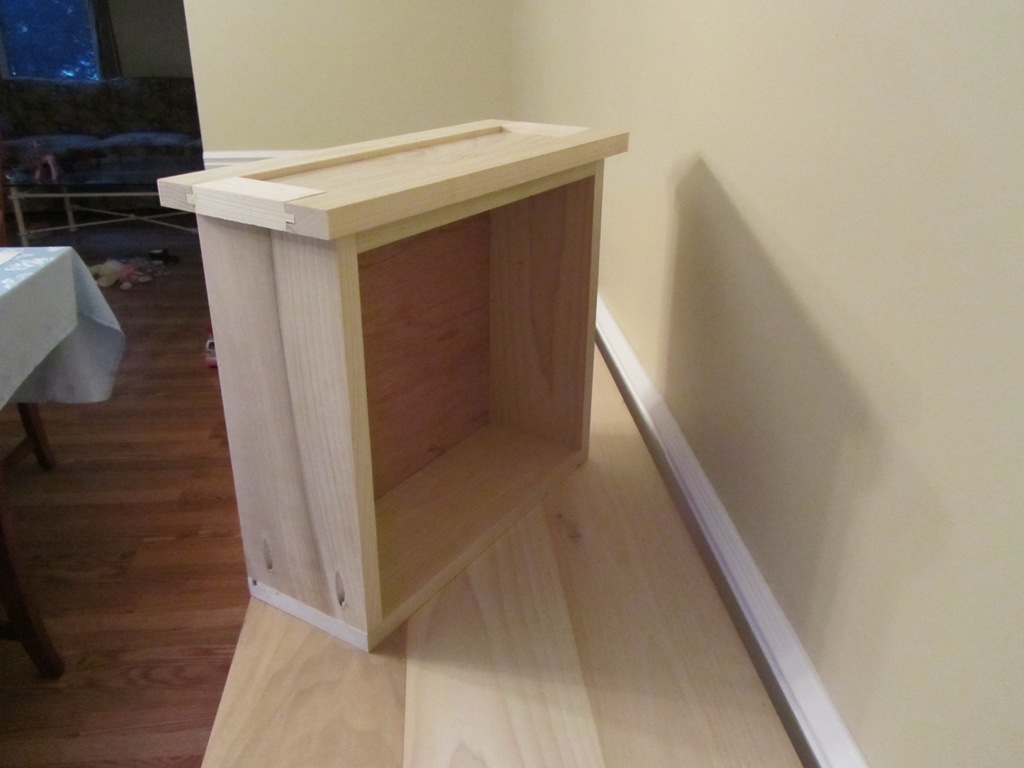
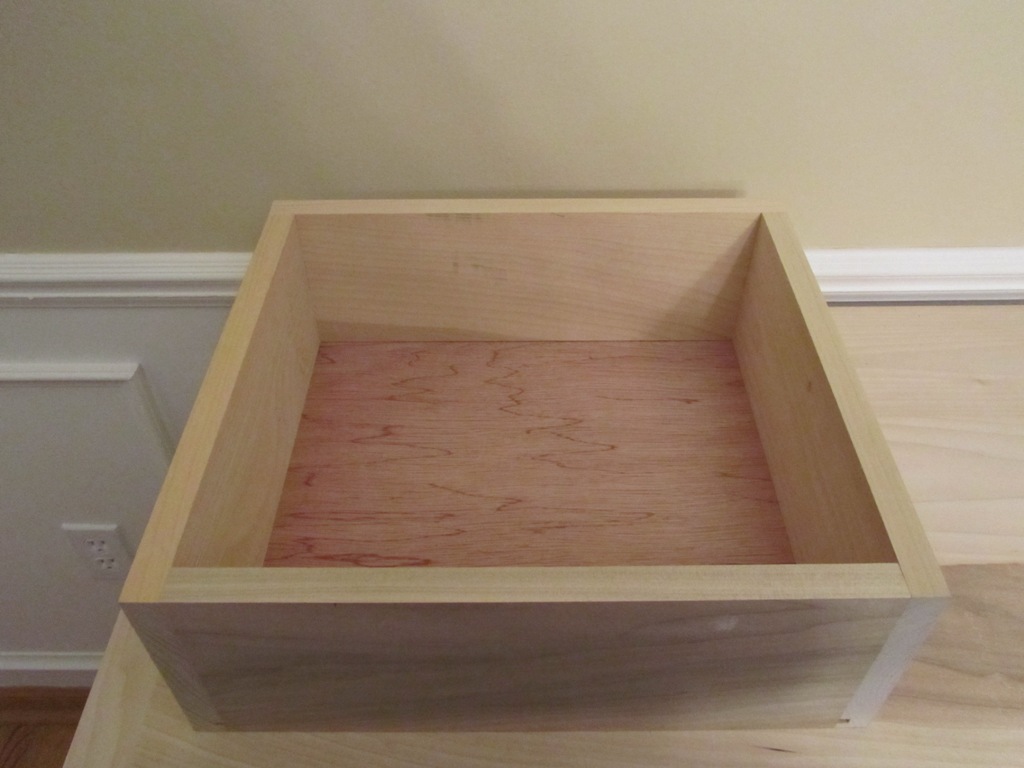
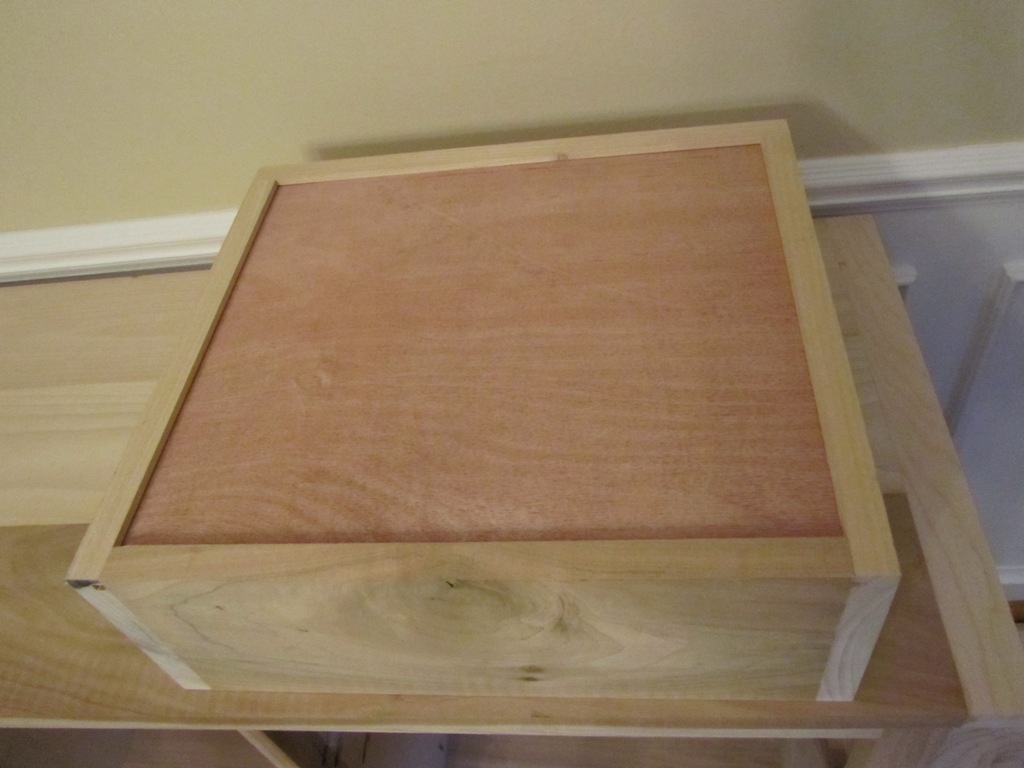
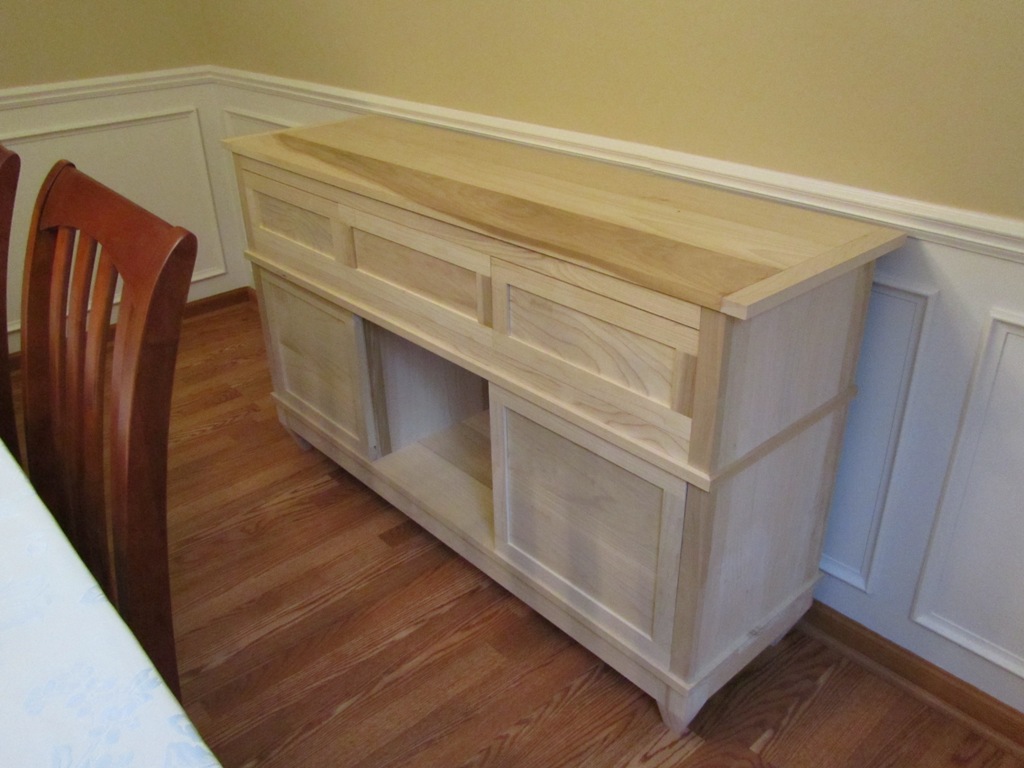
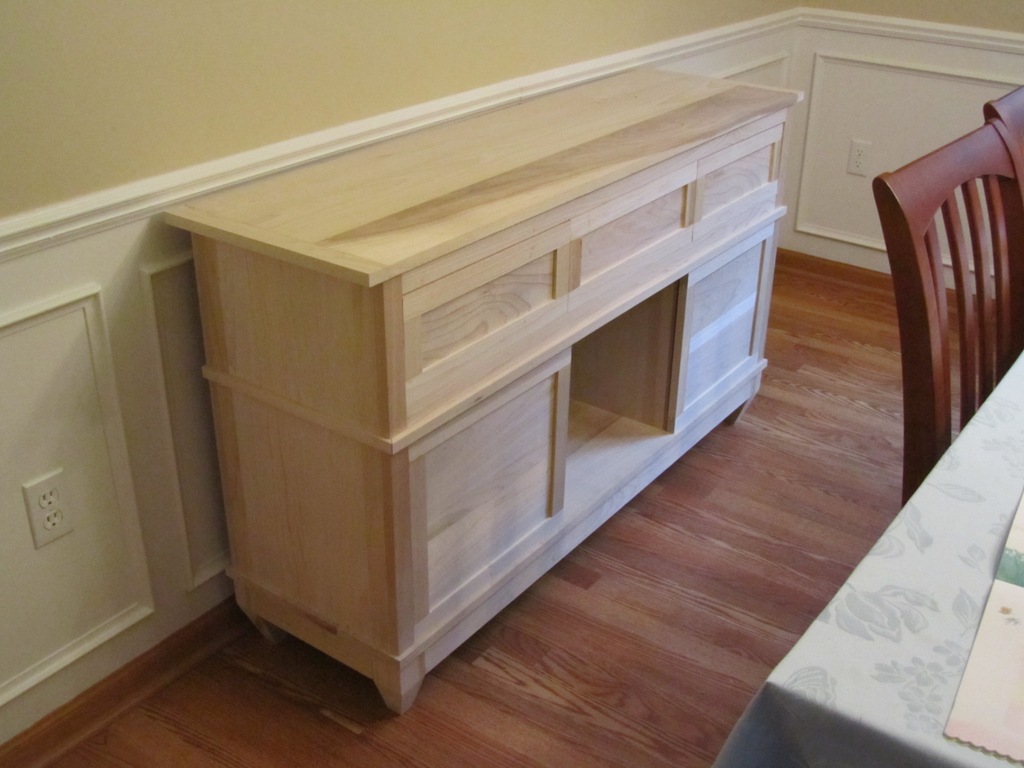
I modified the Salsa console table plans a little for my version. Assembly is pretty much the same, just added more detail like making 5 piece doors and draw fronts, adding back brackets to allow for cedar paneling behind the doors and recessed the middle walls so the doors close on them instead of inside the opening. The center will remain open for now.
the whole table and parts are poplar, minus the drawer bottoms which are beech ply. Because its made out of poplar, it jacked the price quite a bit. However, i wouldn't consider using anything less then select pine to make this table which is only slightly less that poplar. The #2 pine is total crap and not suitable to build a piece of furniture out of. Anyway, I've got about $300-$350 in building supplies (wood, screws/plugs, finish), and about $80 in hardware (hidden euro hinges and bearing drawer slides).
Hope you like it, as i am quite proud of it!
One other thing, if you plan on building this table, double check the material & cut lists. I found discrepancies.
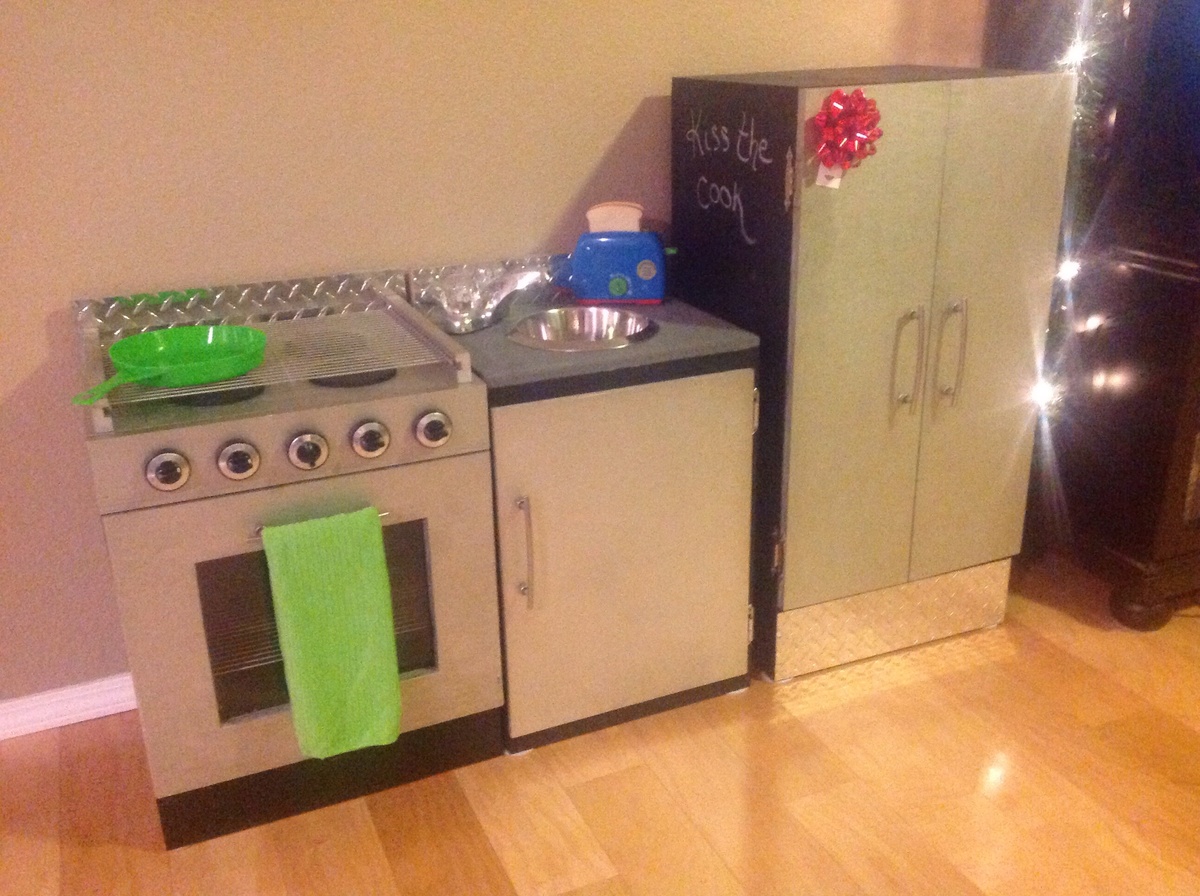
My husband and I built this for our son for Christmas. We had so much fun doing this and all the detail that went into it. Both the fridge and stove have battery operated motion sensor lights & the backsplash is diamond plating. Very cool!


Comments
Ana White Admin
Tue, 06/13/2023 - 10:54
Great outdoor build!
Thanks for sharing, awesome job!