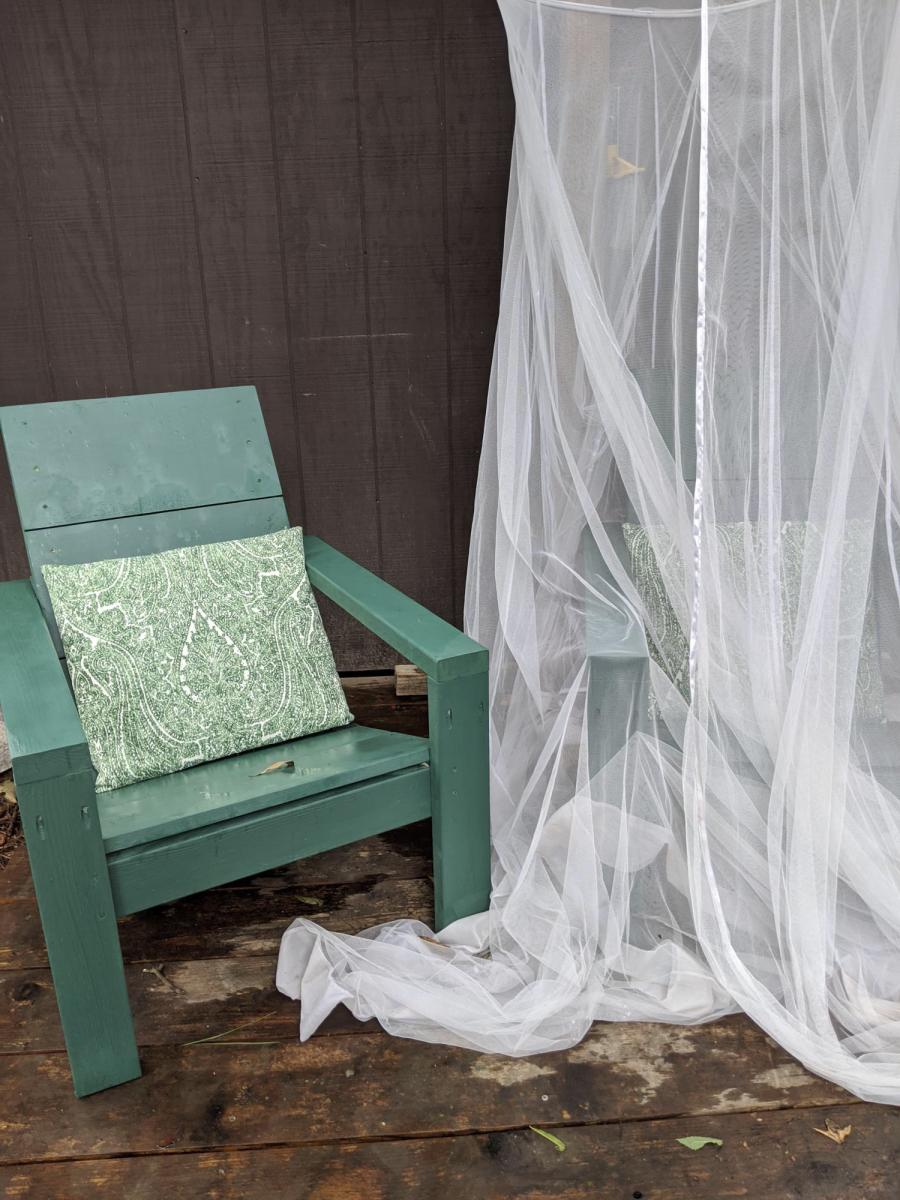
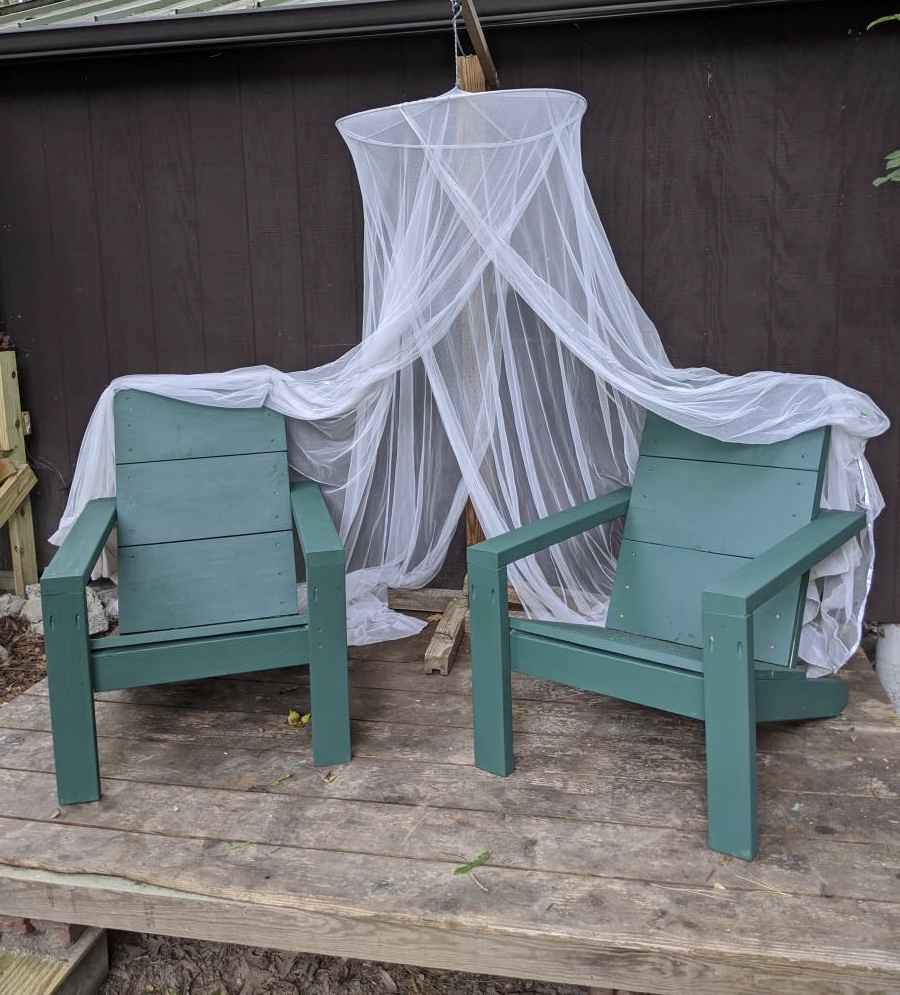
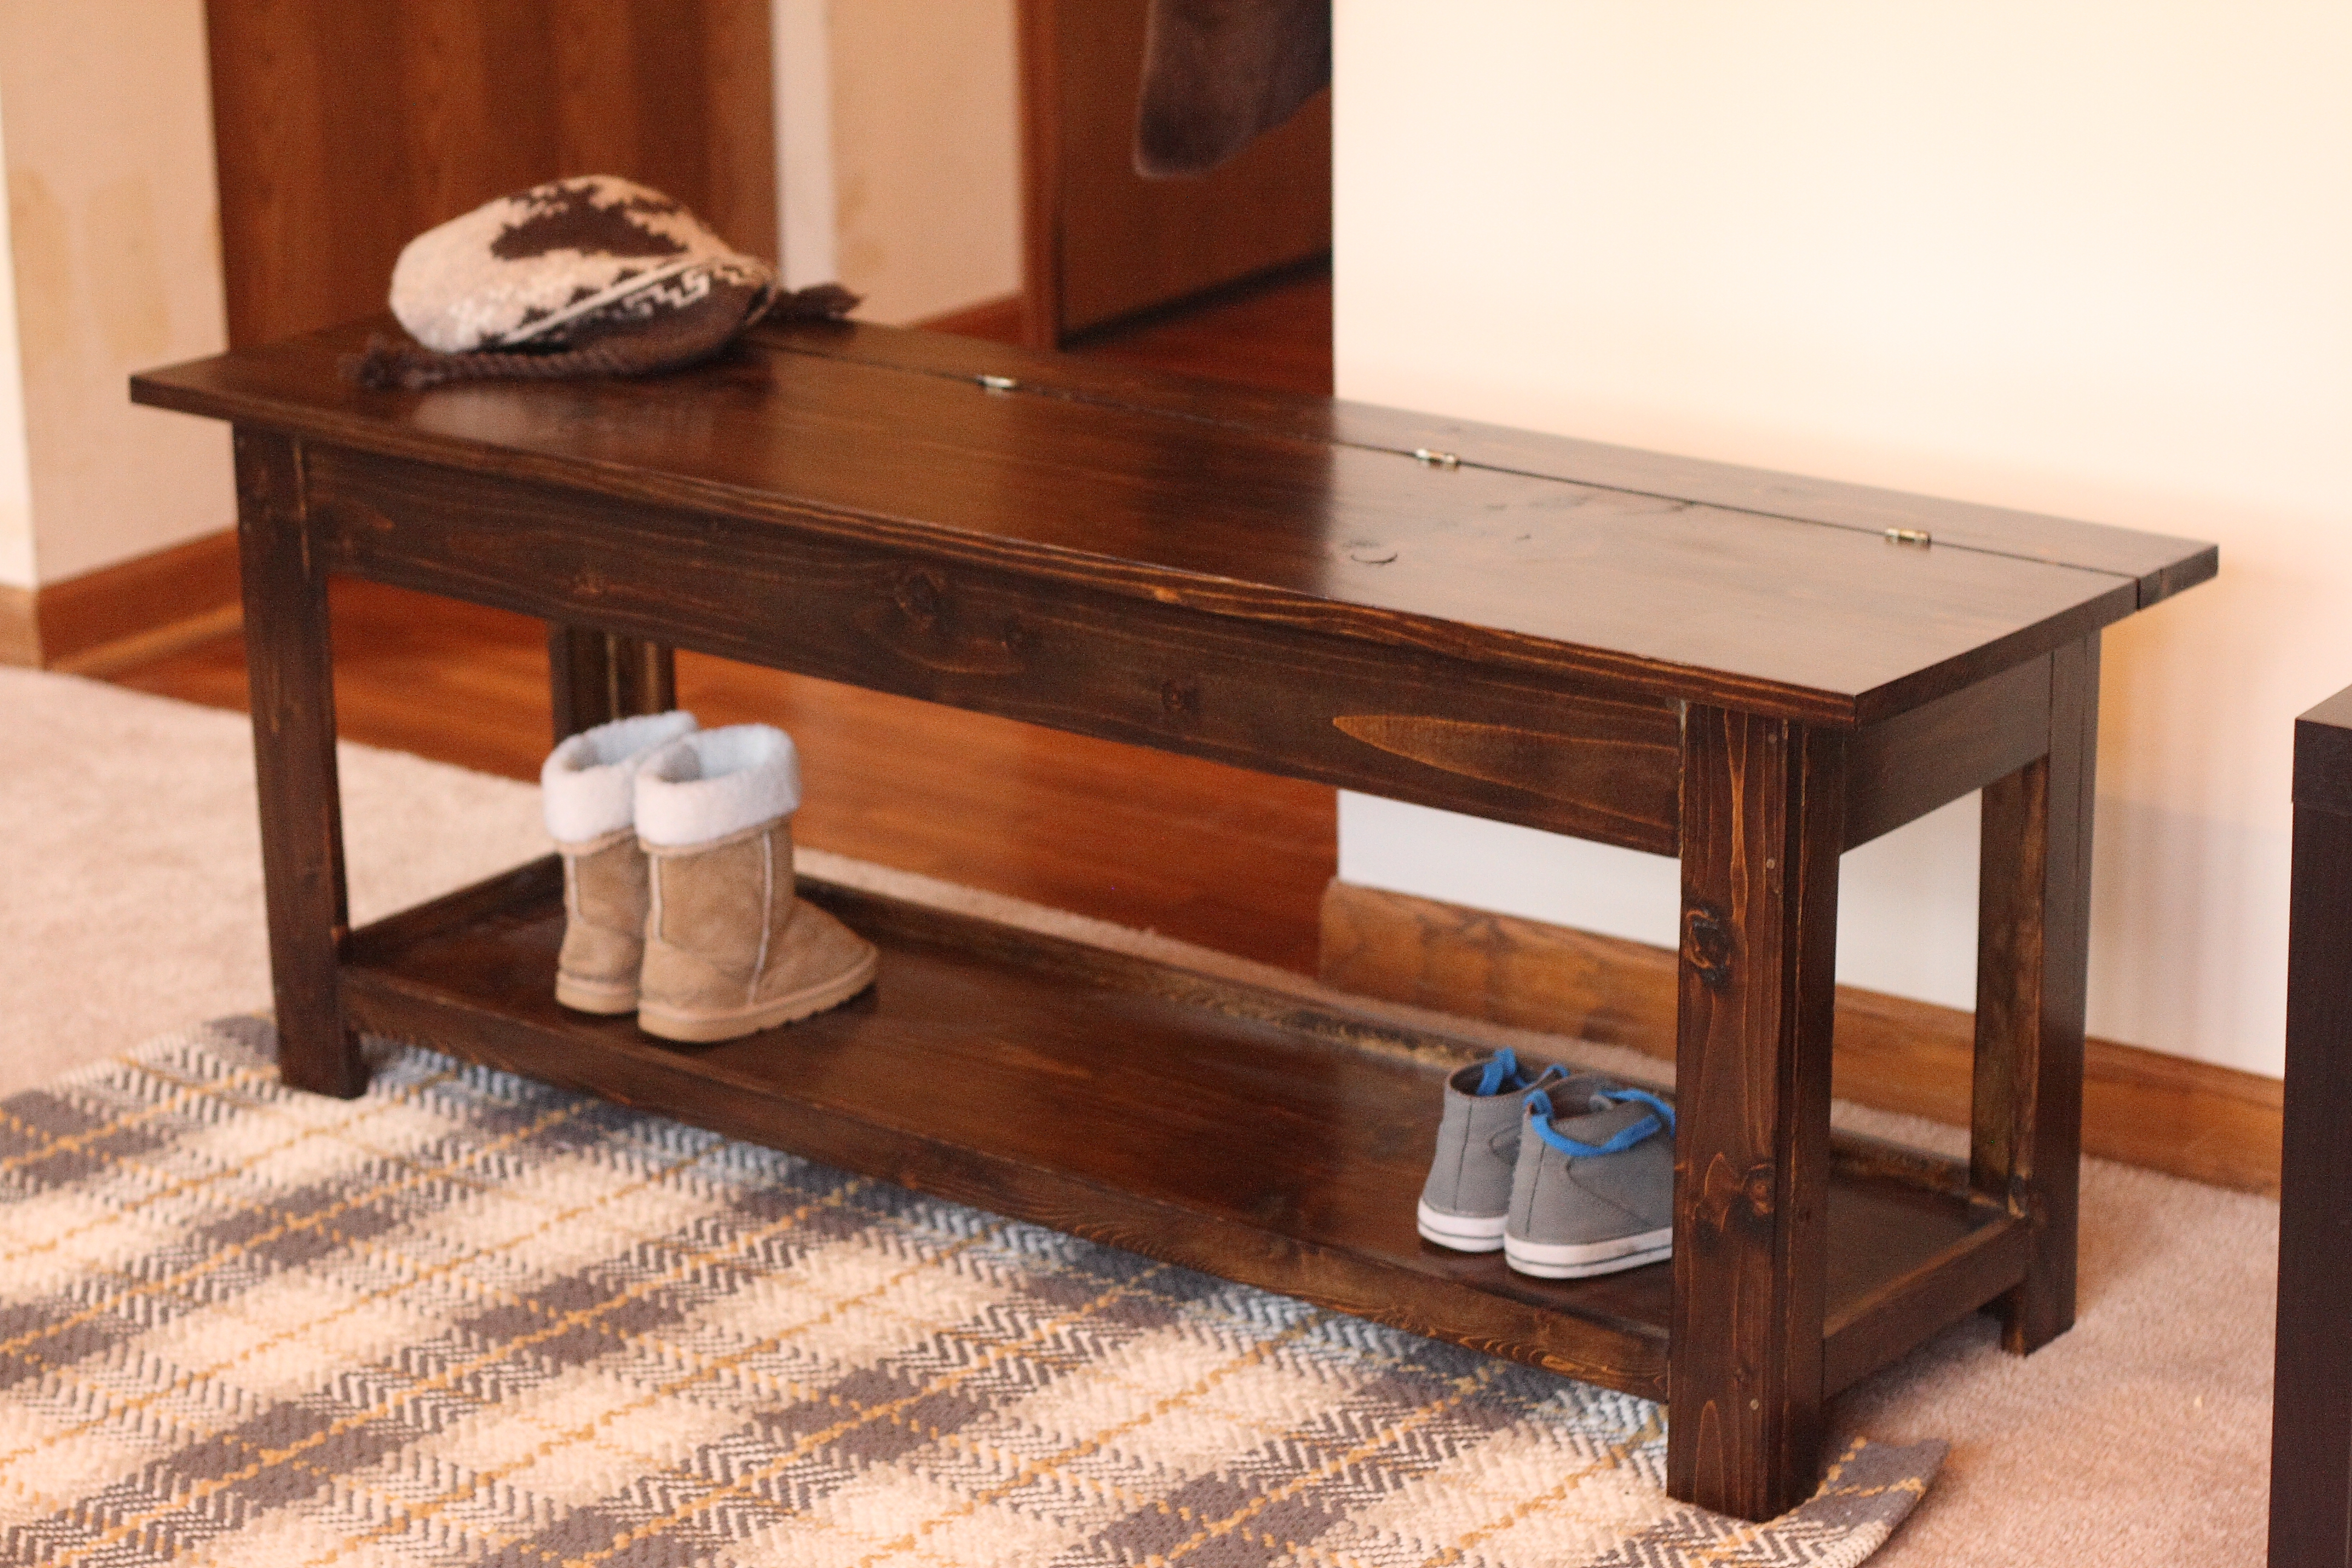
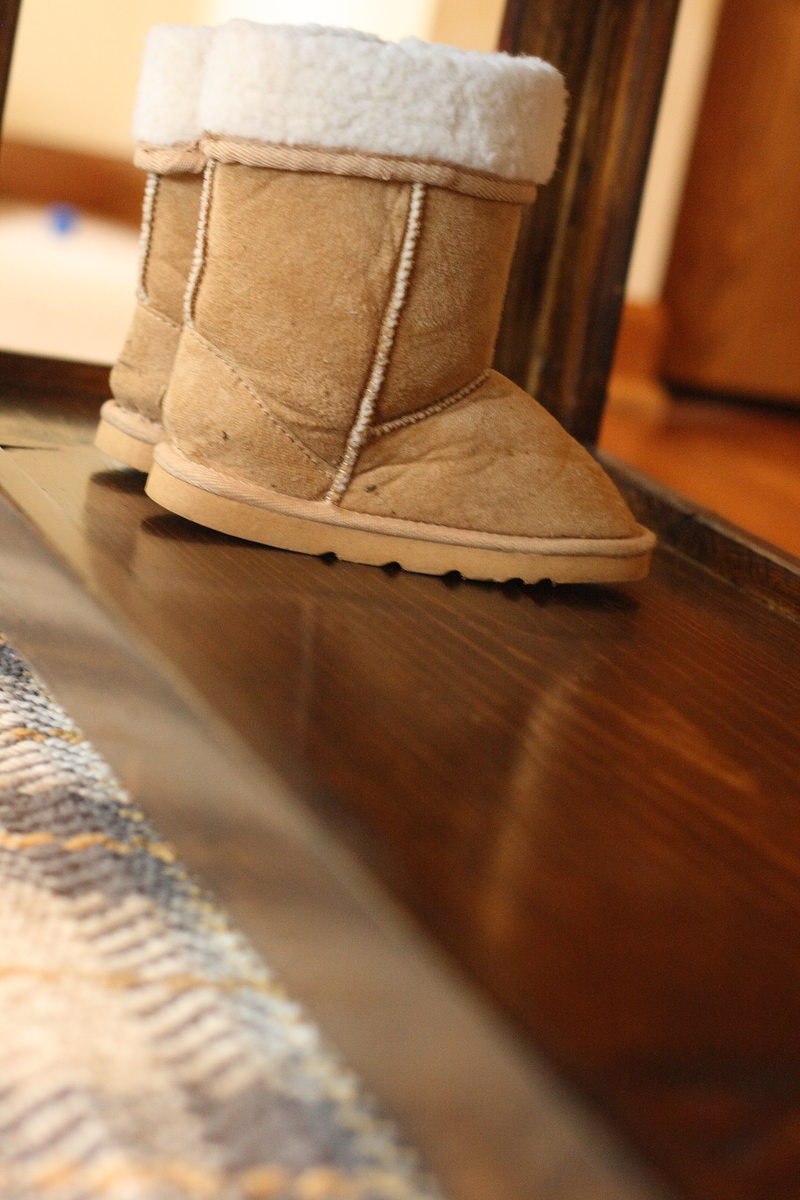
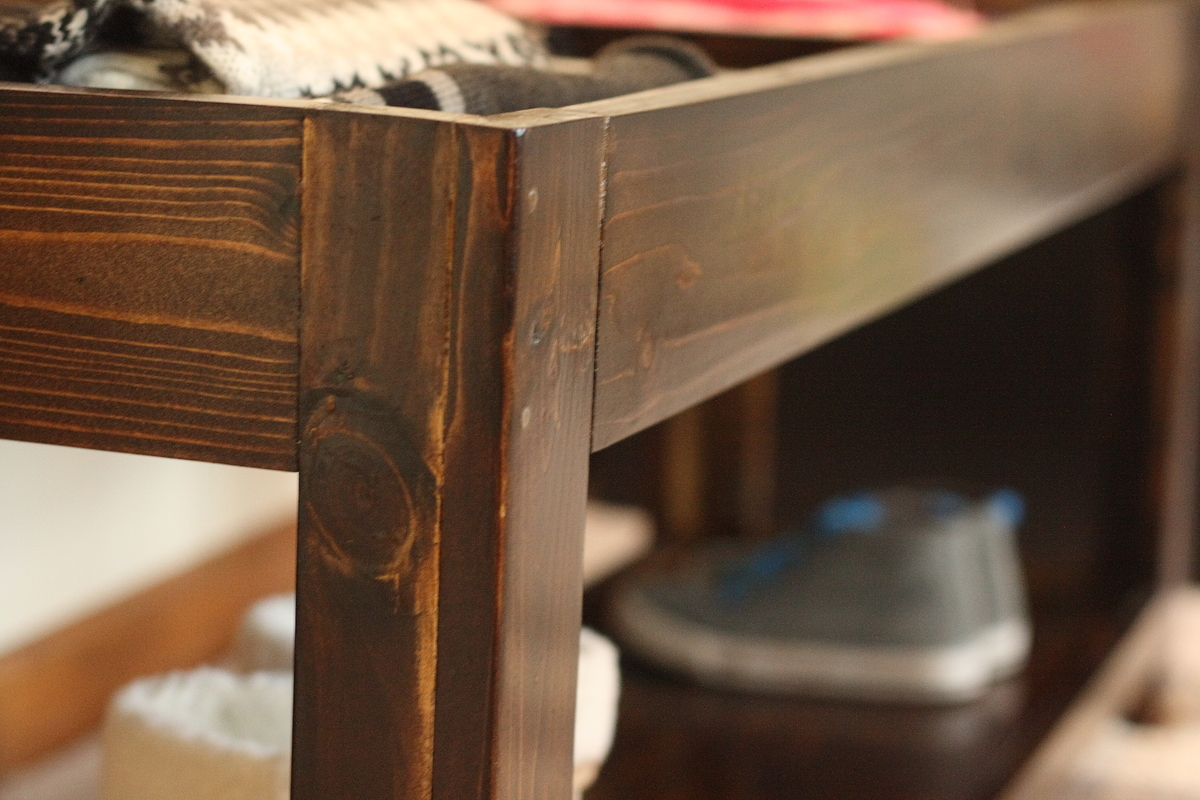
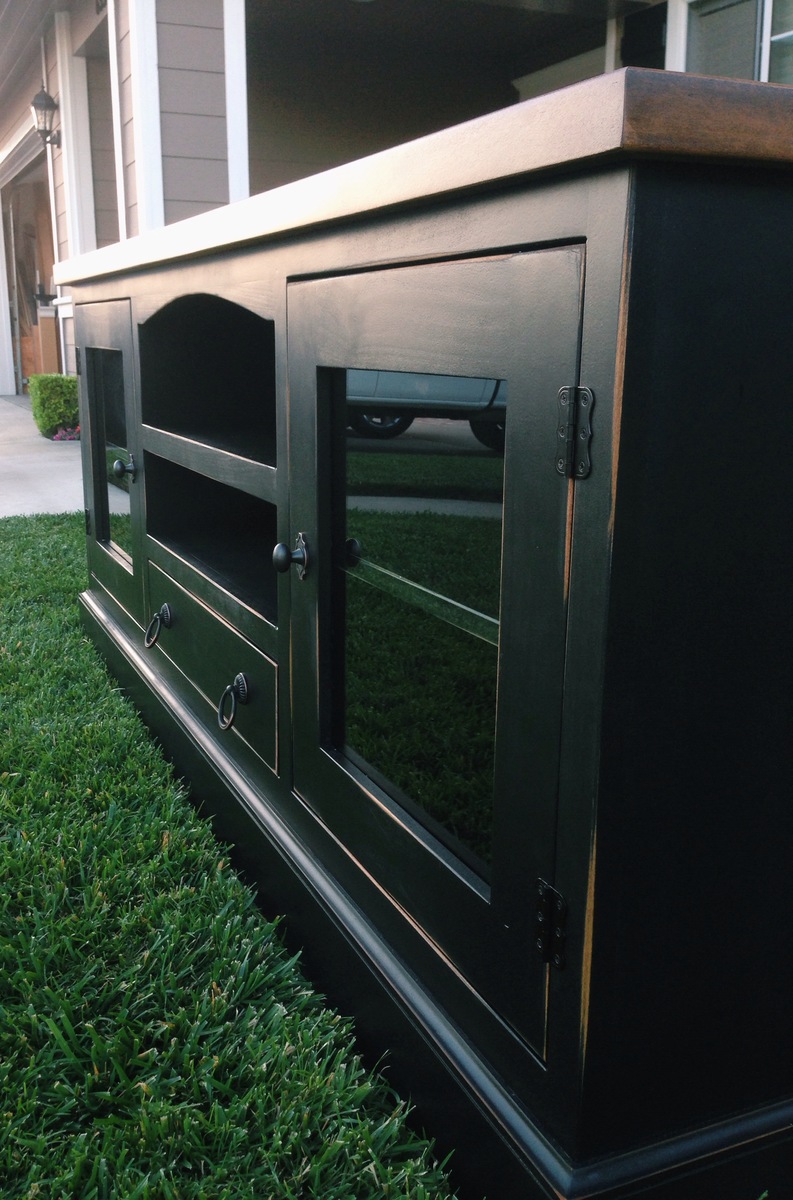
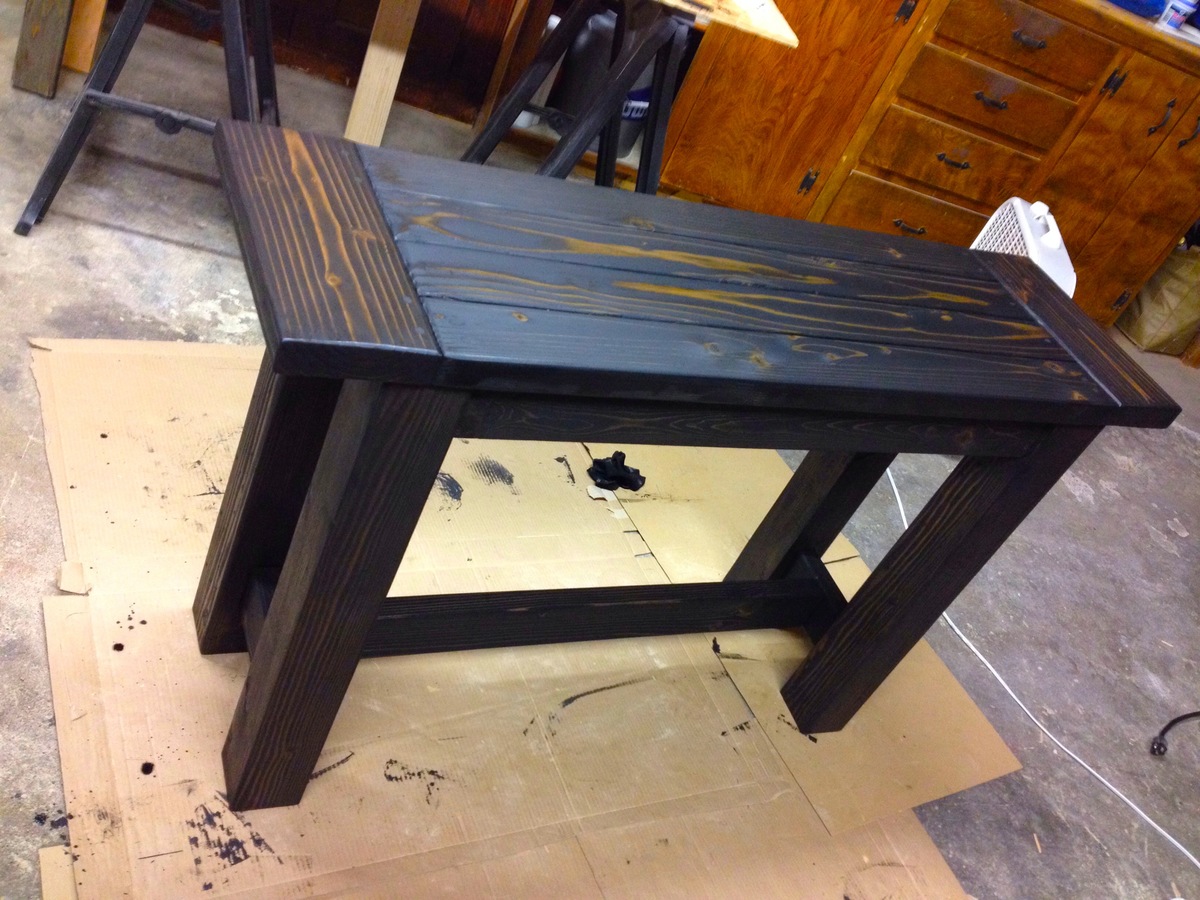
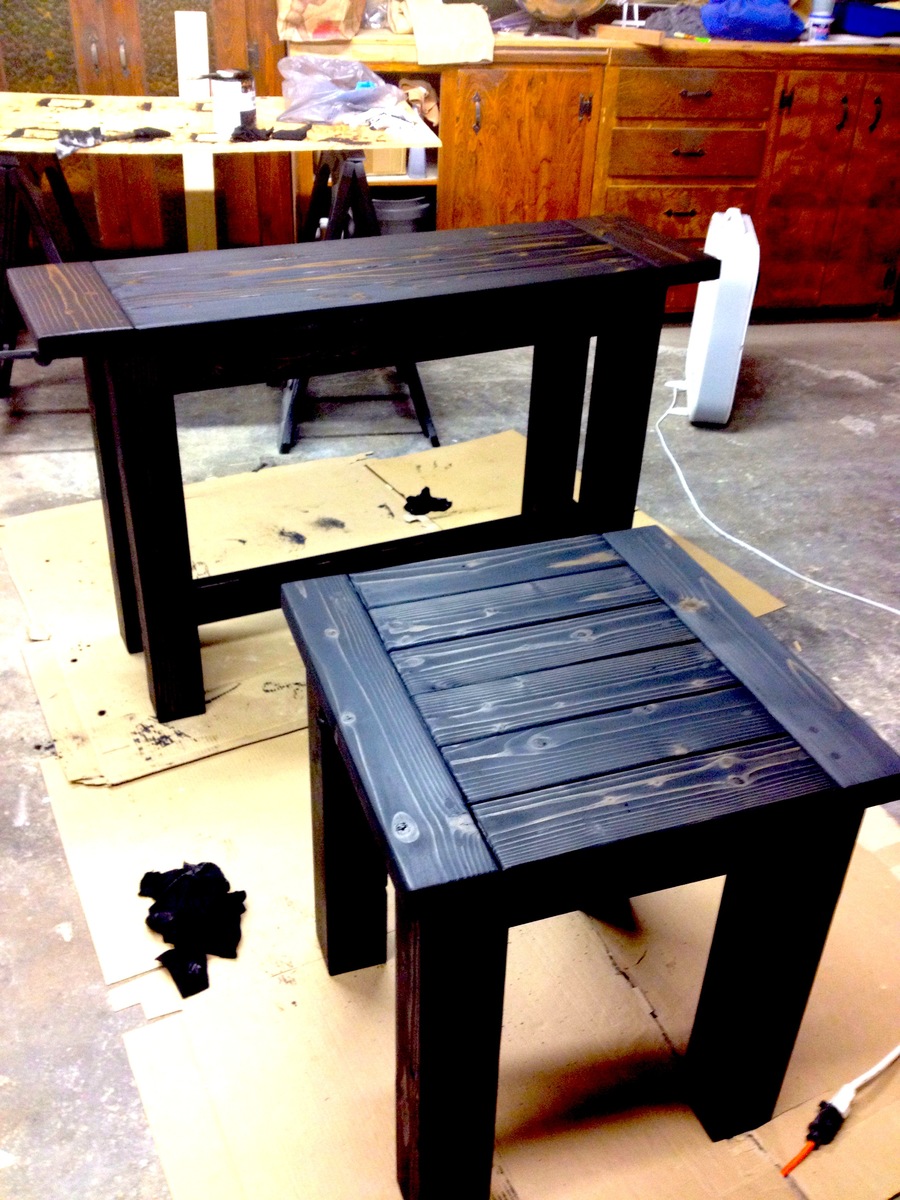
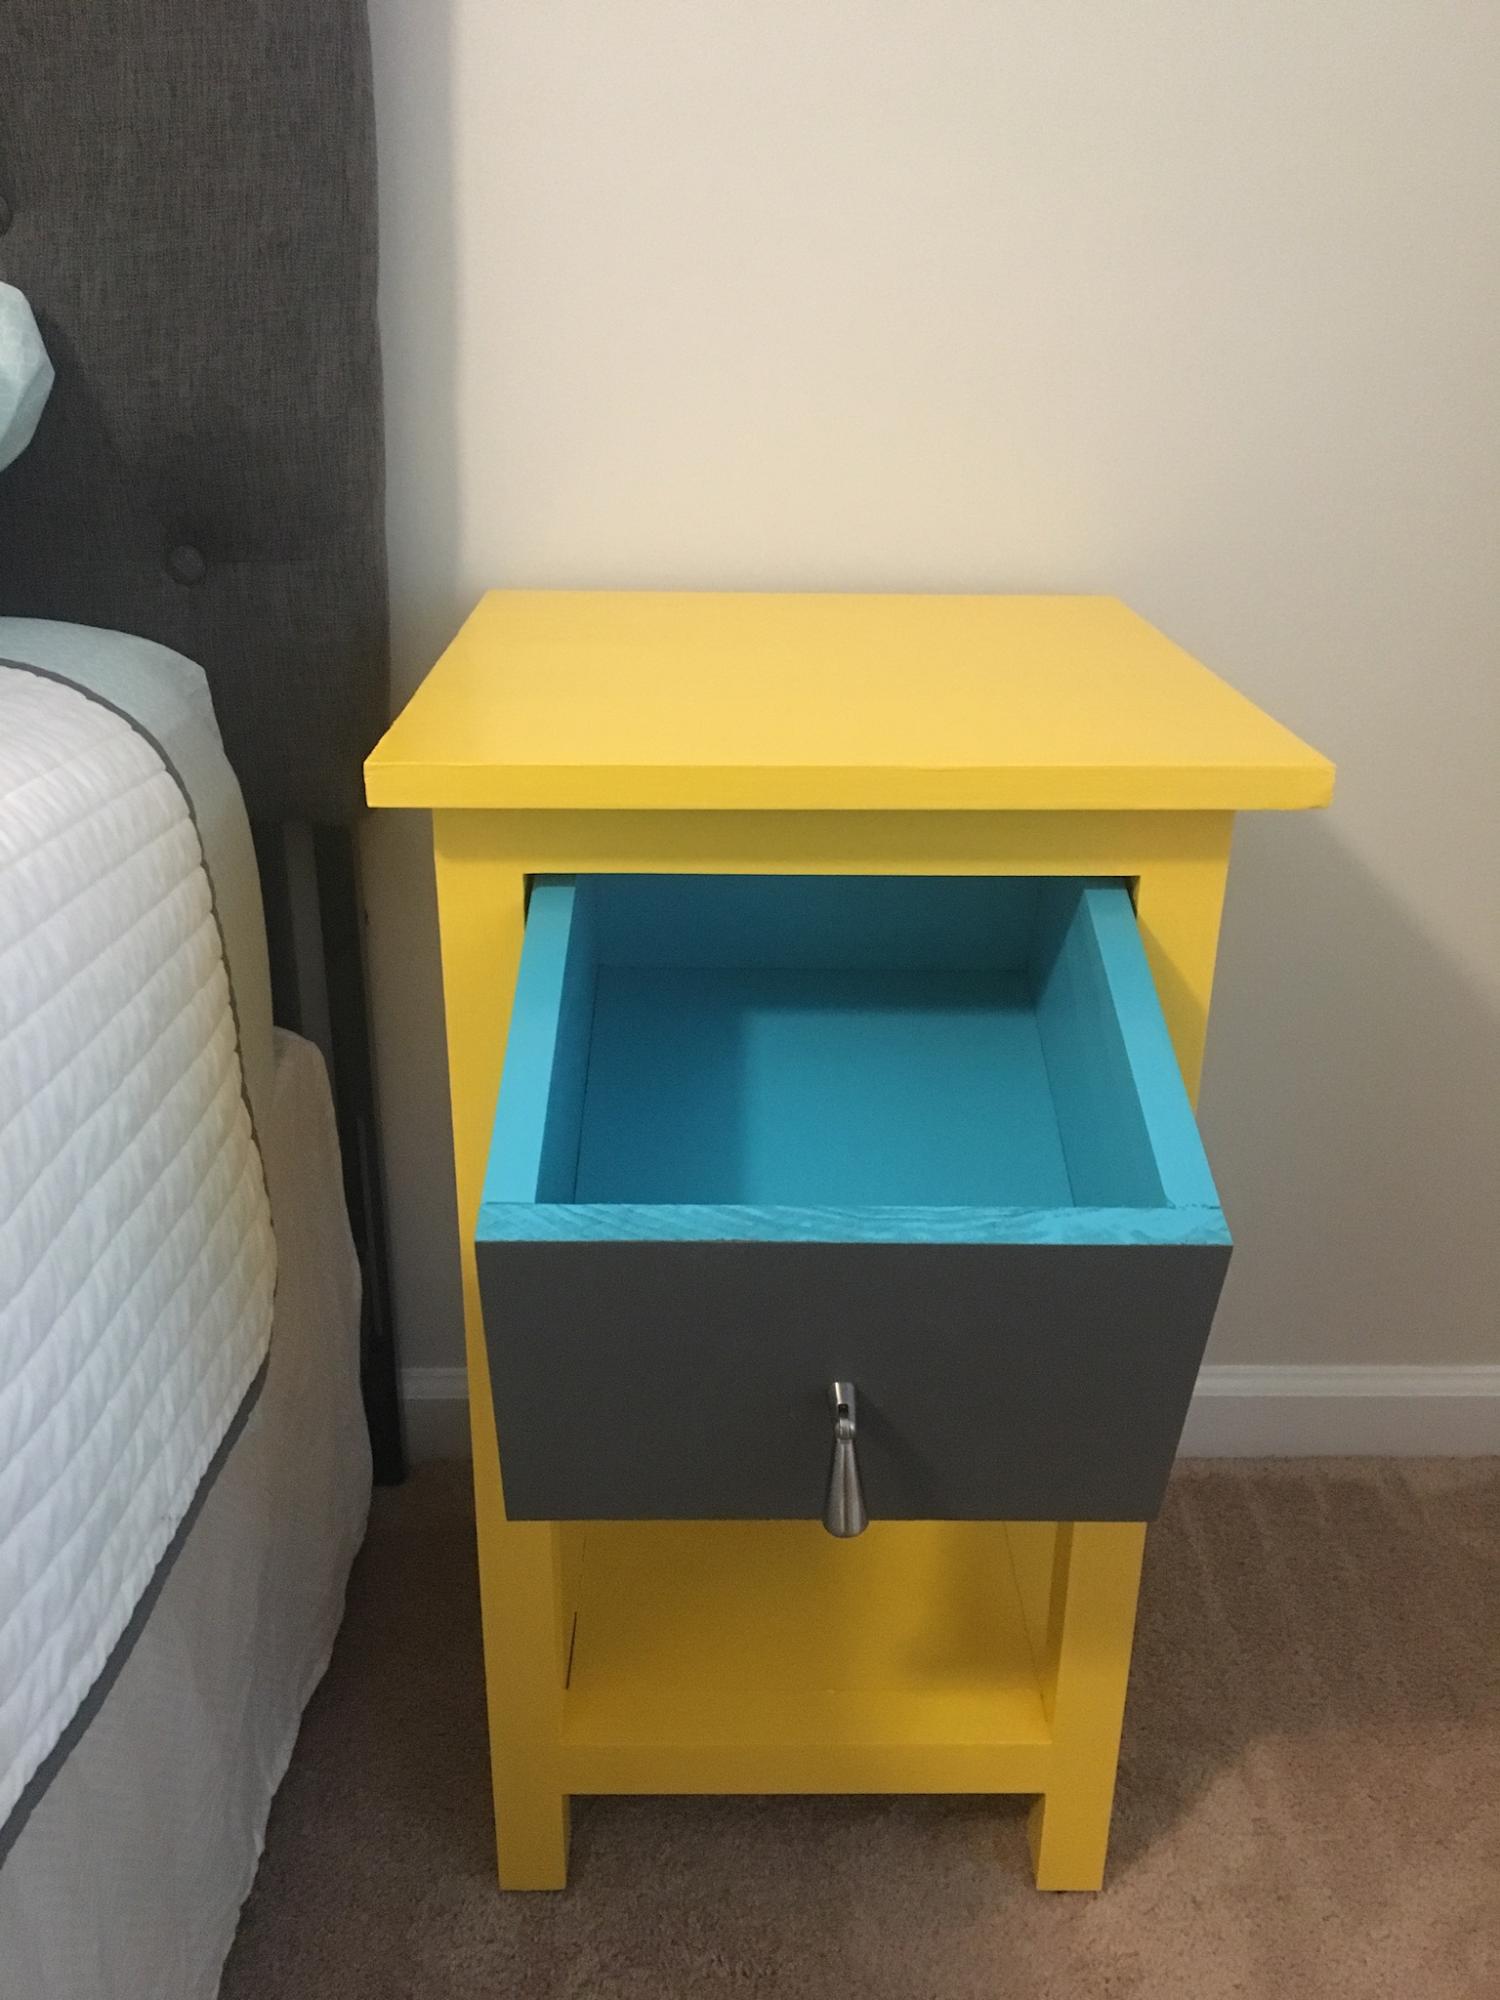
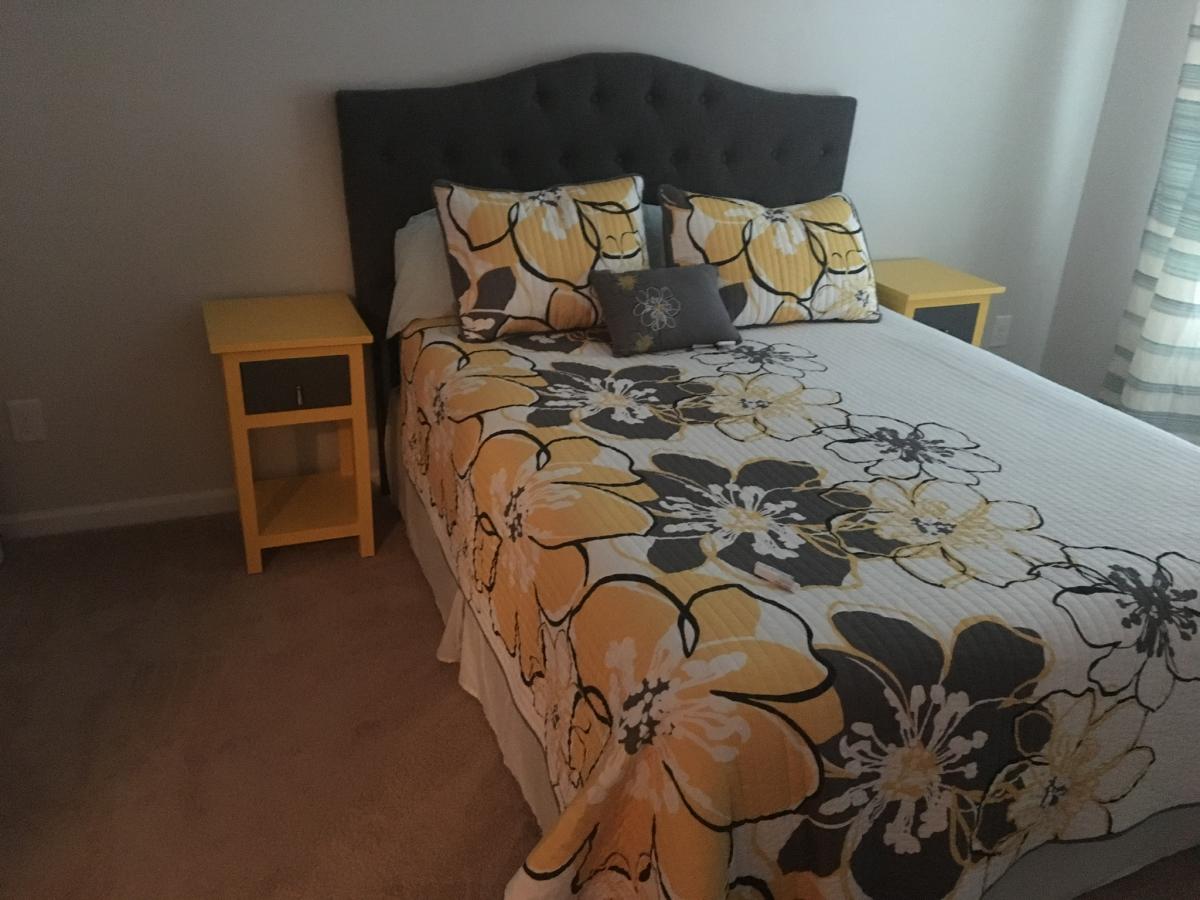
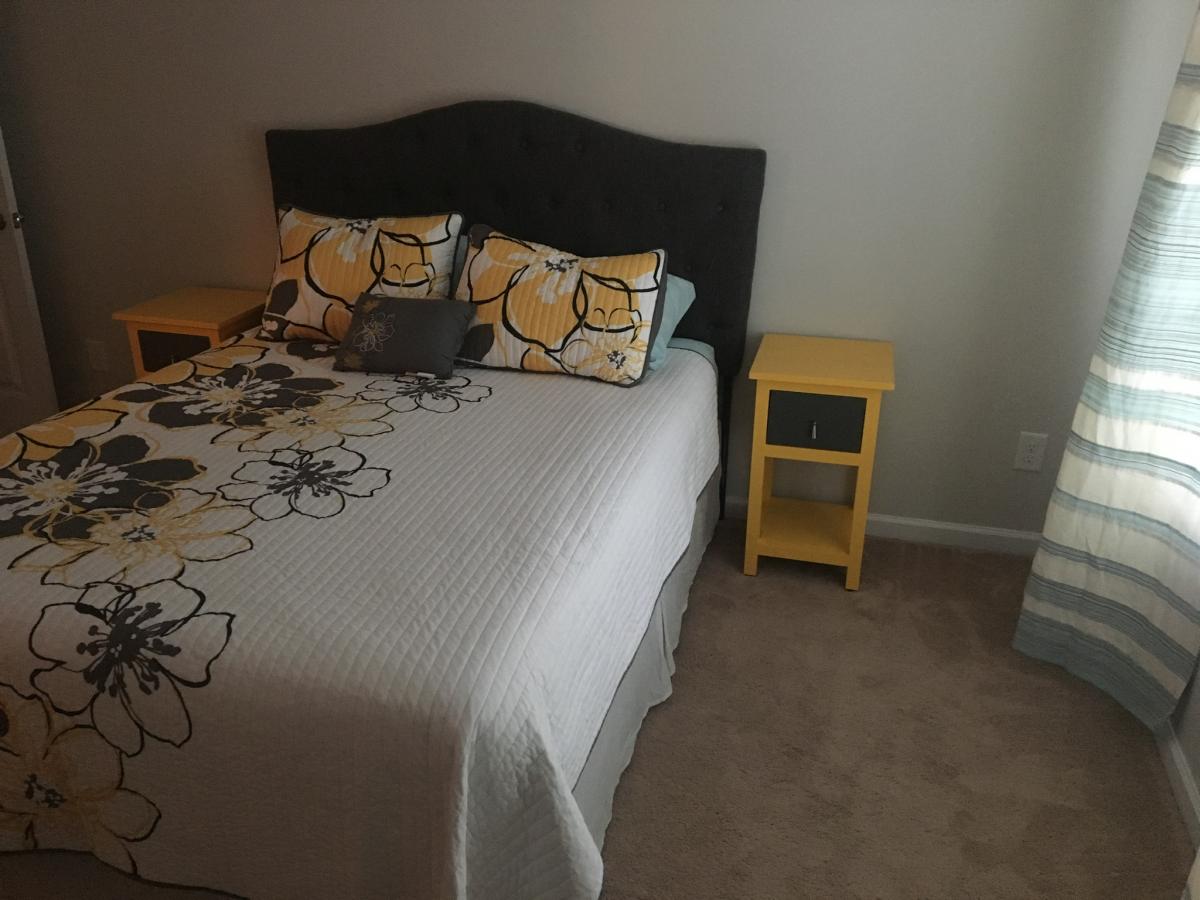
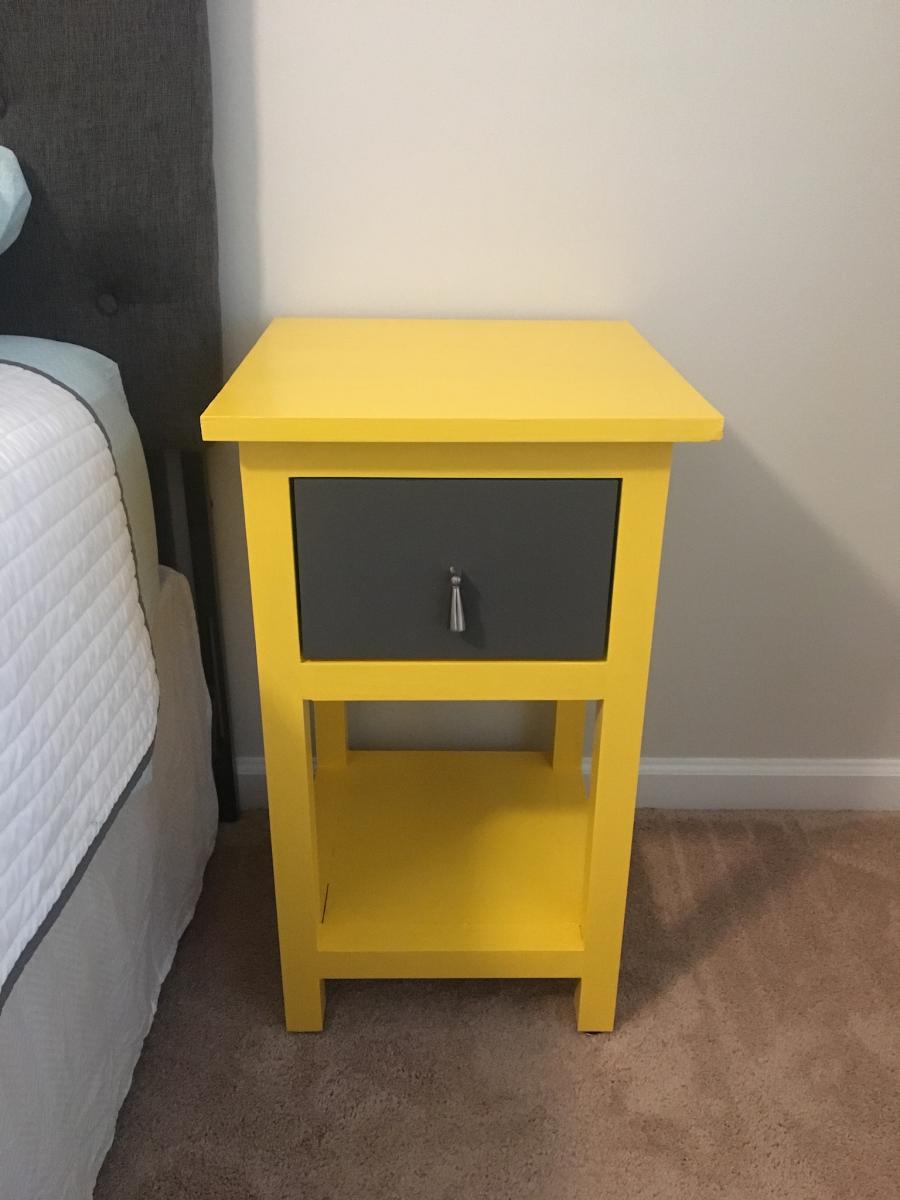
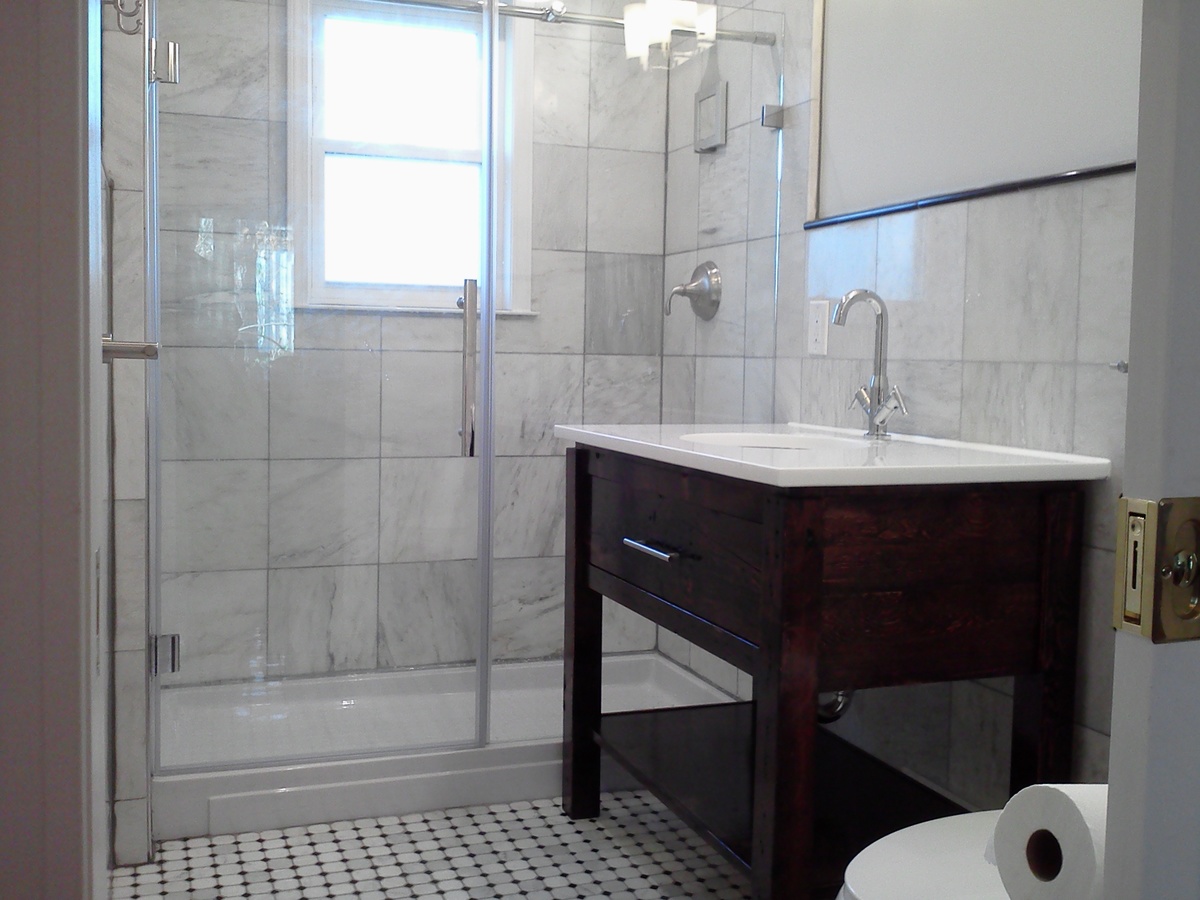
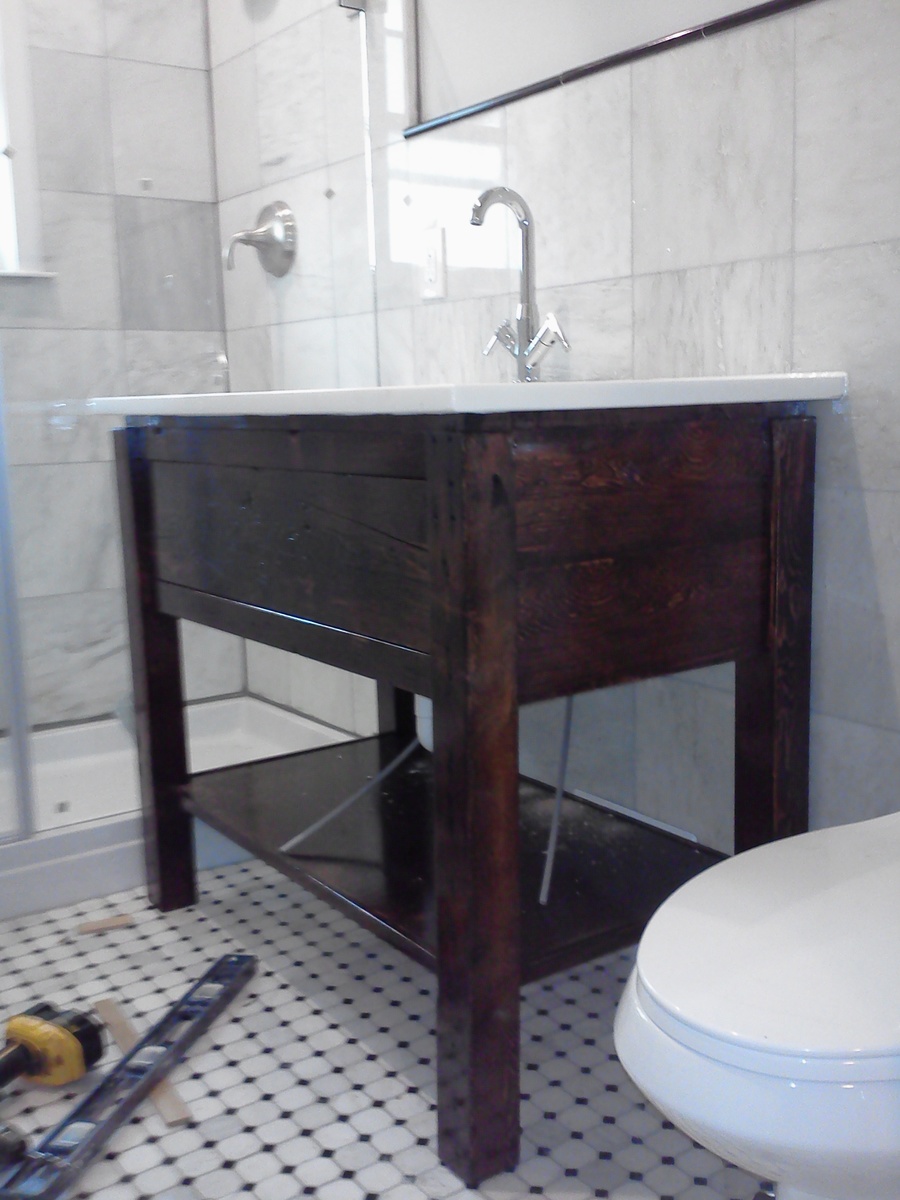
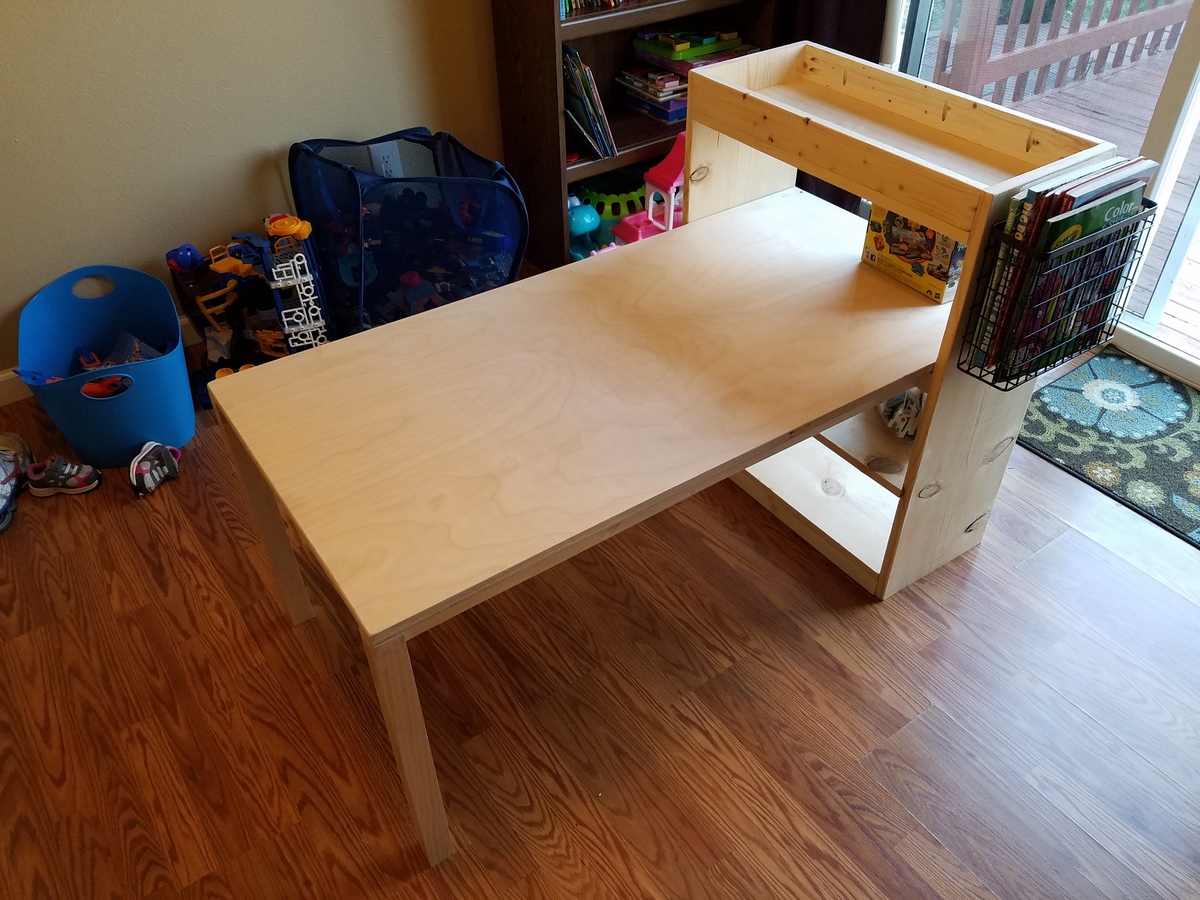
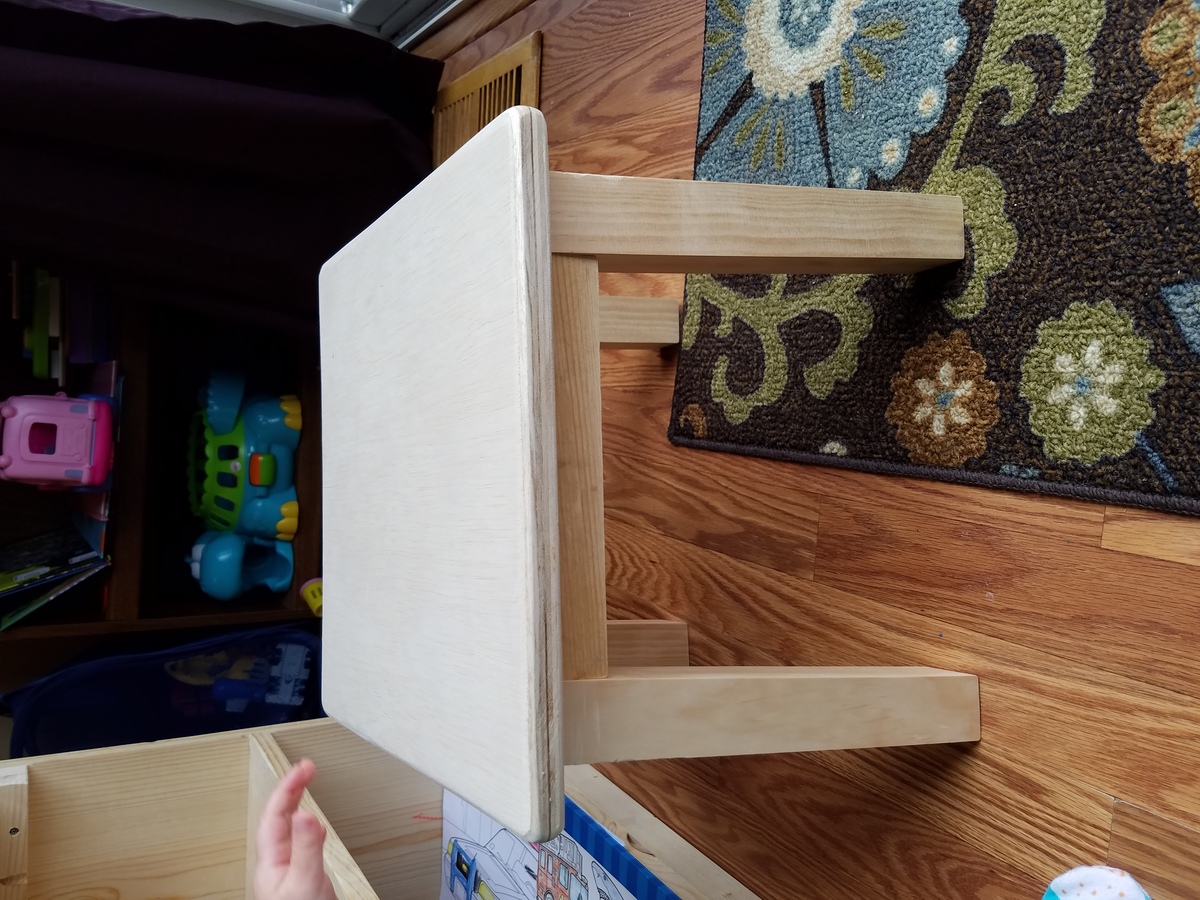
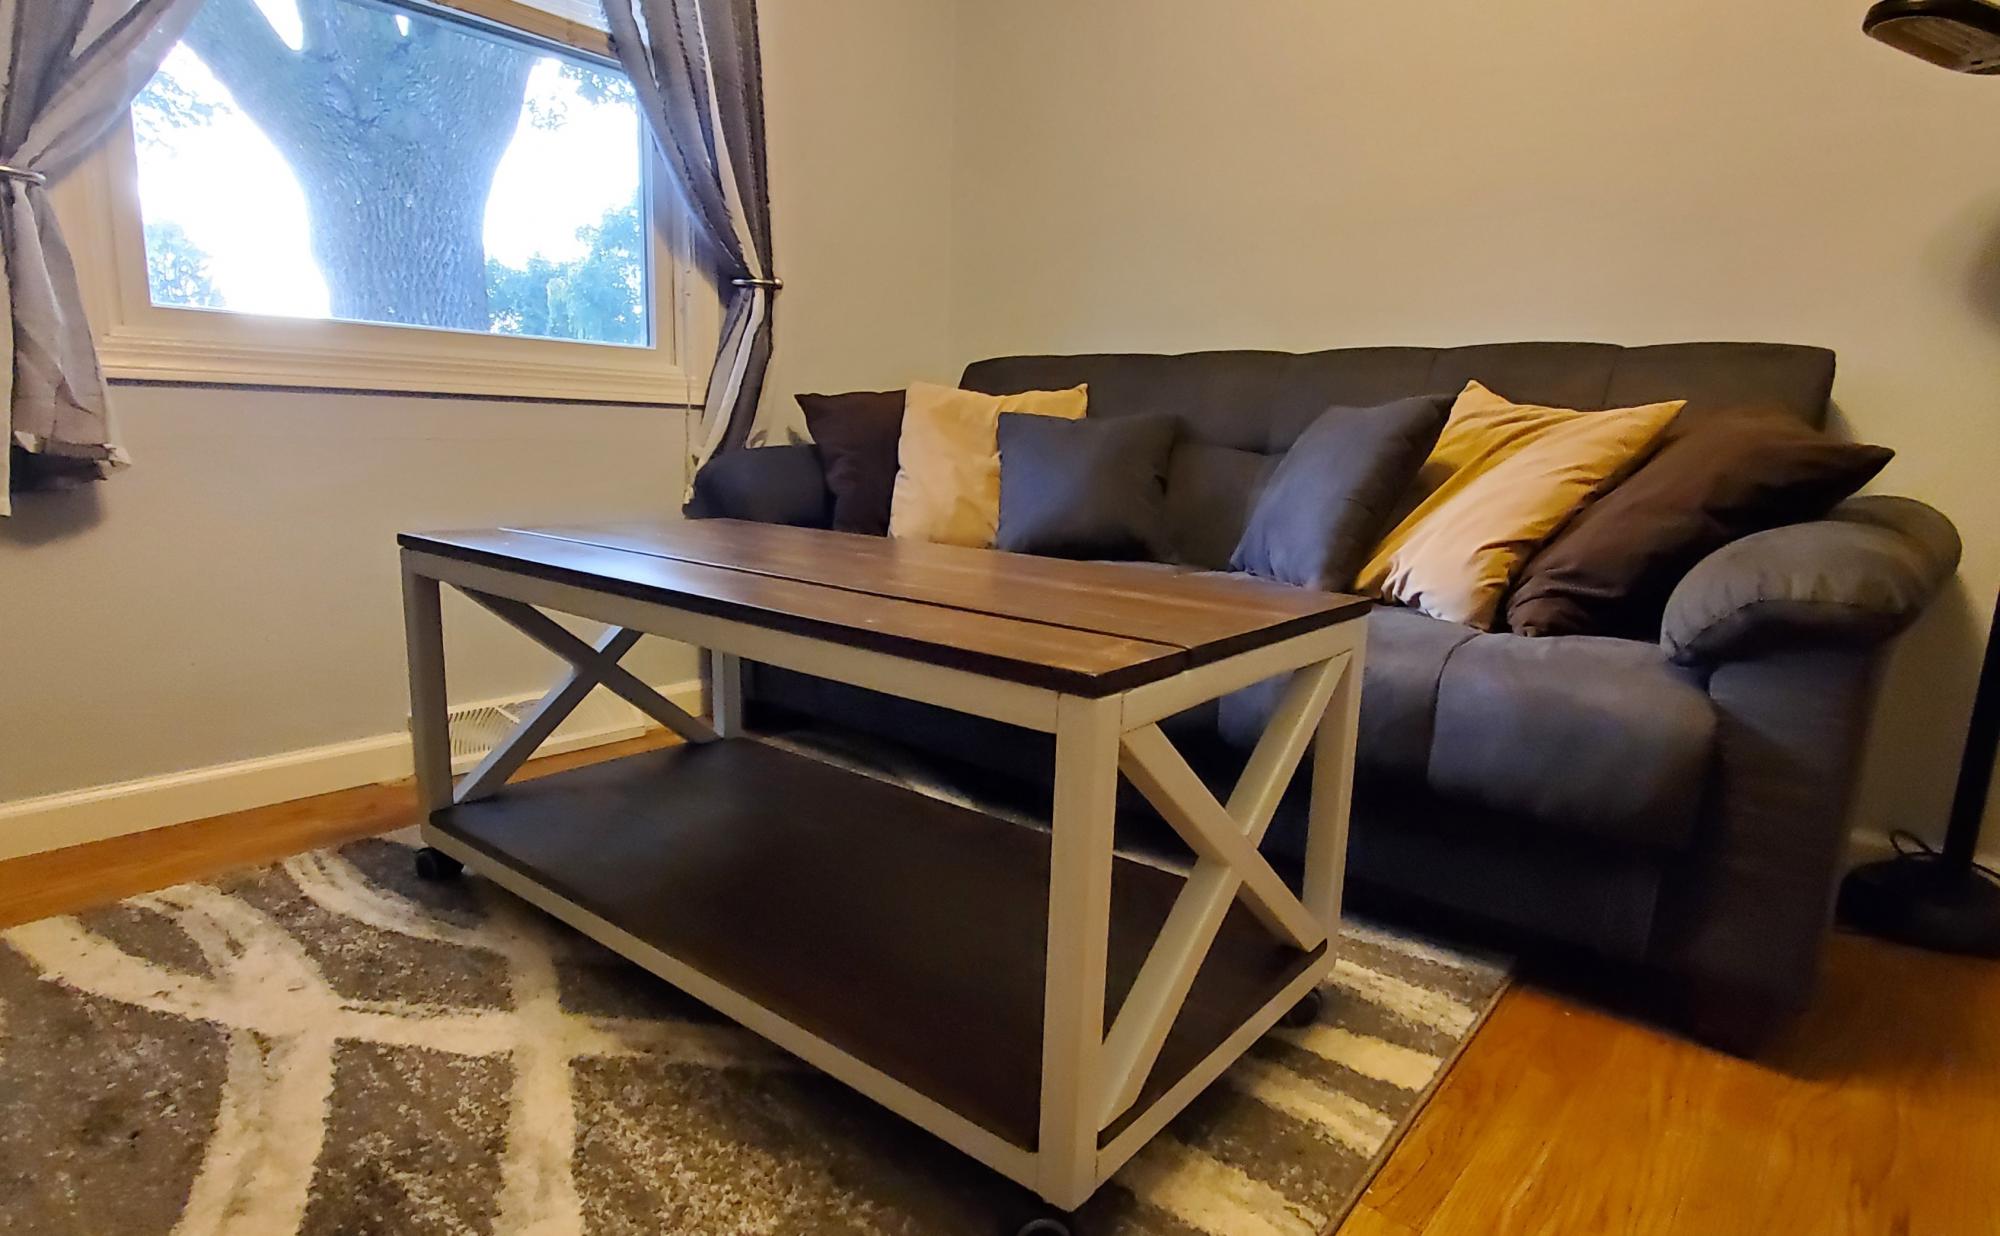
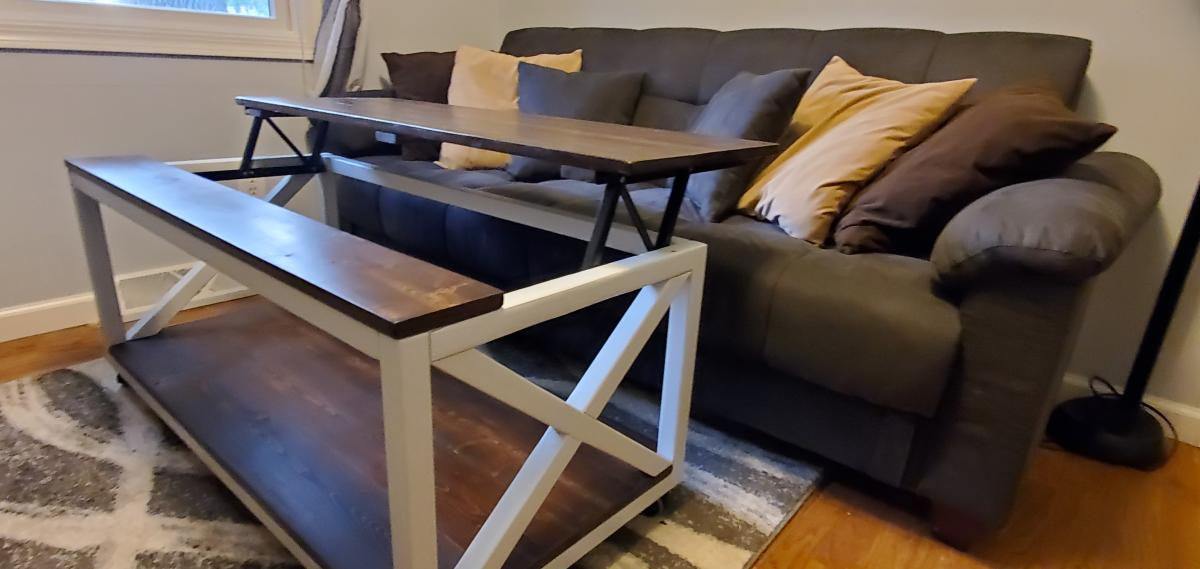
Maple finish end table

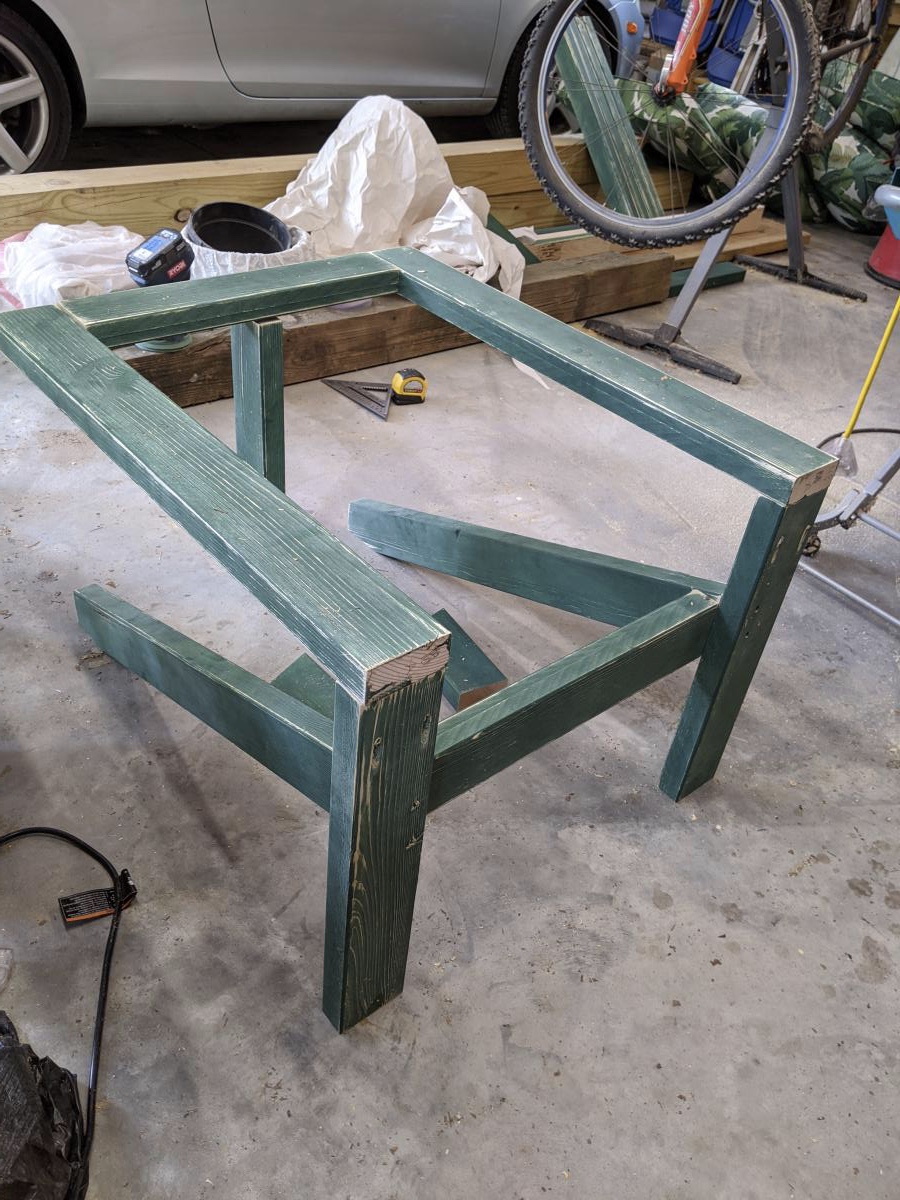
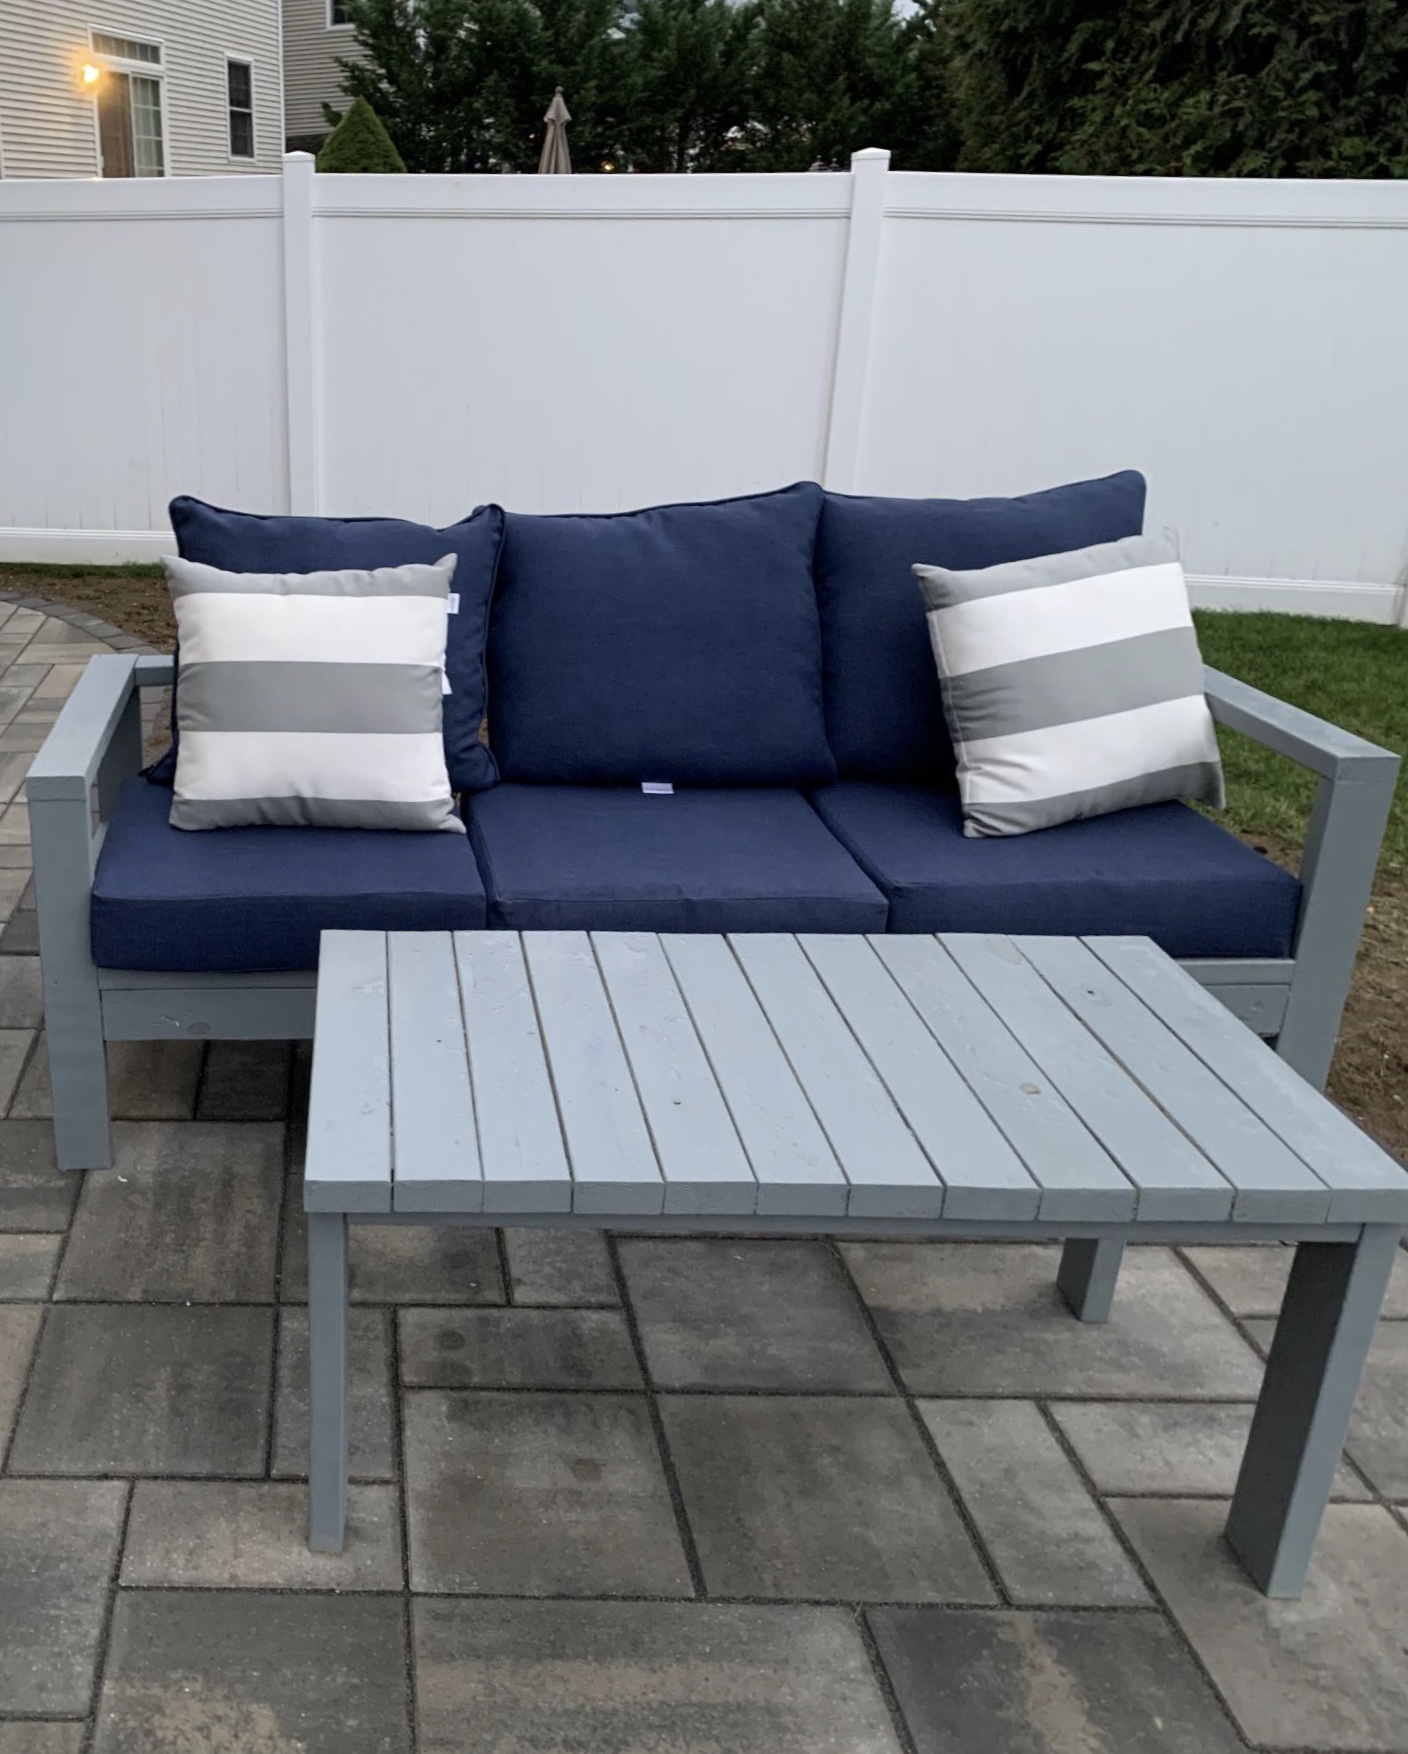
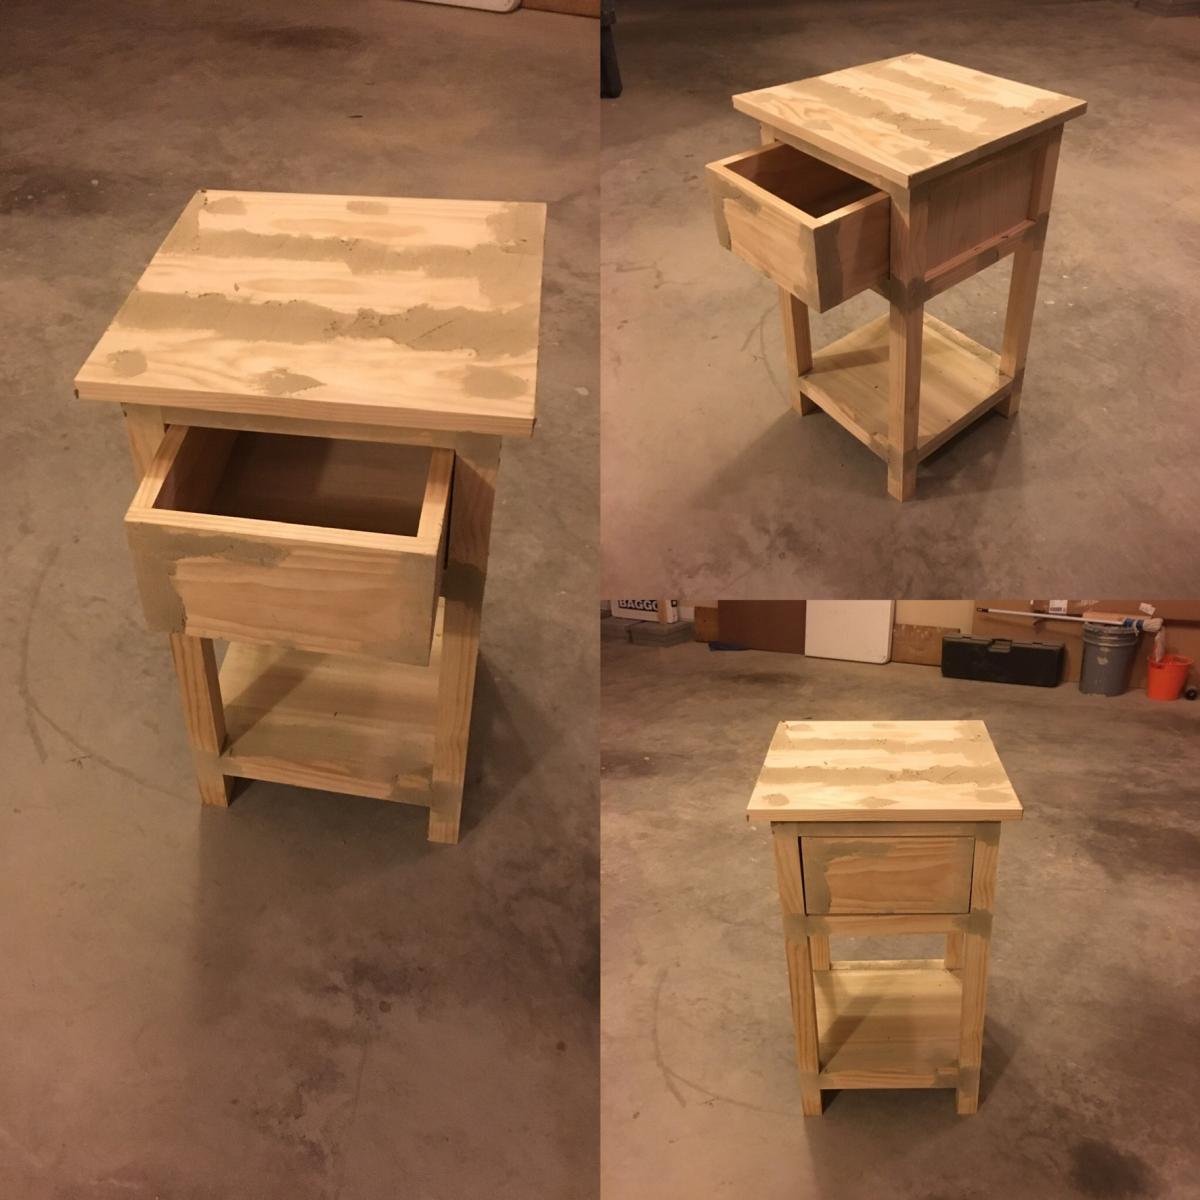
Followed exact steps but messed up on the alignment of top piece. Still came out great!
Thanks Ana!
Built from Plan(s)
Estimated Time Investment
Week Long Project (20 Hours or More)
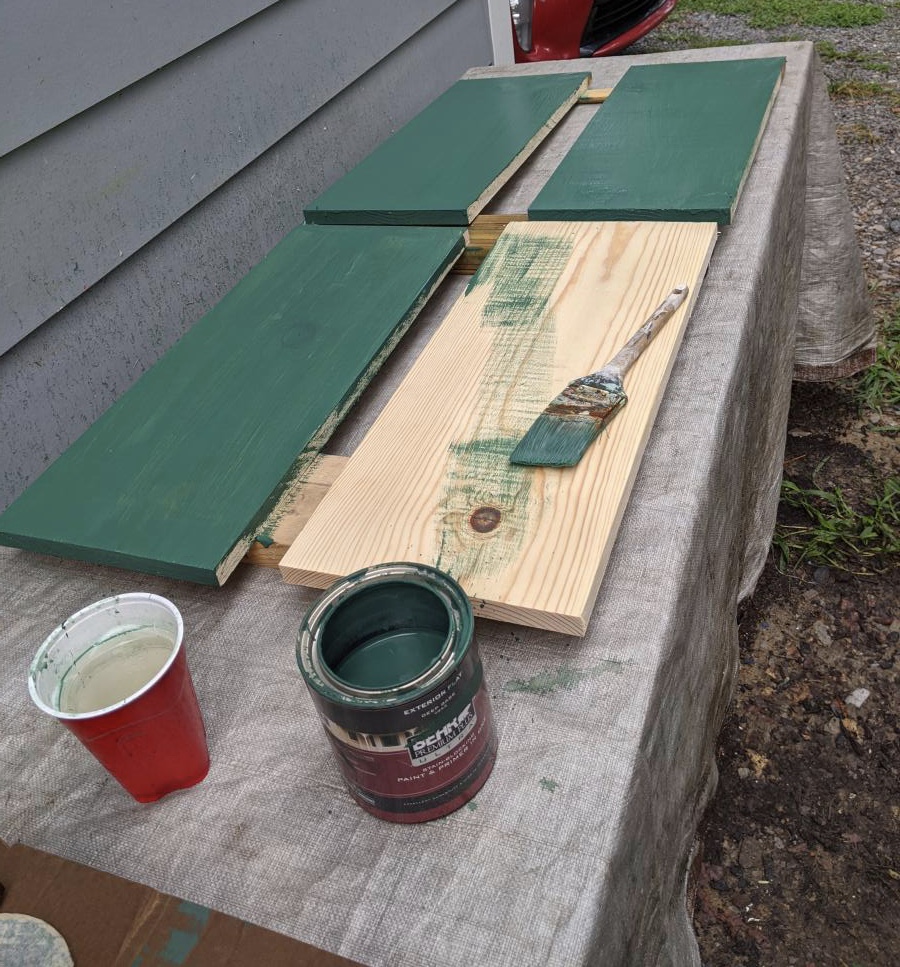
Finish Used
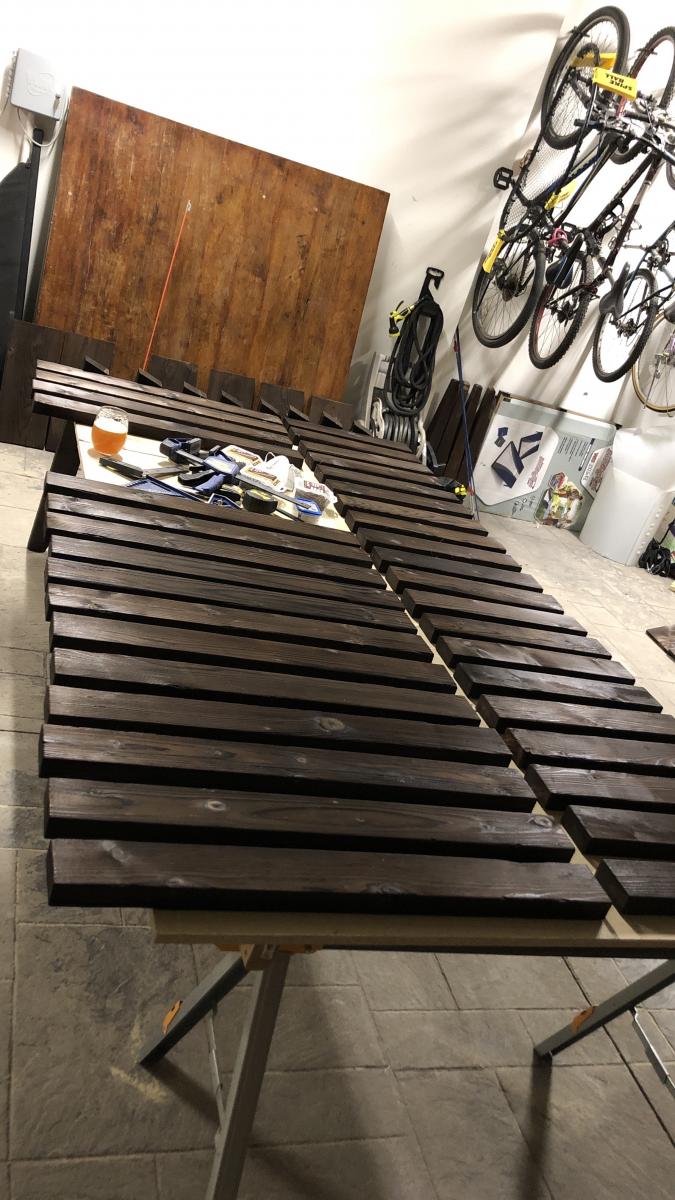
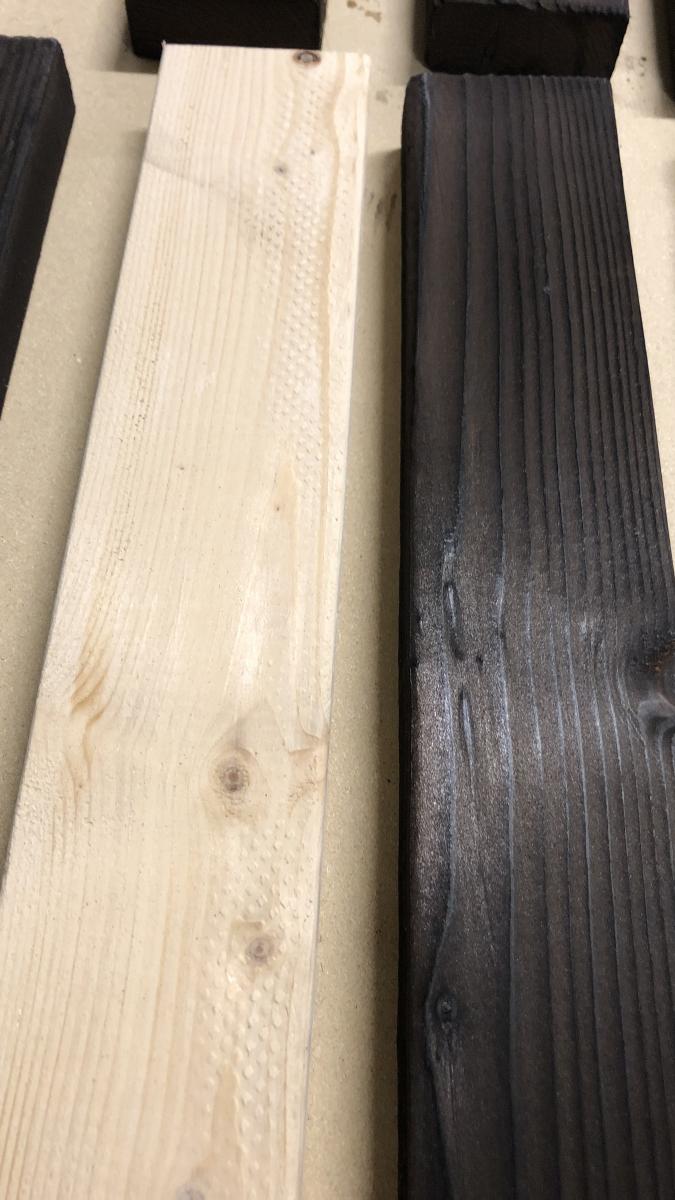
Pre-stain and then 2 coats of summer oak stain and then 2 coats of polyurethane
Recommended Skill Level
Beginner