Patio furniture
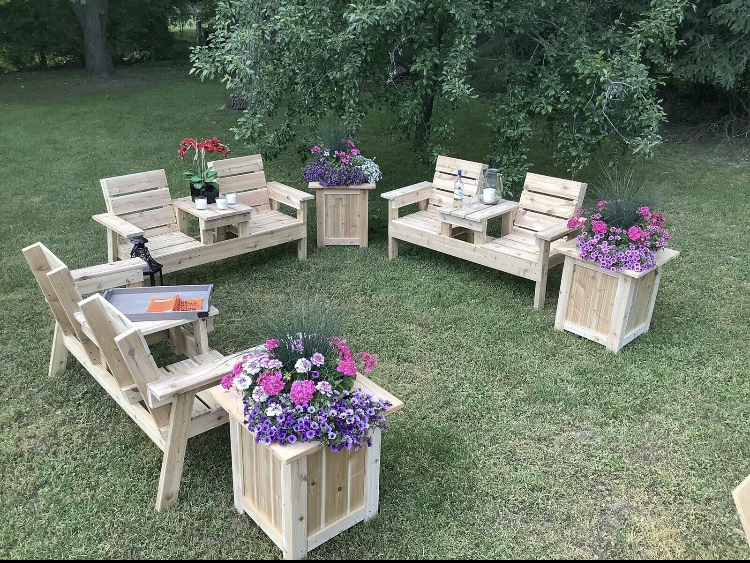
Custom cedar patio furniture
Built from Plan(s)
Custom cedar patio furniture
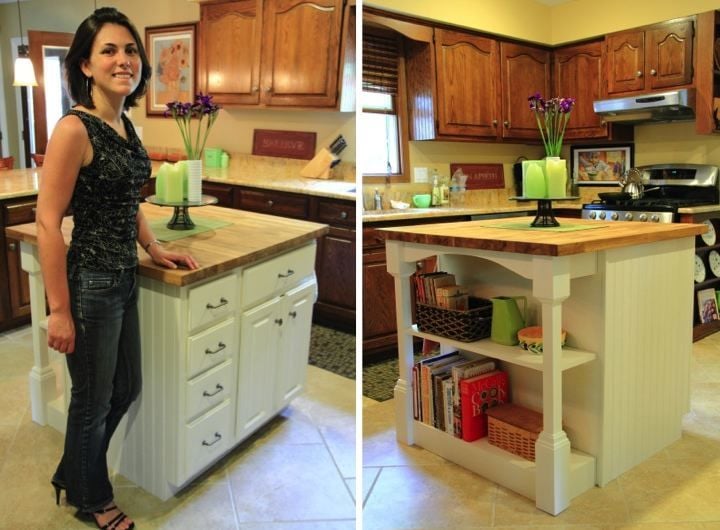
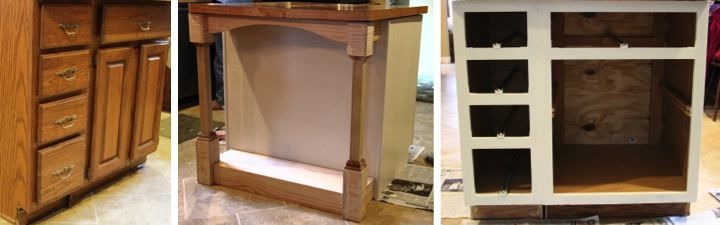
I made this kitchen island for my mom last year by repurposing two cabinets and building a bookcase for the back.
For details: http://www.homeandawaywithlisa.com/blog/2011/11/28/kitchen-island-for-m…
My granddaughter is so in love with her loft bed! She feels so special, and she is! Thanks for such wonderful plans.


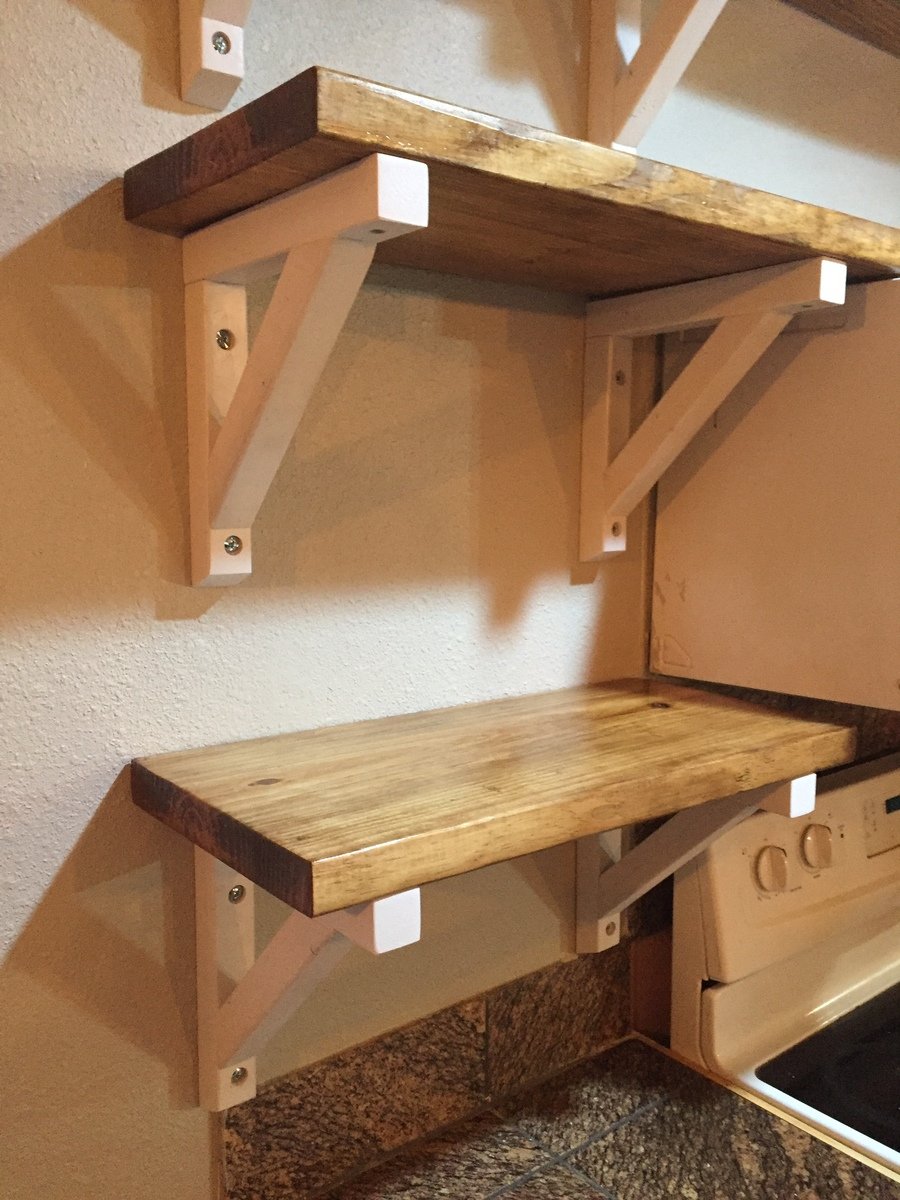
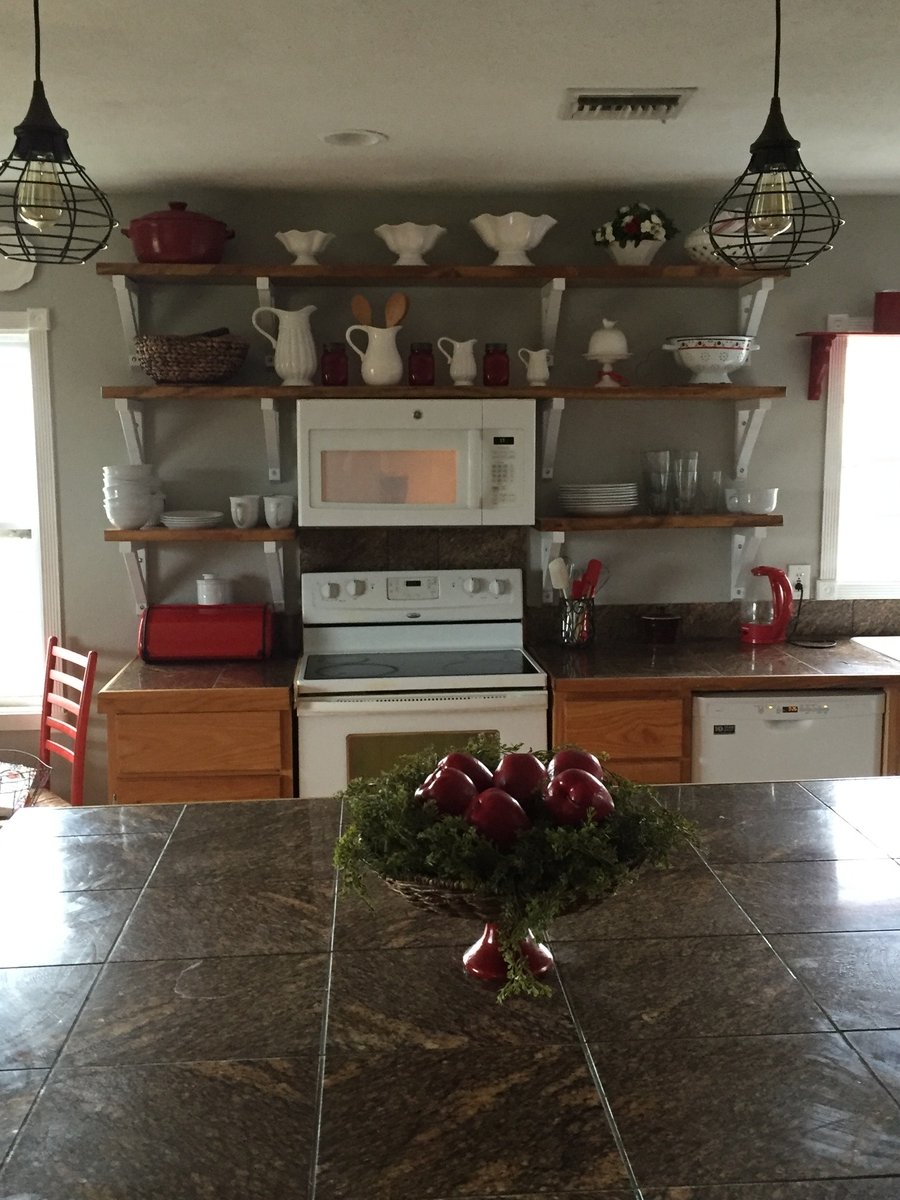
We tweaked a few things, to make the brackets more personalized. We changed the measurements to suit our space, added a decorative bevel to the bottom of the brackets, and used 2x12's for the shelves. We love the warm open feel these shelves give to our farmhouse kitchen! Thanks, Ana, for providing so much help and inspiration!
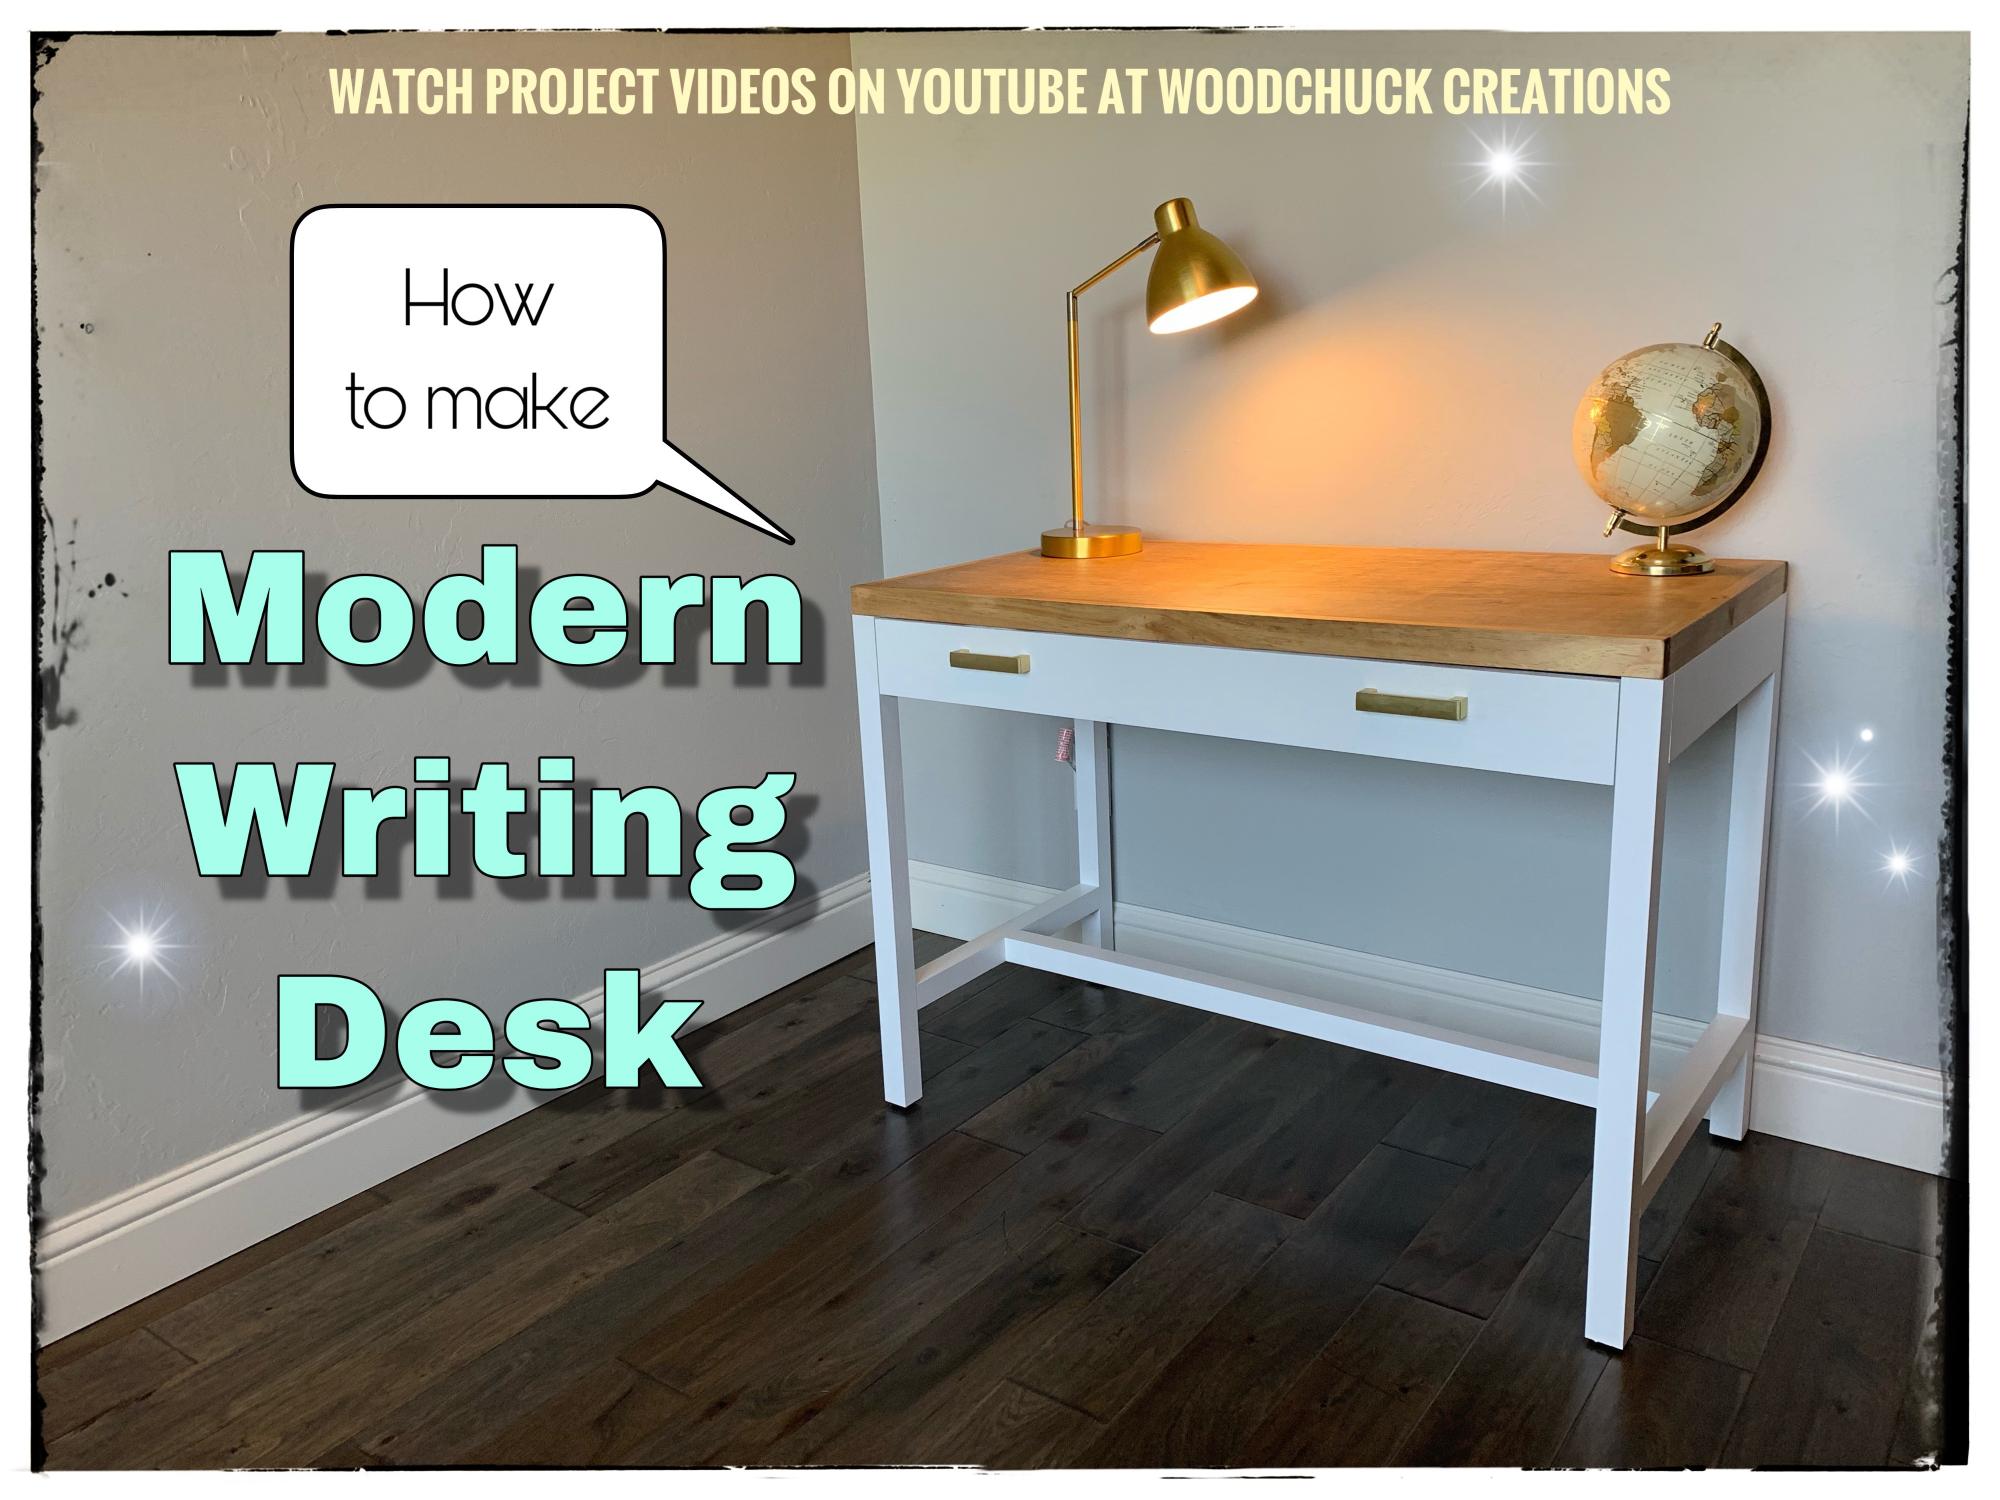
Love making this simple writing desk for my daughter!

Thu, 06/20/2019 - 14:37
Turned out amazing! Love the wood top. Thank you for linking over too, it's much appreciated!
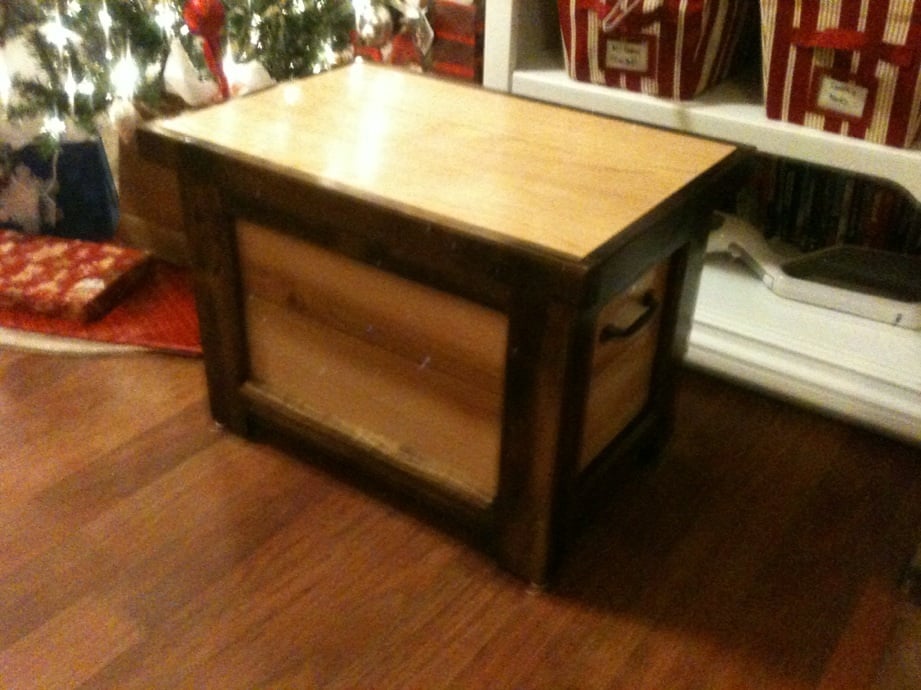
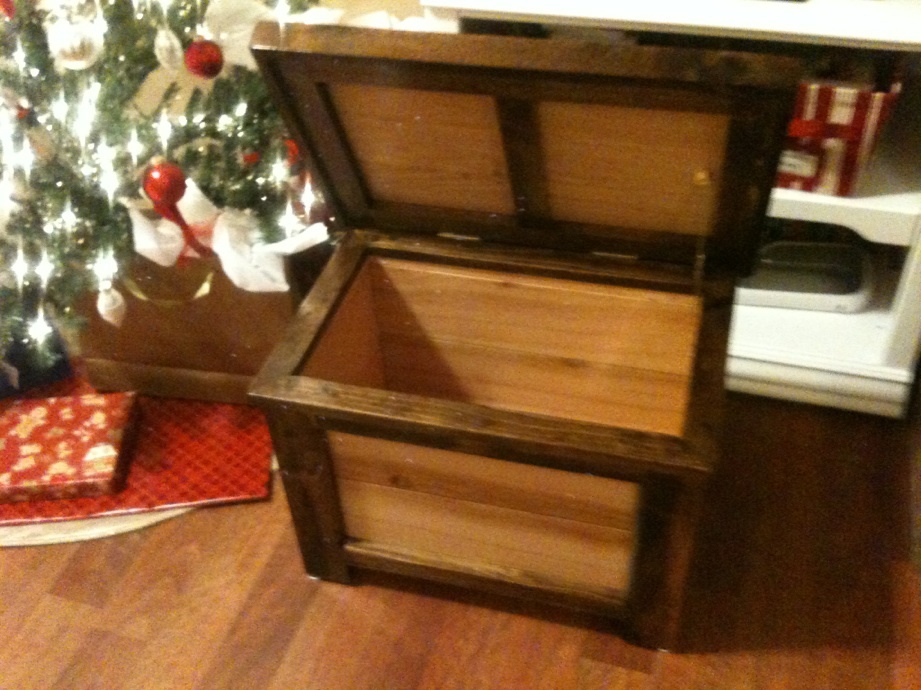
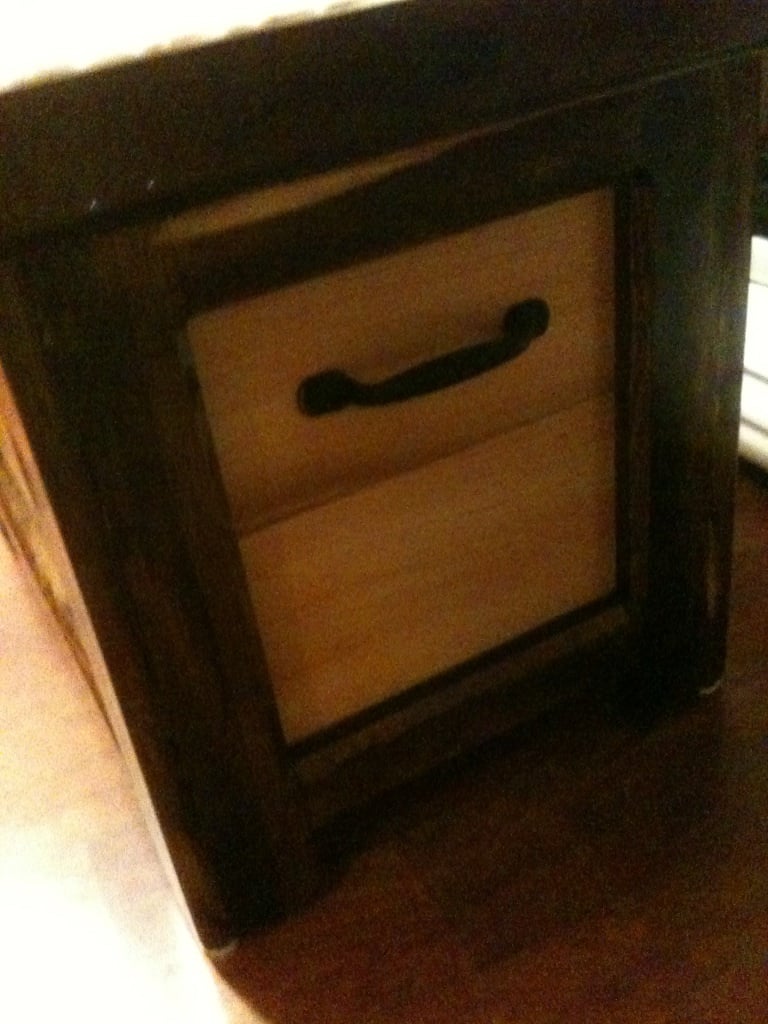
My husband built this for his grandma as a Christmas present. The frame is made of white pine and then the slats are cedar.
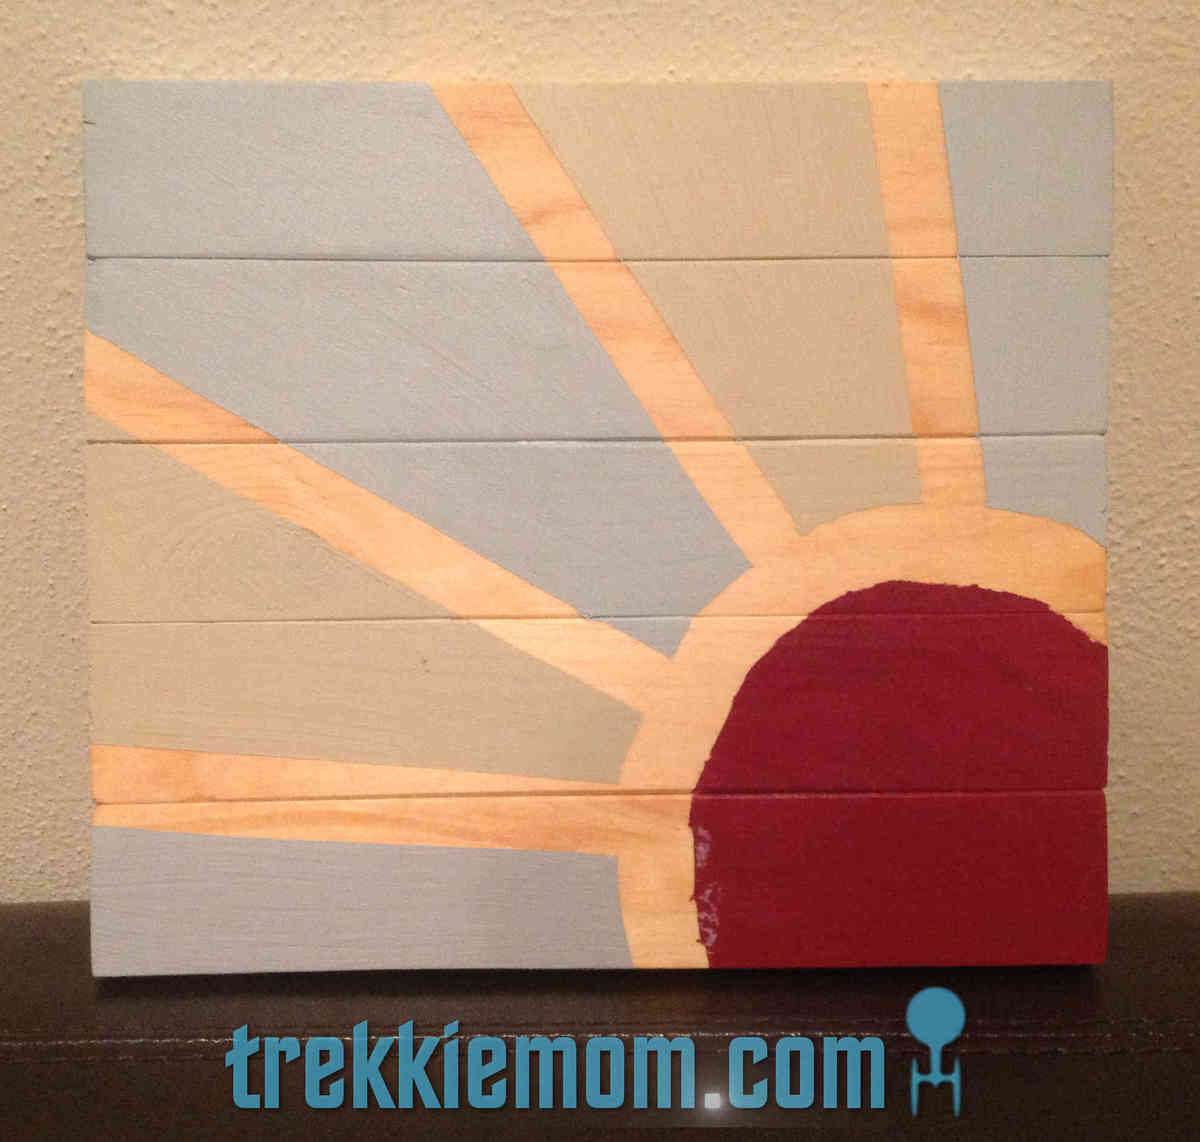
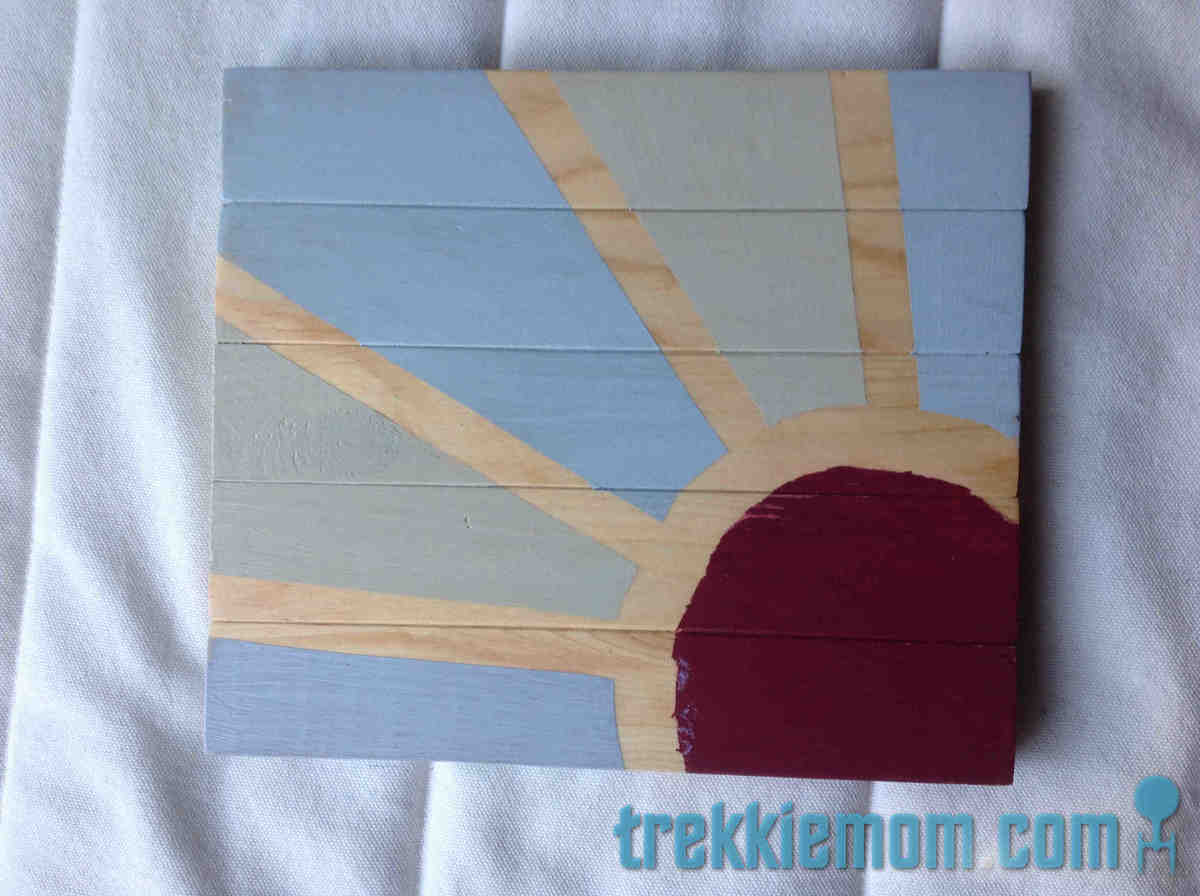
I used wood glue and scrap 1 x 2s (yellow pine). Cutting the 1 x 2s, 9 inches long (there are 5), I sanded them and then glued them together with wood glue, leaving them clamped together overnight. The following evening, I stained the piece with a light wood stain for the rays. The next night, I used painter's tape to create my version of the sun, so that my son, who wanted to paint it, didn't feel pressure to stay in drawn pencil lines with a paint brush. My son picked out the colors and where to paint them from my Lowes oops paint collection. After the paint dried, I sanded very lightly to give it a bit of an aged feel before applying 2 coats of Polyurethane to seal it, lightly sanding between coats. A self leveling picture hanger finished it off. The finished product was not too much bigger than my IPad.
I was inspired by two other bloggers' bigger projects.
http://www.iammommahearmeroar.net/2013/10/how-to-create-giant-art-for-g…
http://www.inspiredbycharm.com/2012/01/from-wood-to-wall-the-making-of-…
I like a bit of the sun on the wall.
This was easily made from the plans on Ana White's website. I spent about $20 total on the bed and $7 on the fabric. I had the foam from another project. I could have spent less on the wood, but I opted to buy the sanded pine boards for they are much straighter! Thanks for the plans....it saved me about $150 that I can now spend on more projects!


I have enjoyed my miter saw cart for years. My sweet hubby gifted me with a table saw but I was nervous to use it without support for large pieces of wood and needed better storage. So... I modified my cart by adding a back leaf and making the shelf adjustable with two sets of cleats for the height of both saws.

Fri, 04/24/2020 - 07:11
How do you make the new supports for the outer folding leaf?
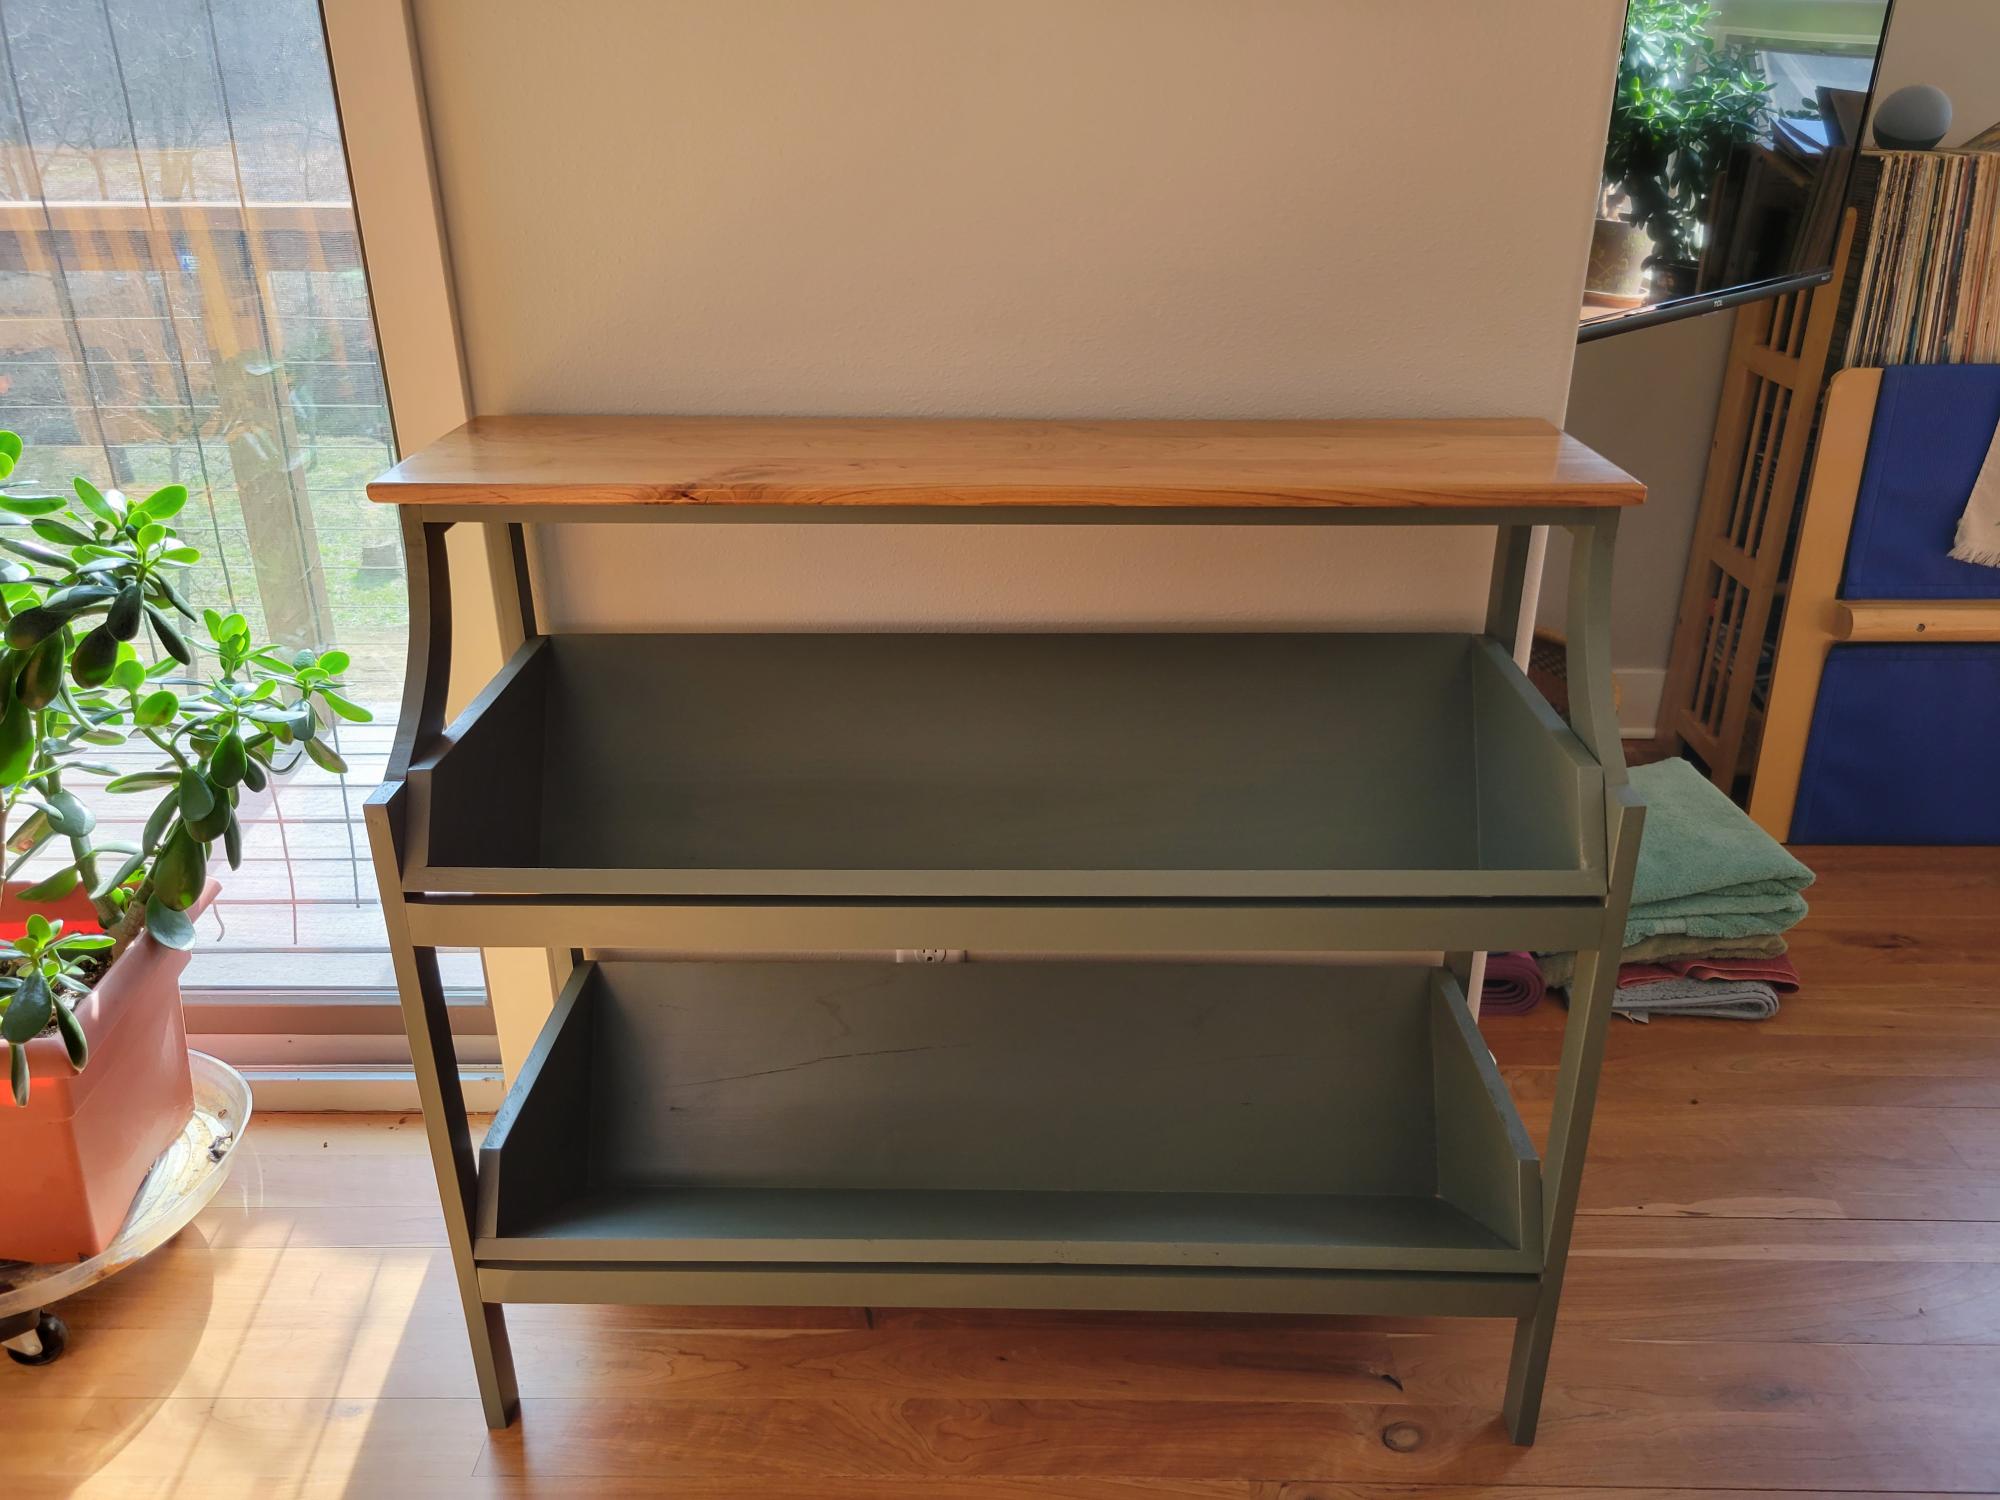
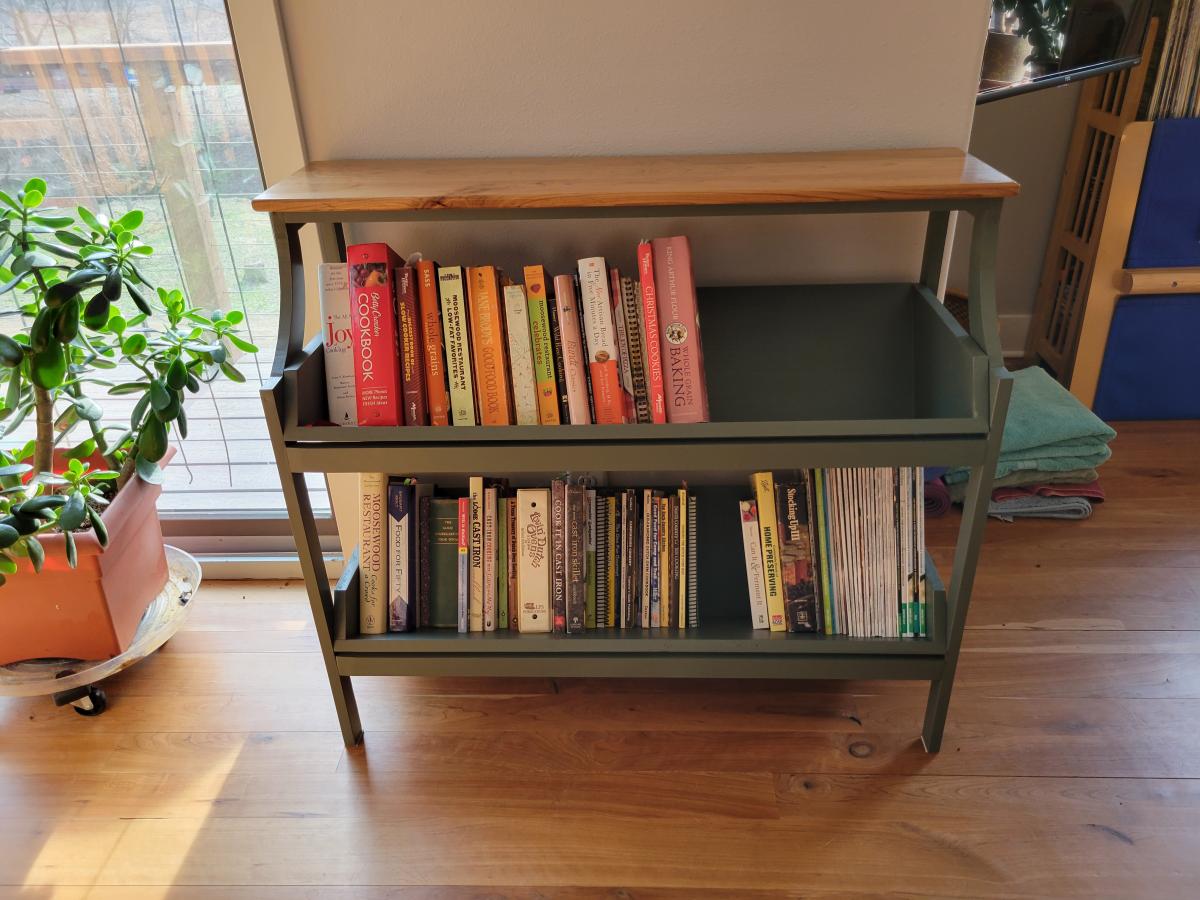
We needed storage for all of our cookbooks, so I built this from your Library Console Table plan. I painted it to match our kitchen cabinets and added a cherry top to match our floors. I re-used some shelving boards we had to make the boxes, so they now have a new life! Thanks for the plan!
Sun, 04/09/2023 - 18:14
Love this in the kitchen, and the color choice is so pretty! Thanks for sharing.
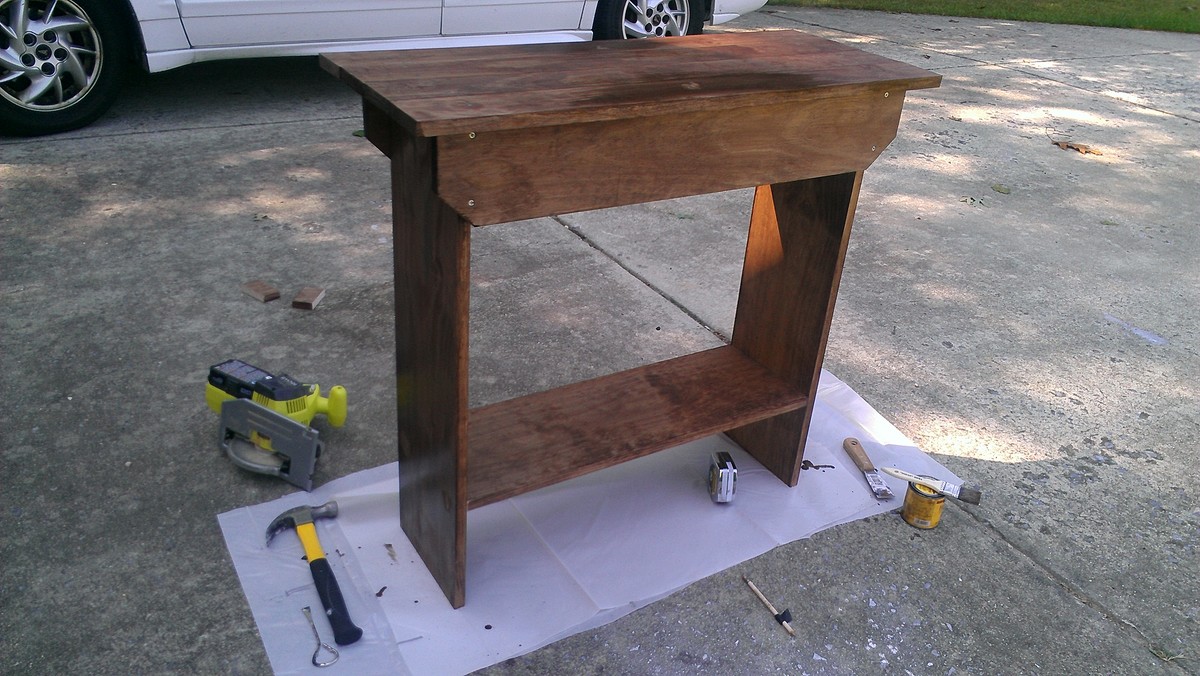
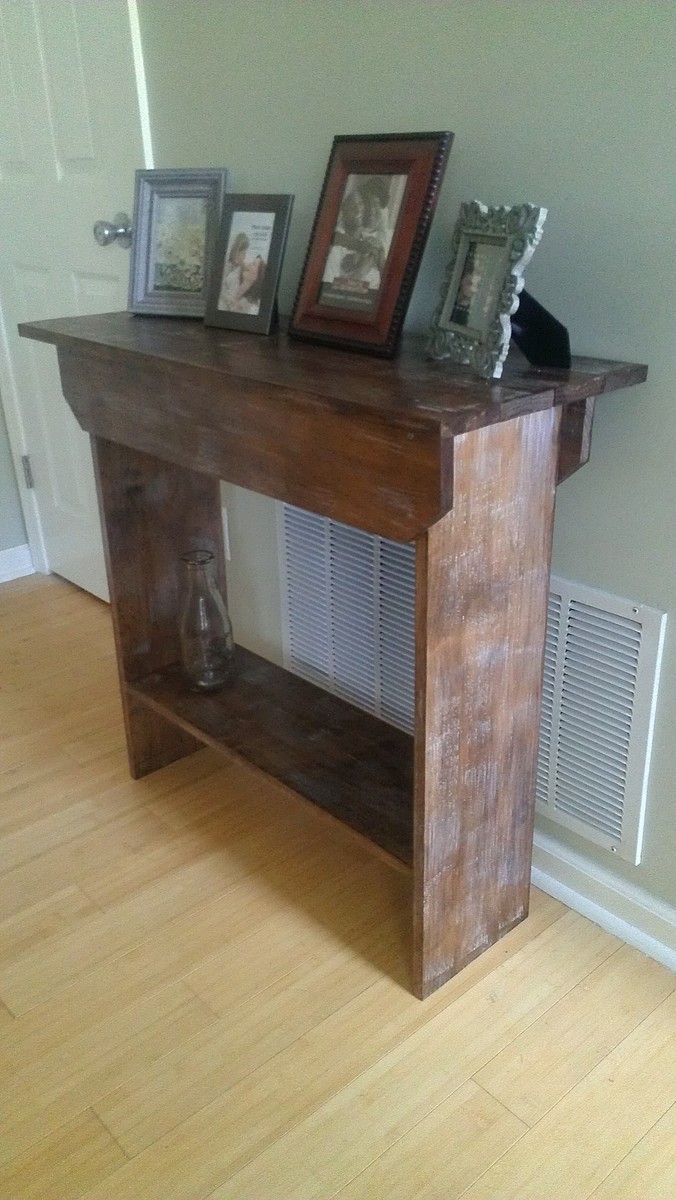
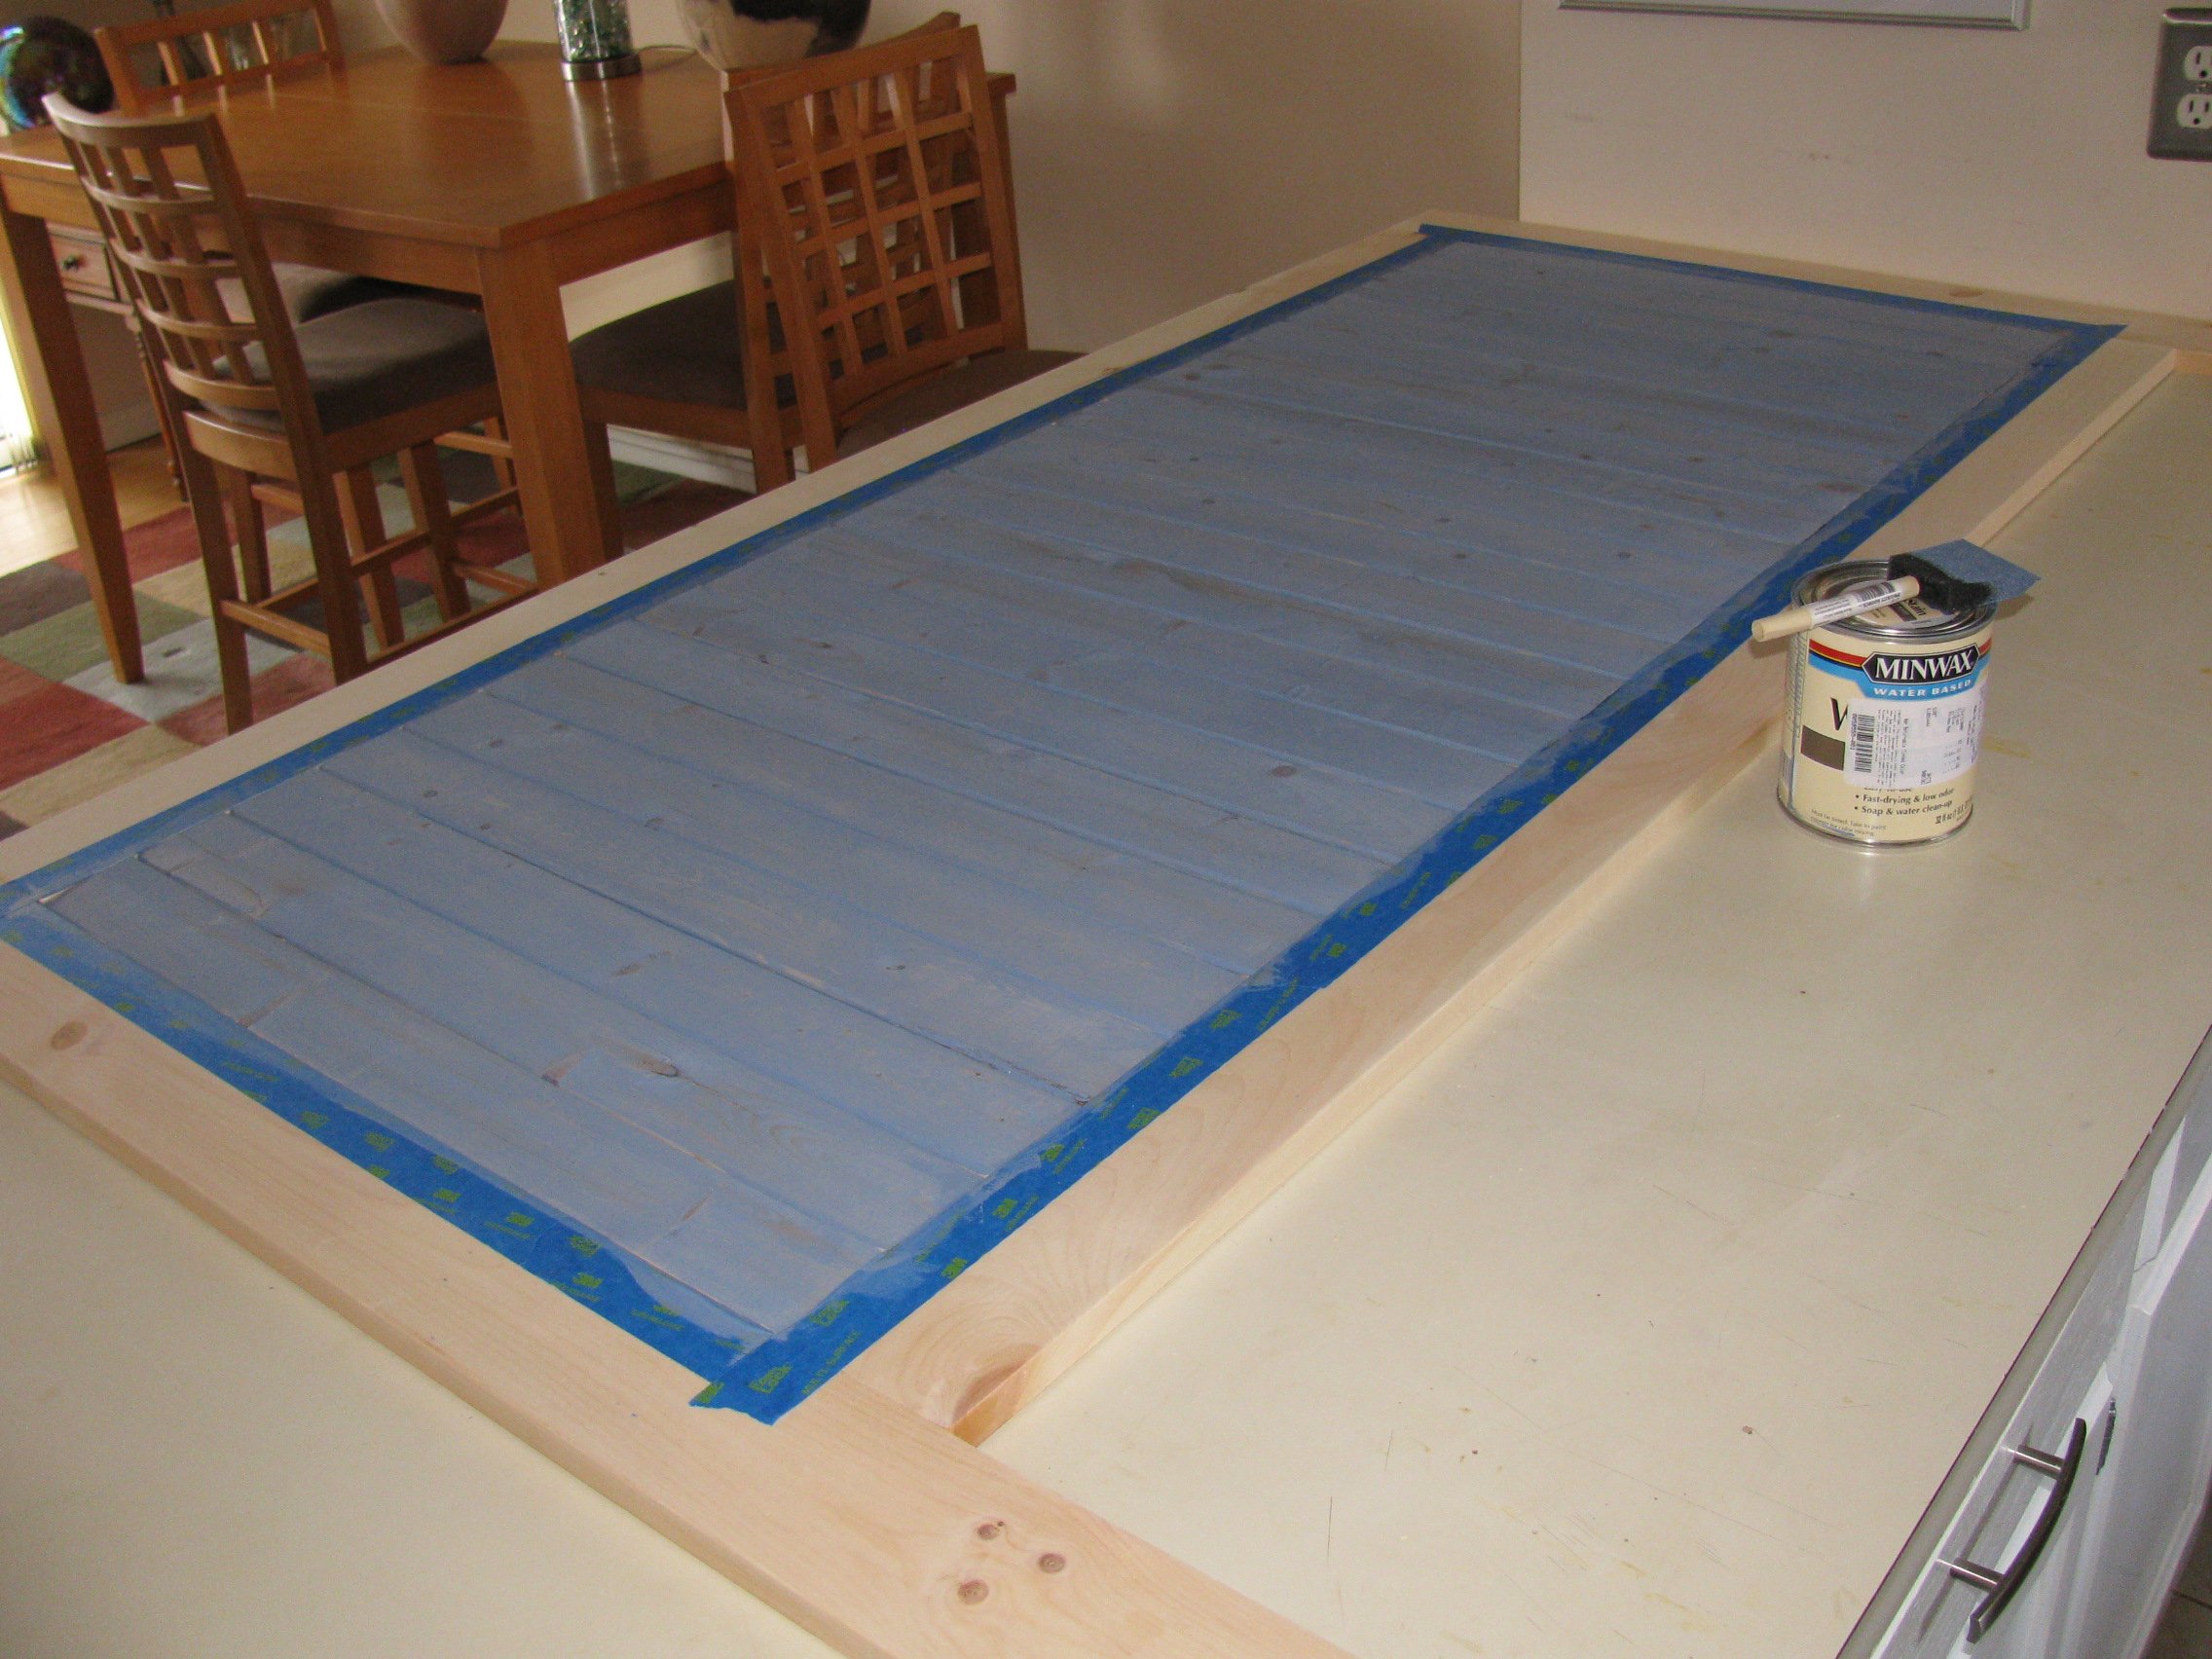
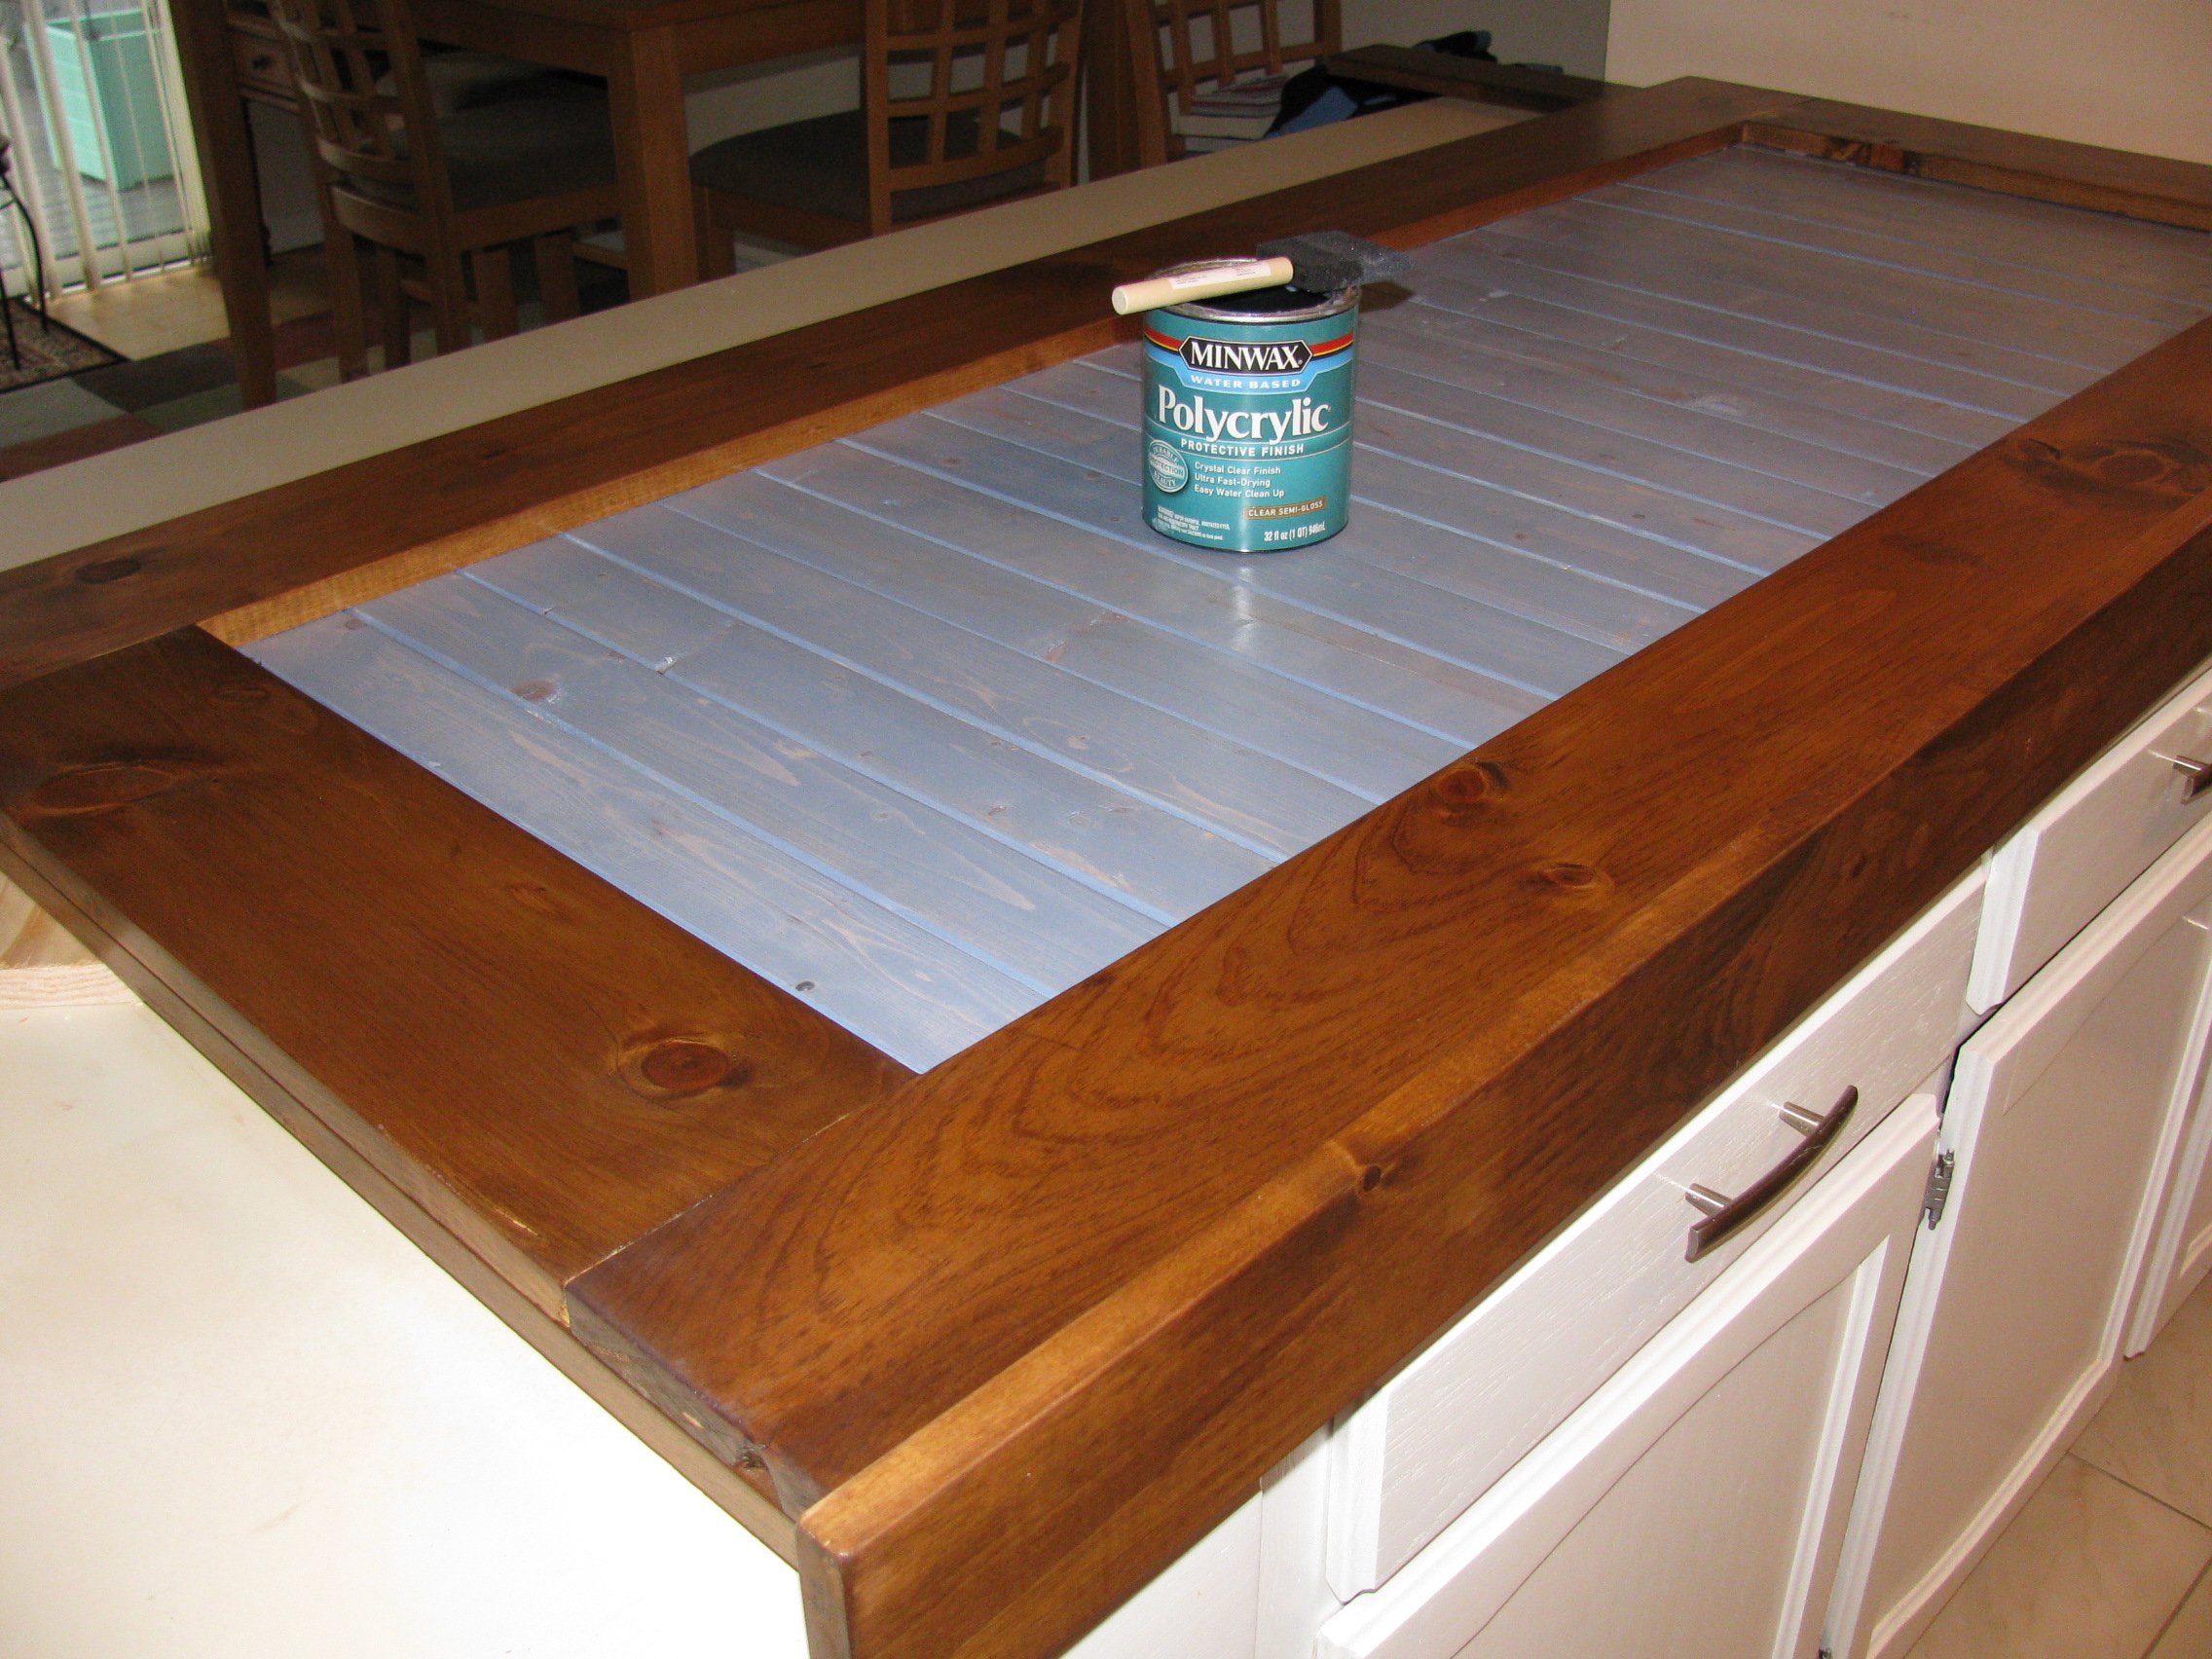
Used the reclaimed wood bench top plans for this project to make it a console table. This was very easy to alter. Rather than cutting out a triangle at the bottom, I left it uncut. I squared off the top edges too in addition to placing the boards longways instead of small pieces like a bench.
The finish I made it look rustic painting VERY lightly white one and instantly wiping it off for the rustic effect.
Pretty good for my first project every!
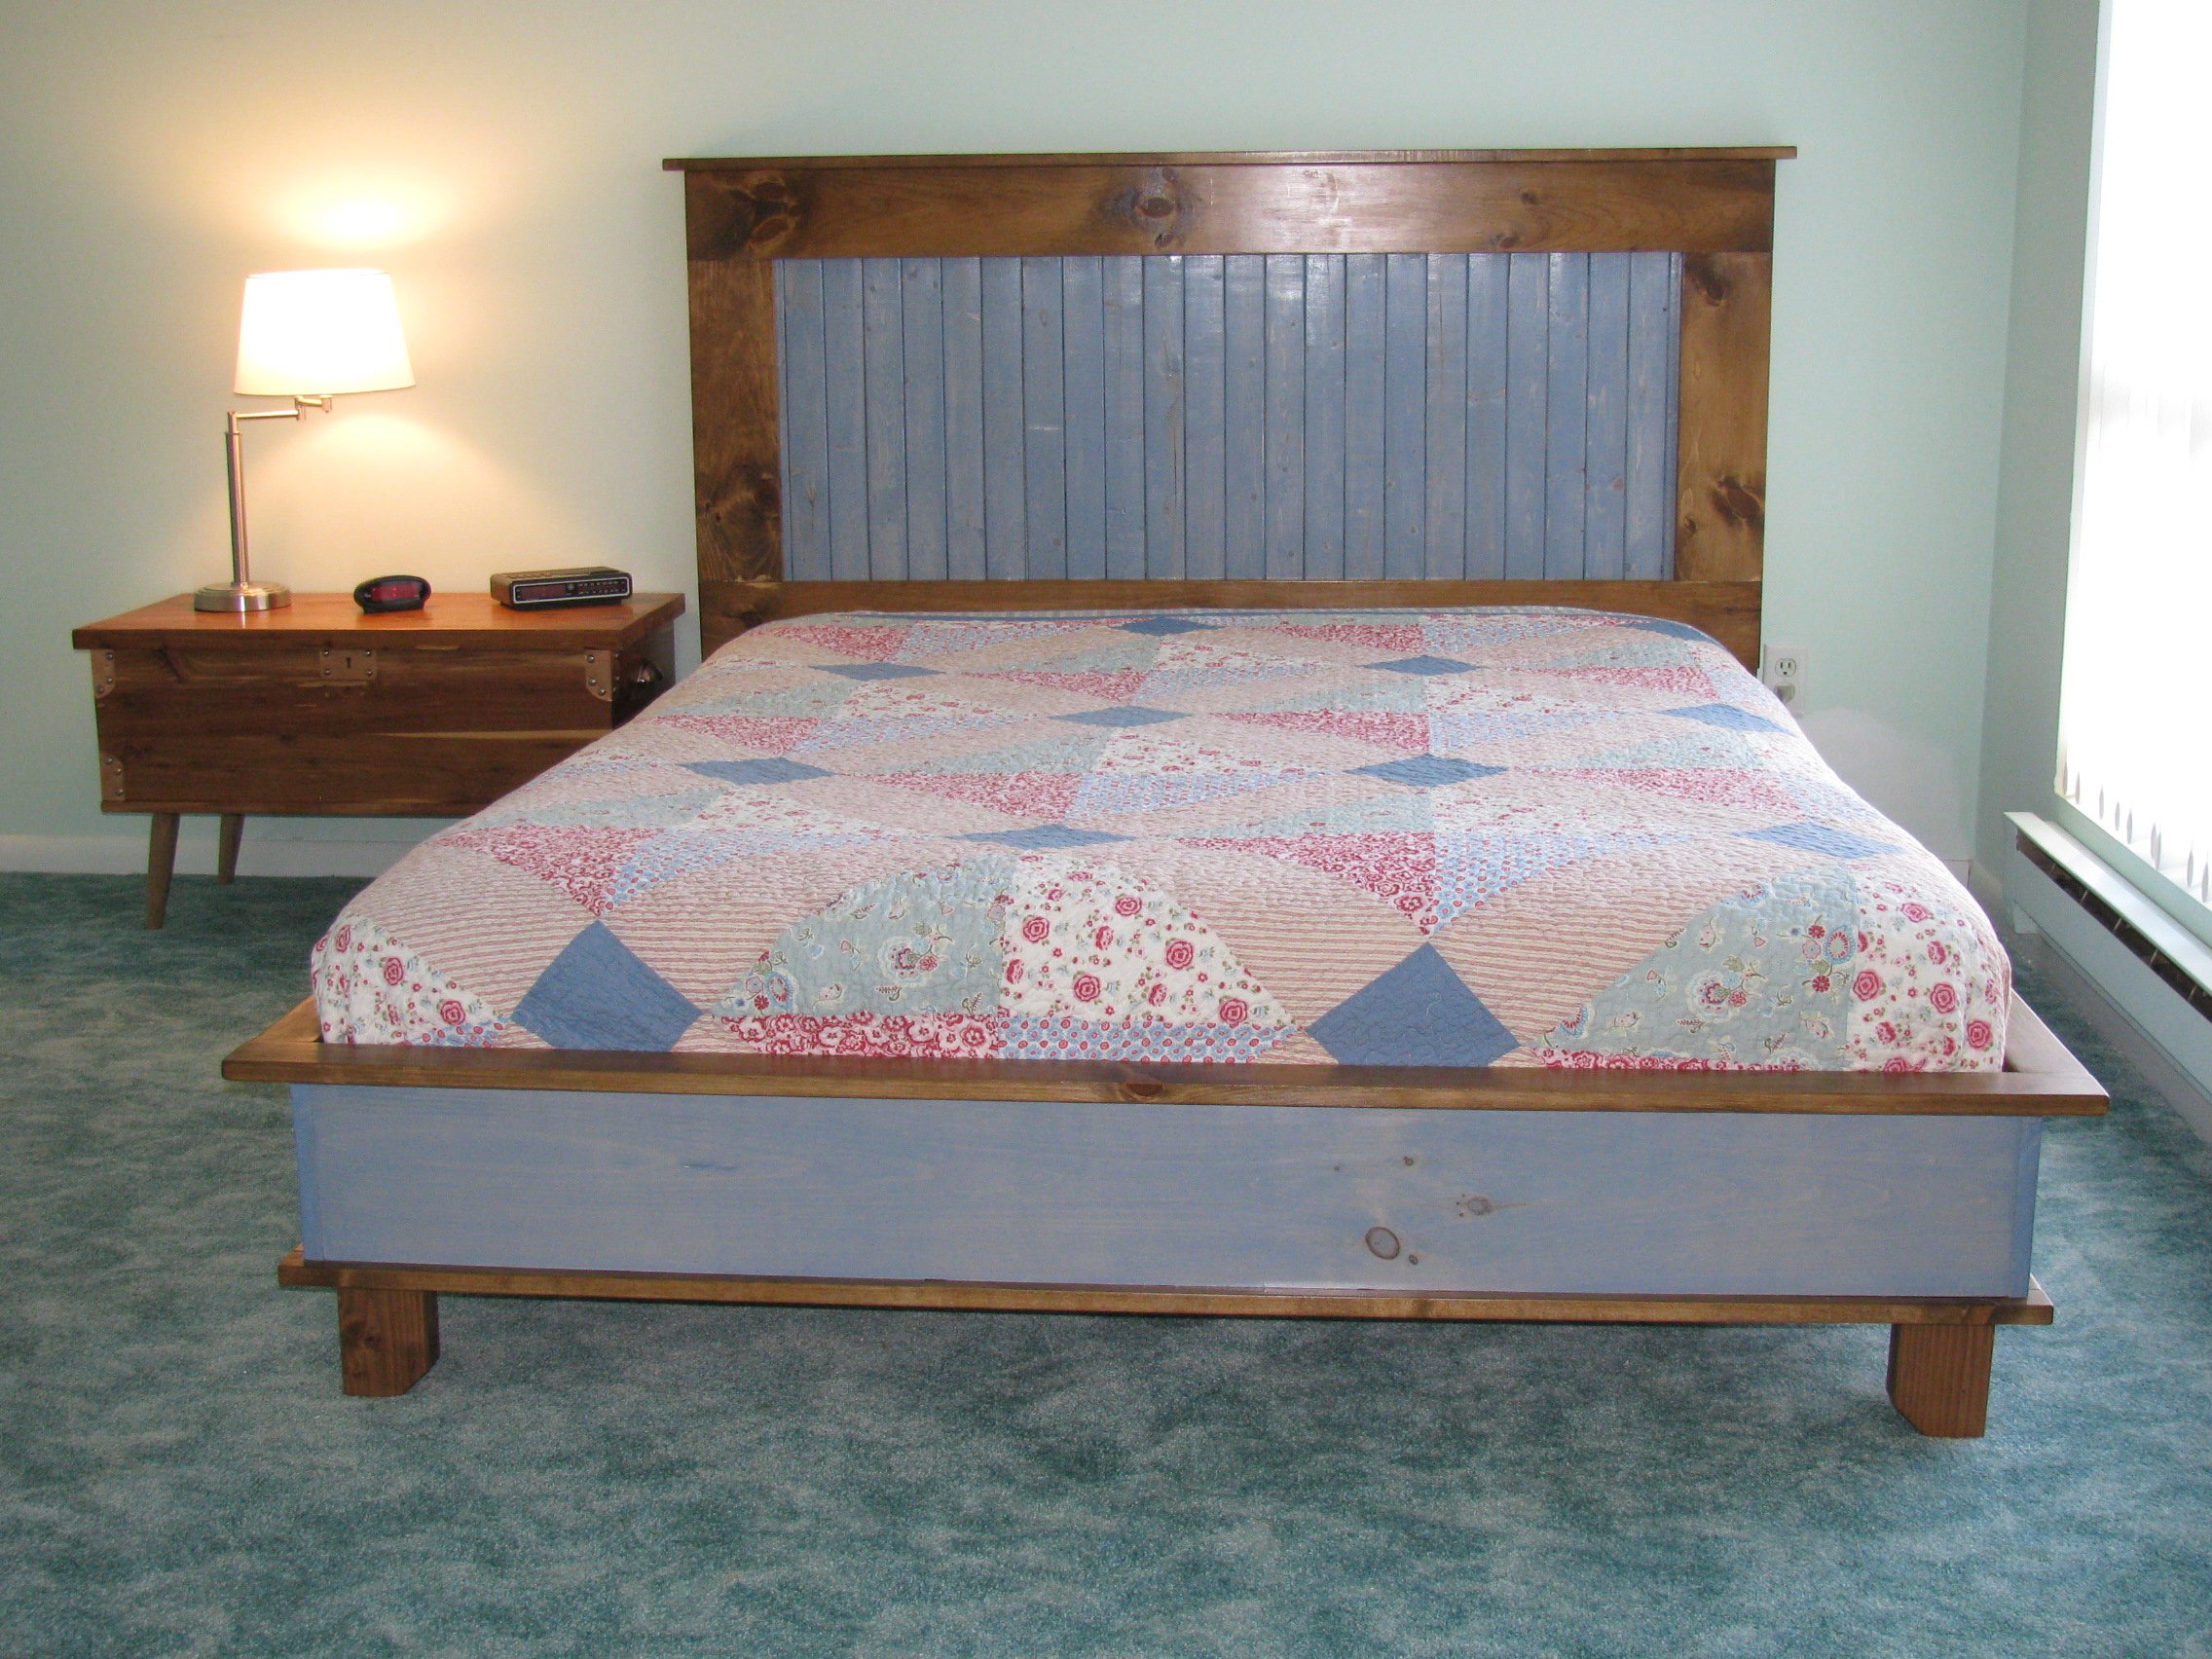
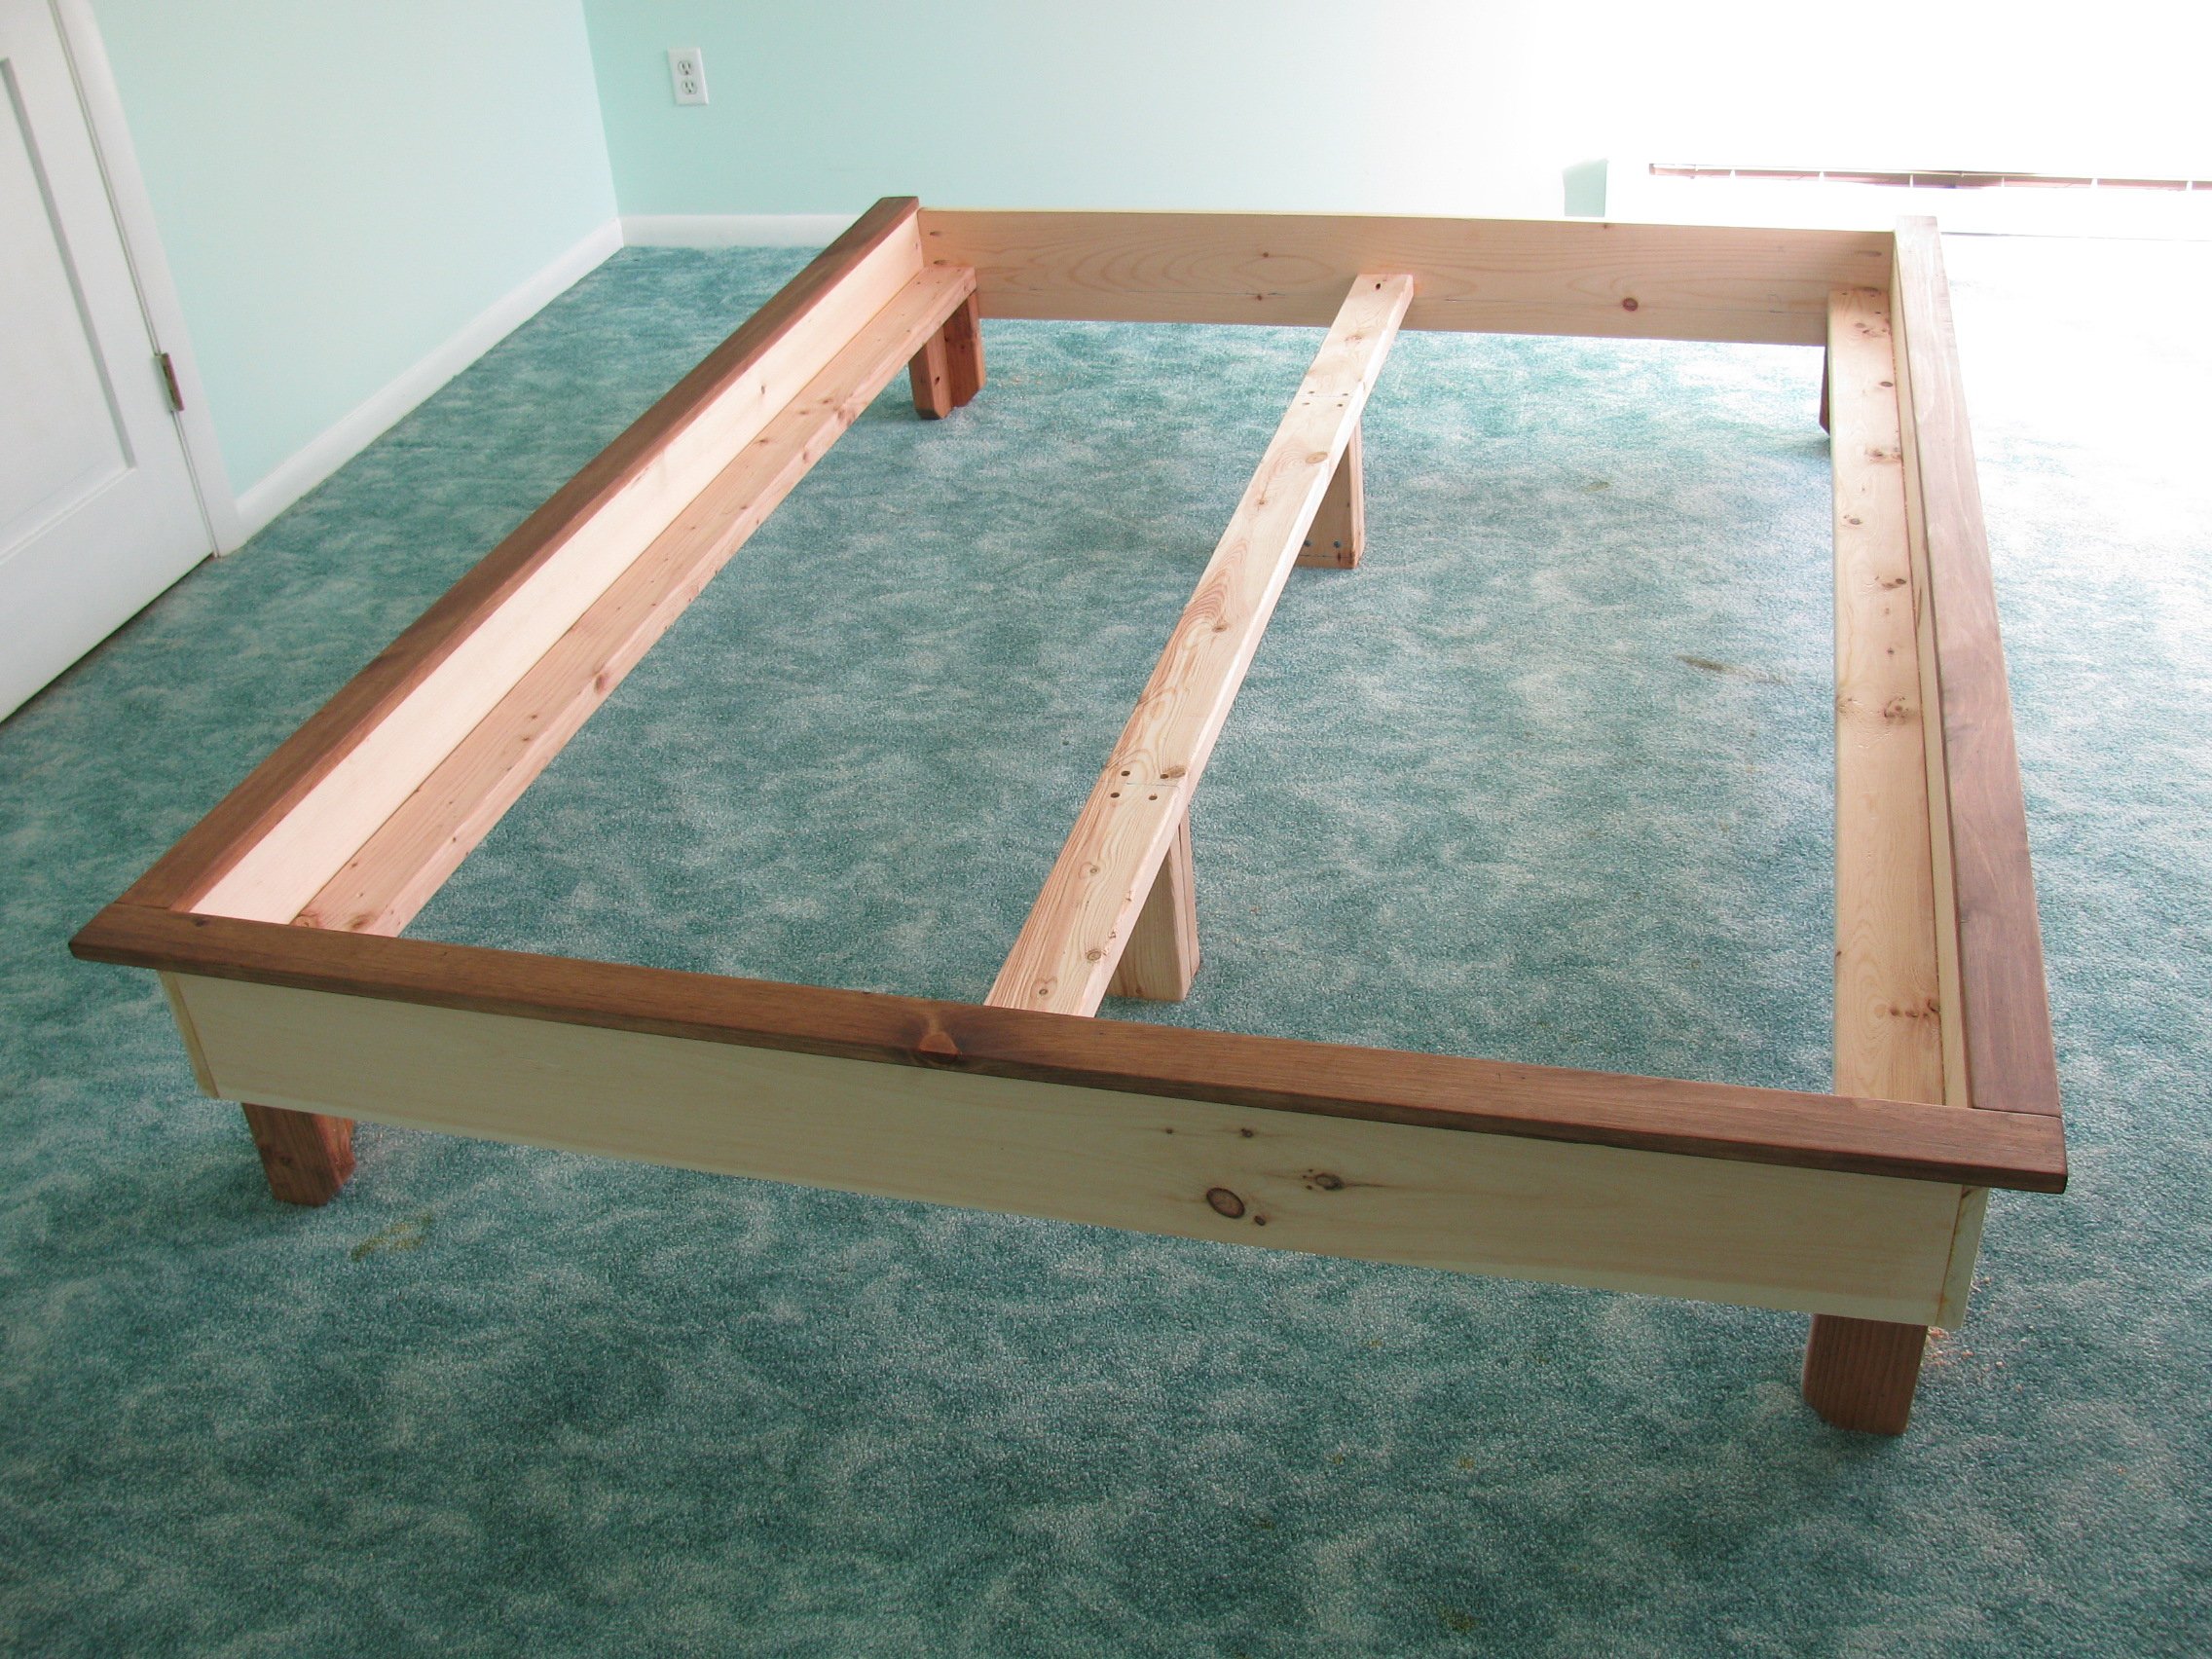
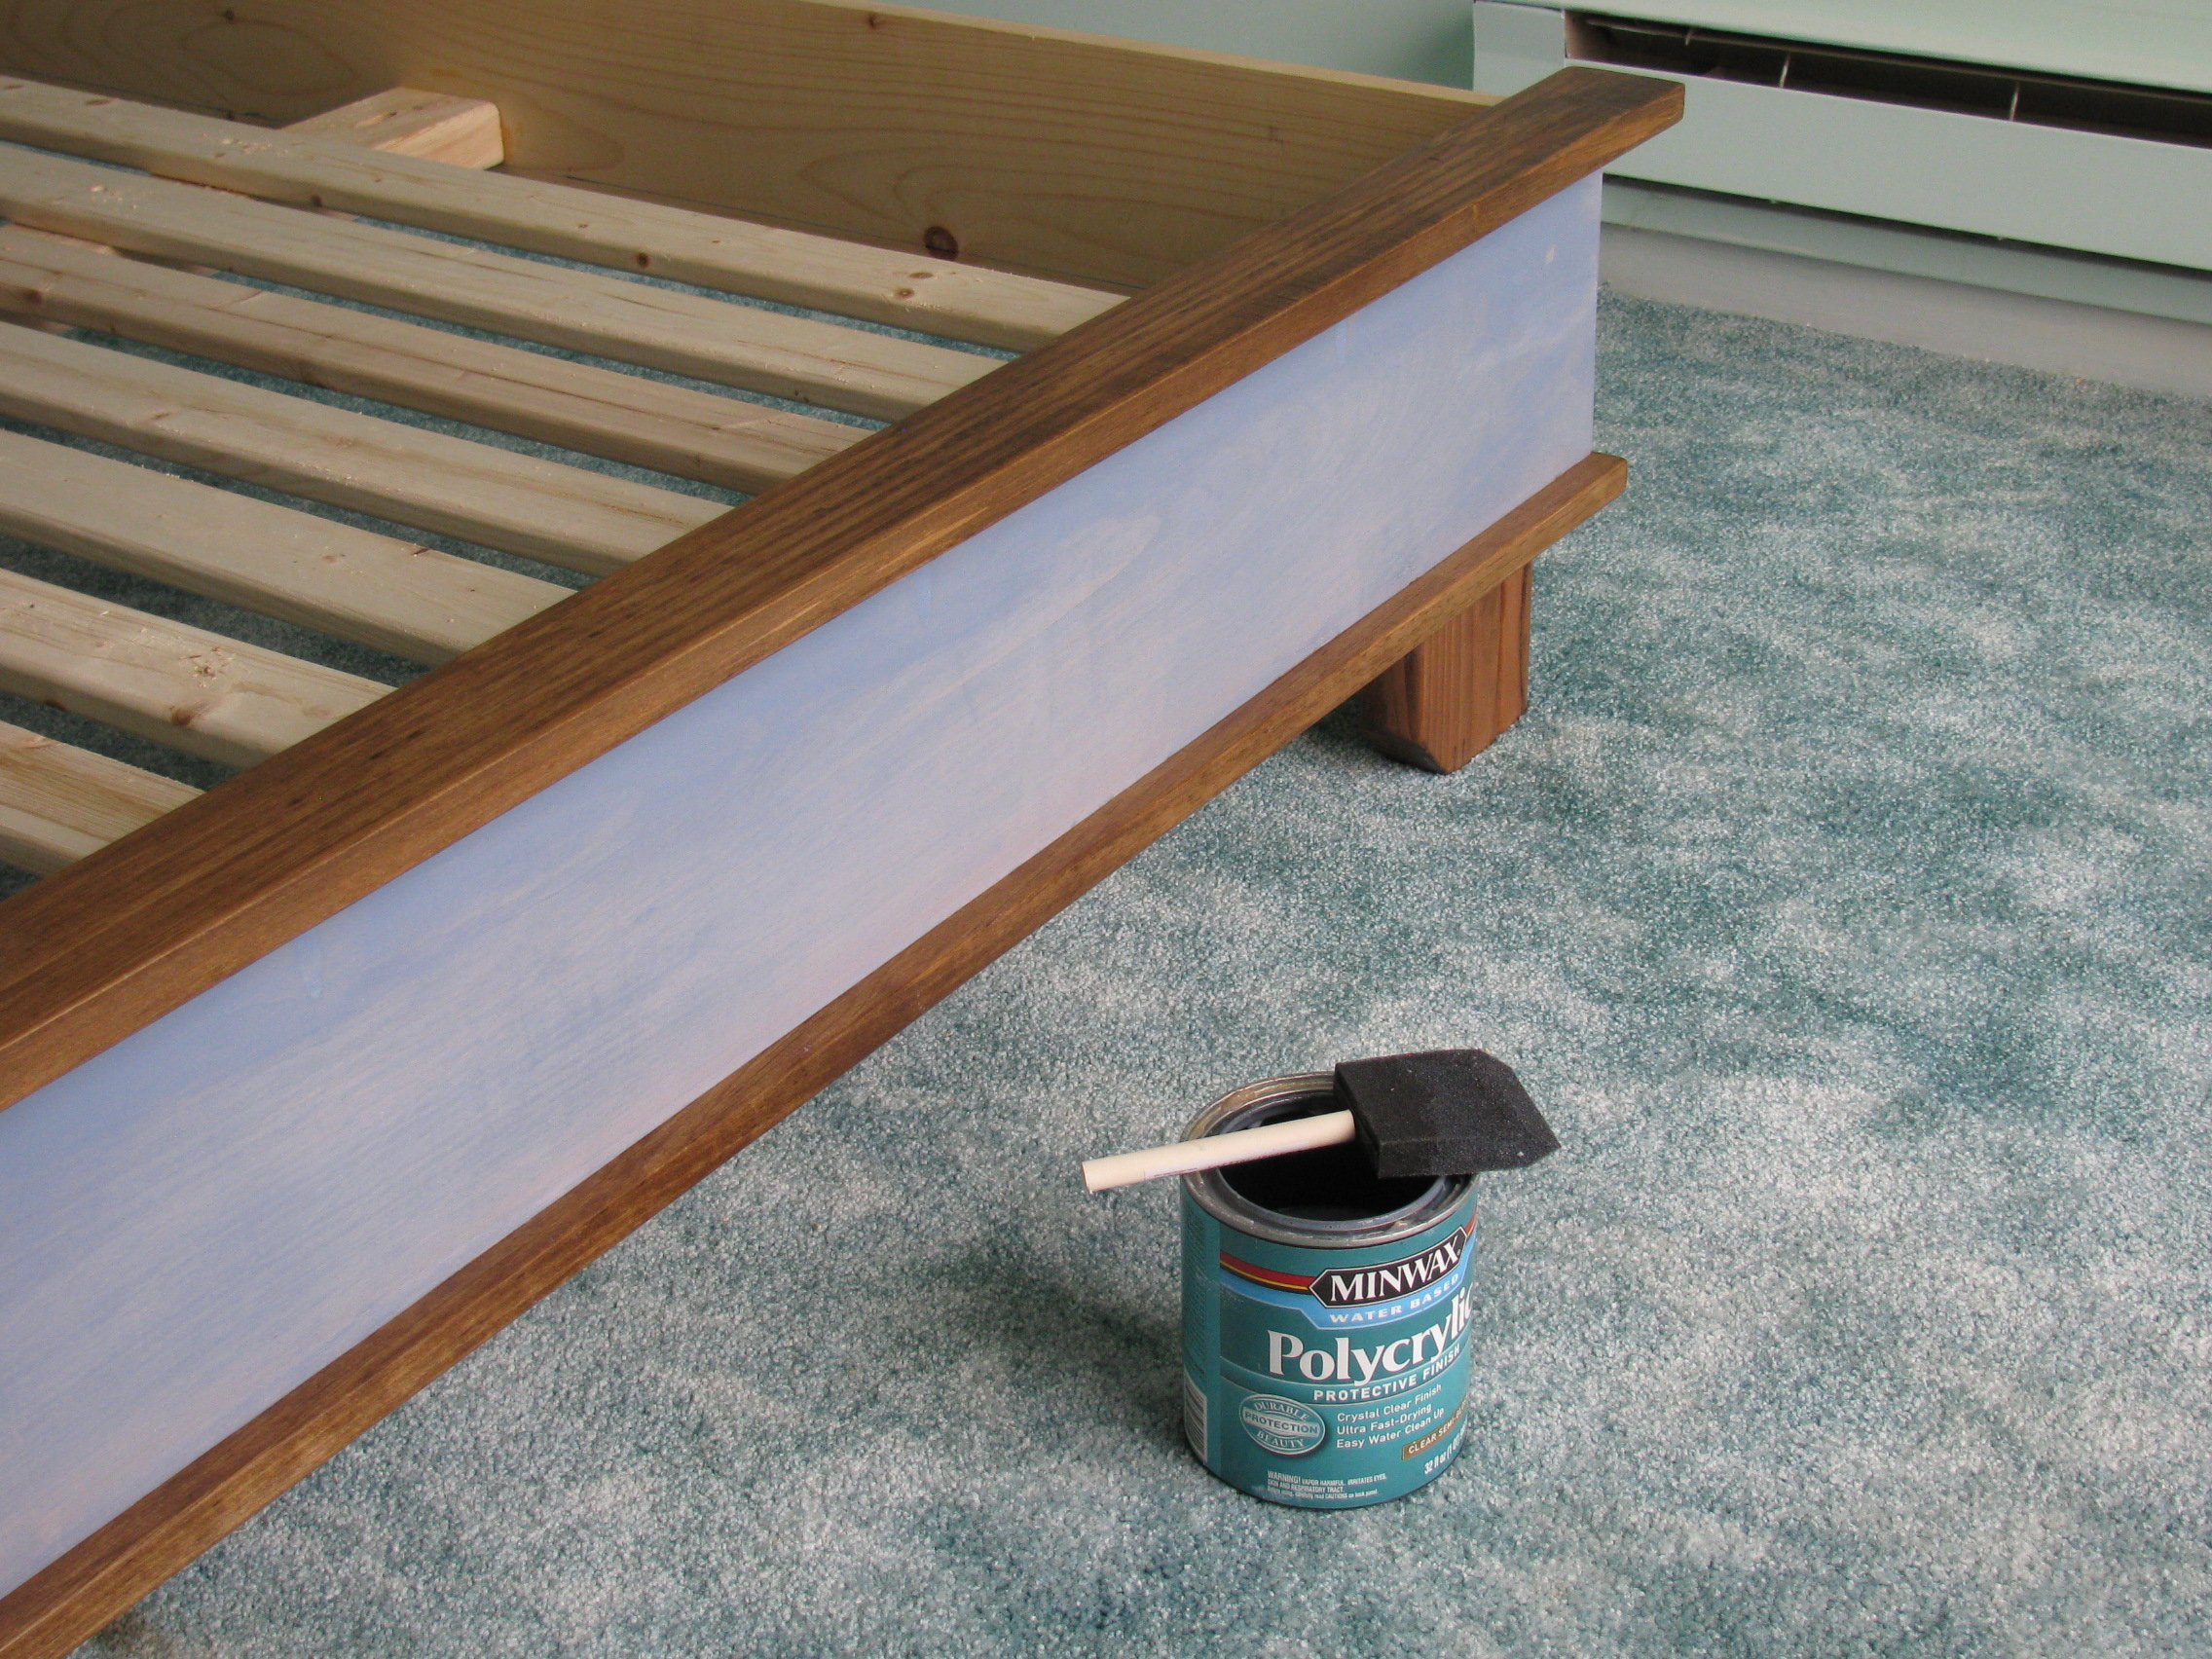
Built a platform bed and headboard using 2x4s for the main frame and 1x4s for the trim pieces on the bed. The headboard was made using 1x6s for the frame and 1x4 scrap pices from the slats used for the vertical pieces. Used a Minwax water-based "pearl gray" stain for the 1x8 sides and a Minwax oil-based walnut stain for the frame and trim pieces. Used the K5 Kreg jig to join most of the pieces. The Kre Jig was a new purchase and my advice would be to practice with the jig before starting the project. It takes awhile to get the hang of the jig and to make sure that you are using the correct screw lengths. The very complete and detailed plans can be found in the attached links.

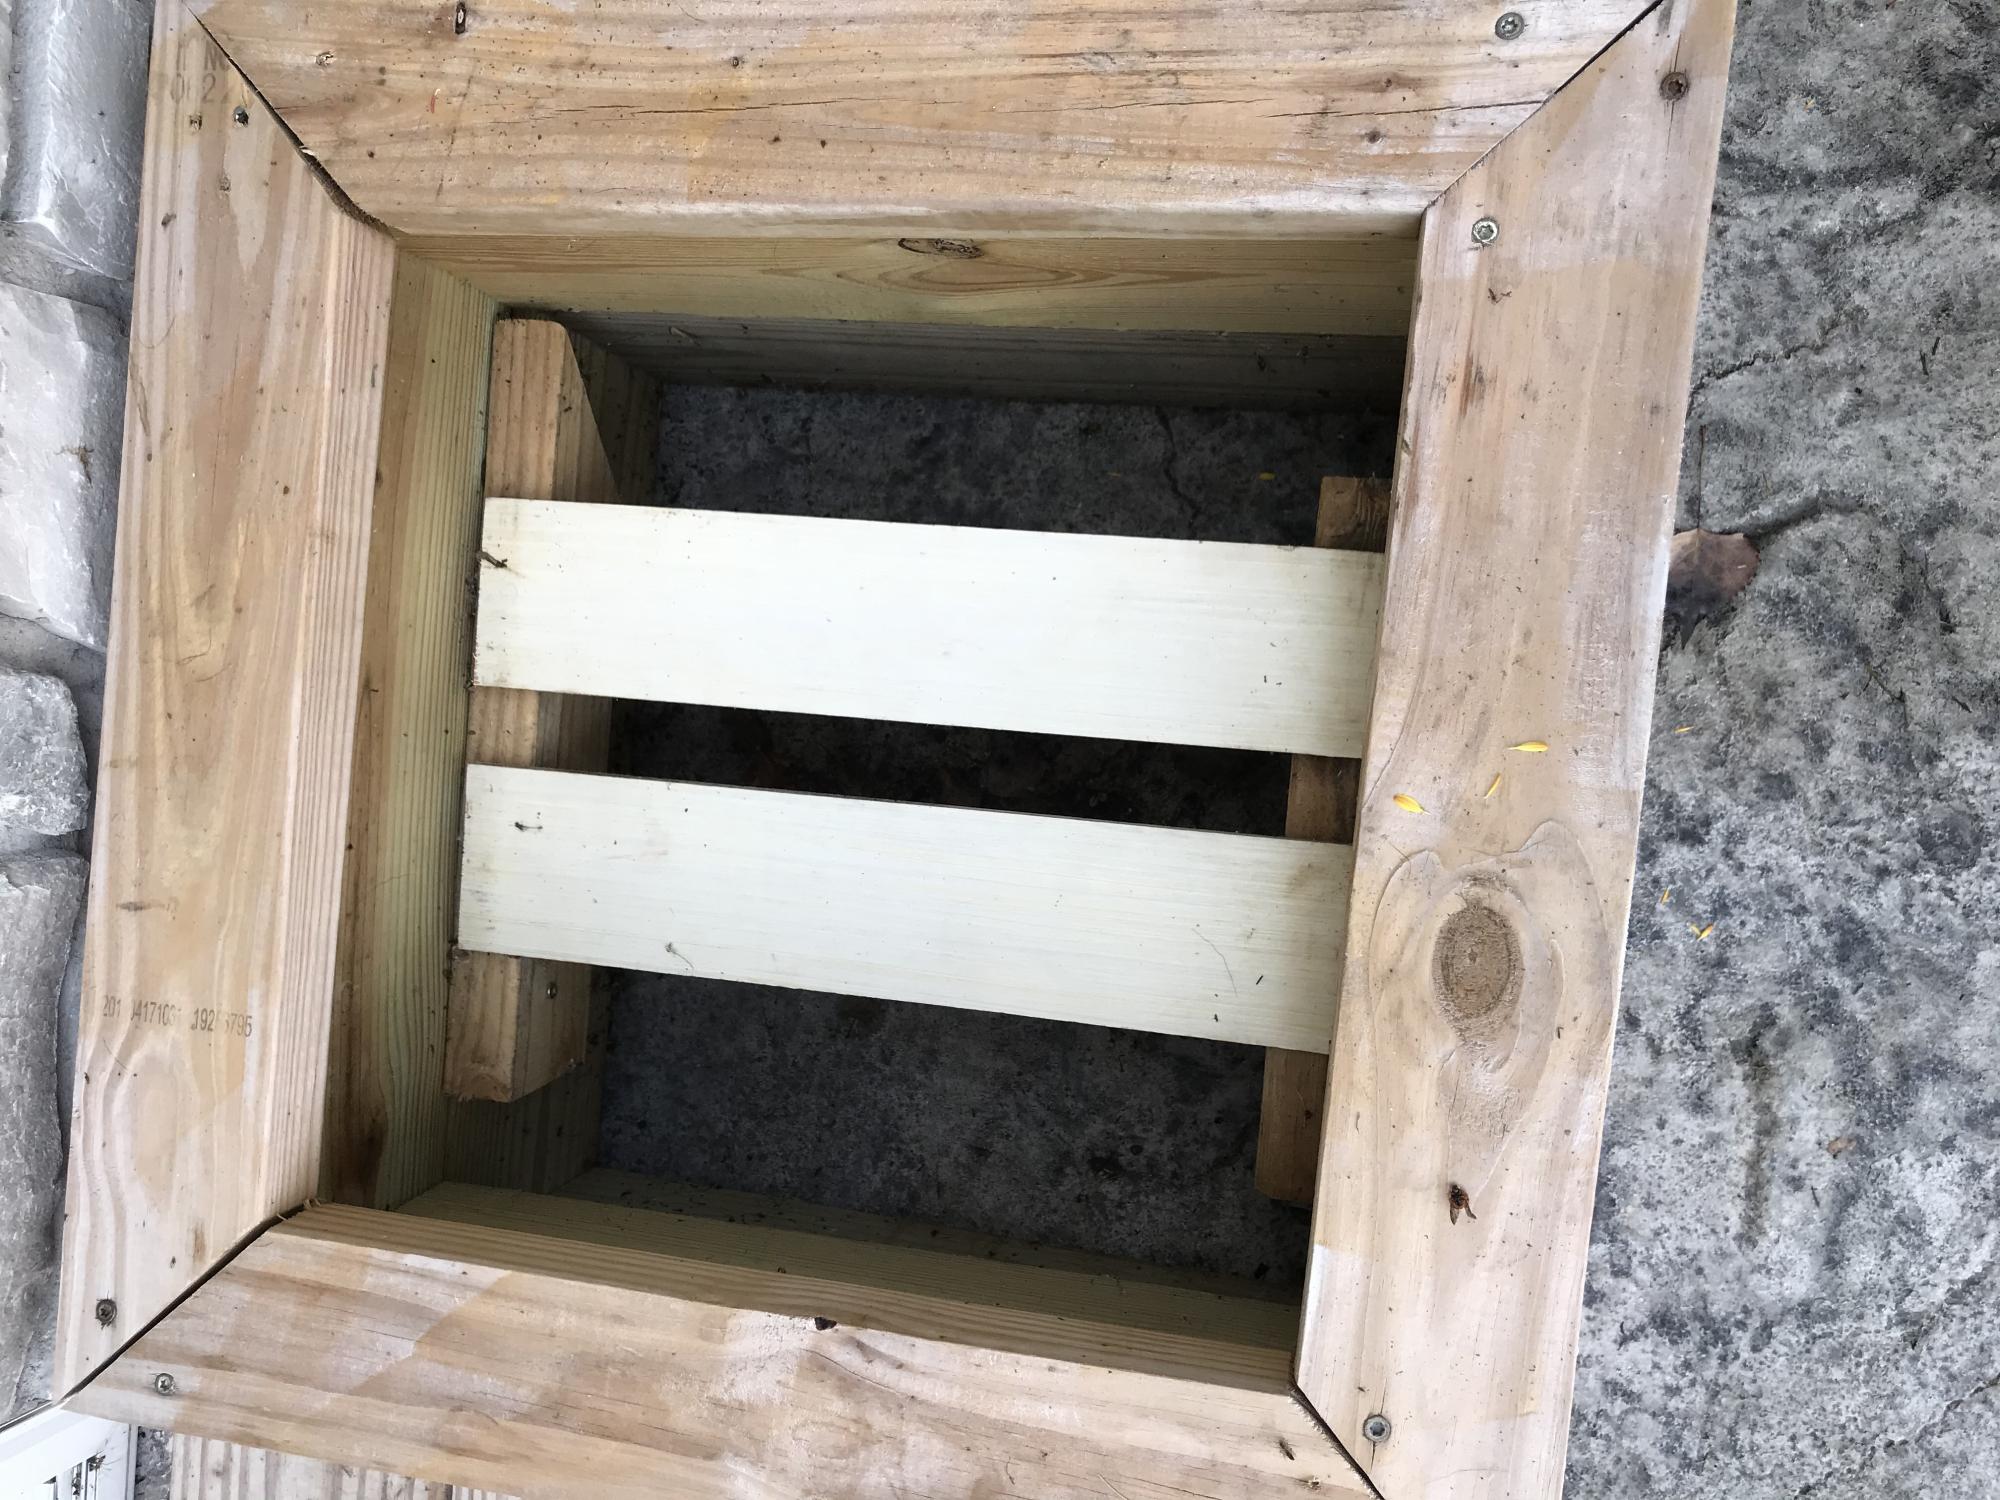
We added a shelf for the flowers otherwise it’s too deep


Please visit:
http://blog.prettyinprints.com/2011/12/quick-easy-diy-shelving-for-your…
For the cut list & instructions (:

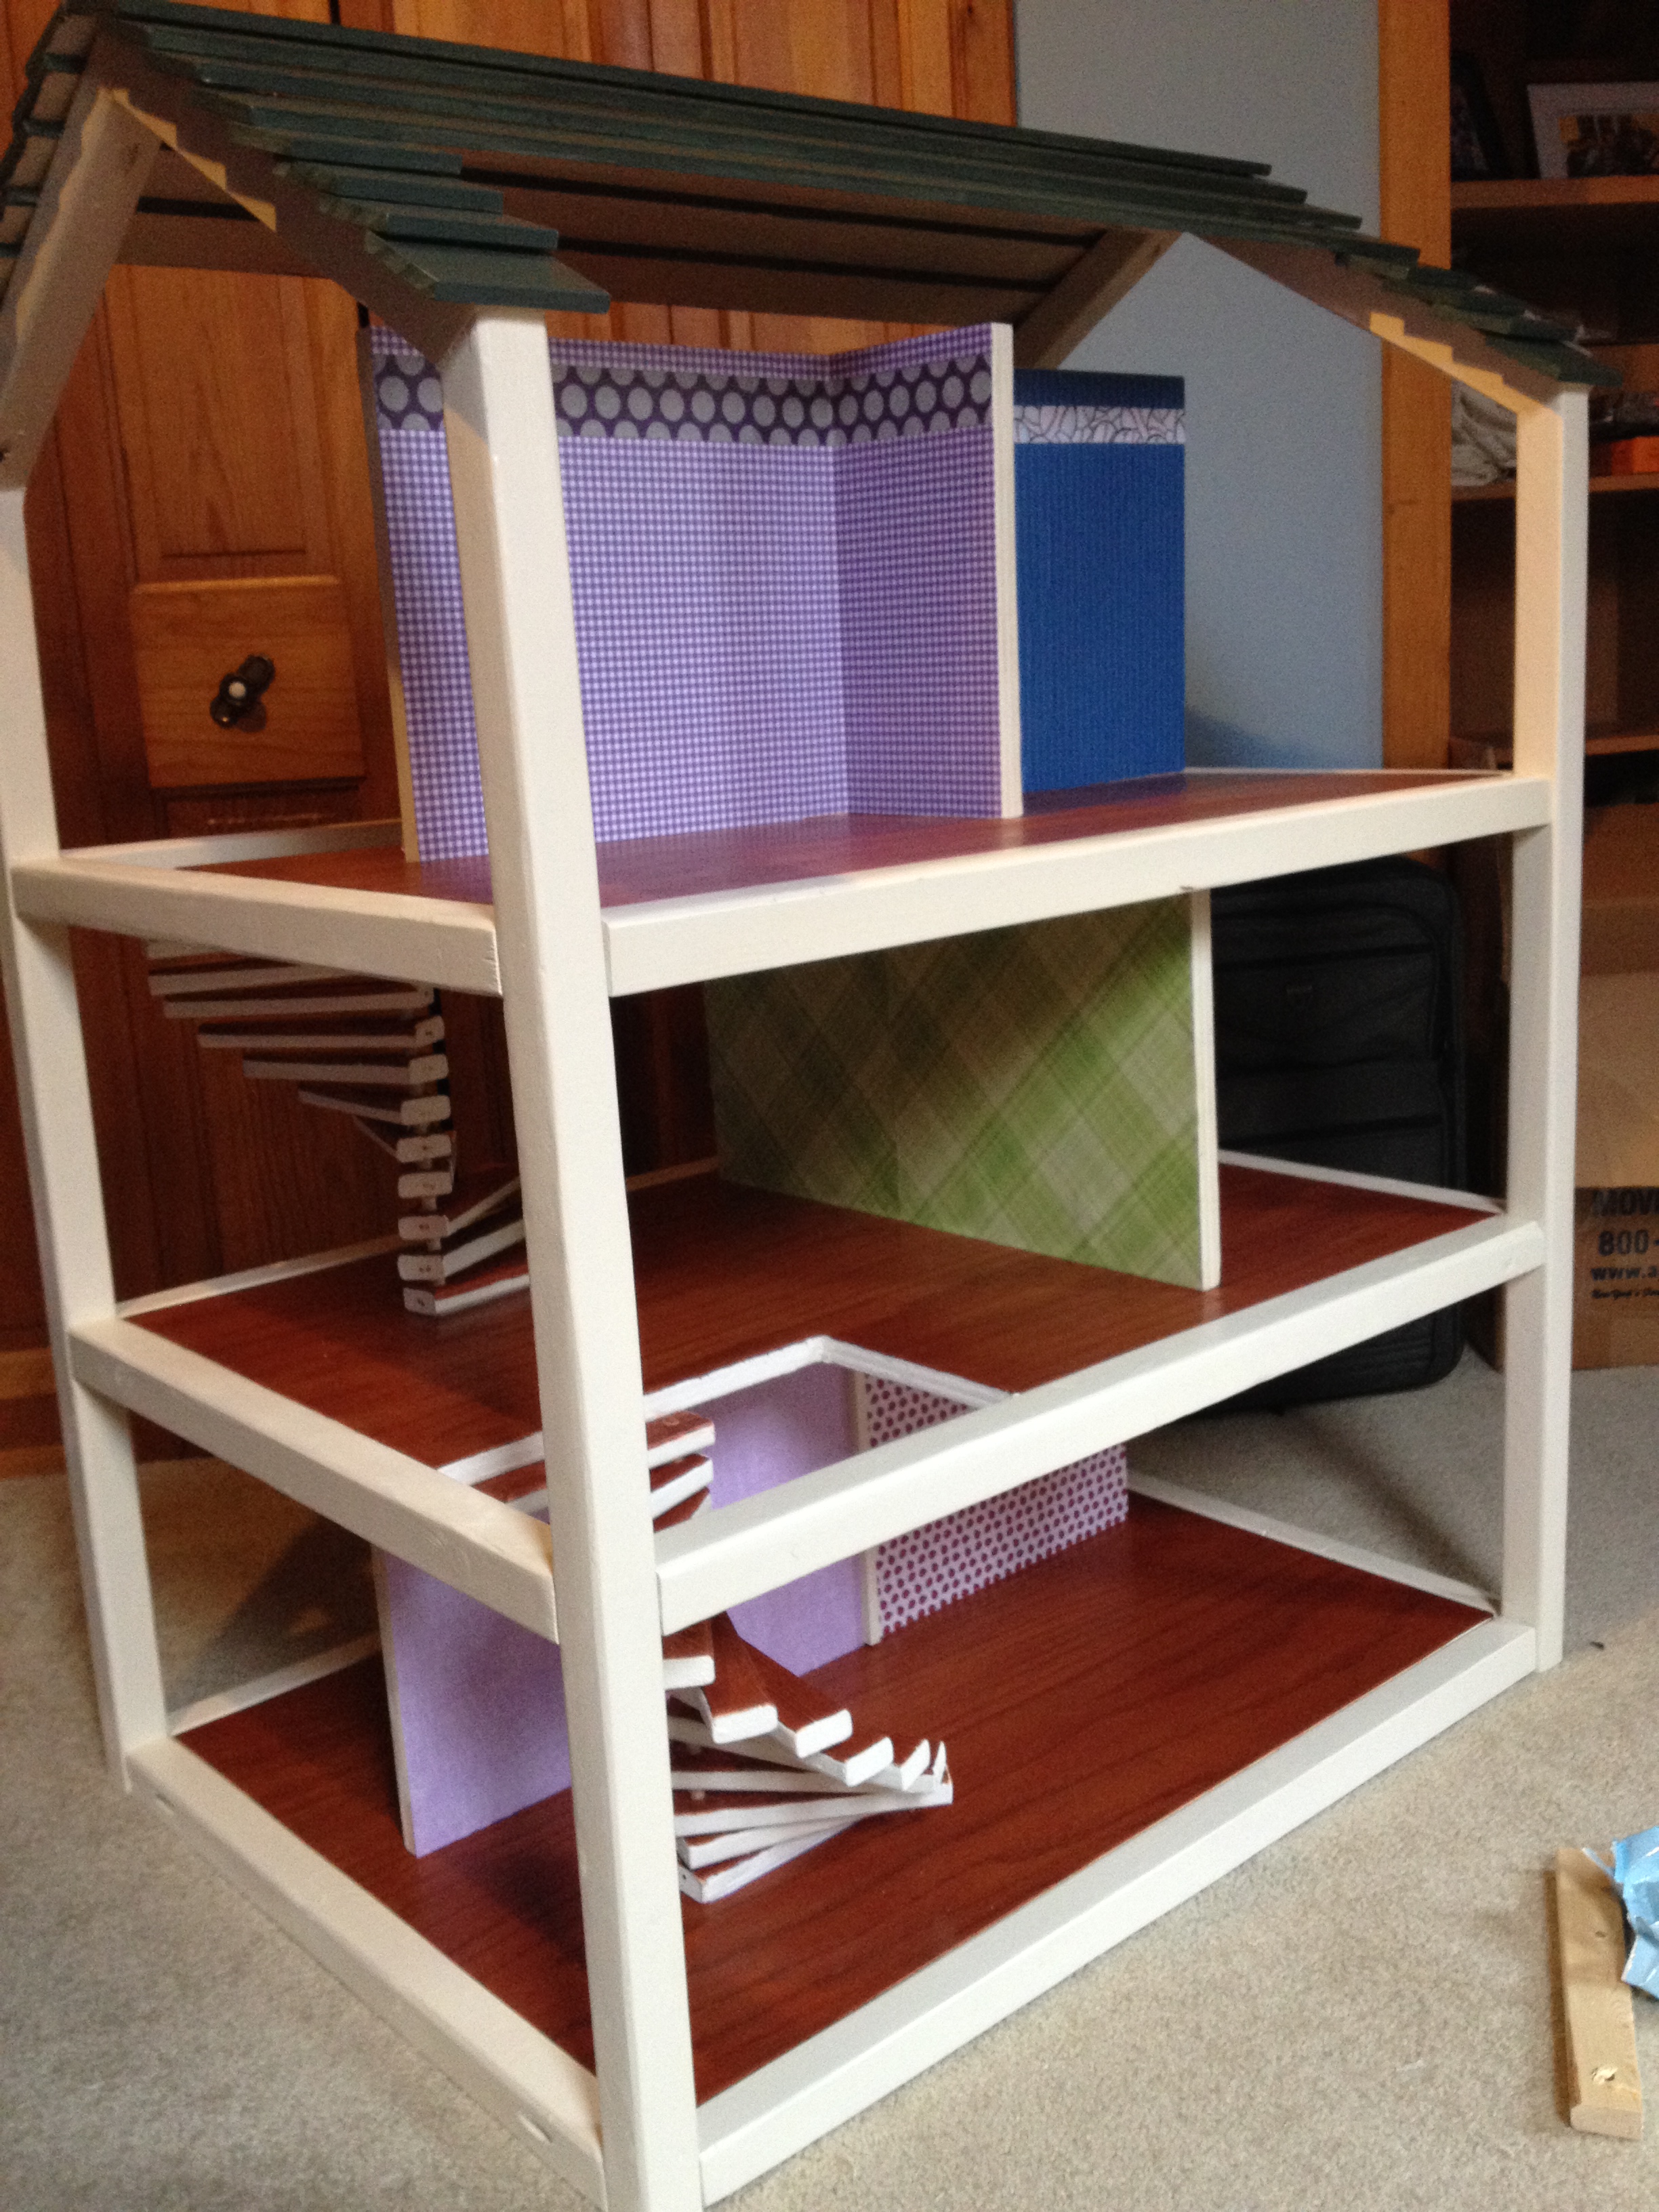
Building this dollhouse was fast and pretty easy, but finishing it was super time-consuming. It should be big enough for her dolls...and dinosaurs. LOVE how it turned out and am so excited (for Santa) to give this to our 3 year old for Christmas!!!
Thank you, Ana for the plans!

Tue, 11/12/2013 - 08:03
I followed the plans for the Dream Dollhouse. (The text in the description is the link to the actual plans) It. Is. HUGE. I'm not familiar with the American Girl dolls, but this should fit nearly anything and could be modified easily if you had to make it bigger or only 2 stories.
Tue, 11/12/2013 - 09:41
Great job! This is also on my list of to dos for Christmas. I'm sure your little one will love it for years to come. :) The spiral staircase was a great idea and makes this so unique.
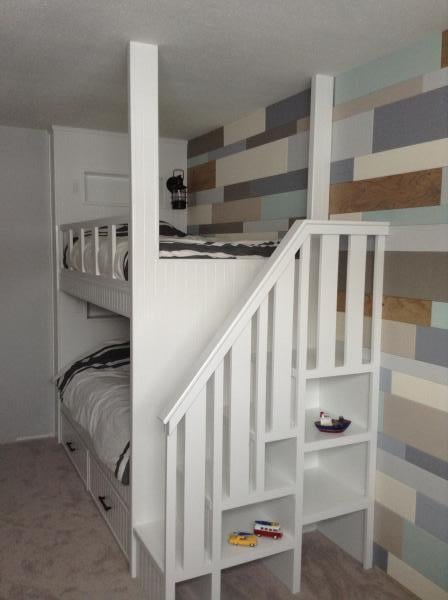
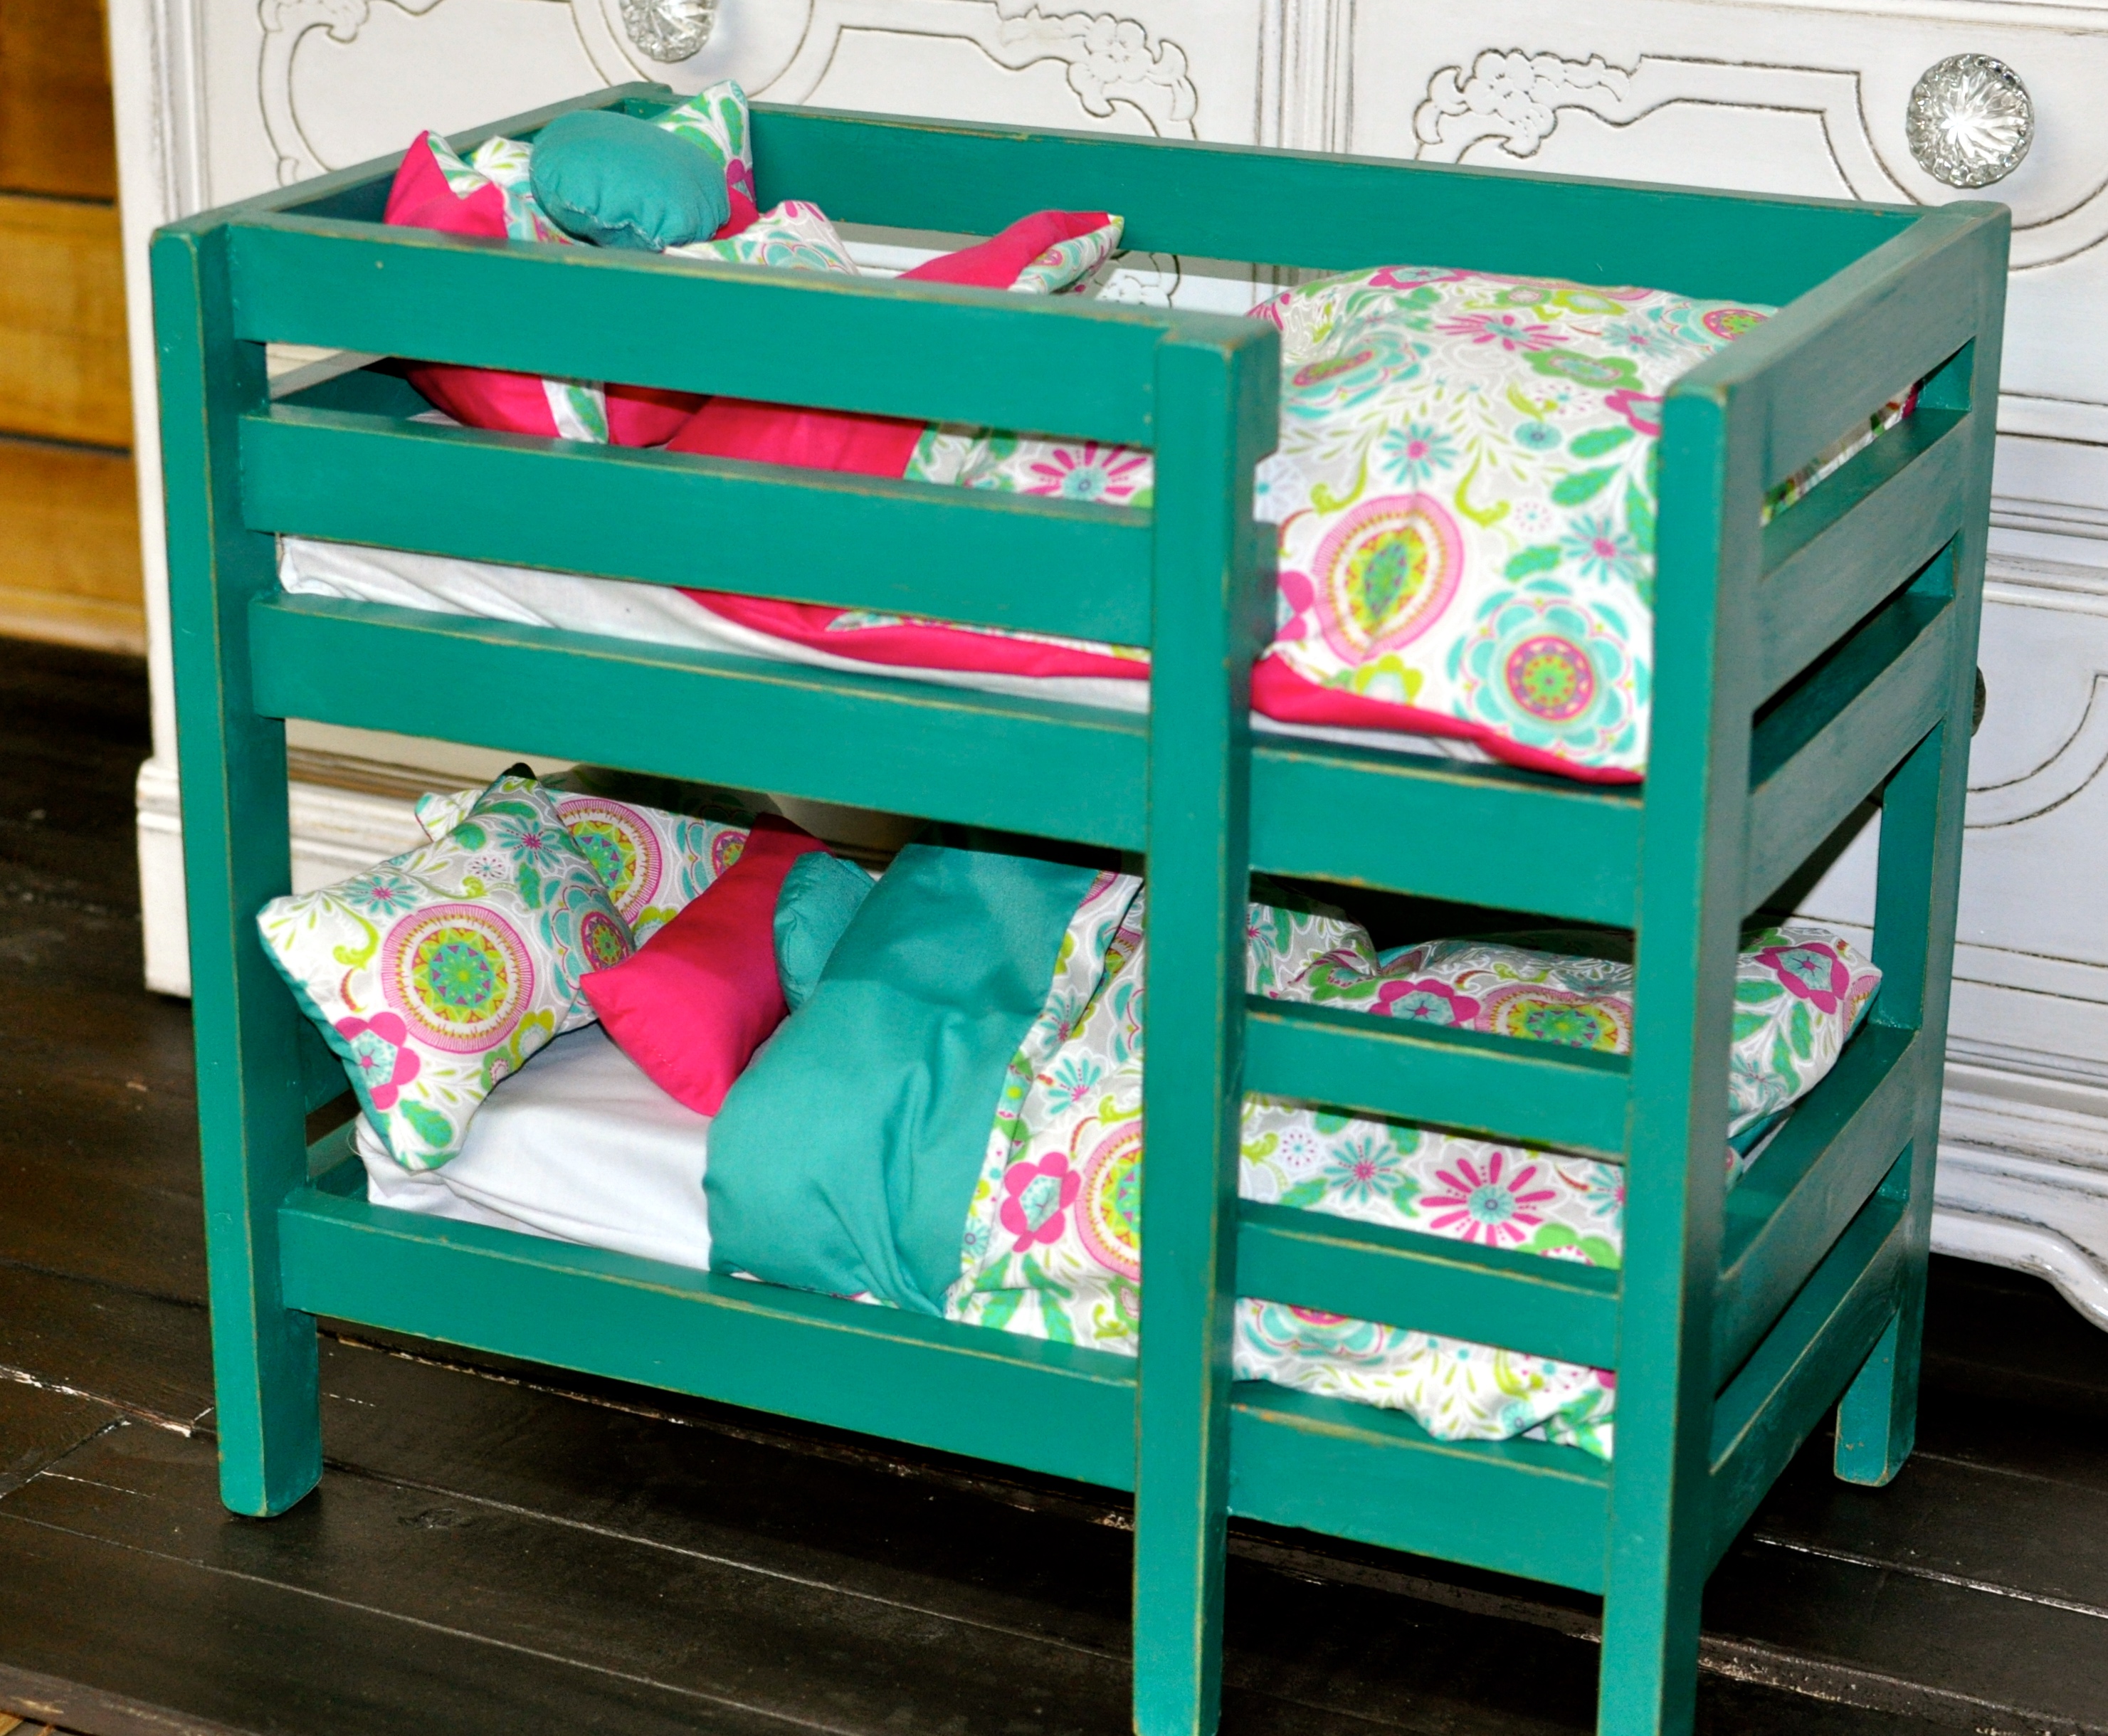
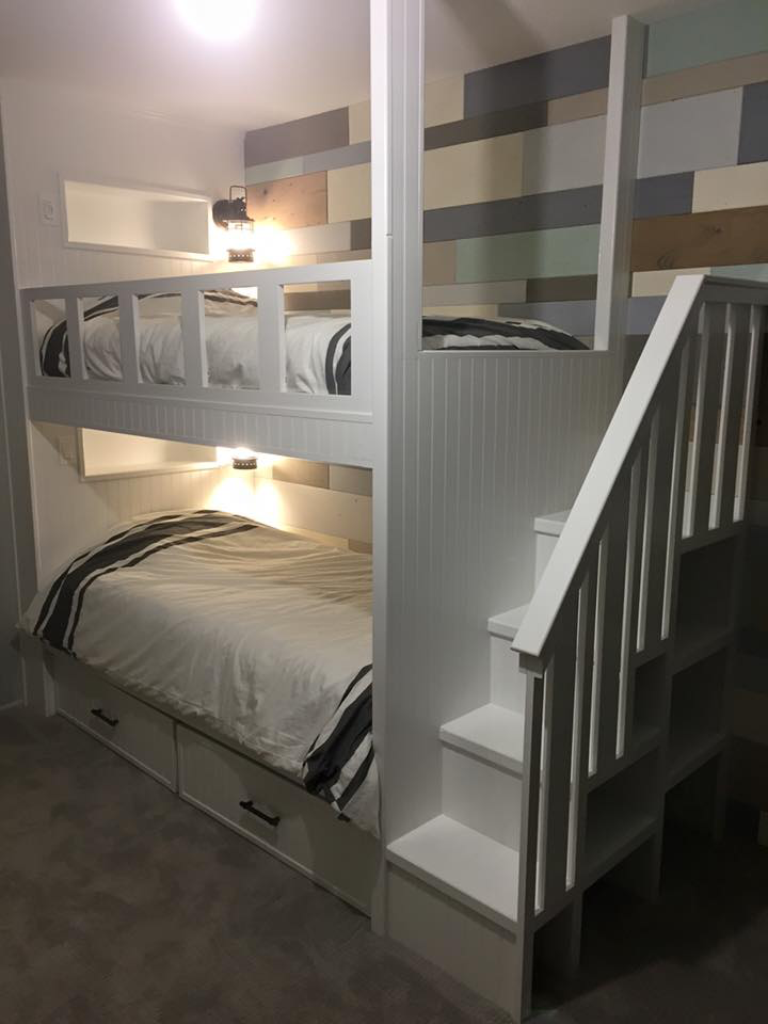
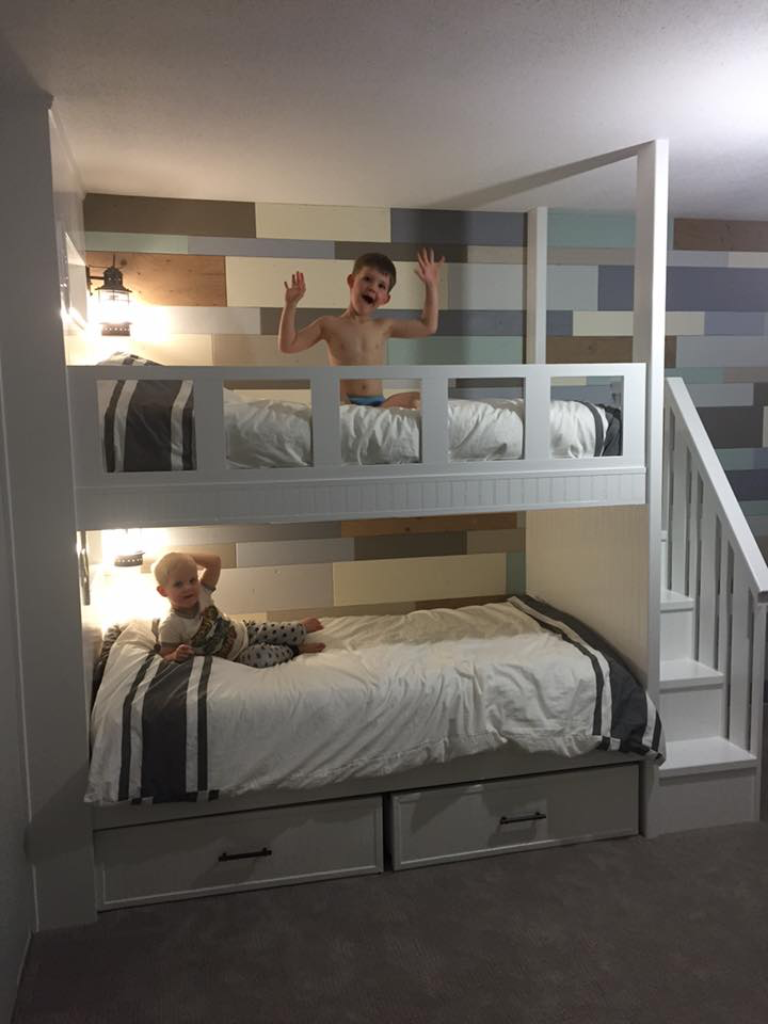
Built this bunk bed for my two boys. Used the sweet pea storage stairs plan as a starting point and altered things from there to suit. The wall is just 3/8 plywood cut into planks and painted various colours.

made from rough cut ash, Very Interesting project

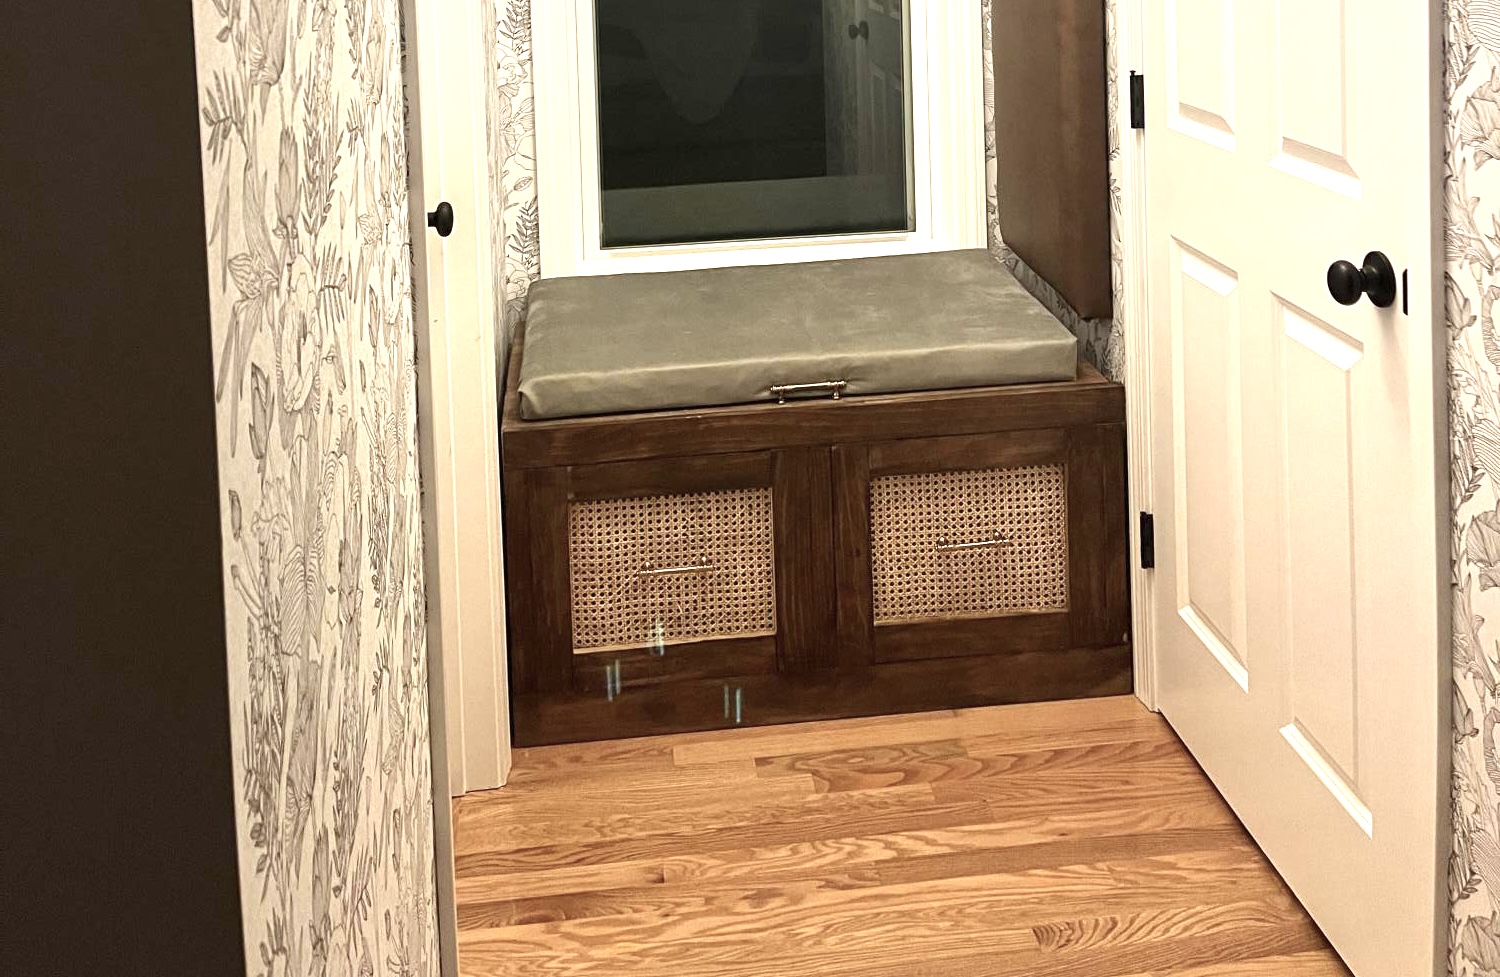
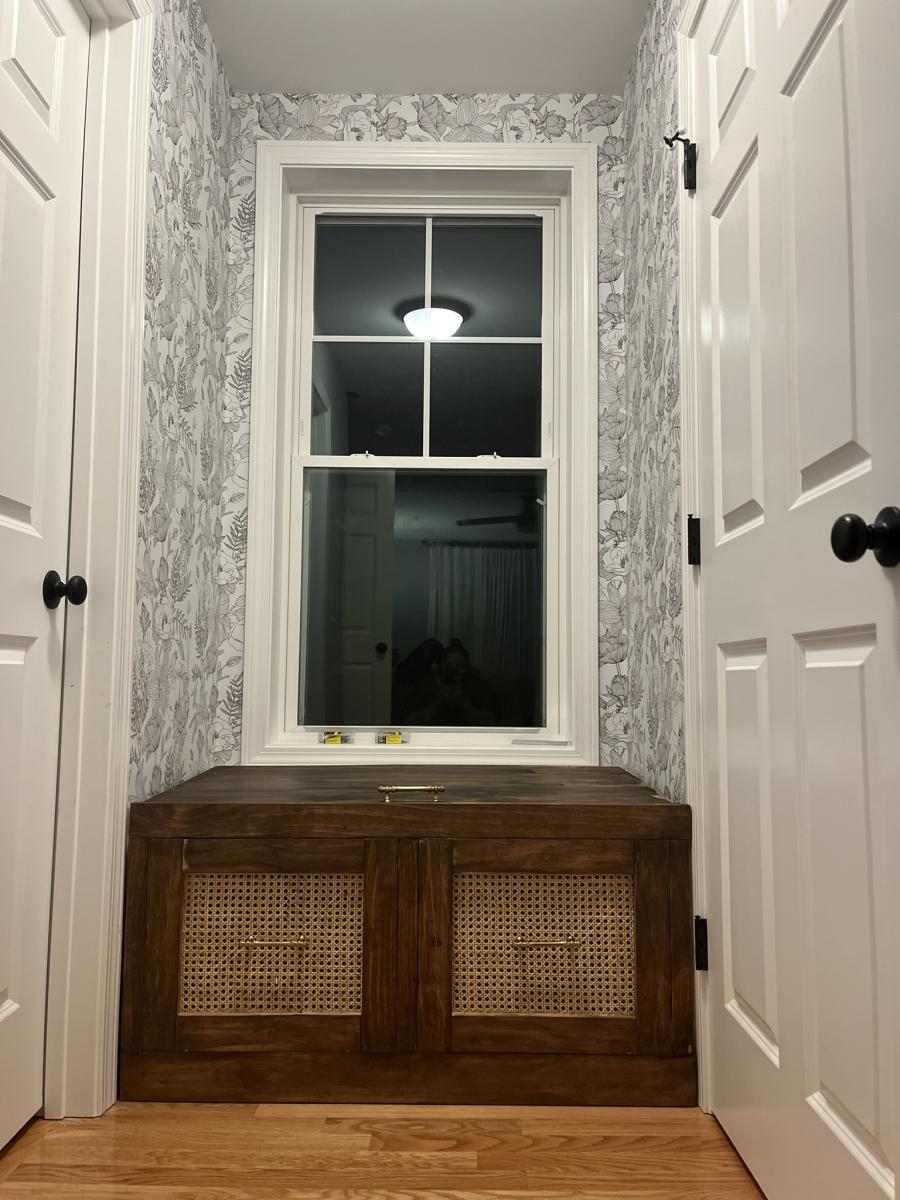
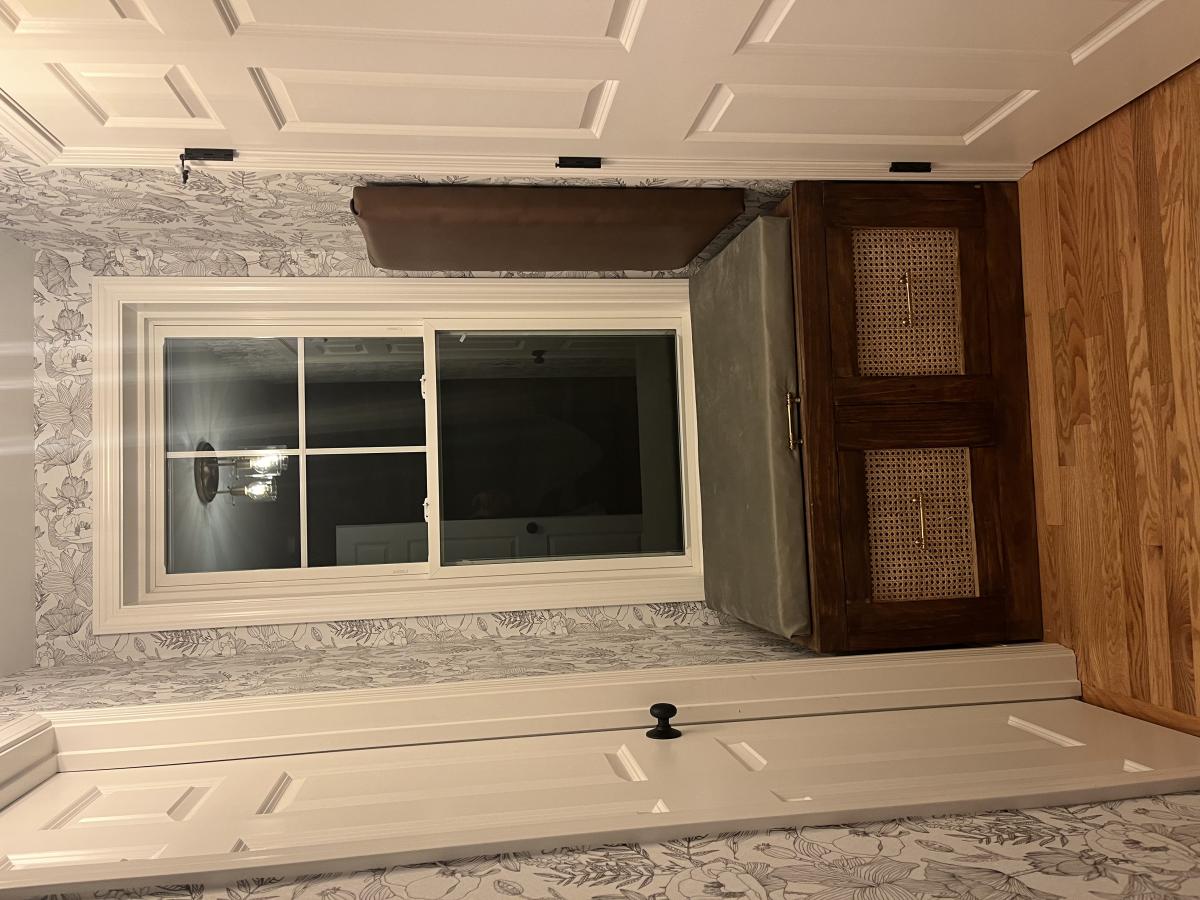
We started with the bench seating plans and adjusted them to fit our dimensions. added wallpaper, changed the lighting, and a couple cushions later... We have a totally transformed window seat! Loved doing this project!
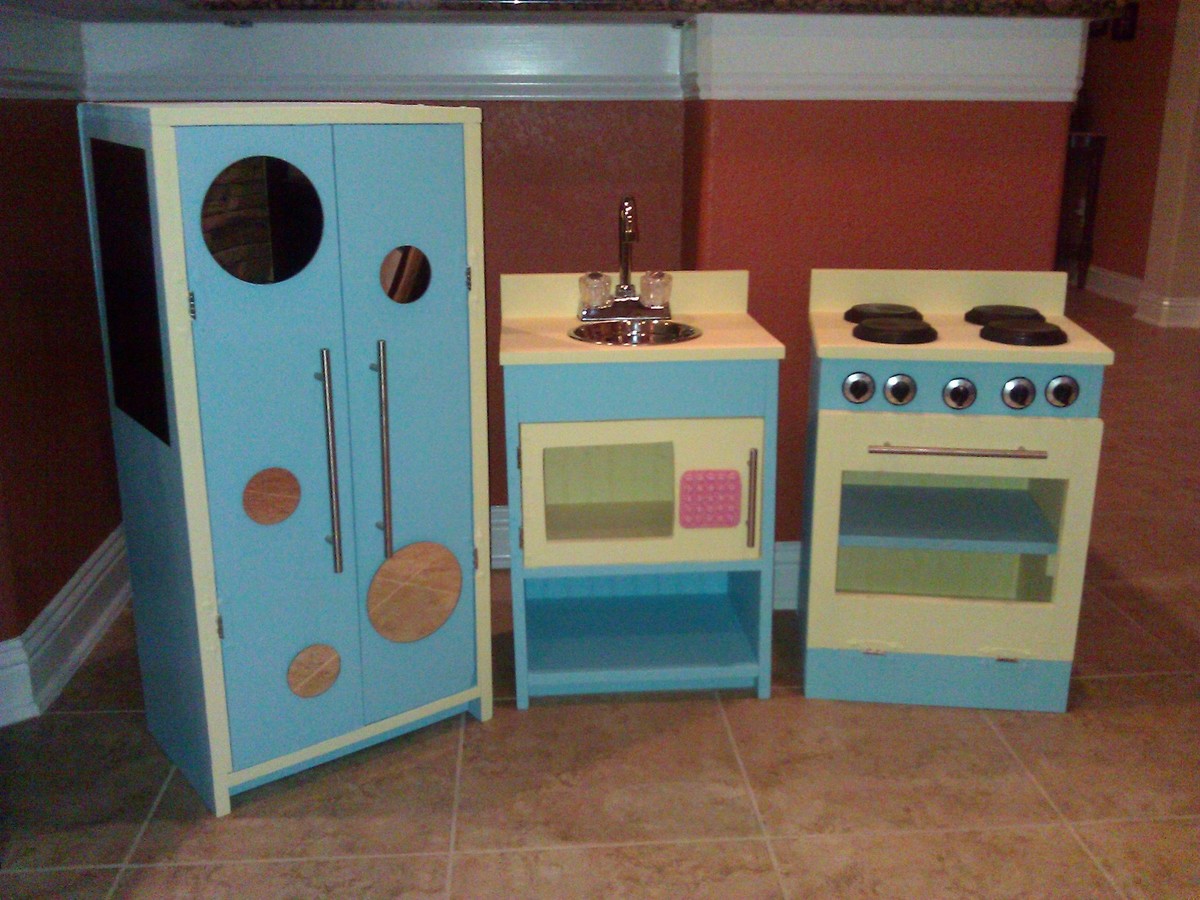
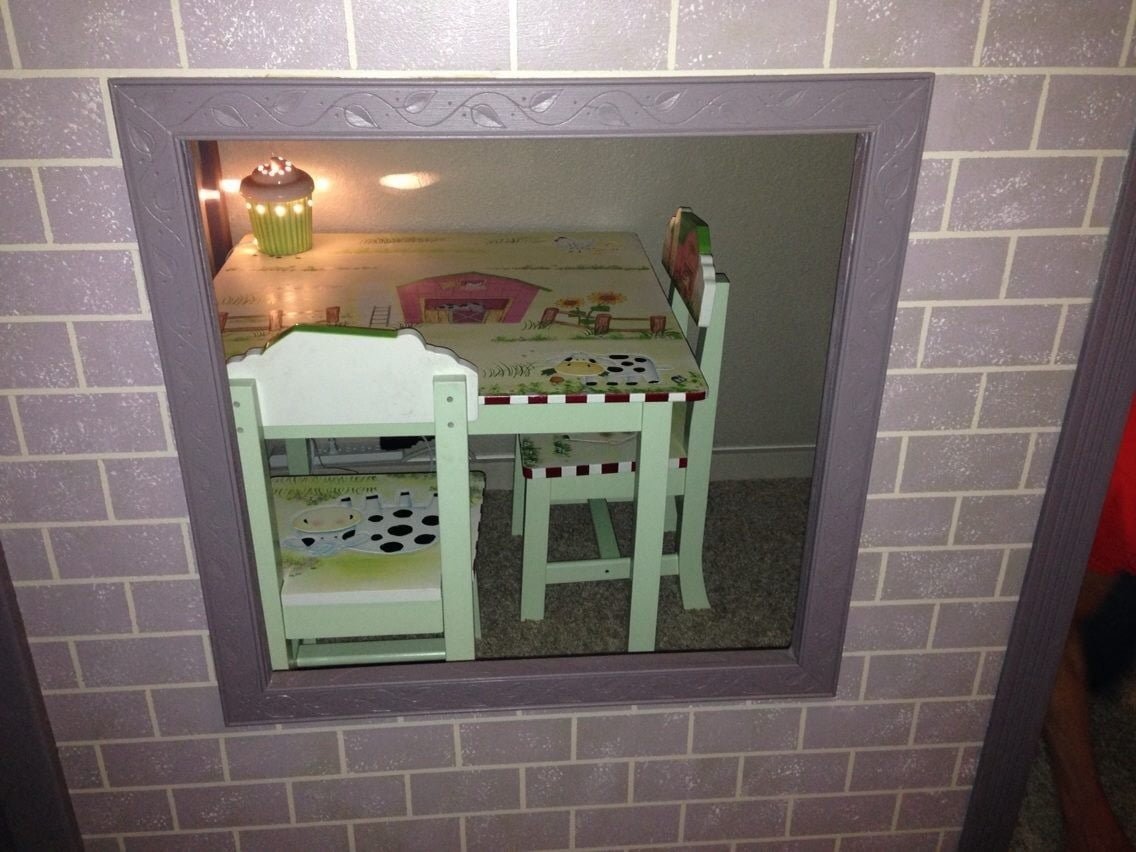
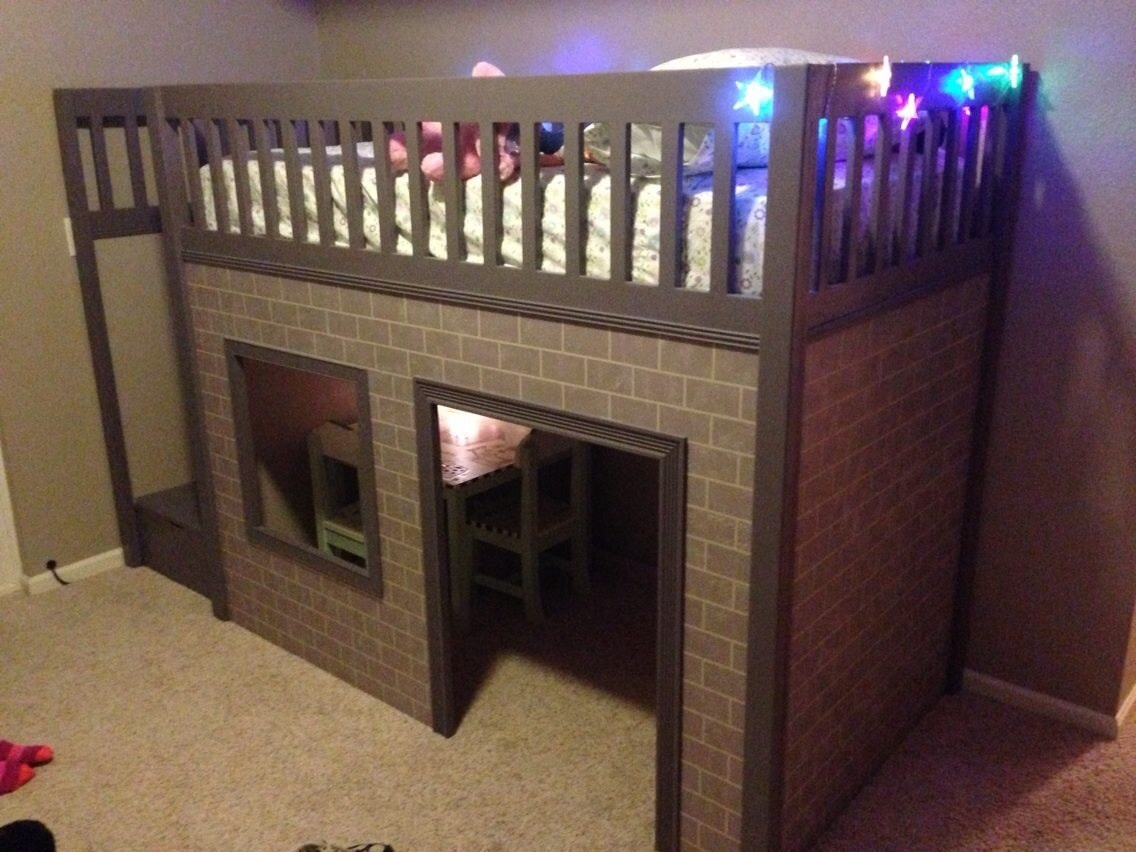
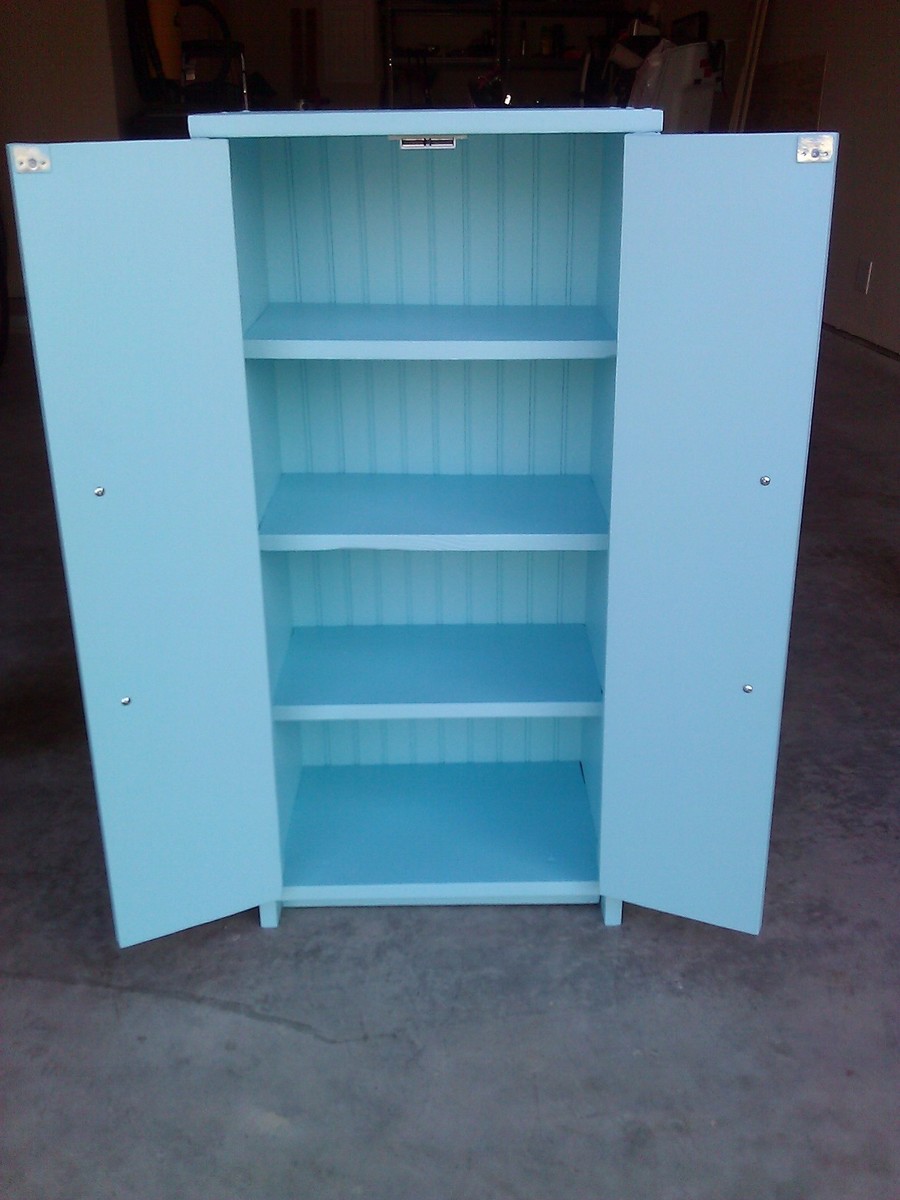
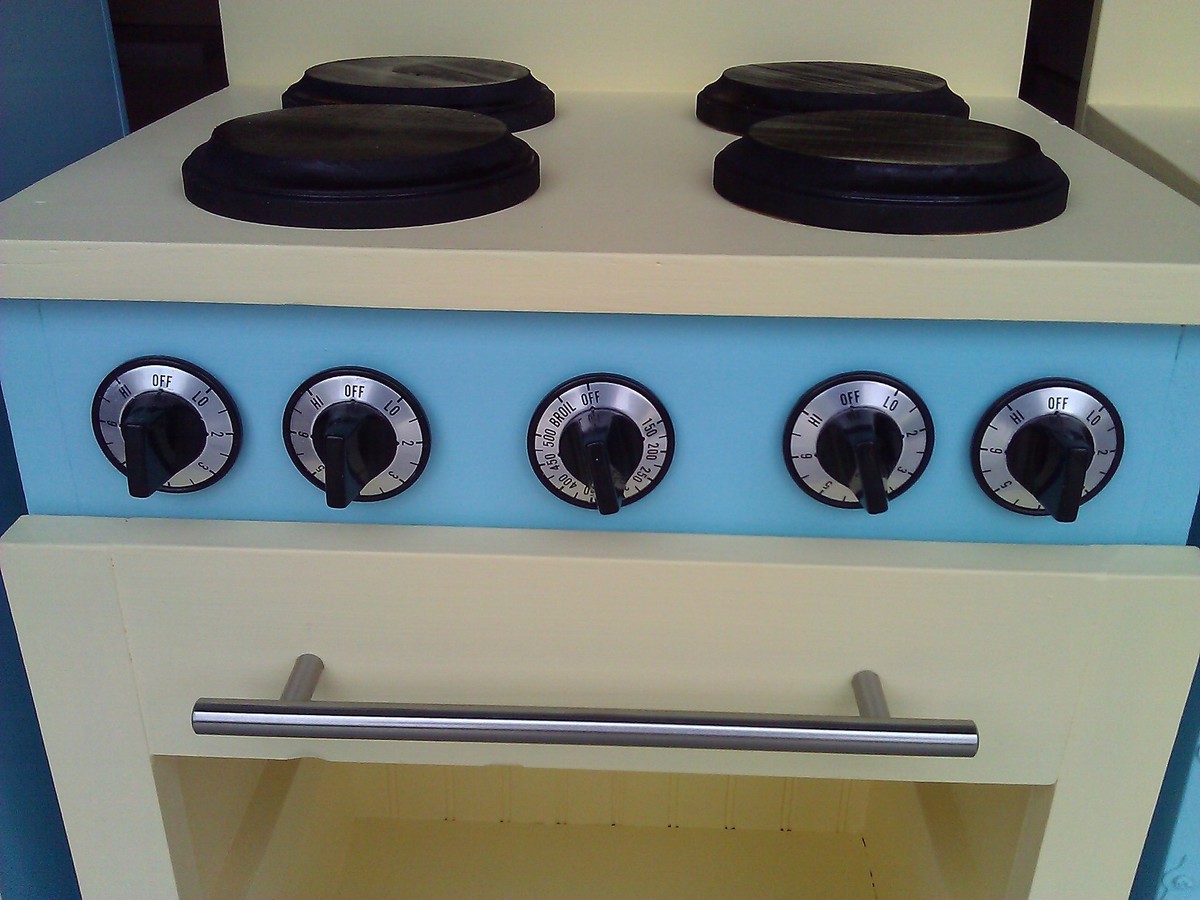
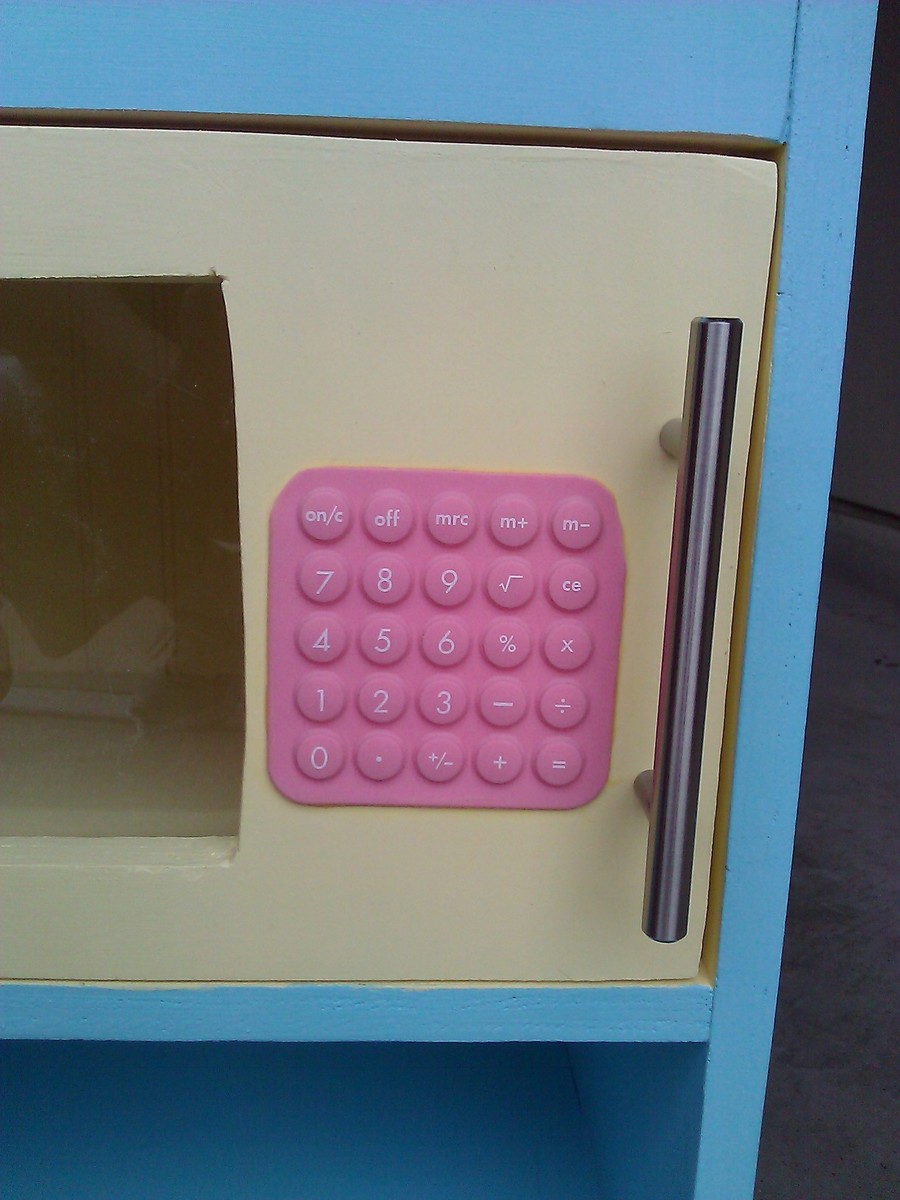
This was my first wood working project, and I made all the cuts myself (I'm pretty proud of myself!!). I only had a cordless drill when I started this project. Through good sales and craigslist, I ended up with a circular saw, a jigsaw, and an orbital sander to complete this project, plus I built myself a really nice large workbench so I had somewhere to work! It turned out very well, and my girls love it. I made some modifications by making the sink and stove 22" tall instead of 20" tall to better accommodate my 5.5 year old while allowing my 22 month old to be able to play too. Instead of putting a curtain on the front of the sink, I turned the upper shelf area into a microwave by lowering the shelf some to make the area larger, and added a flexible rubber calculator as the microwave keypad. This is my 5 year old's favorite part of the kitchen!

Tue, 12/27/2011 - 07:19
Your microwave is really clever! What a beautiful kitchen set. Way to go!
Sun, 01/01/2012 - 07:17
Absolutely adorable!! I made one too. Hopefully I will post mine later on today. How did you attach your knobs? Do they turn?
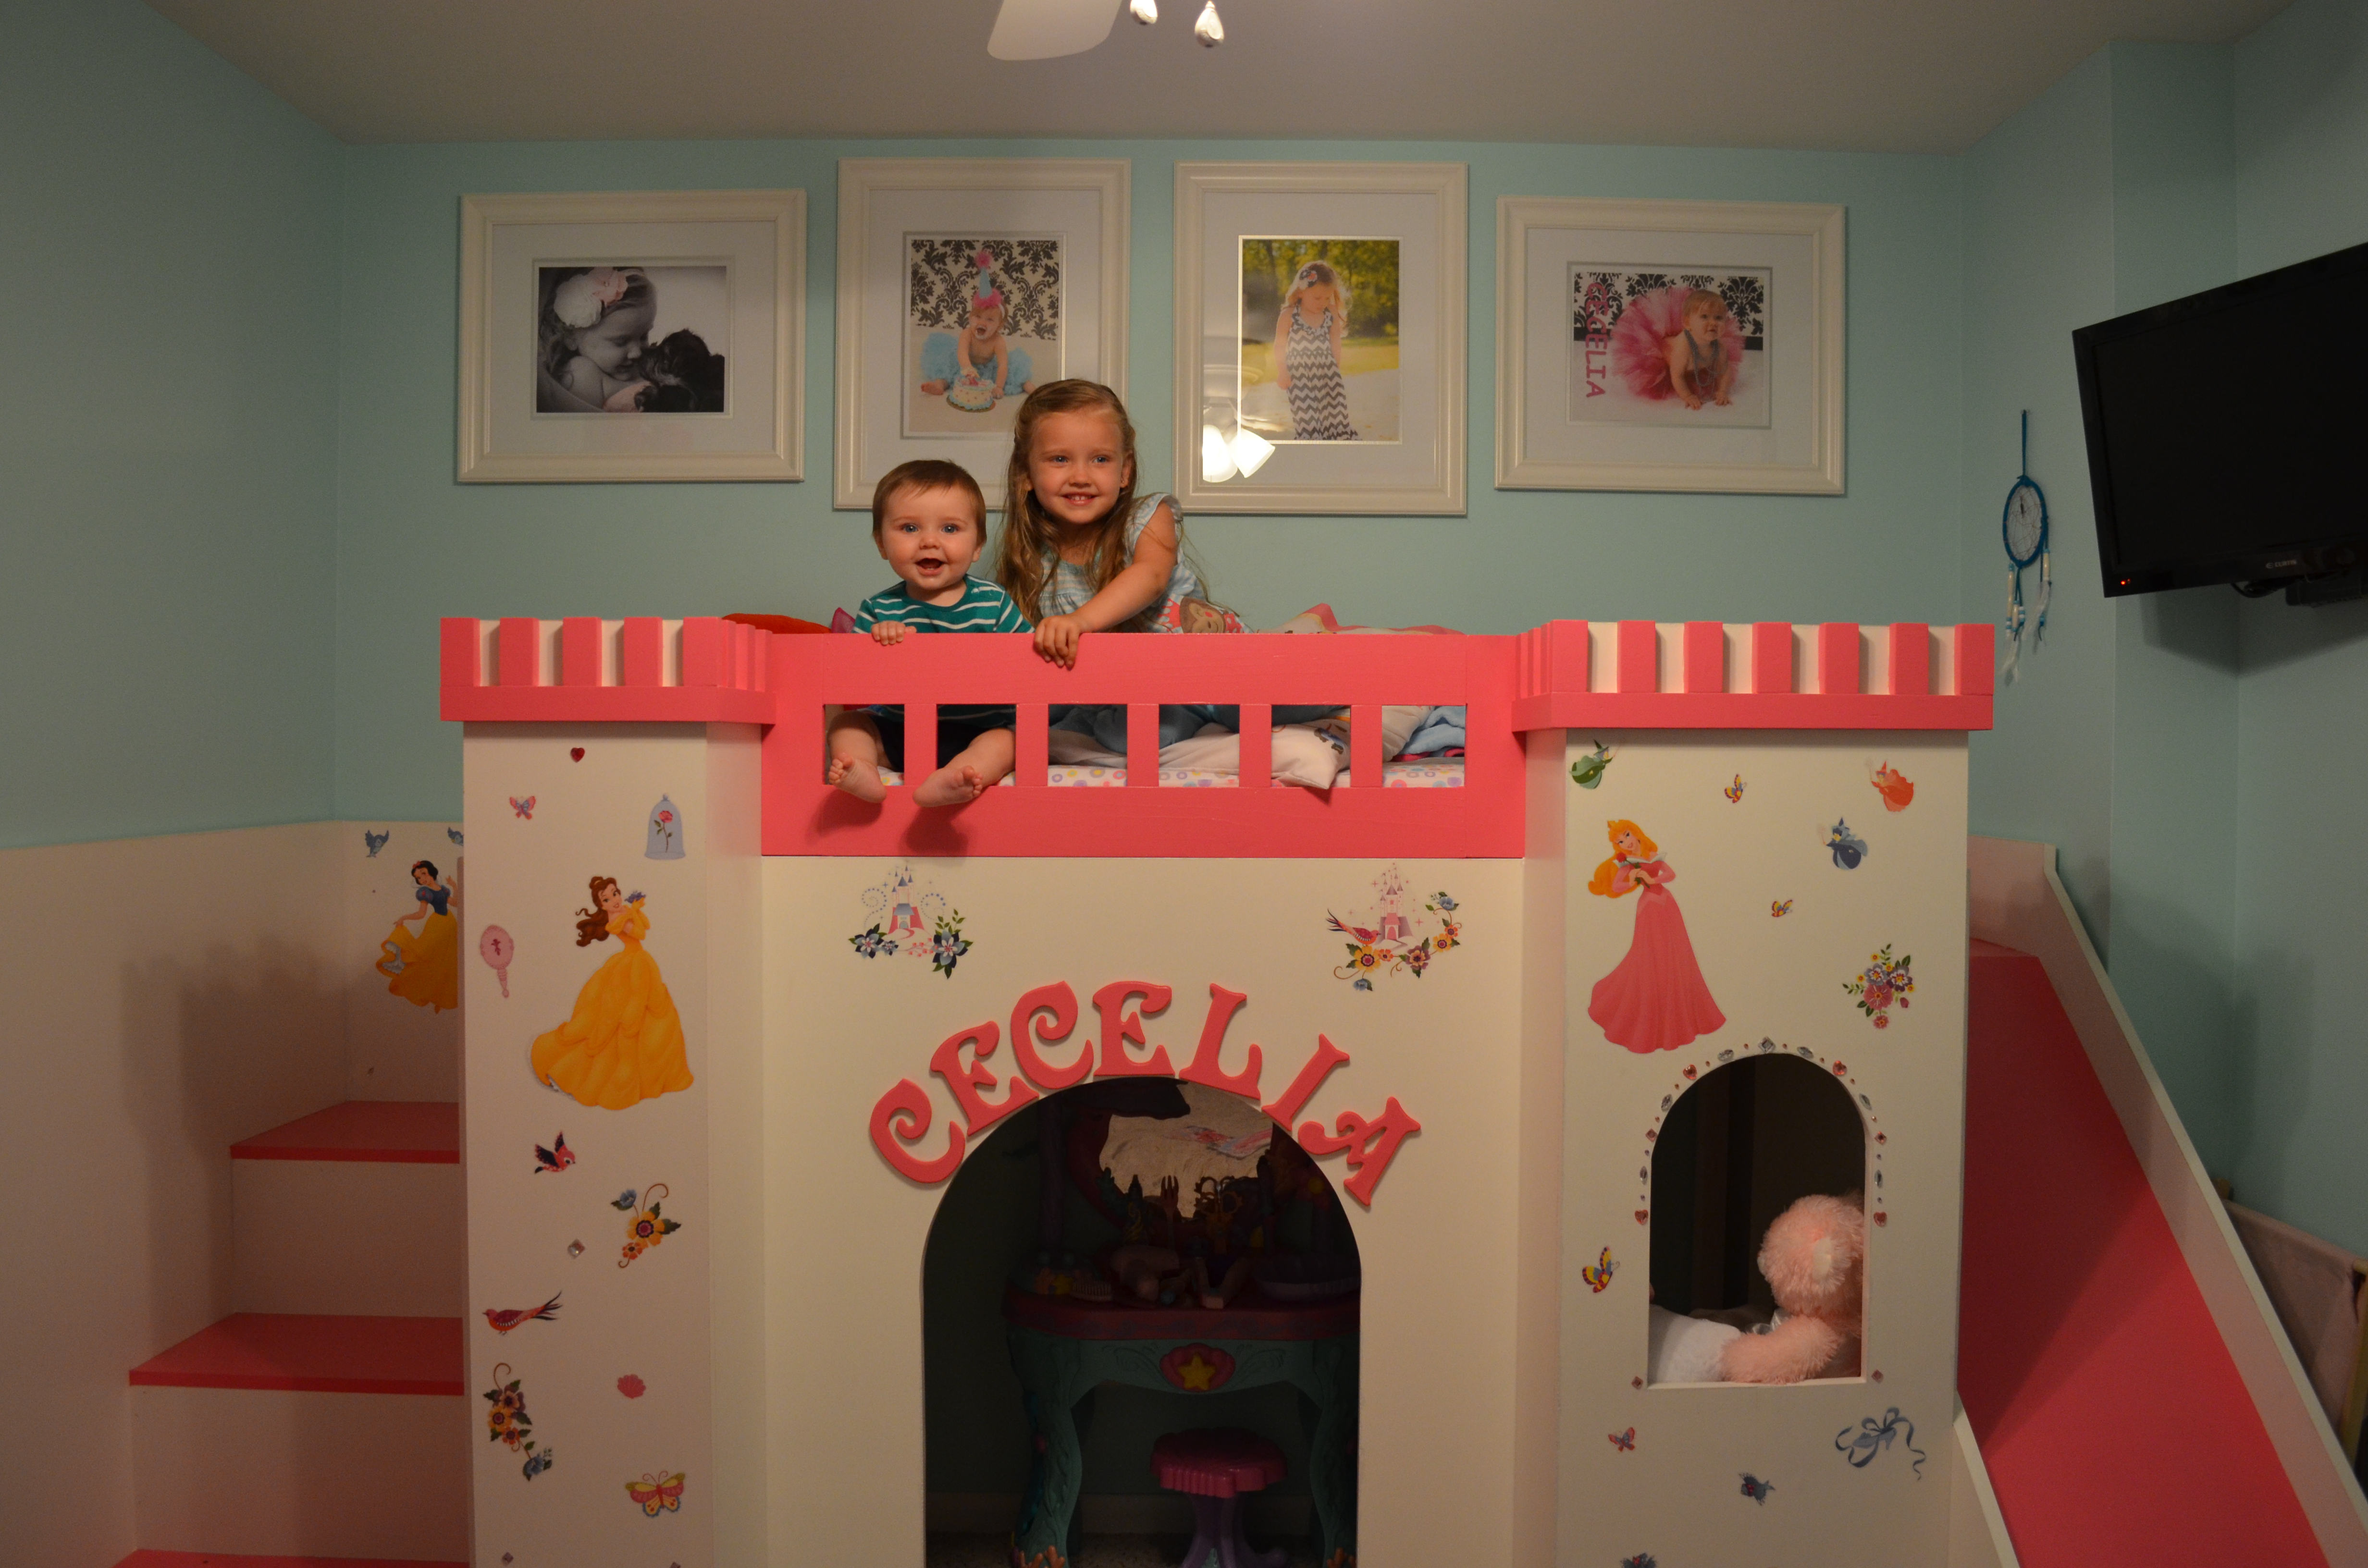
We had to modify the plans by a few inches to fit the space and we changed some other details to make it look more like a castle. But it came out awesome and our daughter loves it!
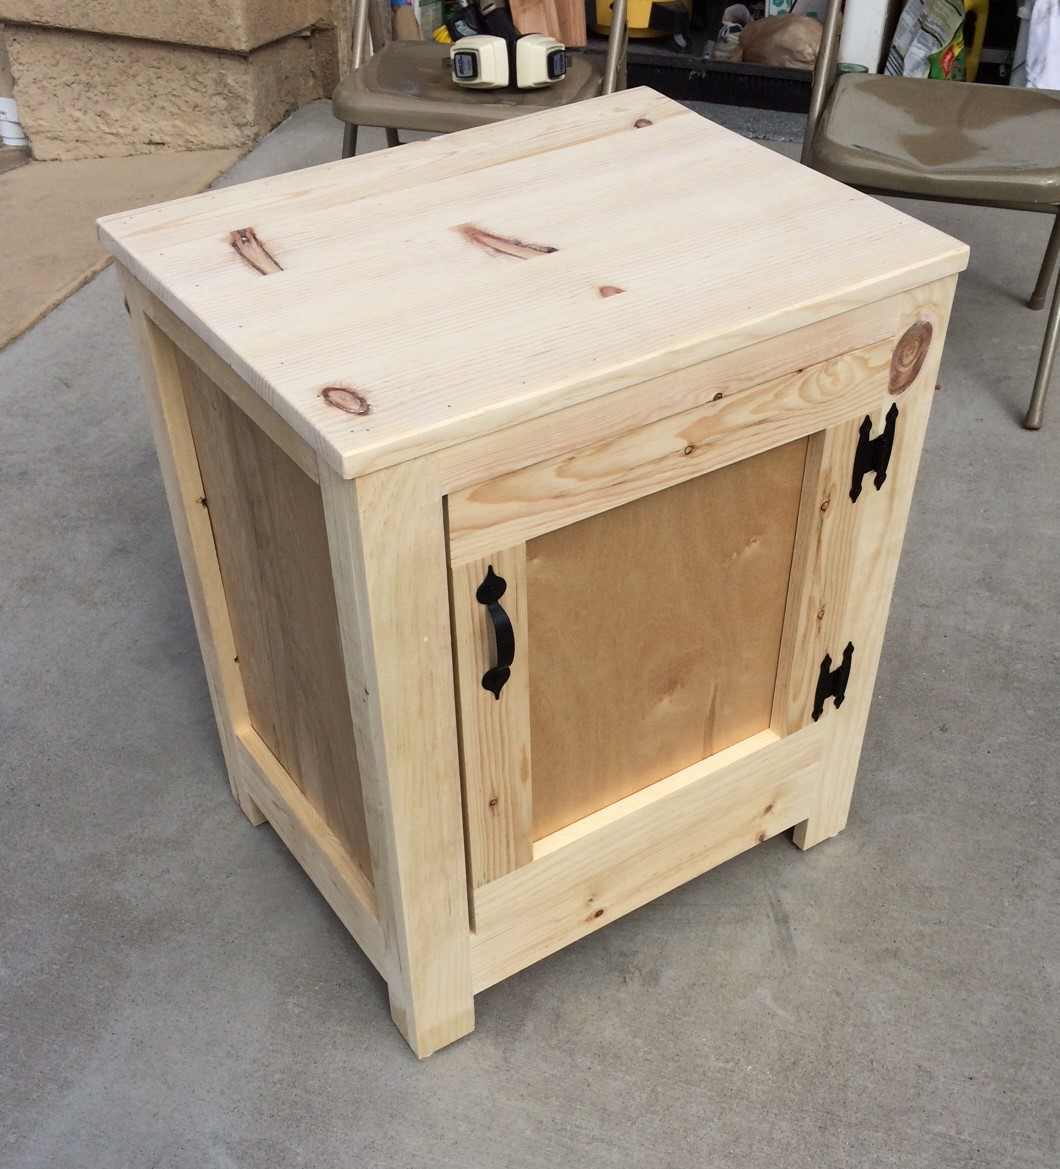
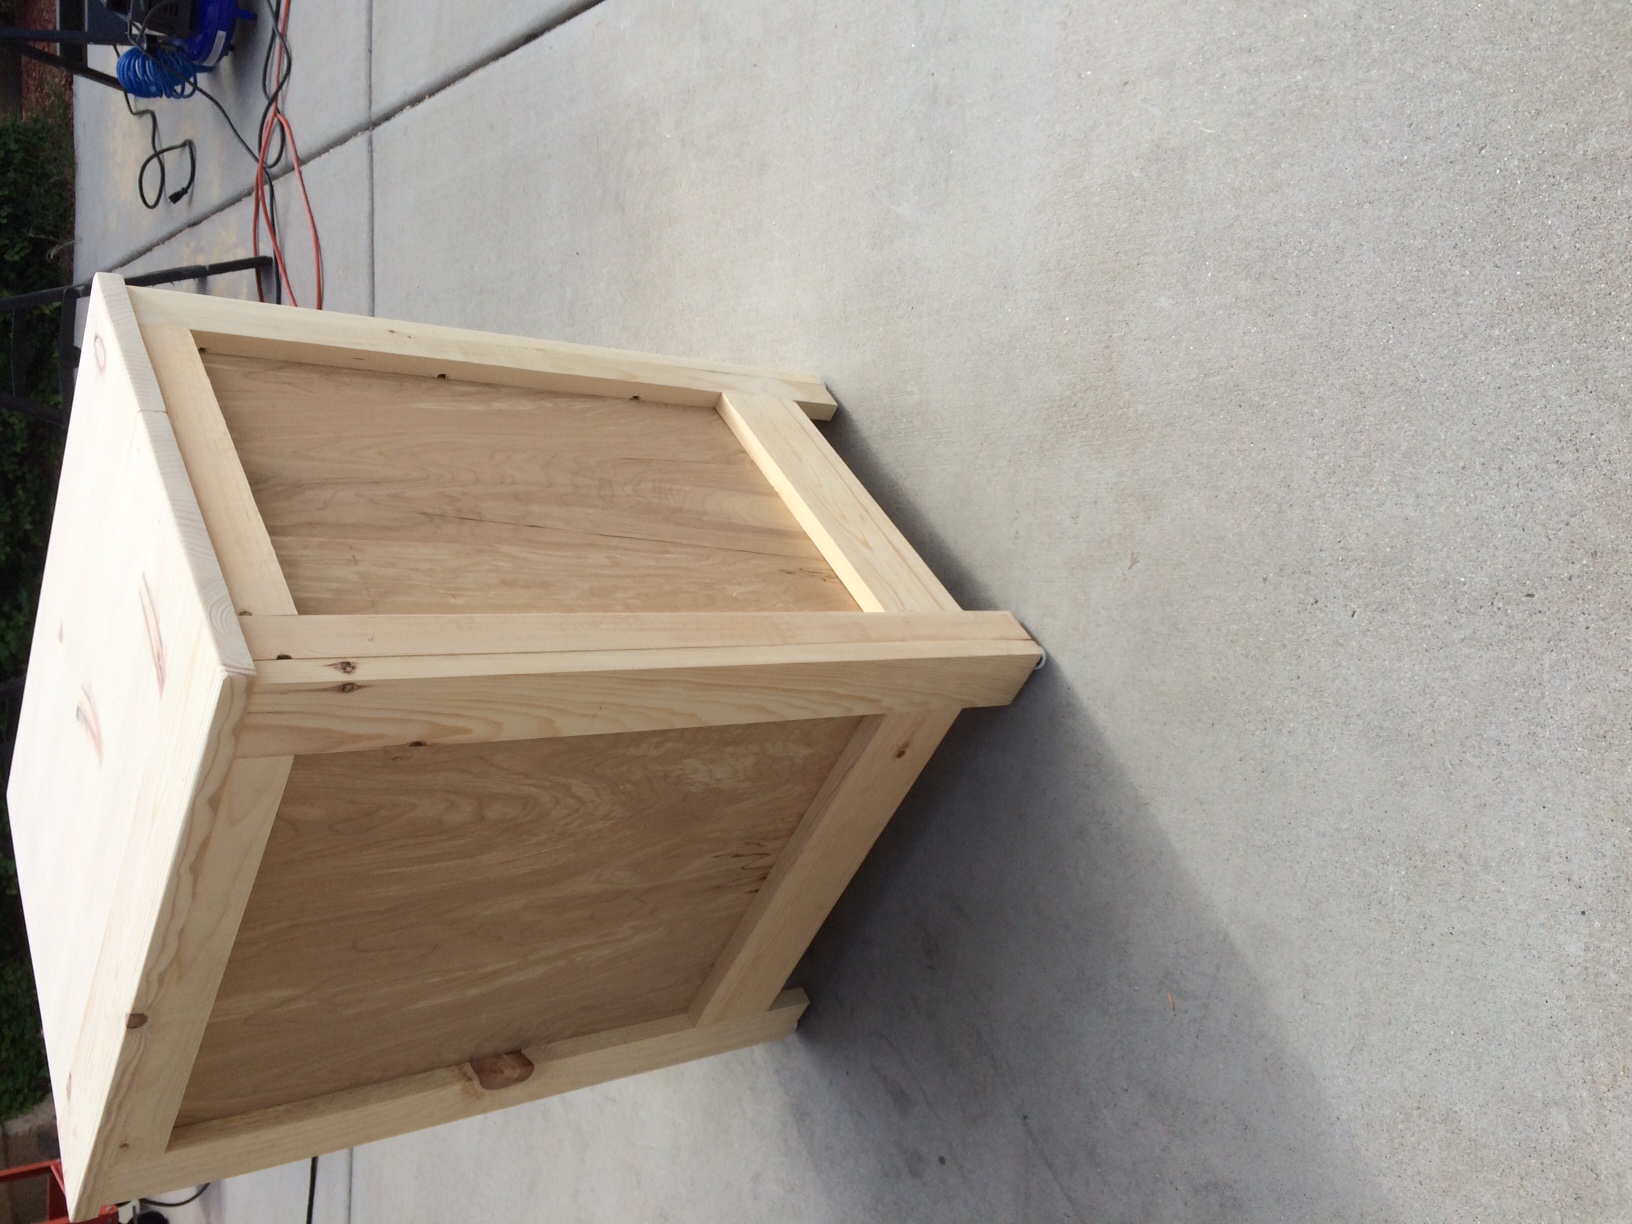
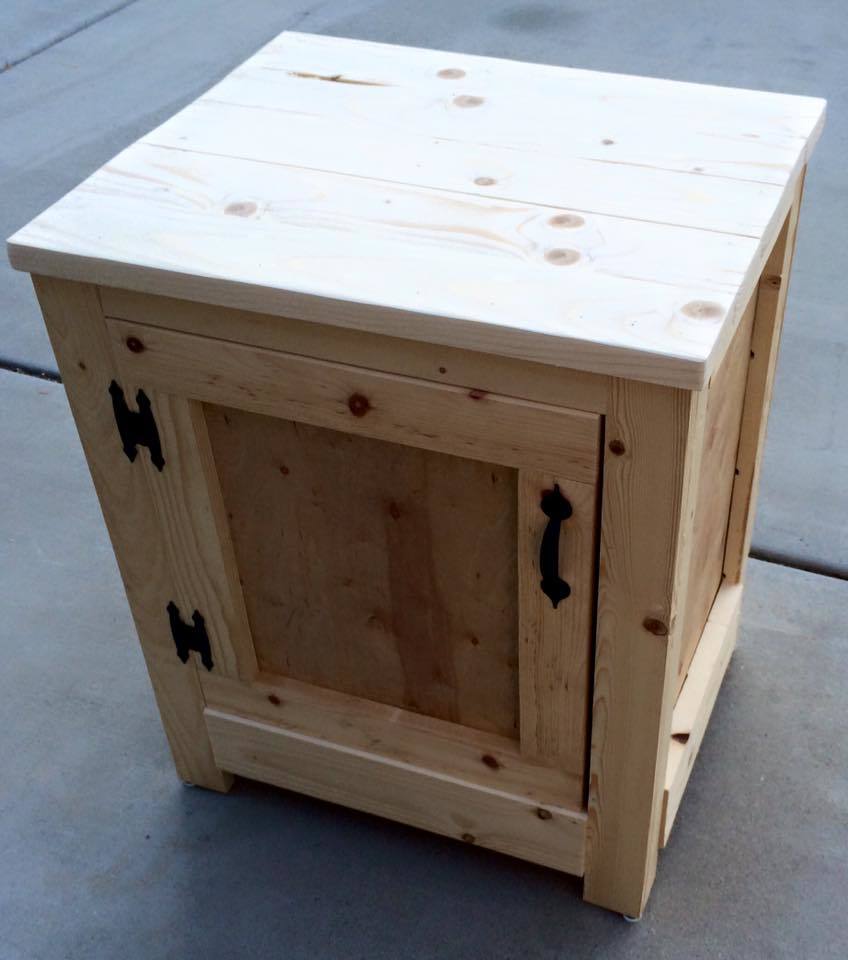
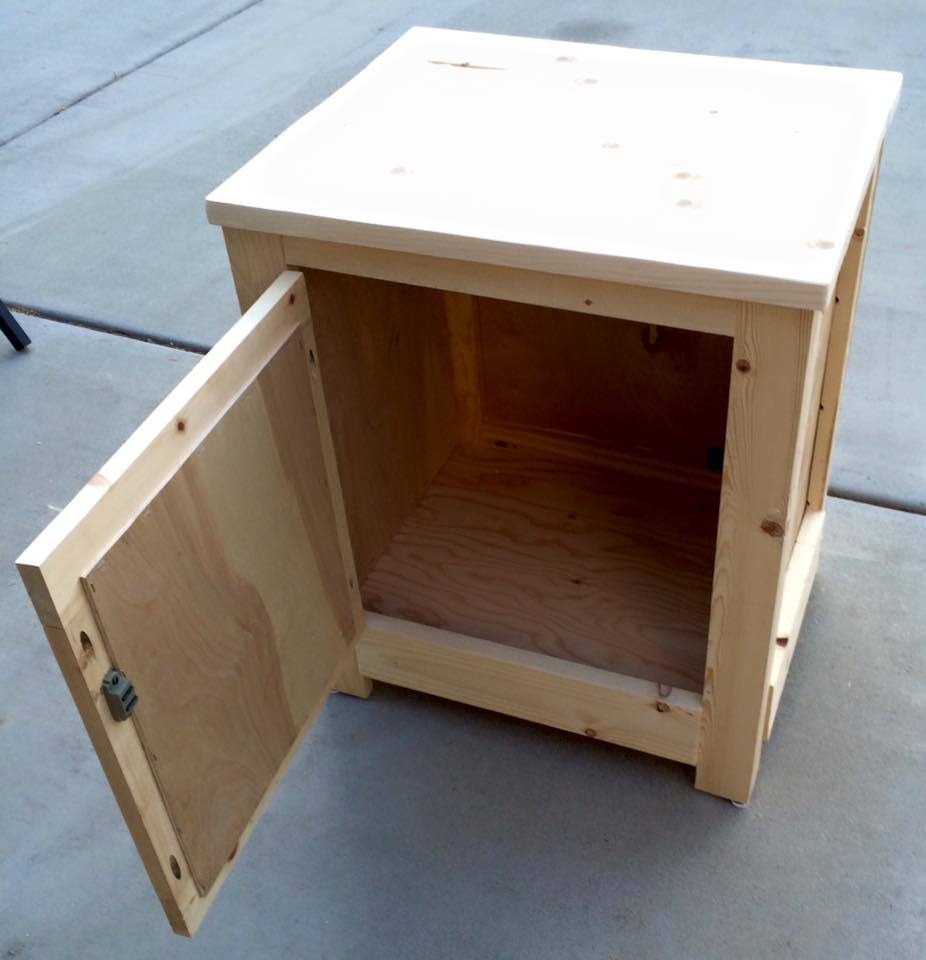
Helped my friend make these cute night stands over two weekends (one Saturday each)
A few tips: Make sure the wood is the same size (* 1 inch)
Using the Kreg Jig, we attached all the sides together using 1 inch screws
The second one turned out better from the first...I guess we learned a few things!
Thanks Ana White! You rock!!


Comments
Ana White Admin
Sat, 03/25/2023 - 09:23
Cool hangout!
Beautiful set up and very inviting, love it!
Ana White Admin
Sat, 03/25/2023 - 09:23
Cool hangout!
Beautiful set up and very inviting, love it!