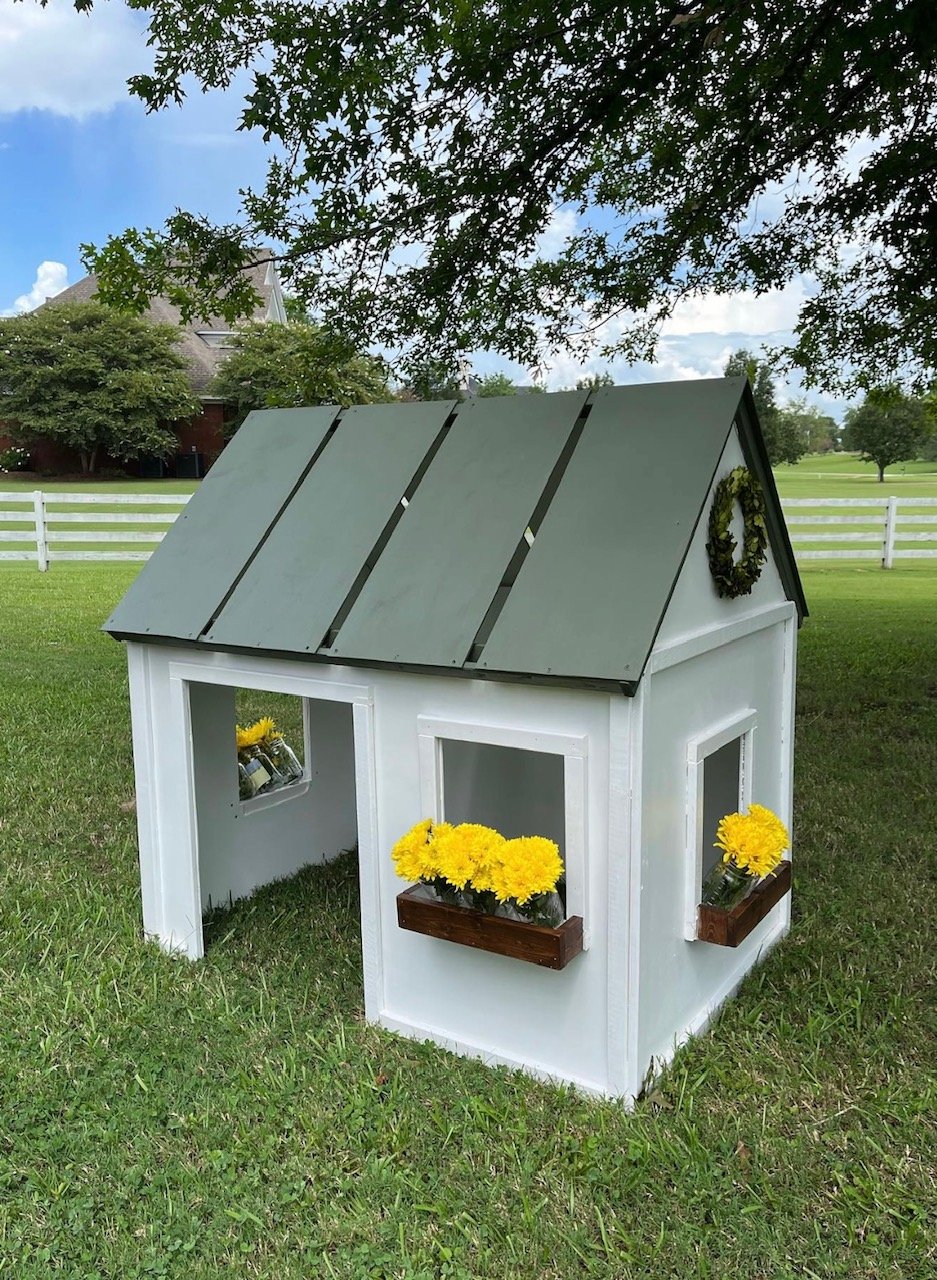
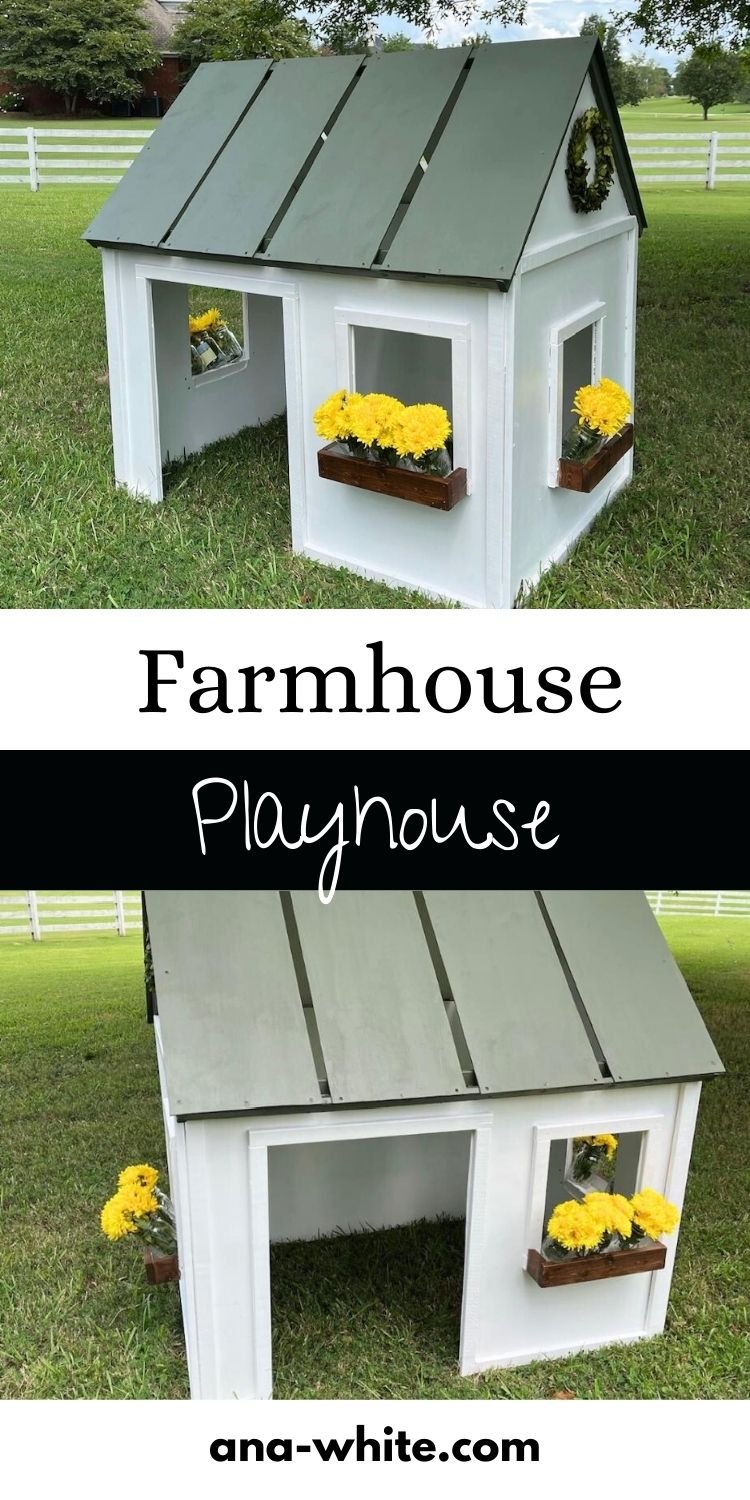
Farmhouse Playhouse
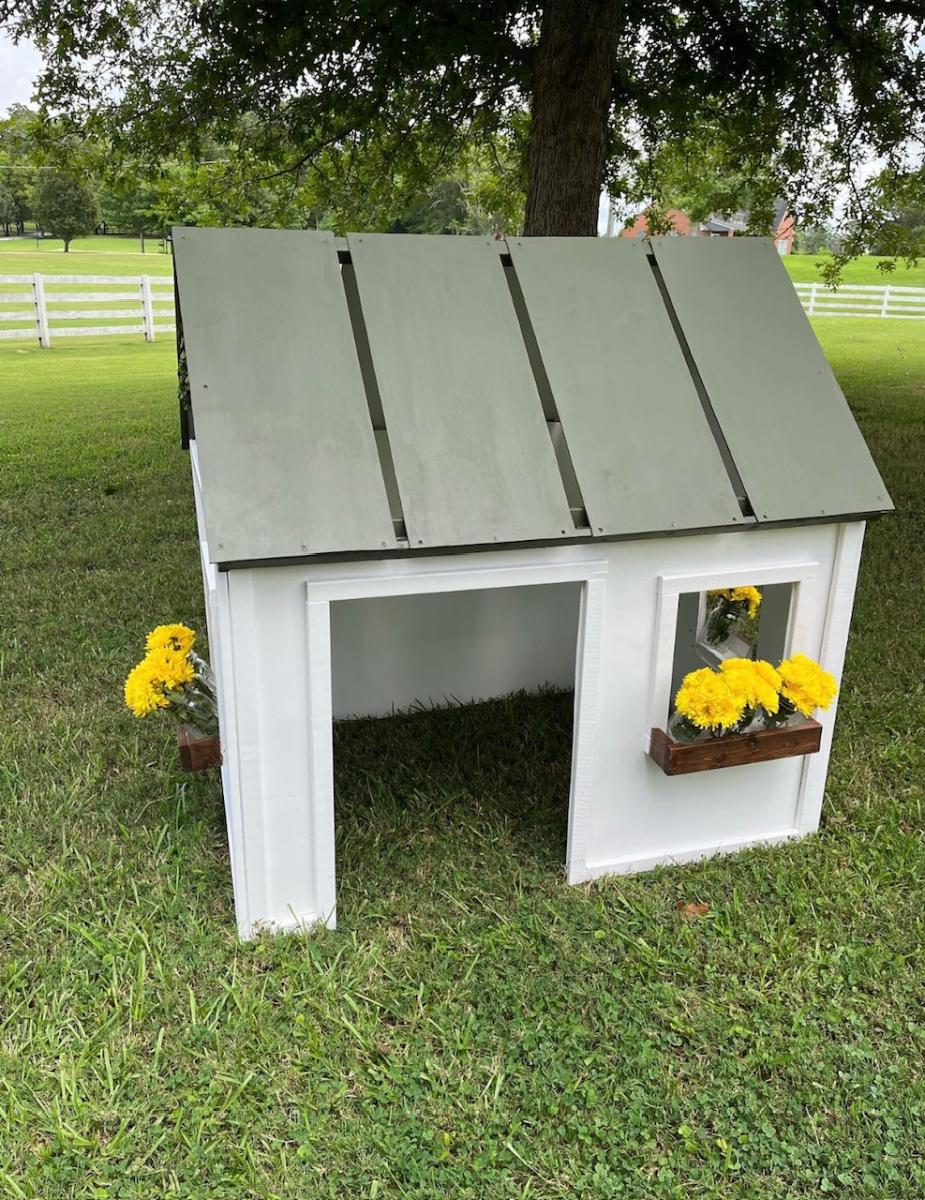
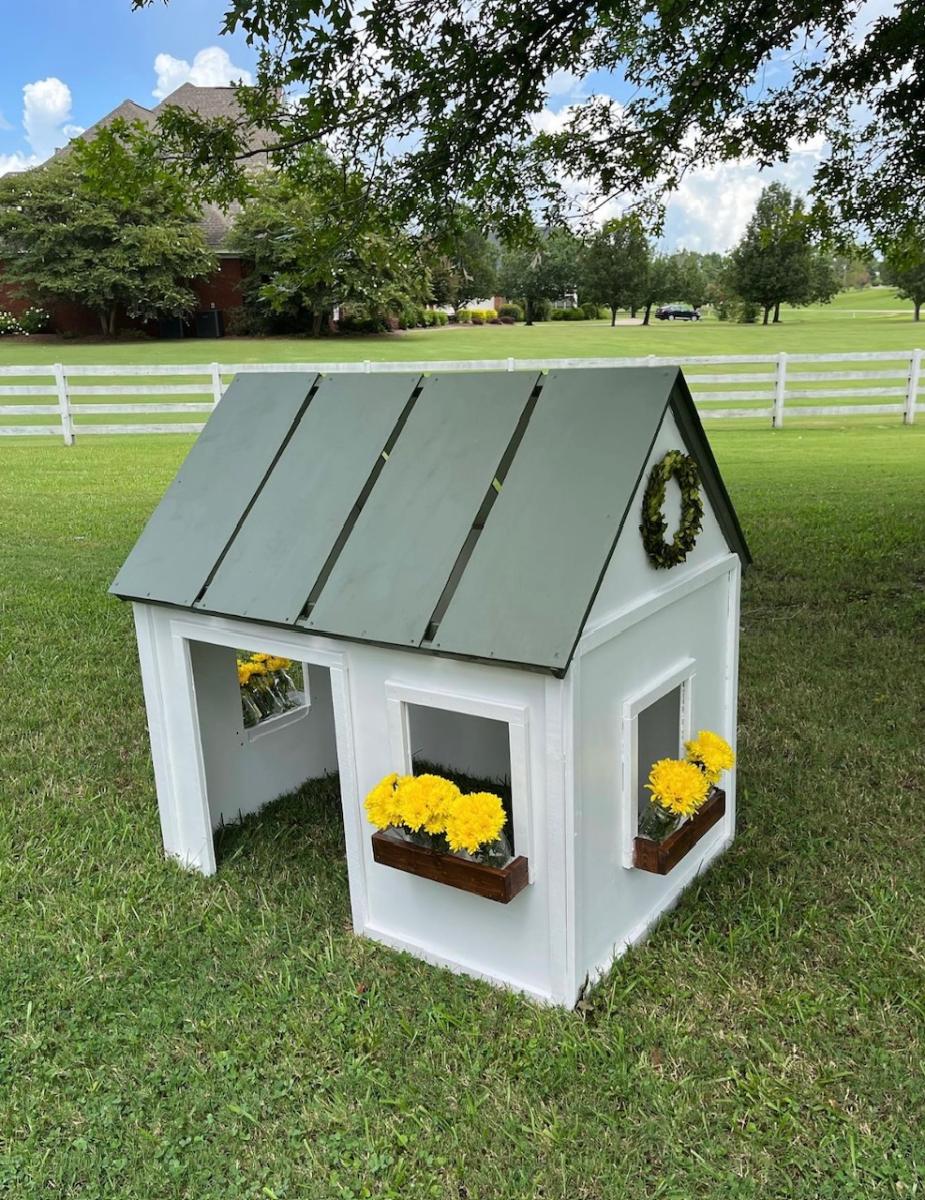
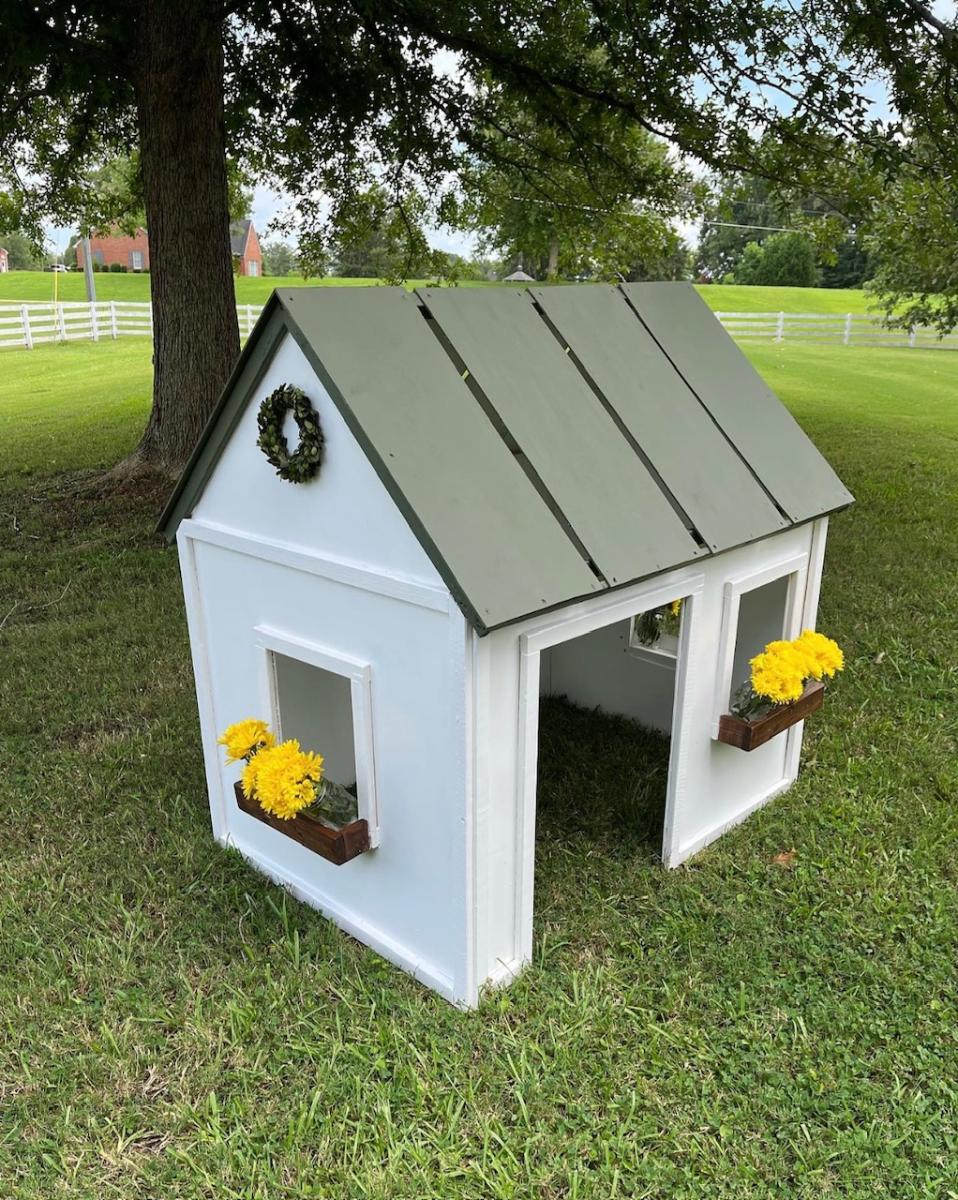
Built from Plan(s)
Seasonal And Holiday
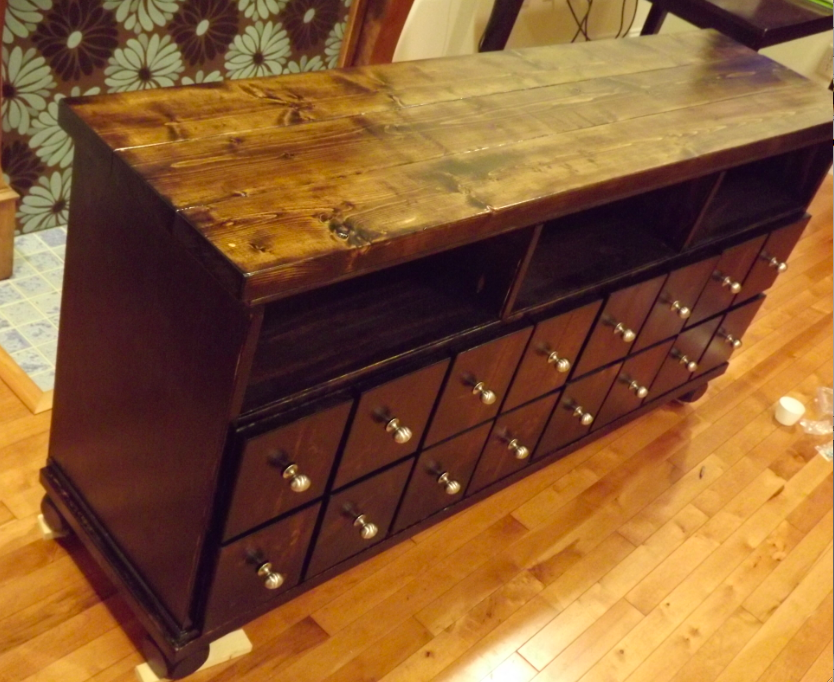
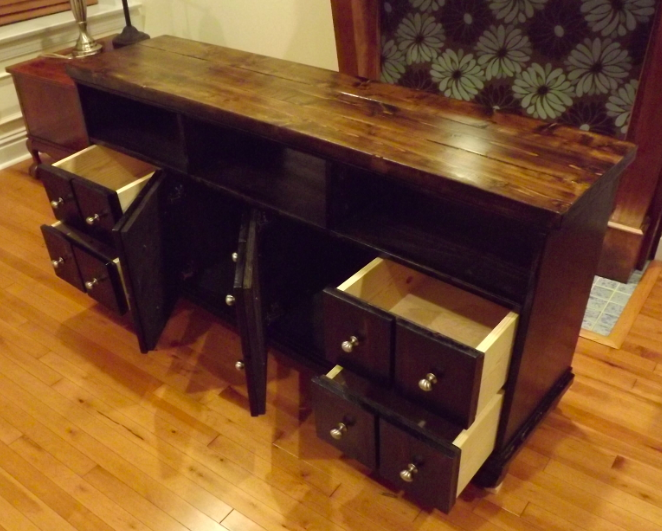
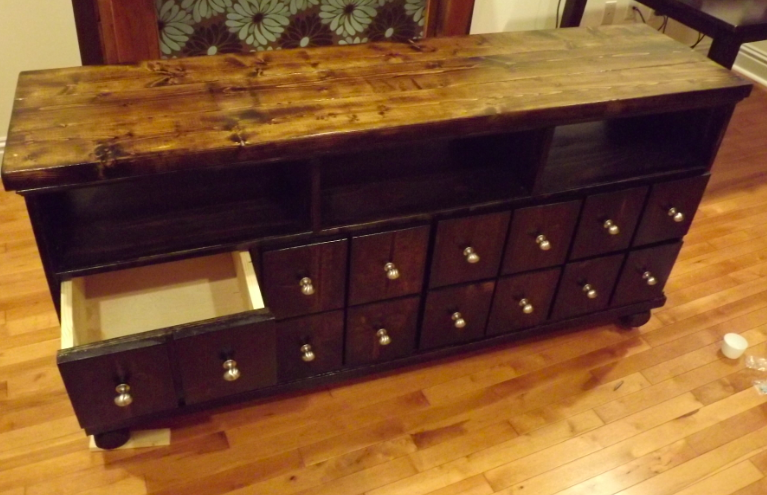
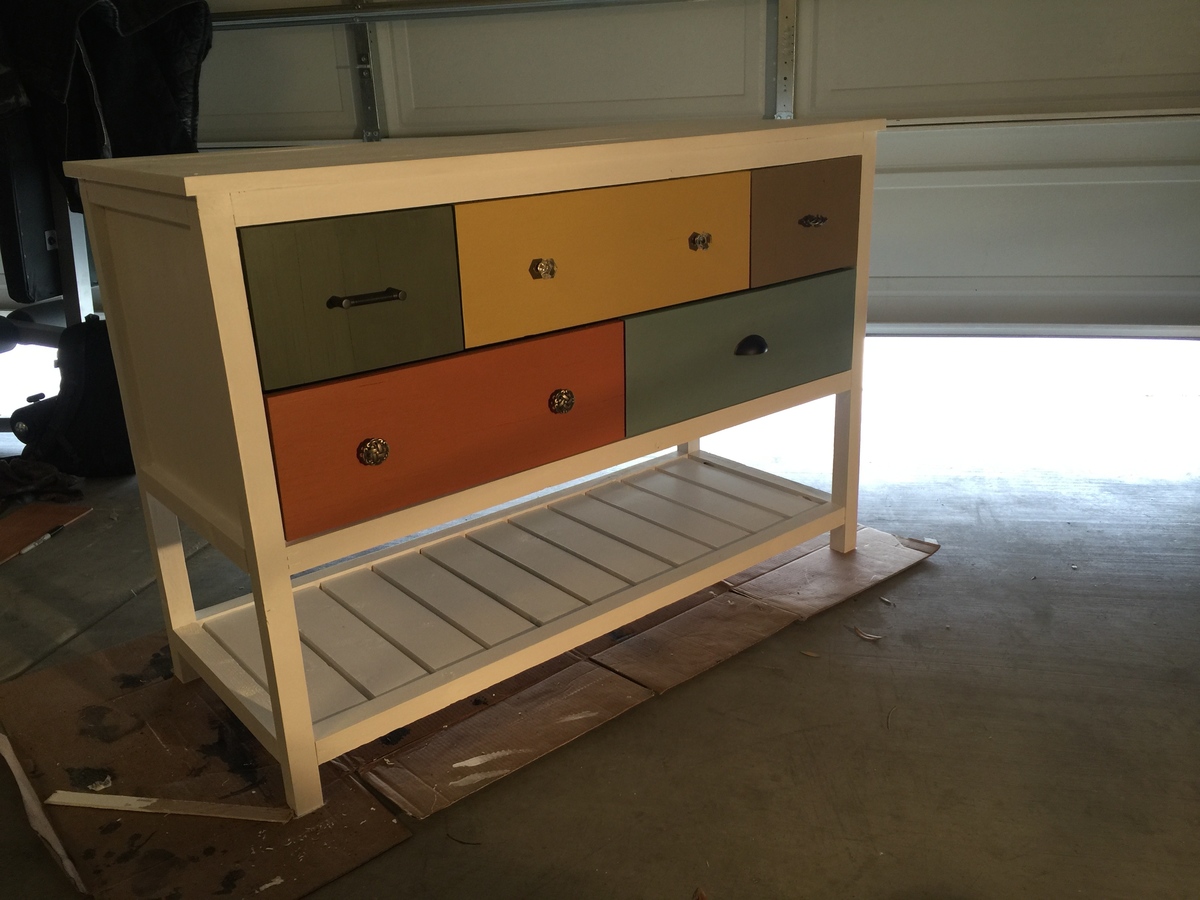
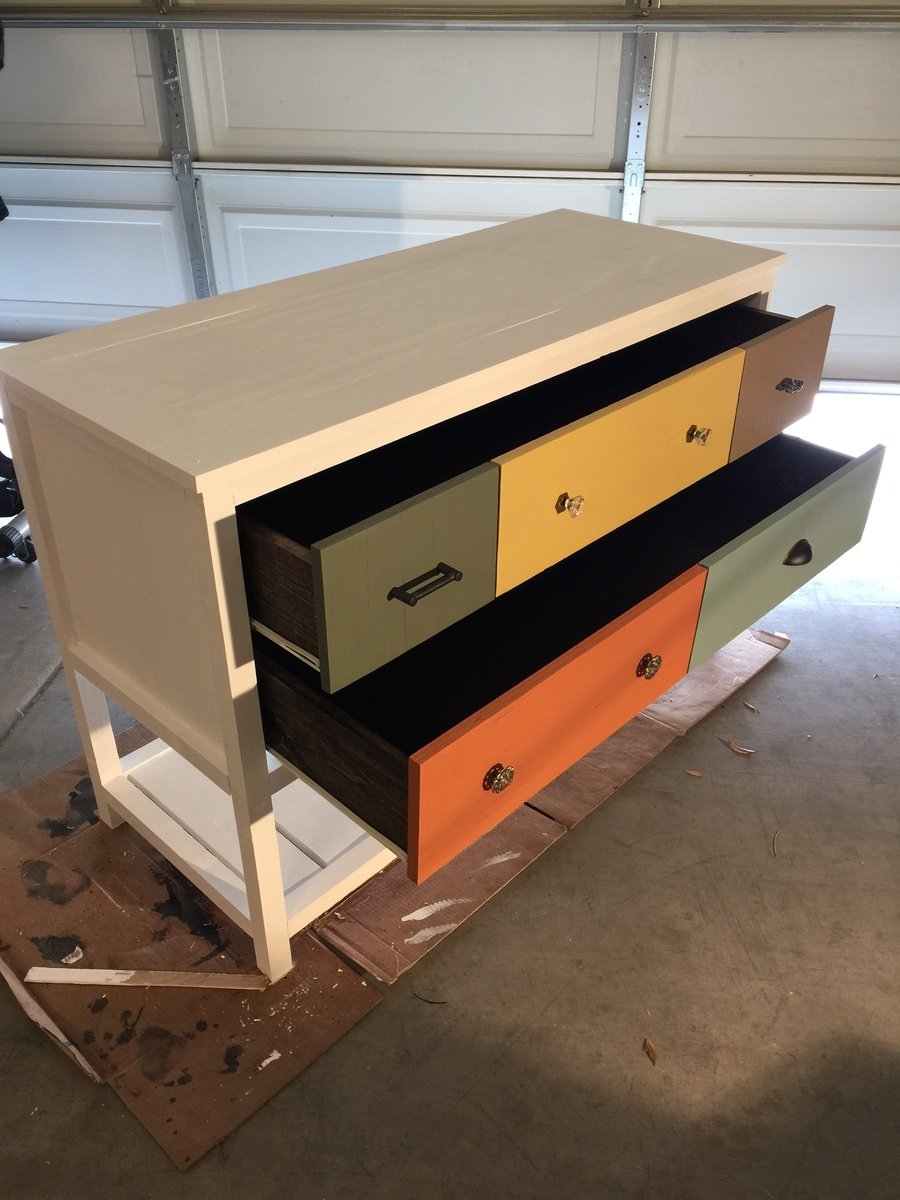
This is my 4th project. I love it! I used 2x6's on the top instead of 1x6's as I wanted a more substantial look. I also added some bunn feet by attaching a couple of 2x4's to the base and drilling the bun feet into them. All the game consoles and dvd players will go in the top slots so they'll be much more organized than what they are now.

Sat, 02/18/2012 - 08:20
That turned out amazingly beautiful! I love the heft of the 2" thick top.
Sat, 03/10/2012 - 18:32
I was just wondering if you used 1/4 ply or 3/4 ply for the foe faces? I love the look of the stained console.
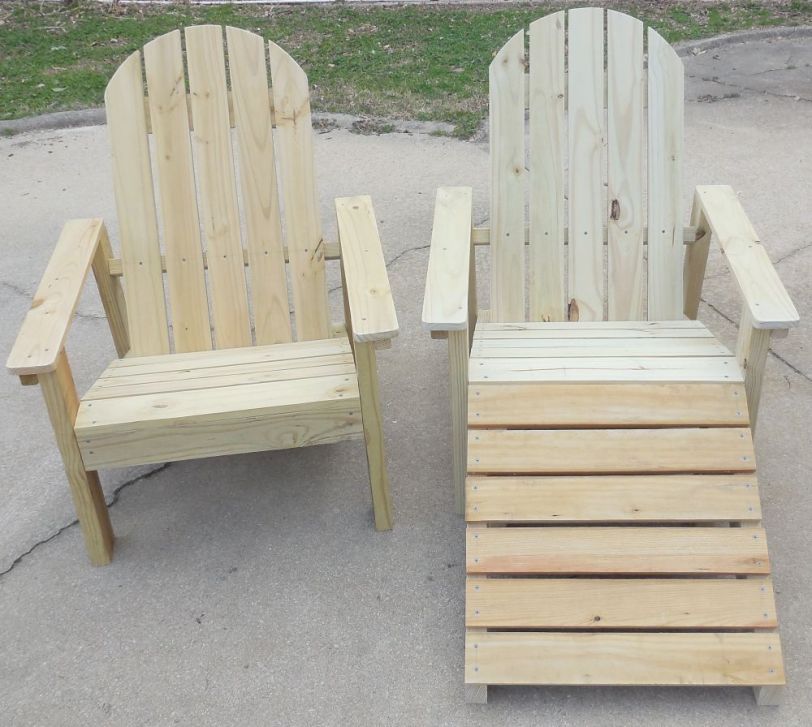
Tips on building the Home Depot Adirondack chair.
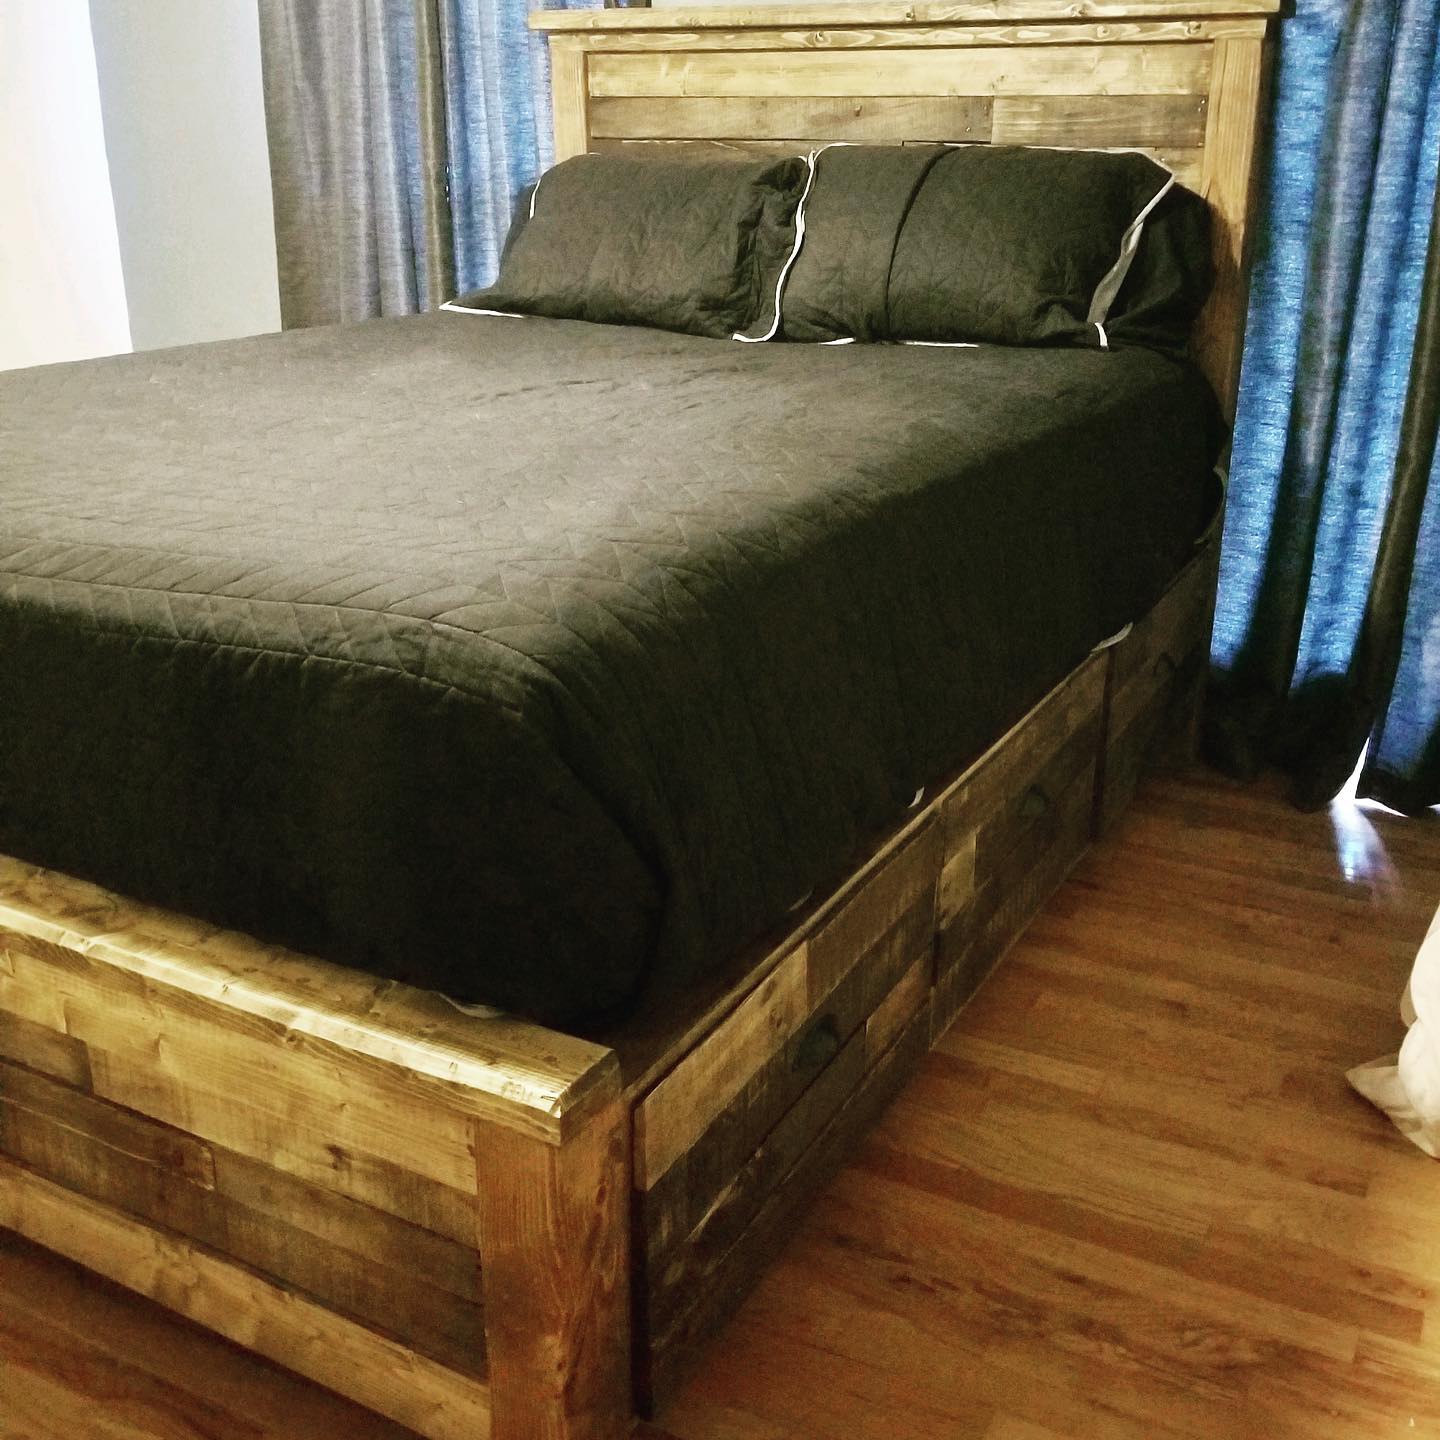
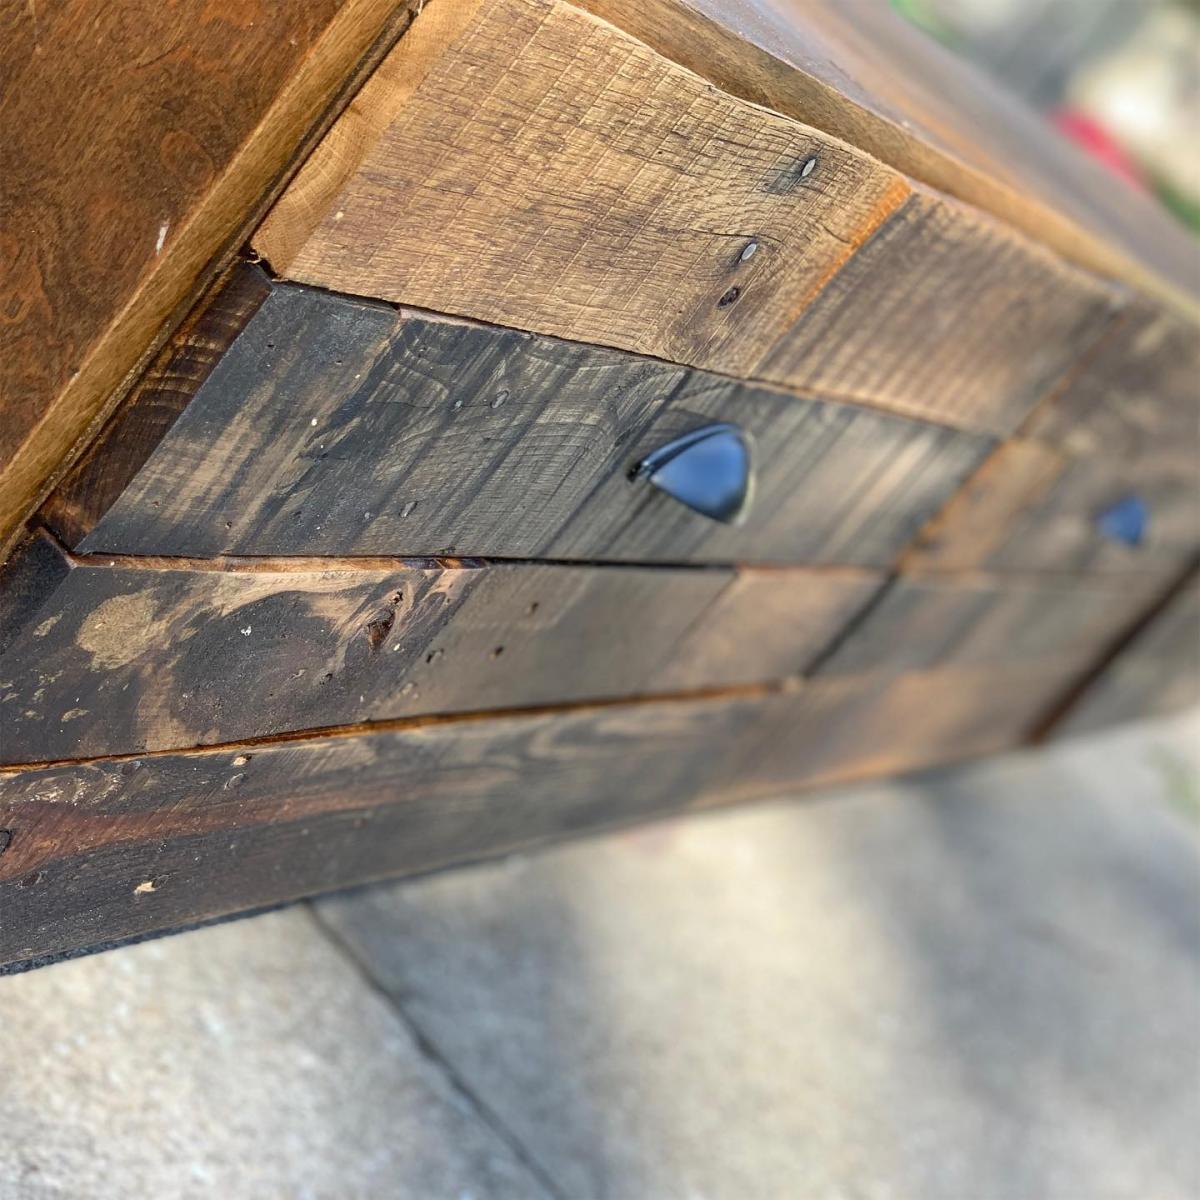
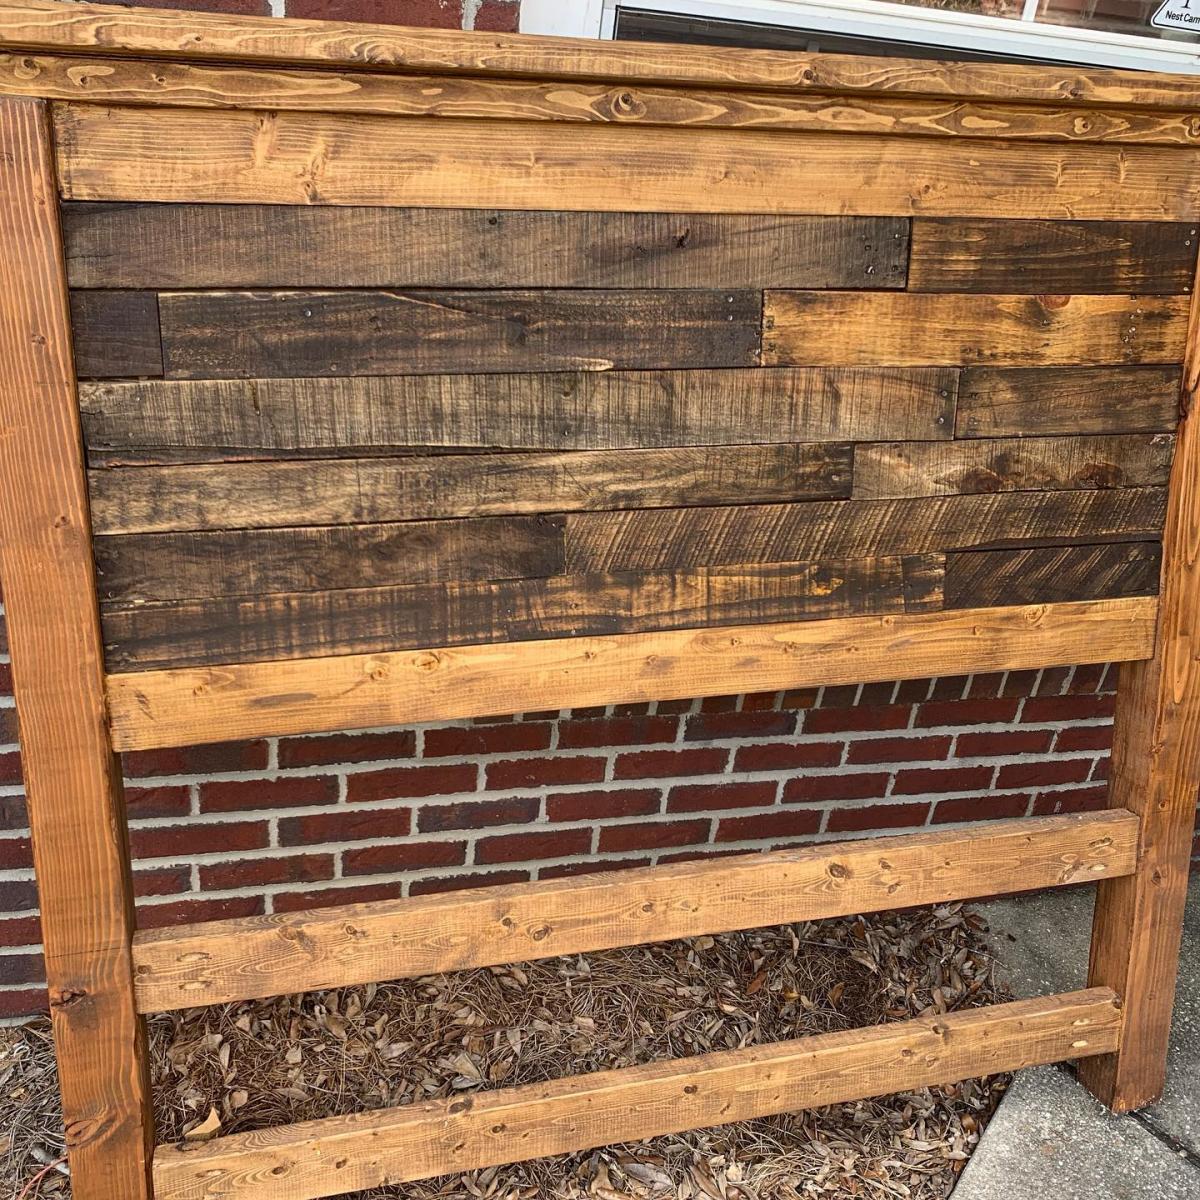
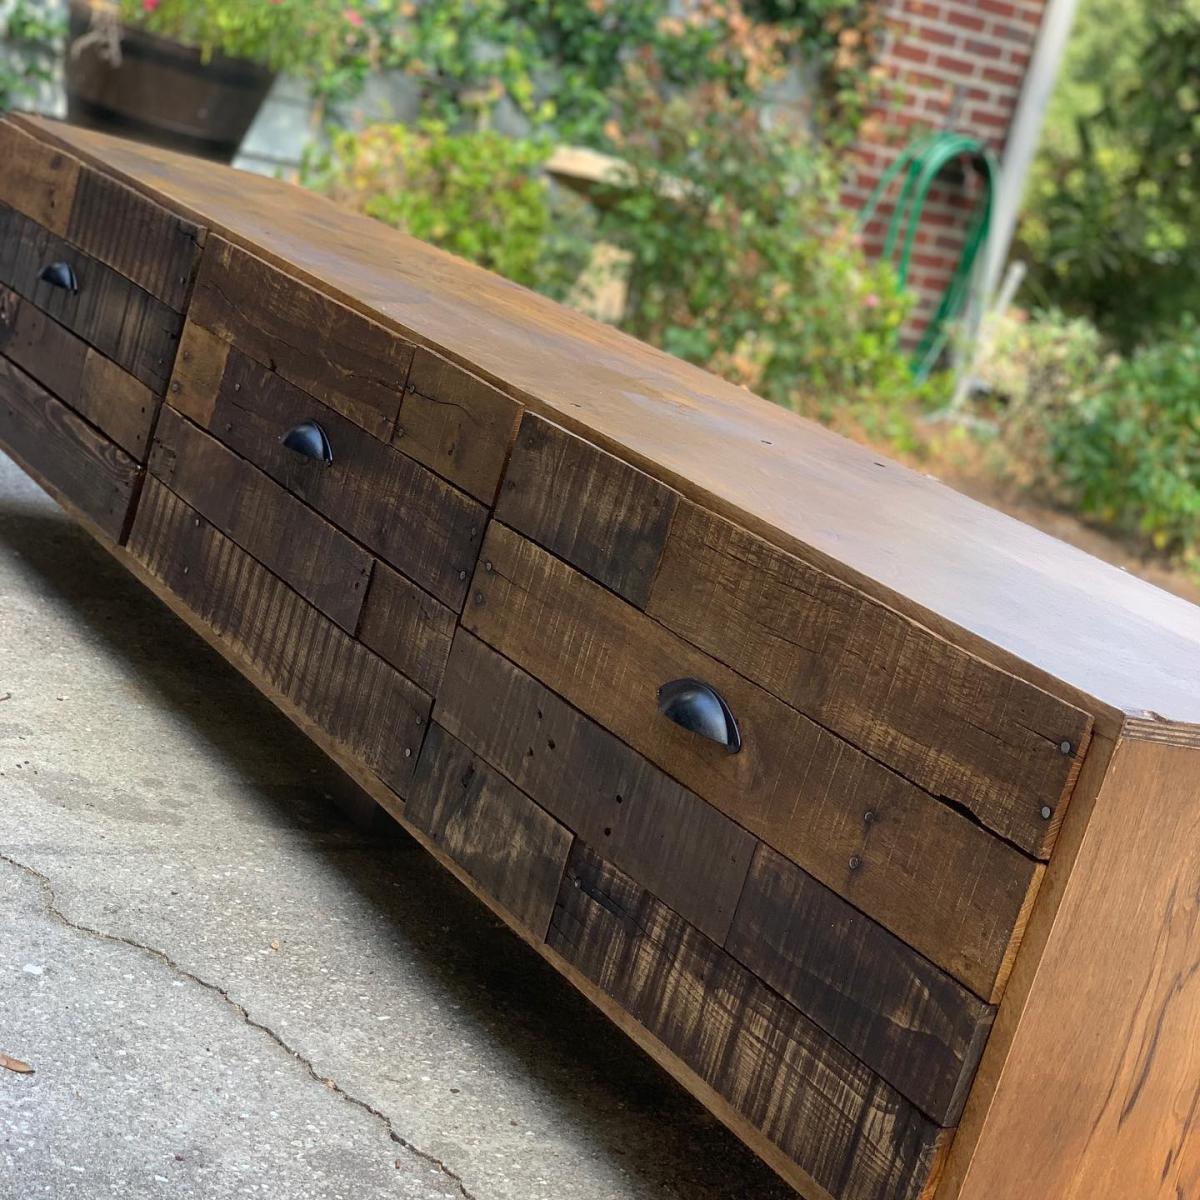
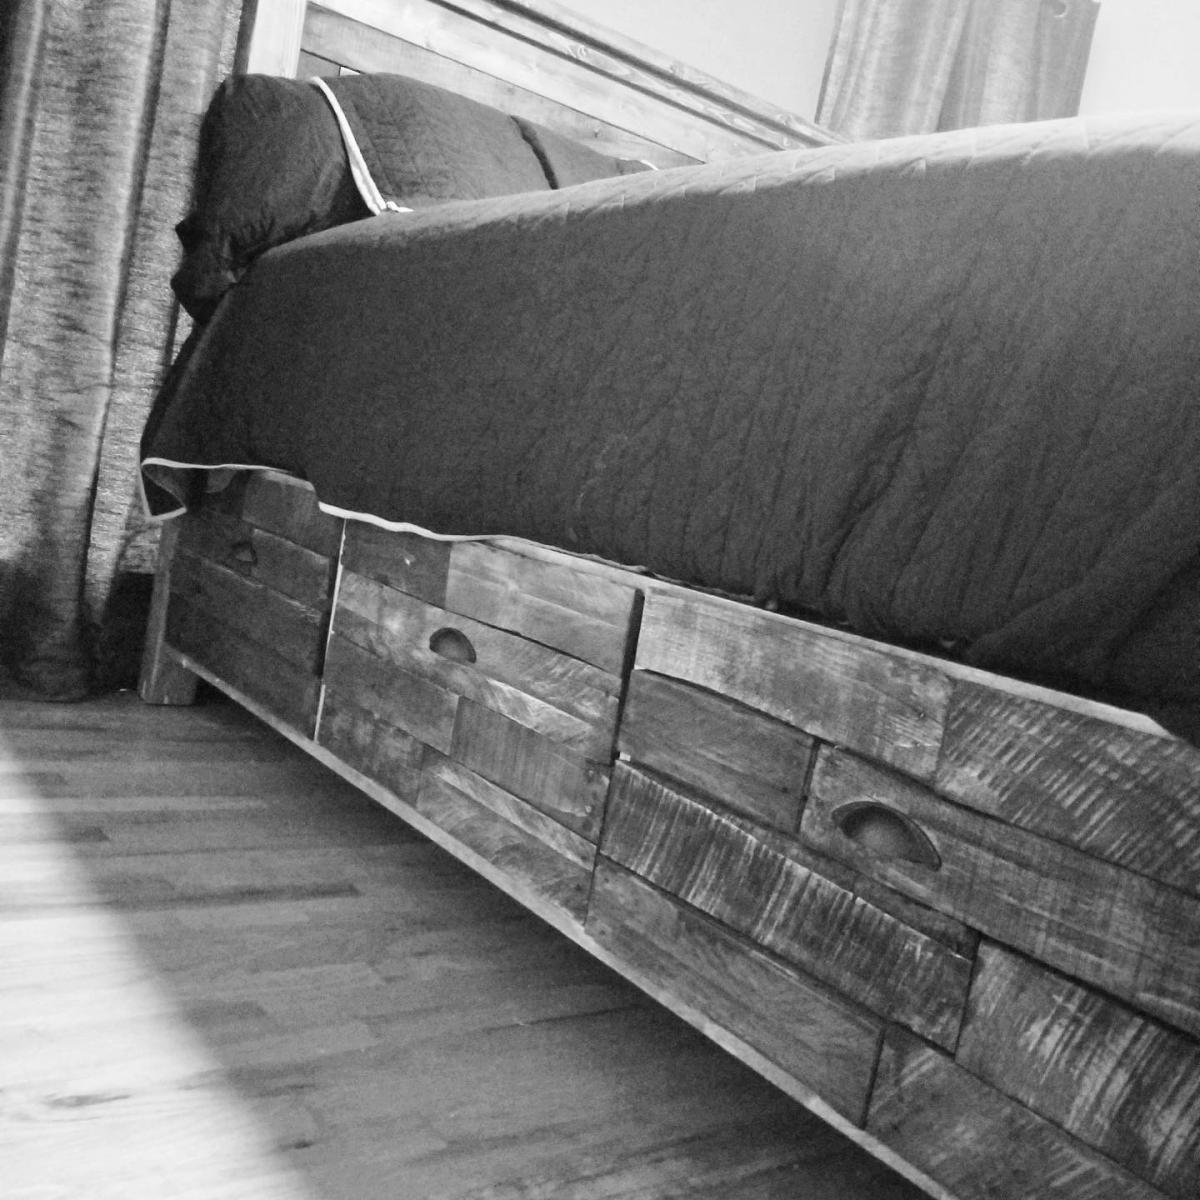
This piece was one I recently created for a customer using the plans provided in the Queen Storage Bed with Drawers from Anna's site. It was created using 3/4" birch plywood and 3/4" pine common board.
I chose to cut dado's when building the boxes for stability's sake. I was able to leave out much of the construction screws by using strong, but relativity simple joinery techniques with dado's and rabbets.
The piece's drawer fronts were then veneered with pallet wood to lay flush with the drawer faces, and hardware installed on top of that. The headboard and footboard were both then stained using a Varathane, Minwax (water-based), and General Finishes to create the various tones in the pallet veneer to create a complimentary uniform look to the drawer faces.
The other variation in this bed was that I used Threaded inserts and hex bolts so that the head and footboard could be removed multiple times for transport without damaging screw holes.

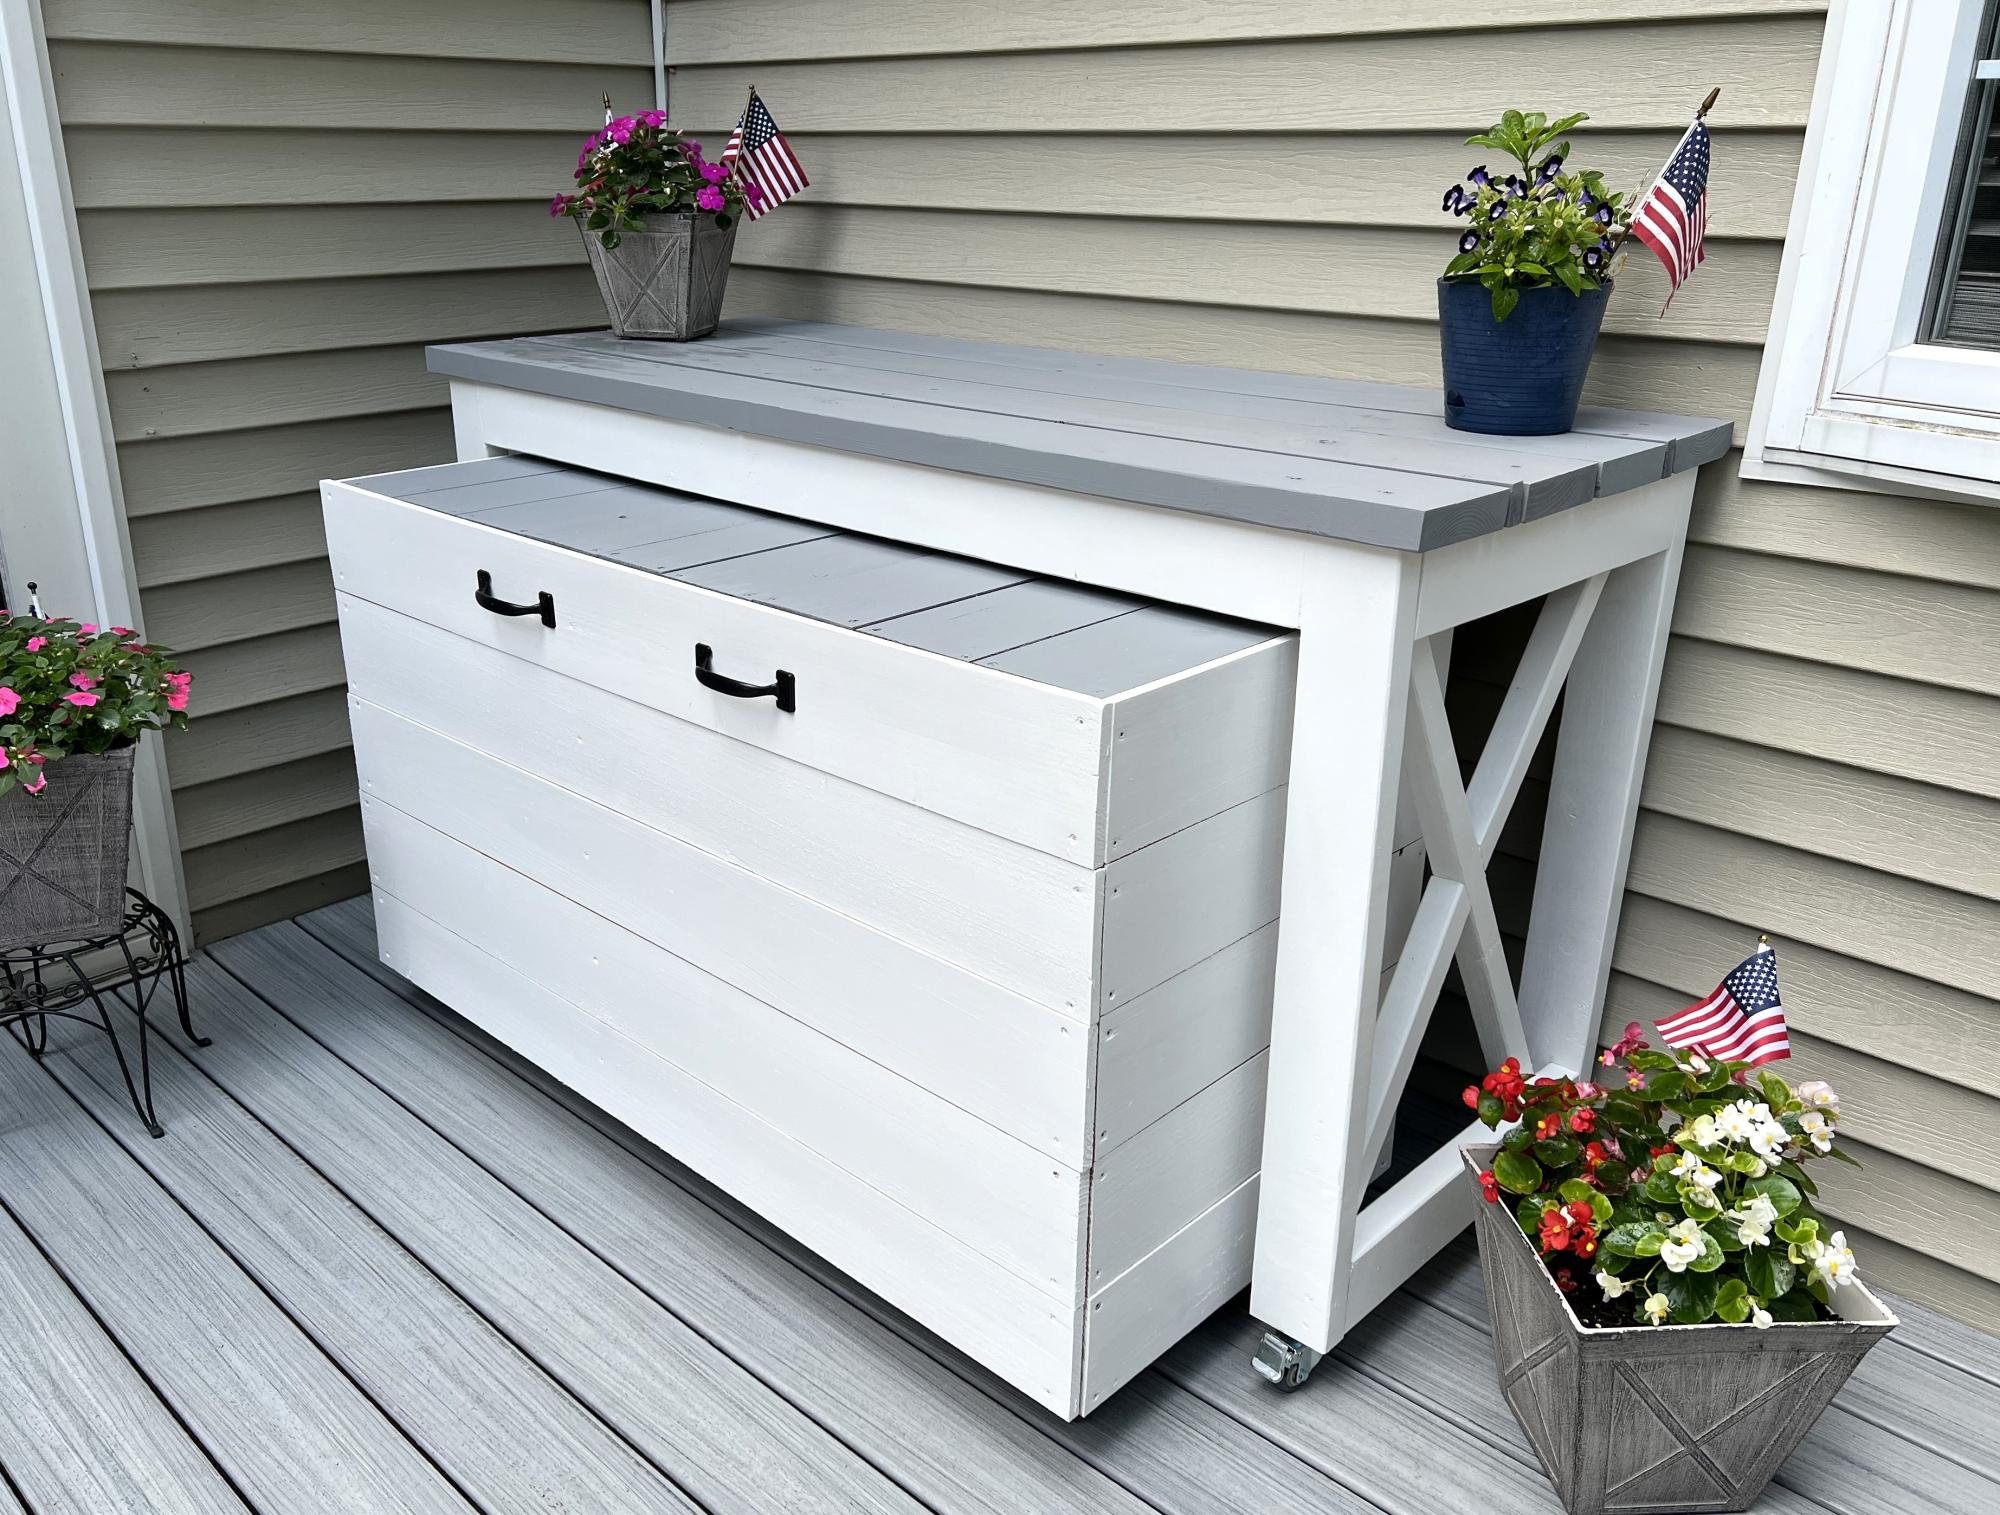
Built the nested grill station just in time for the 4th. So much fun building this, thanks Ana so much for the inspiration! Chris
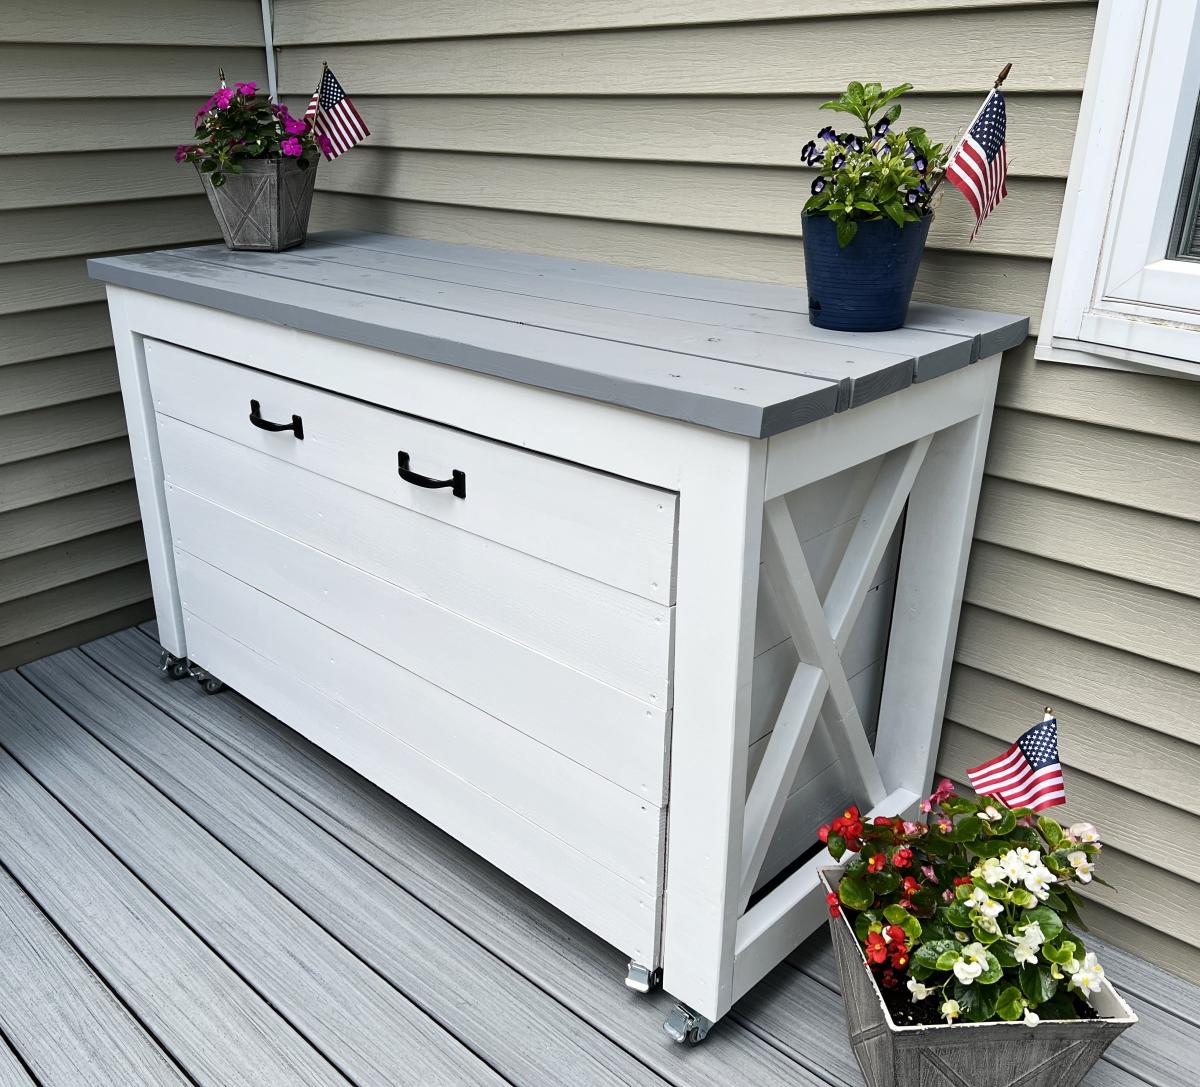

Cost about $100 and took about 6 hours total (one person). I ended up using a polyshade color I had in the garage -- but I wish I would have just used regular stain or paint. I'll likely repaint it in a bit, the polyshades just doesn't cover well (but that's what I get for trying to use leftovers!) One of my top pieces ended up being a little short (I accidentally cut it with the original cut pieces). It looks REALLY great though, and I'm likely the only one who would notice. My husband is super impressed! Thanks, Ana!

Simple coffee table. took about 3 hours to build.


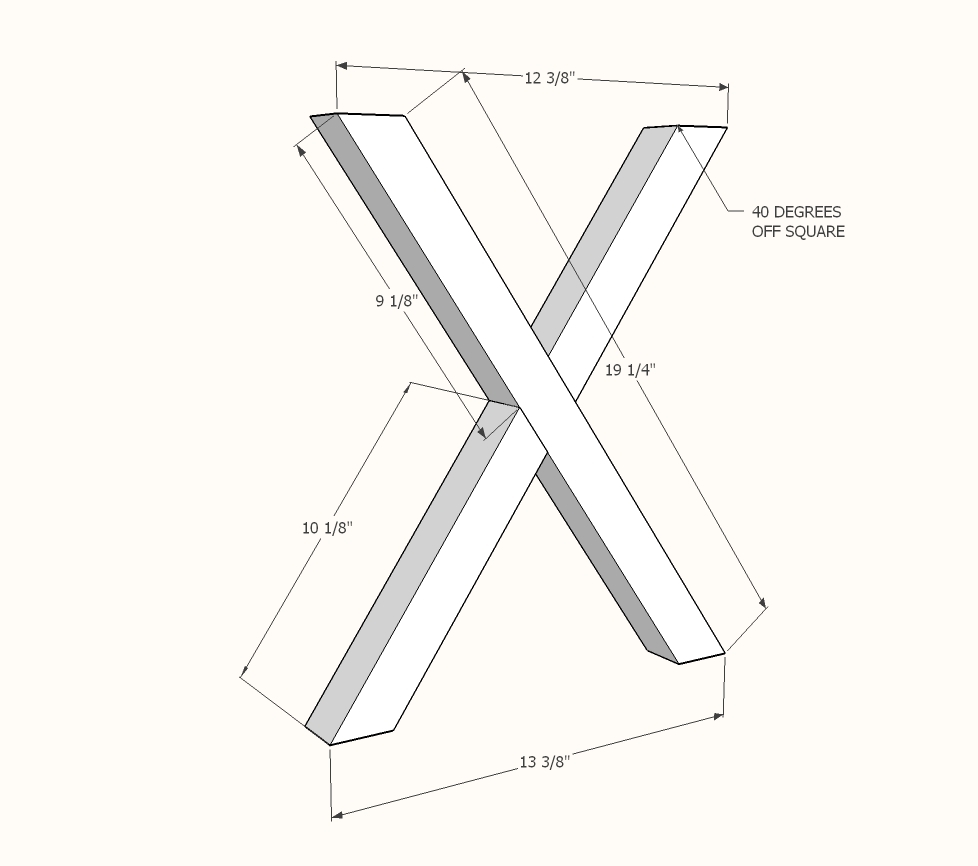
Console table build.

Turned out great! Problem with the plans: written instructions for legs say 35 degree angle but the diagram shows 40 degree angle. Which one should it be?

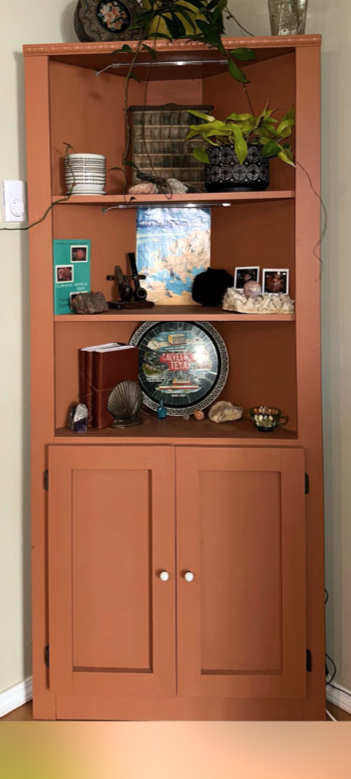
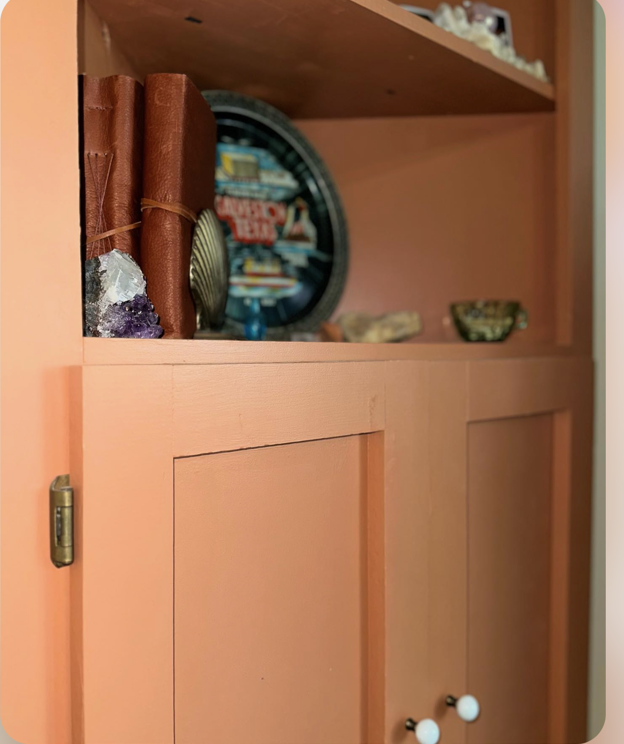
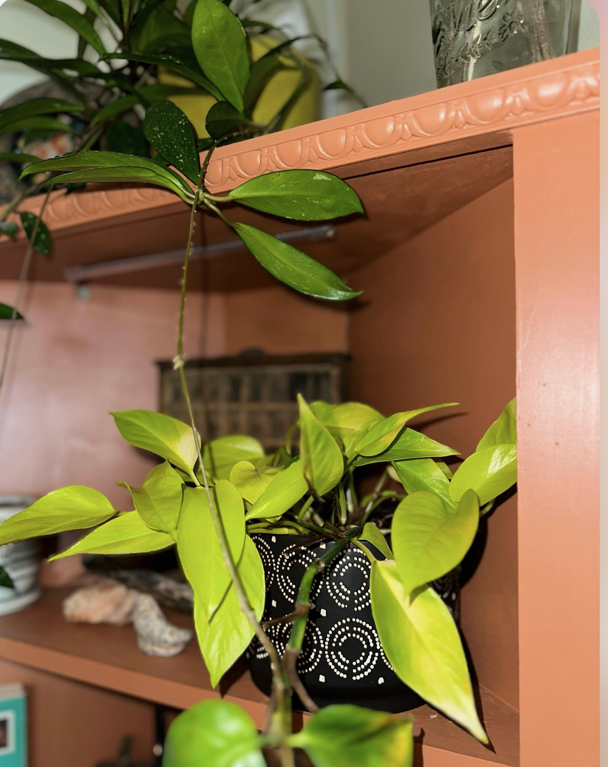
"Couldn't find a corner hutch that I liked so I decided to make my own and OMG I'M IN LOVE"
Jimi Hightower
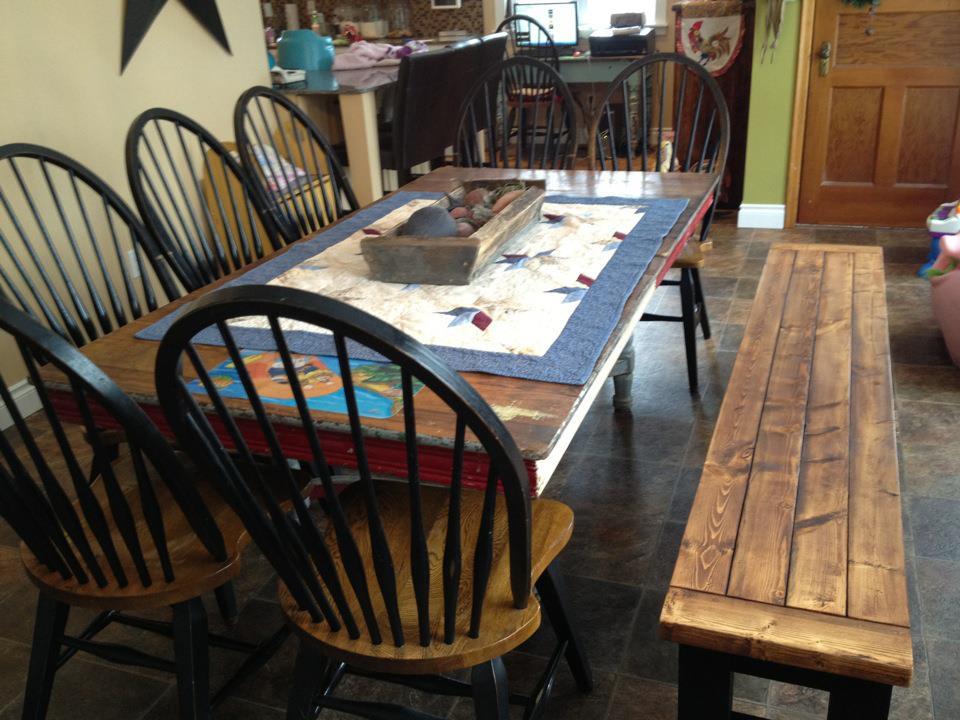
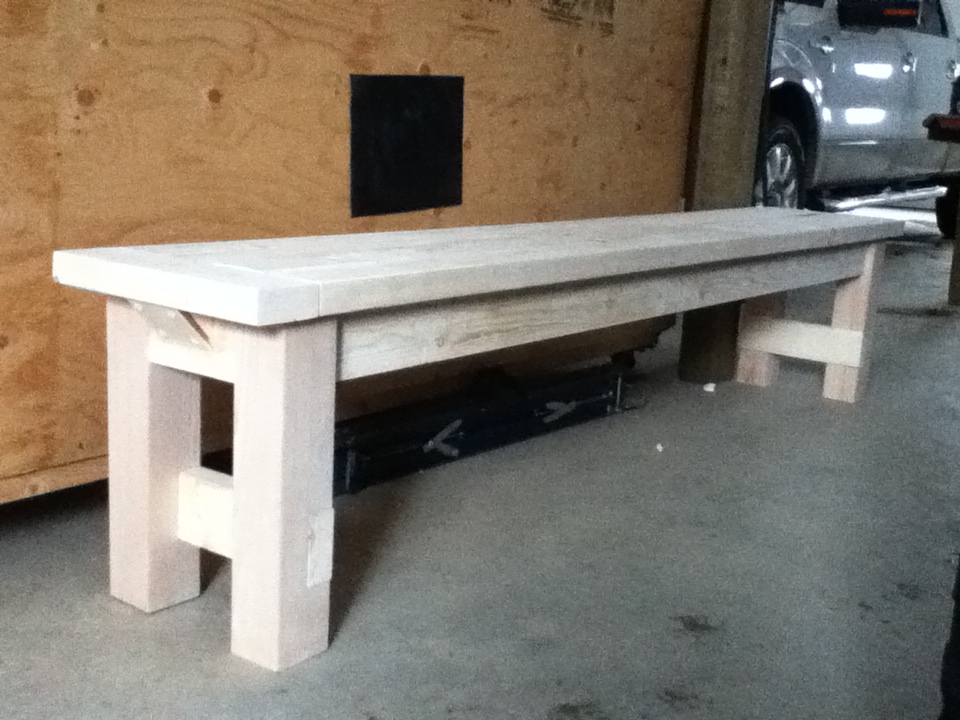
I LOVE how this bench turned out. I made it for my sister and her very large family. She paired it with an very old table that was found in the family "barn" and some chairs that she had purchased separate.
I have to say that I ADORE your site and plans!!! You are my hero.....and I want to build literally EVERYTHING on here!! Thanks SO Much :-)
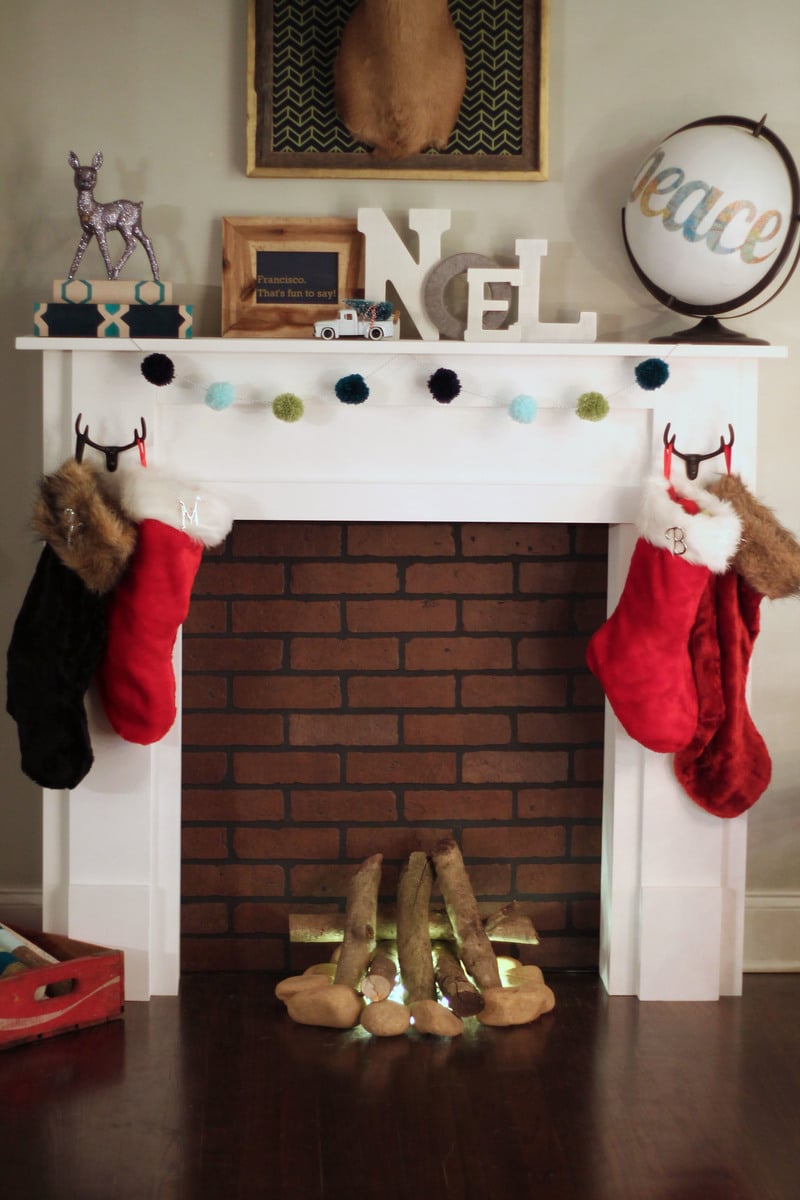
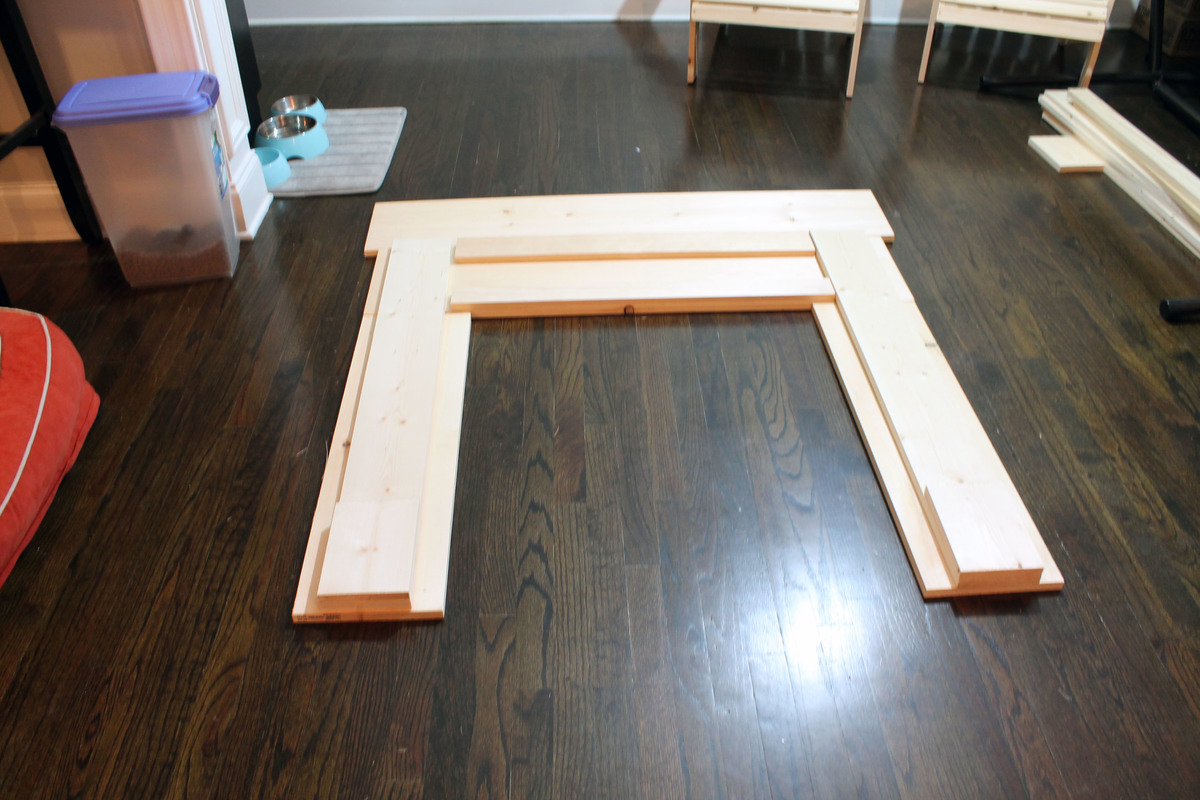
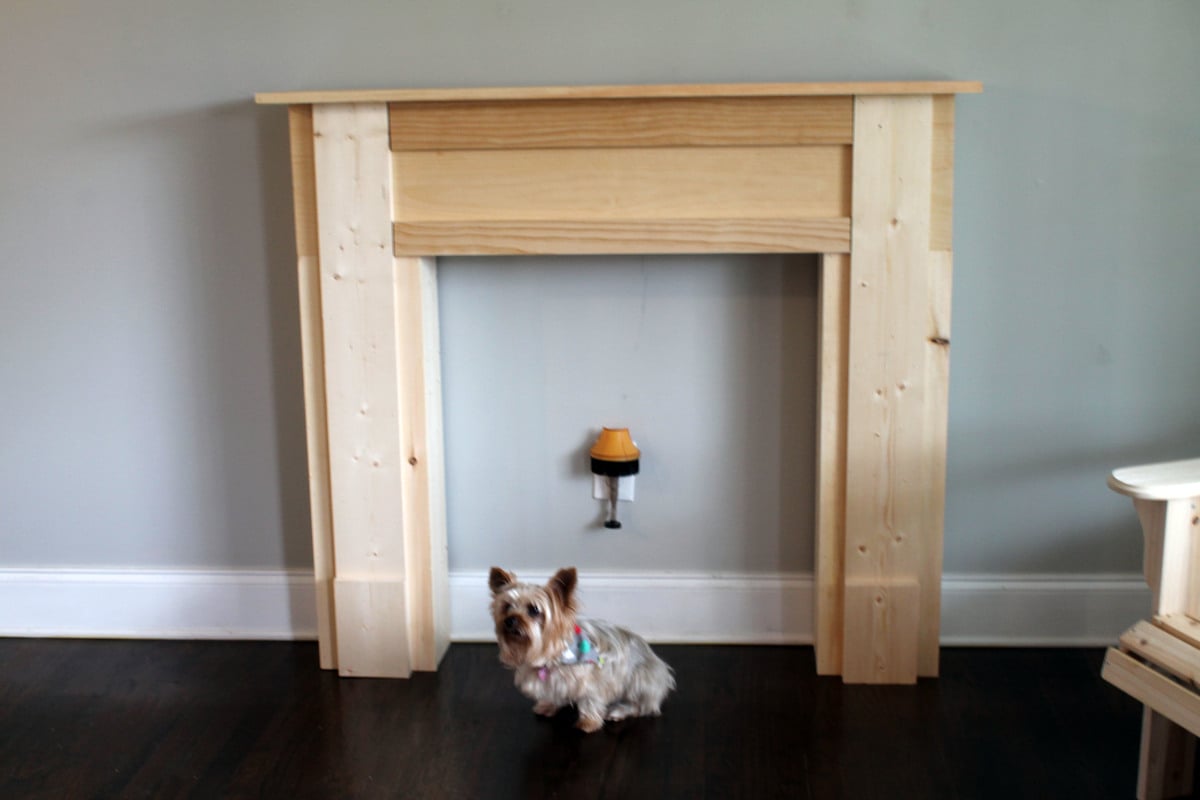
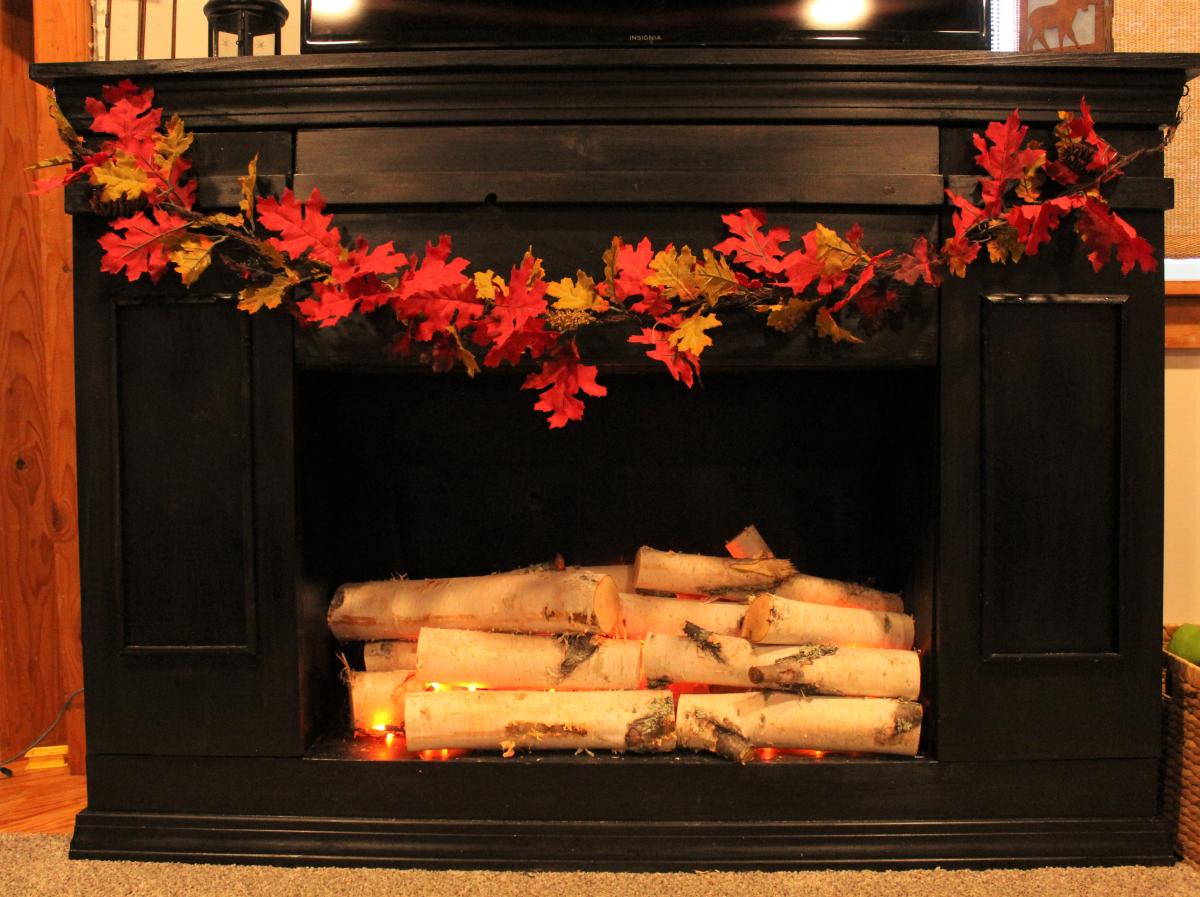
I was tired of not having a place to hang the Christmas stockings. With no fireplace and no mantel in our 1960's ranch home, I decided to build one myself! It turned out to be one of the easiest projects I've done.
I had Home Depot cut all of the wood for me, so once I got home, I just had to nail it together. The actual building of the mantel took about an hour. Including the sanding, caulking, and painting, it took about four hours total. I also added a piece of faux brick paneling to the back of the mantel.
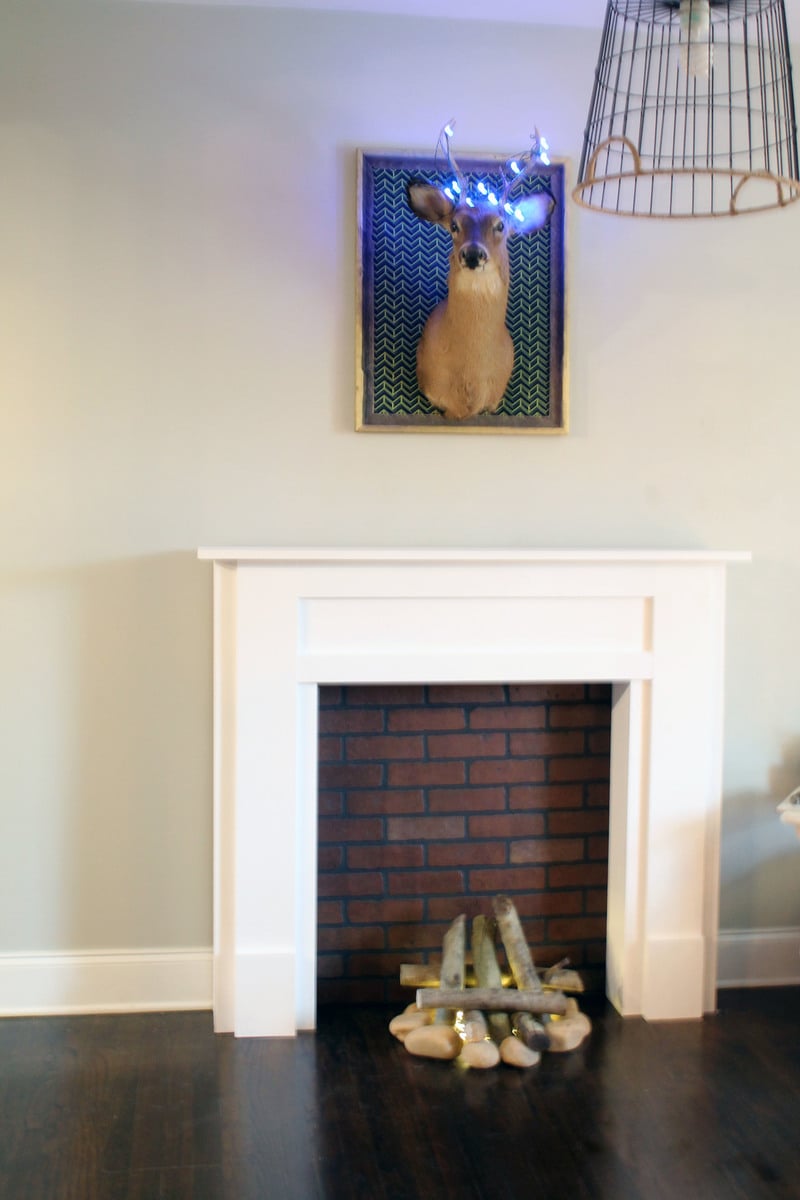
I made a "fire" using some river rocks and small limbs. I placed them in a circle and added string lights for the "fire" effect.
For more pictures, check out http://deepestoceanblue.com/diy-mantel-and-fake-fire/


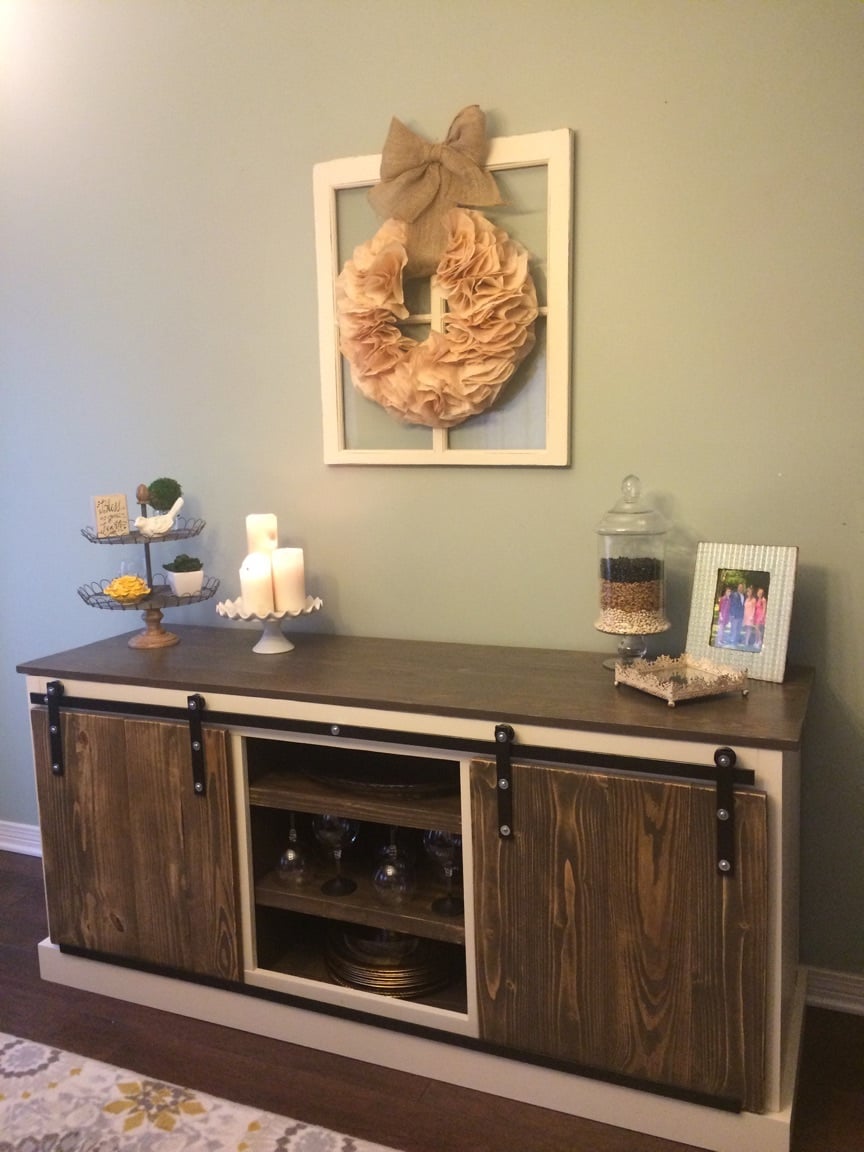
Rustic barn door sliding console.
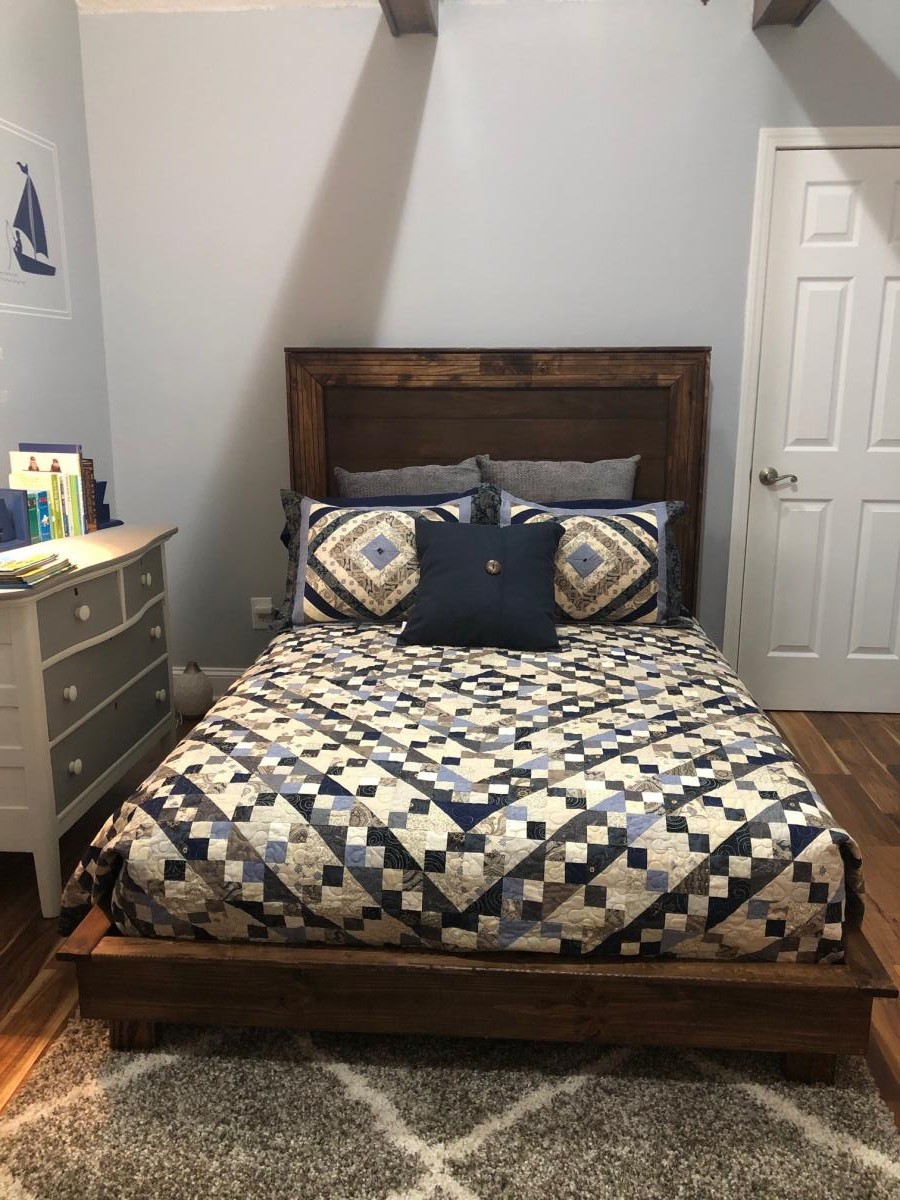
My husband followed these user-friendly DIY platform bed plans and was able to build and finish our son's big boy bed in 2 days. We used poplar wood for the headboard and pine for the frame. We are so in love with the results! Thanks, Ana, for sharing these awesome plans with the world!
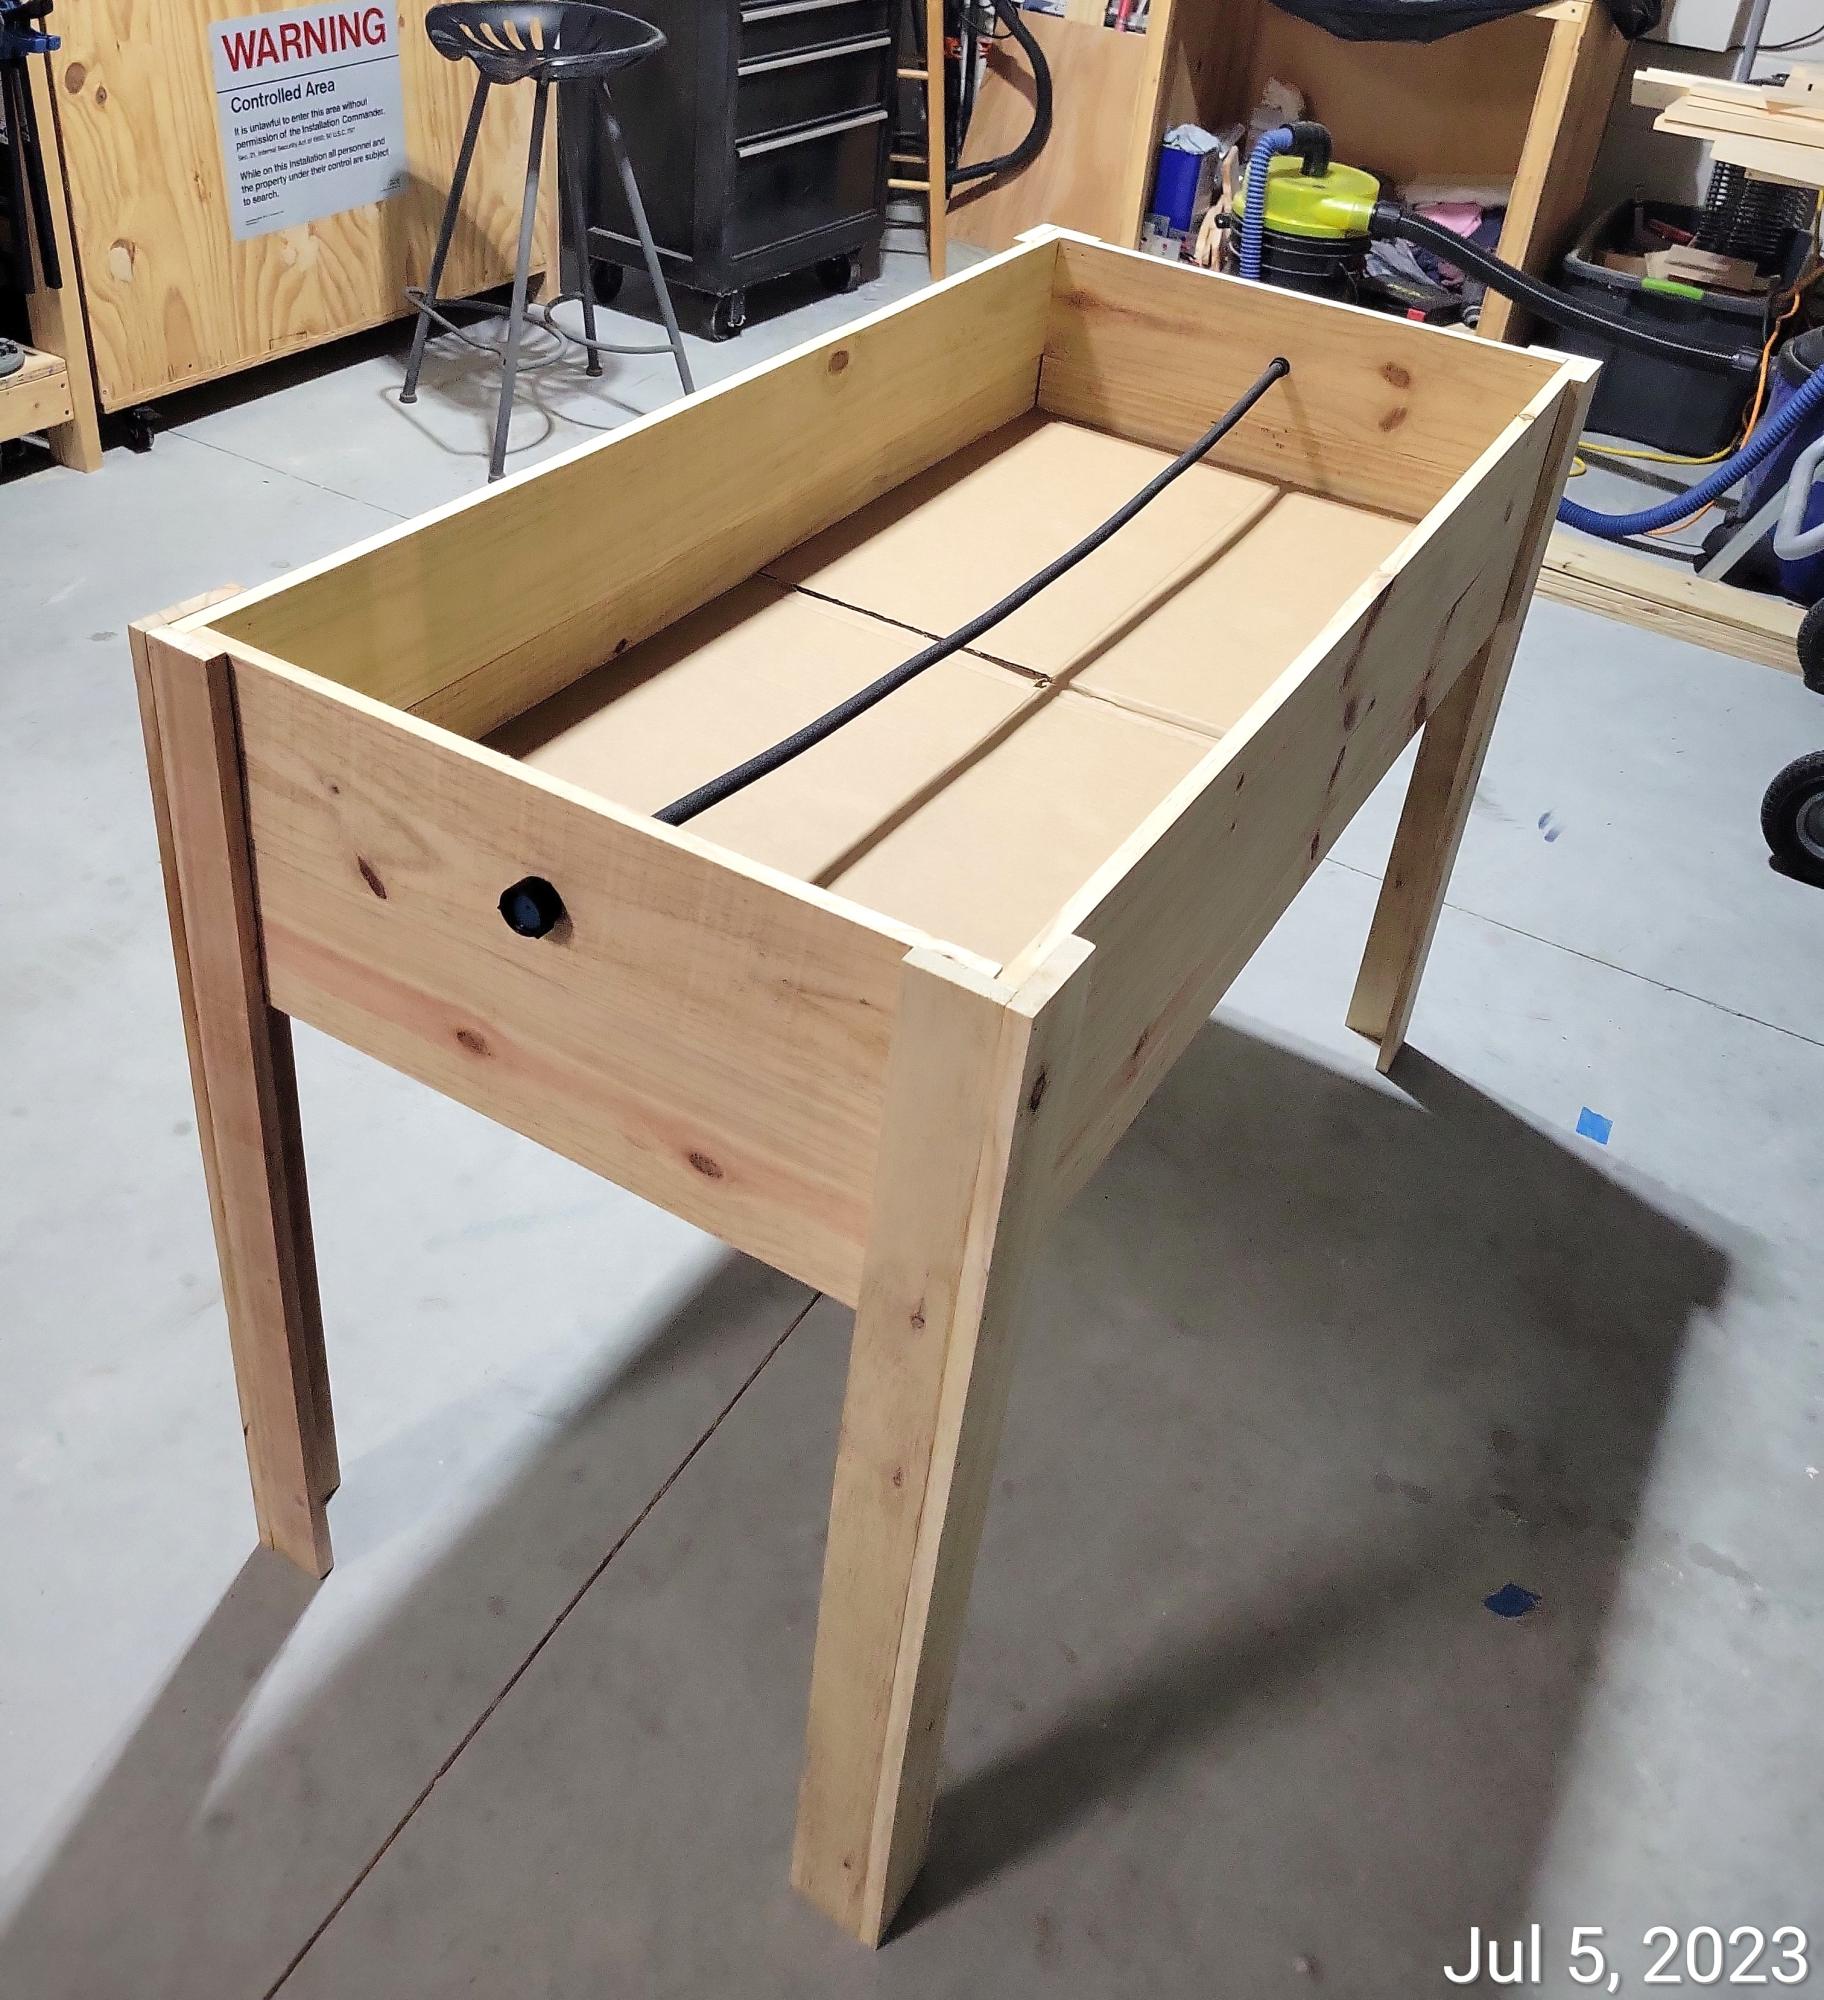
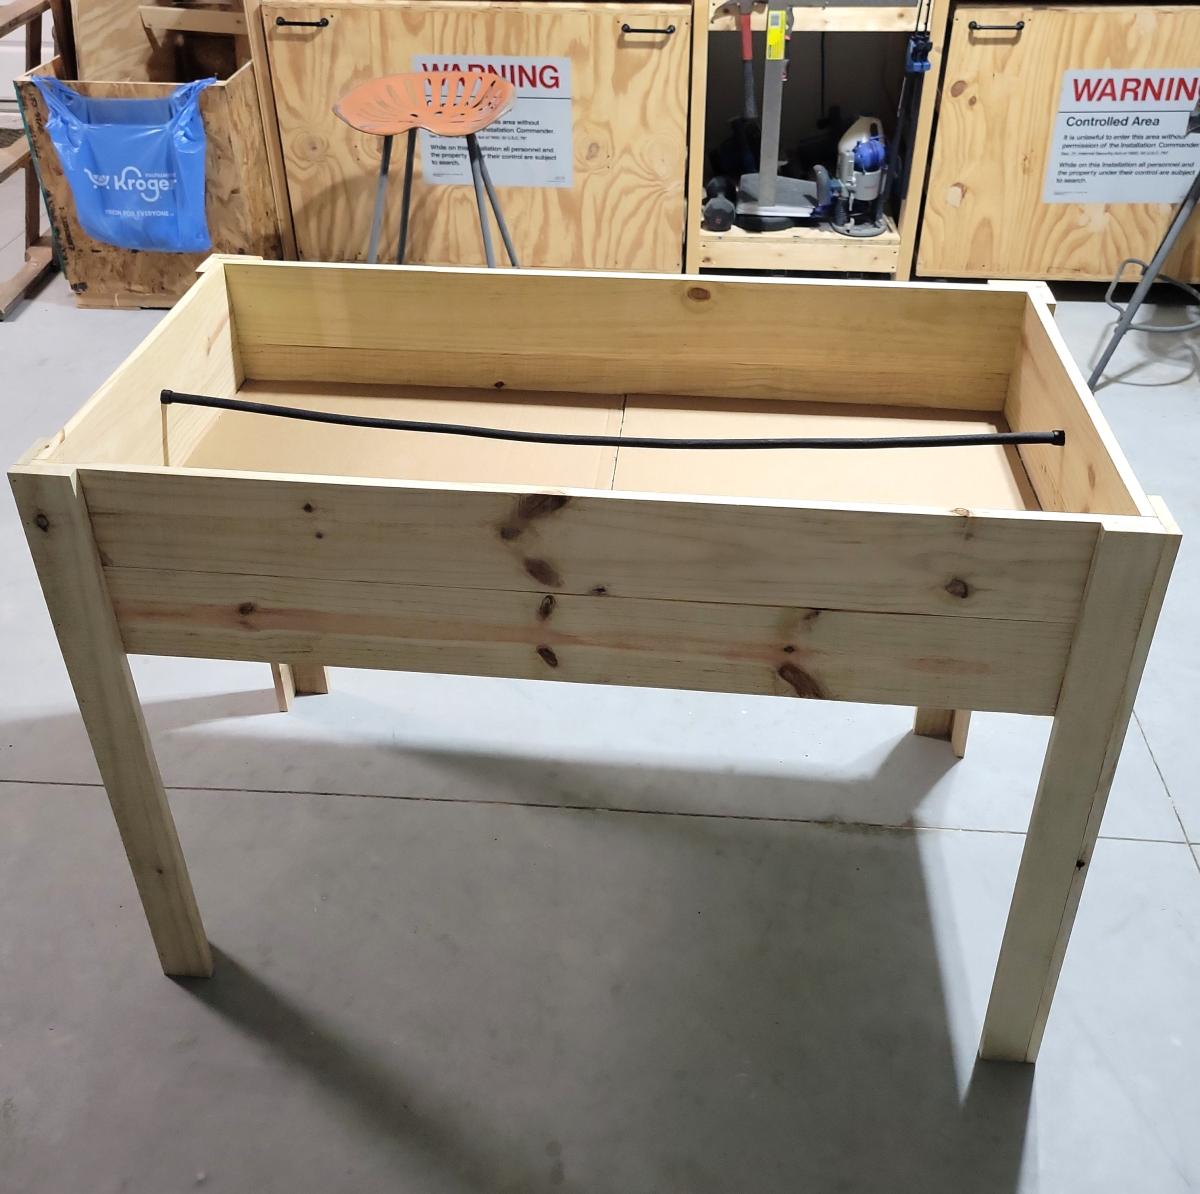
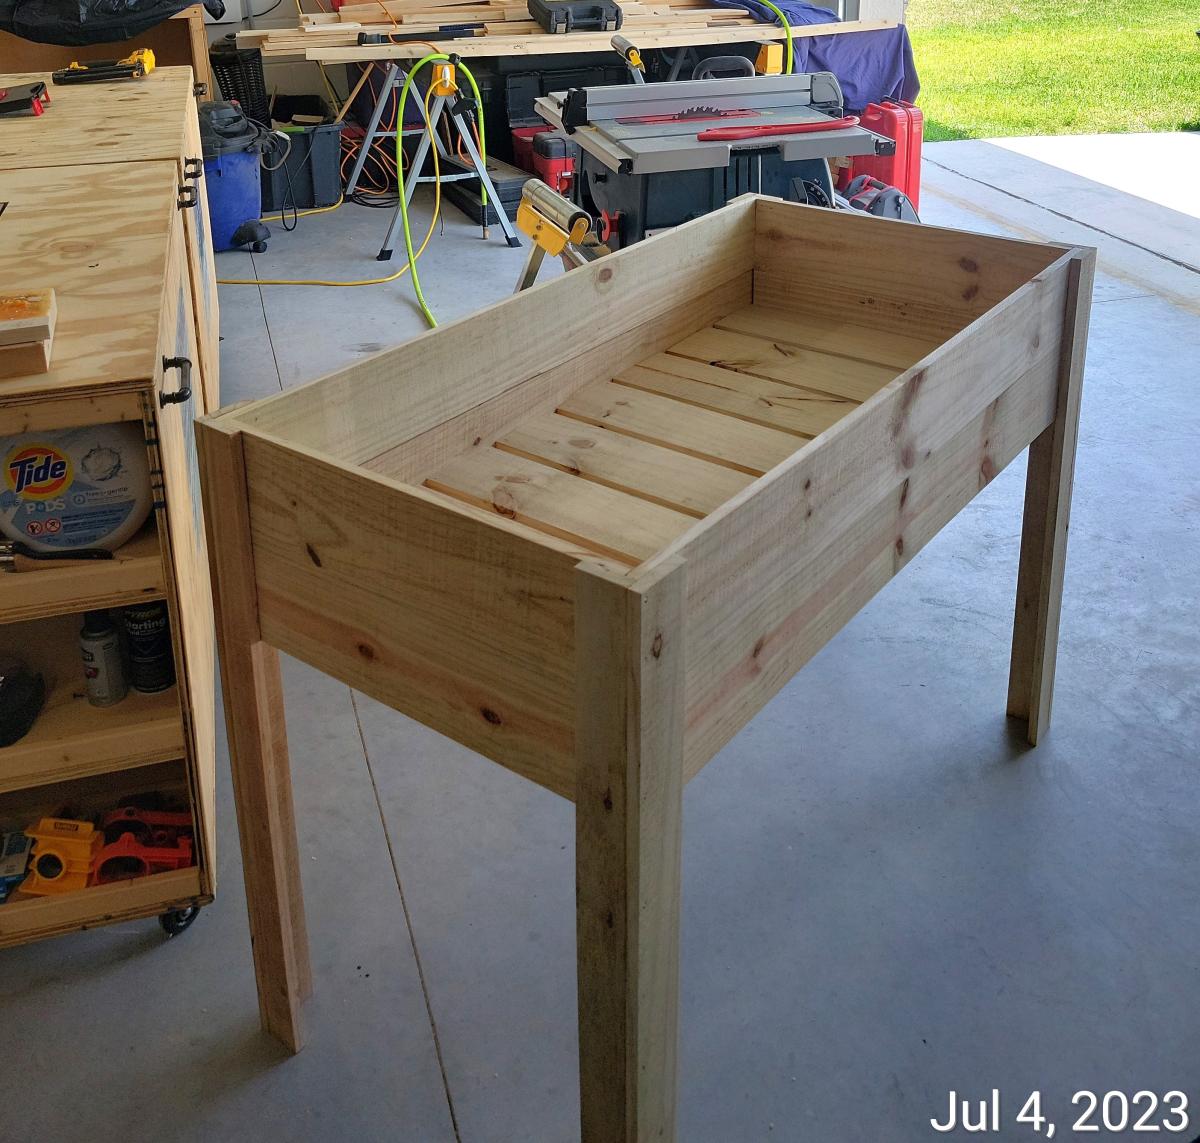
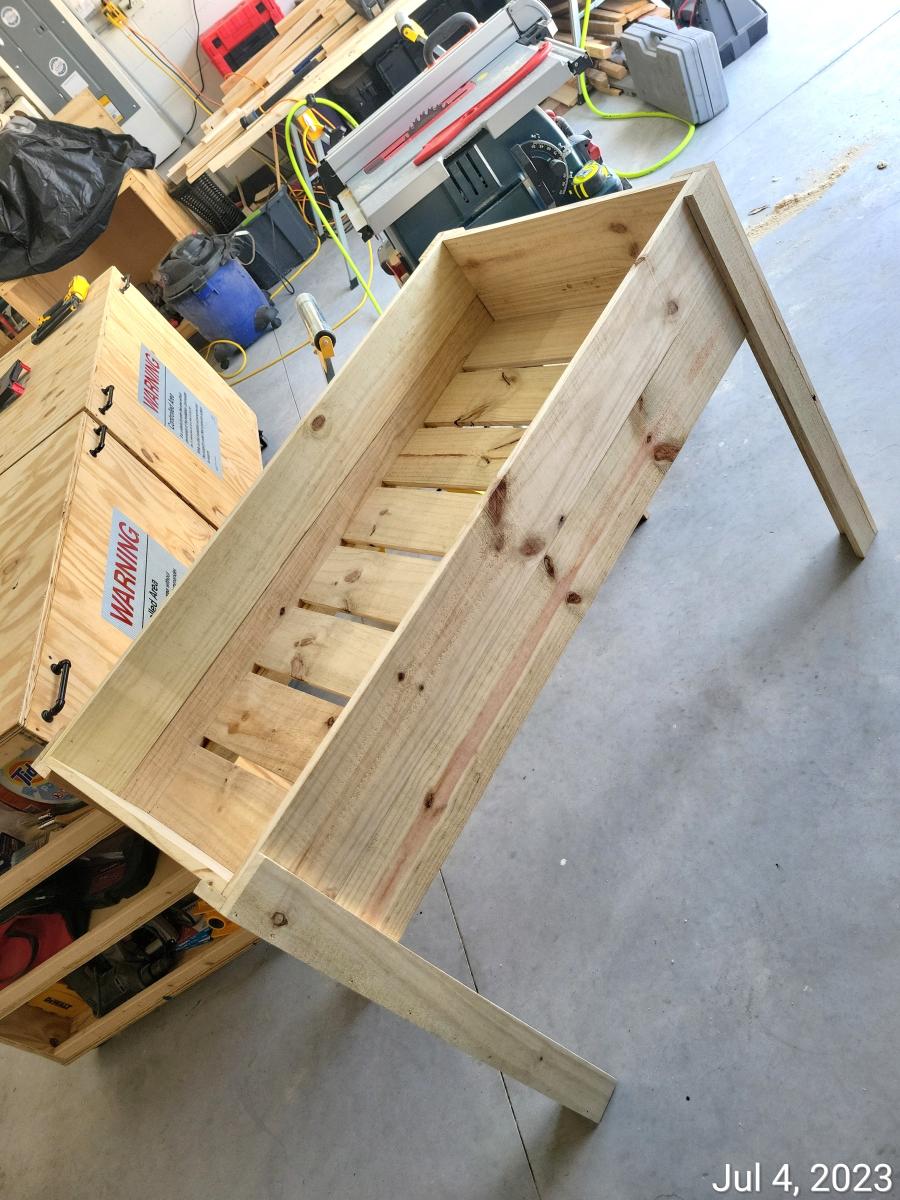
Raised planter with water hose.

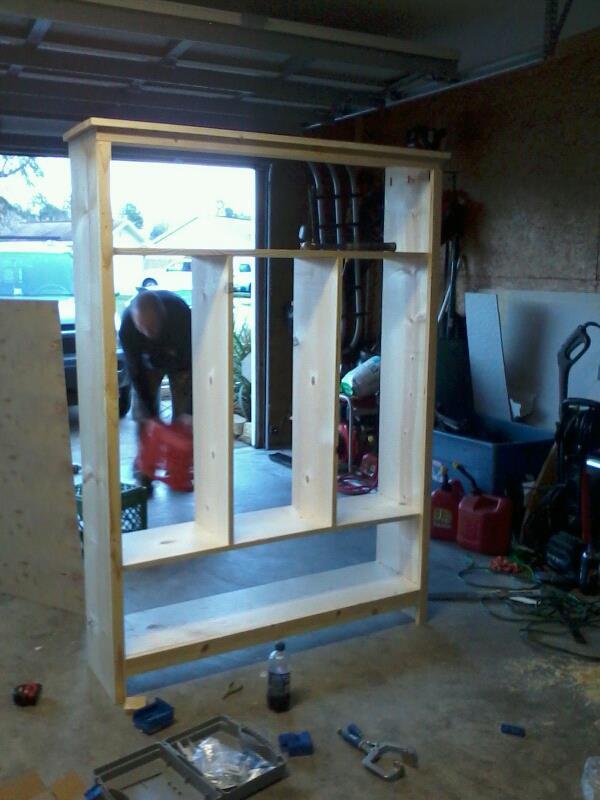
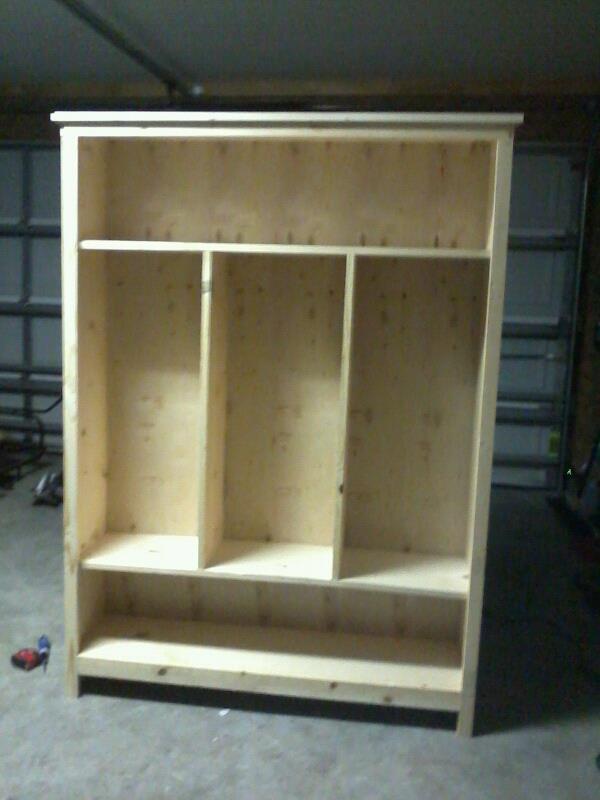
My husband built this from your storage locker plans only complaint was the 1 1/4 screws werent long enough we had to go up to 1 1/2" but after that sucess! we decided to antique paint it, Im so in love with this peice, honest opinions accepted lol i know we each have our own style and im open to tips!

Sun, 03/11/2012 - 13:44
first i sanded it so it would have a nice adhesion. I did a "ruff coat" of brown paint, i mean ruff! lol i painted on where it would have certainly needed 2/3 coats to fully cover, but made it was enough to make the dark brown i wanted, after that dried i again ruff painted a green (salamander to be exact) coat ,(you could still see the brown) i took the orbital sander and 220 grit sand paper to age the locker, i literally resanded the whole thing and worked it a littler harder where i have the "damaged" places. the best part is you really cant mess up!,after i finished the sanding i cleaned it so i was able to put a glaze on it to "age" the paint i bought mocha transparent glaze by valspar it was about $16 but only used 1/2 - 2/3 of the jar......another project stash of leftovers:). I glazed in sections With the glaze i brushed it on the whole side and before i moved on to the next piece i wiped it to prevent it becoming to "finished", on the insides i brushed the glaze on two pieces (say one wall and the bench of that locker) and wiped the first on then the other part and then moved on. Overall i was looking to make a piece that you would find at grandmas old farm house we are super happy with the out come honestly the pictures arent as good as it came out! Good luck and happy building:)
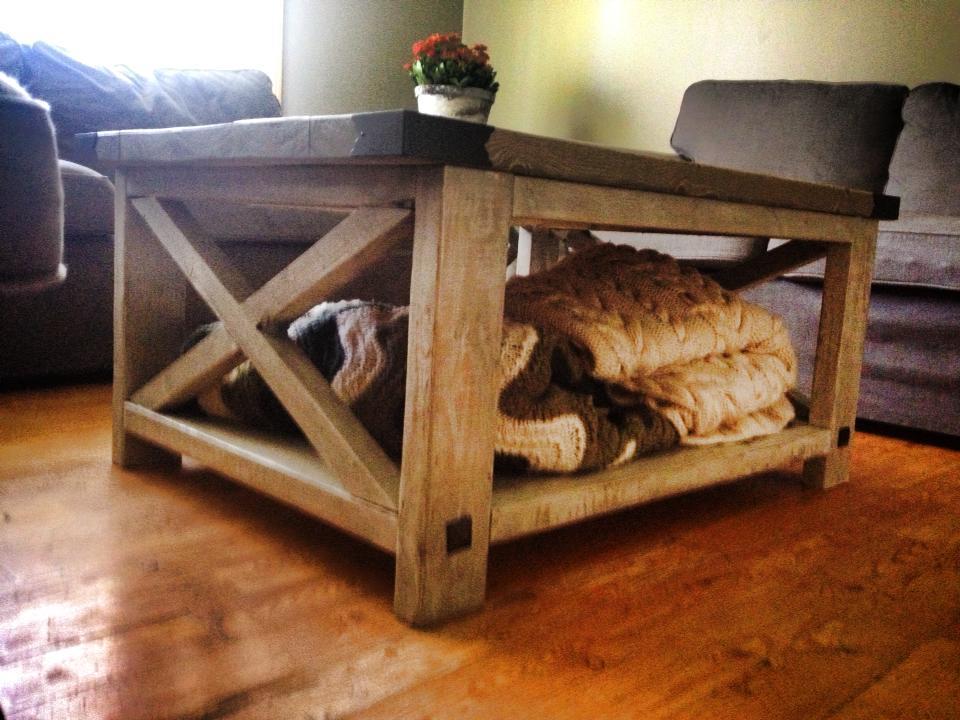
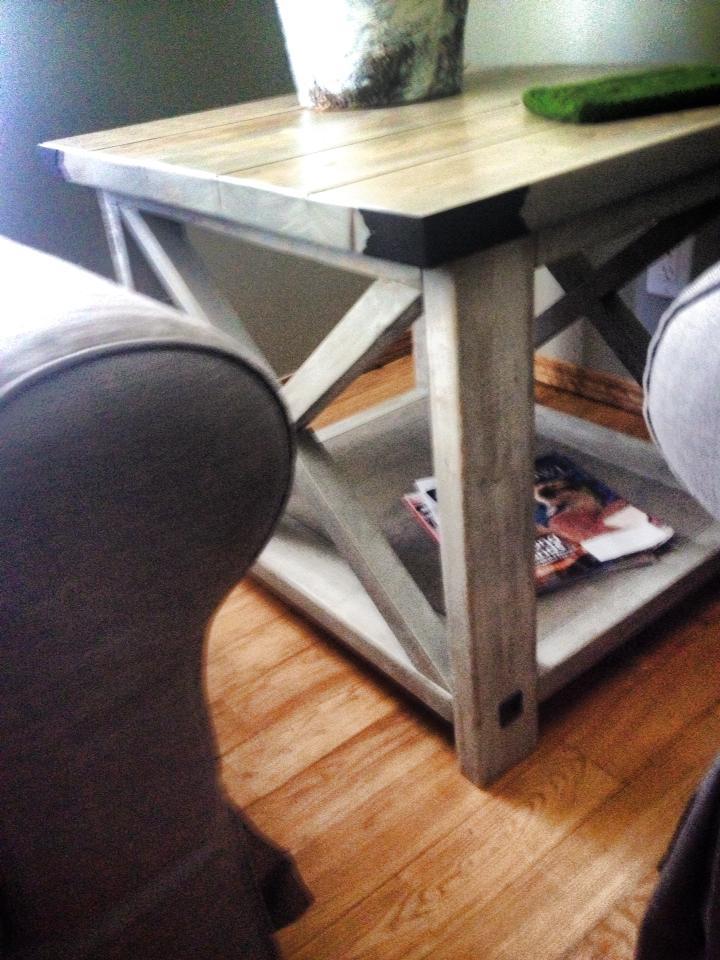
I used some flashings from Lee Valley to make these rustic tables really pop. The corners and the big brad nails really make them pop! These are also STURDY pieces of furniture as the Monster Husband has stood on them both without a wobble.

Wed, 09/23/2015 - 09:07
I know this post was awhile ago, but I am looking to create somthing similar. Where were you able to find a white oil based stain? I have called all of my local hardware stores and they all carry just water base? Did you put the dark mix stains on then, go over with white water base stain? Any clarification or assistance would be great! Thanks.
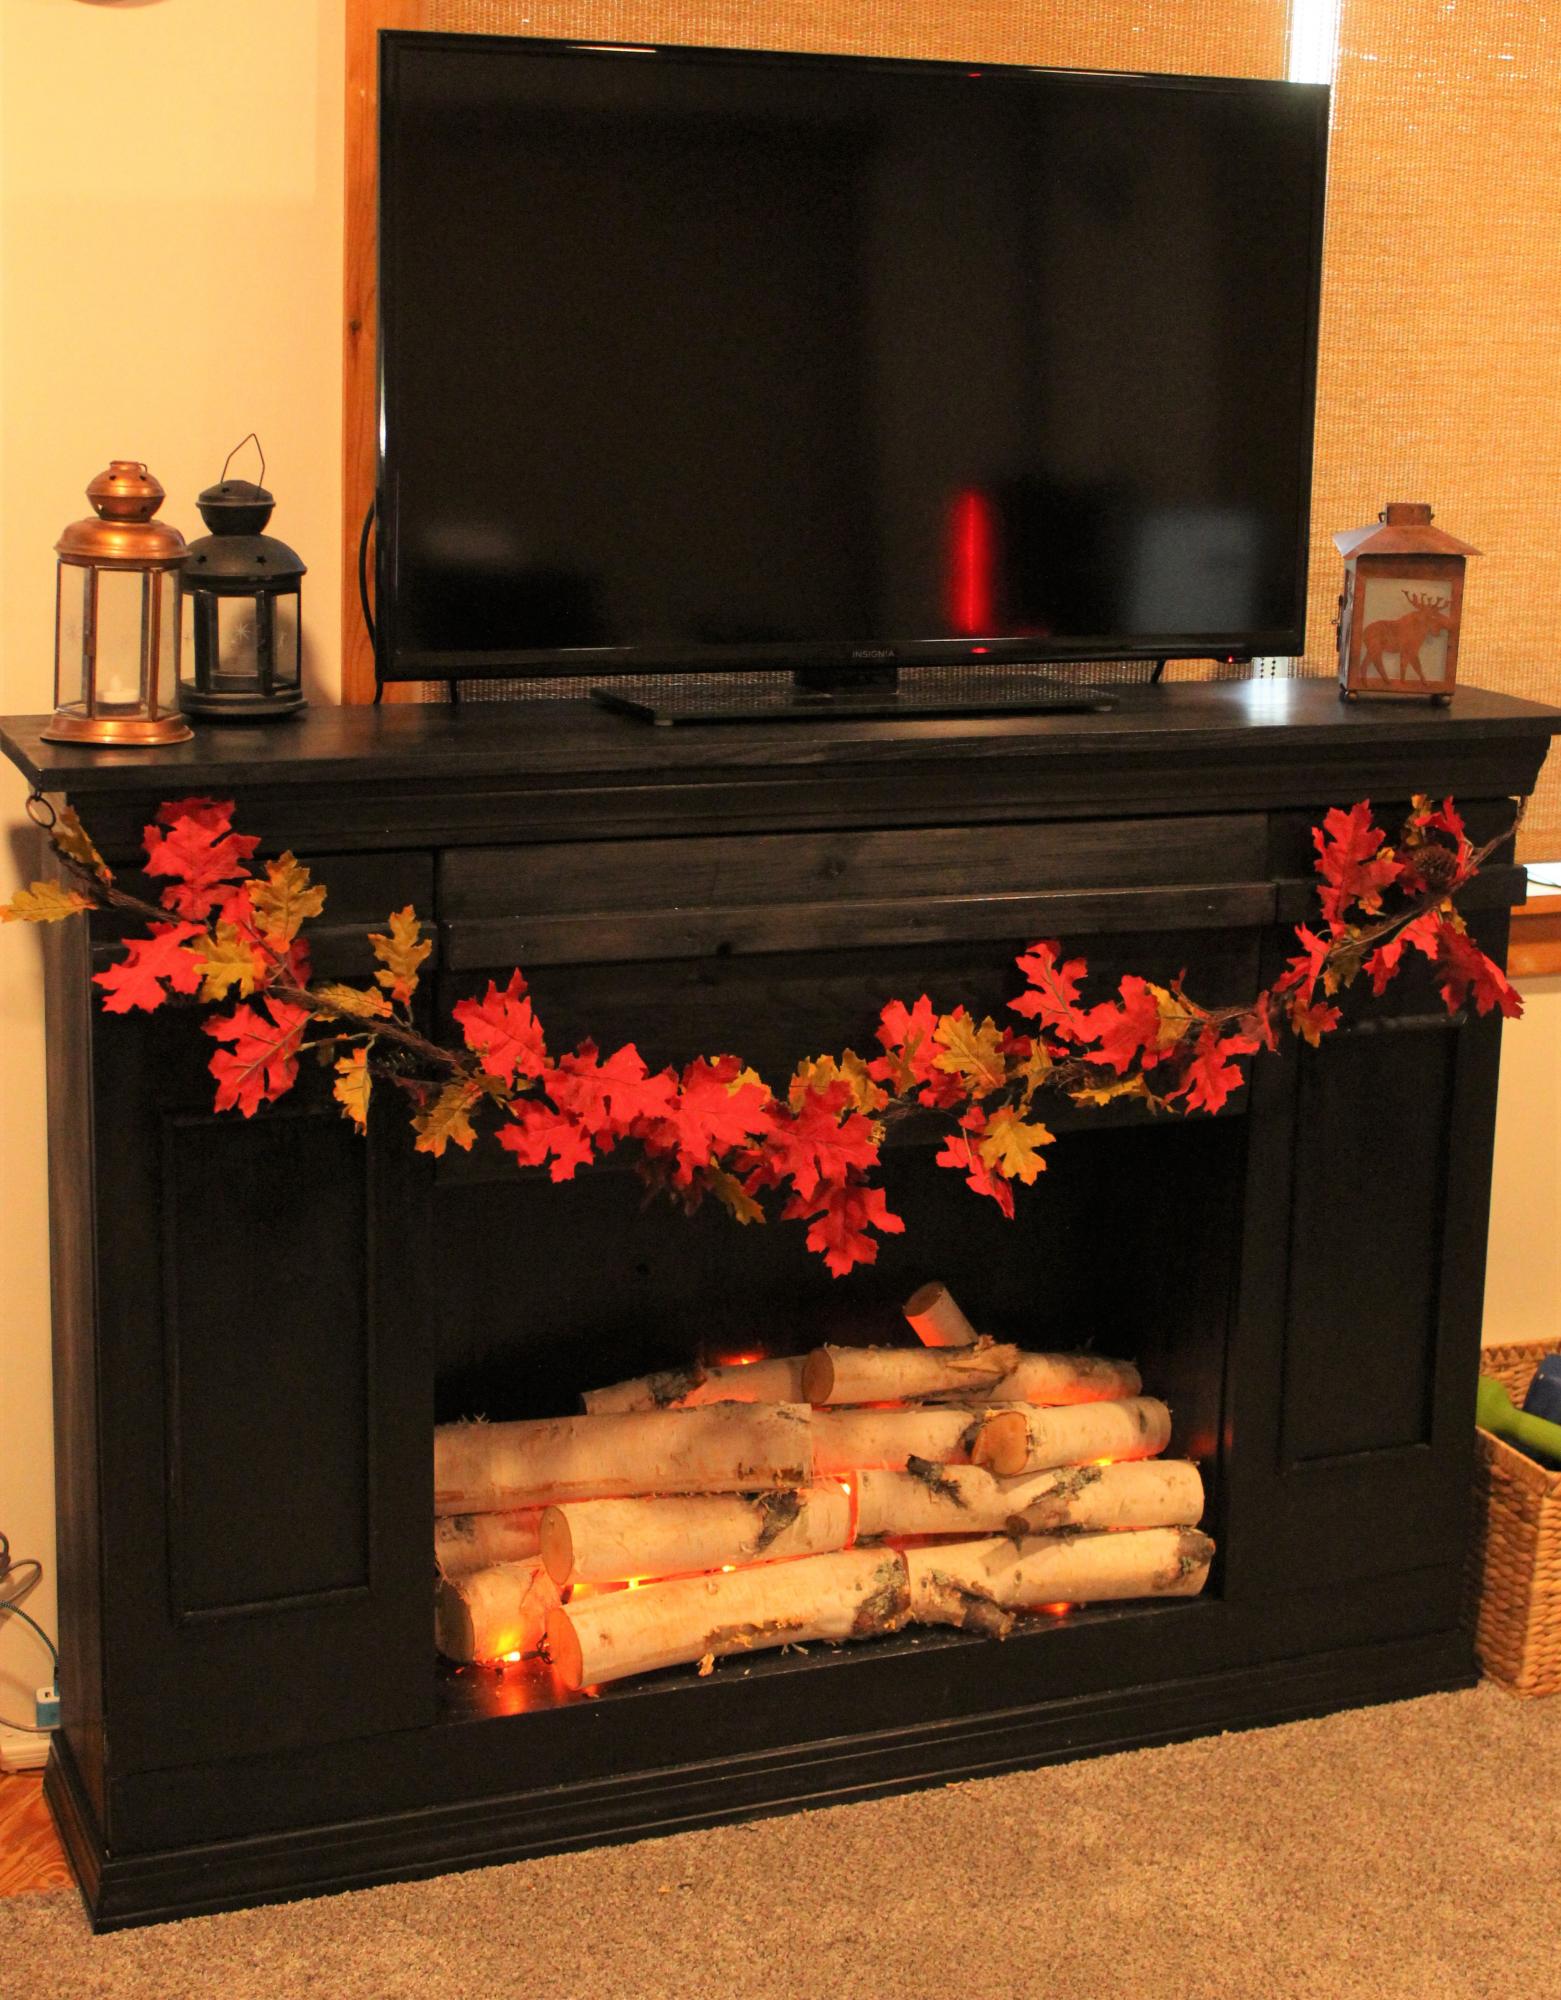
Went with a black, high gloss finish which I sanded down with 220 grit sandpaper to soften the look. Cut up a birch tree from the backyard, back-lit the logs with two strands of orange Halloween lights from the dollar store (we drilled a hole in the bottom back for the plug for the lights).
Added a remote extender so we don't have to open the front middle door in order to operate our streaming devices.
Love to be able to decorate this for the holidays--can hardly wait for Christmas!

Had tons of fun making this potting bench from Ana used a few different boards but, overall had a great time
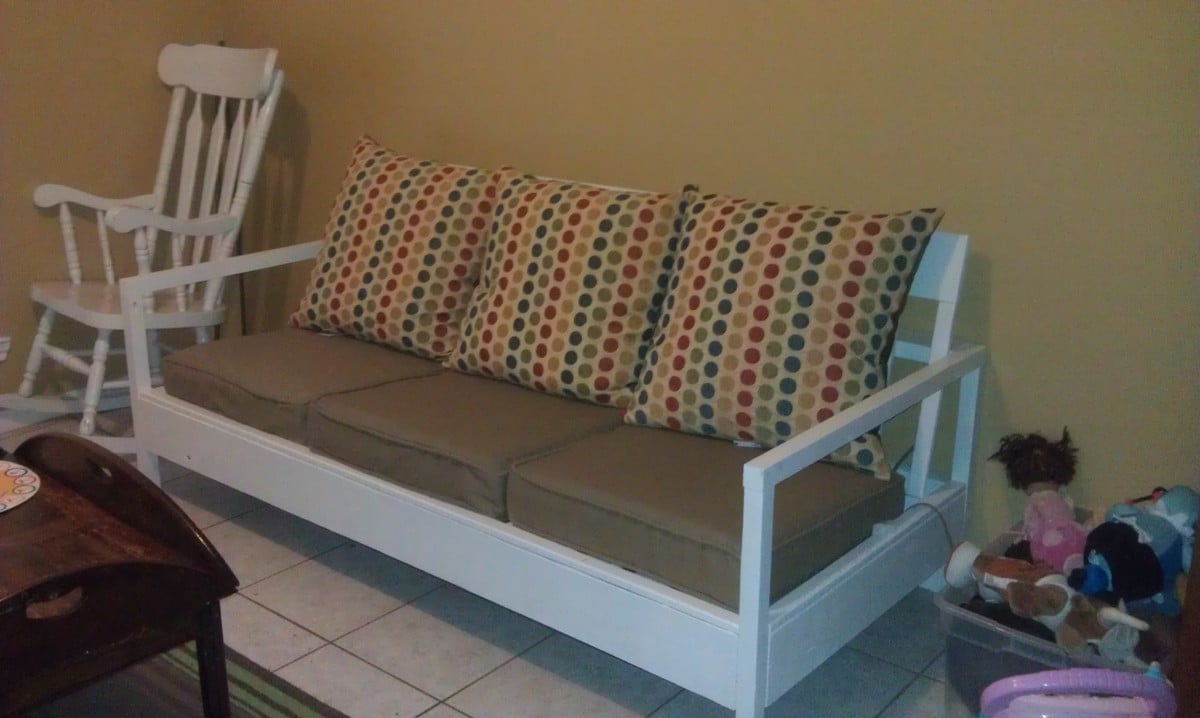
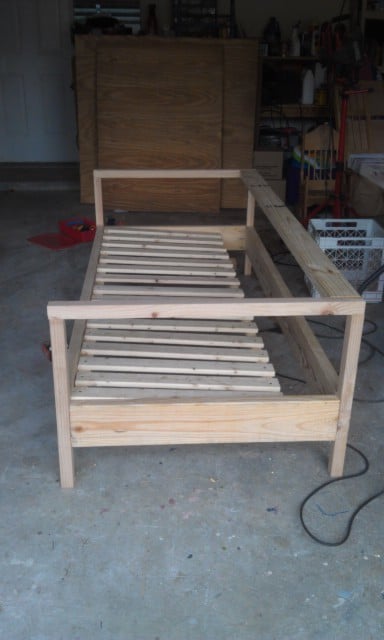
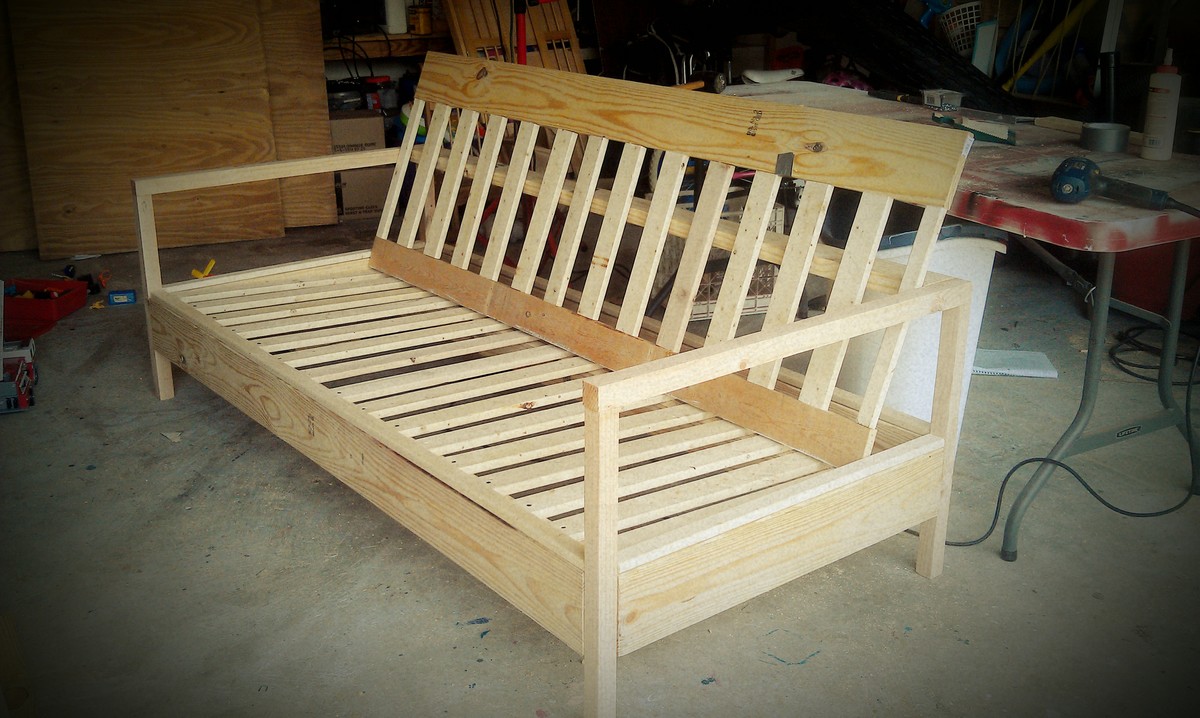
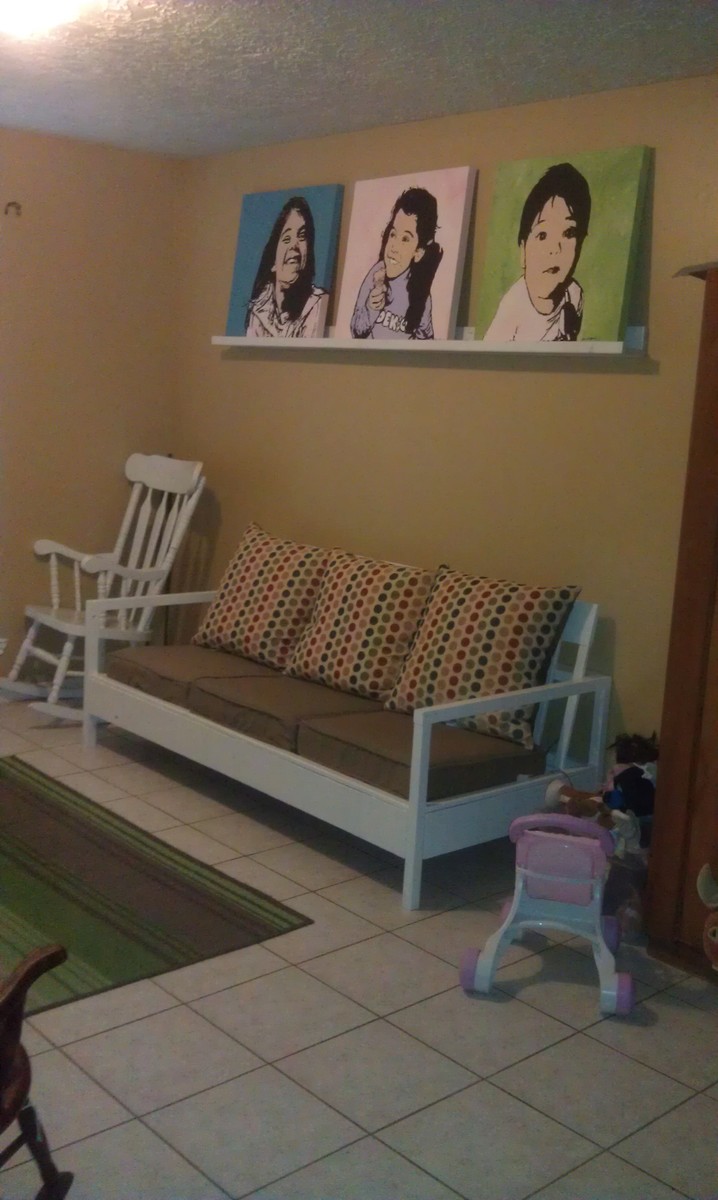
took the simple outdoor couch and brought it in.
Mon, 03/05/2012 - 12:31
Glad to see I'm not the only one who thinks this makes a good indoor piece of furniture! I'm going to make one for my son to use in his new apartment.
Mon, 03/05/2012 - 12:32
Yours turned out great! I love the fabric on the cushions!
Sat, 03/10/2012 - 12:37
I'm also glad I'm not the only one. Its perfect for our kids when they drop stuff, it'll fall on the floor instead of the abyss with regular couches. Having a bit of a time finding easy bench cushion slipcover instructions to complete this though. I have 4" foam cut to fit but not sure if I should back it with ply, add batten on the top, etc. Any suggestions?
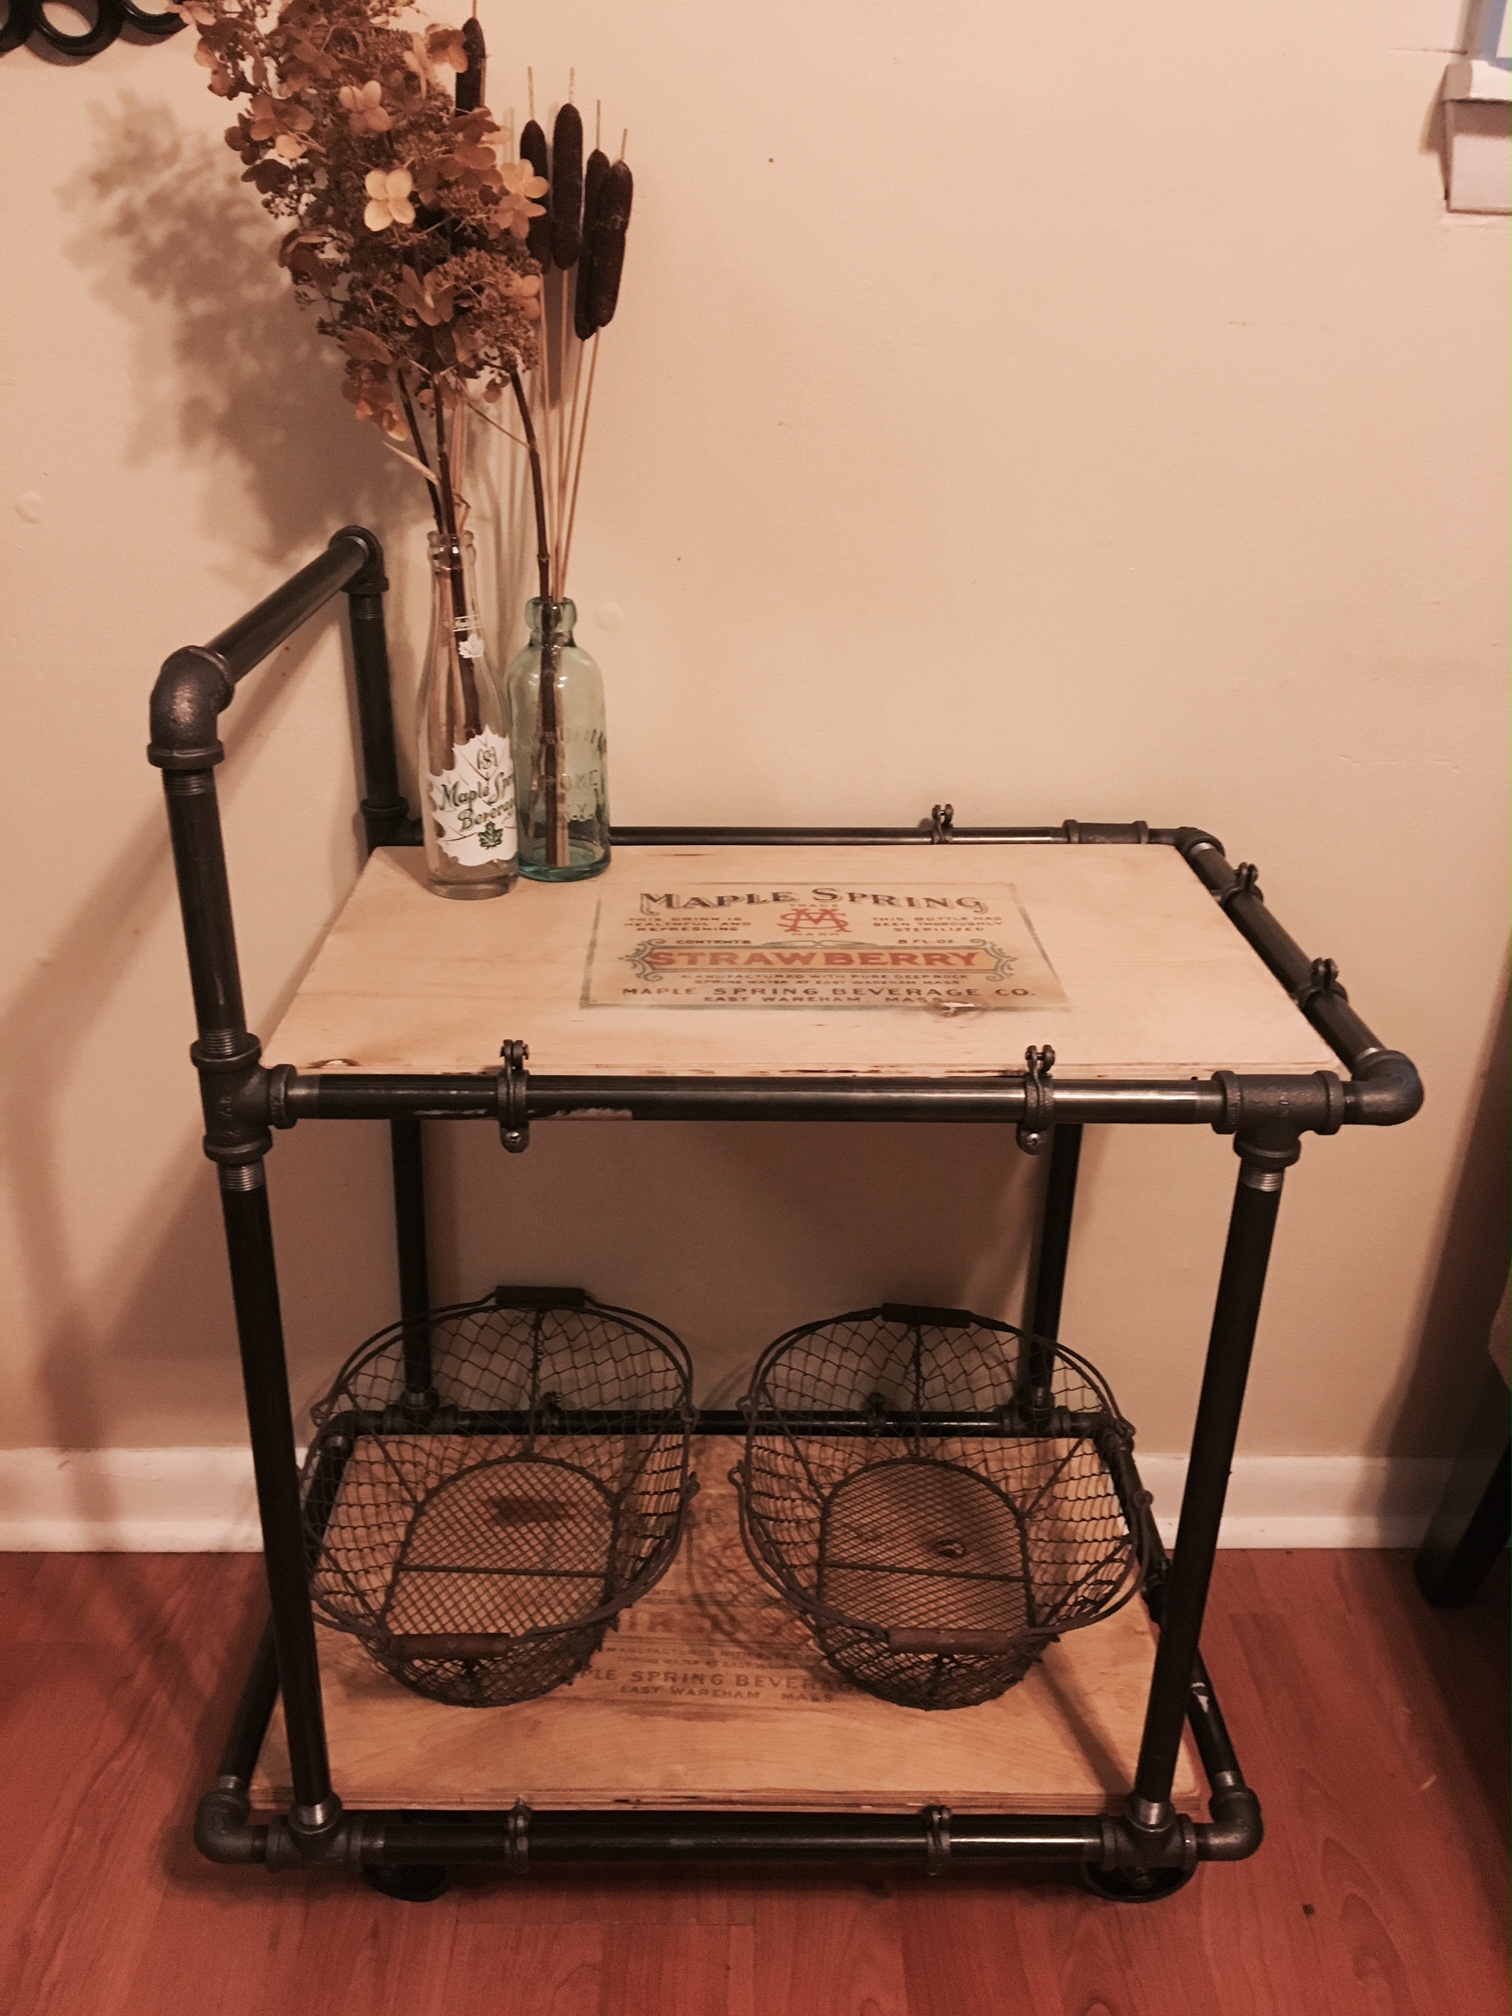
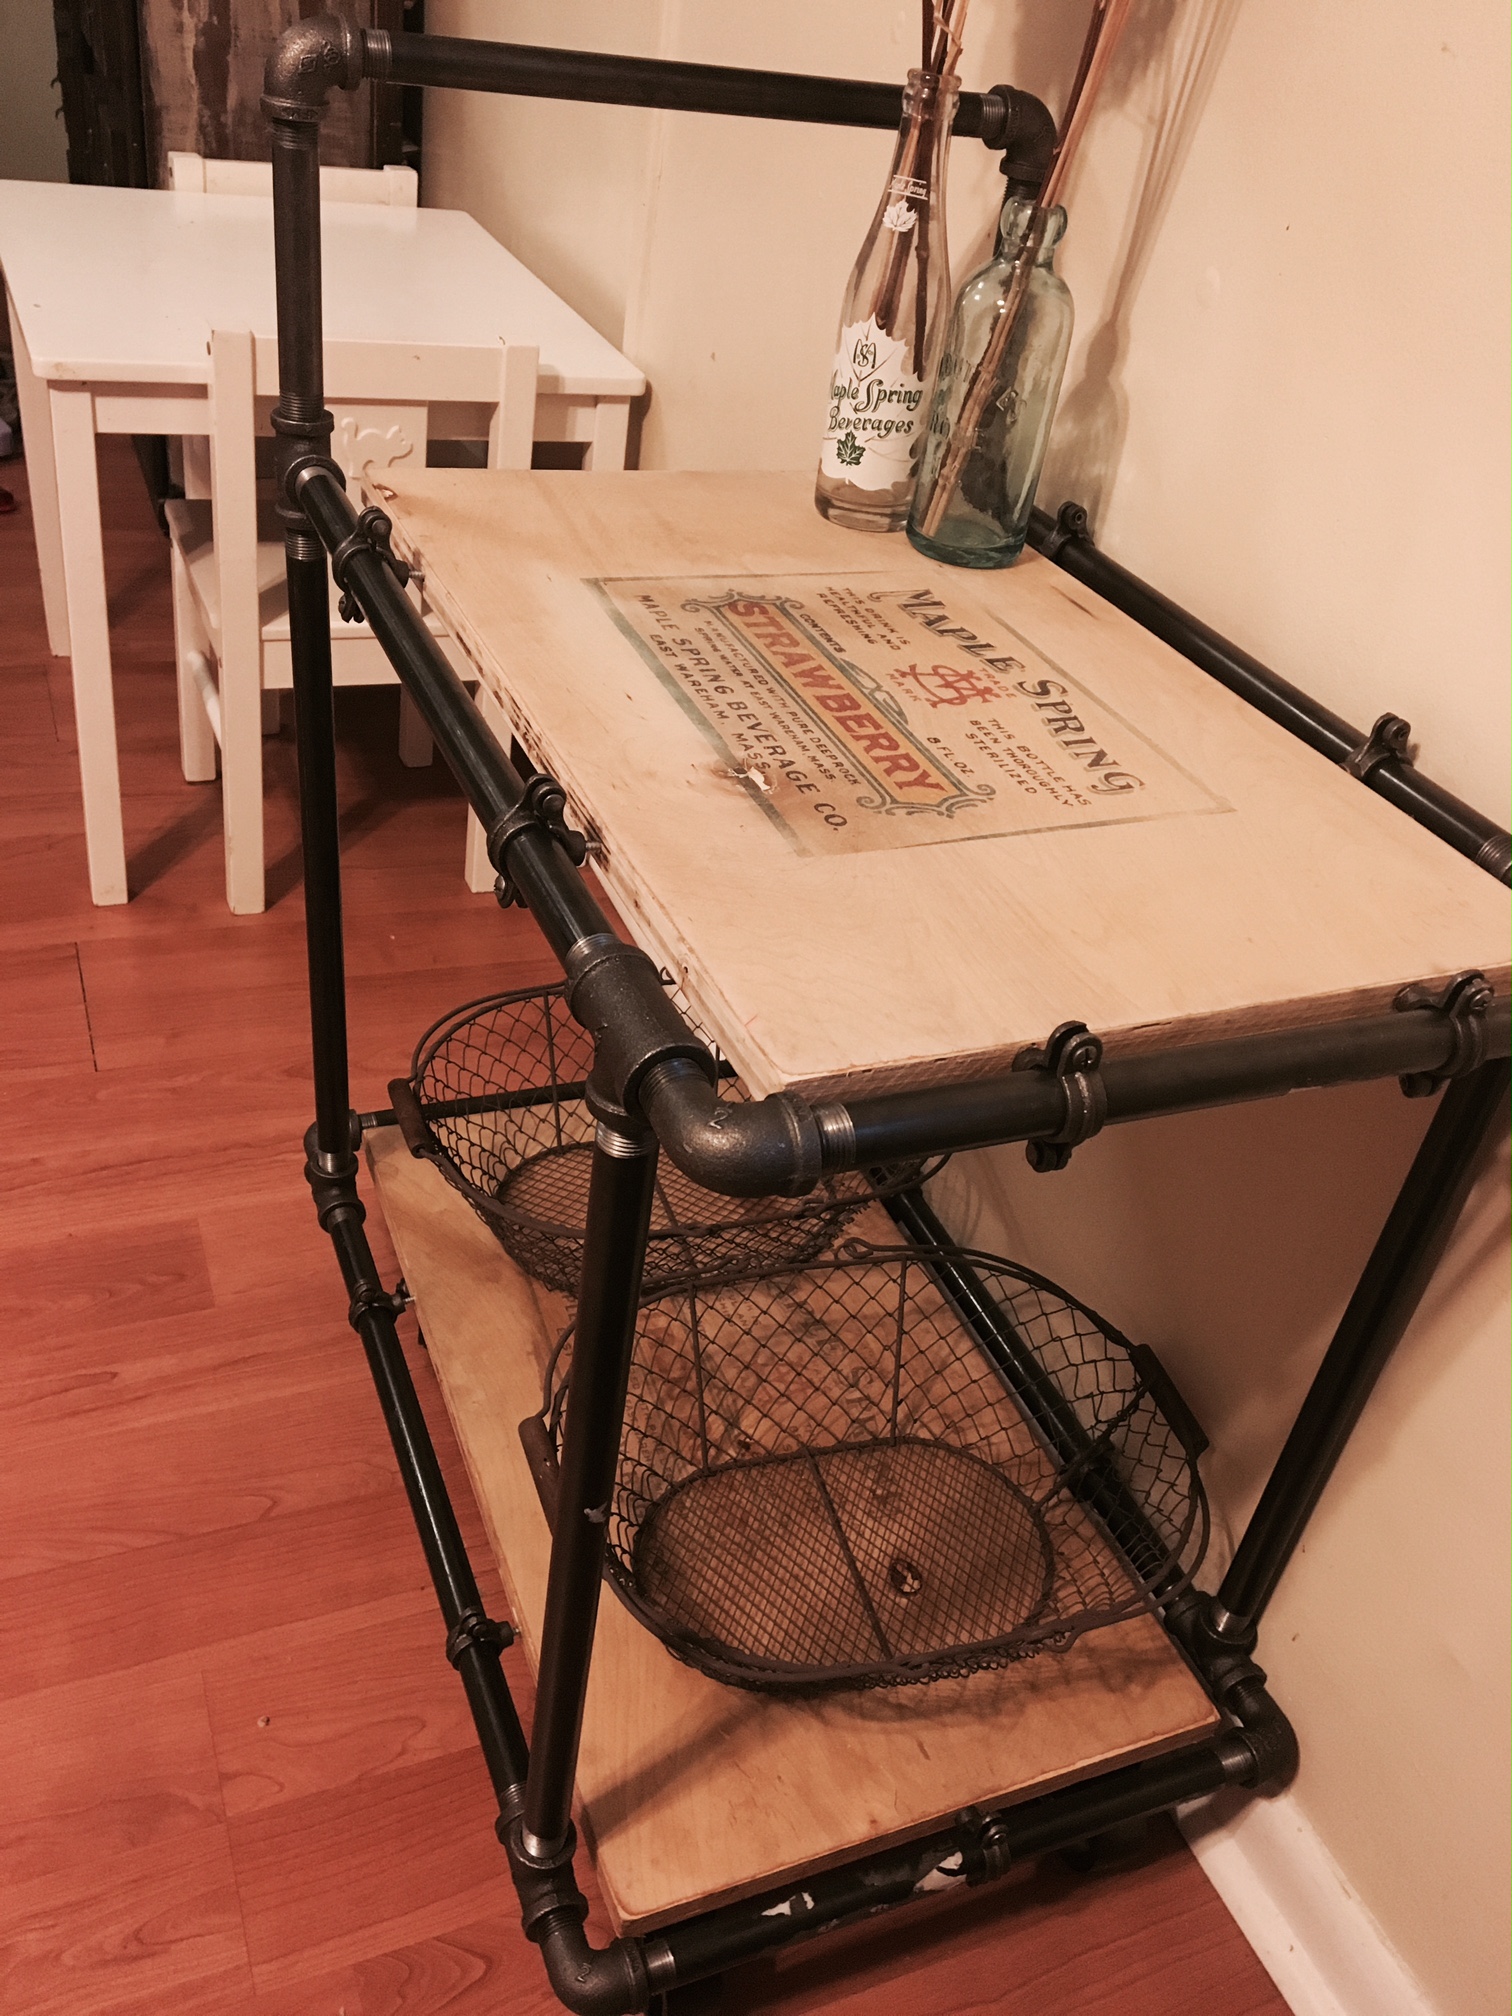
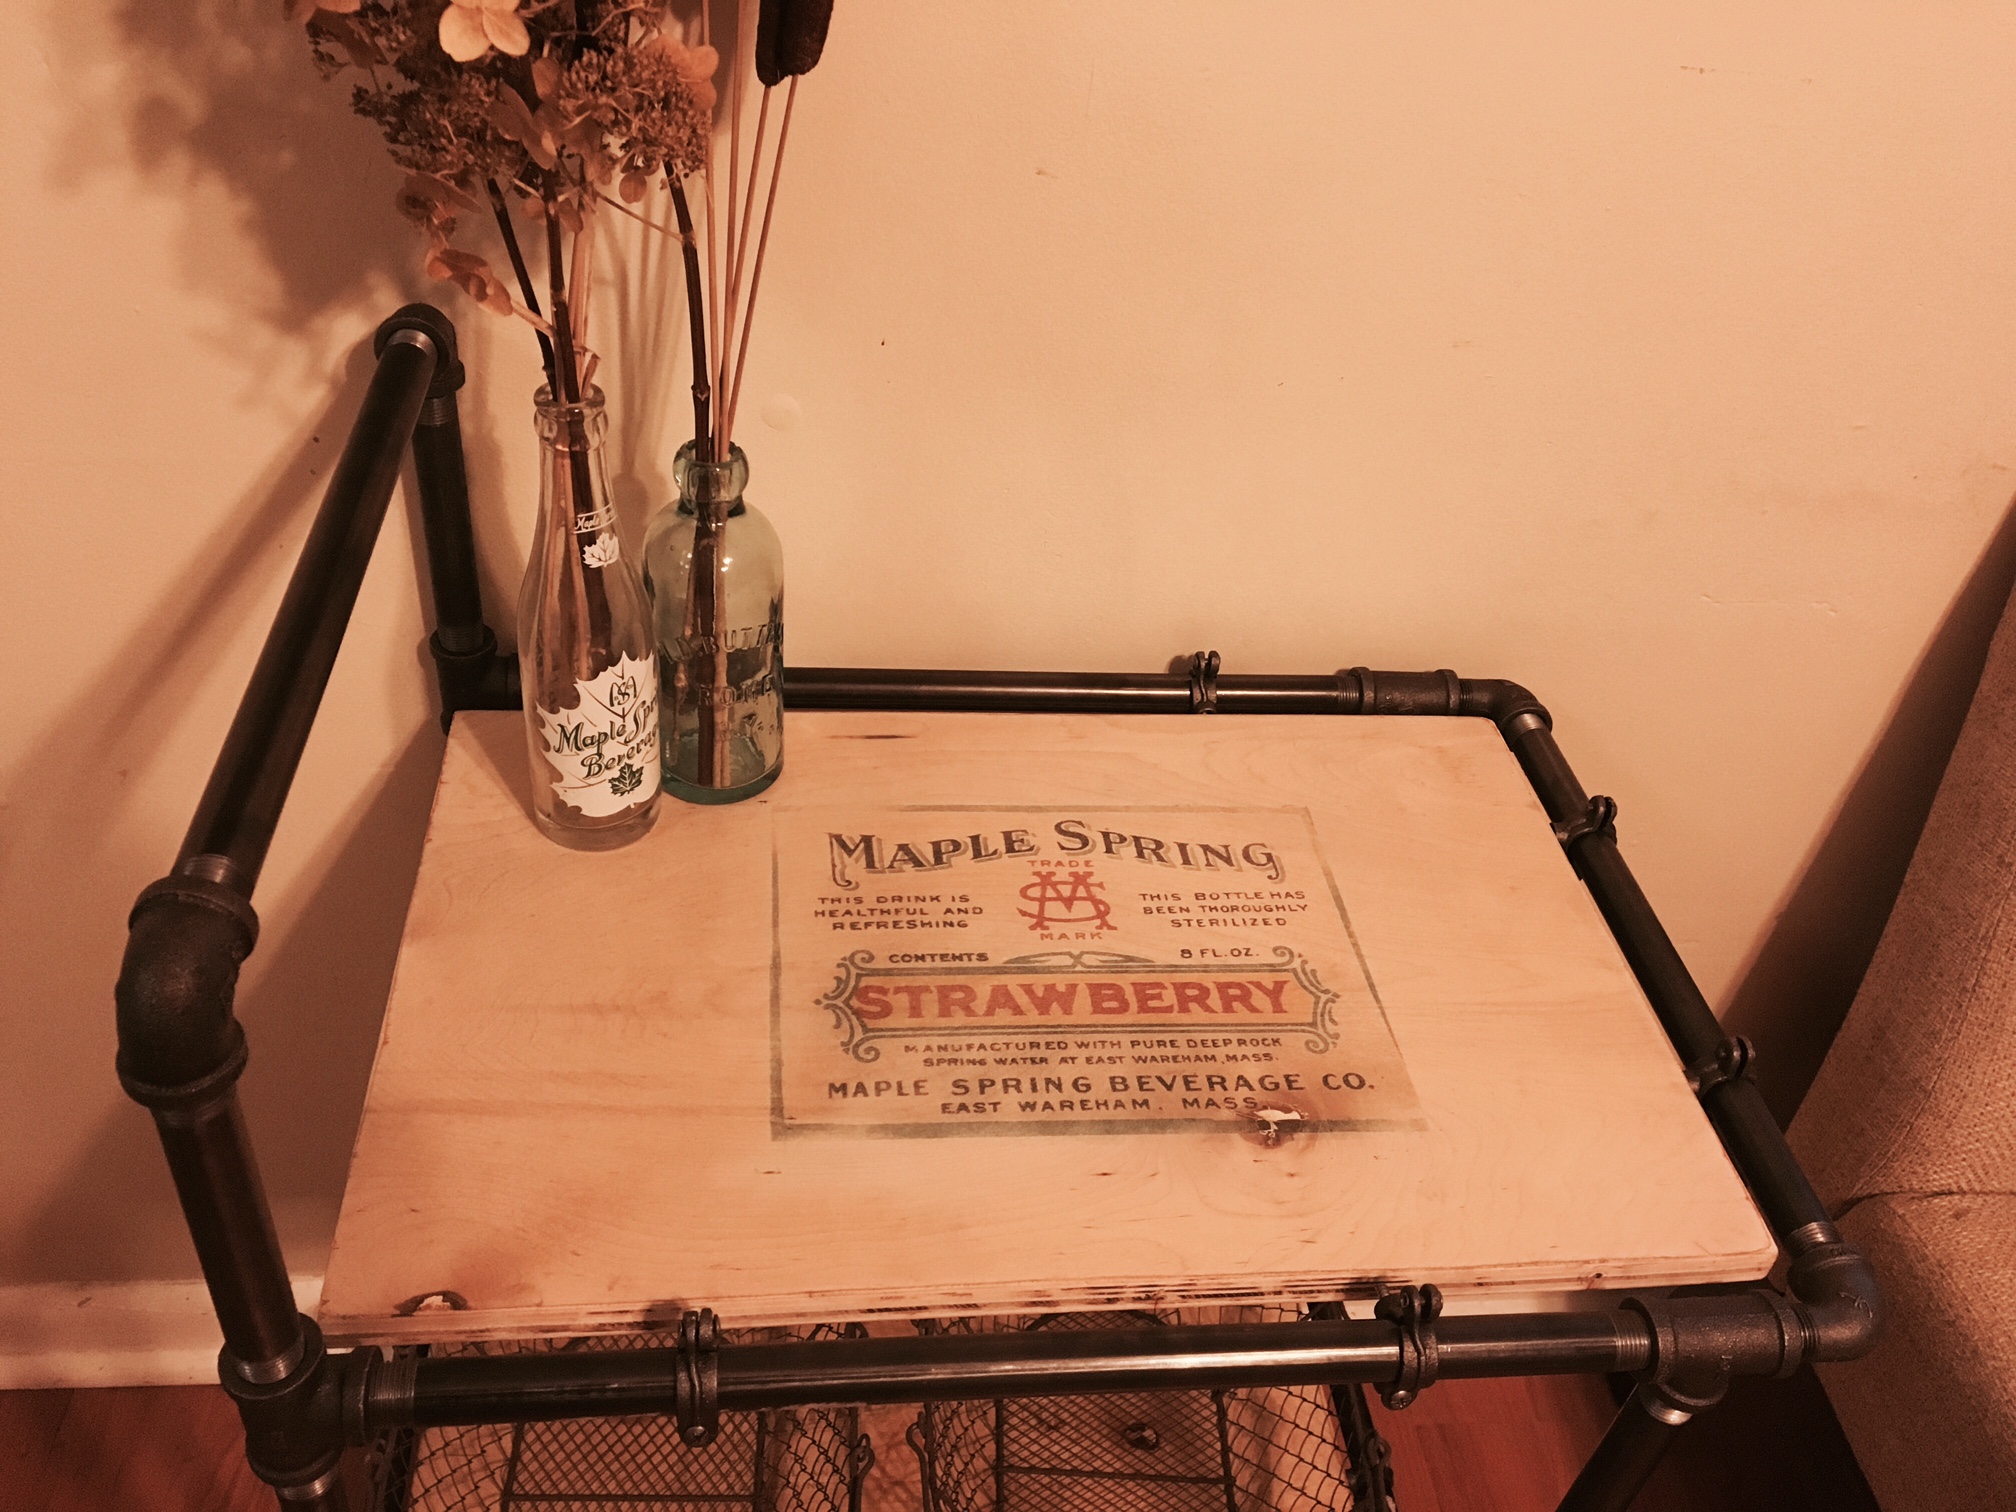
I'm calling this the "Clean Up Cart". You know how your kids toys always migrate into the living room? I wanted baskets I could toss them in and carry to their room at the end of the day. Then one day after walking back and forth across the house a million times cleaning toys up, I decided the baskets needed to live on a cart I could move around to the mess. So I envisioned this industrial pipe and wood cart. I used Ana and That's My Letter's Pipe and Wood bed to figure out how to make it happen. The key is using the splint ring pipe hanger to attach the wood. See that antique advertising sign? That design is from an antique soda bottle label from an old company that was down the street from where I grew up. I always loved the old soda bottling barn so when I found this label I had to come up with something to use it. This was the perfect chance. I followed picture to wood transfer instructions from the Graphics Fairy using the freezer paper method. The pipe comes from supply house dot com. I used: 2 – 1/2 “ by 14” black nipple 8 – 1/2” by 18” black nipple 8 – ½” black tee 2 – ½” black 90 degree elbow 6 – ½” black 90 degree street elbow 14 – 1/2 “ black split ring extension hanger Its a learning process figuring out how to screw it all together. Some things will unscrew as you screw others in. Basically, I started at one end and went around in a circle until I got back to my beginning. Install all of your split ring extension hangers before you try to attach your board. You wouldn't be able to get enough clearance between the pipes to attach an opposite side after you connect one. I cut the wood to size leaving about a 1/4" gap all around it clear the connectors. If your board isn't quite reaching a side, adjust your screw in your connector. The wood is scraps of pure bond plywood I had from another project. After the transfer was dried (about 24 hours) I sealed it with beeswax. I didn't use any stain. To do the antique ad transfer, I took a picture of the old soda bottle label laid flat. I reversed it in Microsoft paint. Then I printed it onto the waxy side of freezer paper. Then you just simply lay it ink side down onto your wood being careful not to move it at all once you place it (that would make it blurry). I used painters tape to hold it in place. Score the back of it to really get the ink in, I used a credit card. If you lightly wet the wood before it will take the ink better and make it darker. I was happy with the color without doing this in my test piece so I didn't. Wait a while for the ink to dry (I waited 24 hours) and then you could spray with poly or I used beeswax to seal it.