Thank you!

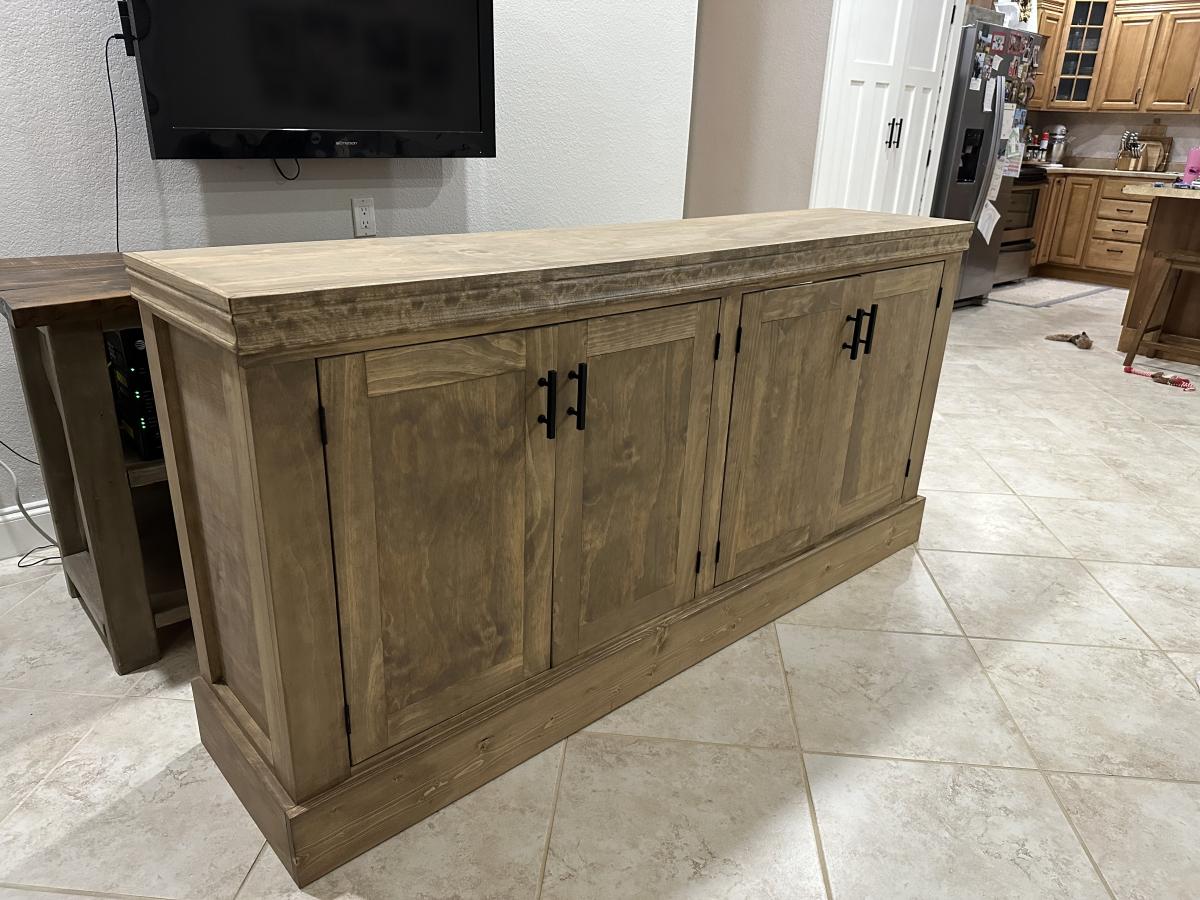
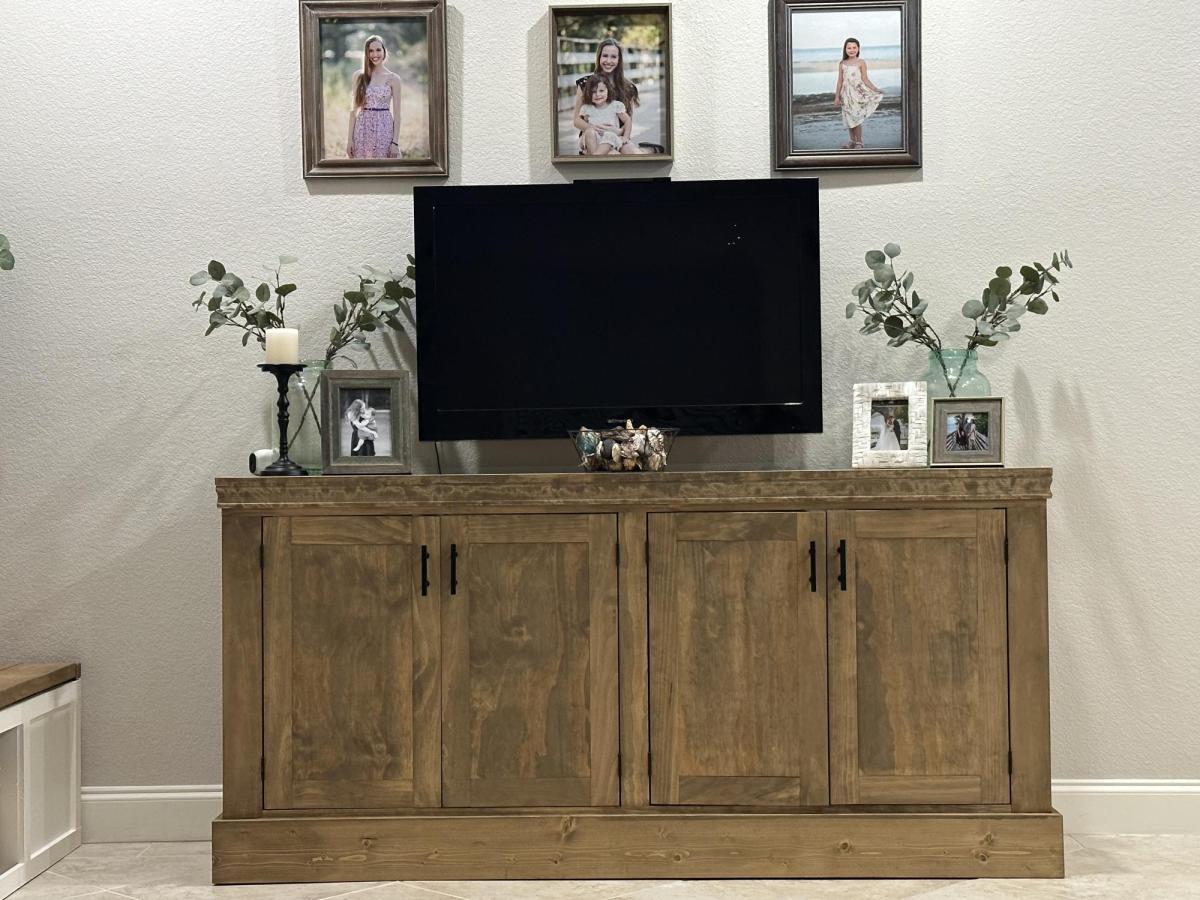
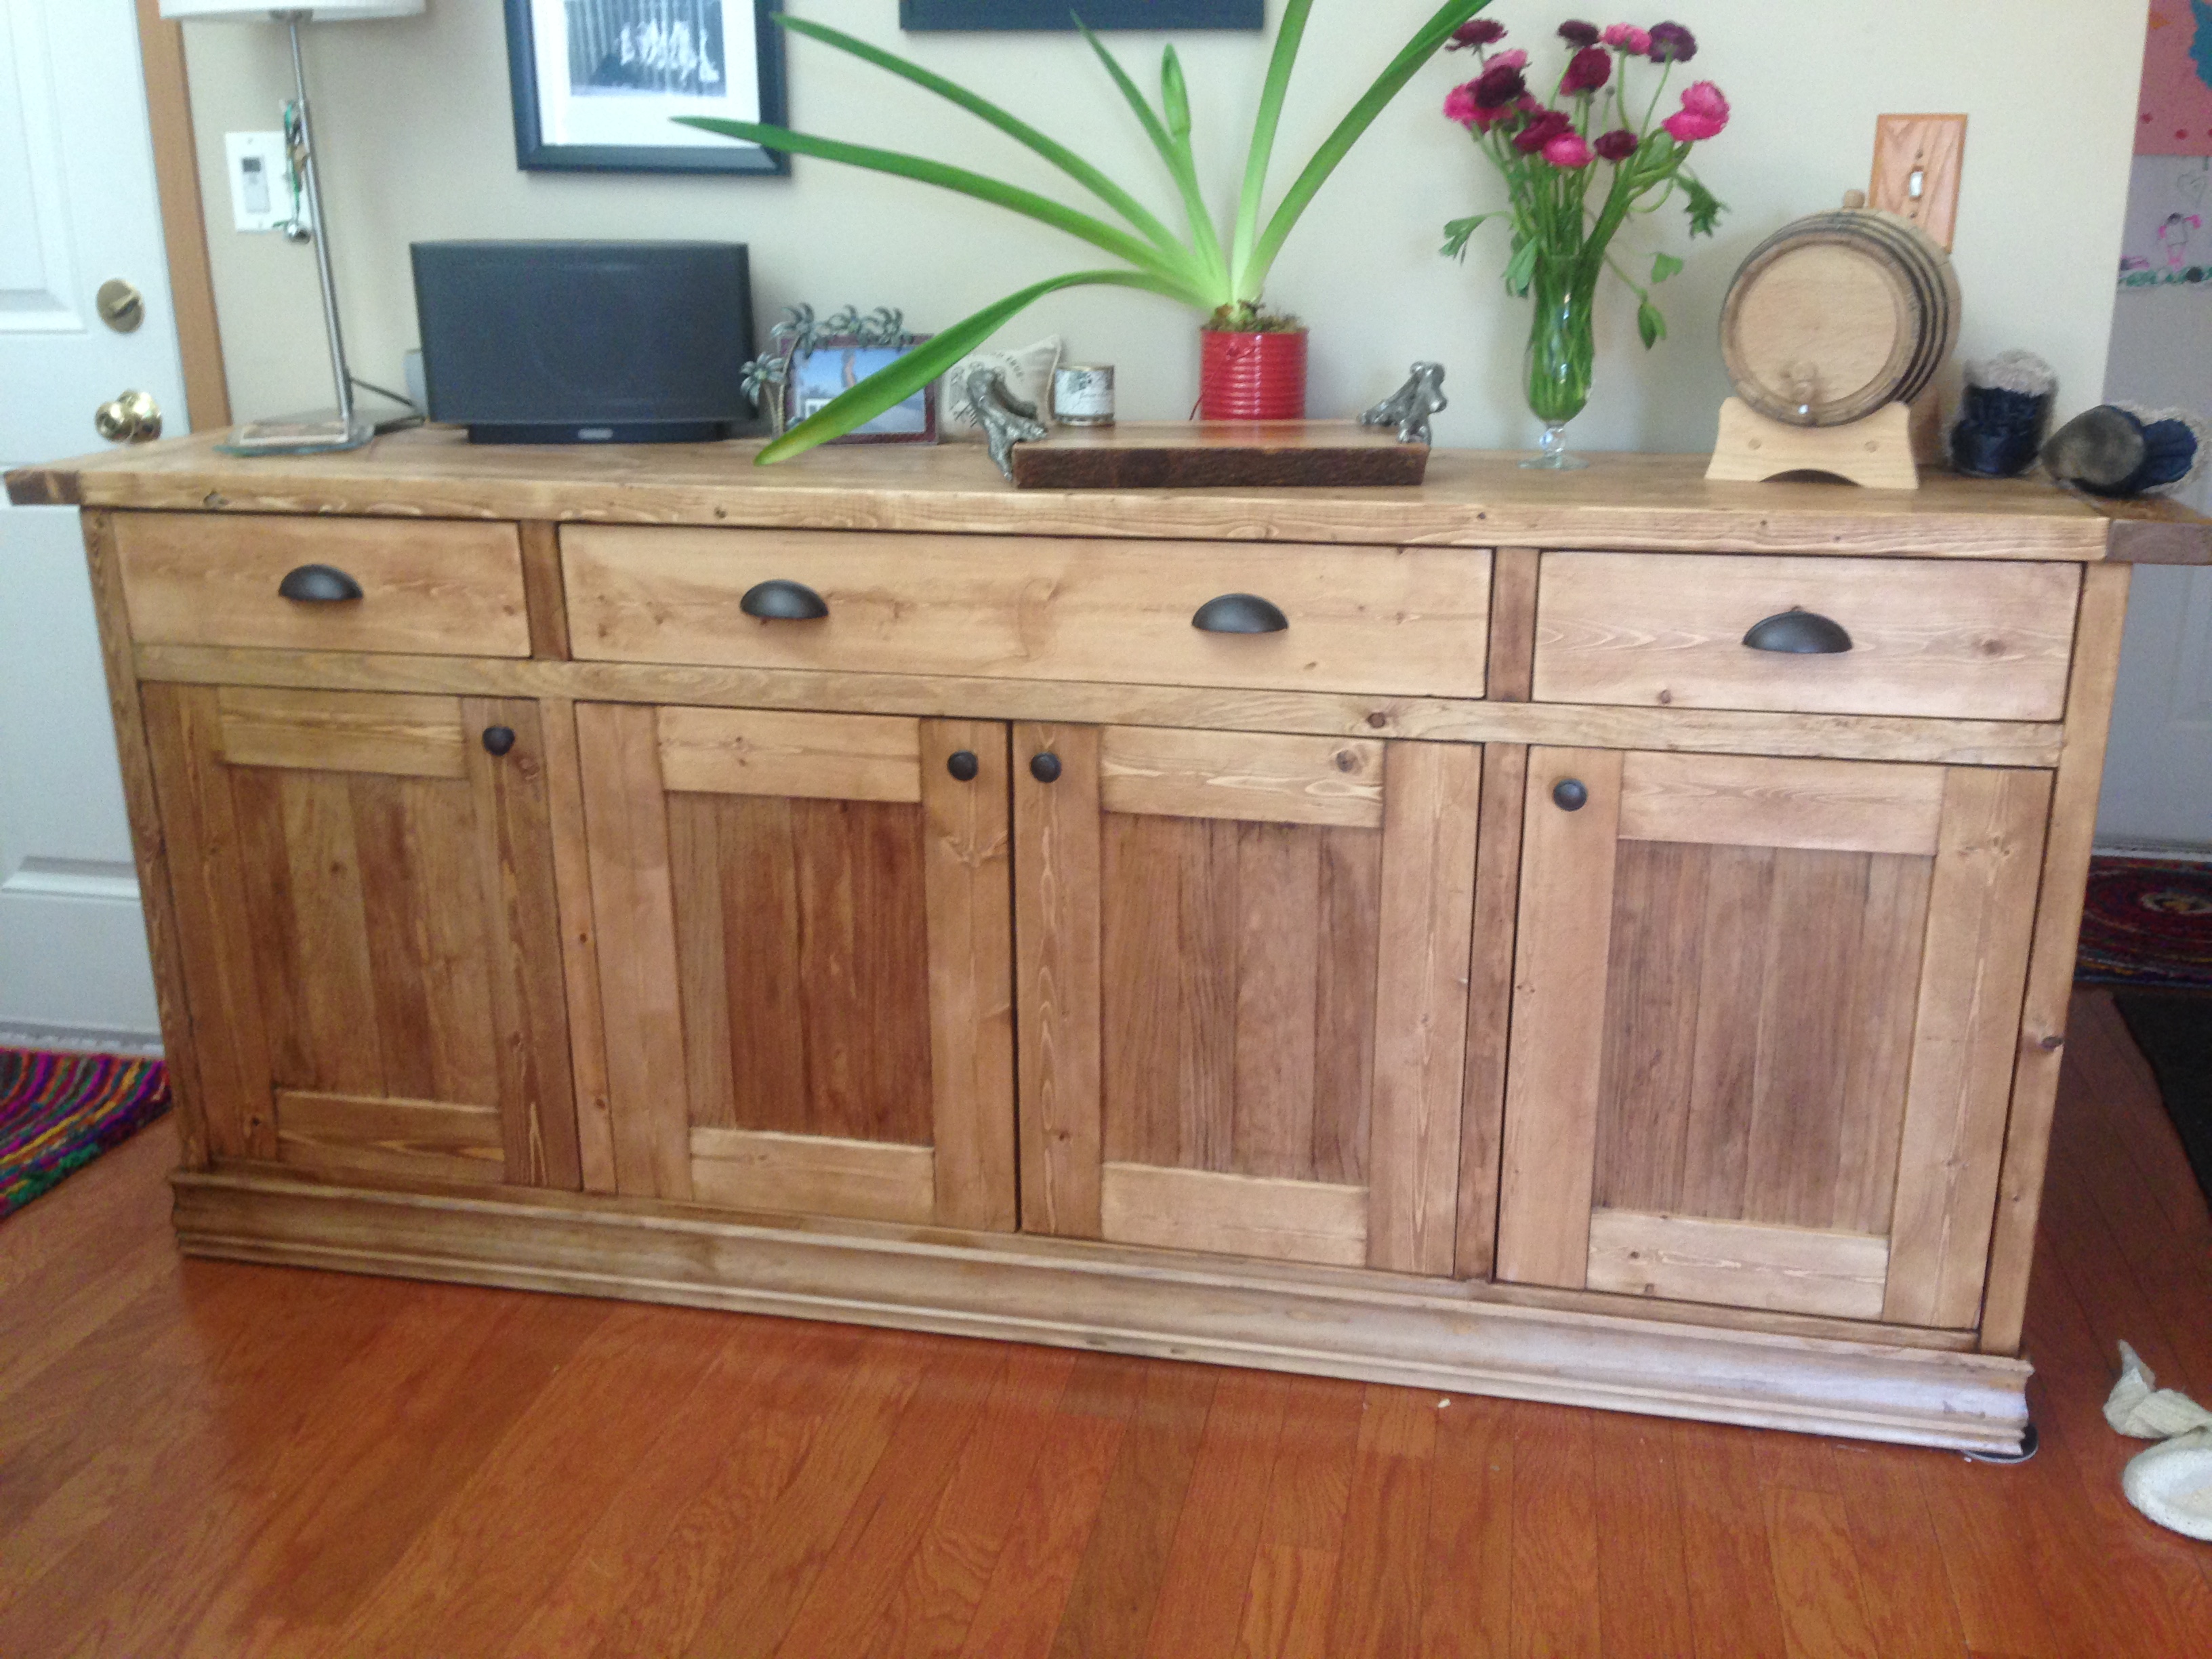
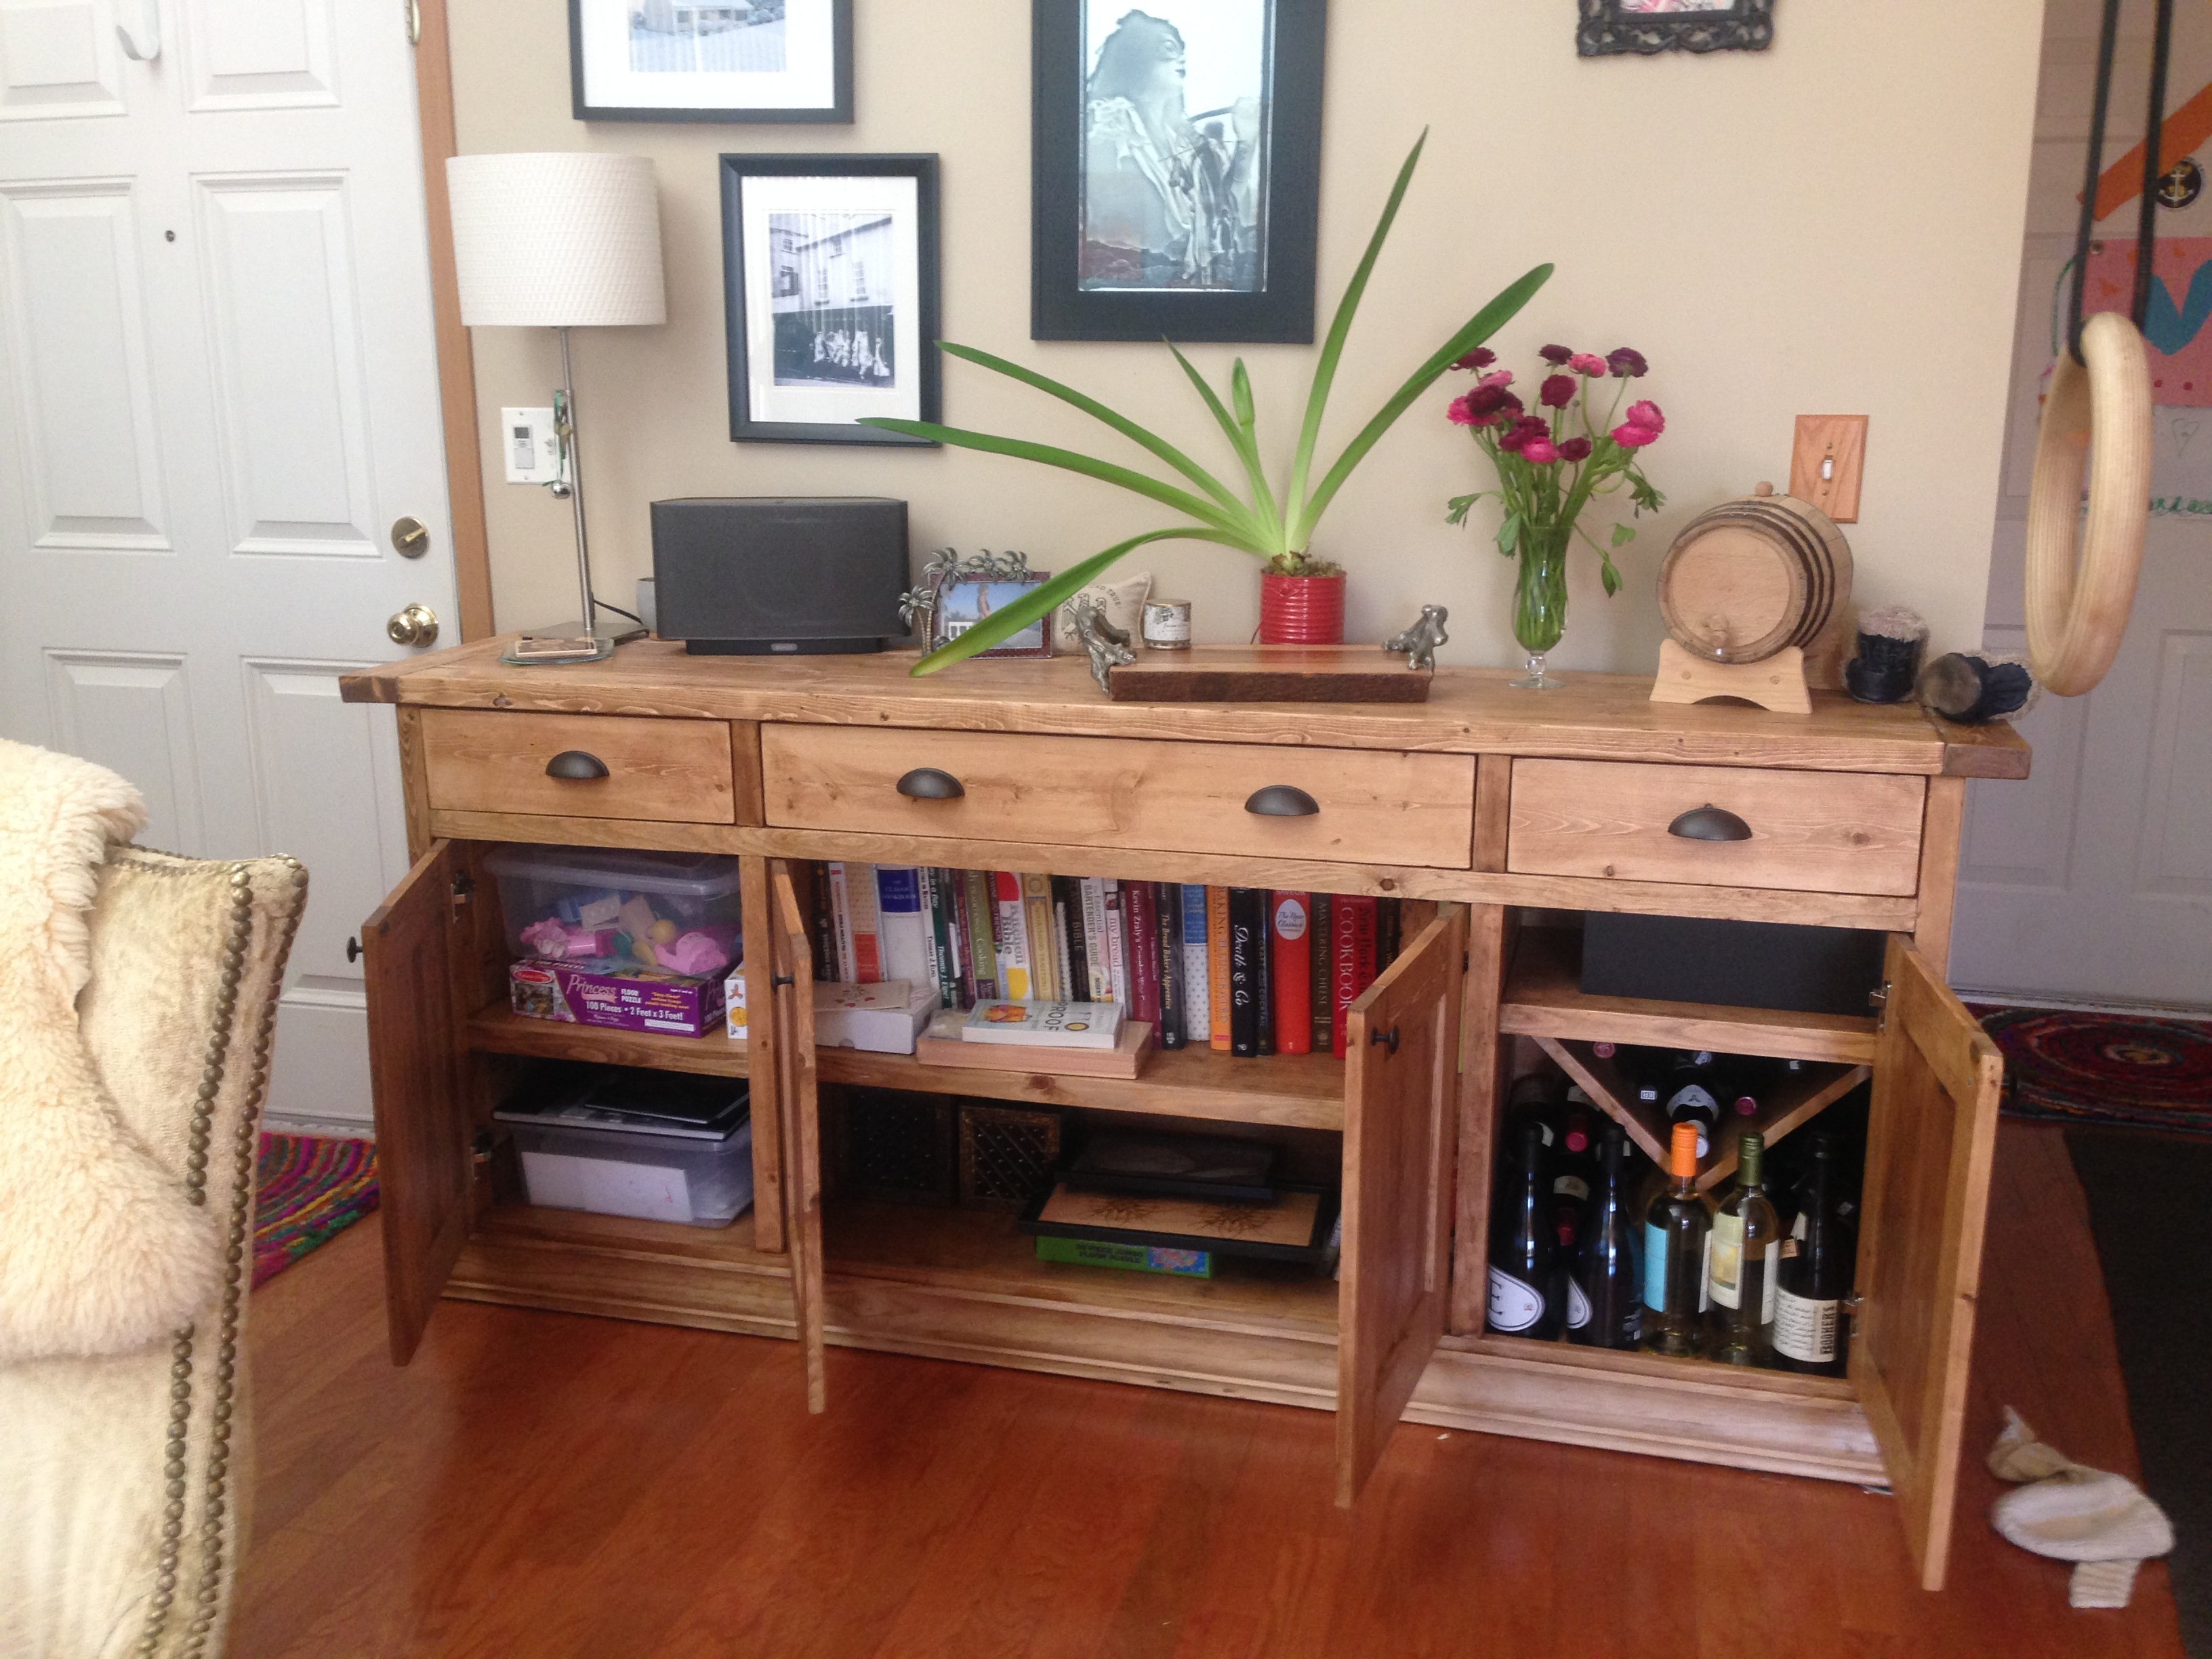
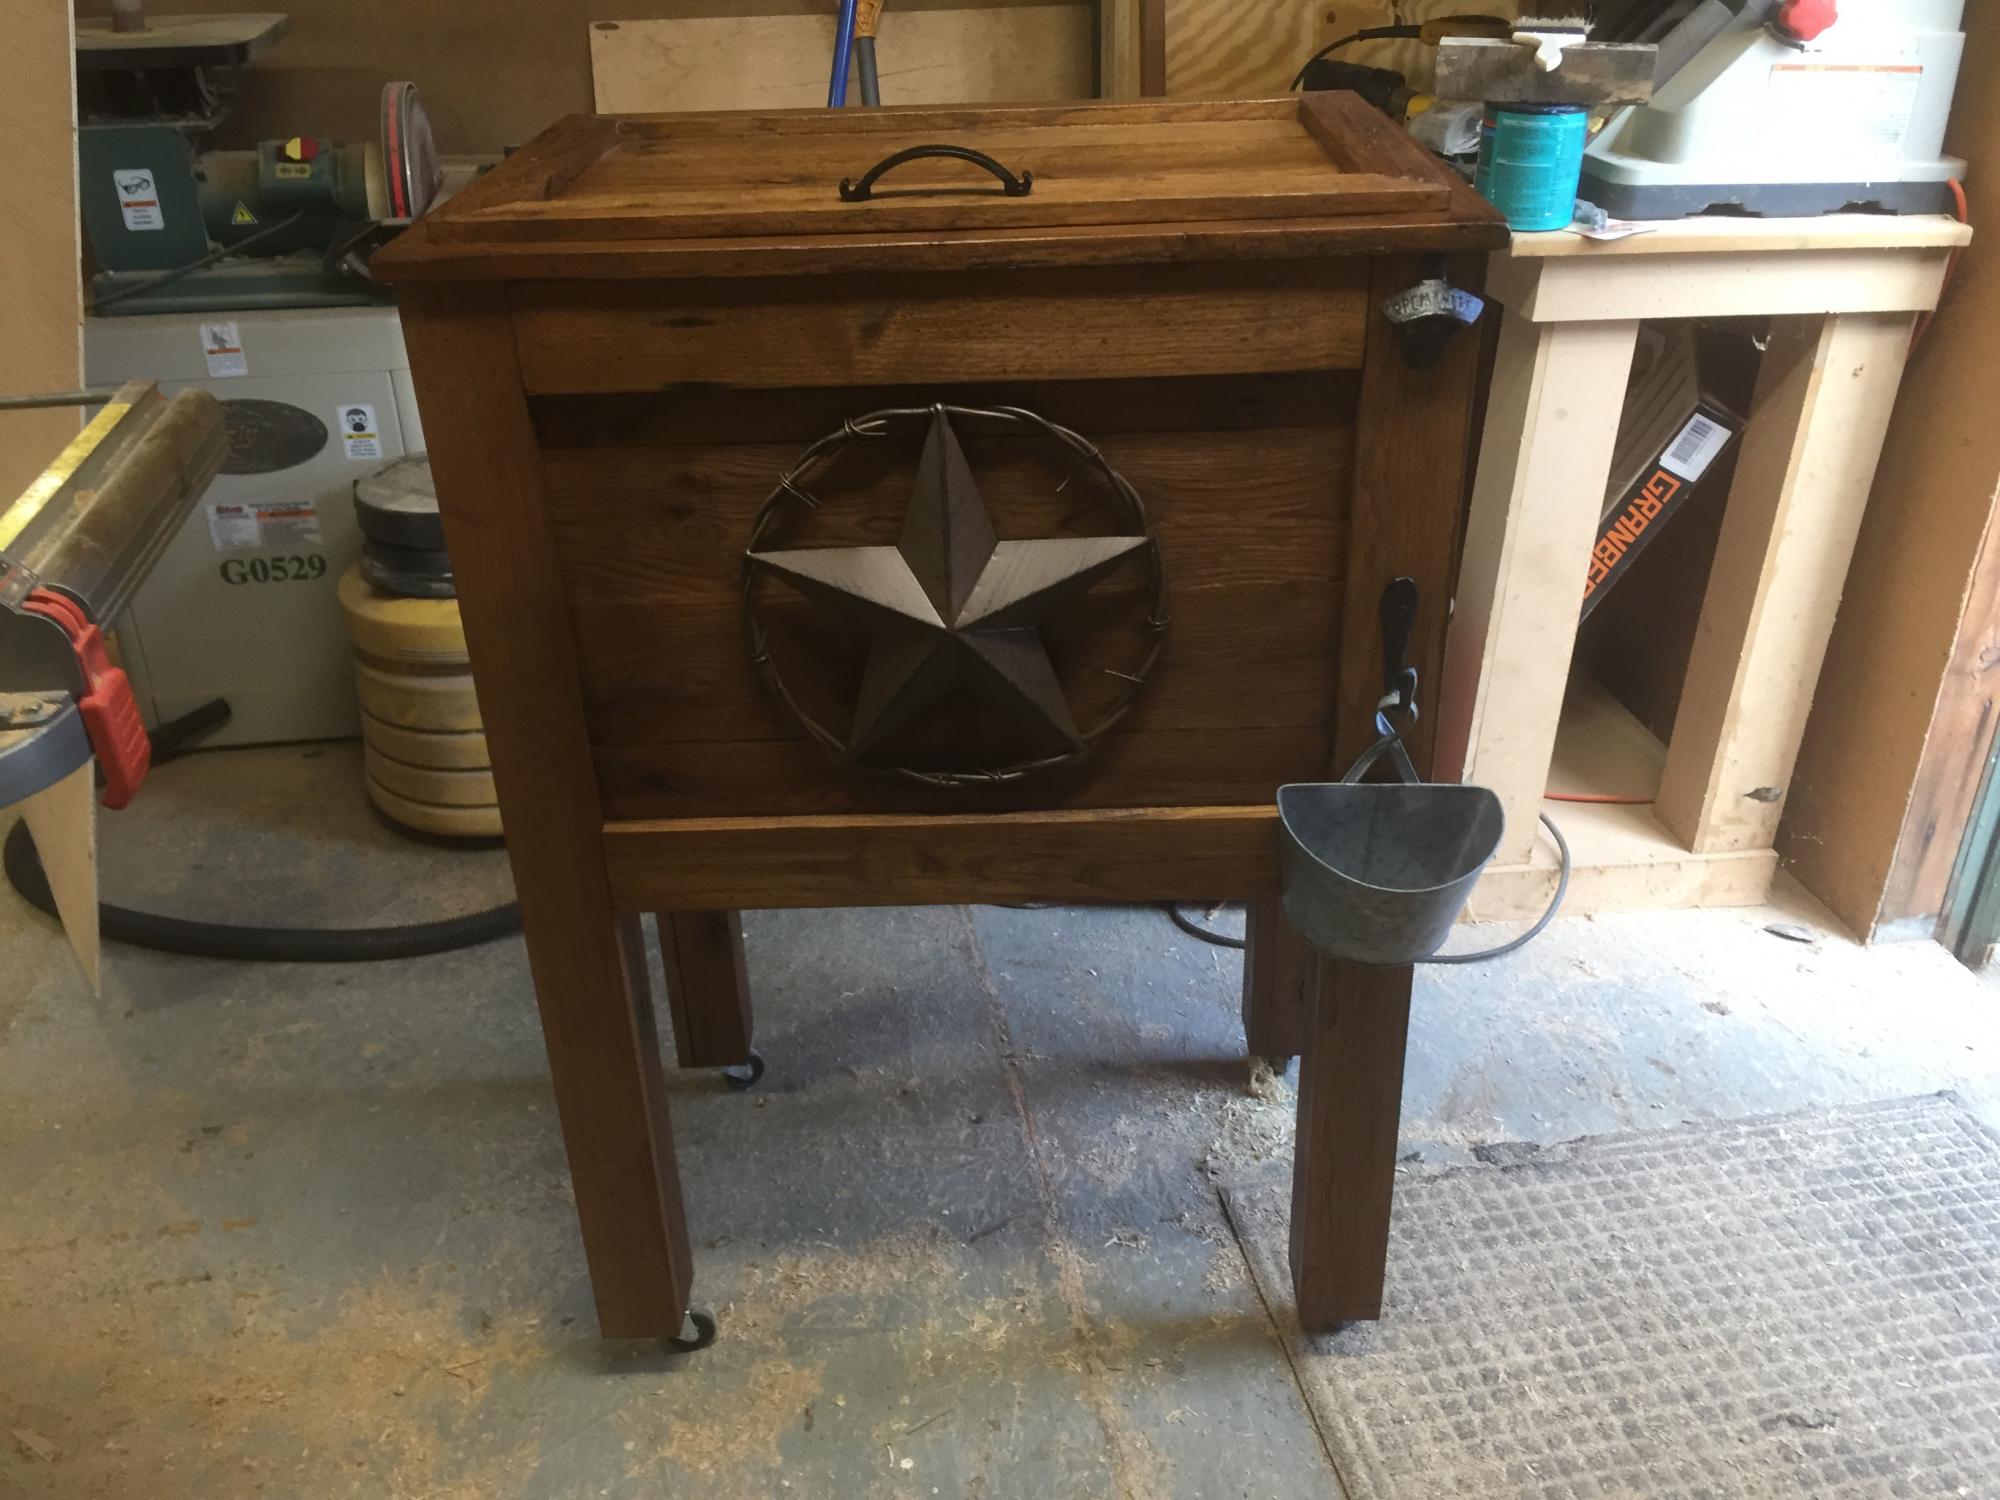
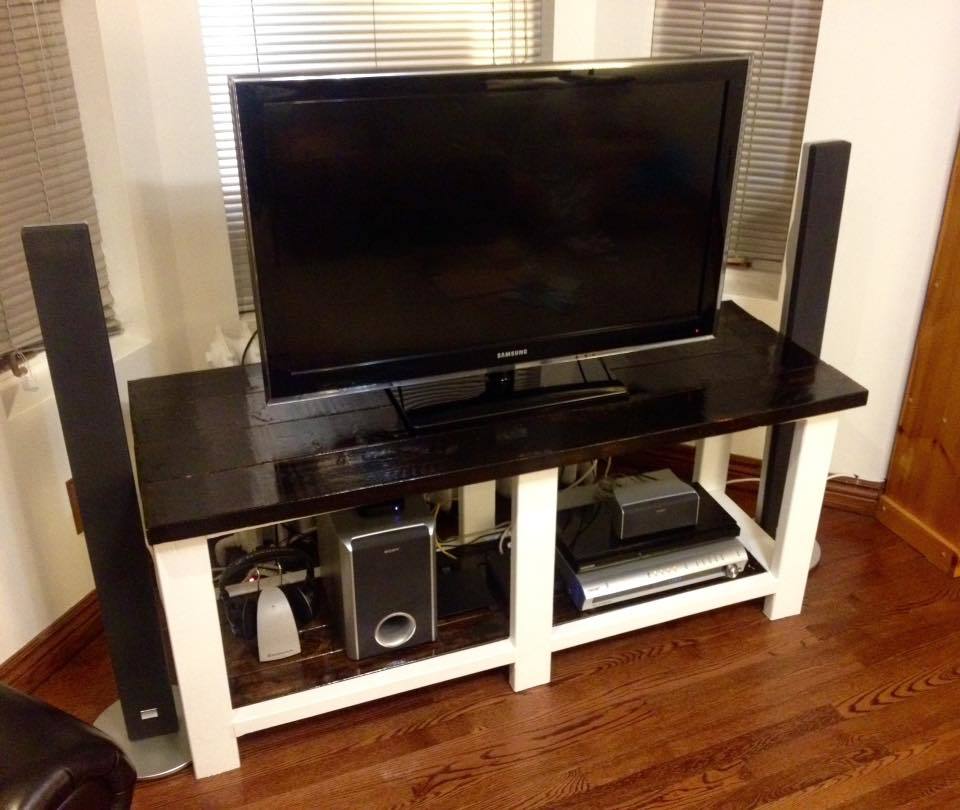
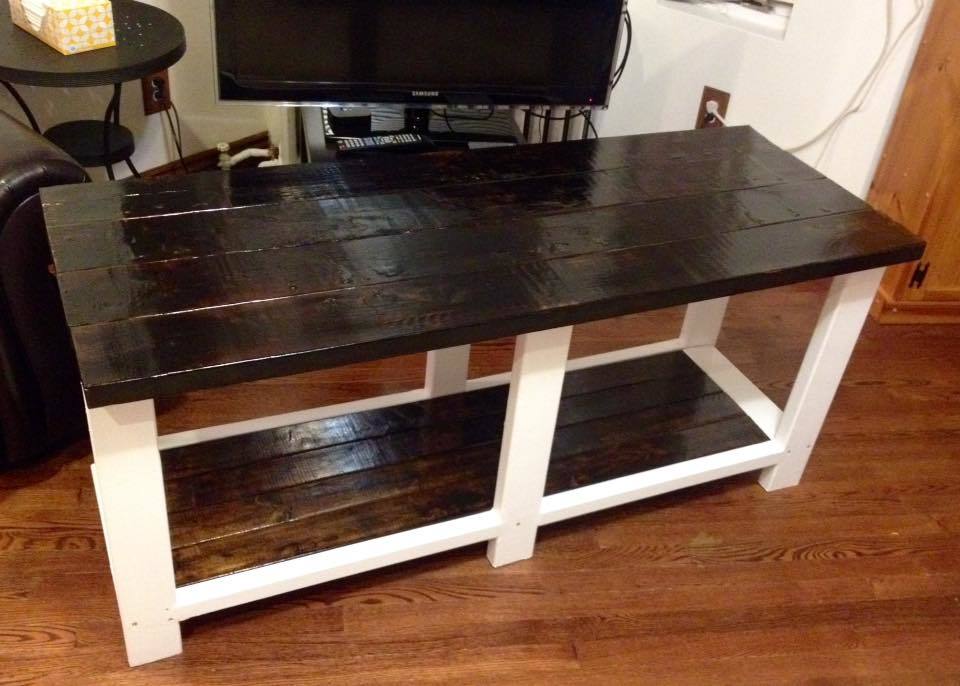
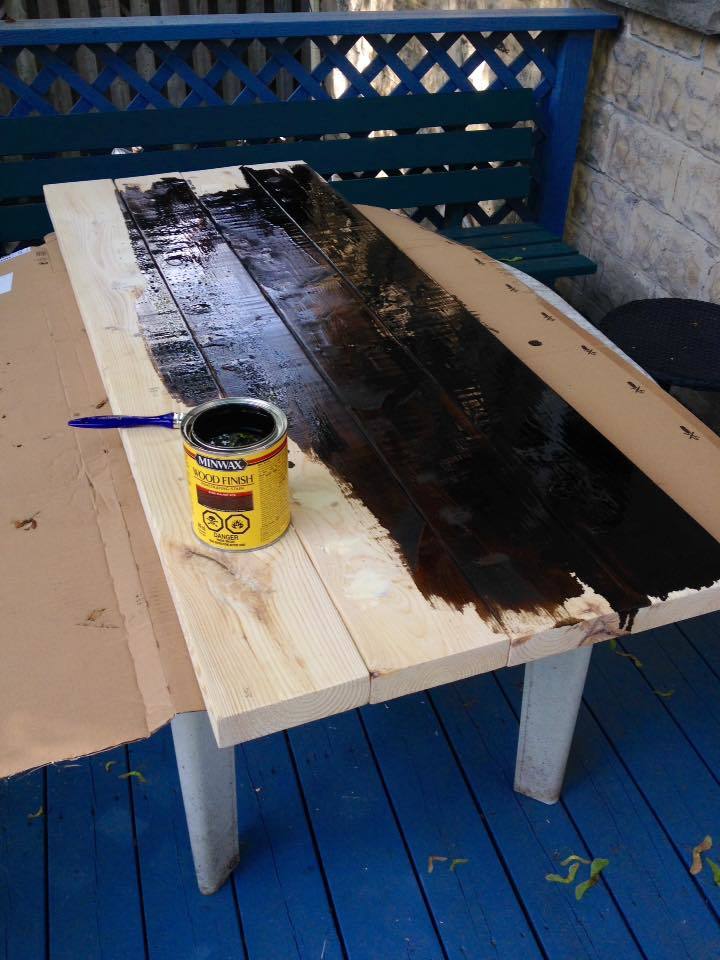
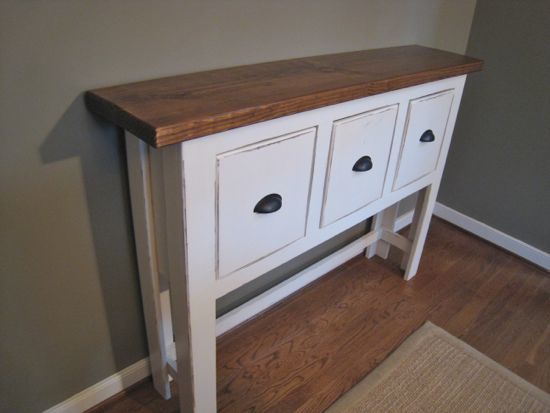
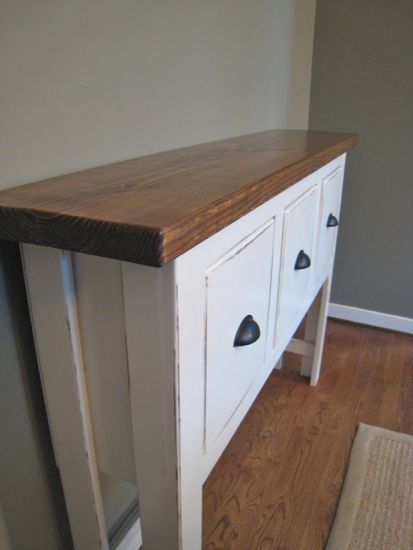
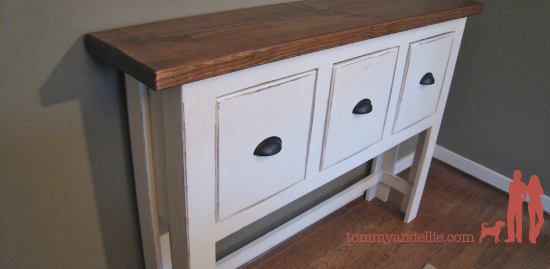
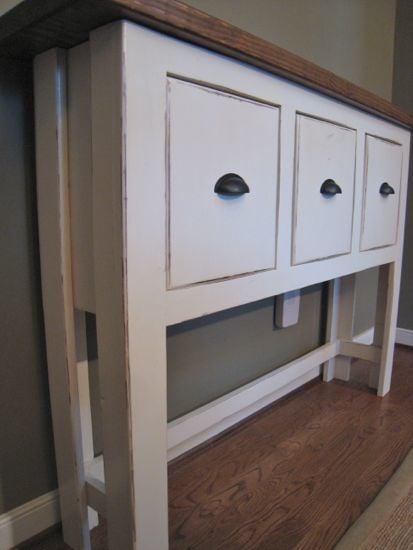
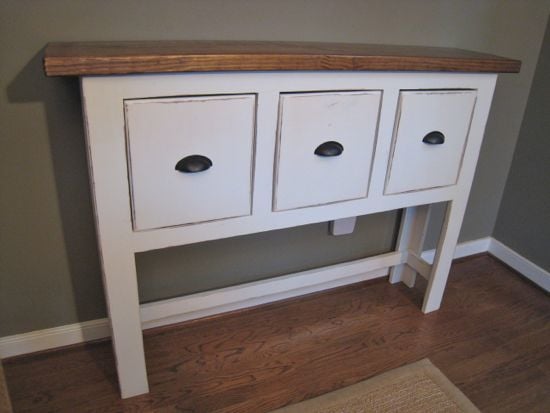
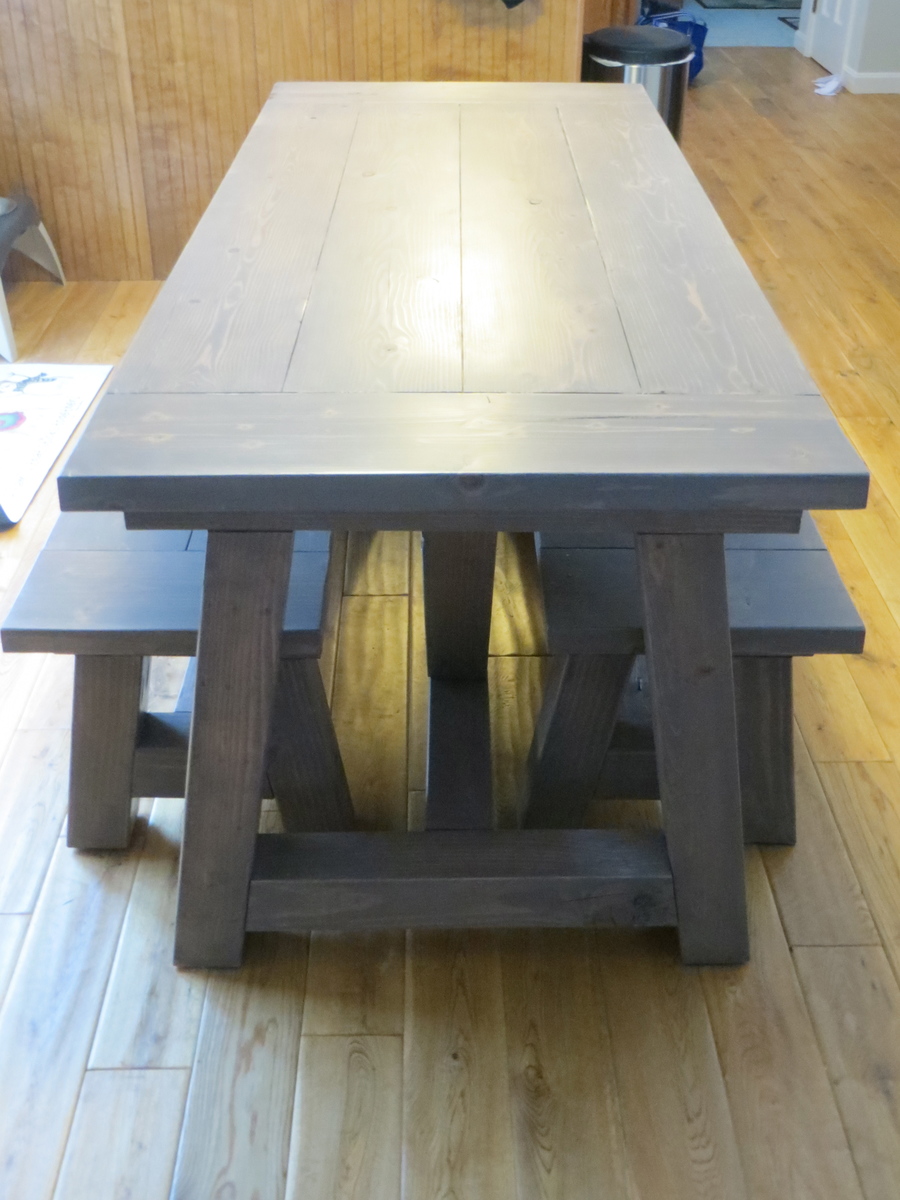
Thank you so much for the plans and pictures!! This table was the first piece of furniture I've built. Your designs made everything straightforward. Couldn't have done it without you. So far the family loves it. I can't wait to share memories around it for years to come.
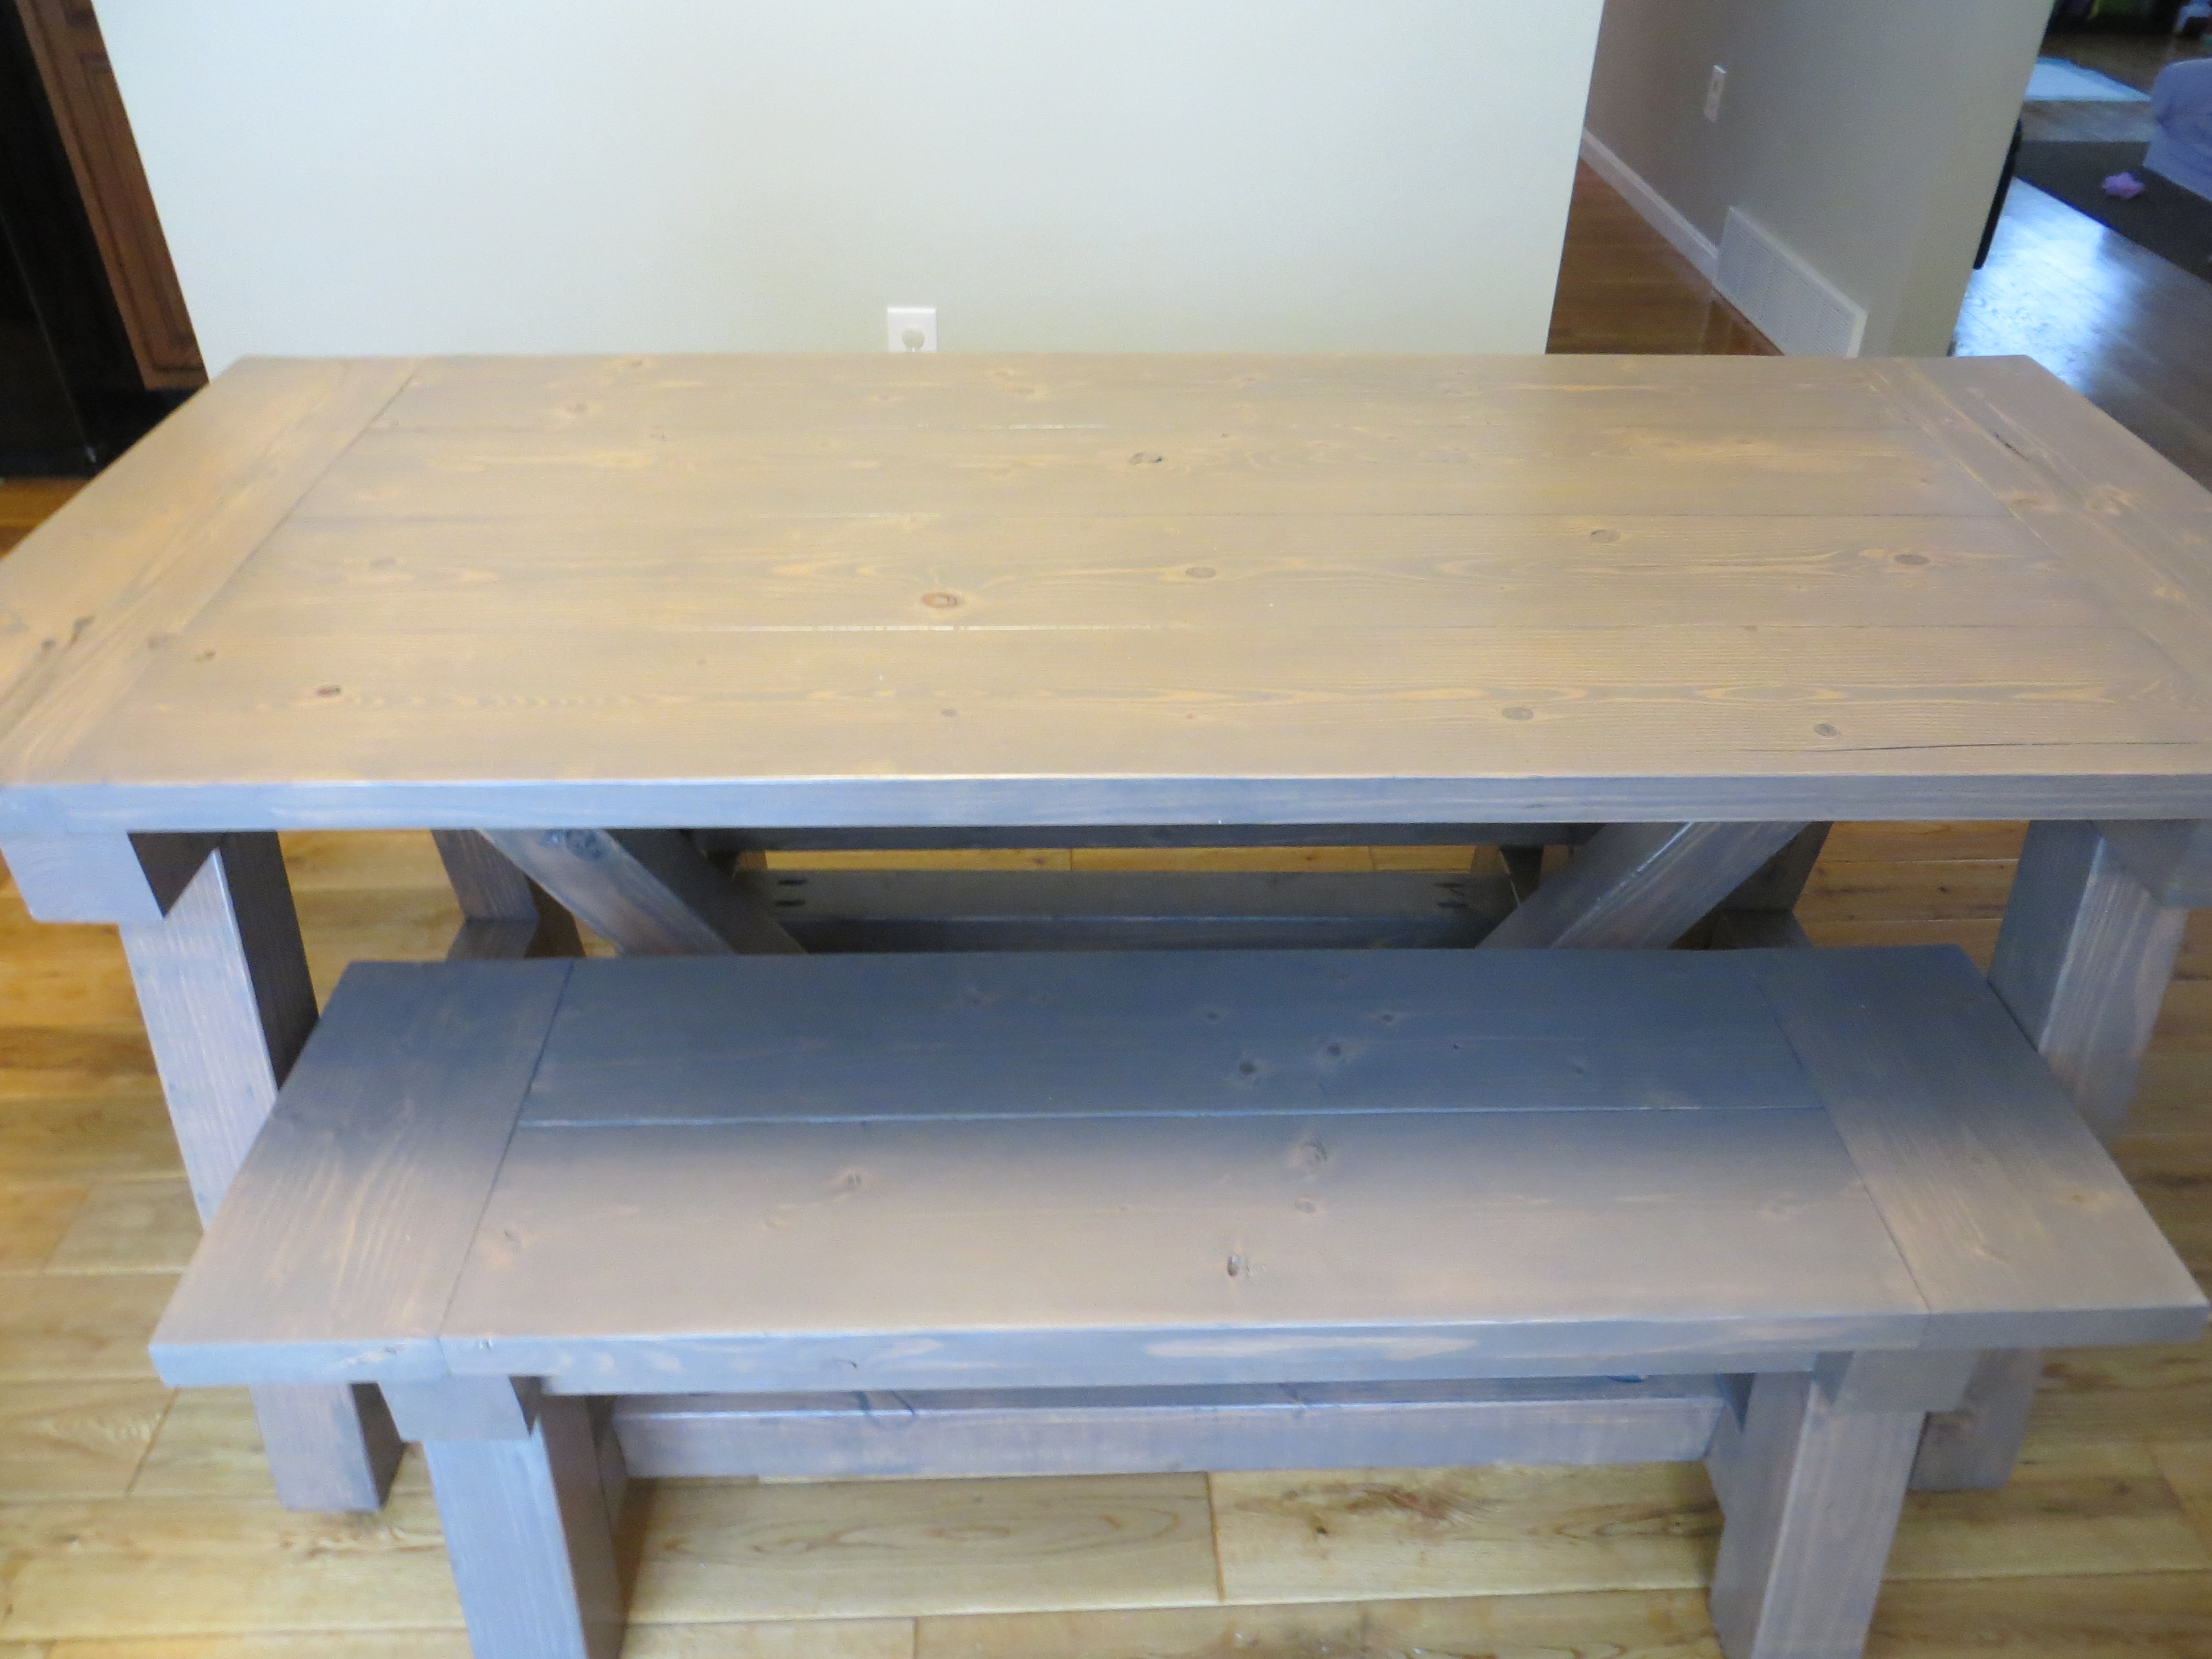
We have a a fairly large and long dining room, and have a lot of family over for dinners, so I adjusted the plans to make the table 108" long and 46.25" wide. Should fit 10 comfortably and we can squeeze in 12.
Estimated Cost
$300
Estimated Time Investment
Week Long Project (20 Hours or More)
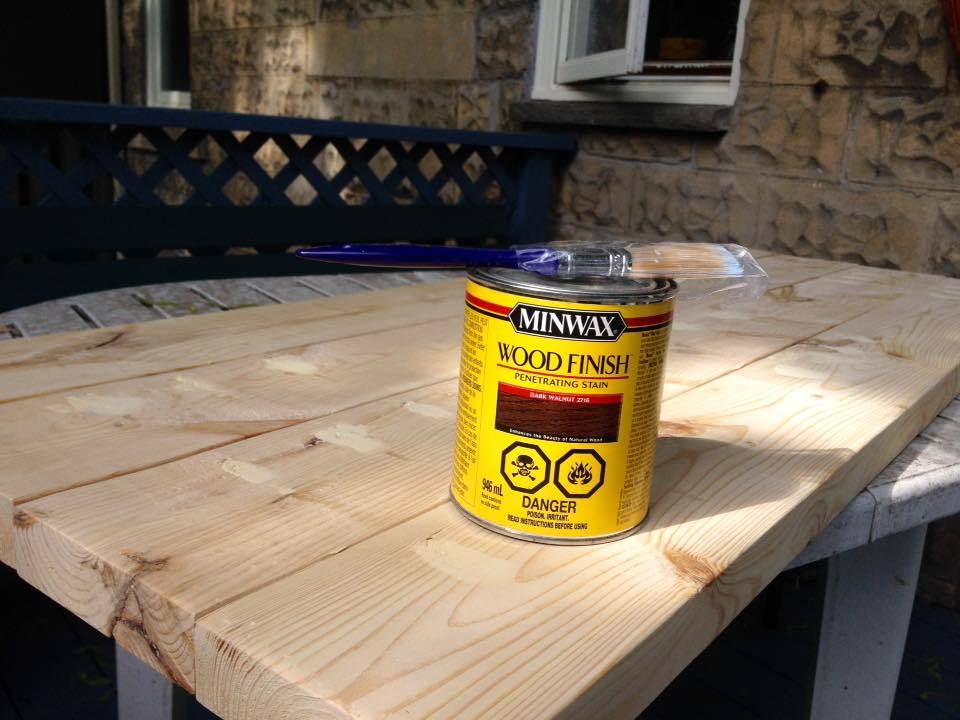
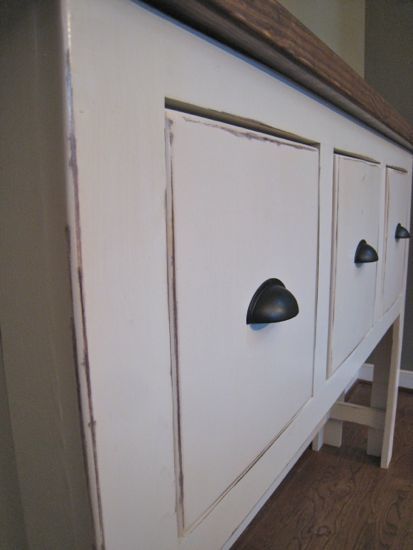
Finish Used
Minwax Special Walnut
Minwax Satin Polyurethane
Minwax Satin Polyurethane
Recommended Skill Level
Intermediate