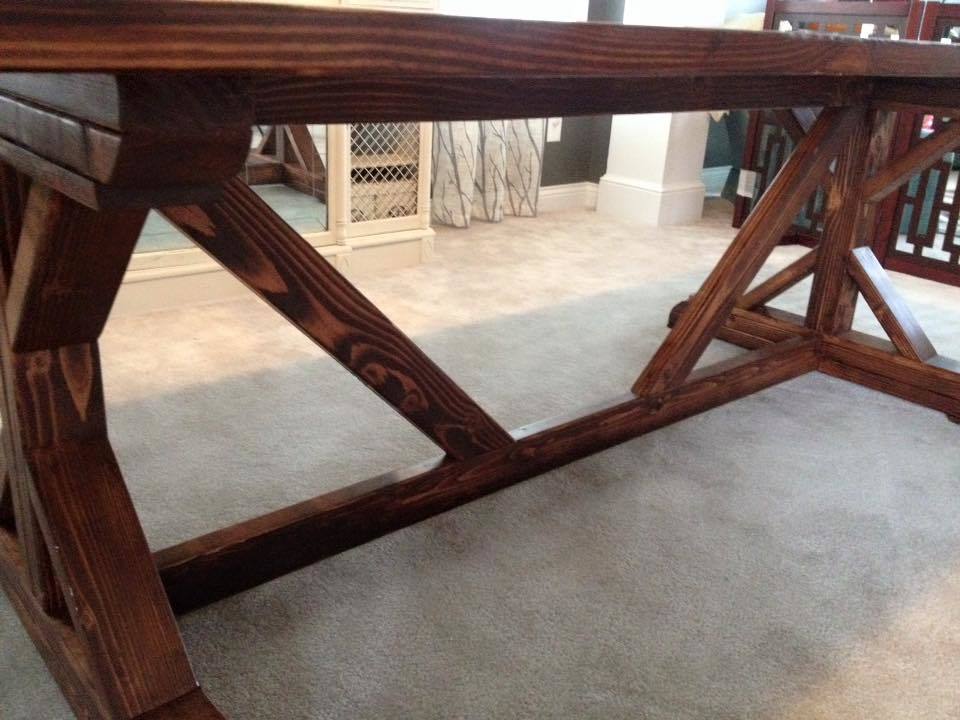
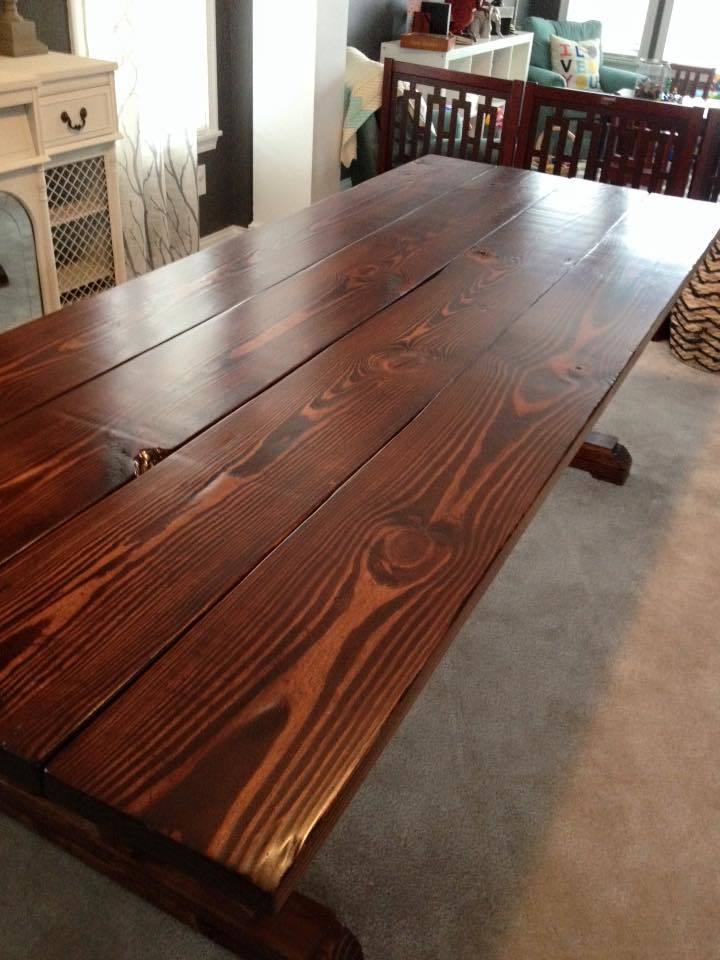
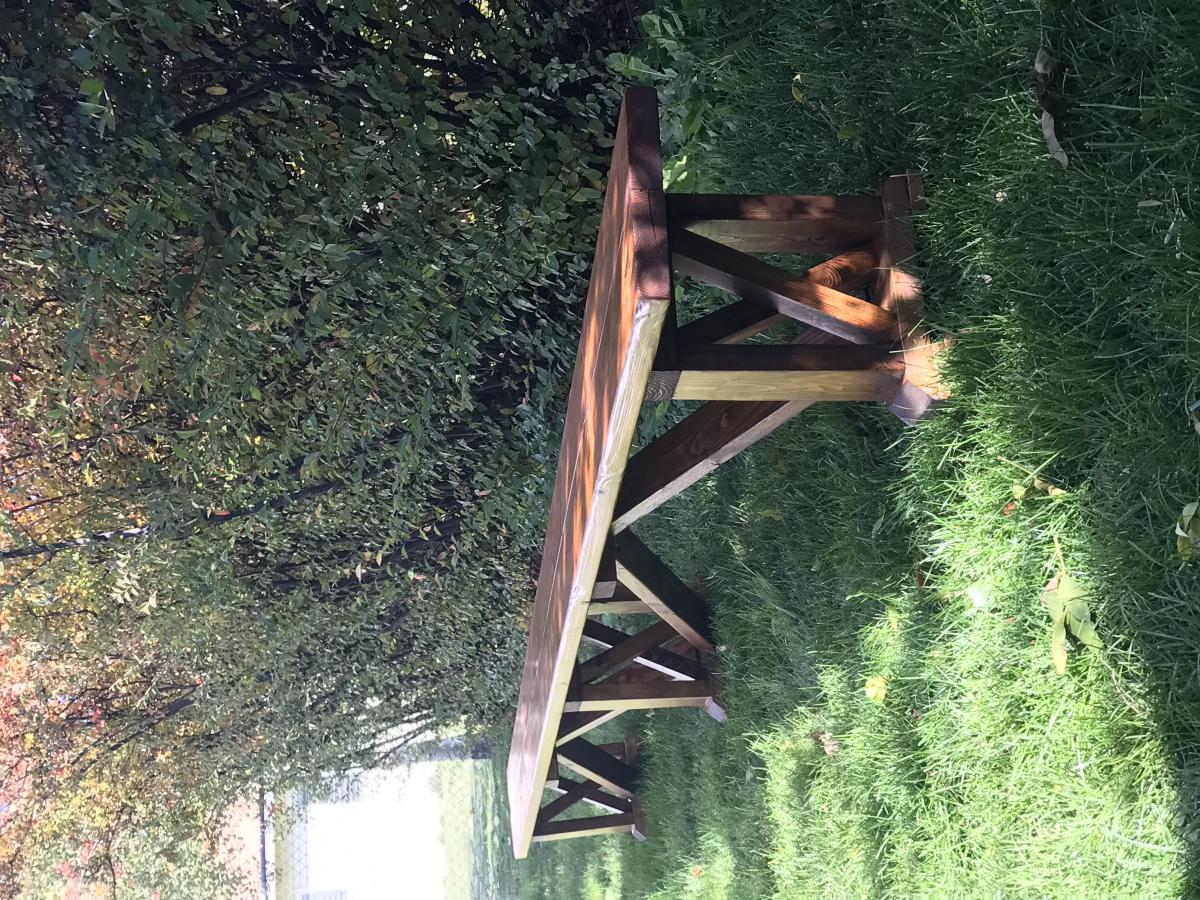
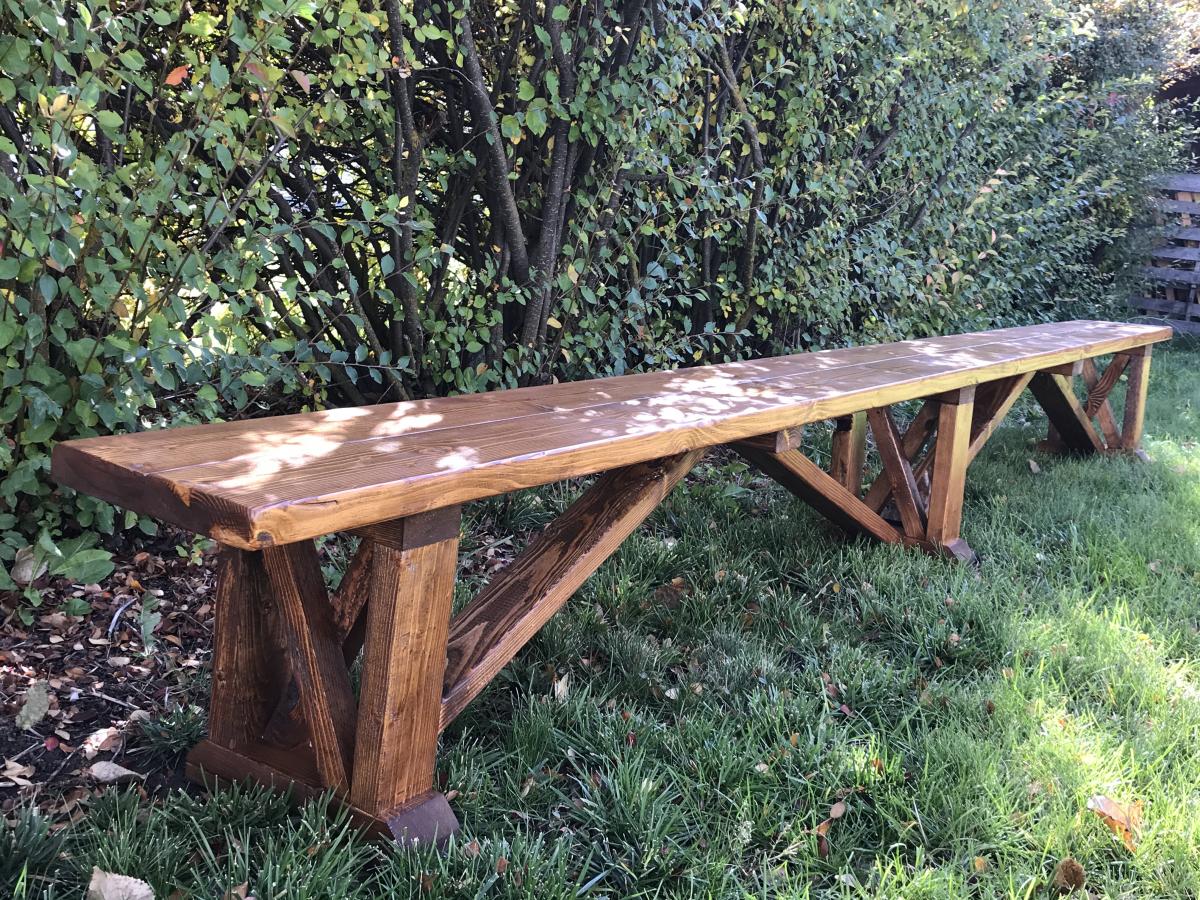
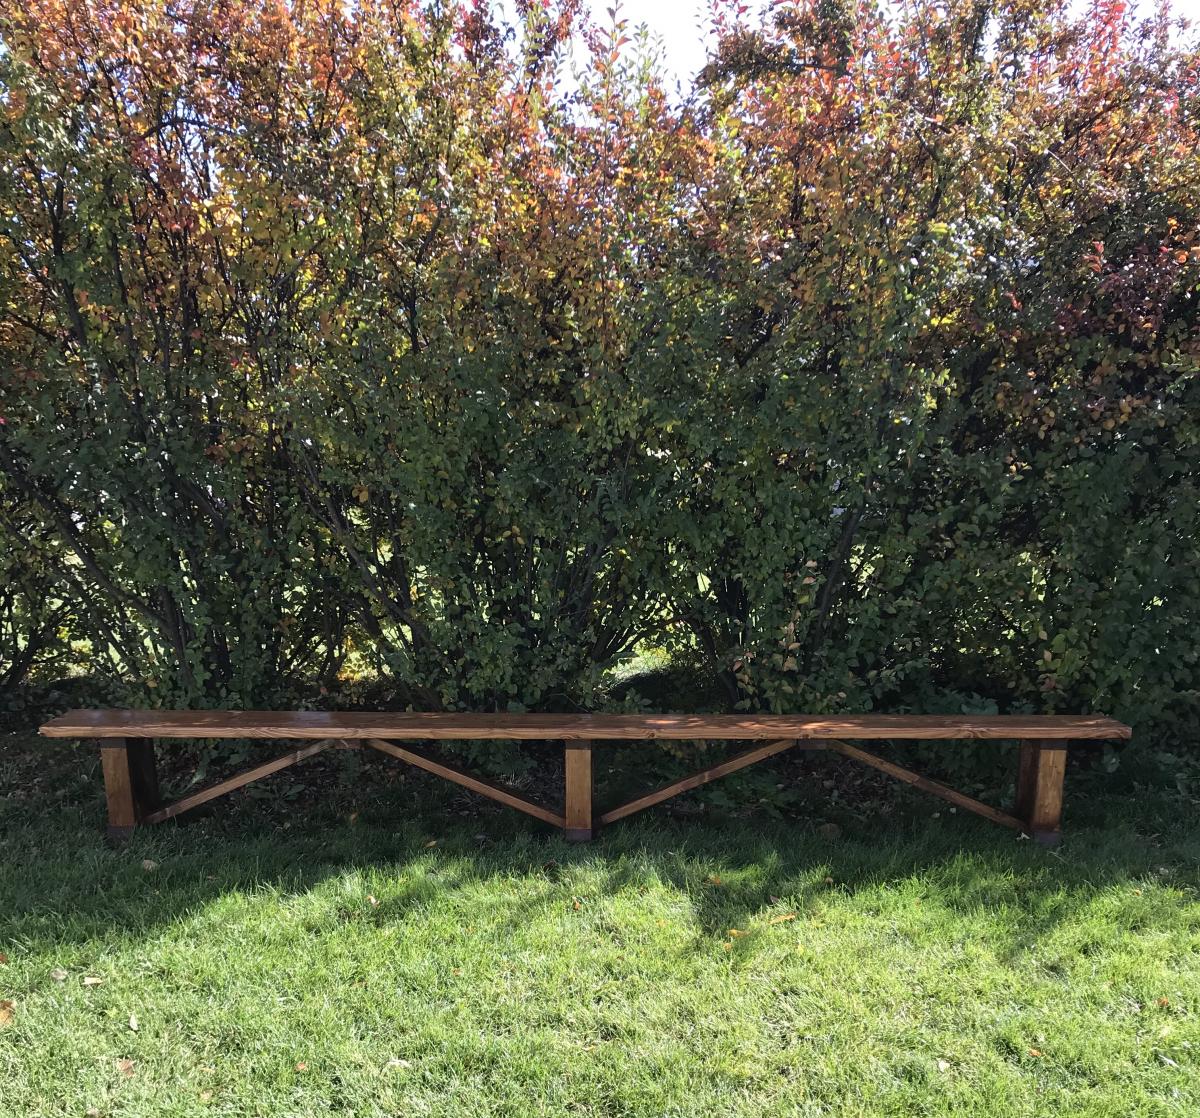
Farmhouse X Table
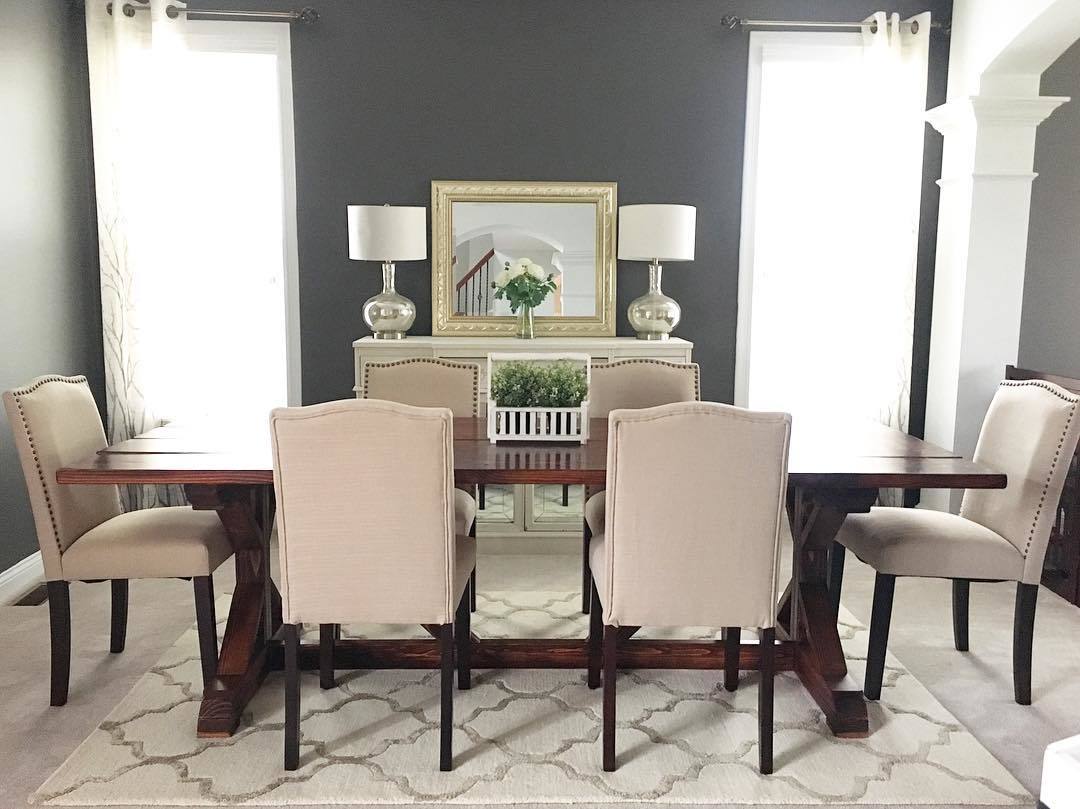
Pine wood with 2 coats of Minwax Mahogony Gel-Stain and 2 coats Minwax Semi-Gloss Polyurethane.
Built from Plan(s)
Recommended Skill Level
Intermediate
Pine wood with 2 coats of Minwax Mahogony Gel-Stain and 2 coats Minwax Semi-Gloss Polyurethane.
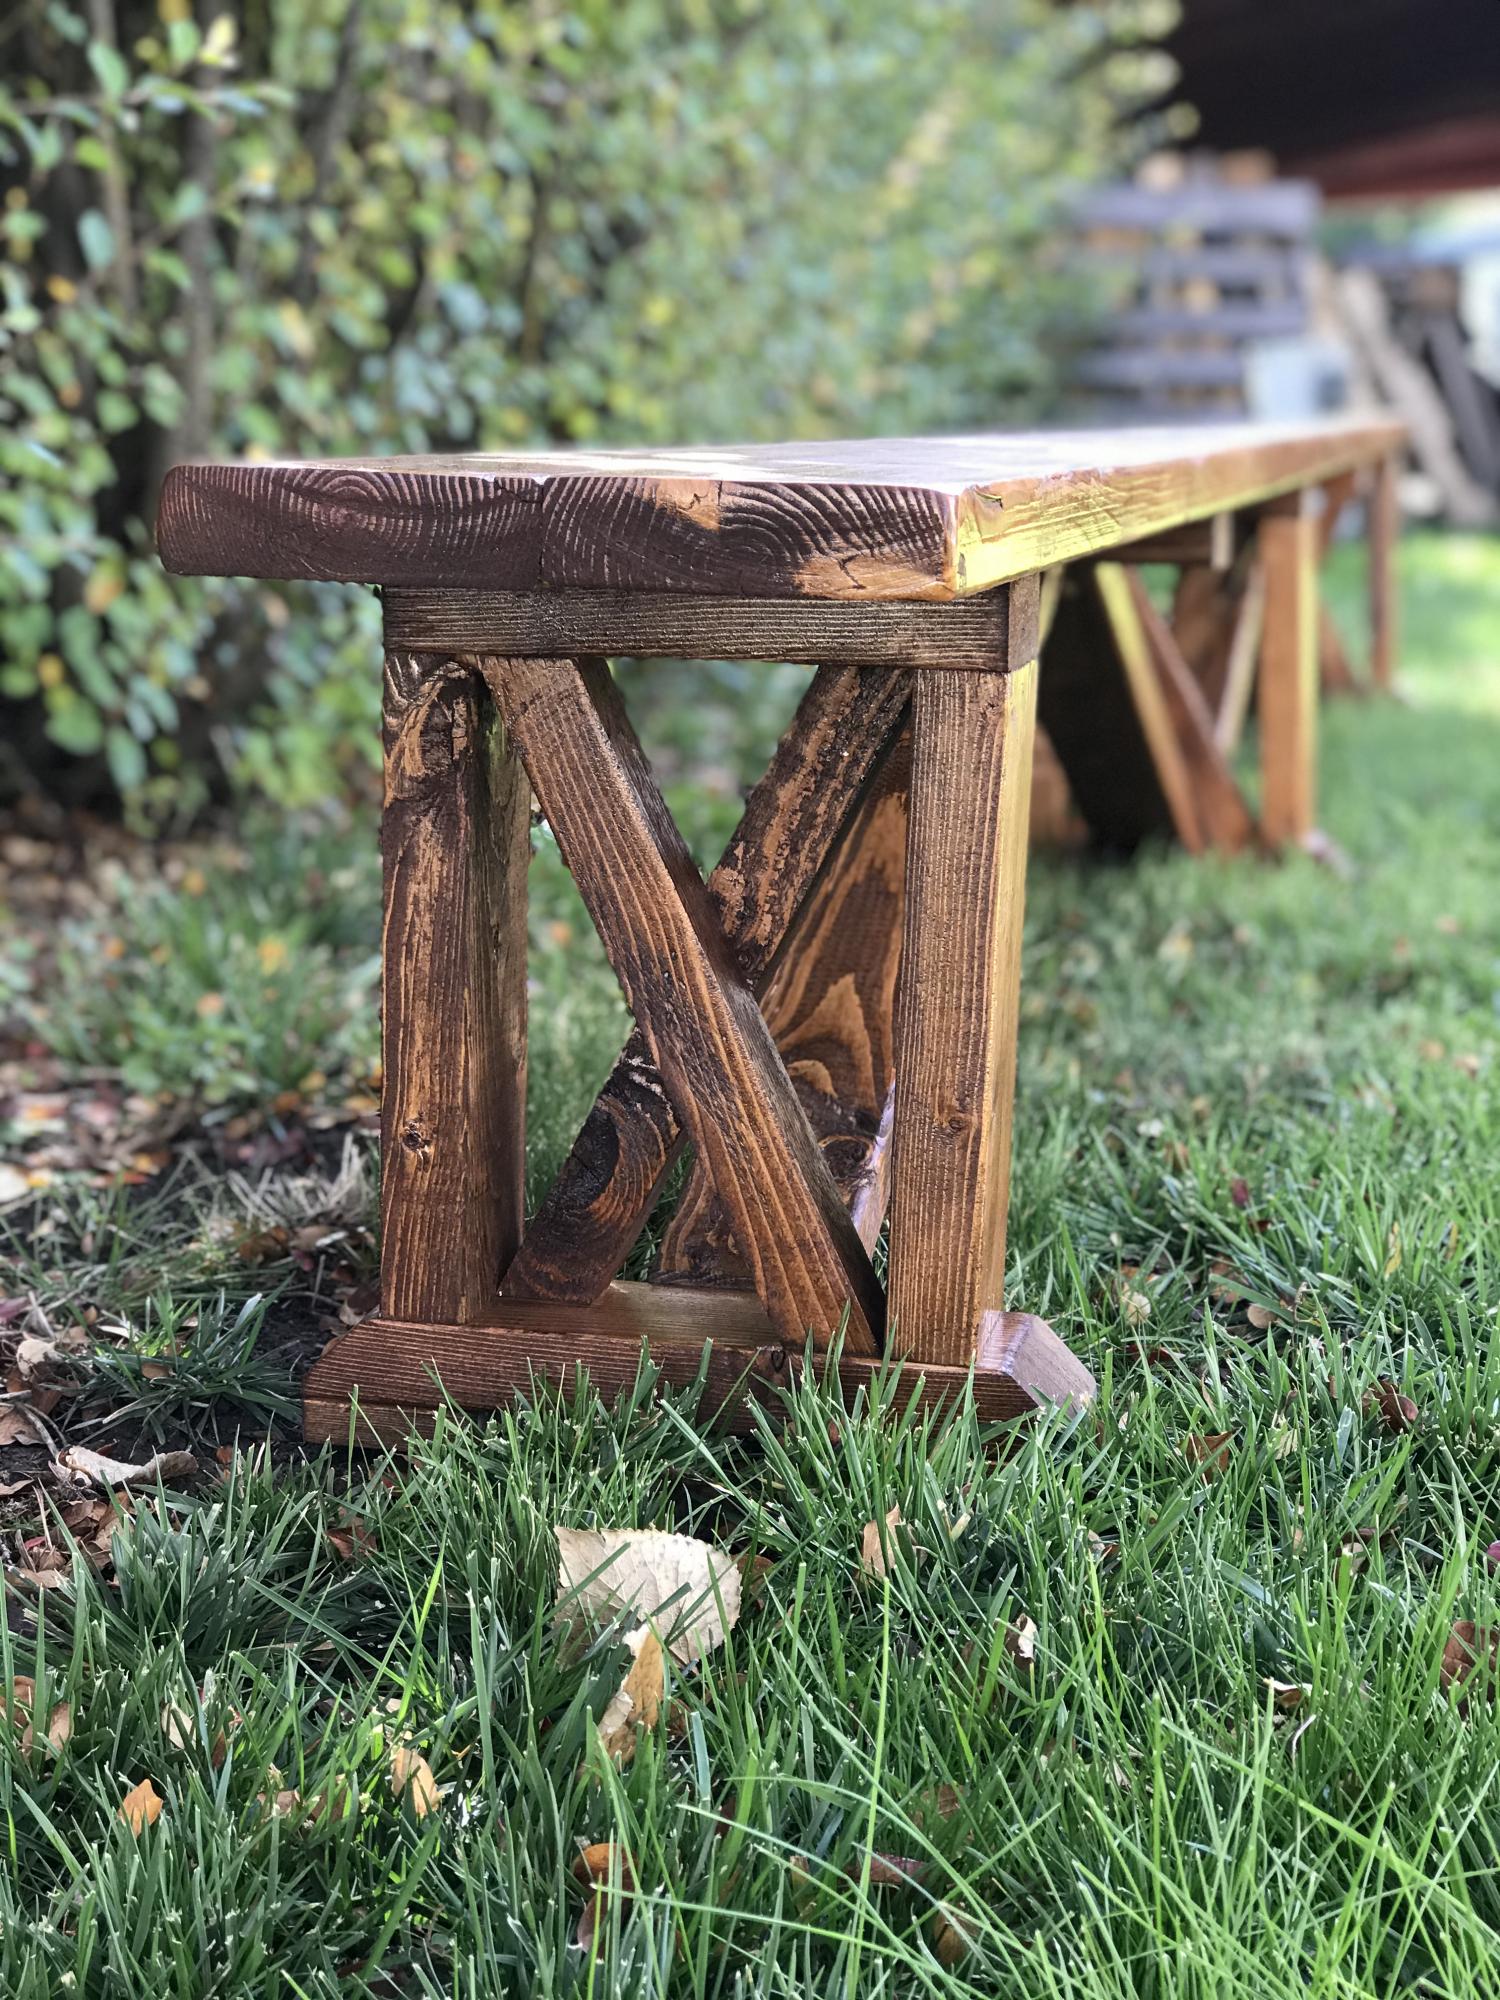
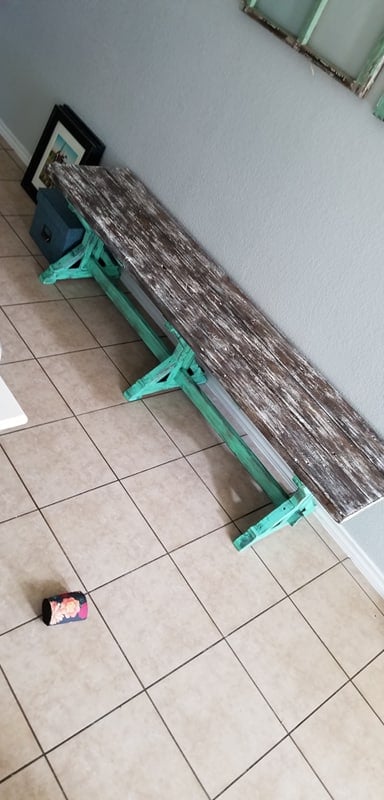
I was asked to surprise someone with a 12 ft. bench. After searching and searching I found a plan I really liked, but I felt it just wasn’t enough. I modified the plans to give it a little more of a farmhouse look. I also had to double the size of the original plans.

Thanks Anna for providing this website to help us save money and build furniture such as this farm bed. This only took two days and my wife loves it.
Thanks
Mike


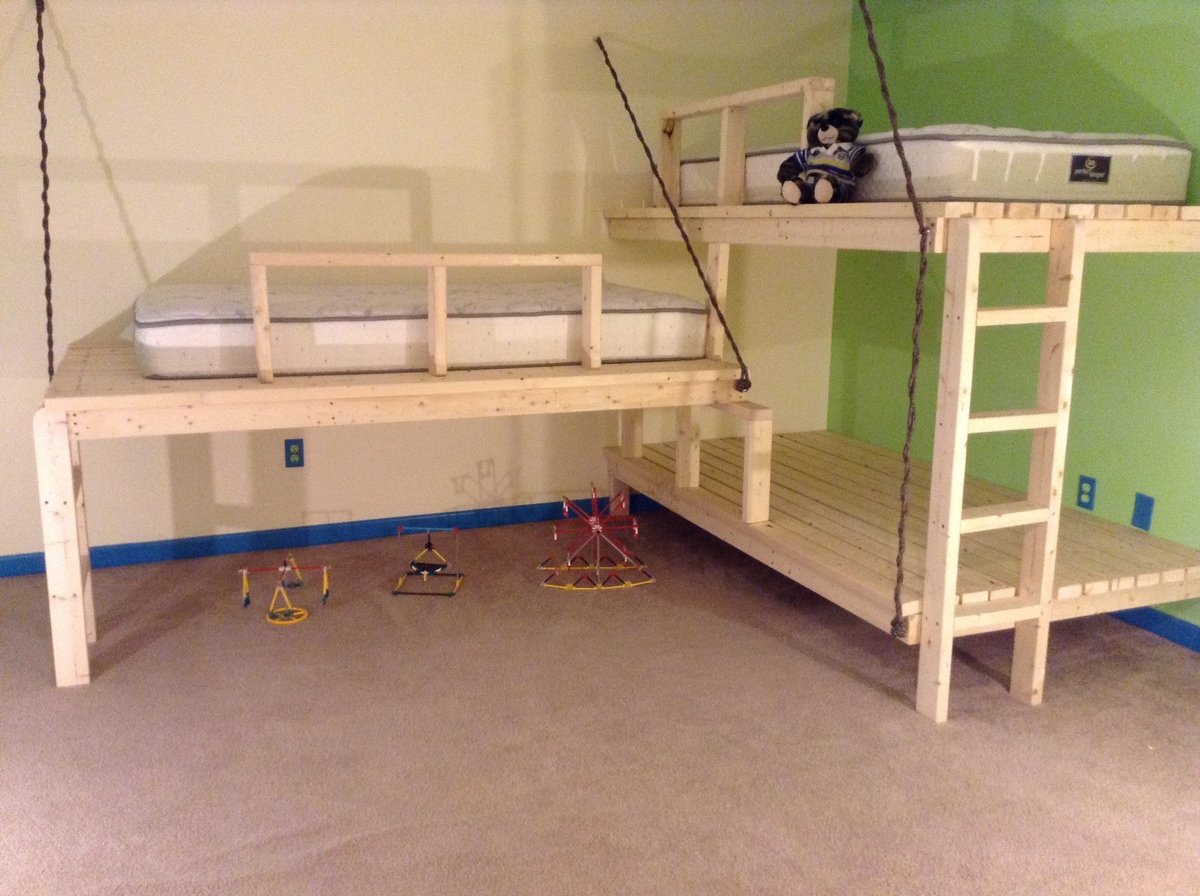
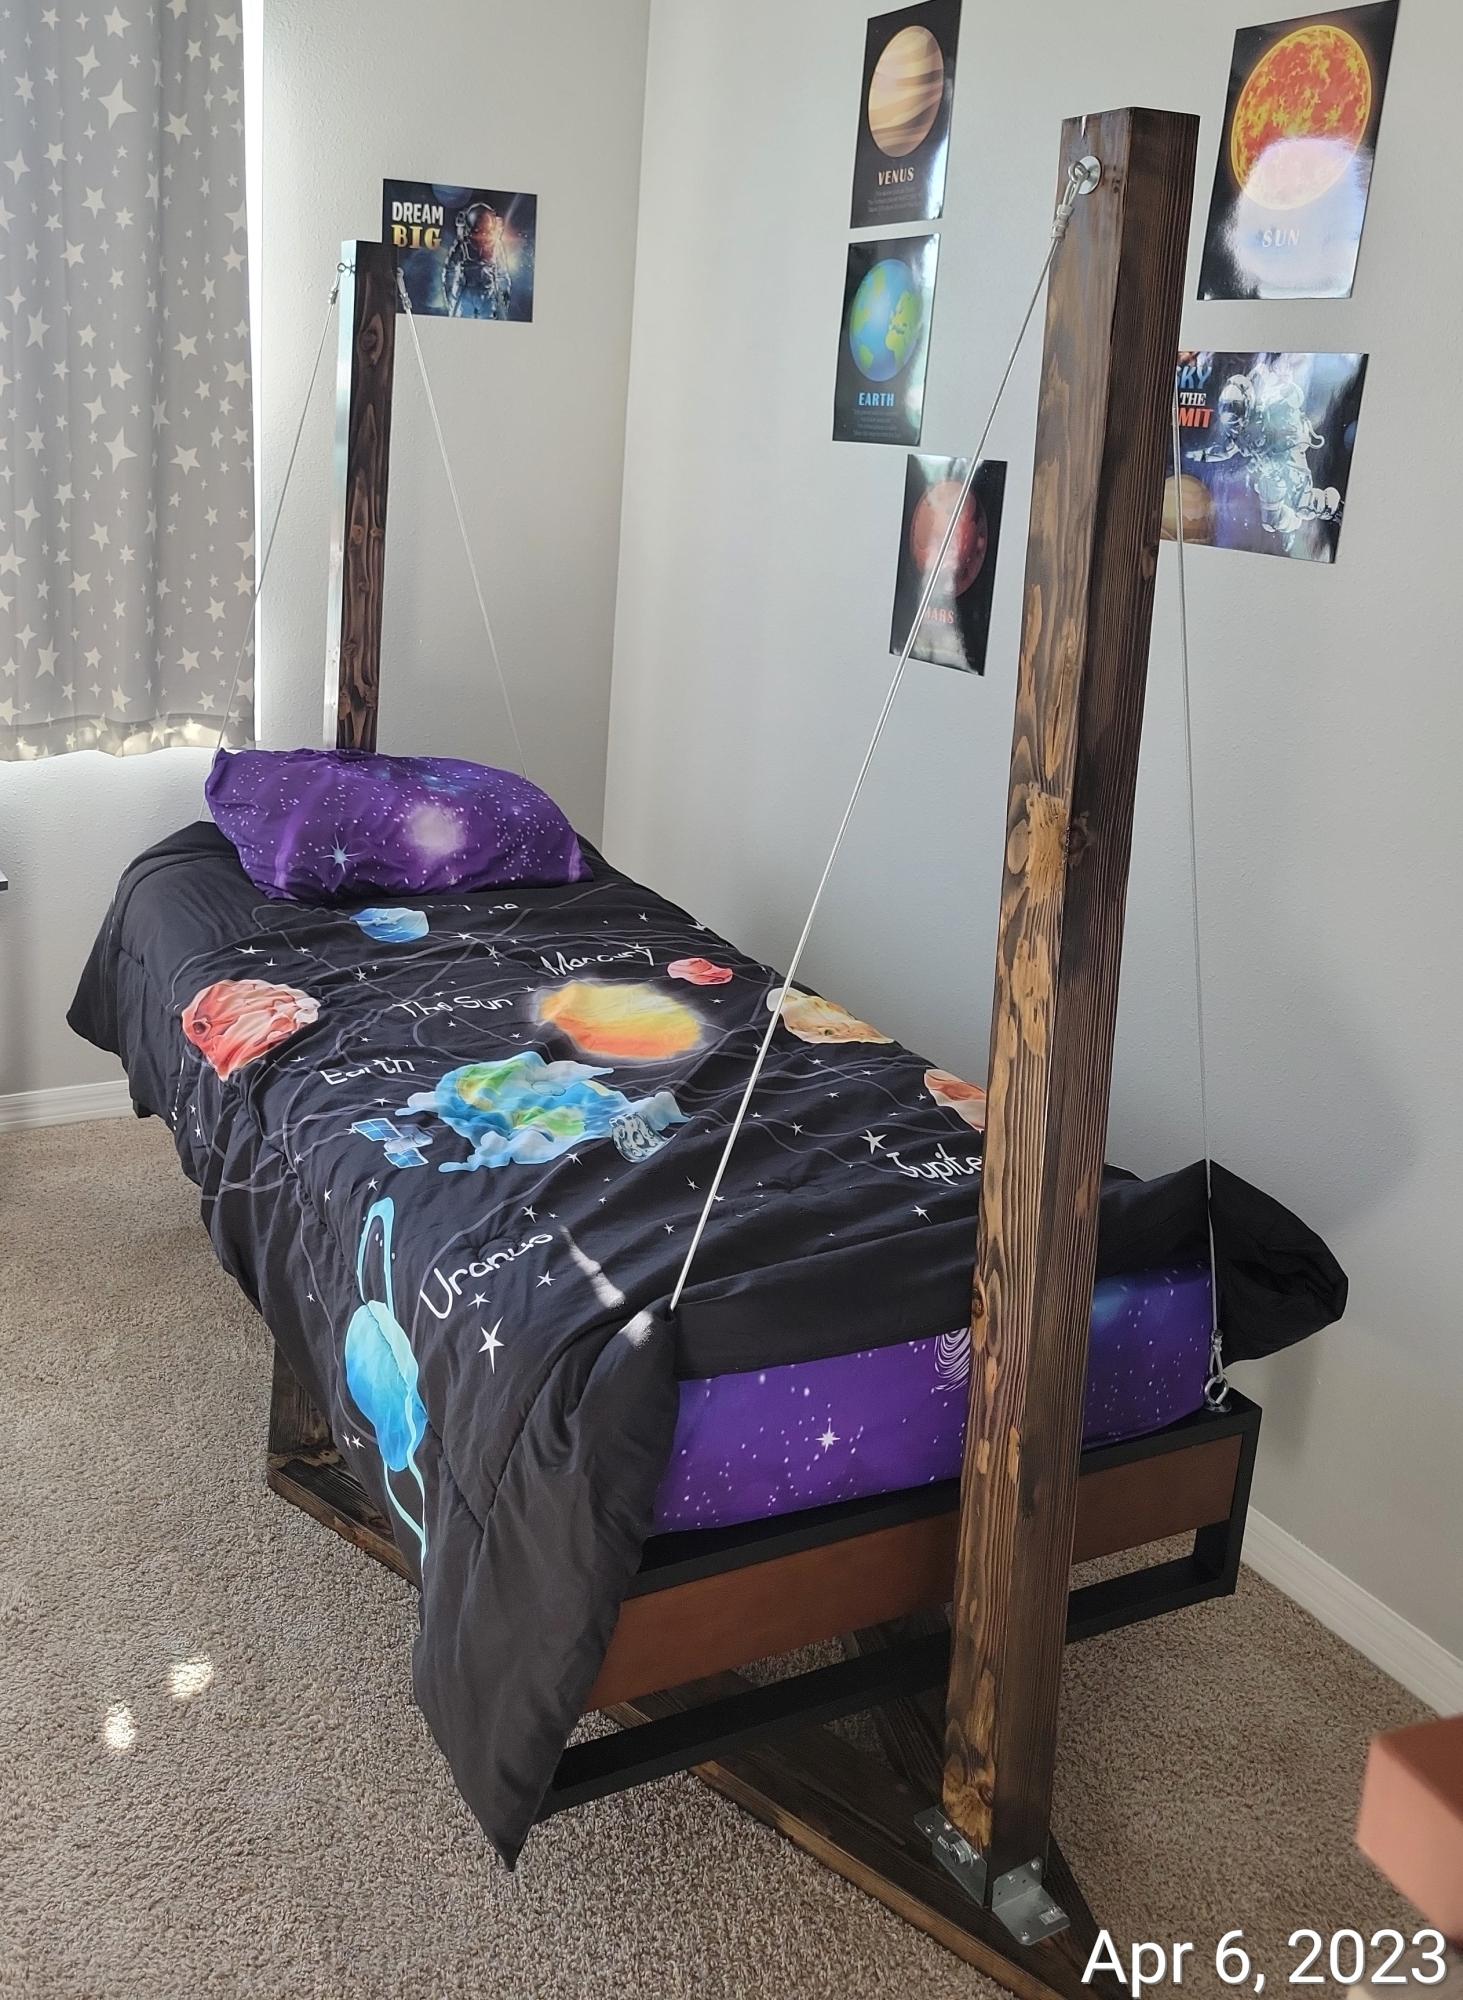
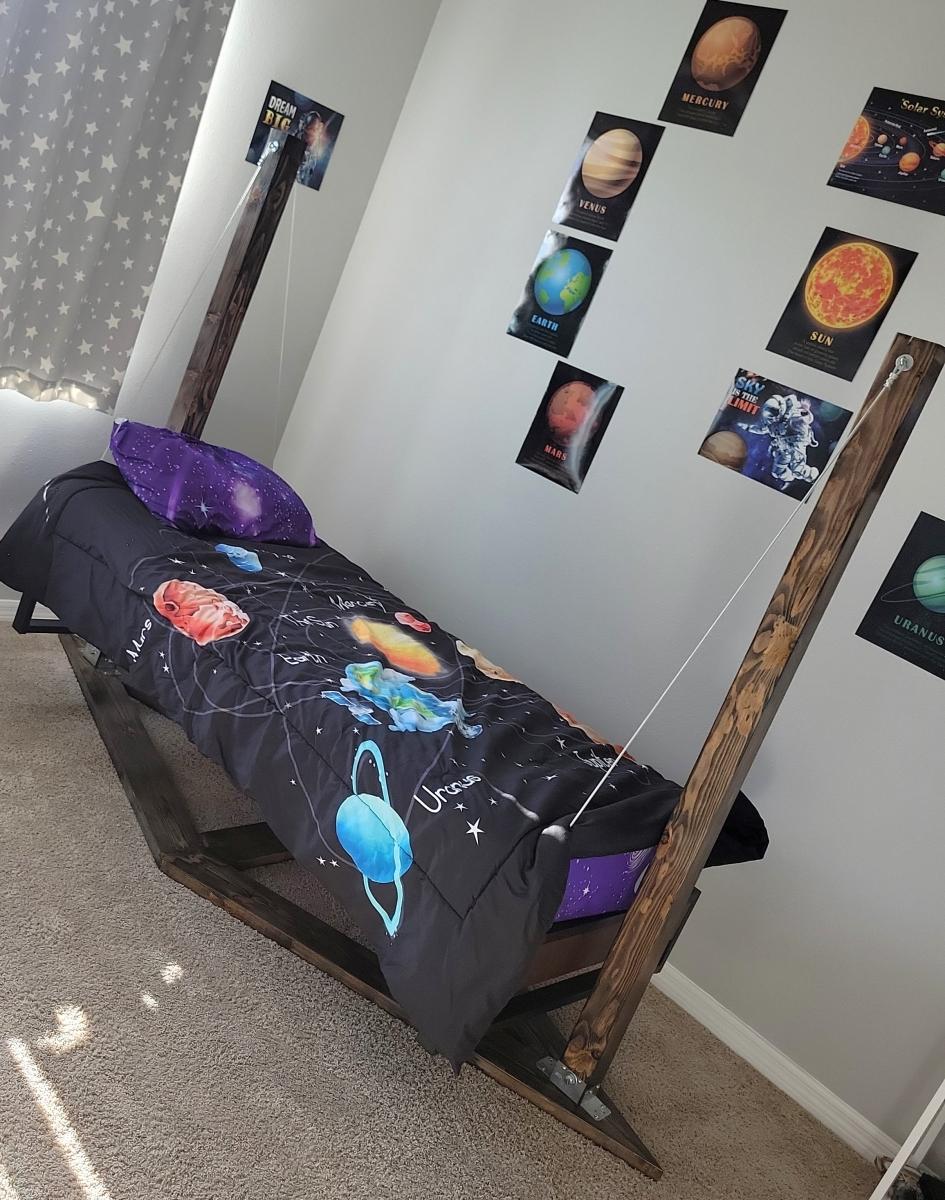
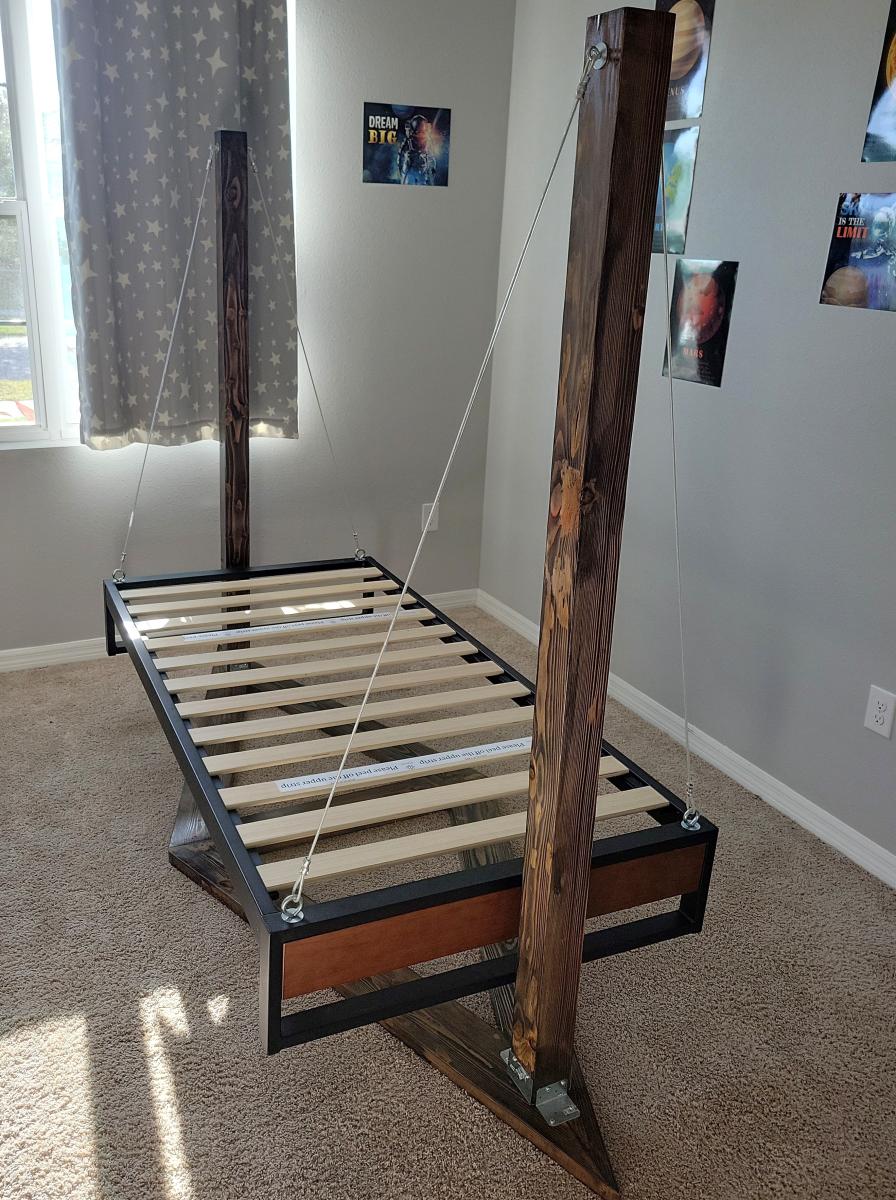
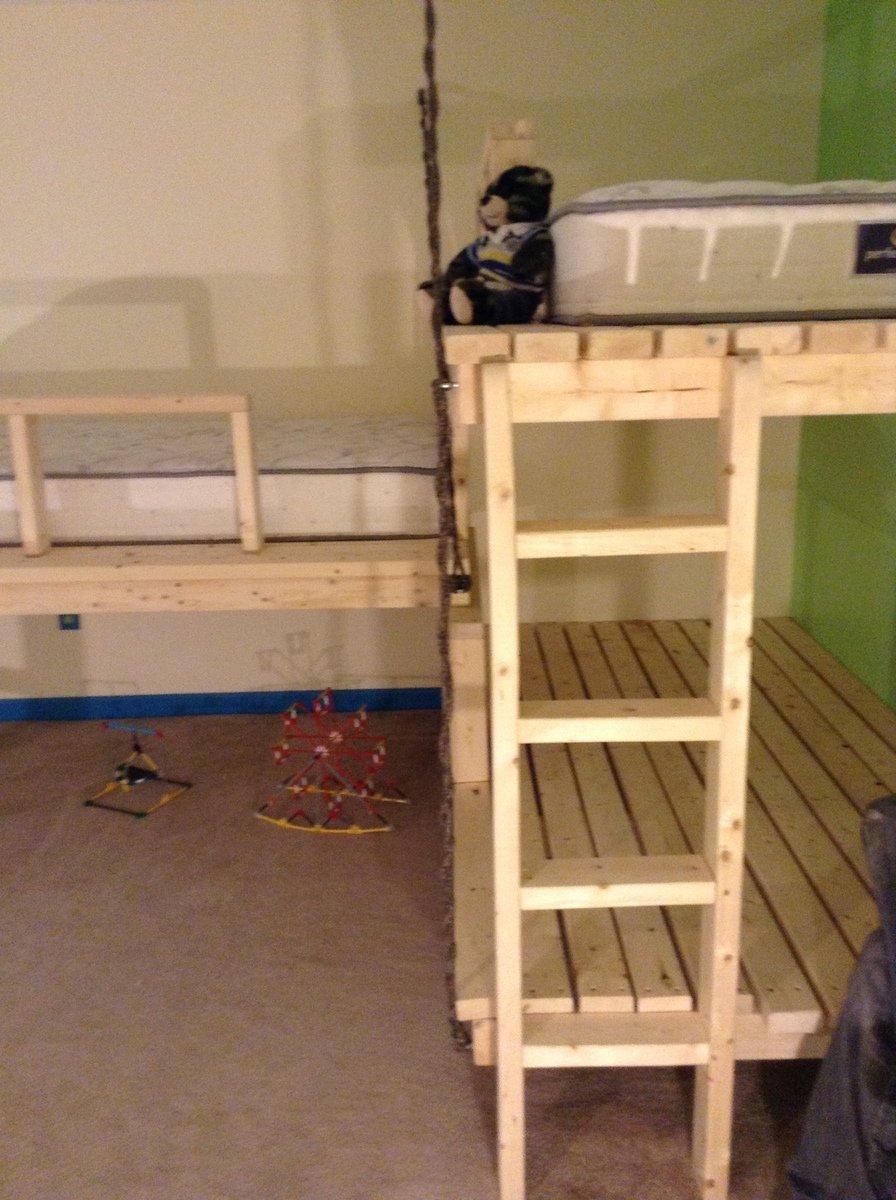
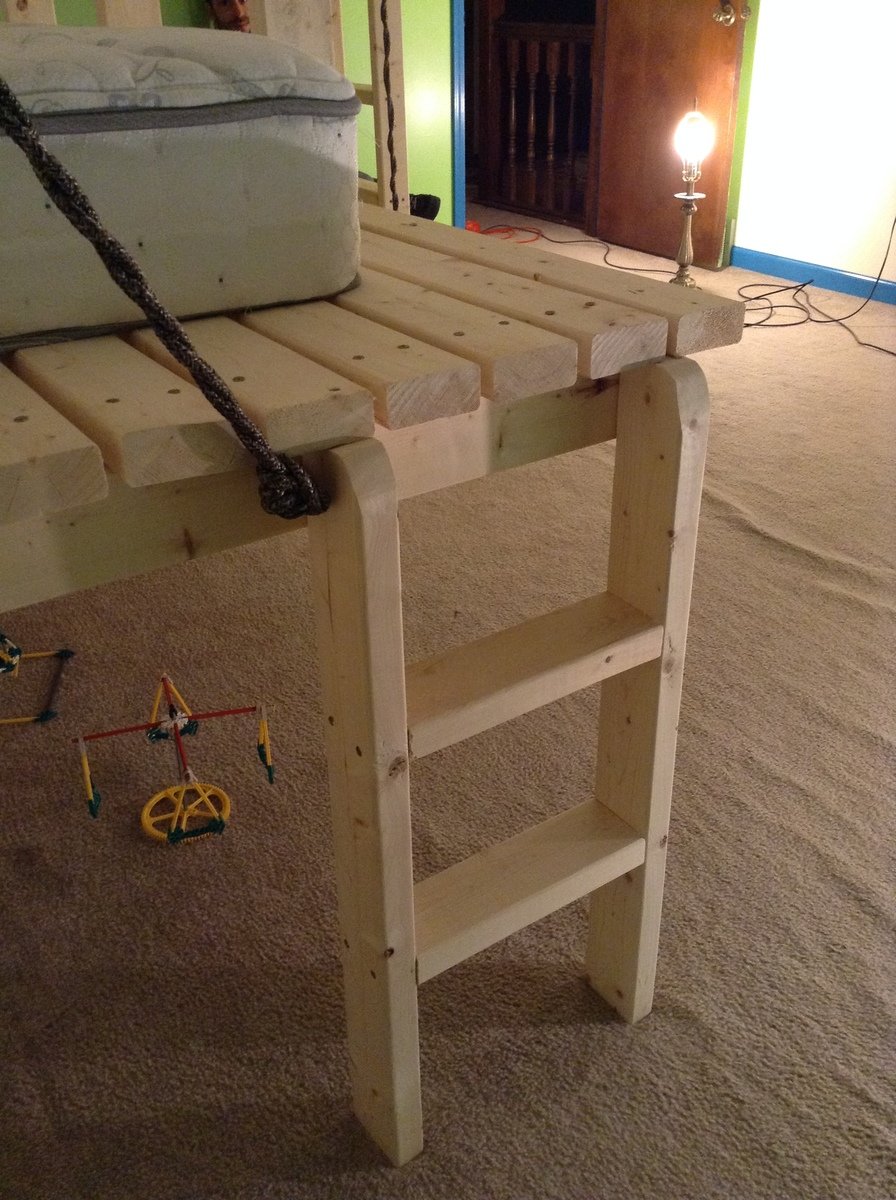
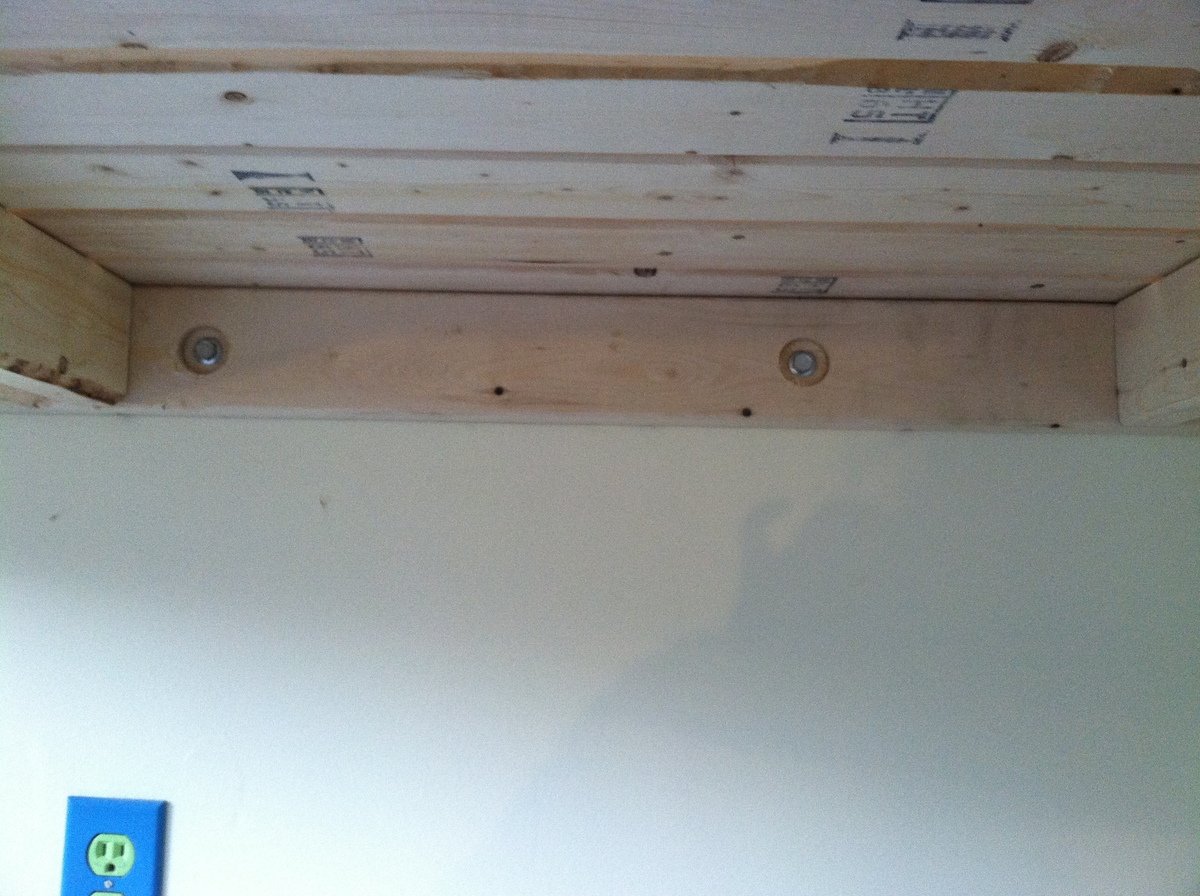
Inspired by the hanging day bed- everything was built as directed- then 5in X 3/8in lag bols used to secure to wall, as well as eye bolts and rope. Extra support added with ladders & 2X4's. Could have been a 1.5-2 day project but we kept breaking bits, missing tools, running out of screws as soon ad home depot closed... so we did it in 3.5 days


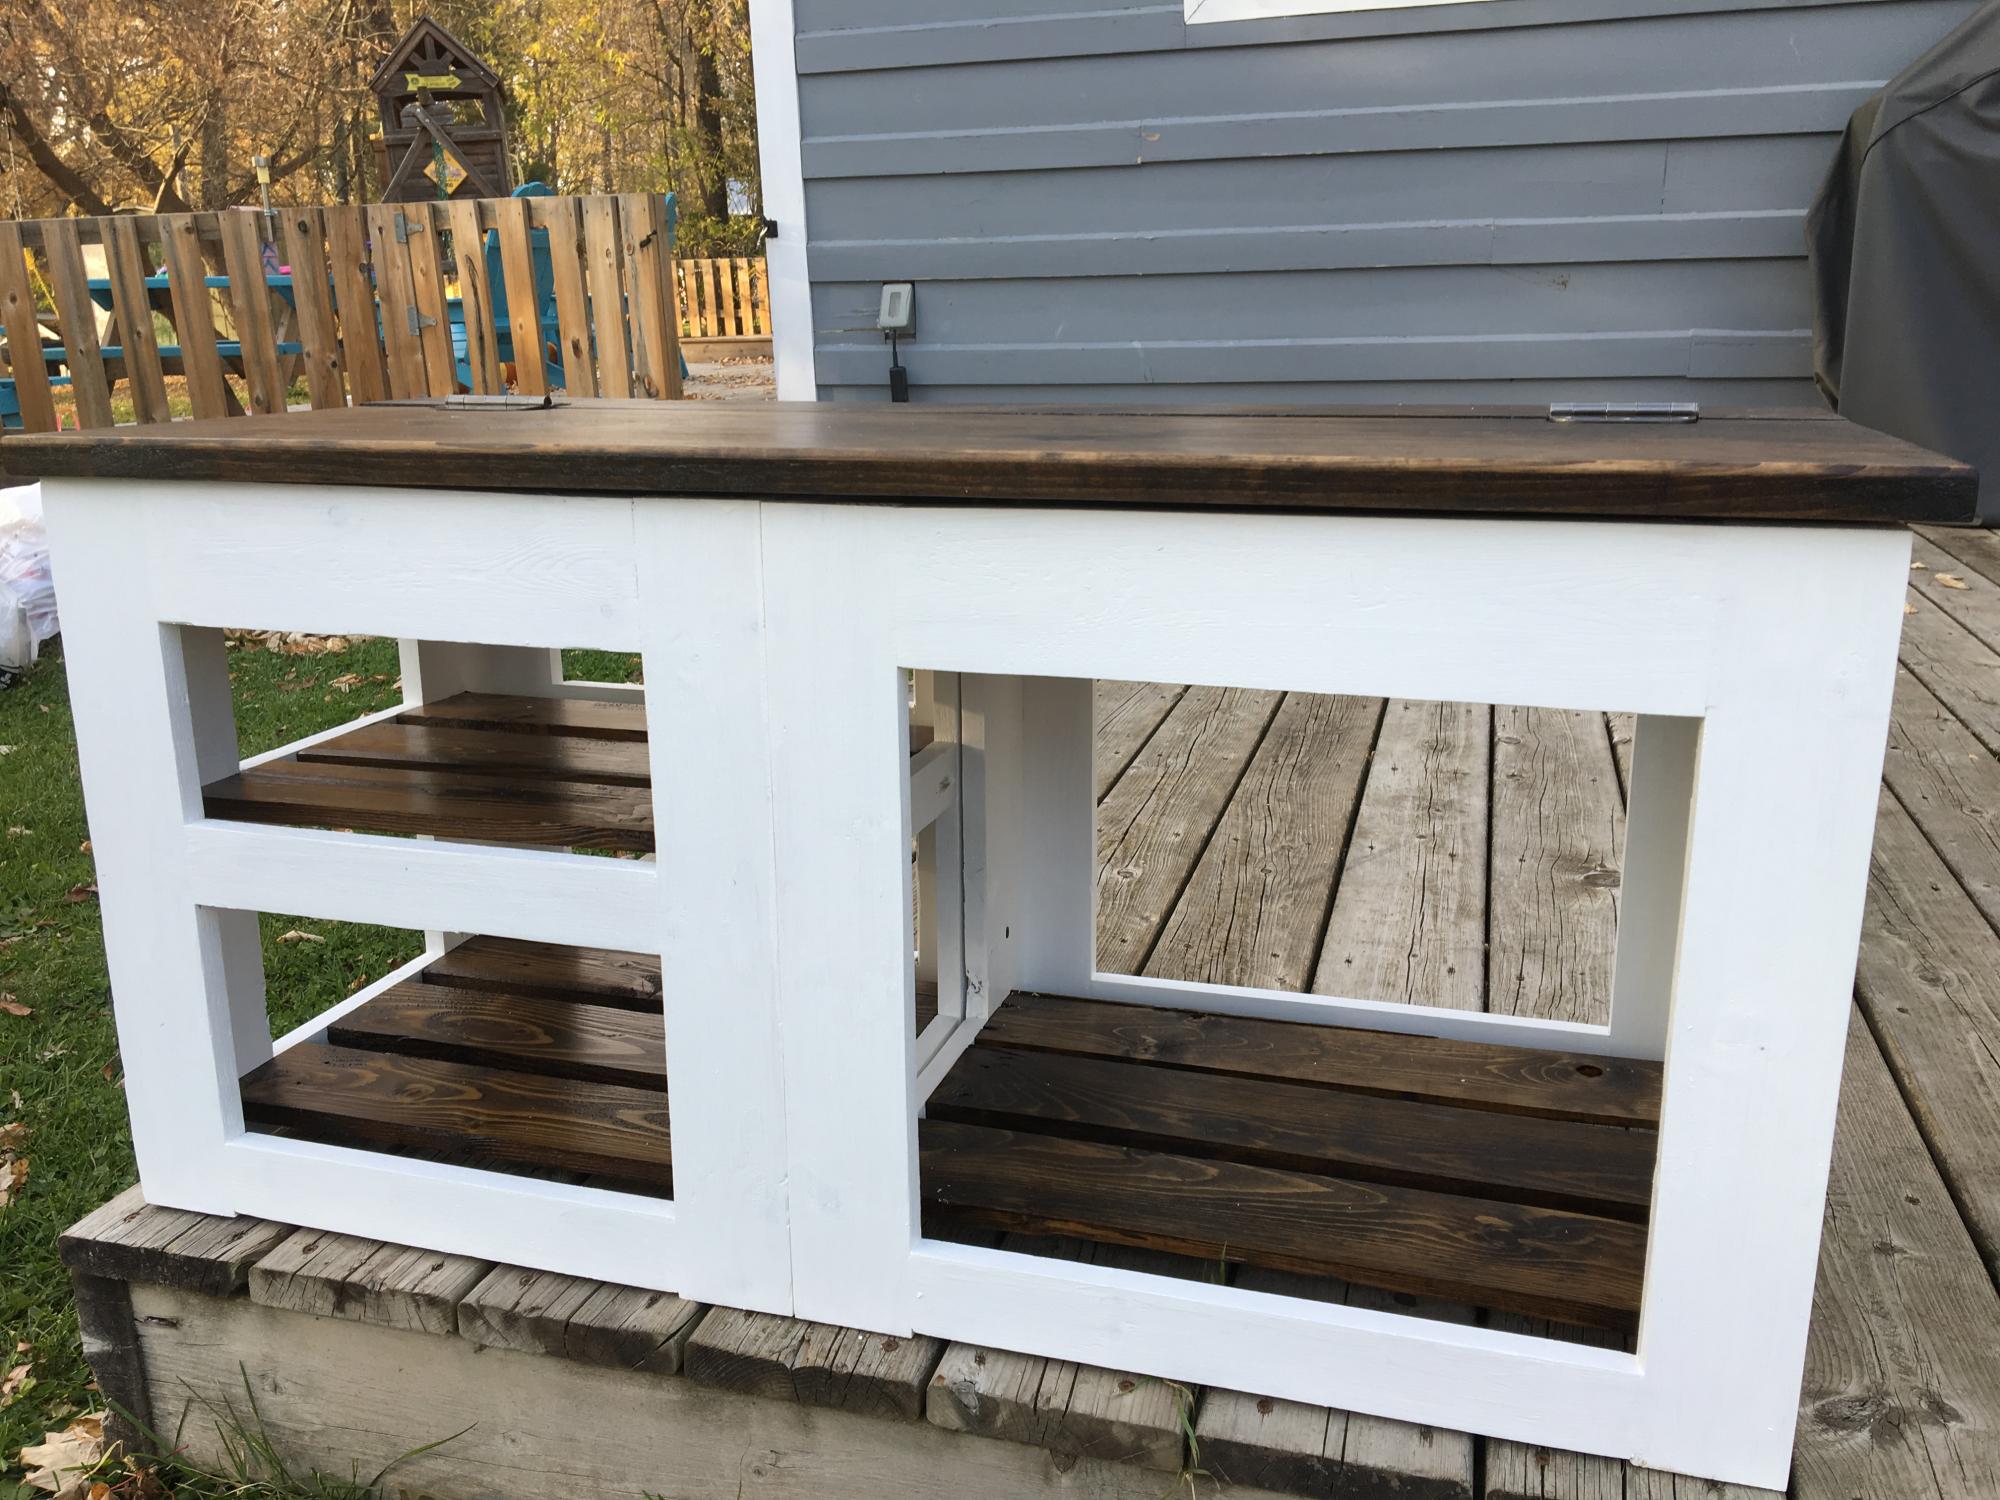
Love this plan from that's my letter! I modified the base slightly by using 2x2s secured to 1/4" hardboard. I also increased the base dimensions to 11x11 so it could accommodate additional storage.
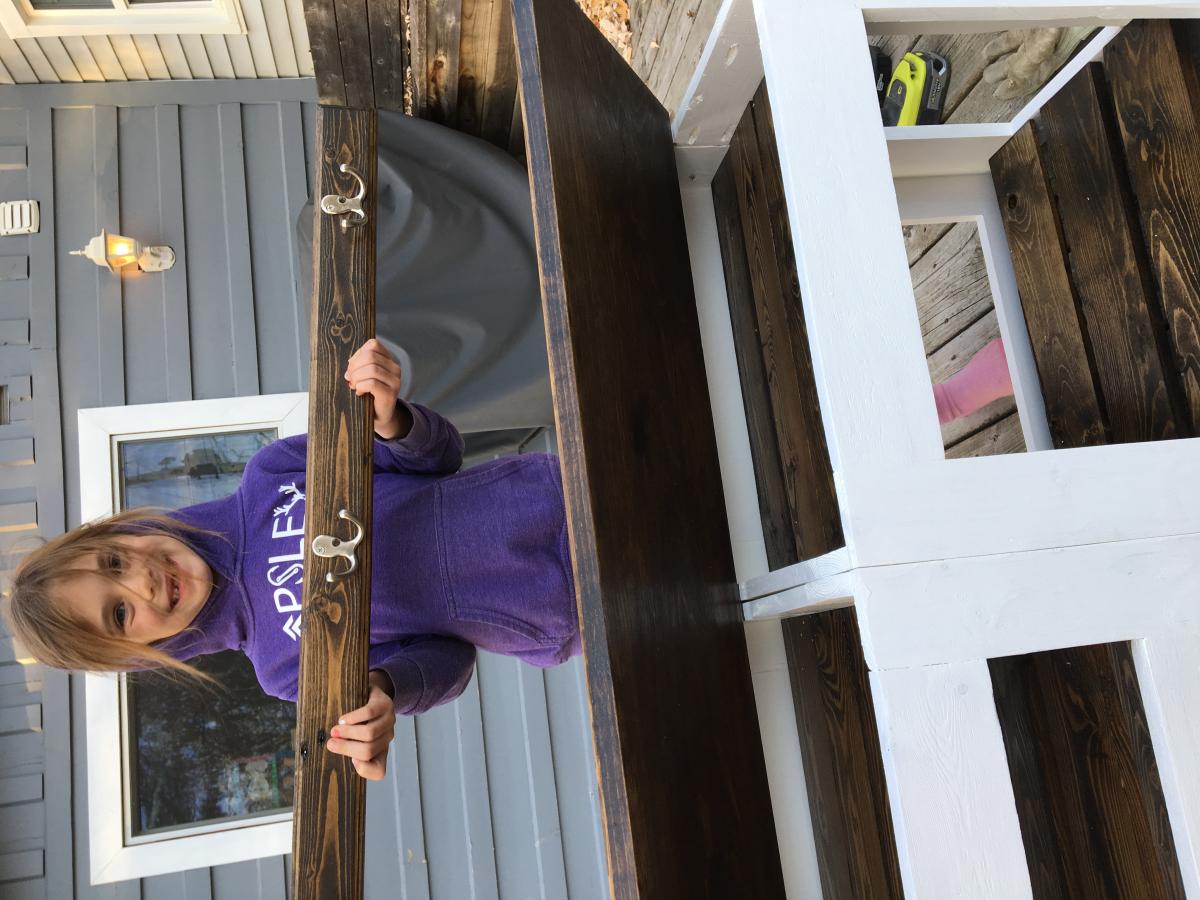
Loved your shoe bench so much that I’ve made two now for friends. Each one is a bit more custom depending on the length of their hallway and size of their family! I’ve also modified the bench as well to make storage for mitts and toques. Such a great functional plan!
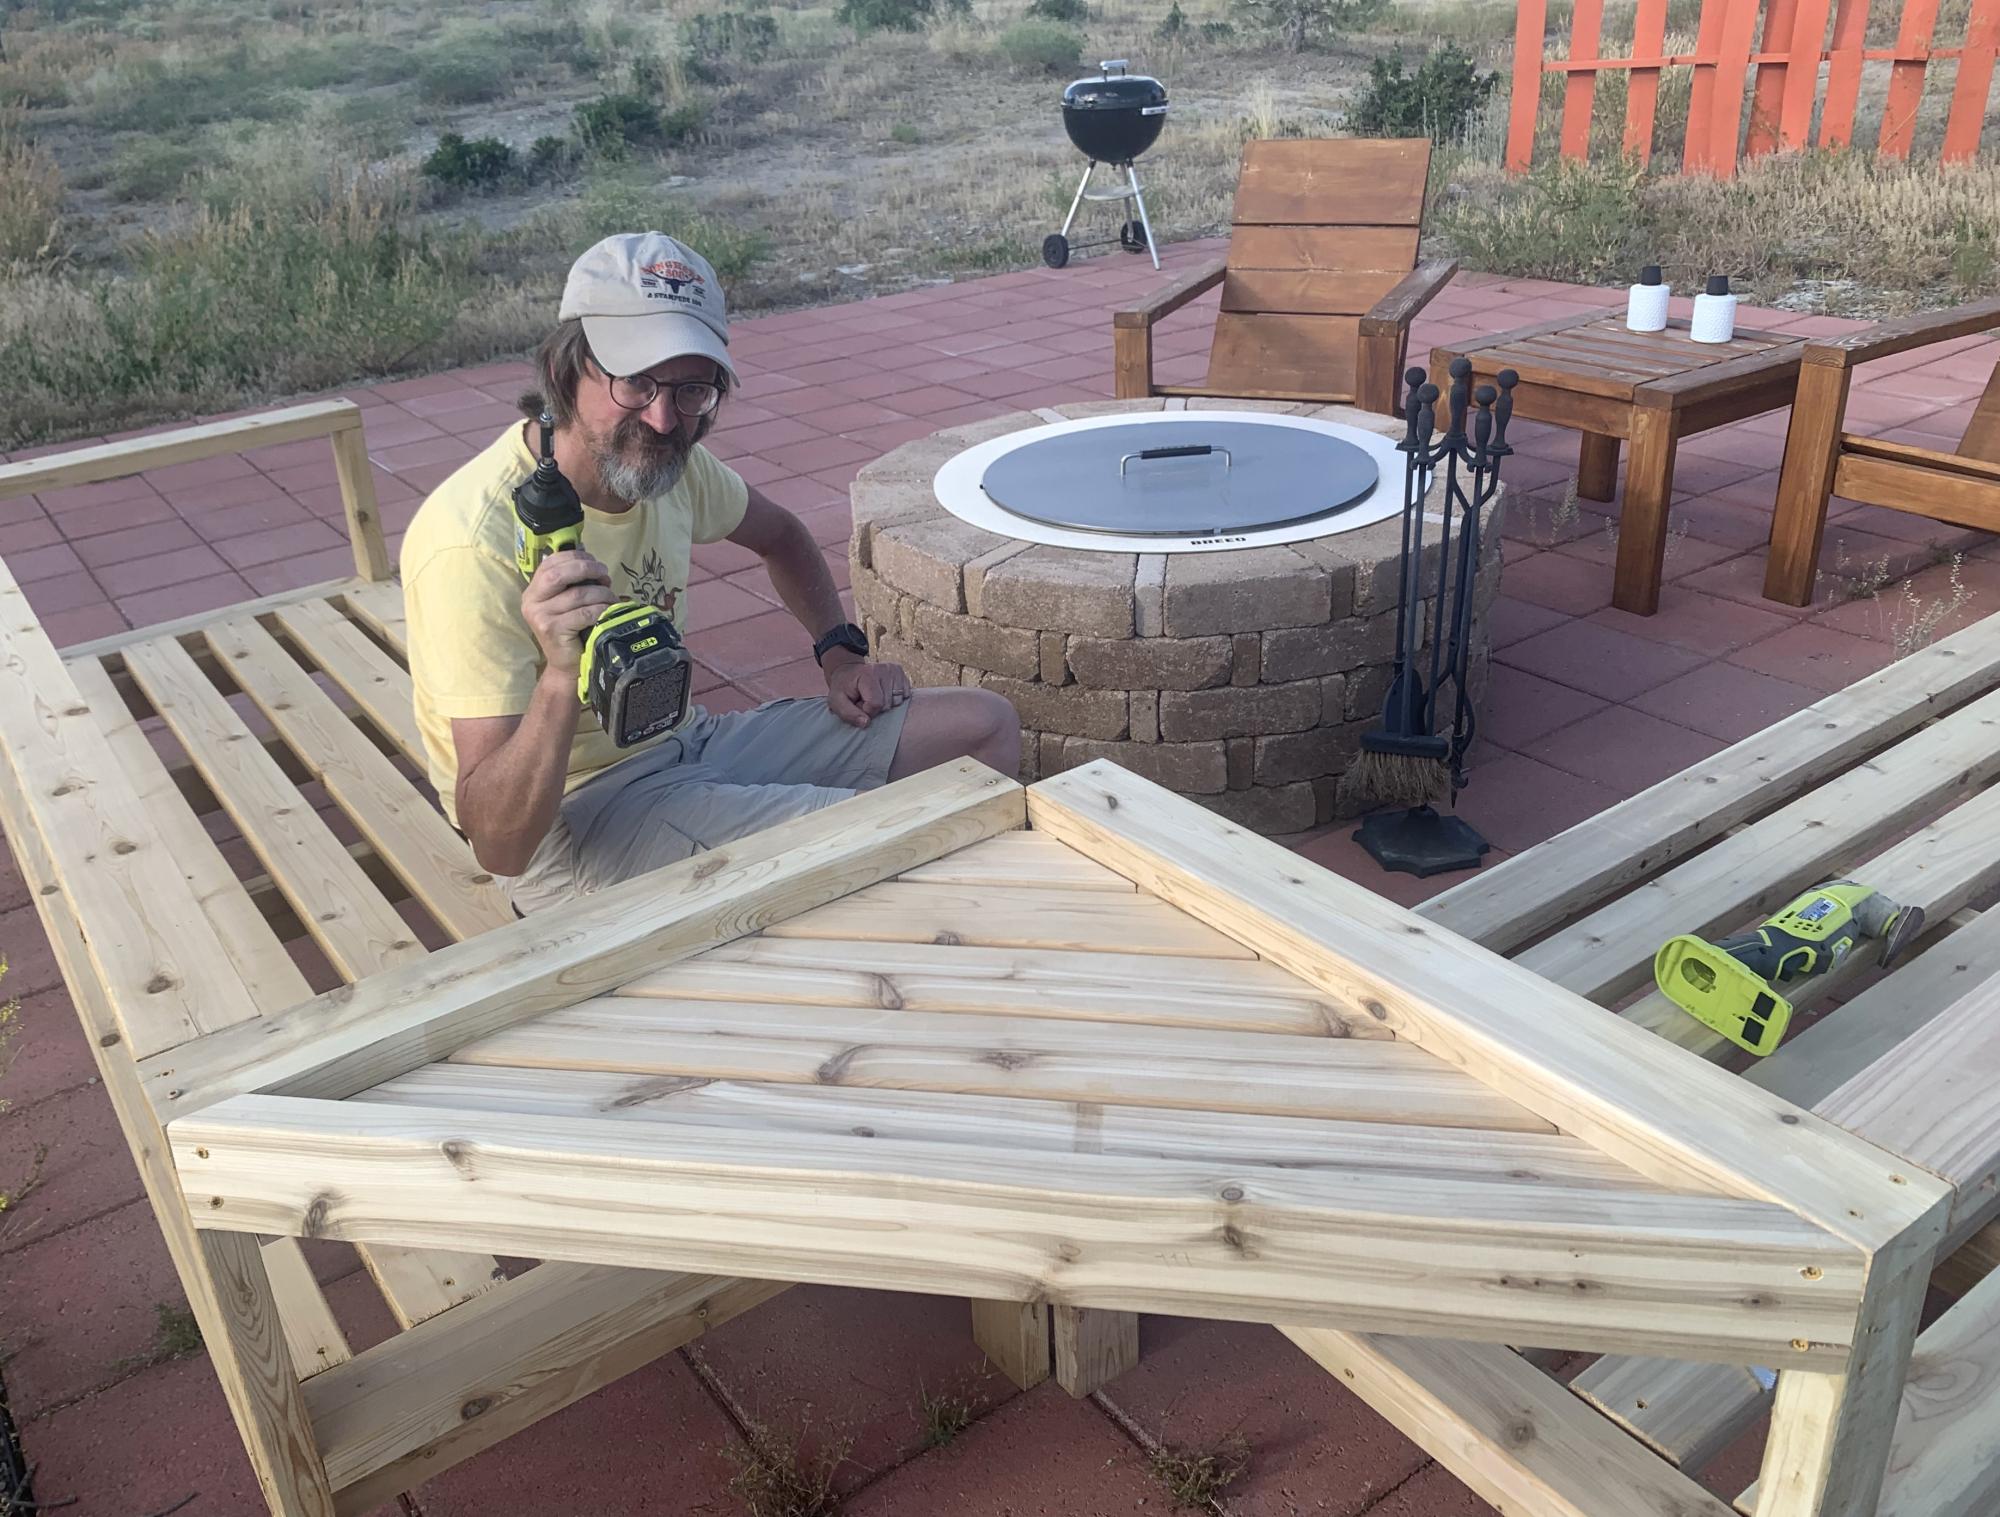
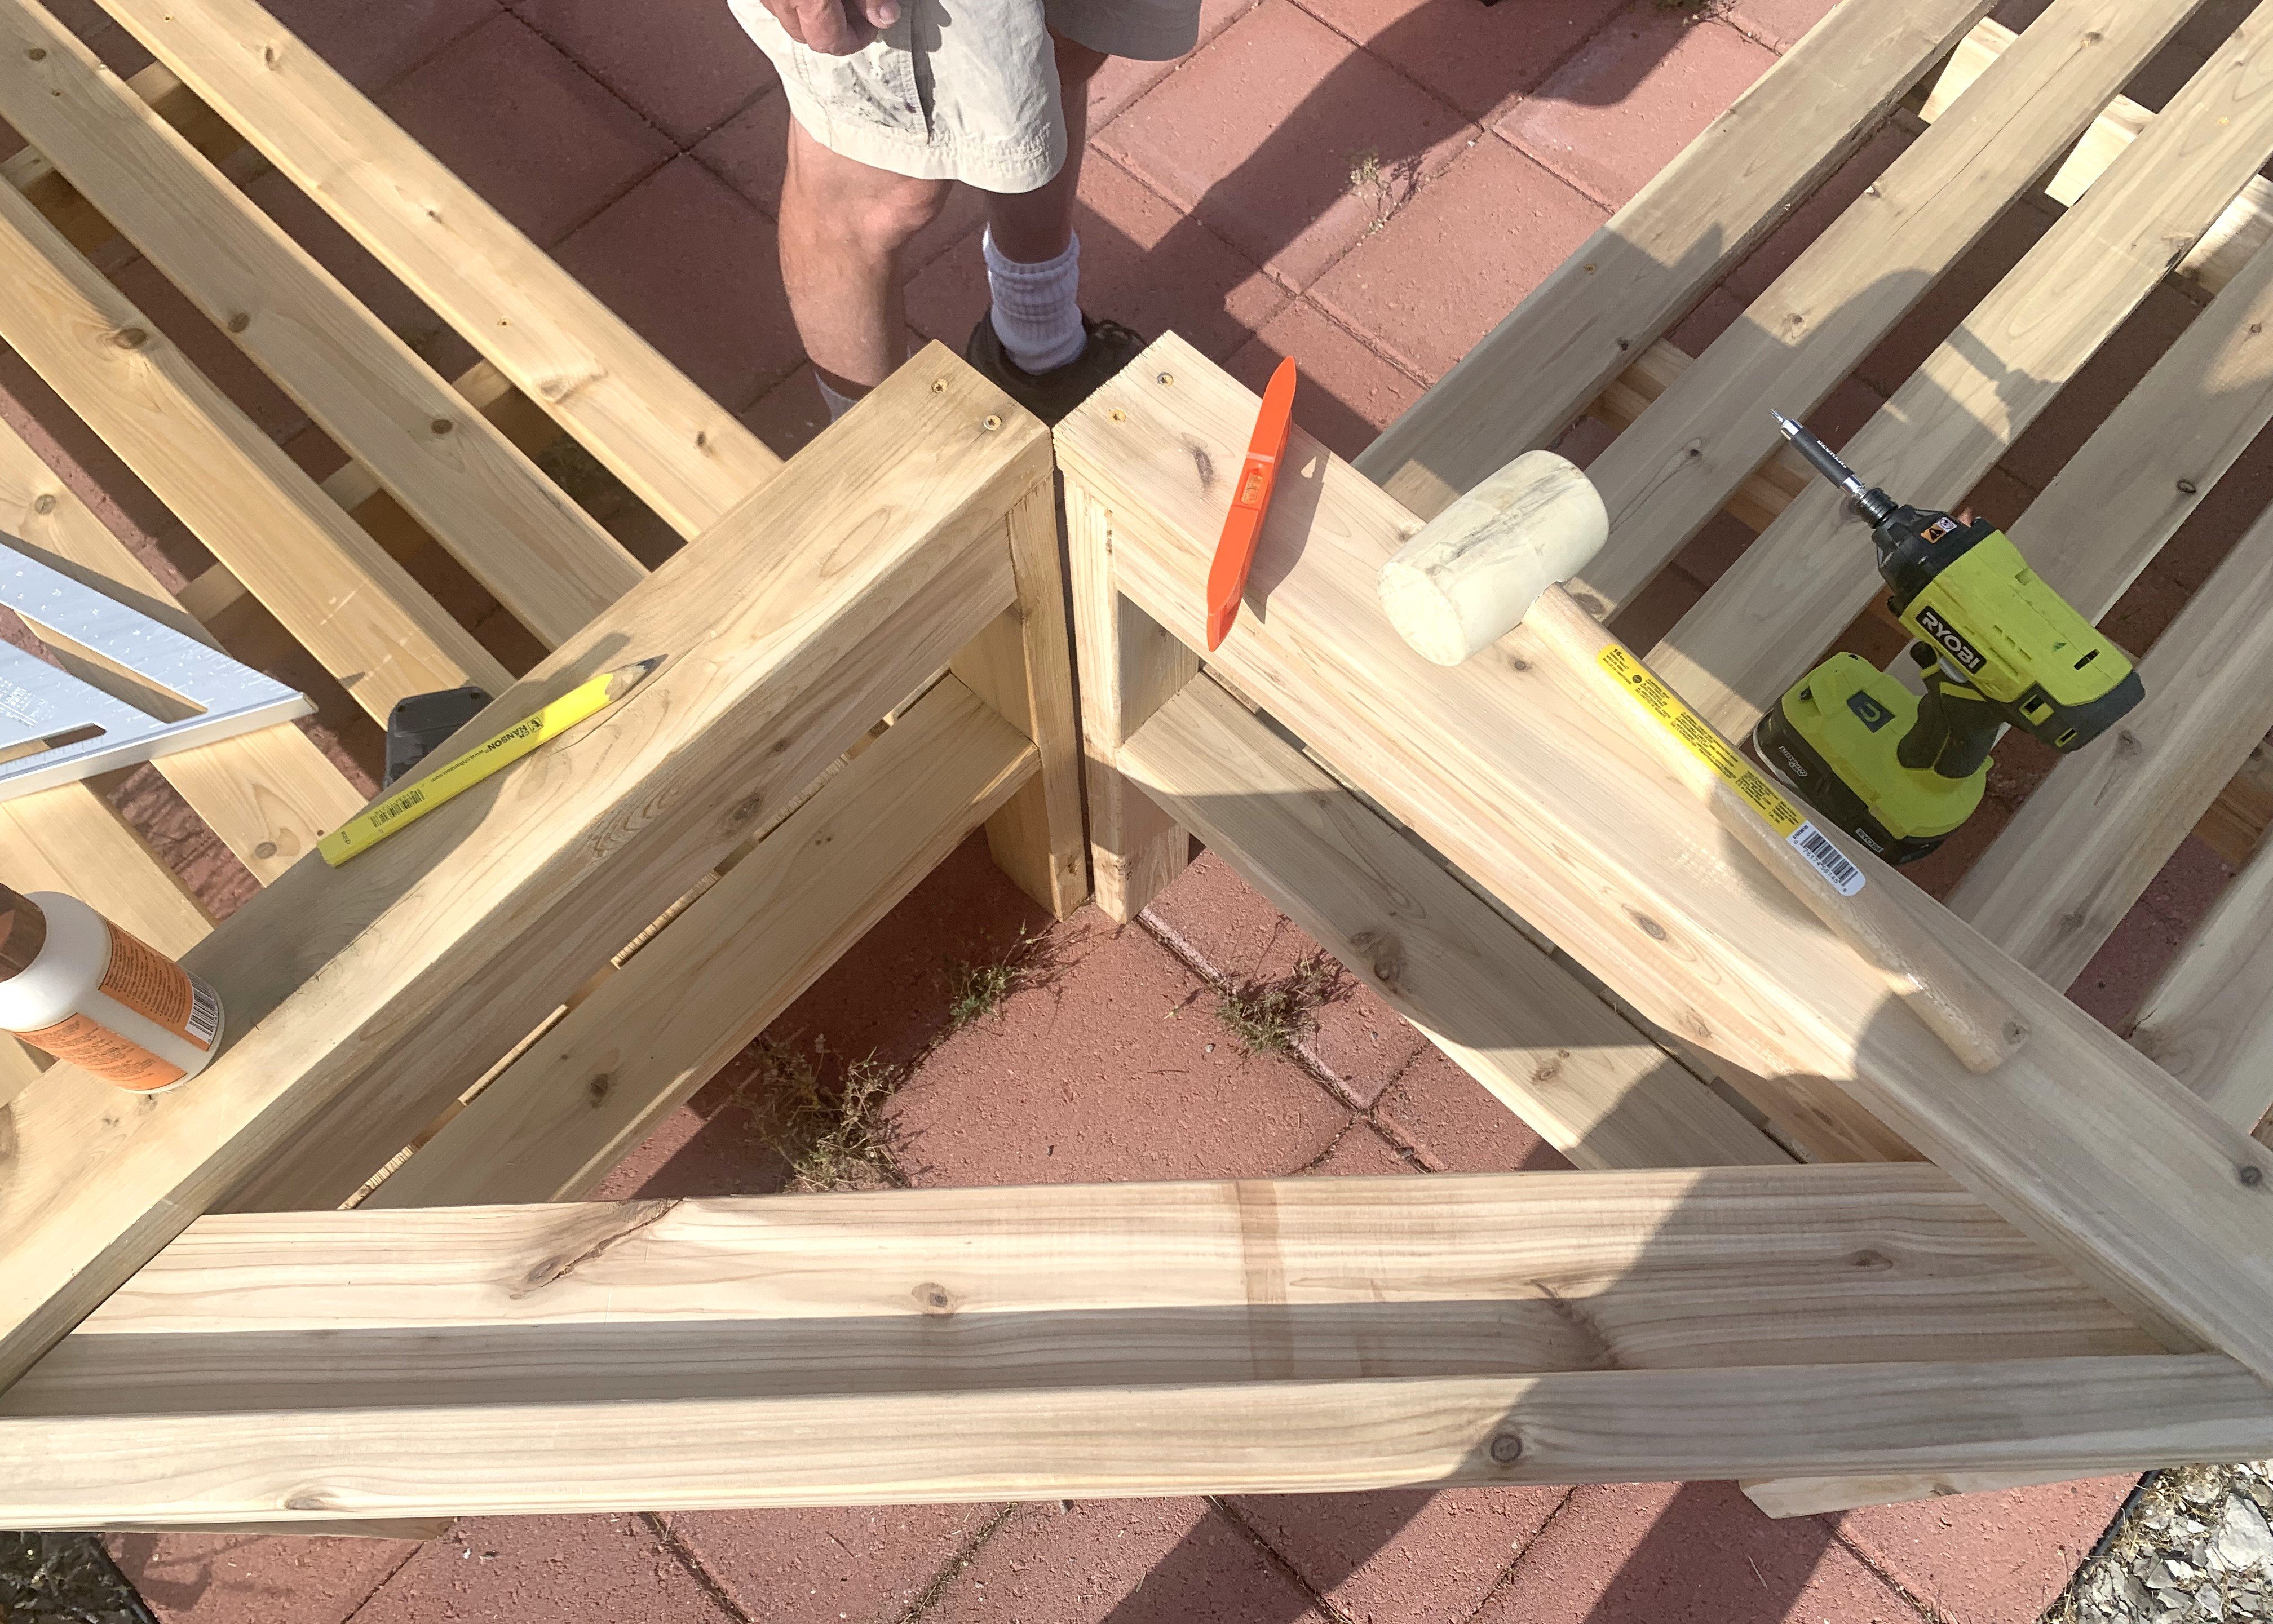
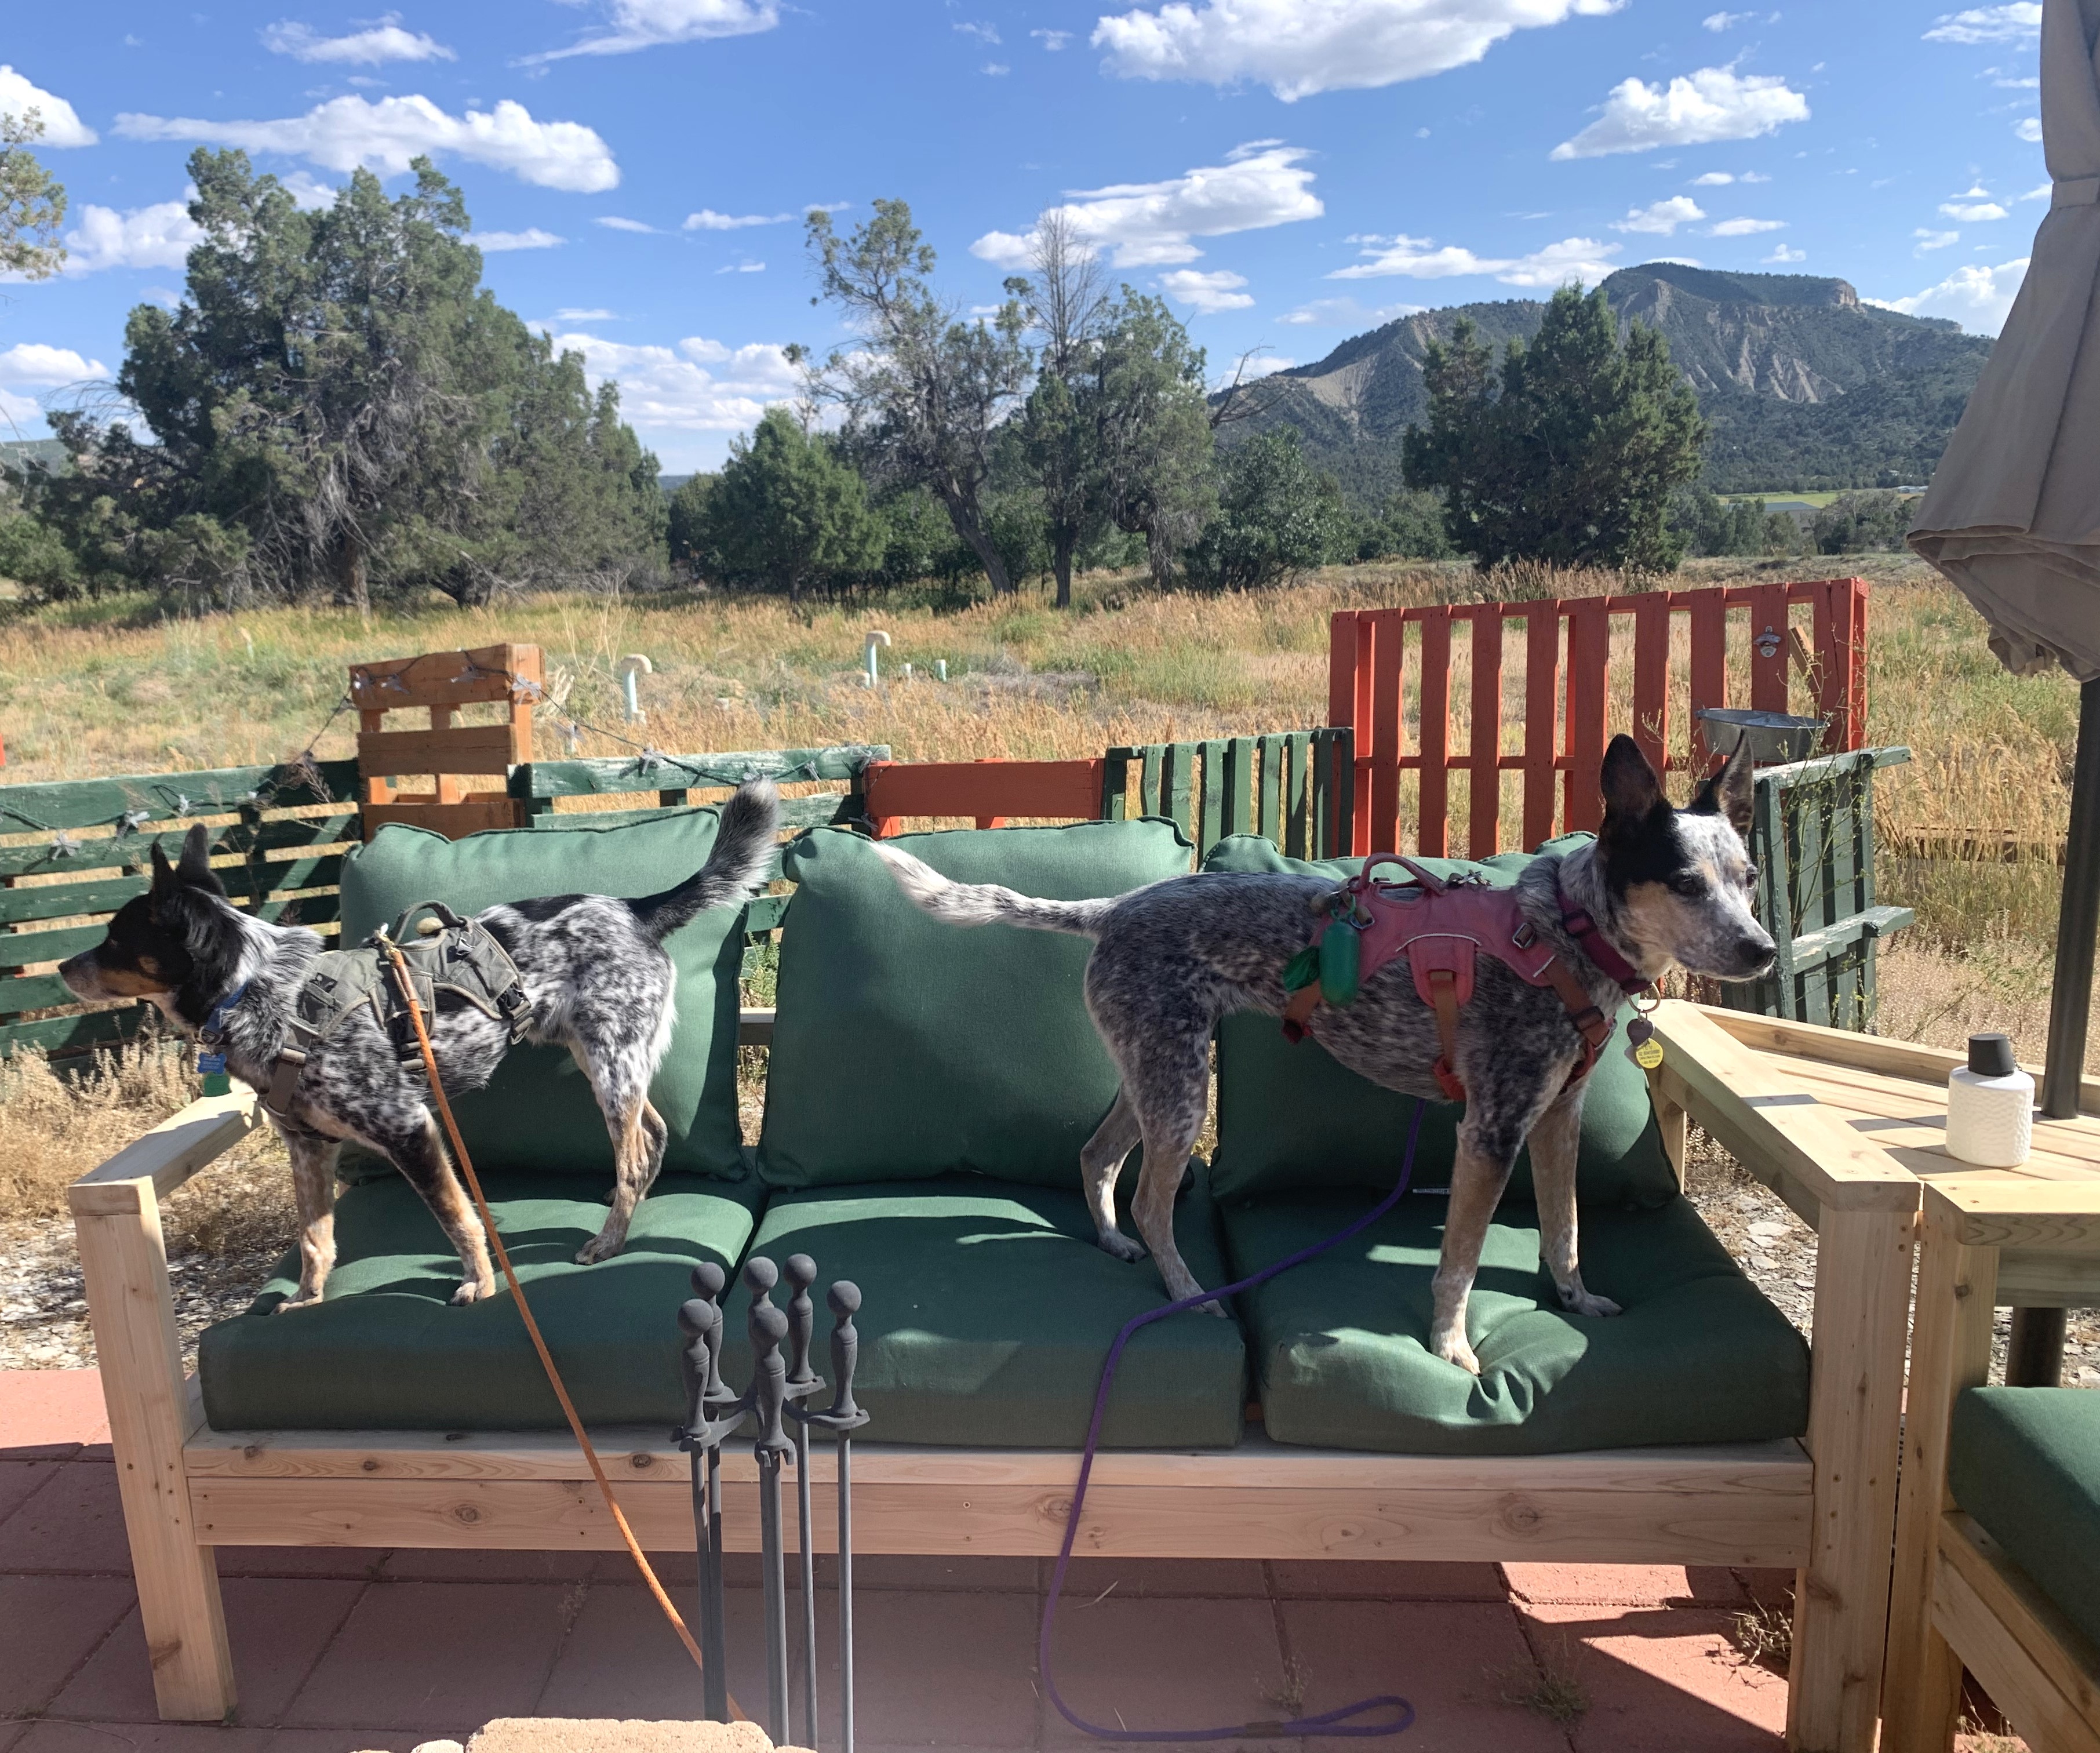
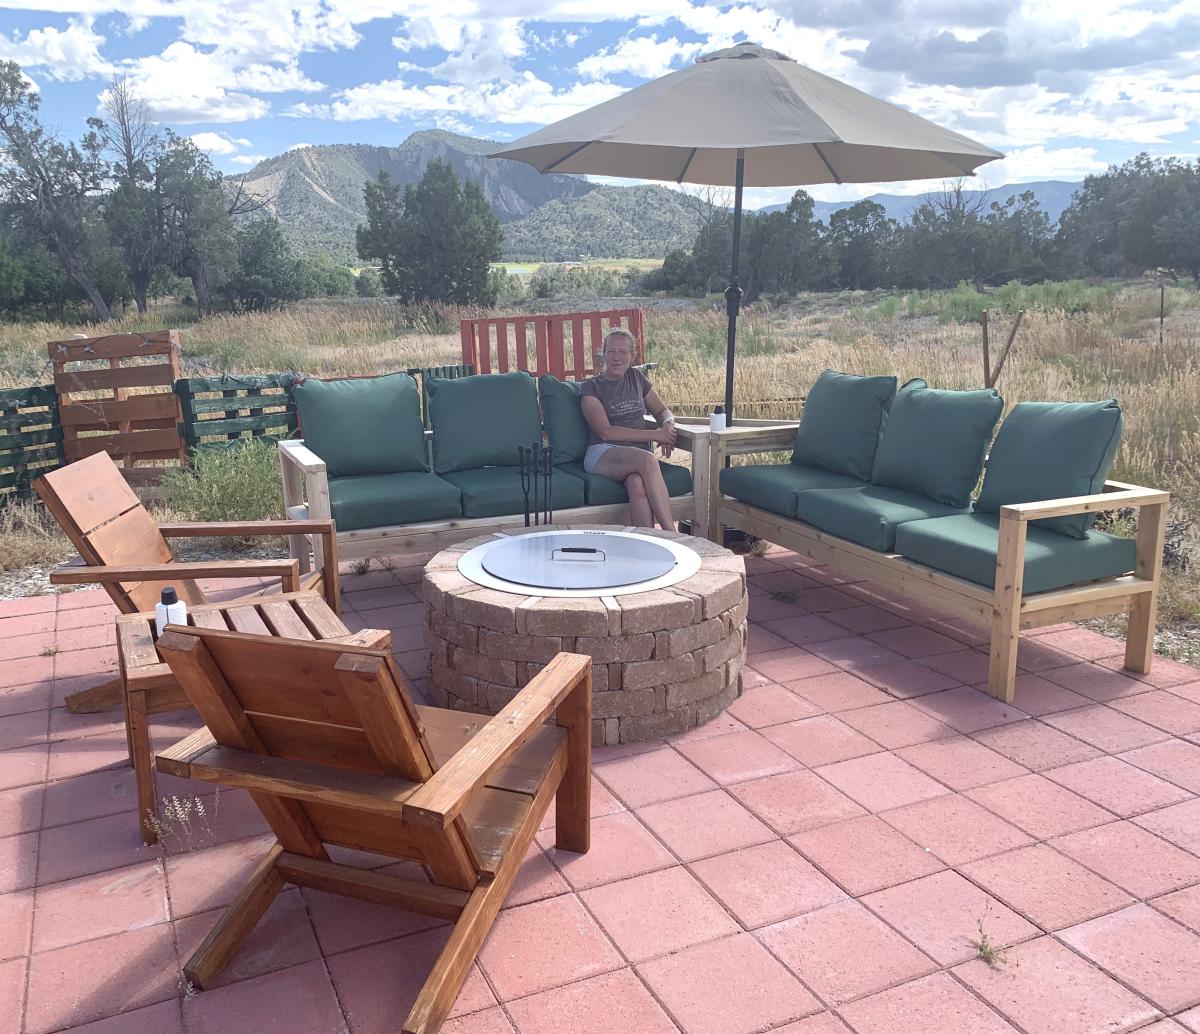
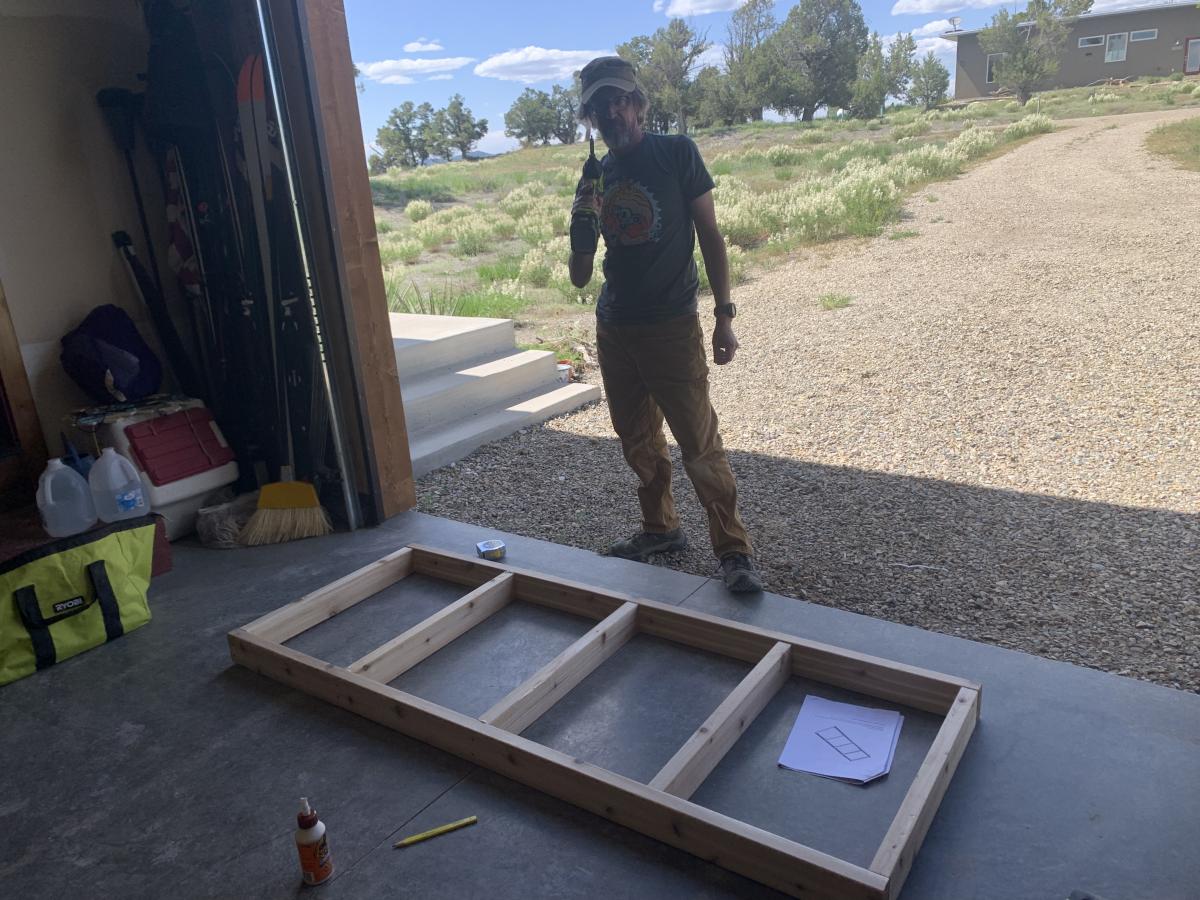
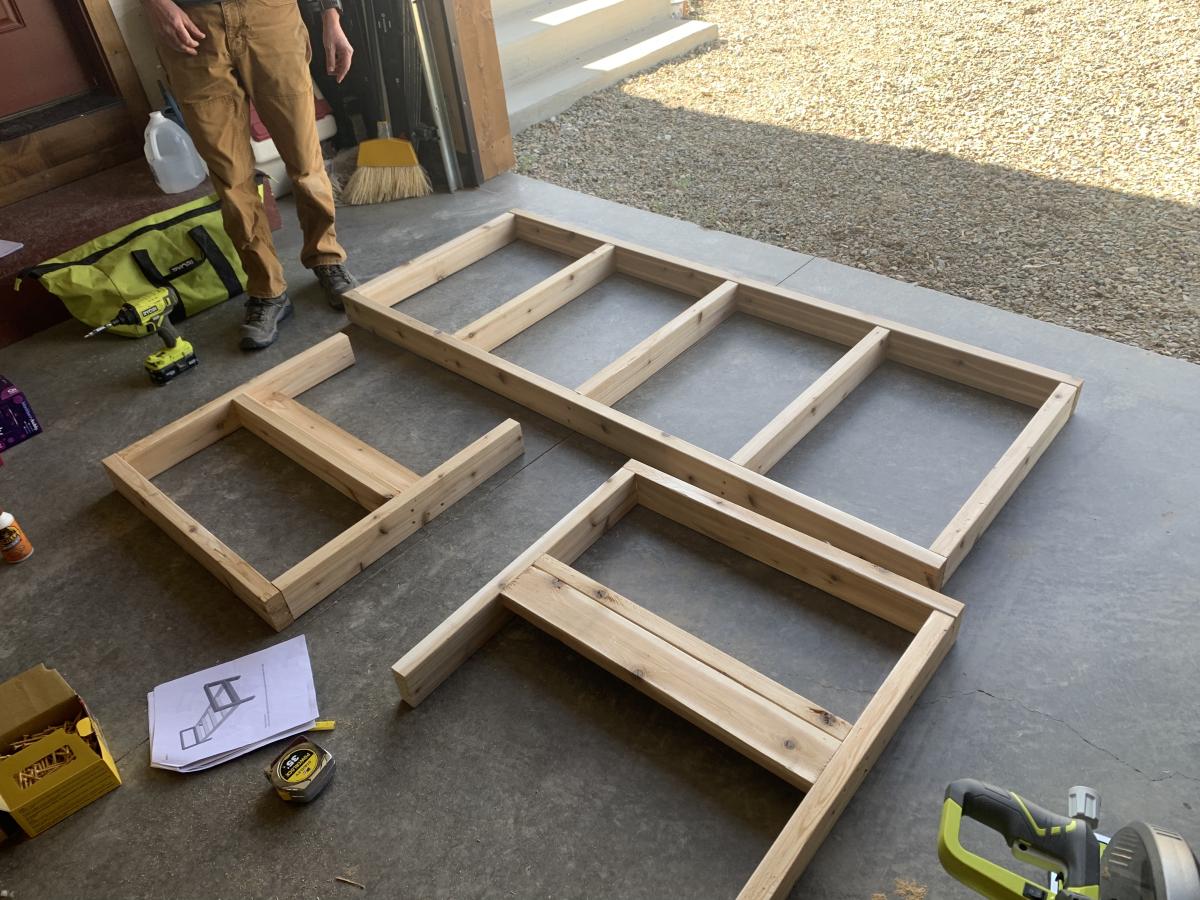
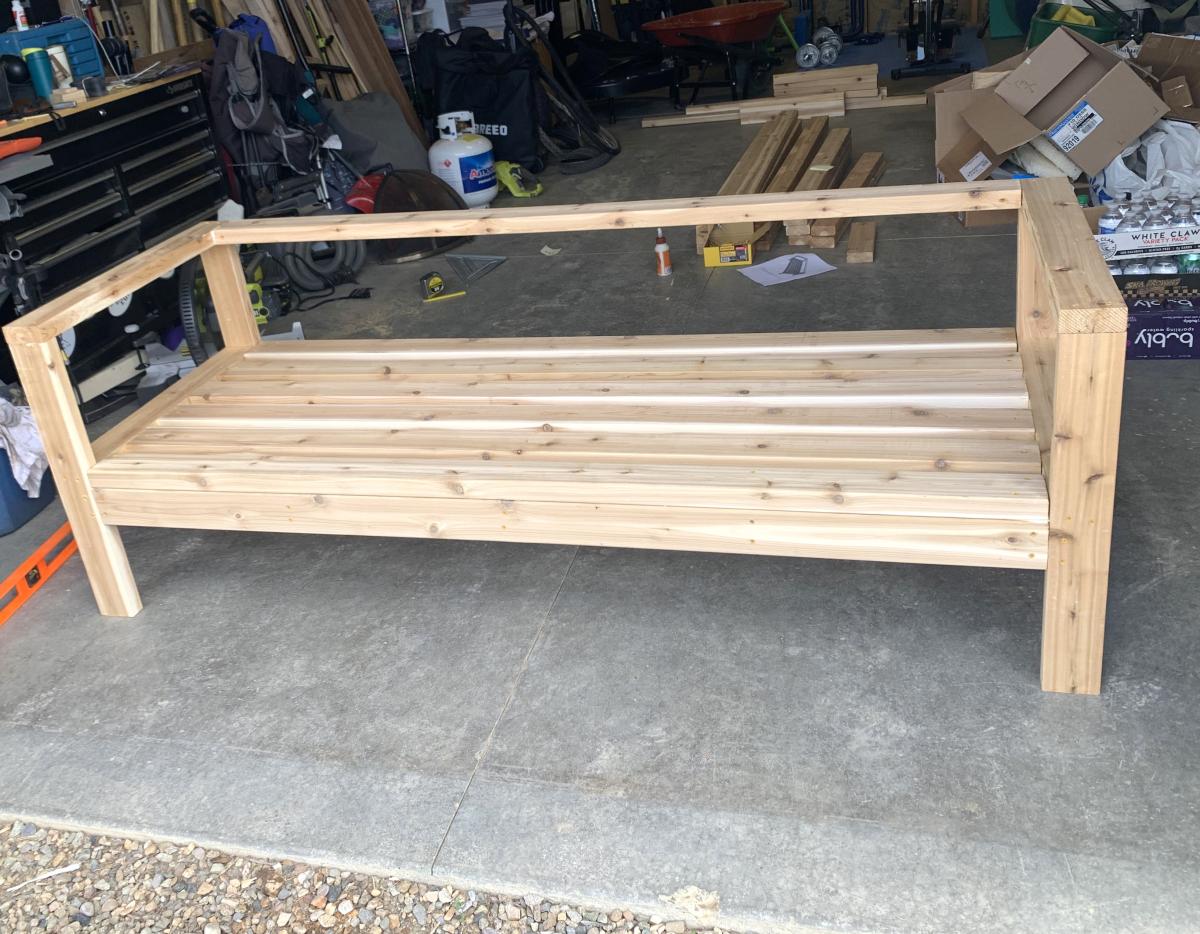
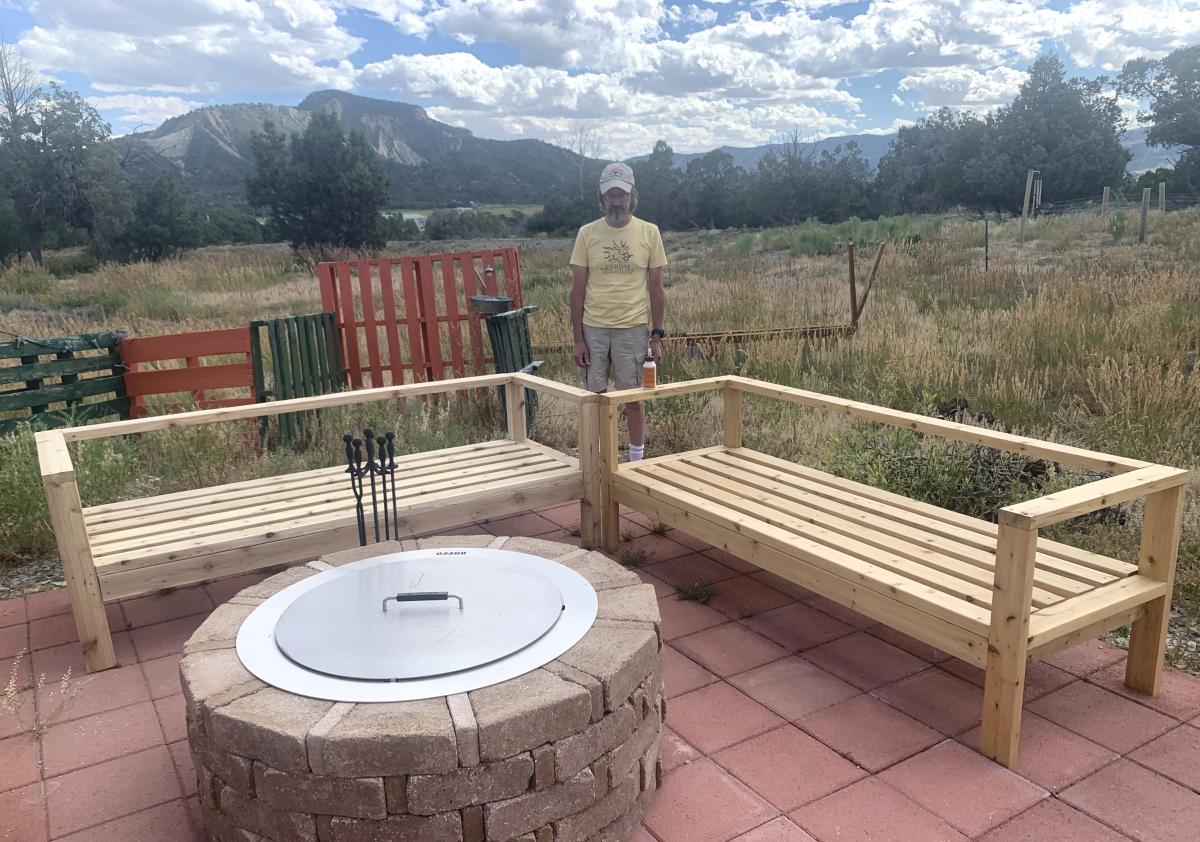
Originally, we were going to build the 2x4 outdoor sofa and the one arm version, but we didn’t like how far away the corner seat was from the fire pit, so we switched gears and built a second two arm sofa, and using skills we learned building from some of your other plans, we custom designed the corner table to attach the sofas and hold an umbrella.
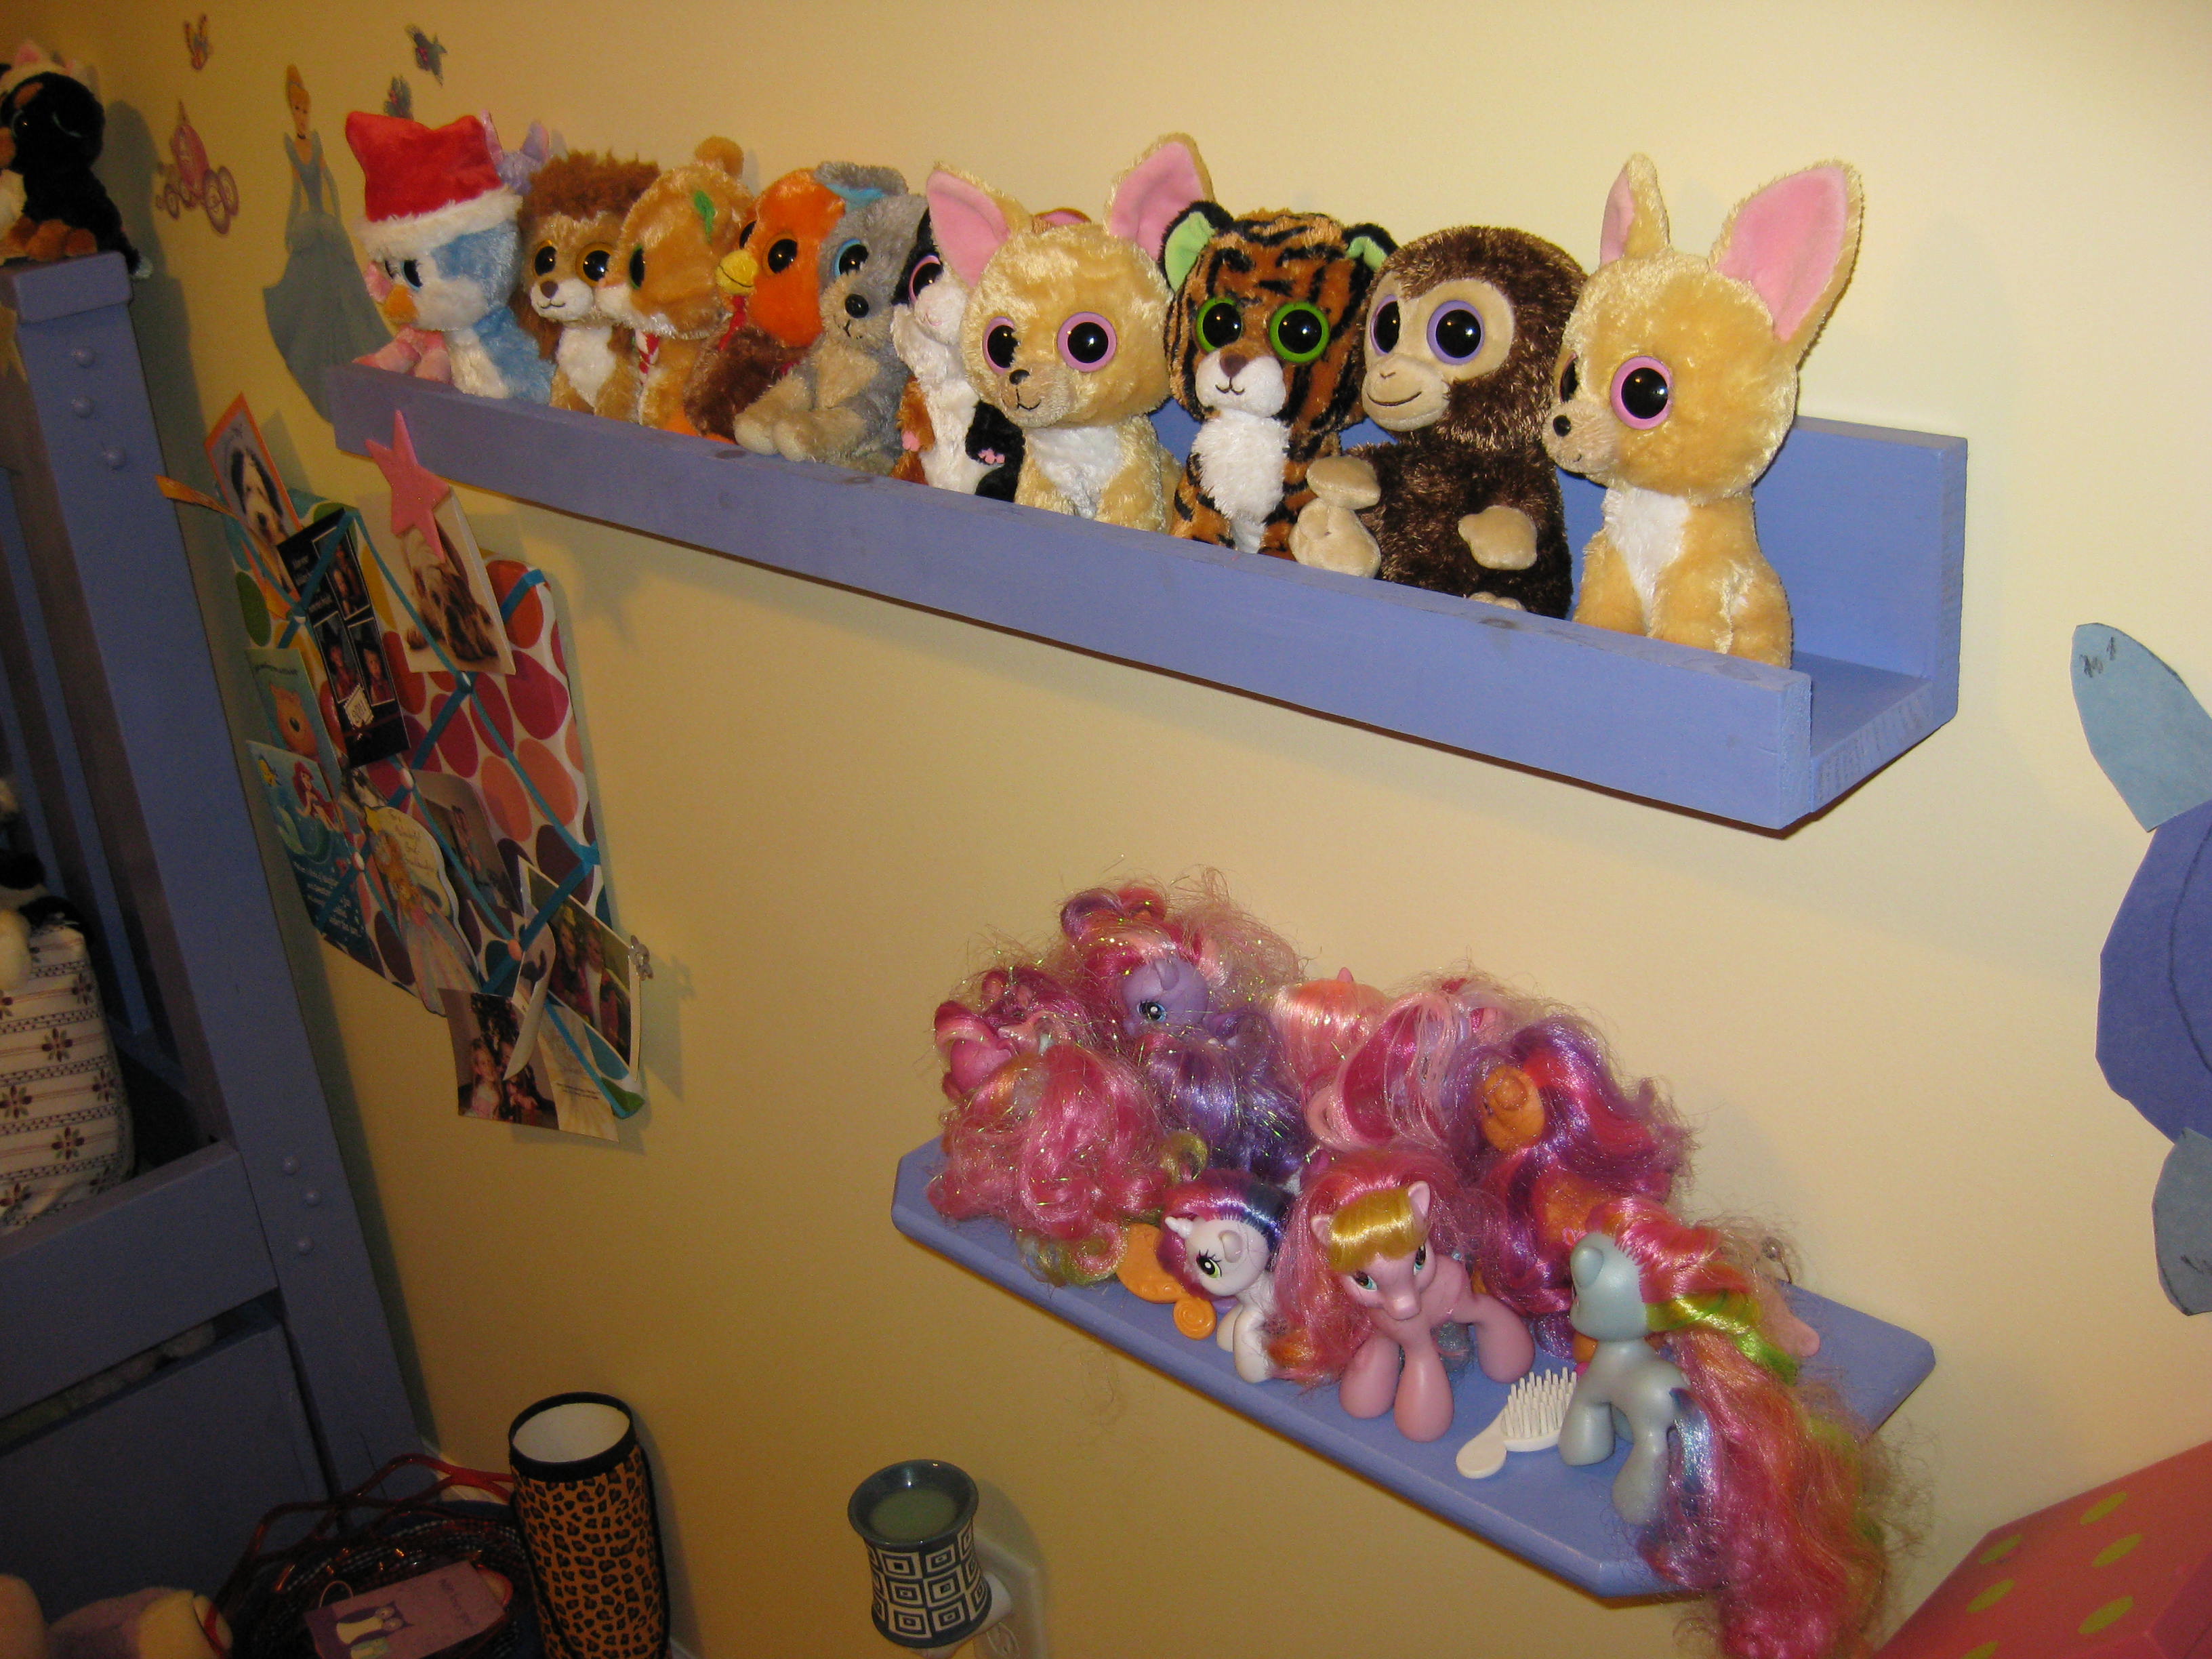
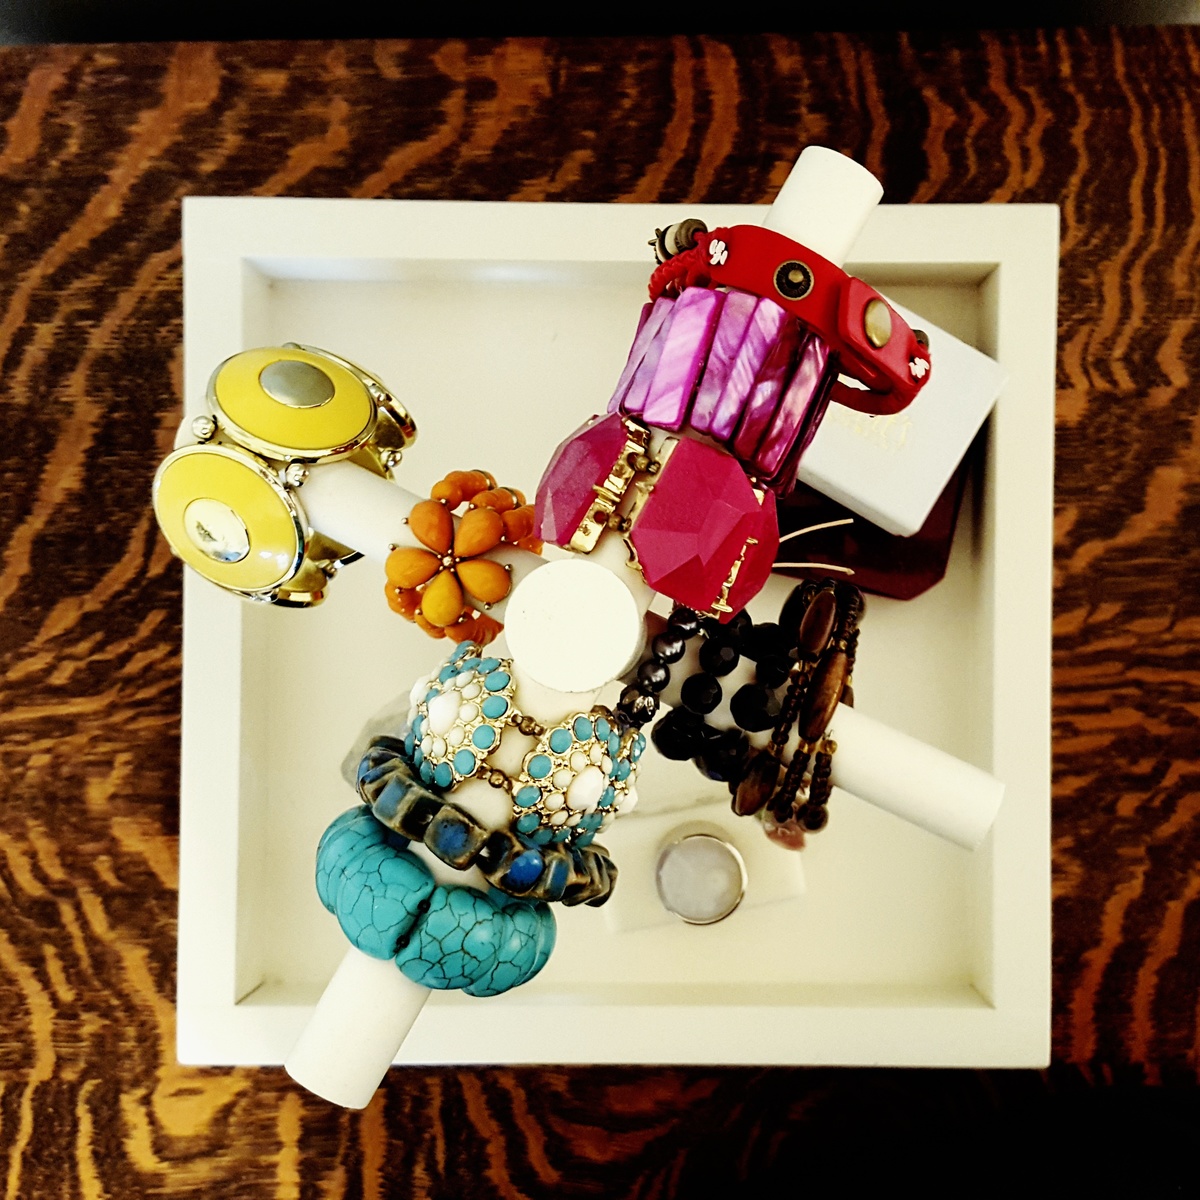
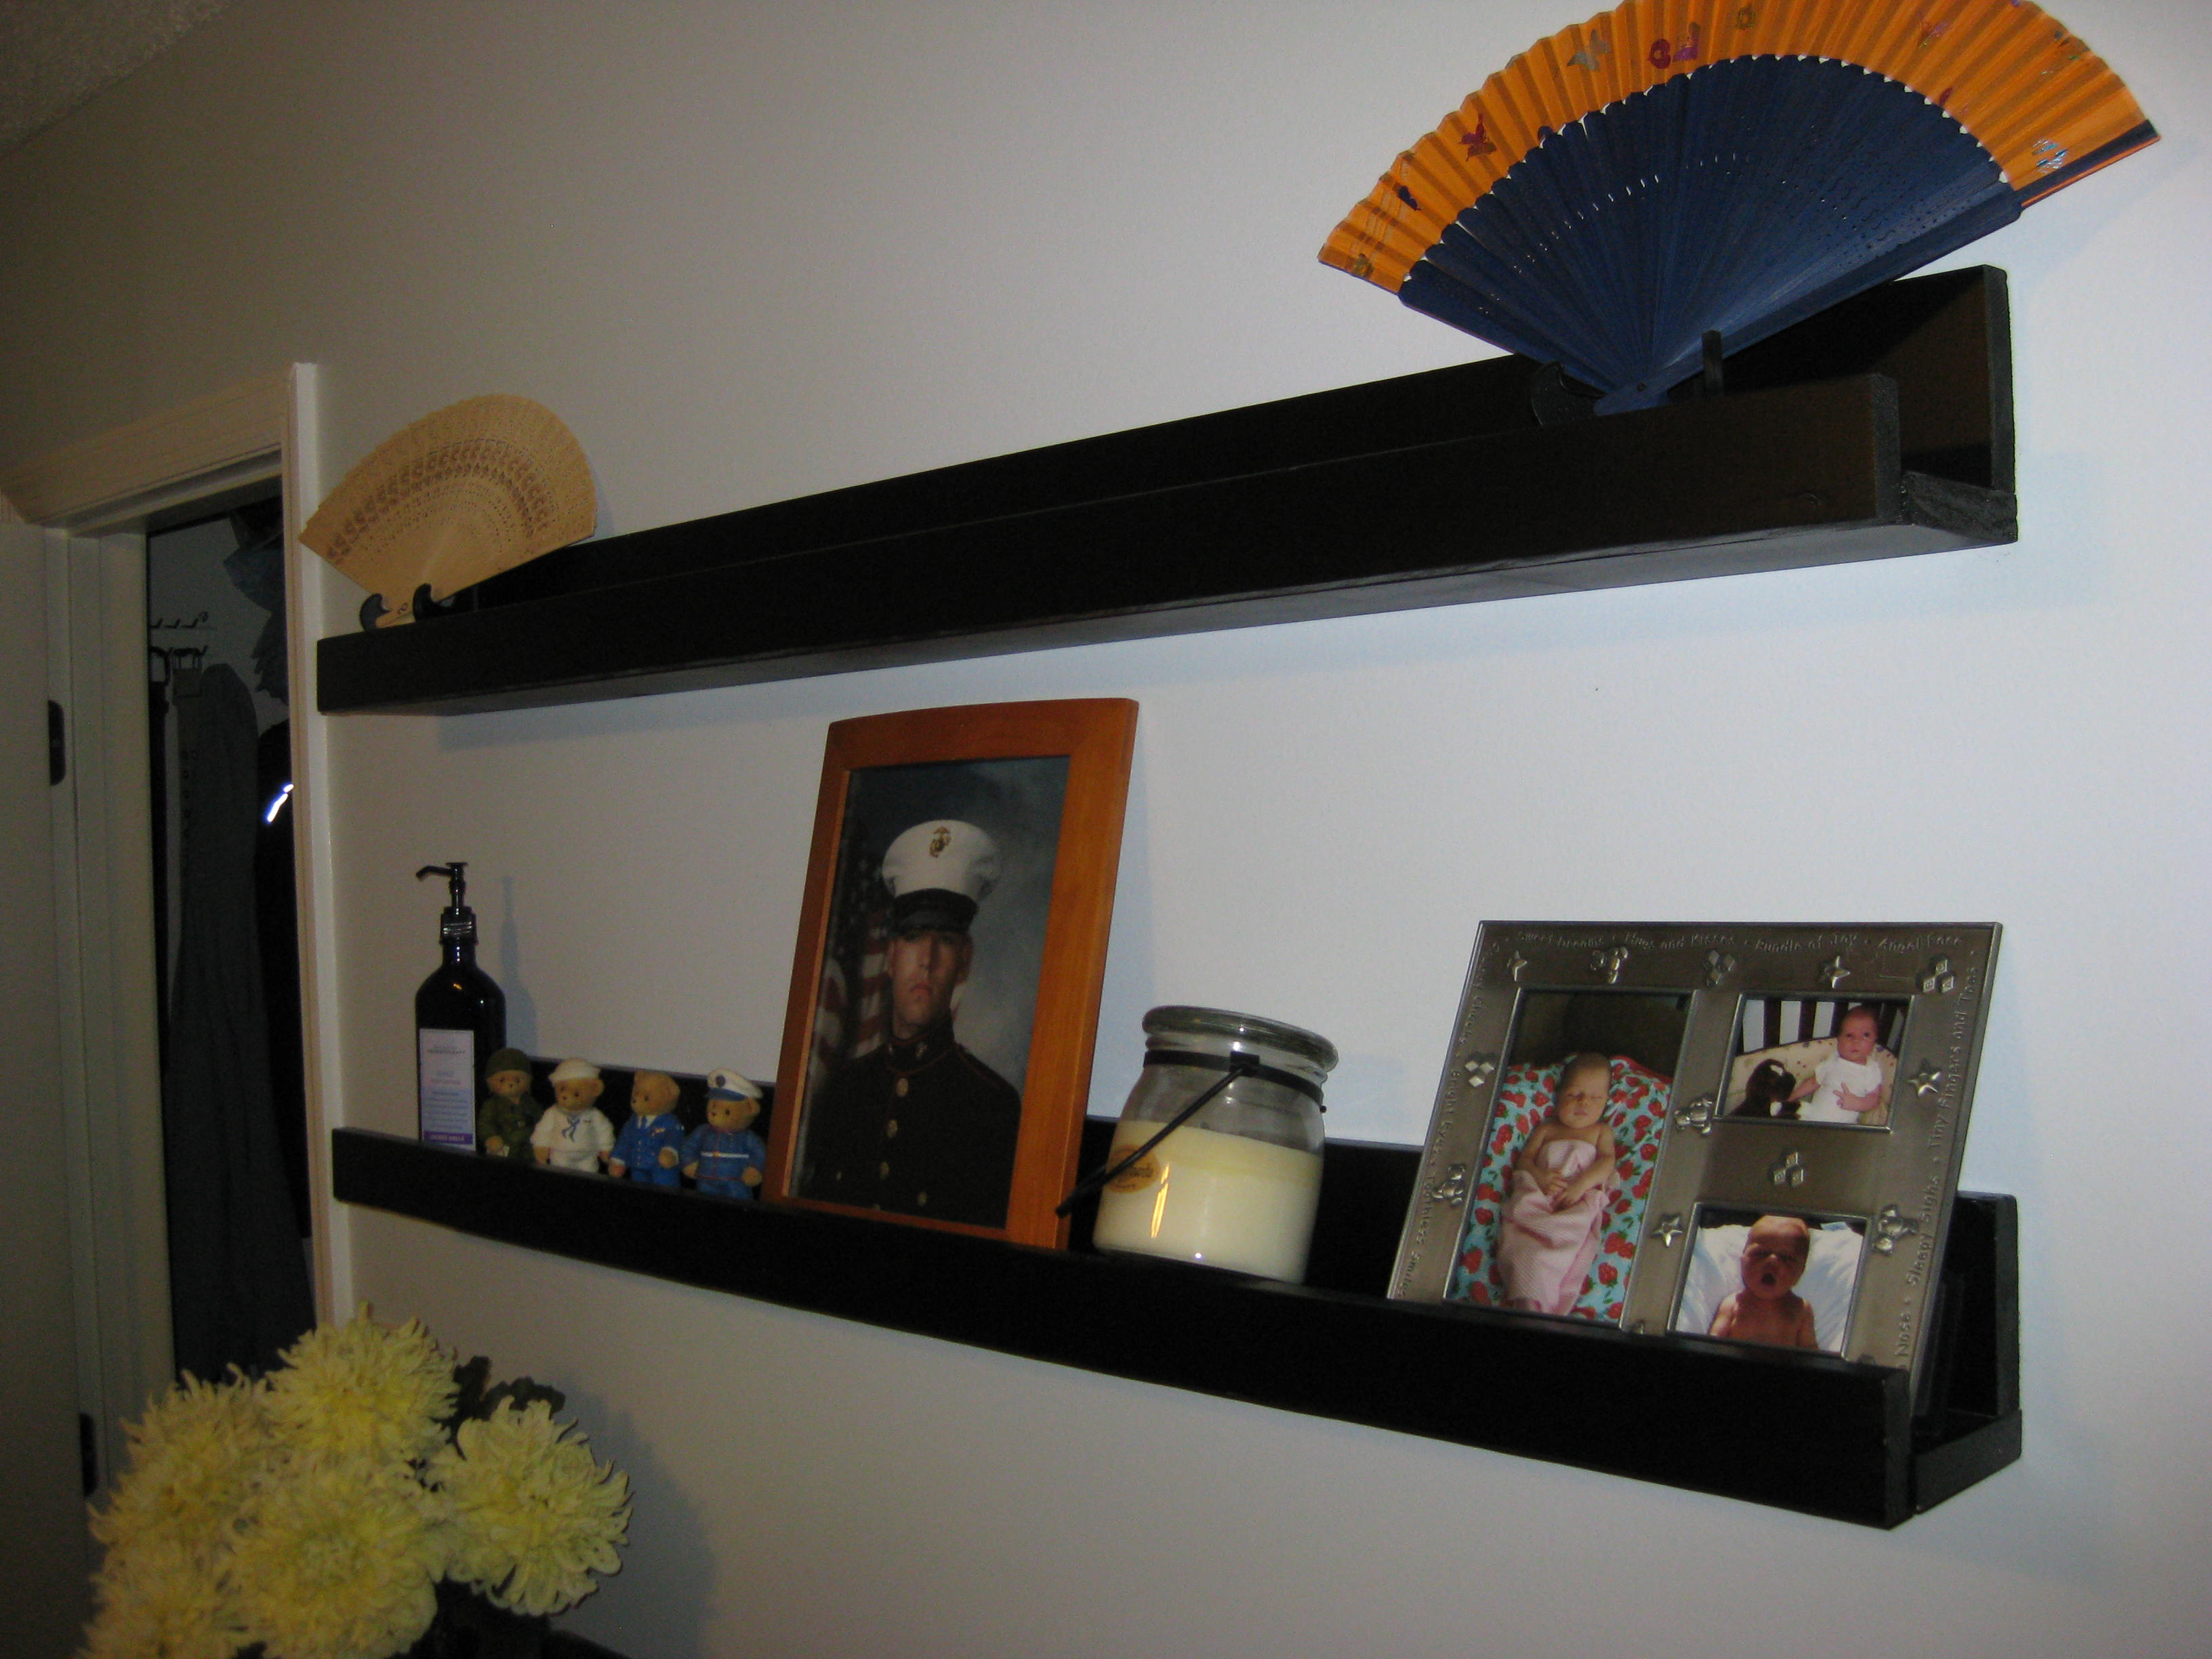
We built three different sets of these ledges one set for each of the kids and one for our bedroom. We requested some sample paint off line in some colors we choose so the paint was free. Very simple to make and finish. We drilled holes 16 on center to hang them off the studs to allow heavier items down the road. Picked up the wood from the home store cut them down and sanded with 180 than 220 grit sandpaper then slapped on the paint.
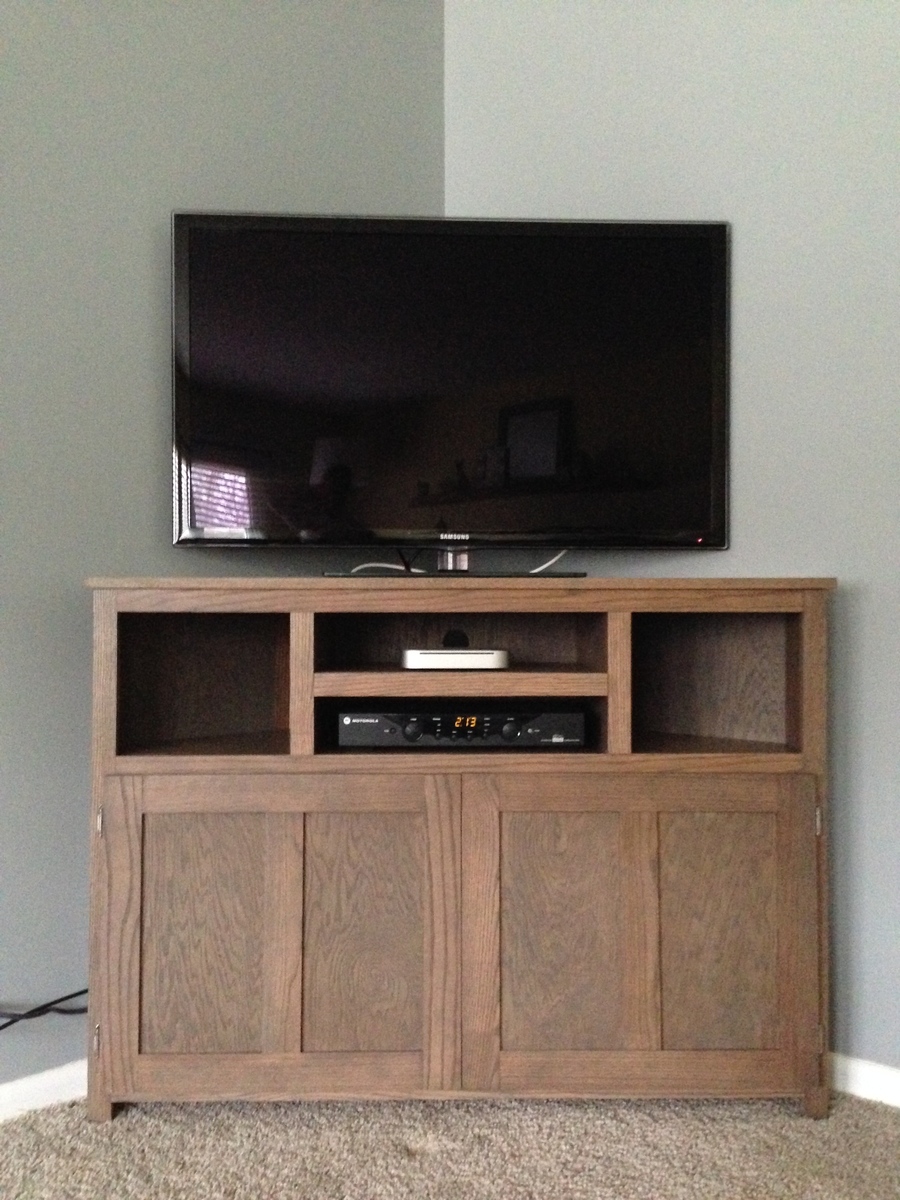
Our old (cheap!) TV stand was falling apart. We couldn't find something we liked to buy until I found the plans Tall Corner Media Console. We made it a bit shorter (ours in only 3 feet tall rather than the 4 feet in the plan) and we ended up with overlay doors instead of the planned inset doors, but I love the way it turned out! Our biggest challenge was agreeing on the stain color.
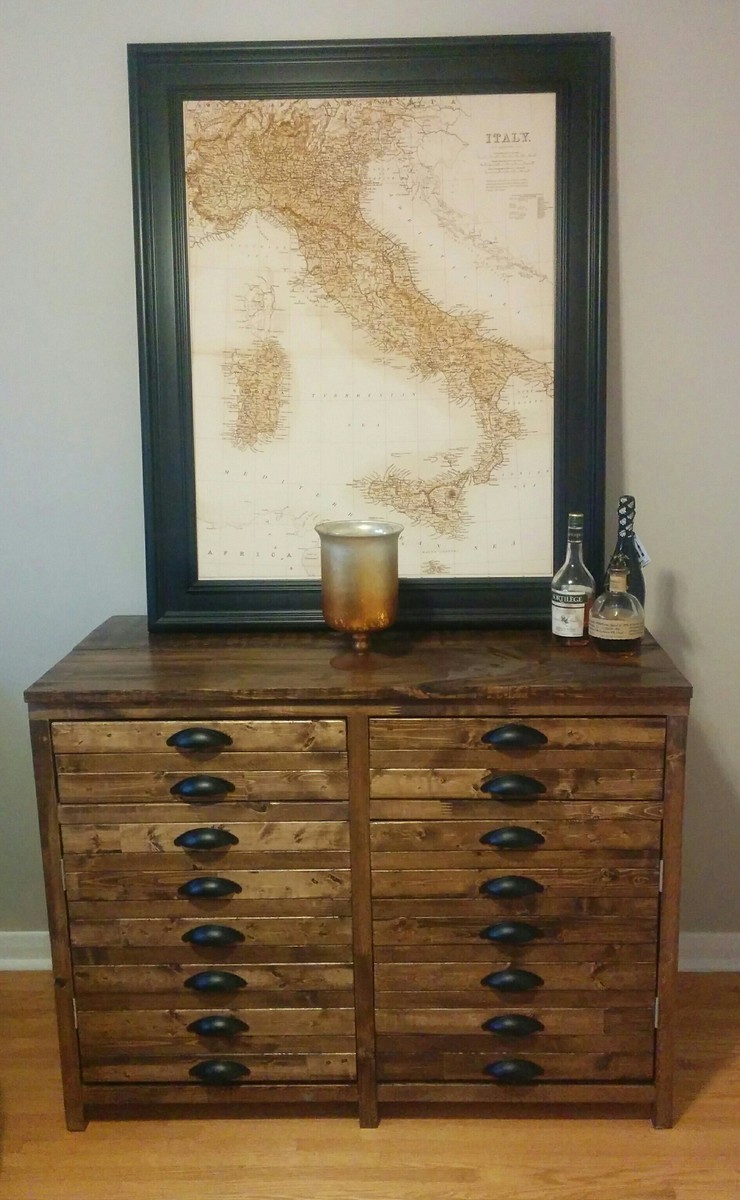
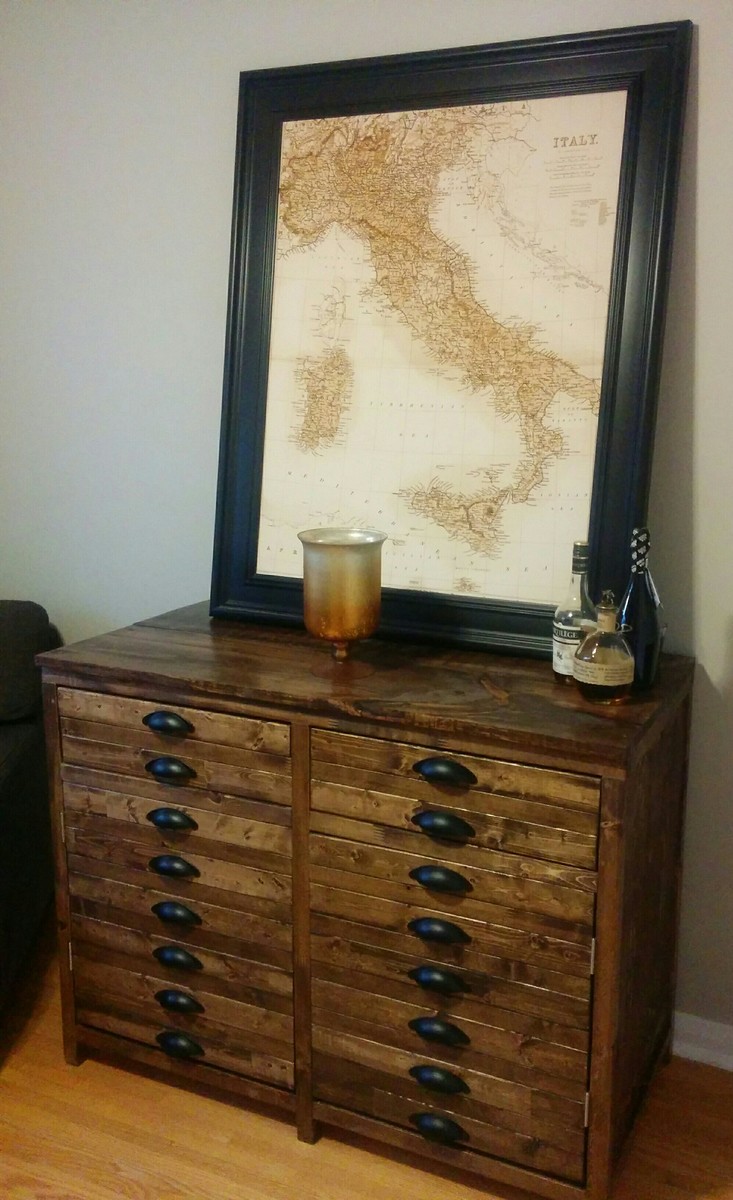
This was a Great Project! my First bigger project!. I modified it from the original plans to reduce the size into a double door rather than a 3 door, for space reasons. I also made it a little wider to store my gigantic printer. It is currently serving as a cabinet for my home office. This project was pretty strait forward and lots of fun. I was a little weiry about all the hardware that was necessary, however i found a great deal on amazon.ca i got a 25 pack of pulls for $48! so that was a relief. This project took me about 2 weeks to complete working on and off. i was also building in cold garage at start of January so Stain took a while to set/cure/dry. Over all great project and easy to follow and modify the plans!
Sat, 04/02/2016 - 16:07
Looks awesome! I just showed my husband that same plan day before yesterday telling him I want us to build this! :)
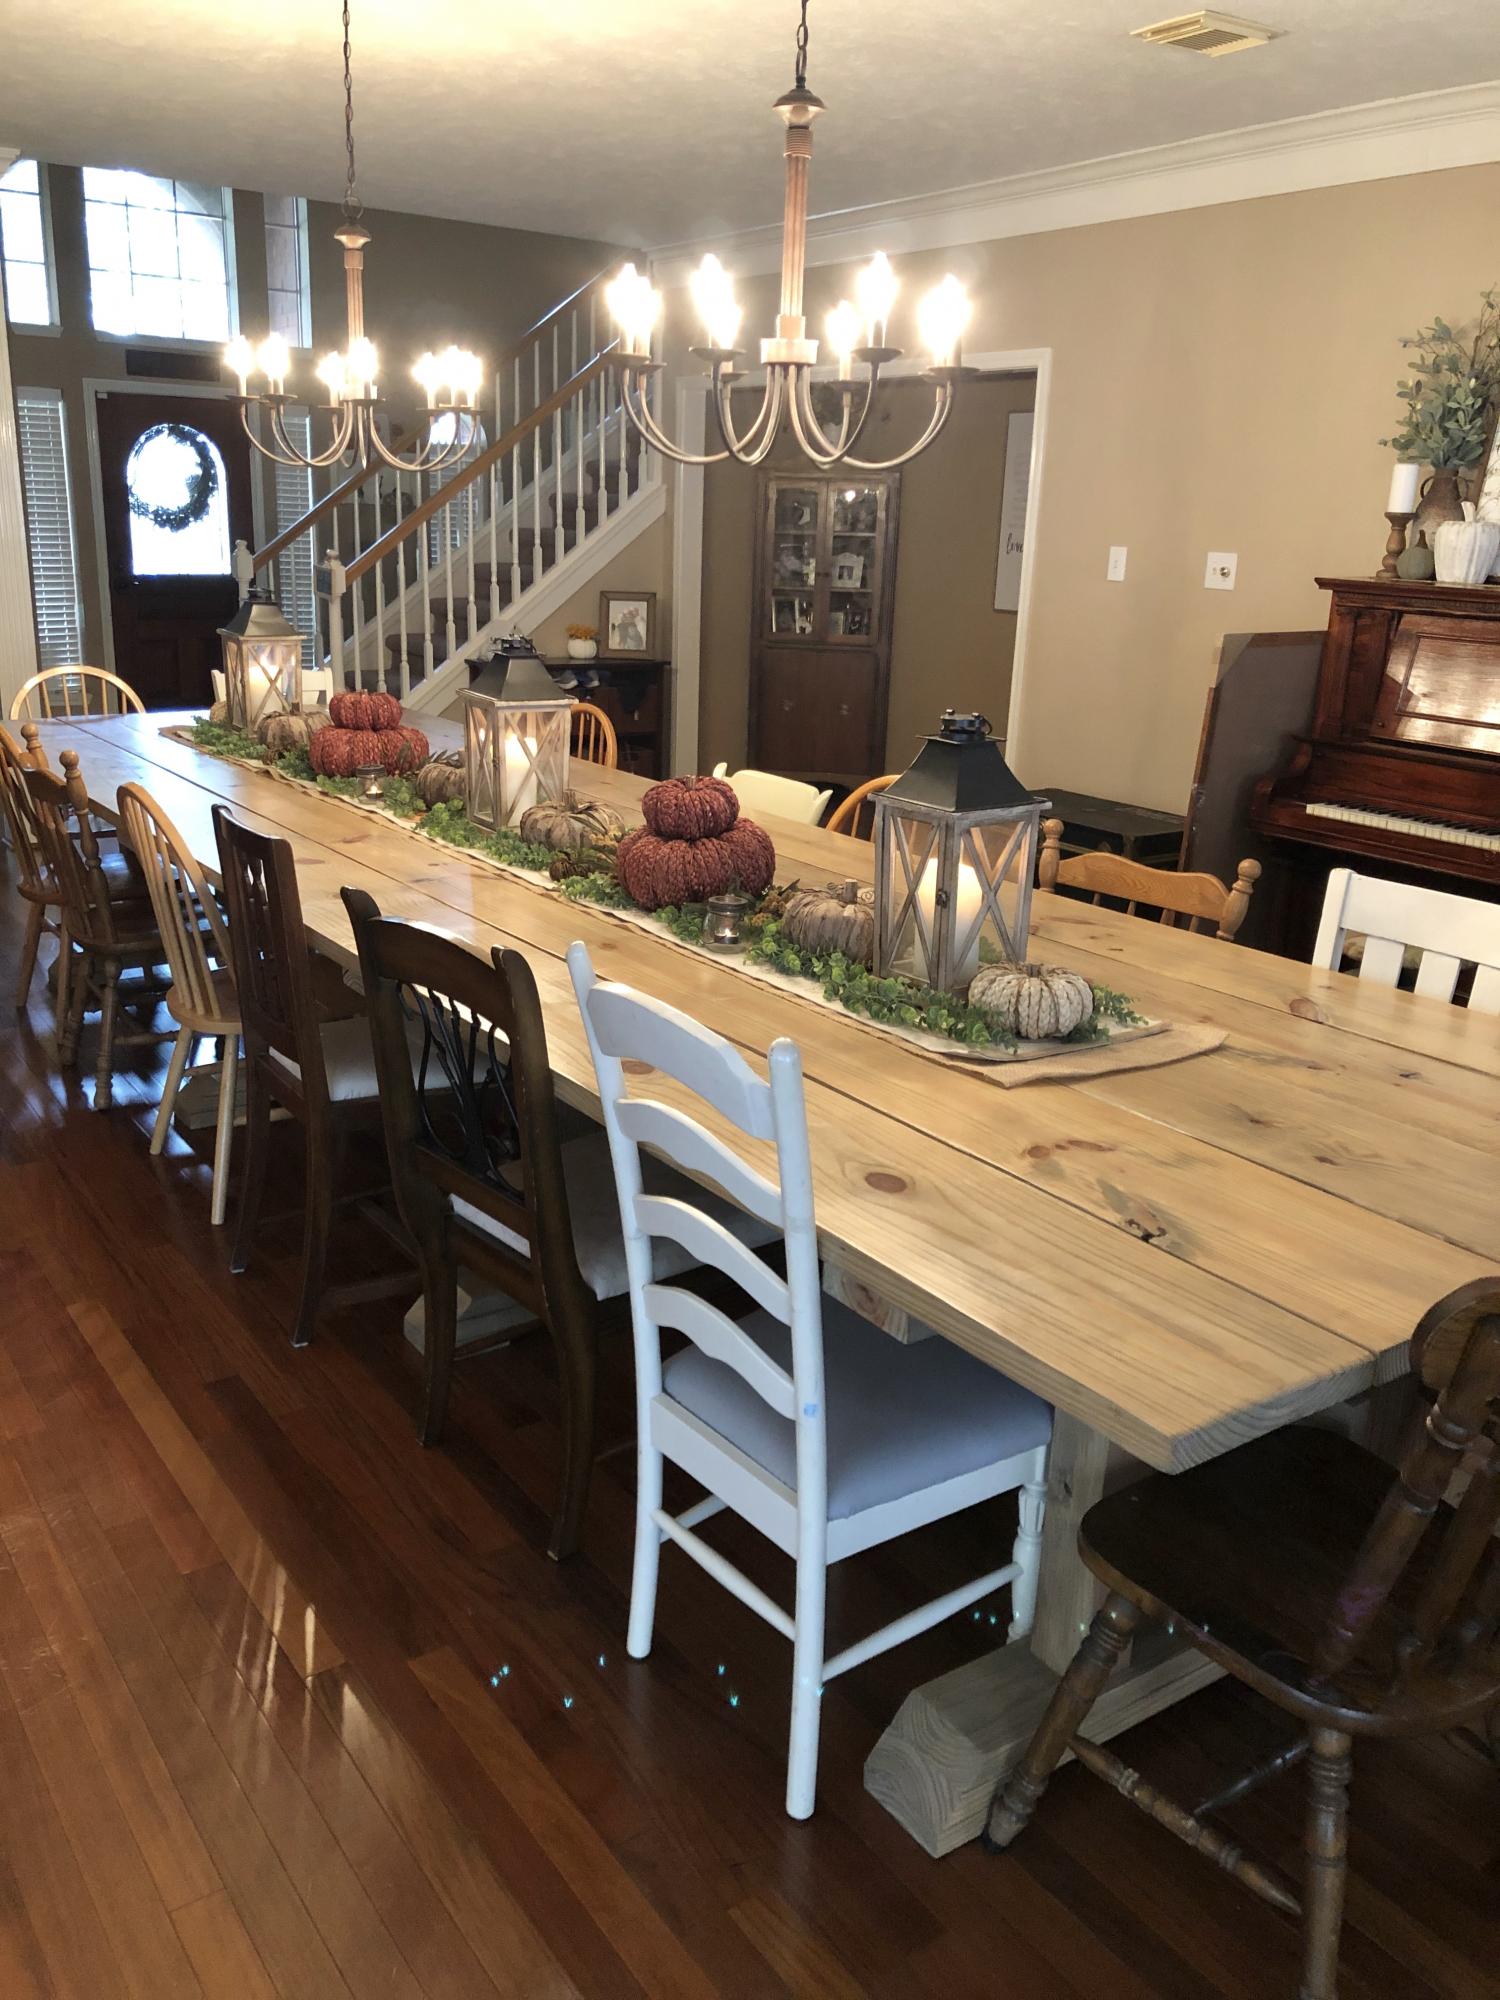
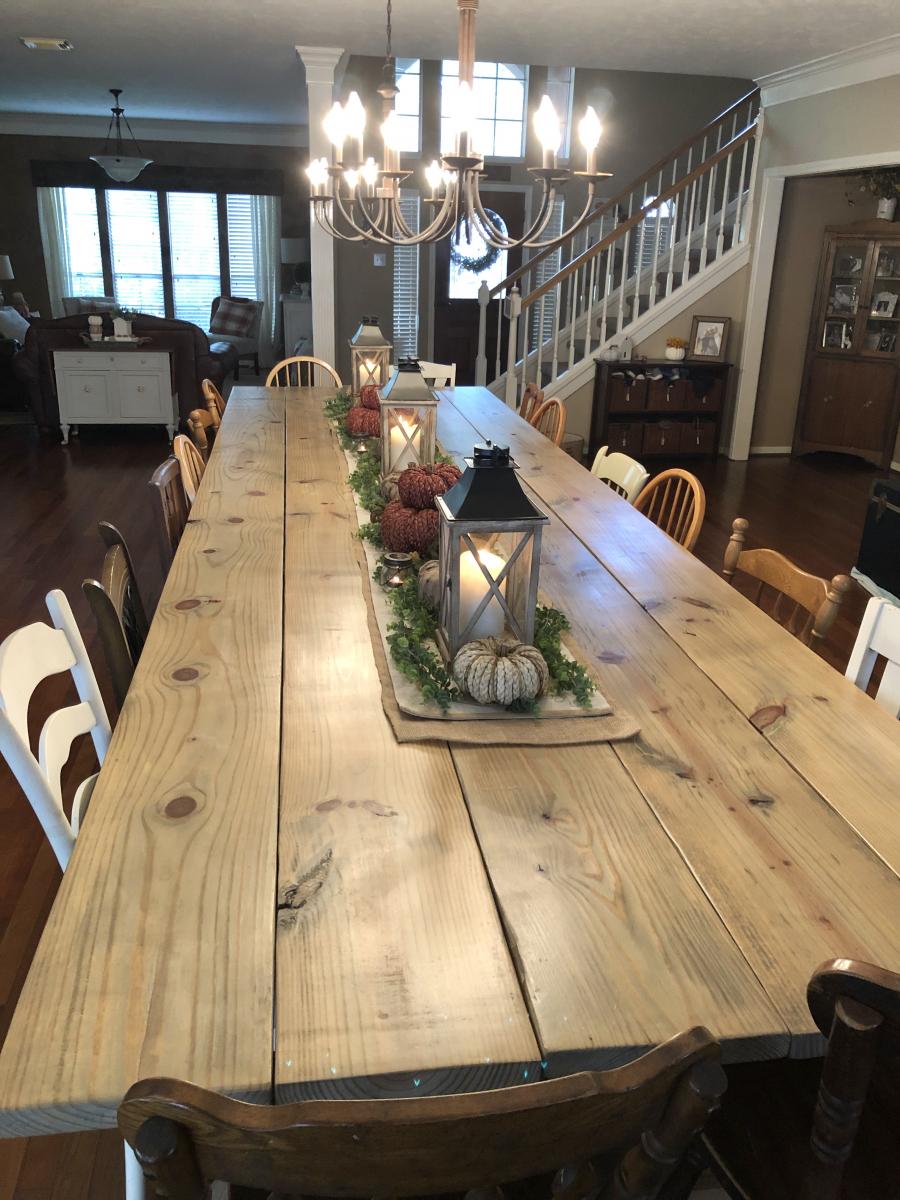
This table was created using a variety of plans. It can seat up to 20 people comfortably. The table top was built with 5 pieces of 2x12. The legs were a combination of 4x4 posts and 2x6s. 2 coats of Minwax Weathered Gray was the stain and then 3 coats of varathane semi-gloss finish. We sanded between each coat of poly.
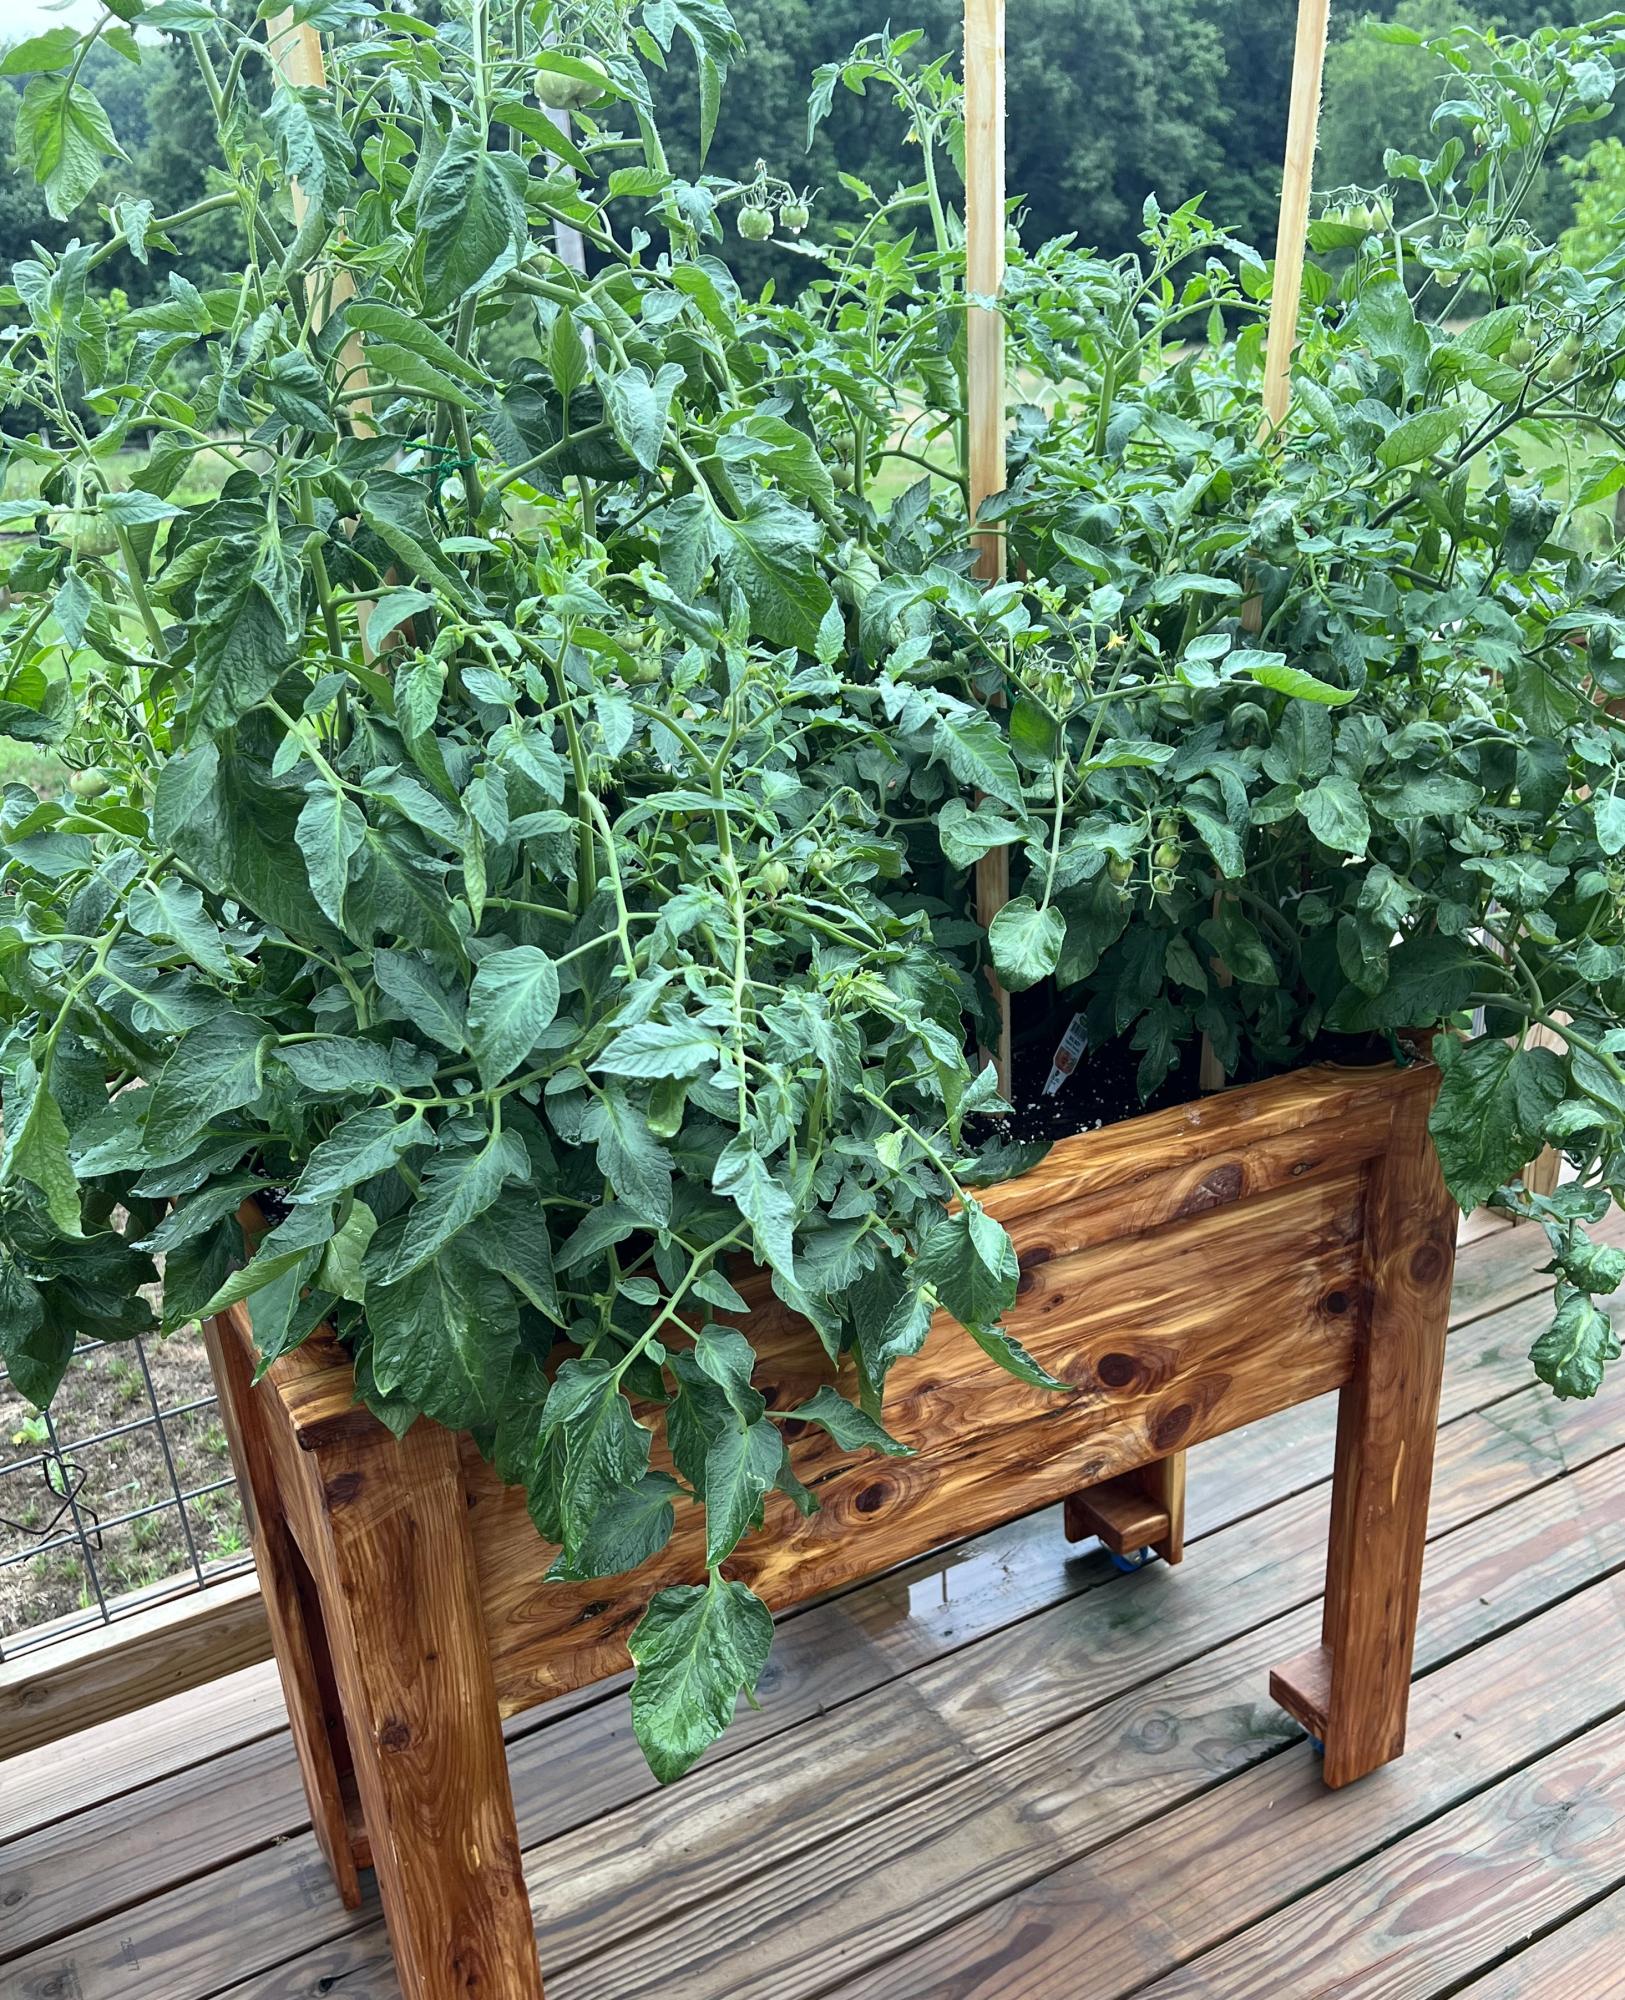
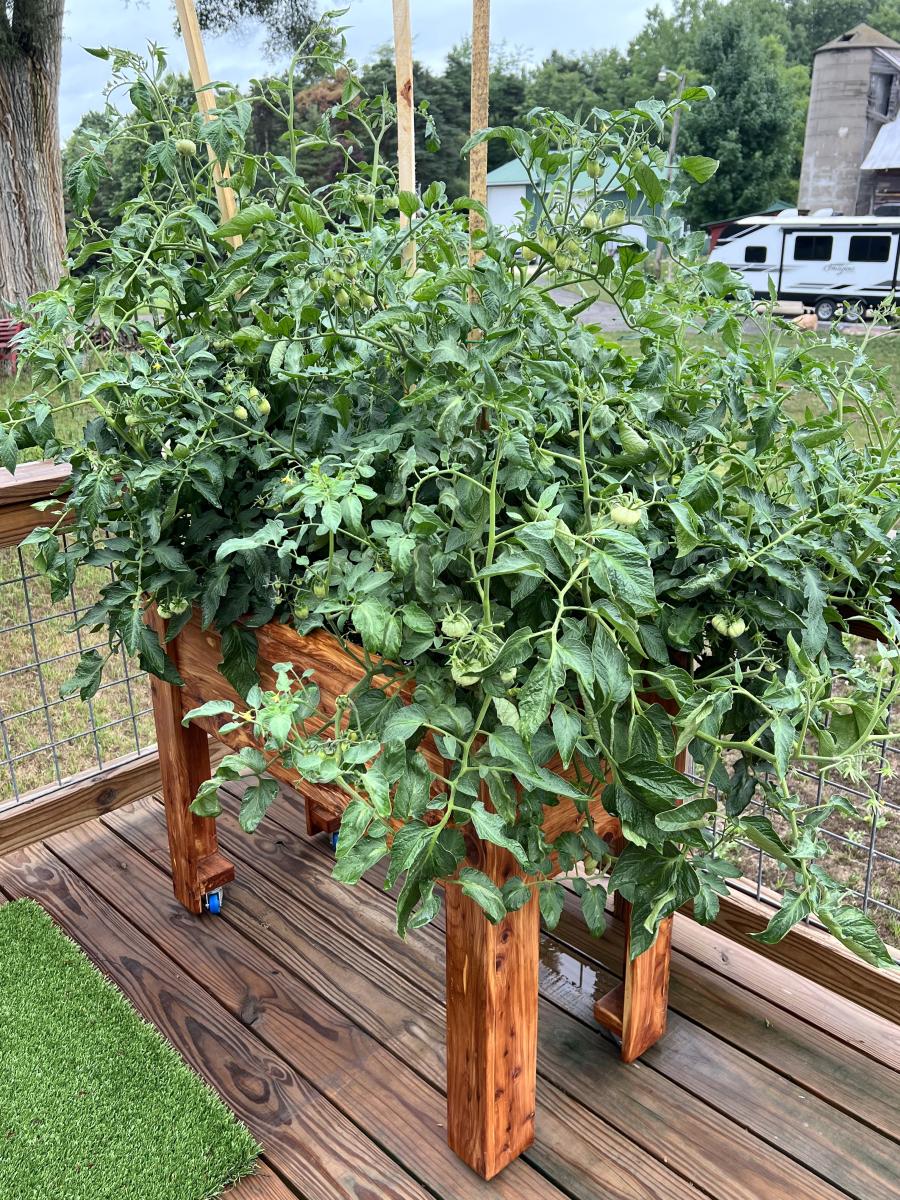
I saw your raised garden box and decided to make it for my wife so she could garden on our deck due to medical problems. She absolutely loved it.
The only thing I did different was I added casters to the legs so it can be moved easily on the deck.
Thank you very much for the idea and plans. We really enjoy them.
John Sterzick
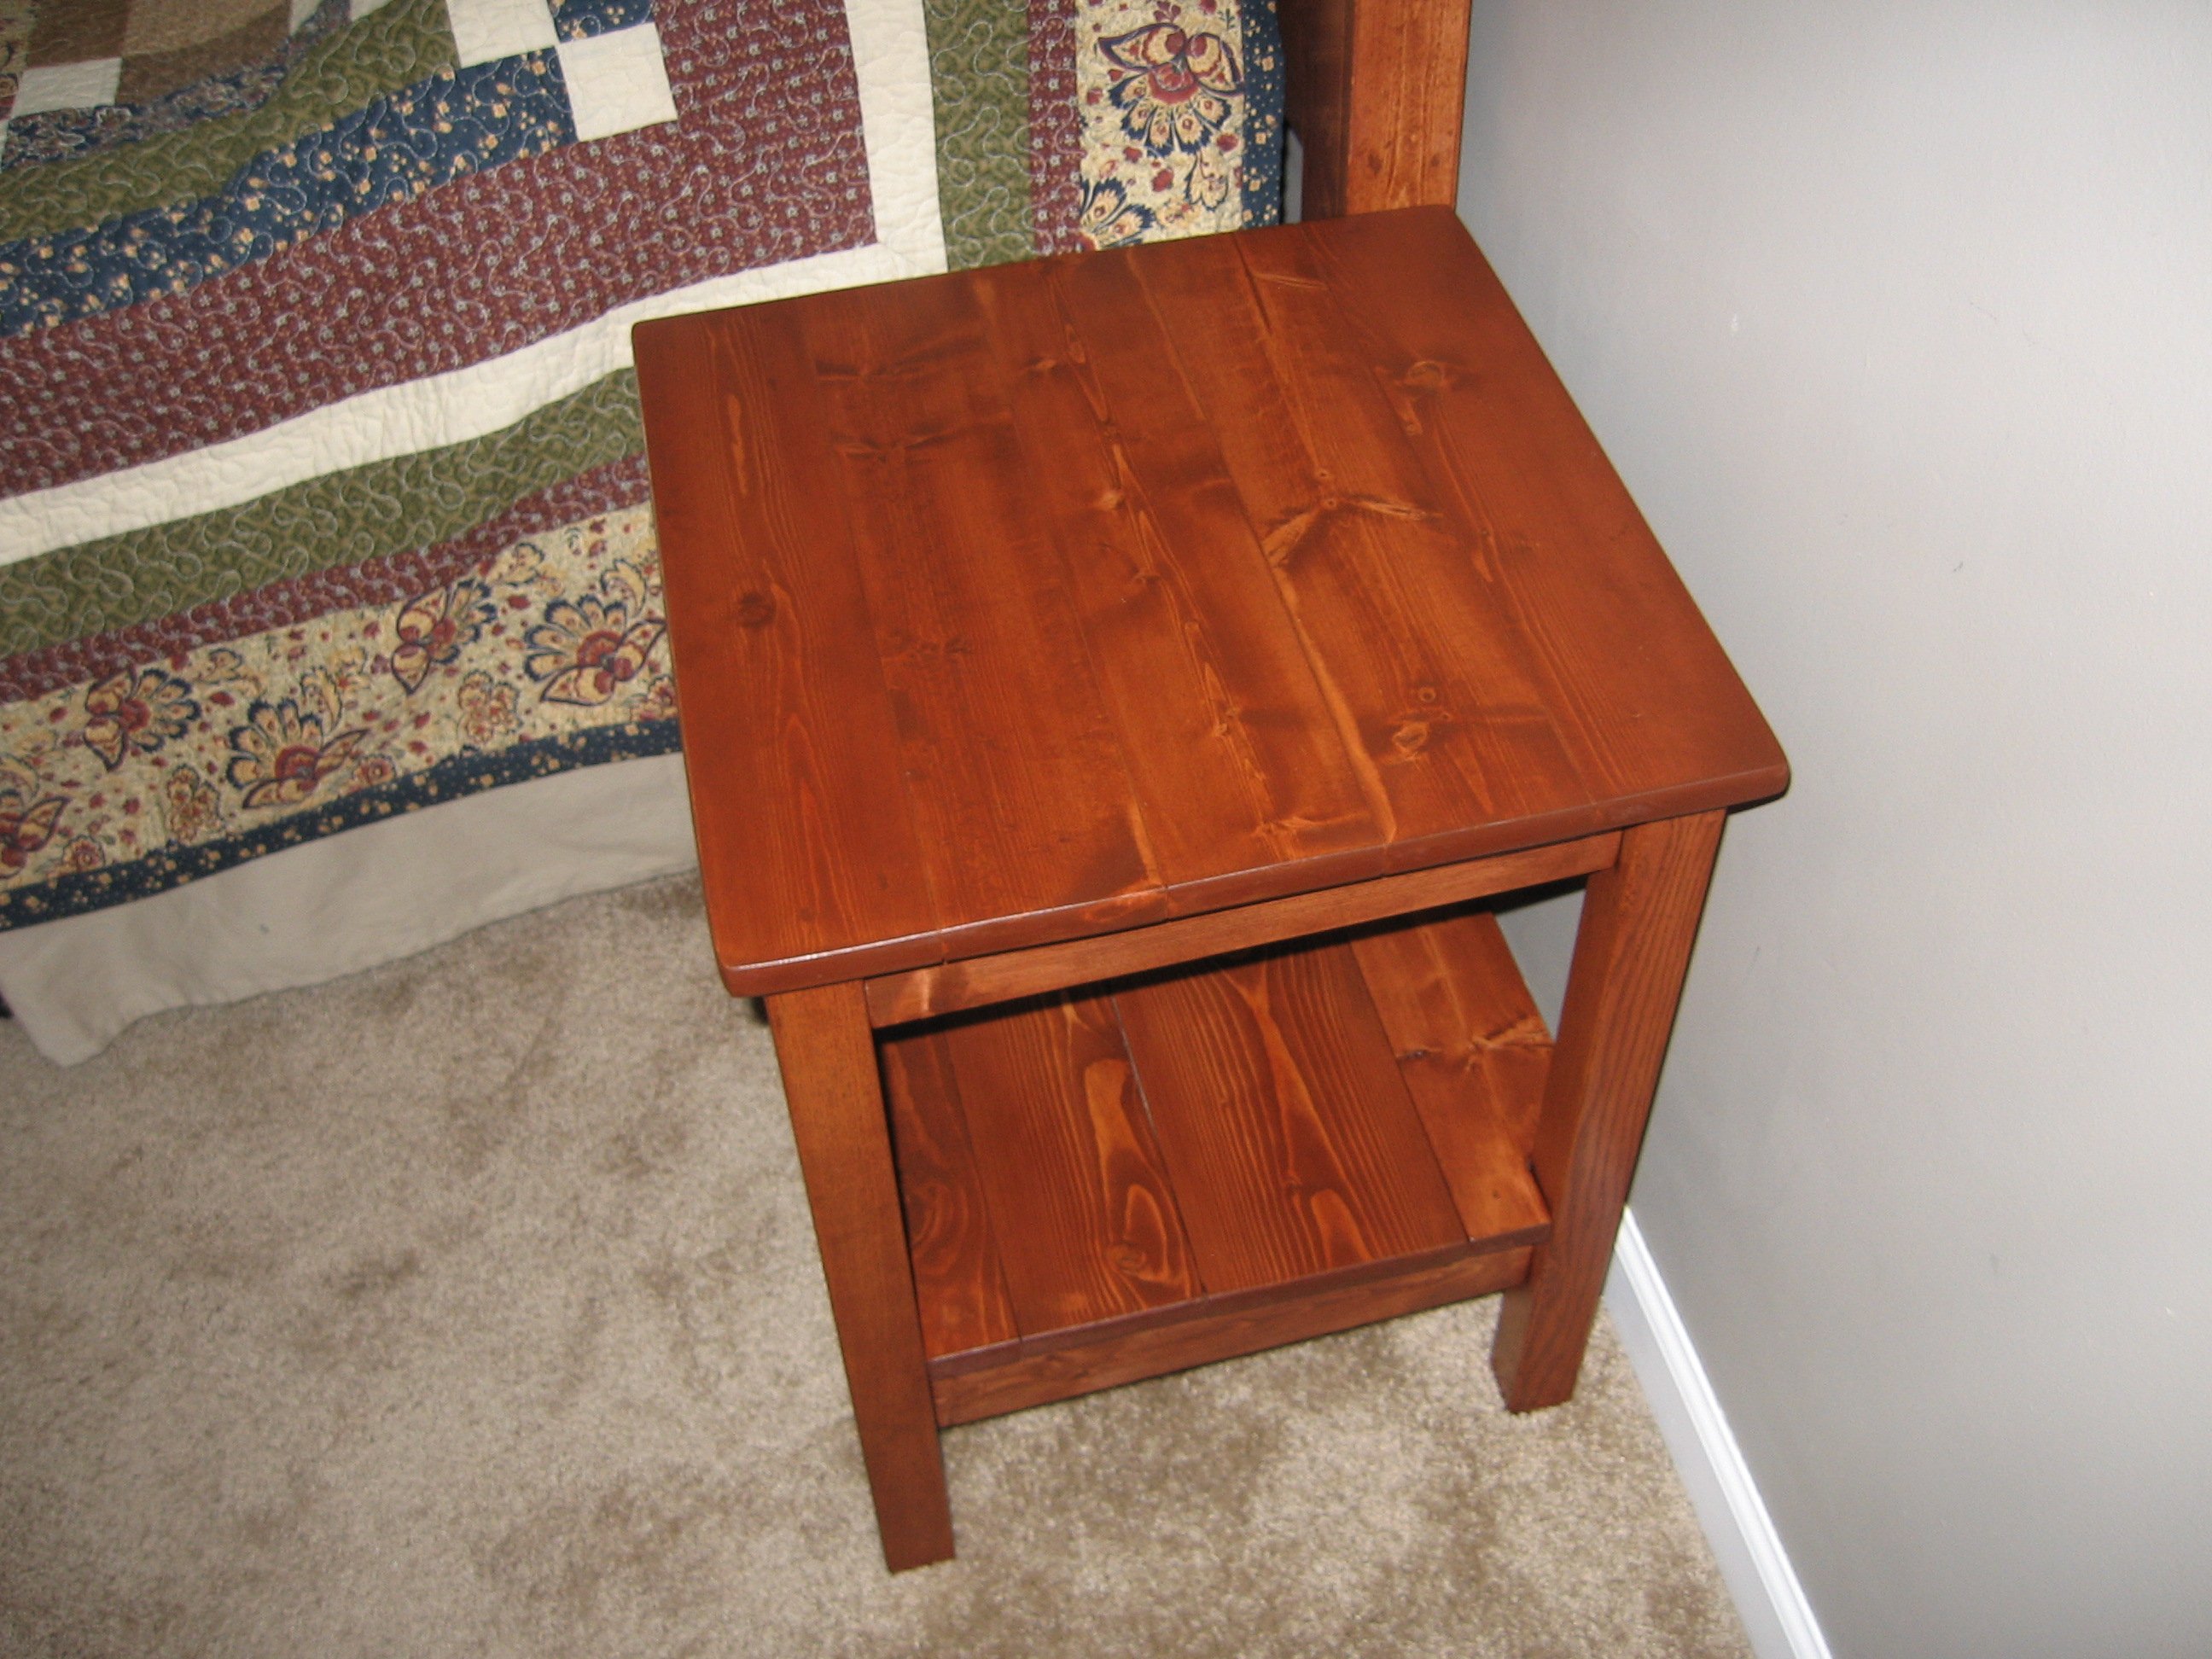
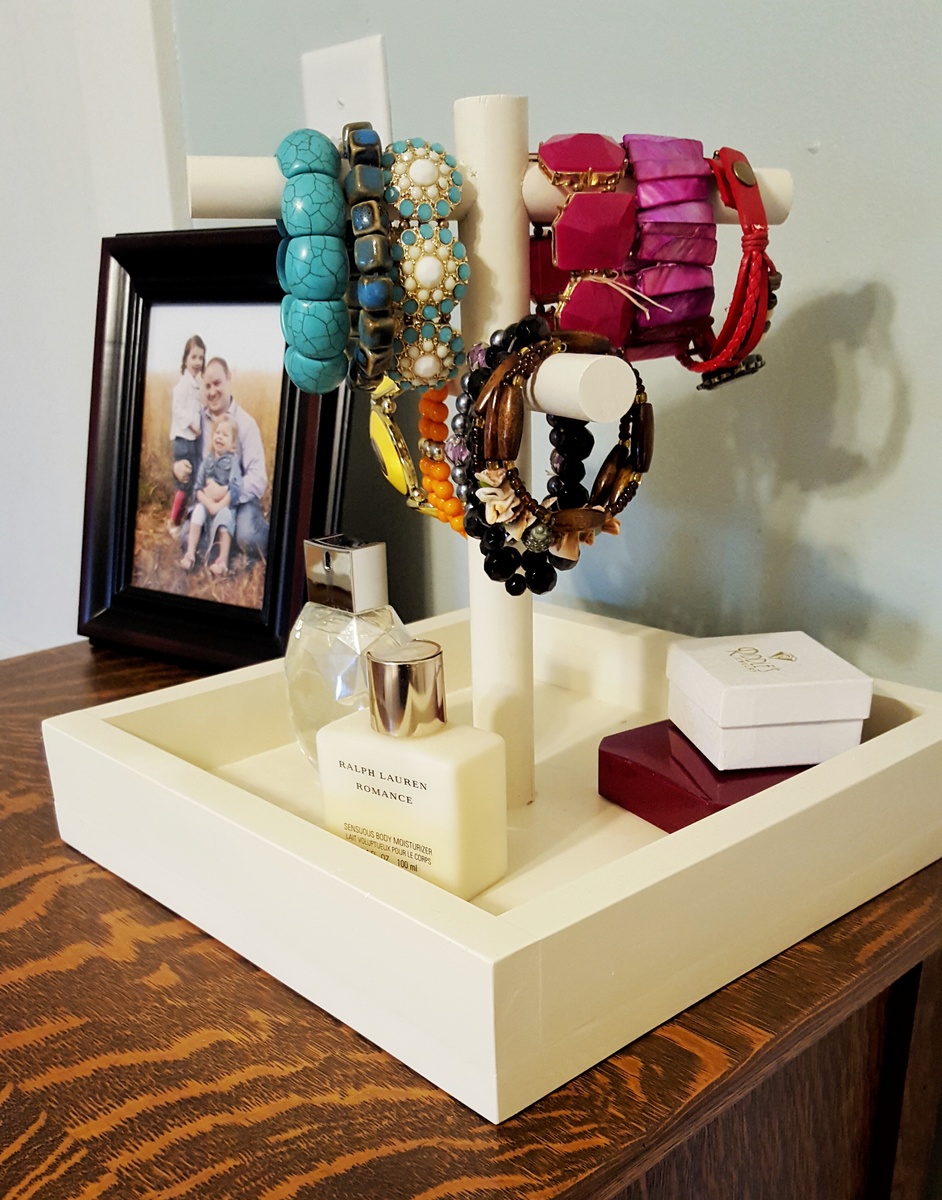
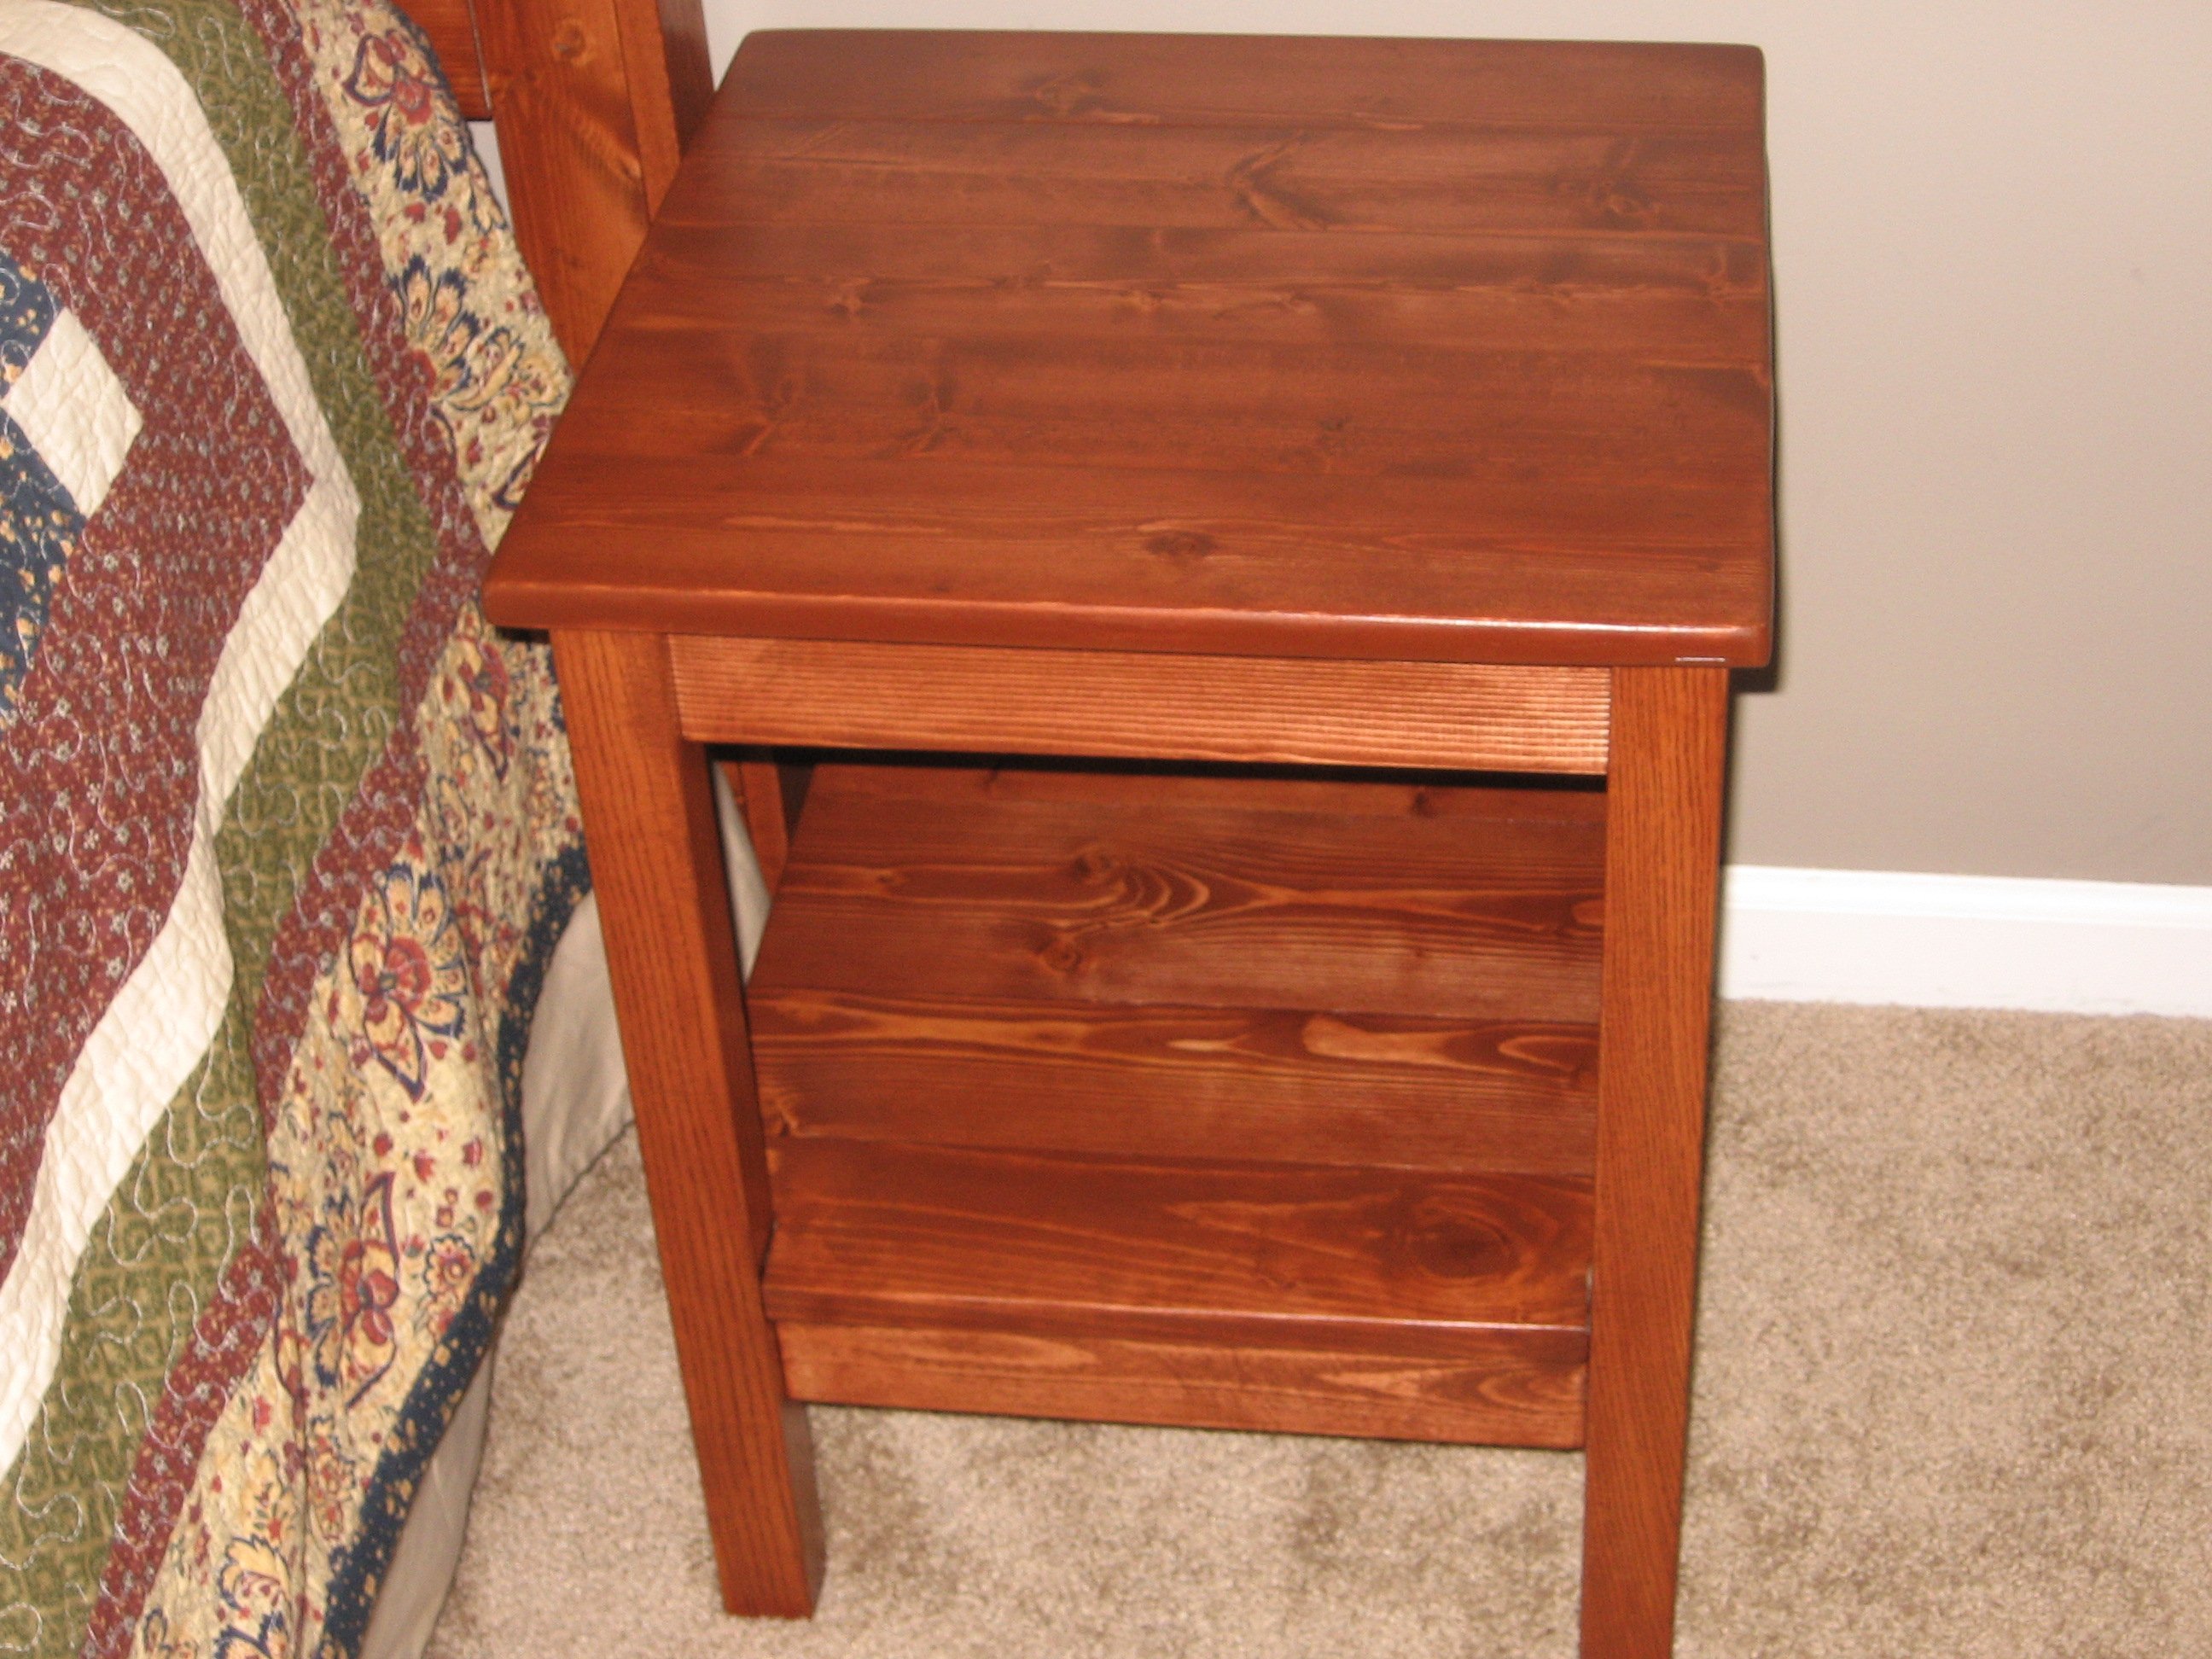
This was a bedside table I built to match the headboard. My wife wanted me to add a shelf from a plan she saw on a website. I simply used Ana's plans and changed them to meet my wife's wishes. It was a very simple project. I did use a plate joiner w/ biscuits and pocket holes with 1 1/4" screws for the joinery. I also added some 1" x 3" braces underneath as support.
Wed, 03/07/2012 - 23:43
First off...THANK YOU SO MUCH for the Awesome Ideas you have posted! Being a Paramedic all my life I never knew how much I enjoyed working with wood.
But we have been crying over the last 2 days, it seems we cannot access the web site from our computers just our phones!
I hope and pray that this gets resolved really quickly ...we miss your site!

Sun, 03/11/2012 - 01:49
That would make me cry as well. I just love Ana and everyone on here. And thank you for your service in the medical field. I have known many that owe their lives to people like yourself.
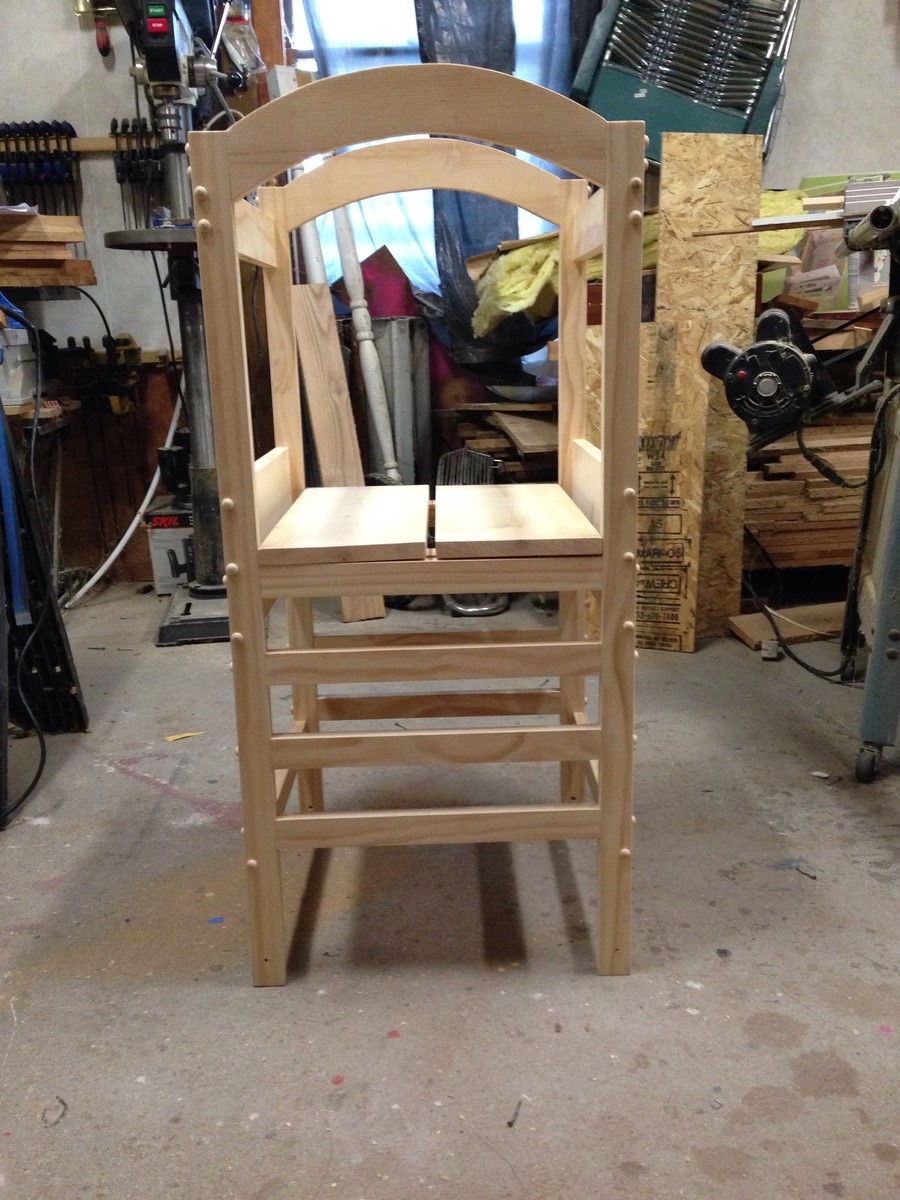
I've seen this project floating around for quite a while, and I knew immediately that I wanted to make this for my 15 month old niece. I used clear pine for this project, to minimize knotting and breaking. That said, the lumber was more expensive than the original plans called for. I think the total cost, including polyurethane for the finish ran around $50. The construction was fairly straightforward, and took a few afternoons to complete. Two changes to the instructions that I made, were to countersink my screws, rather than use pocket screws, and then to finish with wood plugs. I chose not to make the hinged version, as I was a little uneasy about little fingers near the hinged points. All in all, this was a wonderful project and made a fantastic Christmas present. My Grannie is a master carpenter, and this was a great project to work together on. I'm planning on making one for my own children when I become a momma.

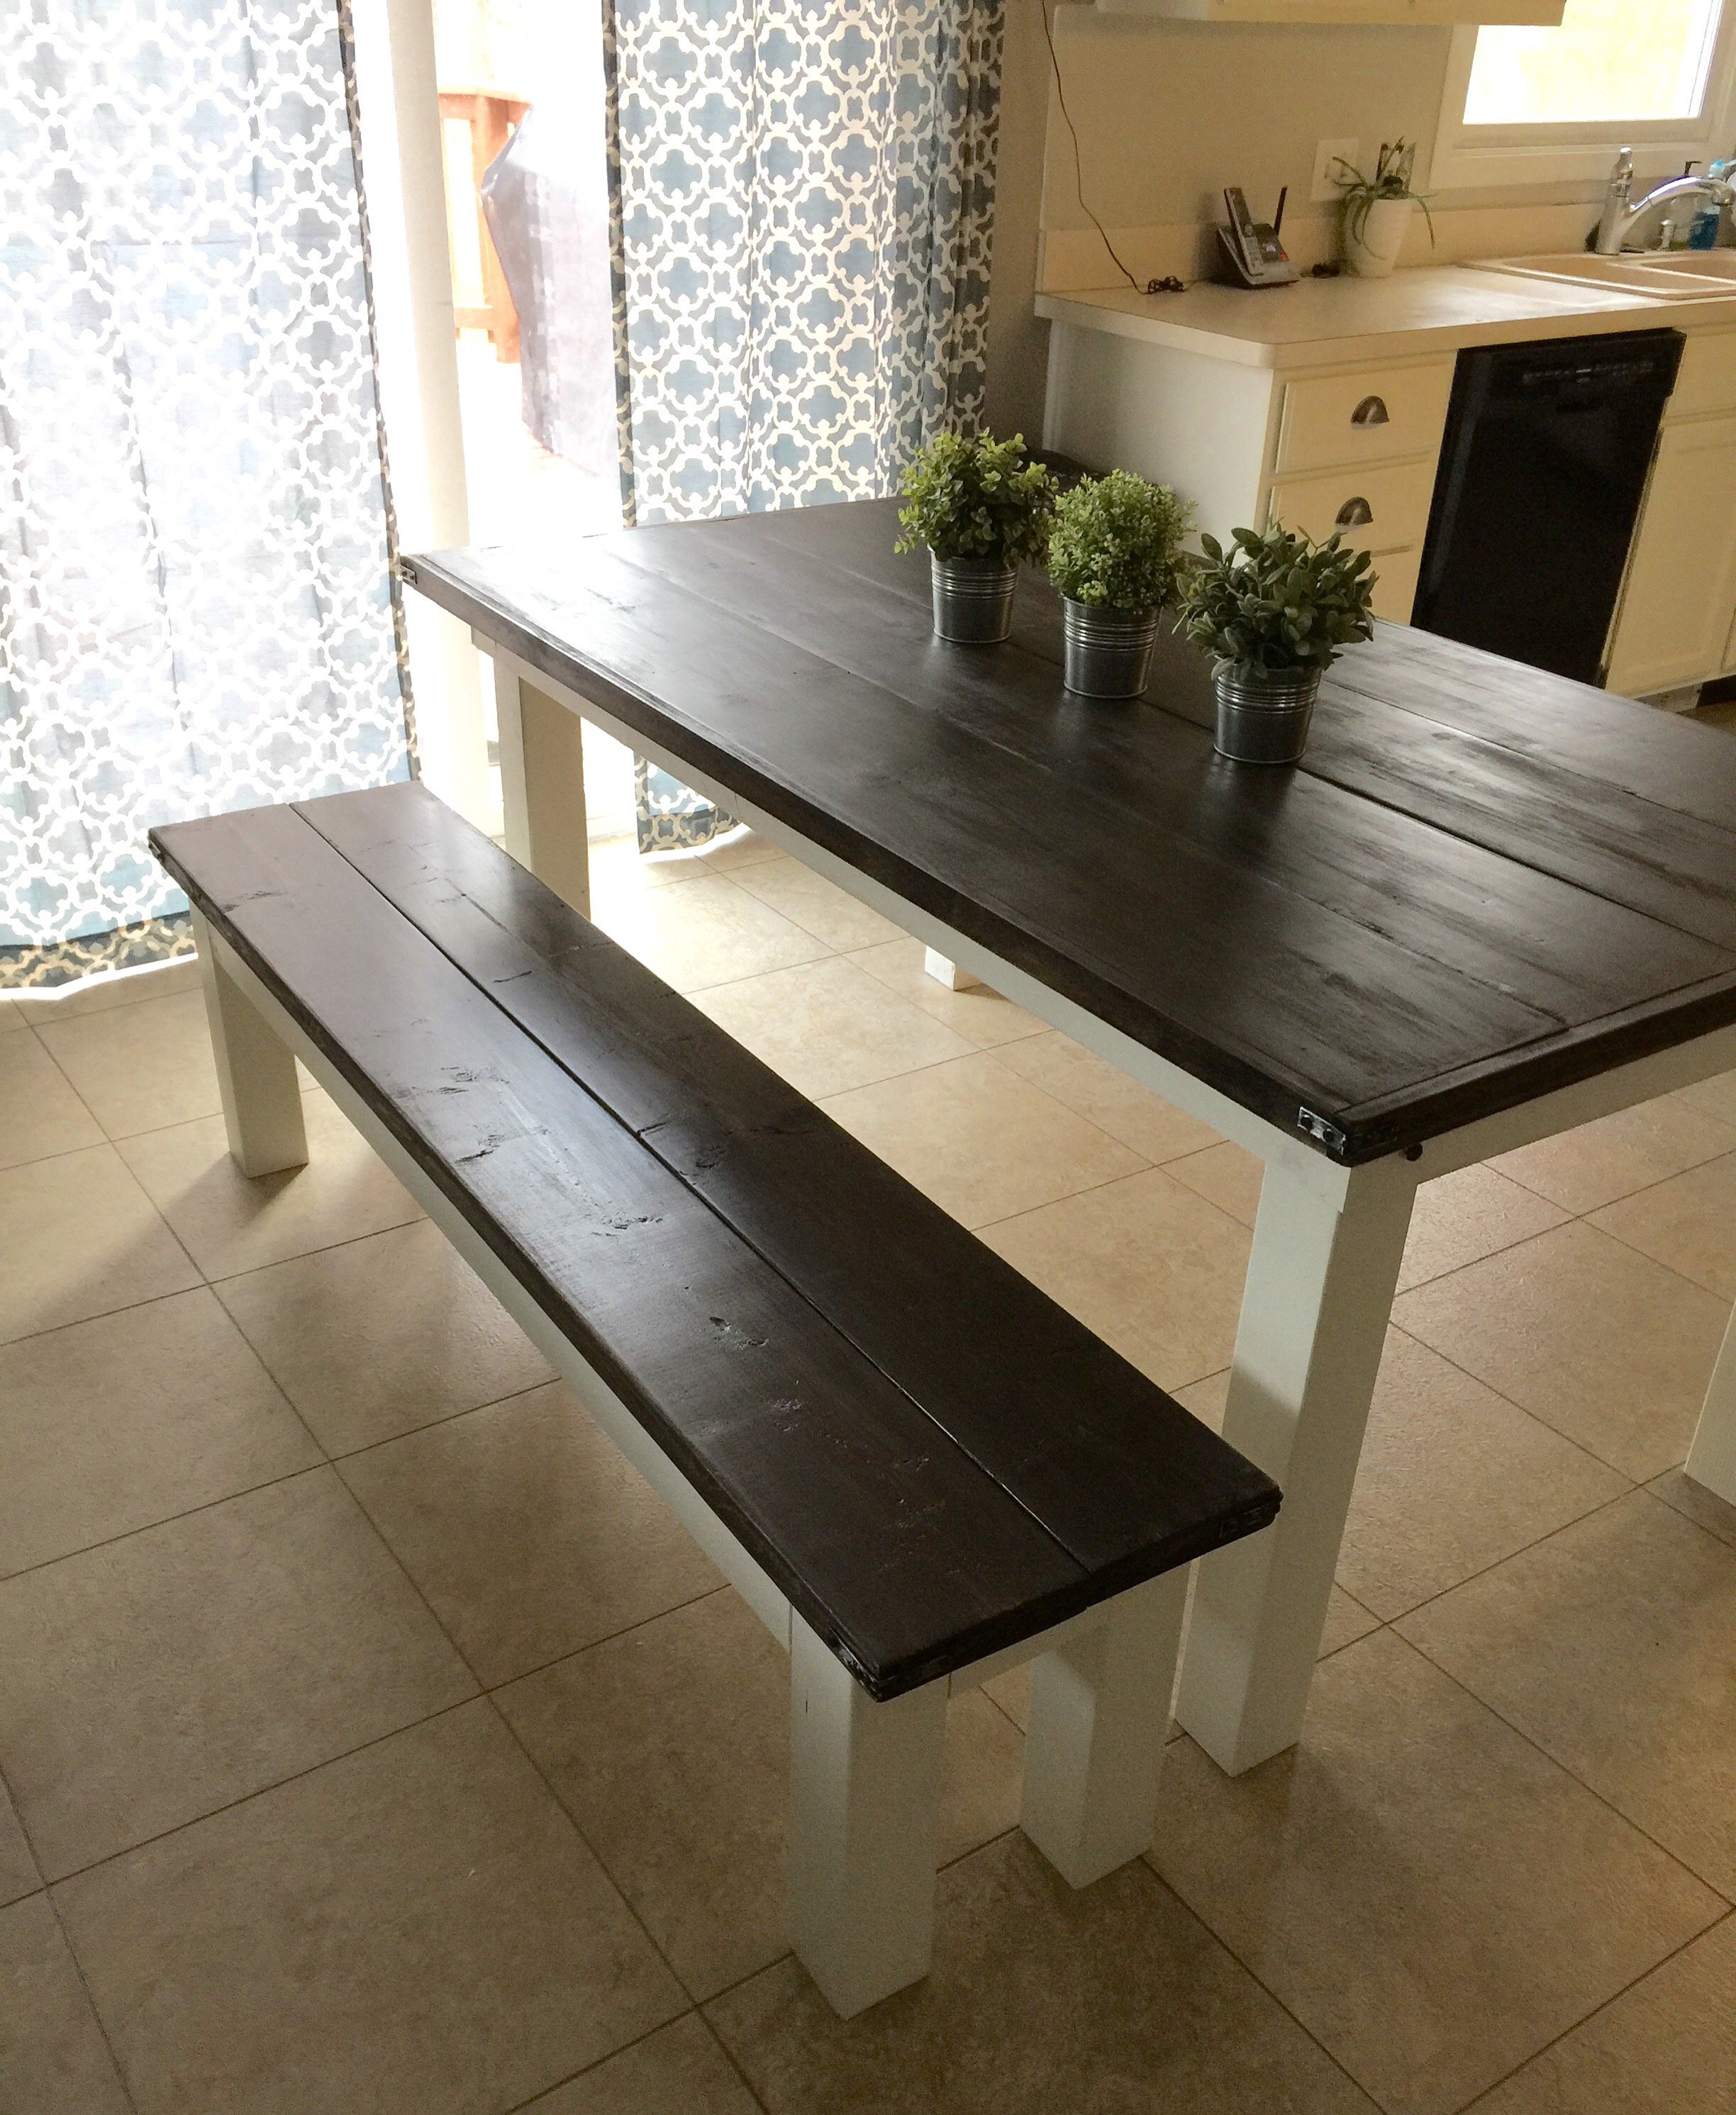
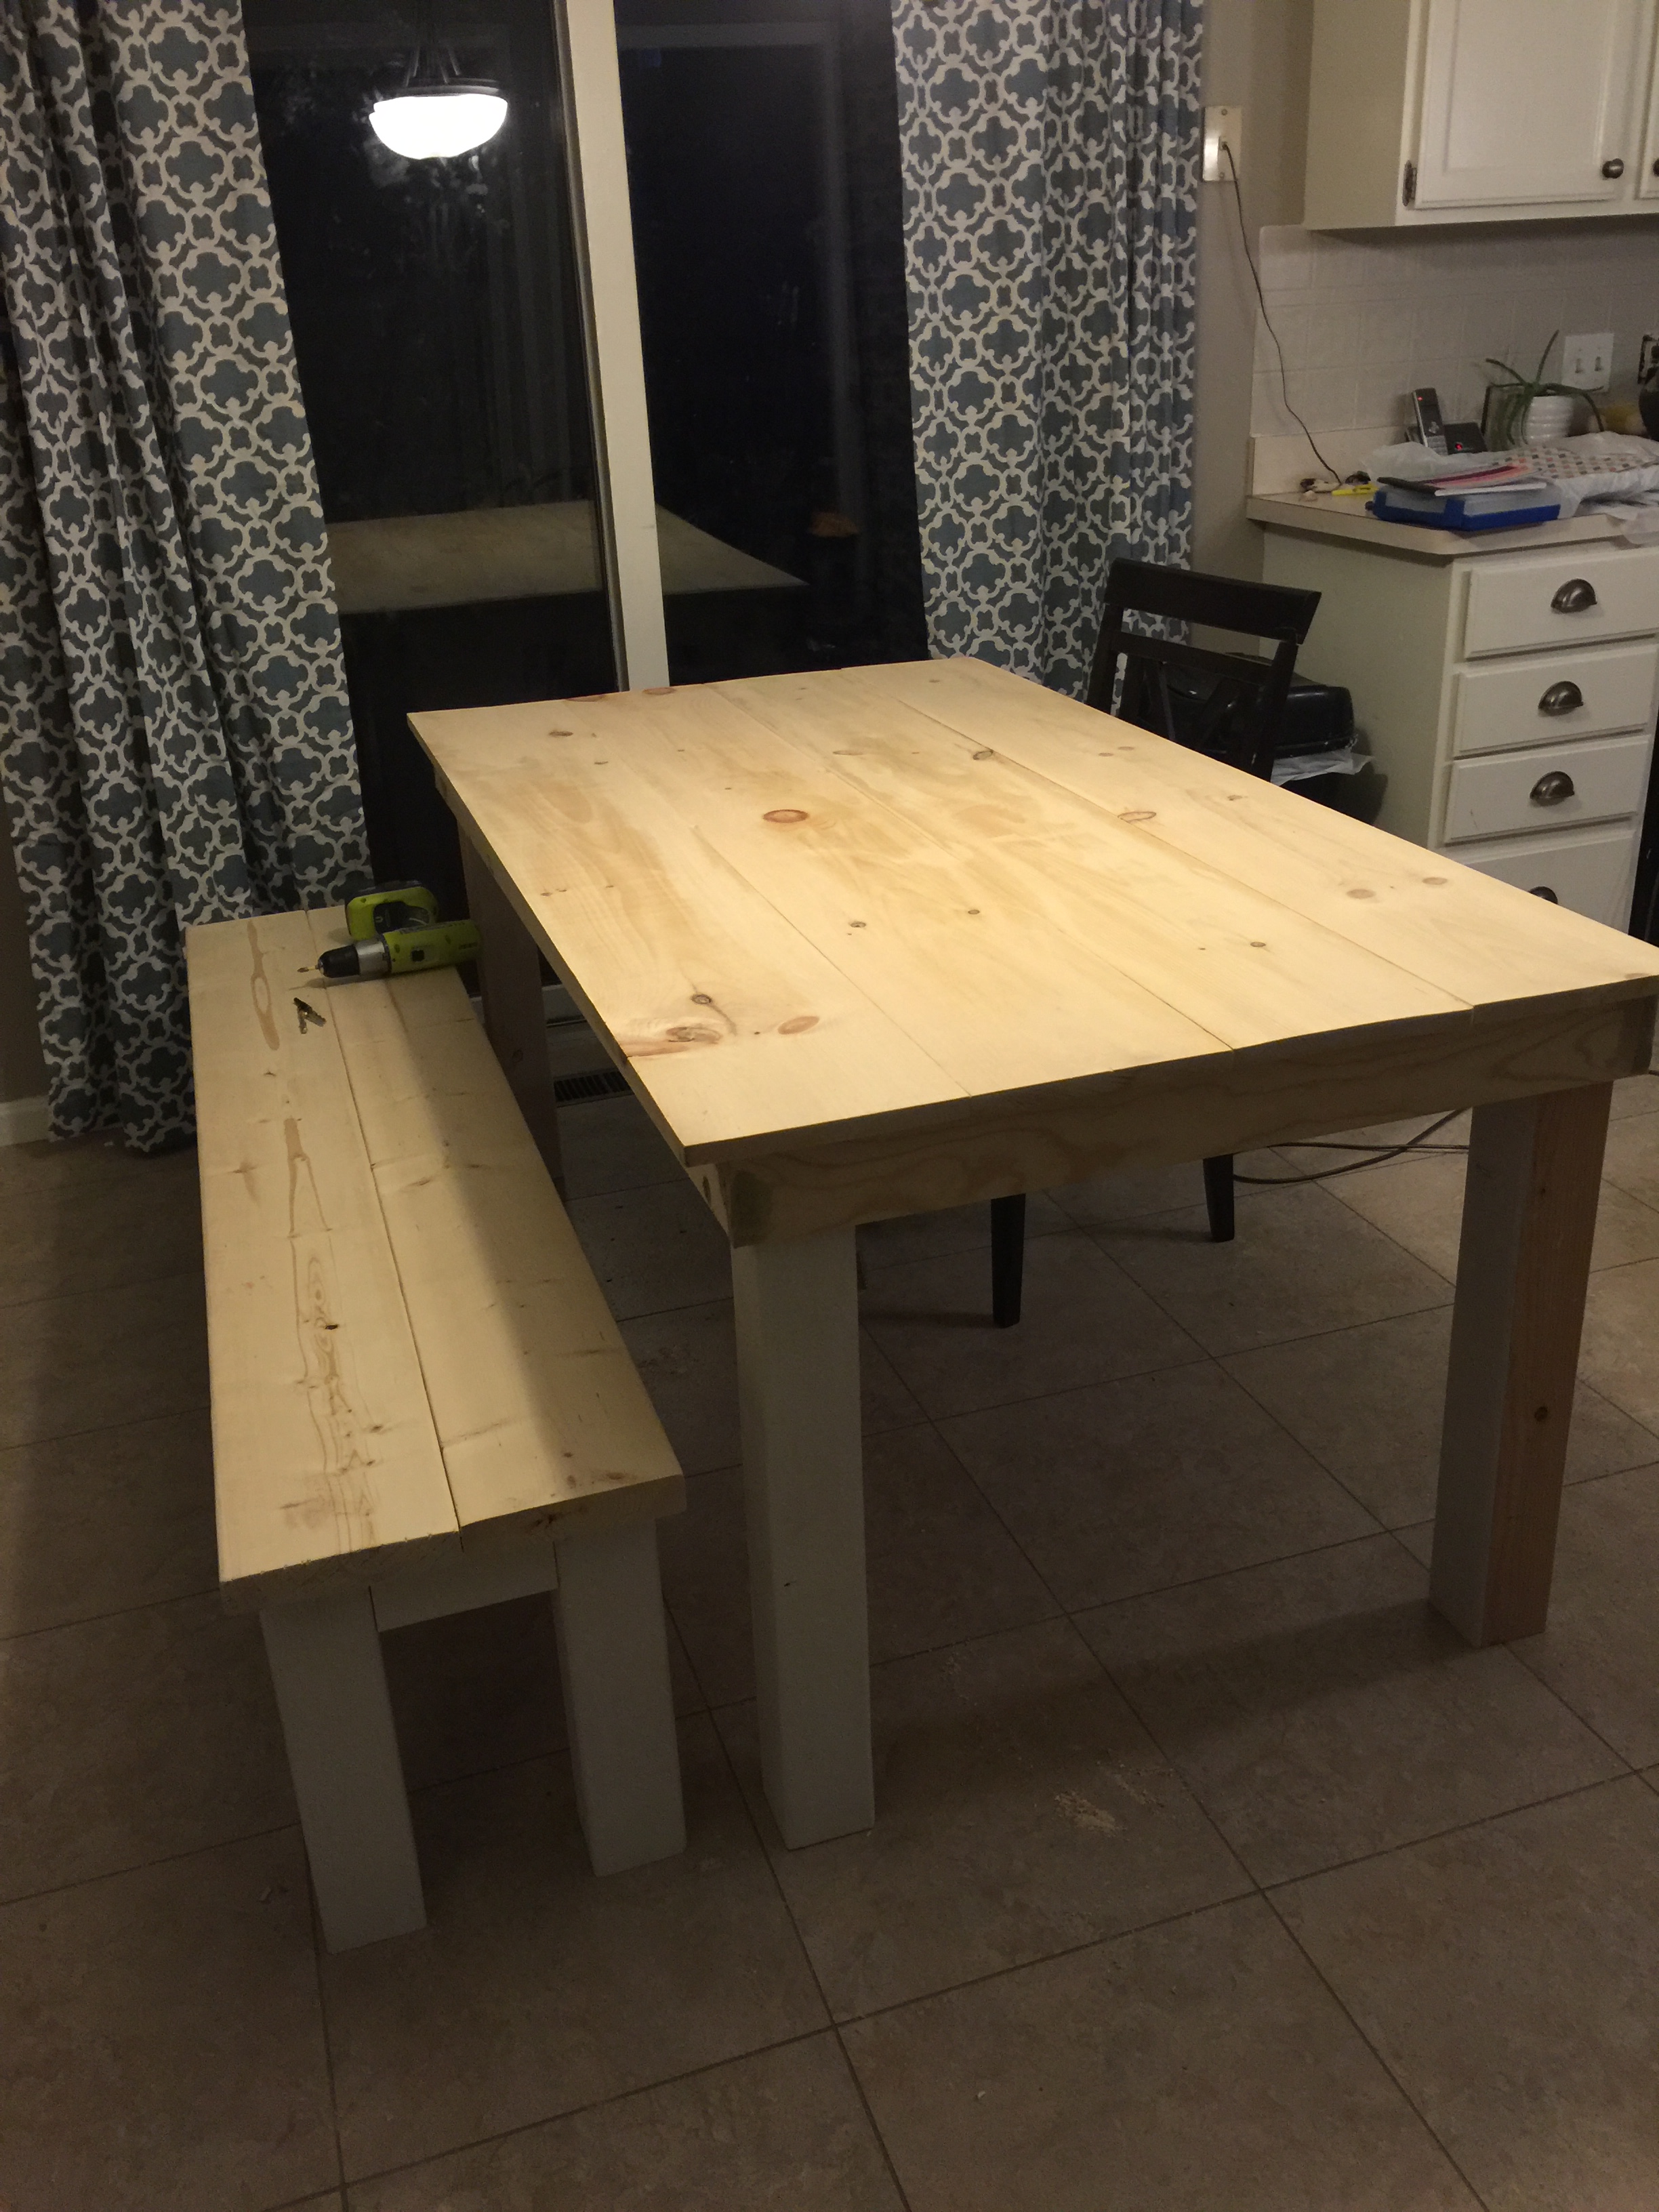
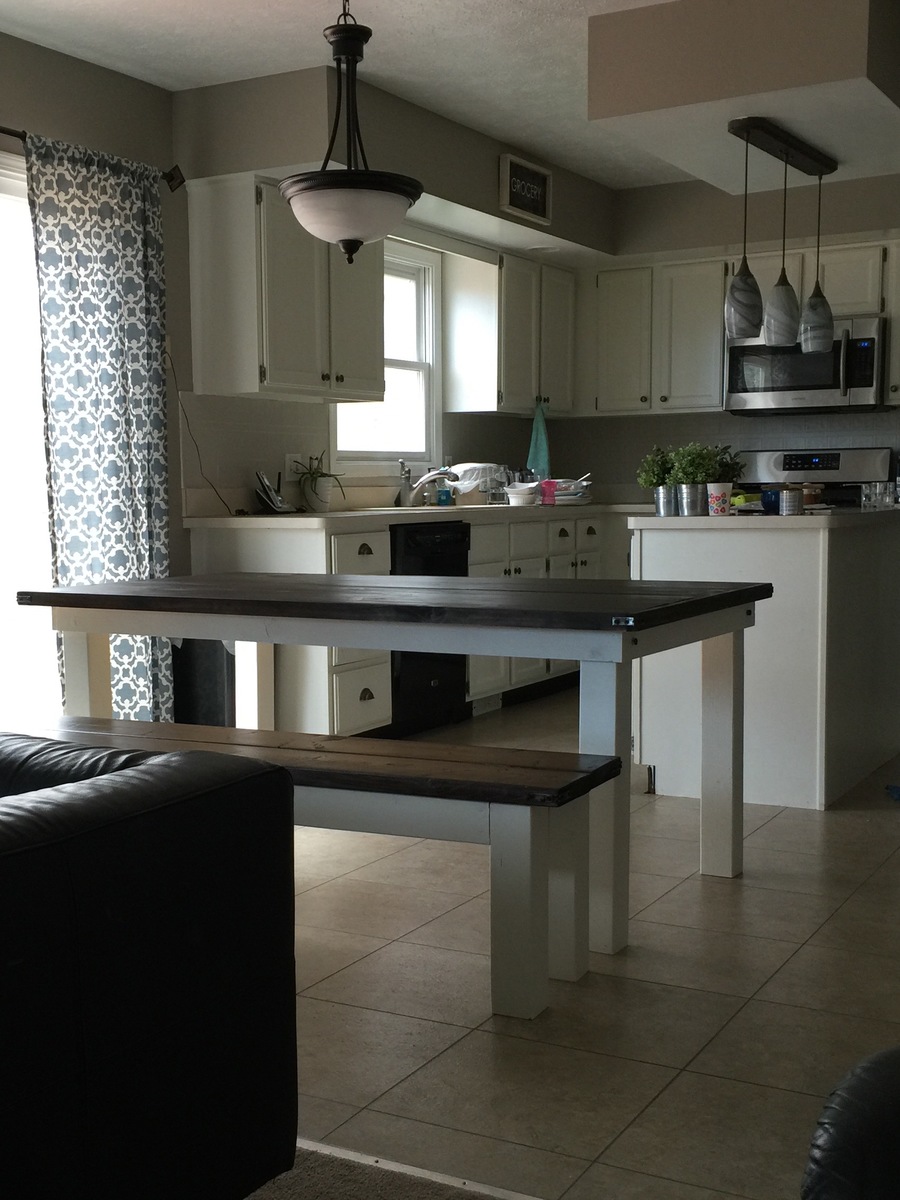
I have been eyeing up plans to build a table for awhile, but wasn't sure exactly what I wanted. I like this plan because it's a beginner plan and is pretty simple to follow. I have built a few smaller projects, but this was the first big piece. I love the way it turned out.
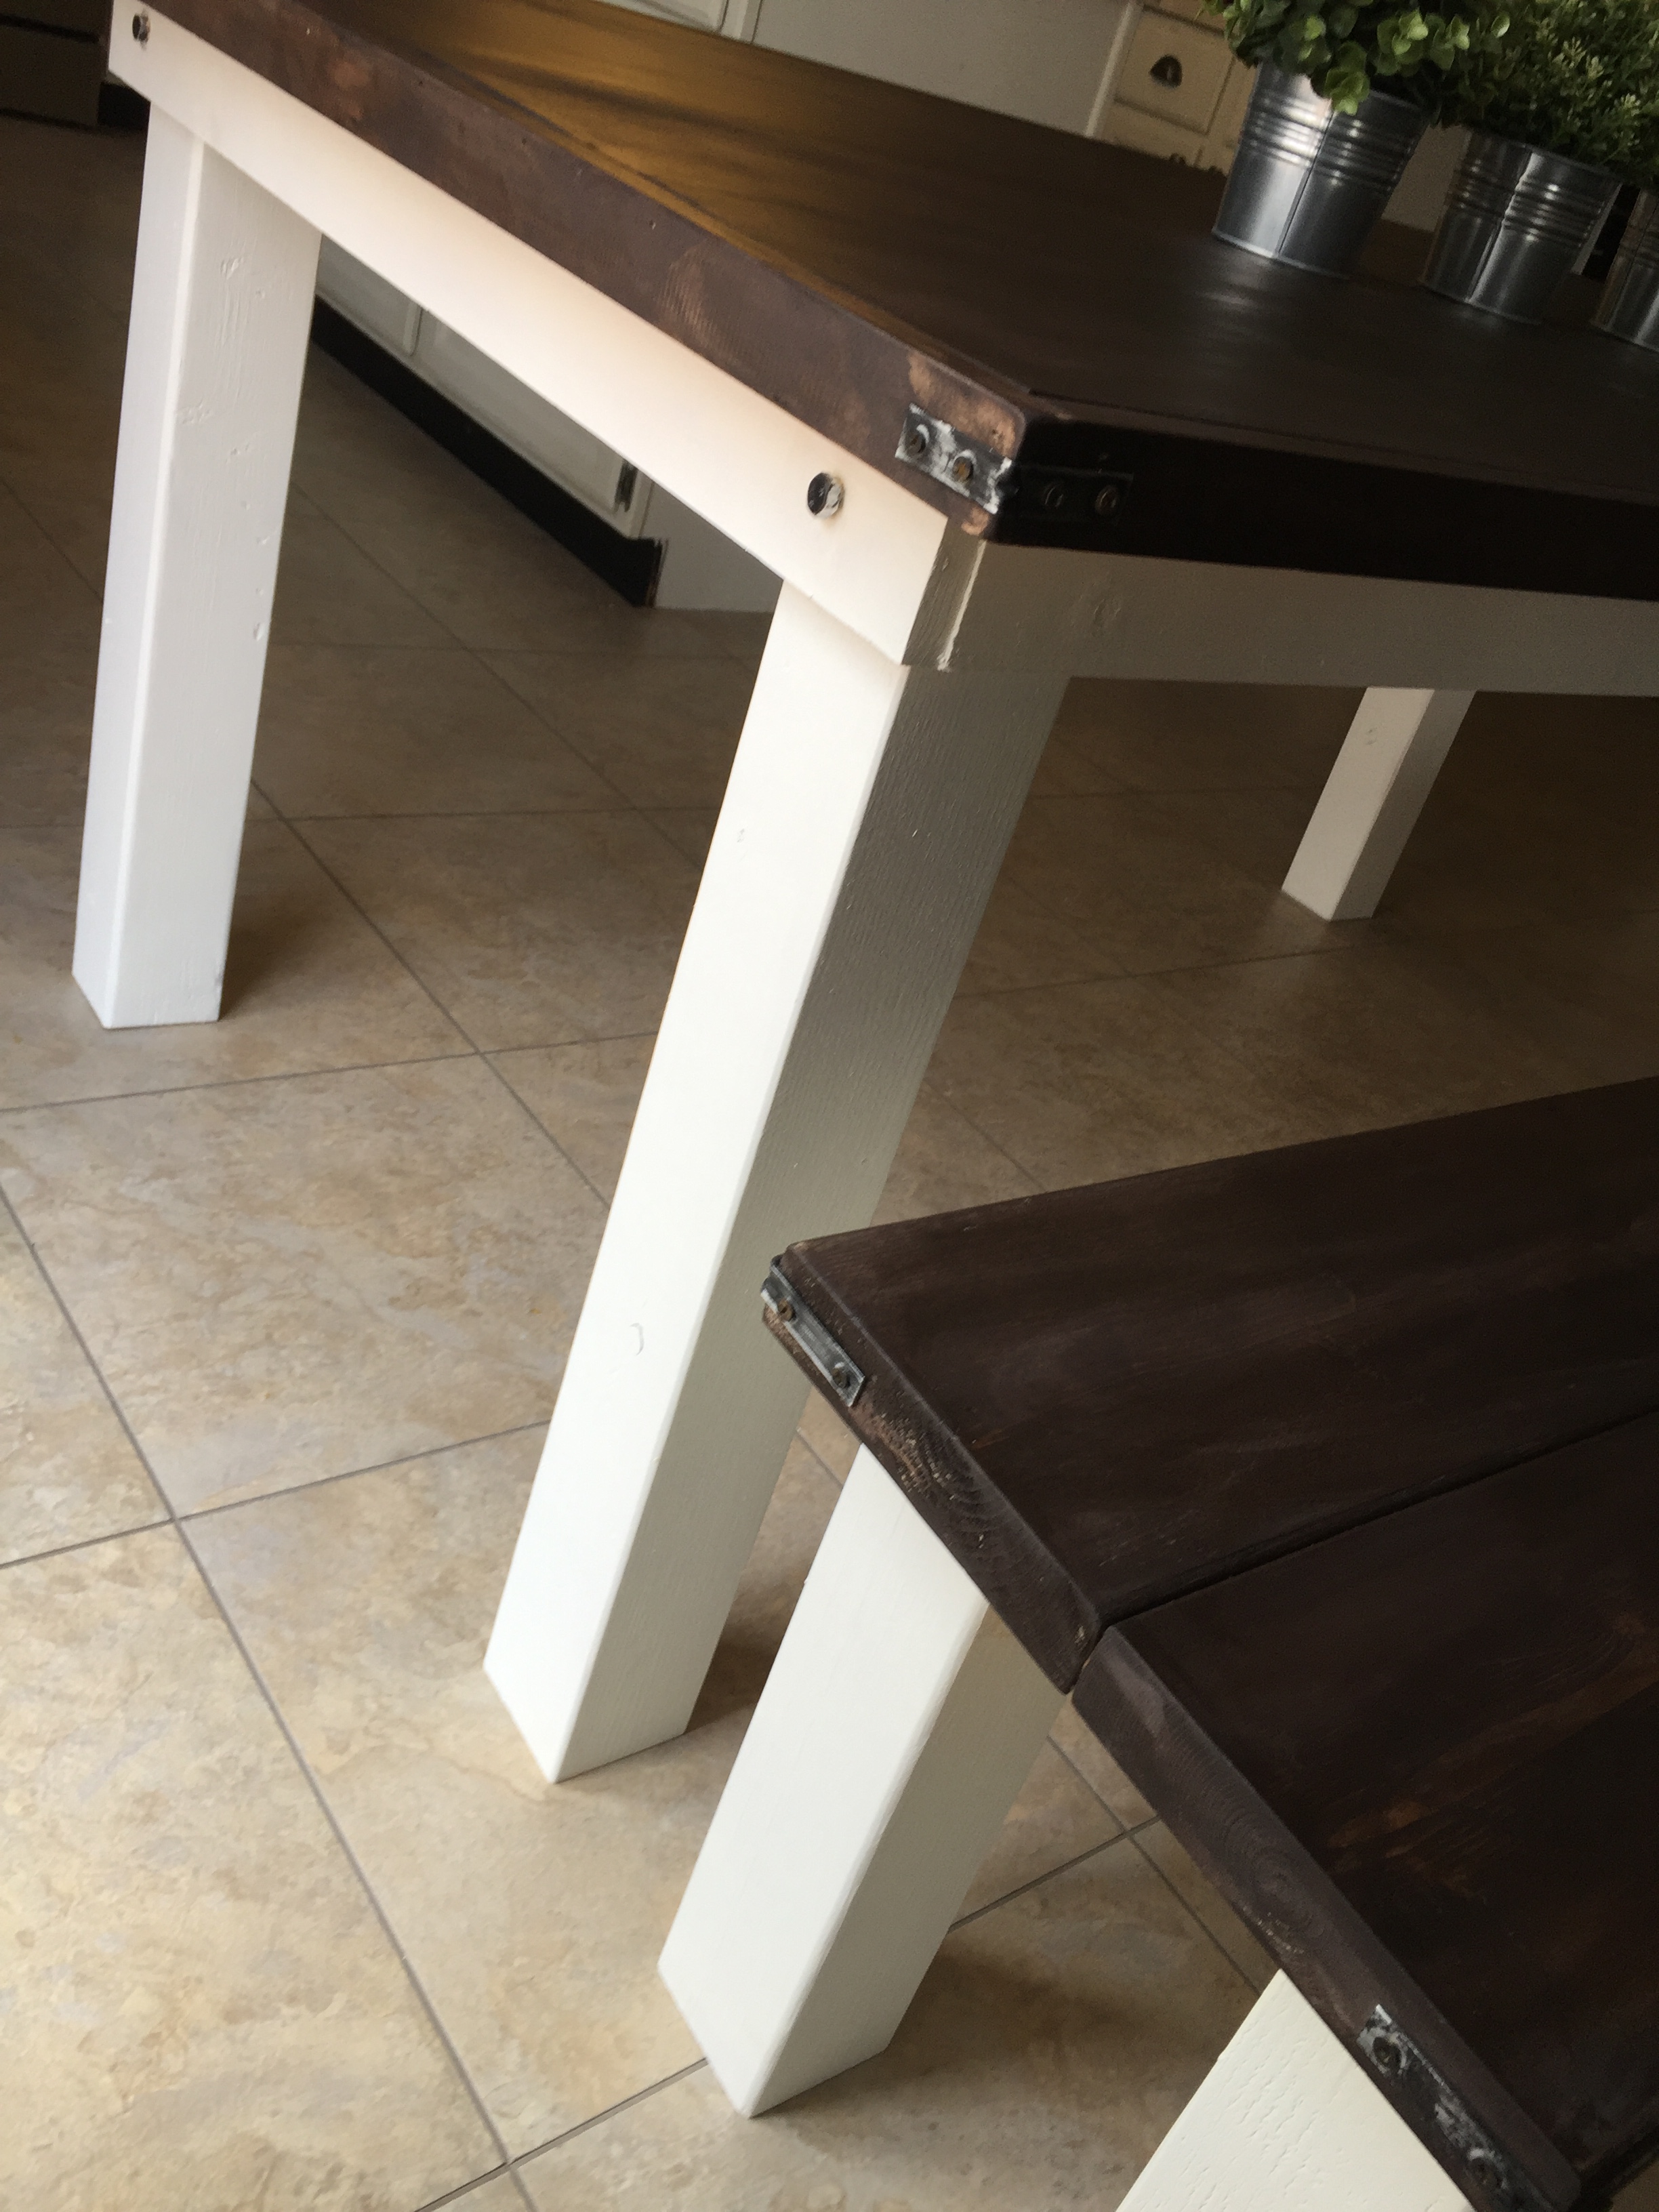
Things I changed: I made it a little shorter (table top is 68 inches) to accomodate the size of our kitchen. I used 4x4 legs - I like the chunkiness of thicker sturdier legs. Used 2x8 for the bench. Again, I like the thickness over a 1x. I did use 1x10s for the table top, but I added trim (1x2) to make it look chunky. I would have just used the 2x10, but b/c they have rounded edges, and I didn't want gaps for crumbs to have to clean out. I wouldn't have minded this for a dining room table, but we're using in kitchen with 3 small children. The 1x10s are squared off so they fit together better. And adding the 1x2 trim gives it the chunky look I added the corner brackets and lag bolts, mainly for decorative style I used kona stain and white paint.
Used 4 coats of satin poly. I built both piece in a weekend, but I would say it's more of a week project on a realistic timeframe.
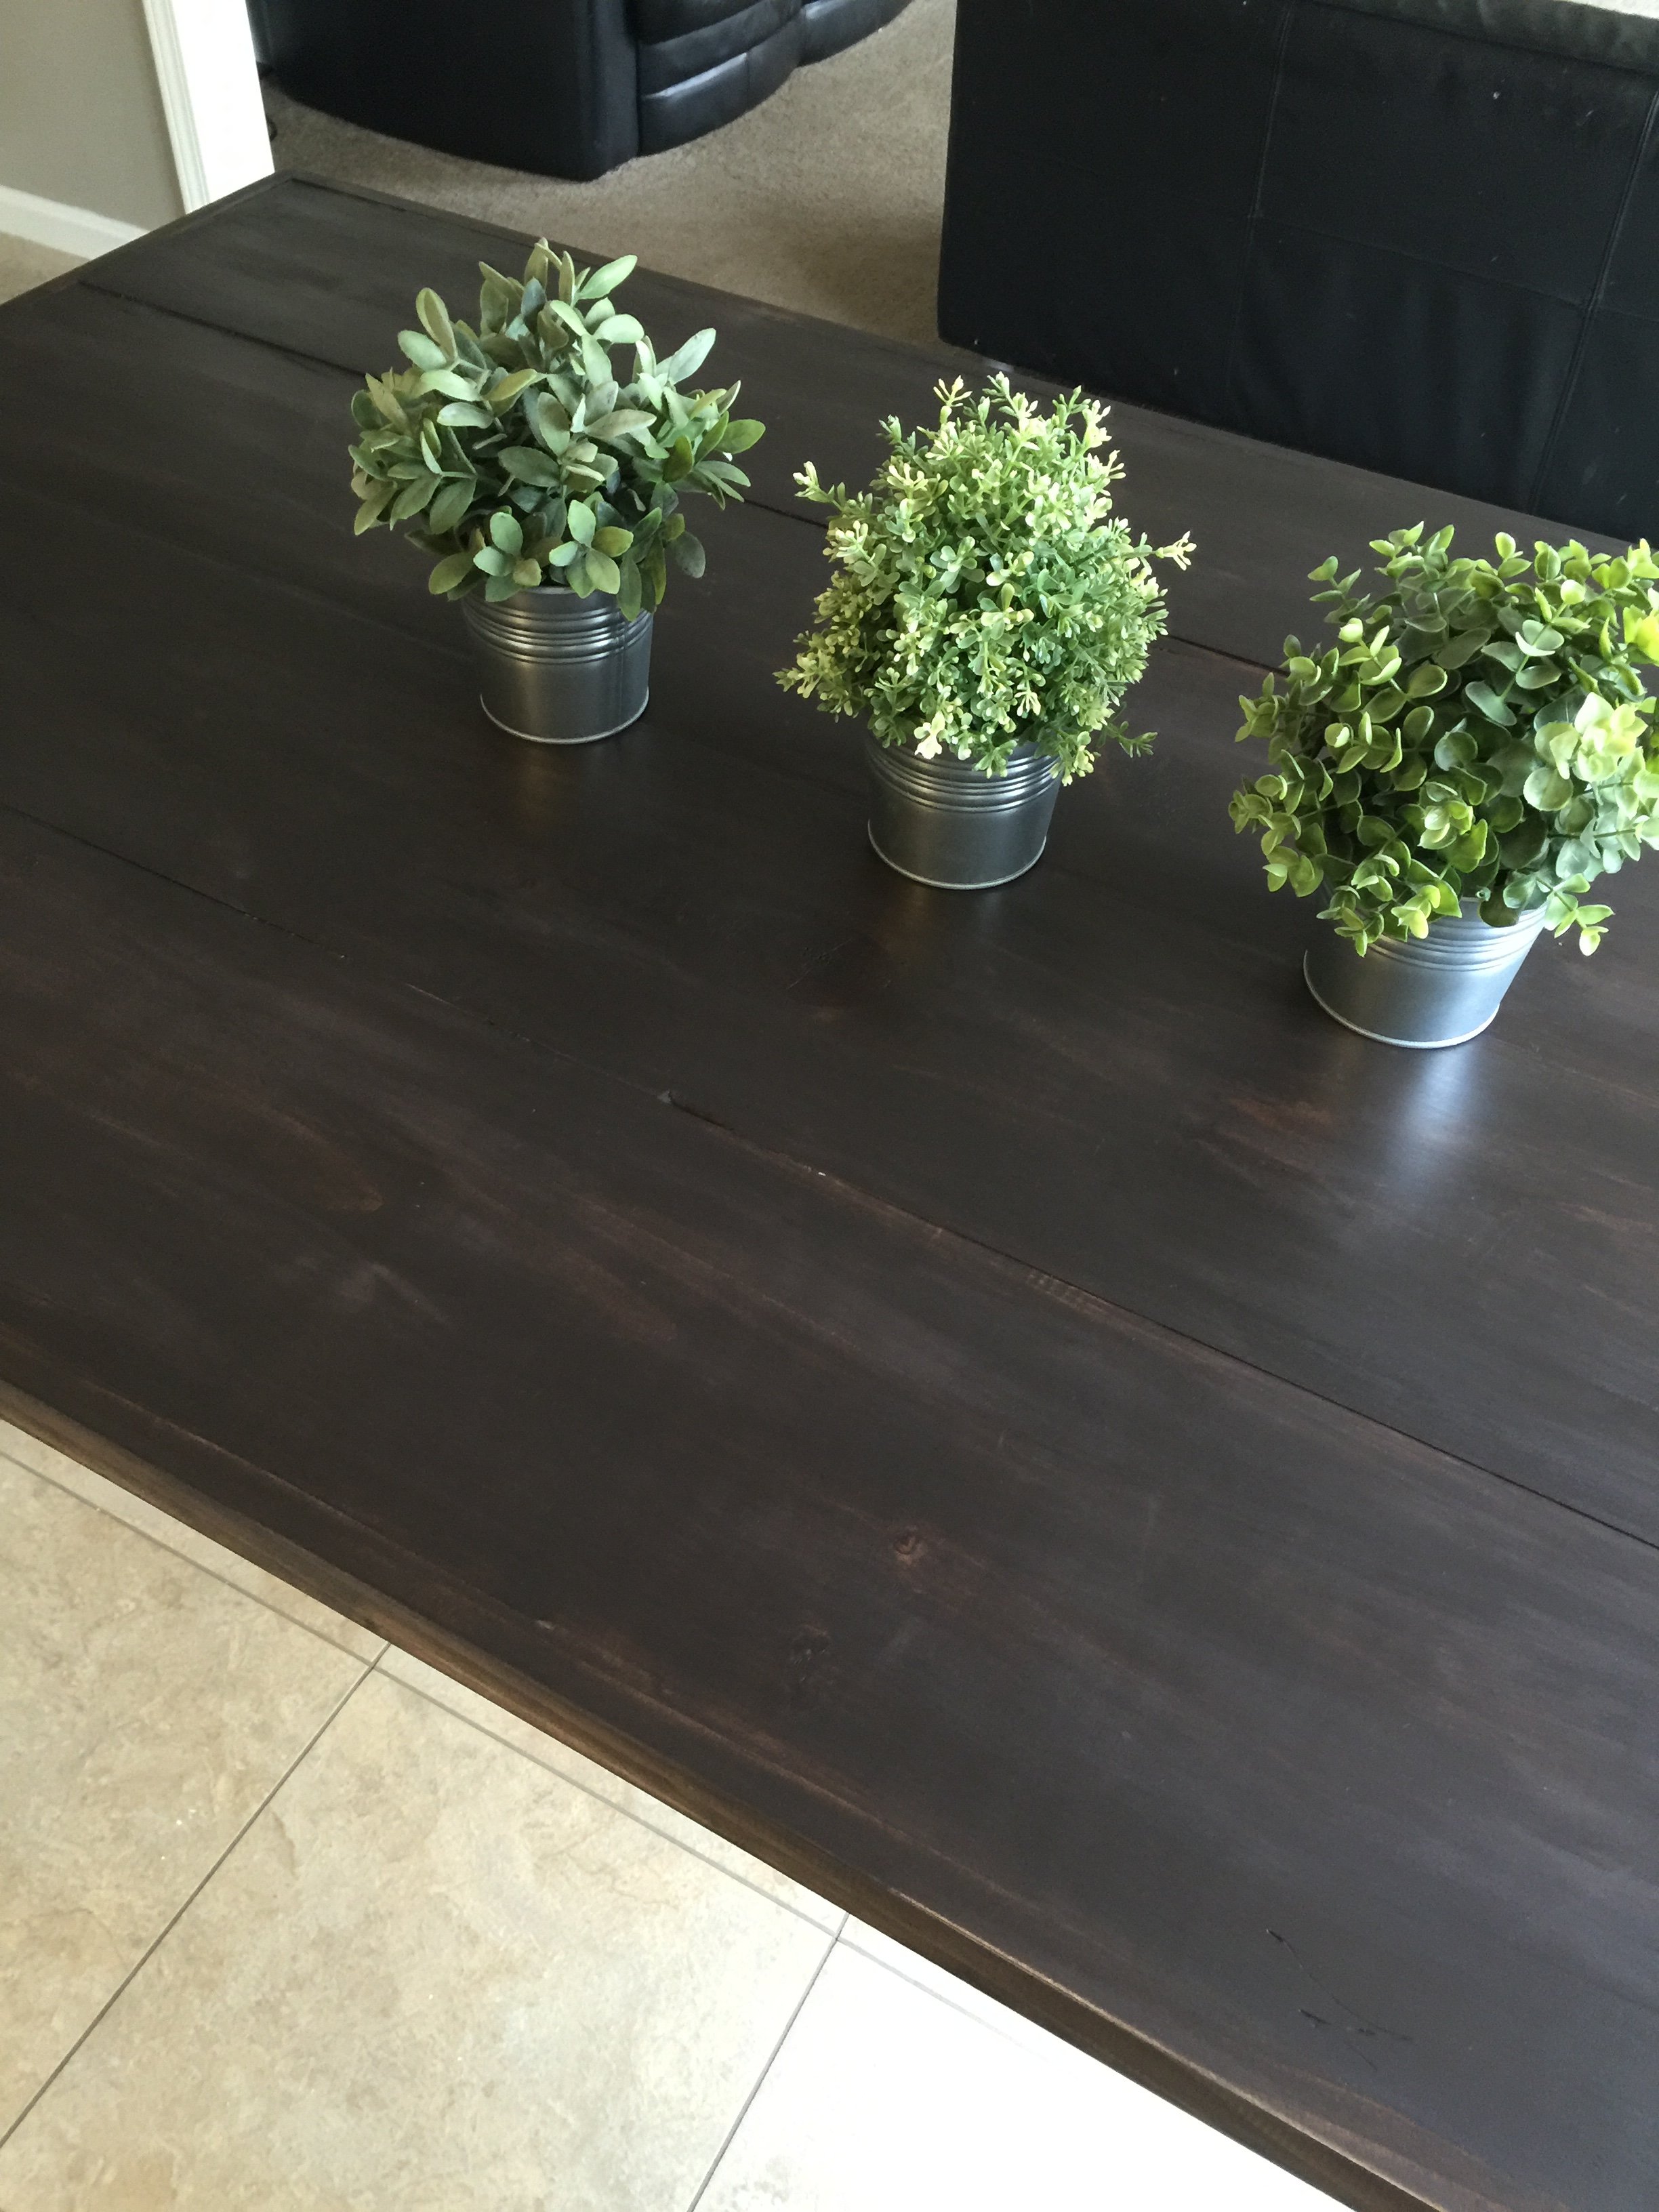

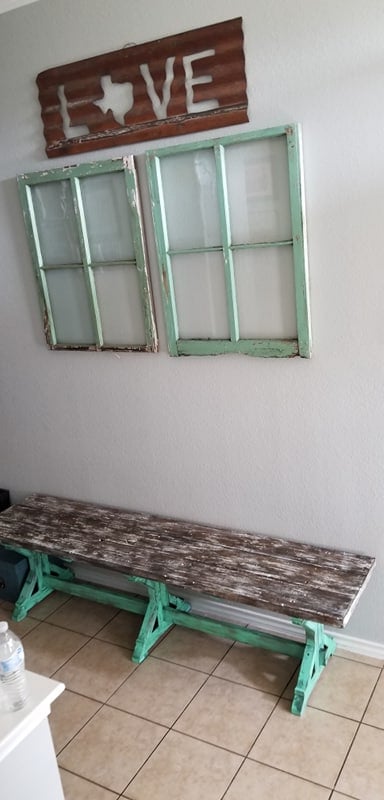
distressed, stained and painted

For my son's wedding!
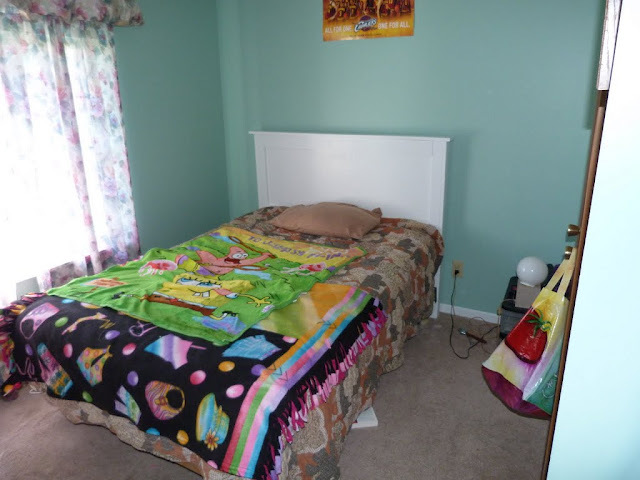
Built a simple headboard for my daughter's bed. Simple pine construction, glued and brad nailed. Used the paint I had left over from painting the trim in her room. Backboard made from pine plywood that was left over from another project.

My husband and his Dad built the red tower for my daughter, but when my son was old enough to climb all he wanted was to be in the tower, too! Another was built, and people that come over are always asking for the plans, and we direct them to your site. Thank you for this amazing gift! My kids love to stand in their towers and help me cook, they color, have snacks, everything. Can't imagine my life with my kids, without these towers.