Community Brag Posts

Mudroom Shoe Bench

Submitted by Anonymous (not verified) on Mon, 10/28/2019 - 17:52

Loved your shoe bench so much that I’ve made two now for friends. Each one is a bit more custom depending on the length of their hallway and size of their family! I’ve also modified the bench as well to make storage for mitts and toques. Such a great functional plan!

Estimated Cost
$50
Estimated Time Investment
Day Project (6-9 Hours)
Finish Used
Dark Walnut stain with clear top coats and leftover white trim/door paint from a previous renovation project.
Recommended Skill Level
Intermediate

Outdoor Sectional with Corner Table and Umbrella

Submitted by Anonymous (not verified) on Wed, 07/12/2023 - 15:06

Originally, we were going to build the 2x4 outdoor sofa and the one arm version, but we didn’t like how far away the corner seat was from the fire pit, so we switched gears and built a second two arm sofa, and using skills we learned building from some of your other plans, we custom designed the corner table to attach the sofas and hold an umbrella.

outdooroutdoor

Built from Plan(s)

10 dollar ledge

Submitted by Brian on Sun, 03/04/2012 - 07:58

We built three different sets of these ledges one set for each of the kids and one for our bedroom. We requested some sample paint off line in some colors we choose so the paint was free. Very simple to make and finish. We drilled holes 16 on center to hang them off the studs to allow heavier items down the road. Picked up the wood from the home store cut them down and sanded with 180 than 220 grit sandpaper then slapped on the paint.

Built from Plan(s)
Estimated Cost
10.00
Estimated Time Investment
Afternoon Project (3-6 Hours)
Finish Used
sample paint
Recommended Skill Level
Starter Project

Comments

Corner TV Stand

Submitted by dmcquaide on Wed, 01/01/2014 - 12:12

Our old (cheap!) TV stand was falling apart. We couldn't find something we liked to buy until I found the plans Tall Corner Media Console. We made it a bit shorter (ours in only 3 feet tall rather than the 4 feet in the plan) and we ended up with overlay doors instead of the planned inset doors, but I love the way it turned out! Our biggest challenge was agreeing on the stain color.

Built from Plan(s)
Estimated Cost
$150
Estimated Time Investment
Weekend Project (10-20 Hours)
Finish Used
We ended up using Rust-oleum's Weathered Gray first and then covering it with their American Walnut. The Weathered Gray we left on for five minutes, the American Walnut we wiped off right away just to give it a brown tone over the grey. We finished with Rust-oleum Polyurethane in matte. I love the matte look.
Recommended Skill Level
Intermediate

Printers Double Console Cabinet

This was a Great Project! my First bigger project!. I modified it from the original plans to reduce the size into a double door rather than a 3 door, for space reasons. I also made it a little wider to store my gigantic printer. It is currently serving as a cabinet for my home office. This project was pretty strait forward and lots of fun. I was a little weiry about all the hardware that was necessary, however i found a great deal on amazon.ca i got a 25 pack of pulls for $48! so that was a relief. This project took me about 2 weeks to complete working on and off. i was also building in cold garage at start of January so Stain took a while to set/cure/dry. Over all great project and easy to follow and modify the plans!

Estimated Cost
$200-Hard ware was pricey but i found a great deal on Amazon.
Estimated Time Investment
Week Long Project (20 Hours or More)
Finish Used
Minwax Special 224
Recommended Skill Level
Intermediate

Comments

tgrott

Sat, 04/02/2016 - 16:07

Looks awesome! I just showed my husband that same plan day before yesterday telling him I want us to build this! :)

16ft x 5ft farm table

Submitted by Anonymous (not verified) on Tue, 10/29/2019 - 18:43

This table was created using a variety of plans. It can seat up to 20 people comfortably. The table top was built with 5 pieces of 2x12. The legs were a combination of 4x4 posts and 2x6s. 2 coats of Minwax Weathered Gray was the stain and then 3 coats of varathane semi-gloss finish. We sanded between each coat of poly.

Estimated Cost
435.00
Estimated Time Investment
Weekend Project (10-20 Hours)
Finish Used
Varathane semi gloss poly
Recommended Skill Level
Intermediate
Seasonal And Holiday

DIY Raised Garden Planter on Casters

Submitted by Anonymous (not verified) on Sat, 07/15/2023 - 09:47

I saw your raised garden box and decided to make it for my wife so she could garden on our deck due to medical problems. She absolutely loved it.

The only thing I did different was I added casters to the legs so it can be moved easily on the deck.

Thank you very much for the idea and plans. We really enjoy them.
 

John Sterzick

Bedside Table

This was a bedside table I built to match the headboard. My wife wanted me to add a shelf from a plan she saw on a website. I simply used Ana's plans and changed them to meet my wife's wishes. It was a very simple project. I did use a plate joiner w/ biscuits and pocket holes with 1 1/4" screws for the joinery. I also added some 1" x 3" braces underneath as support.

Estimated Cost
$36 for the legs. The rest is left overs.
Estimated Time Investment
Weekend Project (10-20 Hours)
Finish Used
I mixed my own stains to get a brown tone base and then added a Minwax red chestnut stain on top of that. The polyurethane is Minwax fast drying (2 coats). The stains were applied with a brush and then wiped down with a cotton rag. The poly was applied with a brush. I sanded between the coats of poly using 320 grit paper.
Recommended Skill Level
Beginner

Comments

kafarela

Wed, 03/07/2012 - 23:43

First off...THANK YOU SO MUCH for the Awesome Ideas you have posted! Being a Paramedic all my life I never knew how much I enjoyed working with wood.

But we have been crying over the last 2 days, it seems we cannot access the web site from our computers just our phones!

I hope and pray that this gets resolved really quickly ...we miss your site!

windjamer812

Sun, 03/11/2012 - 01:49

That would make me cry as well. I just love Ana and everyone on here. And thank you for your service in the medical field. I have known many that owe their lives to people like yourself.

Learning Tower for miss madi

Submitted by mrsmckeon on Thu, 01/02/2014 - 17:37

I've seen this project floating around for quite a while, and I knew immediately that I wanted to make this for my 15 month old niece. I used clear pine for this project, to minimize knotting and breaking. That said, the lumber was more expensive than the original plans called for. I think the total cost, including polyurethane for the finish ran around $50. The construction was fairly straightforward, and took a few afternoons to complete. Two changes to the instructions that I made, were to countersink my screws, rather than use pocket screws, and then to finish with wood plugs. I chose not to make the hinged version, as I was a little uneasy about little fingers near the hinged points. All in all, this was a wonderful project and made a fantastic Christmas present. My Grannie is a master carpenter, and this was a great project to work together on. I'm planning on making one for my own children when I become a momma.

Built from Plan(s)
Estimated Cost
$50
Estimated Time Investment
Weekend Project (10-20 Hours)
Finish Used
Polyurethane, two coats.
Recommended Skill Level
Beginner

Rustic Table

Submitted by anne_c on Mon, 03/21/2016 - 07:24

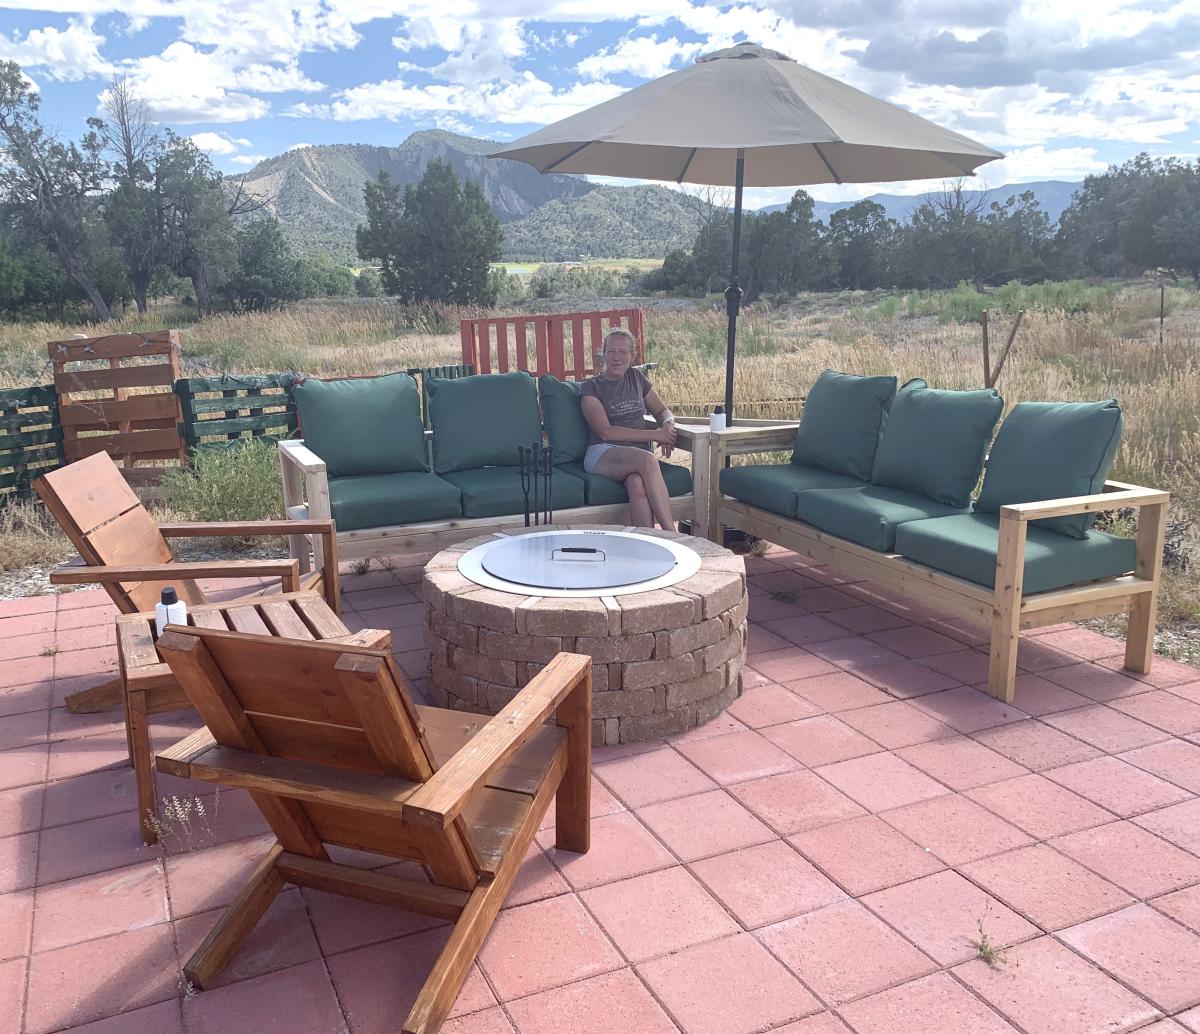
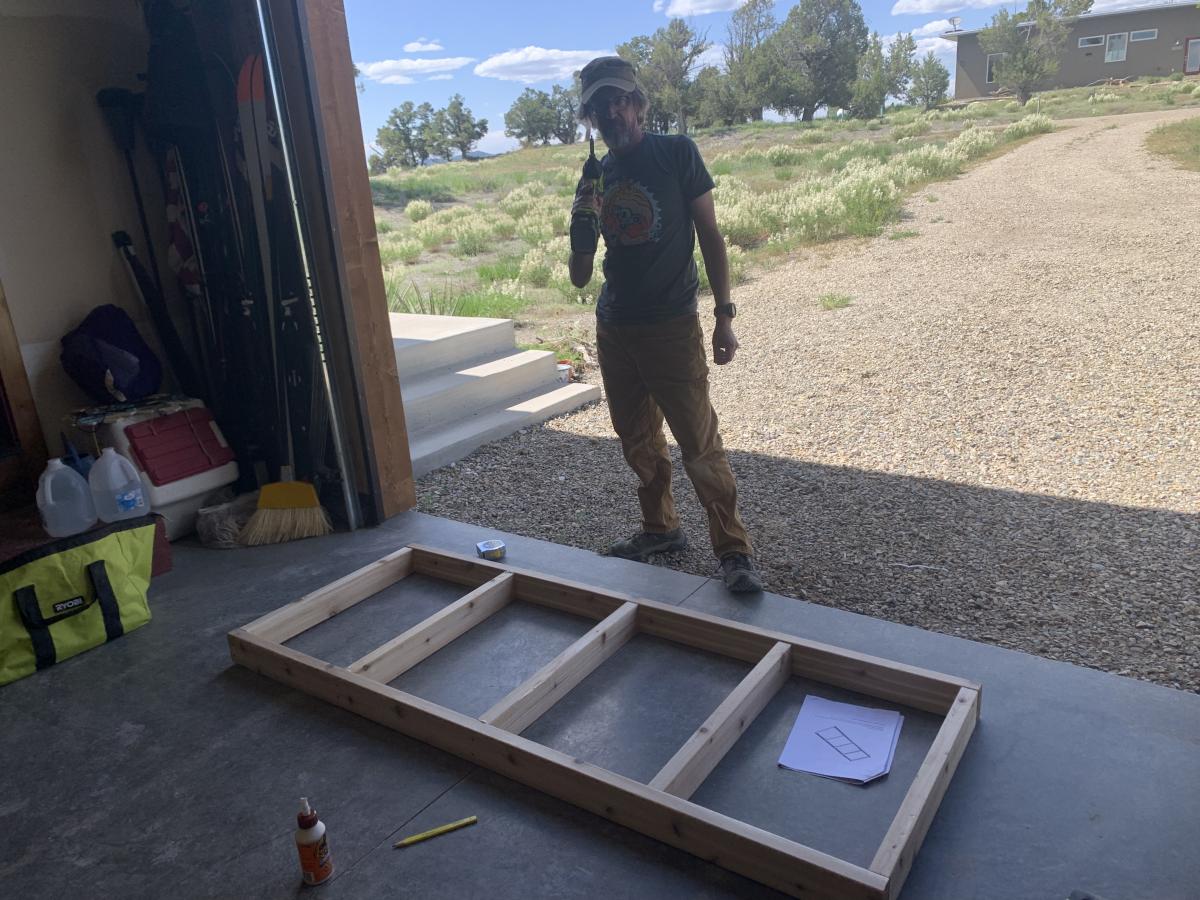
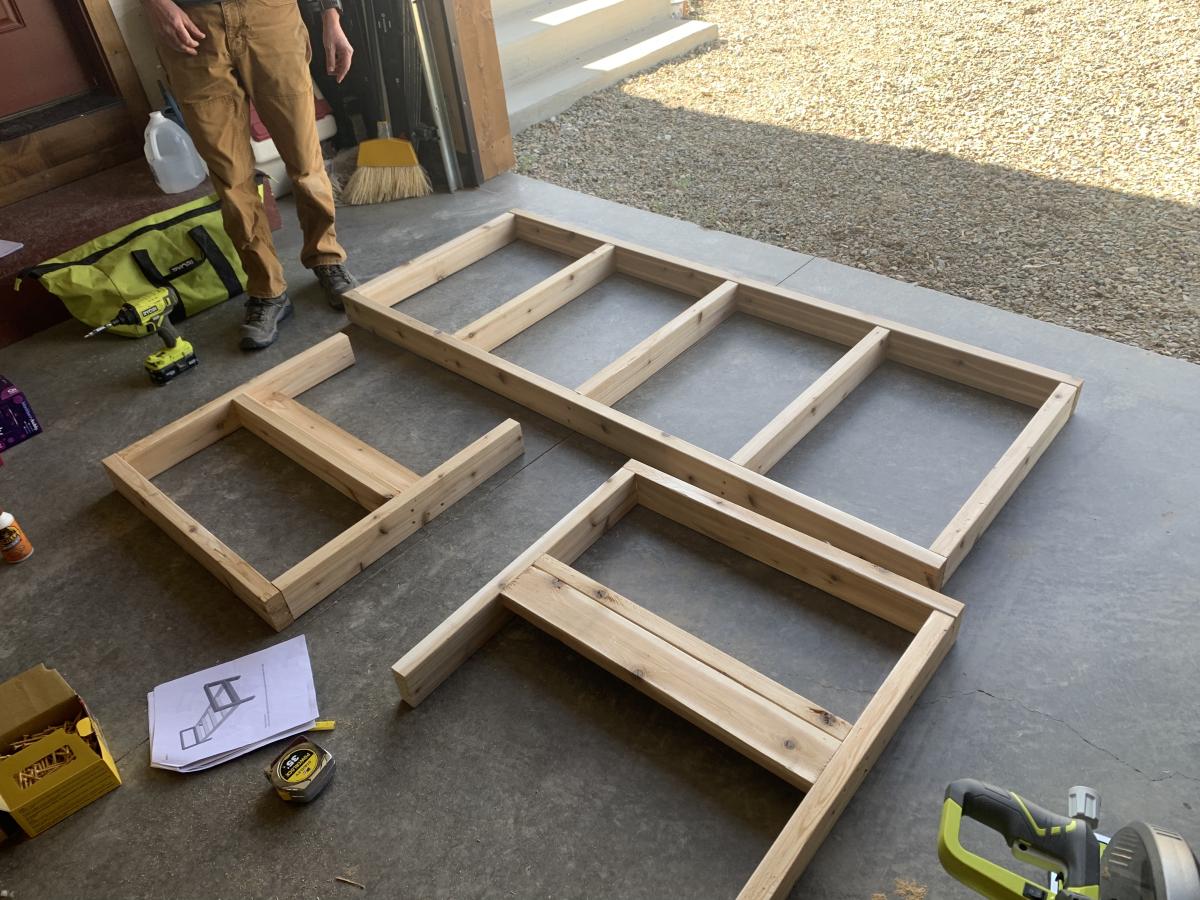
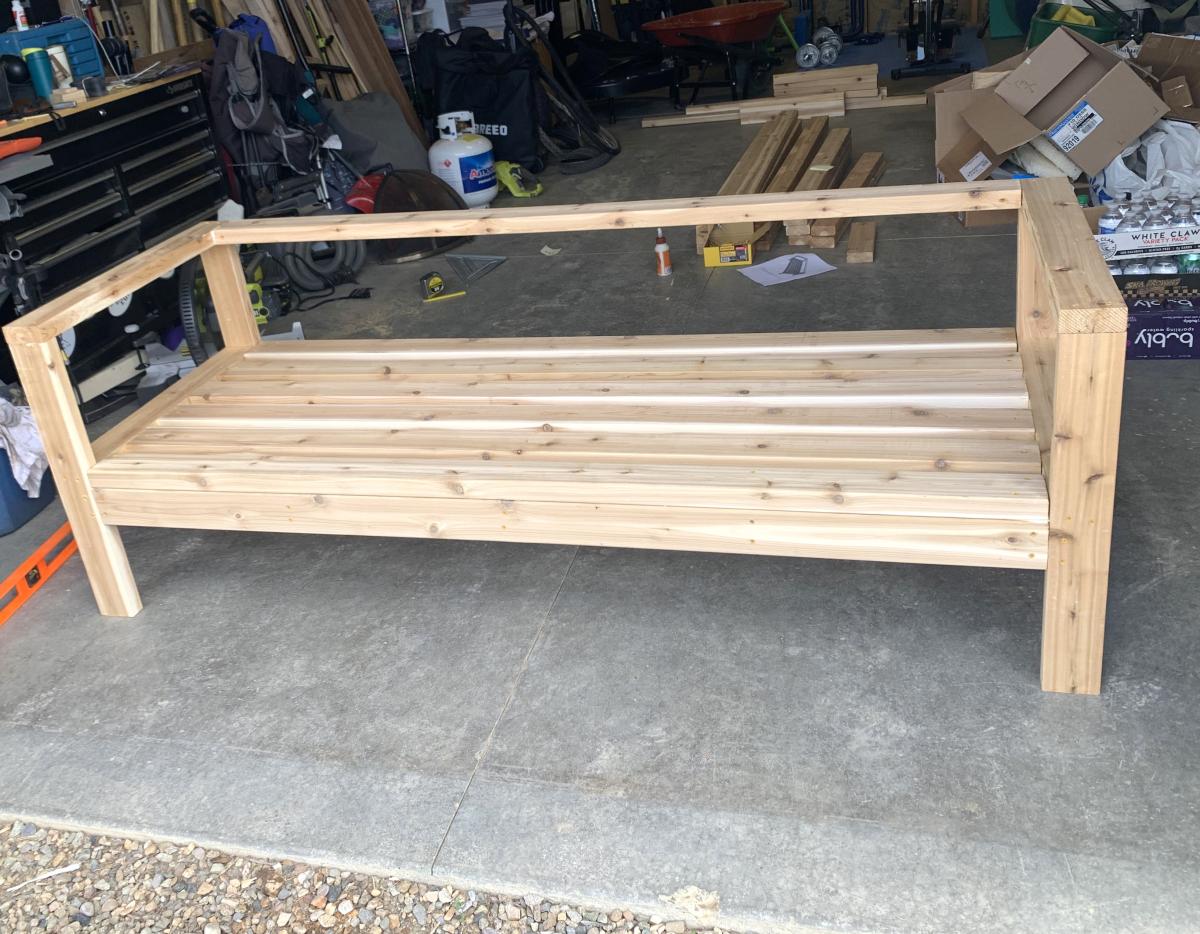
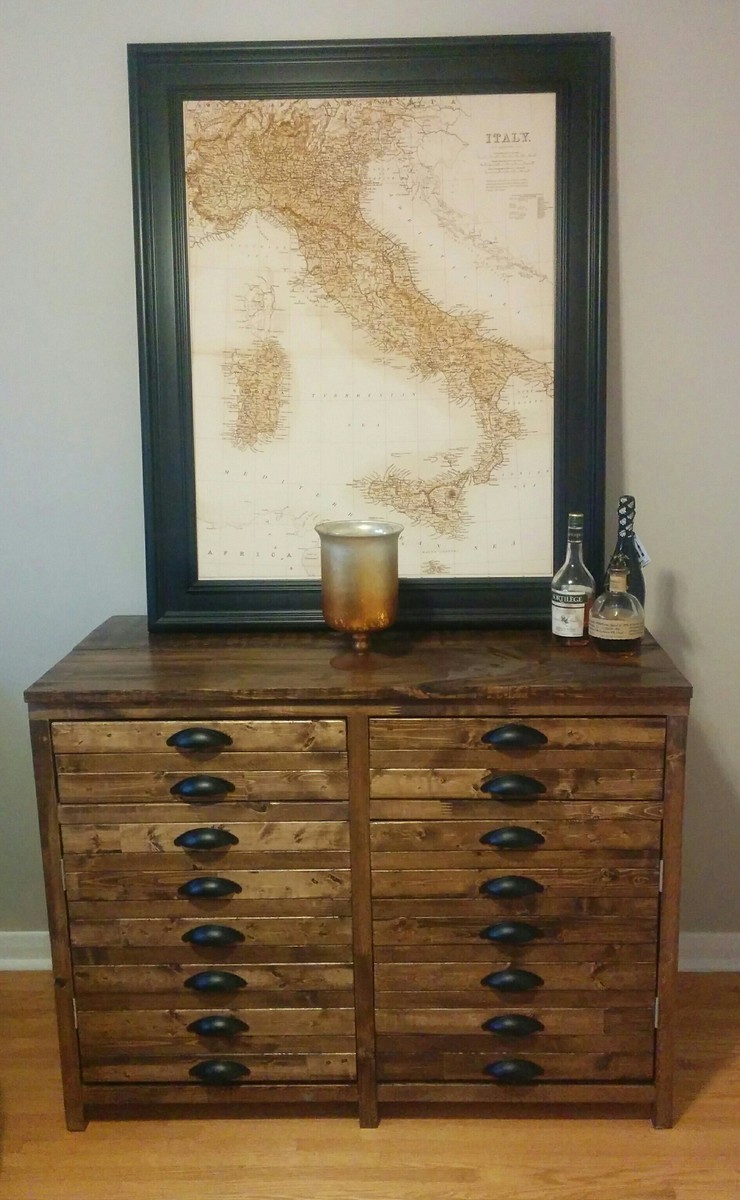
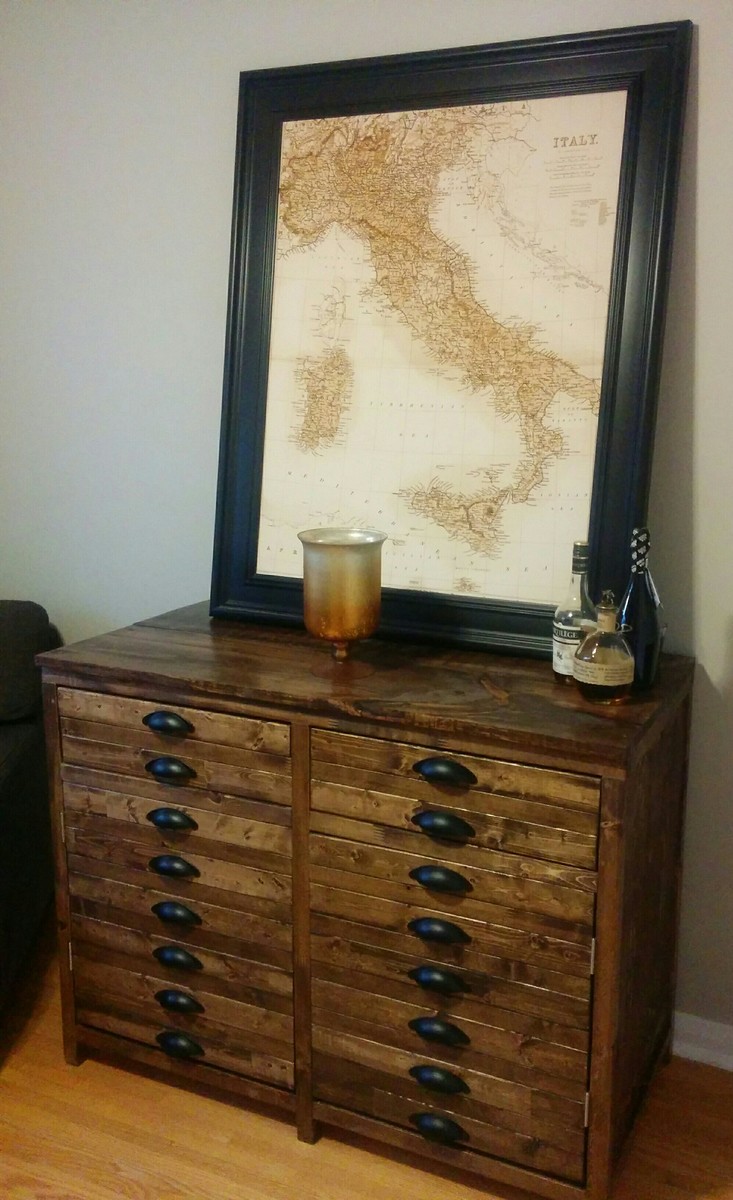
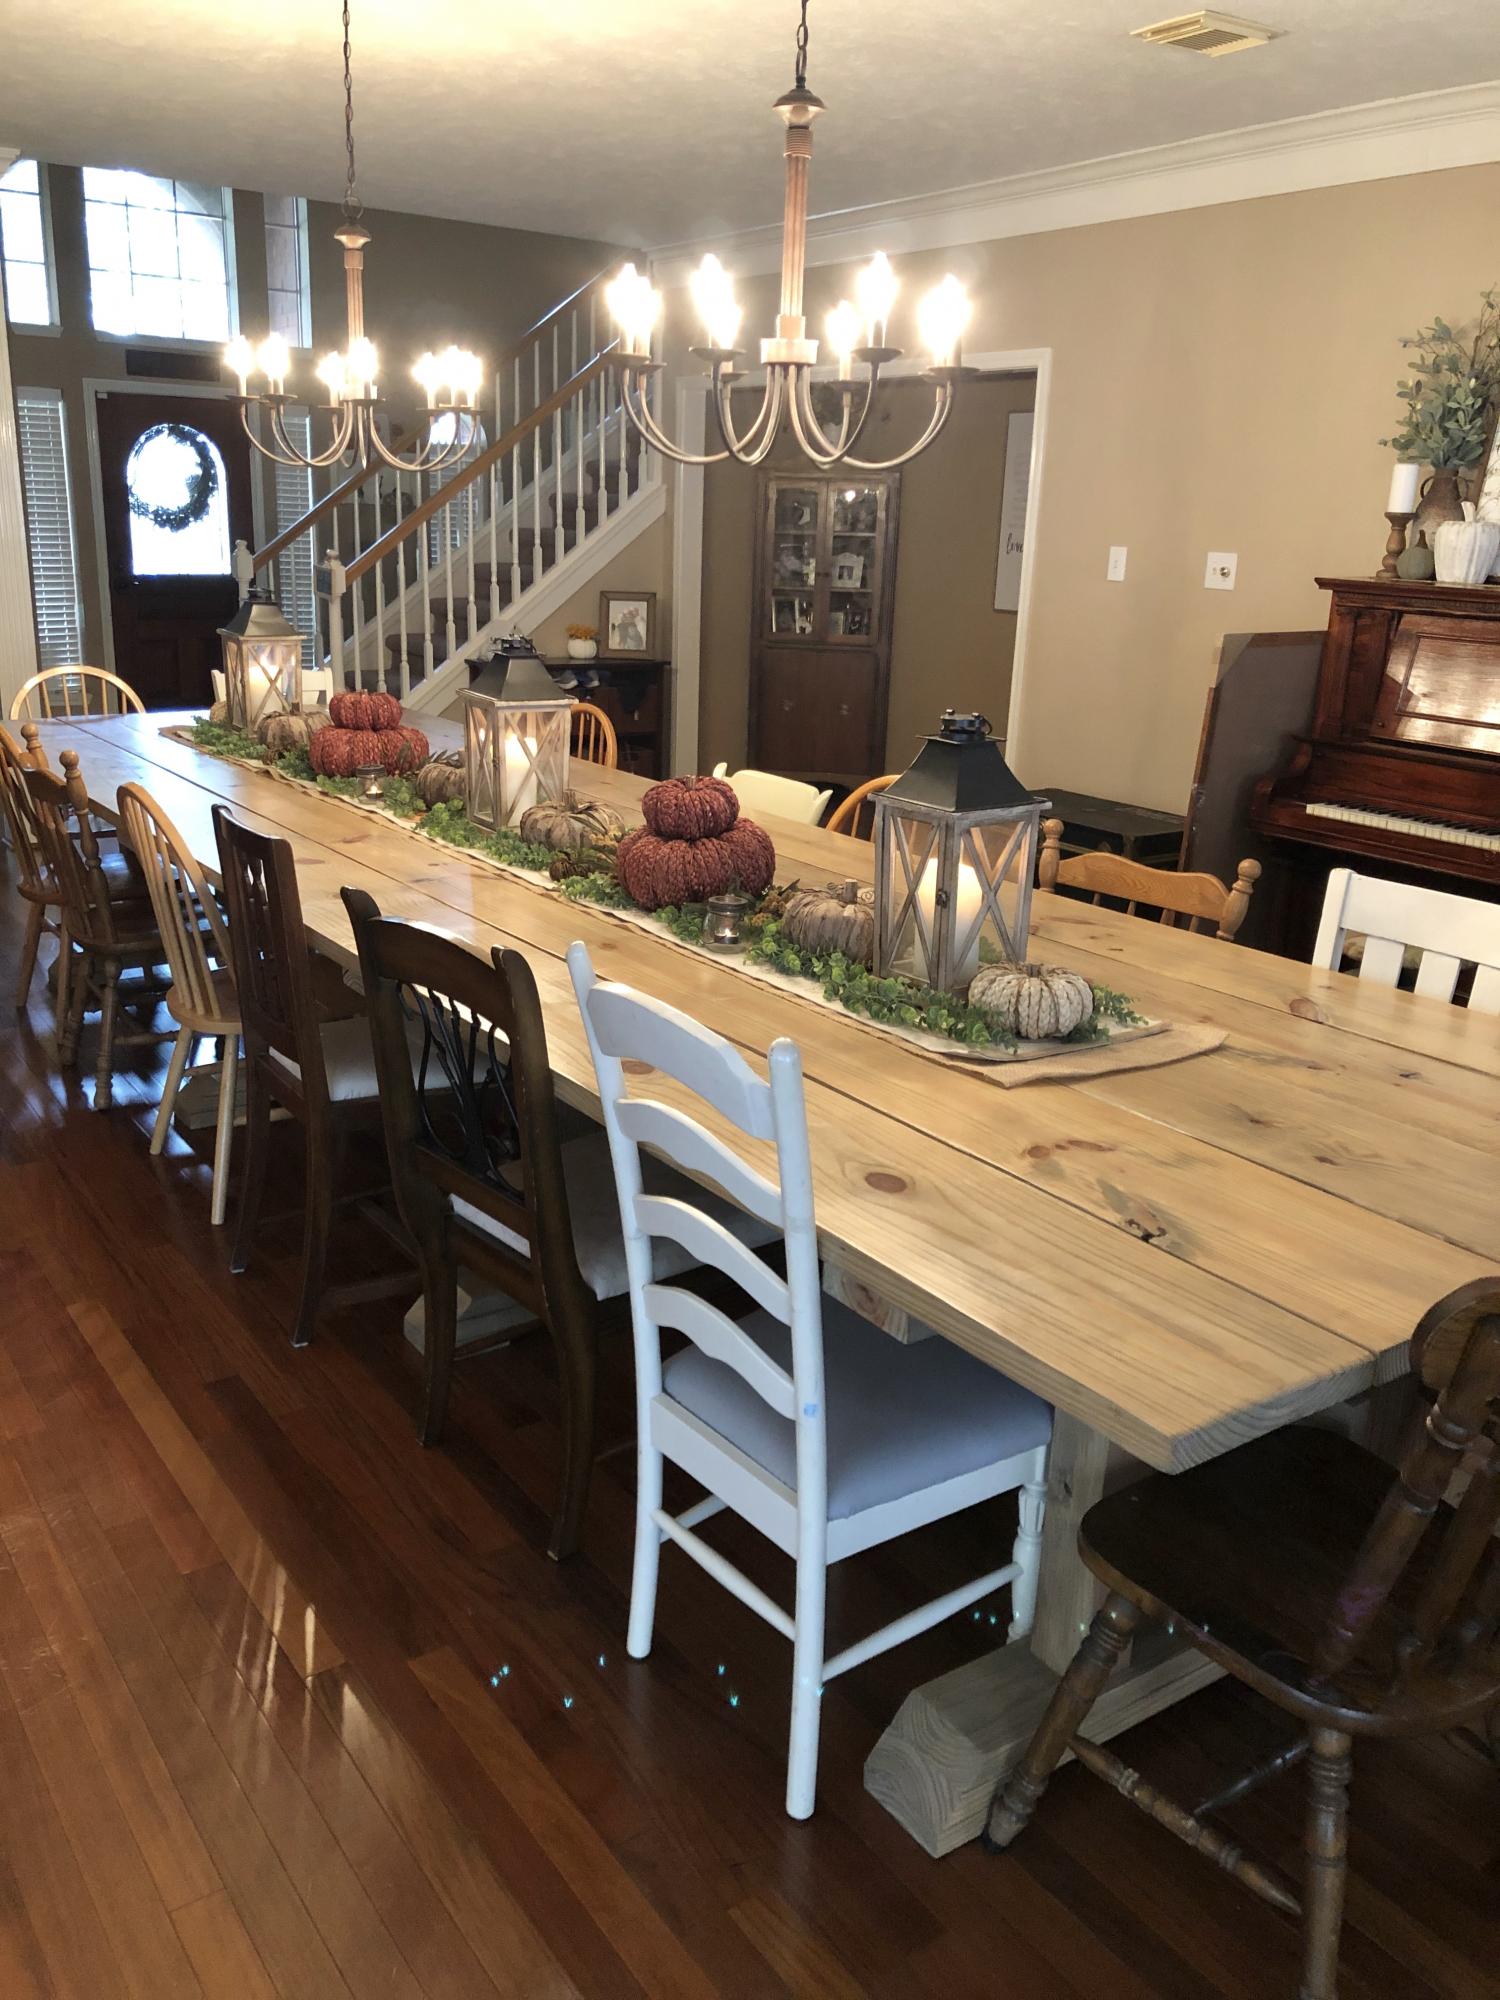
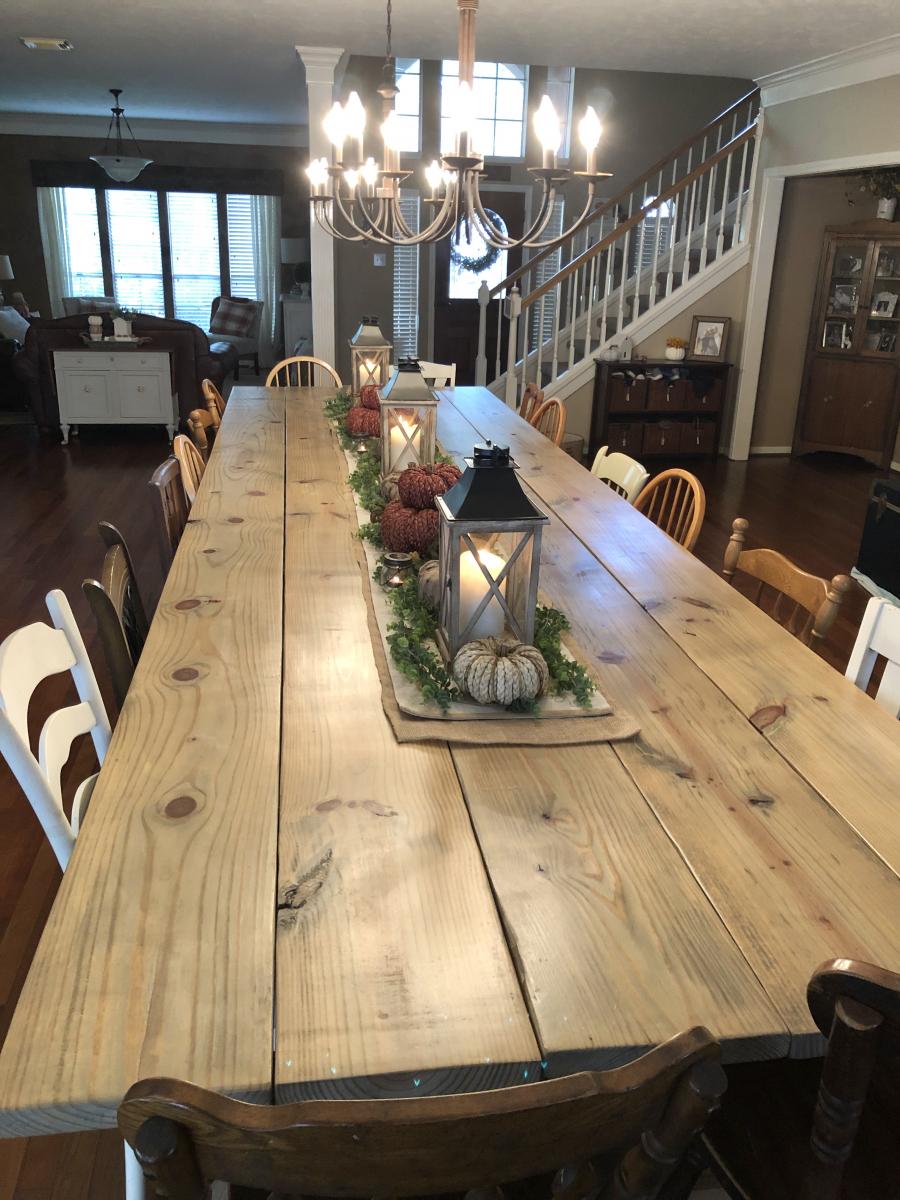
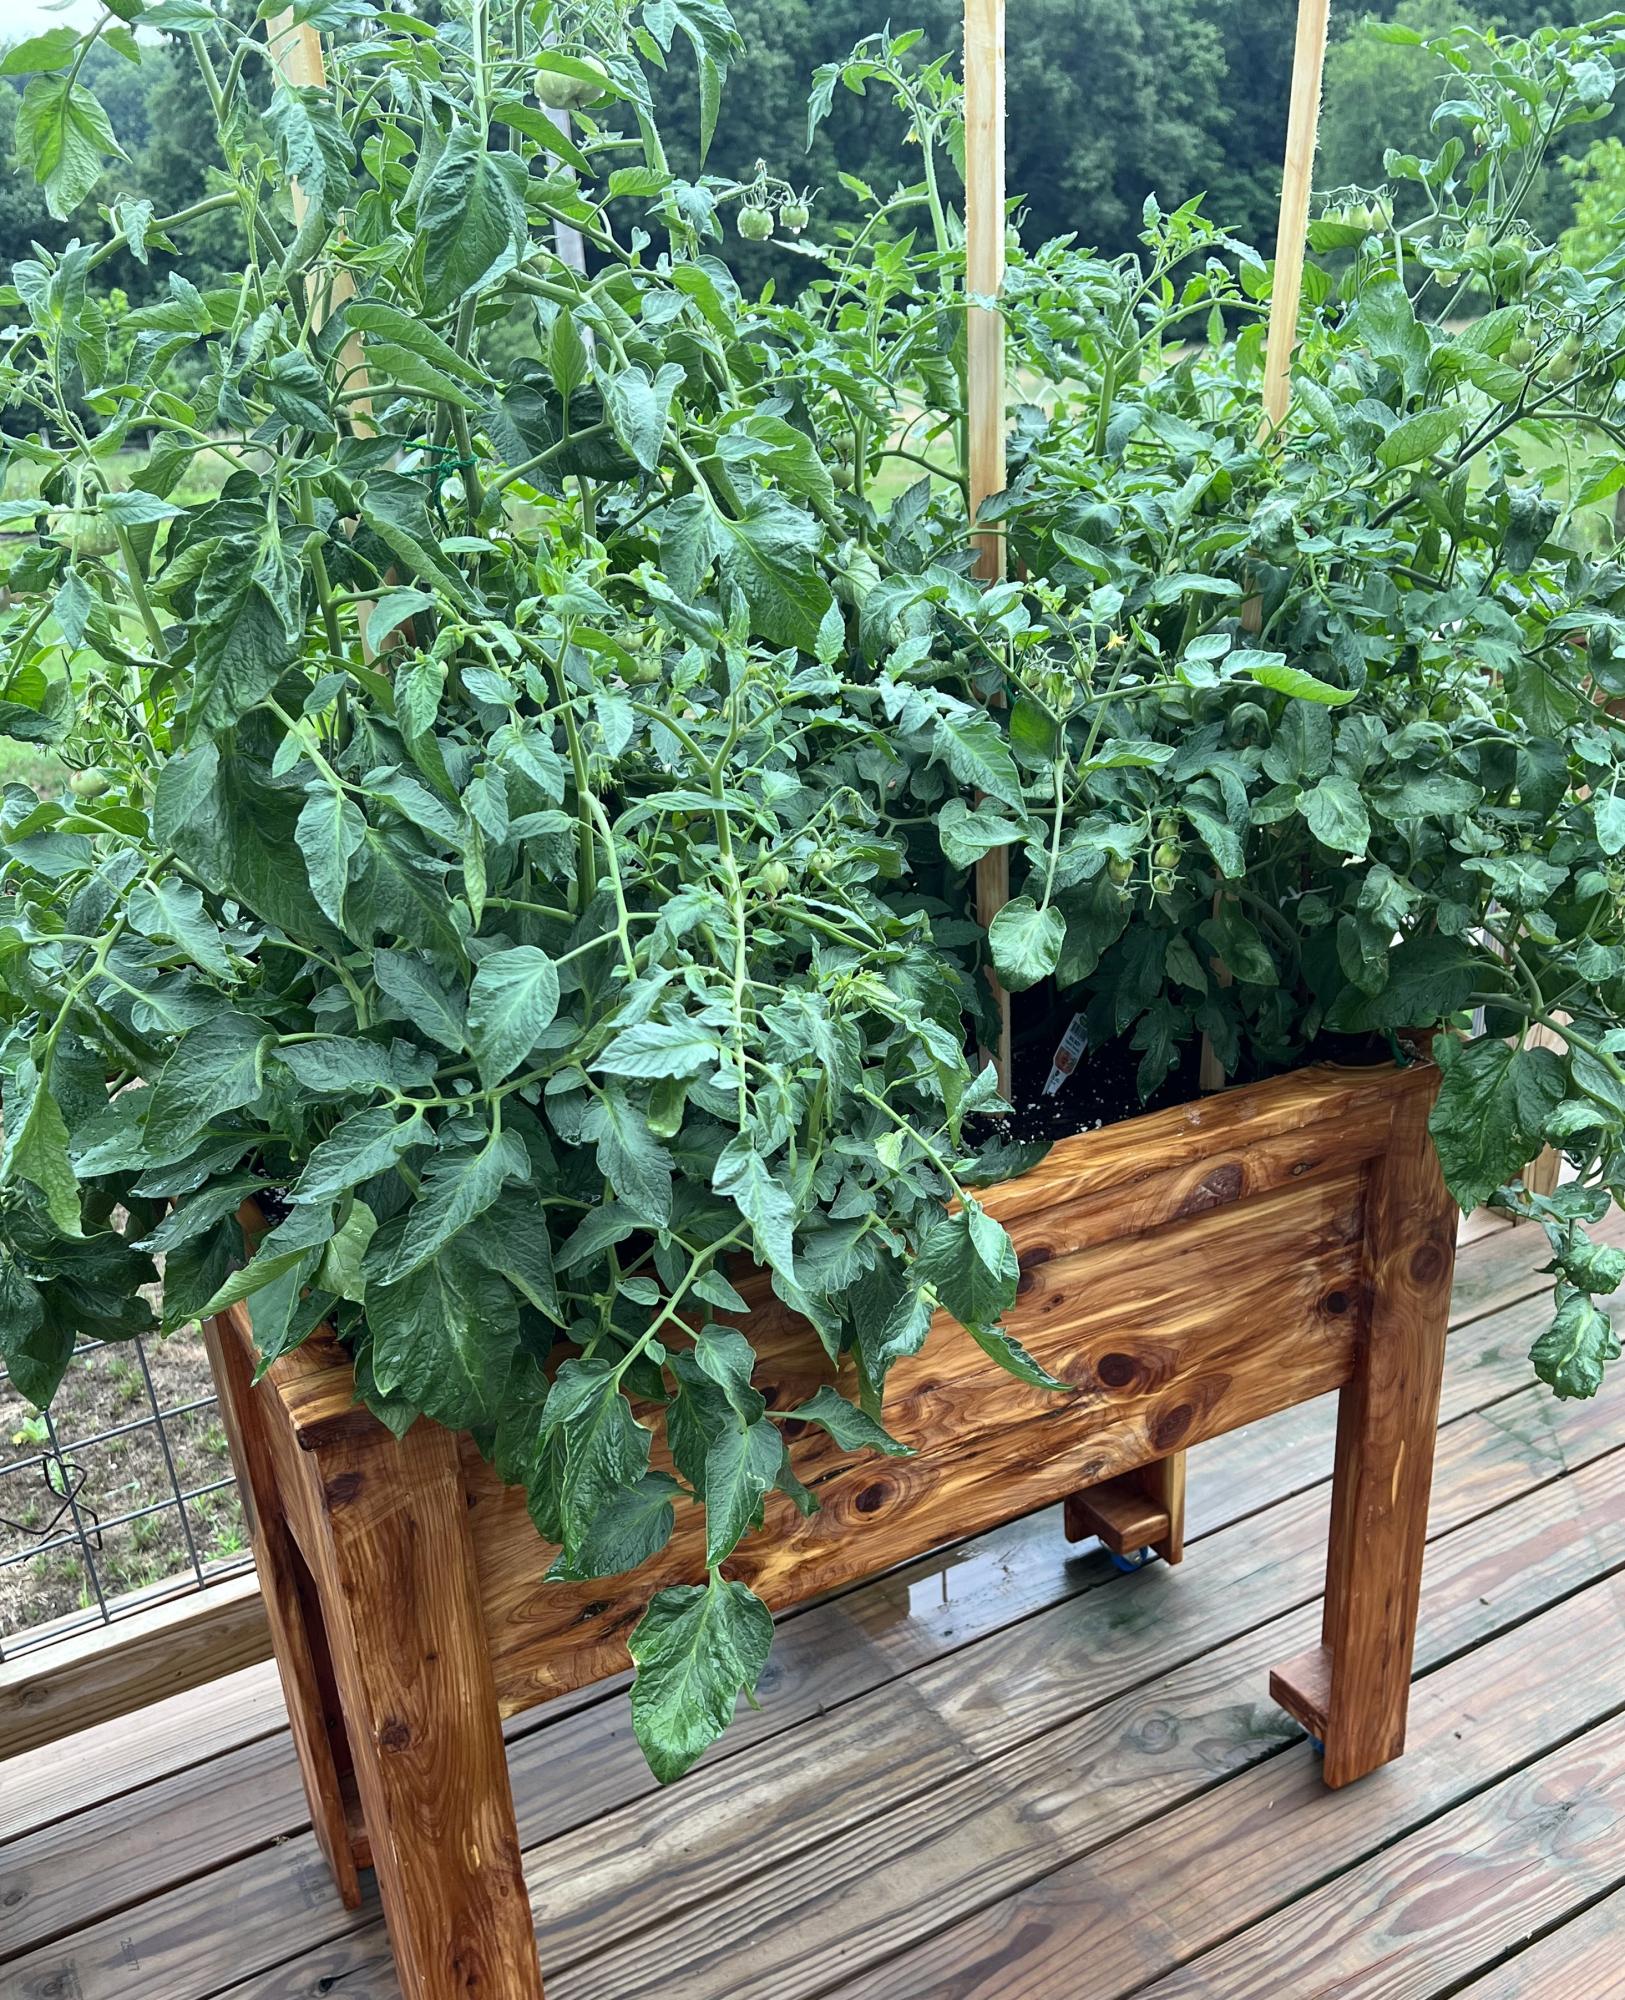
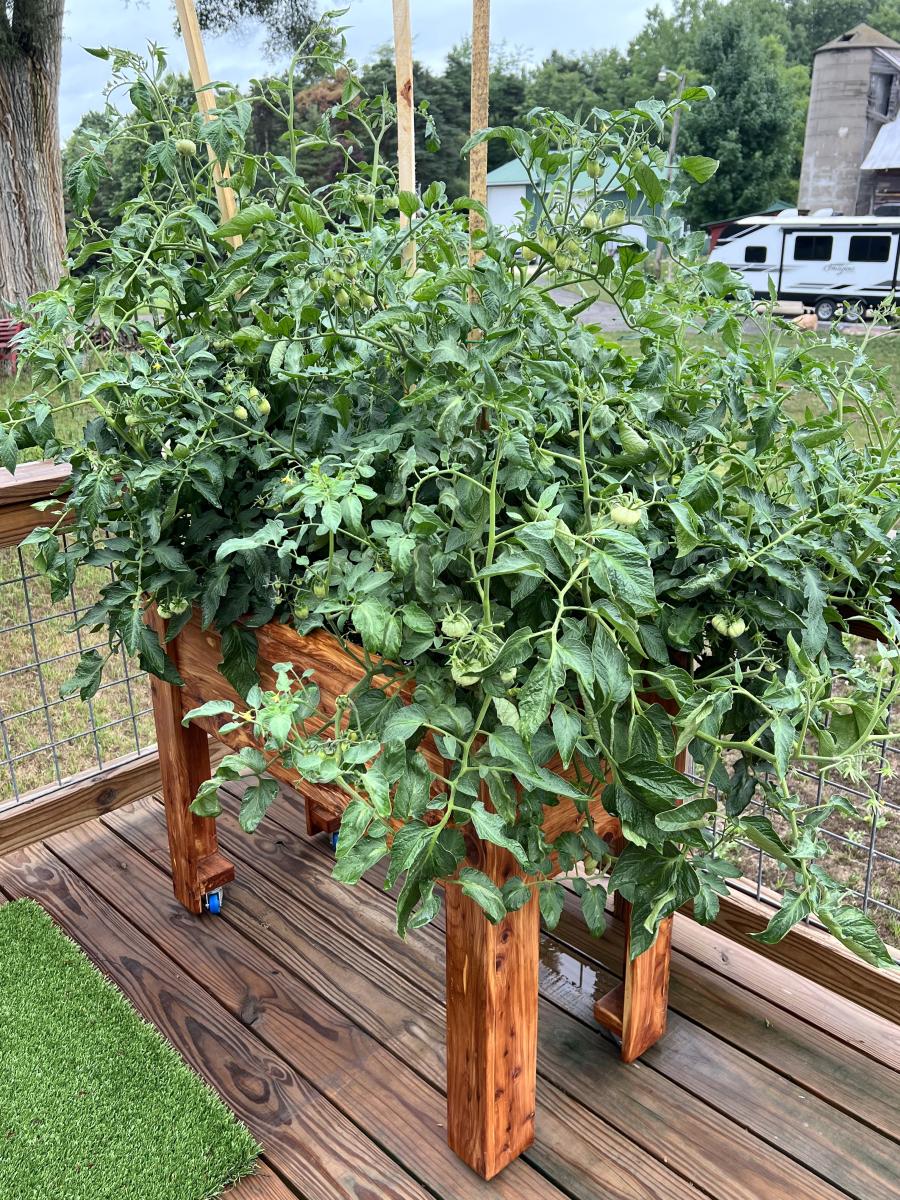
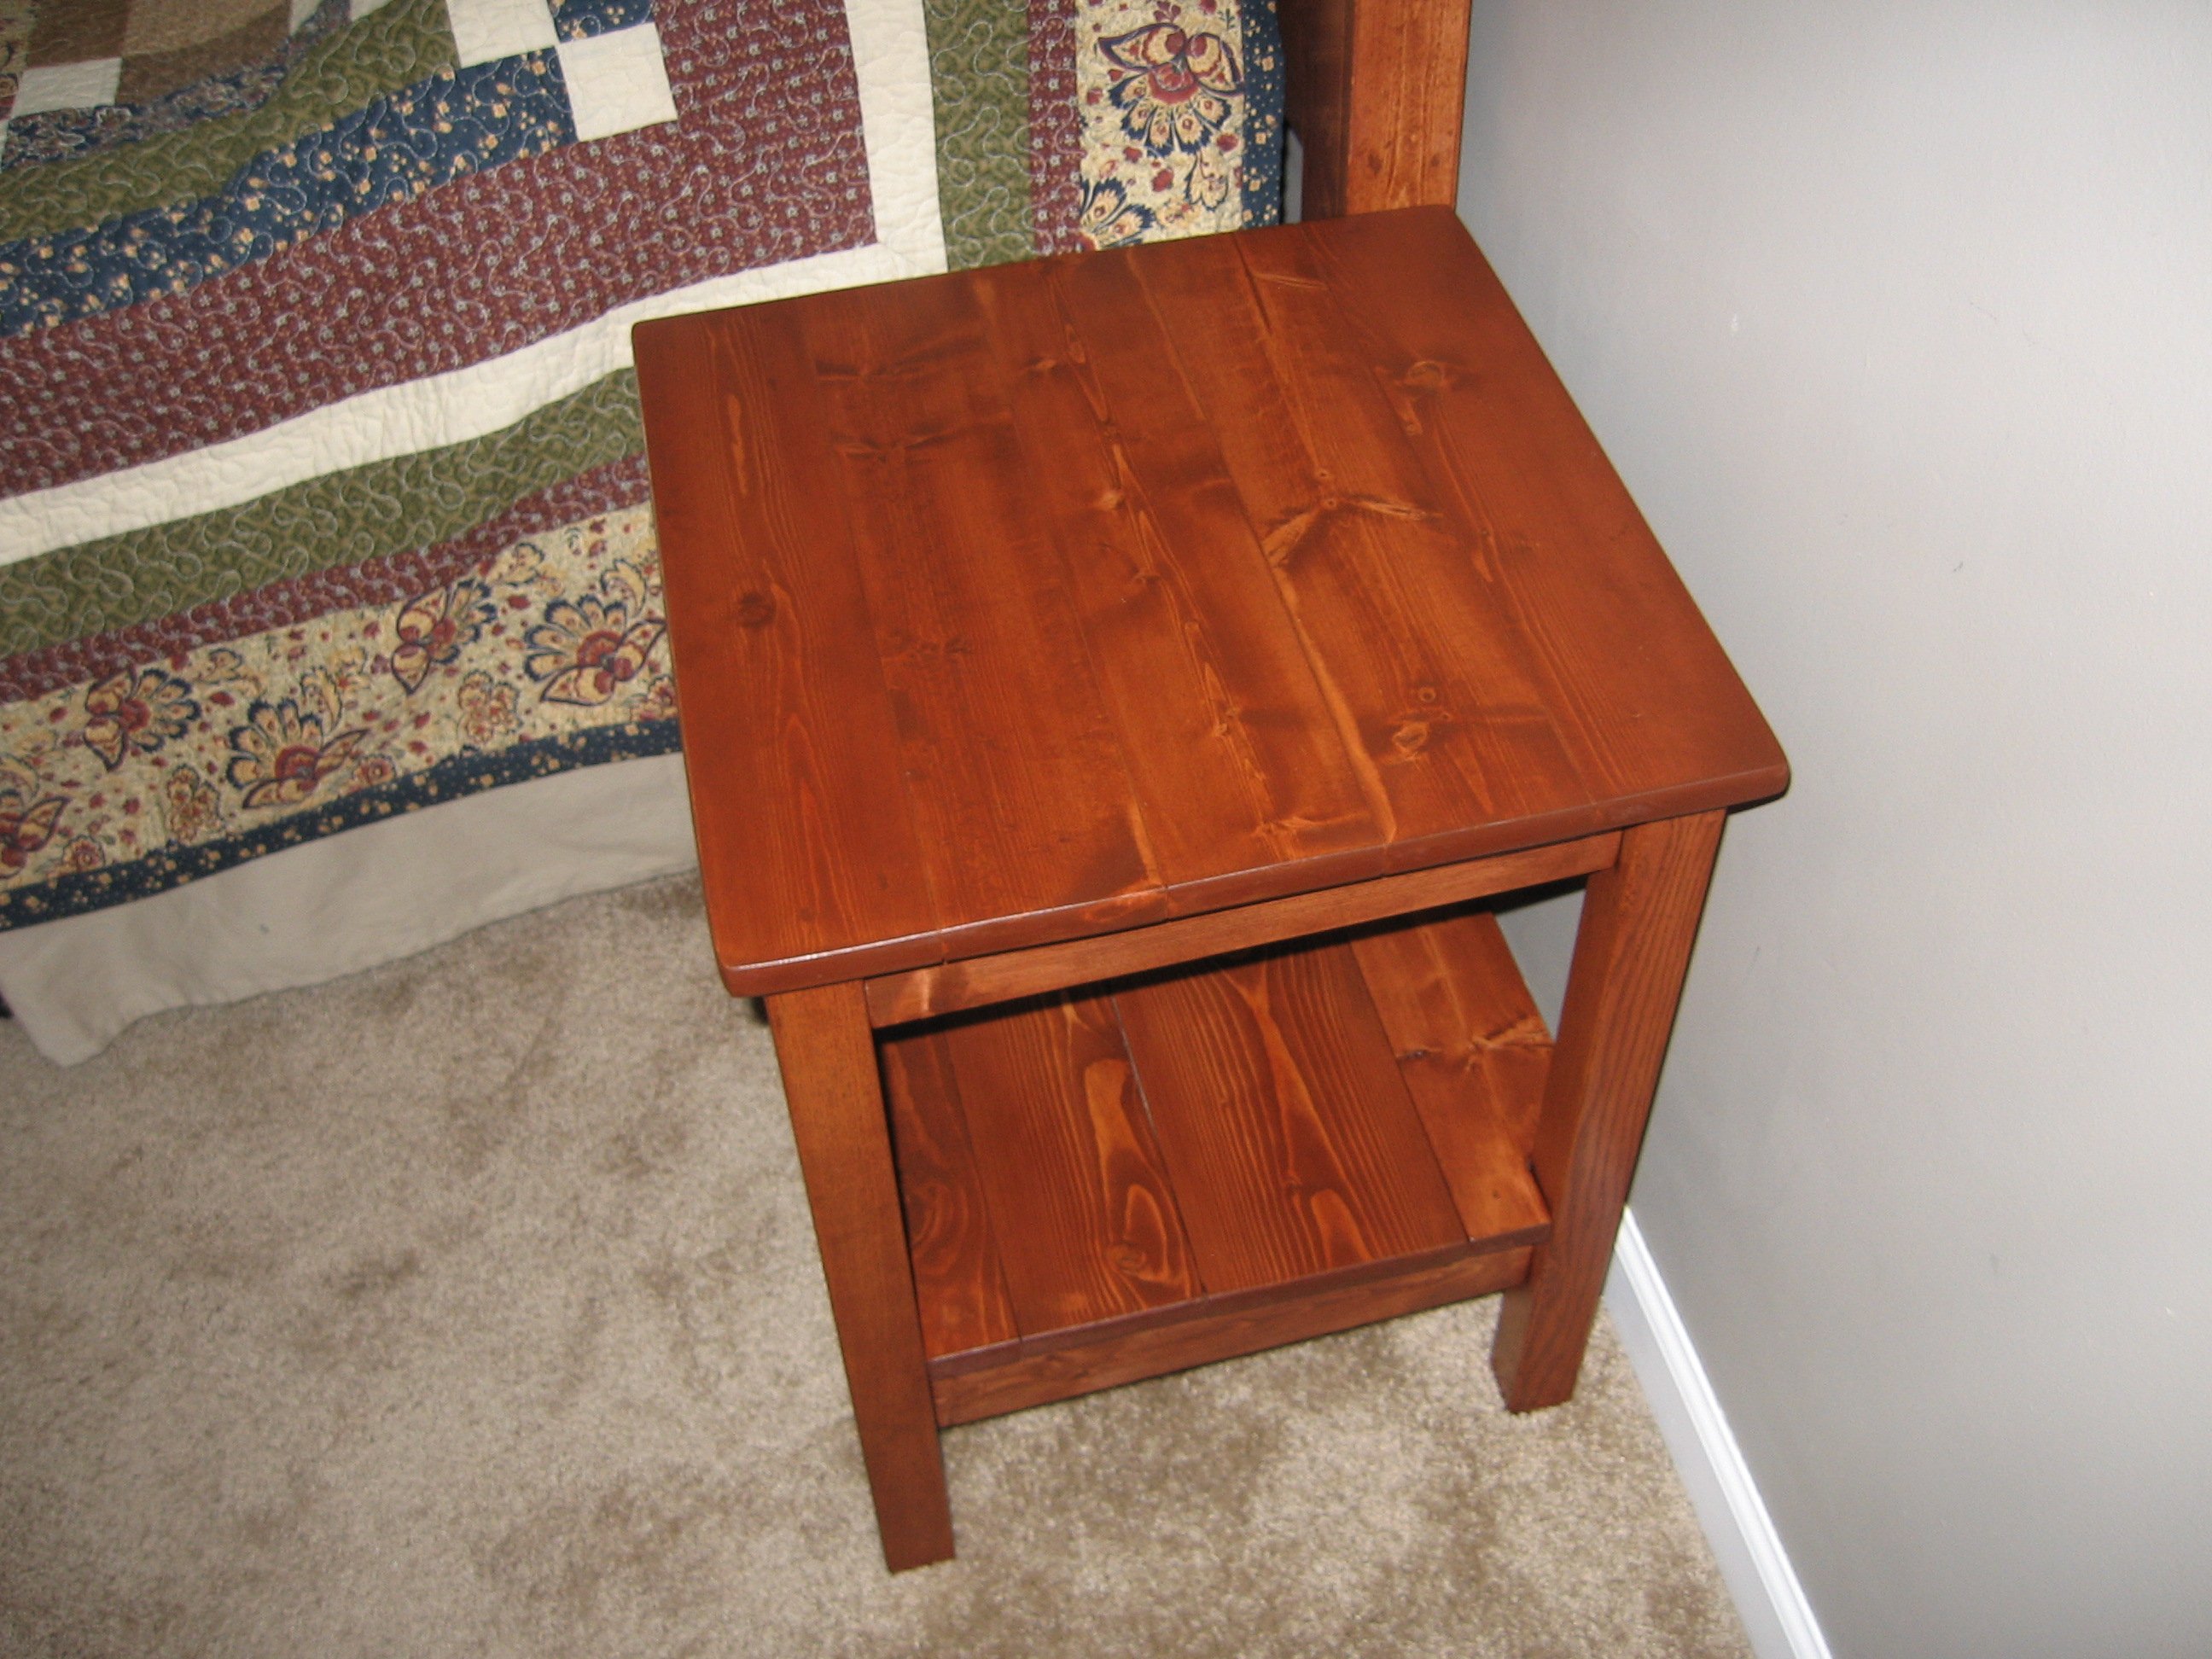
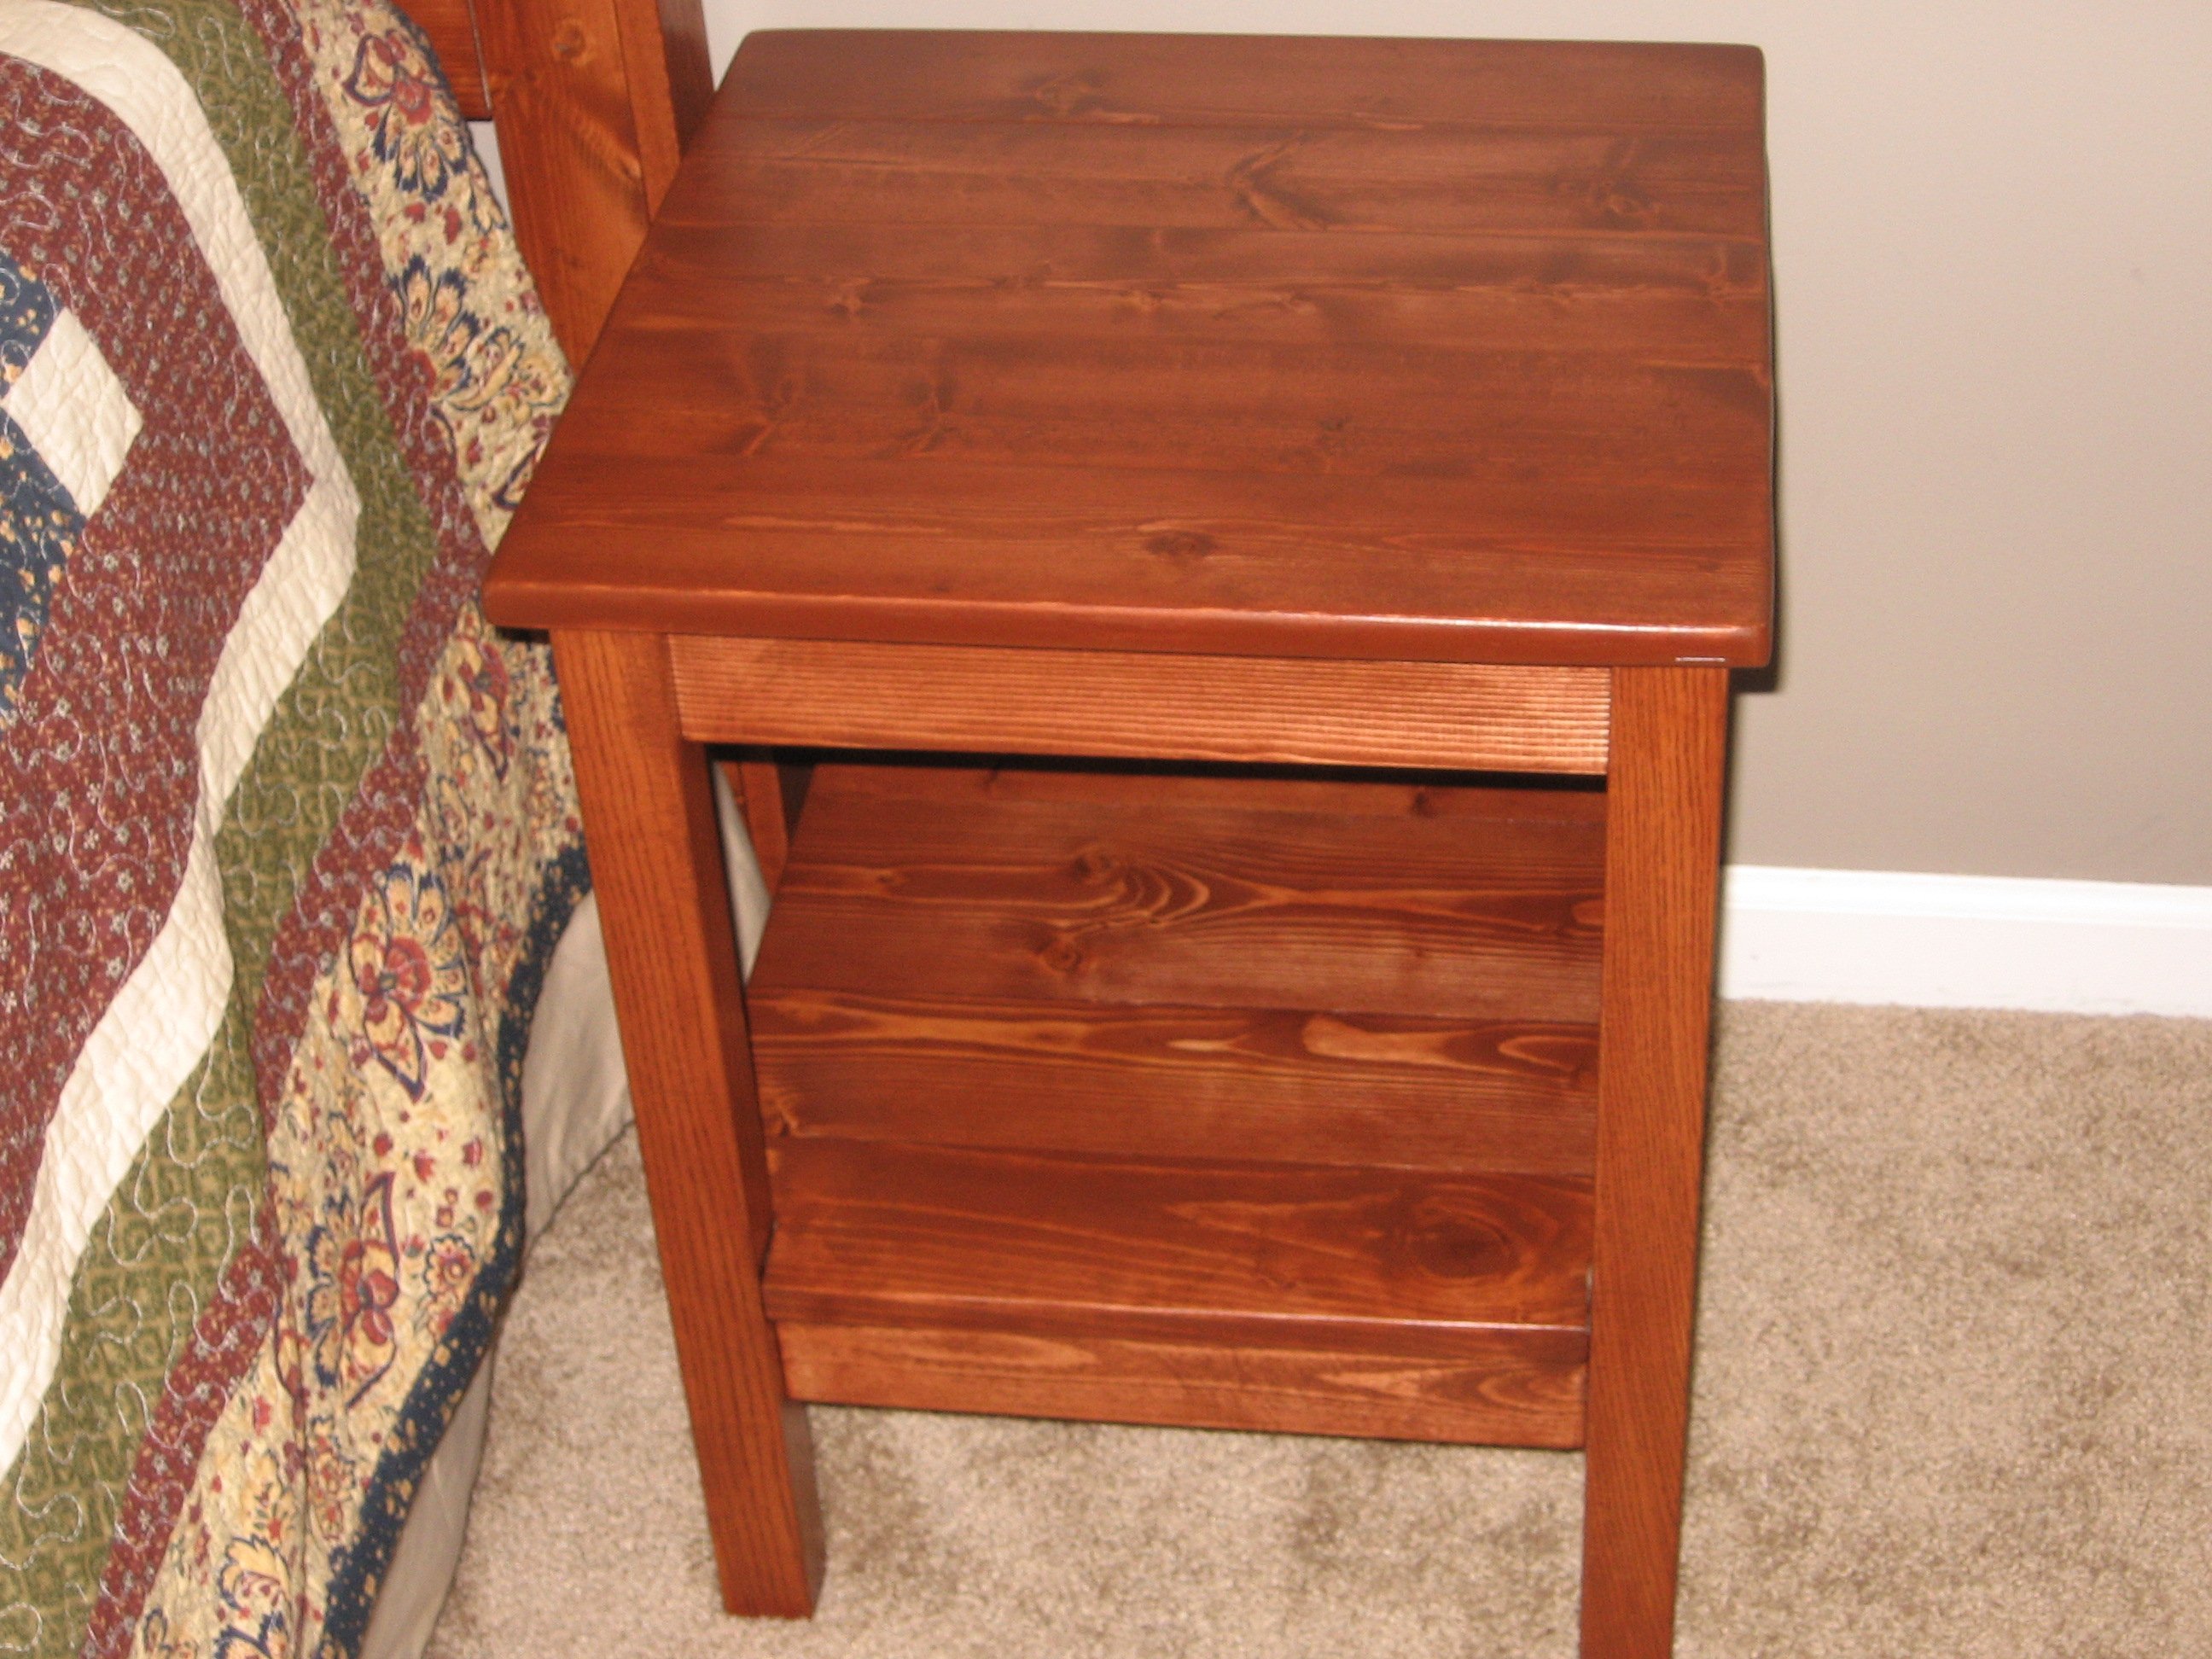
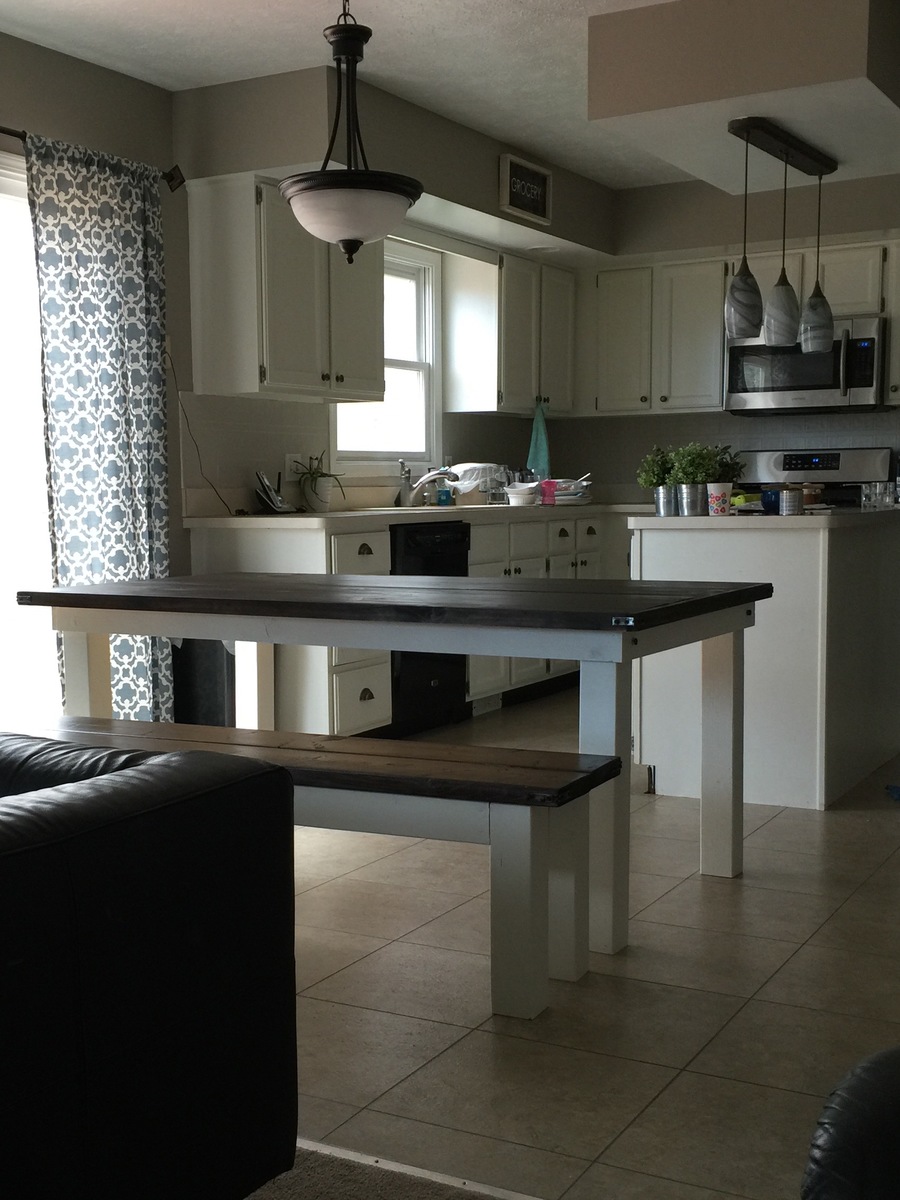
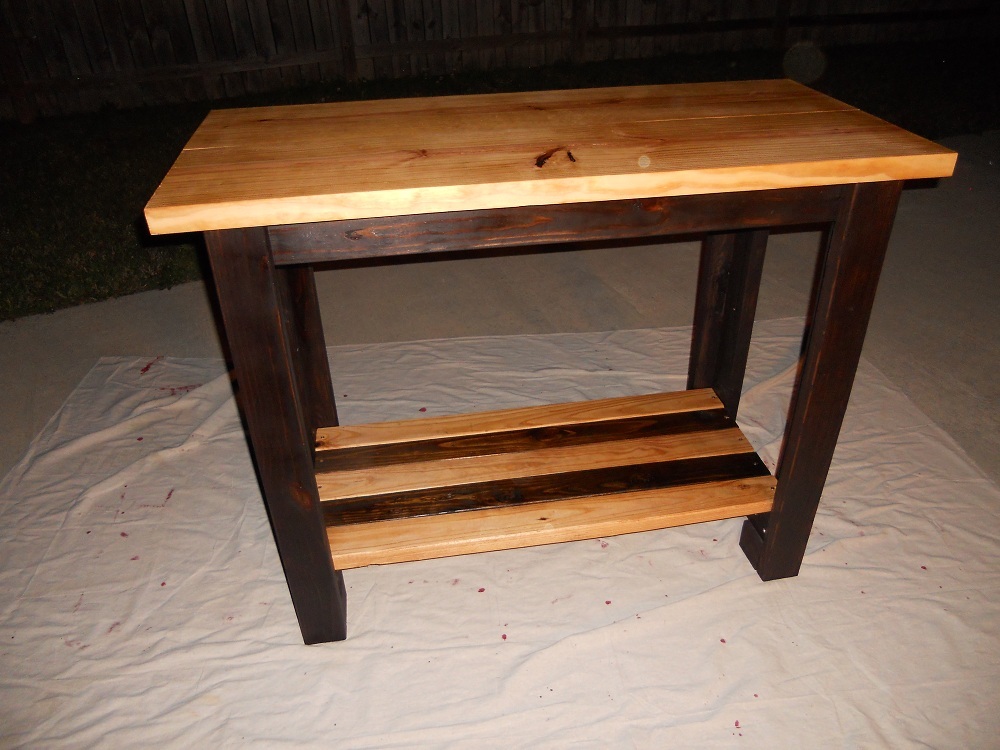
I have been eyeing up plans to build a table for awhile, but wasn't sure exactly what I wanted. I like this plan because it's a beginner plan and is pretty simple to follow. I have built a few smaller projects, but this was the first big piece. I love the way it turned out.

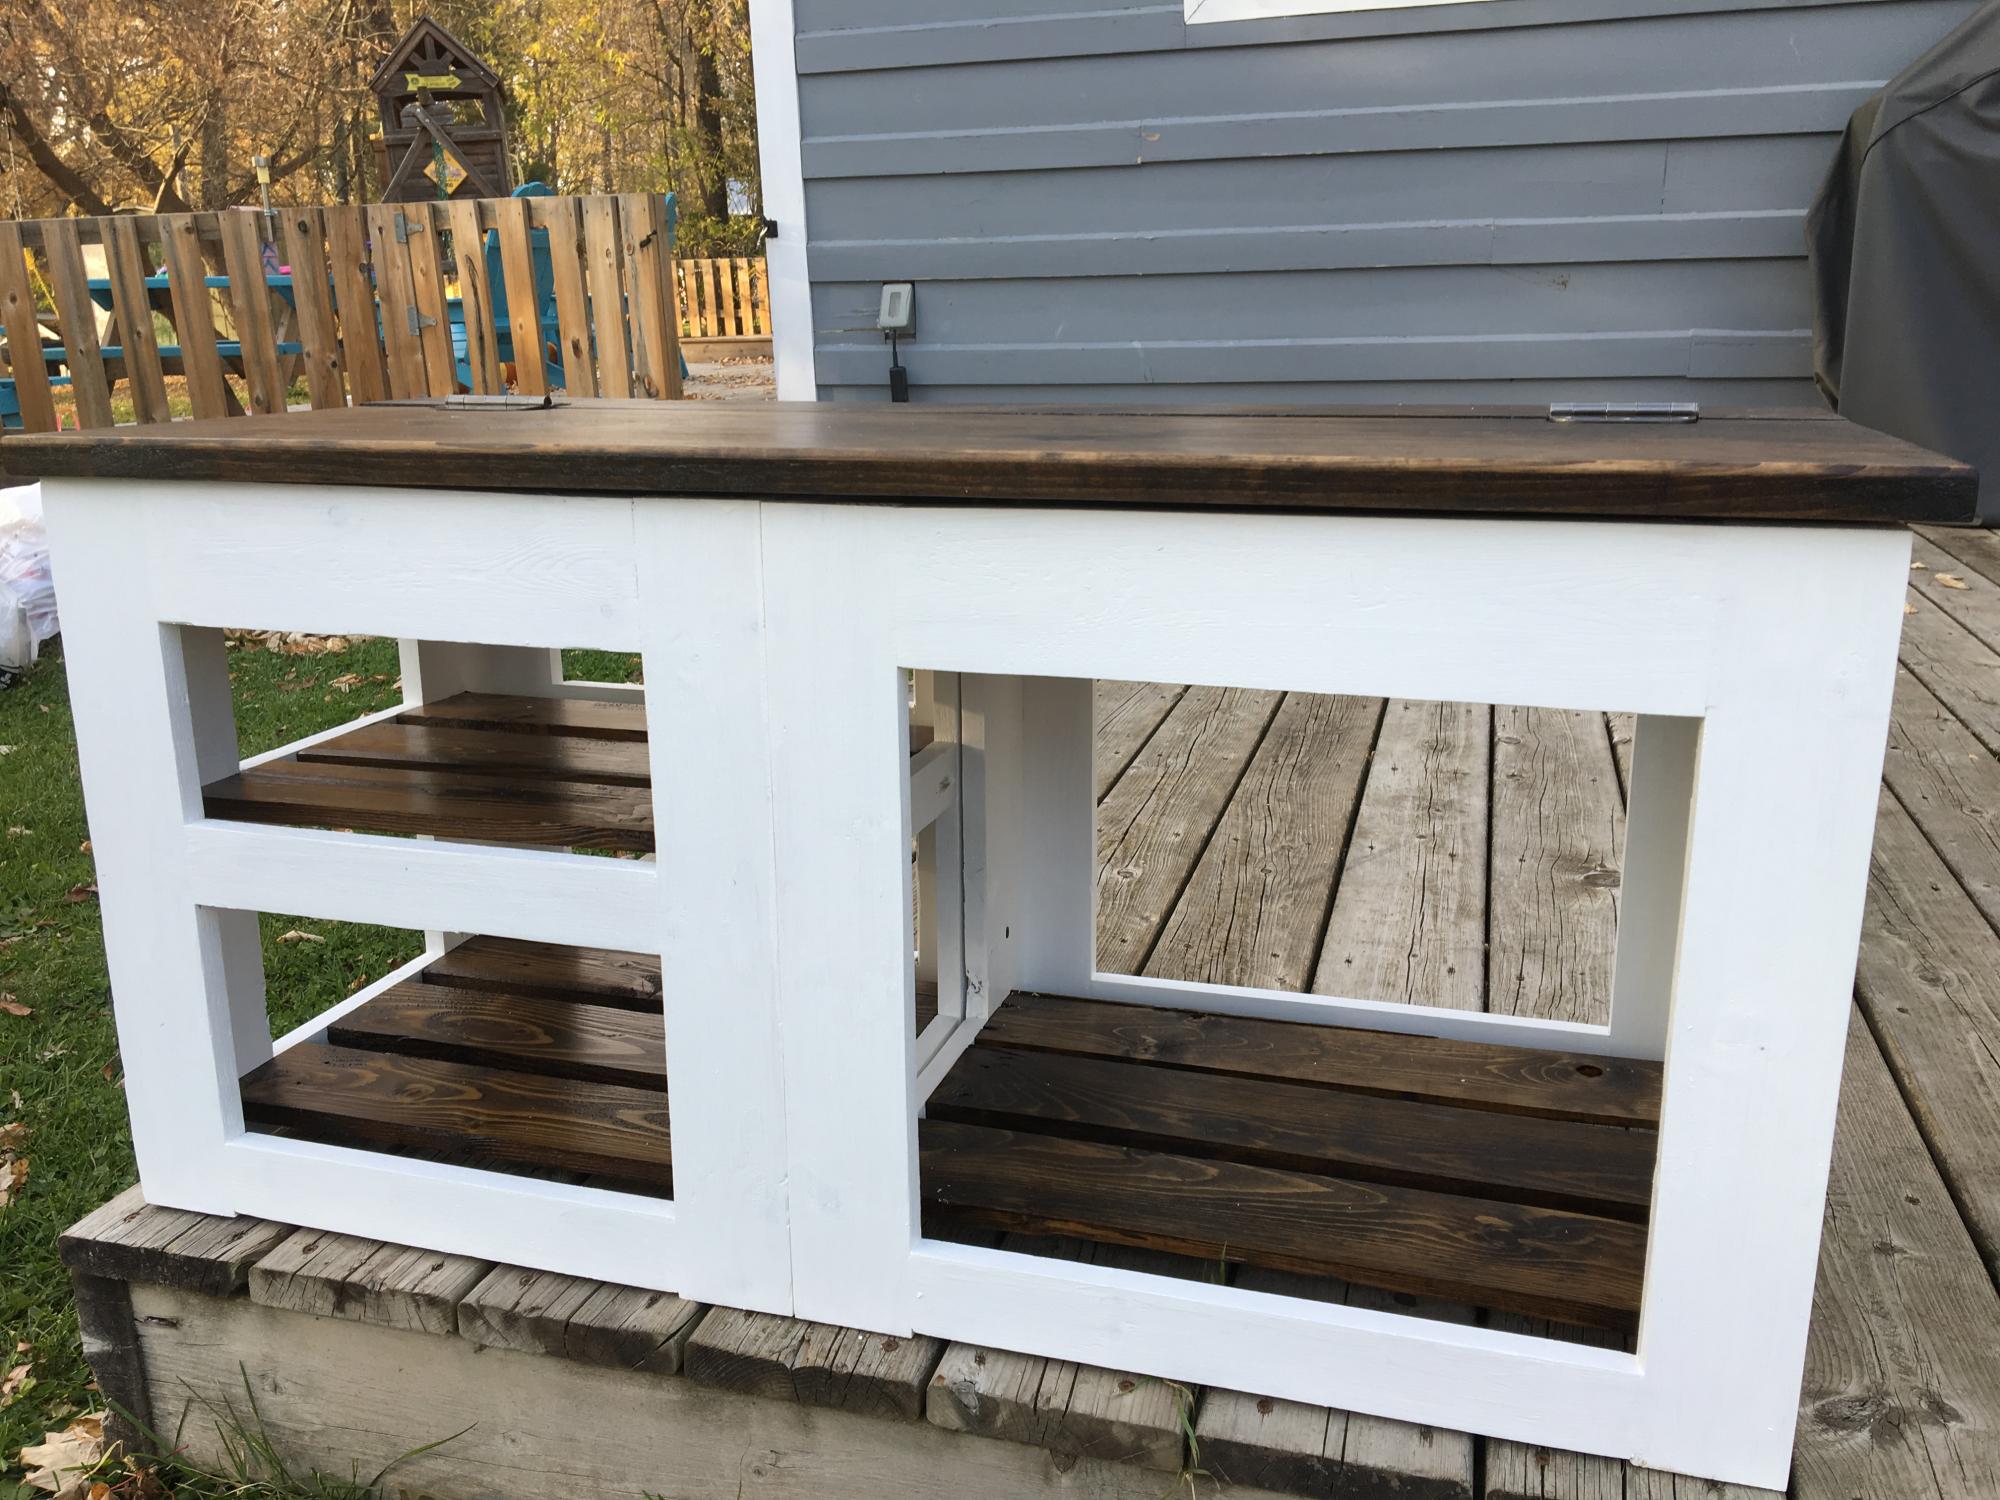
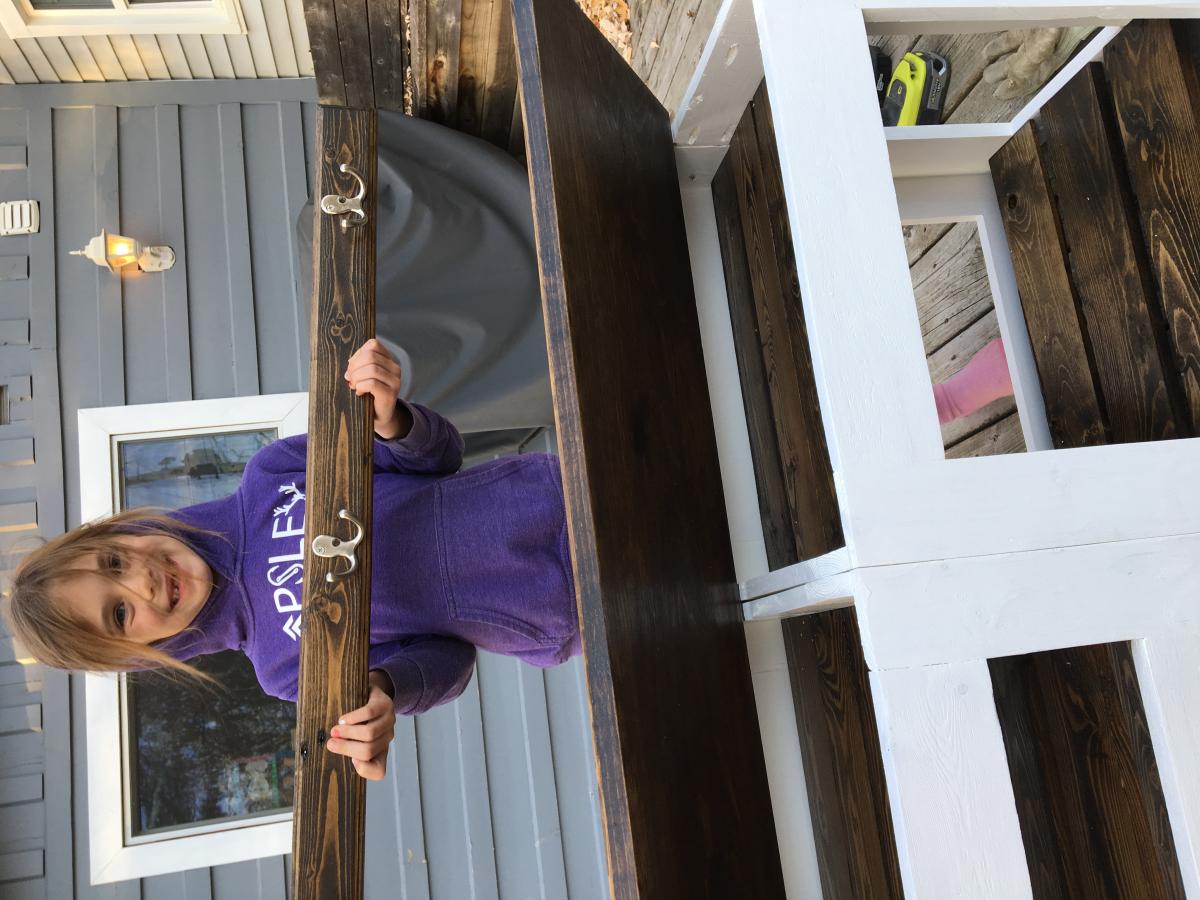
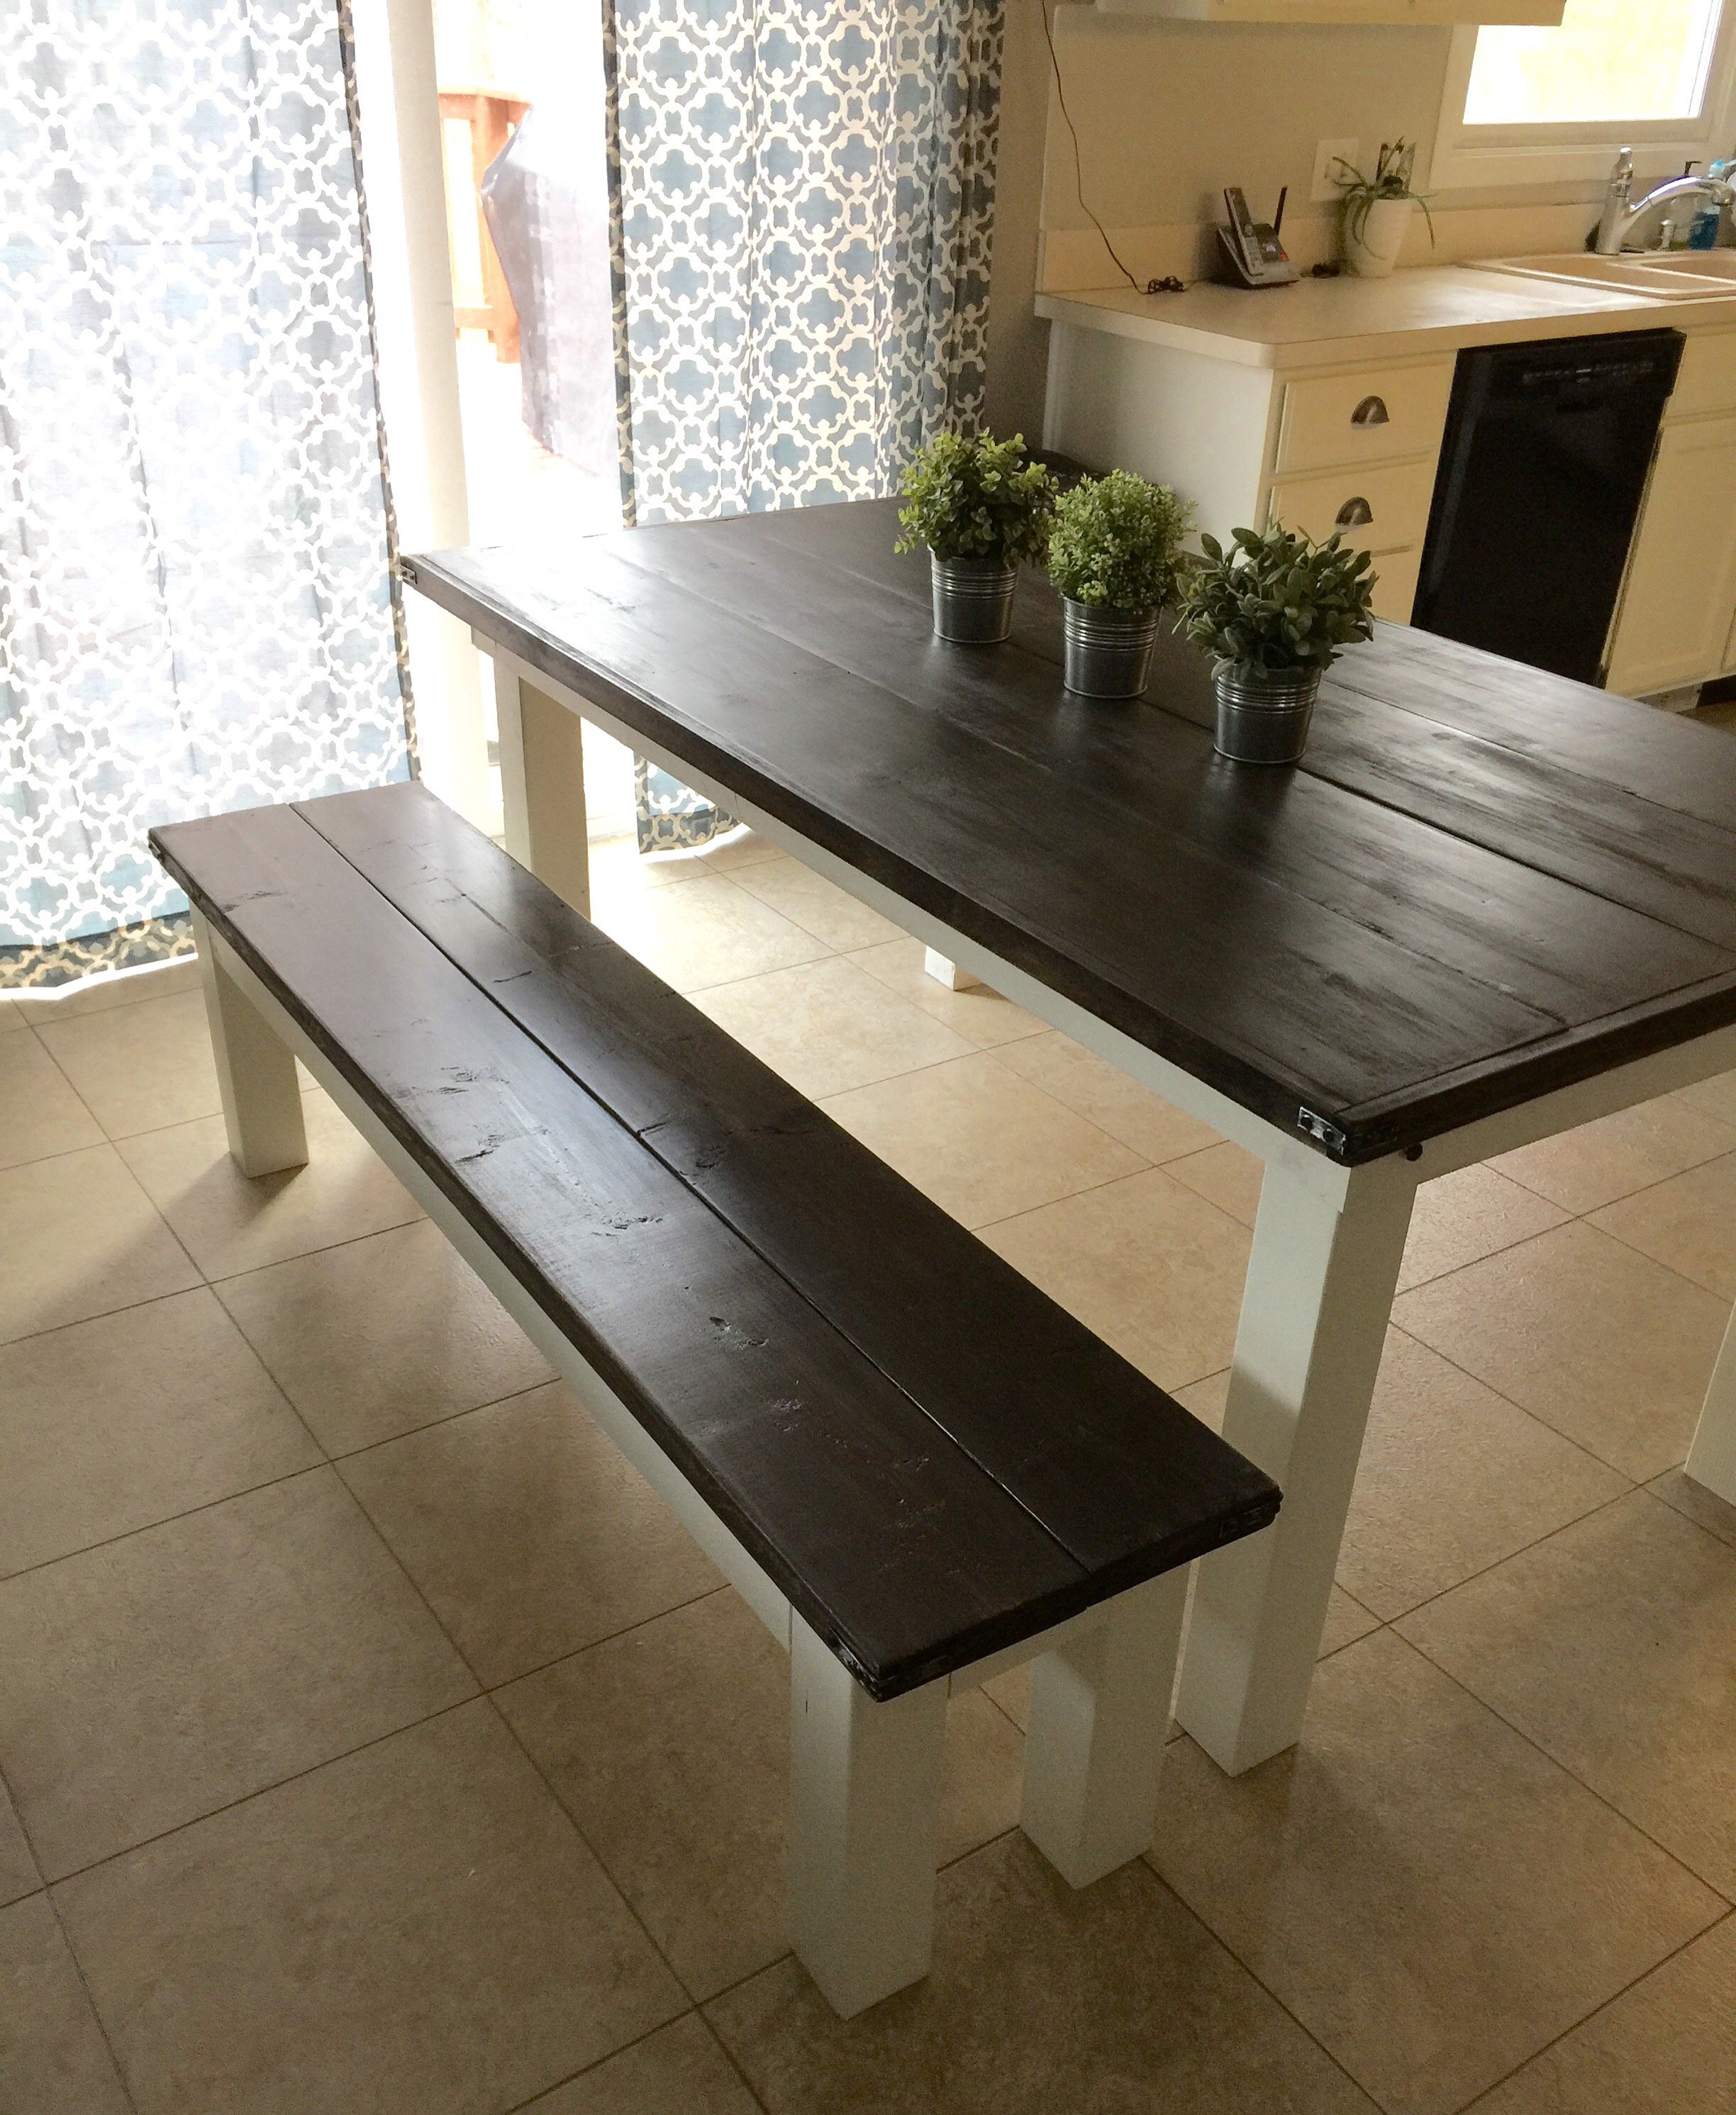
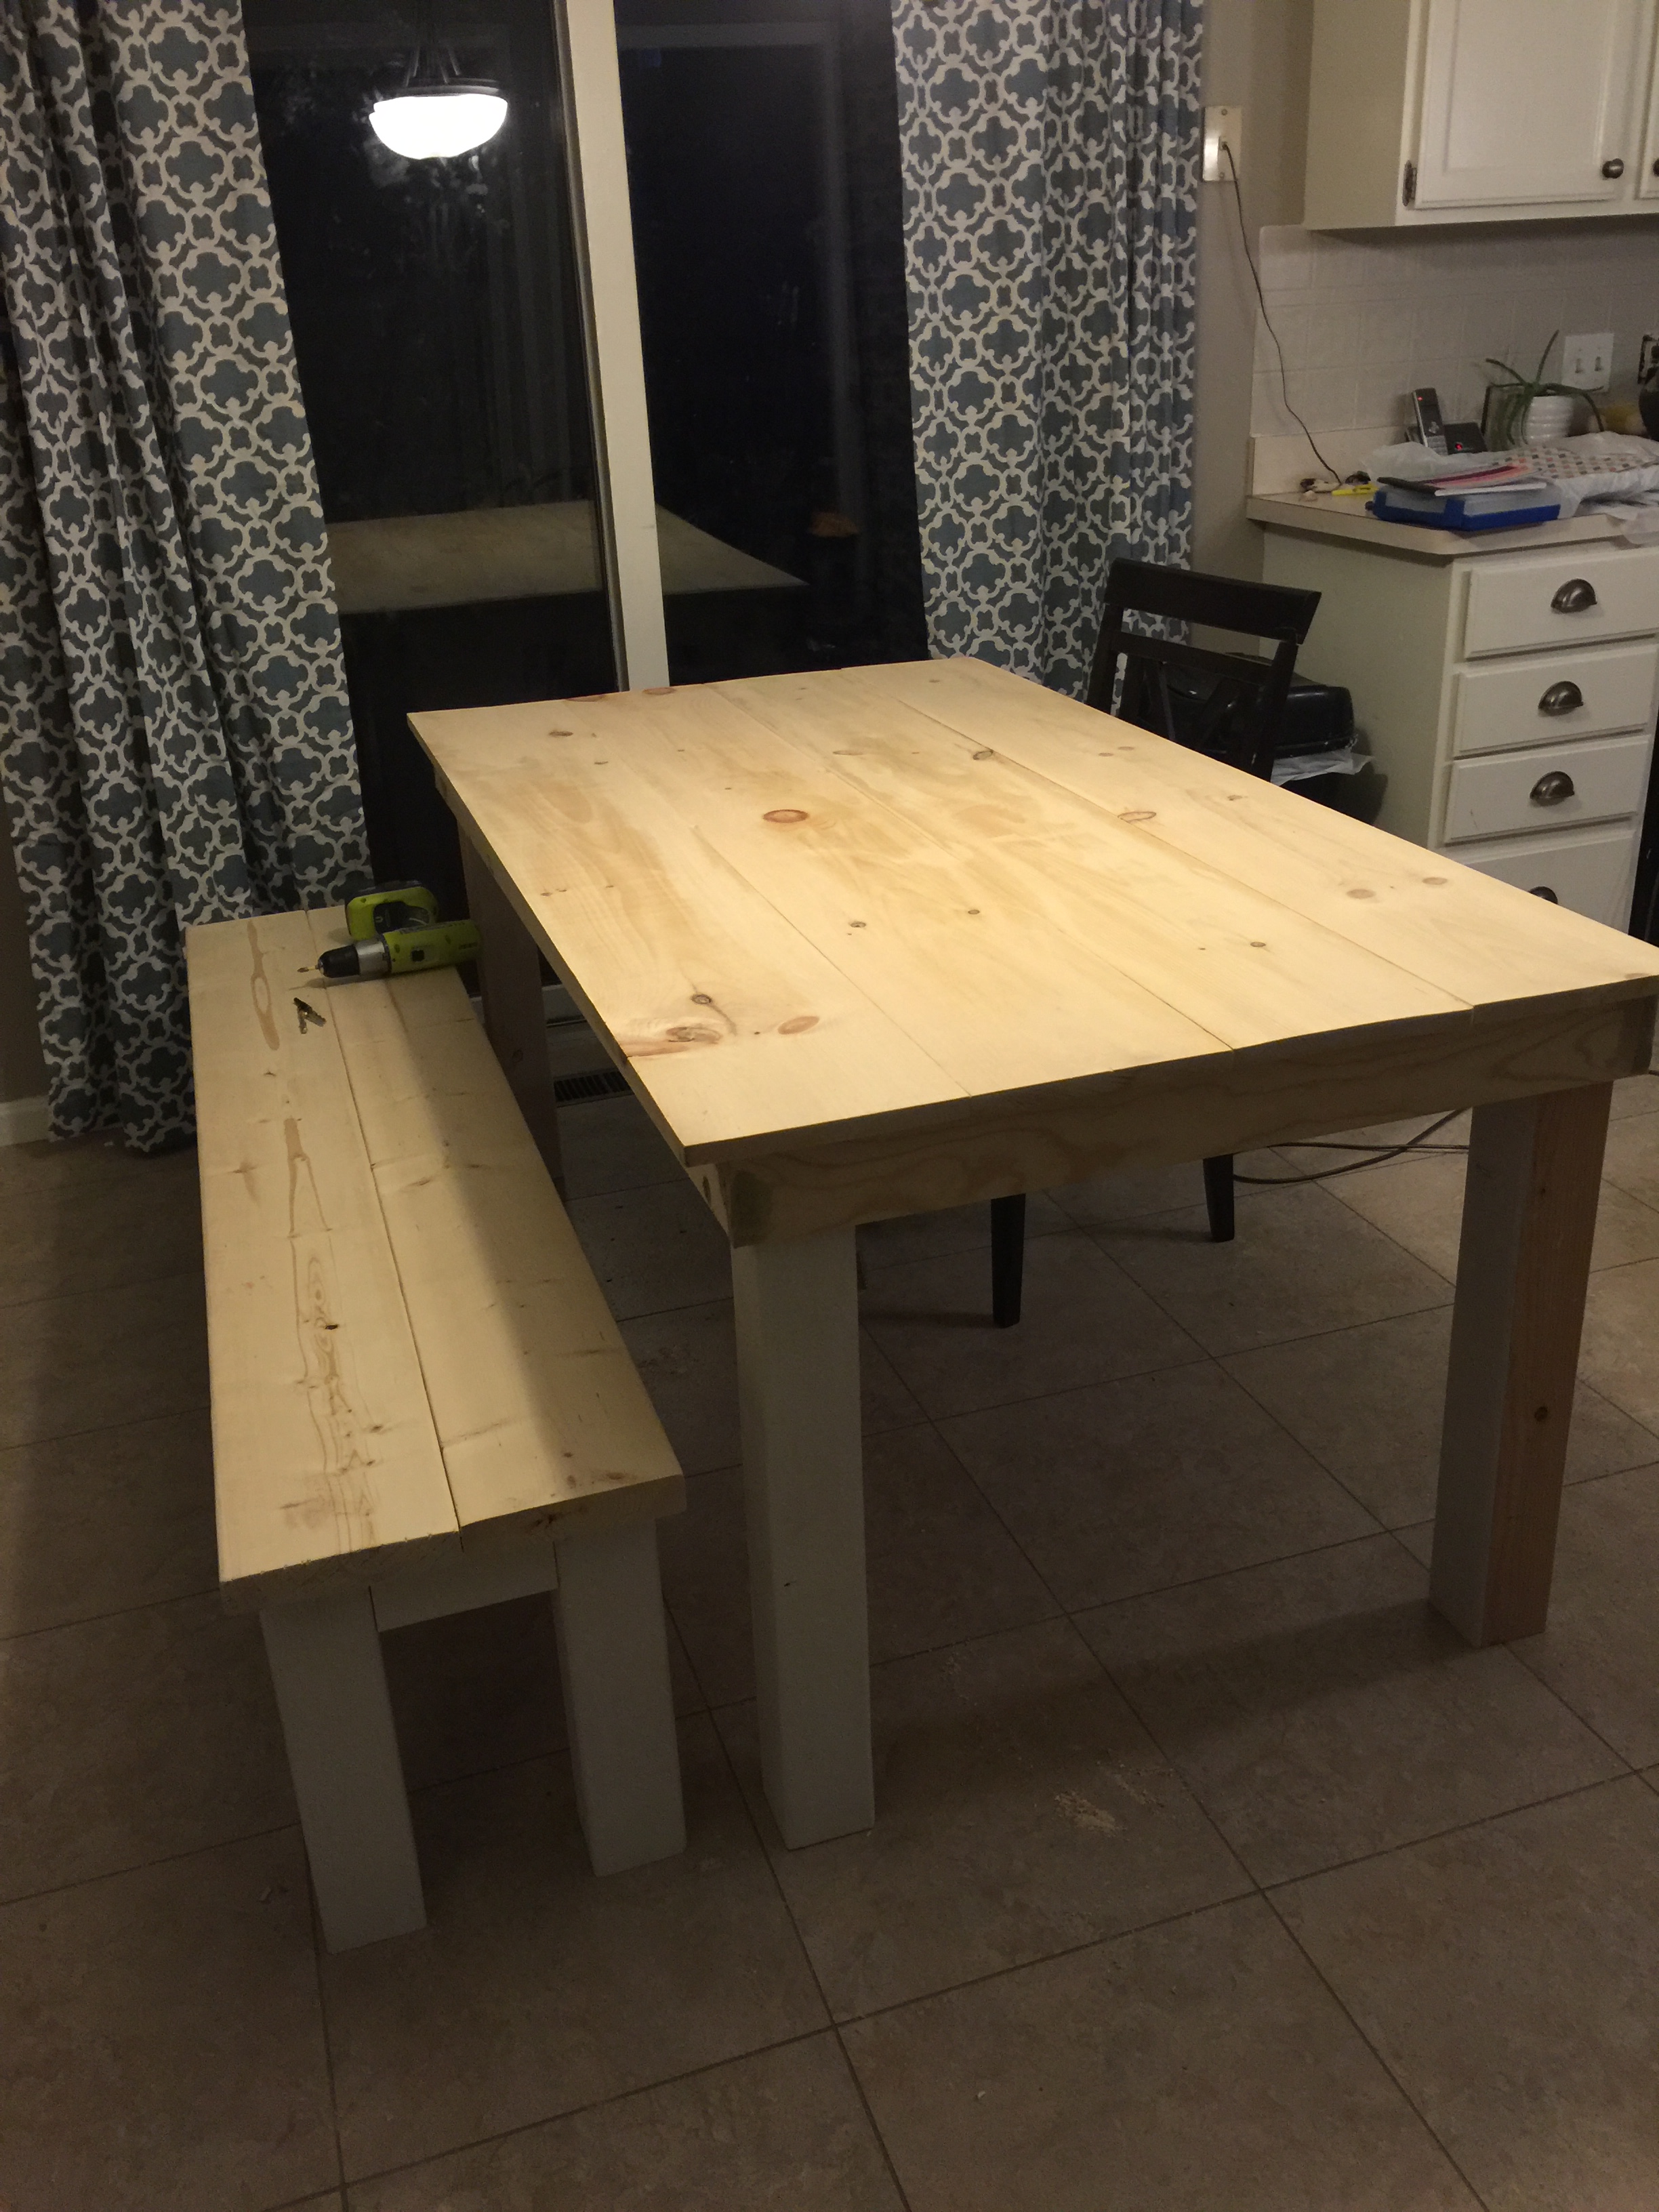
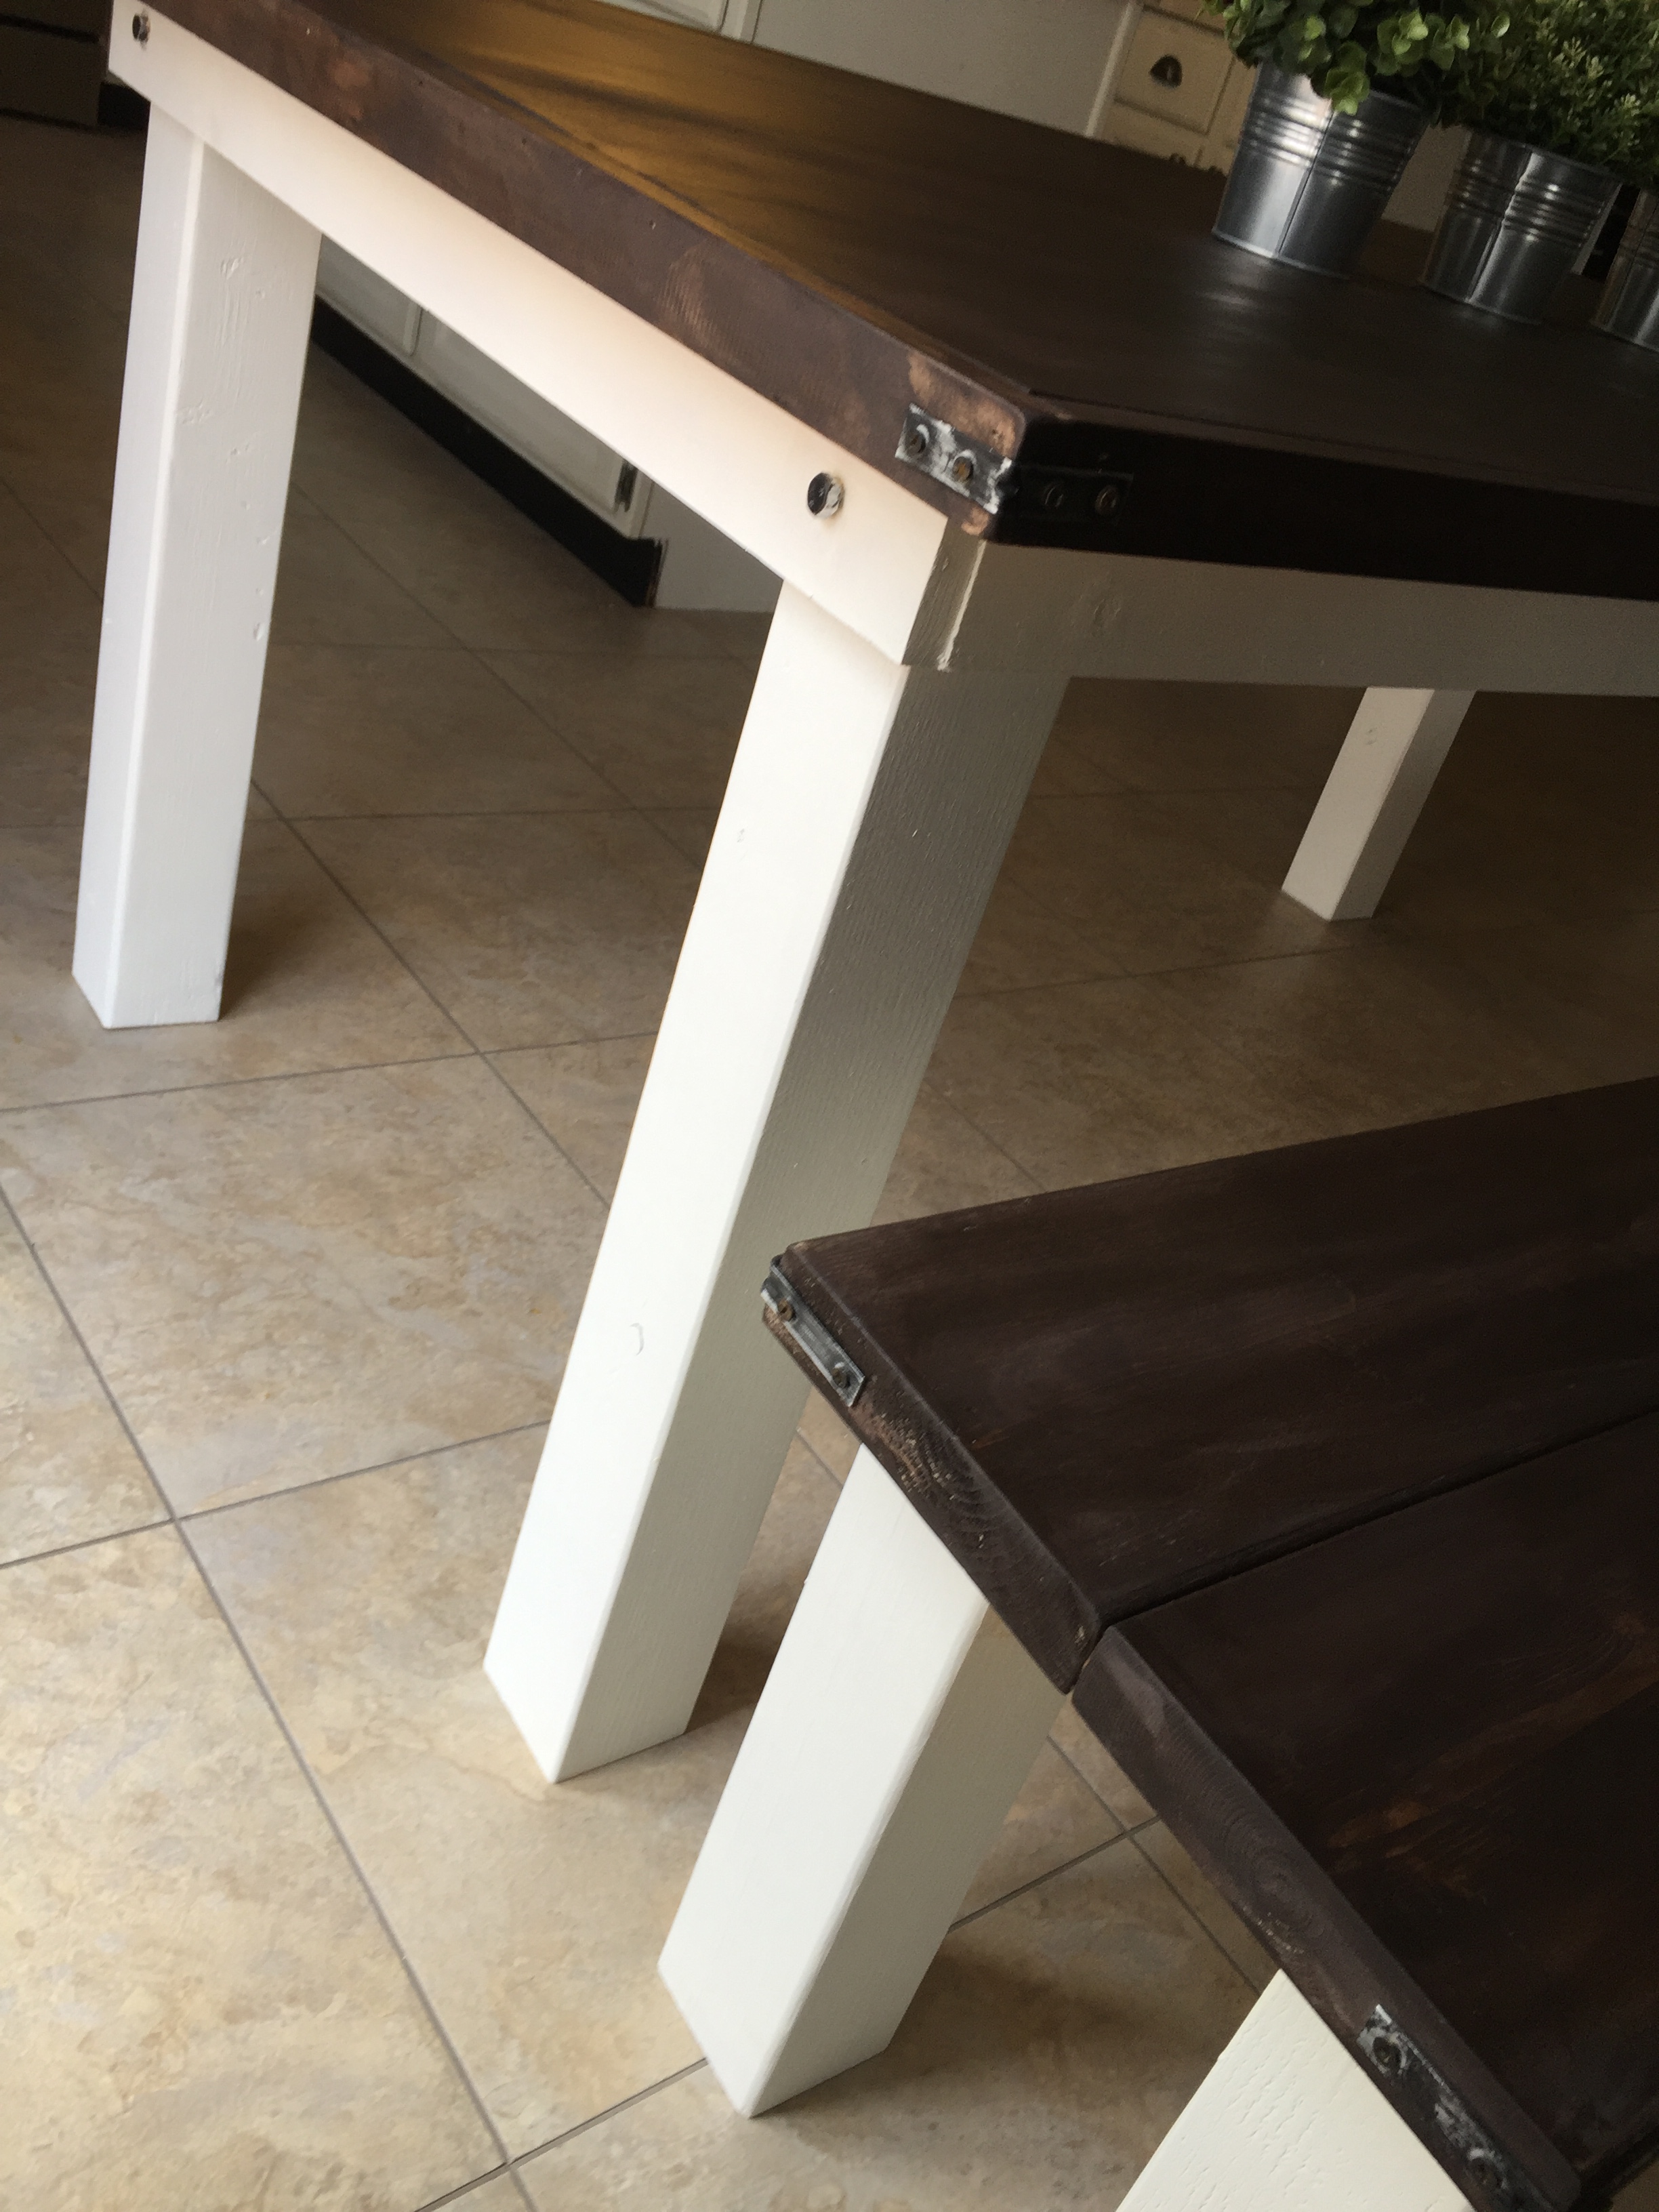
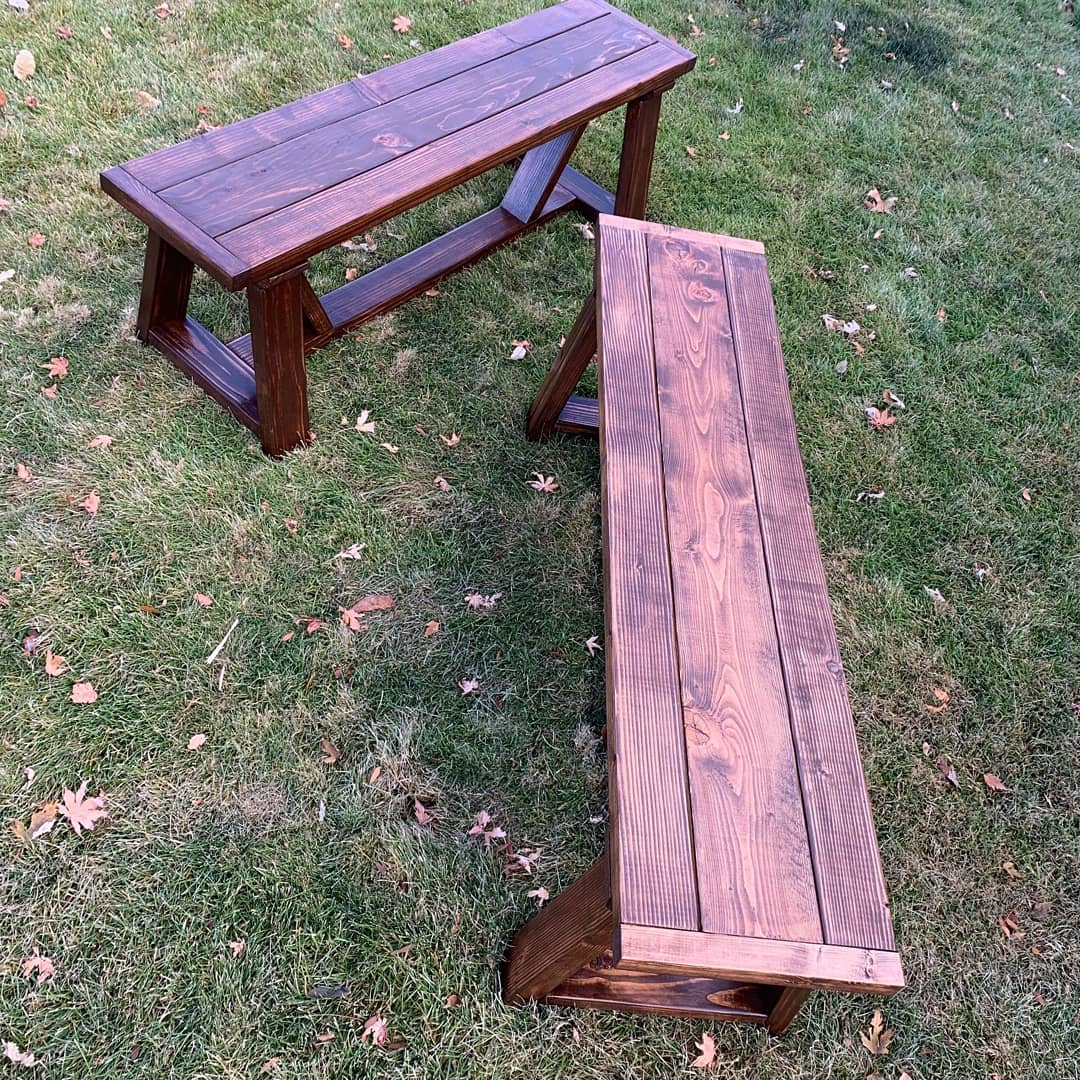
Things I changed:  I made it a little shorter (table top is 68 inches) to accomodate the size of our kitchen.  I used 4x4 legs - I like the chunkiness of thicker sturdier legs.  Used 2x8 for the bench. Again, I like the thickness over a 1x.  I did use 1x10s for the table top, but I added trim (1x2) to make it look chunky. I would have just used the 2x10, but b/c they have rounded edges, and I didn't want gaps for crumbs to have to clean out. I wouldn't have minded this for a dining room table, but we're using in kitchen with 3 small children. The 1x10s are squared off so they fit together better. And adding the 1x2 trim gives it the chunky look I added the corner brackets and lag bolts, mainly for decorative style I used kona stain and white paint. 

Used 4 coats of satin poly. I built both piece in a weekend, but I would say it's more of a week project on a realistic timeframe.

Built from Plan(s)
Estimated Cost
The lumber for the table and bench ran about $120-130. I used top choice pine. I spent an additional $40ish on stain, wood glue, filler, paint, etc.
Estimated Time Investment
Week Long Project (20 Hours or More)
Finish Used
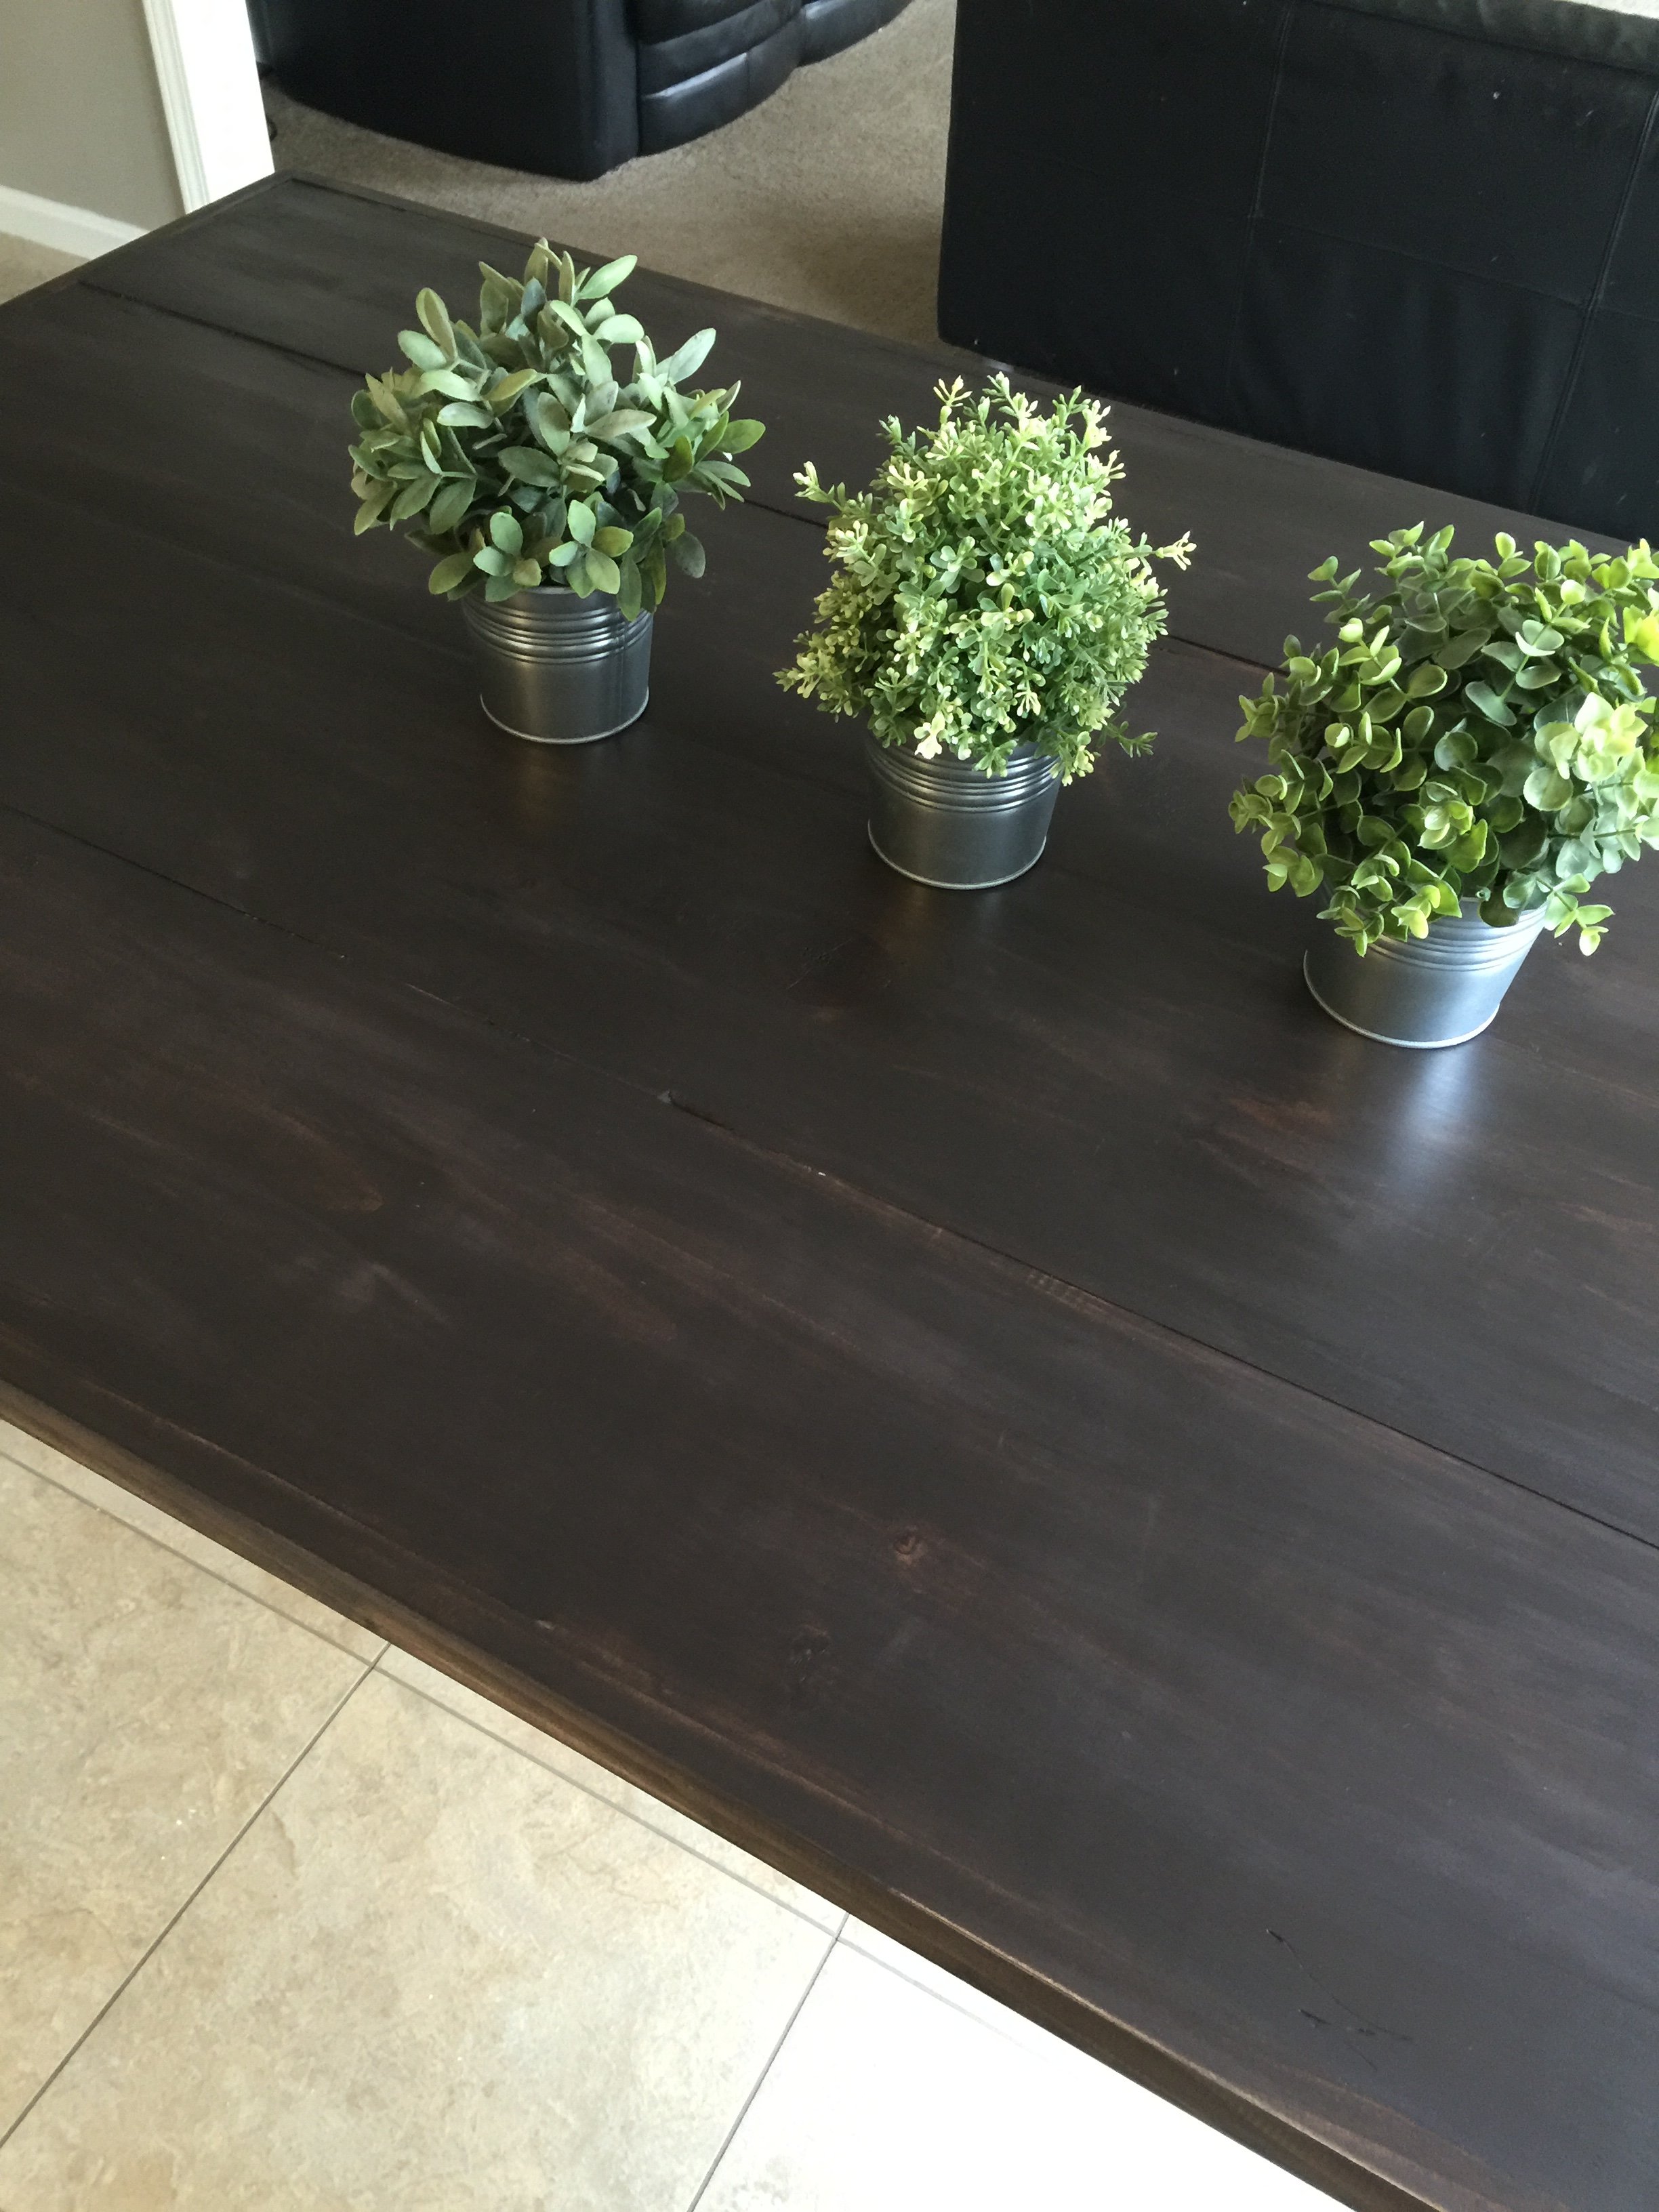
kona stain (Rustoleum) with 4 coats of poly
white paint
Recommended Skill Level
Beginner

Headboard

Submitted by zakany on Mon, 03/12/2012 - 10:39

Built a simple headboard for my daughter's bed. Simple pine construction, glued and brad nailed. Used the paint I had left over from painting the trim in her room. Backboard made from pine plywood that was left over from another project.

Estimated Cost
$50
Estimated Time Investment
Day Project (6-9 Hours)
Finish Used
White primer. Duration white paint.
Recommended Skill Level
Beginner

Learning / Helping Towers!

Submitted by kgtrevino on Sat, 01/04/2014 - 12:53

My husband and his Dad built the red tower for my daughter, but when my son was old enough to climb all he wanted was to be in the tower, too! Another was built, and people that come over are always asking for the plans, and we direct them to your site. Thank you for this amazing gift! My kids love to stand in their towers and help me cook, they color, have snacks, everything. Can't imagine my life with my kids, without these towers.

Built from Plan(s)
Estimated Cost
$30
Estimated Time Investment
Afternoon Project (3-6 Hours)
Recommended Skill Level
Intermediate

This Was FUN!!

Submitted by Anonymous (not verified) on Thu, 03/24/2016 - 11:40

This was my first build and the table looks great! The instructions given were right on. Thanks so much...

Estimated Time Investment
Day Project (6-9 Hours)
Recommended Skill Level
Beginner

Farmhouse Queen size bed from rough saw milled pine

This rough milled lumber had to be planed quite a bit. and the sizes  also differed. We ended up with thicker sections than on the original plan. Also used bolts to bolt the heavier headset and footrest to the base.

Screws were used instead of nails. This inland Karoo area pine is very hard and crack very easily. warps too. Well seasoned wood were used. Finish is normal sanding sealer for a mat look.

thanks for the lovely plans Ana.

this is a proven classic.

Our work bench

We changed the dimensions a little to make it up to counter height, and widened it out also. This is our third build ever, and our first time customizing a plan. How fun!

Built from Plan(s)
Estimated Cost
$40
Estimated Time Investment
Day Project (6-9 Hours)
Recommended Skill Level
Beginner

Comments

Bunnie1978

Fri, 03/16/2012 - 07:19

I was thinking about making one the same height as my table saw, so that I can set them together to increase my sawing capabilities....

Yours looks way too pretty to be getting it all dirty! :)
Nice work!

Kentwood inspired Nightstand

Submitted by AndyH on Tue, 01/07/2014 - 06:37

Based this nightstand on the Kentwood nightstand design but wanted to add a shelf. Also made a bit smaller and decided to use a metal mesh for the door and side inserts. Everybody who has seen it loves it.

Estimated Cost
$90
Estimated Time Investment
Day Project (6-9 Hours)
Finish Used
Minwax Ebony stain and Minwax Satin Polyurethane finish
Recommended Skill Level
Beginner

Comments

Linda7

Tue, 01/07/2014 - 09:52

I really like the use of the mesh insert, which will hide the contents, and yet it still has an open feel. Thanks for sharing.

Rustic Concrete Island

Submitted by mdurling on Mon, 03/28/2016 - 08:42

I used the Farmhouse Table plans as inspiration for my concrete kitchen island. I doubled up on the stretchers to add additional support for the 3x5 (275lb) cast concrete top and reversed the legs to expose the notches which were cut using a table saw. I used two coats of Minwax Golden Oak stain and two coats of Minwax polyurethane for the finish. The galvanized lag screws on the end supports are decorative, not structural. I used galvanized plumbing pipe to support the shelves and accessorized with bottle/wine openers. The top required 3 80lb bags of Quikrete 5000 and was sealed and waxed using Cheng concrete products. Because the concrete top was cast off-site, I had to build an A-frame to transport it safely to the installation site.

Estimated Cost
$350
Estimated Time Investment
Week Long Project (20 Hours or More)
Finish Used
Minwax Golden Oak (2 coats)
Minwax Polyurethane (2 coats)
Cheng Concrete Sealer (5 coats)
Cheng Concrete Wax
Recommended Skill Level
Intermediate

Comments

Malka

Tue, 05/17/2016 - 03:55

This might be one of the coolest builds I've seen yet! Love the combination of wood, metal and concrete!

4x4 Truss Bench

Submitted by JustJ on Sun, 11/17/2019 - 07:01

Fun project. Quite easy,  but extremely sturdy.   Gonna work great for kids. 

Built from Plan(s)
Estimated Cost
$75 for two
Estimated Time Investment
Afternoon Project (3-6 Hours)
Finish Used
Dark Walnut
Recommended Skill Level
Intermediate
Back