Community Brag Posts
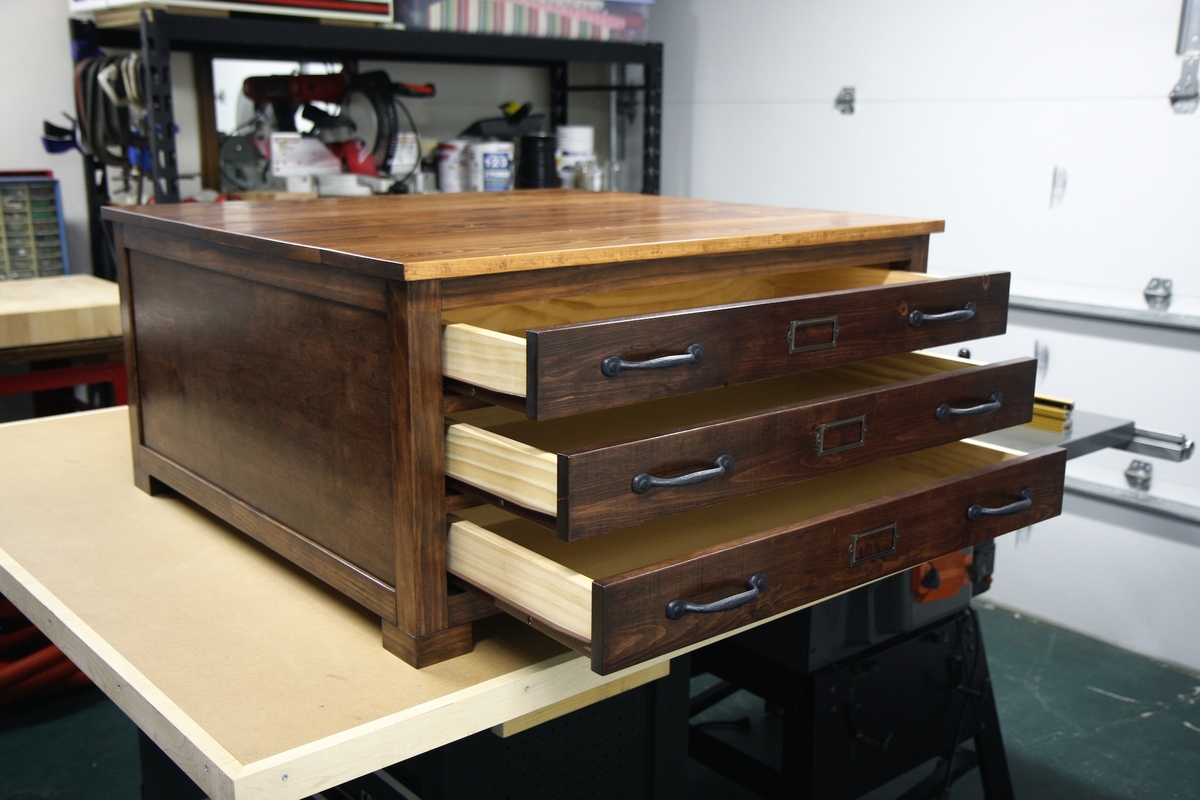
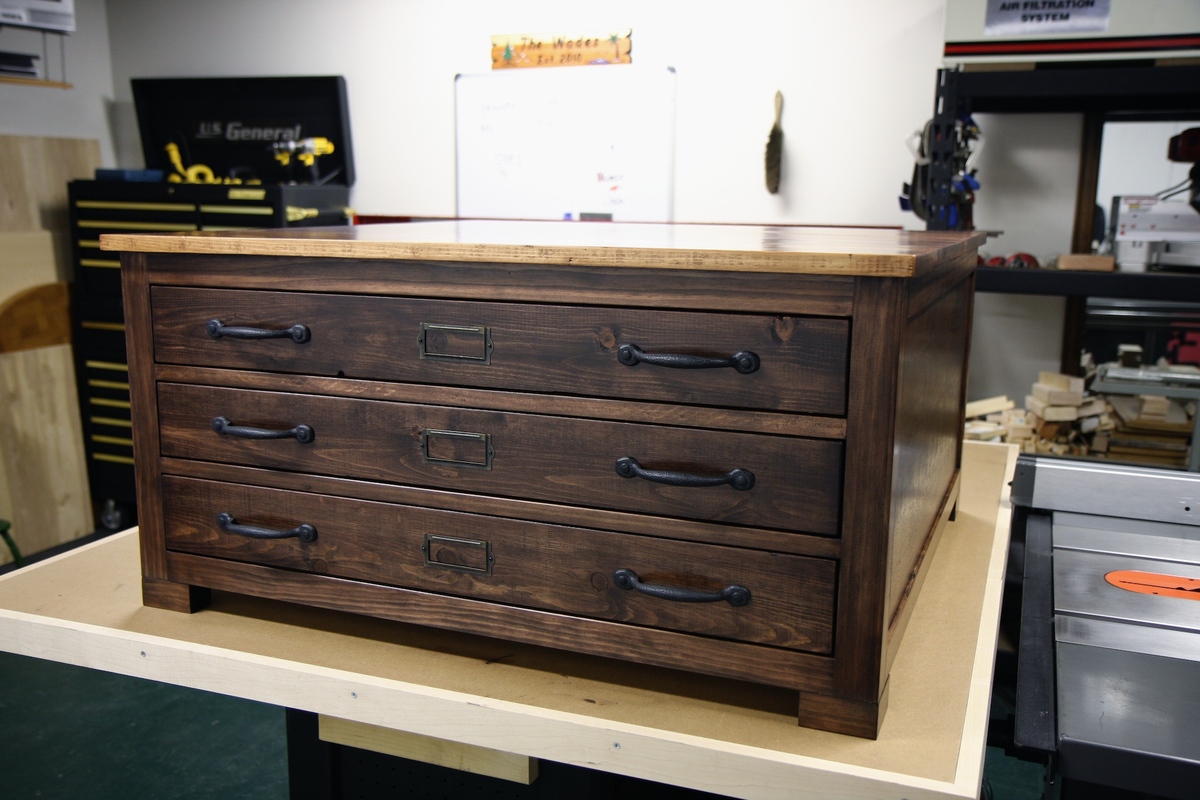
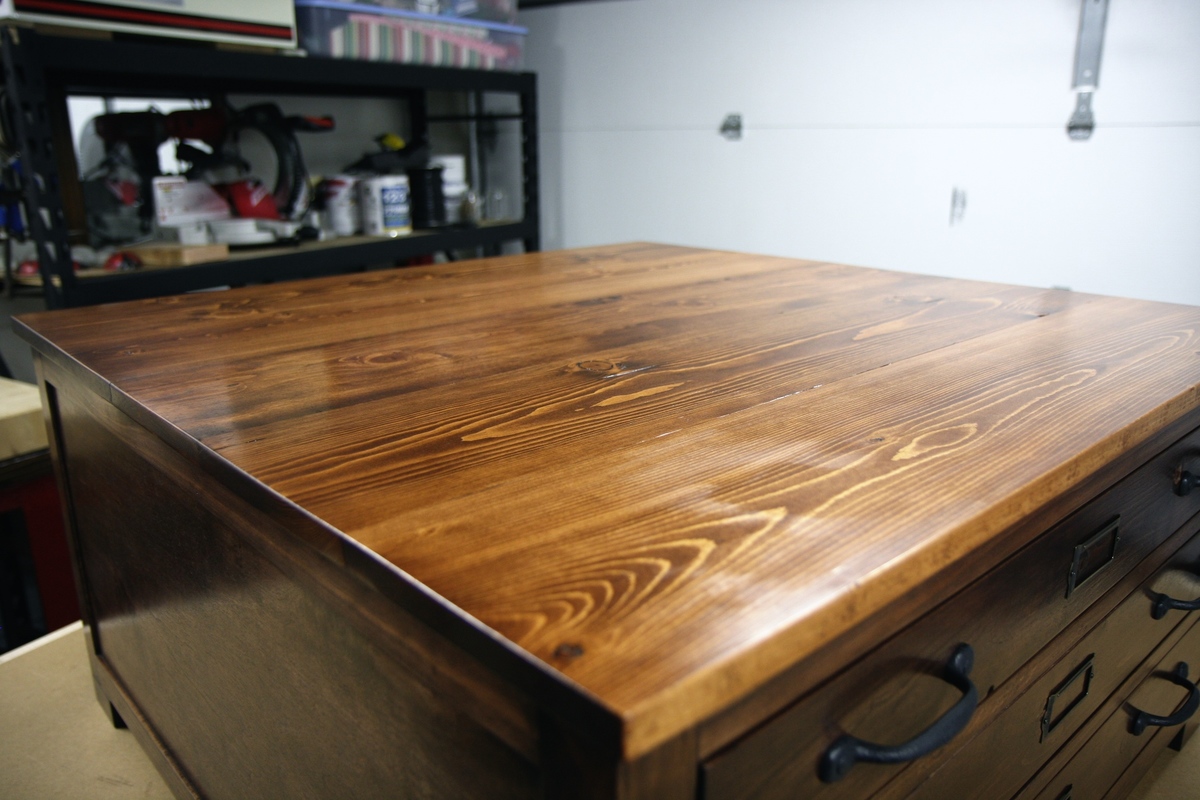
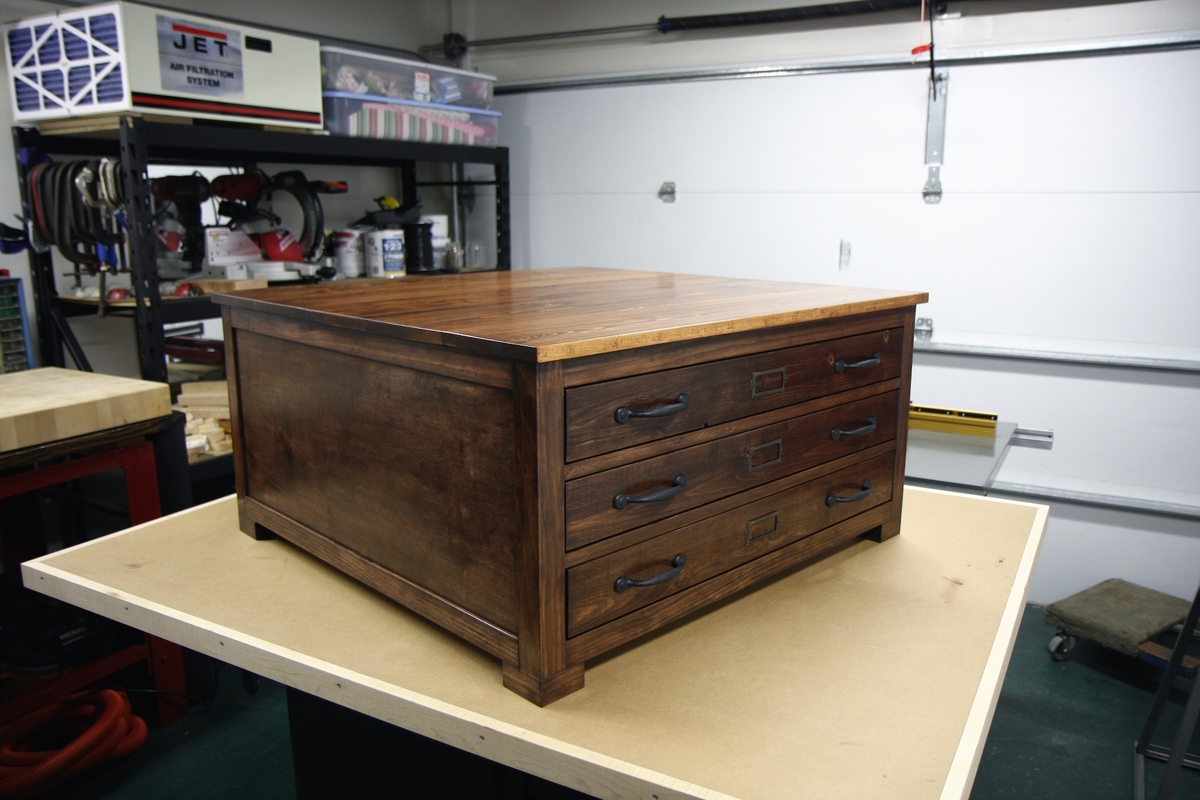
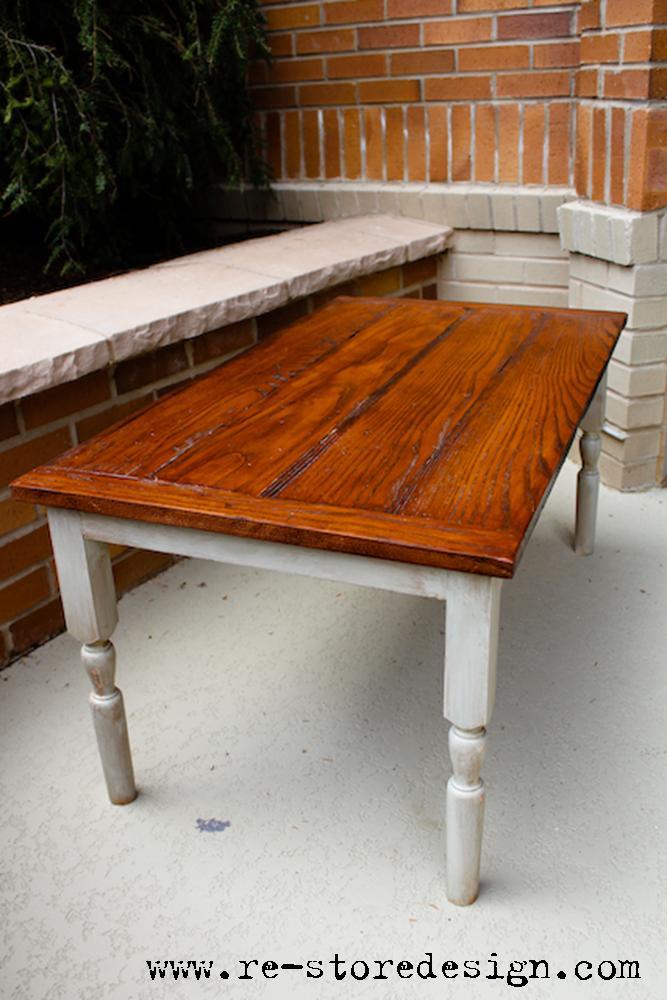
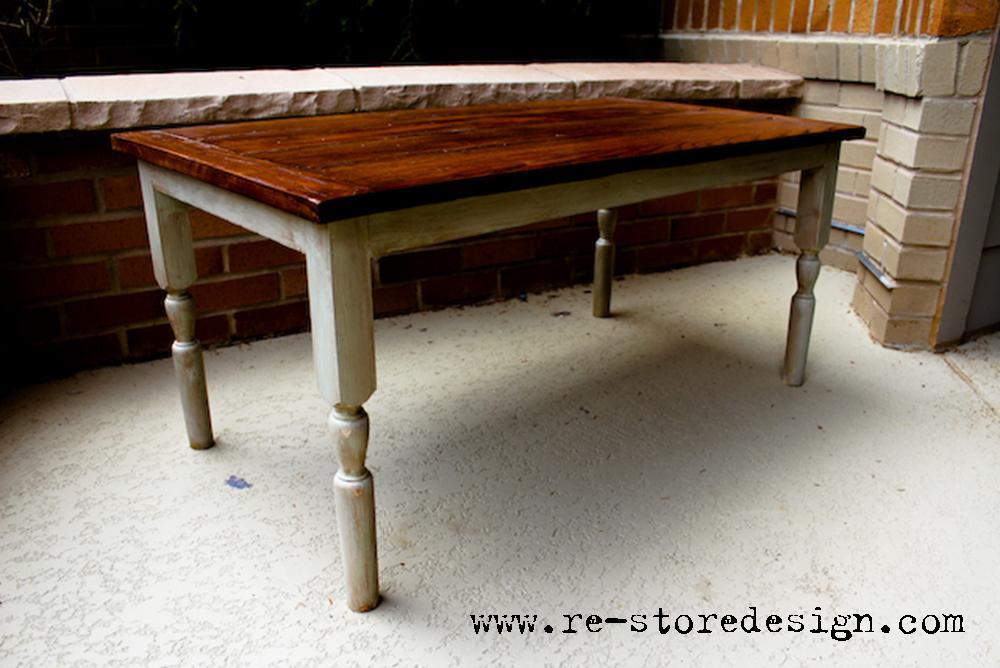
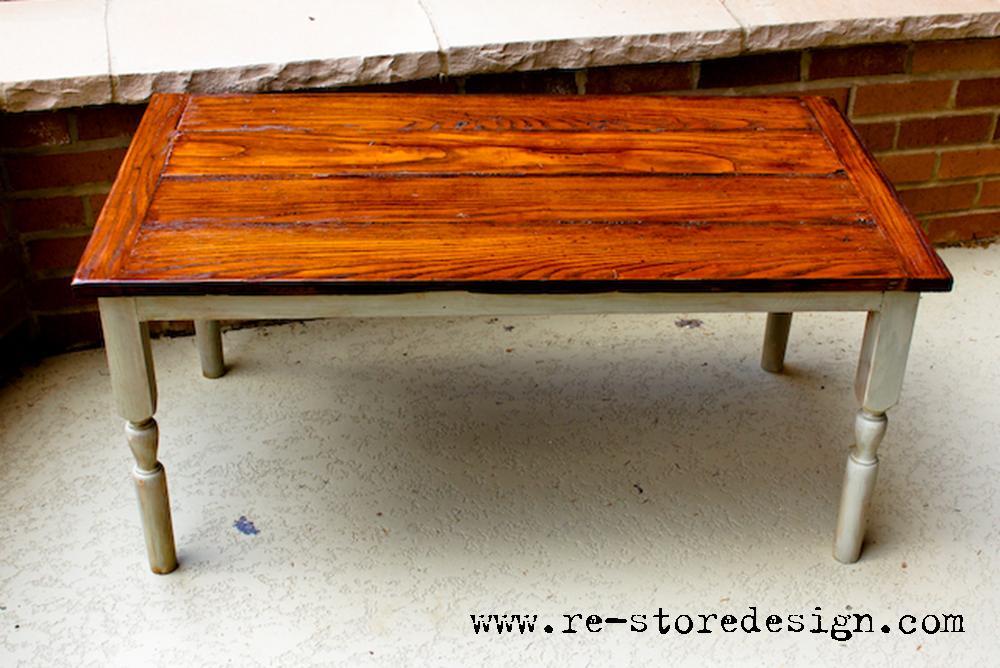
Library Coffee Table
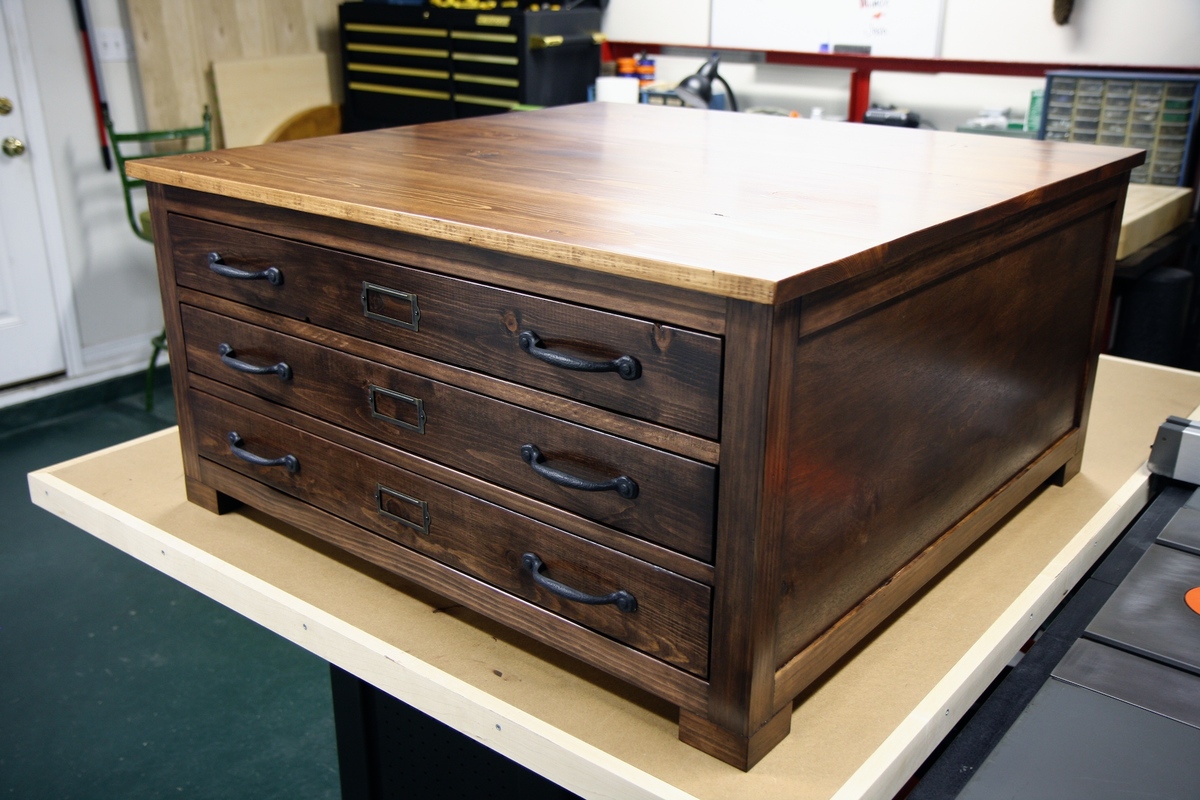
This was my first real project. I had a great time building it for my twin brother. I was very fond of the table by the time it was finished and it will be difficult to let it go :) I followed the plans almost exactly, however I added just a bit of trim to the sides and added small feet made from leftover 2x2's. I'm already looking forward to my next project.
Built from Plan(s)
Estimated Cost
300
Estimated Time Investment
Week Long Project (20 Hours or More)
Finish Used
General Finishes Java Gel Stain for sides and Brown Mahogany for Top. General Finishes Arm R Seal Satin for top coat.
Recommended Skill Level
Beginner
Comments
Sun, 02/10/2013 - 09:21
I am bookmarking this!
I am bookmarking this! Adding the little feet changes the whole look. I really like it!

Sun, 02/10/2013 - 18:58
That is gorgeous! I would
That is gorgeous! I would have a very hard time letting it go as well! The feet are a great addition!
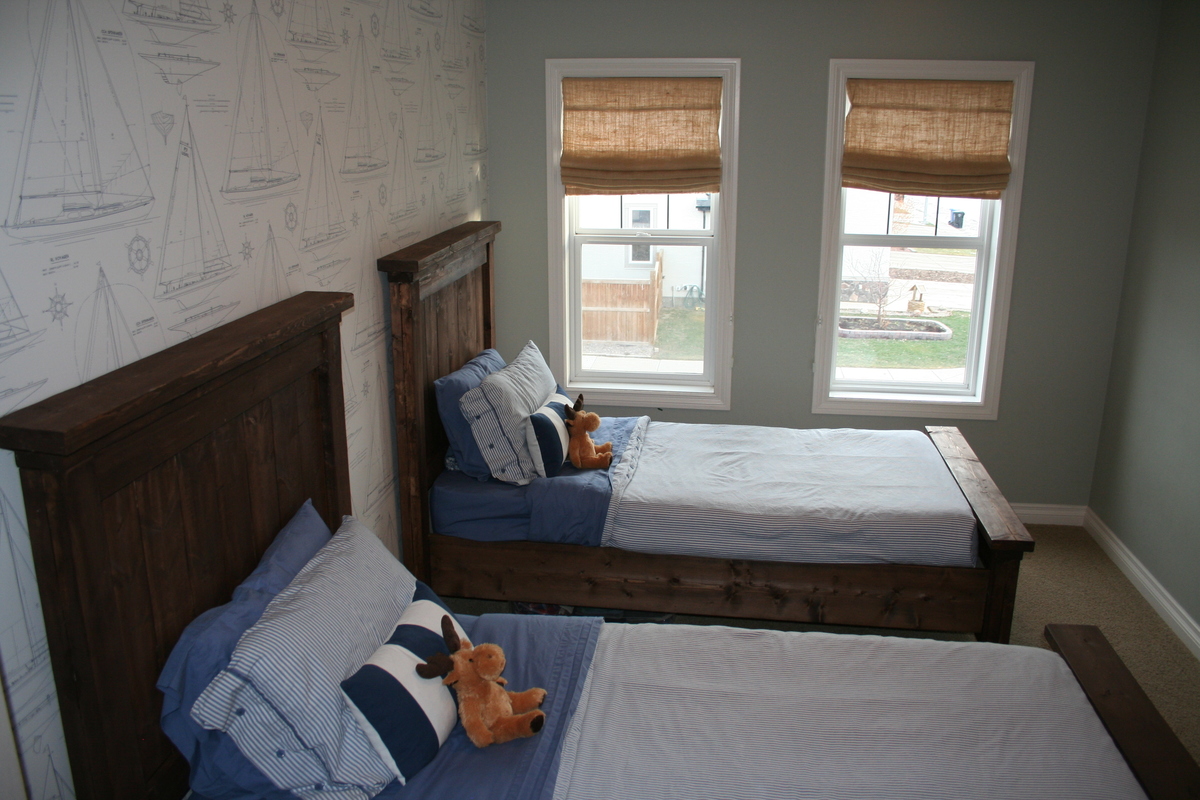
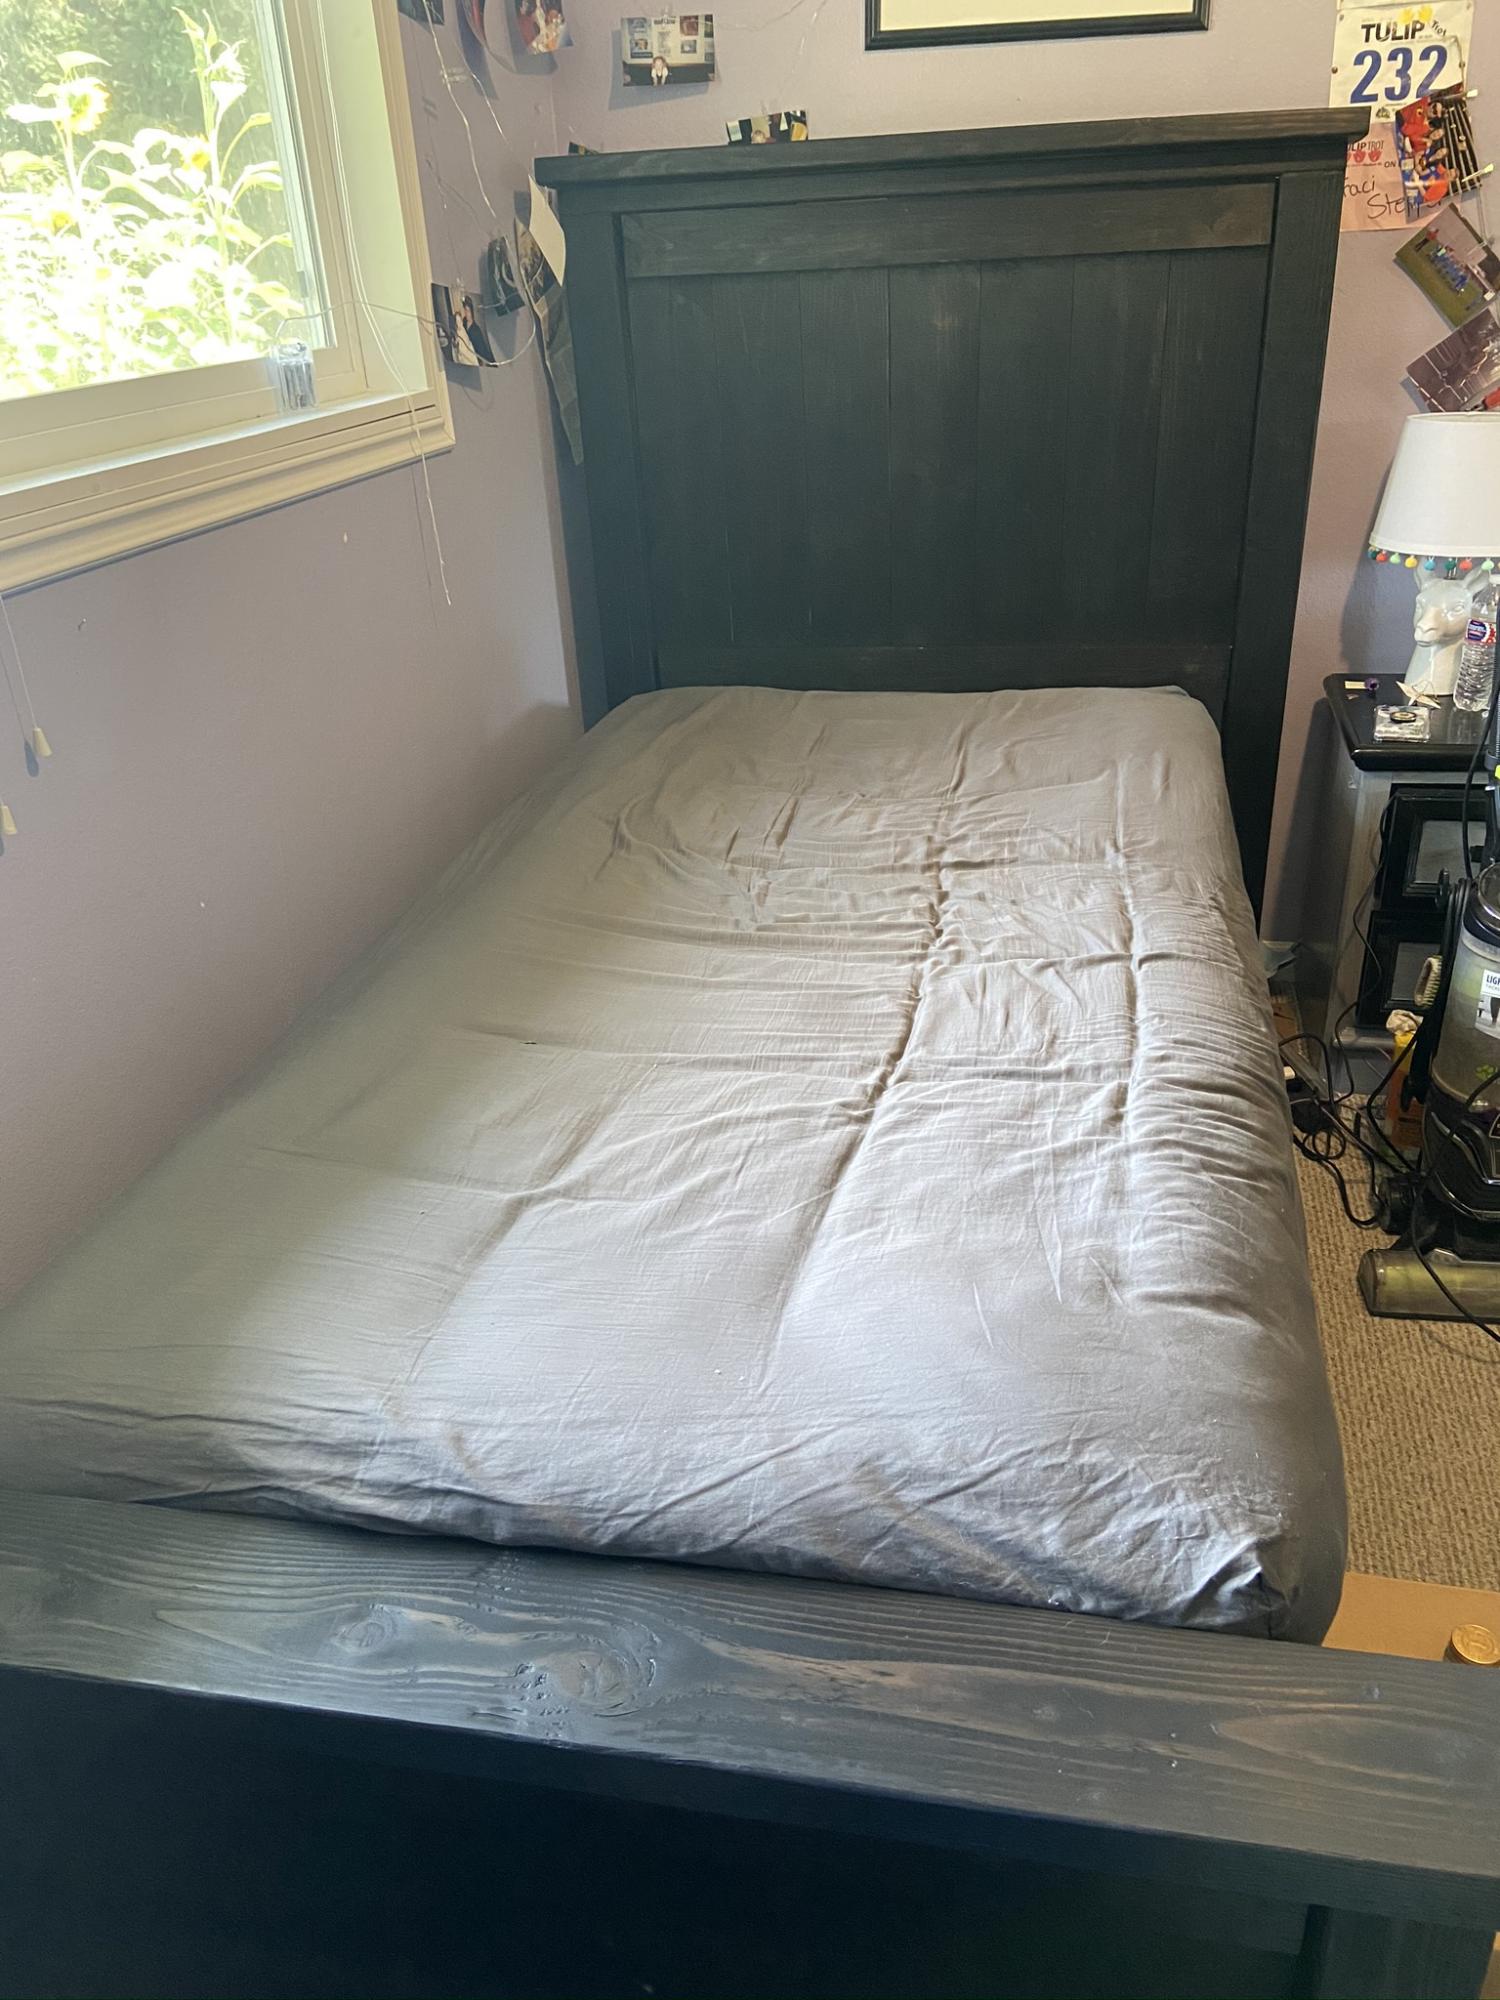
TWIN FARMHOUSE BED
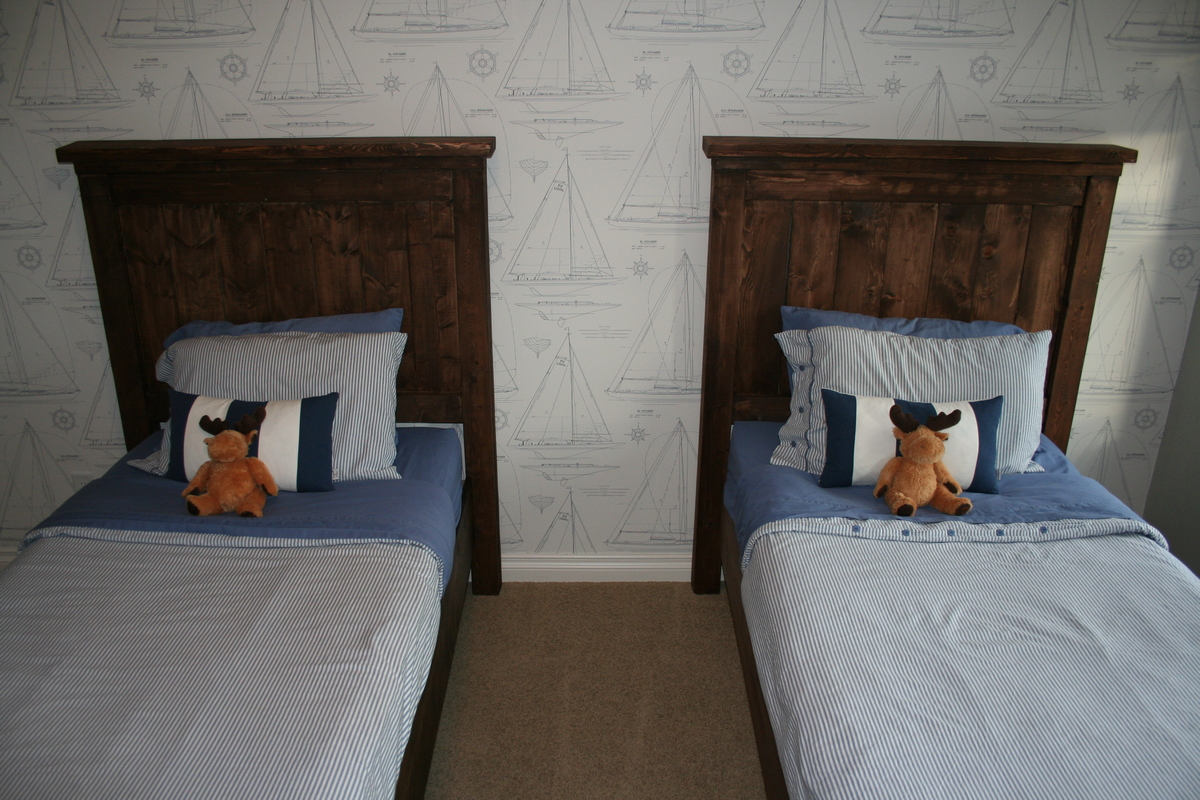
My boys were in desperate need of beds and I am always on a tight budget. I have always loved the farmhouse bed design and decided it was time for DIY project. The instructions made everything so simple. And Home Depot and Lowes are always so helpful in making the cuts....I can do it myselft, but I have to say it is nice to unload the wood and start building right away.
A few things I learned....
1. Not all 1x6's will be 5.5" wide, so just like the instructions tell you....double check
2. You can't stain wood filler...I had no idea it wouldn't take the stain very well
3. Using 2 2x4 to make a 4x4 post is WAY cheaper
Built from Plan(s)
Estimated Time Investment
Weekend Project (10-20 Hours)
Finish Used
Miniwax walnut stainn
Recommended Skill Level
Intermediate
Comments


Tue, 12/16/2014 - 08:49
Love it!
These came out great! The room is decorated so nice and I love that wall paper. Some fillers are better than others. One filler I used that takes stain better is Elmer"s ProBond. It has a black label, says it's stainable and is pricier but I do like it. Again, great job!
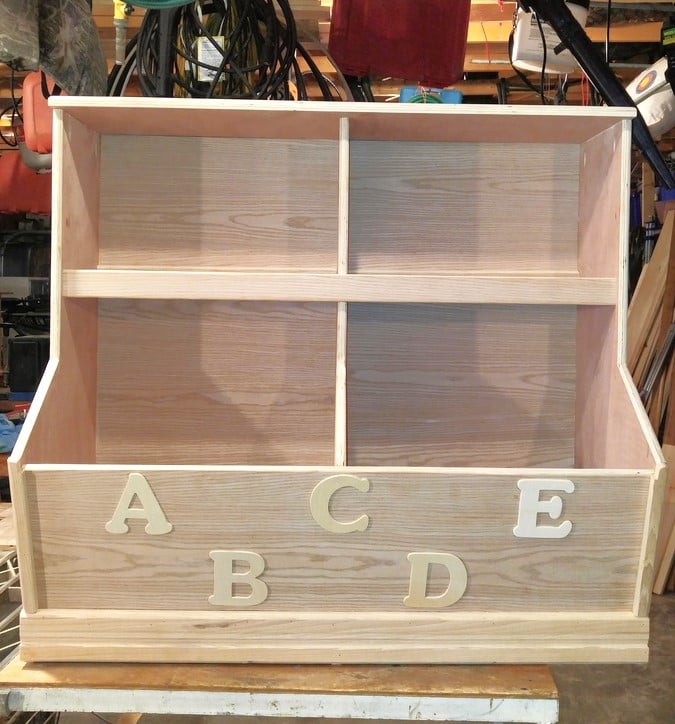
Our Craft Station
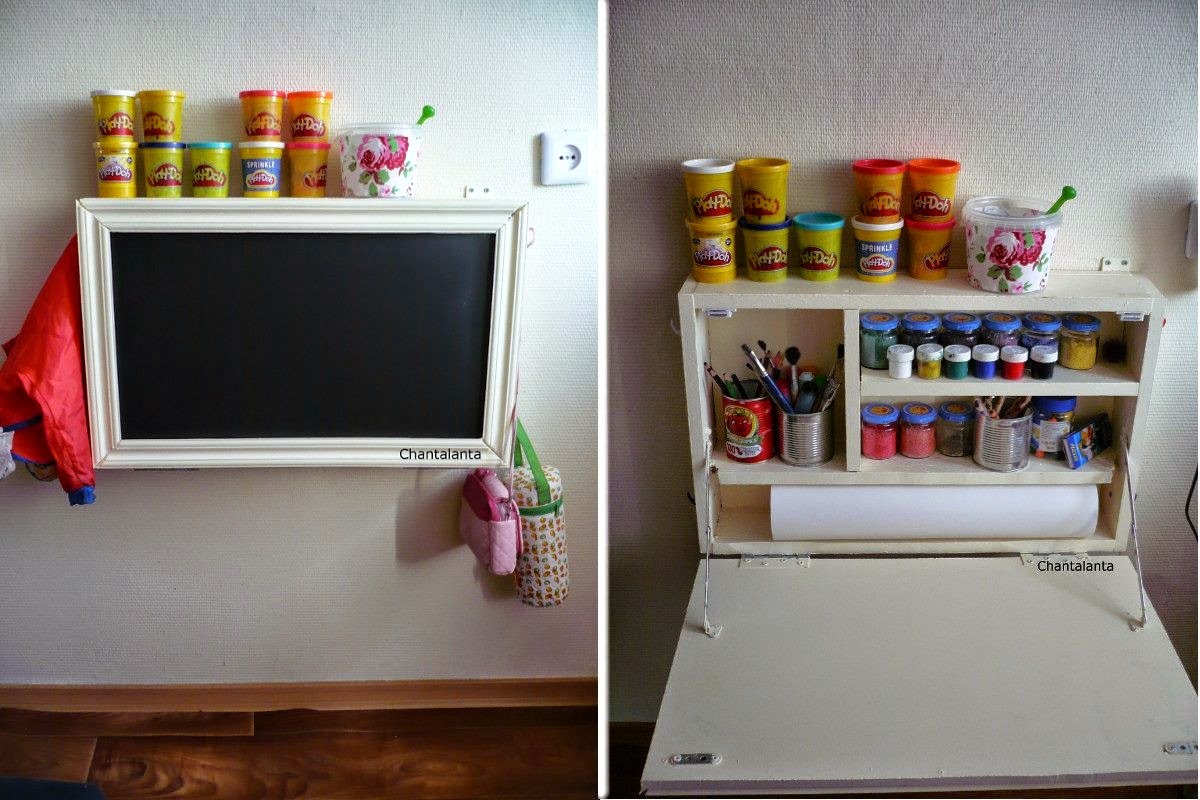
Dear Anna,
Thanks a ton for such inspiration and detailed instrusctions! I showed then to my husband and he created a craft station for our daughter.
We used different fittings ( used the ones we could find in the nearest shop). Also, to decorate front pannel we used polyurethane molding left from house repairs.
=Tatiana=
Built from Plan(s)
Estimated Time Investment
Afternoon Project (3-6 Hours)
Recommended Skill Level
Beginner
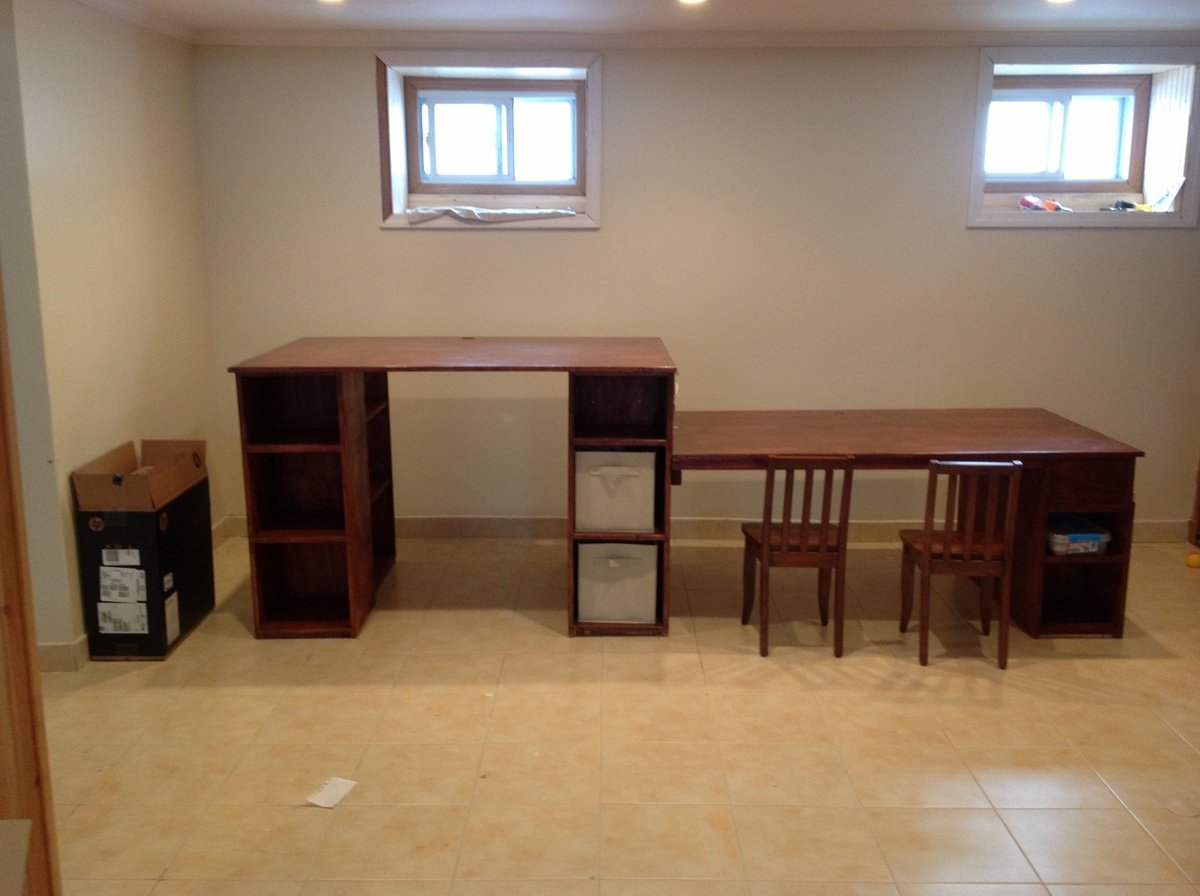
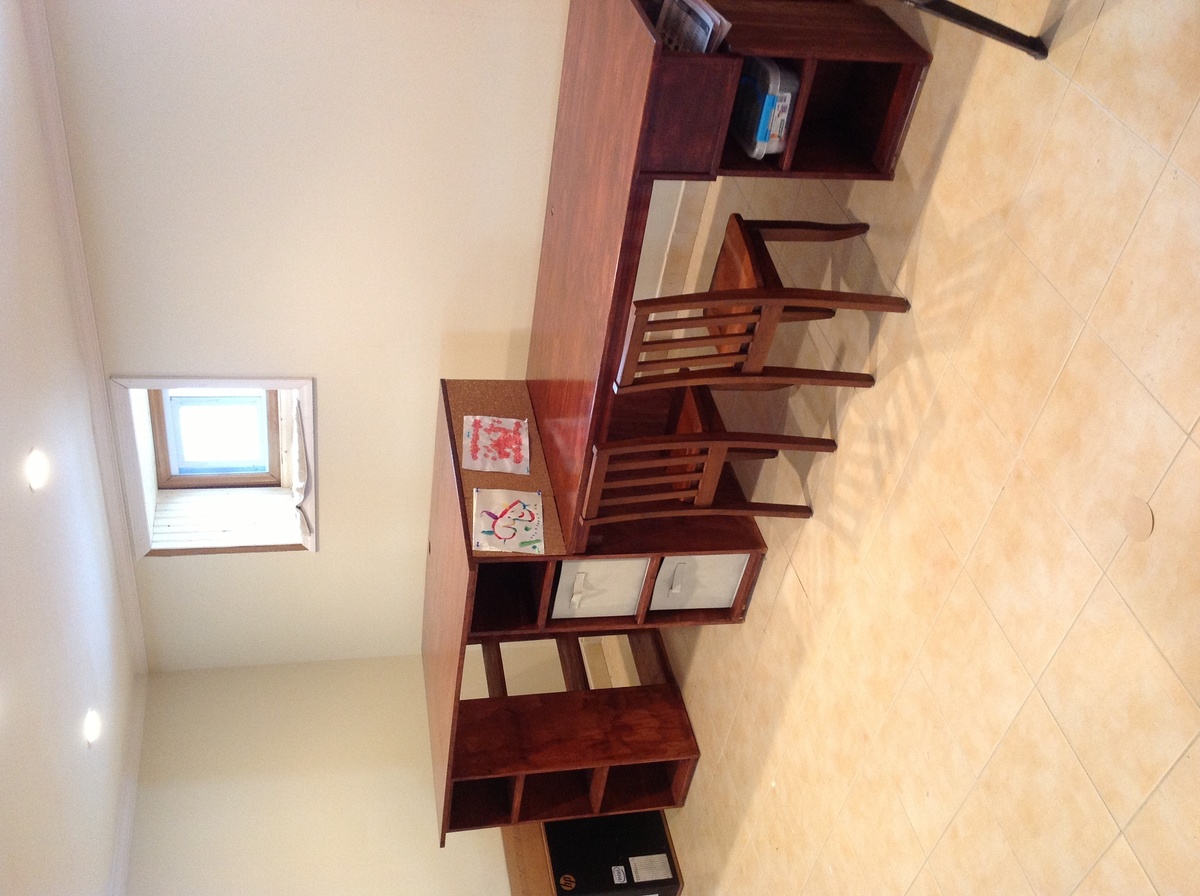
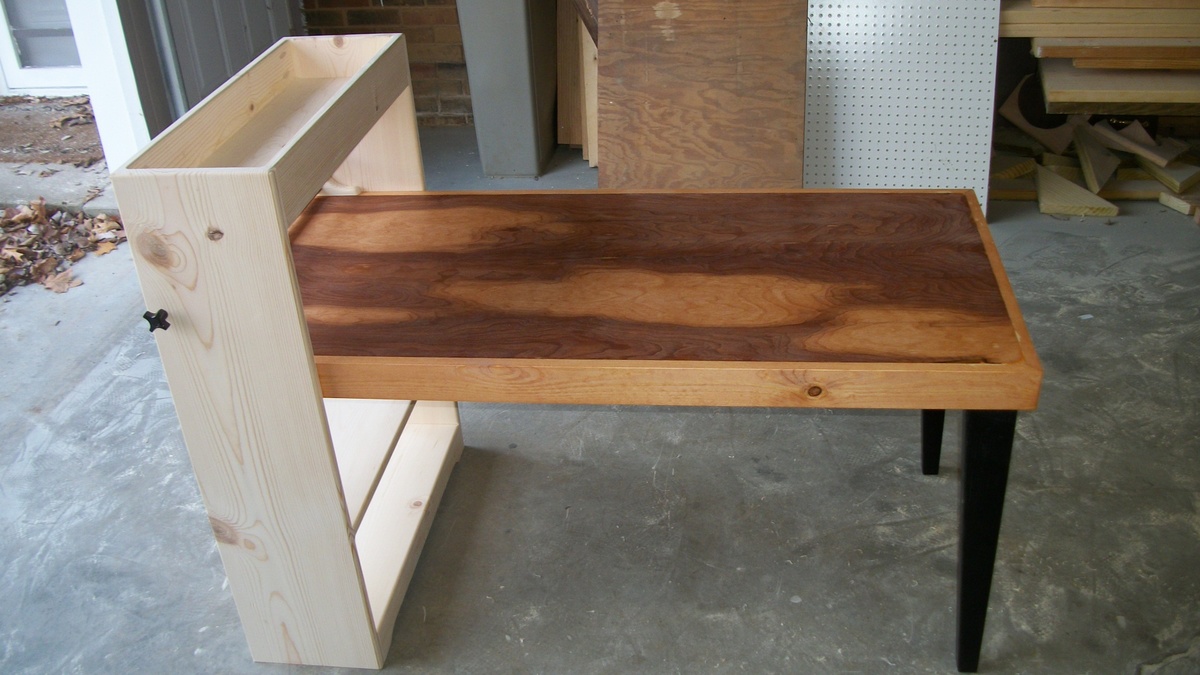
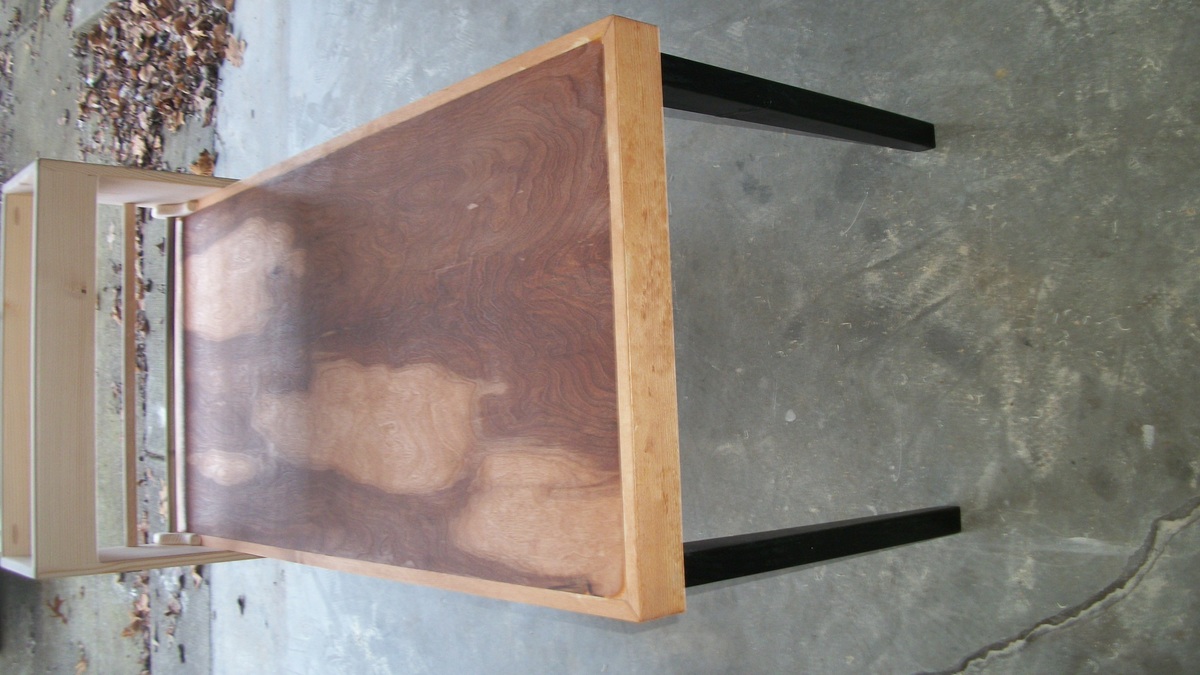
Project table with sidecar kids craft table
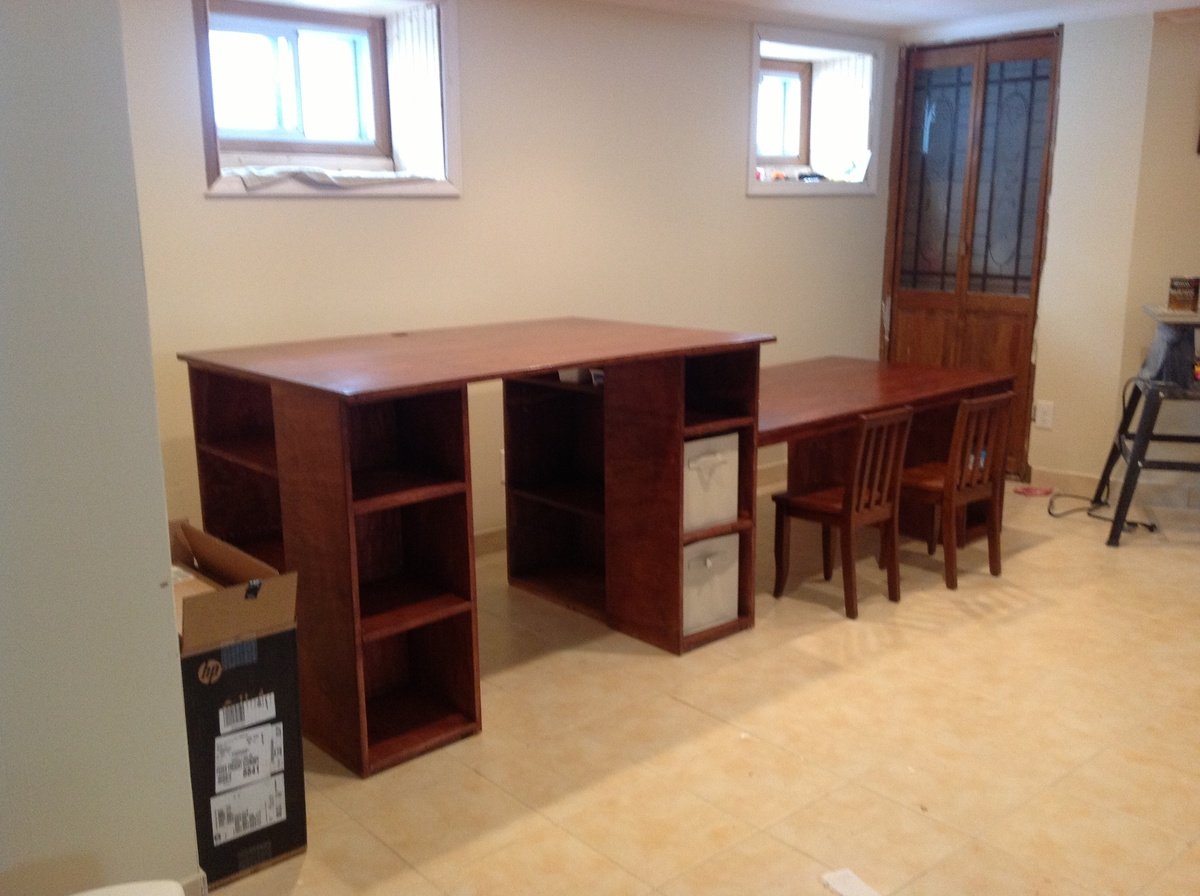
This was our first build, with help from my dad we used the plans for the modern craft table and added a side table for the kids to have their own crafting space and storage.
Built from Plan(s)
Finish Used
Mix of two stains red oak and red chestnut
Recommended Skill Level
Beginner
Comments
Tue, 02/12/2013 - 15:57
I LOVE THIS!
I love this! It's so cool that you put the kids table on the side of your table. Great job, and it looks fantastic!
Mudroom Unit

Mudroom unnit built from own design for a friend to fit a specific space they had.
Finished in a light grey colour.


Estimated Cost
$300
Estimated Time Investment
Week Long Project (20 Hours or More)
Finish Used
Sherwin Williams Useful Gray SW705.
Recommended Skill Level
Beginner
Comments
Media console
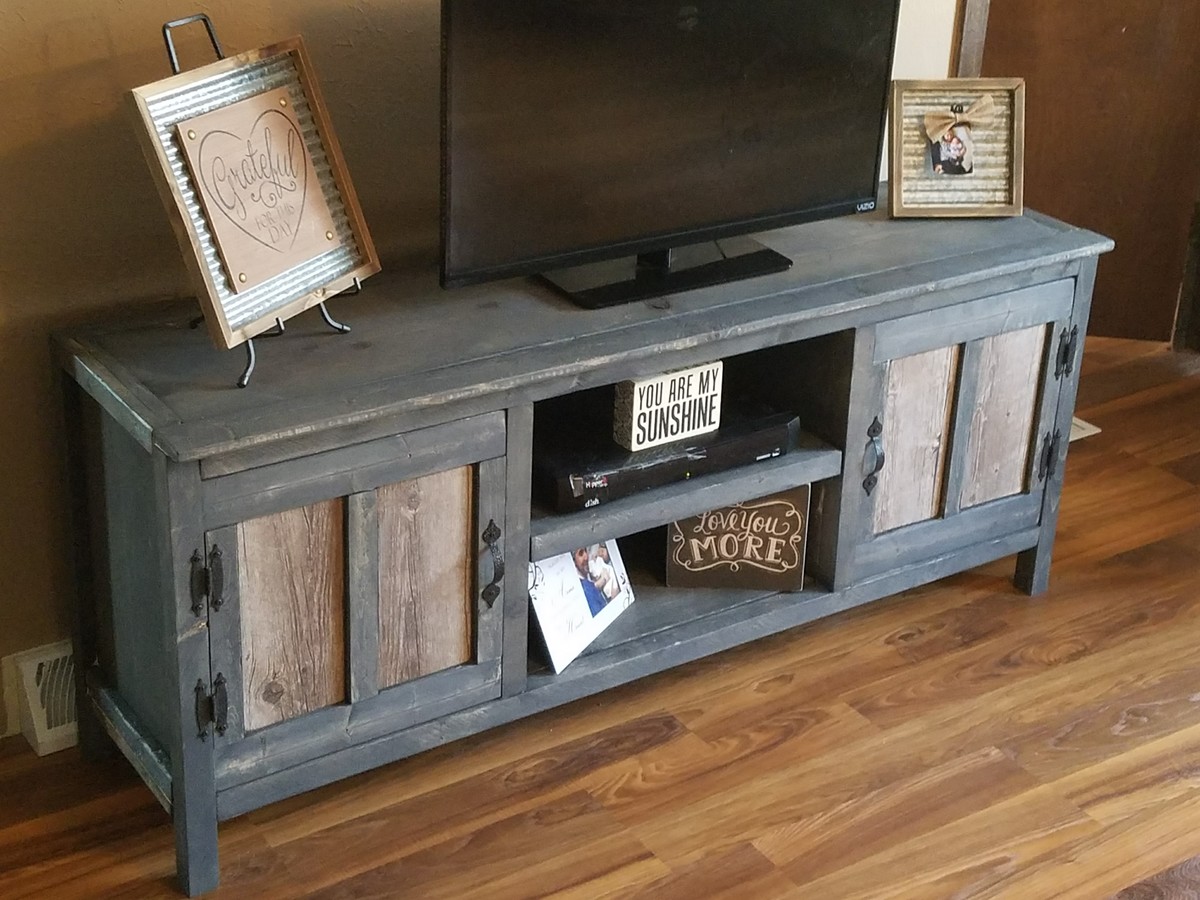
This was a fun build using the media console plans. I used ceramic tiles with a wood look in the door panels. Fairly inexpensive build and ended up with an expensive looking piece of furniture.
Estimated Time Investment
Weekend Project (10-20 Hours)
Recommended Skill Level
Intermediate
Console table

Made this to match the Tryde coffee and end table I made for my other half. She loved them, and loves this. We added the bottom piece which wasn't part of the plan. Using the 2x4 in different direction gave it a unique look. We love it.
Built from Plan(s)
Estimated Cost
$60
Estimated Time Investment
Day Project (6-9 Hours)
Finish Used
Dark walnut with poly finish.
Recommended Skill Level
Beginner
Reclaimed Chestnut Coffee Table
I just finished this coffee table and love the finished product. The chestnut used for the table top is over 100 years old and very hard to find. In 1904 there was a fungus that destroyed millions of chestnut trees. By 1950 it is estimated that more than 4 billion trees were destroyed. The fungus still exists and prevents chestnut trees from getting larger than 6″ in diameter. Needless to say this piece is pretty great!


Built from Plan(s)
Estimated Cost
Depends on cost of Chestnut (5-125)
Estimated Time Investment
Afternoon Project (3-6 Hours)
Finish Used
Varathane American Chestnut
Recommended Skill Level
Beginner
Craft Table
Built this based on the Arts and Crafts Table on Ana White's site. I added a dowel at the back of the table to keep the craft paper close to the table. I also added a removal dowel to hold the roll of craft paper. This dowel may be a little close to the table limiting the paper roll size. I made the table fit very tight so it can be removed when not in use. I use biscits on the table for the edge and pocket holes for the shelfs. This was my first try so adjustments will be made on the next one.
Built from Plan(s)
Estimated Cost
$70
Estimated Time Investment
Weekend Project (10-20 Hours)
Finish Used
Pecan stain on the table. The shelf is unfinished but will be painted.
Recommended Skill Level
Beginner
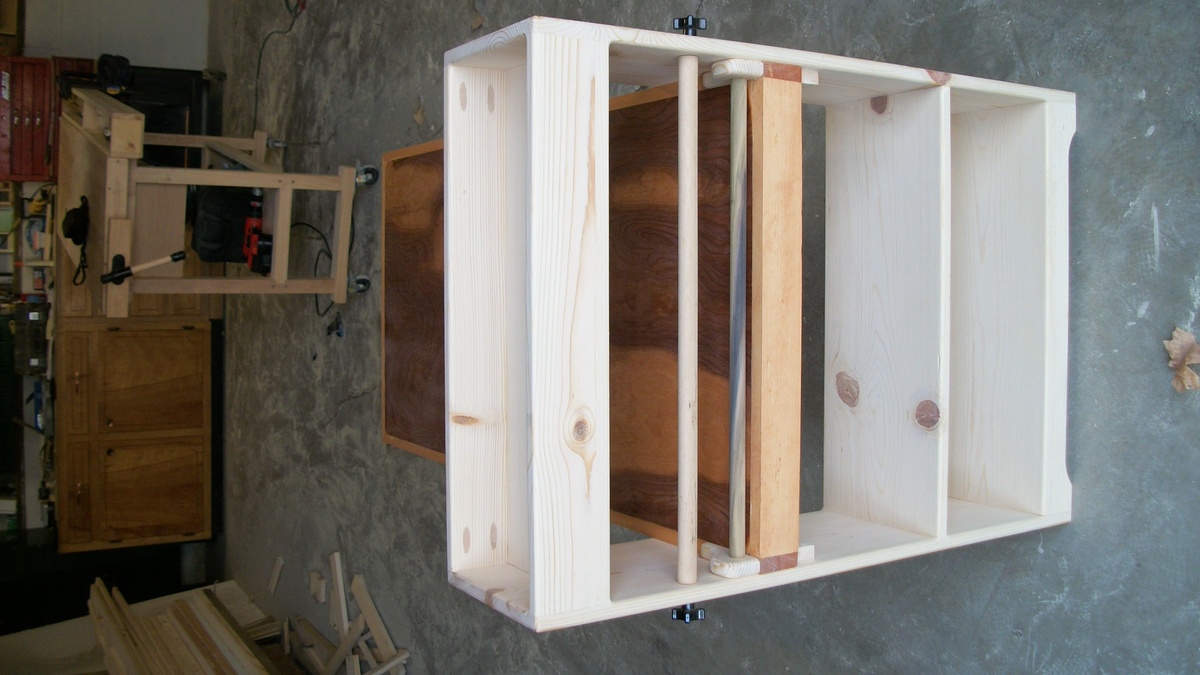
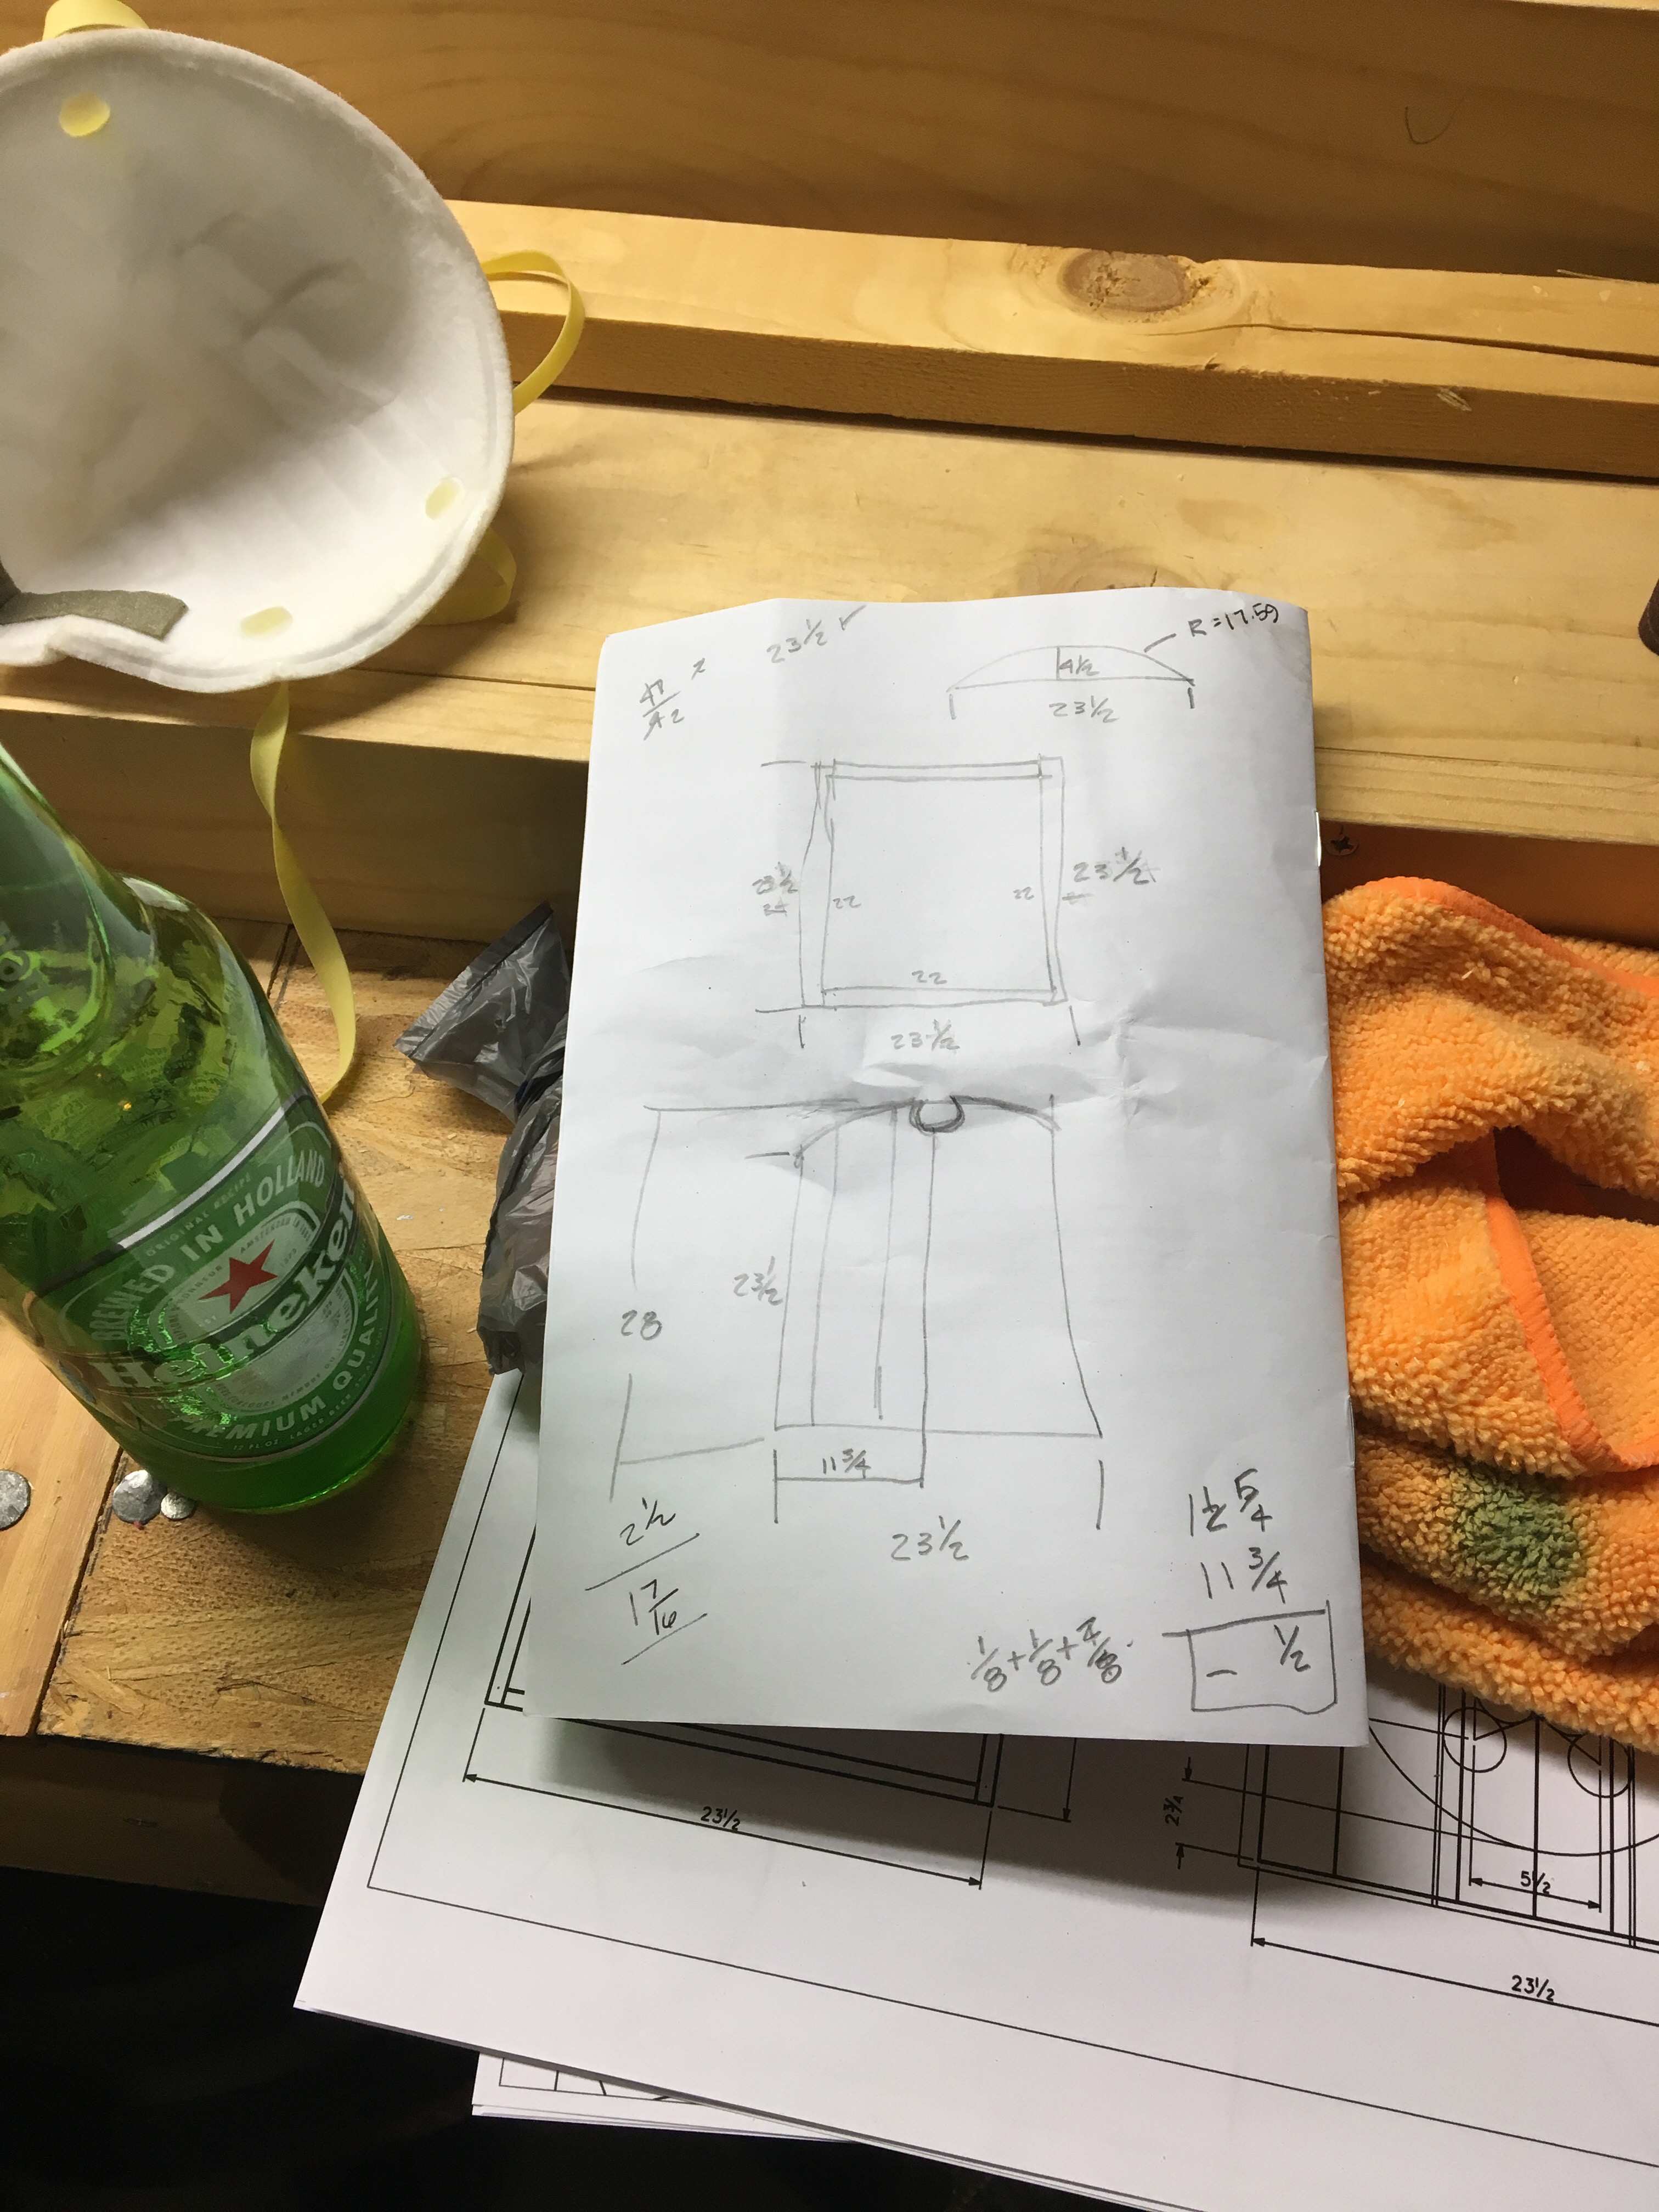
Dartboard Cabinet
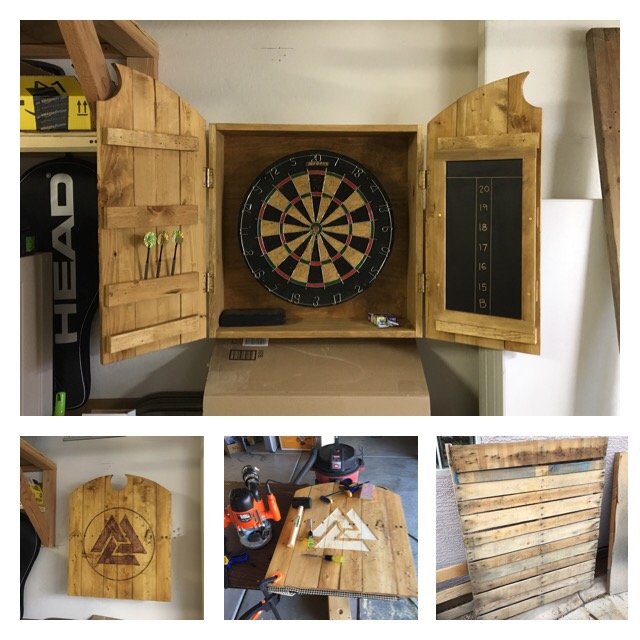
Here's a couple pics of a dartboard cabinet I made from pallet wood. I routed/chiseled in "Odin's Knot" on the door just because I thought it looks cool. Kind of dartboardish looking! I've also included my highly engineered plan!
Estimated Time Investment
Weekend Project (10-20 Hours)
Finish Used
Golden oak and red oak minwax.
Recommended Skill Level
Intermediate
The Best Floating Shelves

These floating shelves were so simple and are so strong! I decided to not attach the tops because you can’t see up there anyways. So will make a good hidden storage spot for small items.
Built from Plan(s)
Finish Used
Pine was stained with minwax Early American and layered with Mineax weathered oak.
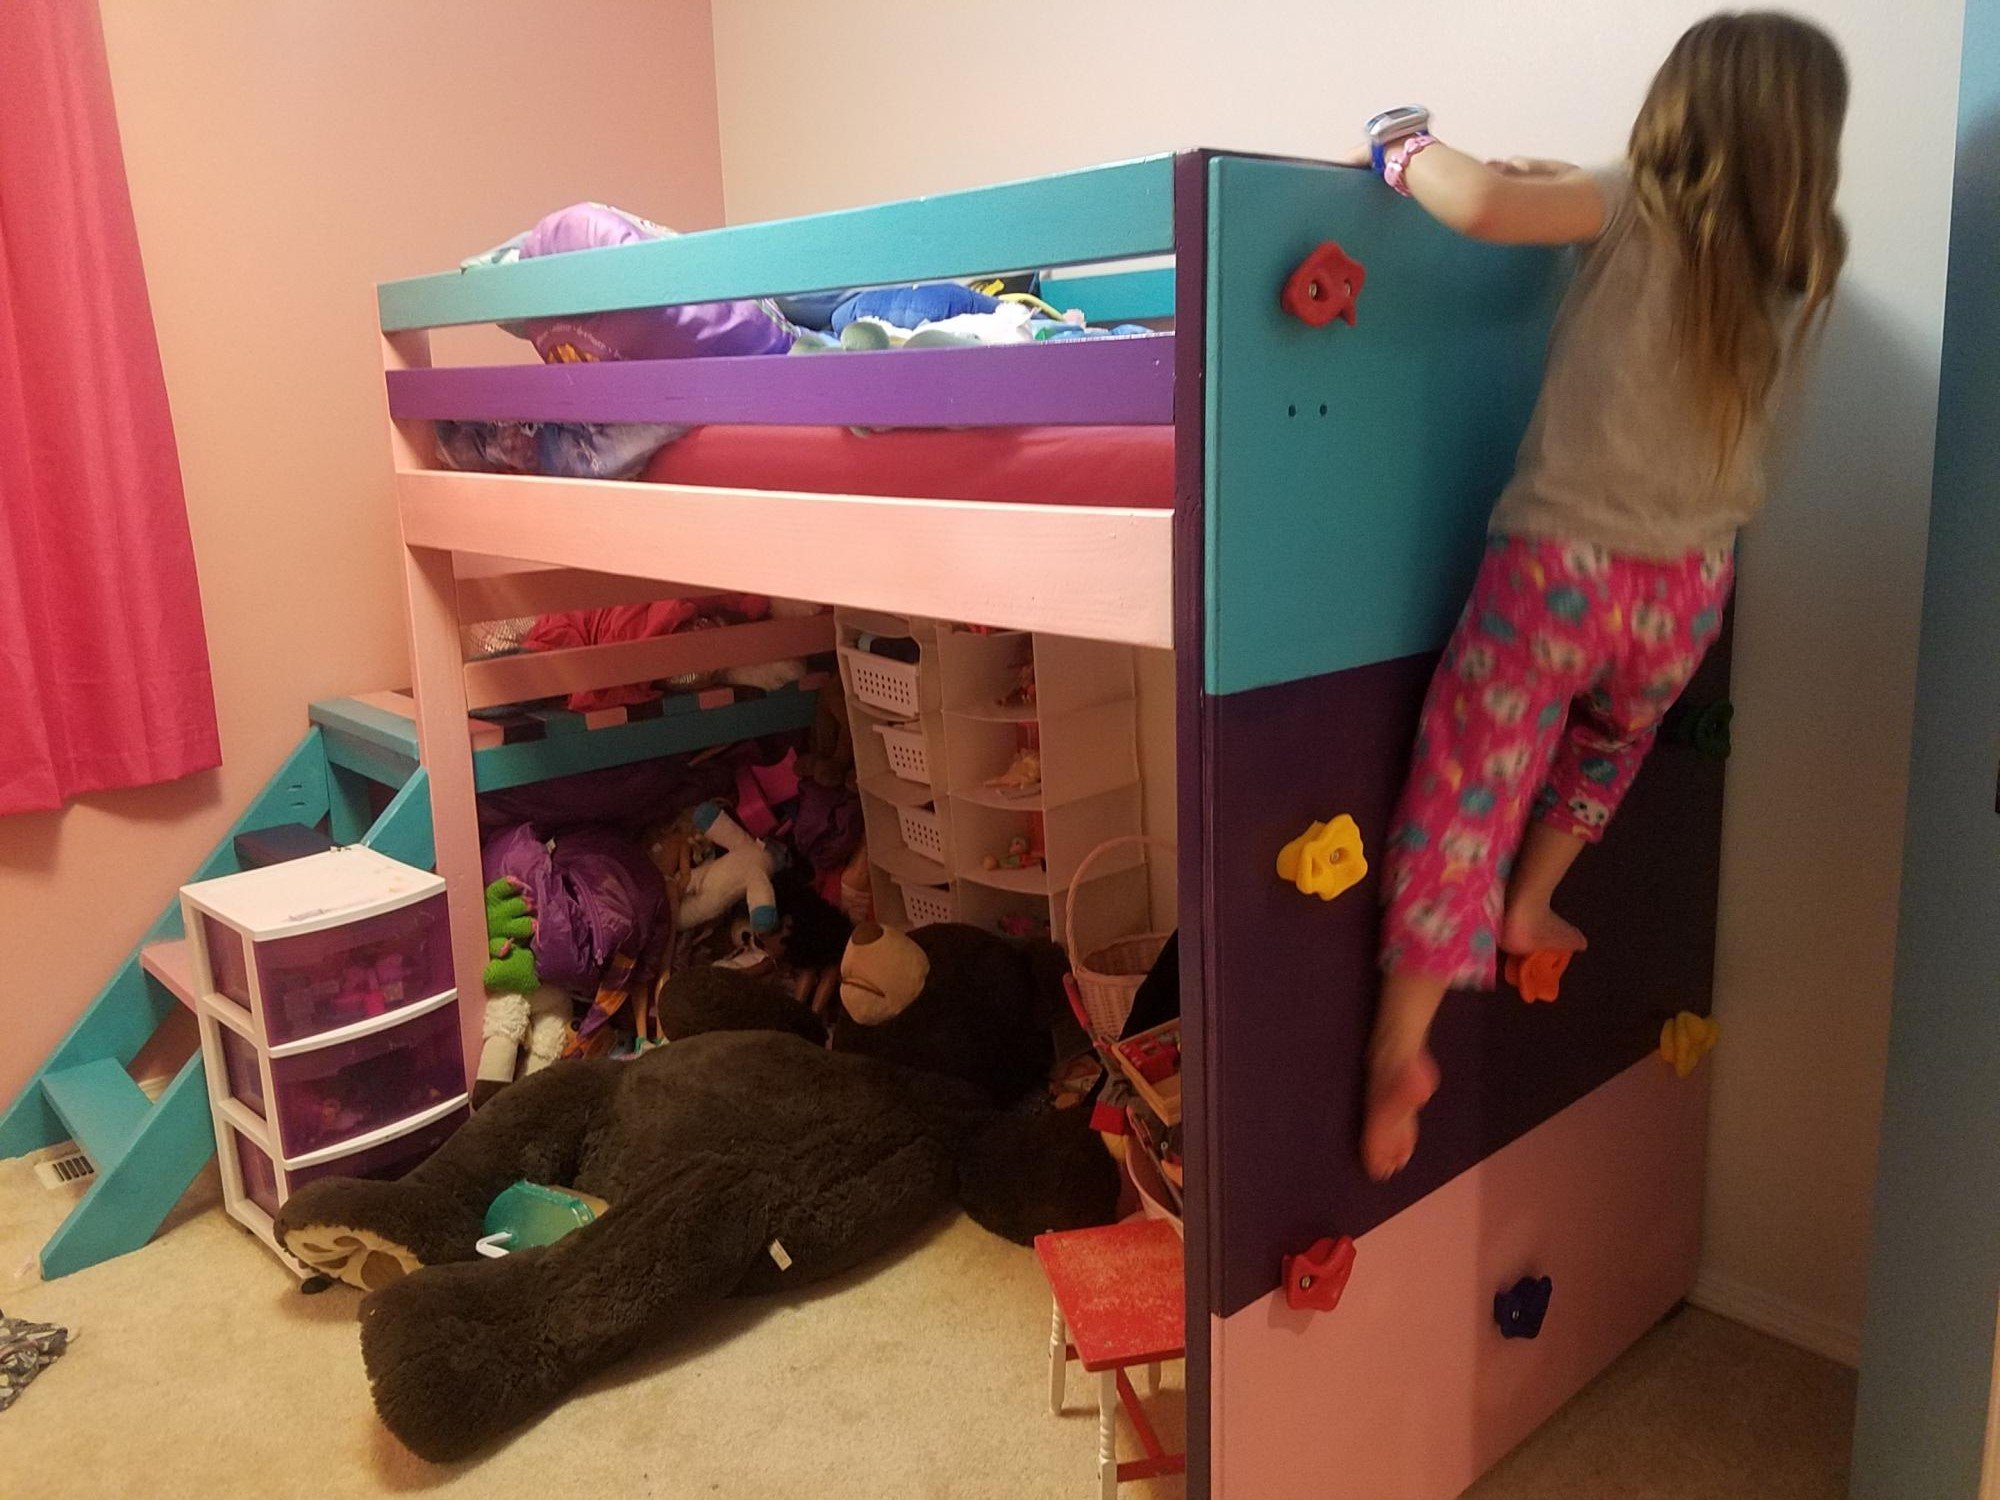
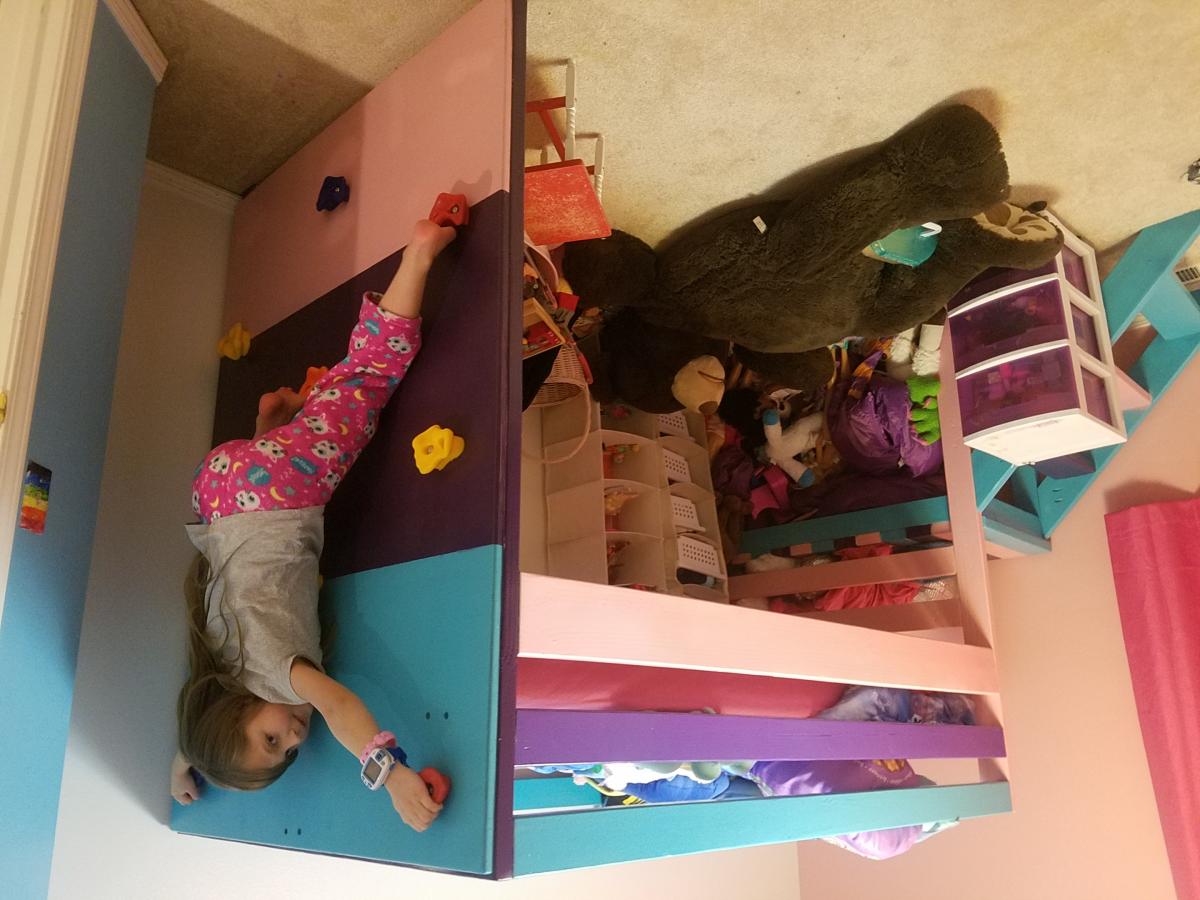
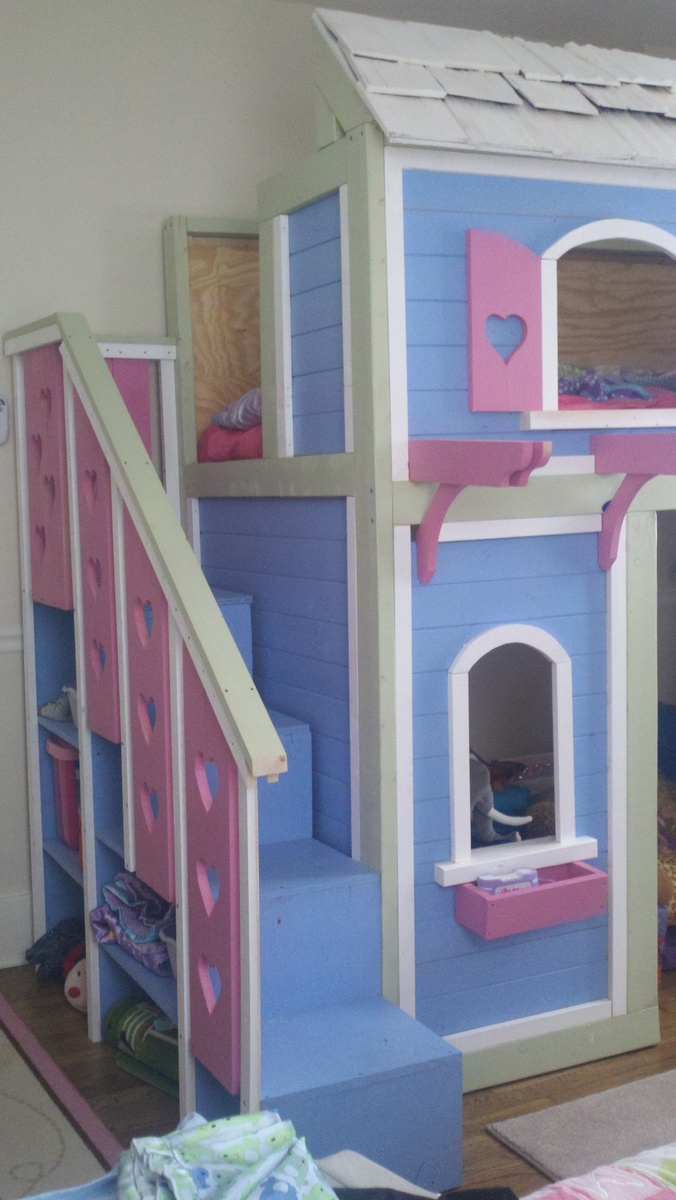
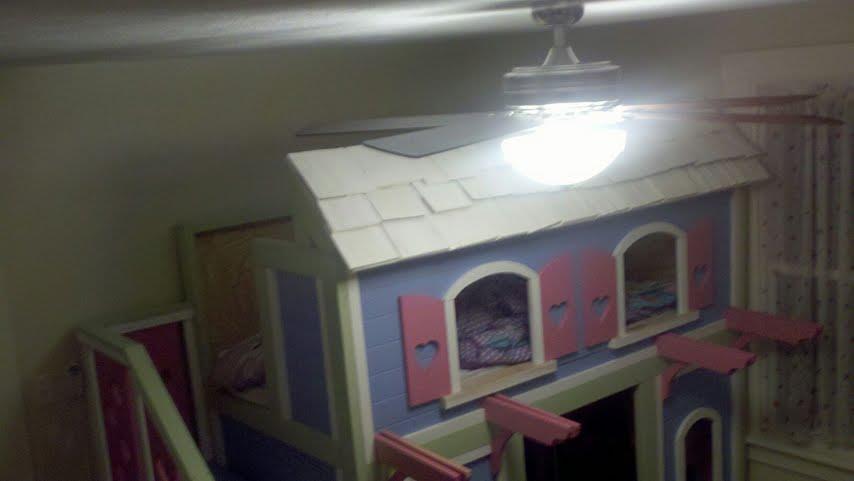
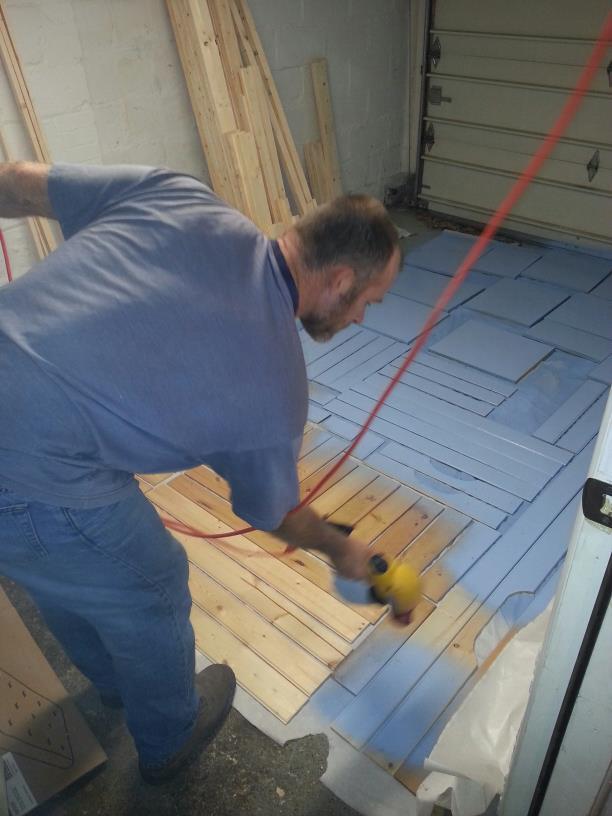
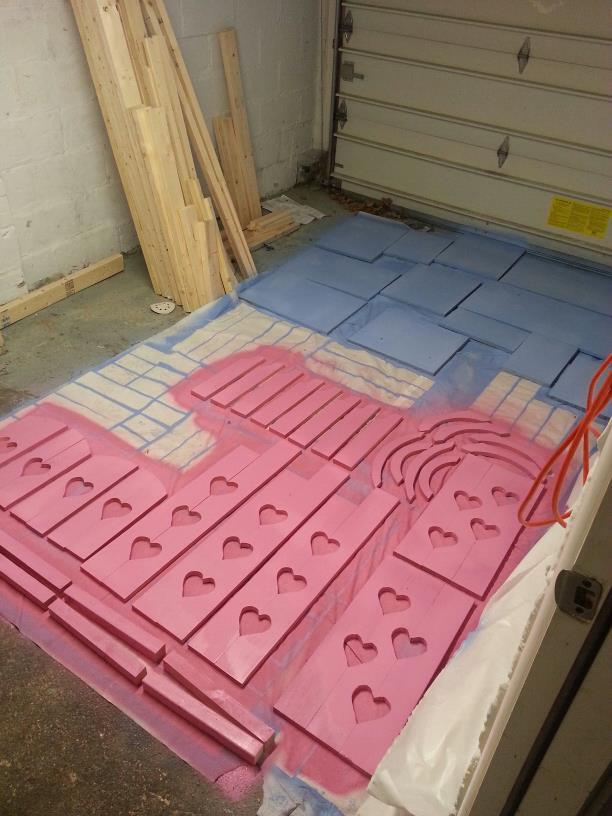
Lindsey's Bed
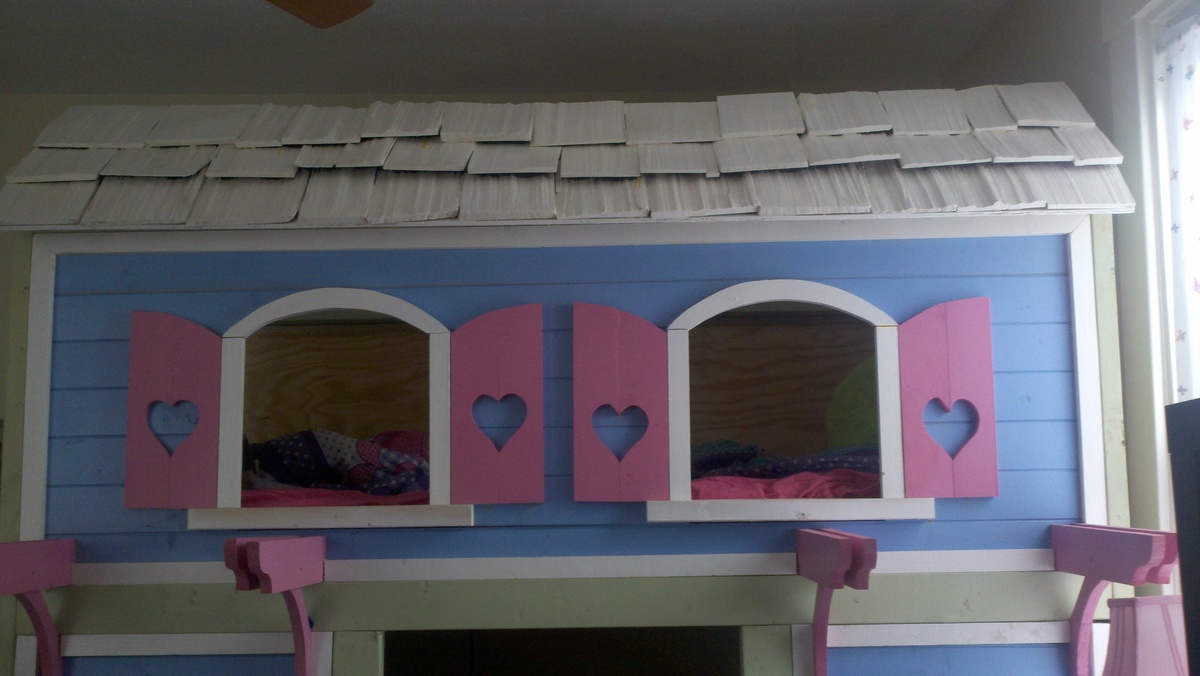
I saw the Sweet Pea bunk bed and I loved it!!! I was looking for a loft bed with a play house underneath so I modified this to be more what I was looking for. It is about 90% done now. I will post the finished pictures in a few weeks when I have finished. I have a few cosmetic details to finish it up. The little one loves it!!!

Built from Plan(s)
Estimated Cost
$500 +
Estimated Time Investment
Week Long Project (20 Hours or More)
Recommended Skill Level
Beginner
Comments

My Mudroom Lockers
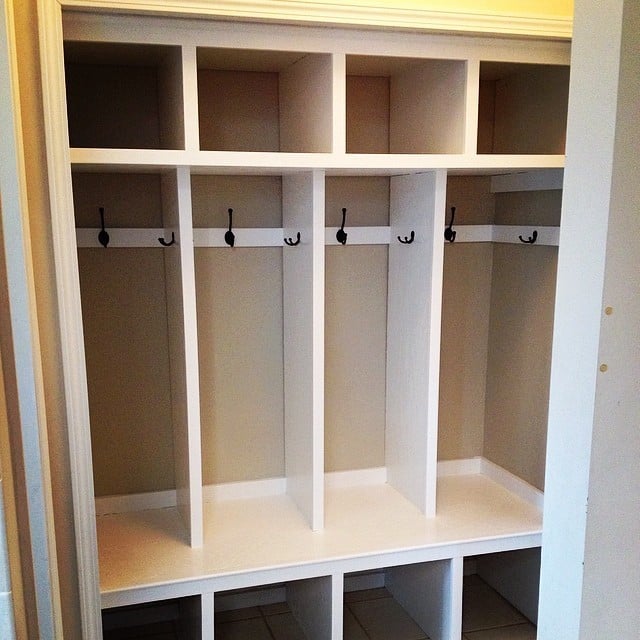
Turned an entryway closet into these lockers for my kids. I used the basic ideas in Ana's Smiling Mudroom for my plans. Lockers are just inside the entrance from the garage.
Built from Plan(s)
Estimated Cost
$200.00
Estimated Time Investment
Week Long Project (20 Hours or More)
Finish Used
Valspar White Interior Satin
Recommended Skill Level
Intermediate
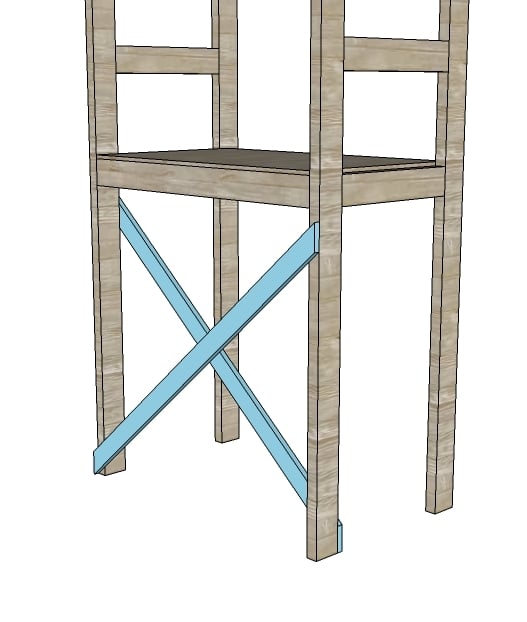
Four Dollar Birthday Chair

My wife wanted me to build a chair for our son, who is about to turn 1. The idea is that he'll take pictures with this chair throughout the years. I searched high & low for the perfect chair that my wife would like and found nothing. I don't know why I didn't just come to your page first, I've visited for years. I dressed it up a little using stringers (porch railing) for legs instead of 1x's, and button plugs vs. putty to cover the screws. Just needs paint and its done. The wife loves it!

Estimated Cost
$30-35
Comments
kids Bench
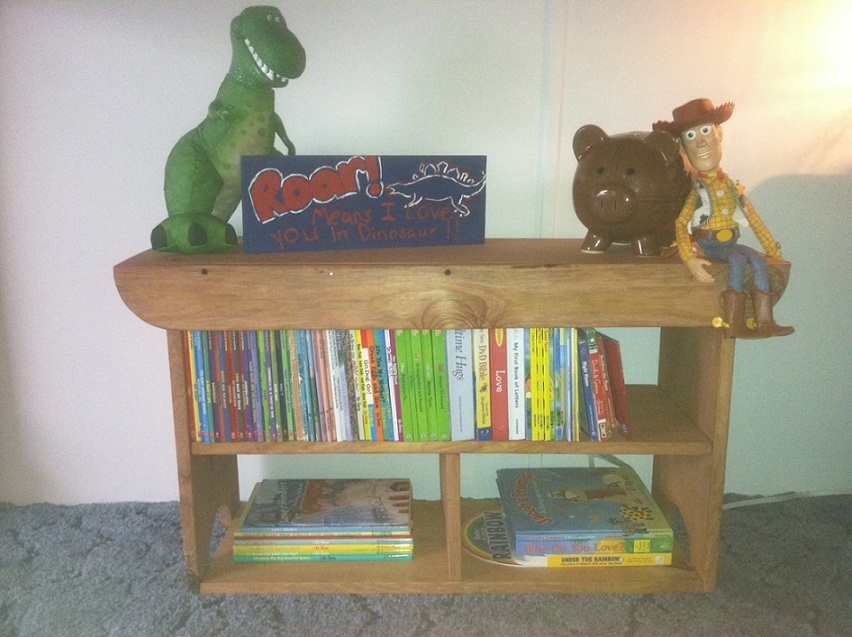
This is my husband's second project. He actually made 2 this weekend, one for my son and the other for my nephew. He lowered the bottom shelf to allow more room for books. He used a cherry stain. We love how it turned out-functional and nice to look at. I would say about 2 1/2 -3 hours to complete the project.
Built from Plan(s)
Estimated Time Investment
Afternoon Project (3-6 Hours)
Finish Used
Cherry minmax stain 235
Recommended Skill Level
Beginner
Comments
One Piece Play Kitchen
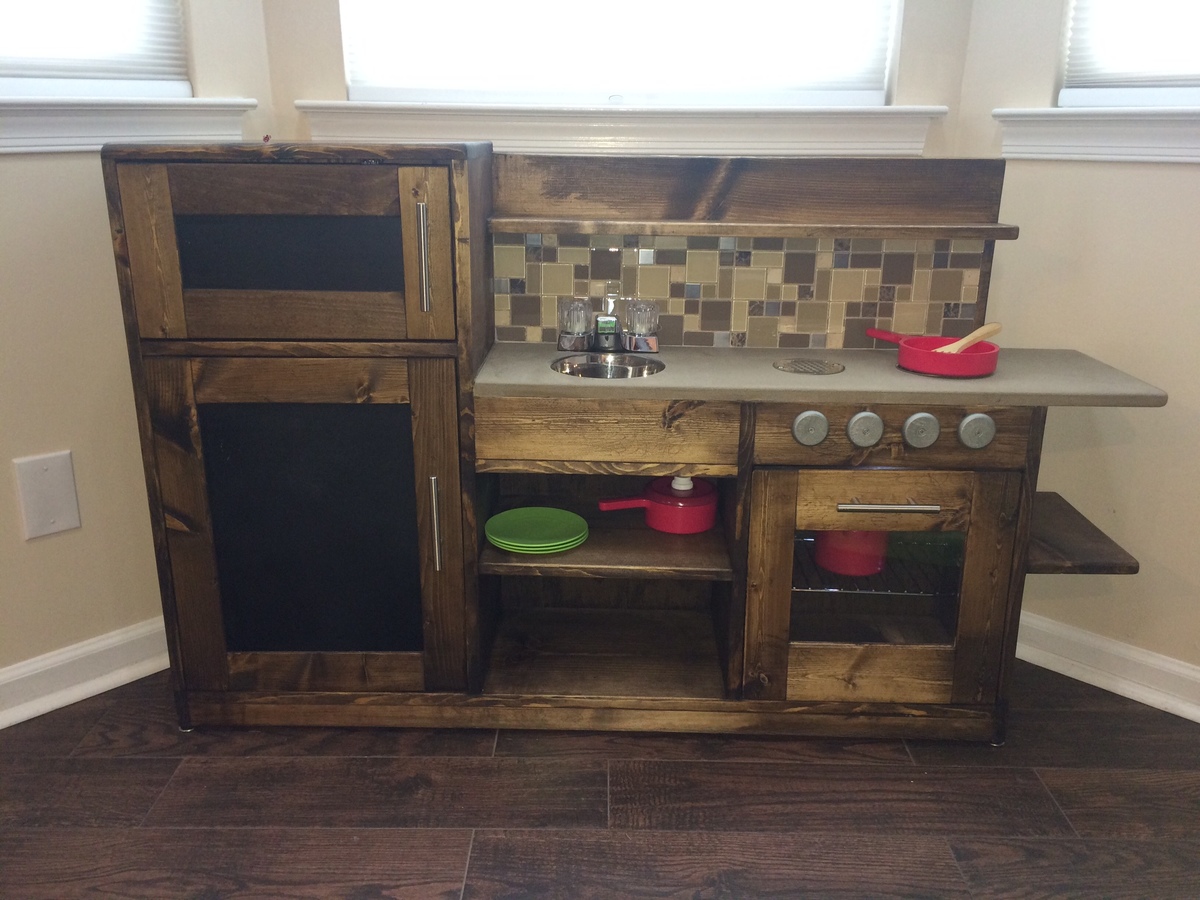
Thank you so much for the plans Anna. My two year old absolutely loved this Christmas present. I used drains for the stove tops and added a wire rack to the stove and tiled the backsplash.
Built from Plan(s)
Estimated Cost
$125
Estimated Time Investment
Week Long Project (20 Hours or More)
Finish Used
Dark Walnut Stain, Chalkboard and Magnetic Paint (Doors), Multicolor Textured Paint (Counter) and Metallic Paint (Stove Knobs)
Recommended Skill Level
Starter Project
Comments
Ana White Admin
Mon, 01/11/2021 - 09:30
Fantastic!
Love this build, thanks for sharing!