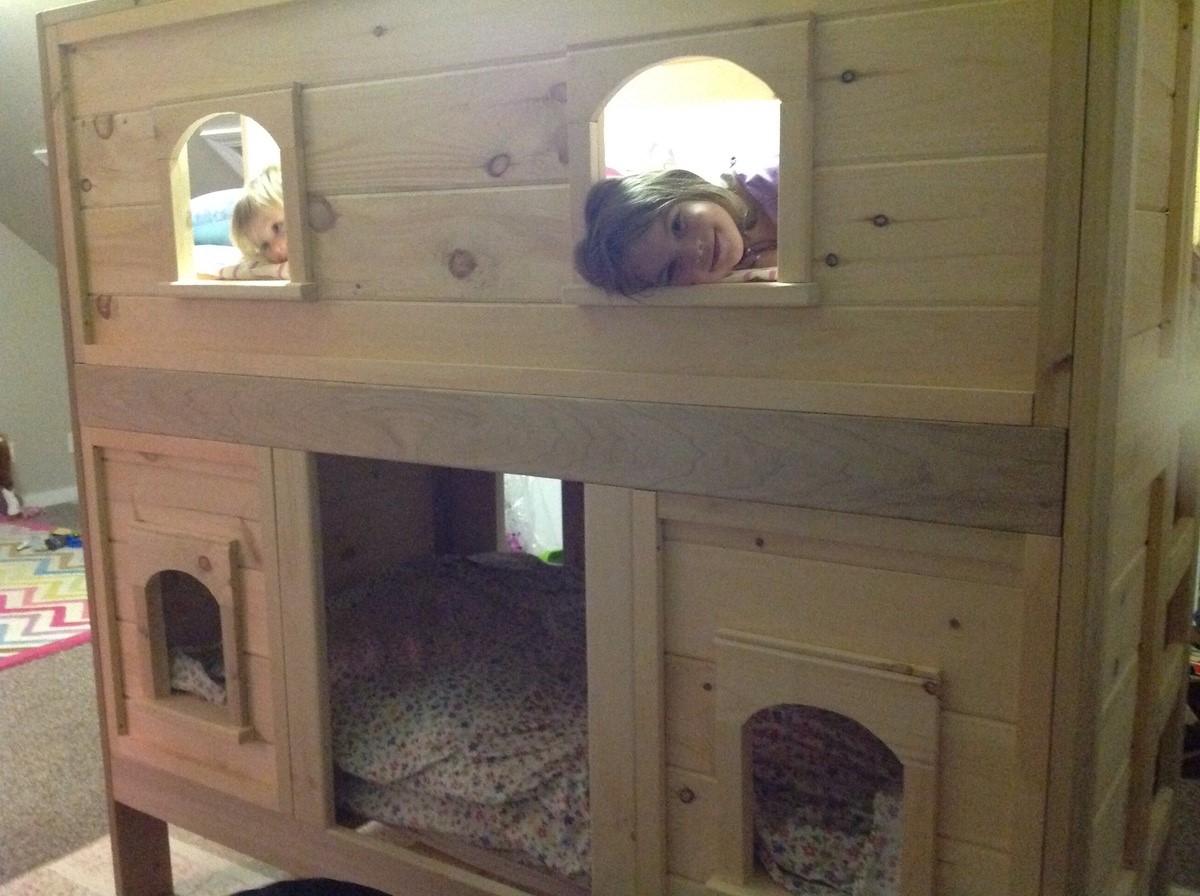
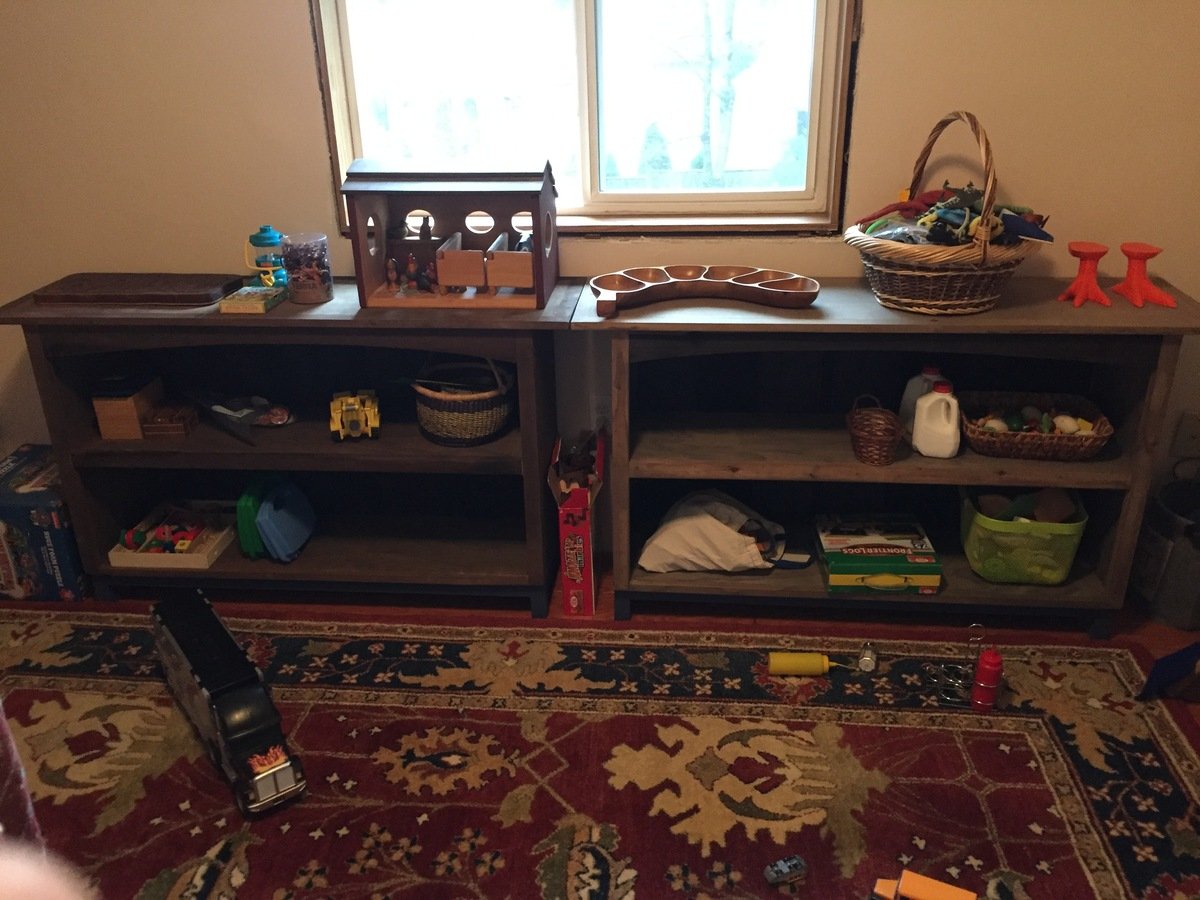
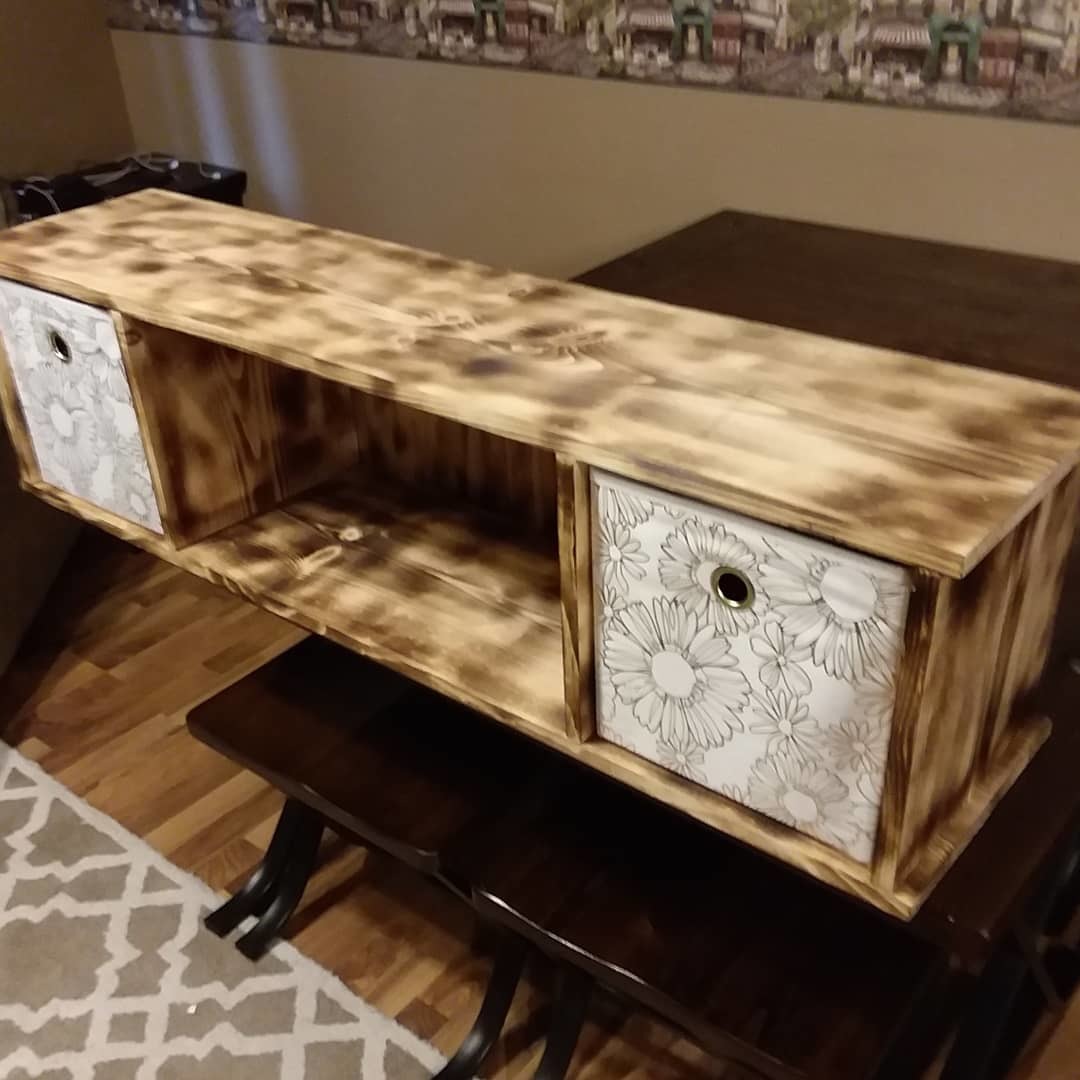
Though I'd spent a few months crocheting a baby blanket, my mother also wanted something special and lasting as a gift for a future new family member. She tried to think of something unique, but kept coming up empty. I went online to help her, and looked for newborn items. Unfortunately, I just kept running into toys, toys, and more toys. Ones that would be "grown out of" quickly, too. It was late at night, and very quiet, the time when your brain is calm and sometimes things just dawn on you.
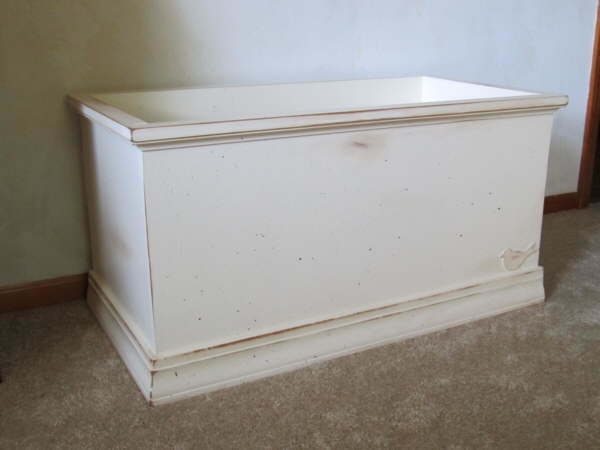
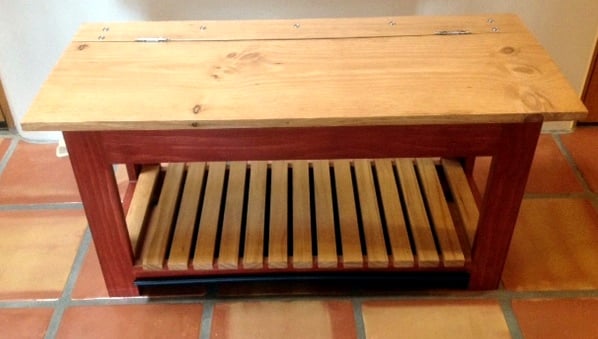
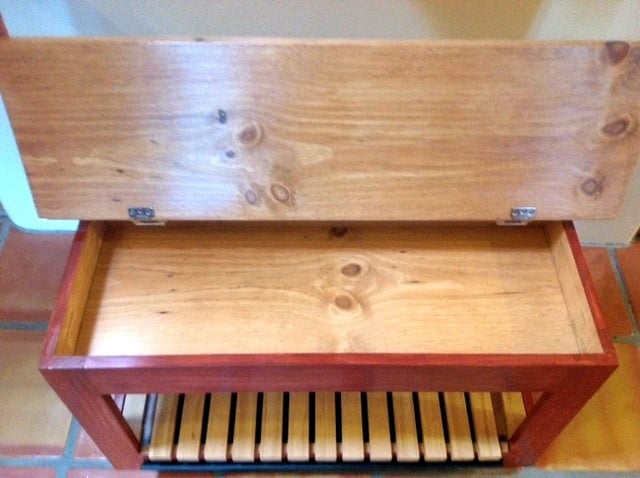
Why not a toy BOX? (And one already "worn in," so that it could take a lot of play throughout the years.) I knew right where to look for a plan--Ana White's website! It ended up being a gift for him from both of us, and while he's a little too young to notice it now, we hope it grows with him and brings him years of joy.
Thank you, Ana, for sharing your talent and helping us (and so many others) create something truly special. That old blanket can wait until Christmas!
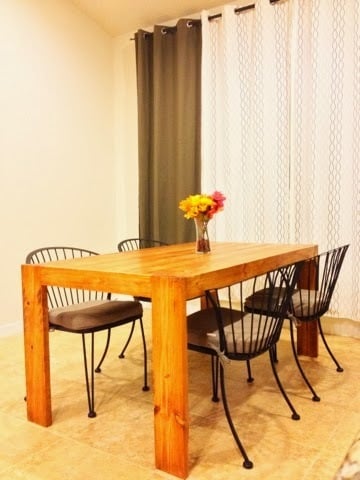
Estimated Cost
$100 or so (with some toys)
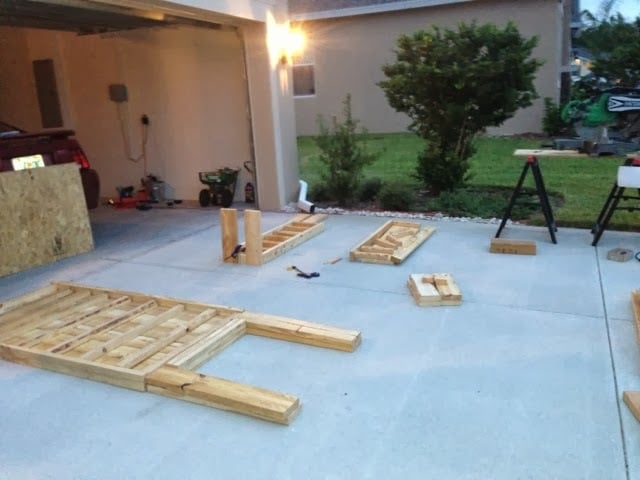
Estimated Time Investment
Week Long Project (20 Hours or More)
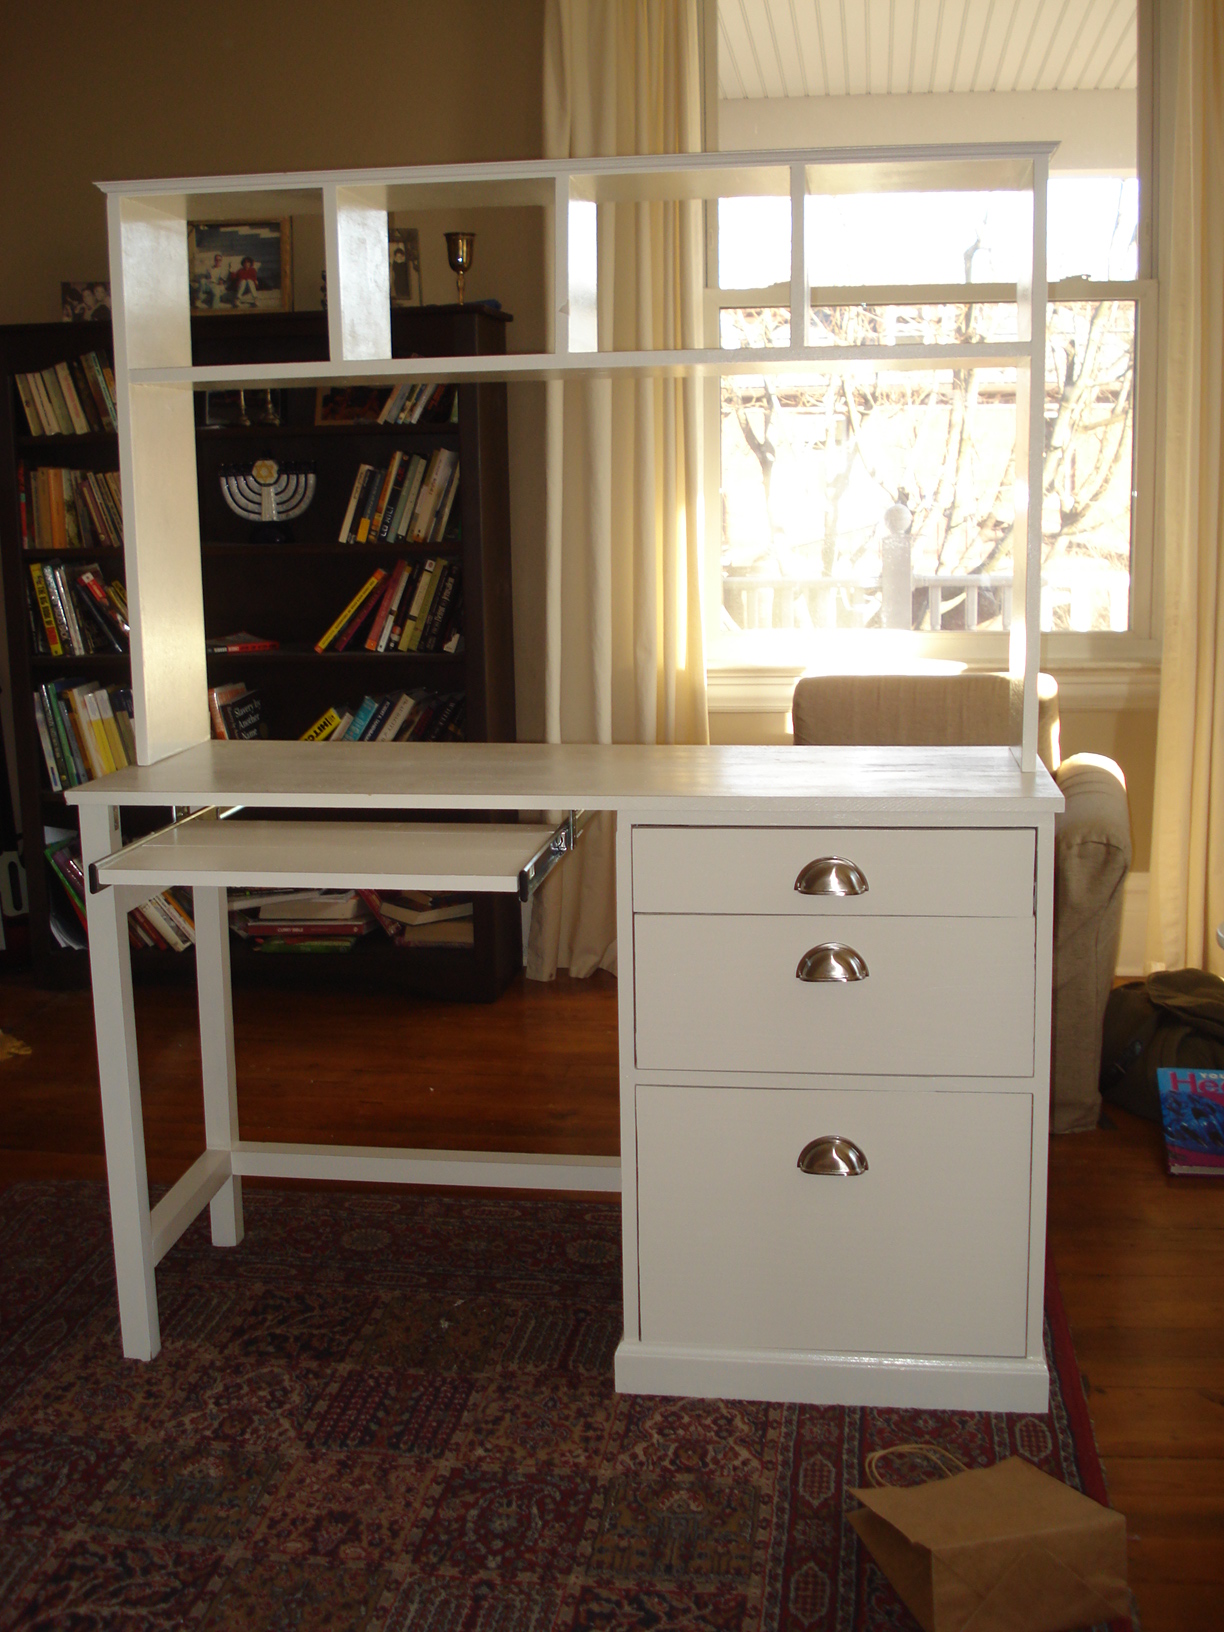
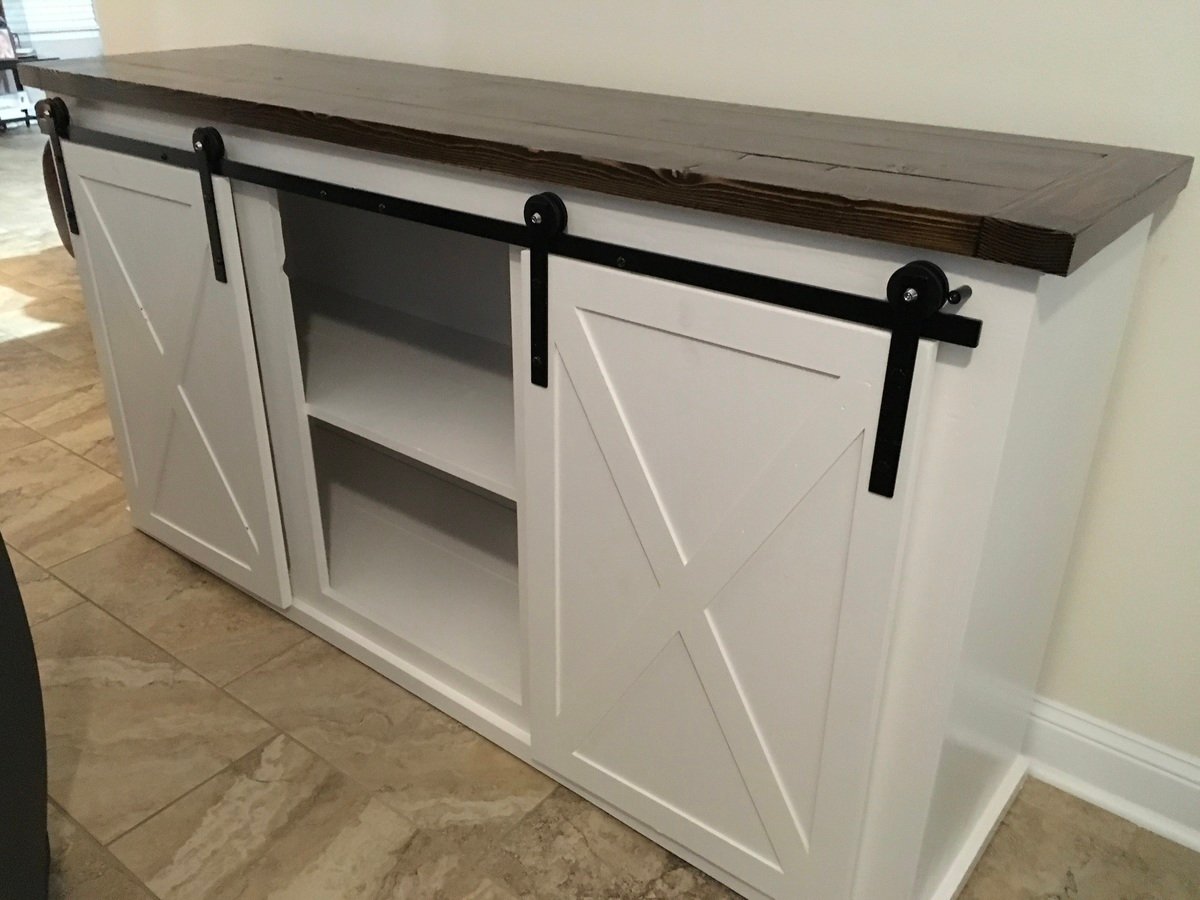
Finish Used
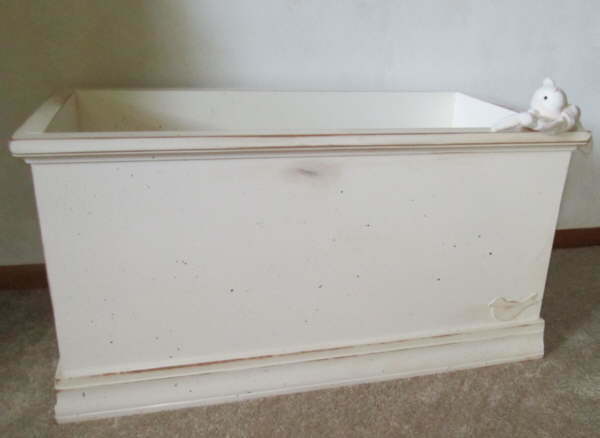
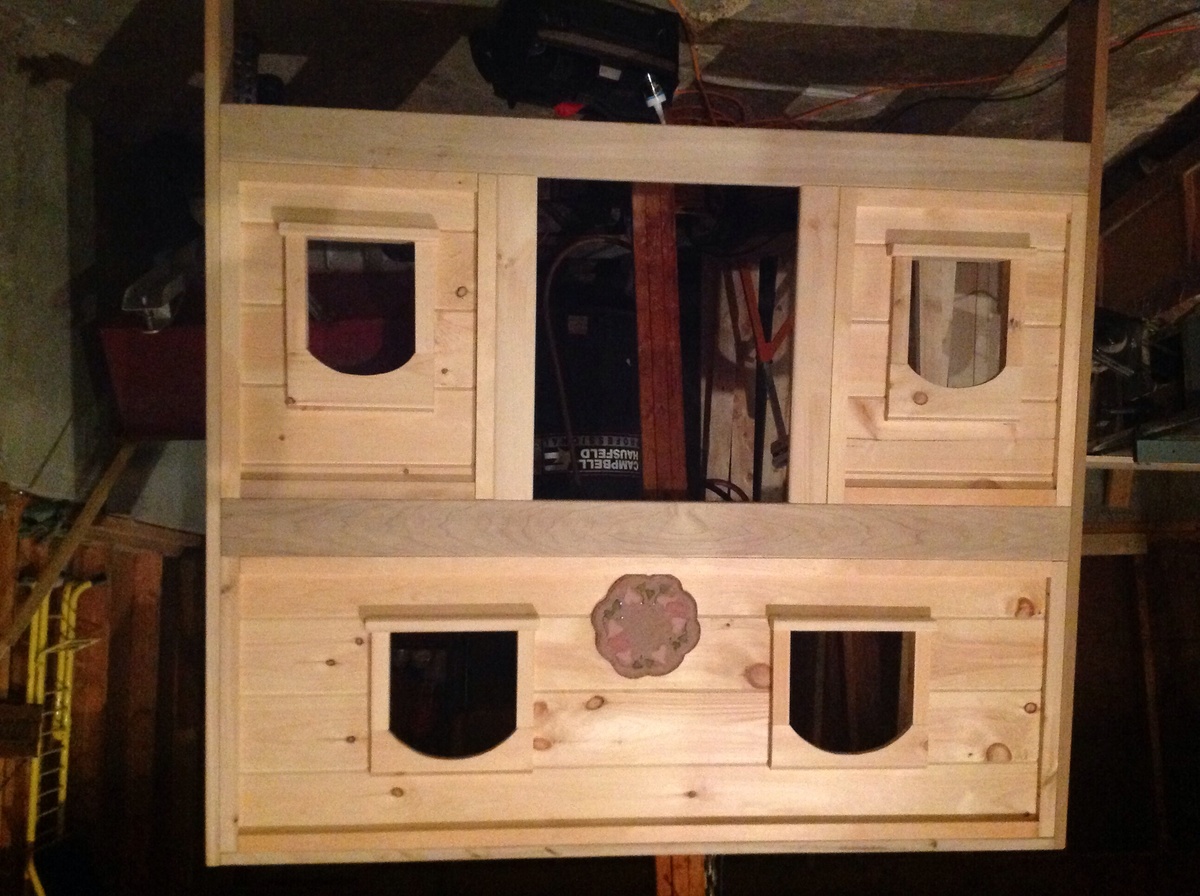
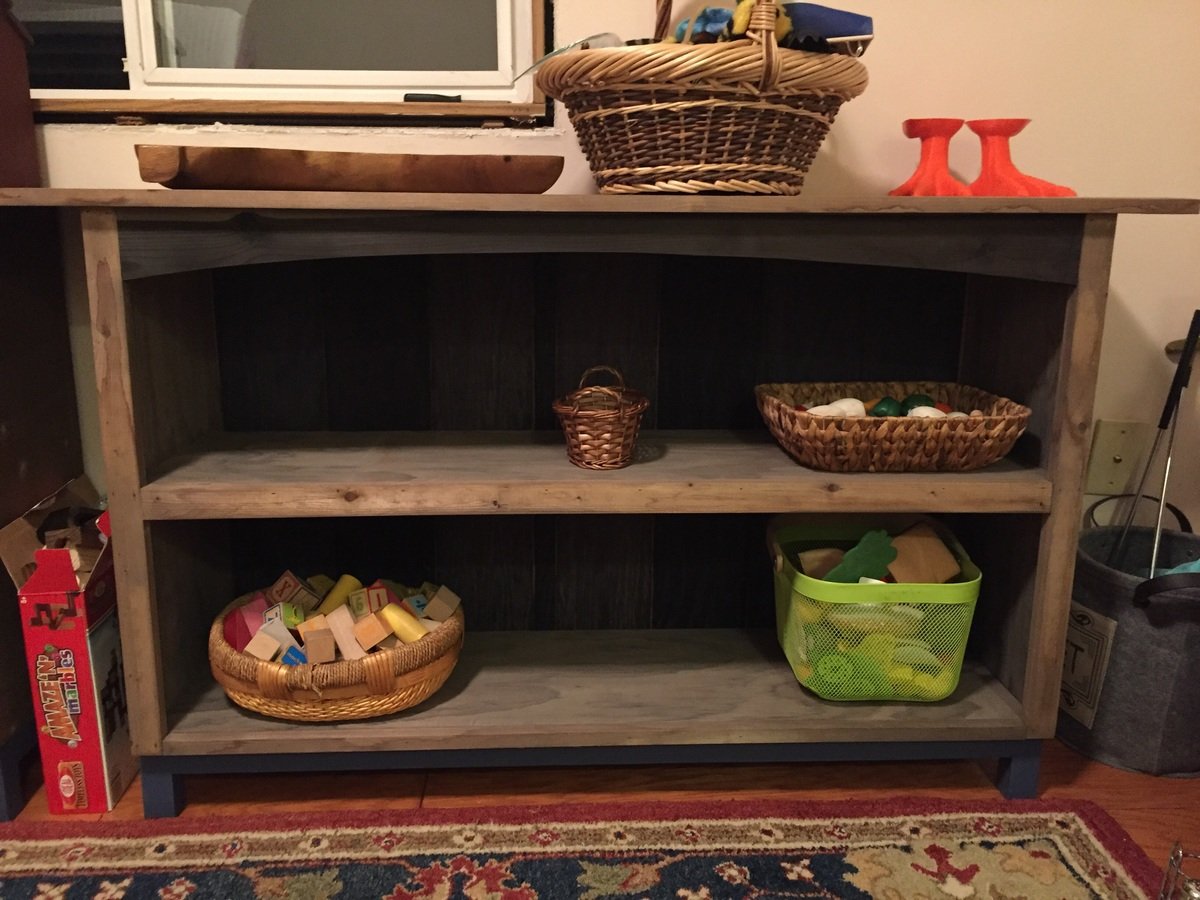
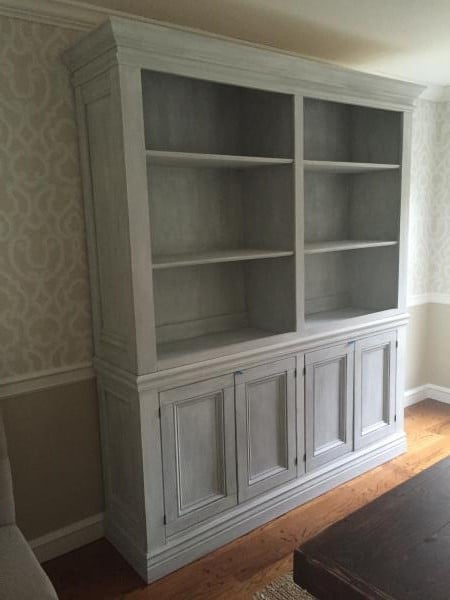
1) Paint on primer, and use a roller to smooth (with all paint coats); 2) Paint on Painter's Touch or American Accents by Rustoleum in "Heirloom White"; 3) Sand; 4) Paint; 5) Spatter on black craft paint; 6) Sand edges down to bare wood, and some surface areas; 7) Put water in brown craft paint, and use as a stain in sanded-off areas, wiping off excess with paper towels. Use some to make stains on other areas; 8) Hammer in random spots with a meat cleaver; 9) Varnish with one coat of semi-gloss. ~ The bird on the bottom right is a wood applique, purchased from a craft store and added before finishing.
Recommended Skill Level
Intermediate