Farmhouse L Desk
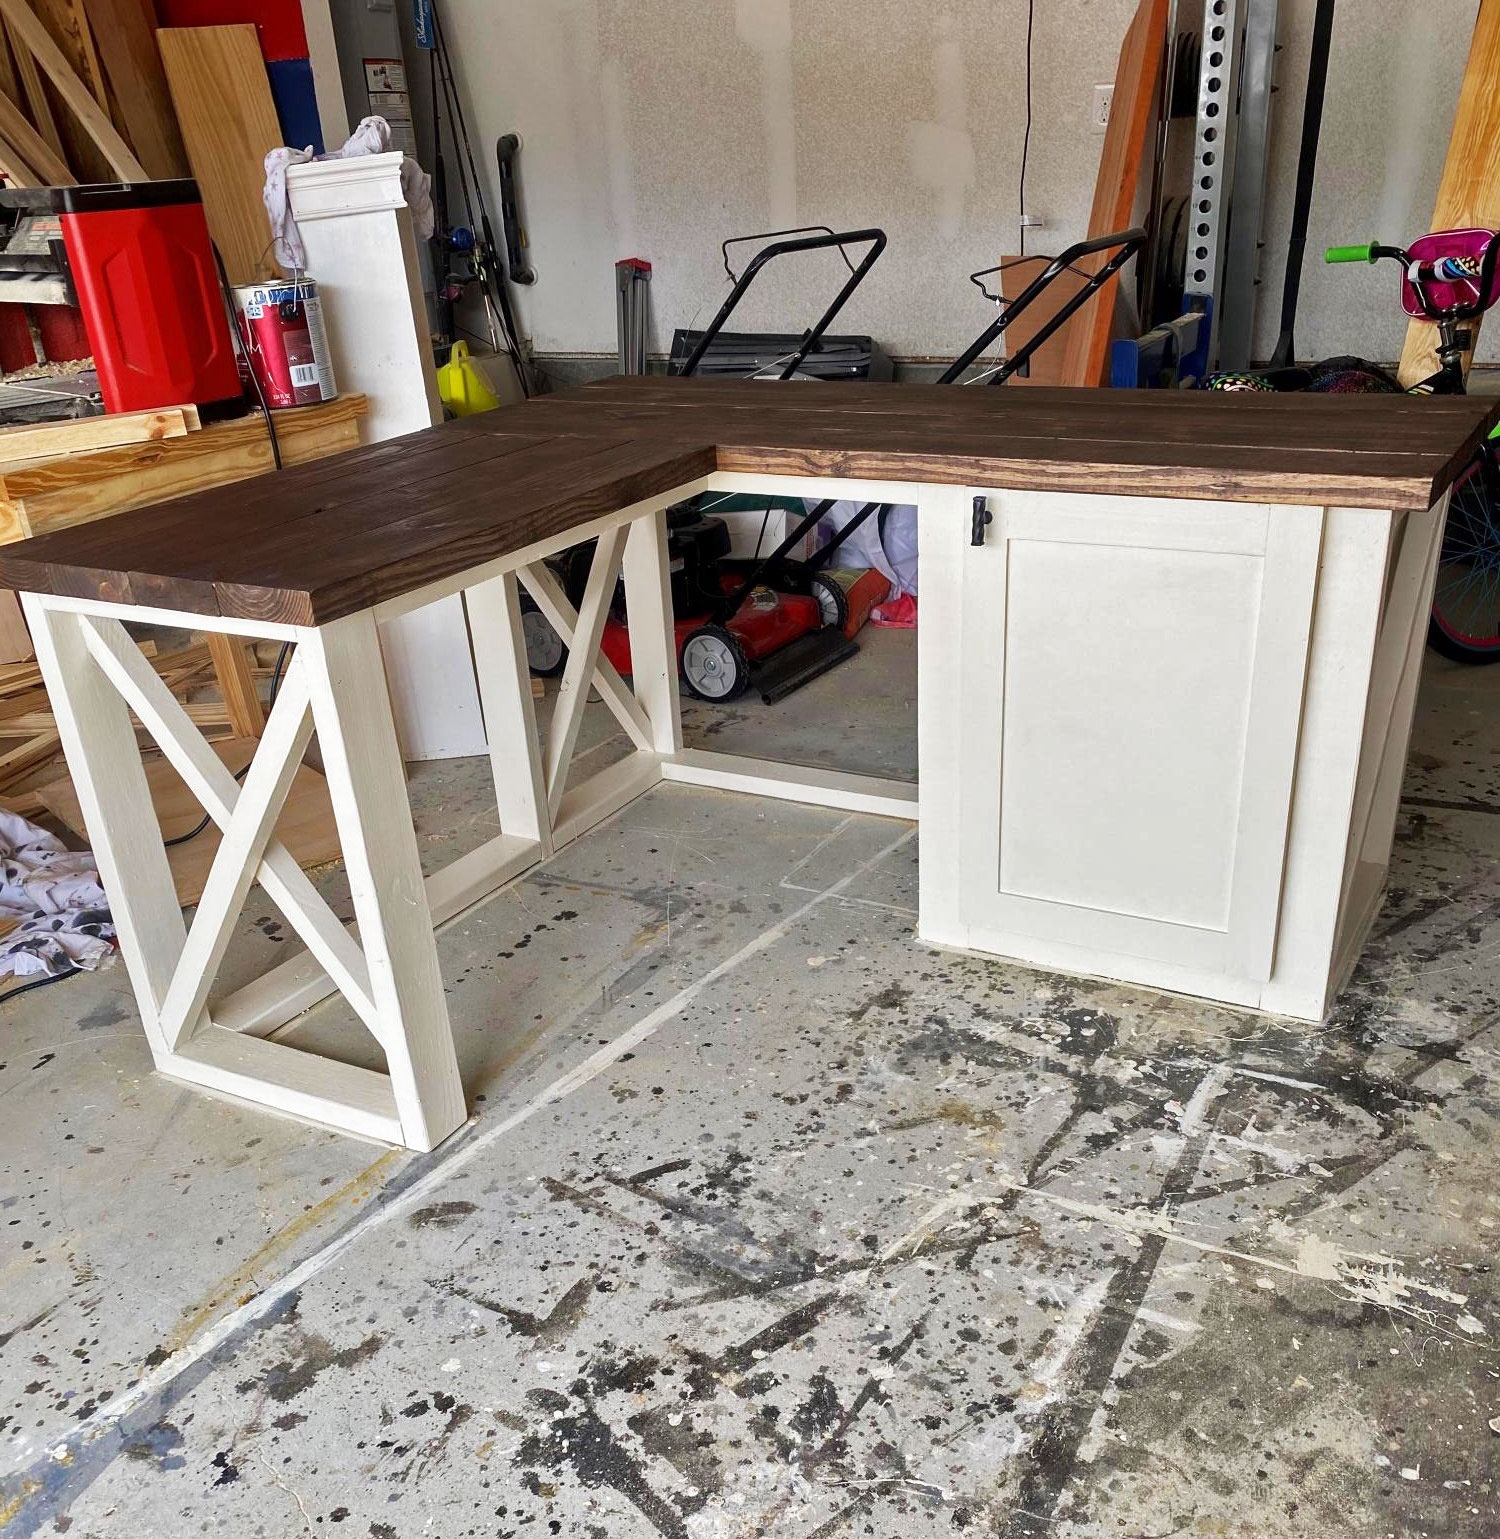
Put a twist on the farmhouse desk plans
Built from Plan(s)
Put a twist on the farmhouse desk plans

Followed the design on Ana's website, made the desk slightly taller. Put a pecan color coat on it and pink drawer fronts.


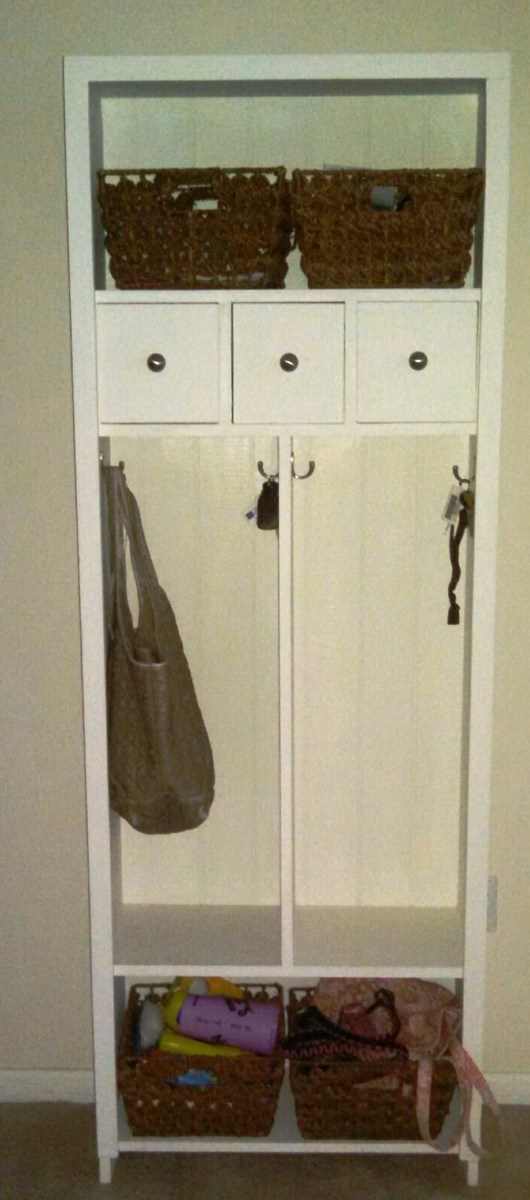
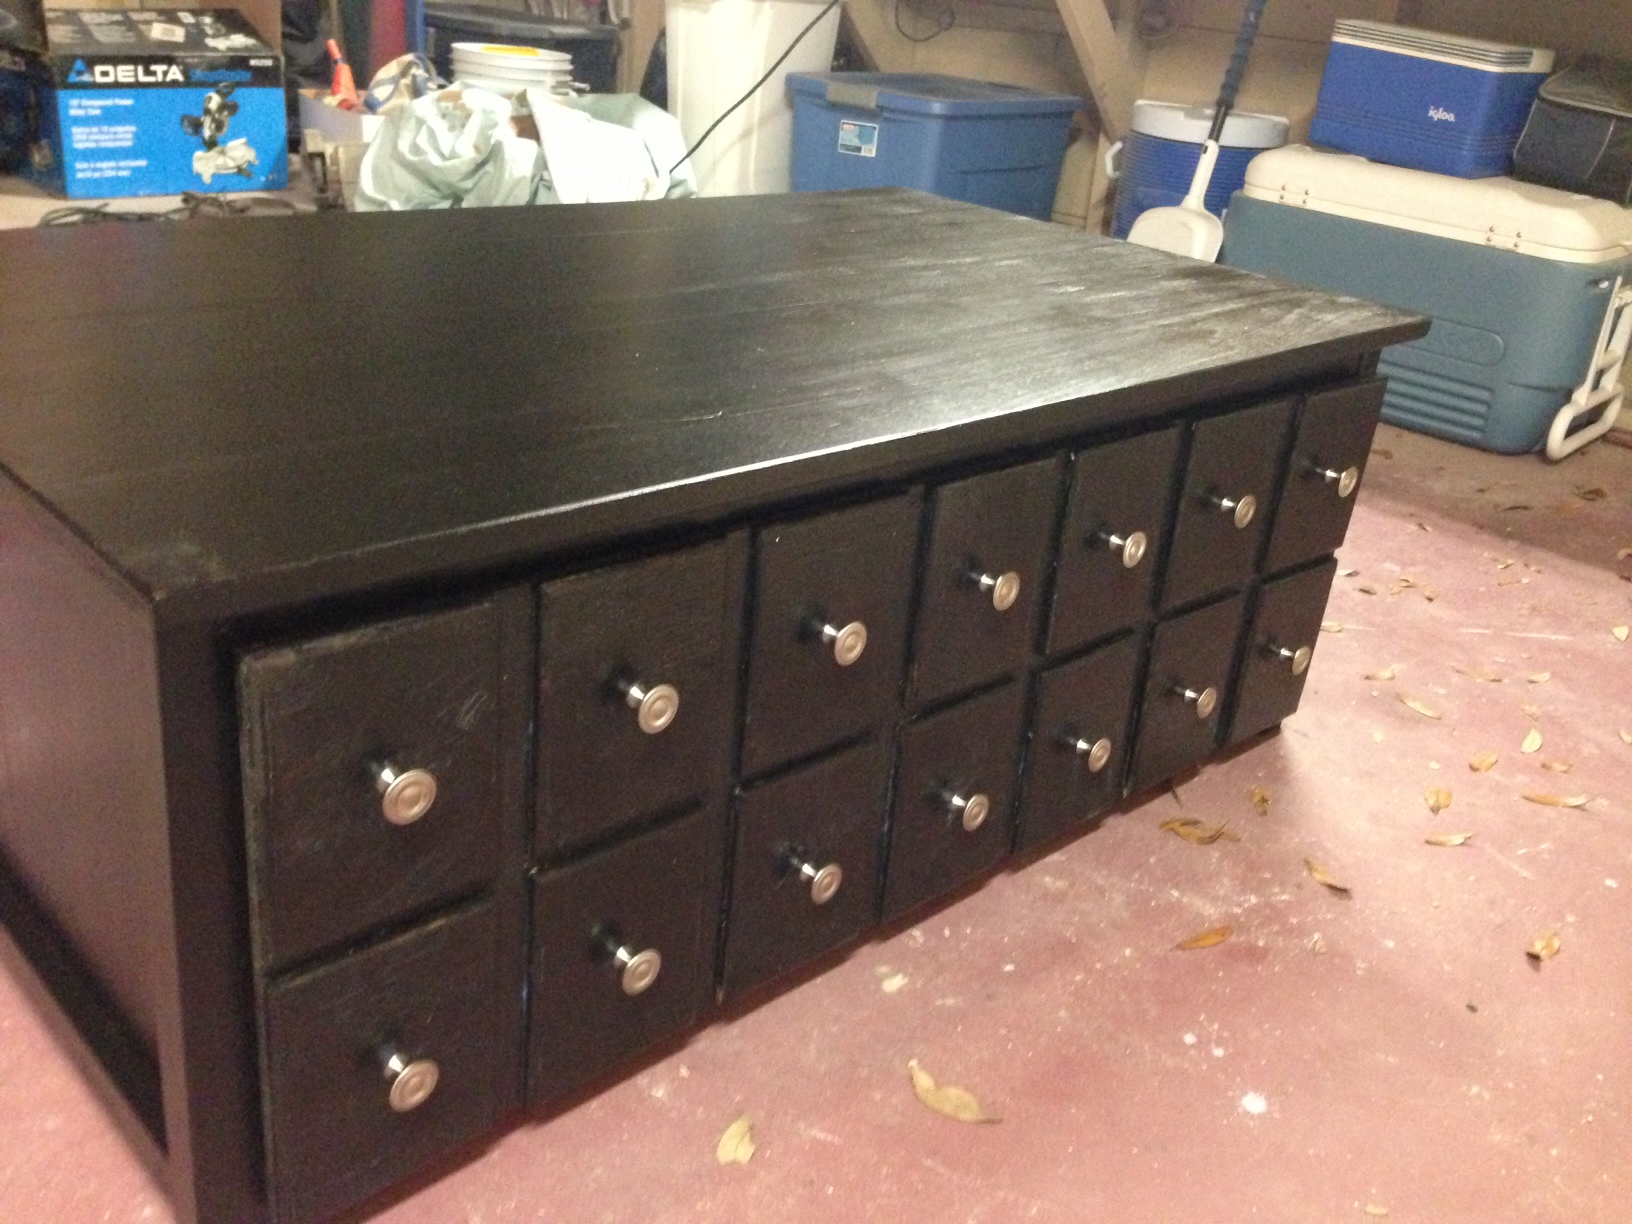
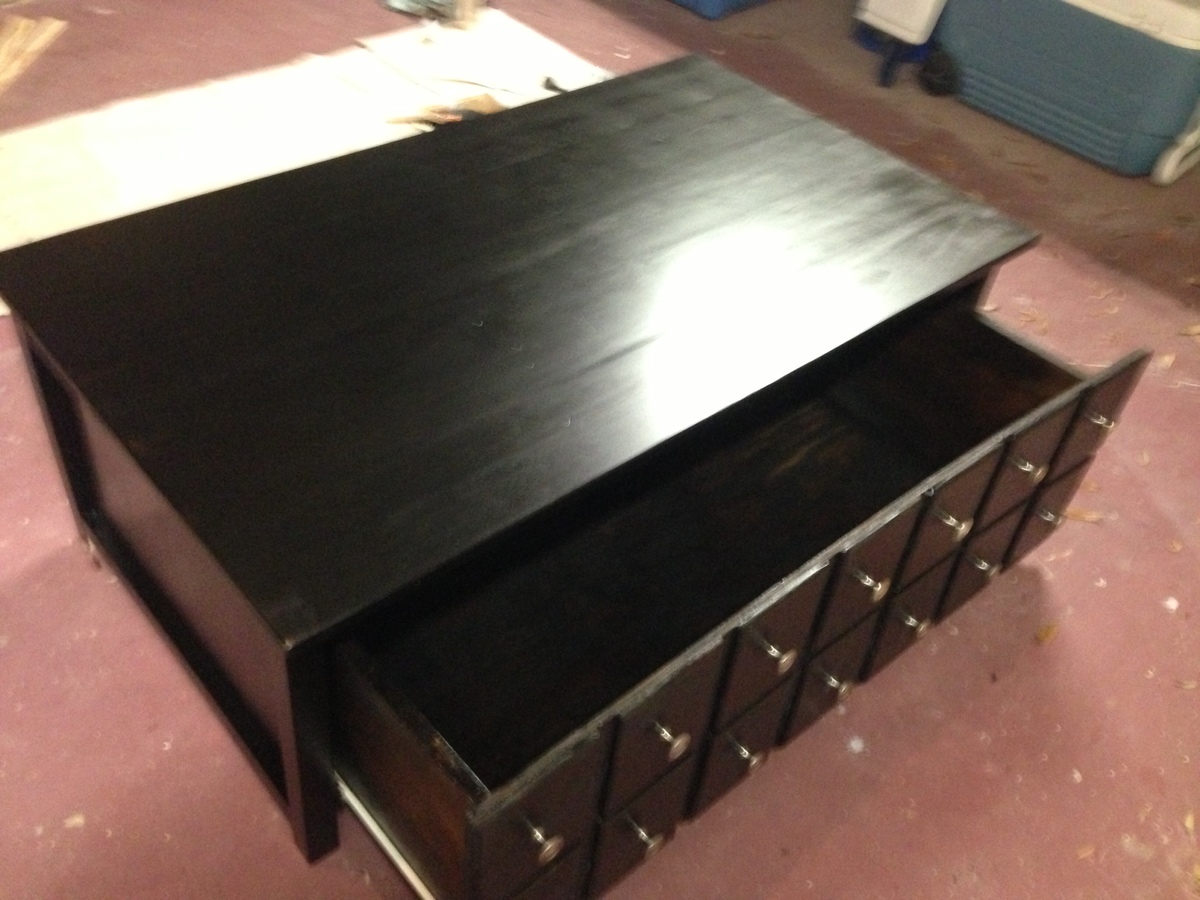
This was my first project which was at our daughter’s prompting with a gift of a Kreg Jig. With her marriage and husband joining the military it has been moved several times. The great thing is that it structurally it is as solid today as when built. Even though I don’t like painting I could not turn the request to sand and repaint. Now I have added a miter saw and installing a dust containment system to our garage along with a side yard full of pallets. I used http://ana-white.com/2011/12/plans/hillary039s-locker-cabinet-charging-… to make the project.
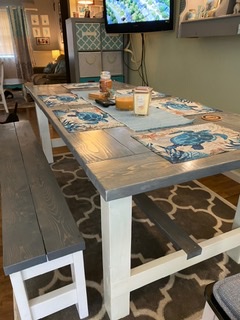
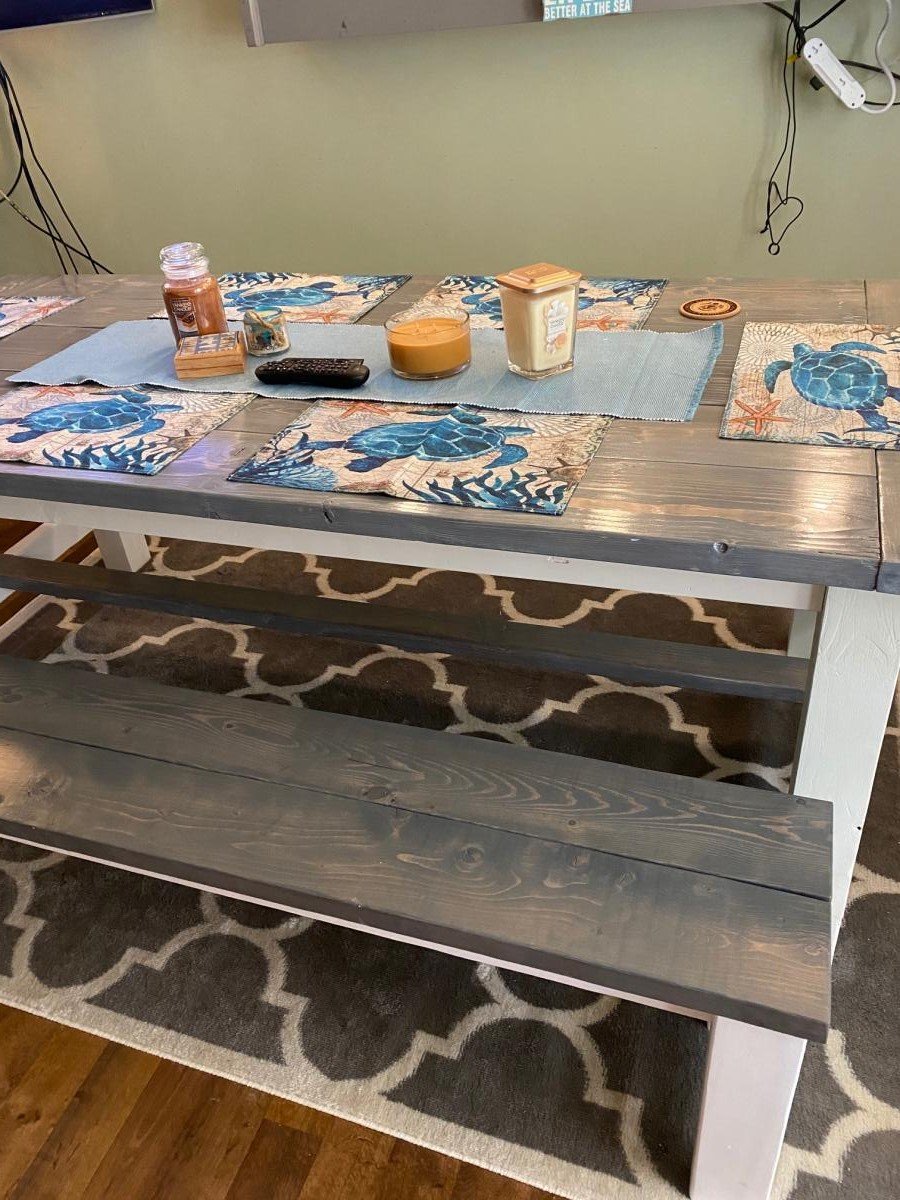
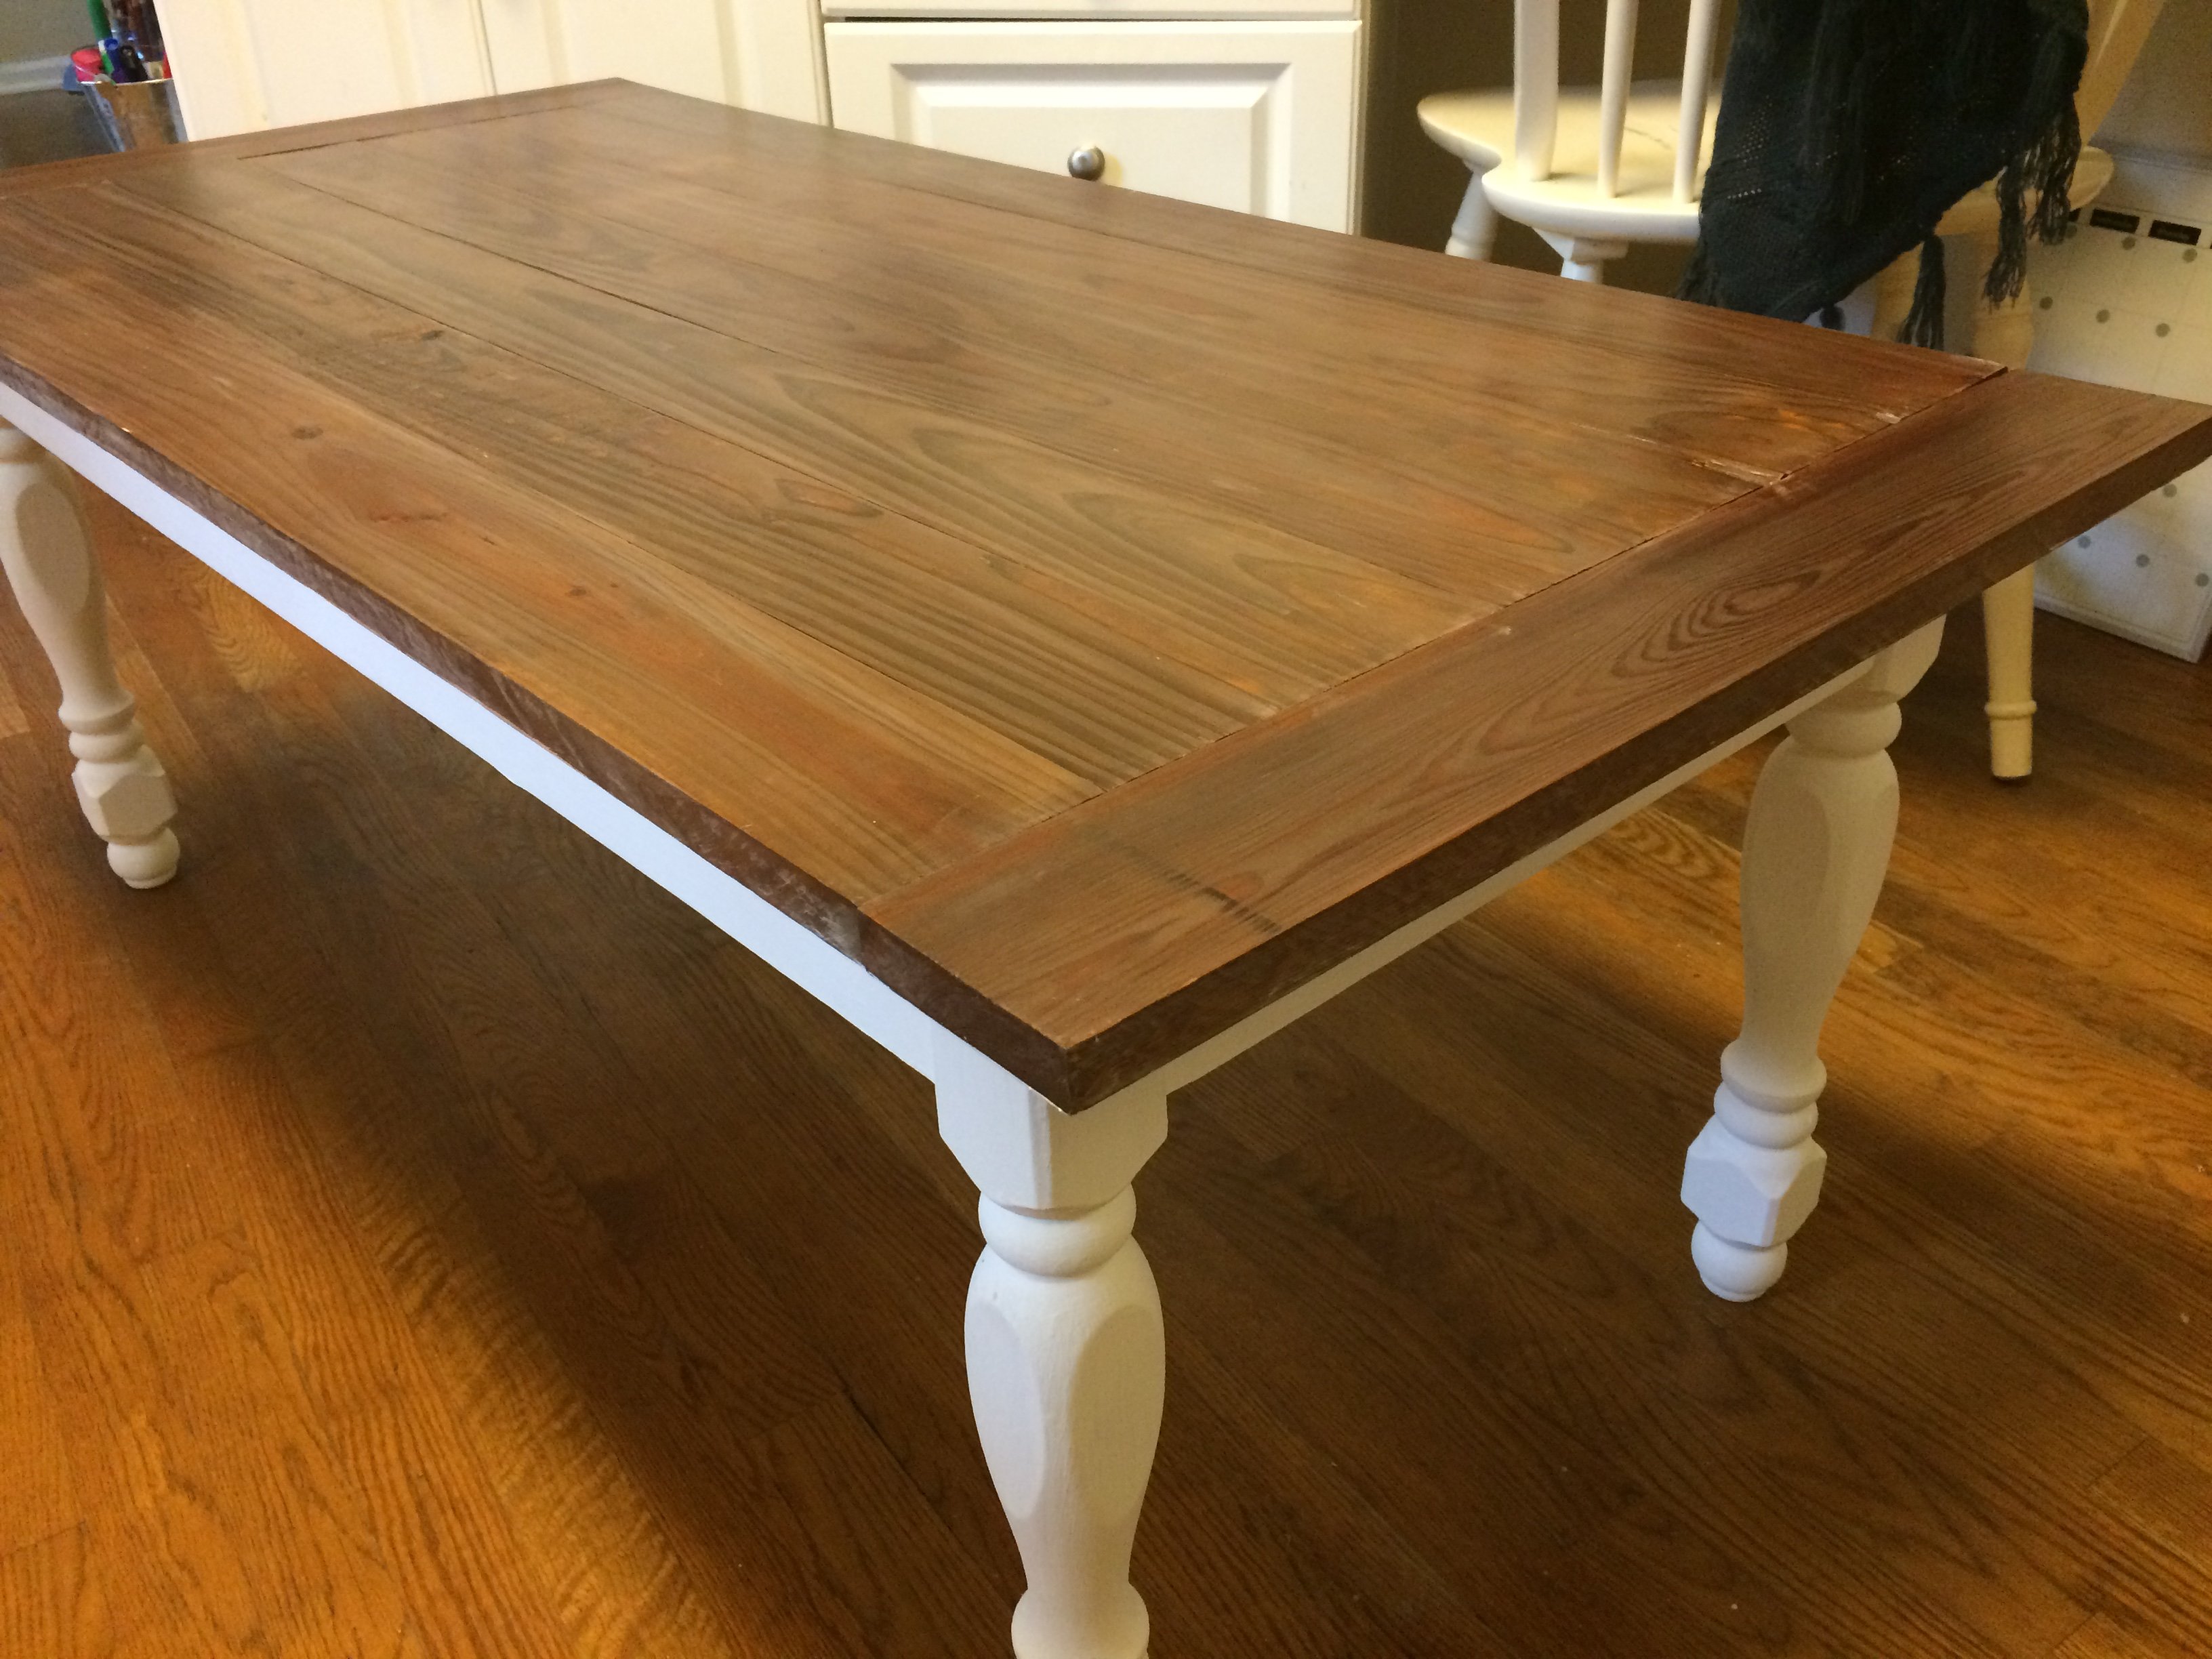
Once I made the farmhouse table, I had to make the bench to go with it! It compliments the table very well. Easy to build only took a couple hours from start to finish. I also used the kreg pocket hole jig on this project as well so no screw holes could been seen. Thank you Ana for the plans!

This project was super easy to follow the instructions. We did have to rip a couple of the boards for the paneling on the back to make everything fit together with no gaps but it turned out beautiful!
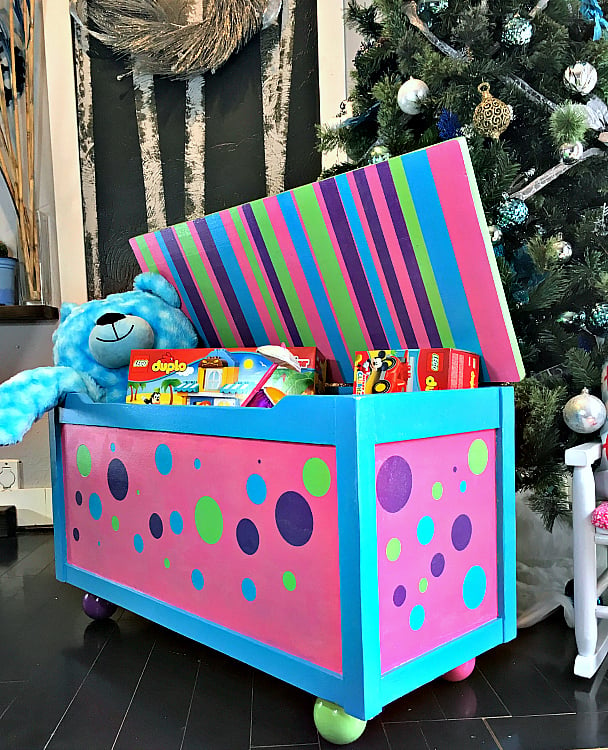
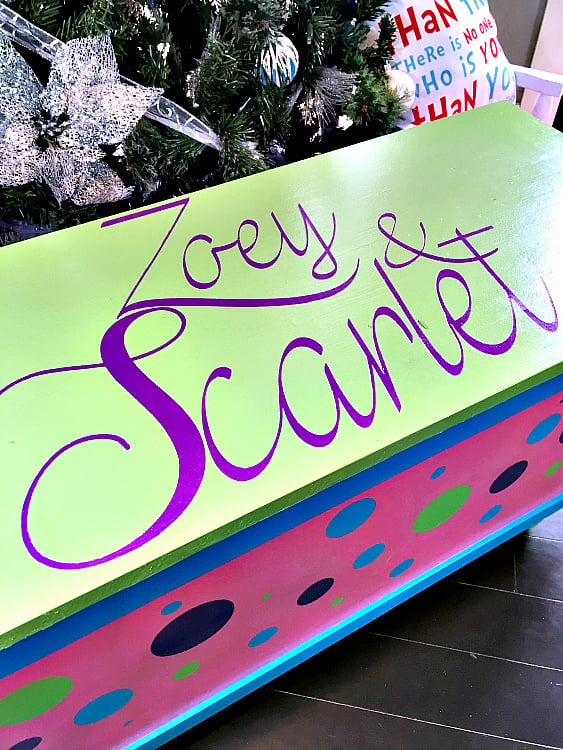
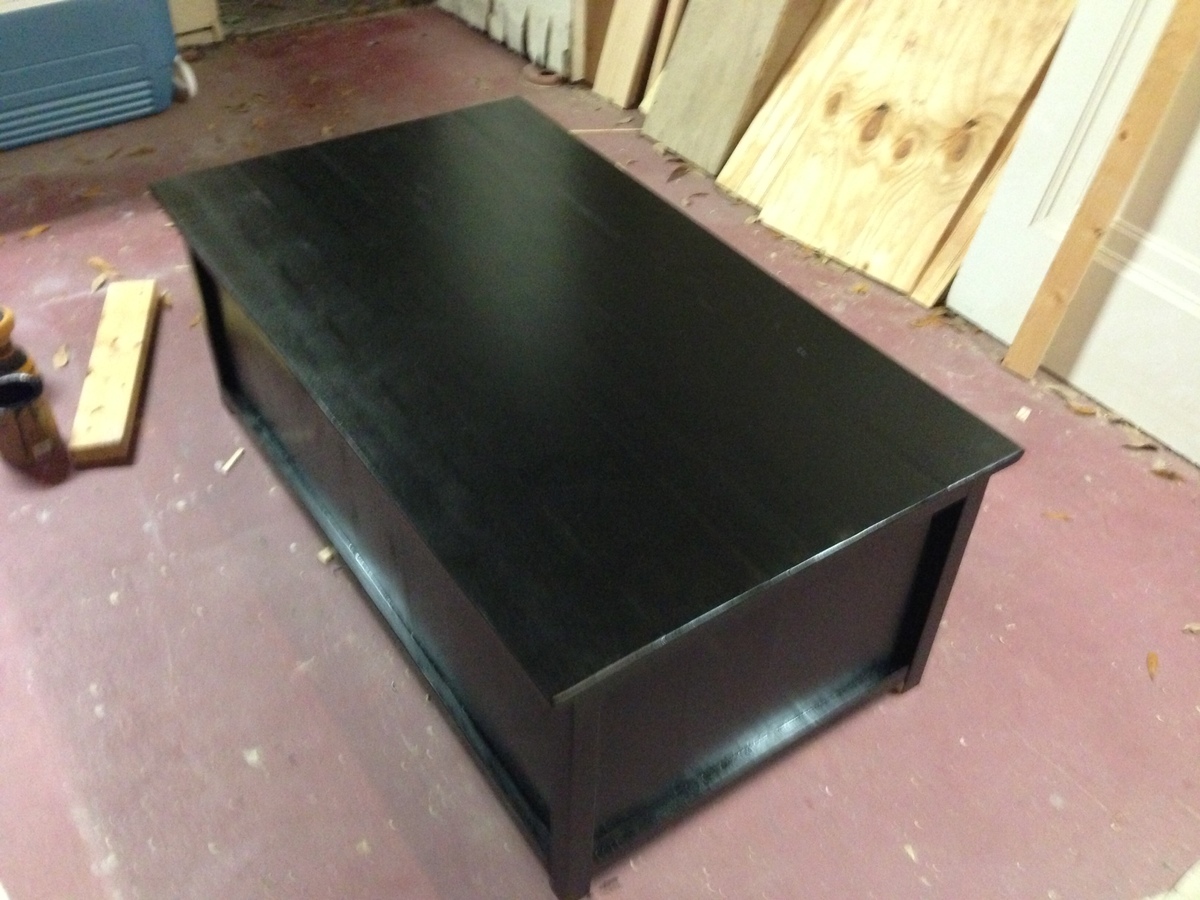
I wanted a bright and fun toy box to give to my nieces for Christmas because they are so bright and fun. I opted for fun little ball feet instead of continuing the sides down. Thanks for the great plans!

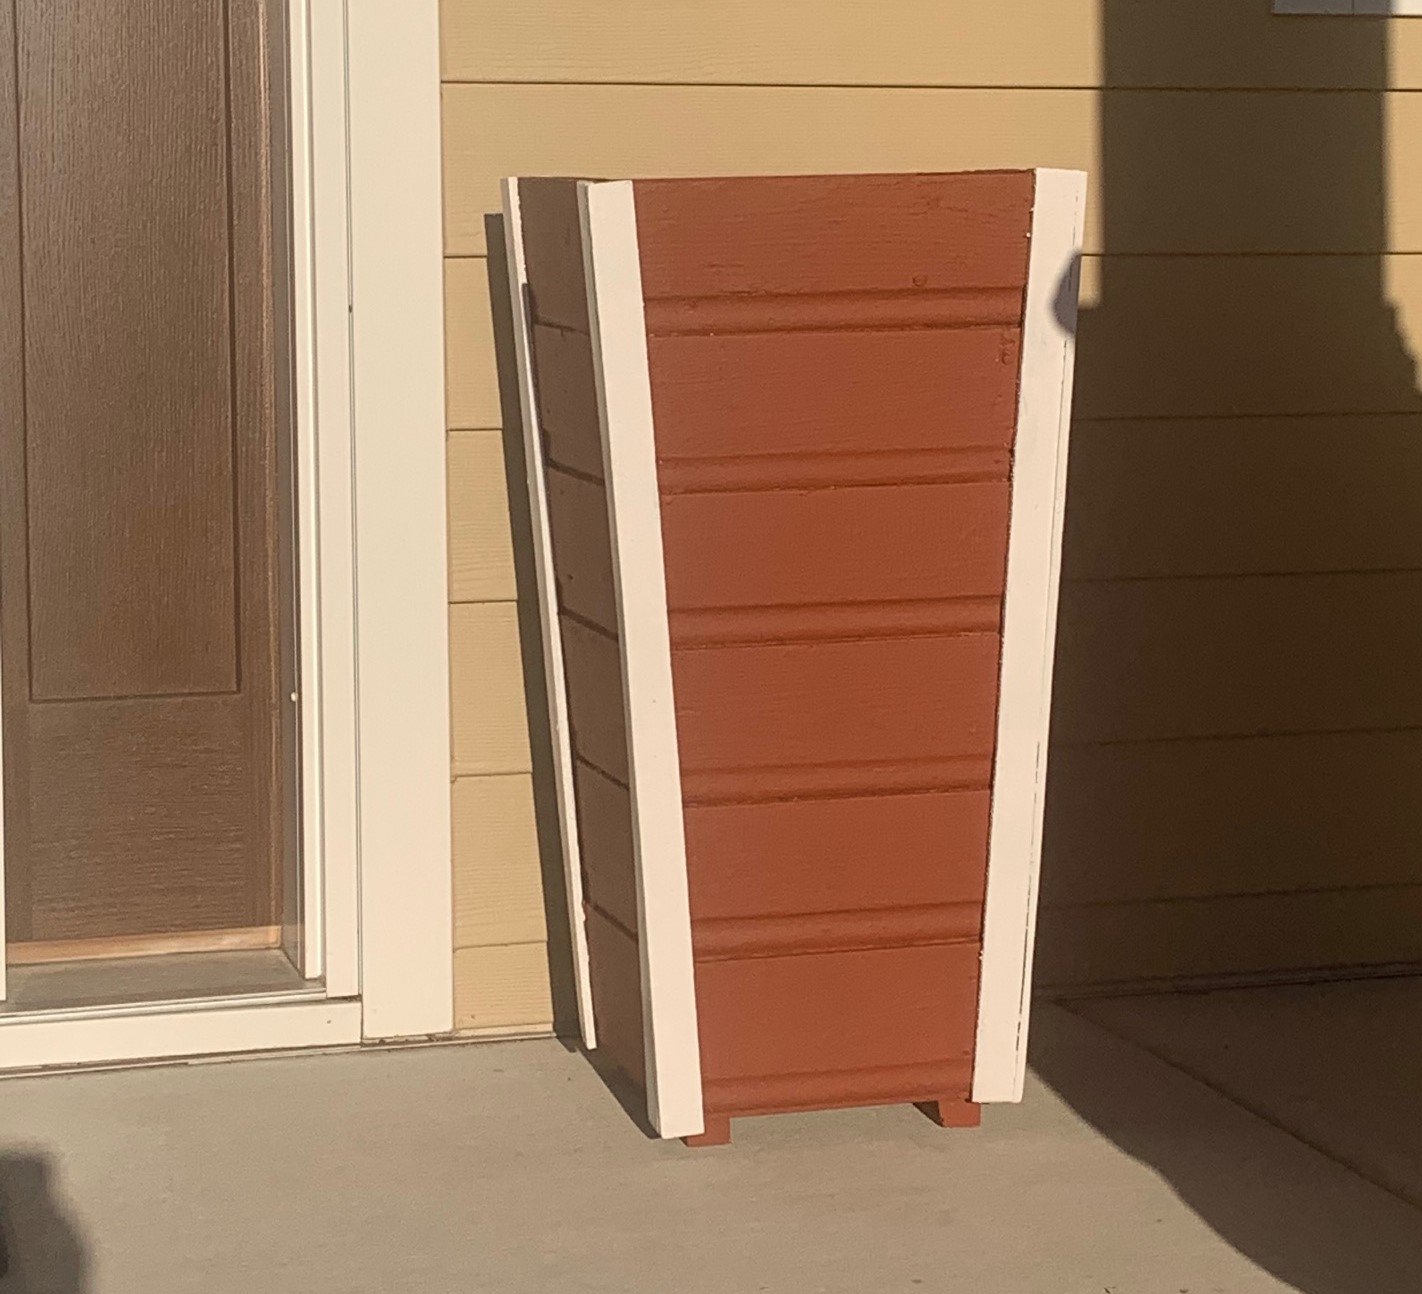
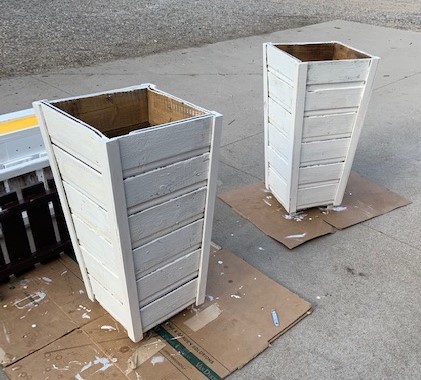
I did this this spring in preparation for my summer garden flowers
My neighbor found this>50 year old barn wood and thought I could use it.
Furring strips were from a garage pile
used stock of nails
paints extra
cost almost nothing
enjoyed my time with this
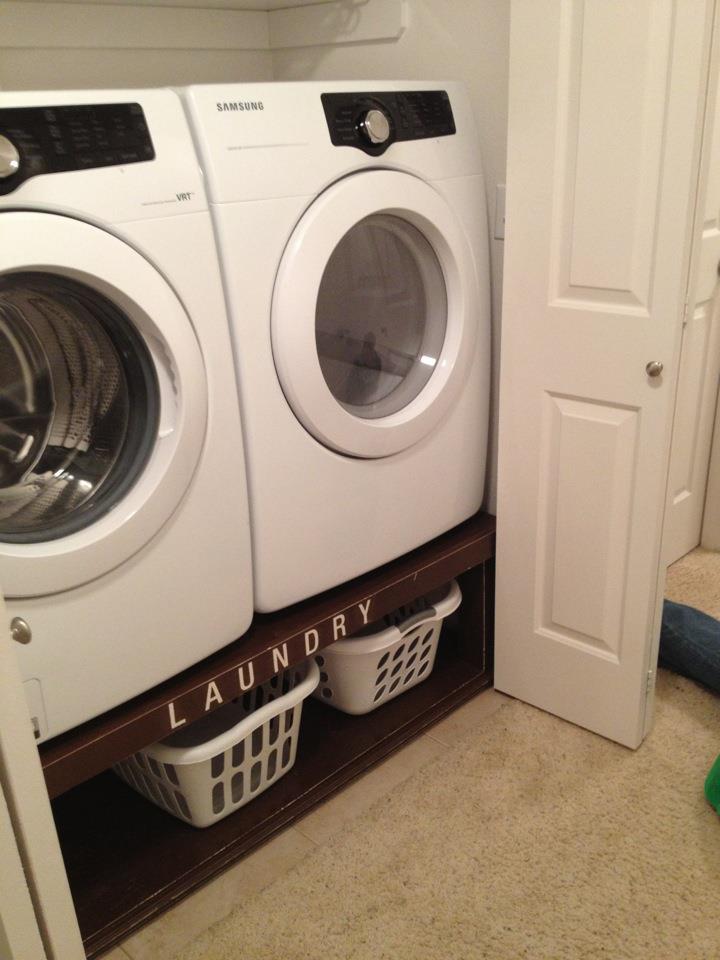
This is my version of the washer/ dryer pedestal. I changed a couple of things and made it smaller to fit in my closet but I am very pleased with the outcome. This is my very FIRST project to do in my home and although it brought tears a couple of times, it is very sturdy and extremely useful. It definitely makes a difference and my husband hasn't stopped doing laundry since we put it in so I am SUPER happy!
A few things about the project, it took me much longer because I am a beginner but it was definitely worth taking my time. It is not completely perfect but it goes in a closet and it for laundry so the main thing was sturdiness for me. I spent quite a bit of time painting it and researching and trying different techniques. I believe she used MDF cover for the final touch so hers looks more flawless. I need to go back and fill in a couple of scratches from where we knicked it with the dryer but it serves the purpose.
Fri, 11/09/2012 - 19:39
I too started my first project and hand many moments of sweat, tears, and soreness( mostly the day after) but we finished it an although its not perfect it slowly started to look better...lol I just had to give you some kudos because I think it looks great and its even better because you made it. Hope to see more!

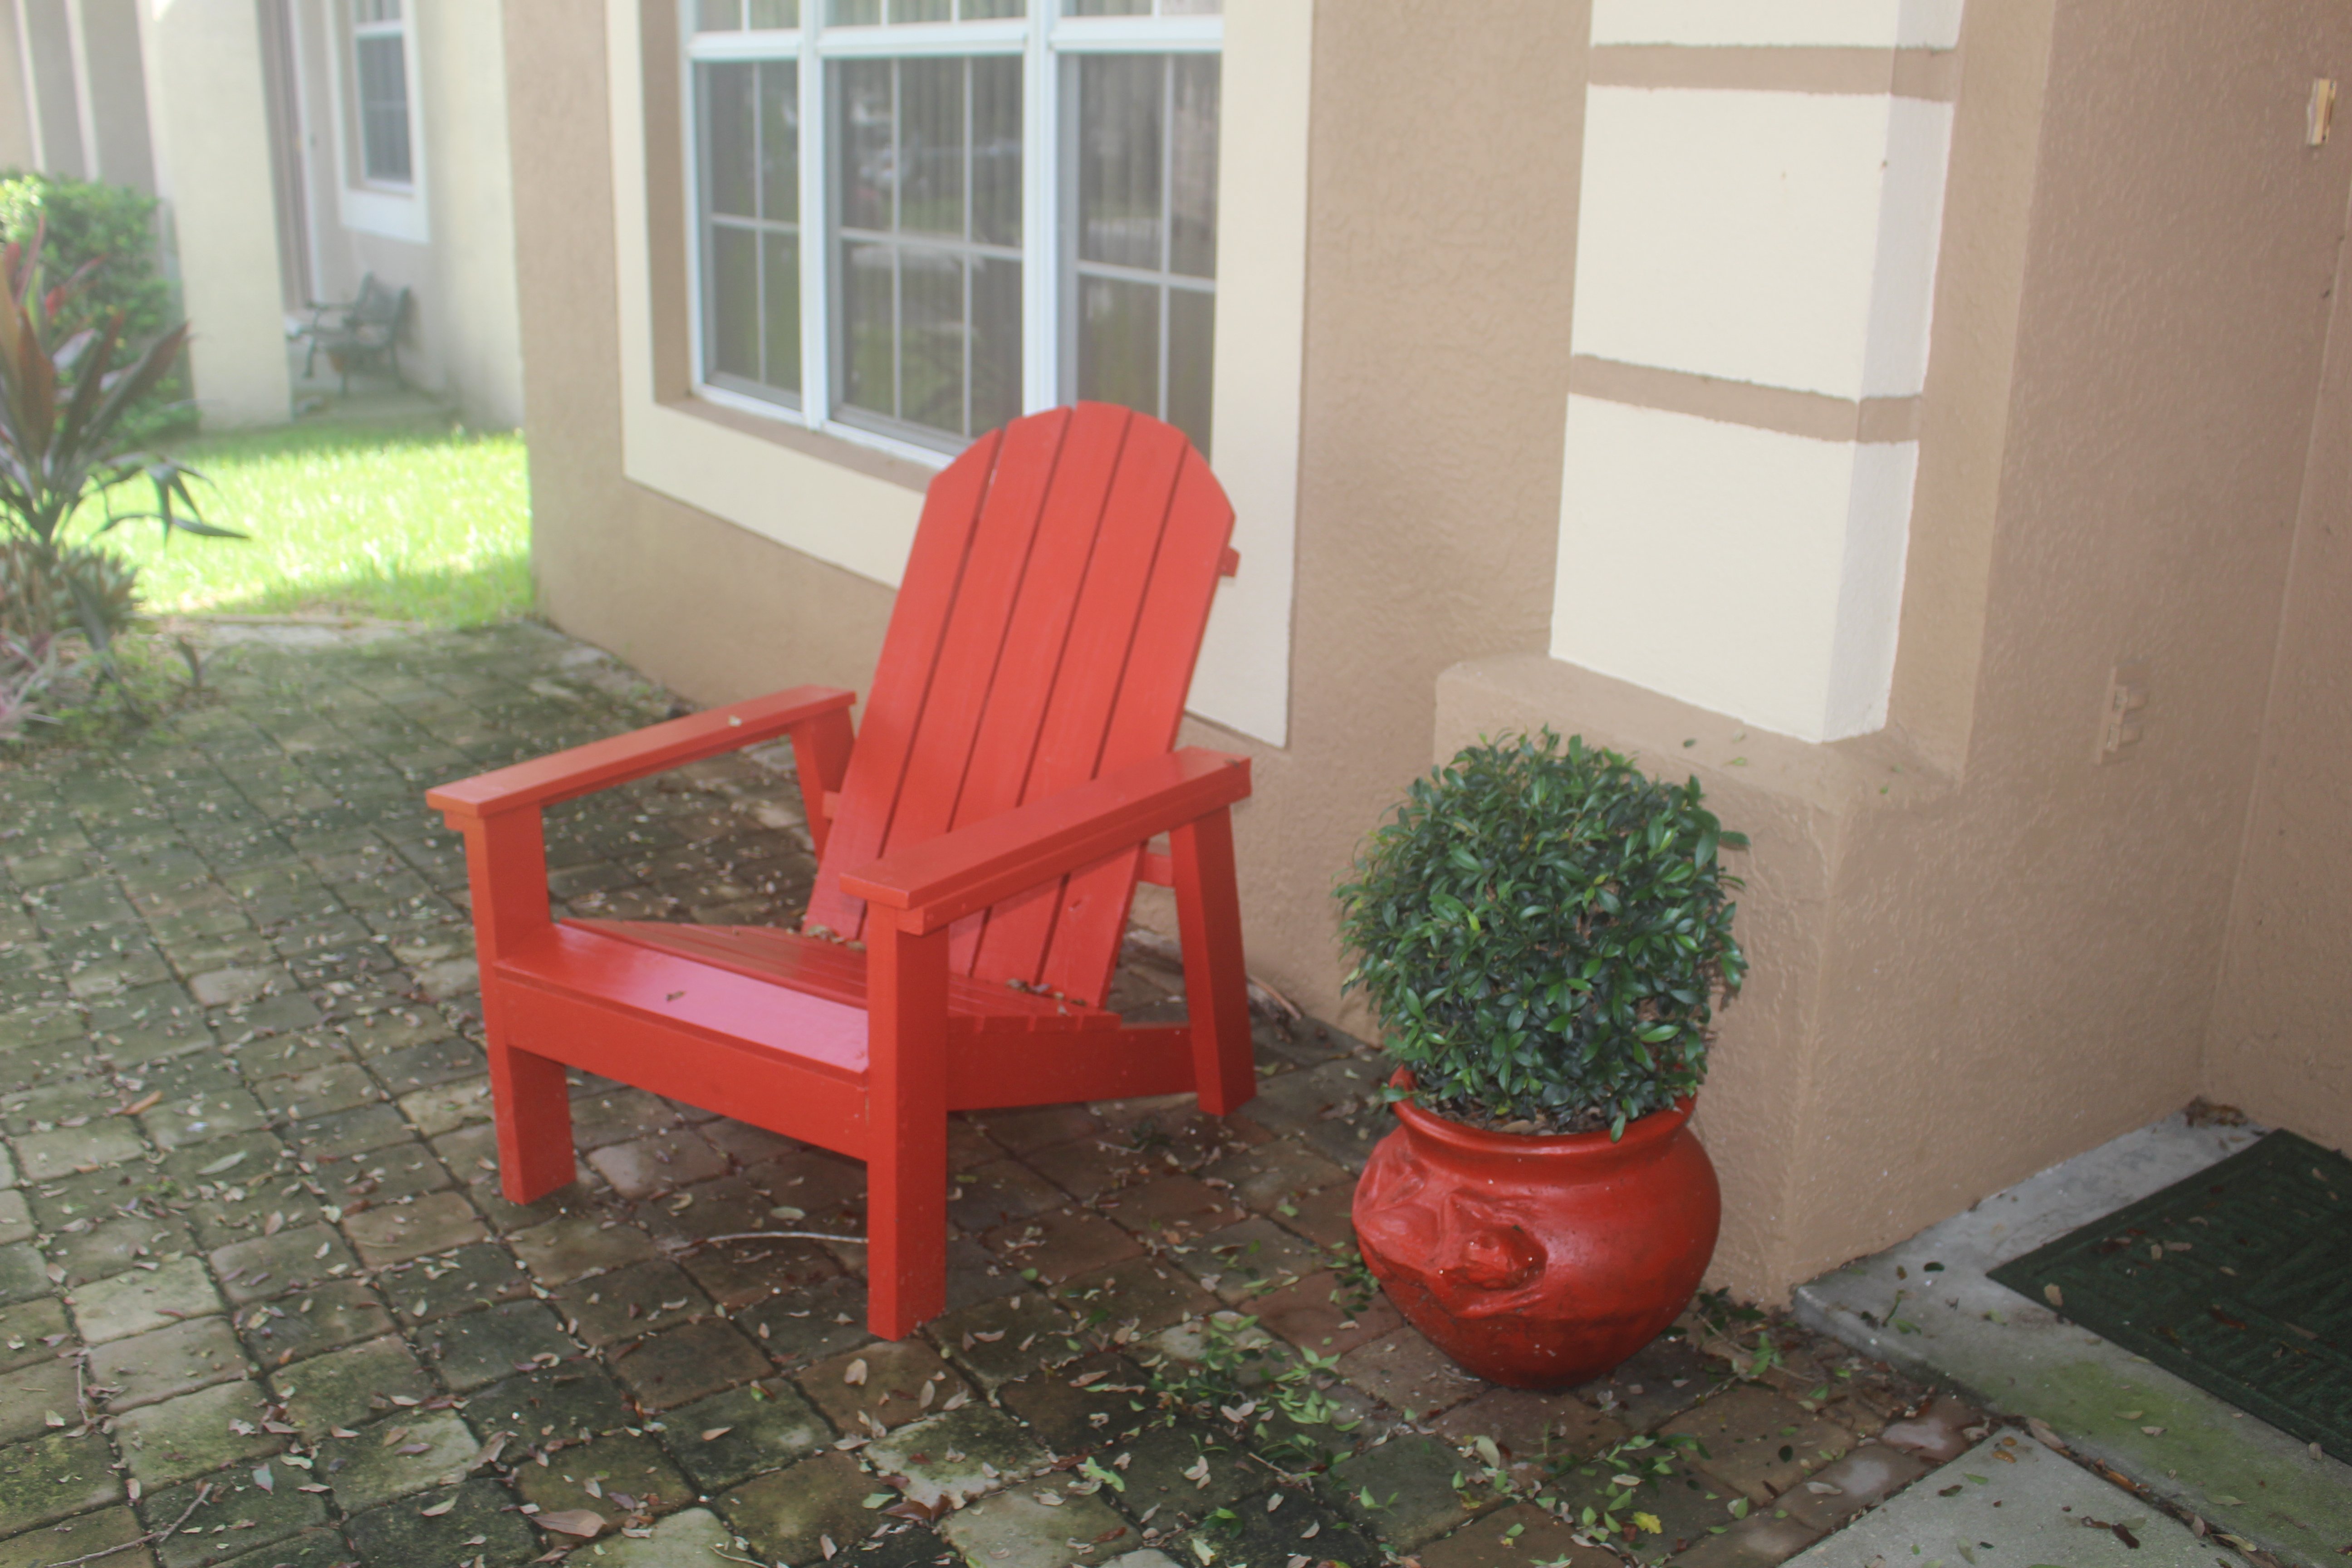
Loved this project, it gave me a chance to work on angled cuts. For the finish I used Minwax Express Color in Walnut.

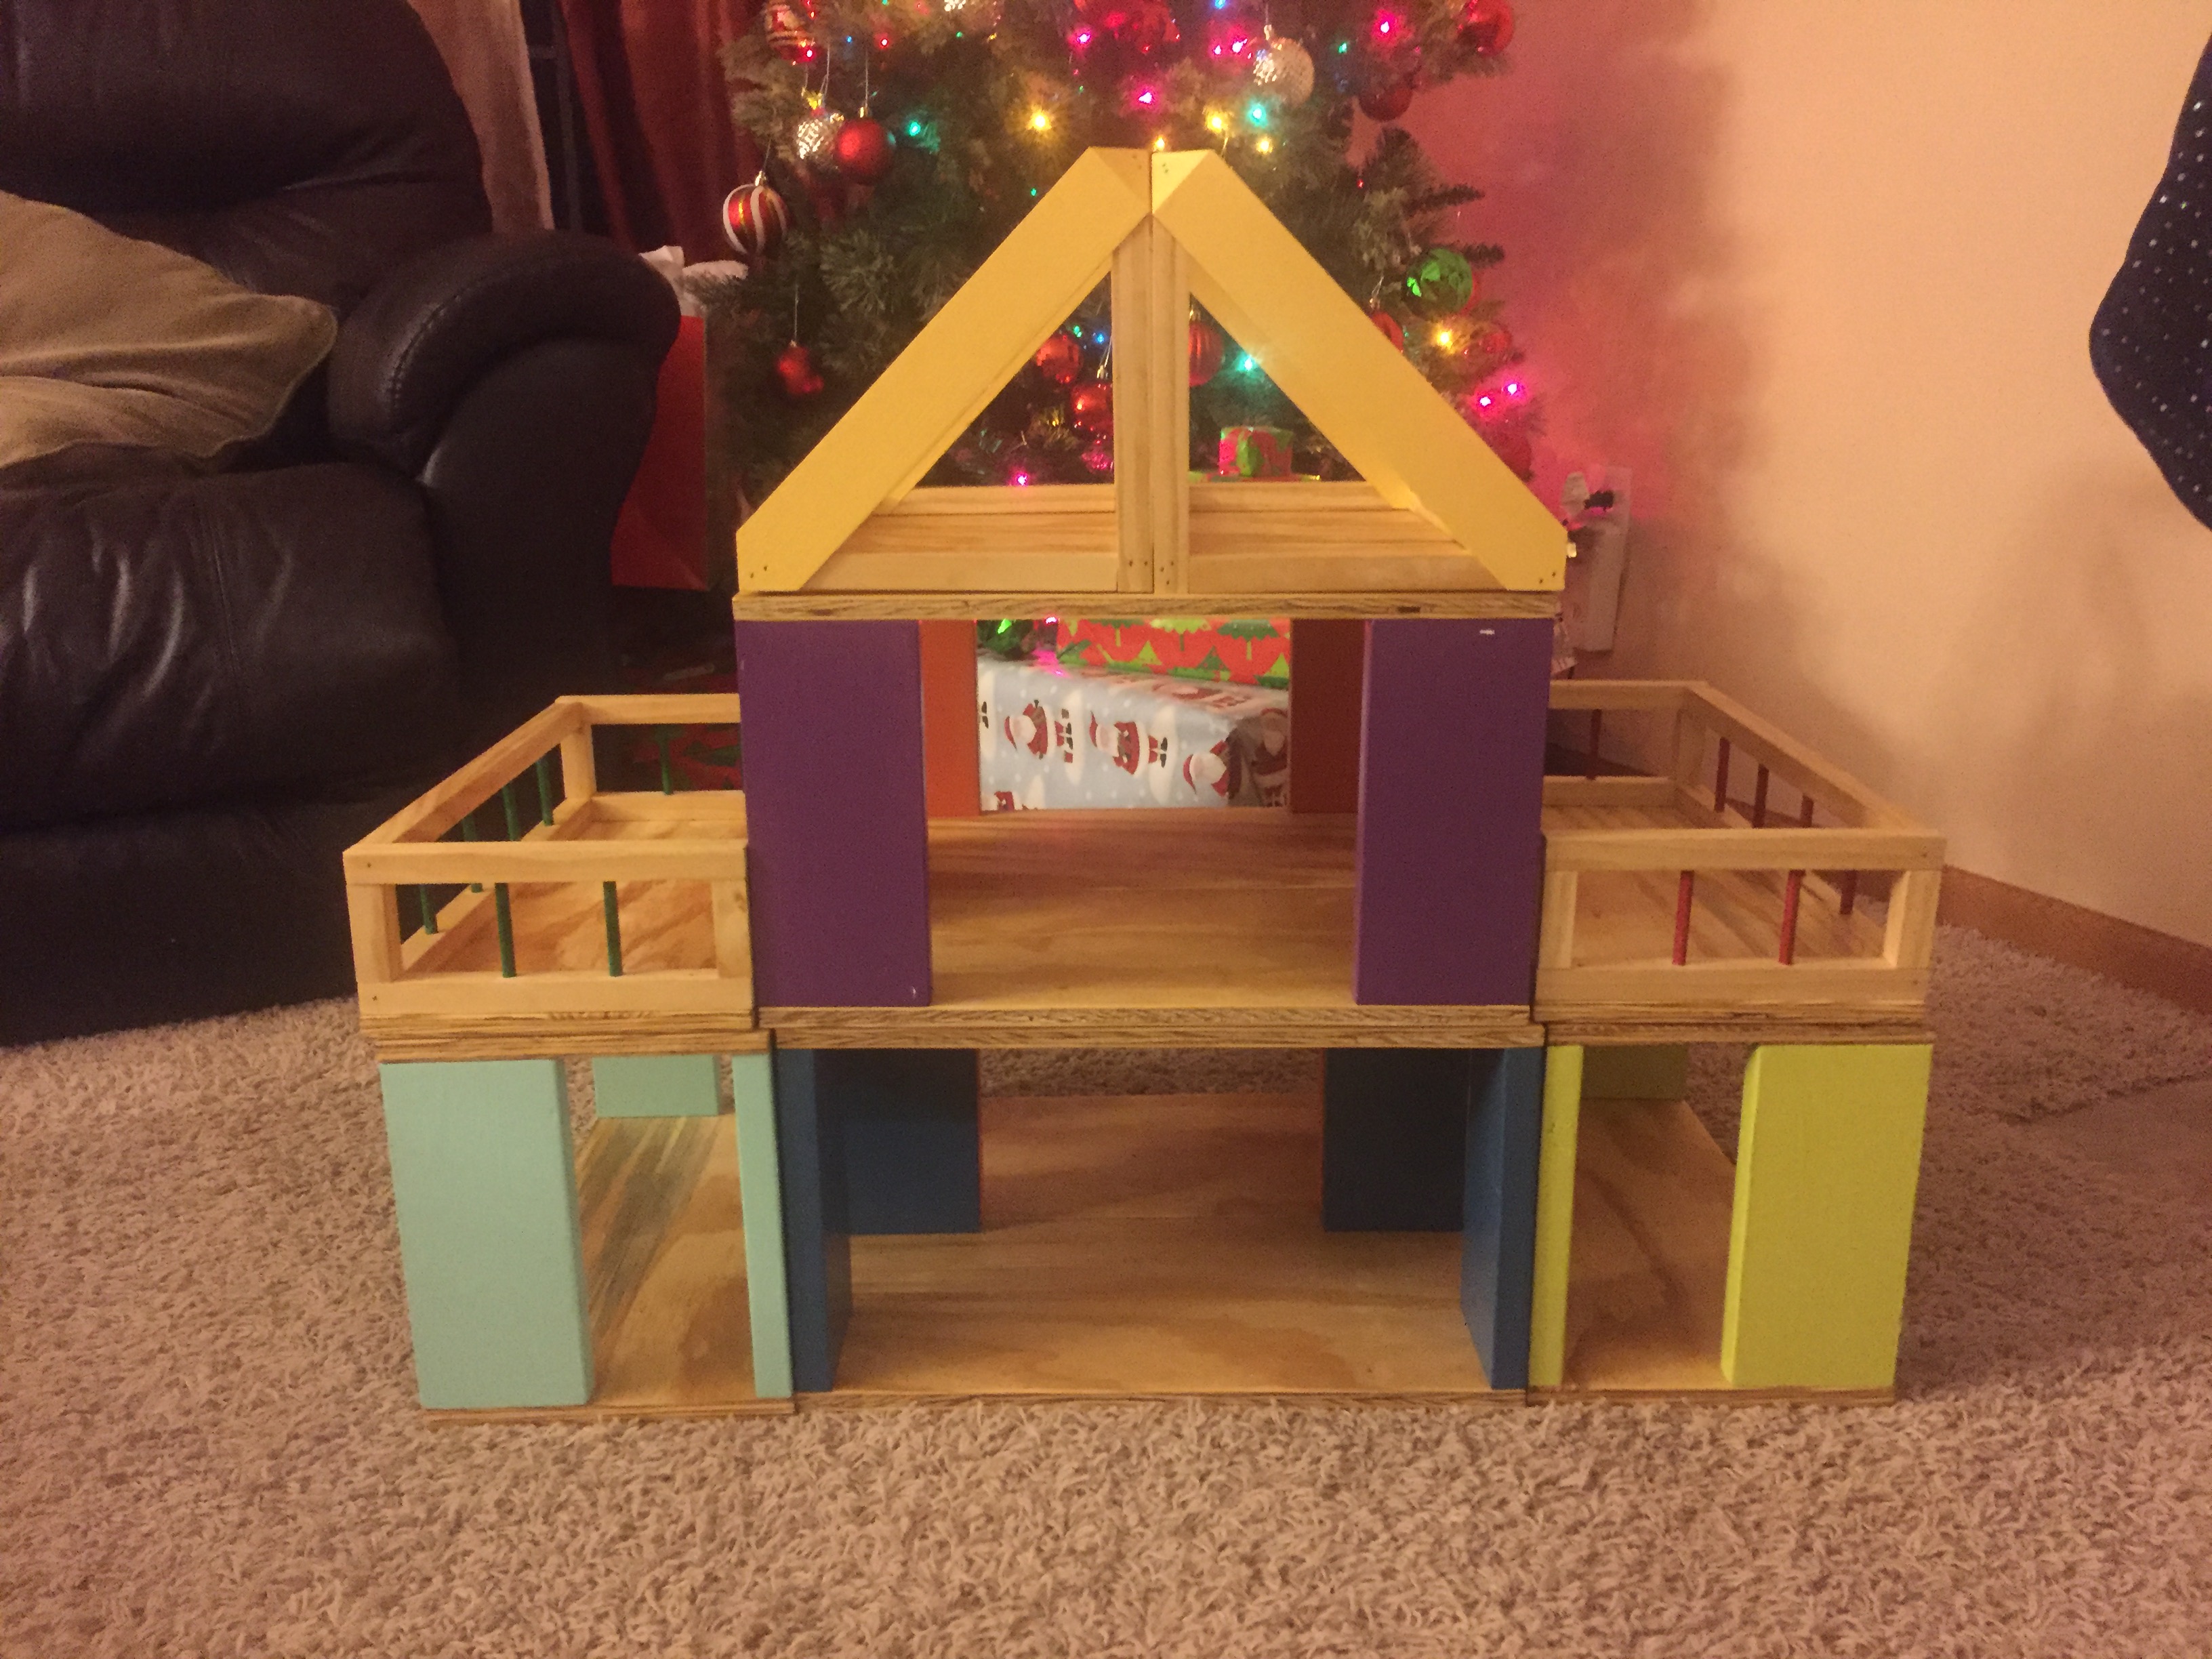
This was a quick fun project that took less than 6 hours. I wanted a doll house that was gender neutral and this is perfect, I love that my son and daughter can plan together or separate the pieces and play separately. 1 piece of advice, spend a little extra on plywood, sanding was the most time consuming part of this project and I am still a little nervous about my kids getting splinters.
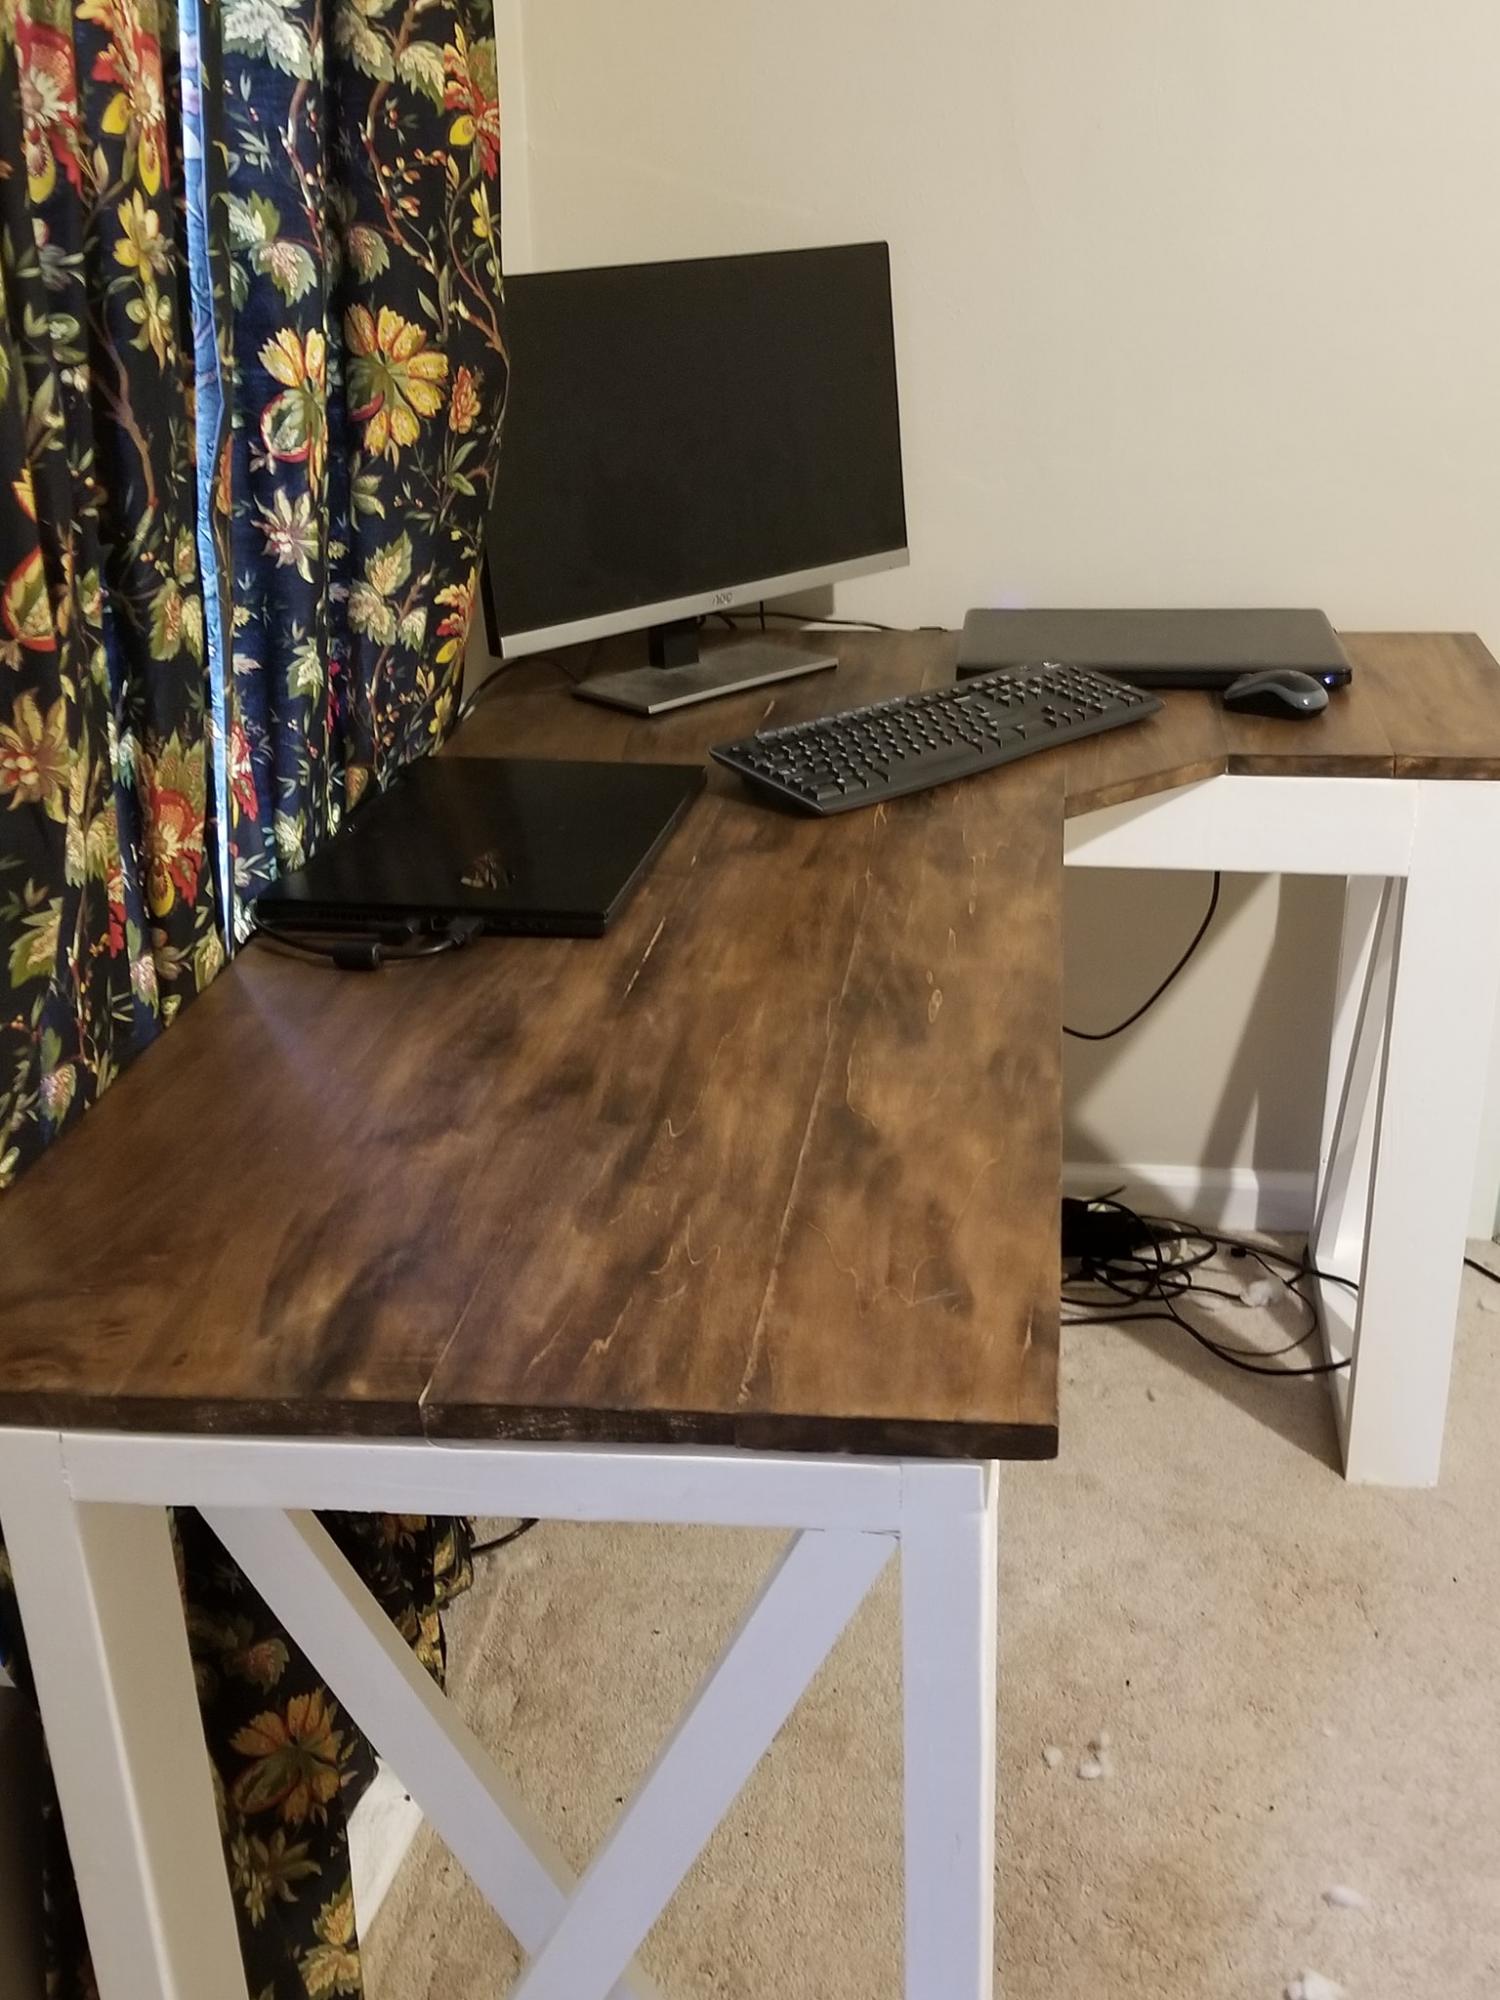
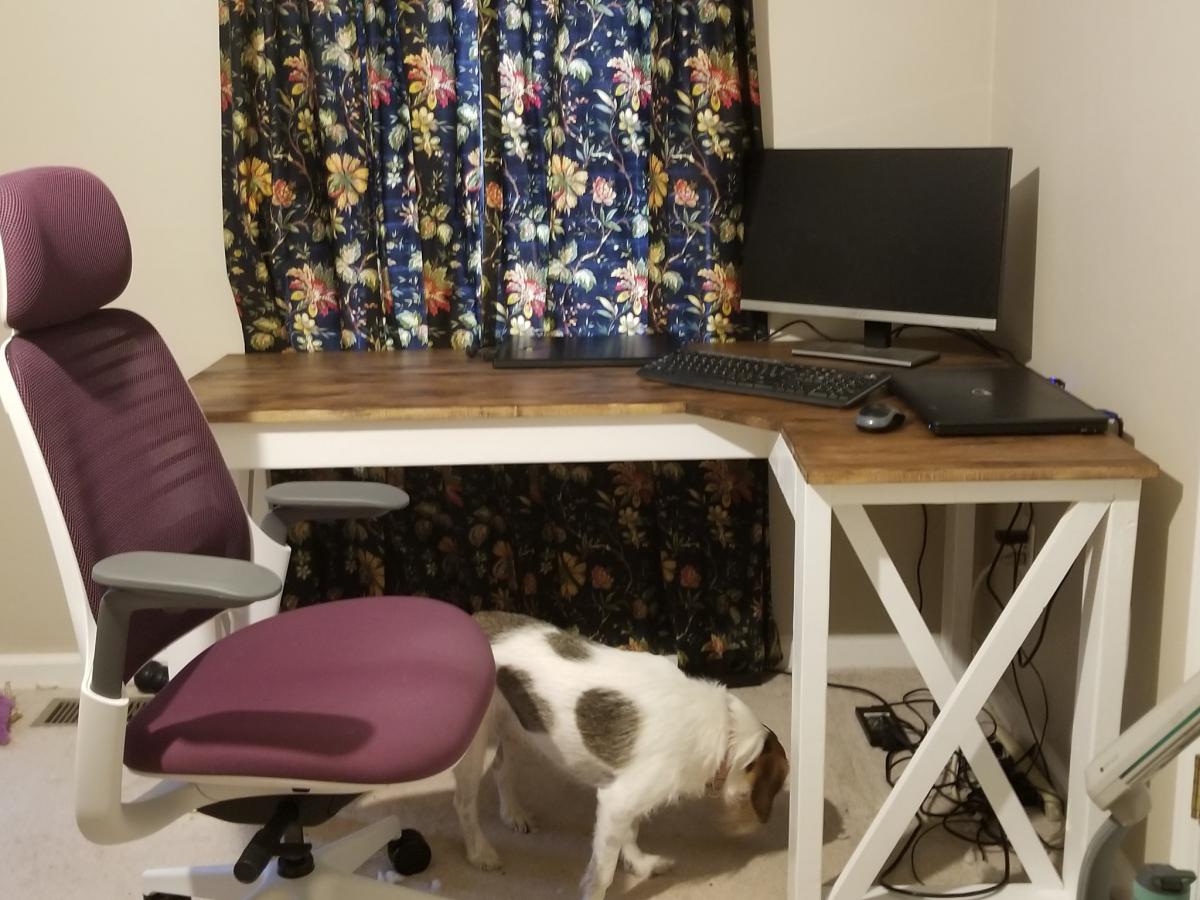
I modified this plan for the short leg to only be 37.5" and the long leg is 60" to fit my space. The bottom is painted white pine, and the top is poplar stained with Minwax Honey and 2 light coats of poly. I also cut a 45* angle in the top to make sitting in the corner a bit more comfortable.
Project was completed in one week (including finish drying time) for about $100.
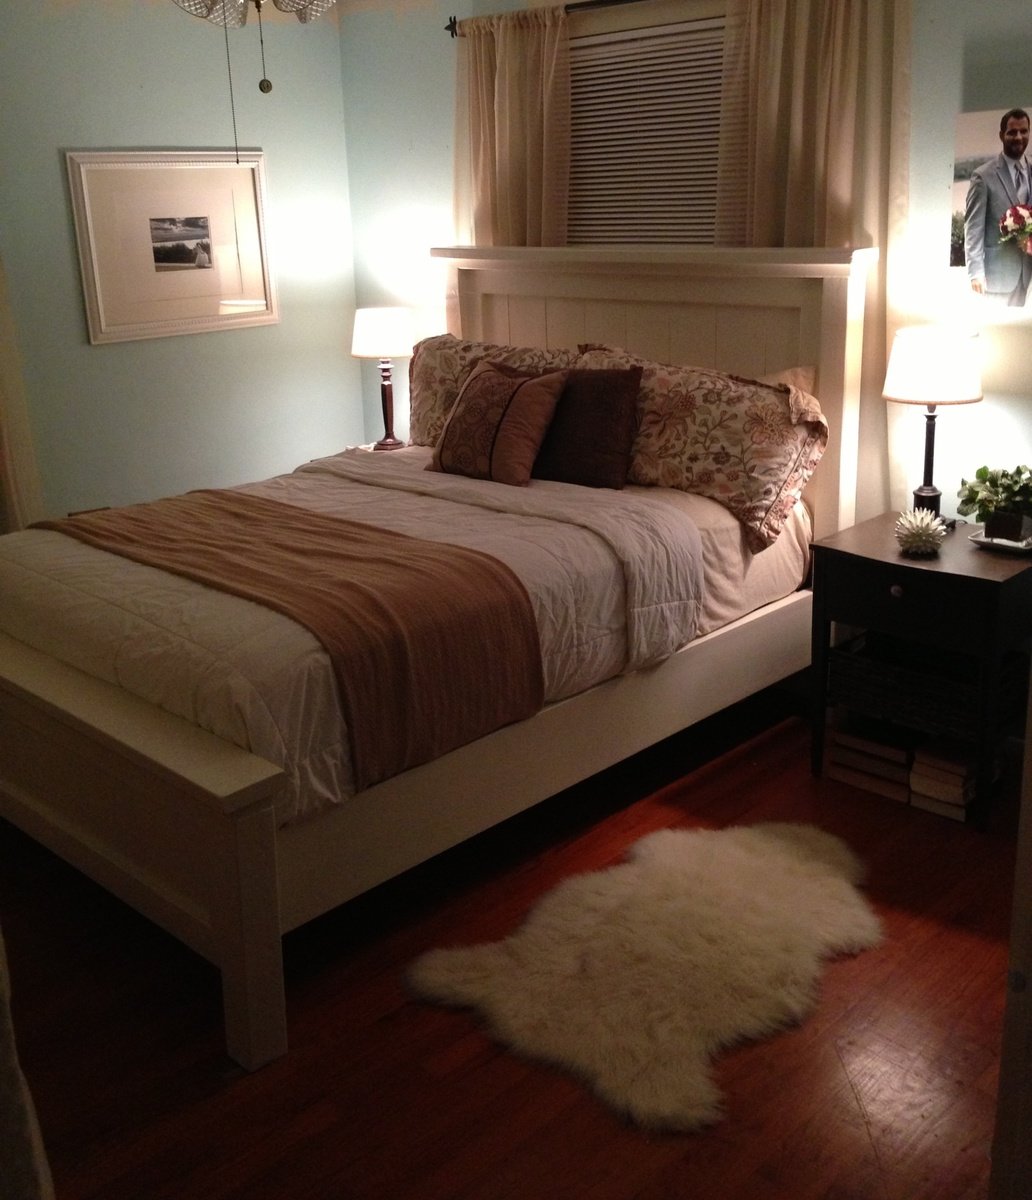
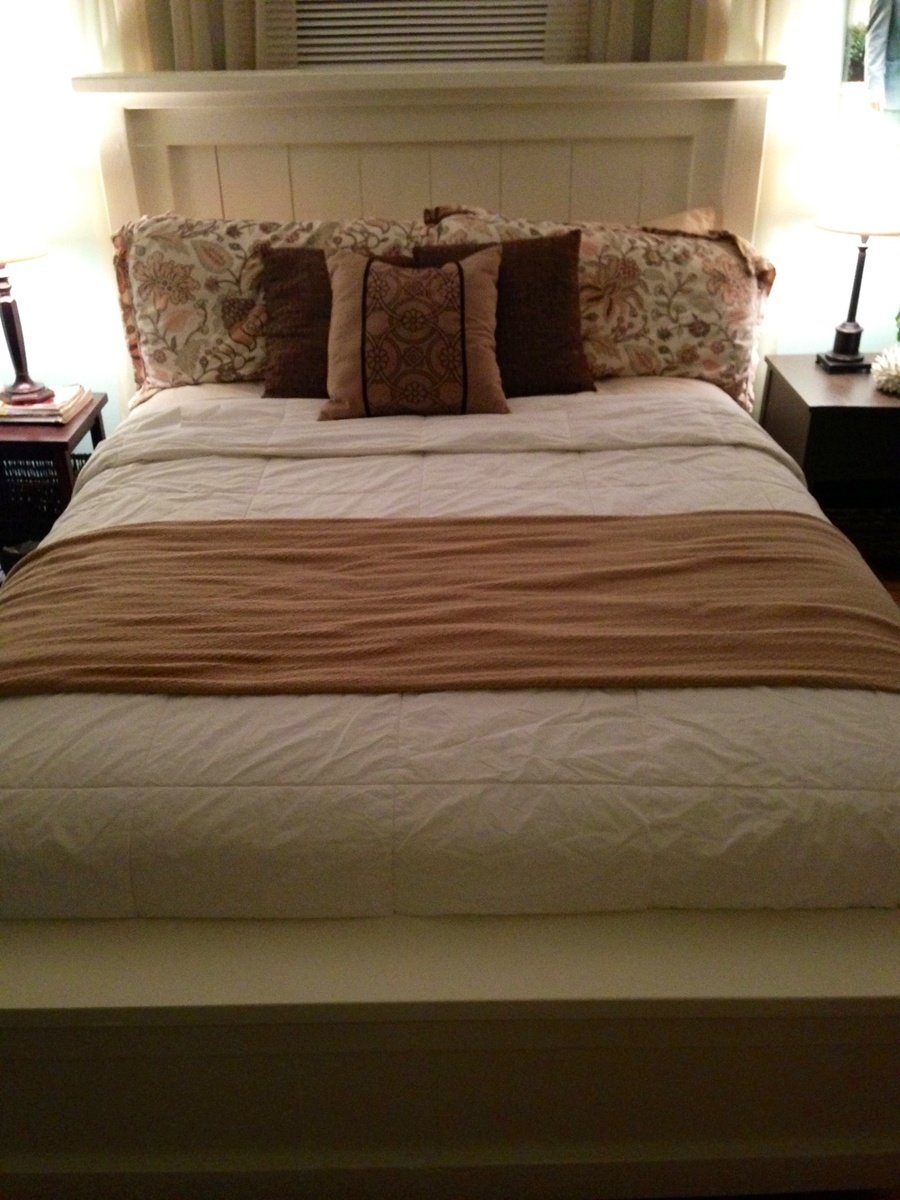
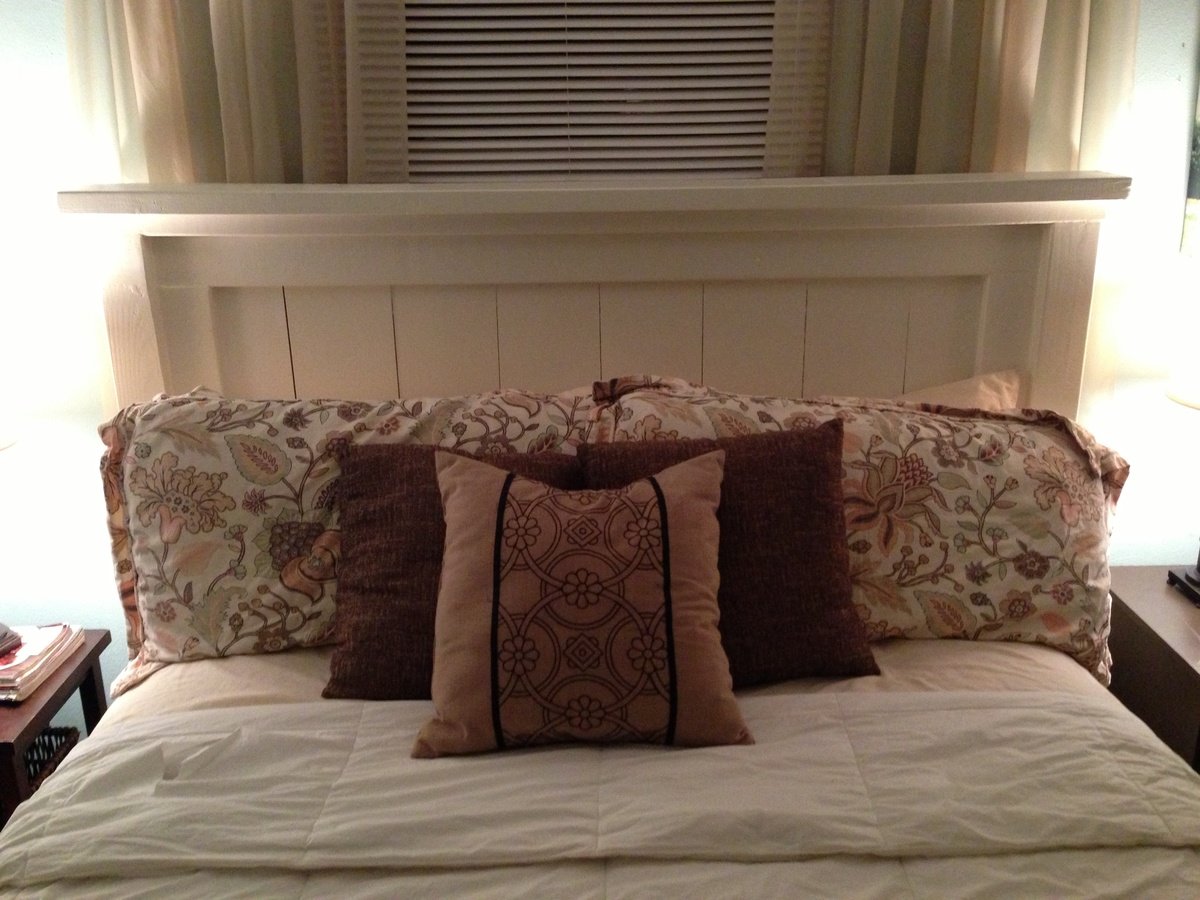
This was the first bed I built from Ana's plans... Actually it was the first thing i have built since 7th grade shop class in 97' (ew) .. It was fairly easy, but I still had my up and downs! I actually held back tears a few times and almost gave up... BUT I didn't, or you wouldn't be reading this ;) No, I pulled up my big girl pants and I finished this bad boy up, and am now laying on it while writing my brag post, holla!! Anyway, after doing it once, I think it would be super easy to build another, if I decided to. It was all worth it though, this bed is absolutely stunning and everything I dreamed it would be. In short, if you're thinking about building this, do it! It took me almost a year to work up the courage, and that's just dumb :)
Building:
I pretty much followed the directions to a 'T', but I did use 3 an 4.5 inch LAG SCREWS and did not have a nailer so I used an old school hammer. Advice: if your lumber yard, or hardware store will cut your wood for you- LET THEM! Even though I did it myself an it was easy, it would have saved me soo much time if I let them do it right there at the store (sigh). If you have any questions feel free to ask me and I'll help as much as possible!
P.S. this thing is a mammoth, so be prepared for that.
Thu, 02/28/2013 - 01:14
I read on someone else's page that she had made her plans for the queen matteress to be turned sideways, and that the plans needed to altered as far as measurements go,is that true? Any info would be a huge help!
Mon, 04/29/2013 - 19:44
How did the lag screws work? Do they bolt right through and show on the other side? Your bed looks great, and I hope mine will too!

Mon, 01/16/2017 - 12:46
Where can I find the plans for this bed? I would like to use pallets..is that possible?
Everyone keeps asking me if this was from a kit and I am proud to say "No I did it all by myself from start to finish"!

This is my first woodworking project. The plans worked out great! However I did make some minor changes. I made the two by four under the two by six top an inch longer on each end. I also did not brad nail the 1x4 trim pieces. I used wooden dowels and wood glue. Also I bought bed rail brackets and mounted the side rails flush to the outside of the head and footboard. This piece was conditioned with Charles Neil's Prestain conditioner and stained with minwax English chestnut. Topcoat is minwax semigloss fast drying poly and rubbed out with minwax paste wax. Can't wait to get to sleep in it tonight!!

Tue, 11/13/2012 - 00:14
Good Day Ana! I just started a daycare centre and would like to make my own tables,chairs bookshelves etc. I want to know if you could assist me in this matter
God bless you
Basetsana Maboe
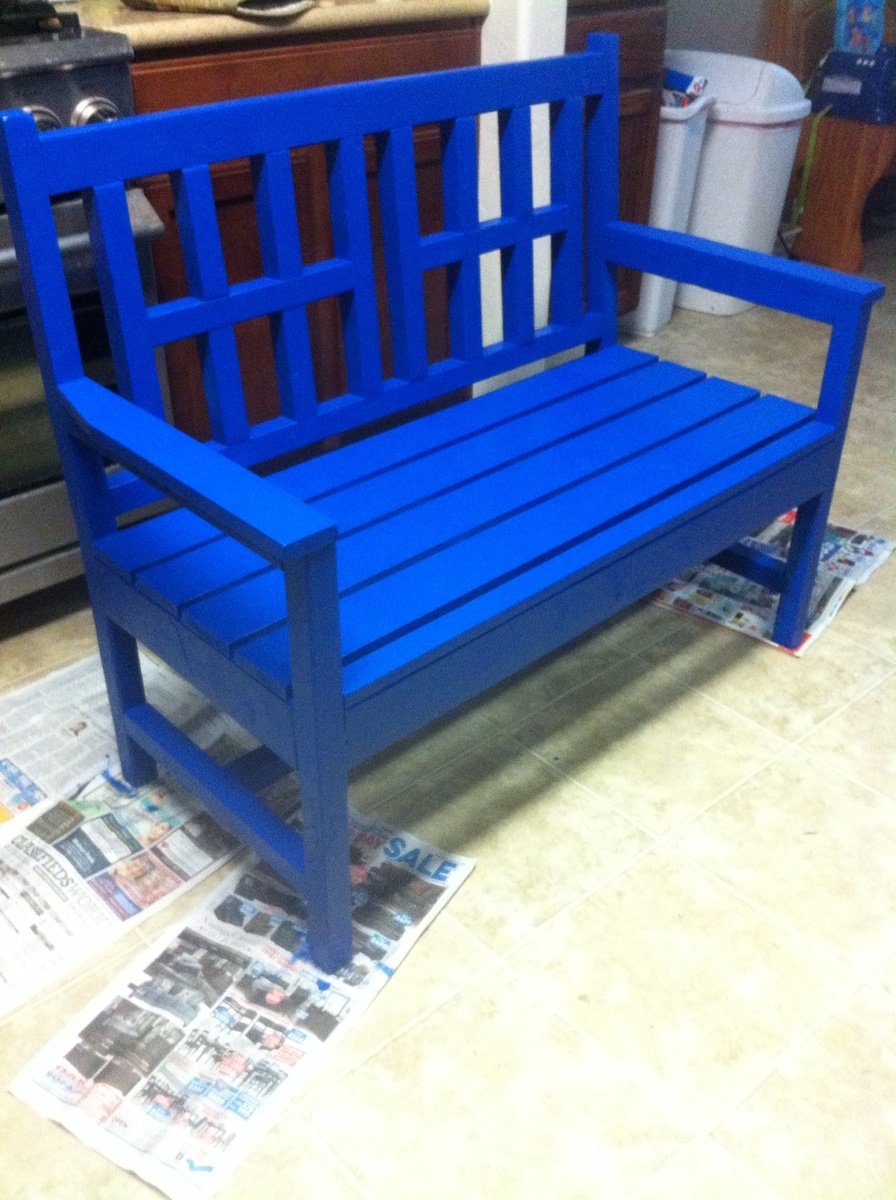
I used the woven back bench plans to make this doctor who tardis inspired bench. It will be a memorial bench for a young girl who recently passed in our community. She loved doctor who as do I so I changed the back a bit to represent the Tardis windows and of course painted it tardis blue. I will also give it two coats of polycyclic.

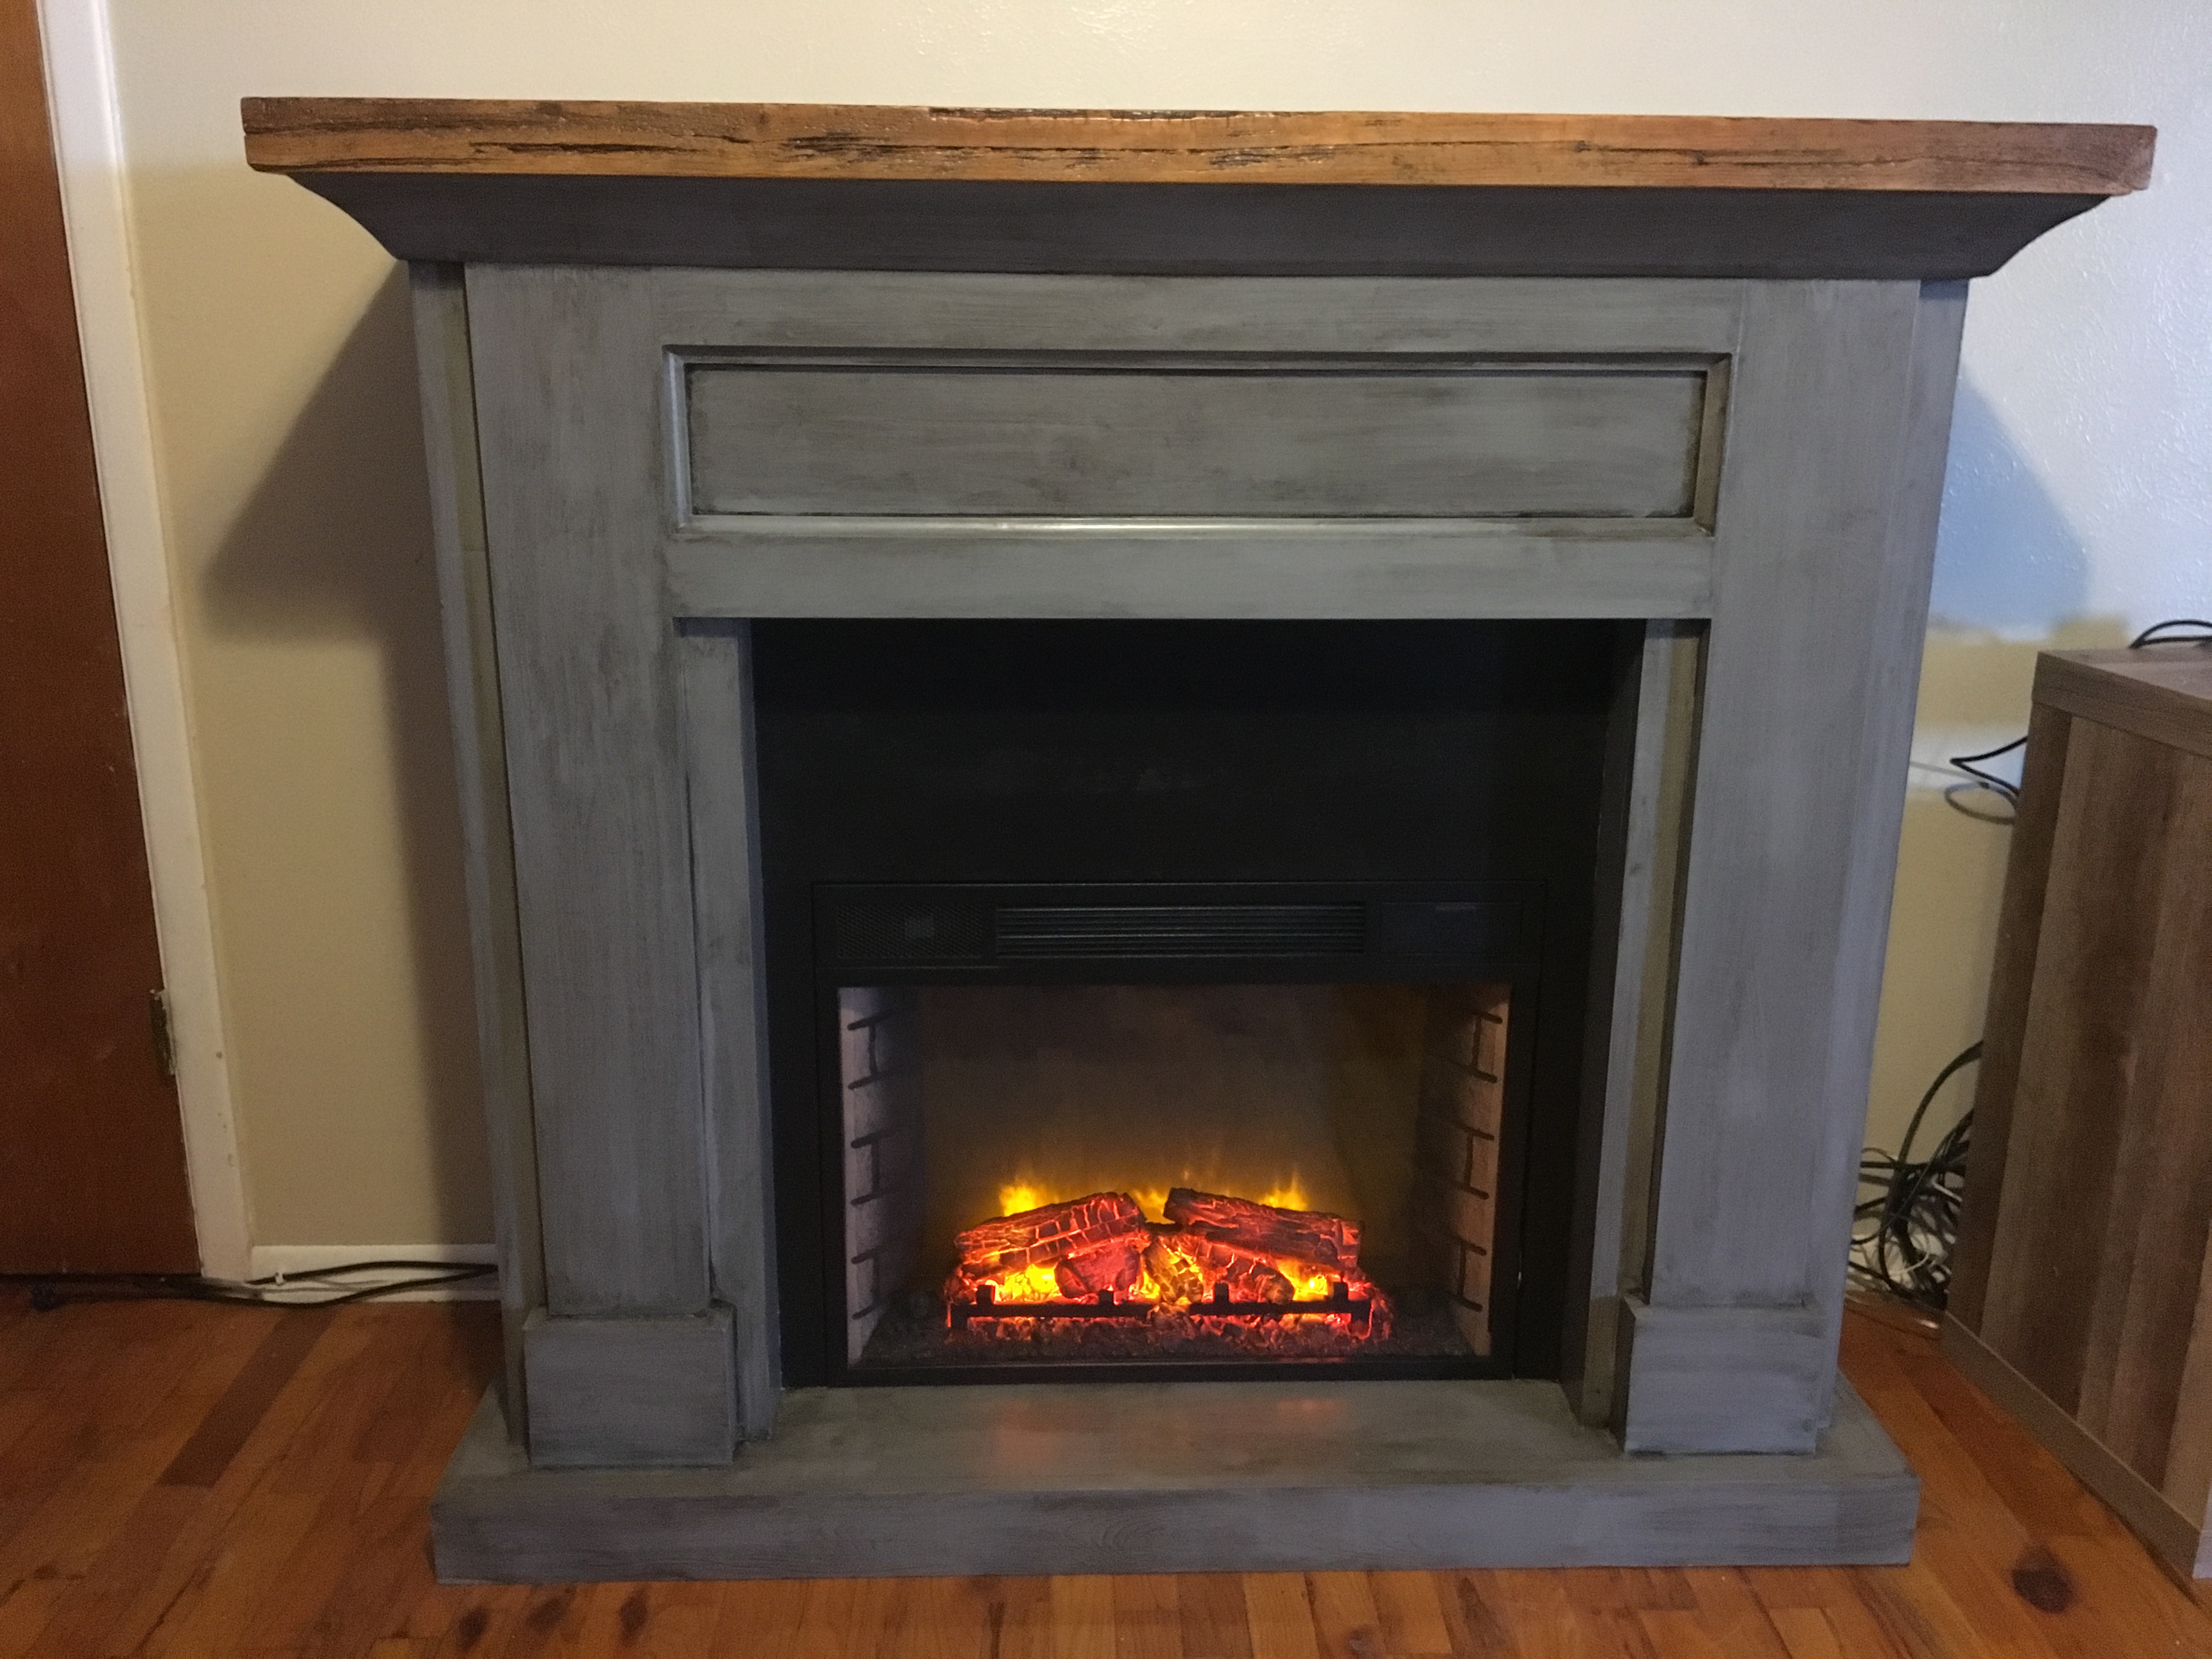
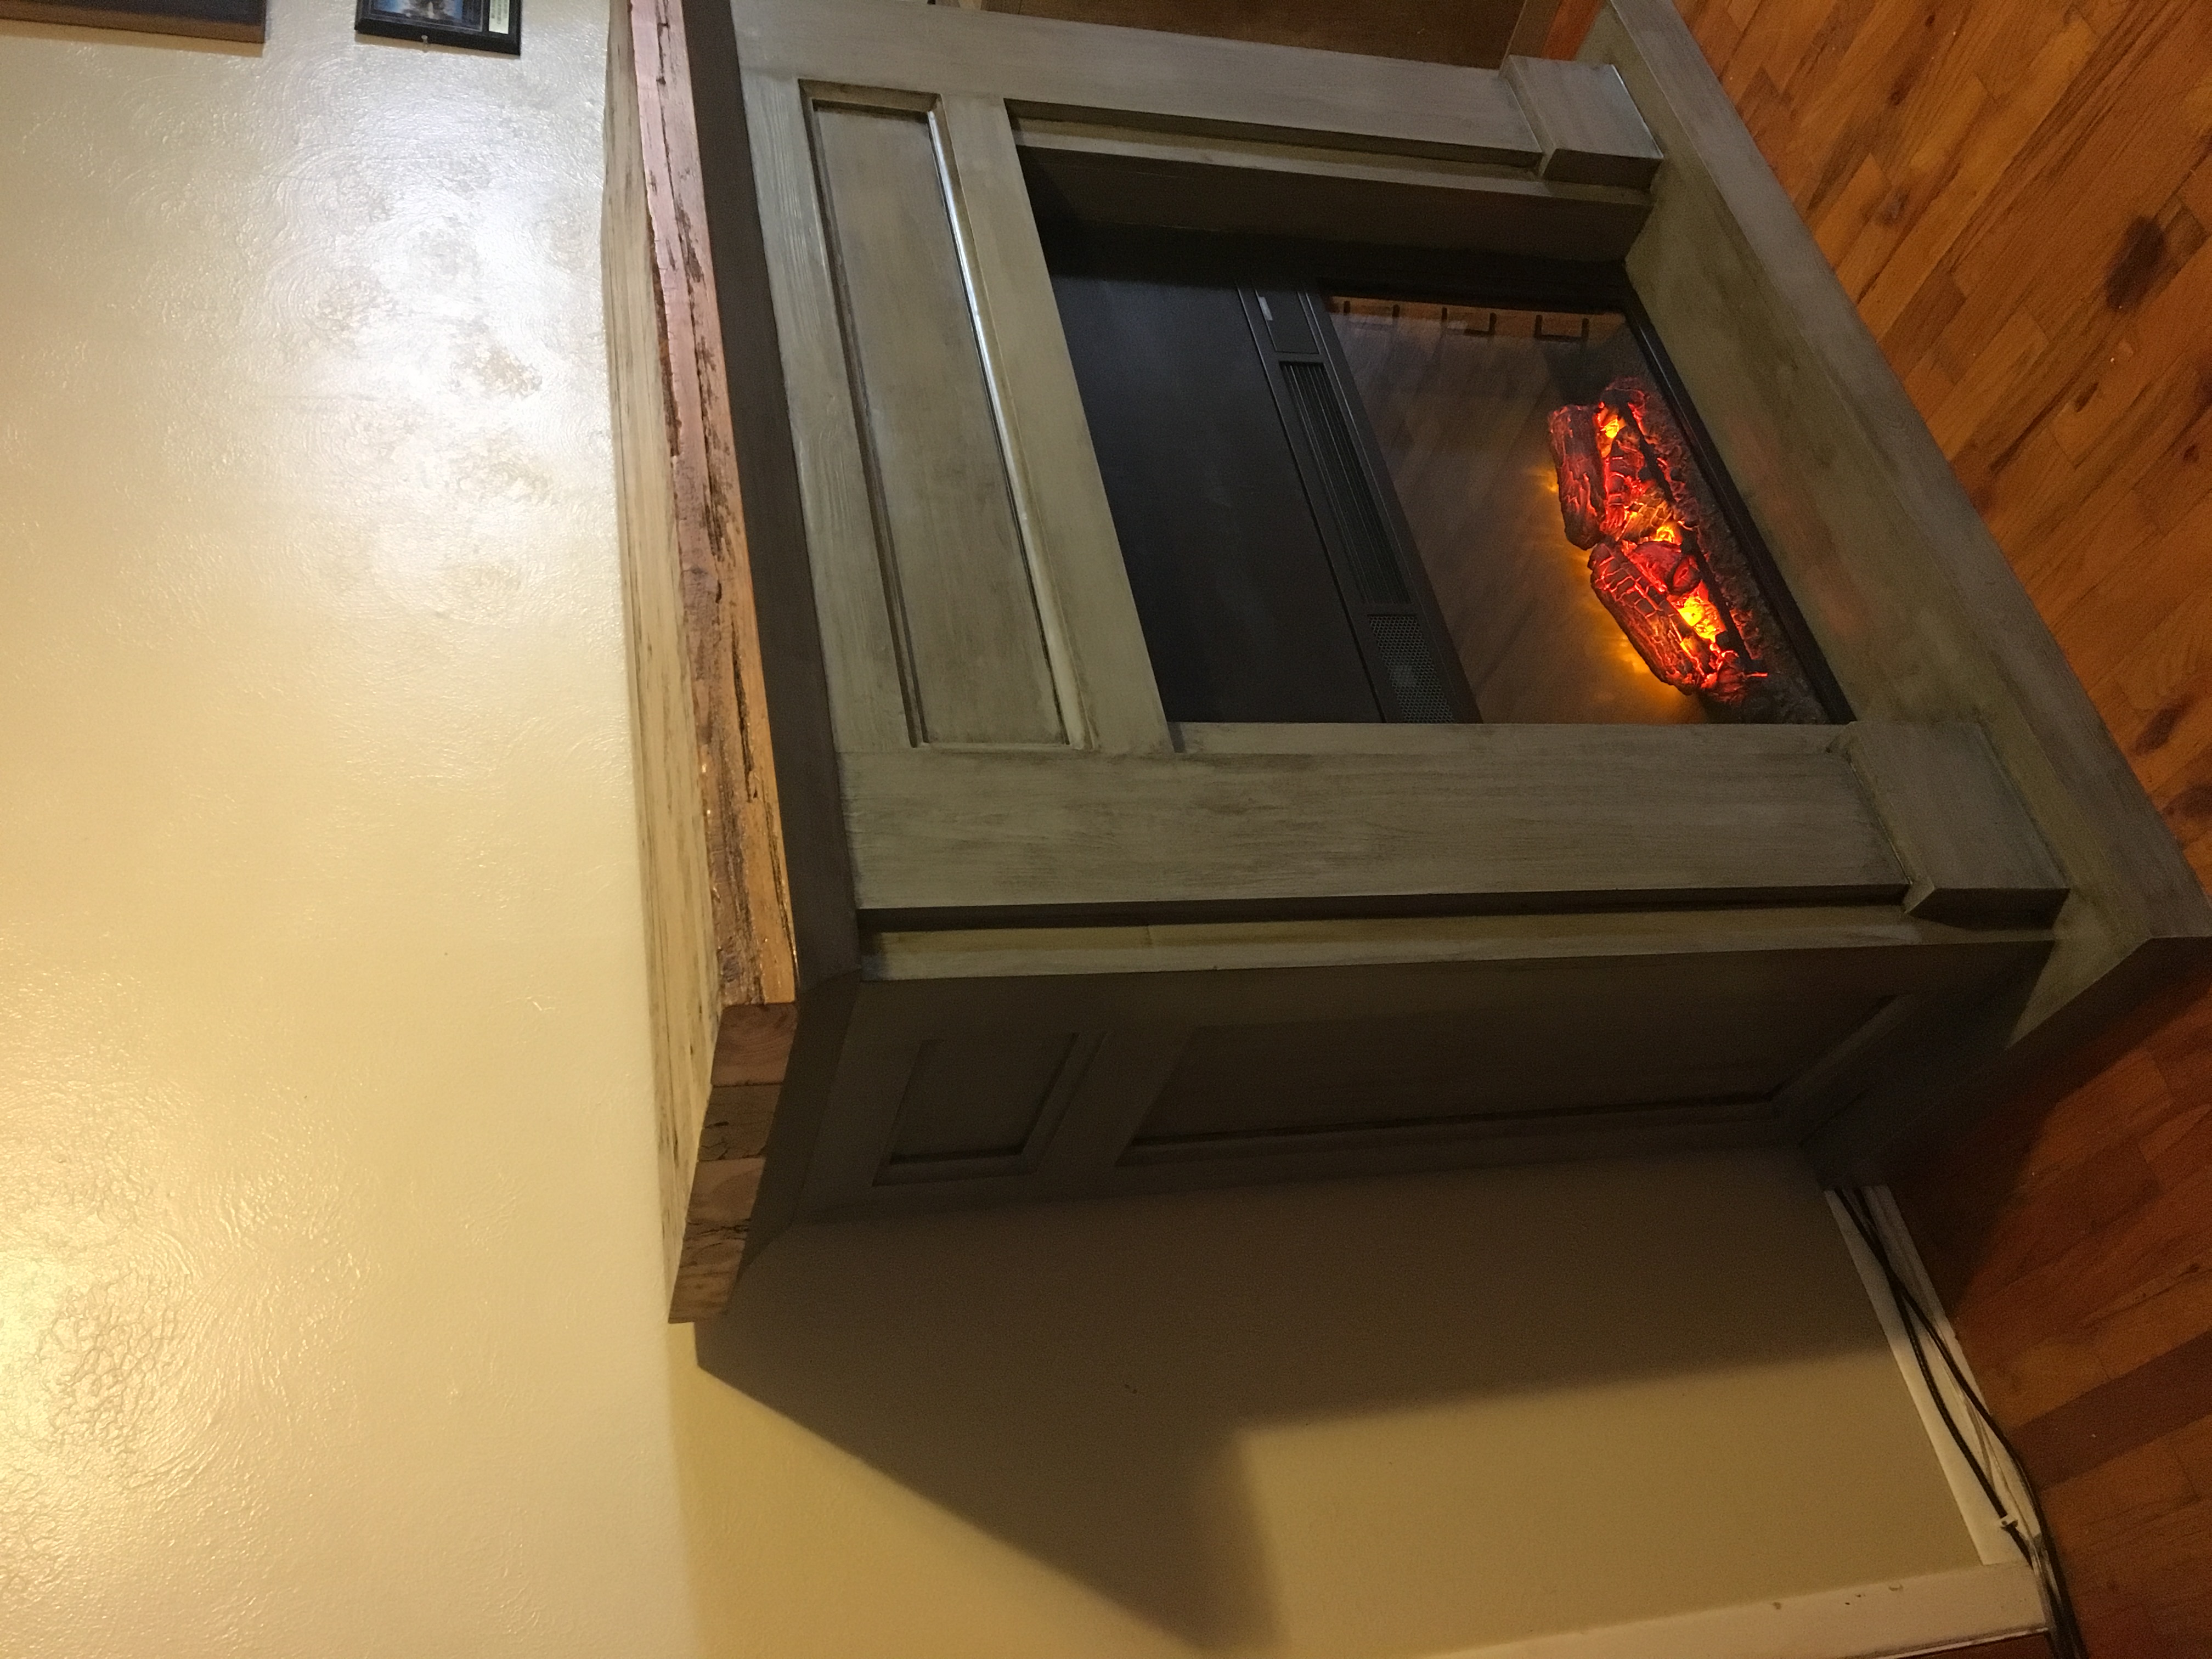
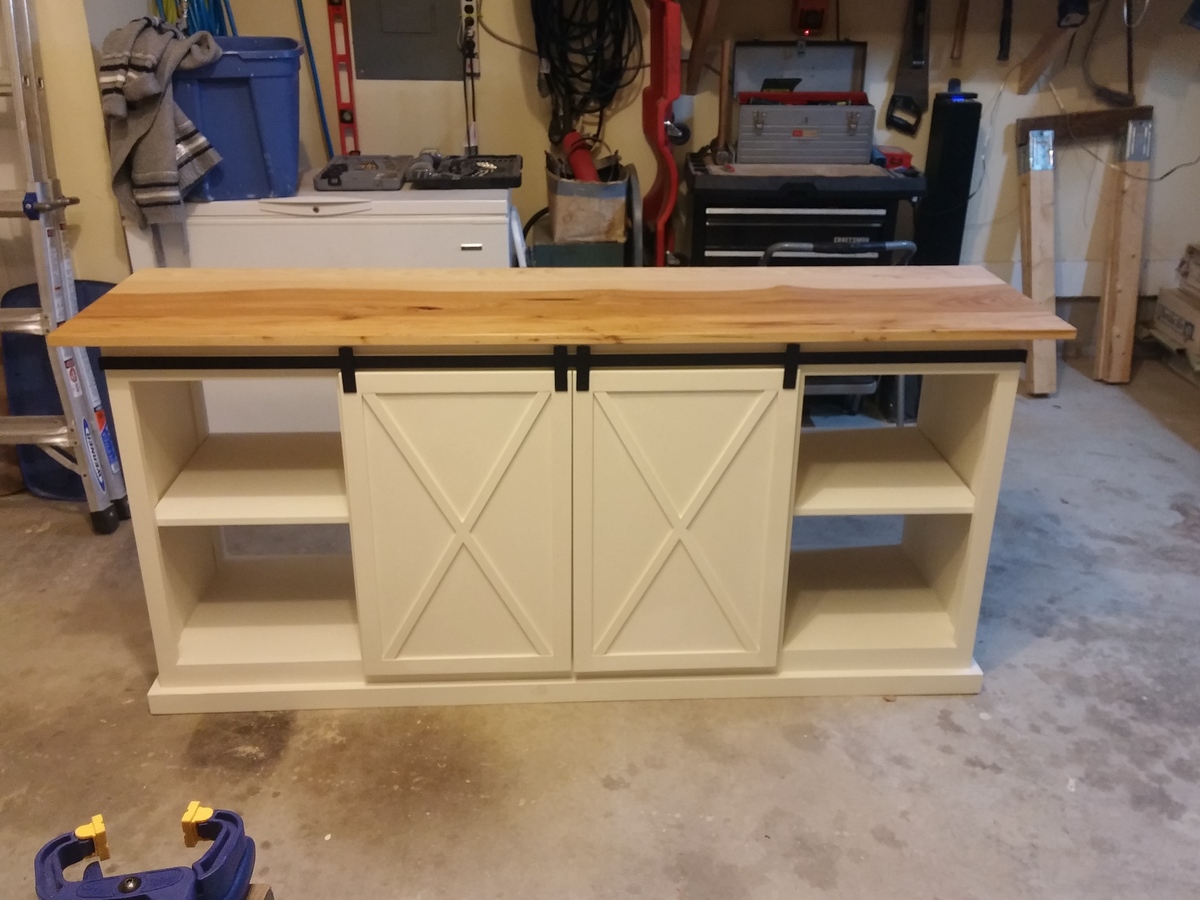
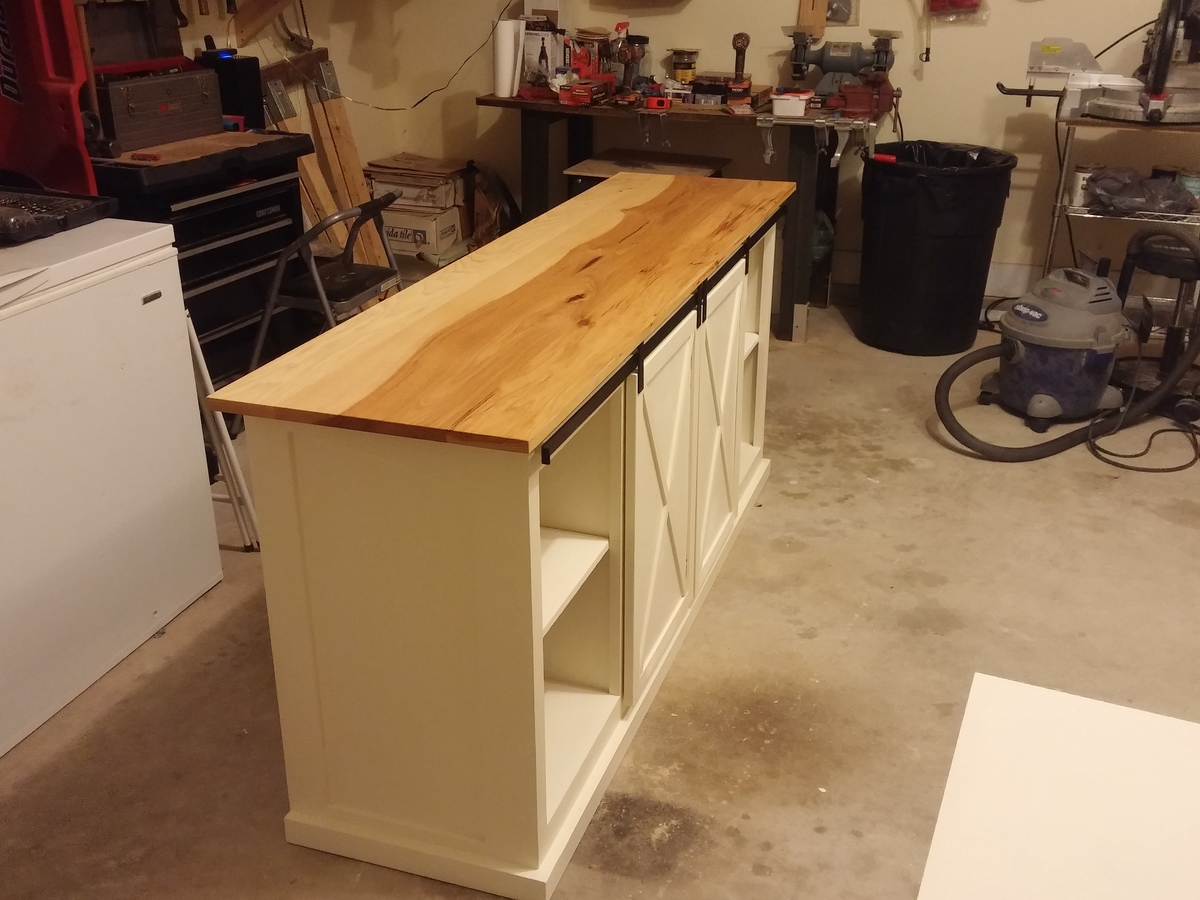
Added deeper sides to the project so I could fit an electric fireplace into it

I'd been looking for a similar table for months but couldn't find one that I liked and that would fit at the bottom of my stairs. I found this pattern and changed the dimensions by removing just one of the top boards so that the final depth is 10.5" deep rather than 14". It's exactly what I wanted and get to brag about it!

I made this craftsman frame to fit a 16" x 24" chalkboard. I followed the plan, using 1x3's and 1x2's, attached with a Kreg Jig which made it easy. Oh, and glue. I usually buy full sheets of plywood and paint them with chalkboard paint but time was short and I used a 24" x 48" prepainted panel. I cut three 16" x 24" chalkboards from this panel.
I allowed 1/2" all around the inside dimension in order to glue and staple the chalkboard to the back of the frame. I decided to paint them all with a barn red paint sample. Cheap enough and they're going under the tree to three family members!


Comments
Ana White Admin
Wed, 12/09/2020 - 11:03
Love your twist!
This is beautiful, love the finish! I would love to see it in it's space!:)