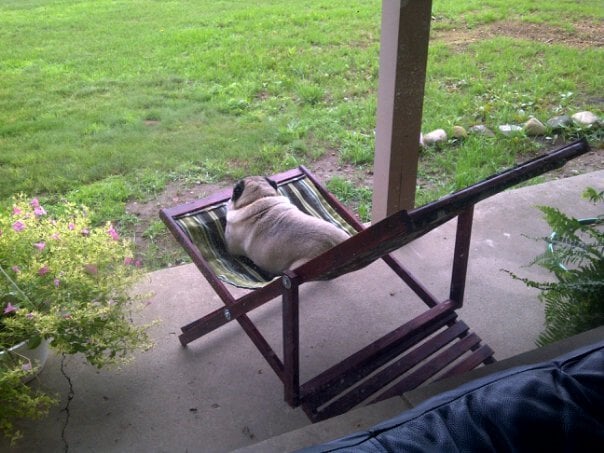
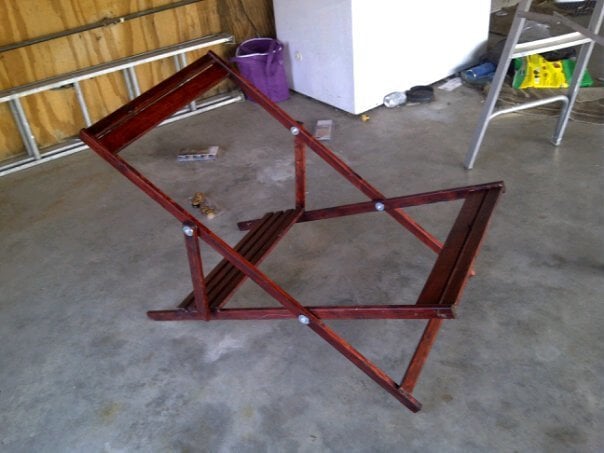
Fire Pit Chairs
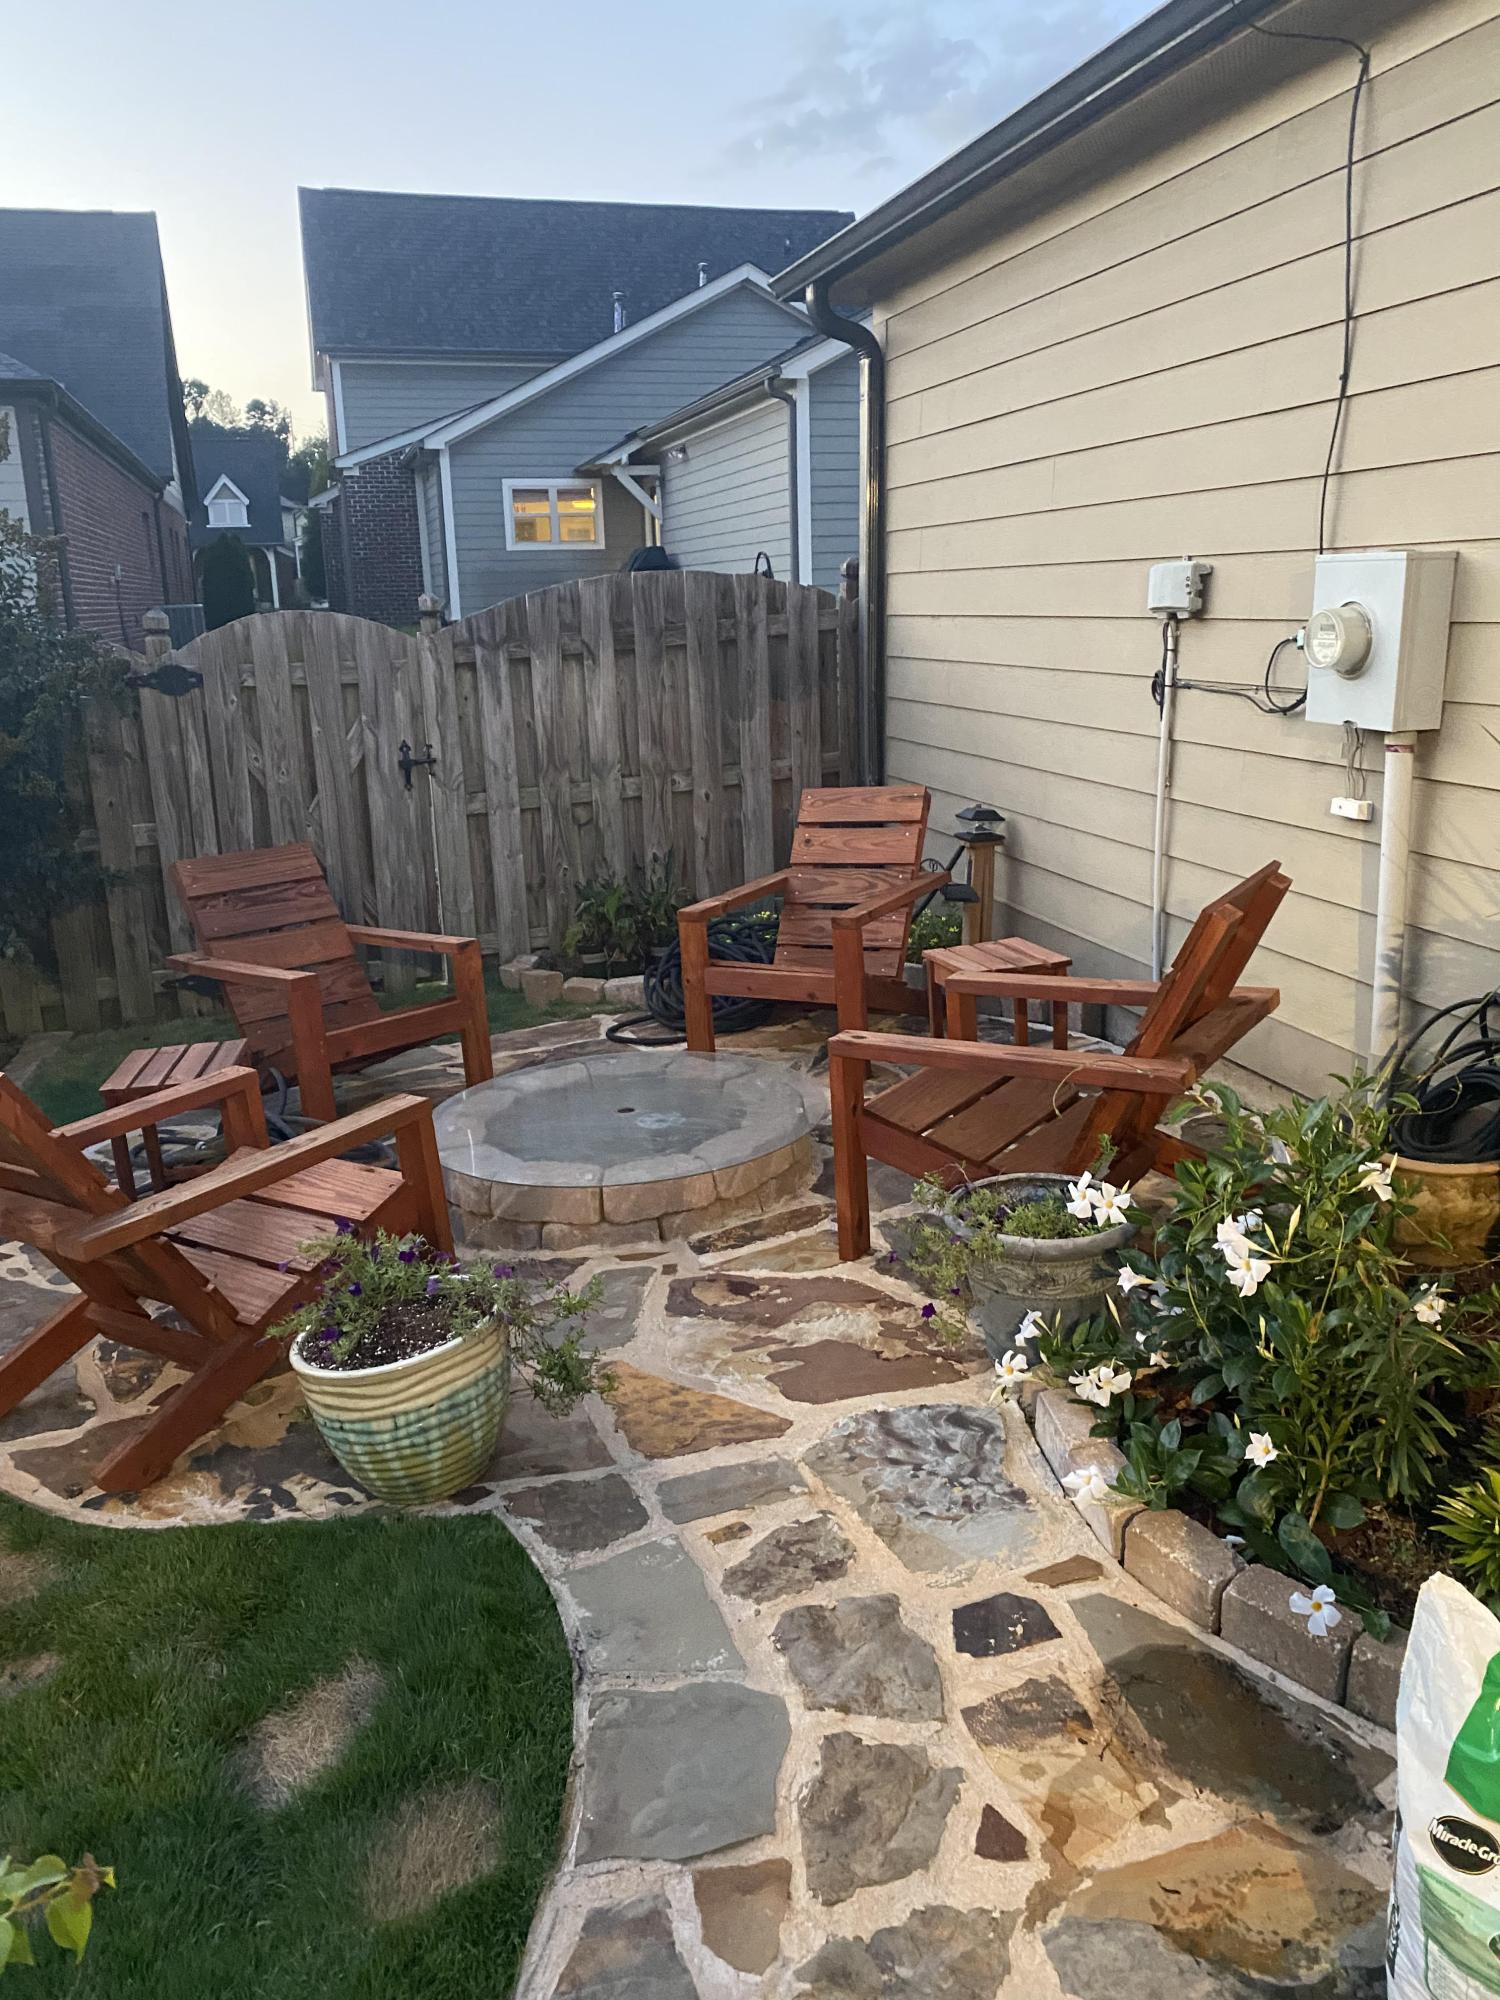
Love these chairs by my fire pit!
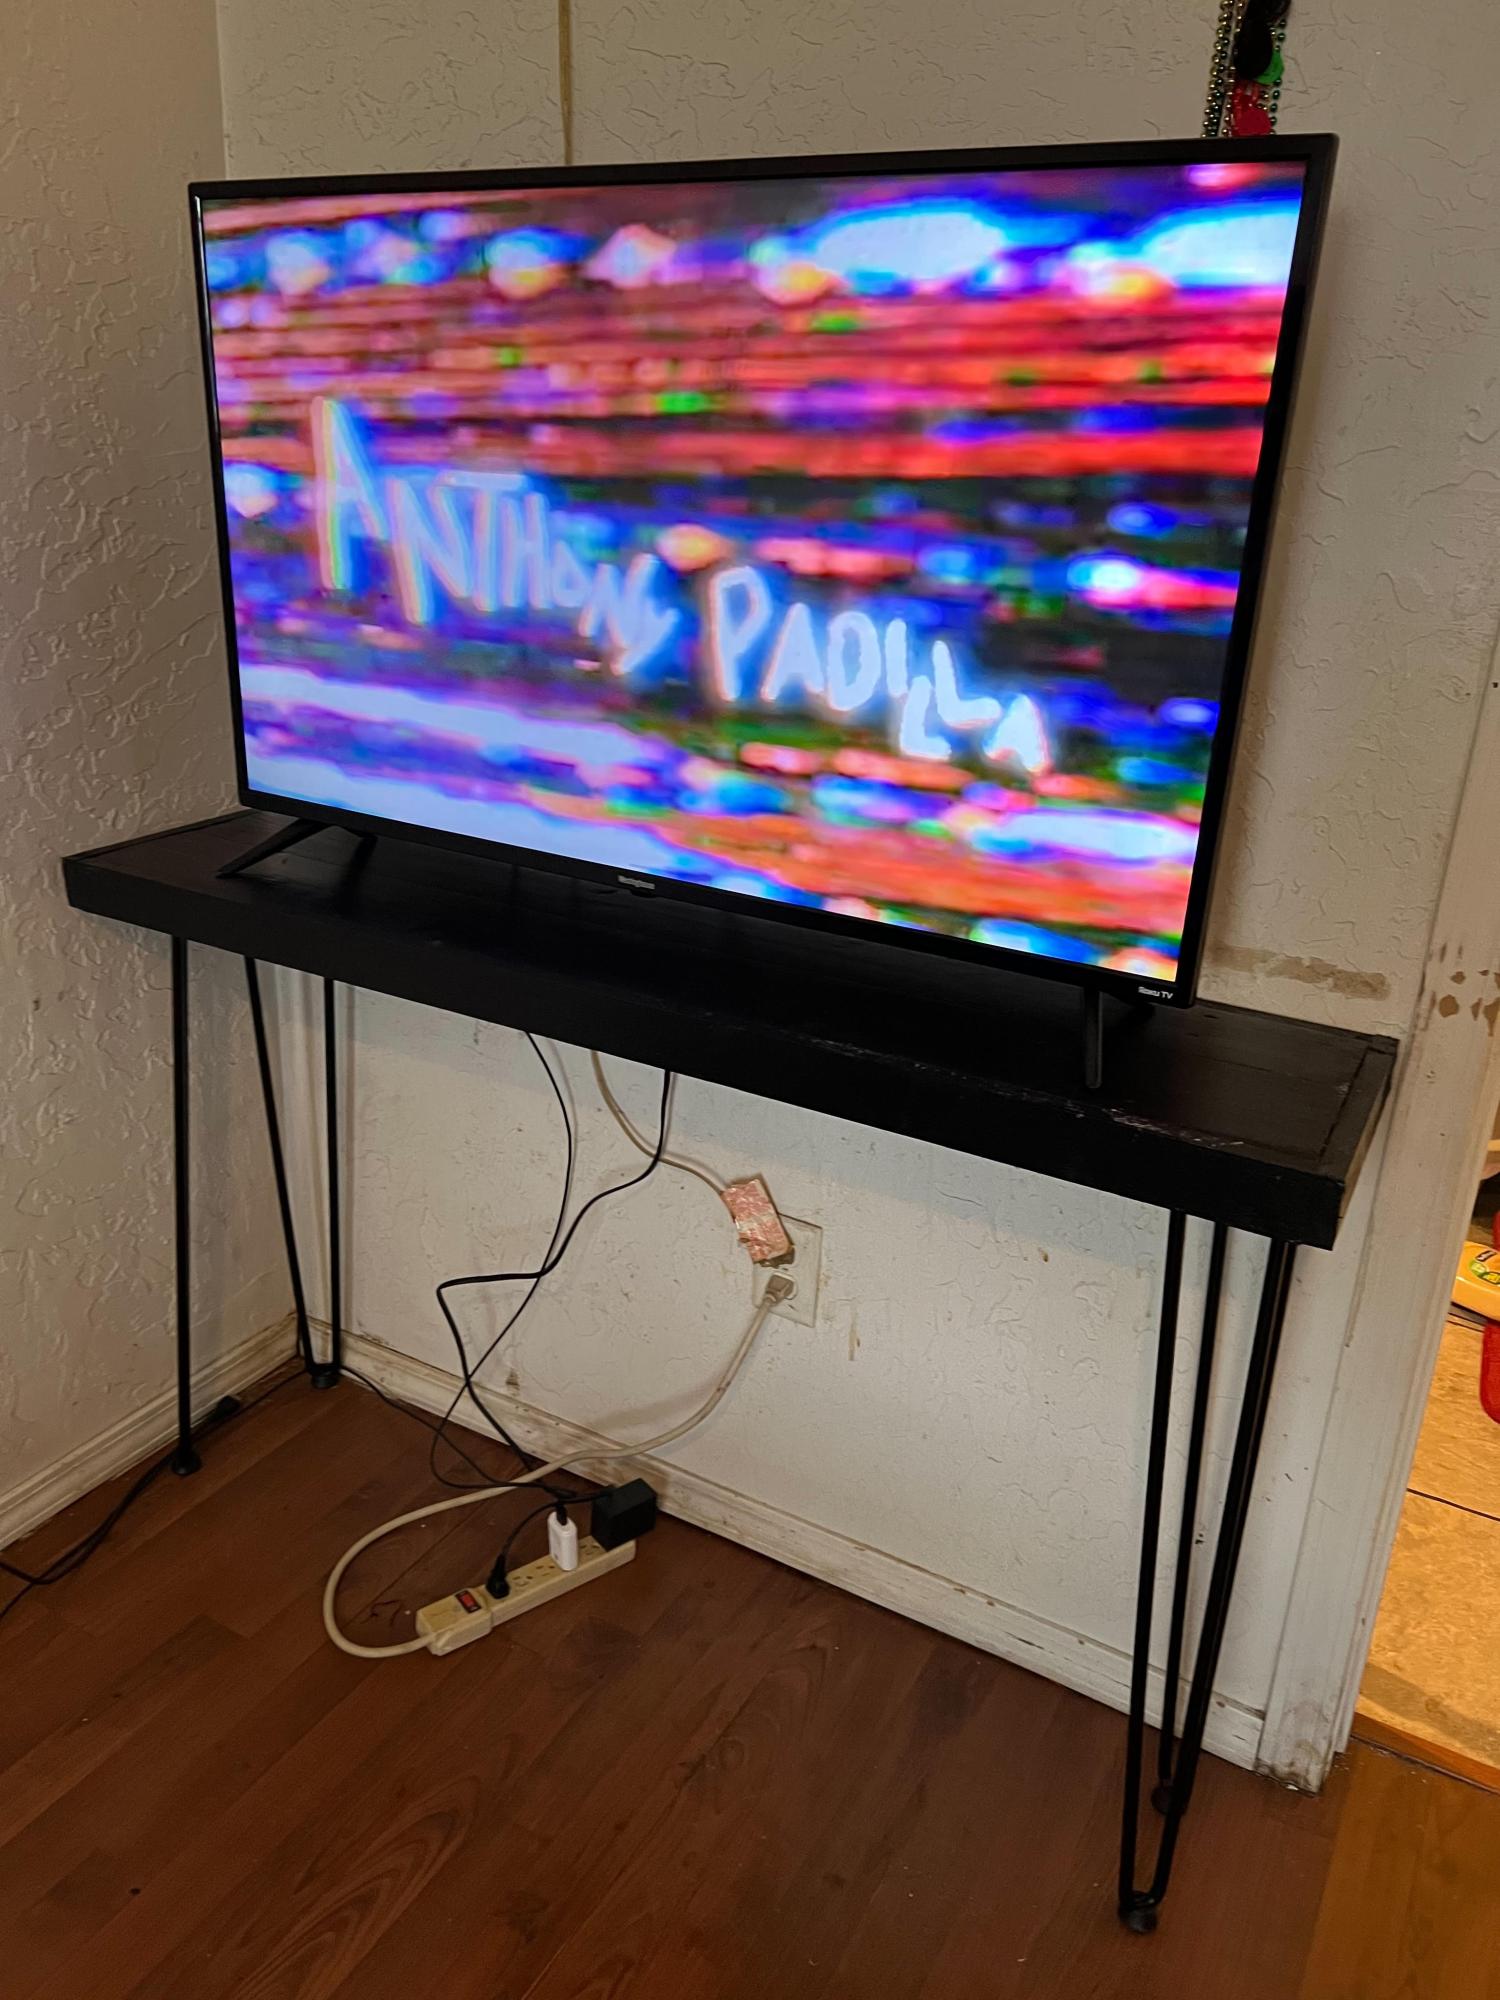
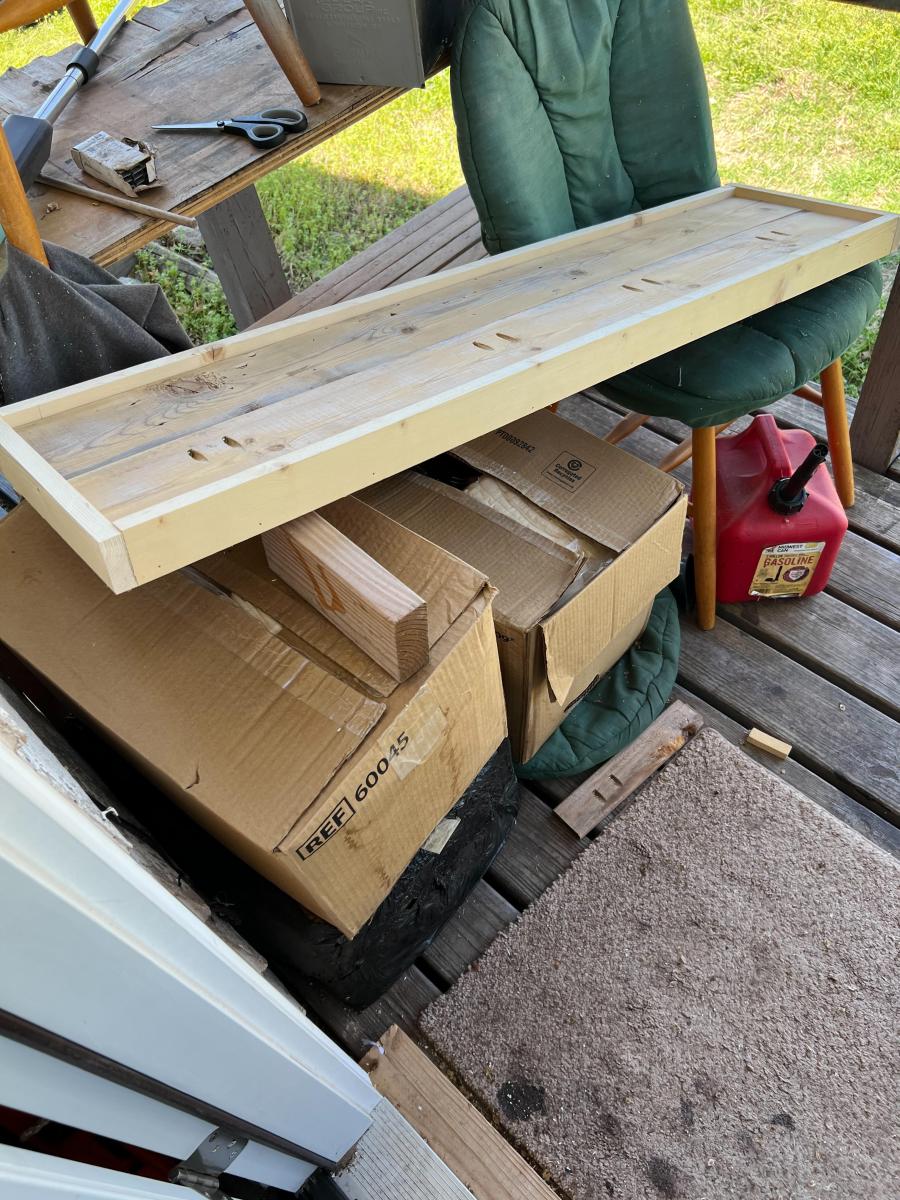
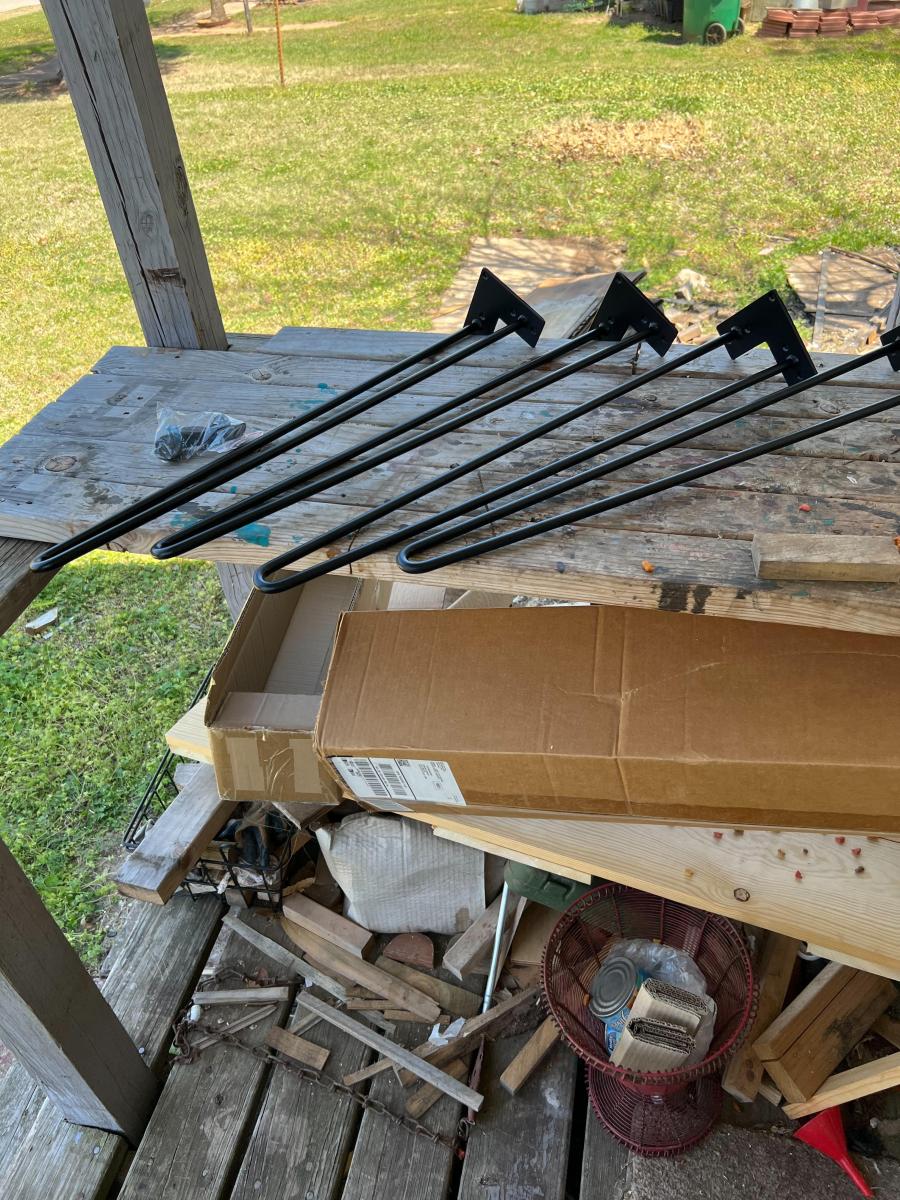
Built from Plan(s)
Love these chairs by my fire pit!

My best friend's 30th birthday was approaching and she had mentioned that she needed some nice chairs for her front porch. I got so excited when I saw these. So I made her one! Unfortunately, I had a few issues with the prop support, but I think we've remedied it. The dowel kept splitting when weight was bared on it. Now, neither of us are "small" girls, but we're not huge, either! So I replaced it with an oak piece of 1x2. That seems to have fixed the problem, and the corner of the 1x2 fits in between the slats nicely and holds it in place. Sorry the pictures are awful. I'll have a finished product picture up soon. (-:
This was actually my first "real" project. I've fixed several things before and tinkered around with woodworking, but I'm just starting to get into it. I can definitely say that I've found my hobby!
Tue, 11/06/2012 - 22:10
All great Birthday parties start with mothering sunday celebration invites. The doesn't just give the recipient the essential information about what, where and when, it sets the tone and soul of the event.
http://www.bestsmsmessages.com/sms-messages/birthday-messages/
Mon, 05/20/2013 - 22:24
There are different type of Birthday gifts you can buy some decorative things also purchase perfumes, accessories it depends on the person likes and dislikes. real throwing knives
Mon, 08/12/2013 - 02:48
This tends to happen in situations where the gift is given with an understood or explicit agreement between the giver of the gift and its receiver that some type of service will be rendered often exterior of usual legitimate methods because of the gift. http://bestdaggers.tumblr.com/
Fri, 03/07/2014 - 05:08
Though I must say I like the chair, I personally would have reservations about the choice of colours. I think something a little more colourful would be more befitting, maybe something more immature, because people don't like to be reminded that they are getting old, the extent of which depends a great deal on their achievements. With that said, it gives me ideas about what I might decide to give to a friend as a gift.

We finished with outdoor stain for patio deck!
Looks amazing!! We loved
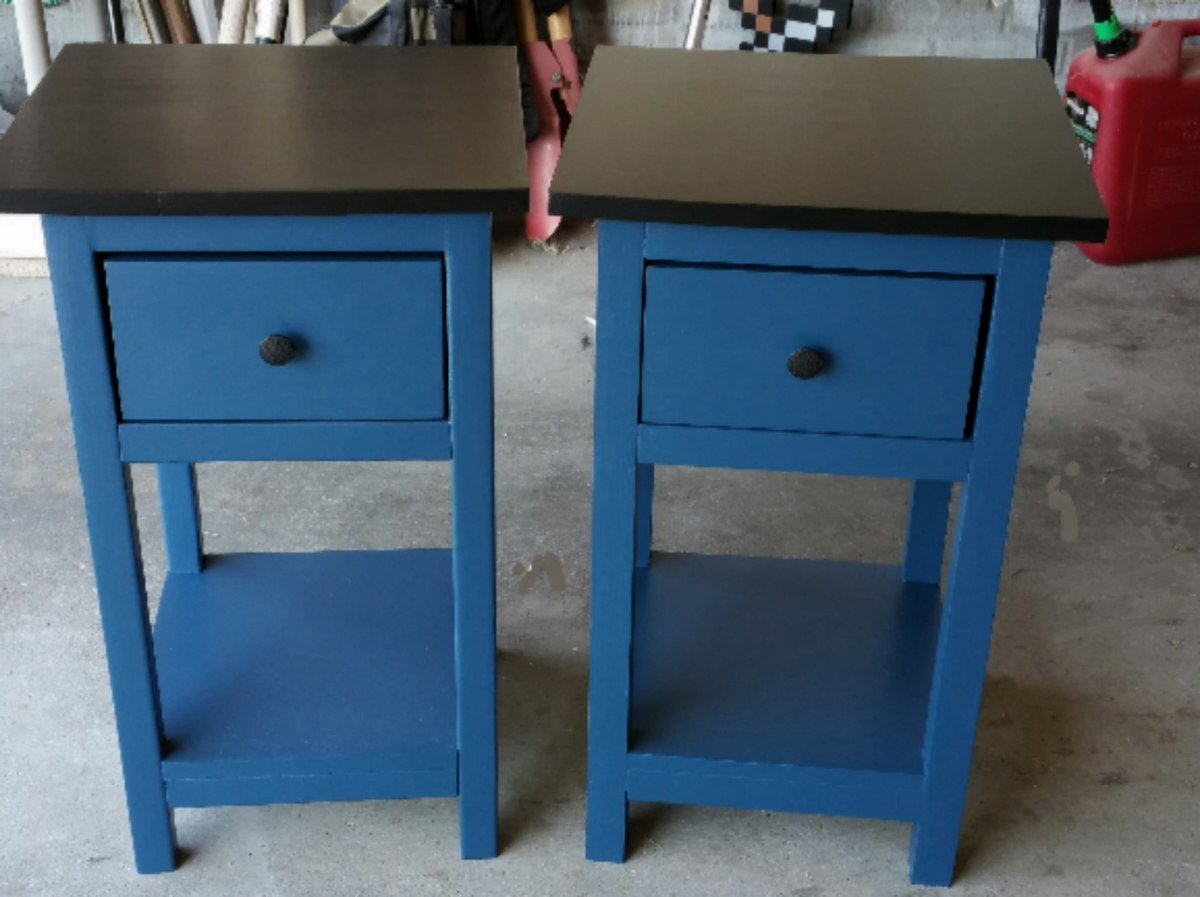
Well this was our first project and we made a few mistakes but we are thrilled with how they came out!
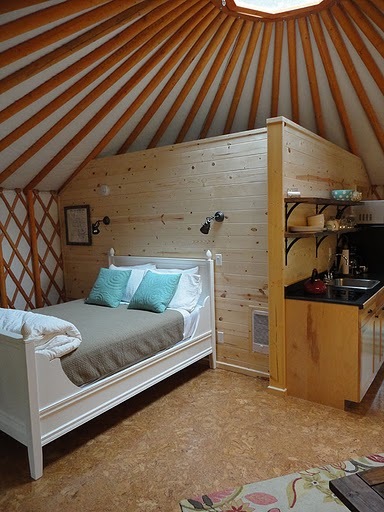
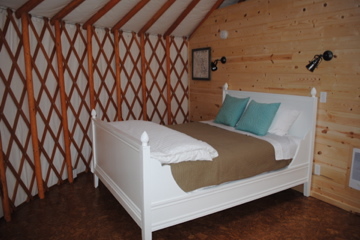
We made the Lydia bed for one of our yurts. This bed is a perfect fit for our beloved Betty yurt.This bed adds a touch of whimsy and femininity. Guests love this bed and comment how it adds to the experience of staying in a yurt.

In reply to yurt? by marlaandwilliam
Mon, 06/27/2011 - 13:41
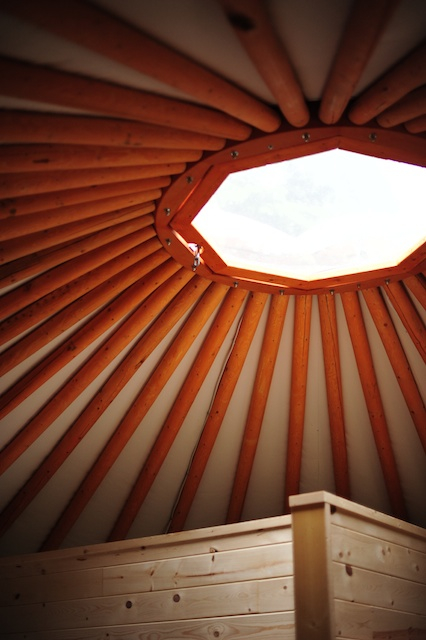
Yurts are traditional houses from Mongolia, Kazakhstan and has been the primary shelter for nomadic herdsman for centuries. These circular wooden dwellings were traditionally covered with felted wool and skins. As the nomads lives revolved around the rhythms of nature, the yurt’s design was portable and able to withstand high winds and extreme temperatures. Even today, many pastoral families in Mongolia still prefer life in a yurt.
The yurts we have are a modern version of this with full amenities of kitchen bathroom etc. We are located in the lake country of Northern Saskatchewan Canada. You can find more photos or information about yurts on our website http://florabora.ca.
Thank you for the question
Mon, 06/27/2011 - 14:39
I live in Colorado and we have Yurts here. Yurts in CO tend to be more rustic, sustainable, easy to build, and small space in the mountains typically. People usually stay in yurts when they're backpacking, skiing, etc. Rather than leaving the mountain and going back to town, the yurt system in CO allows you to keep your adventure going.
Here are some links if you're curious
http://www.parks.state.co.us/Reservations/YurtInformation/Pages/yurtinf…
http://www.coloradoyurt.com/yurts
PS: cool space and awesome build!
Fri, 09/23/2011 - 15:43
Just wanted to say I love yurts!!! I've been wanting one for a long time. love 'em
Wed, 10/07/2015 - 07:42
Seen this on pinterest and just had to say that Flora Bora is amazing, We stayed there a couple yrs ago and 100%enjoyed it. Such a welcoming family that owns Flora Bora too. They go above and beyond to make your stay a memorable one. Definetly recommend to anyone.
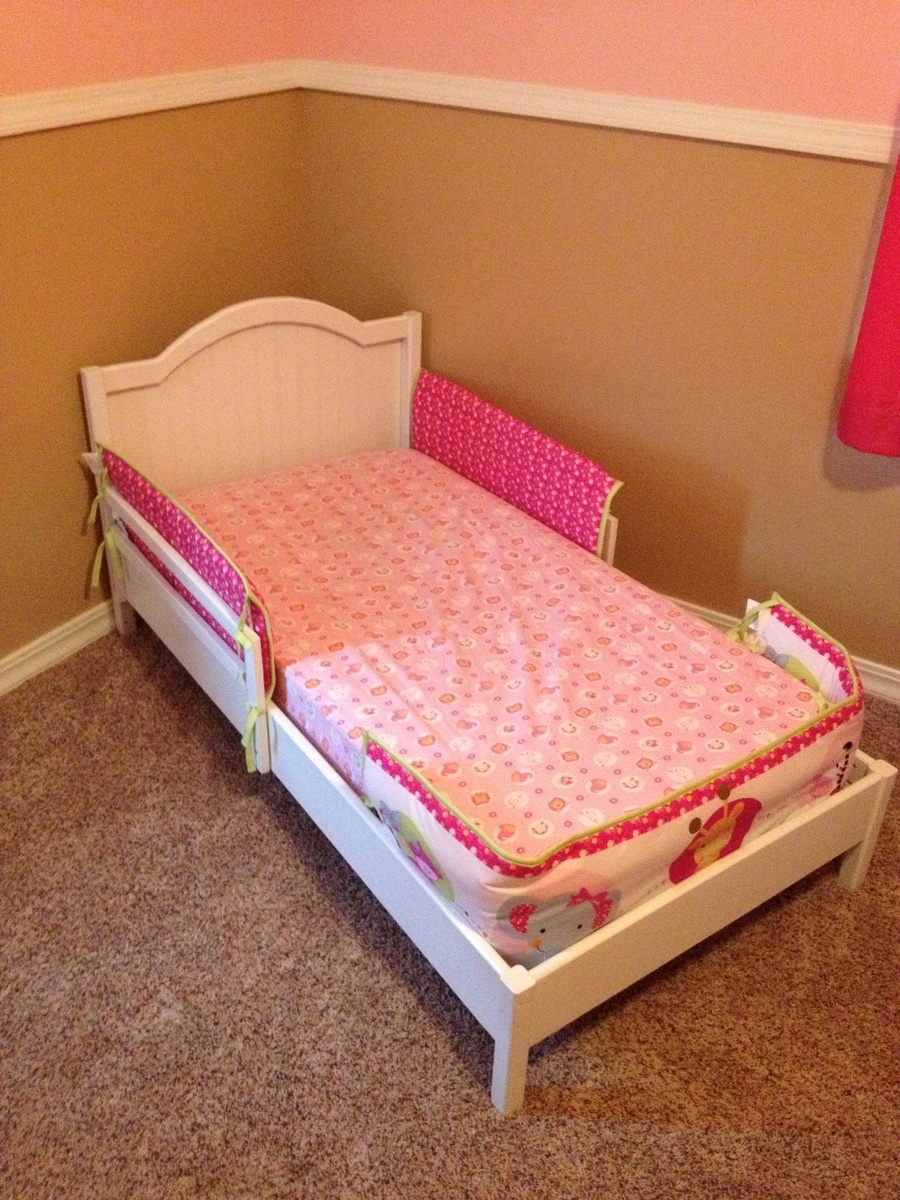
I needed a new toddler bed for my daughter because we have another baby coming soon. Instead of spending $60 on some rinky-dink bed from the store or pay way too much for a quality bed, I decided to try this project. I was able to use quality or standard pine for the entire bed (with a lot of sanding) so we saved a lot of money. Be sure to use dimensions specific to the bed and not what was listed. For the curved top, I recommend cutting and sanding a template out of MDF and then using a template router bit for the actual piece to be used. Great plan and cost savings!! Thank you, Ana!
My wife has been wanting this project for months. Had to shorten the size to fit our wall. Thank you Ana for such easy to follow guidelines.
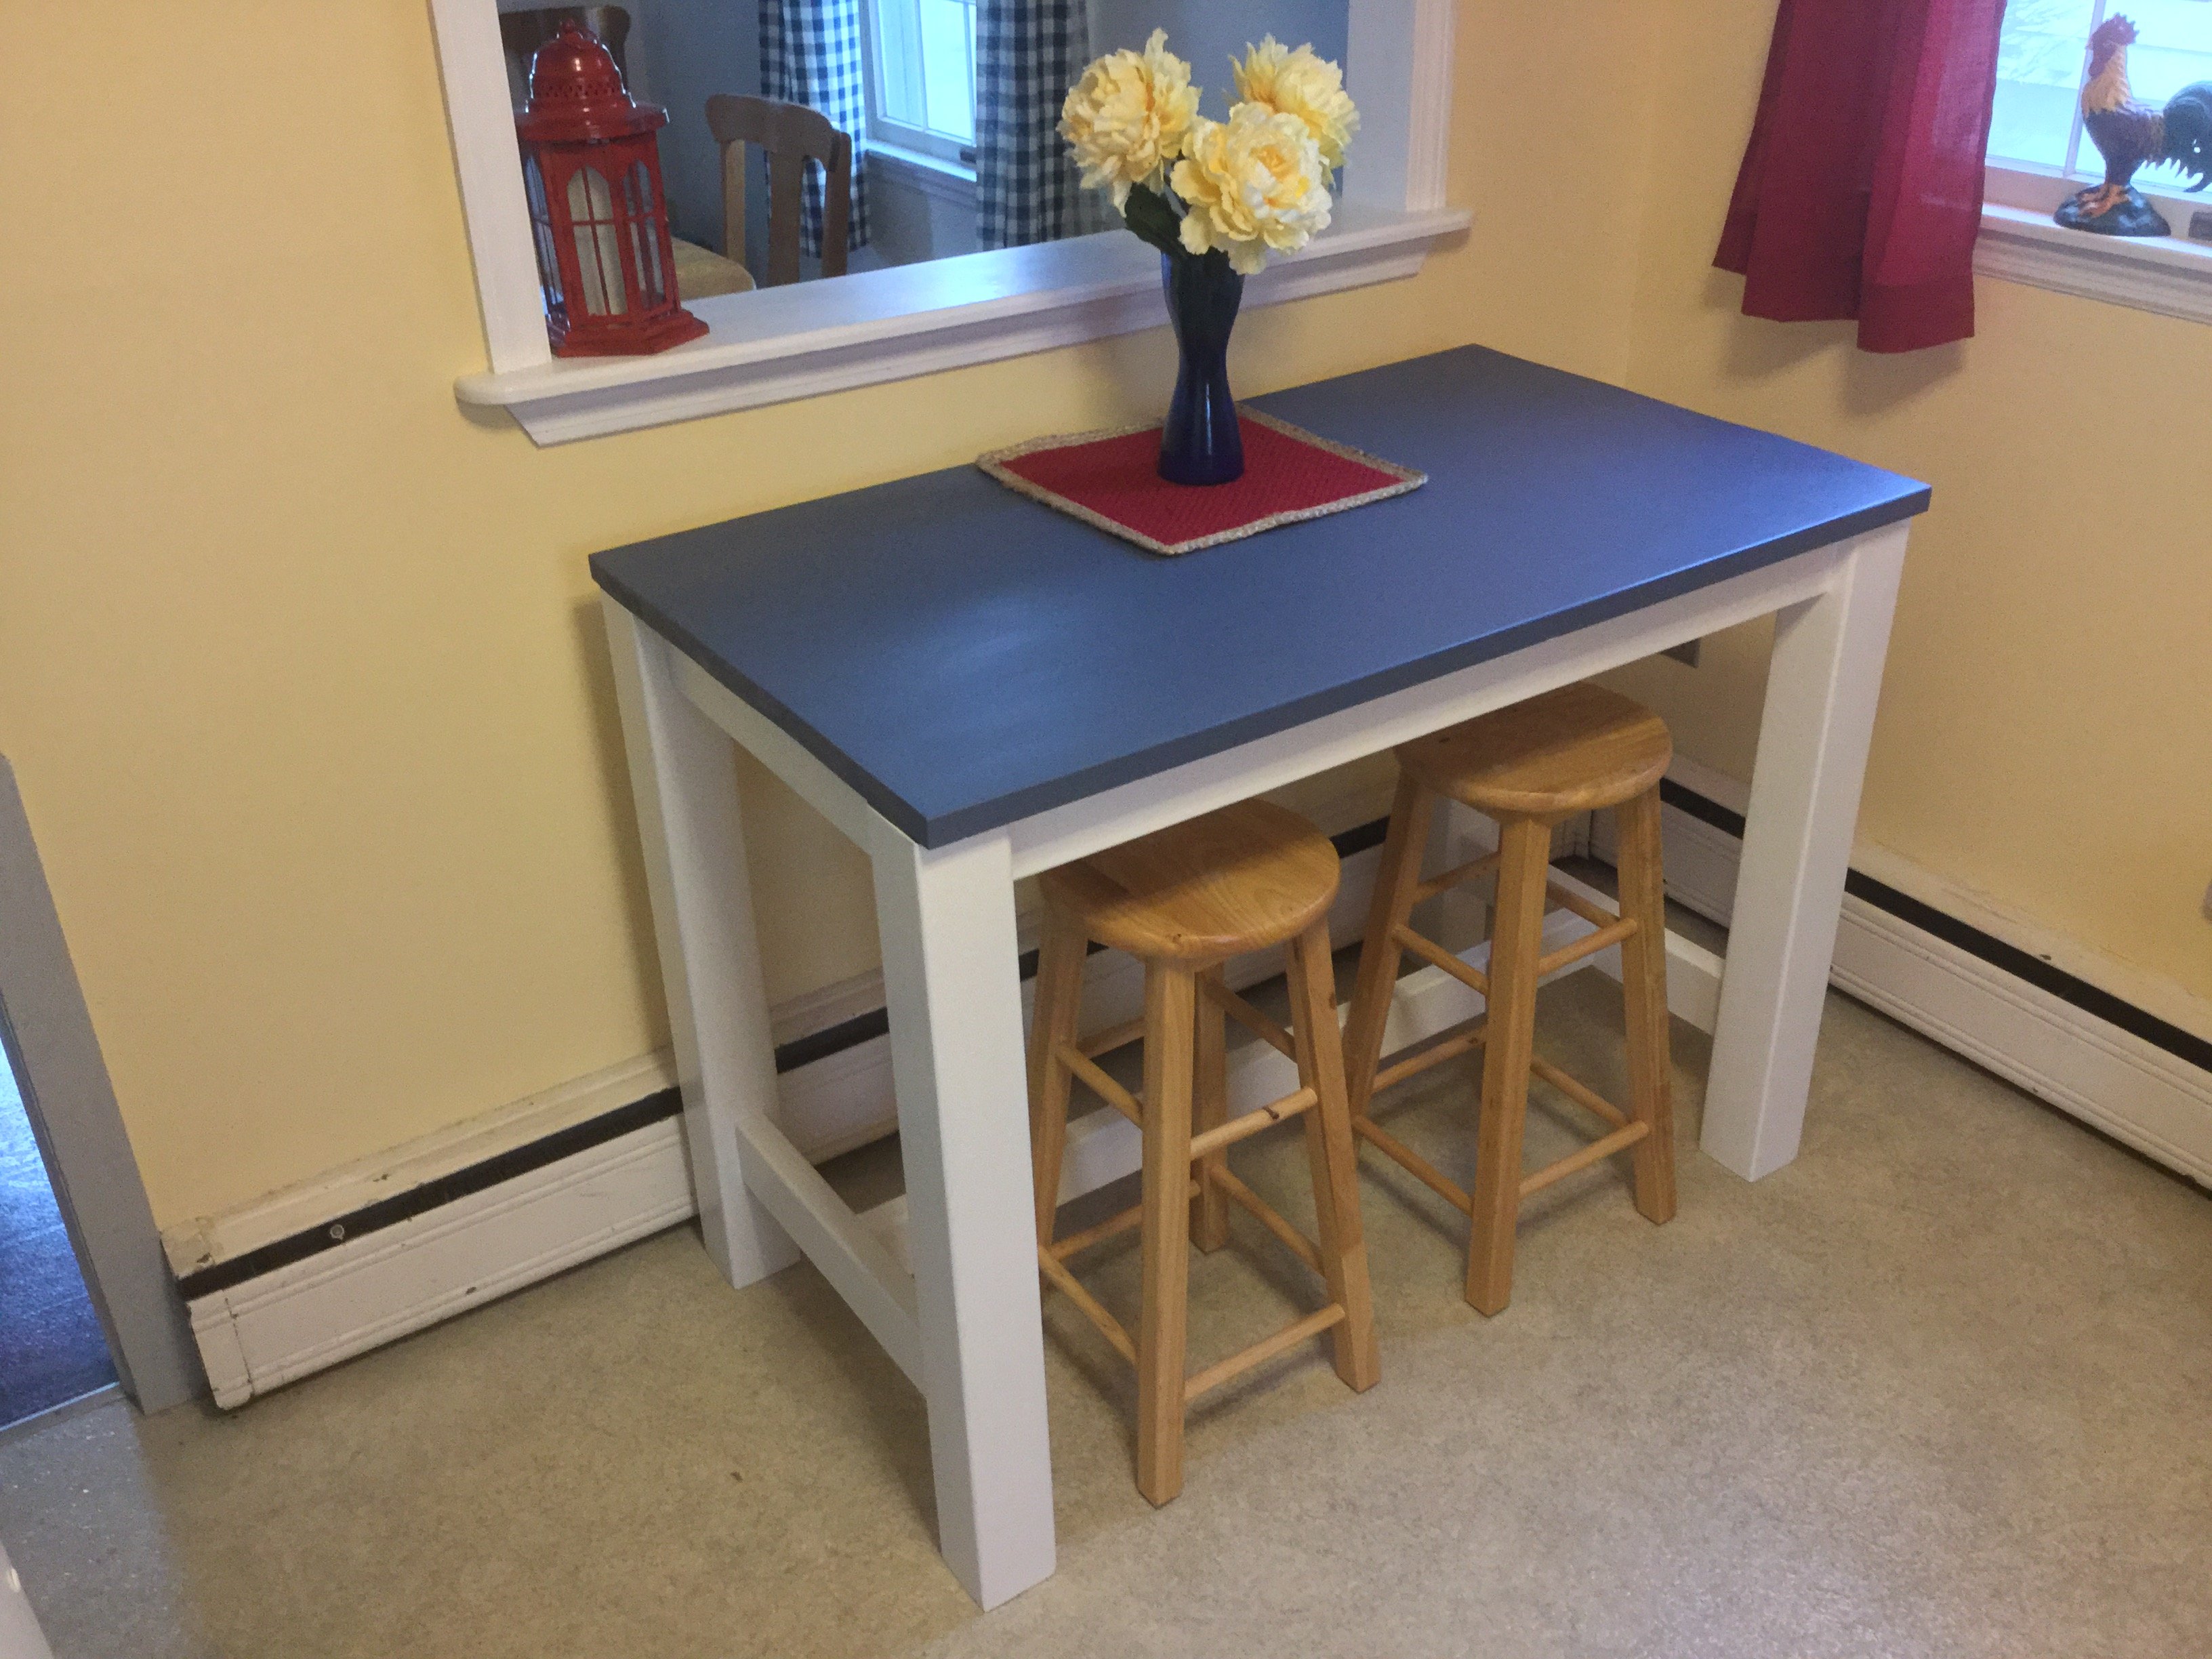
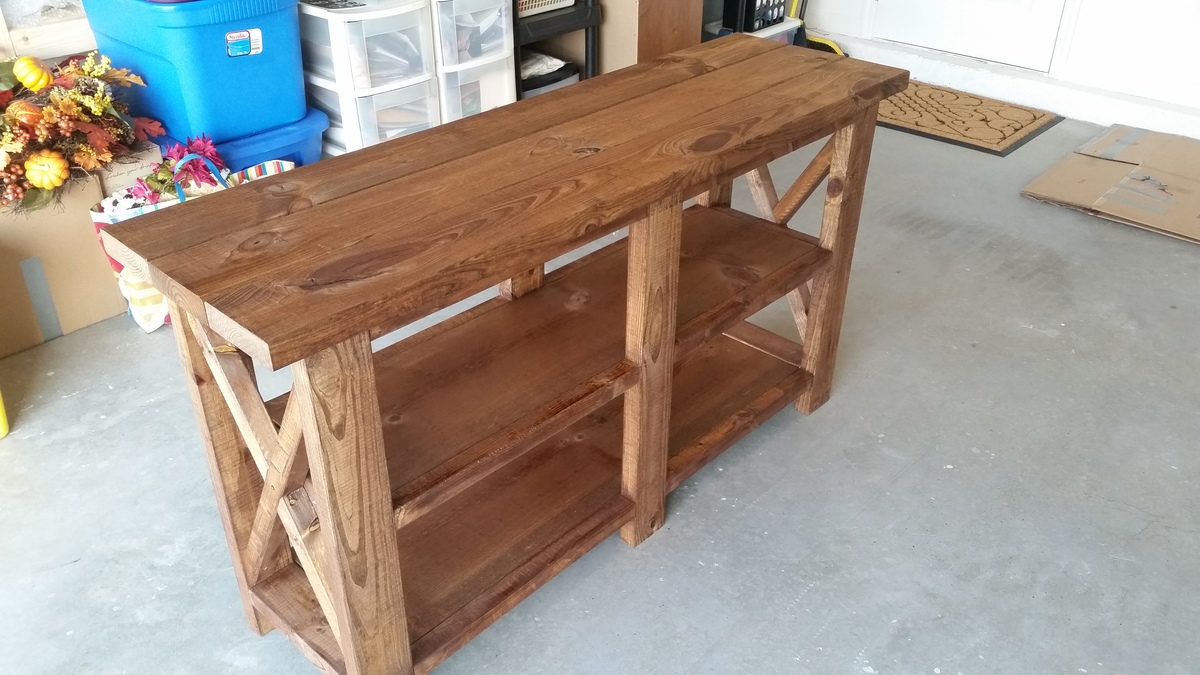
This counter height farmhouse table fit my space perfectly. I made it narrower than Ana's table but the same length, 48" x 27". Instead of a 3/4" plywood top, I joined five 5/4" x 6 pine boards for the top. The stools fit exactly under the table when I want to use it as a workspace. I can also use both sides of the table if I pull it out.

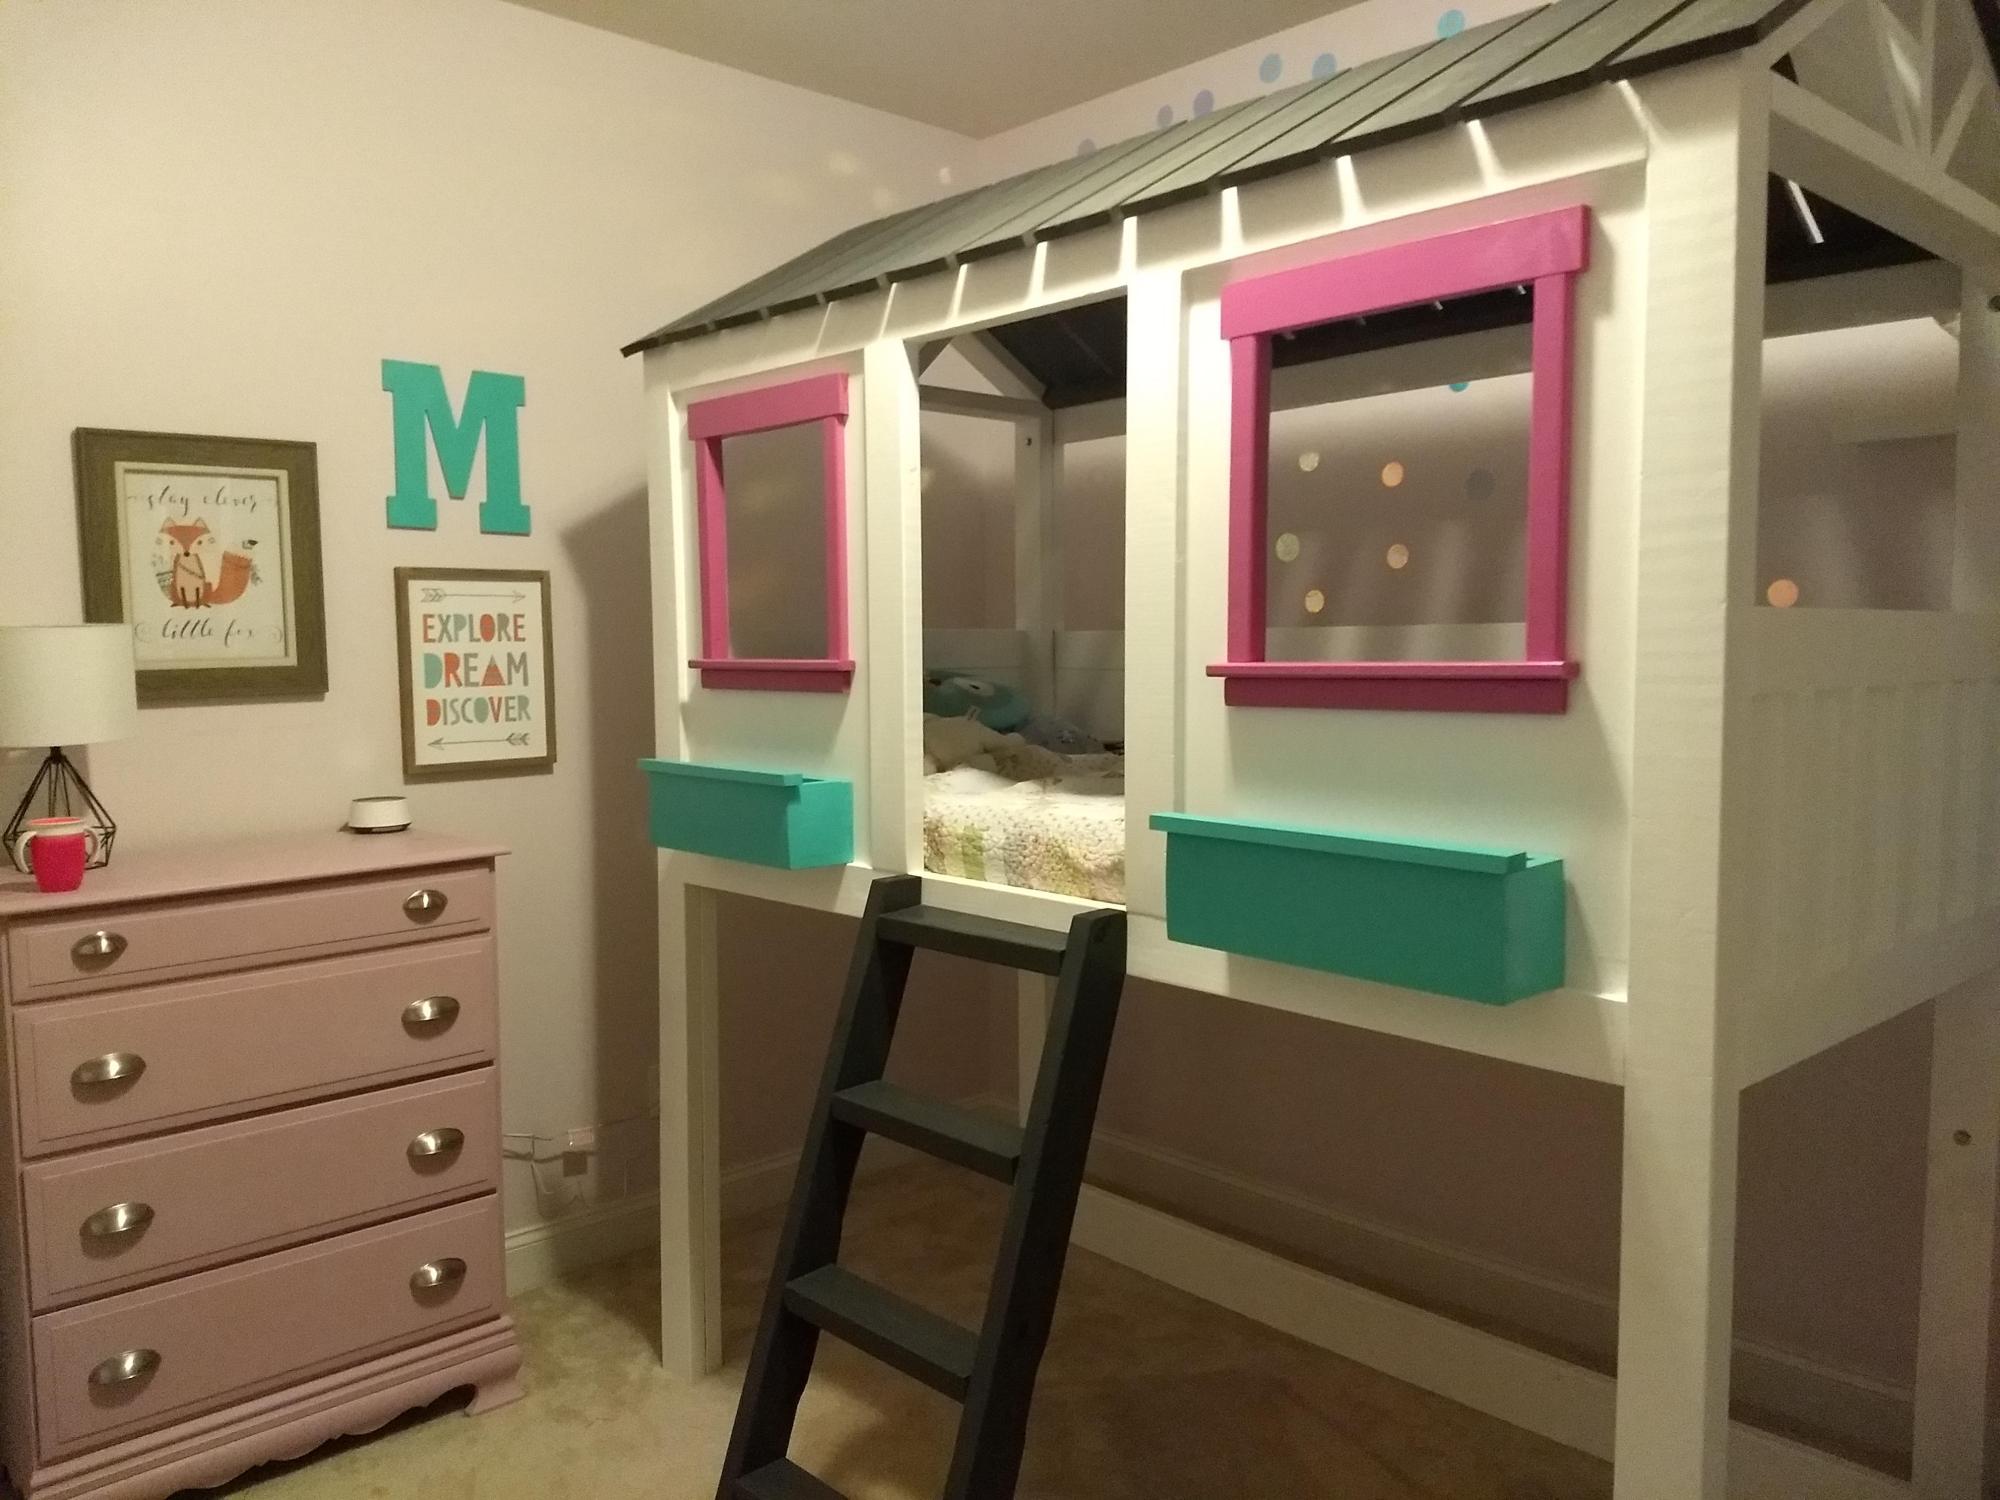
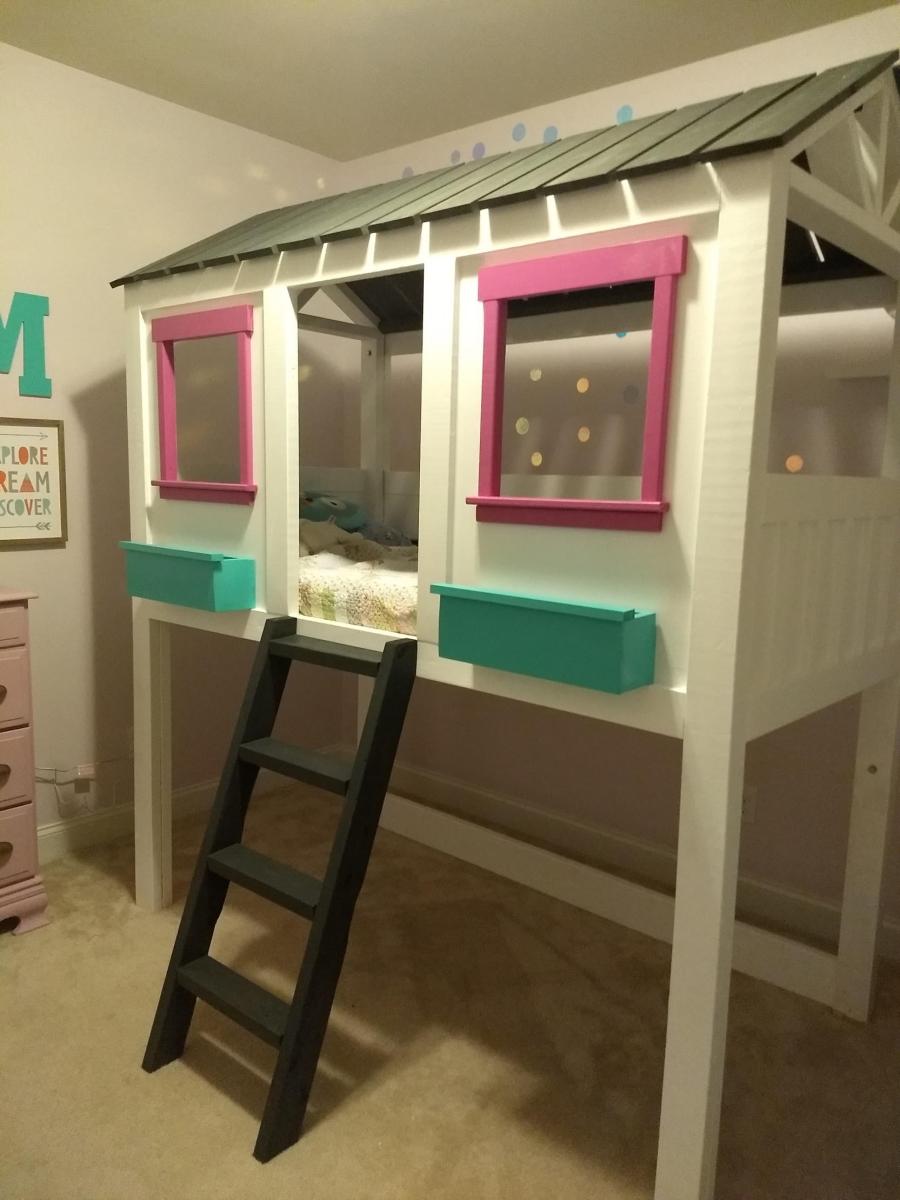
Cabin bunkbed for granddaughters room, built by her mom and grandma.
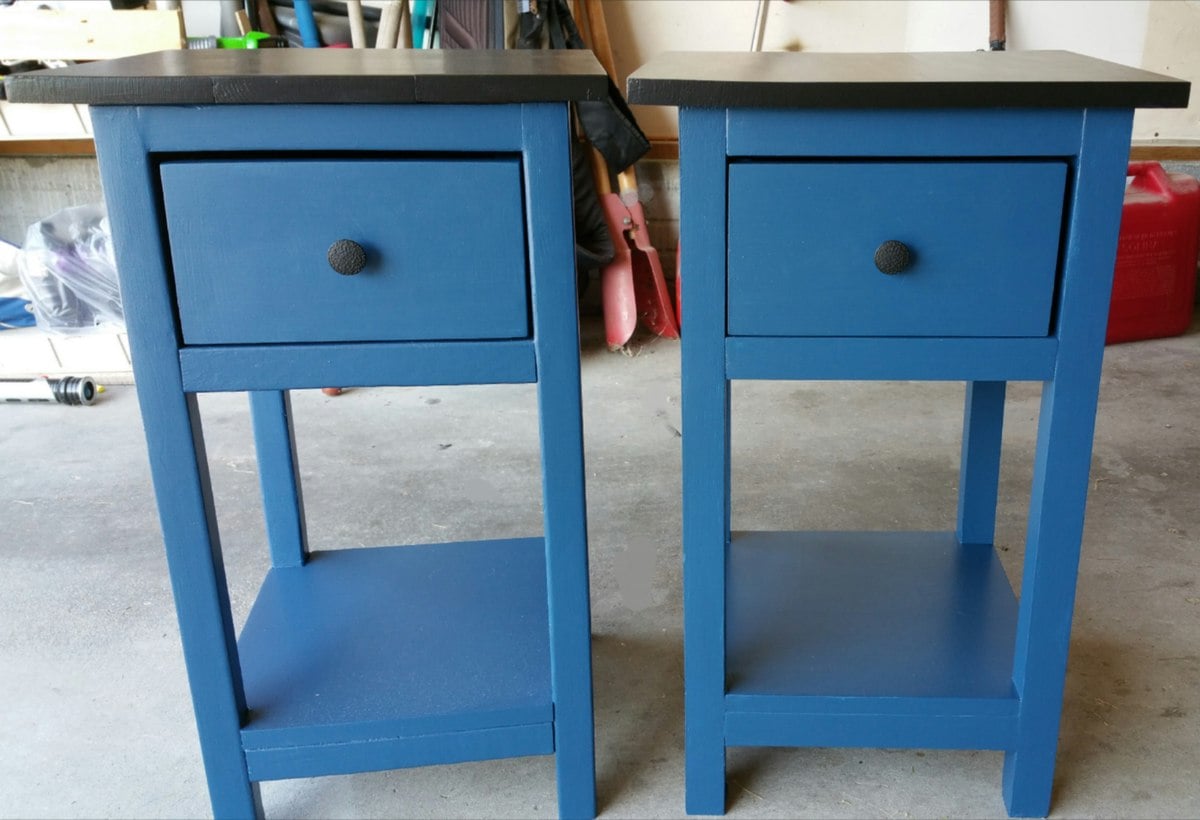
I built this Farmhouse Queen Bed & Kentwood Night Stand for my Granddaughter. She loves it !

Hi friends!
Jen Woodhouse here popping in to share with you an outdoor furniture option for you. This DIY Outdoor Storage Bench has served me so well. It's still in great condition after being outside, and has a huge added bonus of storage as well. The fretwork detail on the back makes it look extra fancy, but those angled cuts are all at 45 degrees, so this project is totally doable. Be sure to tag me @jenwoodhouse if you share photos of your build on social media!
You can get all details and the free plans on jenwoodhouse.com!
Sun, 04/29/2018 - 07:20
Love this bench. I may have to make something similar for my back yard.
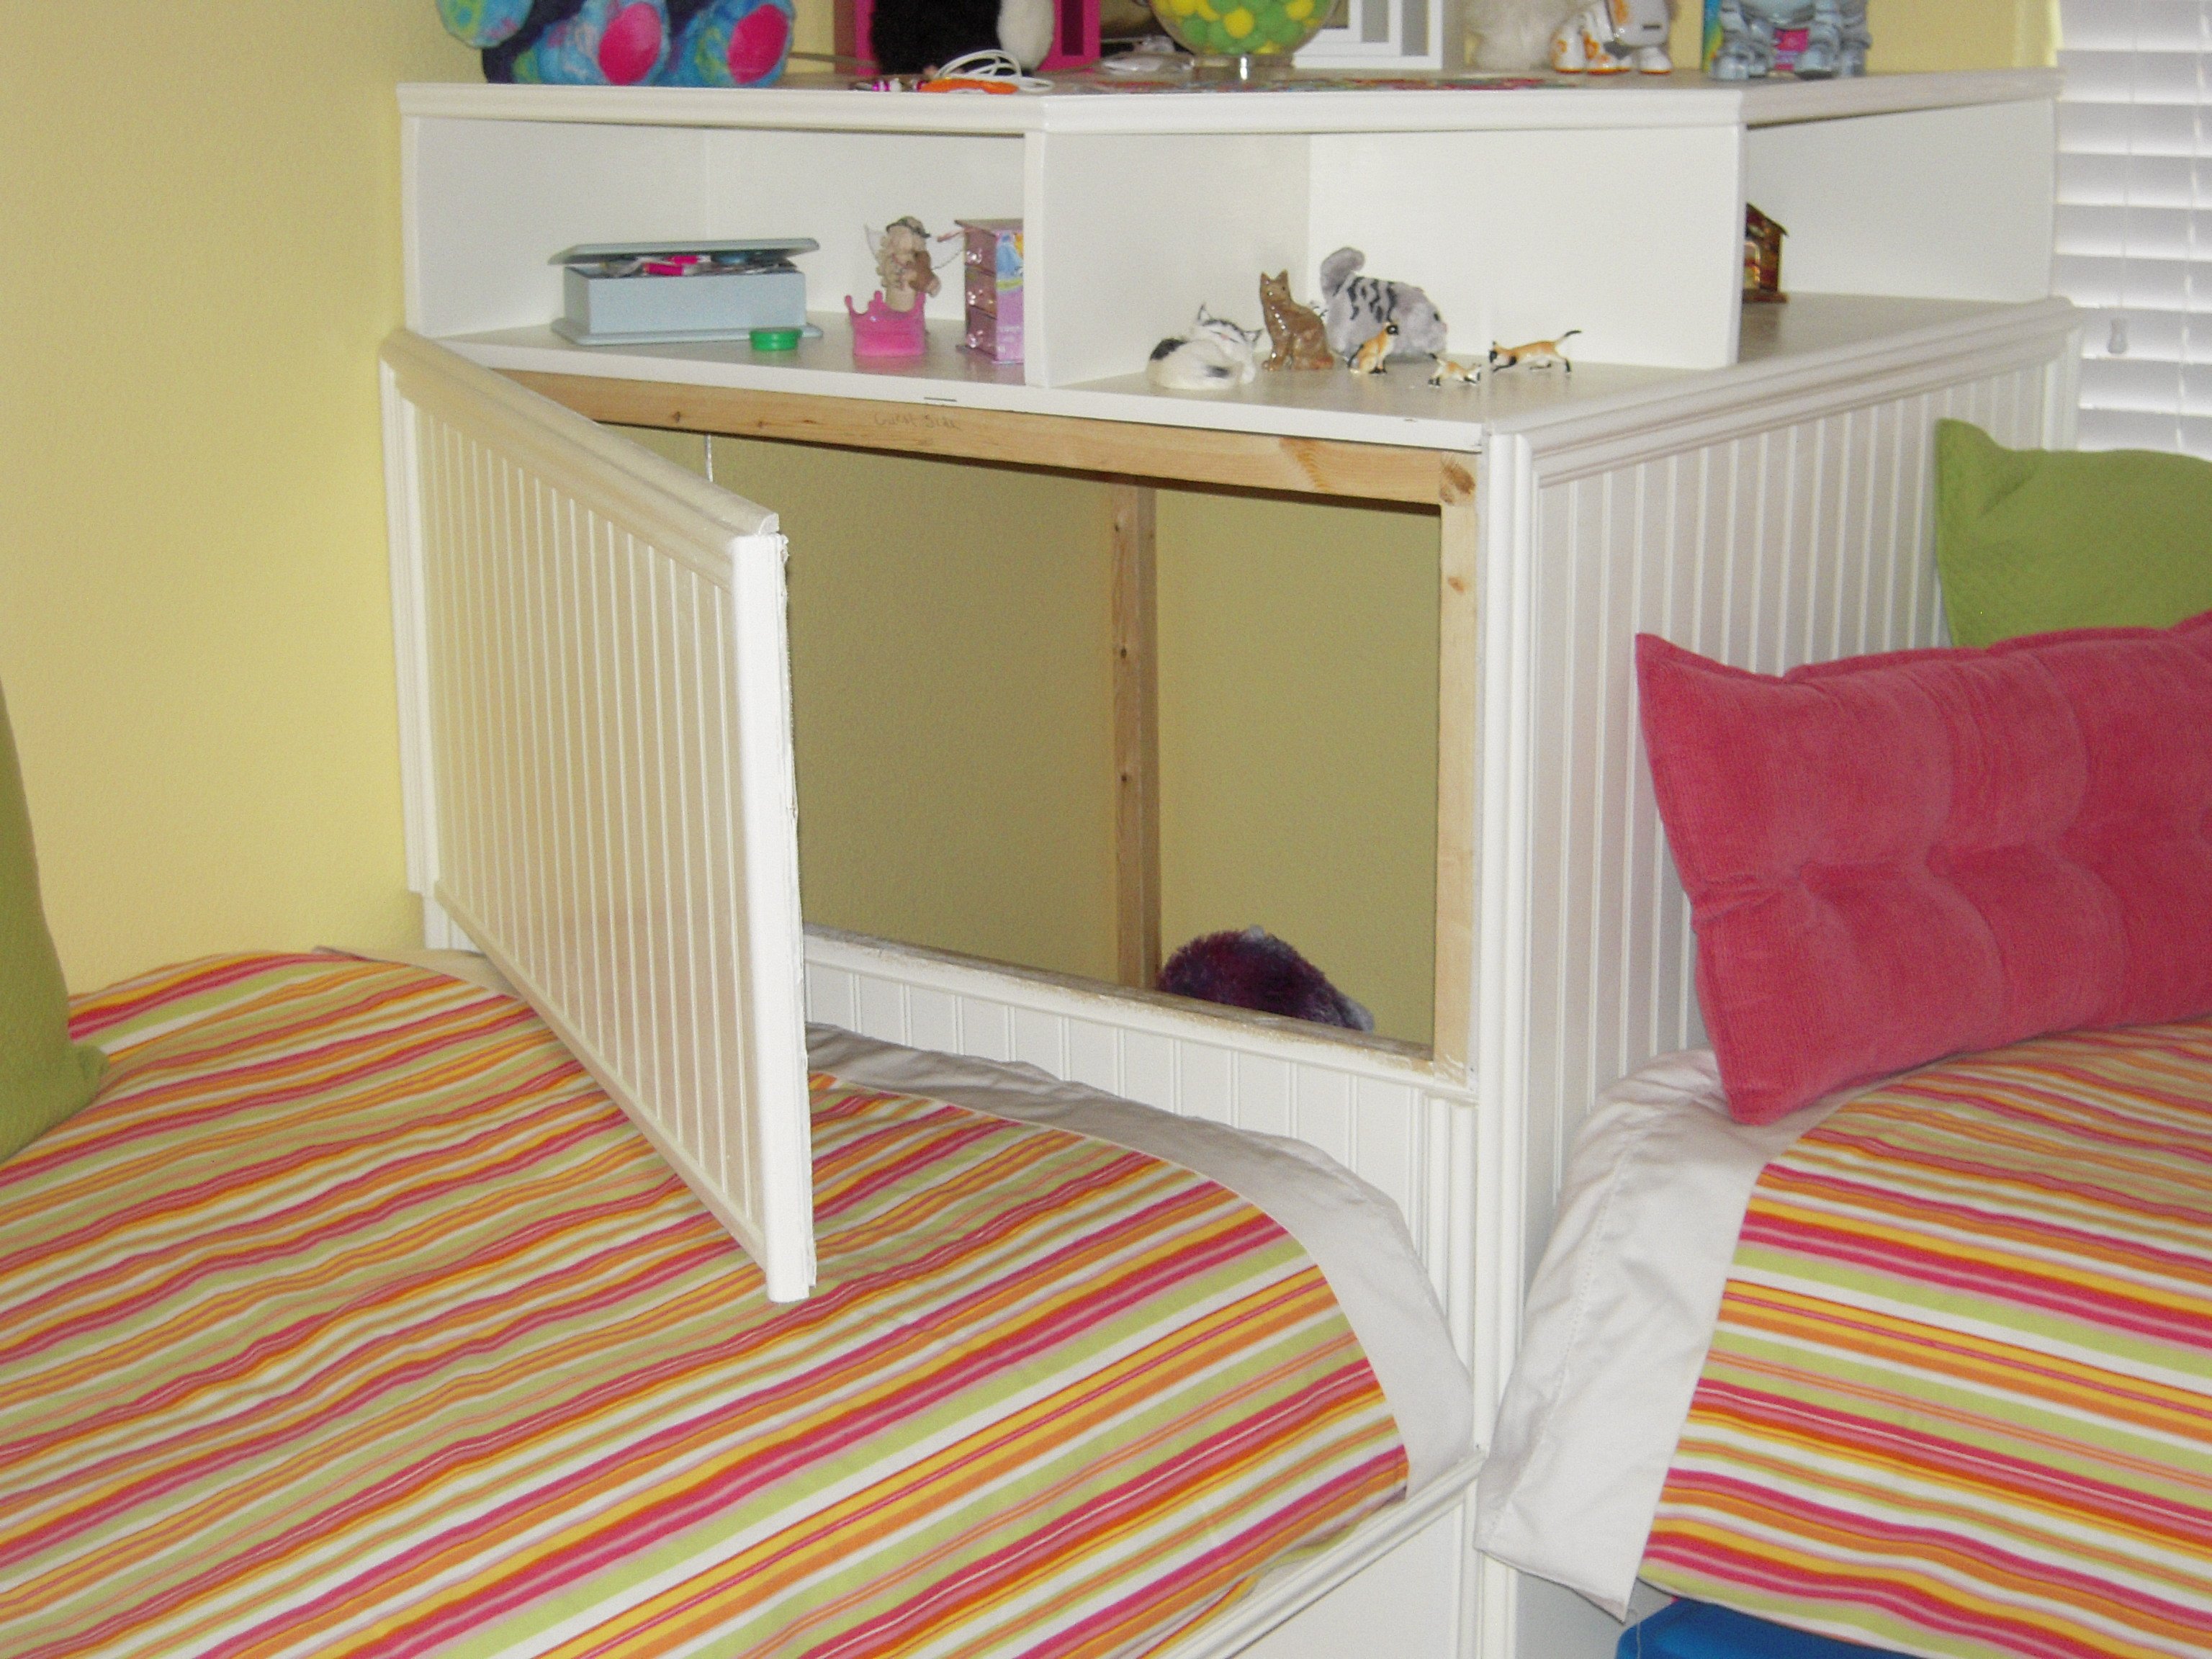
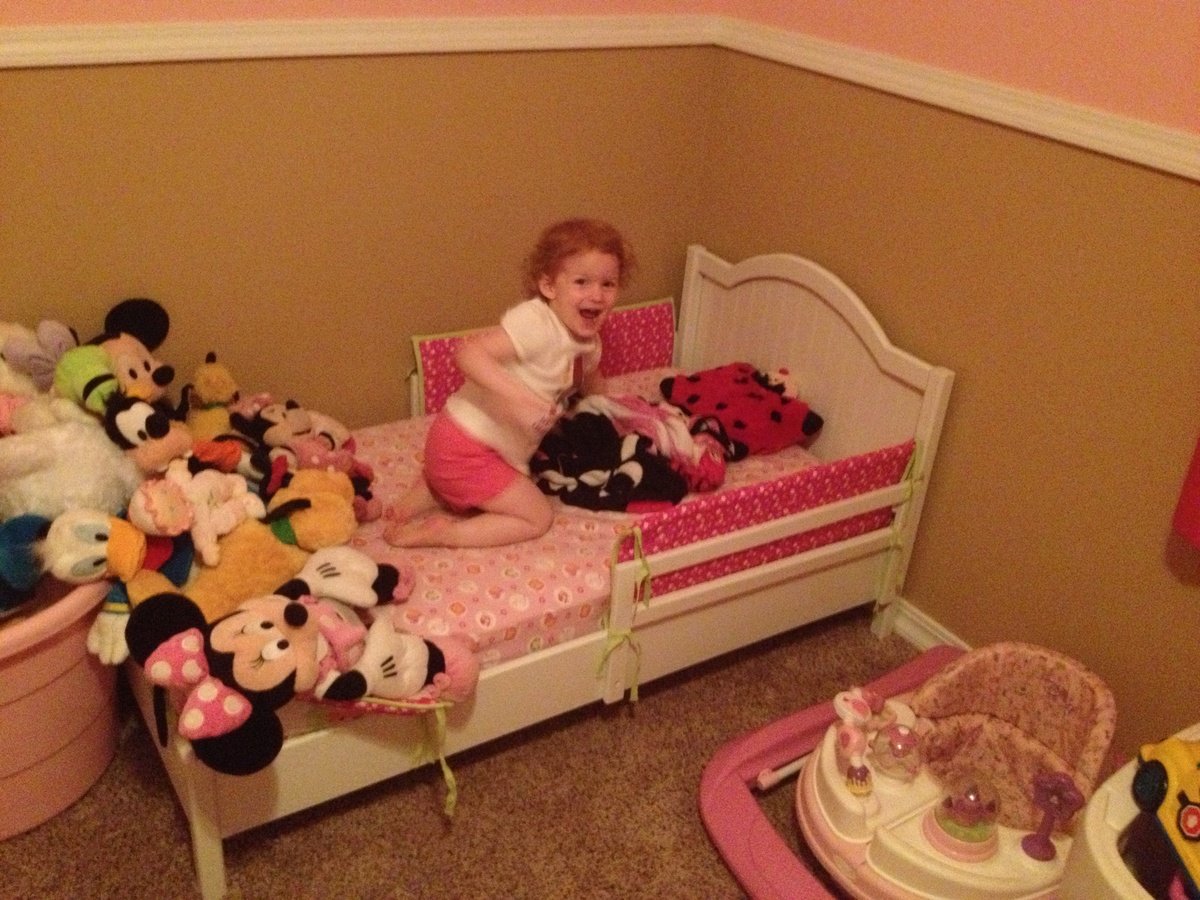
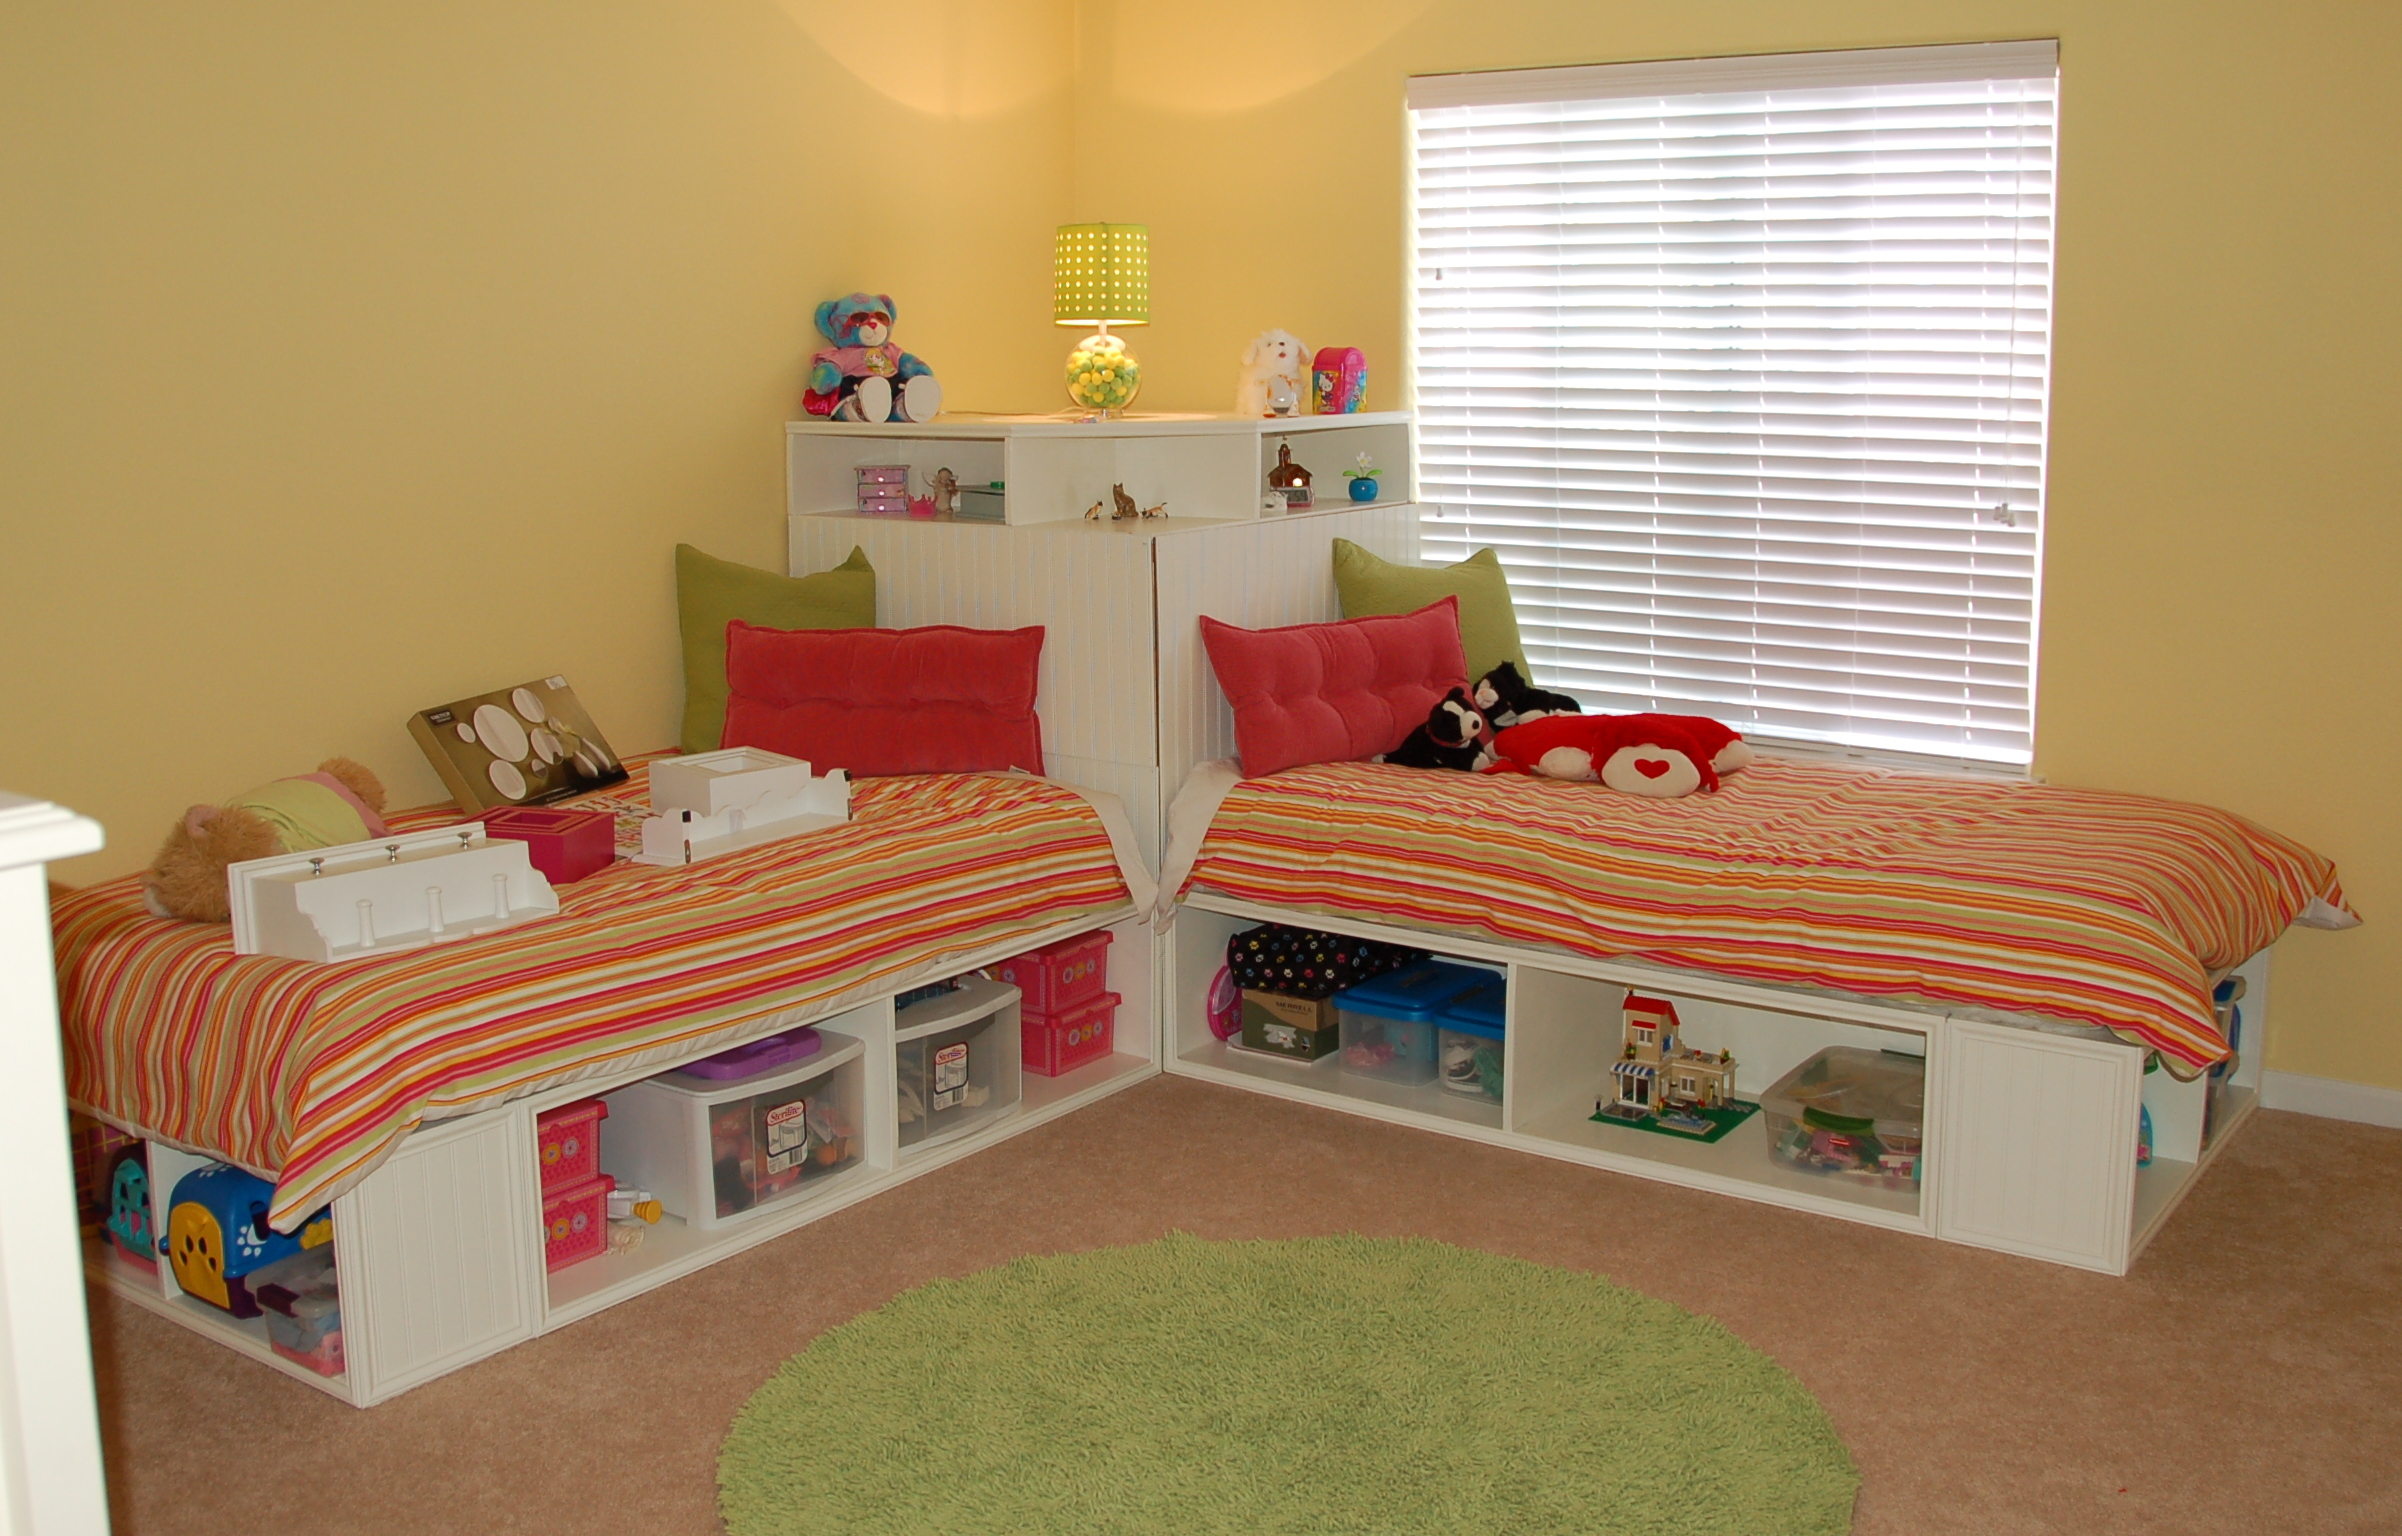
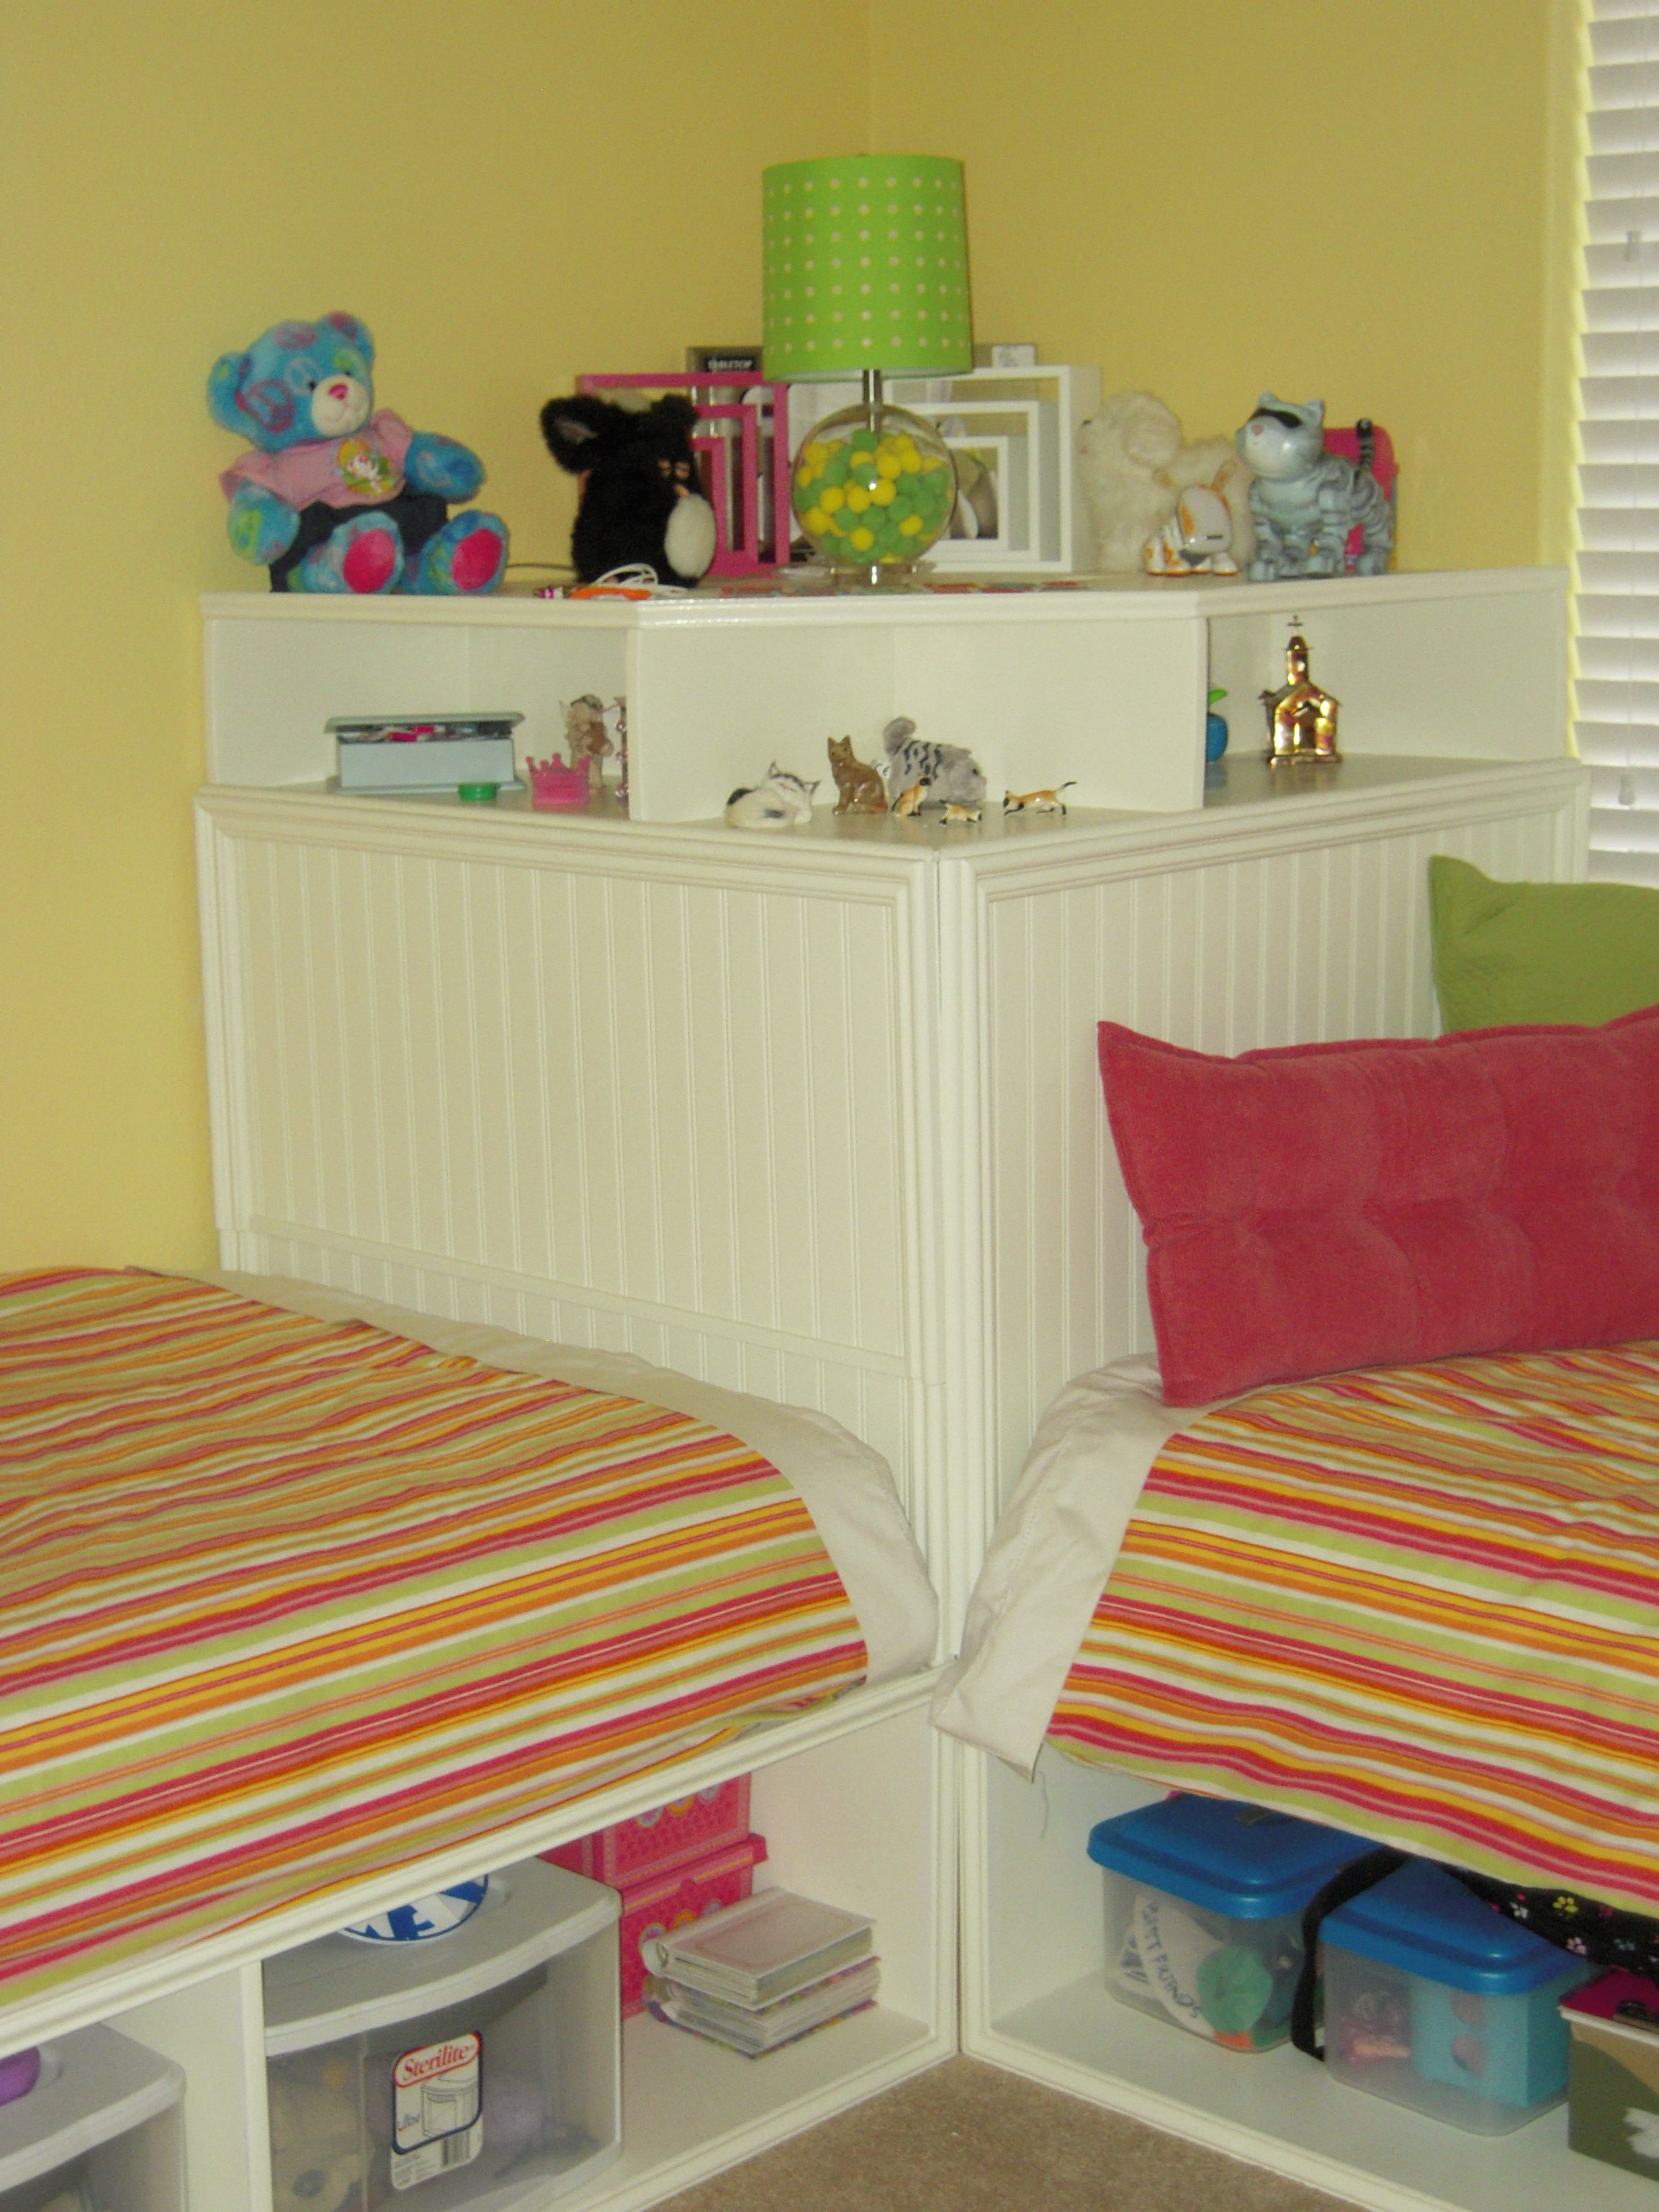
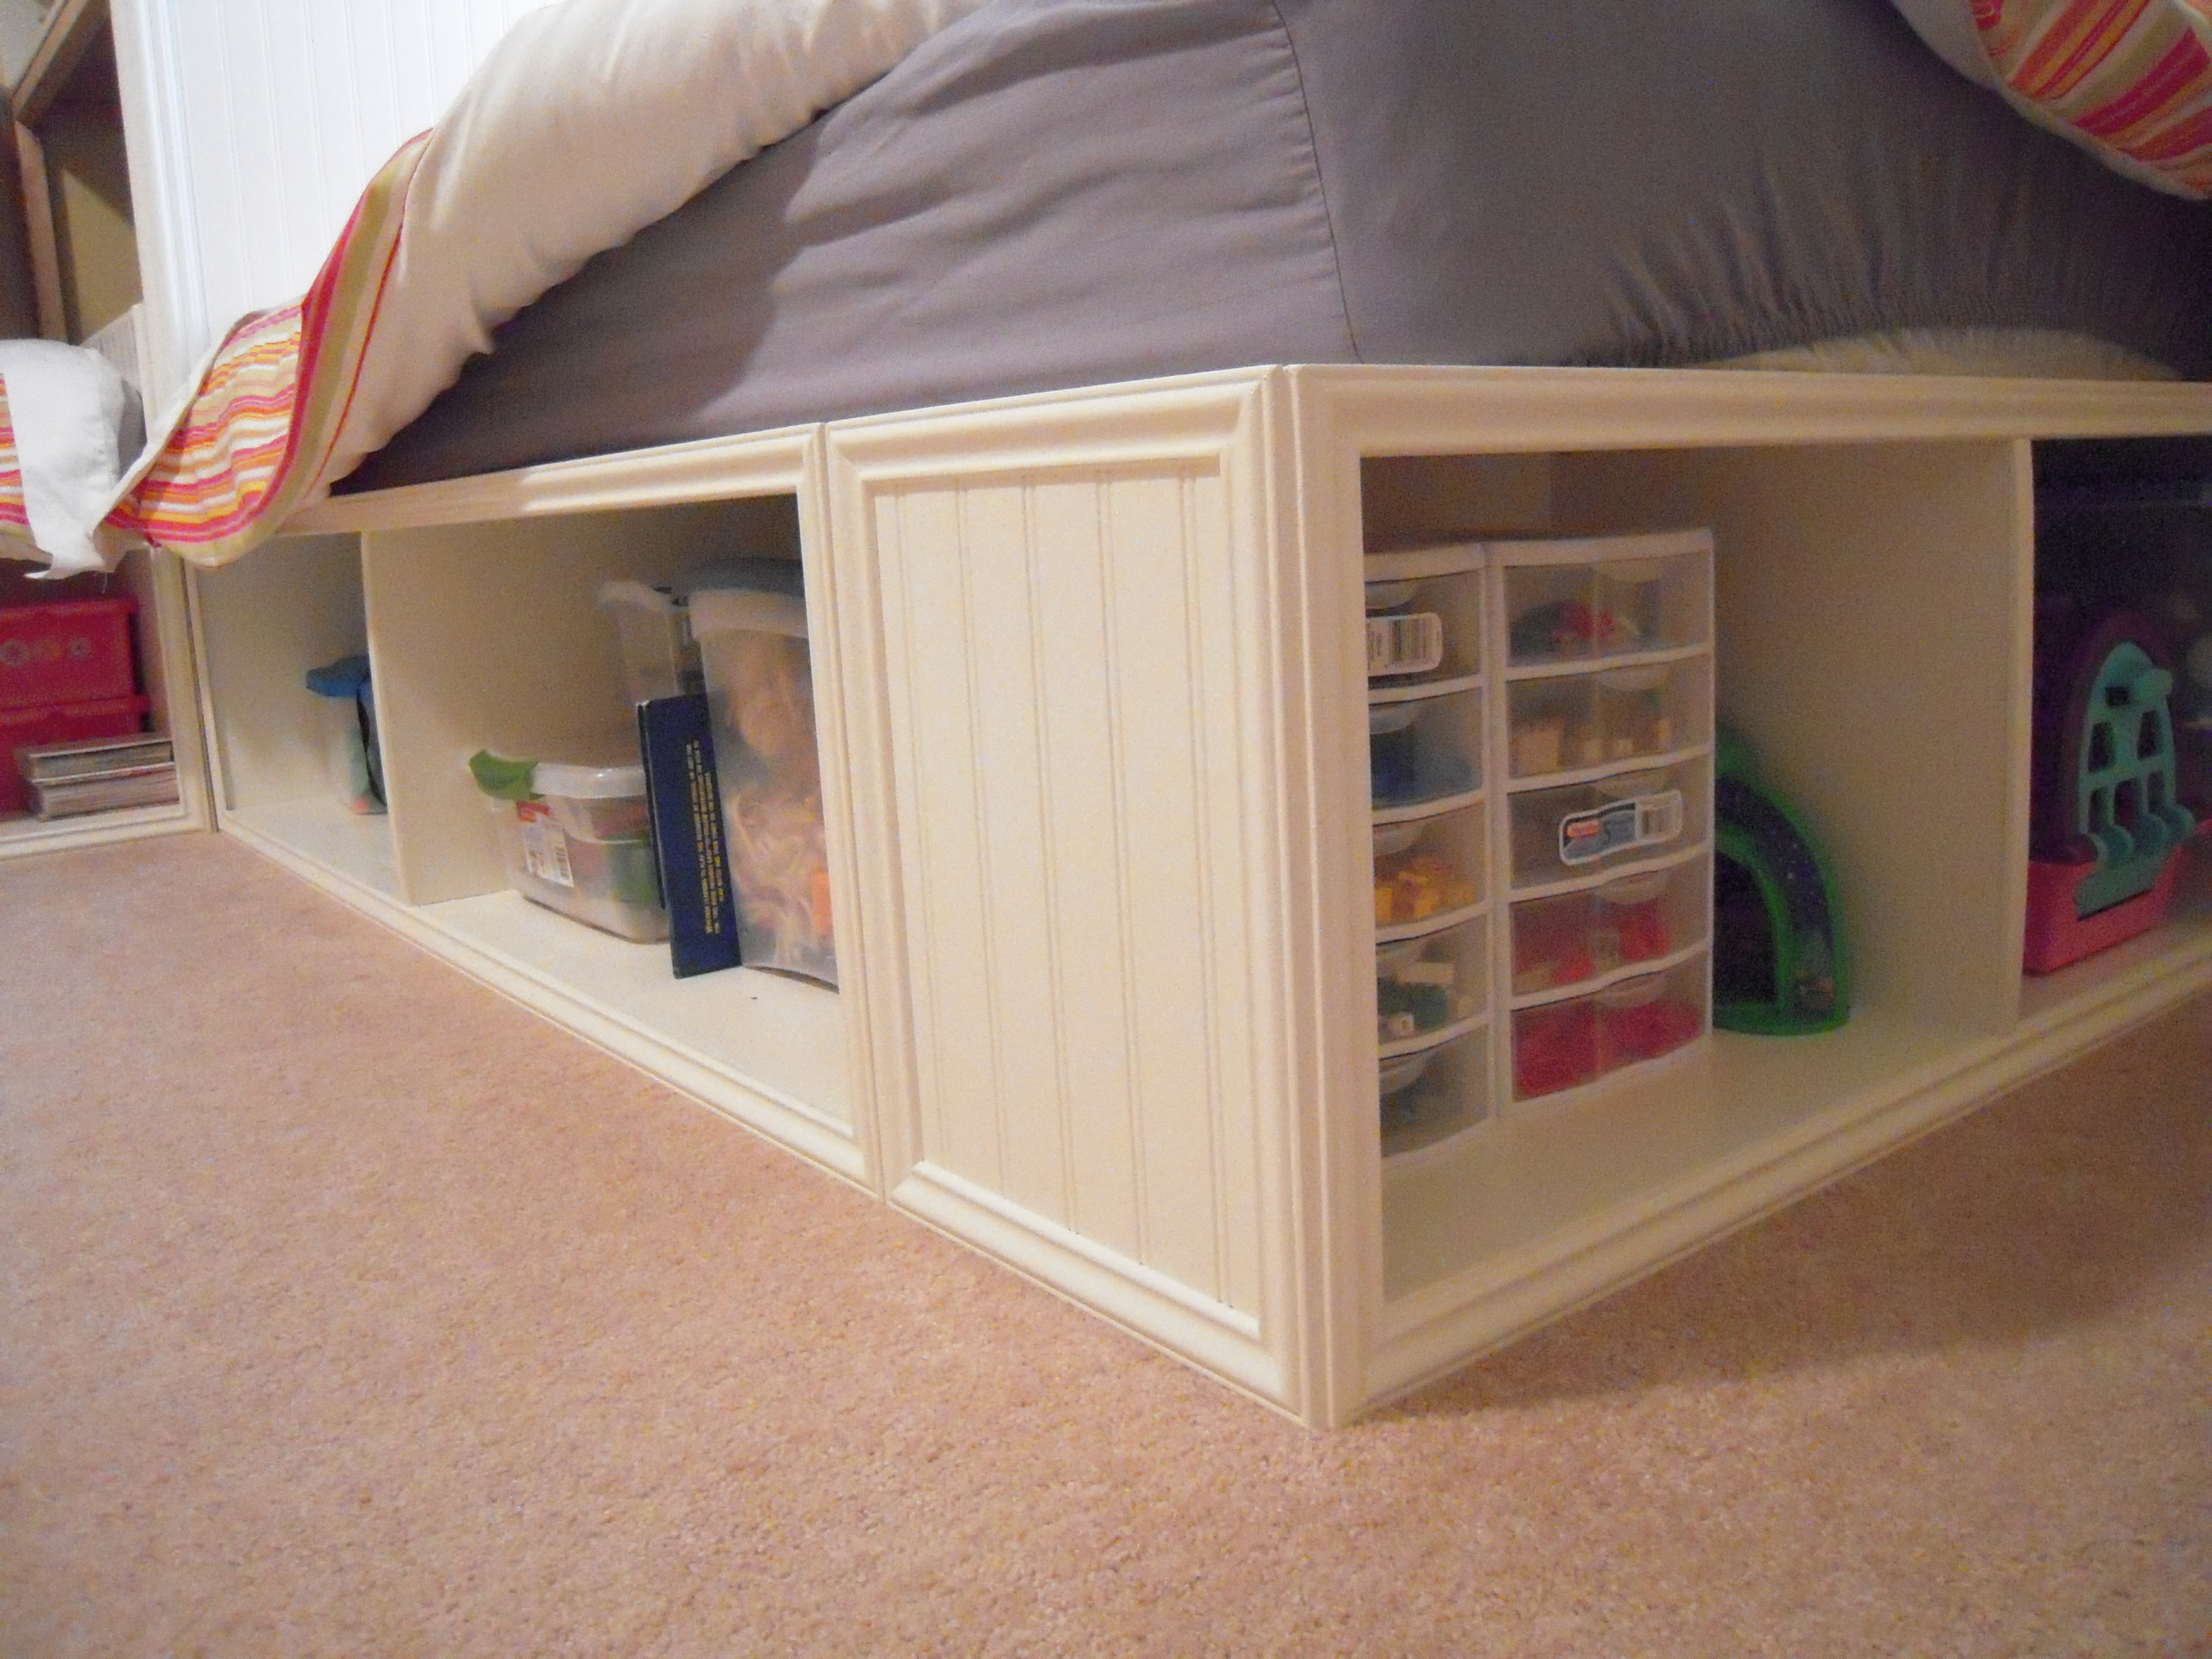
I loved doing this project. I used Anna's plans but modified them just enough to help be with my biggest problem, stuffed animals! :) I increased the height by eight inches and cut one of the bead board panels just above the mattress. Next I attached the top panel using a piano hinge. Finally, I reinforced the bottom panel with an extra piece of 1x1 (horizontally) so that my daughter can climb in to and out of the corner unit and not crack the bottom bead board panel. She now has a place to put all her stuffed animals and as a bonus a new "secret hiding place.
To spruce up the storage beds and corner unit I added moulding to the front of everything and then painted everything cream colored to match her dresser. The molding took extra time, but it was well worth it! Because I increased the height of the corner unit I also added a thin piece of plywood behind each piece of bead board (heard boards) to help reinforce it and would support the weight of someone leaning back on the "head board". All in all it was a great project to work on, Anna's design plans were easy to read and allowed me to make adjustments when necessary without any trouble.

Thu, 07/07/2011 - 12:36
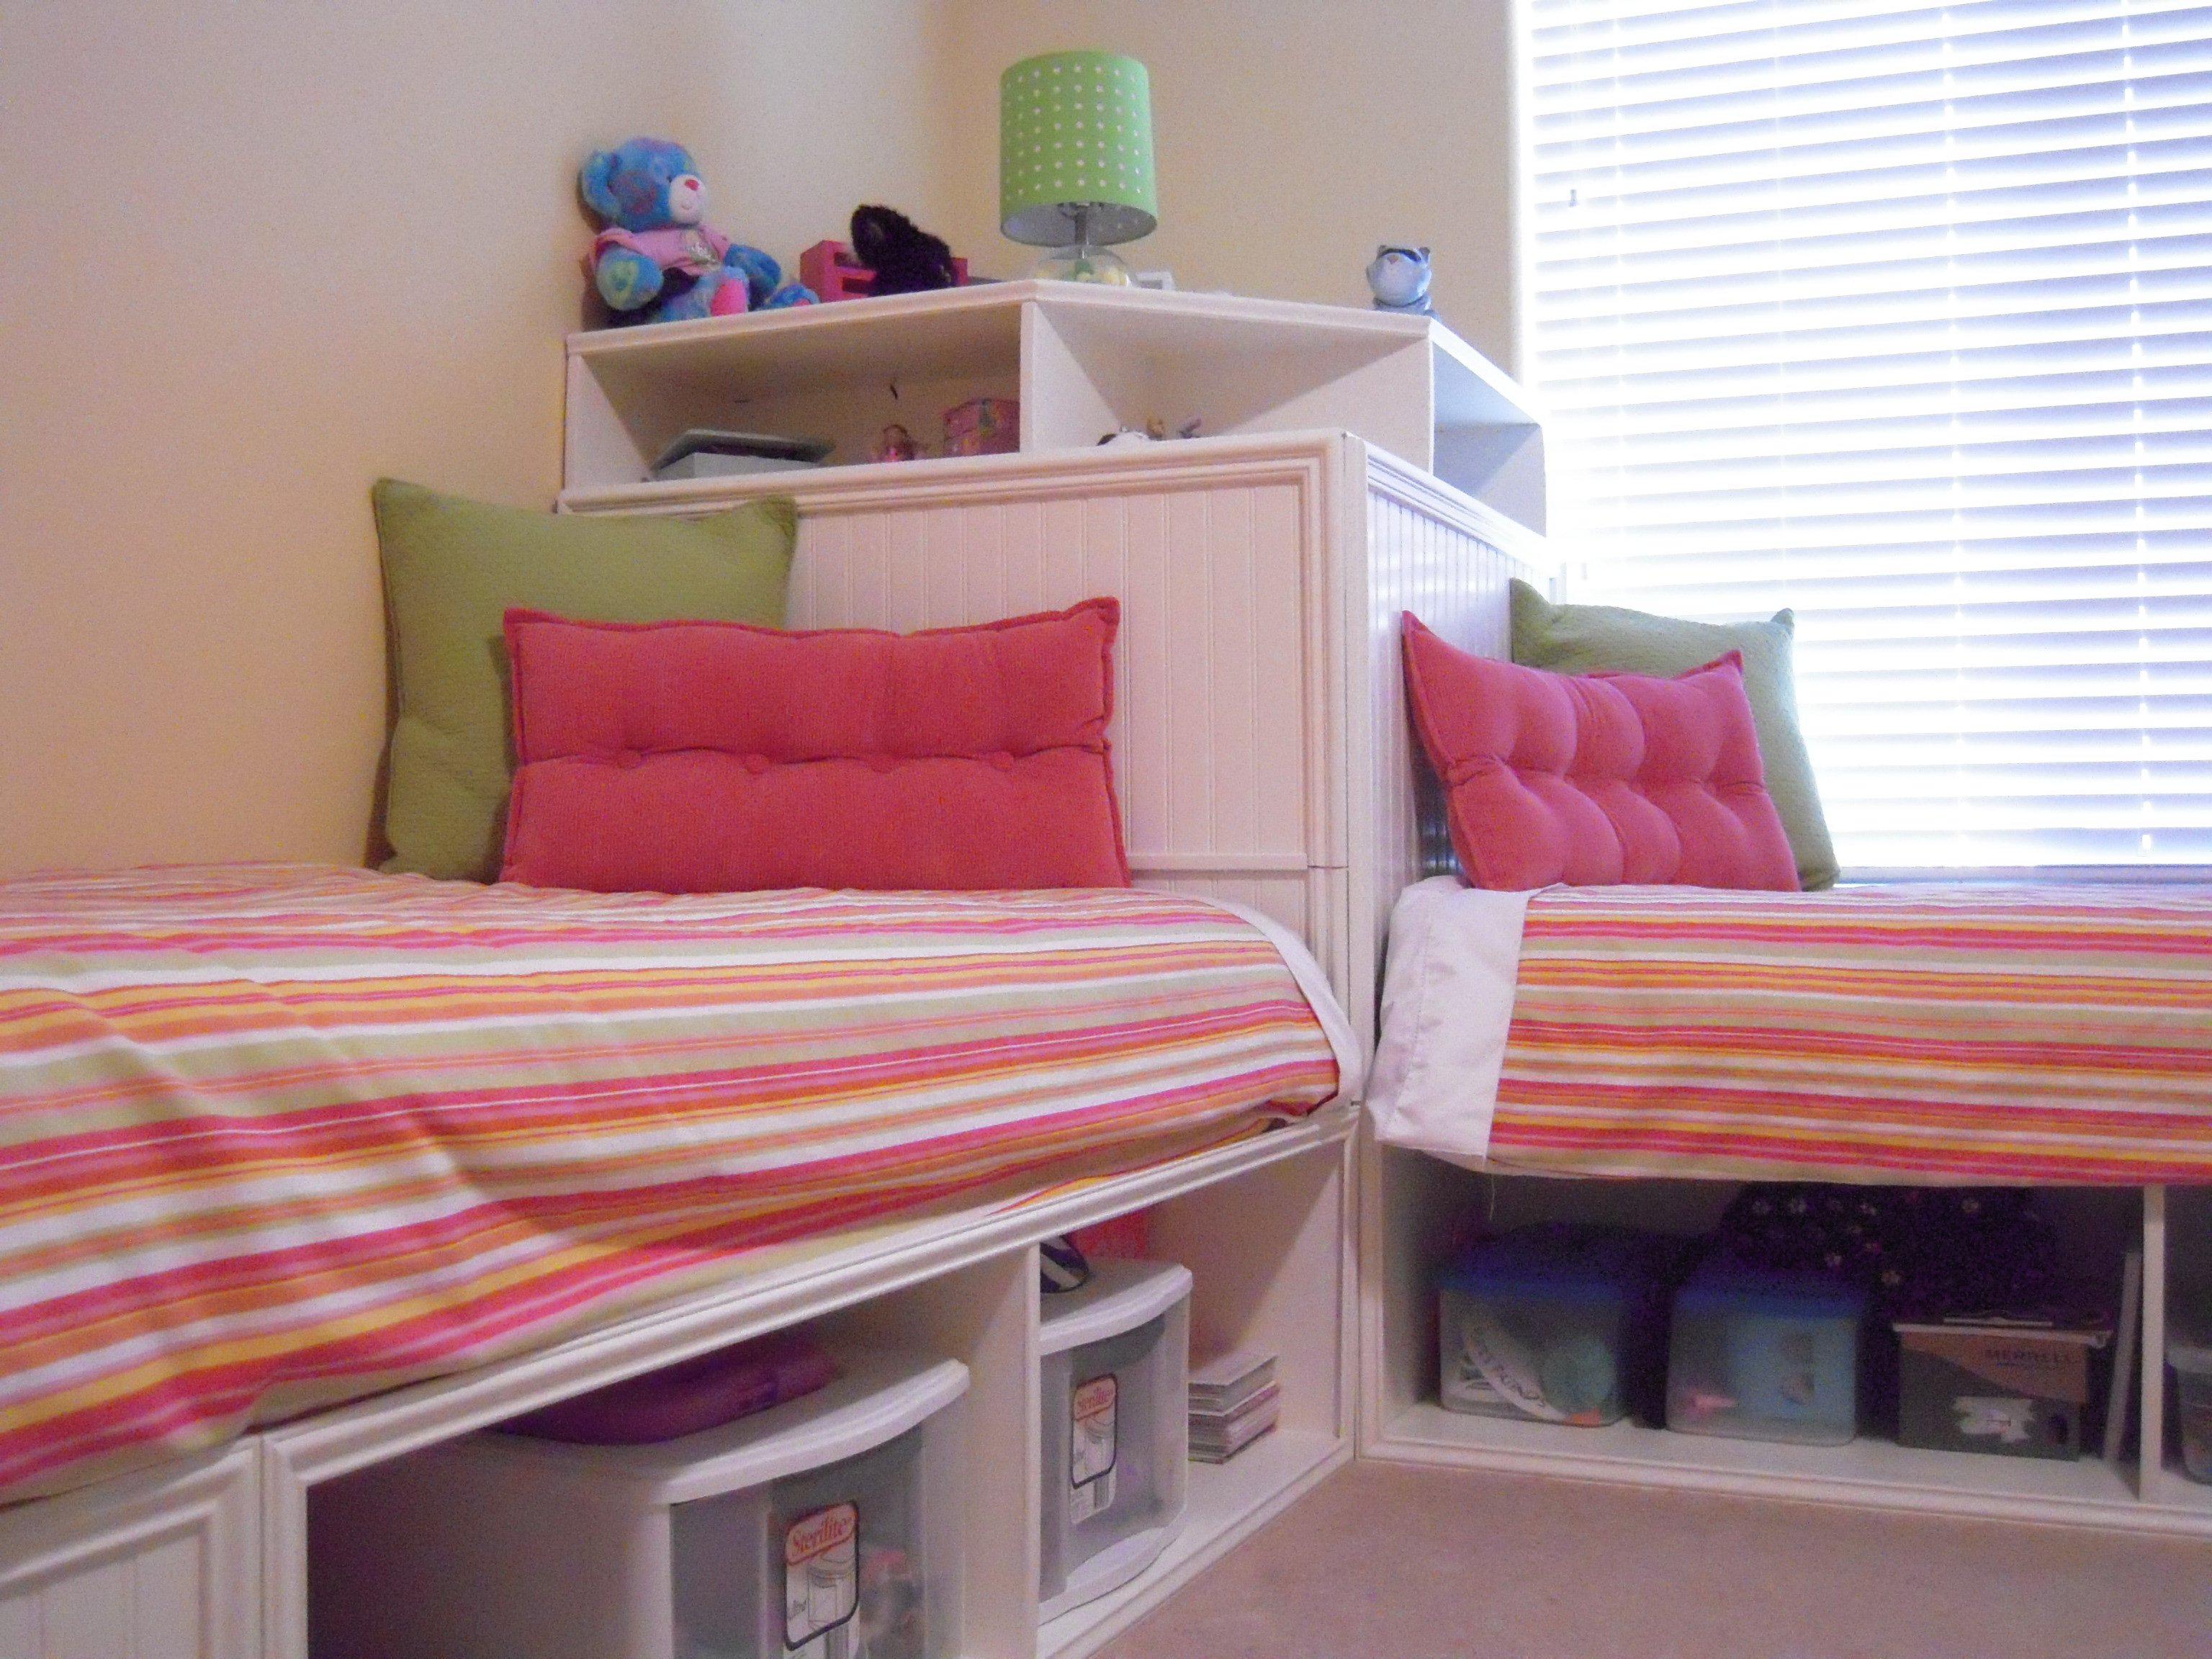
This is so perfect! The trim makes it all look very professional. I love the idea of the door and utilizing the extra storage...something we all need more of! I also built the storage beds, but my girl's room isn't big enough for the corner unit, but if we ever move and they have a bigger room I will be back to look at you design for the corner unit! Good job!

I created this pair of bookshelves from the Kids Storage Leg Desk plan for my two older children to help relieve their book clutter. I used the larger boards from a pallet and a couple of boards I scored at the local ReStore that had been abandoned from a bed frame for $4. With stains I had on hand, I think we did this for around $5. The pallet wood was shorter than the lengths given in the plan, so these book shelves were made at the height of 1/2 of a pallet board or about 22". They work great for what we need and when the kids outgrow these, I have one kid still under the age of two that can use it as a desk and all we'll need is to add the desktop.

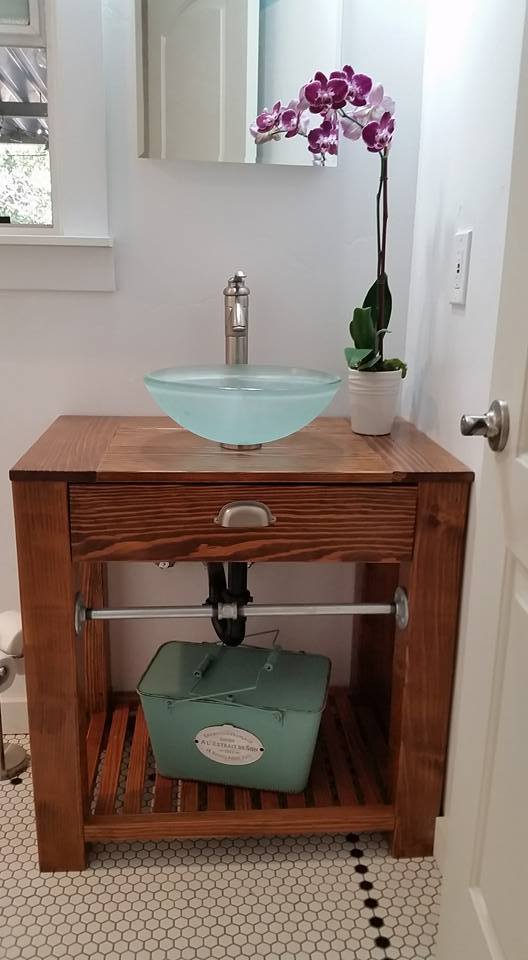
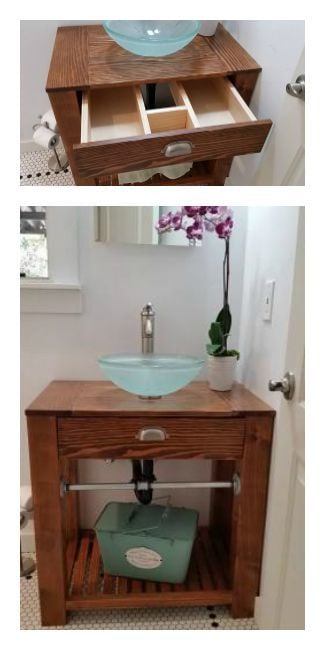
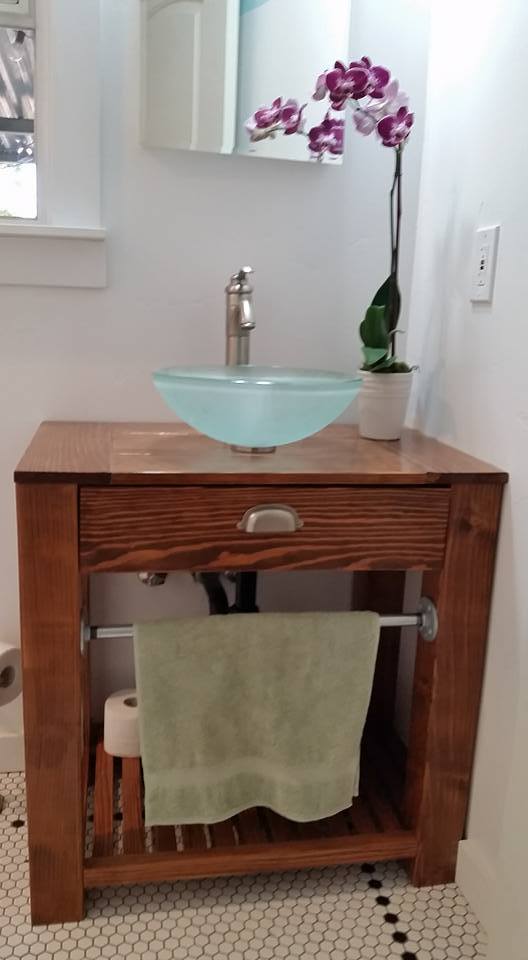
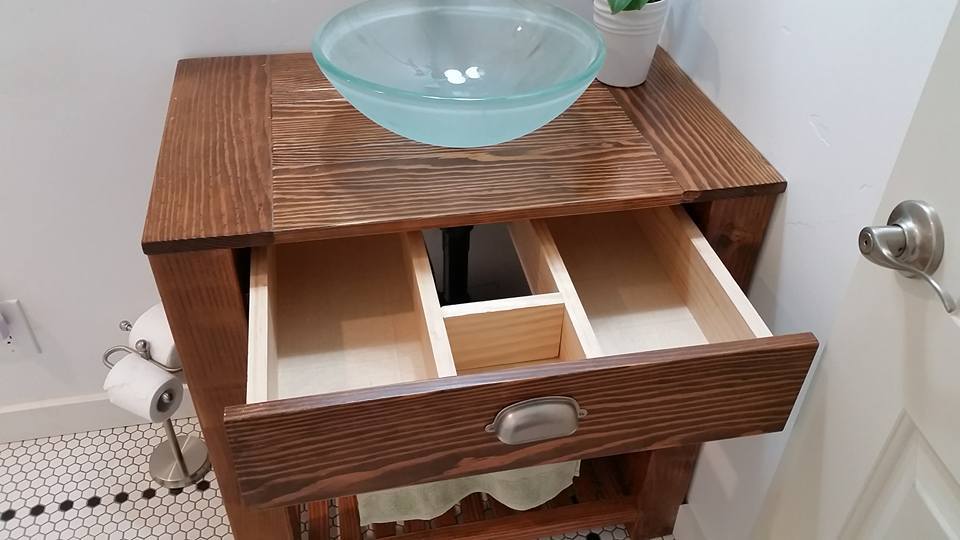
I have only one small bathroom in my house built in 1946. I couldn't find a vanity on the market that was big enough or small enough to fit, so I built my own based on a design from the Decor and the Dog blog page.
I found the table to be pretty wobbly so I reinforced it with some triangulation and I moved all the legs into the centre so the triangulation wouldn't get in the way of people sitting on all sides.


Fri, 08/27/2021 - 05:25
I found that when the benches flexed a bit it would pinch my skin so I don't recommend this design! but none the less this set lasted me ten years and I learned a lot from it. Yesterday I took it all apart (easy enough since I didn't use glue - one of the reasons it was wobbly), and turned it into four stools and a planter. This project was an ana white gateway drug, one of my first projects!
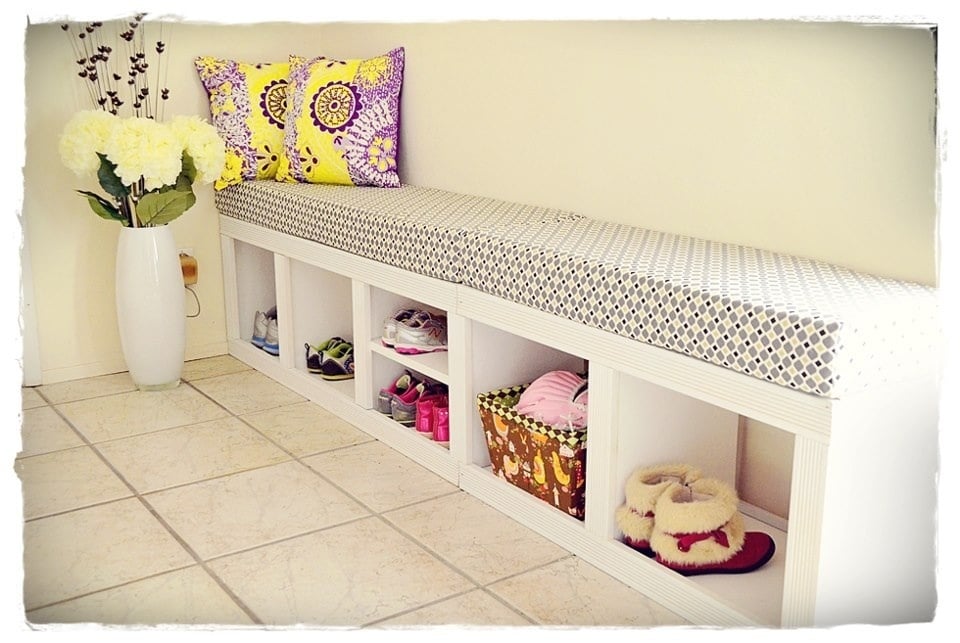
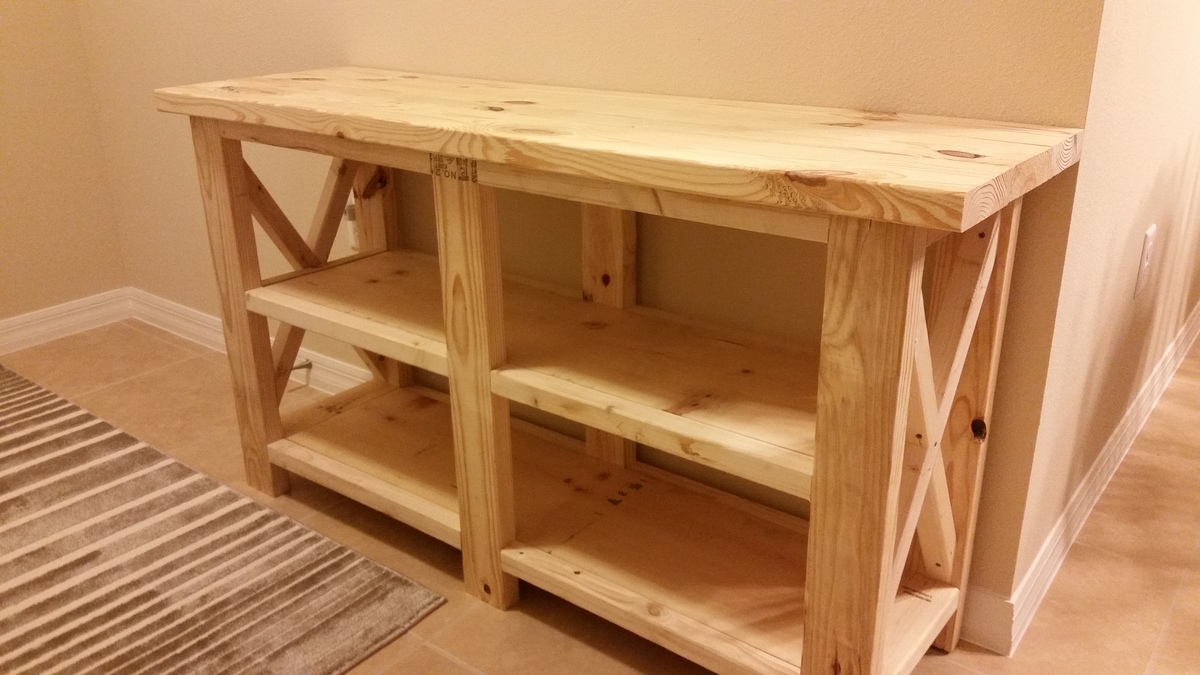
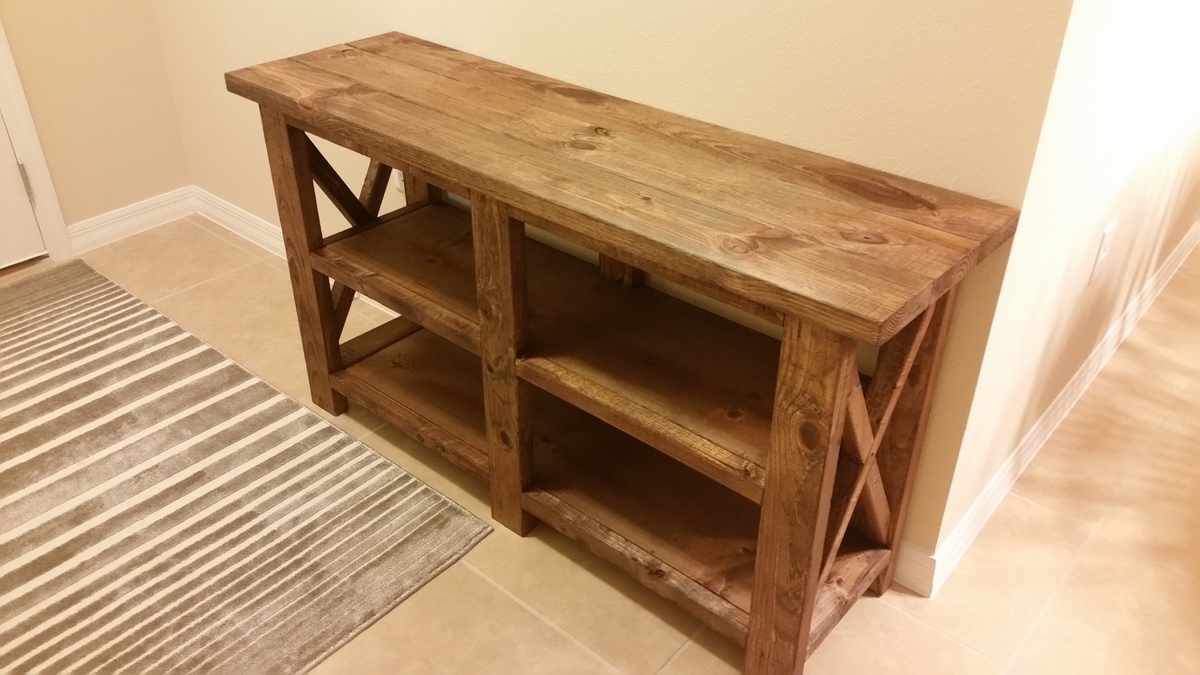
This is my first attempt on woodwork. I have modified size a little bit to make it fit to our entry way. Plan is very easy to follow, Thanks Ana!

Sat, 08/10/2013 - 09:13
I love the look of your shoe cubbies. =D Great first piece of woodwork!

Sat, 08/10/2013 - 11:14
what a fantastic first woodworking project! Love it! Thanks so much for sharing! Ana
Sun, 09/08/2013 - 18:54
http://ana-white.com/2013/08/shoes-cubbybench-modified-rolling-cubby-be…
I love the looks of this bench with the cushion on top and was wondering if there is a plan for it. I saw the cubby with wheels plan but this one is bigger. I put the link above so you can see which one I am looking at.
Sun, 01/05/2020 - 03:59
Do you updated plans and dimensions for this altered bench?
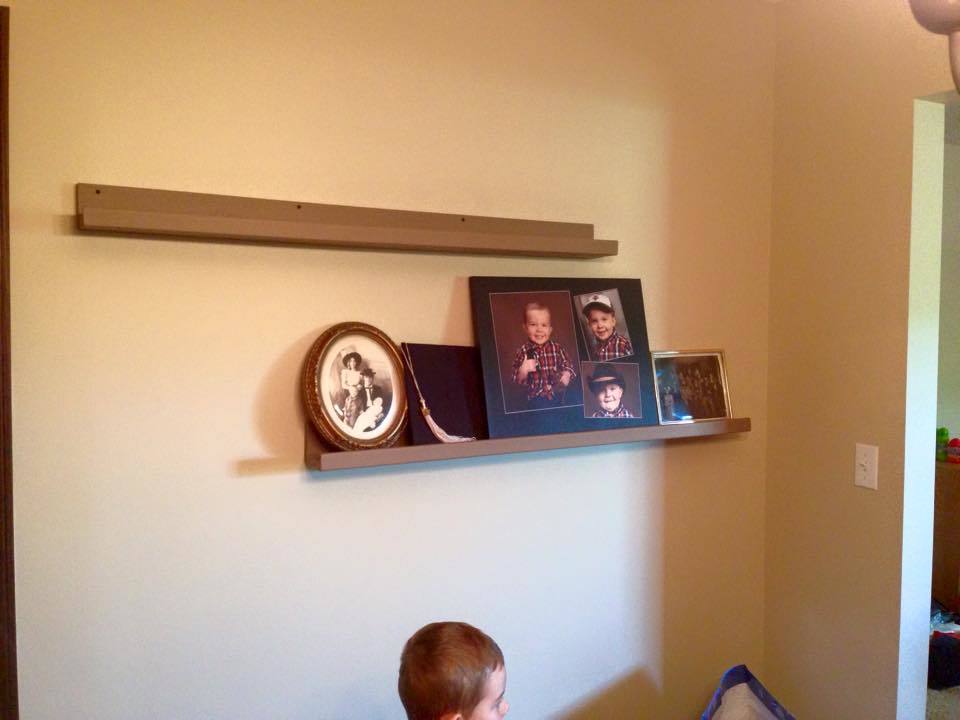
Easy-peasy! Painted in a constrating color for a great look on the wall...

I liked the variations of the simple table. Kept the same dimensions as the plan. Made chairs based on simple Harriet chairs
Loved creating this- I was worried that it wouldn't come out well and I wasn't prepared for the amount of time it took to pick out my supplies, but it's done and I love it! Thanks for the plans and for everyone's brag photos- I loved seeing that others had done it and hoped I could, too.
Mon, 08/06/2012 - 14:12
This is absolutely stunning - I can't wait to make one of my own!