Community Brag Posts

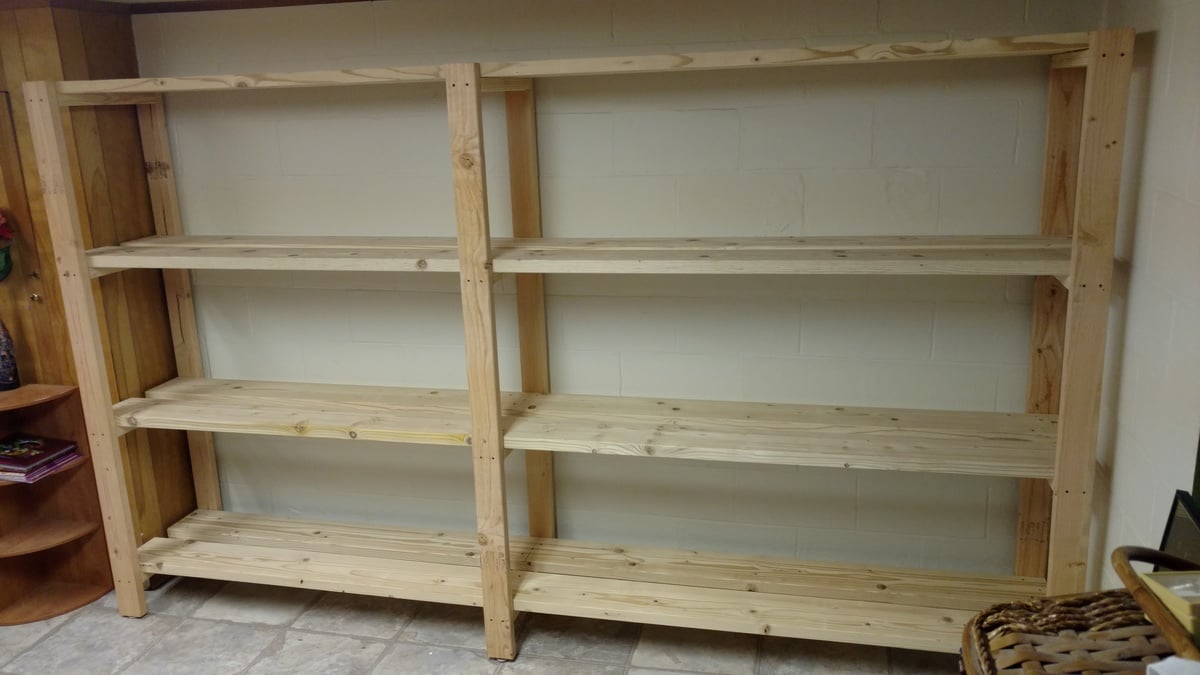
Basement Shelving....
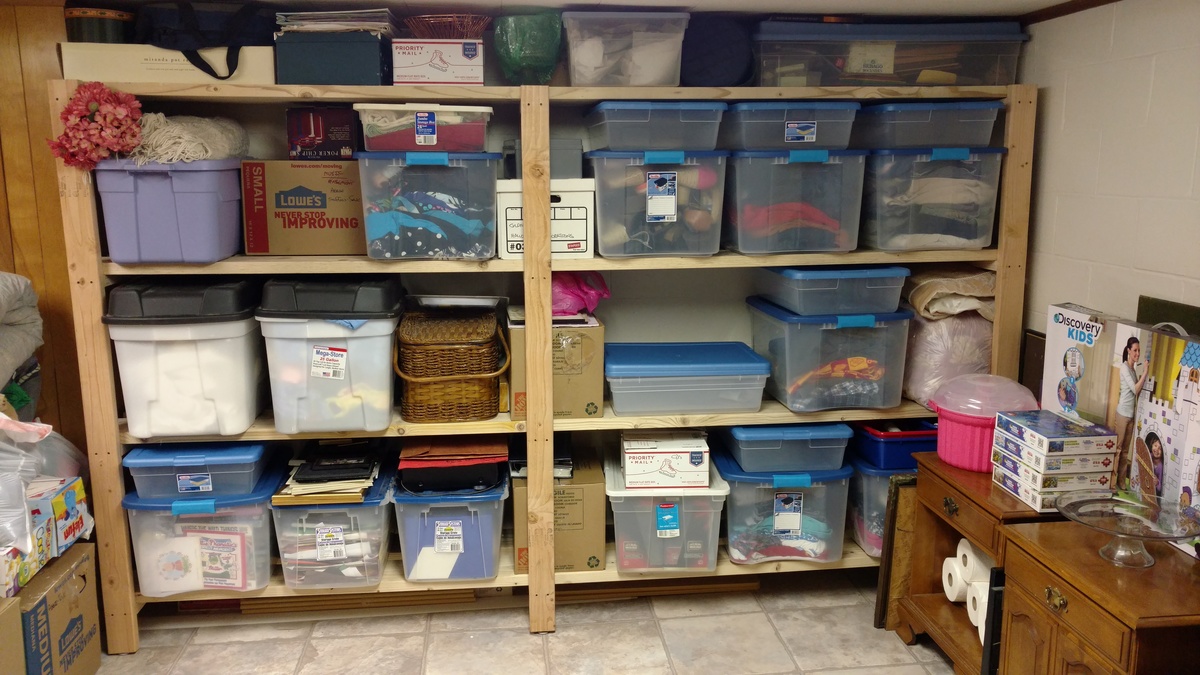
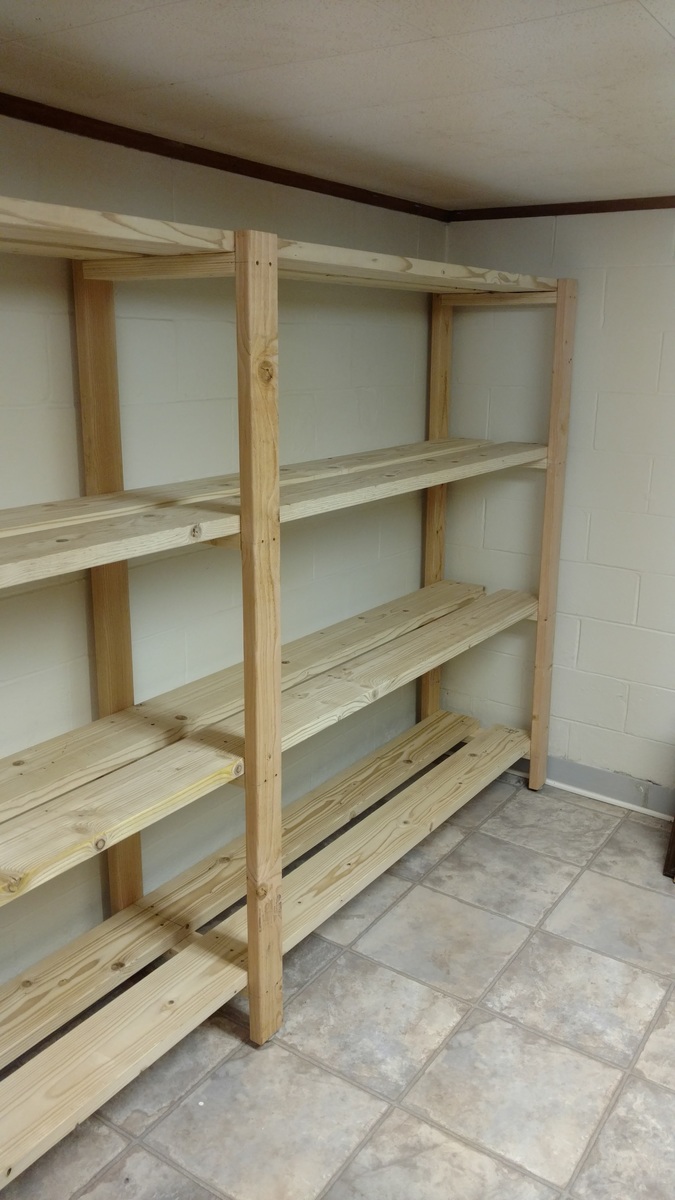
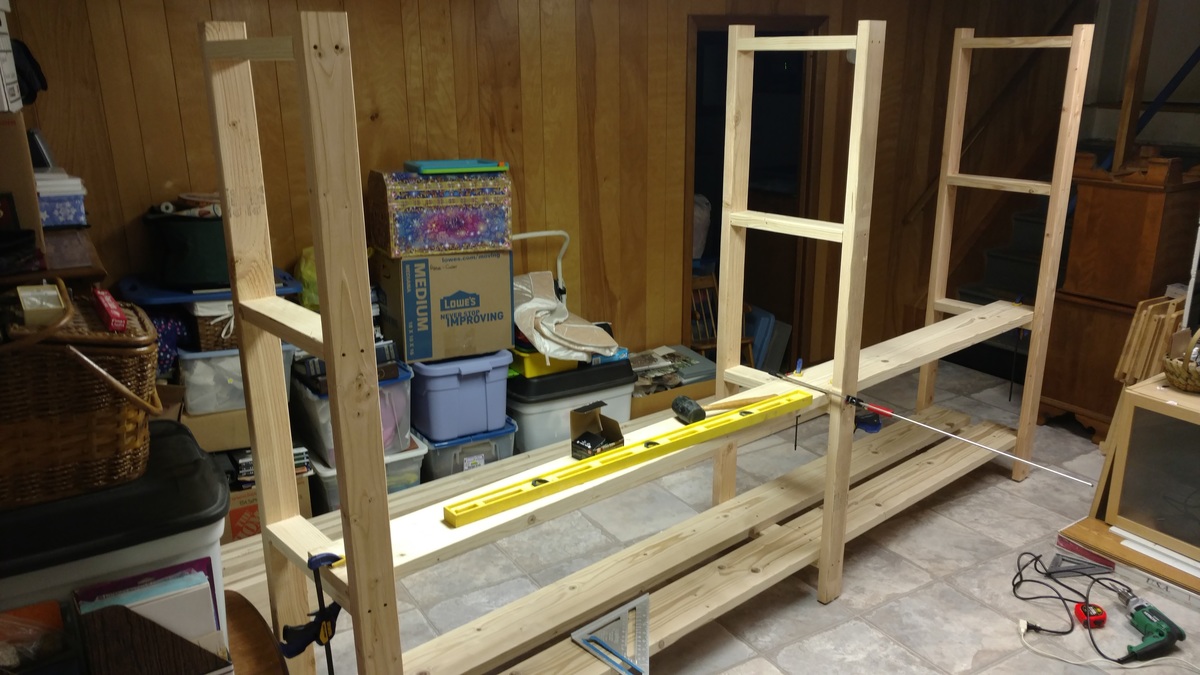
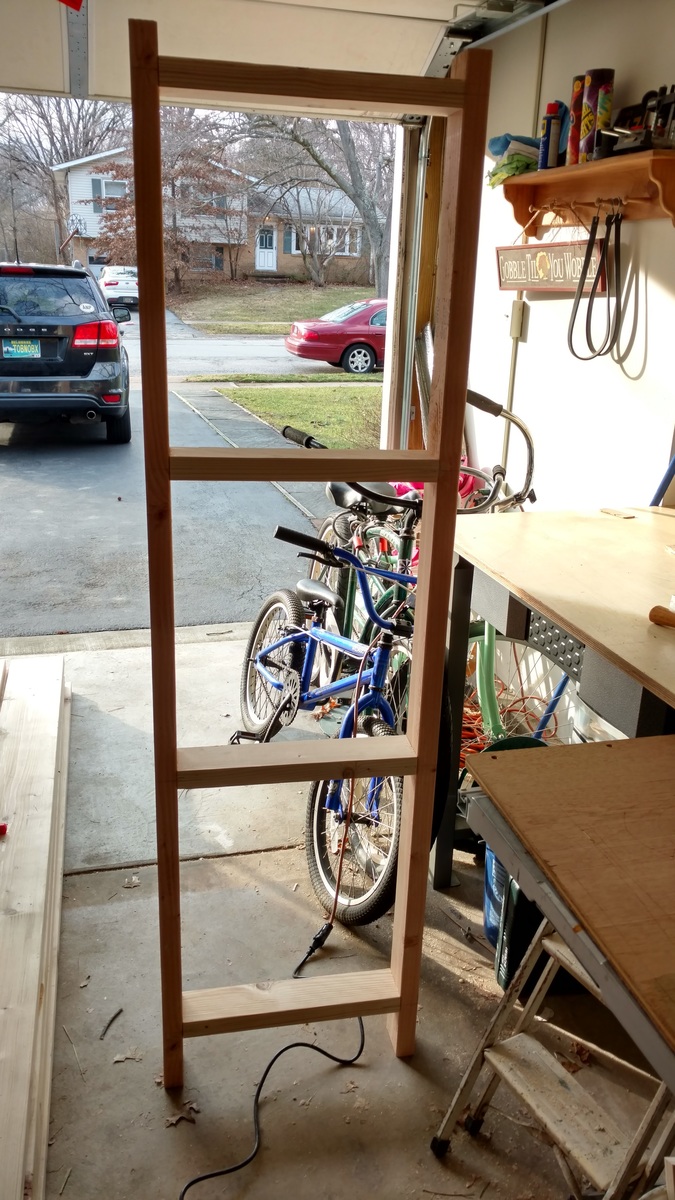
Time to get organized in 2017....and what better way than with some custom shelving. This was not too bad of a project to complete. It only took about 6-8 hours to cut, frame, and assemble everything together (thanks to an interruption or two). 'Twas nice to have a project for once that I didn't have to care about finishing the project with wood filler, sanding, painting. I am sure my wife thanks me more as I would have been another week getting things just right​​​​​! 

A few changes that I made from the original plans:

- used 2x8 for the shelving runs as I only was dealing with a 10ft run and was a few bucks cheaper to buy 8 boards vs 16 boards. Plus less cuts!!! 

-installed adjustable furniture feet in the supports to deal with sloping basement floor. Unexpected side effect was it was easier to slide the unit around in the basement as I assembled it. 

Outside of those changes I remained faithful to the original design. I didn't bother filling the screw holes as we will be hiding the shelving unit with a curtain once  we turn the room into a TV/Office area. 

Also as it wasn't 100% clear from the original plans, but the height measurements for the shelf supports are to center... not sure why it didn't register with me right away... but just in case anyone else didn't realize that as well. 
Estimated Cost
$150 for wood, screws, wood glue, and adjustable furniture feet
Estimated Time Investment
Day Project (6-9 Hours)
Finish Used
None
Recommended Skill Level
Beginner

Console table

Submitted by Anonymous (not verified) on Sun, 02/26/2017 - 09:38

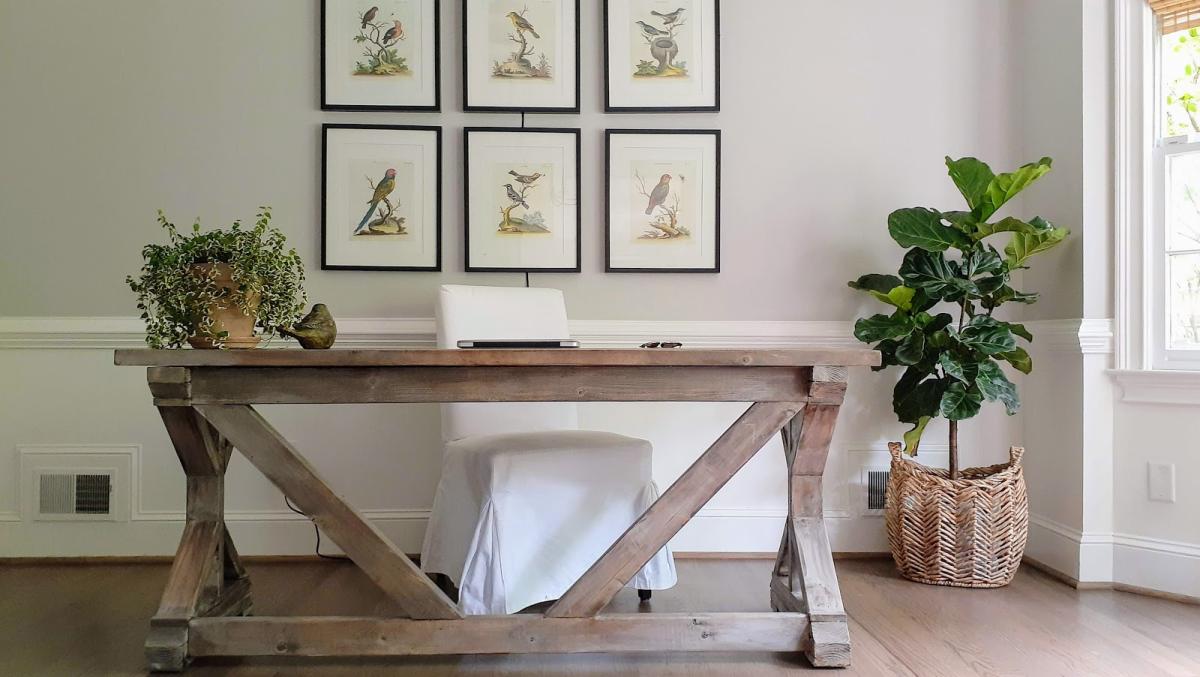
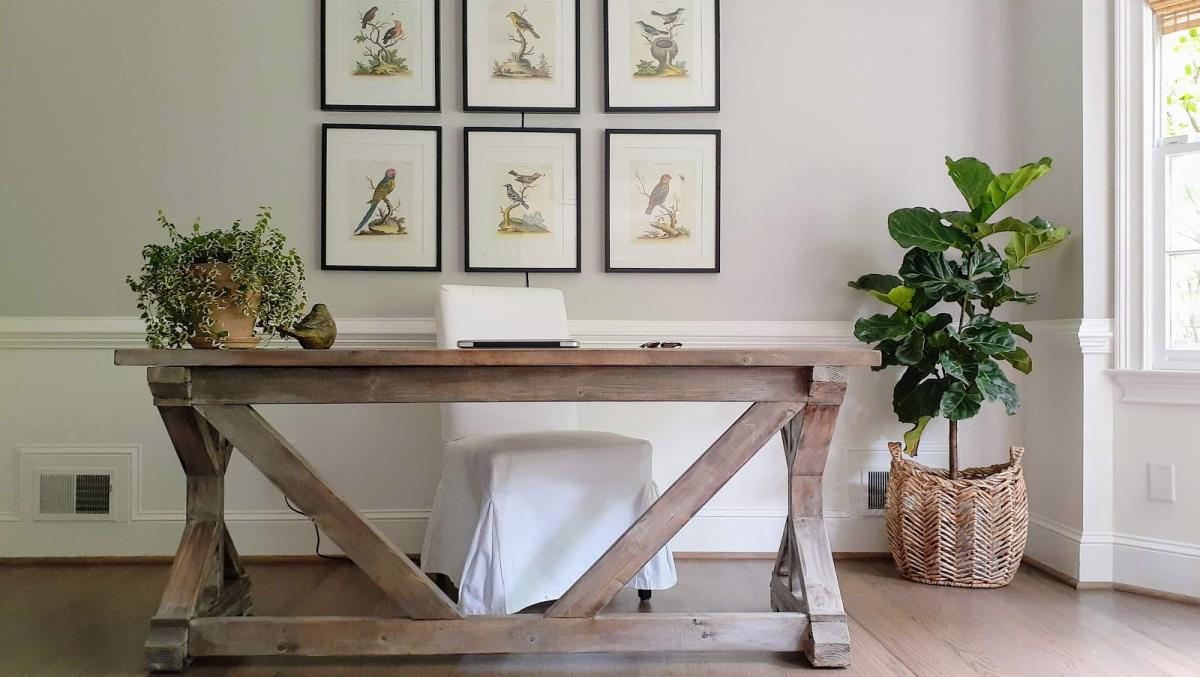
we made this for our friends for a housewarming gift. Will definitely make again!

Built from Plan(s)
Estimated Cost
140
Estimated Time Investment
Week Long Project (20 Hours or More)
Finish Used
Kona
Recommended Skill Level
Beginner

Ava's Play Kitchen

Submitted by tcalford on Wed, 12/31/2014 - 09:10

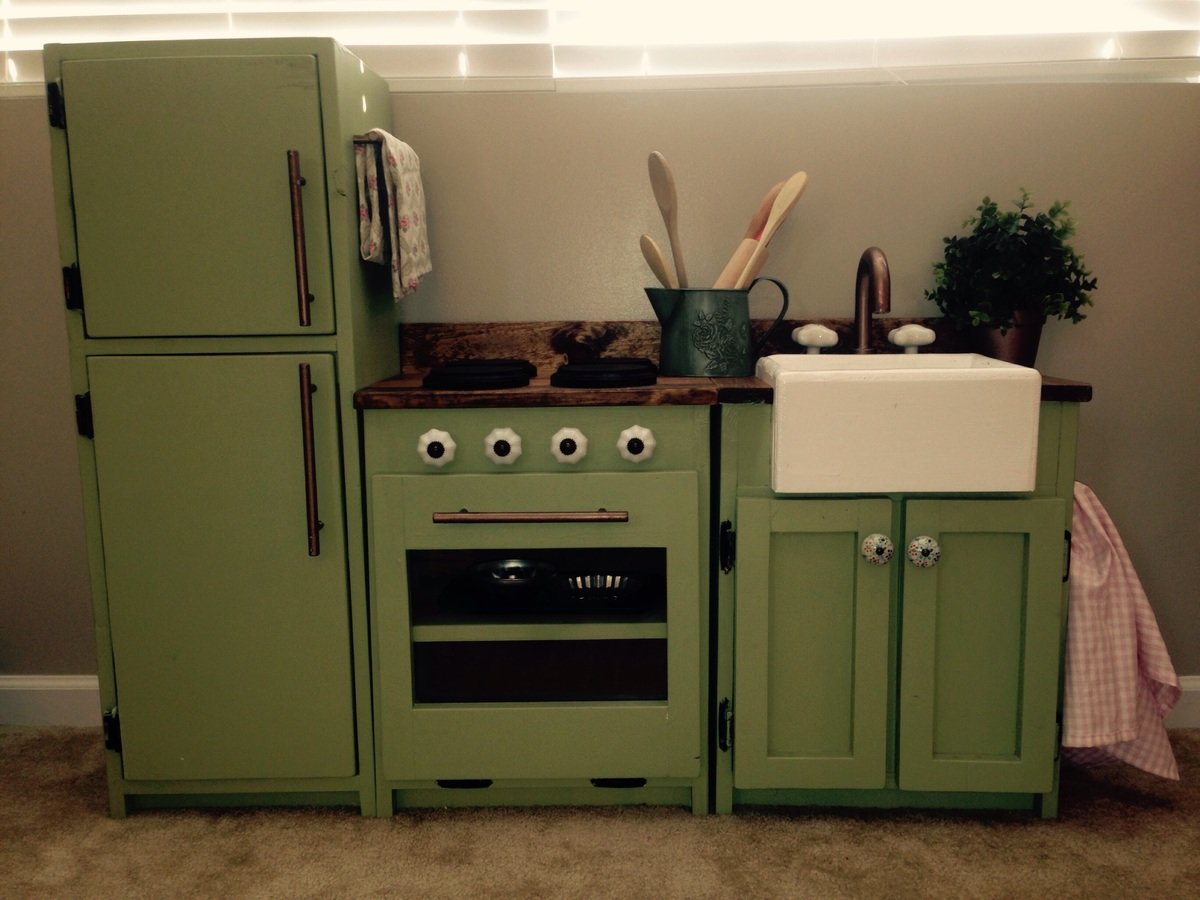
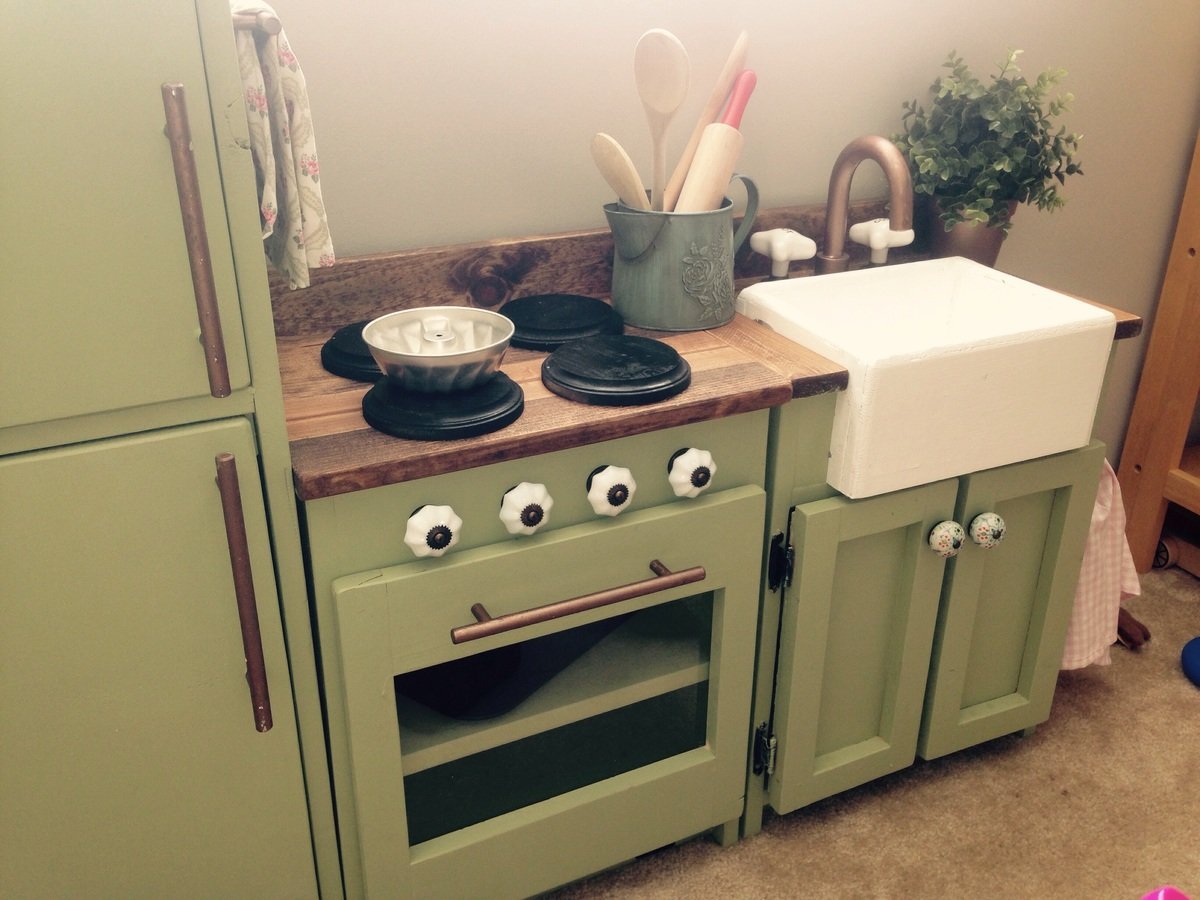
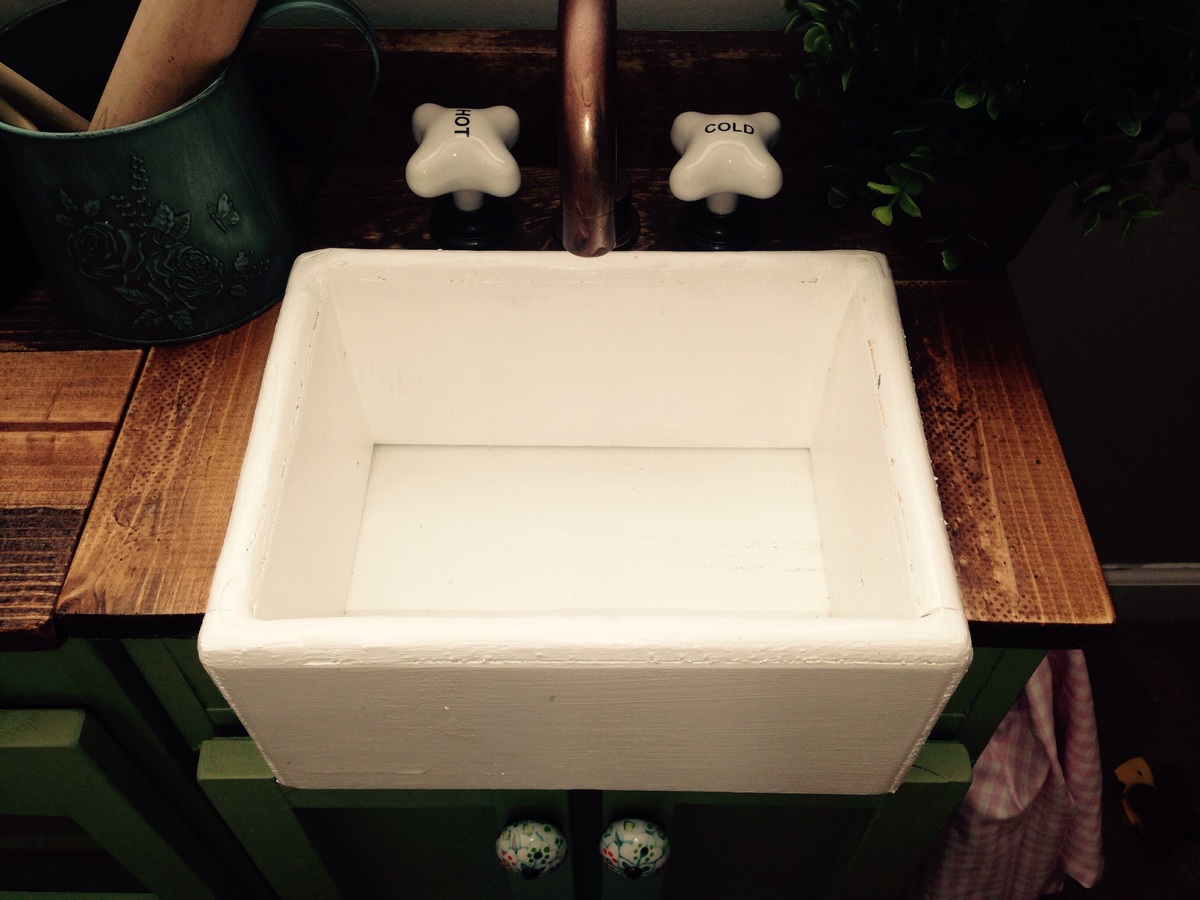
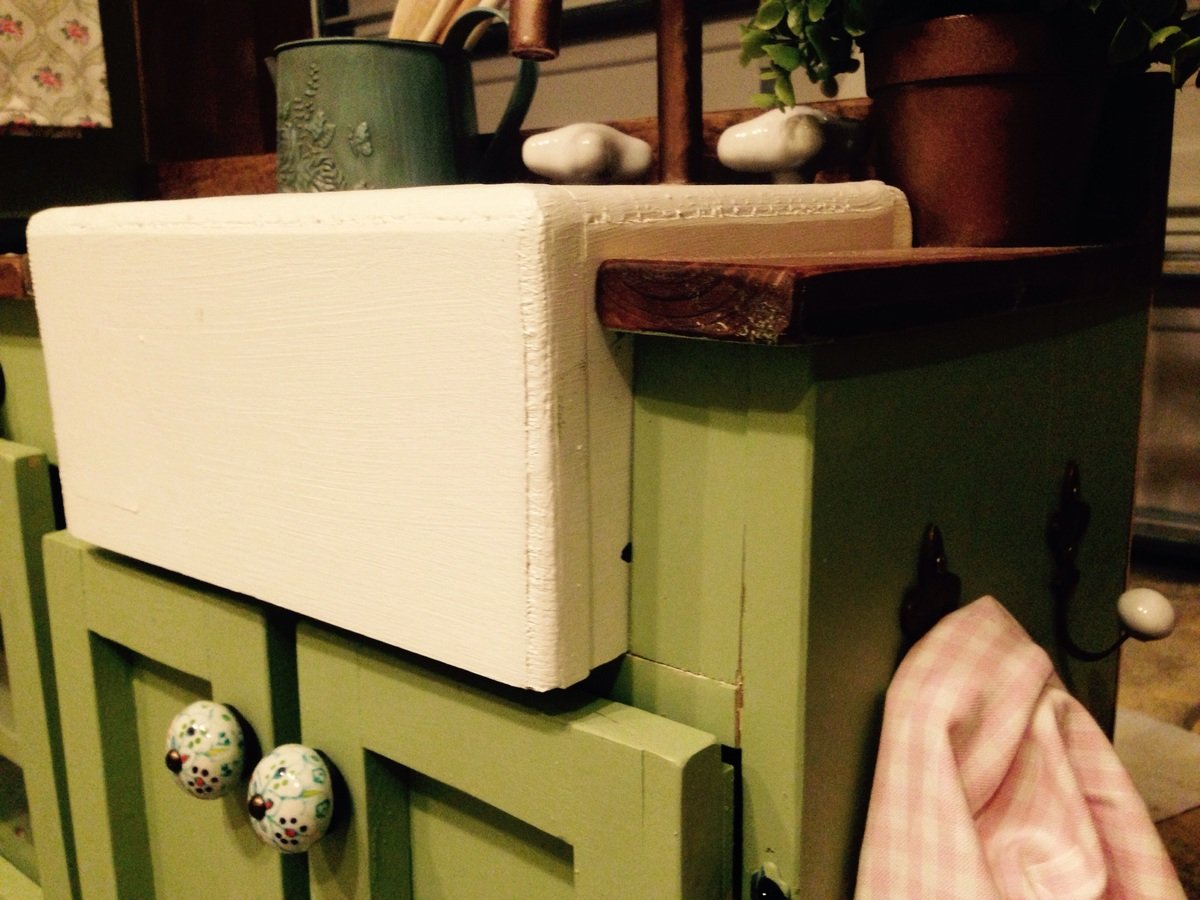
We really wanted to give our 2 year old a play kitchen for Christmas. We also didn't want to spend the money on the likes of the Pottery Barn set, and weweren't sold on the lesser-expensive options. Fortunately, a quick internet search led me to Ana White's website and plans for this play kitchen. As someone who has never built anything before, the plans seemed very doable. All of the brag posts were also inspirational and sold me on starting this project. I worked on this an hour or so after work for a couple of weeks, and then a few longer nights running up to Christmas Eve (always a bit of a procrastinator!). As neither my wife or I know how to sew, we decided to turn the space underneath the sink into a cabinet. The paint color was left over from painting our kitchen and family room, and we decided to stain the stove and counter tops. Overall, we are very pleased and proud with how this turned out, and our 2 year old loves playing with the set!

Estimated Time Investment
Weekend Project (10-20 Hours)
Recommended Skill Level
Beginner

Comments

JoanneS

Wed, 12/31/2014 - 13:15

This looks awesome! Love all the details and the green color with the stained counter. Great job!

King Farmhouse bed

Submitted by Anonymous (not verified) on Sun, 04/09/2017 - 18:15

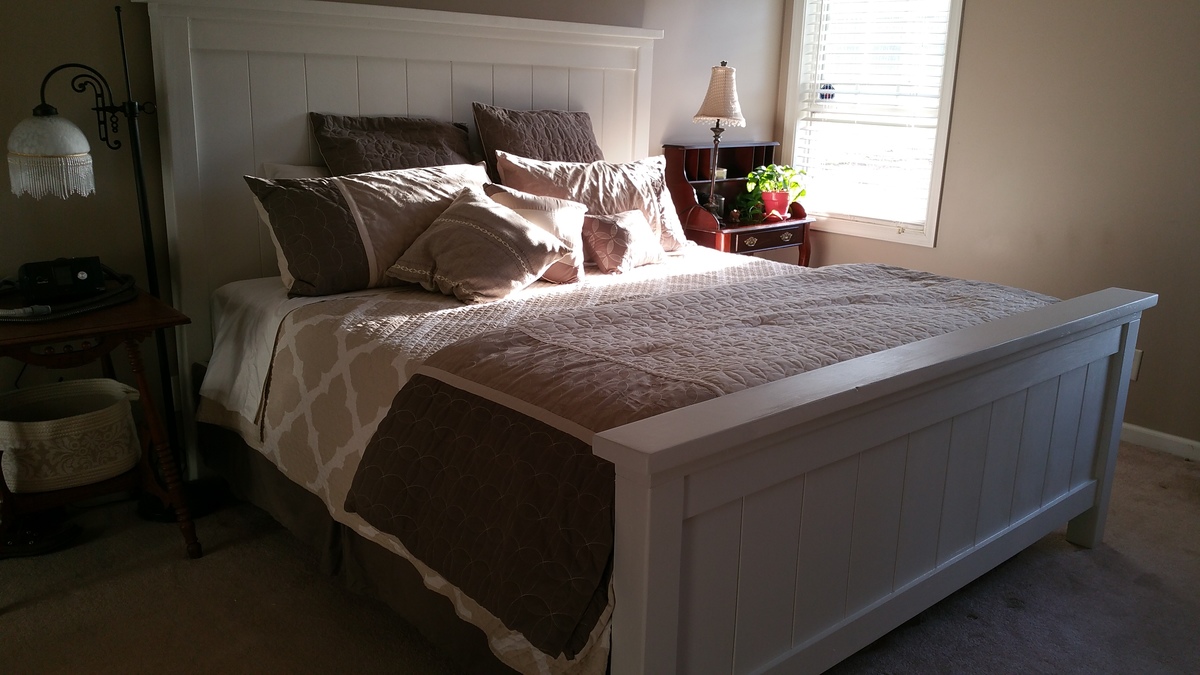
Thanks to Ana for her inspiration and such great plans.  My wife wanted a taller headboard and footboard so we added to the overall height of both.  Everything else is pretty much per Ana's specs.  Our big box stores here wouldn't know a straight board if it slapped them in the face.  After putting my headboard and footboard together the gaps looked terrible.  So I decided to veneer both with 5 mm underlayment ripped 7.5 inches wide and angled to 45 degrees on each side.  Once that was glued and nailed into place both pieces looked much better.  We decided to do without a box spring so the deck/frame is built from 2 2x10's, 5 2x4's, 6 2x4 "feet", and two sheets of 1/2 inch plywood. This thing weighs a ton!

Estimated Cost
$450 for wood, hardware, primer, and paint.
Estimated Time Investment
Week Long Project (20 Hours or More)
Finish Used
Behr antique white (although the wife swears she is going to distress it later).
Recommended Skill Level
Beginner

Comments

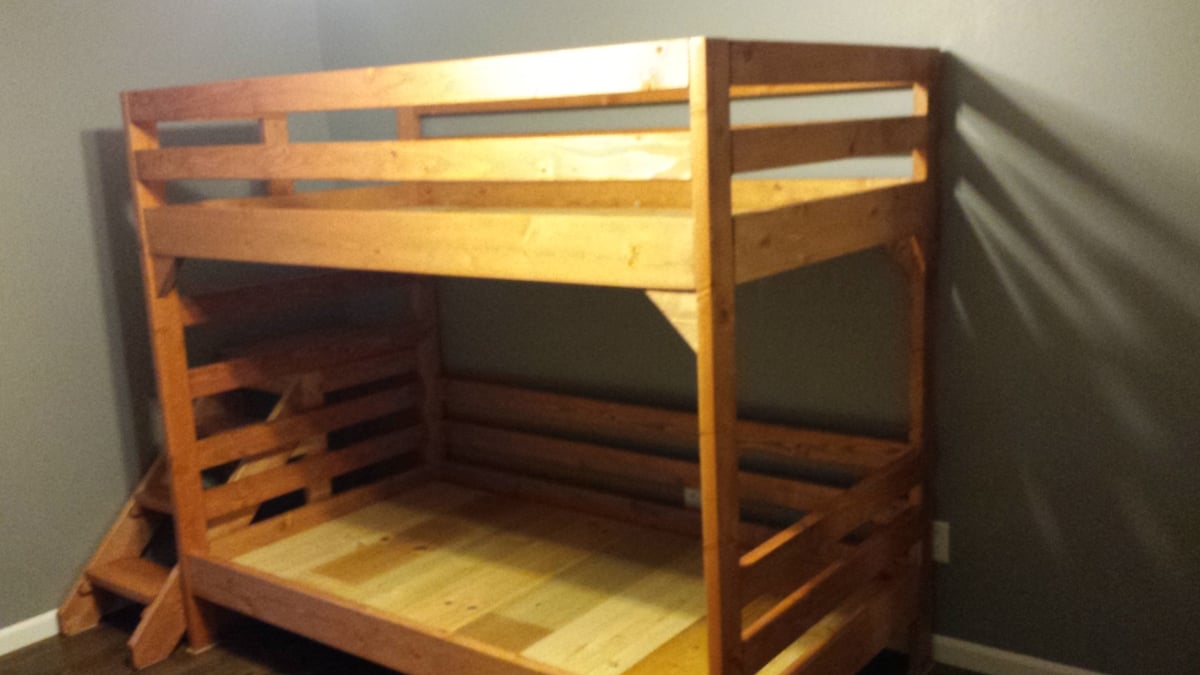
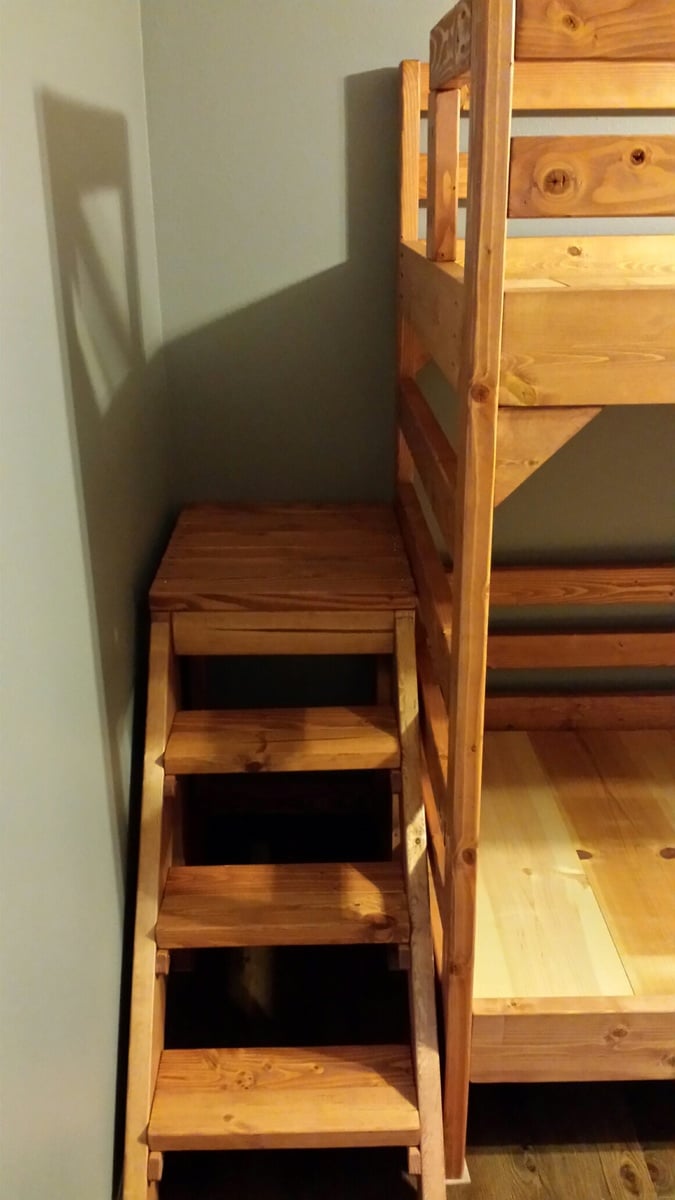
Modified Camp Loft Bed with Stairs into Bunk Beds

Submitted by tarzan21 on Sun, 02/08/2015 - 11:46

Using the Junior Height Camp Loft Bed plans...

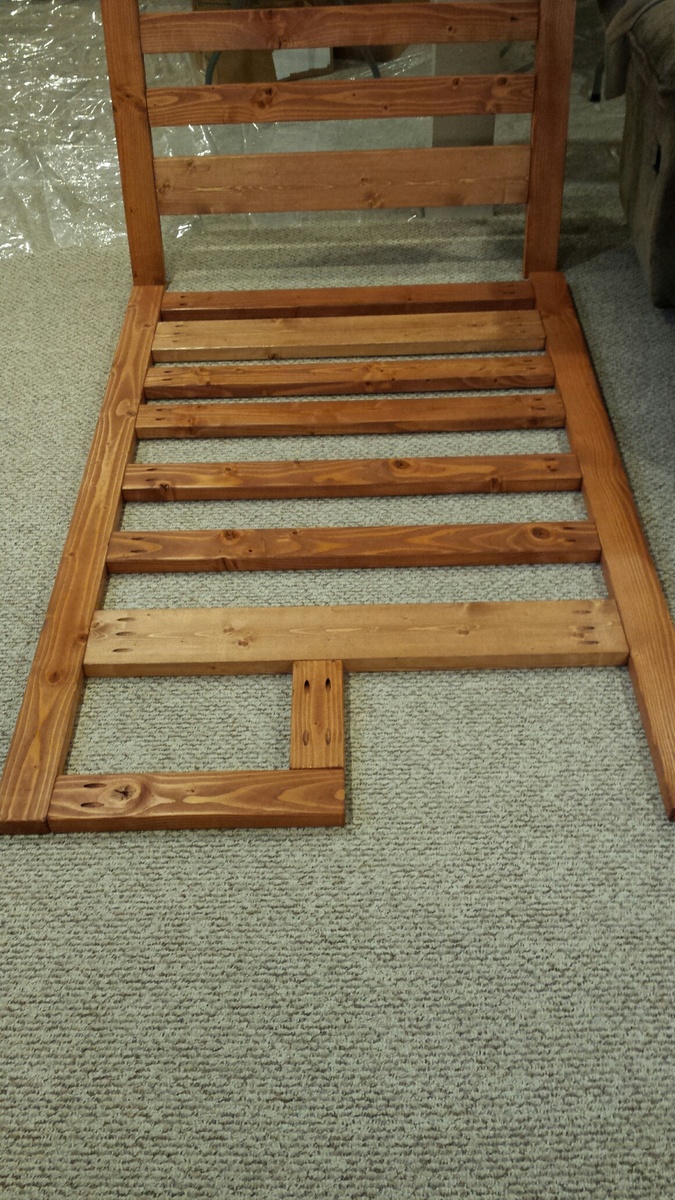
I raised the height from 65 to 67 inches to better accomodate a bottom bunk.  Added bottom rails and extra 2X4s for the head board.  

I shortened the width and length of the stairs to better fit in the room, and in doing so, made a small mod to the post by the stairs to prevent the boys from falling down the stairs.

Kids Love them

Estimated Time Investment
Week Long Project (20 Hours or More)
Finish Used
Minwax Cherry Wood and Satin Poly
Recommended Skill Level
Intermediate

Kitchen pantry cabinet

Submitted by Anonymous (not verified) on Sat, 05/13/2017 - 18:28

Some added storage for small kitchen appliances

Built from Plan(s)
Estimated Cost
$100
Estimated Time Investment
Week Long Project (20 Hours or More)
Finish Used
Painted antique white with a reddish undercoat peeking through distressed areas
Recommended Skill Level
Beginner

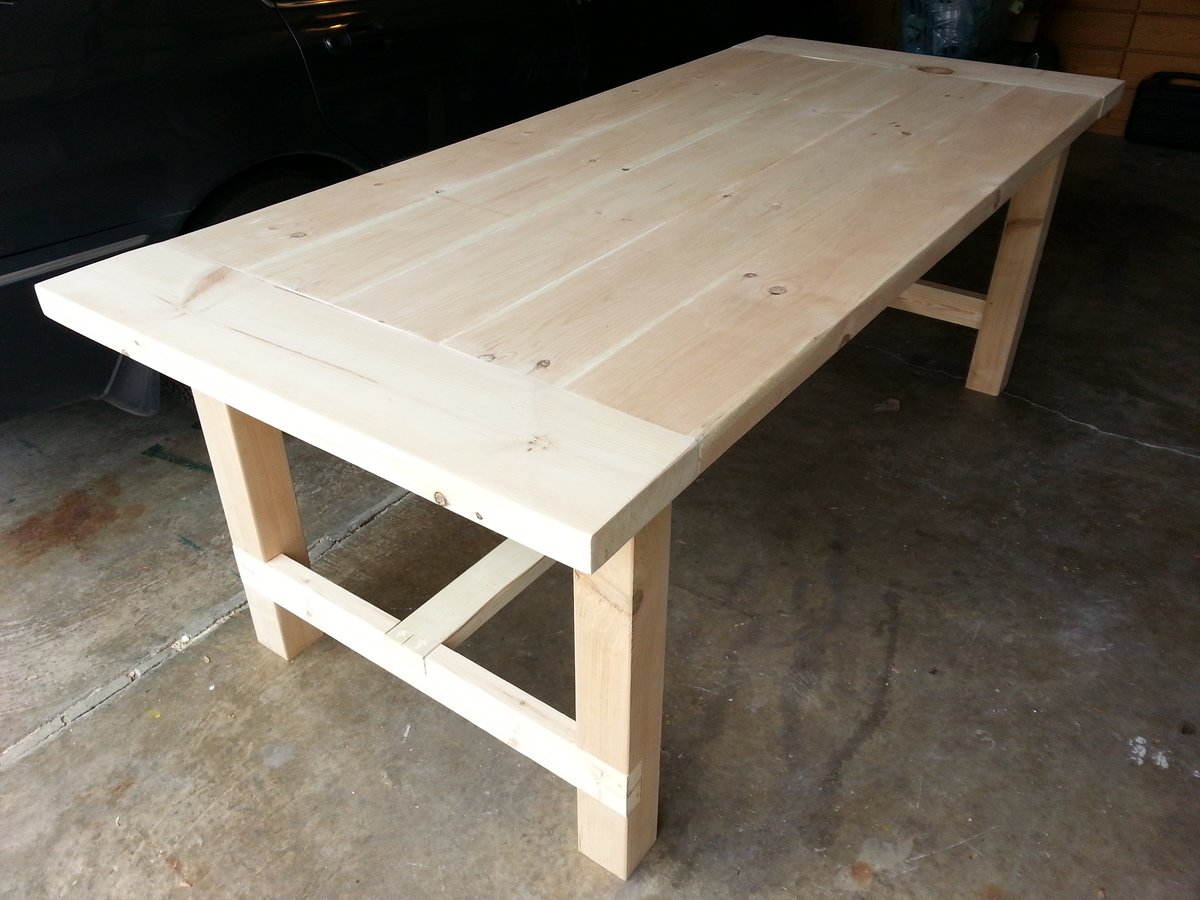
Farmhouse Dining Room Table

Submitted by SaraLodise on Mon, 04/27/2015 - 06:18

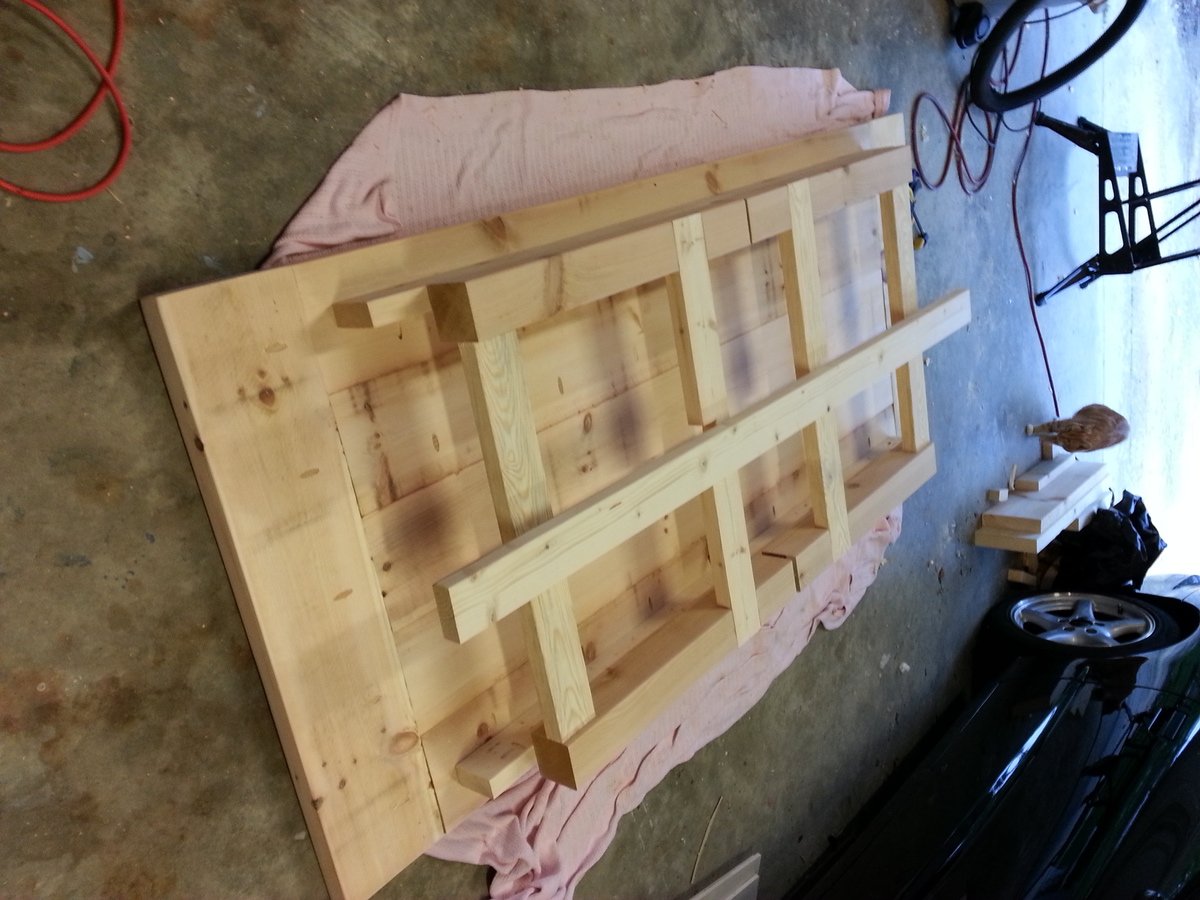
Farmhouse dining room table built for my mom. Unstained.

Table top is 2" White Pine Boards, legs are cedar, and everything else is whitewood studs. Left the leg assemblies and stretcher board unattached for the two hour transport to Charlotte.  Attached them with screws and some glue upon arrival. Loved the plan and finished in two days!

Estimated Cost
White Pine 2x8s = $183
Cedar 4x4 = $48
Whitewood studs = $10
Screws/filler/plugs = $25
Estimated Time Investment
Weekend Project (10-20 Hours)
Finish Used
Unfinished
Recommended Skill Level
Intermediate

3 hook coat rack

Submitted by Anonymous (not verified) on Wed, 11/03/2021 - 12:40

Thank you for this - I just made it slightly longer.

Comments

Folding Sewing Table

Submitted by cchalifour on Wed, 11/24/2021 - 19:36

Built this Folding Sewing Table for my daughter.
- 18 mm Baltic Birch
- Birch leds

Built from Plan(s)

Comments

Fire Truck Bed

I started this project several weeks ago, and I am very happy with the outcome.  Please see my Blog since there is so much information.  www.atouchofarkansas.com


Estimated Cost
$500
Estimated Time Investment
Week Long Project (20 Hours or More)
Finish Used
I used red & white paint & primer in one.
Recommended Skill Level
Intermediate

child airplane swing

Submitted by landseer on Tue, 06/18/2013 - 12:11

Airplane swing made from pine and "A" frame made from 2x4's

Built from Plan(s)
Estimated Cost
$80
Estimated Time Investment
Day Project (6-9 Hours)
Finish Used
Rustoleum outdoor paint in Patriotic red,white ,black. Plus Navy stickers.
Recommended Skill Level
Intermediate

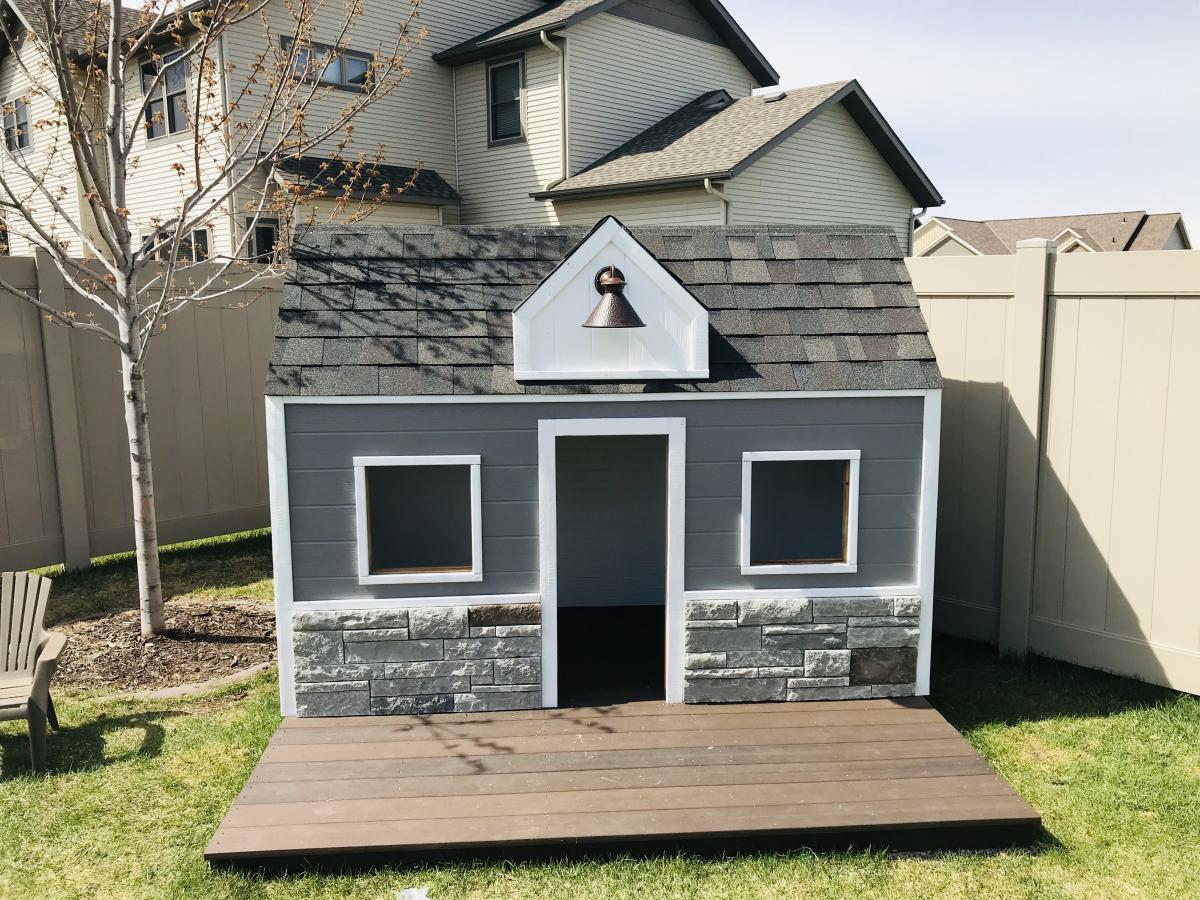
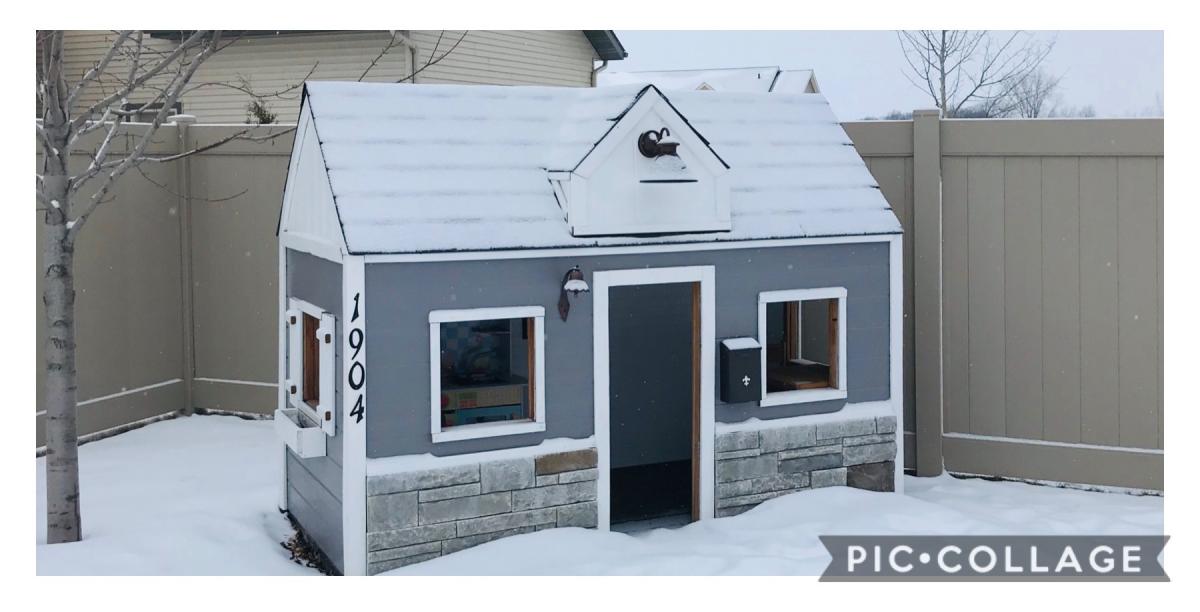
Playhouse - Drew Gaffke

Submitted by Anonymous (not verified) on Sun, 12/26/2021 - 14:46

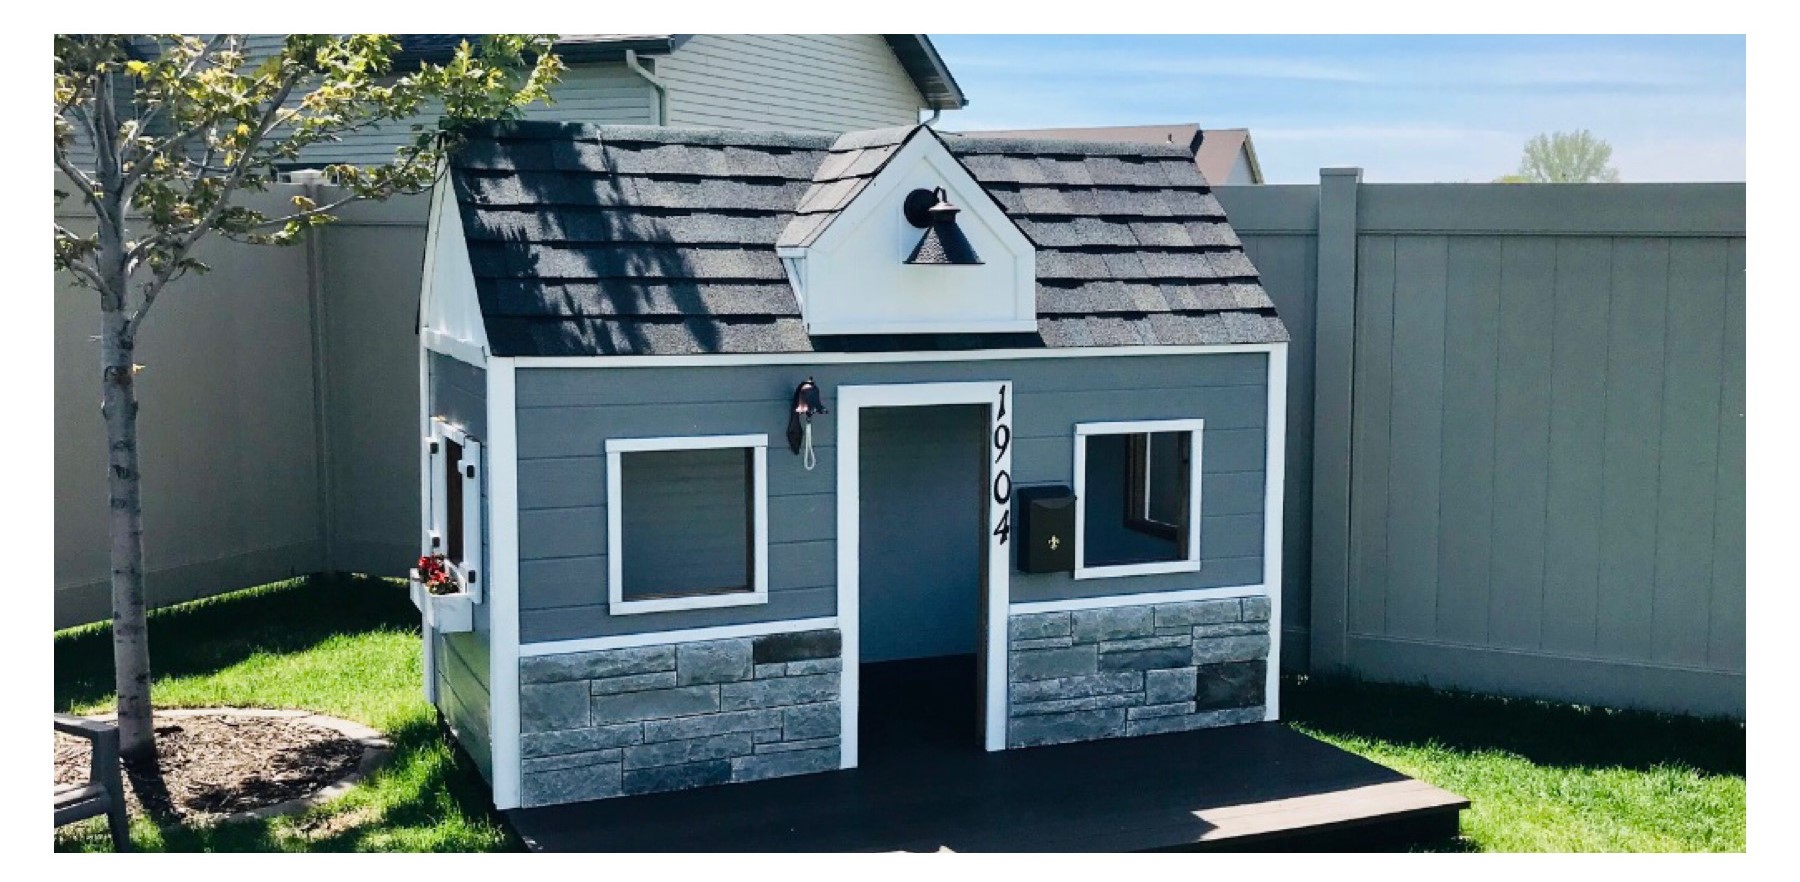
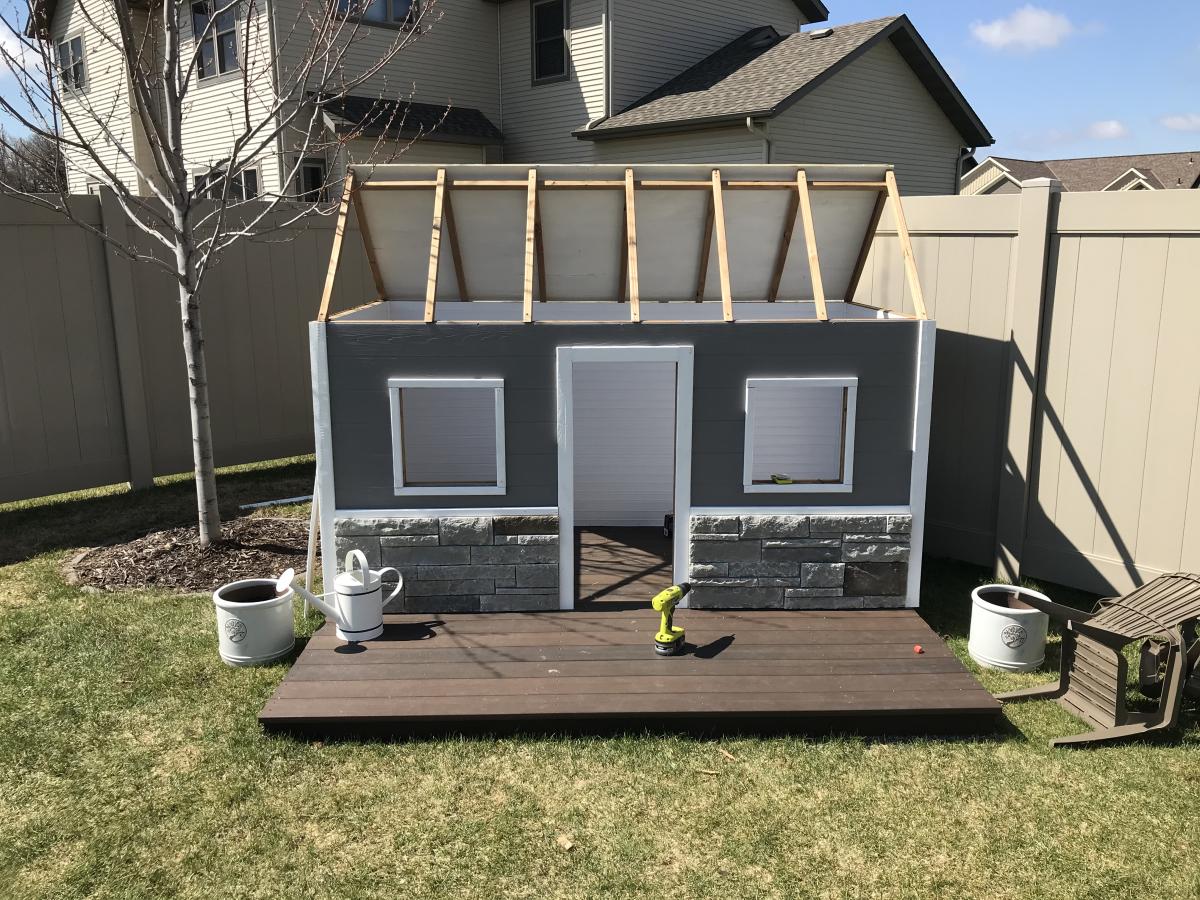
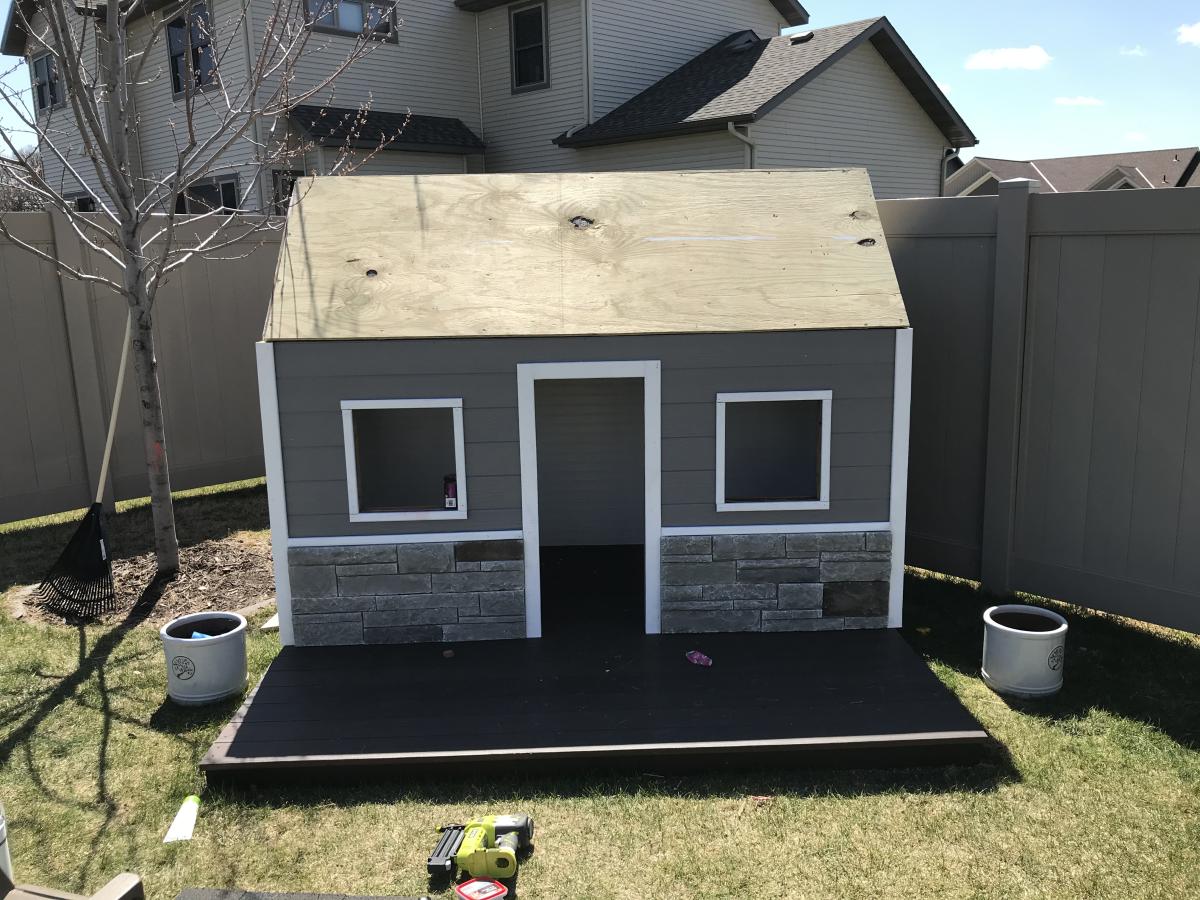
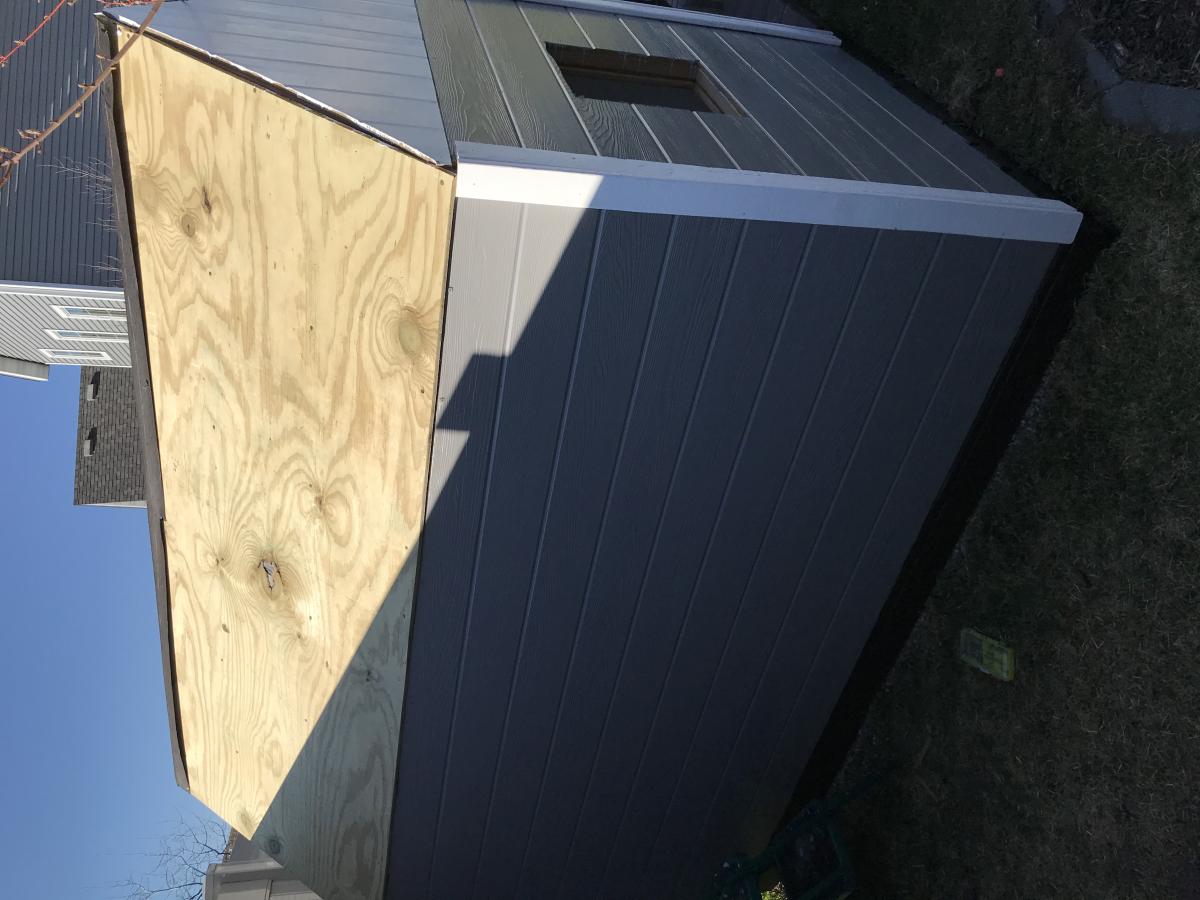
I combined a couple of playhouse plans for this one. The framing is 2x2 treated pine. The front is real stone. I tried to match our home the best that I could. The floor is made out of composite decking.

Comments

Seasonal And Holiday

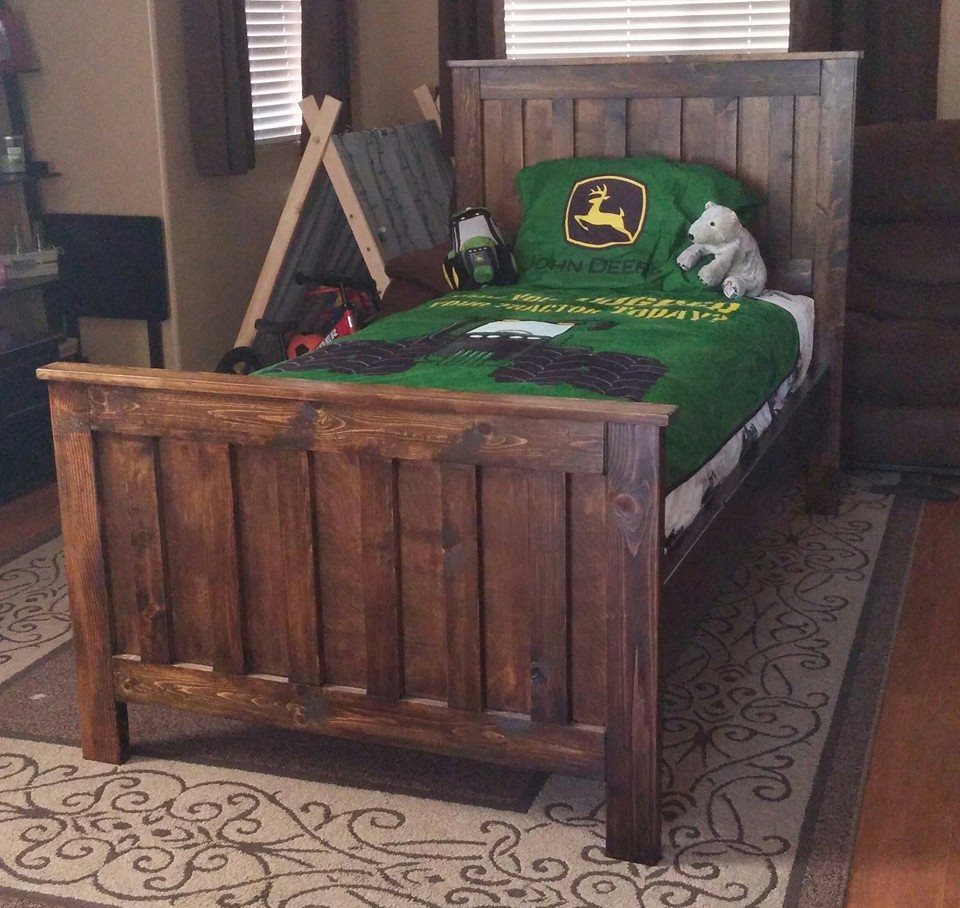
Kentwood bed

Submitted by Wiscogrl on Sun, 06/28/2015 - 06:59

I built this for my four year old son! He even helped me out so that made him love it even more :)

Built from Plan(s)
Estimated Cost
$100-$120
Estimated Time Investment
Day Project (6-9 Hours)
Finish Used
Minwax Oil based stain- Dark walnut
Recommended Skill Level
Beginner

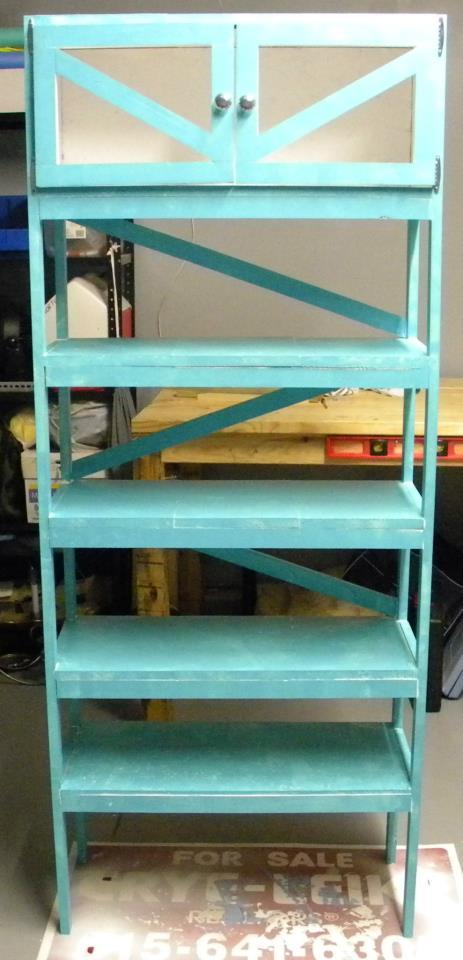
Bathroom Towel rack

Submitted by sean1023 on Tue, 07/09/2013 - 20:10

I kind of came up with this on my own. I used 1 x 3 furring strips for the legs and stops for the shelves. I used 1 x 8 for the shelves. I wanted a semi distressed look so I painted white and then painted the blue very messy making sure I missed certain areas.

Estimated Time Investment
Afternoon Project (3-6 Hours)
Recommended Skill Level
Beginner

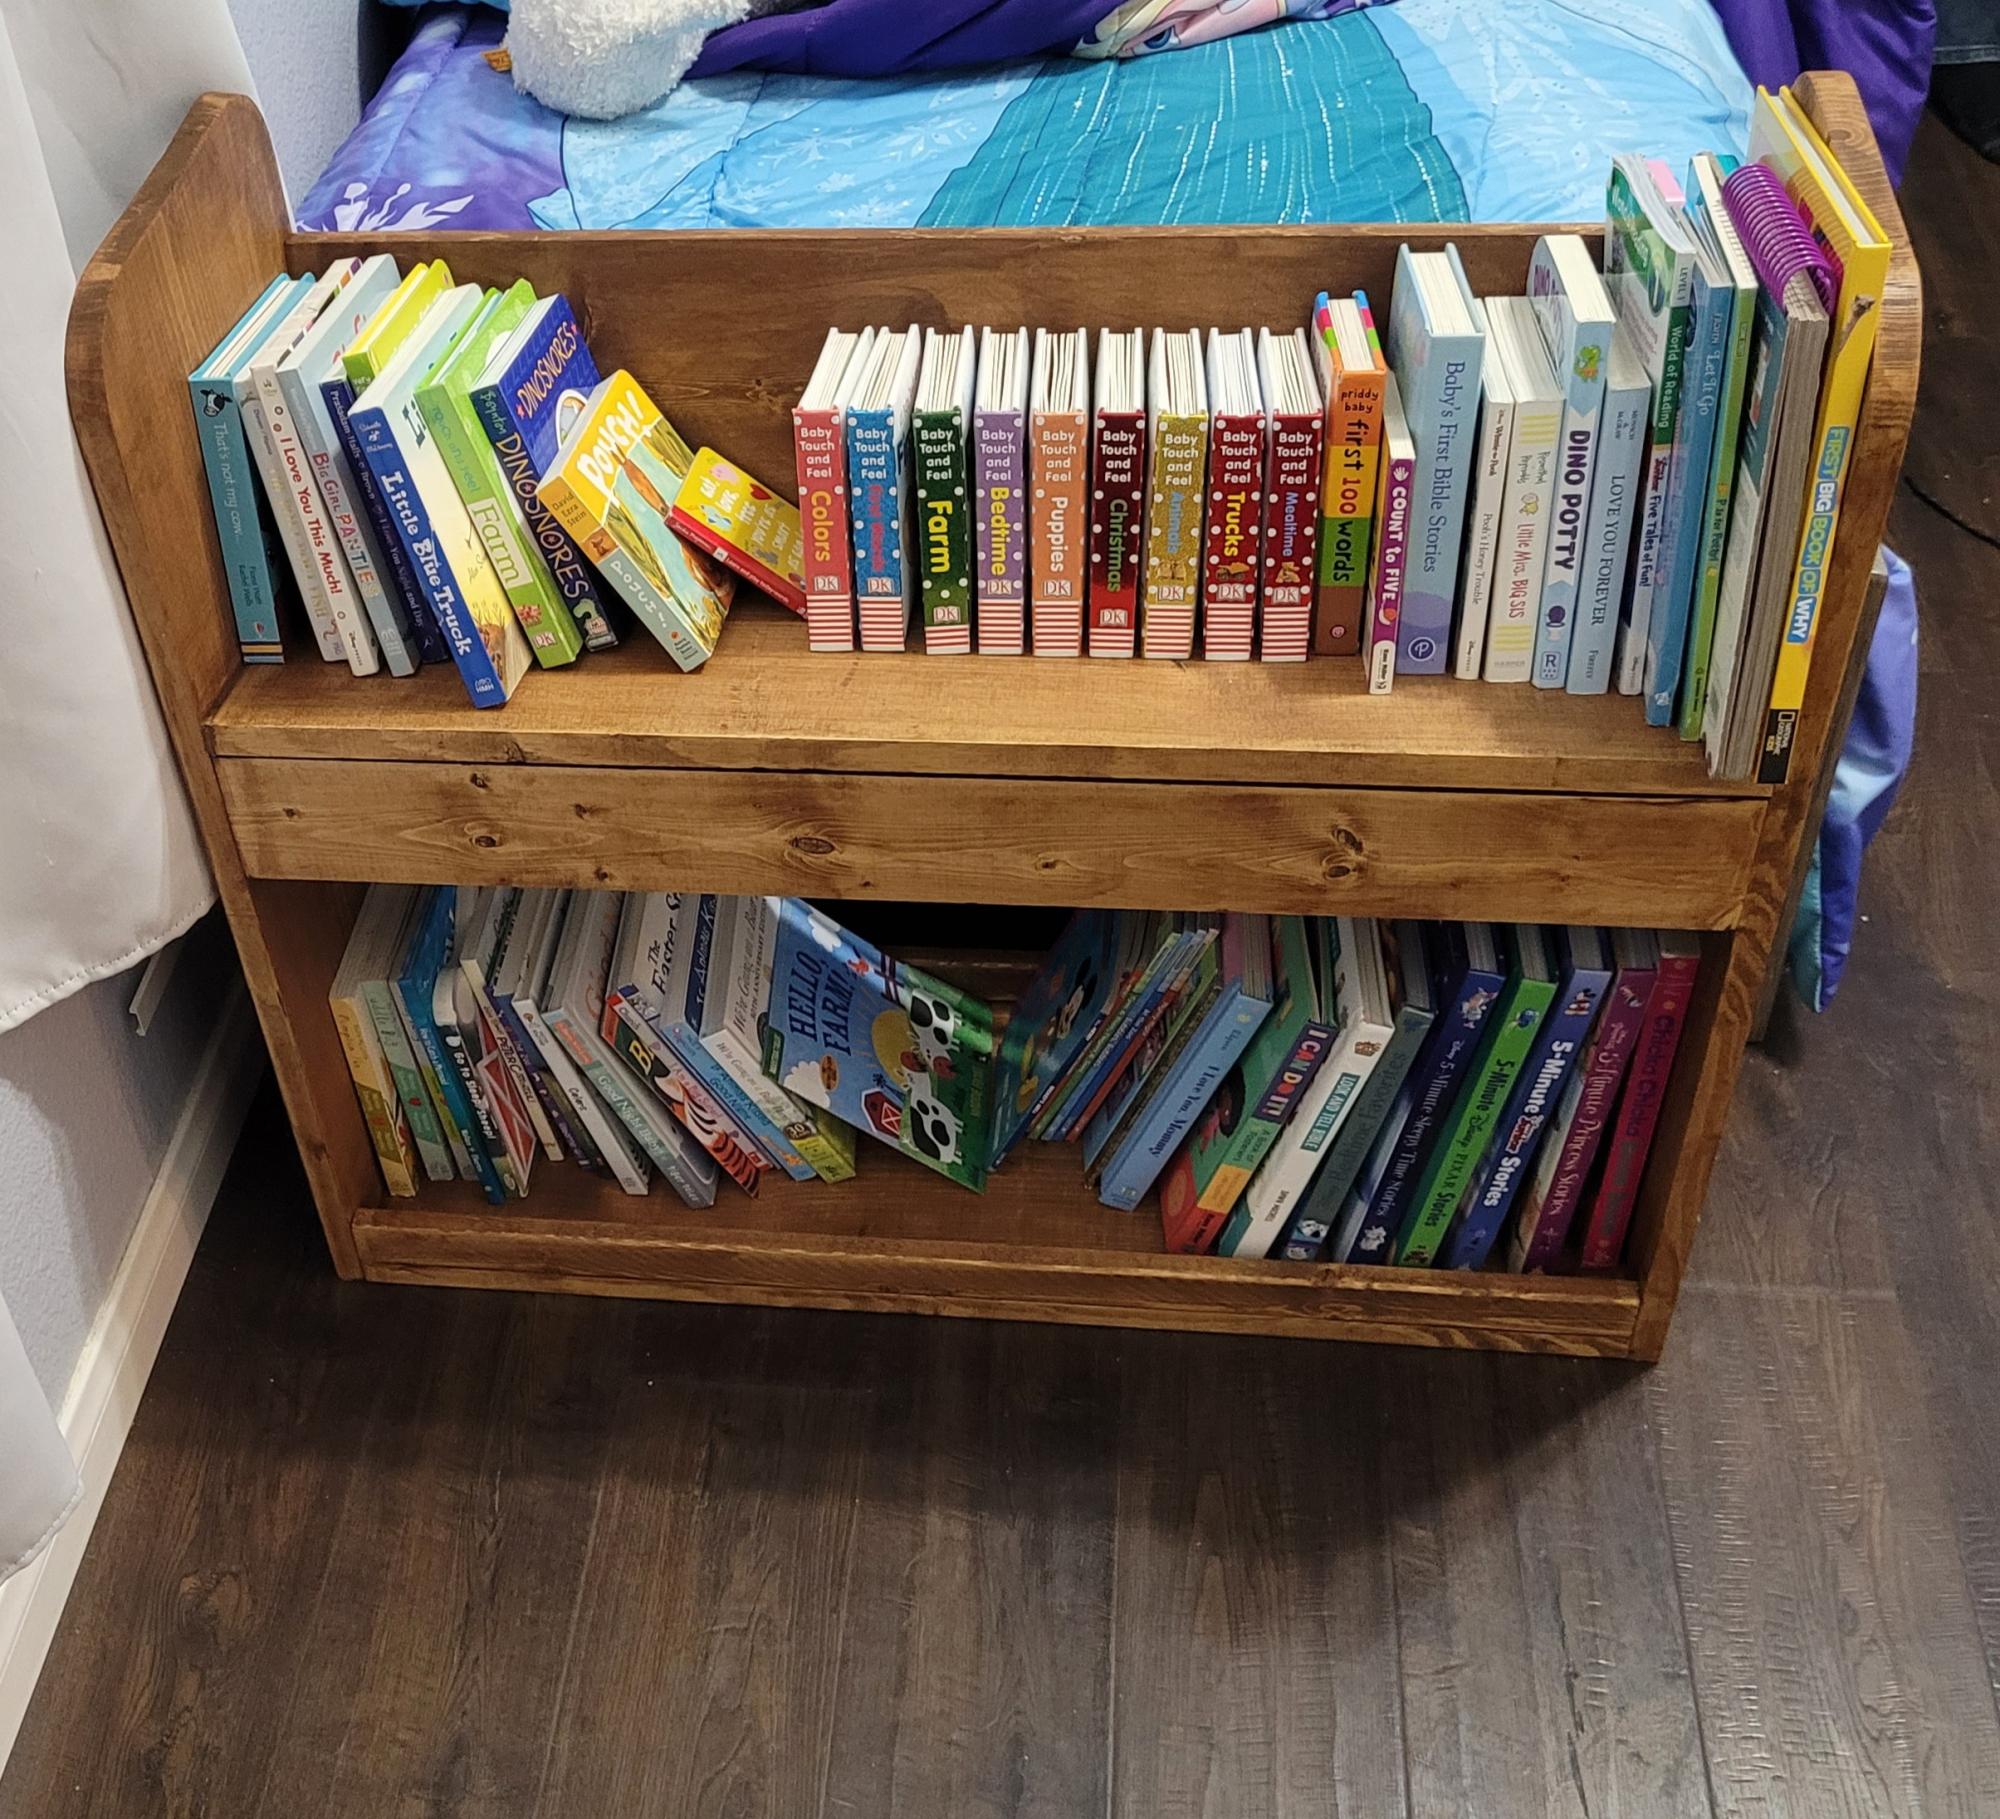
Library Cart (Bookshelf)

Submitted by Kassidy_D on Sun, 01/16/2022 - 18:54

Project #3 very pleased with the outcome!

Built from Plan(s)

Comments

First project ever...and preparing for more

Submitted by Rentzm on Wed, 10/26/2022 - 18:45

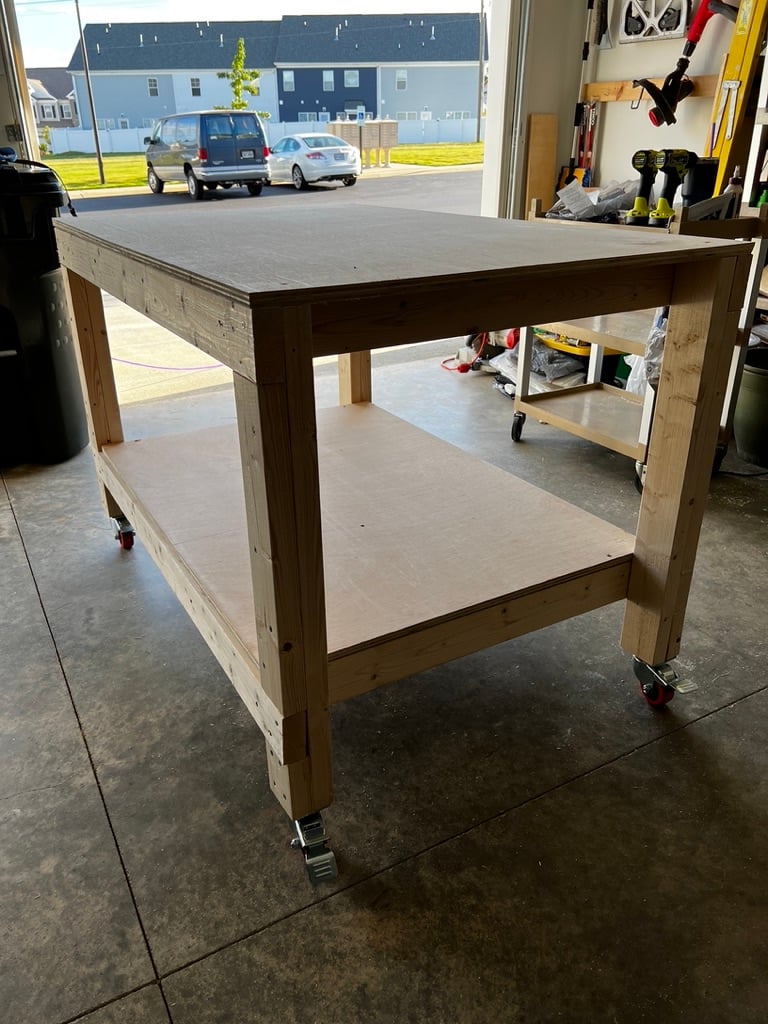
For my first building project ever, I chose to tackle the Easy DIY Workbench. I am so thankful to Ana for putting together clear directions to walk users through every step of the process.

I added casters to the bottom of my cart. And since this photo, I've also mounted a power strip to the inside of one leg. This allows me to run an extension cord to the table and have multiple items plugged in.

I'm finding it's a great multi-use table. I use it for woodworking, grooming my dog, and stacking camping gear before heading out for a trip. I love this table!

Comments

Take off of cubbies/with drawers

Submitted by Anonymous (not verified) on Wed, 02/08/2023 - 09:00

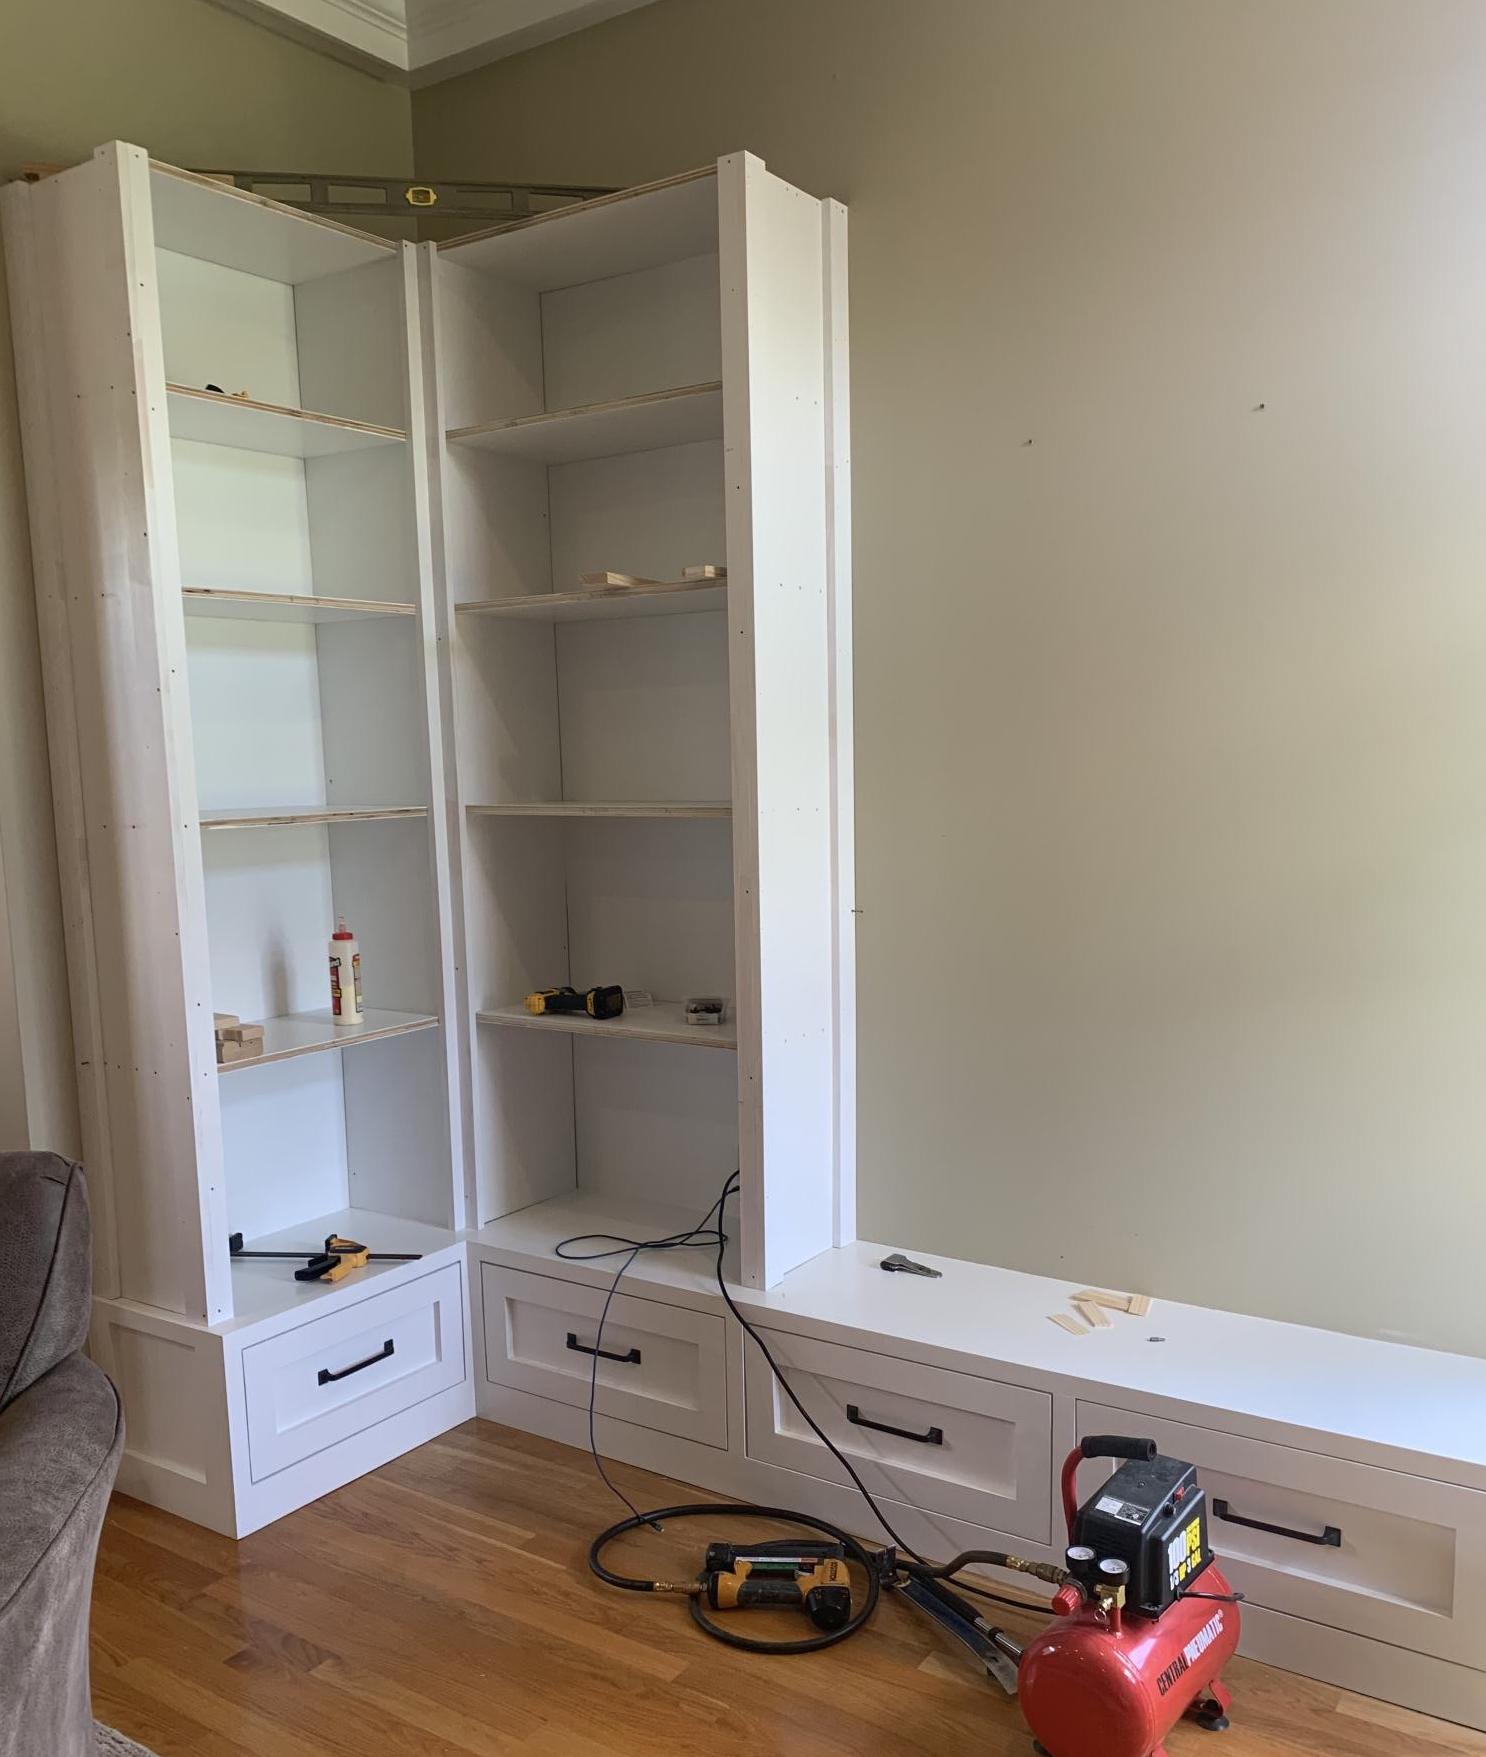
Thanks for the inspiration! First time building something this massive. I have 10 foot ceilings. Bookcases are about t 9 foot tall.

Built from Plan(s)

Comments

Ana White Admin

Wed, 02/08/2023 - 15:43

Superb job, this looks amazing! Thanks for sharing. Would love to see it when it's all finished!

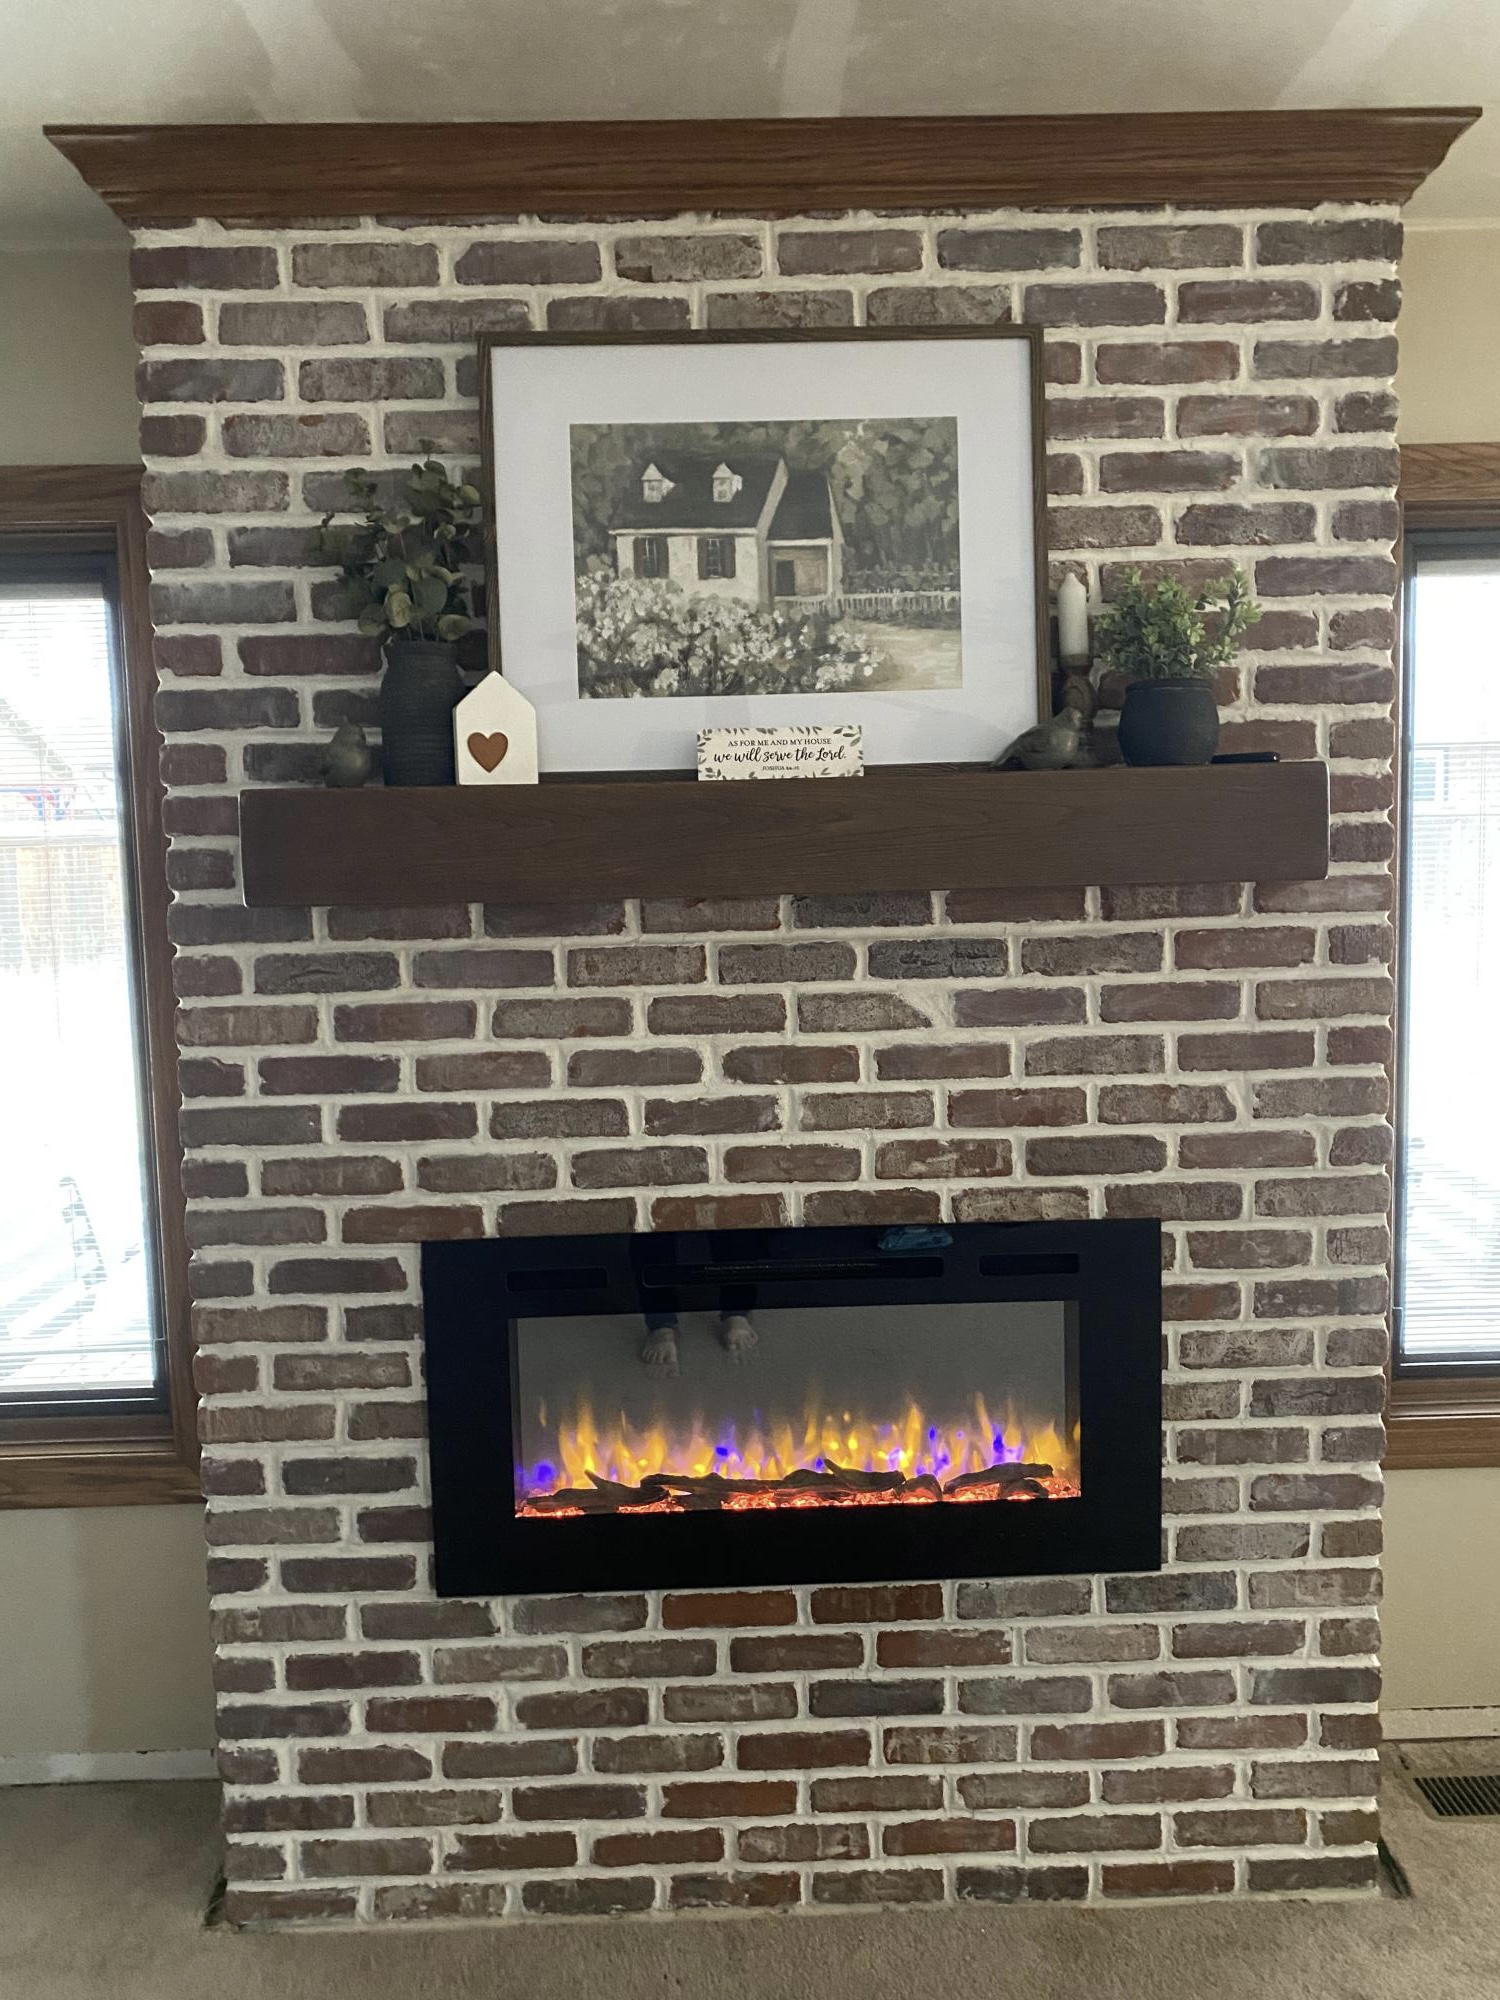
Brick Fireplace

Submitted by Anonymous (not verified) on Fri, 03/17/2023 - 18:08

We used Ana White shiplap fireplace tutorial to build the structure and then followed her advice for brick installation instead of shiplap. It all turned out so great. The fireplace has changed the entire feel of our house now. Thank you Ana!

Comments

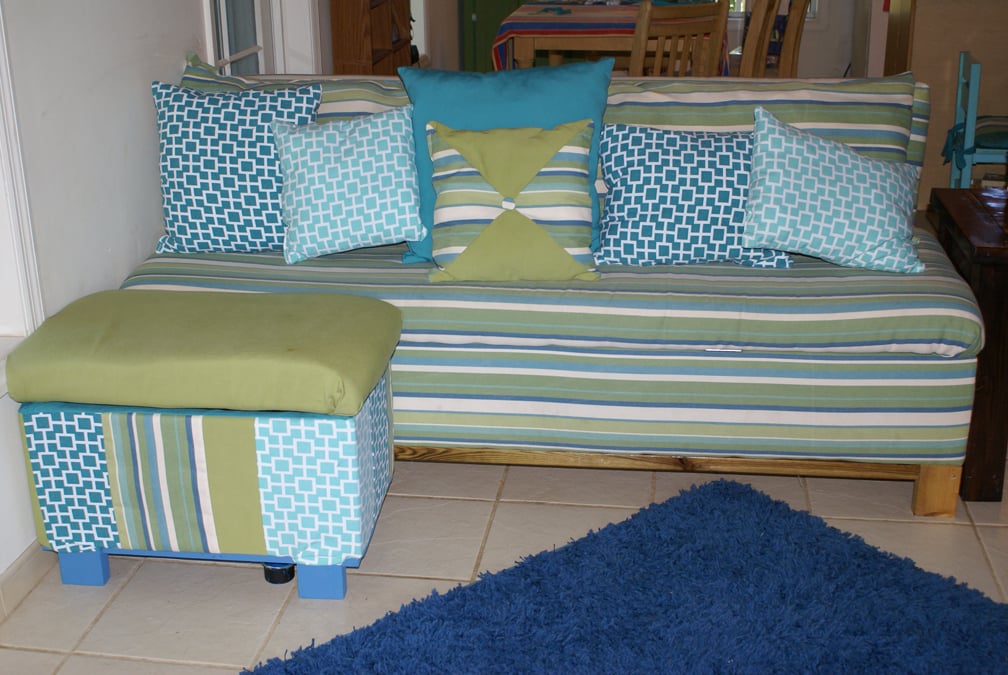
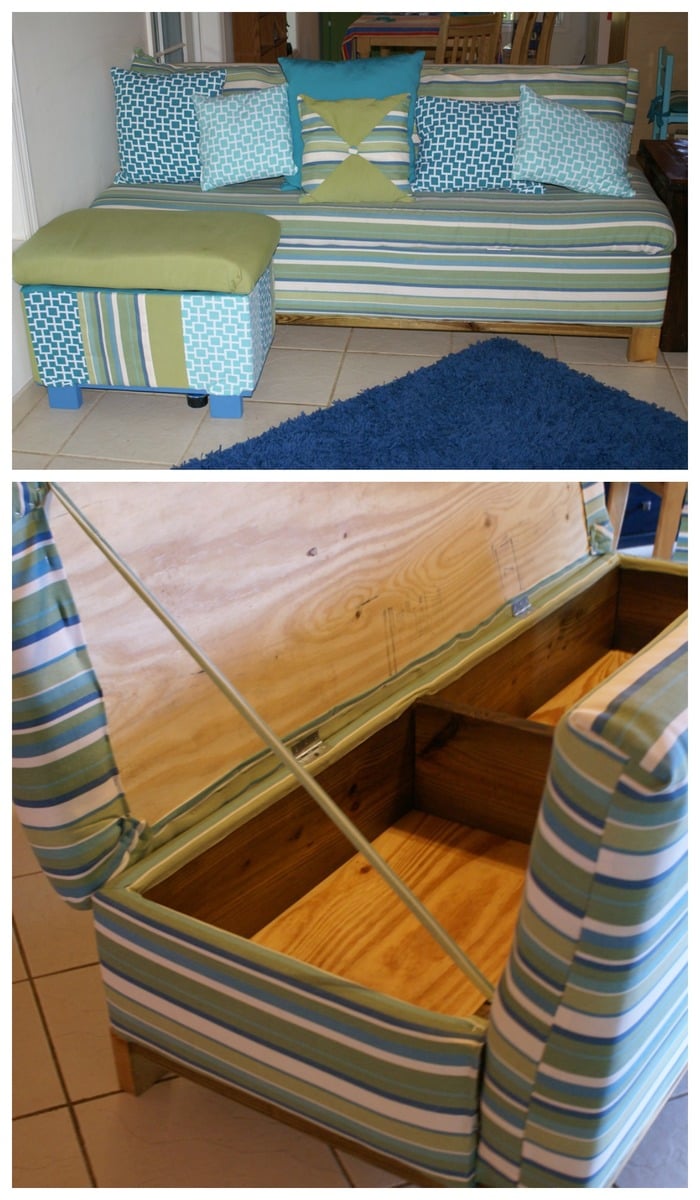
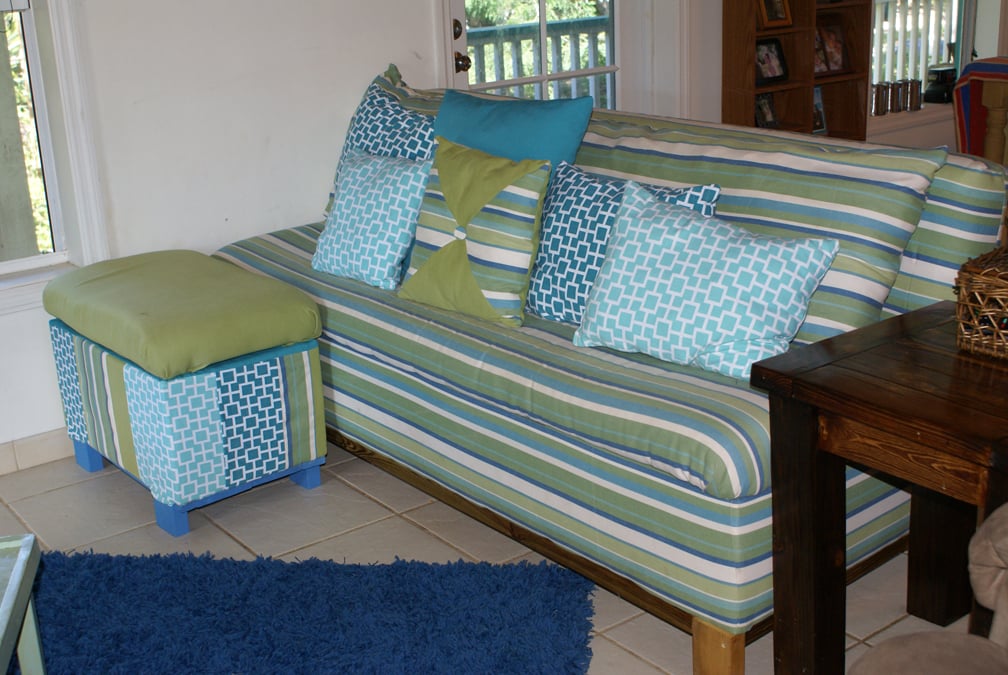
Beachy Storage Sofa

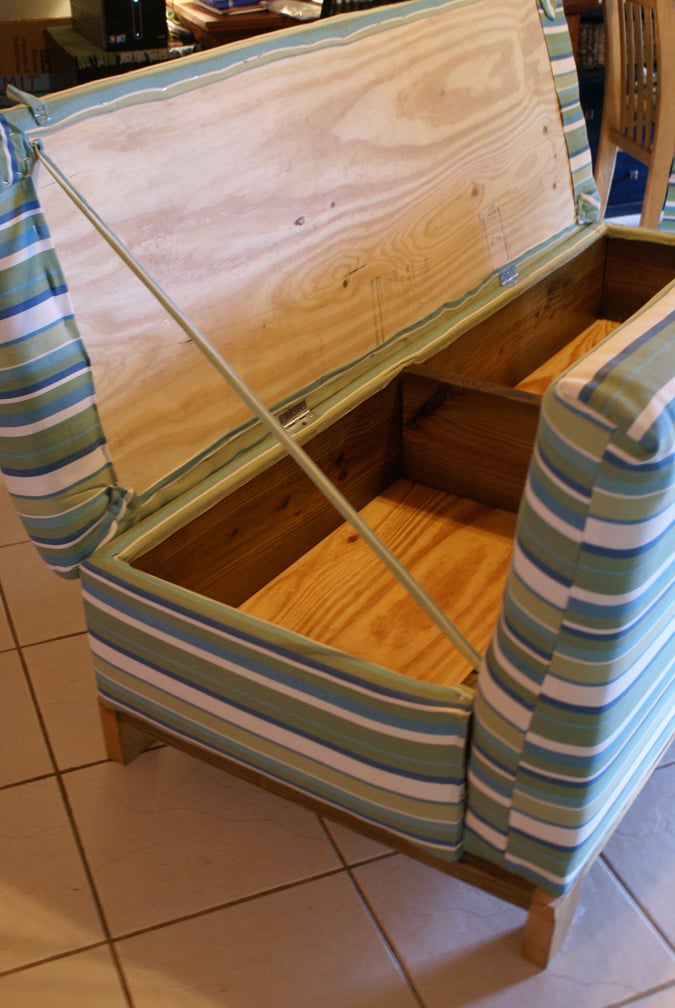
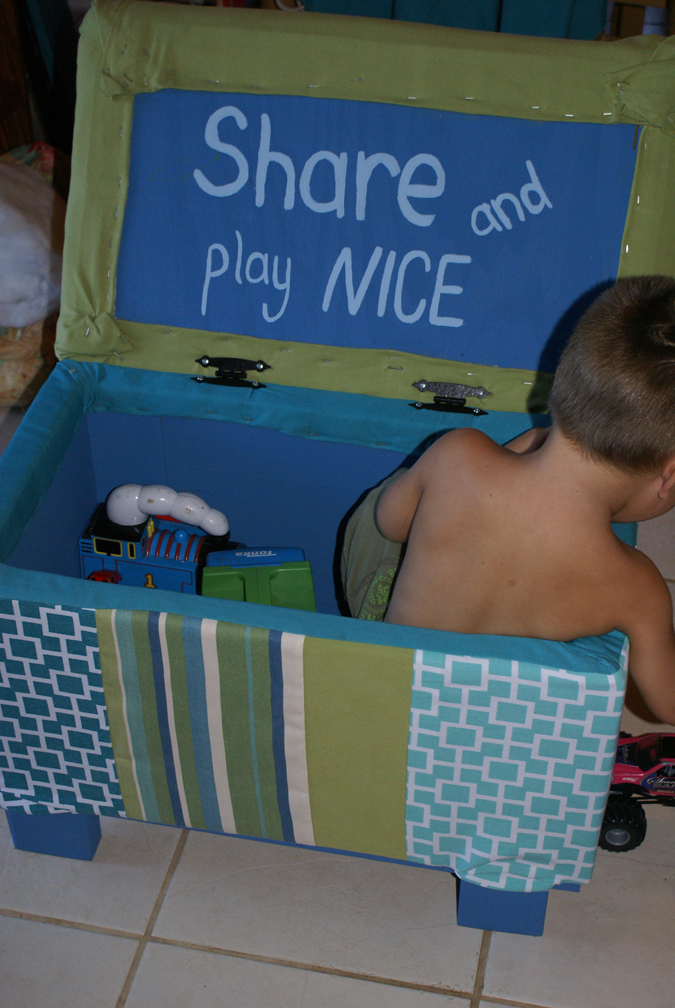
I love my new sofa! It is ten times more comfy than our old one. We live on an island and it was definitely cheaper to build my own sofa than to ship one in and pay duty on it. Thank you Ana for making this possible! Never thought I'd be building my own sofa, but we are so thankful for it. We even threw together our own little ottoman/toy box to go along with it from scraps...added bonus!


Built from Plan(s)
Estimated Cost
Total for everything probably about $500 ( a little higher costs for the wood here on the island, in addition to the other materials)
Estimated Time Investment
Weekend Project (10-20 Hours)
Finish Used
Clear Satin Poly finish on the parts of the wood that are still visible after the fabric goes on.
Recommended Skill Level
Intermediate

Comments

Jan (not verified)

Sat, 07/21/2012 - 09:56

this is so amazing! We go through so many sofas, mainly because we buy used, and you never know if they are going to last. This one looks really sturdy, and it could be recovered if the fabric got old, or you just wanted to update. Definitely considering this before we buy another one. And the storage hidden inside makes it even more desirable!! Love the fabric you chose as well.
Salad bar with handles

Submitted by Sara on Sun, 07/21/2019 - 11:18

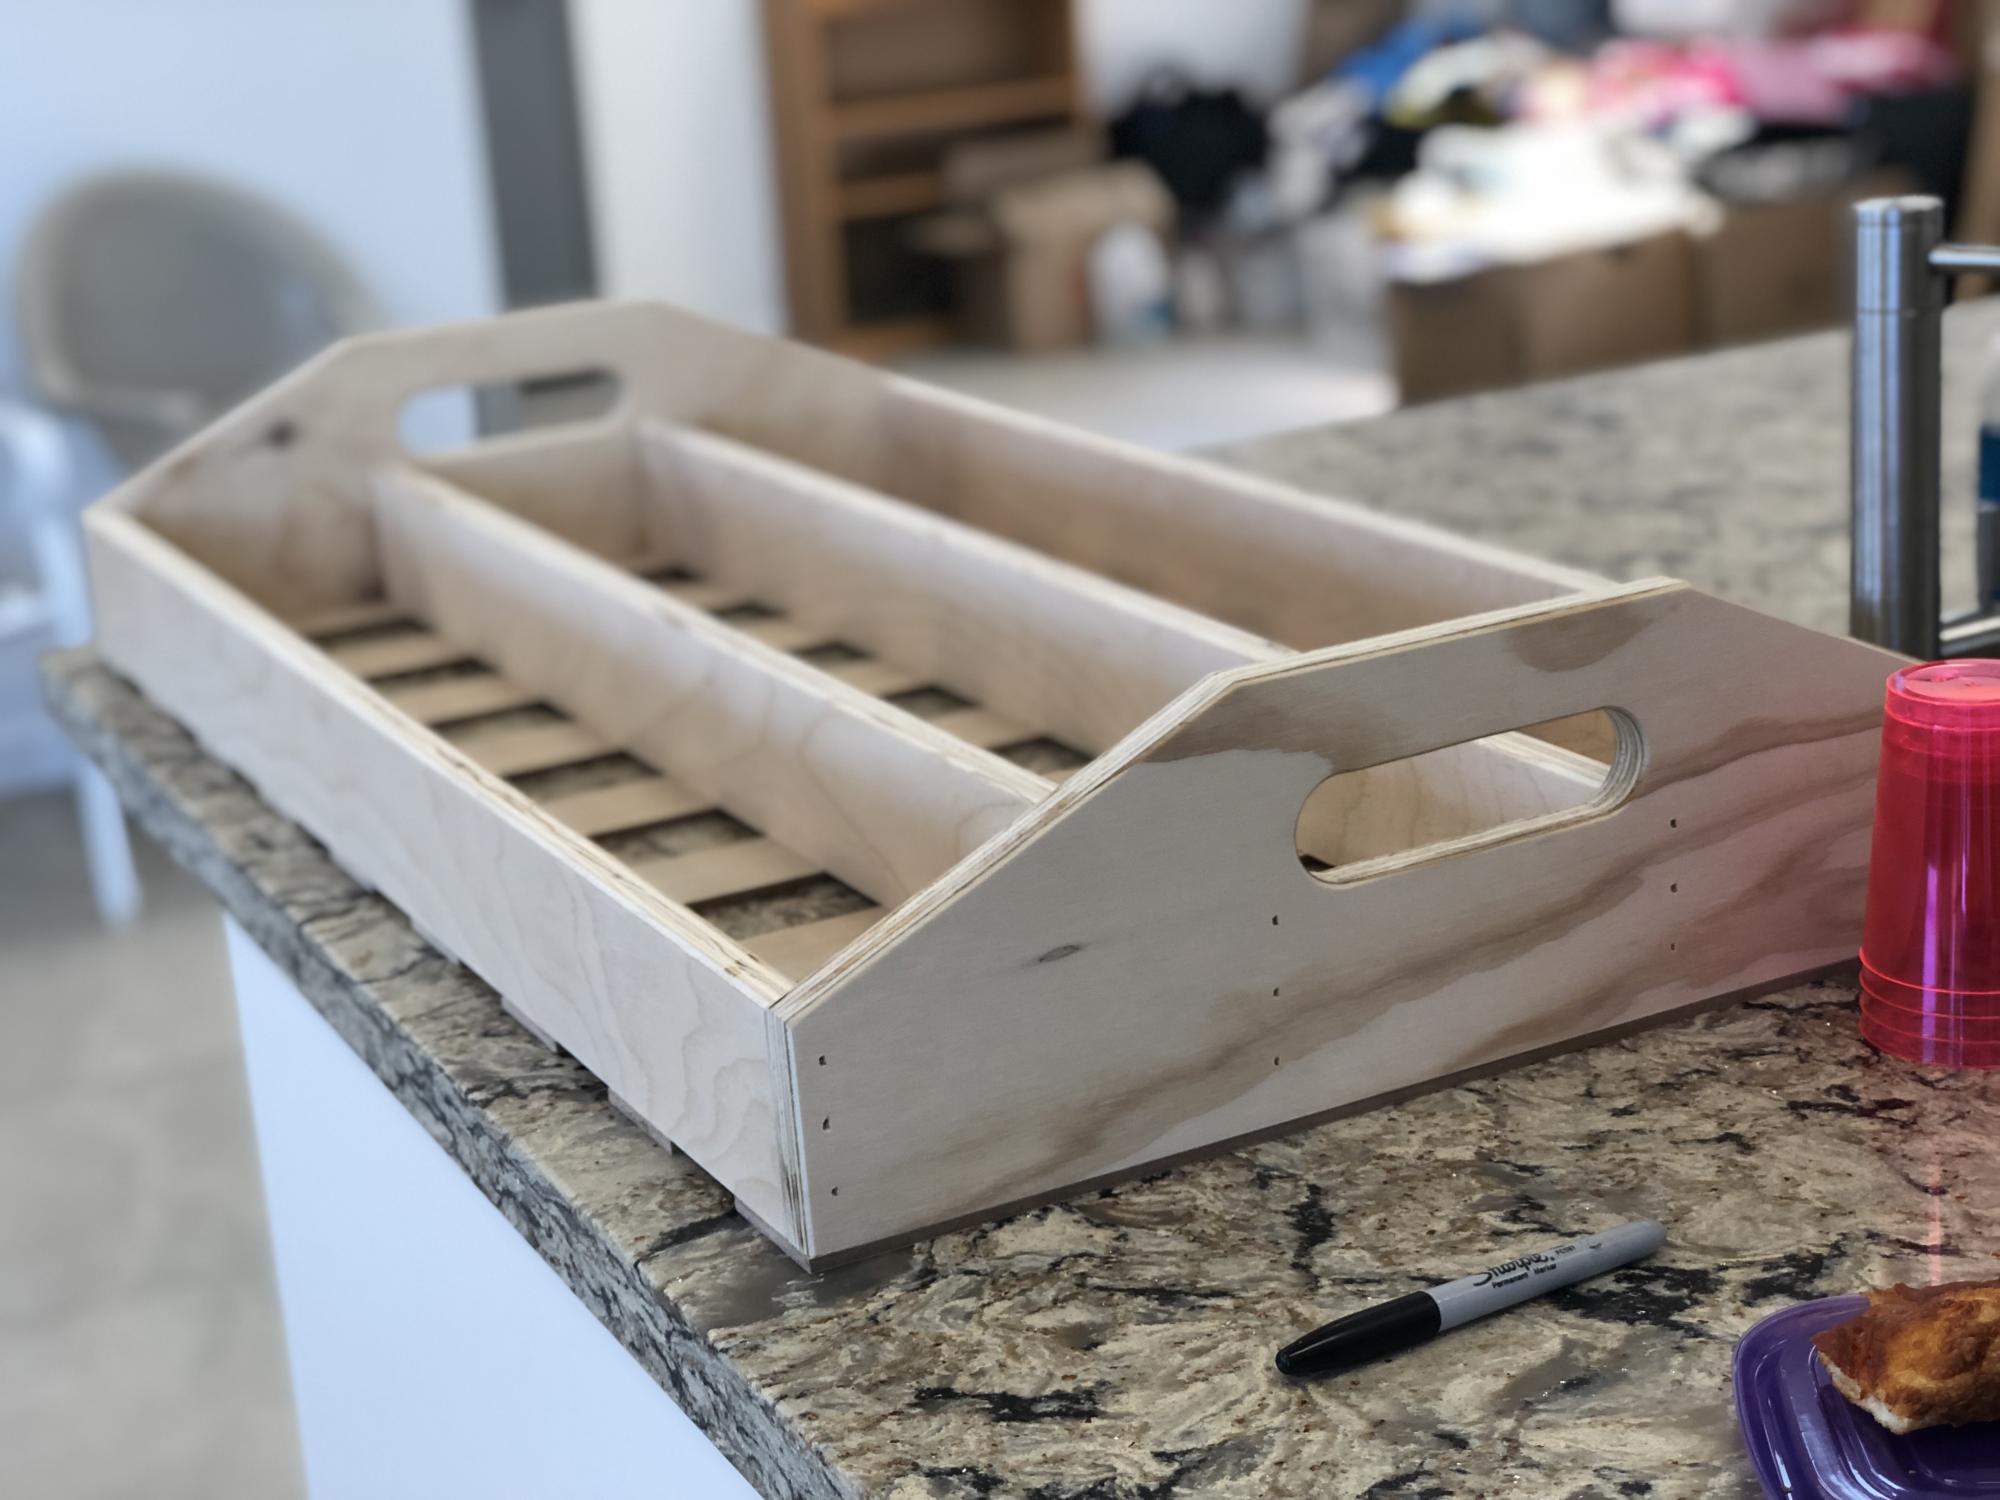
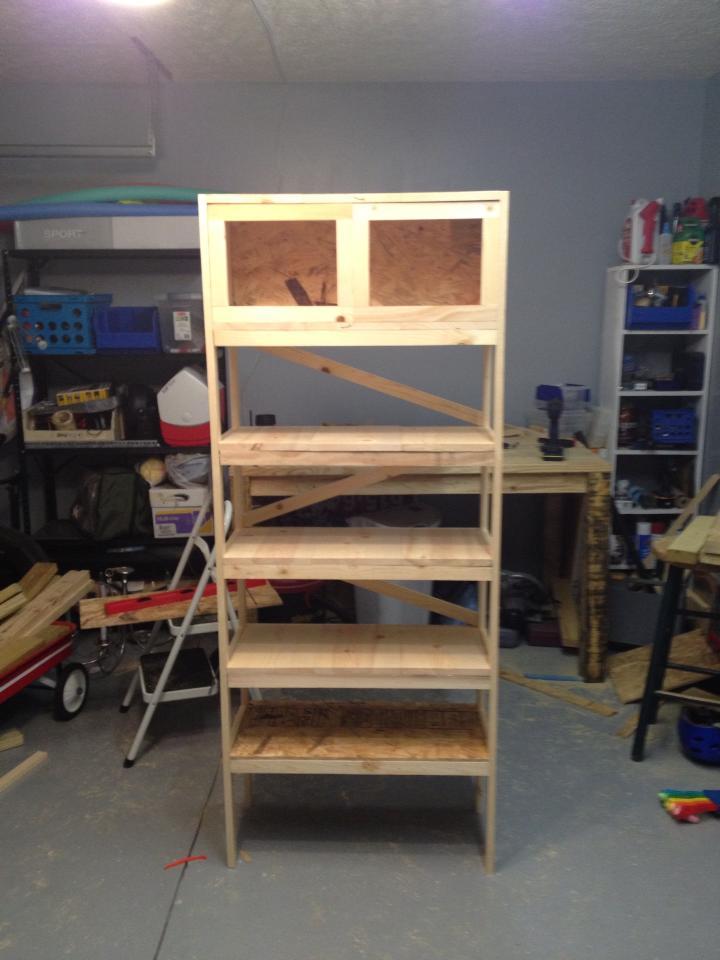
My husband made this with a few tweaks: taller dividers to be even with the sides, smoothing of edges, and handles! It was perfect for our salad bar and pizza party!

Estimated Cost
$0 (used scrap plywood)
Estimated Time Investment
Afternoon Project (3-6 Hours)
Finish Used
none, but we plan to use butcher block oil/sealer
Recommended Skill Level
Beginner

Comments