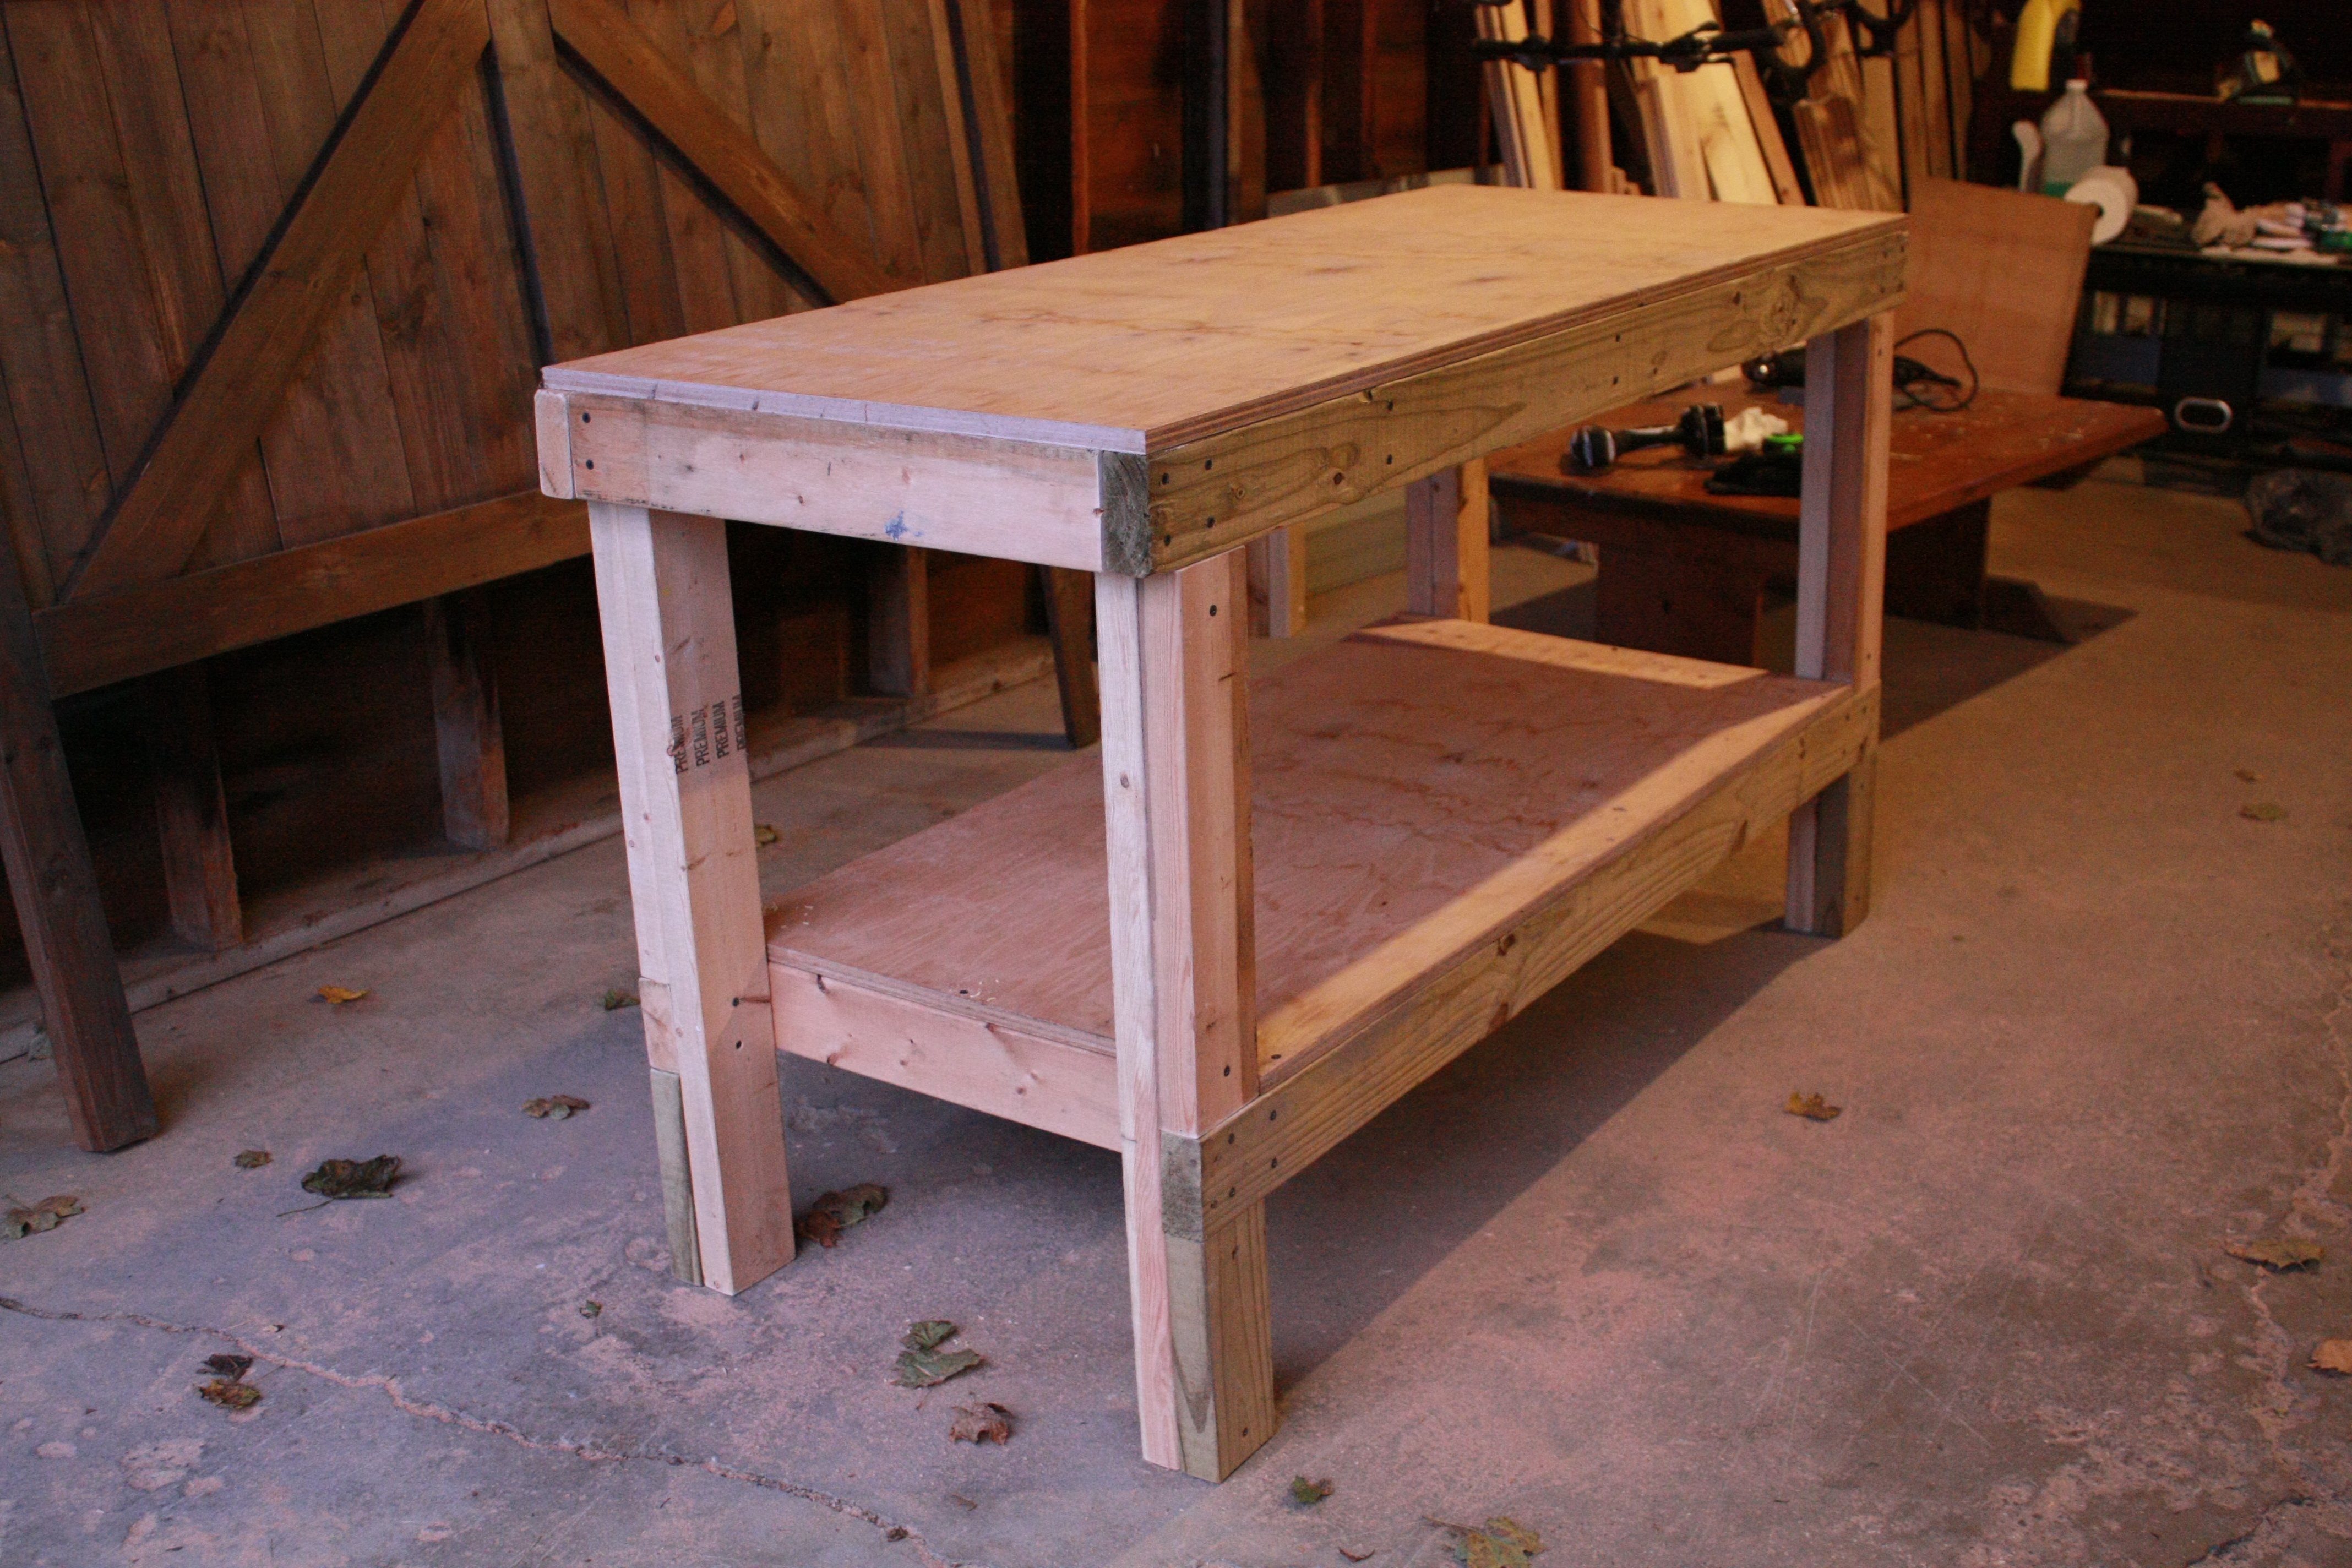
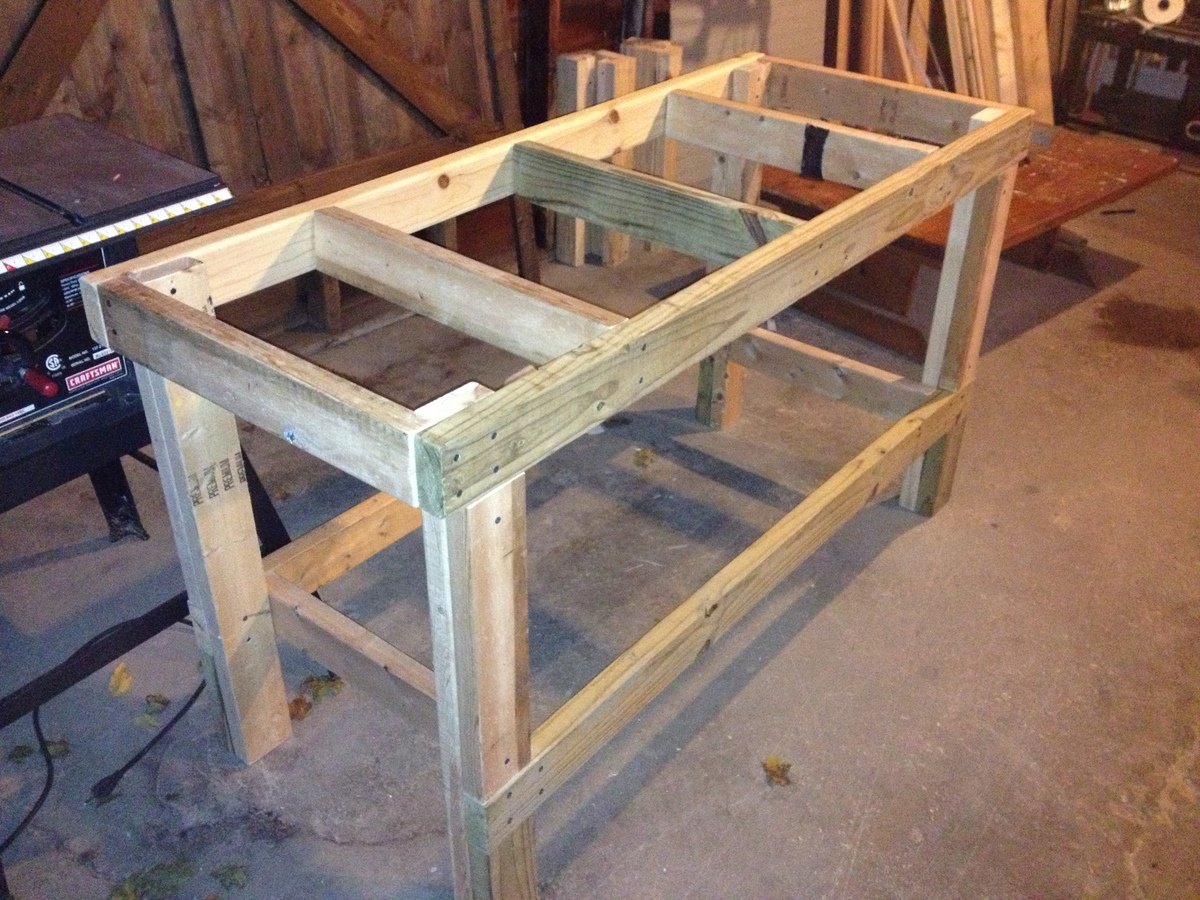
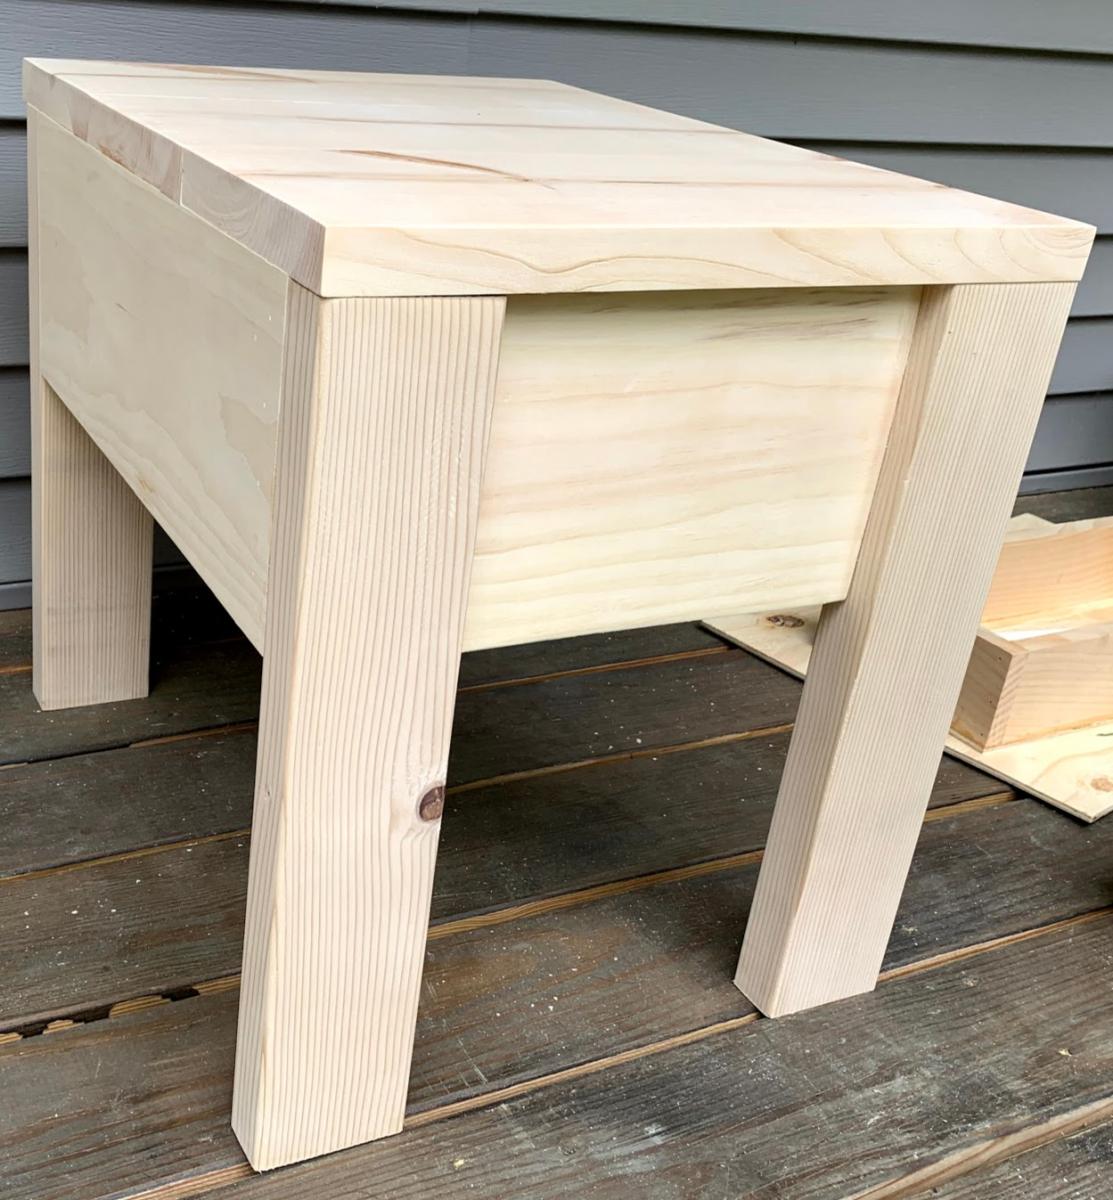
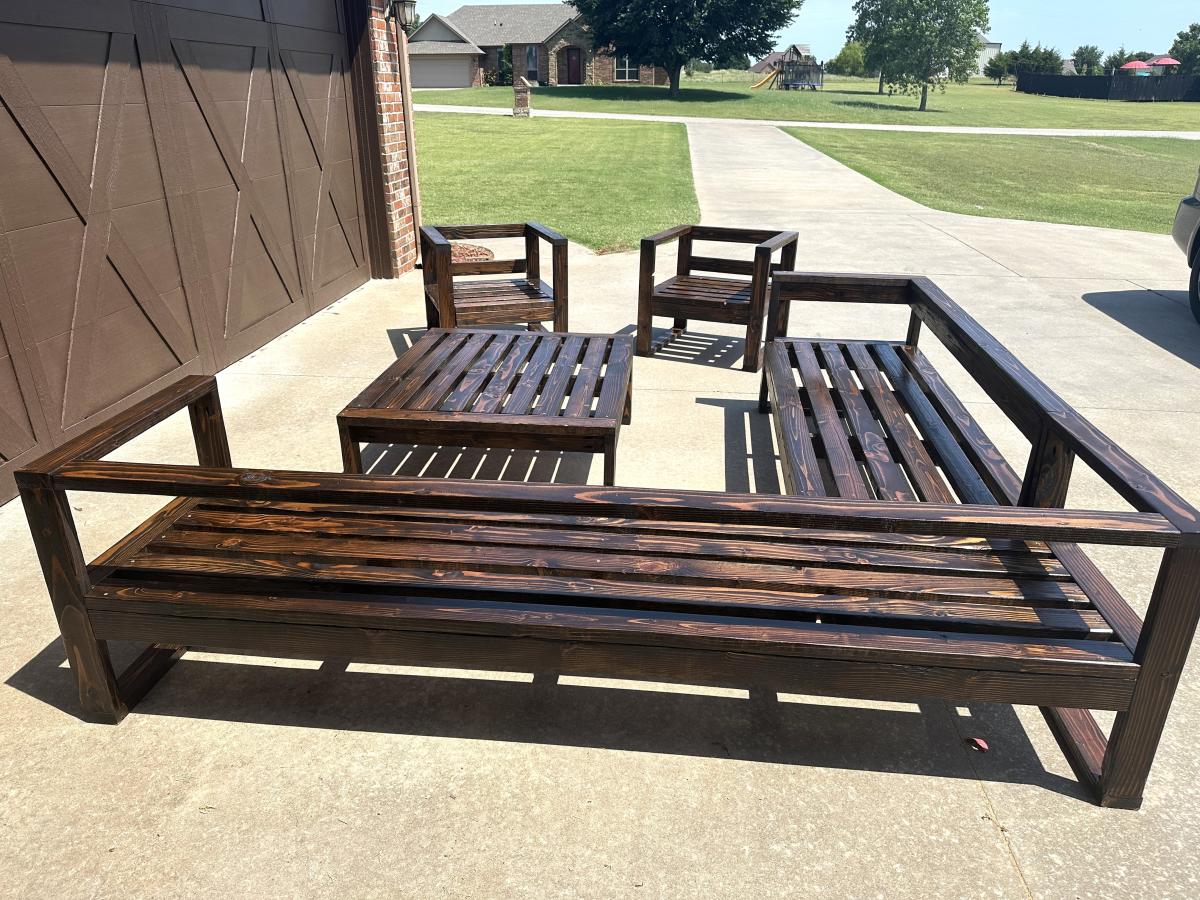
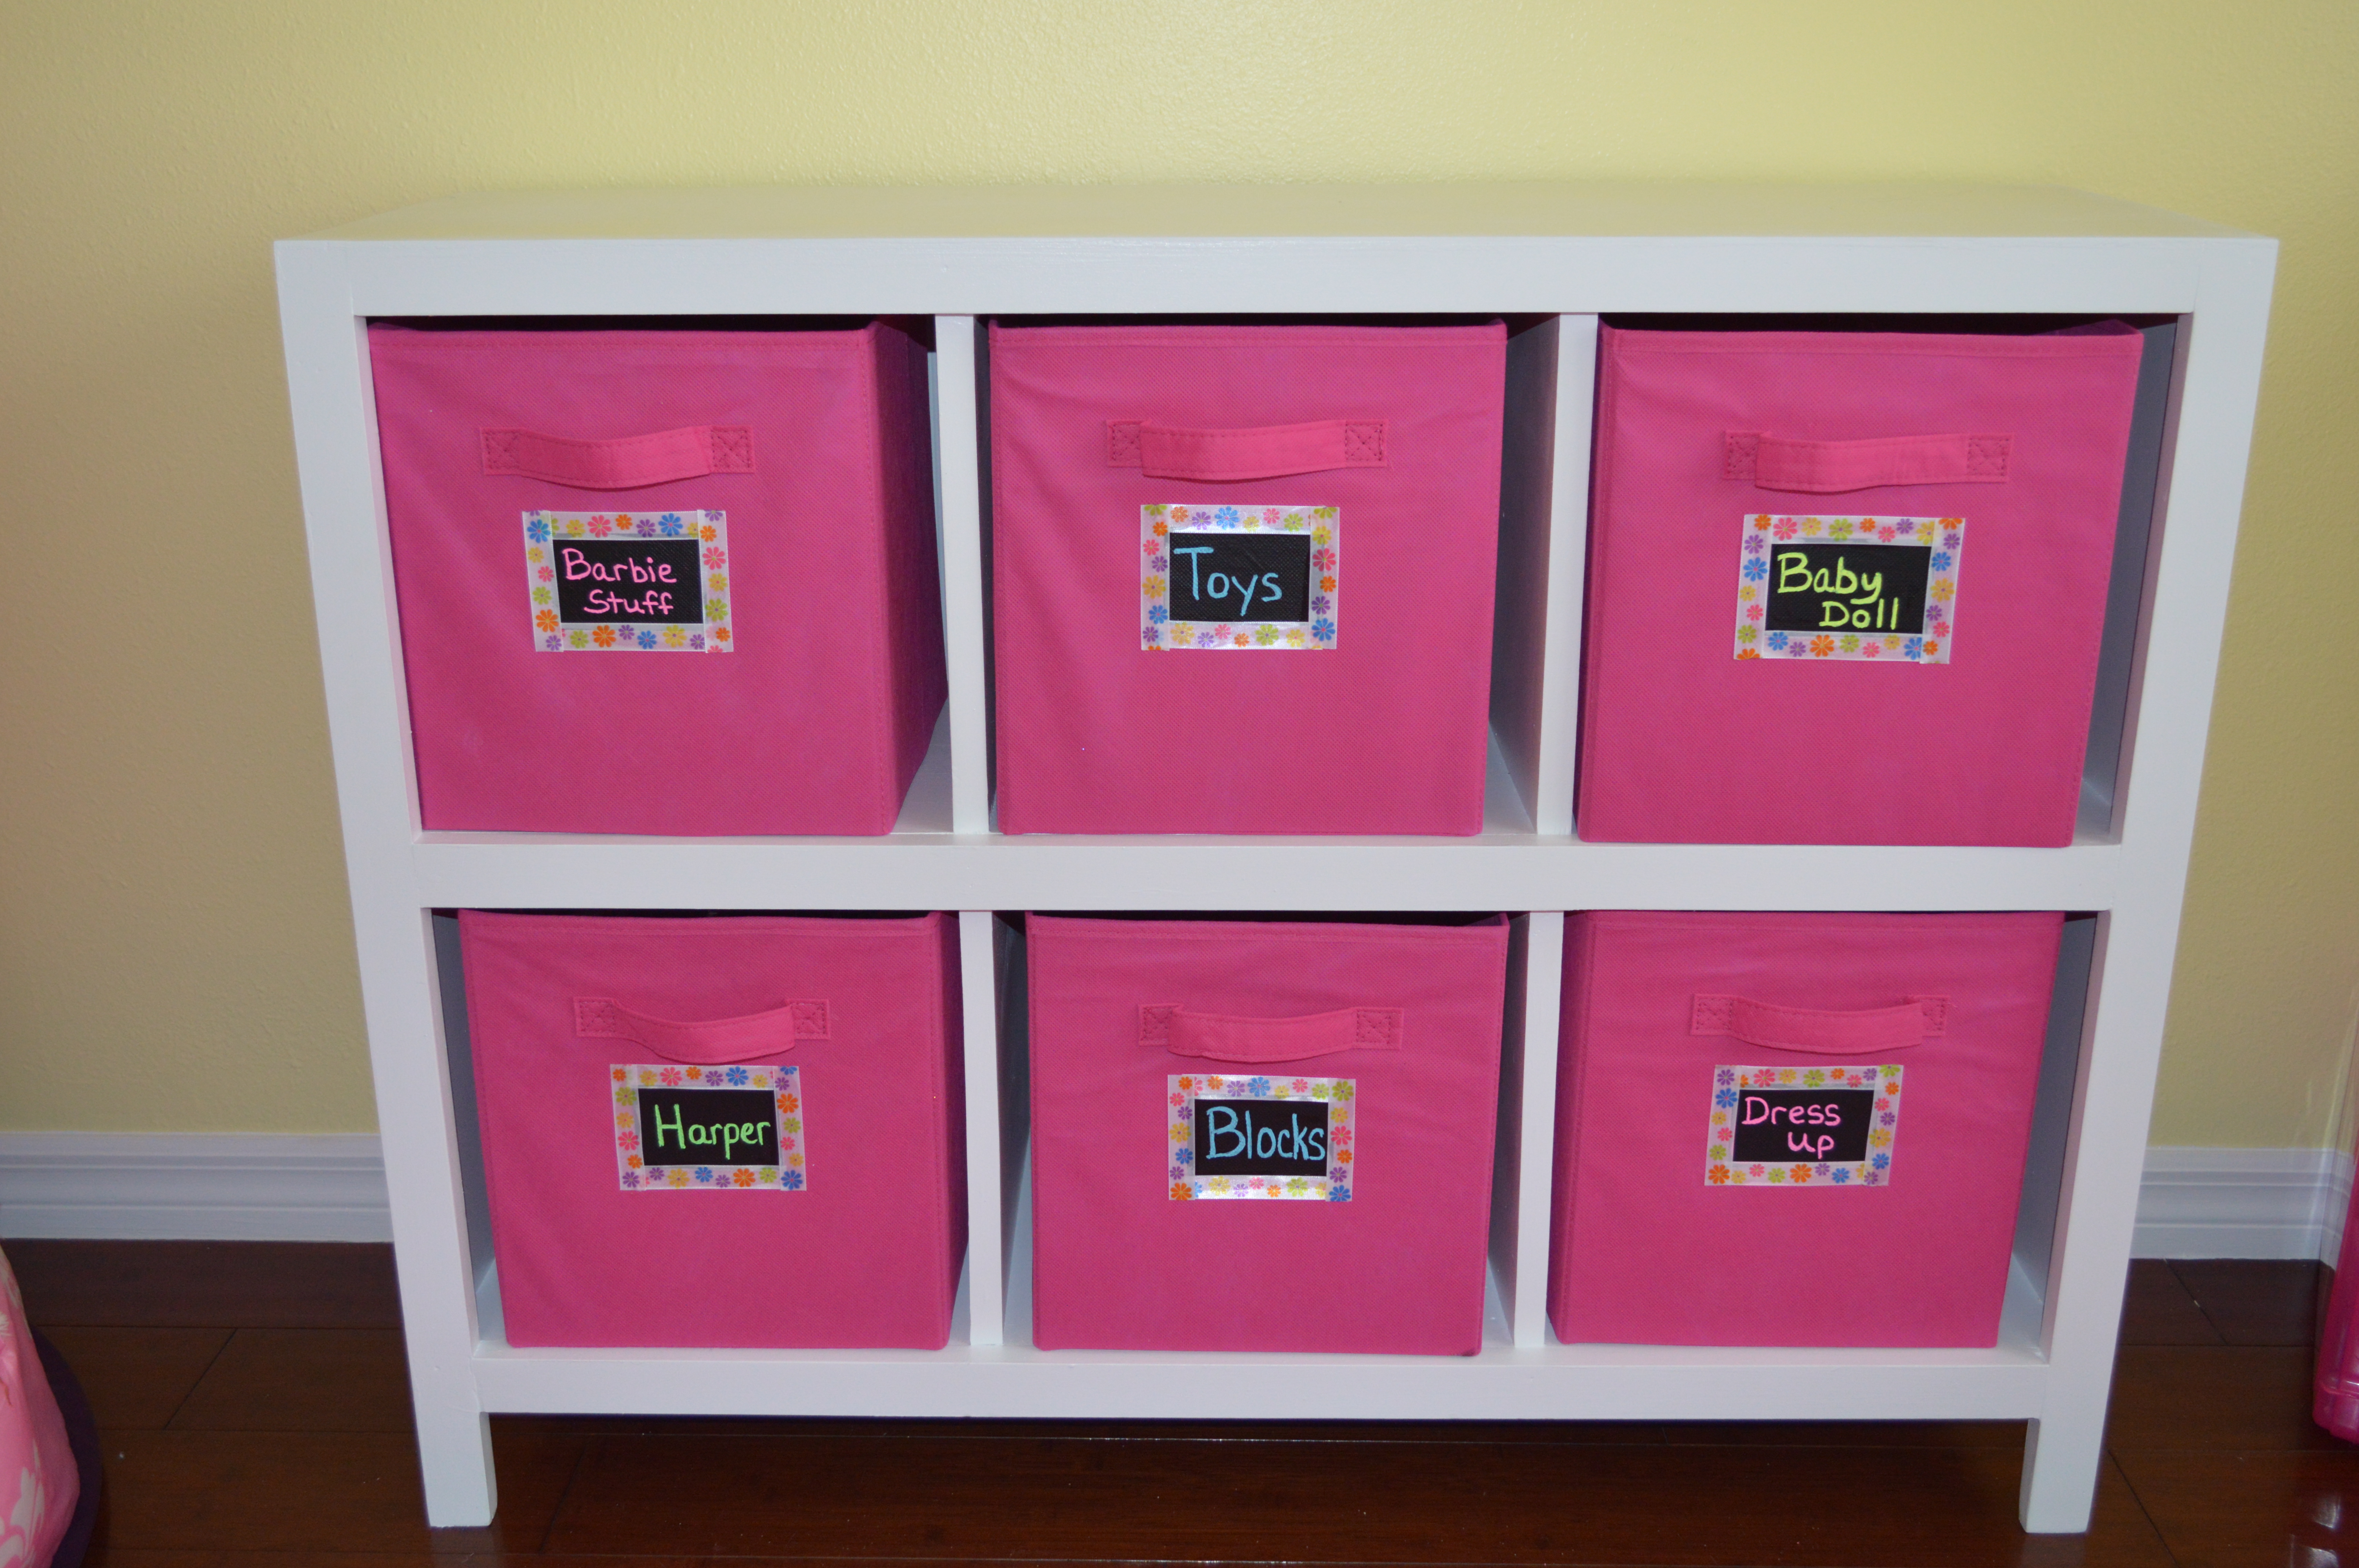
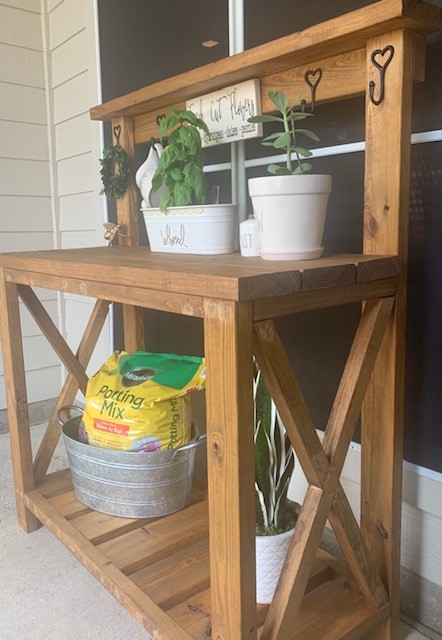
Ana White Farmhouse Potters Bench
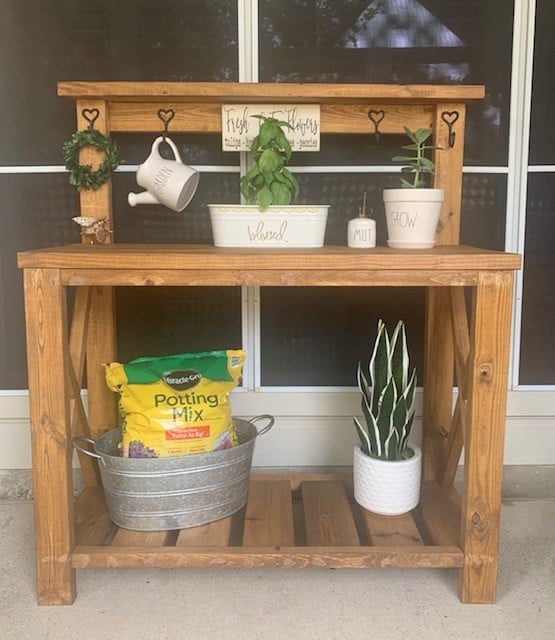
My hubby made it for me after seeing yours!! I LOVE IT THANK YOU SO MUCH!
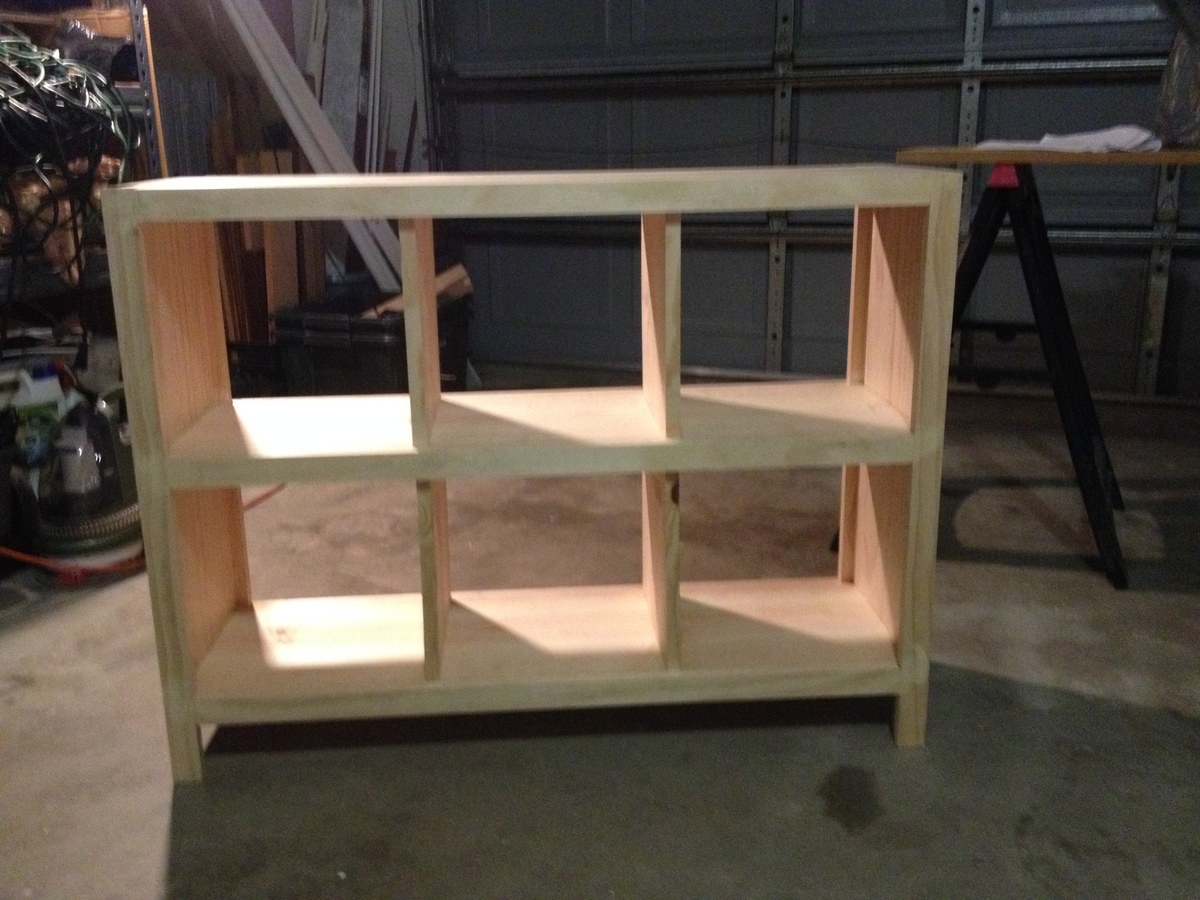
The buy list is correct the cut list is wrong the bottom 2*4's listed should both be 2*6's
Built from Plan(s)
Estimated Cost
$56
Estimated Time Investment
Day Project (6-9 Hours)
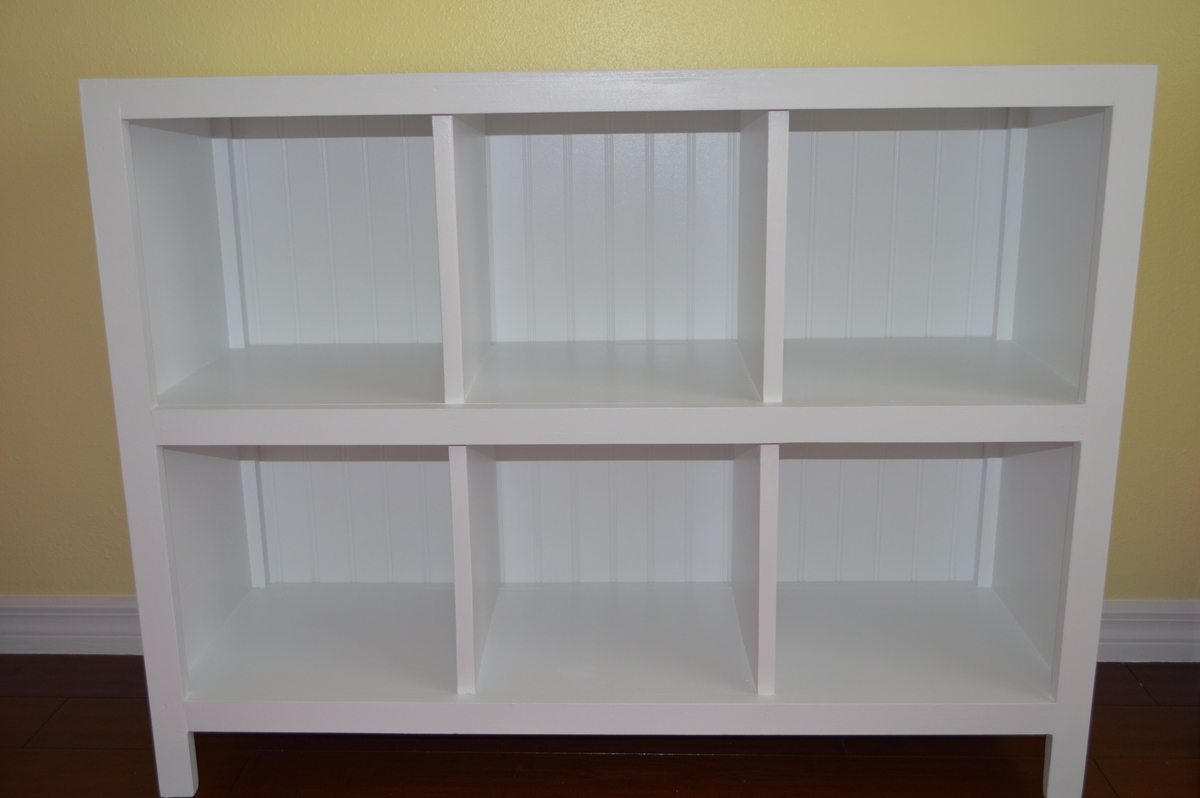
Finish Used
Golden Oak
Recommended Skill Level
Beginner